Under Stairs Storage · How-To
15 Steps To Plan Small Under Stairs Storage Right

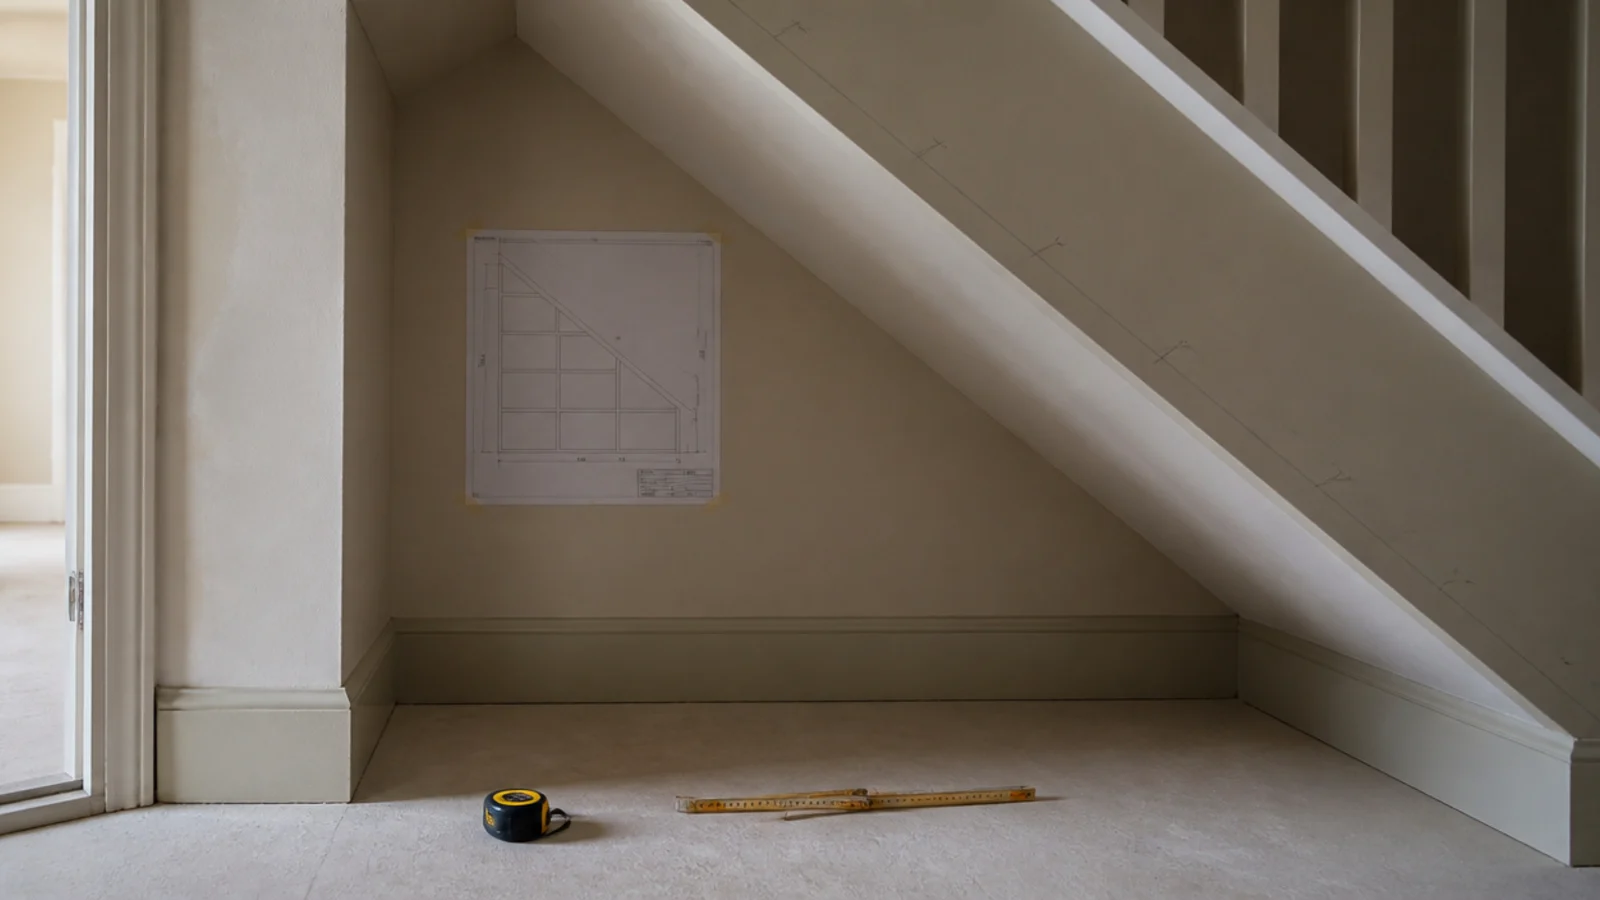
Small under stairs storage goes wrong at the drawing stage, not the building stage. People measure one height, assume the space is a box, order carcasses, and then discover the soffit meets the floor eighteen inches earlier than they thought. Fifteen minutes with a tape and a sheet of graph paper prevents almost all of it. This is the sequence I use before any under-stair project, whether the end result is a painted door and three shelves or a full bank of pull-outs.
In this guide18 sections — tap to openHide
- 1.What You'll Need For Small Under Stairs Storage
- 2.Step 1: Empty the space and photograph every wall
- 3.Step 2: Take the three height measurements
- 4.Step 3: Draw the triangle to scale
- 5.Step 4: Find the services before you design anything
- 6.Step 5: Check the storey count and the door rules
- 7.Step 6: Band the wedge at sixty and thirty inches
- 8.Step 7: Inventory what genuinely has to live there
- 9.Step 8: Choose how you will get in
- 10.Step 9: Measure the hall and test the door swing
- 11.Step 10: Set the carcass depths band by band
- 12.Step 11: Rate the runners before you size the drawers
- 13.Step 12: Plan the light and the socket now
- 14.Step 13: Price all three routes side by side
- 15.Step 14: Cut and scribe the raking end panel
- 16.Step 15: Load it in the right order and label
- 17.Pro Styling Rules
- 18.Mistakes to Skip
What You'll Need For Small Under Stairs Storage
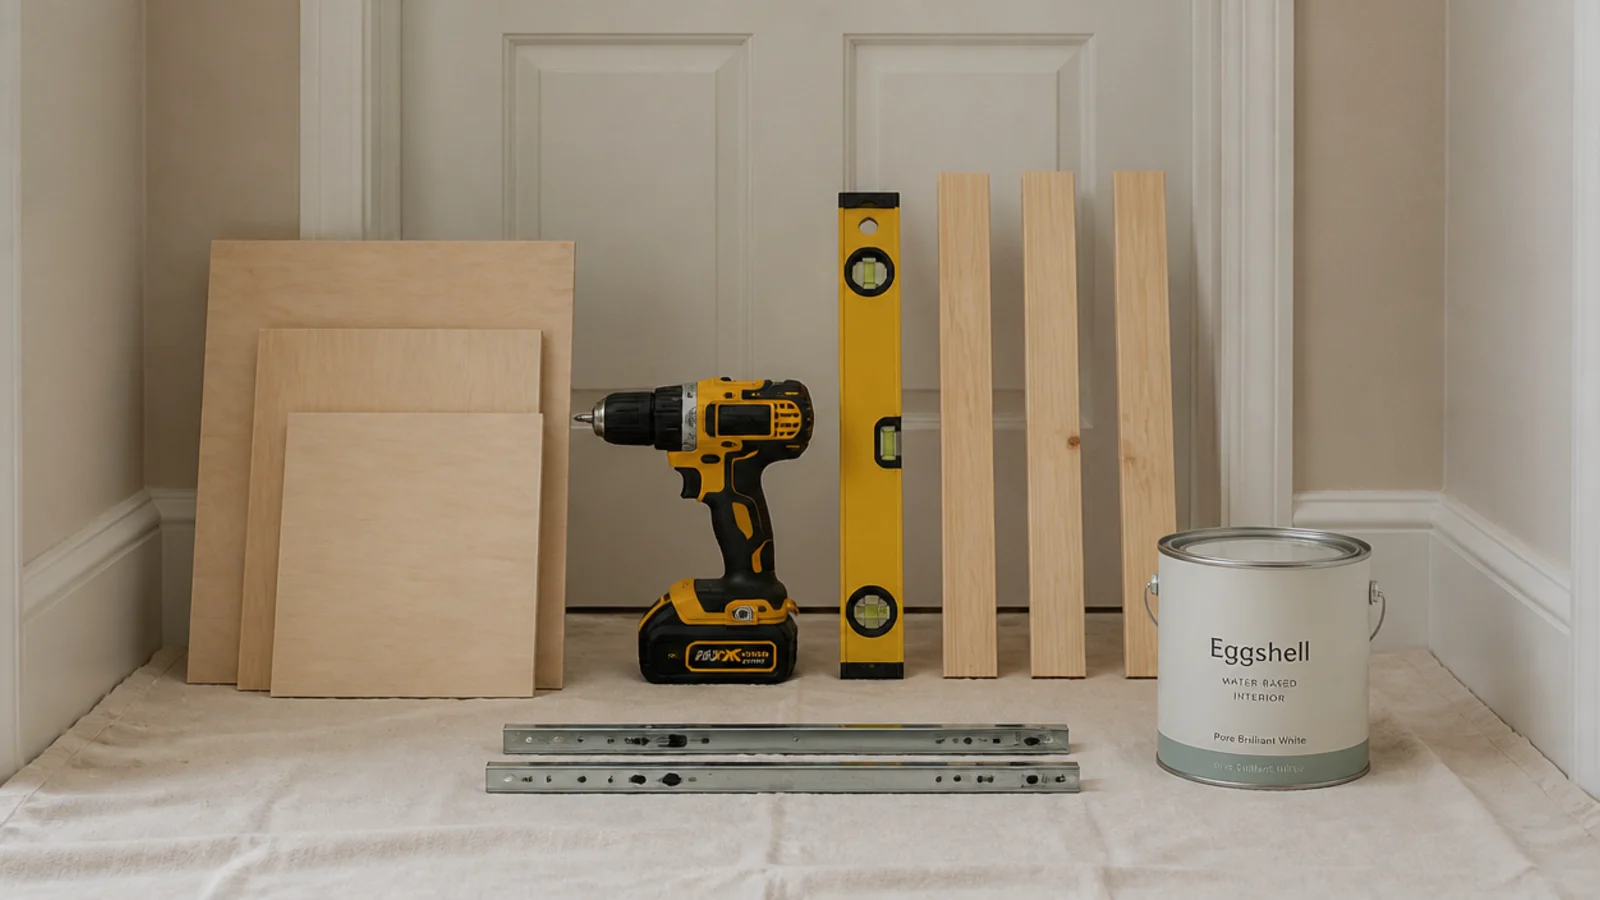
You can plan the whole thing with a tape, a rule and graph paper. The materials below are for a batten-and-plywood fit-out, which is the route that gives the most storage per pound.
| Item | Spec that matters | Rough cost |
|---|---|---|
| Tape and folding rule | 5m tape, plus a rule that stands upright | borrowed |
| Graph paper | 5mm squares, one sheet per elevation | £2 |
| Plywood | 18mm birch, one 8x4 sheet | £60–£90 |
| Batten | 2x1in pine, roughly 10 metres | £20 |
| Drawer runners | Full extension, 100lb pair, 22in | £25–£45 |
| Screws and glue | 40mm and 60mm, plus PVA | £12 |
| Paint | Water-based eggshell, one litre | £22–£30 |
| Light | Battery PIR puck or 3000K LED strip | £15–£40 |
Step 1: Empty the space and photograph every wall
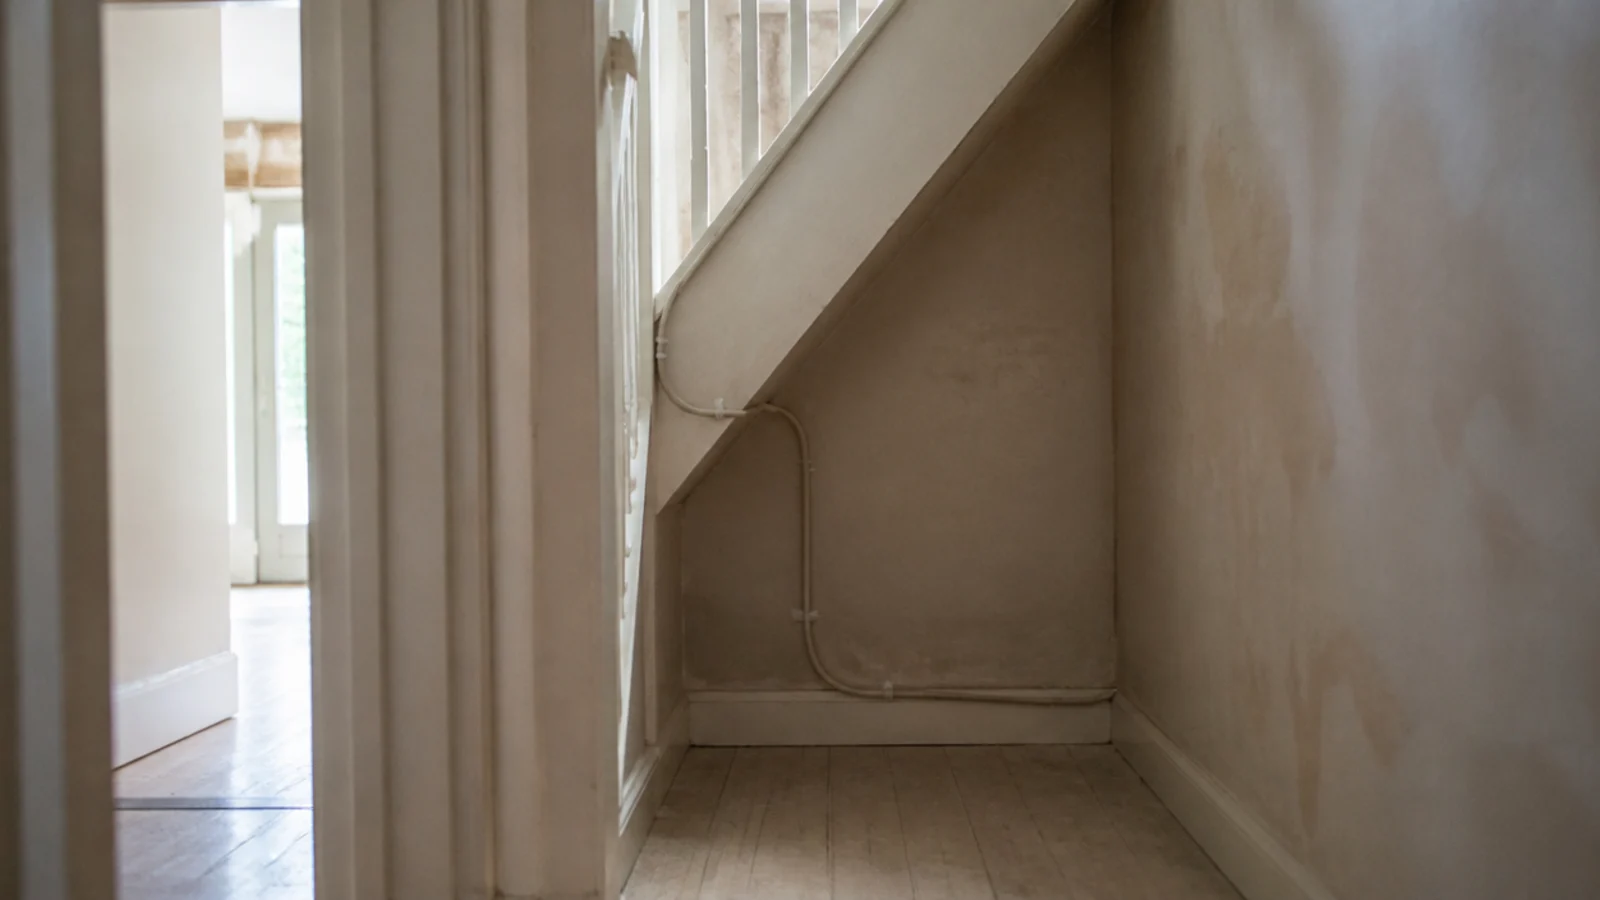
Take everything out, including the things you are certain are going back in. Photograph all four surfaces and the floor before you touch anything.
An empty recess shows you the cable runs, the damp patch behind the boxes and the point where the soffit actually meets the floor. It also gives you an honest look at how much of the volume was previously doing nothing, which is usually more than half.
Step 2: Take the three height measurements
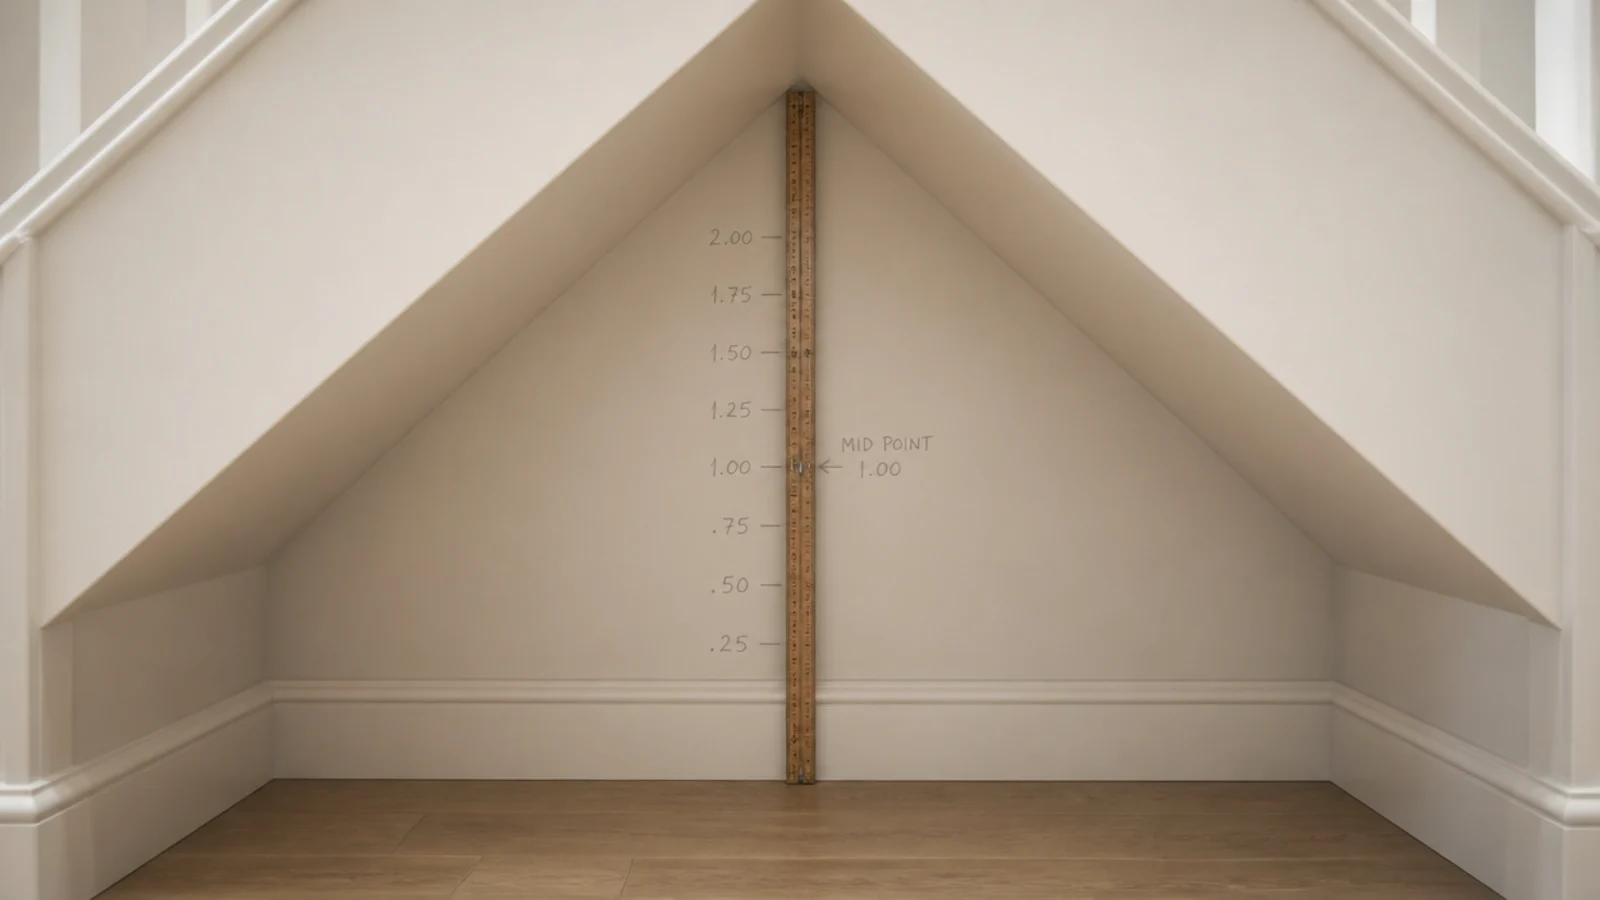
Measure floor to soffit at the tall end, at the midpoint of the run, and at the point where the slope meets the floor. Write all three on the wall in pencil.
Then measure the horizontal run and the internal width, which is the stair width less the strings and plasterboard — usually 34 to 36 inches. Those five numbers are the entire brief, and everything from here on comes out of them.
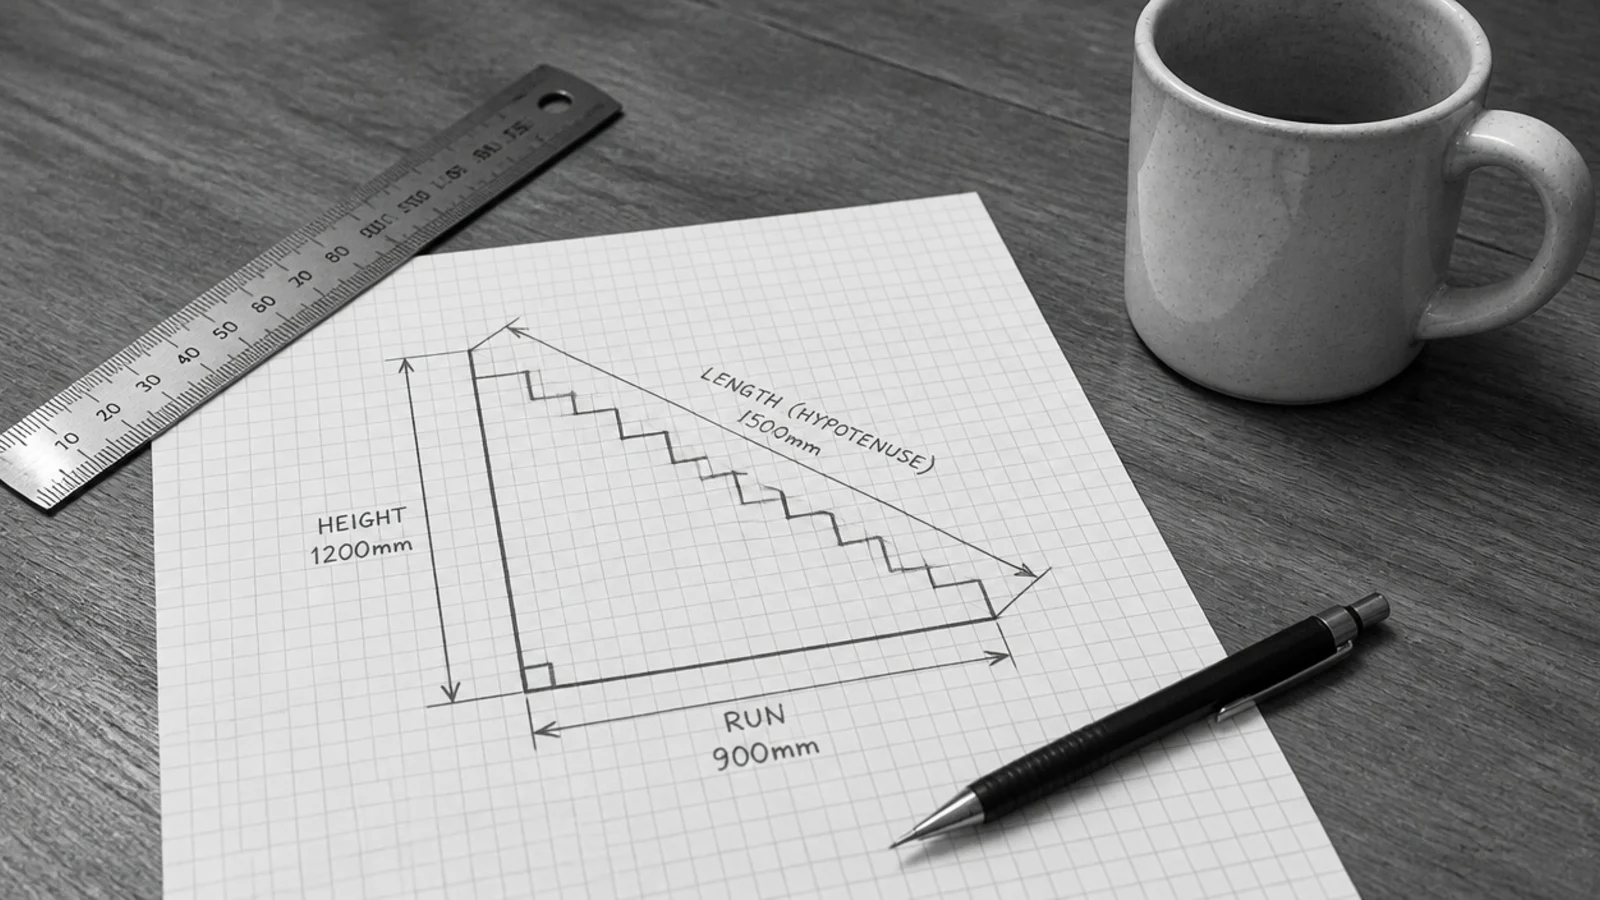
Step 3: Draw the triangle to scale
Transfer the numbers to graph paper at a scale where one square equals two inches. Draw the slope as one straight line from the tall end to the floor.
The drawing is where the surprise happens. A nine-foot run that reads as generous on the floor turns out to have only three feet of standing height. Sketch the furniture you have in mind onto the same sheet before you price anything.
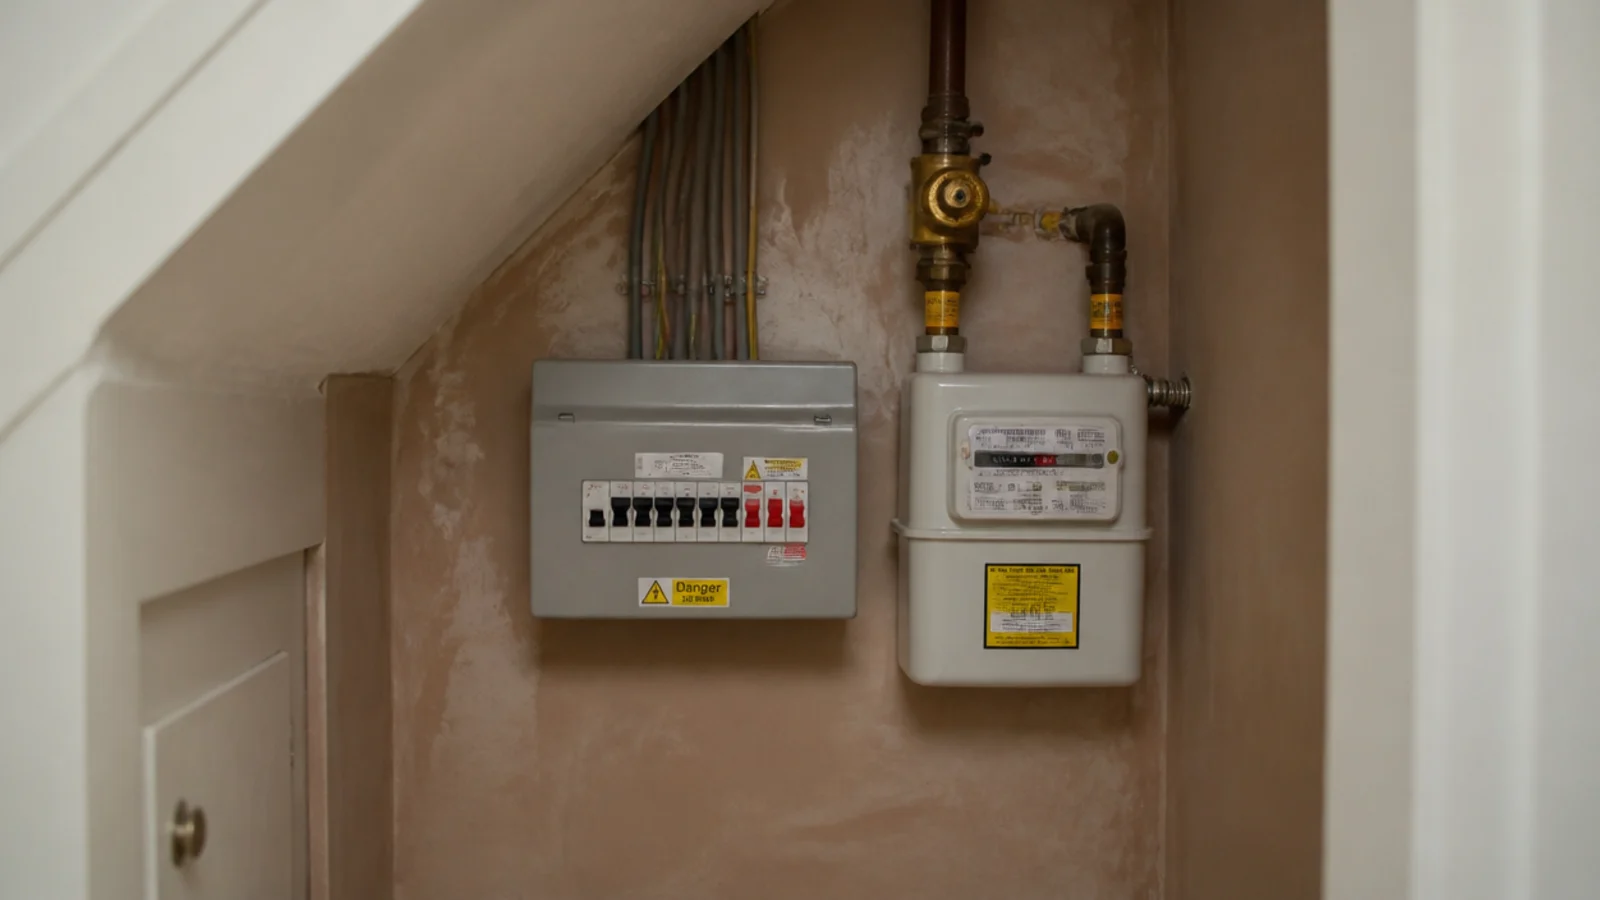
Step 4: Find the services before you design anything
Look for the boiler, the gas meter, the consumer unit, the stopcock and any inspection point. Mark each one on the drawing with a box around its required clear zone.
None of these may be enclosed. A boiler keeps its manufacturer service clearances, a gas meter must stay readable and isolatable, and a consumer unit must stay accessible and sit in a non-combustible enclosure. Design a removable panel or a full door in front of them, never shelving screwed across.
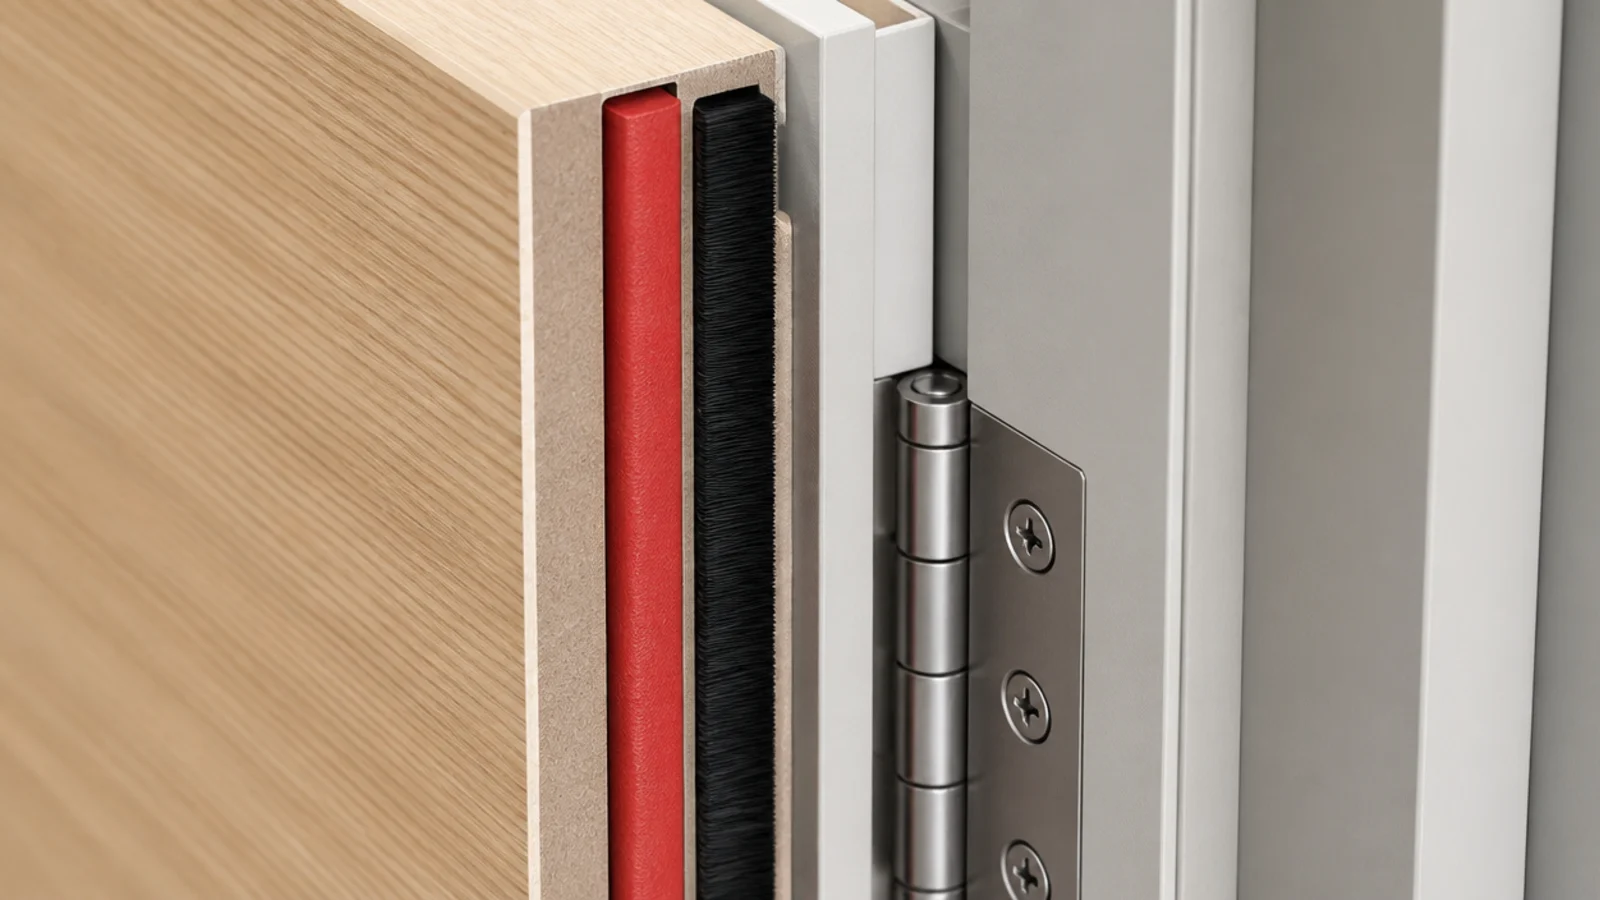
Step 5: Check the storey count and the door rules
Count the storeys, including a converted loft. In a home of three storeys or more the staircase is a protected escape route.
That usually means a cupboard opening onto it needs an FD30 door with intumescent strips and smoke seals, and often fire-rated lining inside the cupboard. It is a phone call to building control and it changes the door budget by £150 to £400, so ask before you order rather than after.
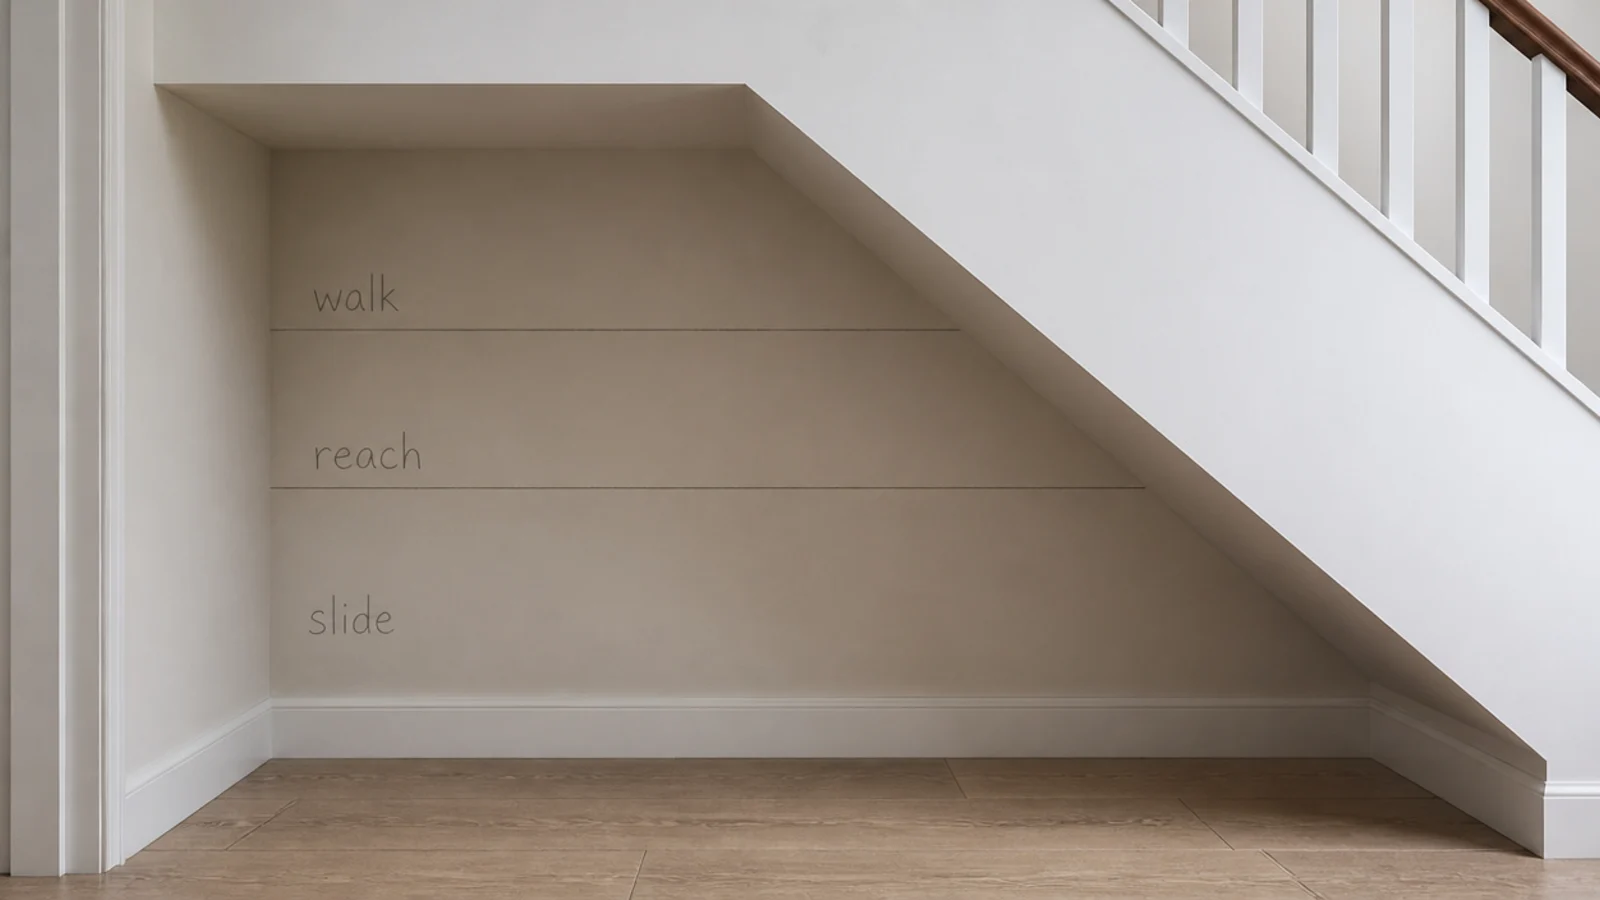
Step 6: Band the wedge at sixty and thirty inches
Chalk two lines on the soffit: one where the height drops below 60 inches, one at 30. Label the three zones walk, reach and slide.
The walk band takes hanging clothes, a vacuum, brooms or a desk. The reach band takes base units, drawers and benches. The slide band takes nothing that does not come out to you. Fixed shelves below 30 inches are storage in name only.
Step 7: Inventory what genuinely has to live there
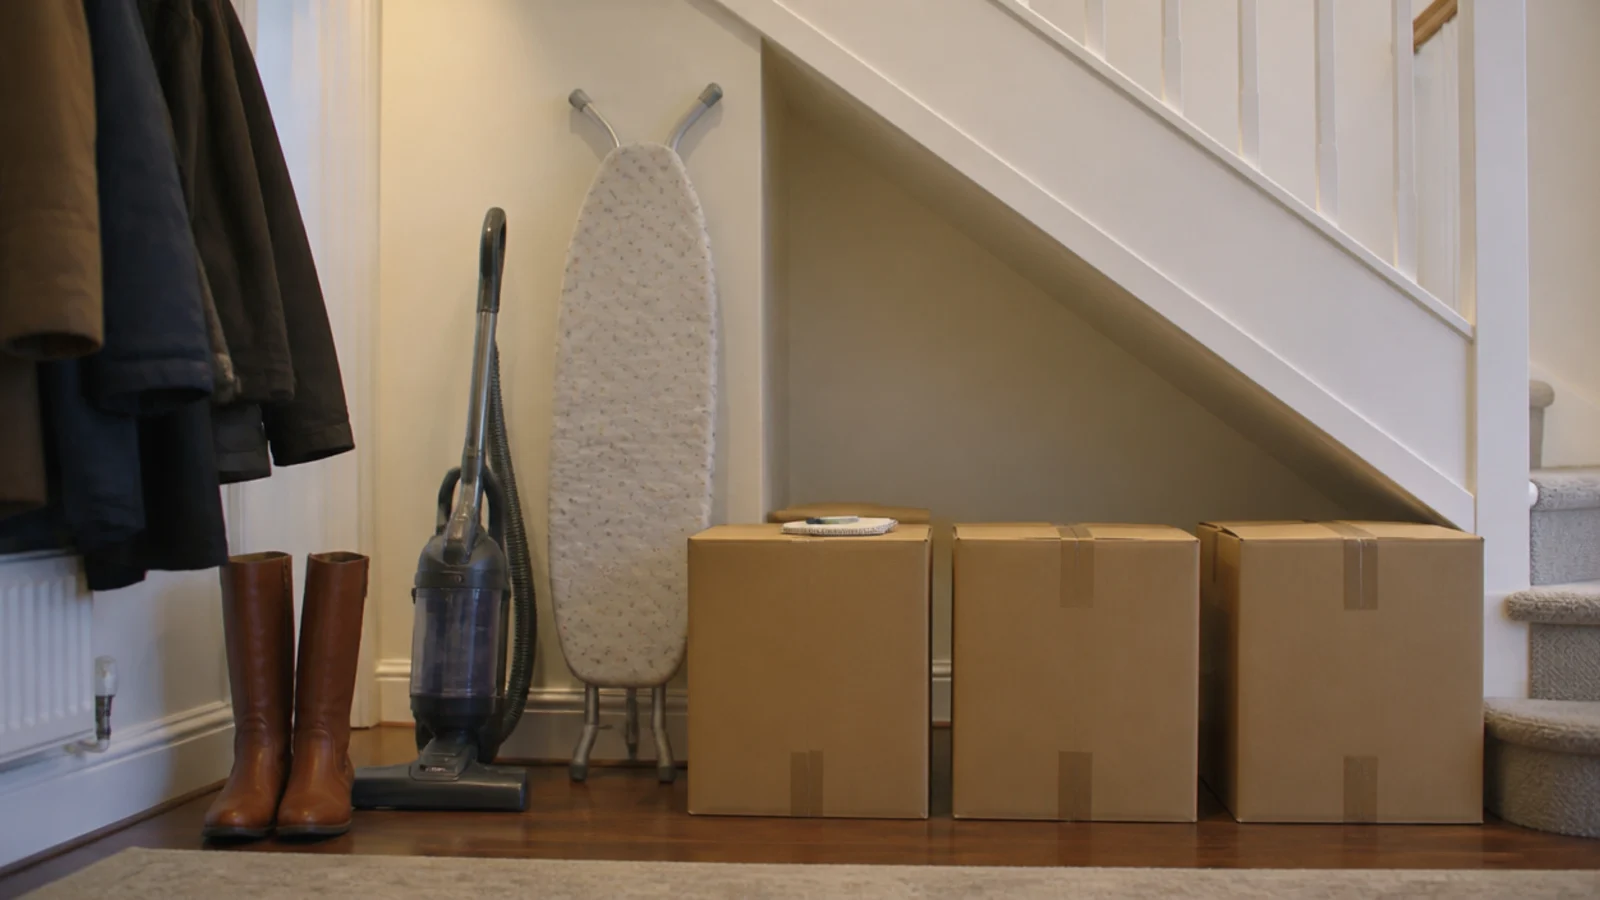
Lay it all out on the hall floor and count it. Coats in daily use, pairs of shoes, the vacuum, the ironing board, the boxes you open twice a year.
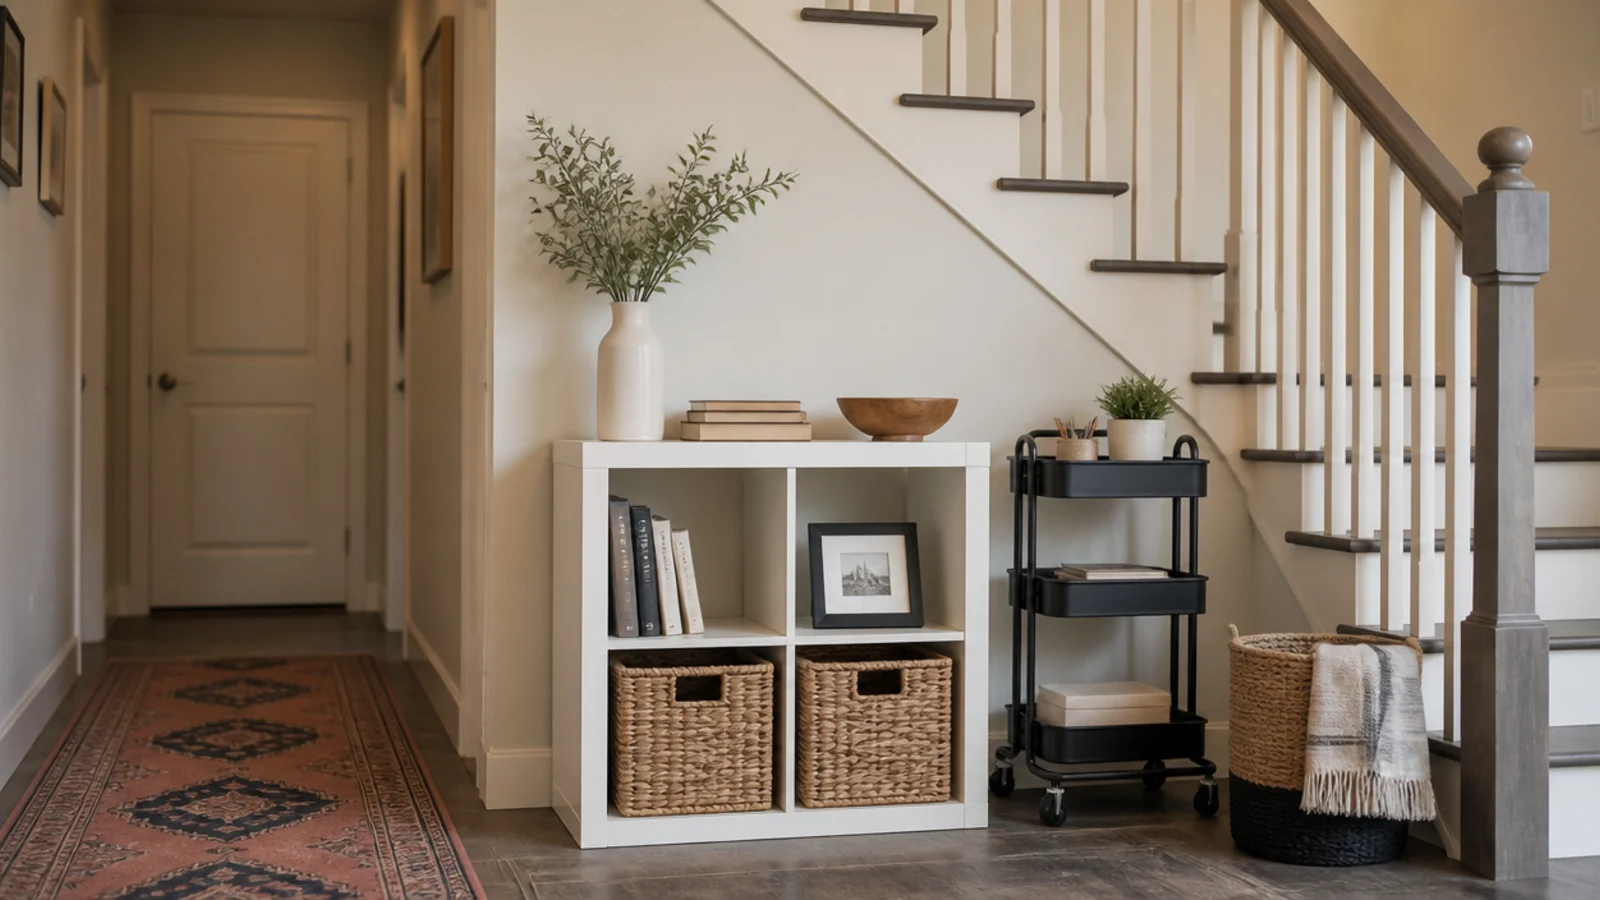
Design for that list, not for the photograph you saved. My own count came to eleven pairs of shoes, four coats and about six cubic feet of seasonal boxes, which is a very different brief from the fitted wardrobe I had sketched. The entryway shoe storage guide helps with pair counts.
Step 8: Choose how you will get in
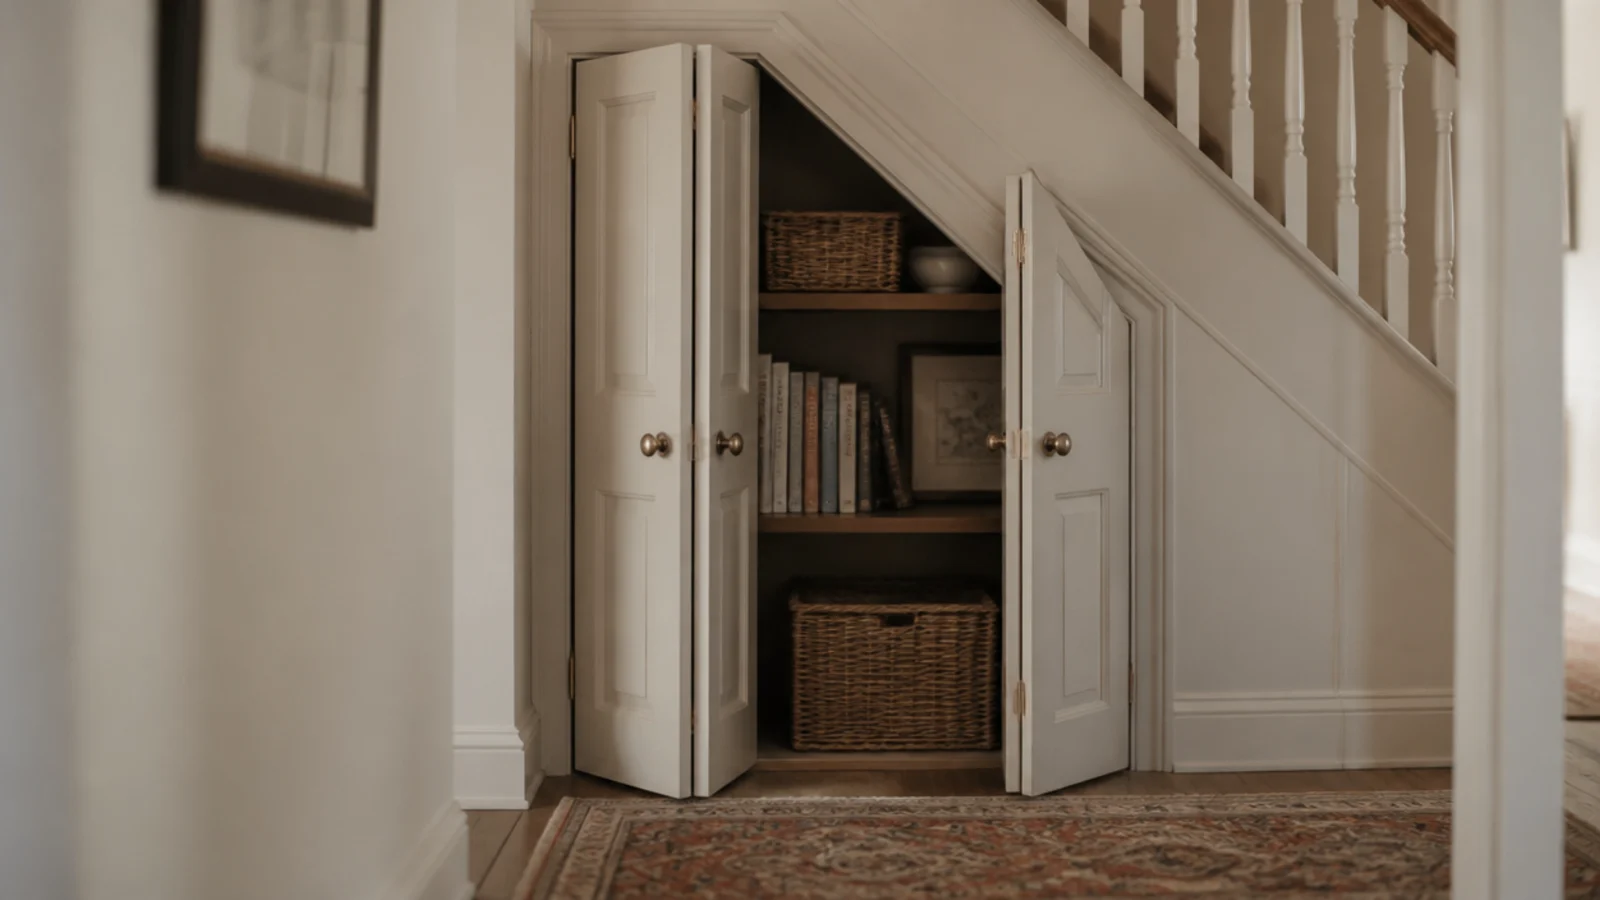
Access decides the layout, so settle it before you draw shelves. A single hinged door, a pair of bifolds, a slider, a curtain, or open pull-outs with no door at all.
Bifolds need half the swing of a hinged leaf. A slider needs clear wall beside the opening equal to the door width. Pull-outs need no swing but cost the most. Match the choice to your hallway, not to the look you want.
Step 9: Measure the hall and test the door swing
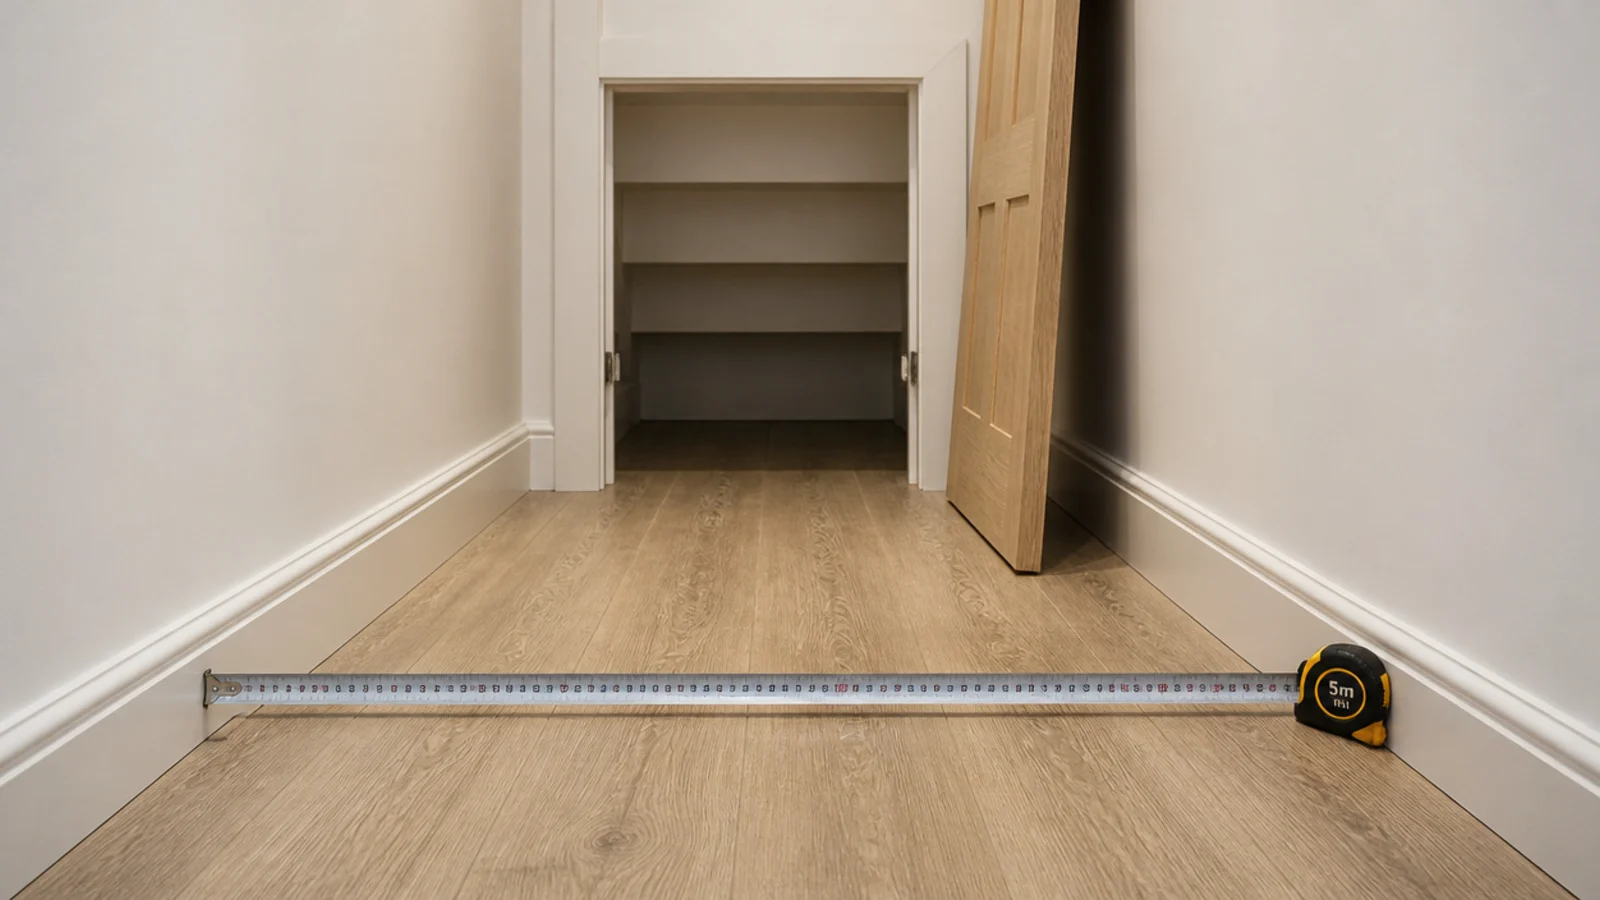
Measure the clear hall width. Under 40 inches, a 30 inch door swinging into it leaves you sidestepping past every day.
Then hold a piece of card the size of the door leaf and swing it through the space. Check it clears the newel post, the radiator and the walking line at the foot of the stairs. That line stays clear permanently — it is the escape route for every room above.
Step 10: Set the carcass depths band by band
Give the walk band full depth, up to about 24 inches, because you can step in and reach across it. Give the reach band 12 to 16 inches. Give the slide band whatever the runners will carry.
Deep fixed shelving low down is the single most common waste in these projects. The back third becomes unreachable and quietly fills with things nobody has looked at in years.
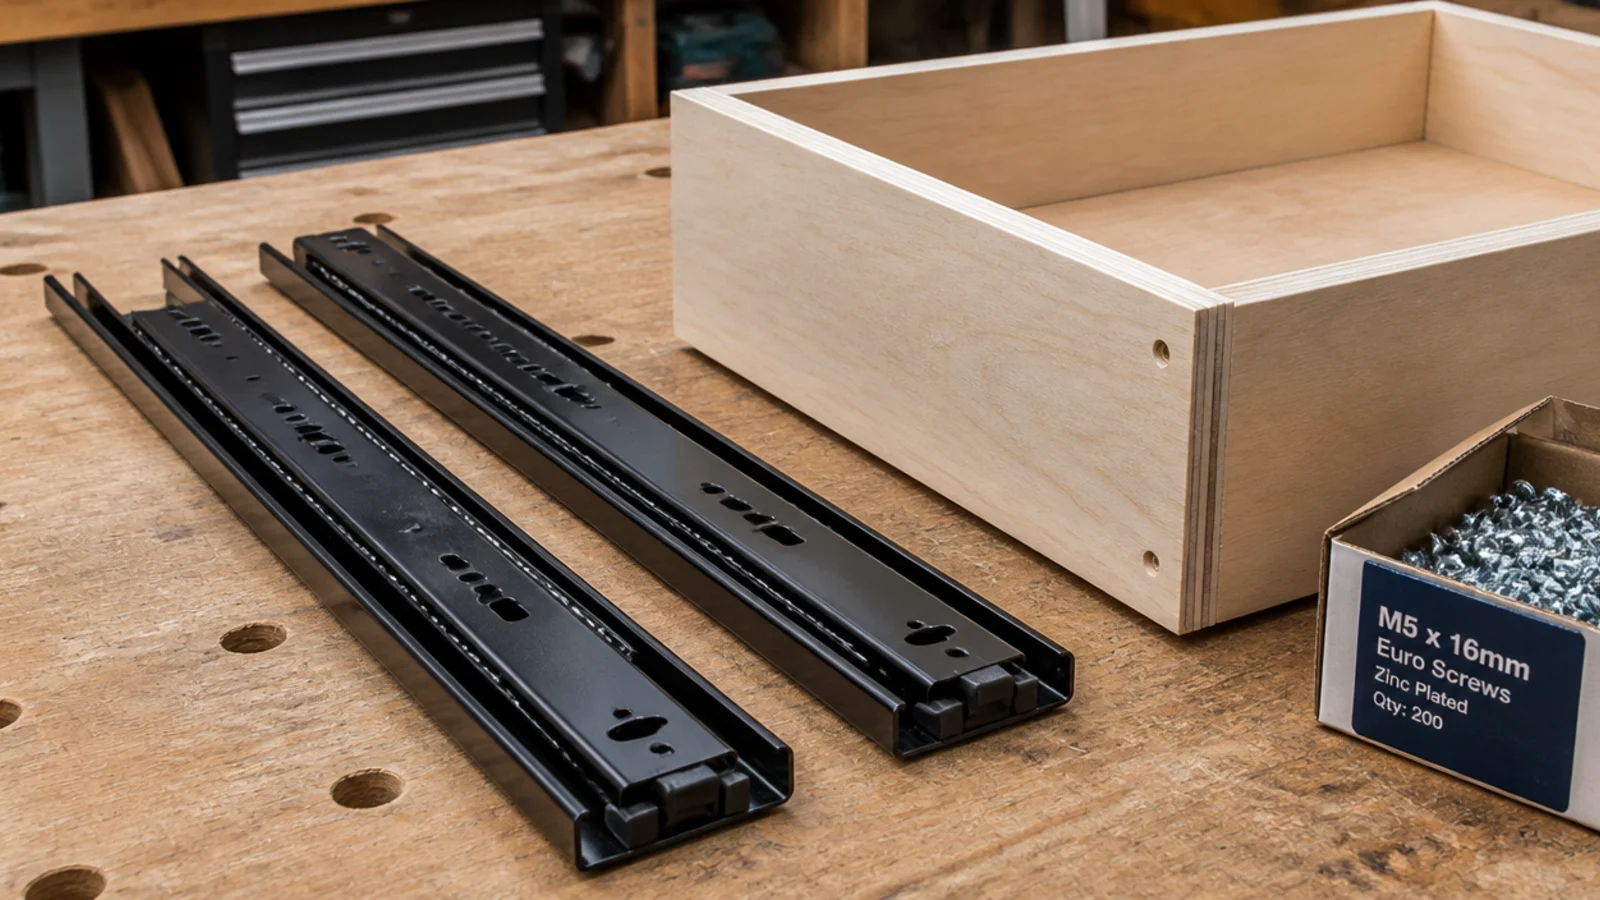
Step 11: Rate the runners before you size the drawers
Full-extension ball-bearing runners come in fixed lengths up to about 24 inches, in load classes from 45 to 220 pounds per pair. Choose the runner, then build the drawer to it.
Never build a box longer than the runner travel — the overhanging front drops as soon as the drawer is loaded and pulled right out. For household loads, a 100 pound pair at 22 inches covers almost everything.
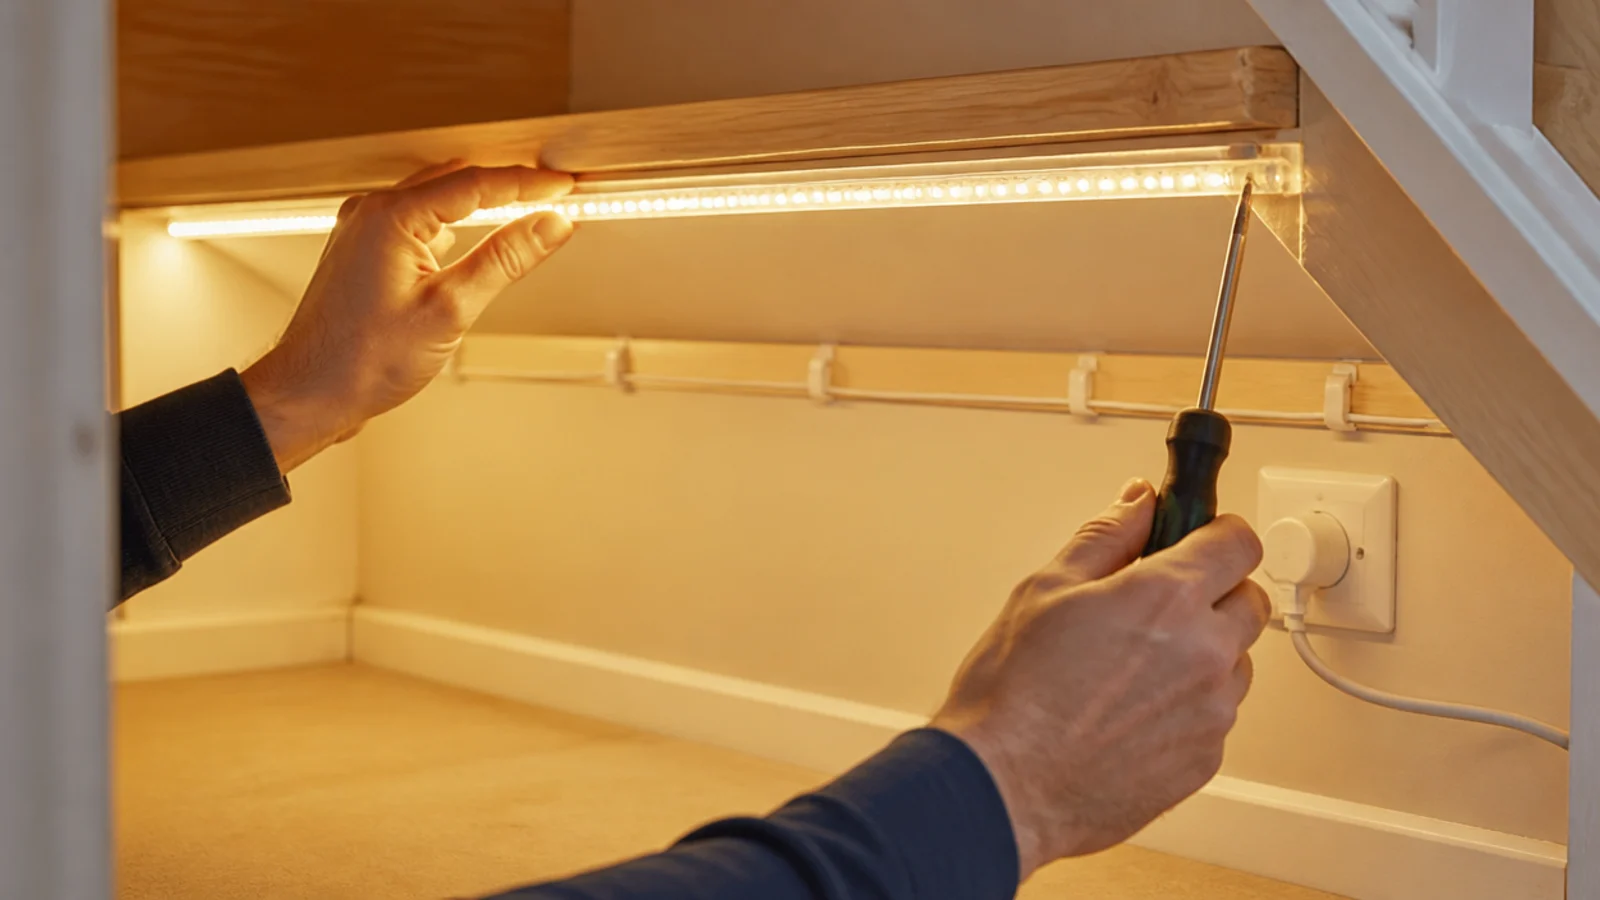
Step 12: Plan the light and the socket now
Light is what decides whether the finished cupboard gets used. A battery PIR puck at 100 to 200 lumens suits a small recess; a 3000K strip at 300 to 500 lumens per metre suits a walk-in.
If you want a socket for a vacuum dock or a router, this is the moment — running a cable into a finished, painted, loaded cupboard is a far worse job. Any new circuit work has to be installed and certified properly.
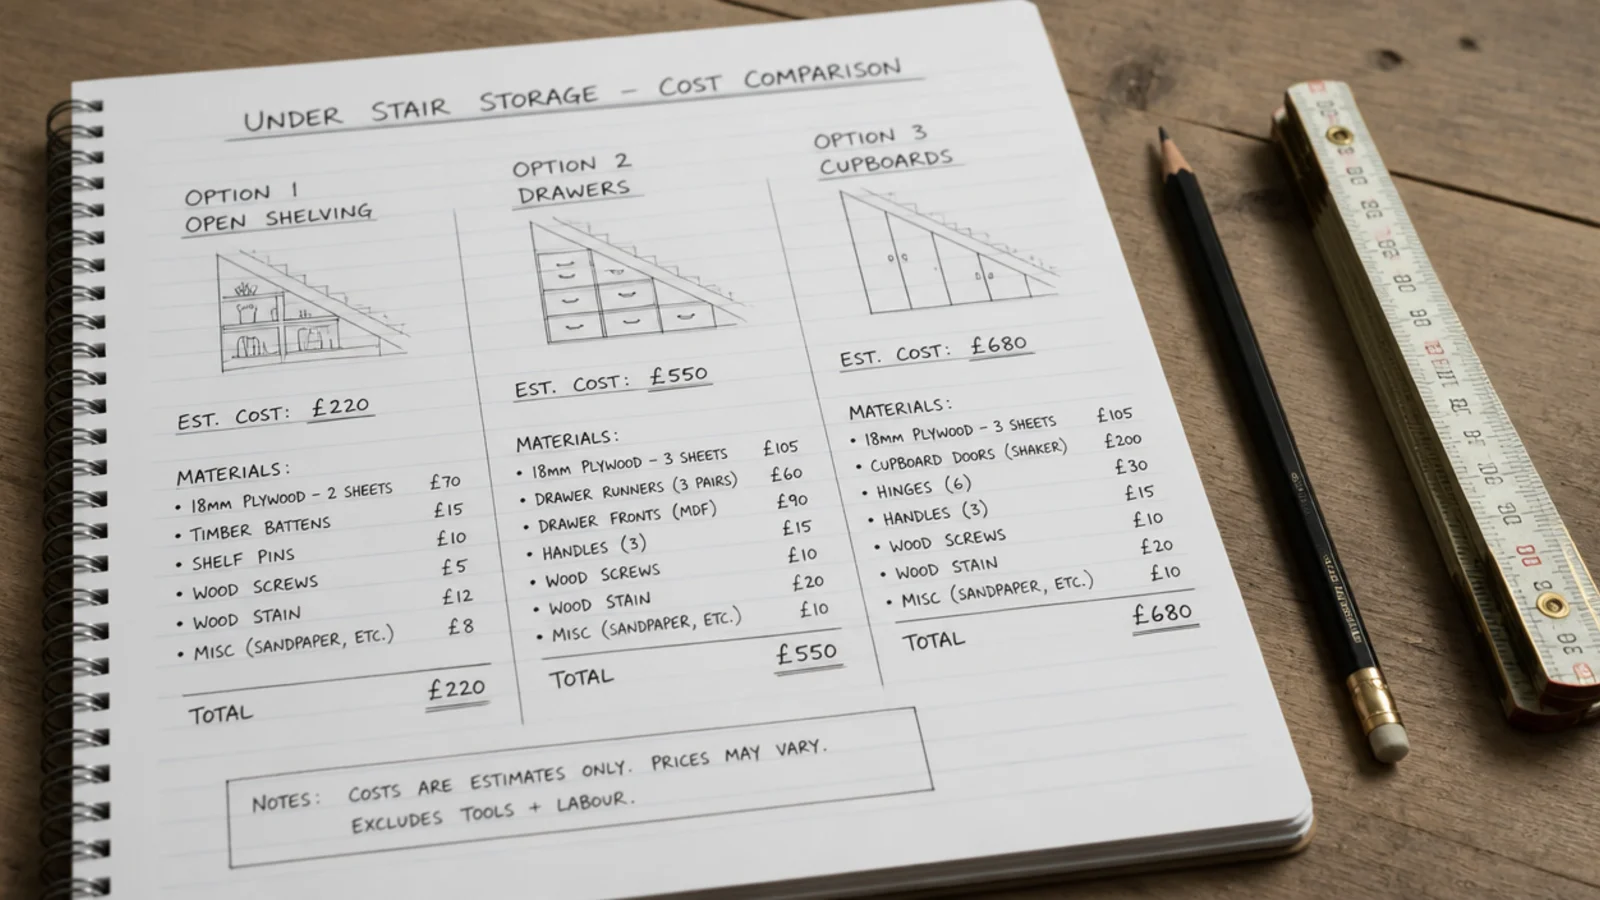
Step 13: Price all three routes side by side
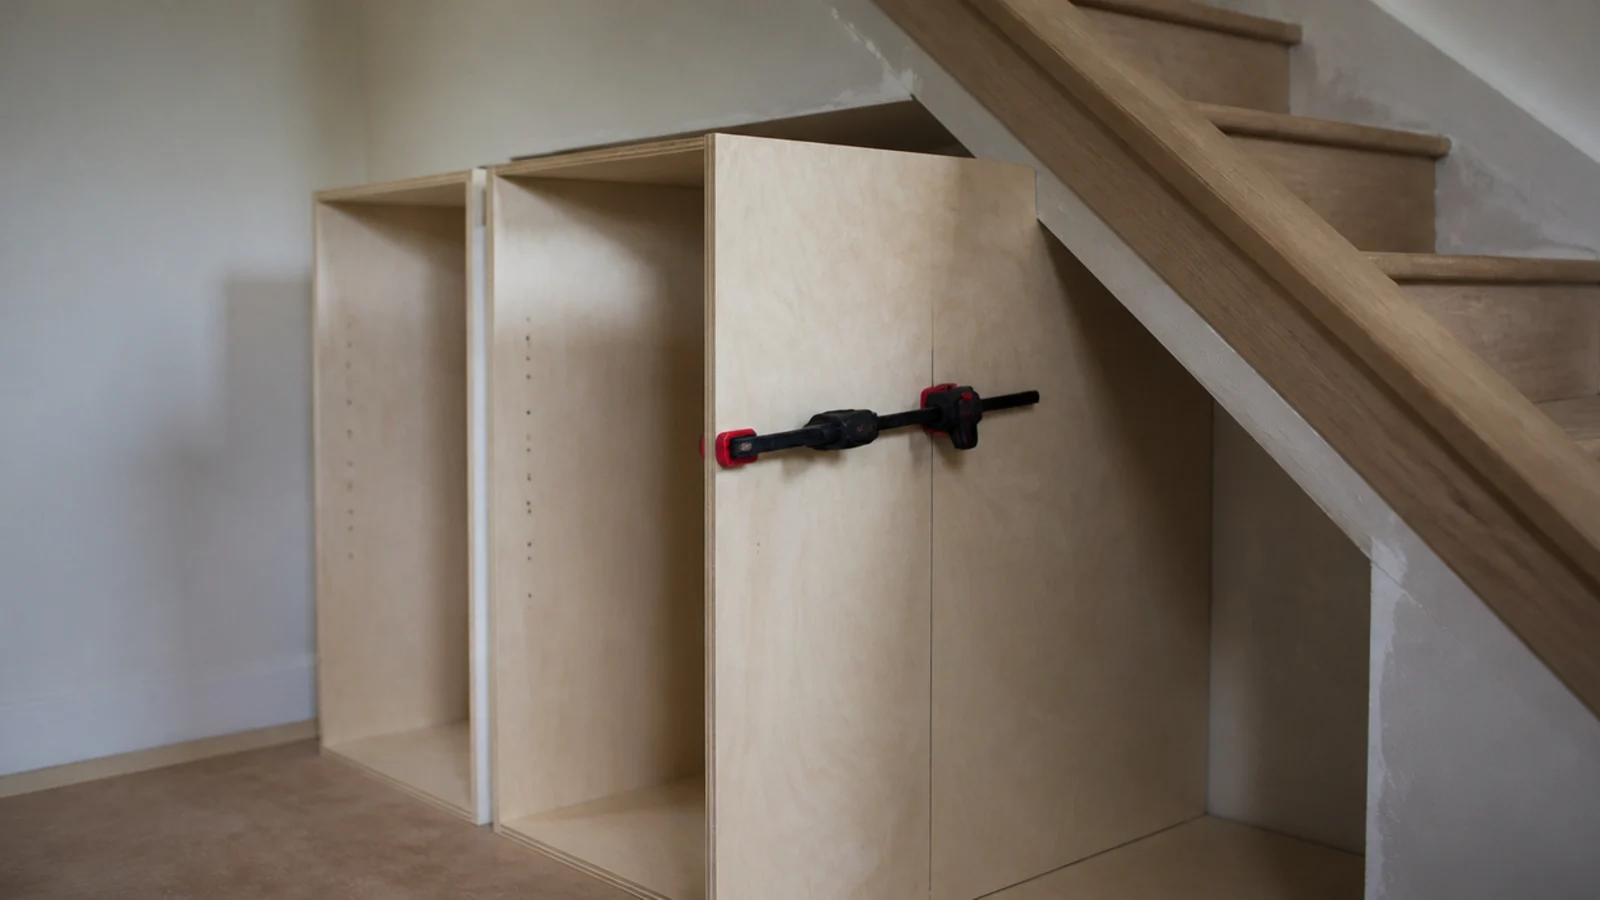
Write the three options on one page. Batten and plywood, self-fitted: around £150. Flat-pack carcasses with one raking end panel cut to fit: £400 to £900. Bespoke joinery: £1,800 to £4,500.
Pull-outs are what push a bespoke quote past three thousand, because every box is a different size. Deciding this once, on paper, stops the project drifting upward one nice idea at a time.
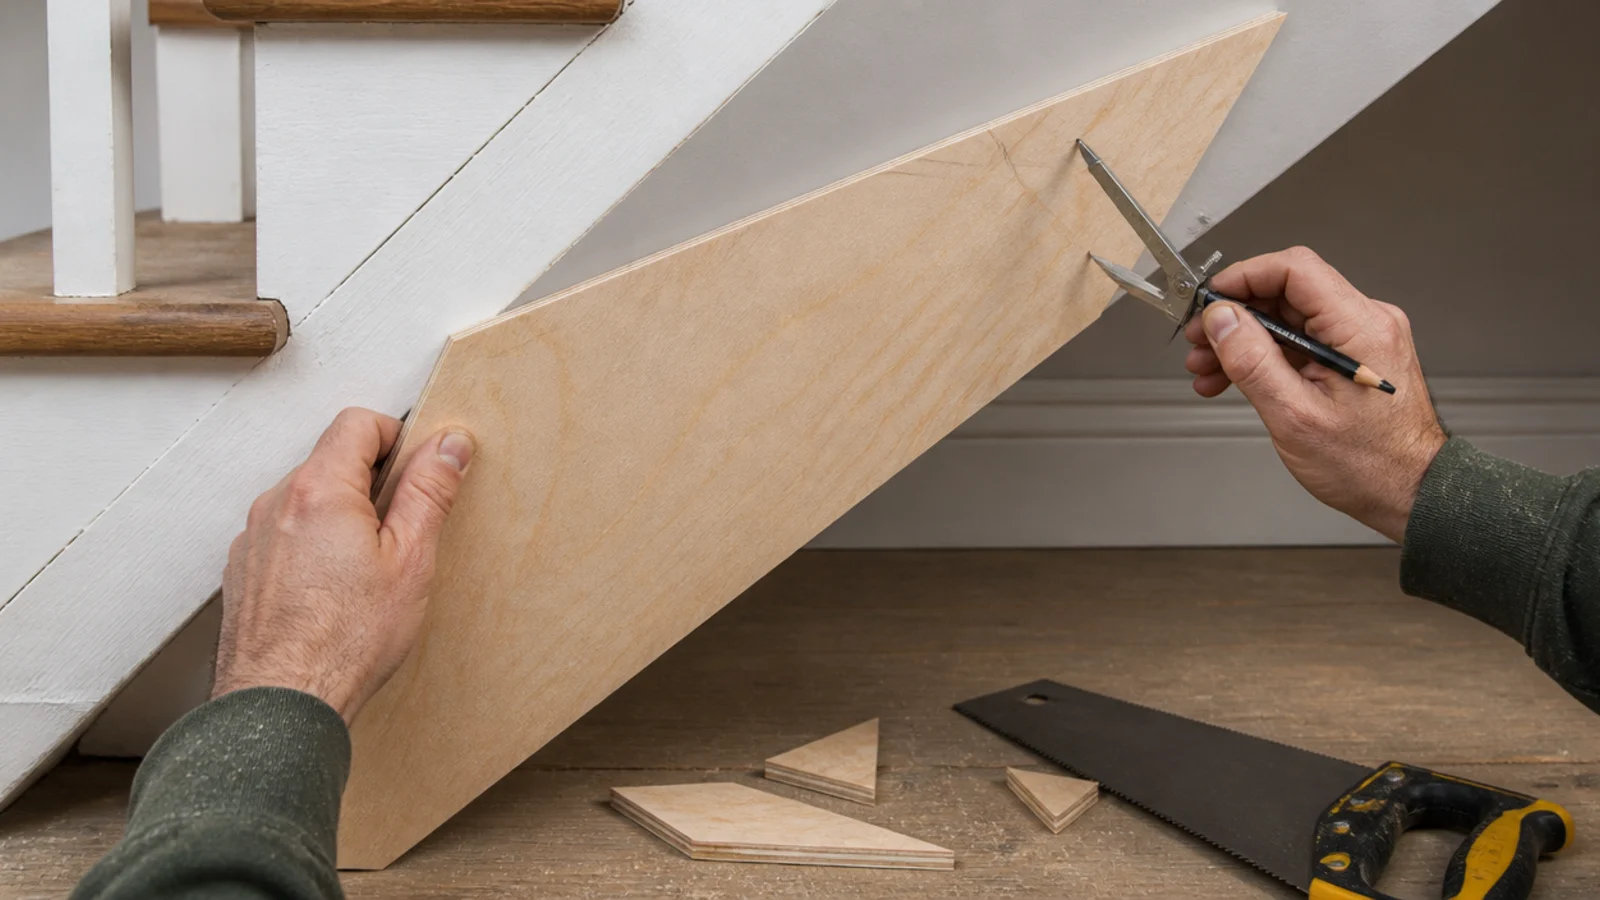
Step 14: Cut and scribe the raking end panel
The angled panel is the only genuinely difficult cut. Hold the sheet against the slope and scribe the line with a pencil and a block, or take the angle with a sliding bevel.
Cut two millimetres shy and fill the gap with caulk. Old staircases move seasonally, and a panel jammed tight against the soffit will split its own paint line by the second winter.
Step 15: Load it in the right order and label
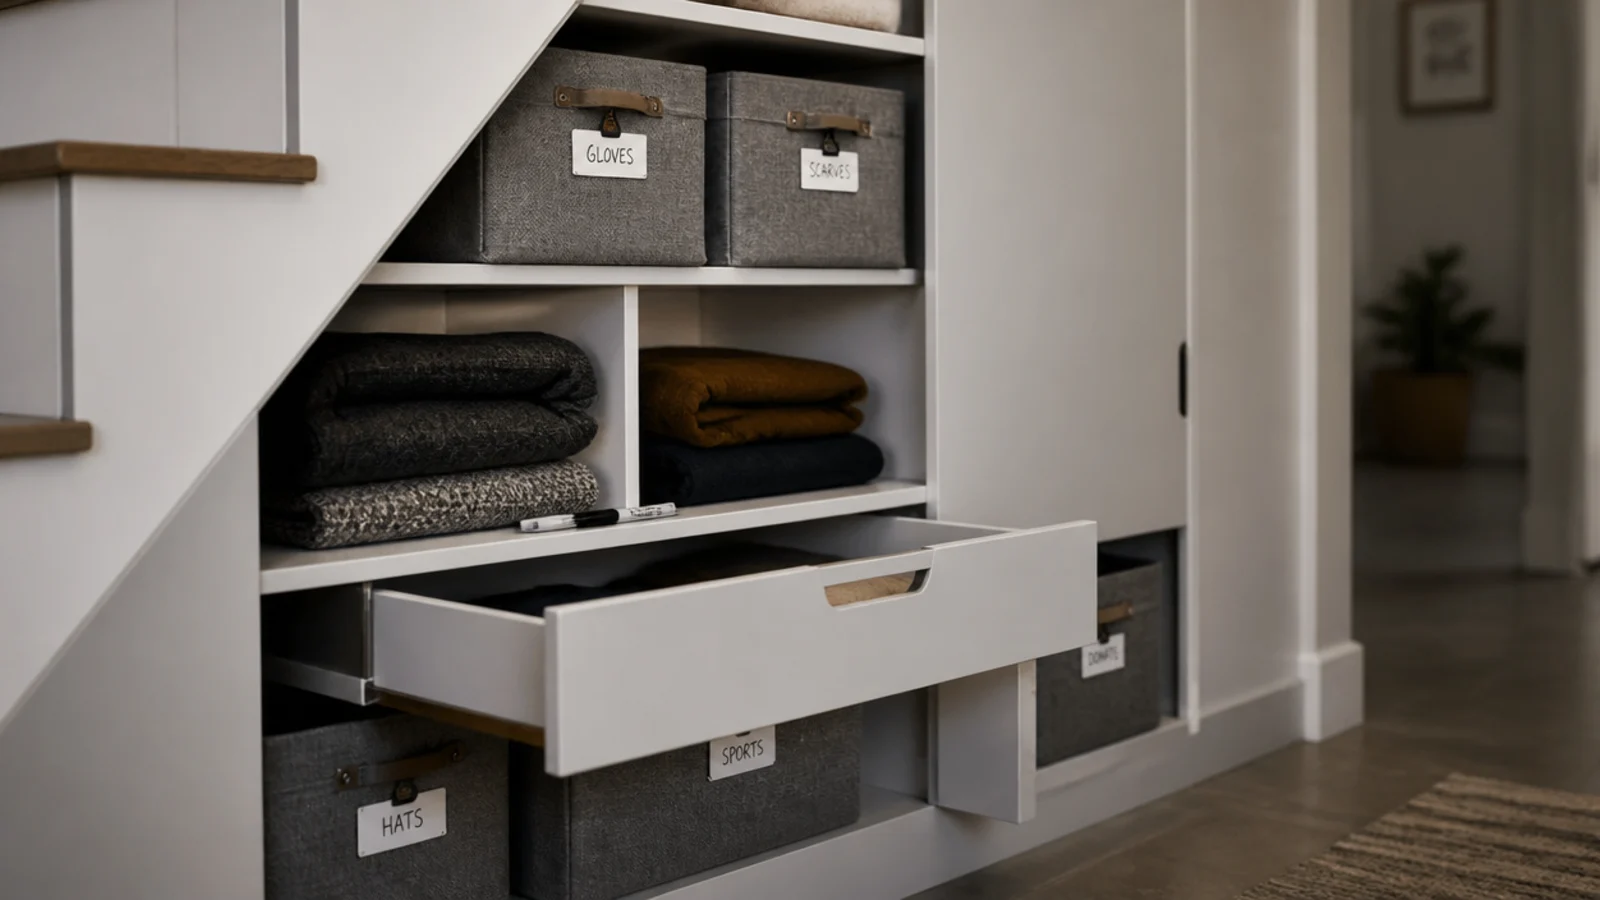
Put the things you use weekly between 30 and 55 inches off the floor, where you neither crouch nor stretch. Seasonal boxes go to the deep end, heavy items go low and near the tall side.
Label boxes on two faces, since under a rake you read them at an angle. Never store paint, aerosols or fuel in a cupboard that opens onto your escape route. There is a fuller layout comparison in the under stairs storage solutions guide.
Pro Styling Rules
Mistakes to Skip
- Measuring one height and assuming the rest. The slope loses nine to ten inches per foot, so a single measurement at the tall end overstates the usable volume by a wide margin.
- Designing around a boiler, meter or consumer unit that has to stay accessible. Find them first and draw their clear zones, or you will redesign the whole run after the first quote.
- Ordering a standard door in a three-storey house. A cupboard opening onto a protected stairway generally needs FD30 rating, and retrofitting one costs more than specifying it correctly.
- Building a drawer box longer than its runner. The front end drops the moment it is loaded and fully extended, and no amount of adjustment at the bracket will fix it.
Frequently asked questions
What measurements do I need before planning under stairs storage?
Five numbers: the floor to soffit height at the tall end, at the midpoint and where the slope meets the floor, plus the horizontal run and the internal width. Those five give you the slope and the volume, and every decision after that comes from them rather than from a photograph you liked.
How do I work out the slope of my staircase?
Divide the rise of one step by its going. A rise of seven and a half inches over a ten inch going gives a slope of about zero point seven five, which means you lose roughly nine inches of headroom for every foot you travel toward the bottom step. Most flights sit between thirty-seven and forty-two degrees.
Can I build storage around a boiler under the stairs?
Only up to the manufacturer service clearances, which are typically a few hundred millimetres at the front and smaller gaps at the sides and above. The same cupboard cannot enclose a gas meter or a consumer unit either, both of which must stay accessible, with the consumer unit in a non-combustible enclosure.
Do under stairs cupboards need a fire door?
In a home of three storeys or more the stair is a protected escape route, and a cupboard opening onto it generally needs an FD30 door with intumescent strips and smoke seals, plus fire rated lining inside. Two storey homes are usually exempt, but building control decides and it is worth asking early.
What is a realistic budget for small under stairs storage?
Roughly a hundred and fifty pounds for a batten and plywood fit-out you do yourself, four to nine hundred for flat pack carcasses with one raking end panel cut to fit, and eighteen hundred upward for bespoke joinery. Pull-out drawers are what push a bespoke quote past three thousand.
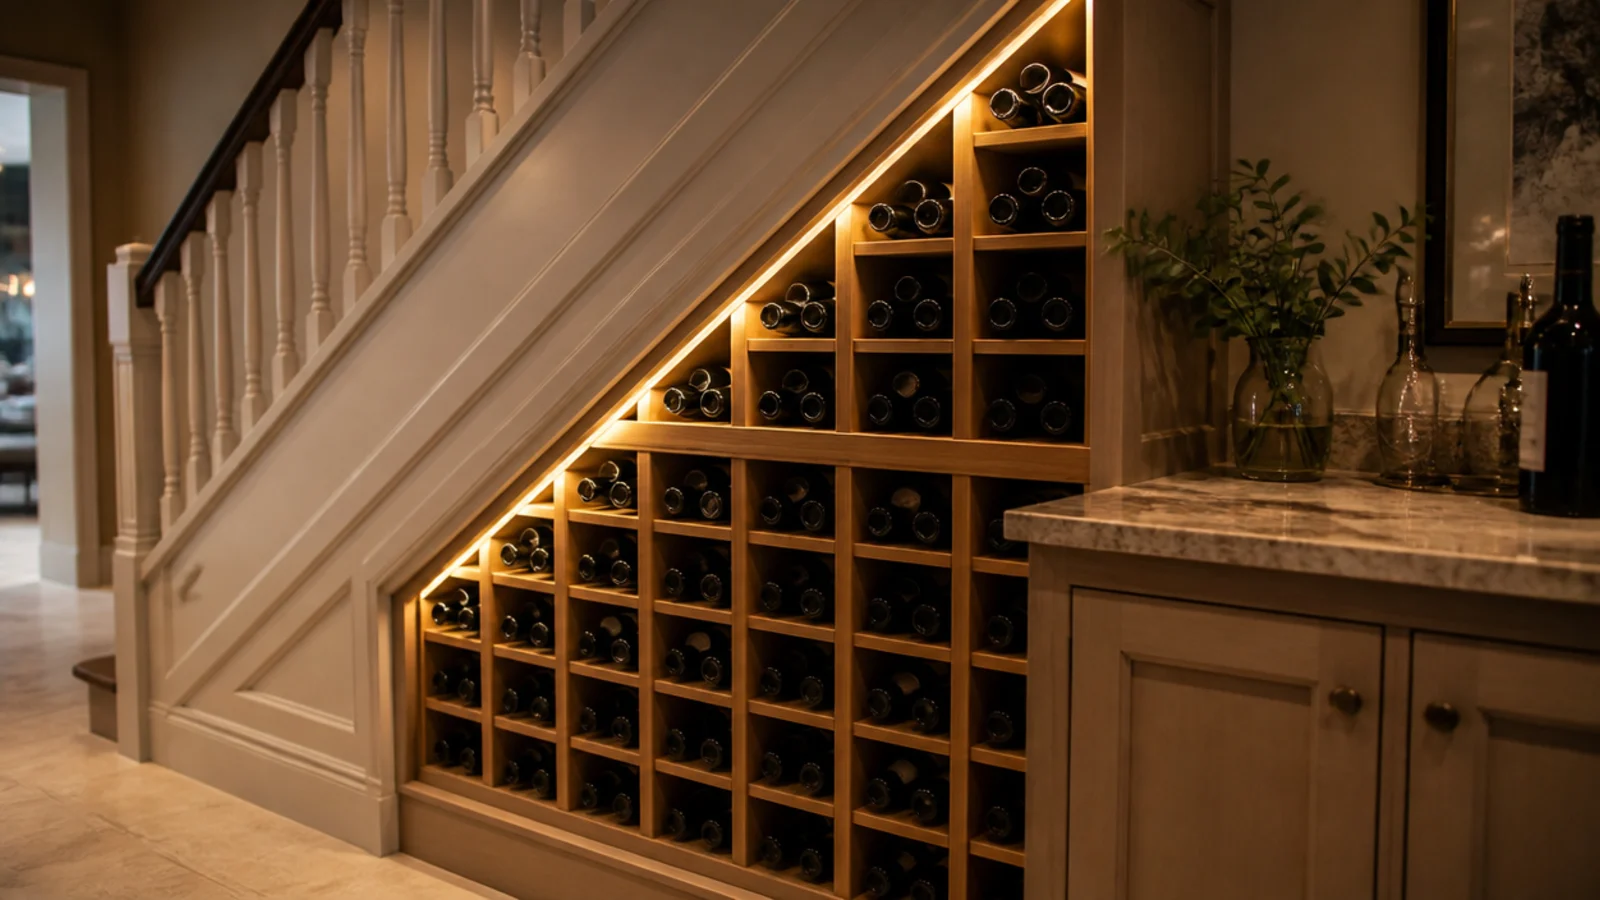
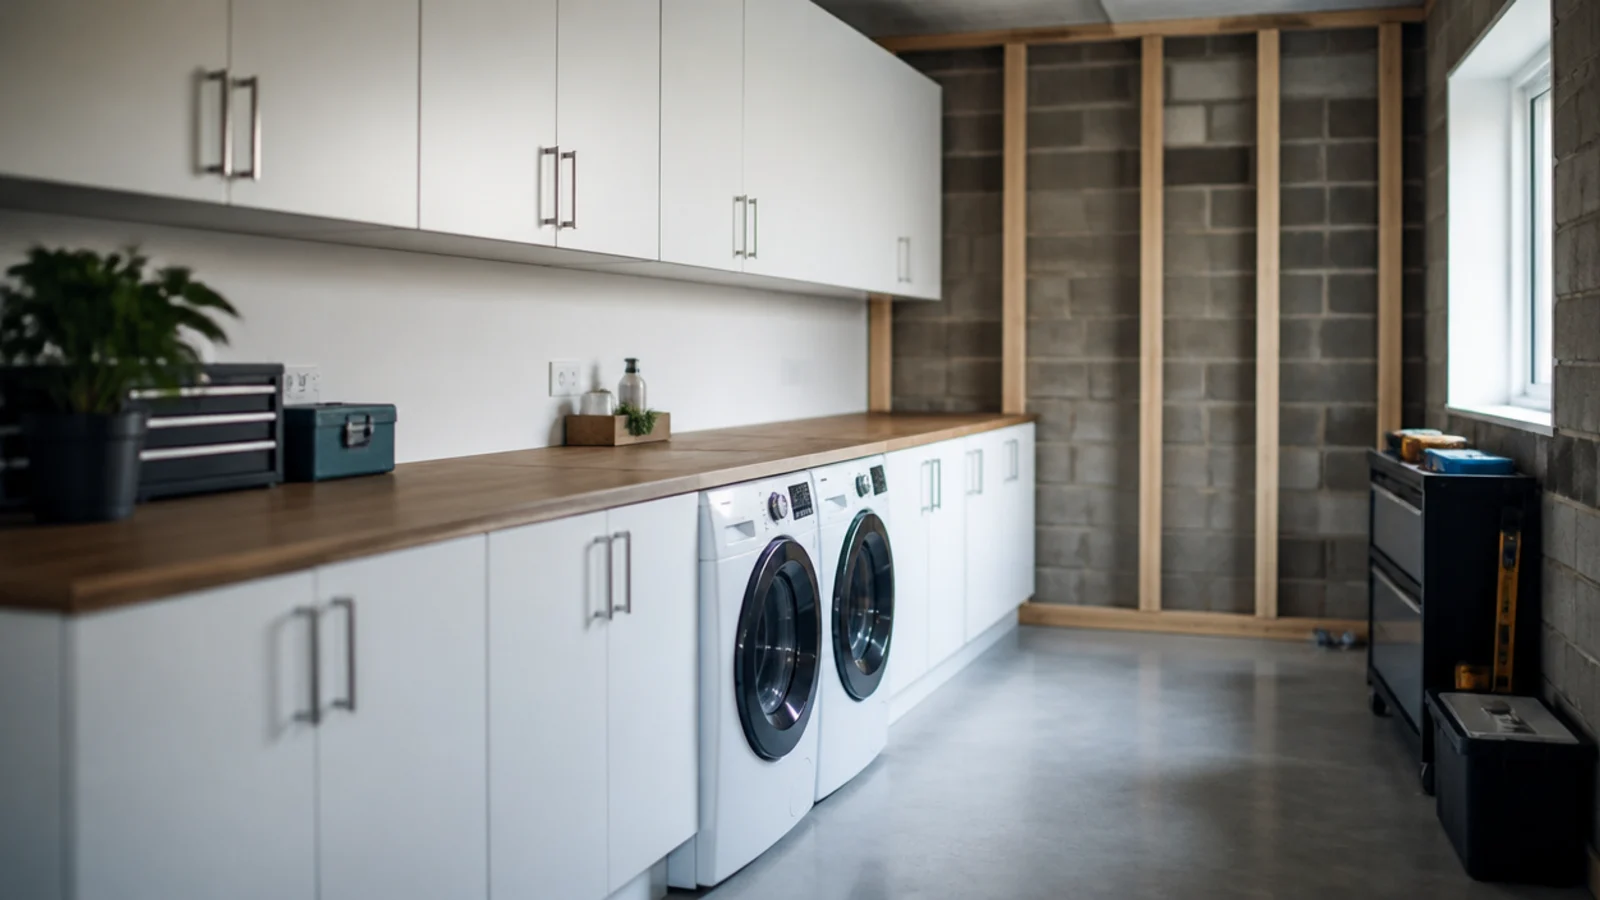
Plan on paper, price all three routes, and check the services before anything is cut — that sequence is what separates a cupboard you use daily from a triangle full of forgotten boxes. For the full menu of what can go in each band, see the under stairs storage guide, and if the recess is doing laundry duty, the small utility room ideas guide has the machine clearances you will need alongside it.
Want more like this? Browse all 14 under stairs storage guides — they all use the same measurements and budget tiers.
Pin it for later
Save this to your Under Stairs Storage board
Pin it now so it is waiting for you when the tape measure comes out — and so the next person hunting for this idea can find it too.
Save this pinKeep going
More ideas worth saving while you have the tape measure out.