Small Walk-In Closet Ideas · UGC
15 Small Walk-In Closet Mistakes I Made and Fixed

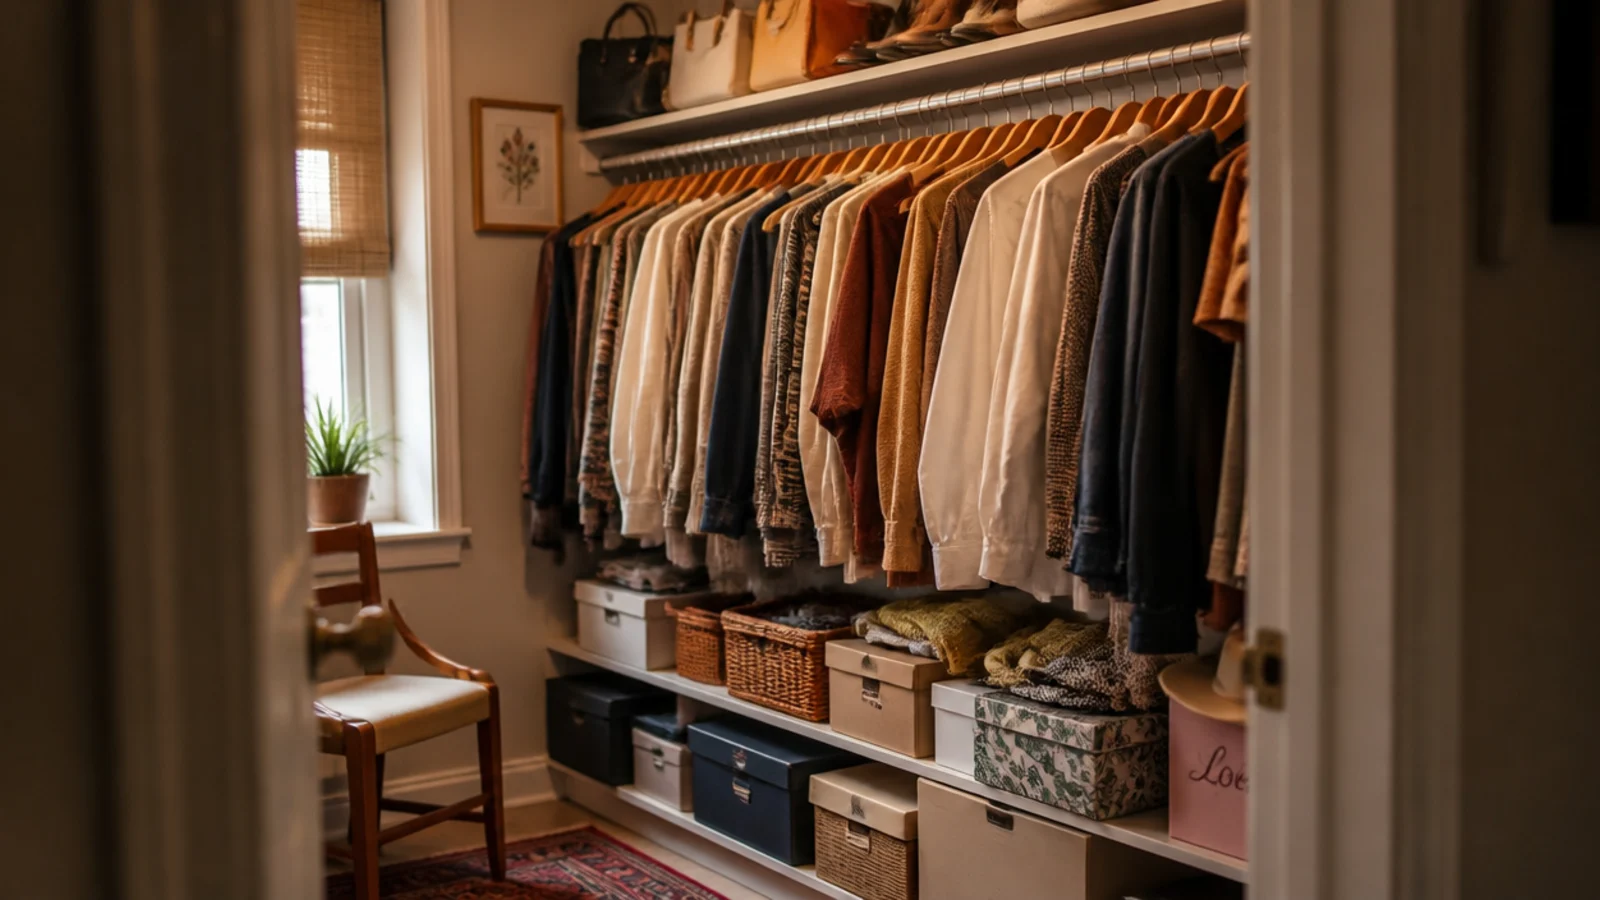
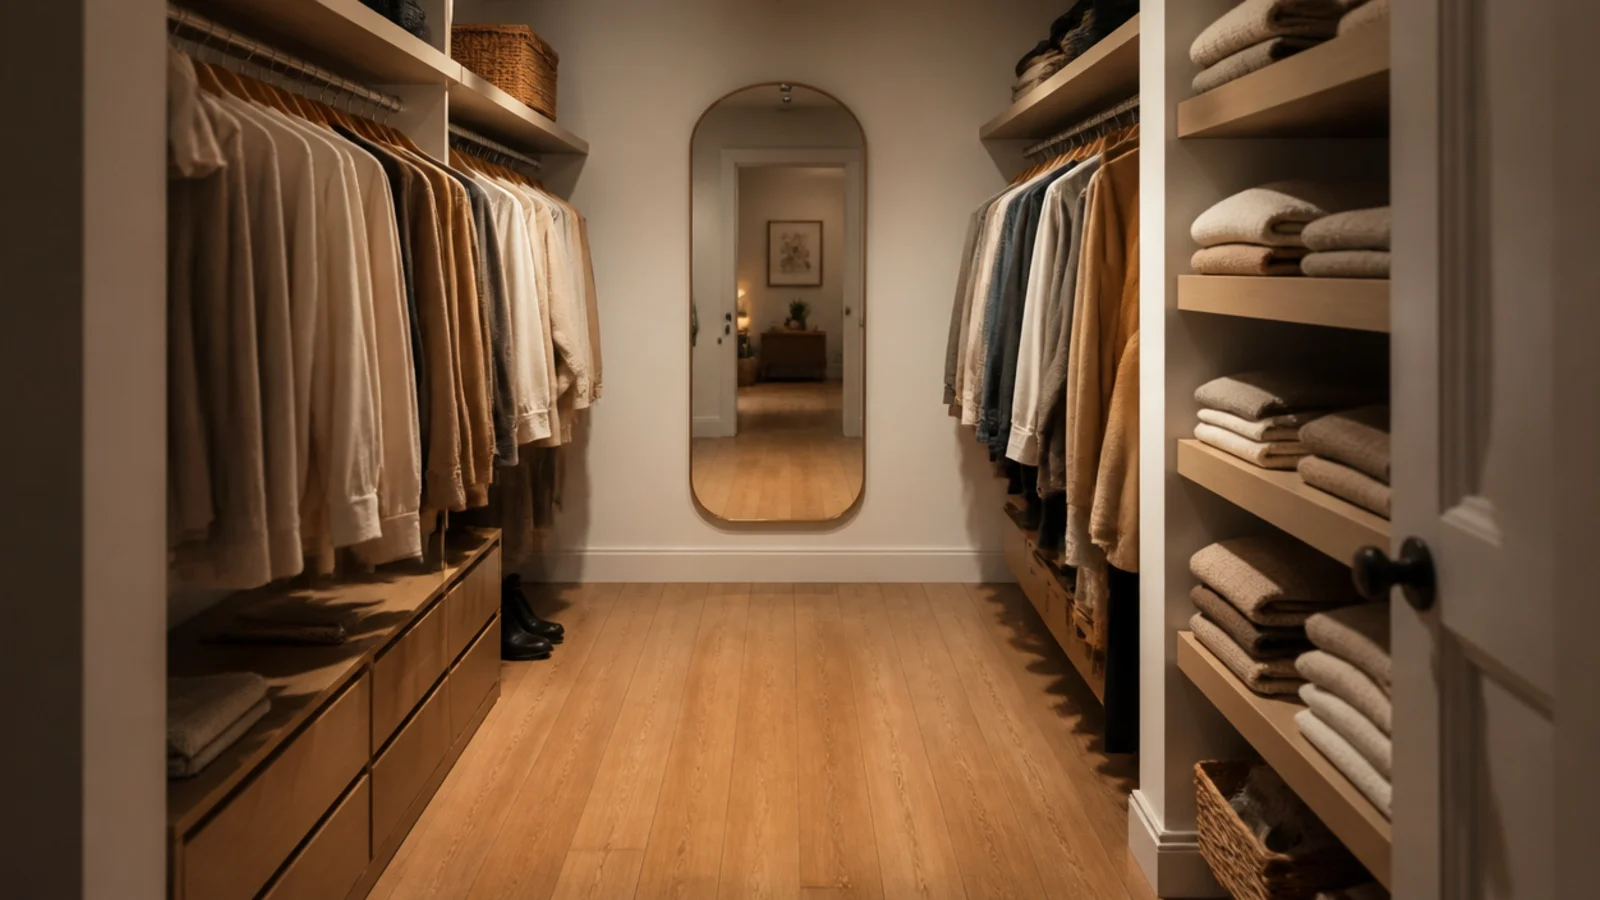
The walk-in closet mistakes in this article are all mine, and most of them cost me either money or a whole weekend of undoing. I have planned three small walk-ins now: one in a rental where I was not allowed to touch the walls, one in a 1930s house with a closet the shape of a wedge, and one I built from scratch and still got wrong in two places.
The expensive one was the island. I measured the room, not the clearance, and I lived with a beautiful oak box I edged around every morning for eleven months before I sold it for less than half what I paid.
The cheapest and most annoying one was a light bulb, which took two years to notice and four dollars to fix.
Here are fifteen, in roughly the order I made them, with what I actually did about each.
In this guide16 sections — tap to openHide
- 1.Mistake 1: I hung the rod 20 inches from the wall
- 2.Mistake 2: I left myself 28 inches of walkway
- 3.Mistake 3: I put one rod at 66 inches and stopped
- 4.Mistake 4: I built the shelves 20 inches deep
- 5.Mistake 5: I bought an island for a nine-foot closet
- 6.Mistake 6: I used a 5000K bulb because it was bright
- 7.Mistake 7: I put the light in the middle of the ceiling
- 8.Mistake 8: I kept off-season clothes on the main rail
- 9.Mistake 9: I put folded knits on wire shelving
- 10.Mistake 10: I never matched the hangers
- 11.Mistake 11: I double-hung everything and lost the dresses
- 12.Mistake 12: I stored shoes two rows deep
- 13.Mistake 13: I skipped a hamper entirely
- 14.Mistake 14: I mounted the top shelf at 90 inches
- 15.Mistake 15: I organized before I edited
- 16.Walk-In Closet Mistakes: What I'd Do Differently Now
Mistake 1: I hung the rod 20 inches from the wall
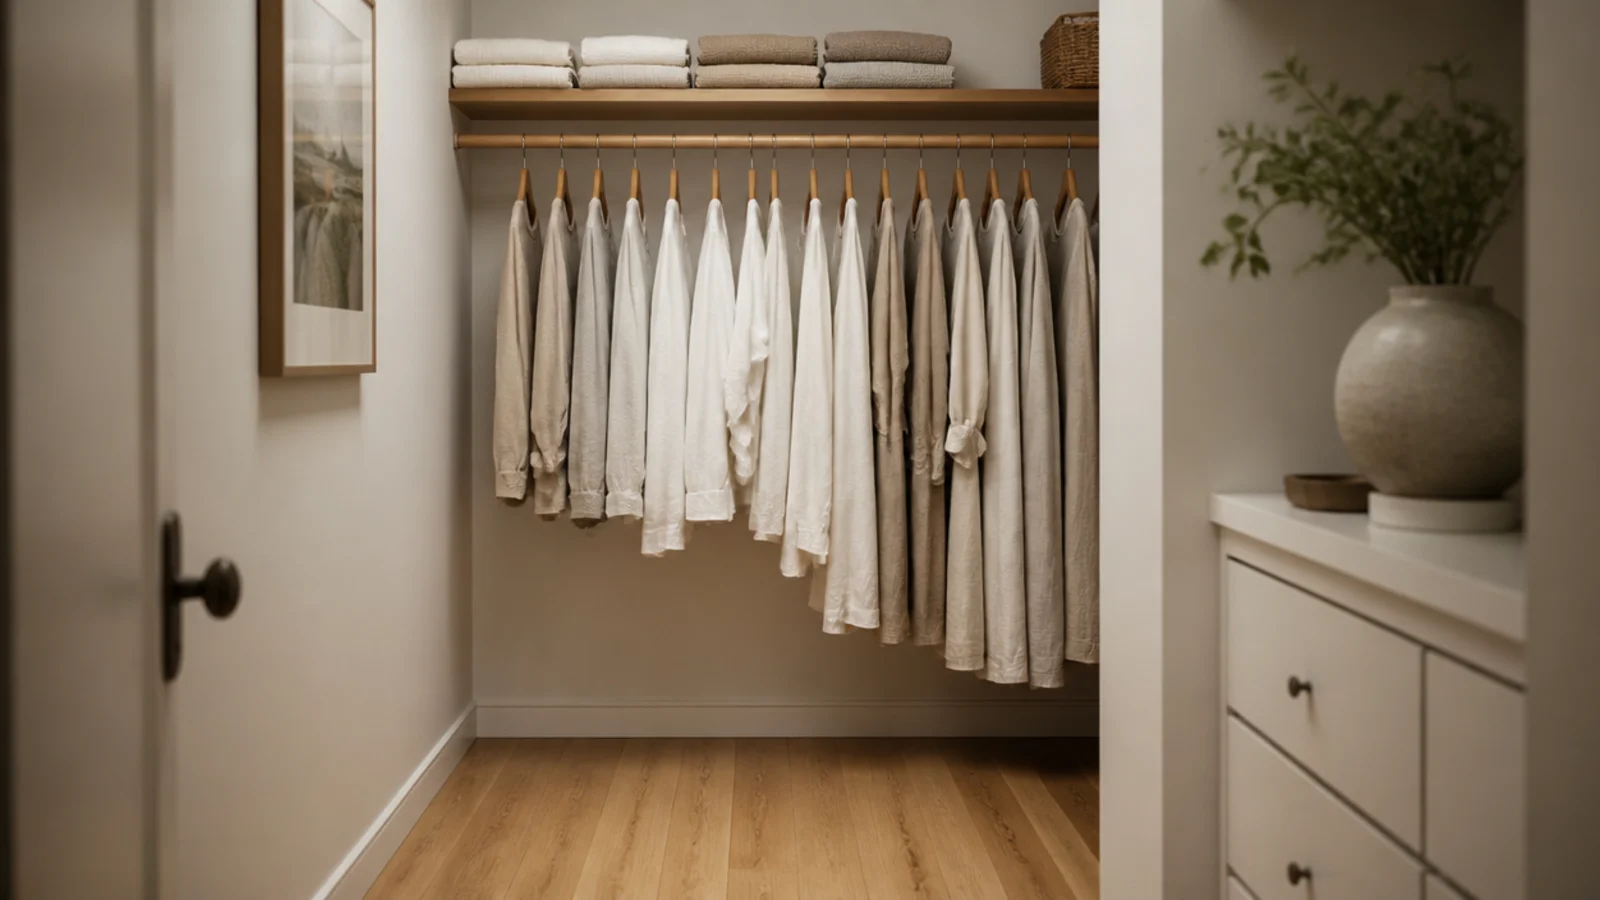
The builder had it at 20 inches and I rehung it at the same depth because that was where the holes were. Shoulders measure around 22 inches across, so every shirt on that rail pressed against plaster and came out with a crease down the same line.
The fix: 24 inches of clear depth from the back wall to the front of the shoulder line, every time. Moving the rail forward four inches took an hour and two patched holes, and it solved a problem I had blamed on my ironing for years.

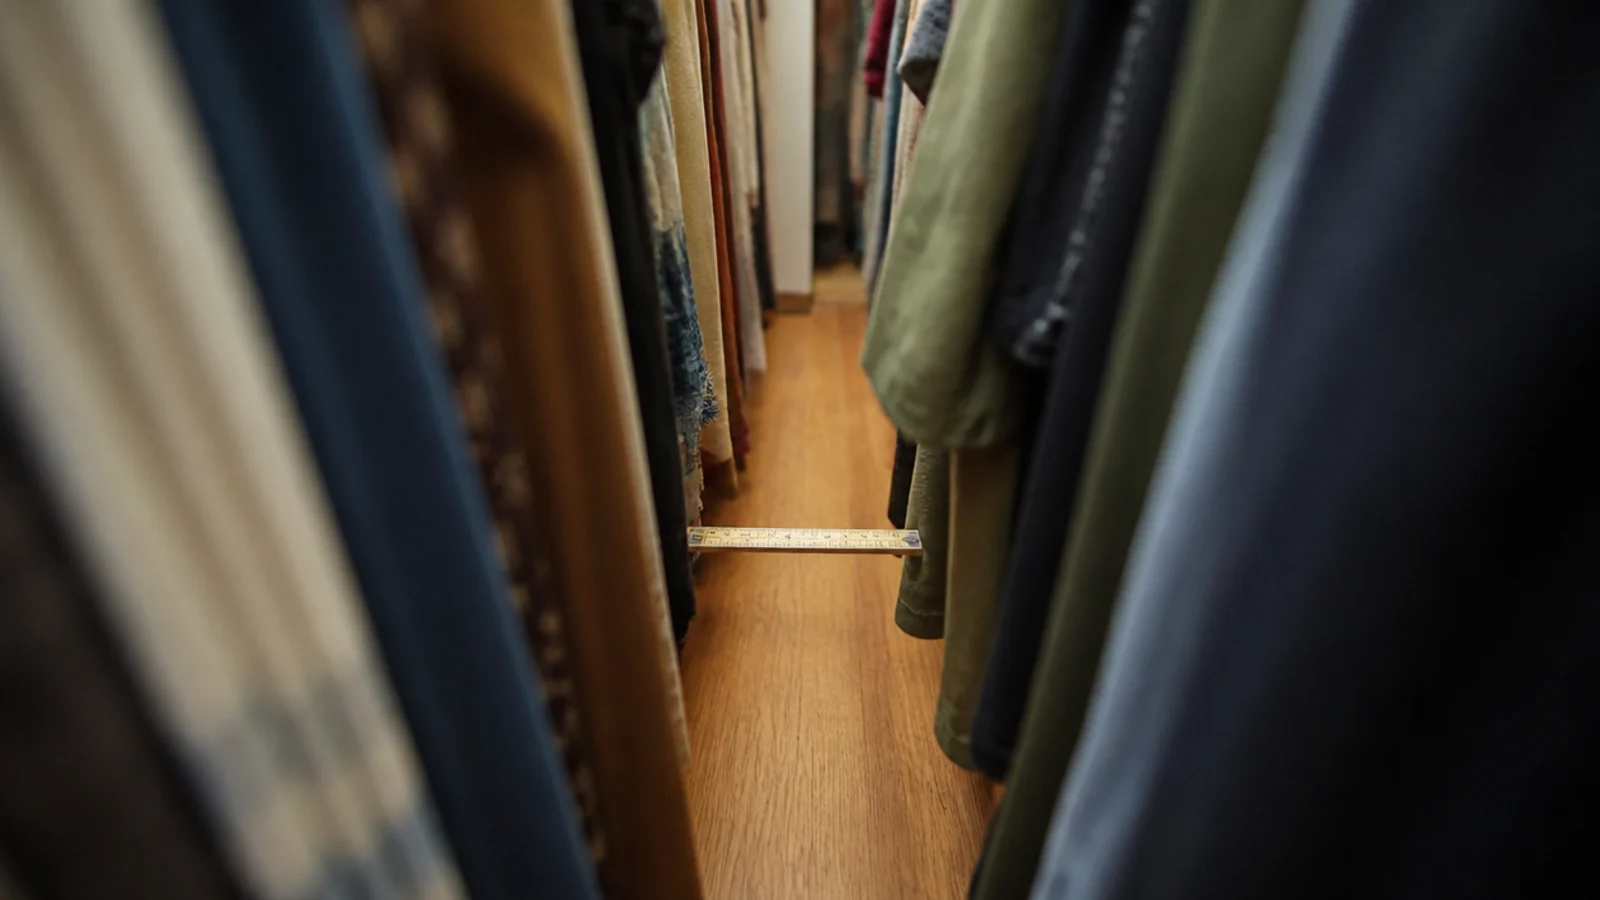
Mistake 2: I left myself 28 inches of walkway
I wanted hanging on both walls, so I took the depth I needed from the middle. Twenty-eight inches sounded generous on paper and meant turning sideways every morning with sleeves brushing both shoulders.
The fix: 36 inches between facing hanging walls, or 30 as an absolute squeeze. Below 30 the closet stops being a room you walk into. In that closet, the honest answer was hanging on one wall and shallow shelving on the other, which needs only 14 inches.
Mistake 3: I put one rod at 66 inches and stopped
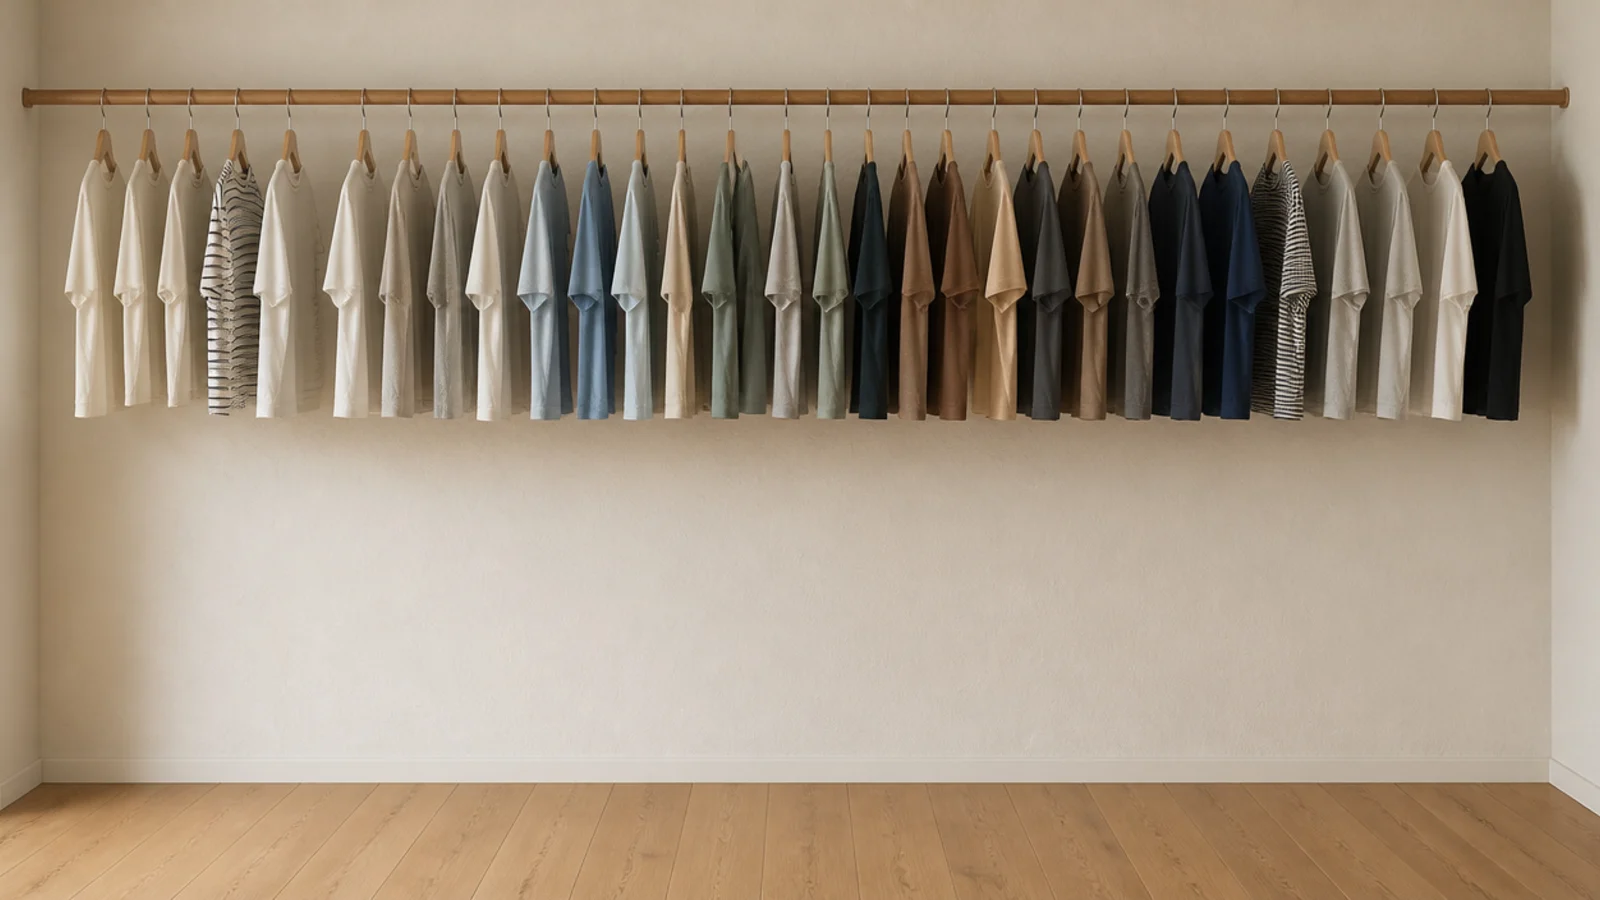
A single rod at single-hang height looks like the finished job, and it leaves the entire bottom half of that wall holding nothing but air. I stored baskets on the floor underneath instead, which is how the floor filled up.
The fix: double-hang at 42 and 84 inches, which genuinely doubles the shirt and trouser capacity of the same wall. Two brackets and a rod, about $40, and it emptied the floor completely.
Mistake 4: I built the shelves 20 inches deep
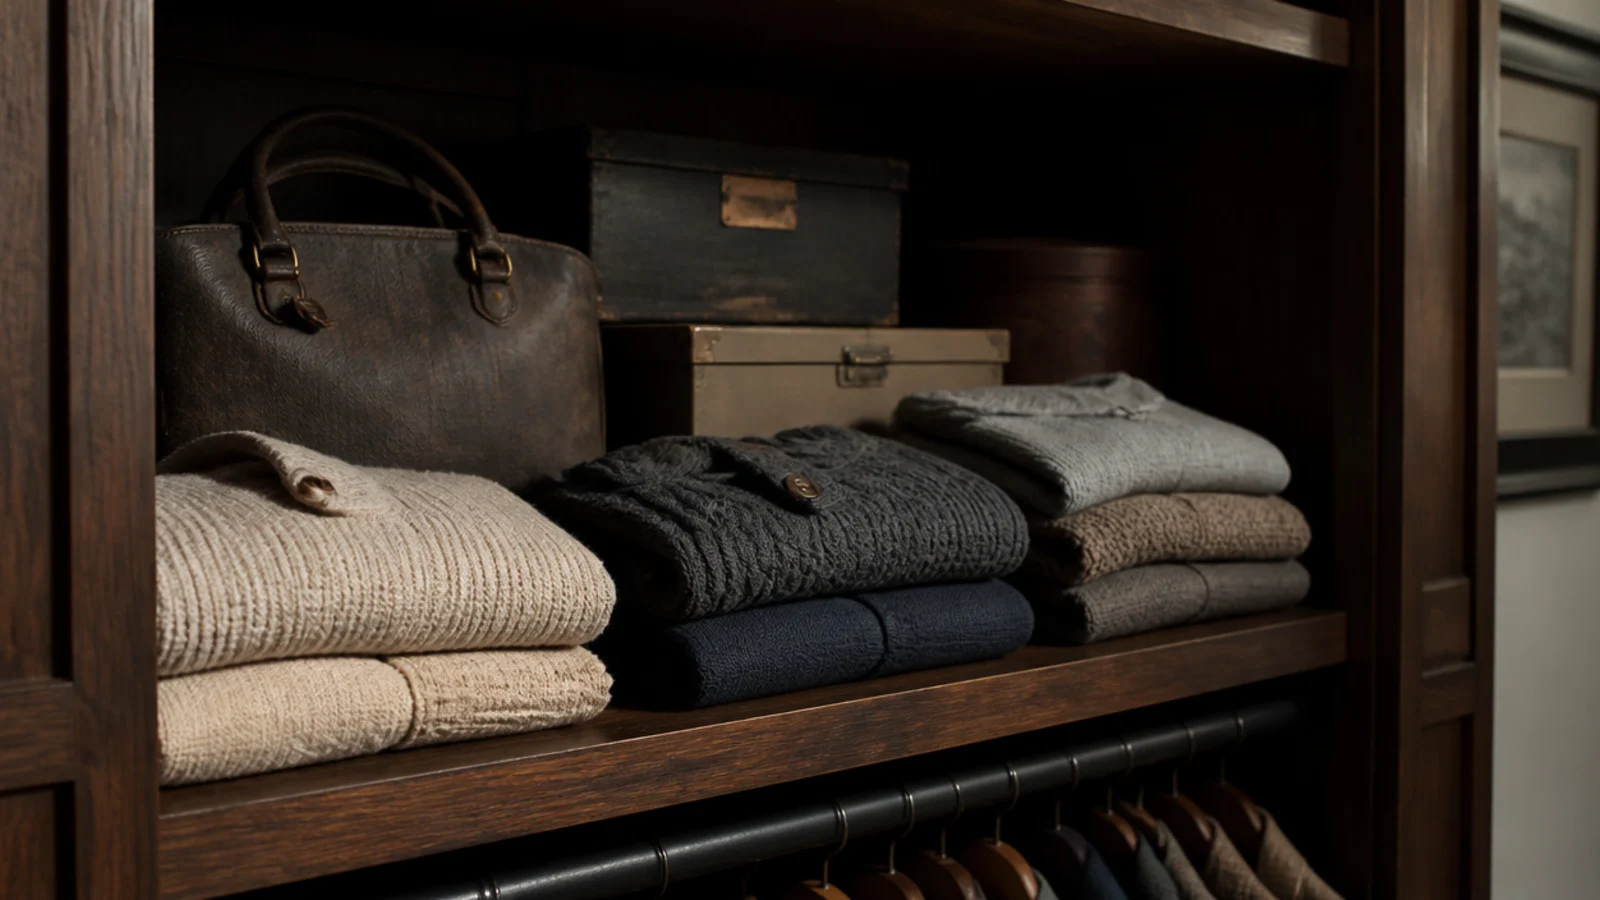
Deeper felt more generous. What it actually created was a second row at the back that I could not see and therefore stopped using, plus a graveyard for handbags.
The fix: 12 to 14 inches for folded knits, which is exactly a sweater stack or two rows of shoes. Where I already had deep shelves, I put bins at the front edge to define a usable zone and left the back deliberately empty rather than pretending it was storage.
Mistake 5: I bought an island for a nine-foot closet
This is the one that still stings. An island needs 36 inches of clearance on every side, so the room has to clear roughly ten feet of width before one fits comfortably. Mine was nine.
The fix: a bench, 18 inches deep, against the end wall. Same folding surface, same place to sit and buckle shoes, zero effect on the walkway. If you want the island look, the honest math is in the small walk-in closet with island guide.
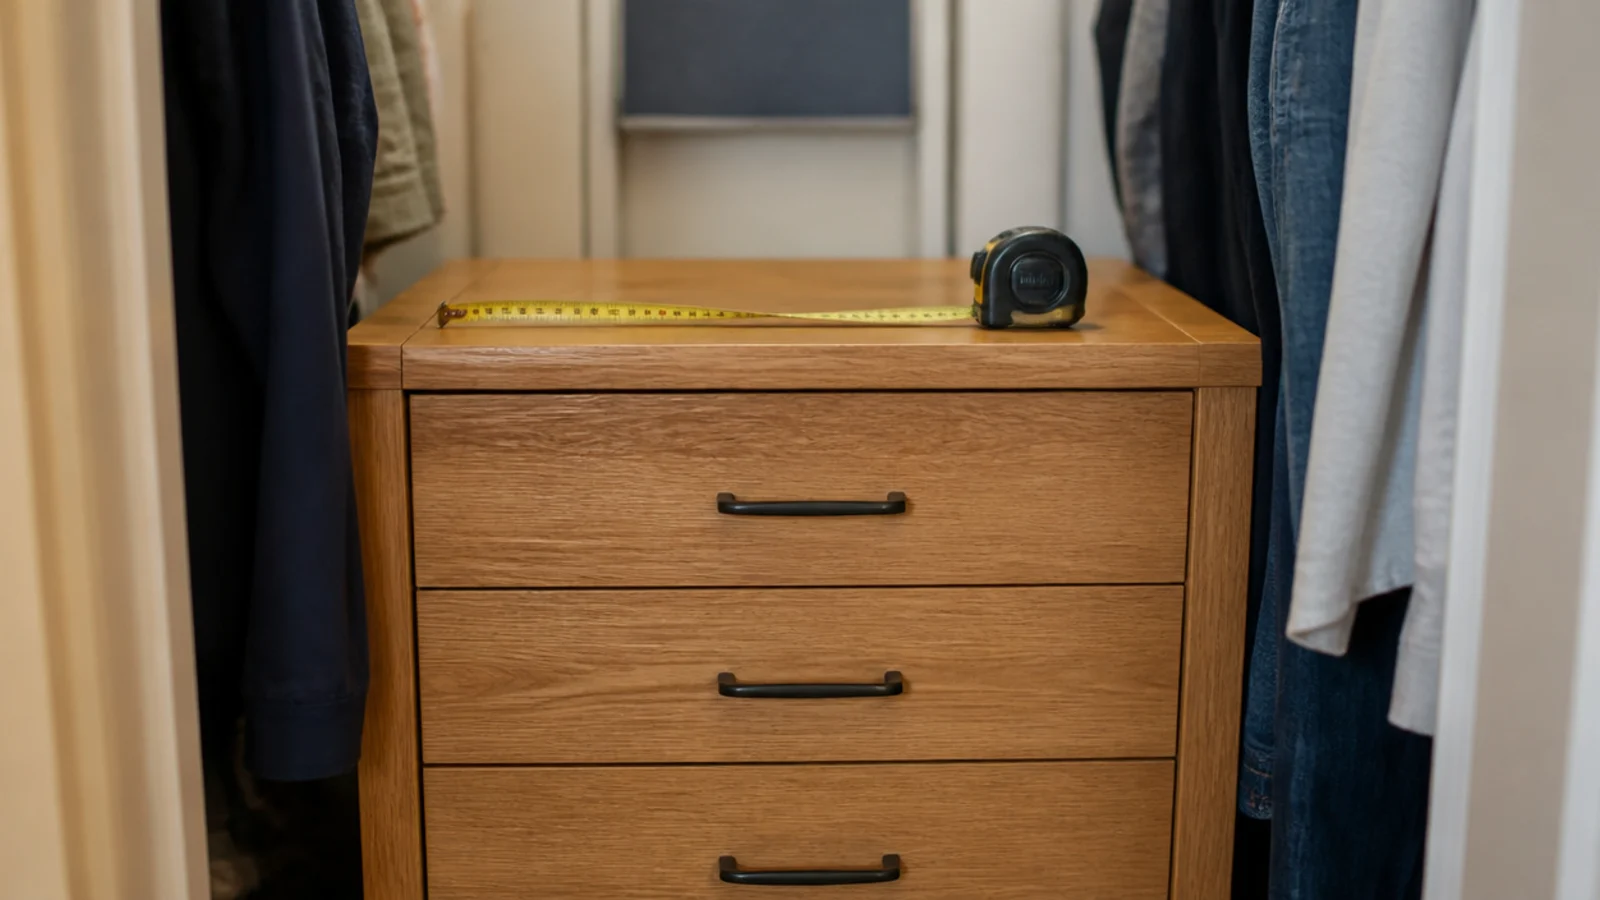
Mistake 6: I used a 5000K bulb because it was bright
Two years of choosing outfits that looked one way in the closet and another in the hallway. I assumed I was bad at colour. I was standing under a daylight bulb with a low CRI rating.
The fix: 3000K or warmer, CRI 90 or above. Camel came back, navy stopped reading black, and the whole closet looked more expensive without anything changing. Four dollars. It is the single best value fix in this list.
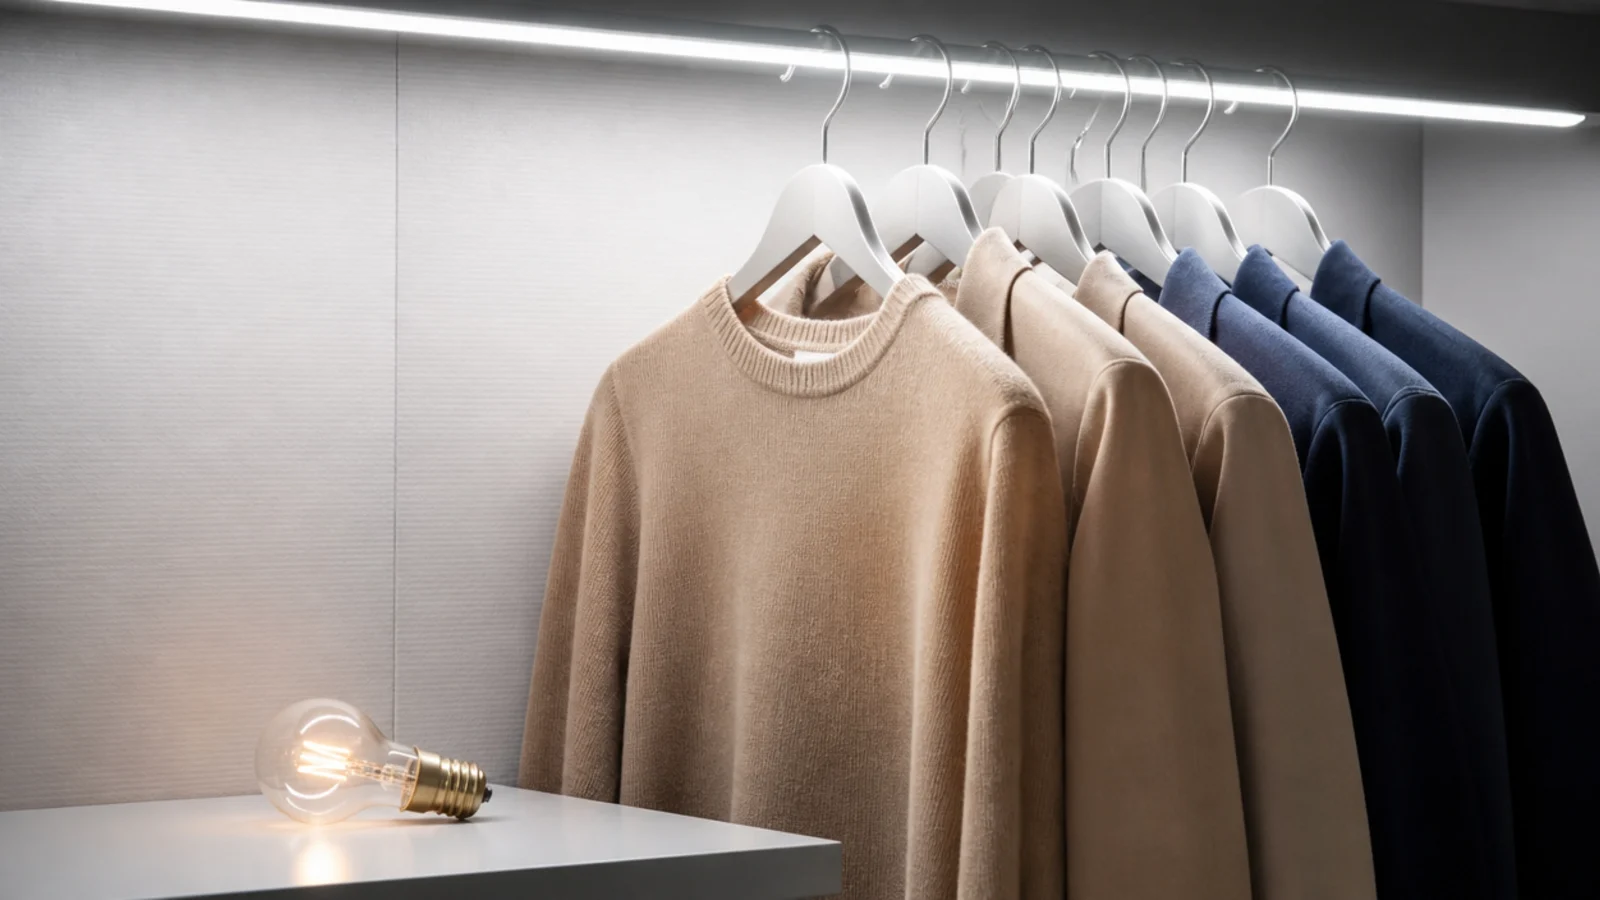
Mistake 7: I put the light in the middle of the ceiling
It seemed like the obvious place. It meant I stood directly between the light and whatever I was reaching for, casting my own shadow onto the exact rail I was looking at.
The fix: light above and slightly in front of the rods, aimed at the clothes rather than the floor. Two modest sources beat one bright one, and roughly 400 to 800 lumens total is plenty for a closet under 40 square feet. The renter lighting guide covers the no-drill versions.
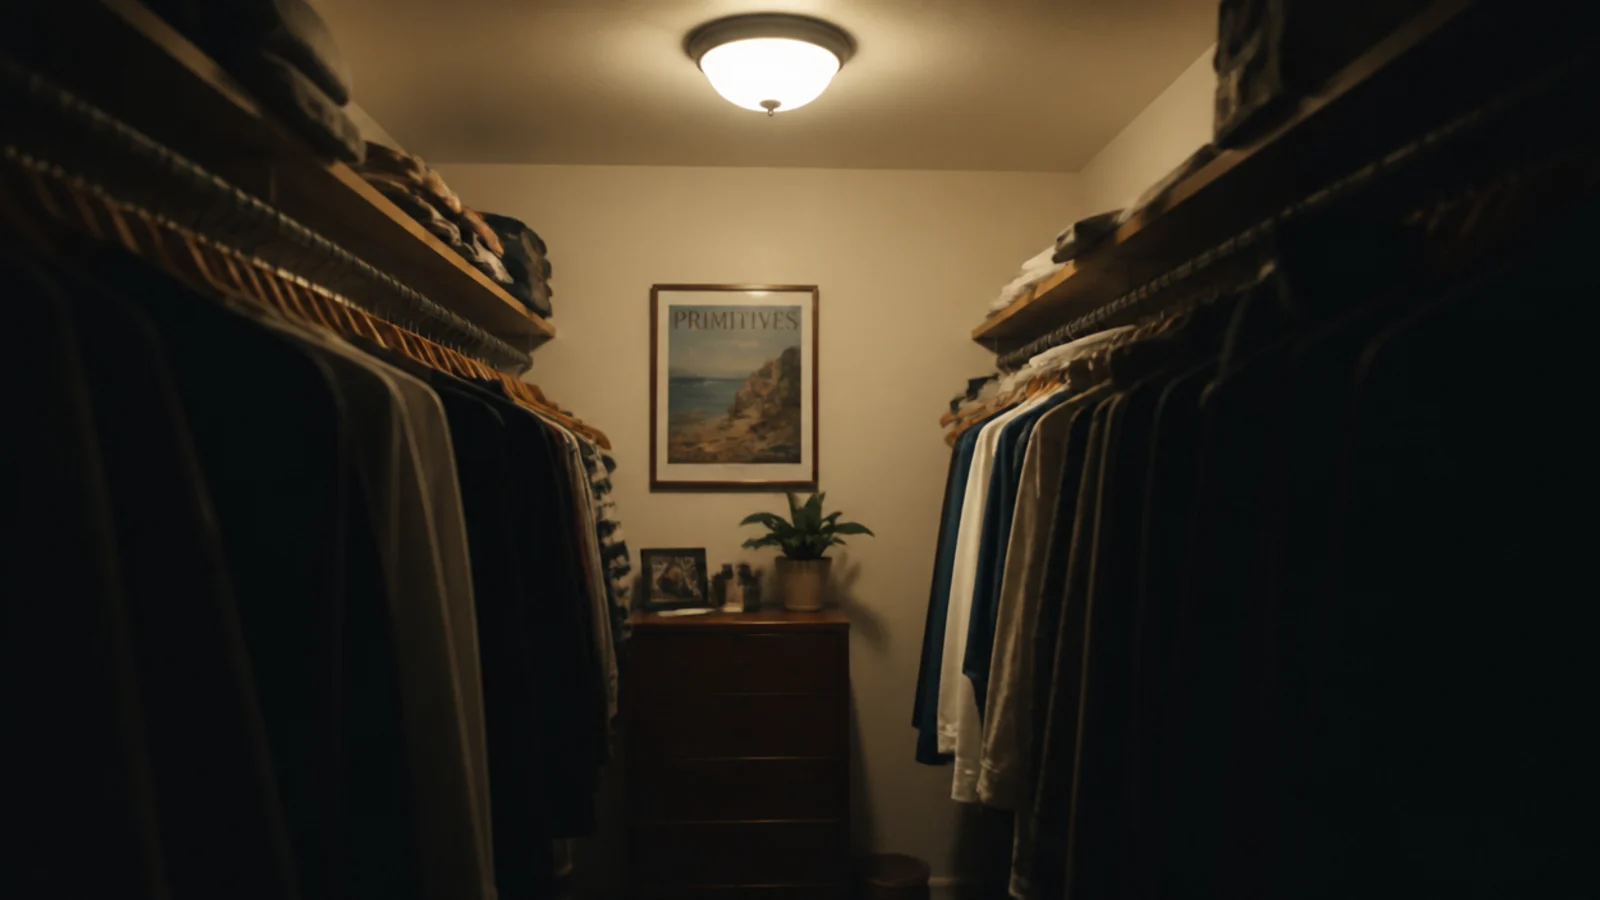
Mistake 8: I kept off-season clothes on the main rail
Wool coats sharing a rail with linen shirts in July. The closet felt permanently full, and I kept concluding I needed a bigger one.
The fix: everything above 84 inches is out of easy reach and perfect for off-season. Two lidded canvas boxes, swapped in April and October. My rail went from packed to about 20 percent empty without giving anything away, which changed how the whole closet worked.
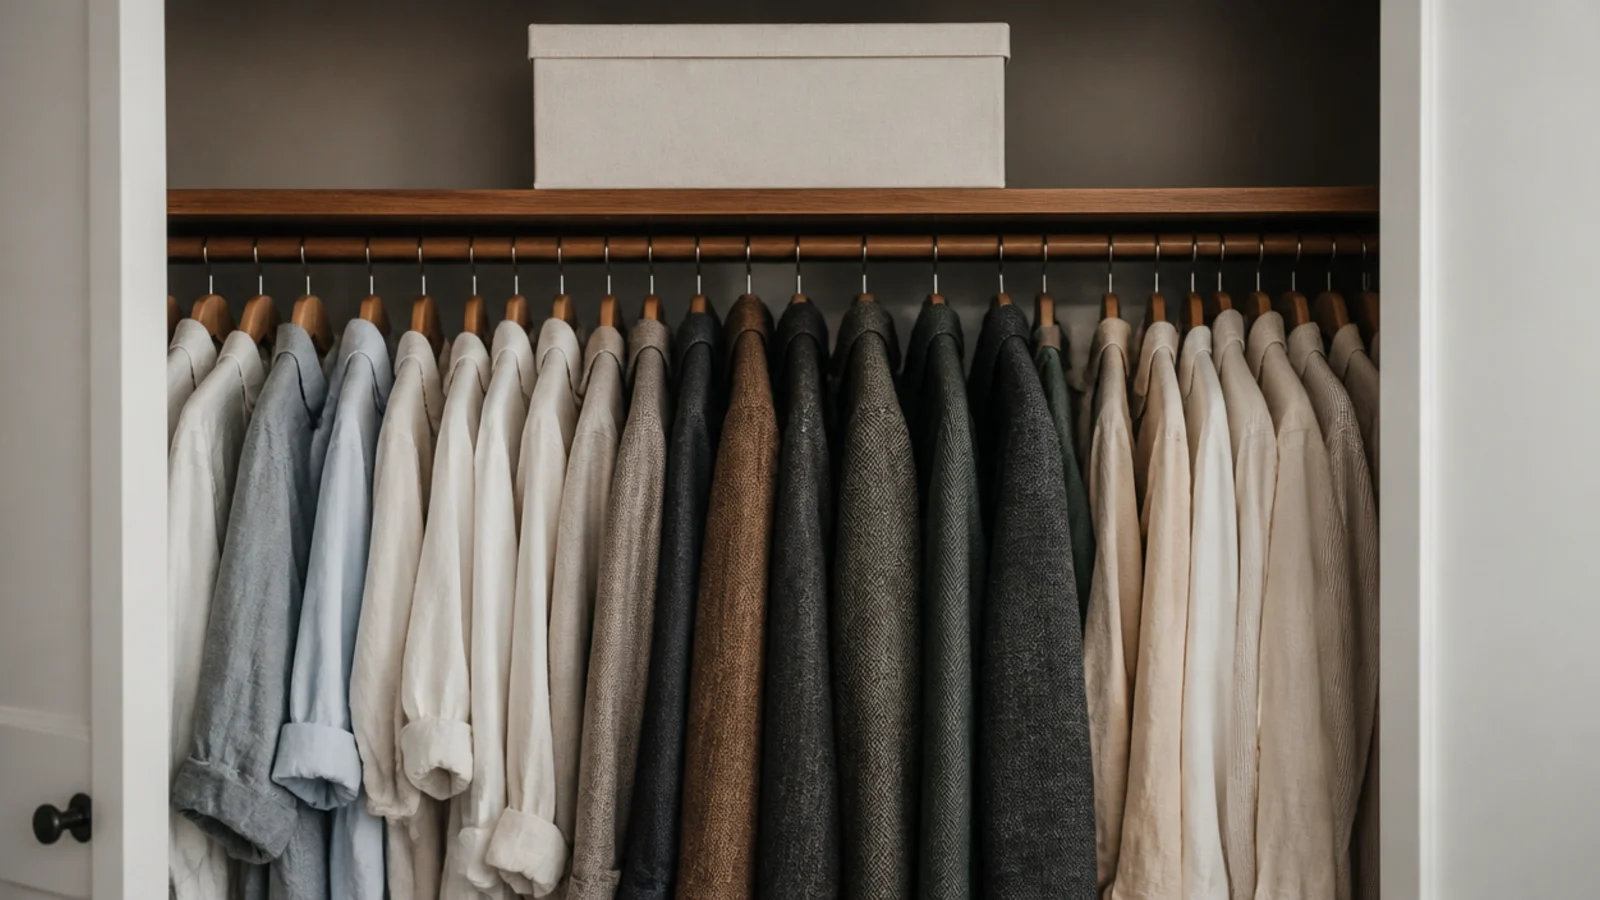
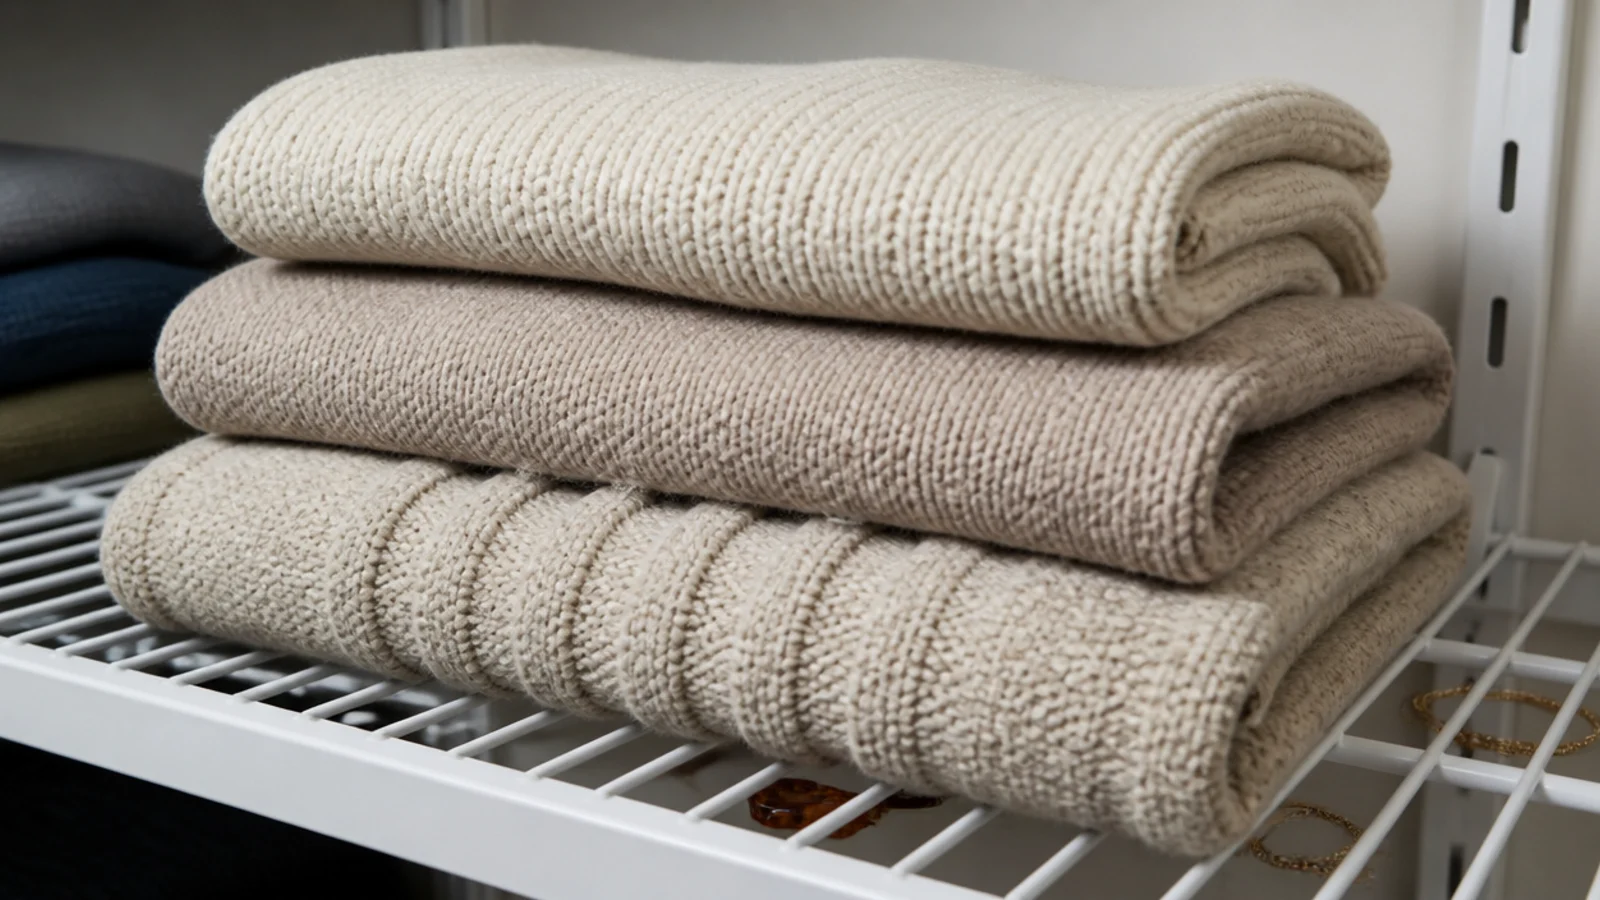
Mistake 9: I put folded knits on wire shelving
Every sweater came out with ridges pressed across it, and small things slipped through the gaps and landed on the shoes below.
The fix: a sheet of three-quarter-inch plywood cut to 13 inches deep, sanded, primed and painted, dropped onto the same brackets. Around $80 for the whole closet. It is the change people read as custom, and it is mostly just a flat surface. More options in small closet shelving ideas.
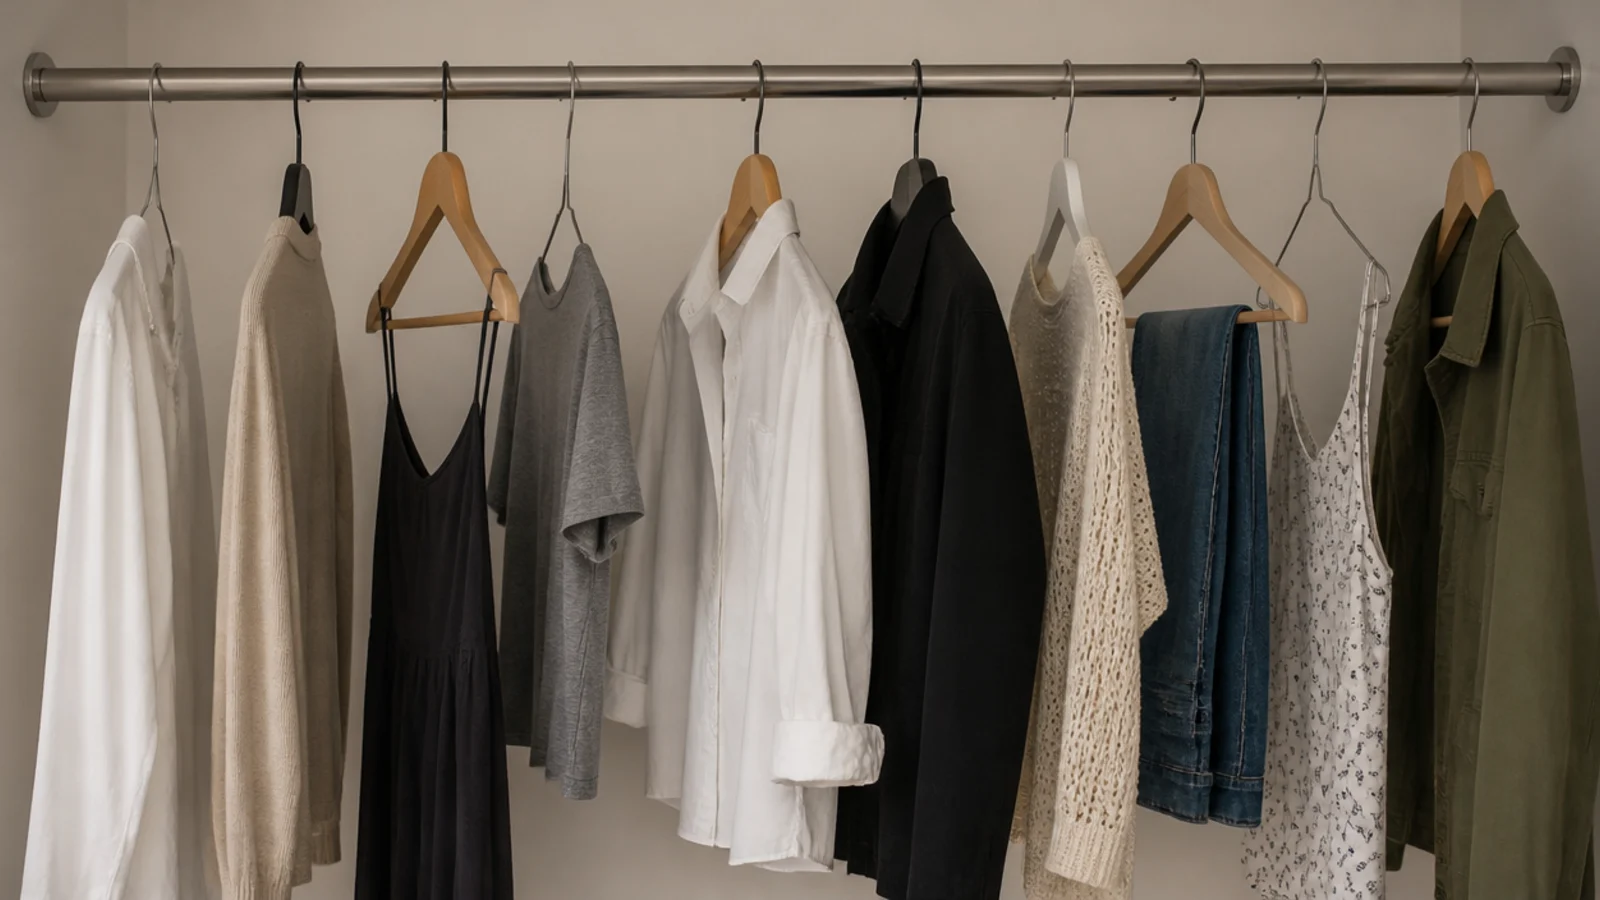
Mistake 10: I never matched the hangers
Wire from the dry cleaner, chunky plastic from a move, and four wooden ones I liked. The shoulder line went up and down like a skyline, and I read that as the closet being messy rather than the hangers being mismatched.
The fix: fifty slim hangers, about $25, and everything else recycled the same afternoon. It also gained me roughly a foot of rod, because slim hangers take less than half the width of the bulky ones.
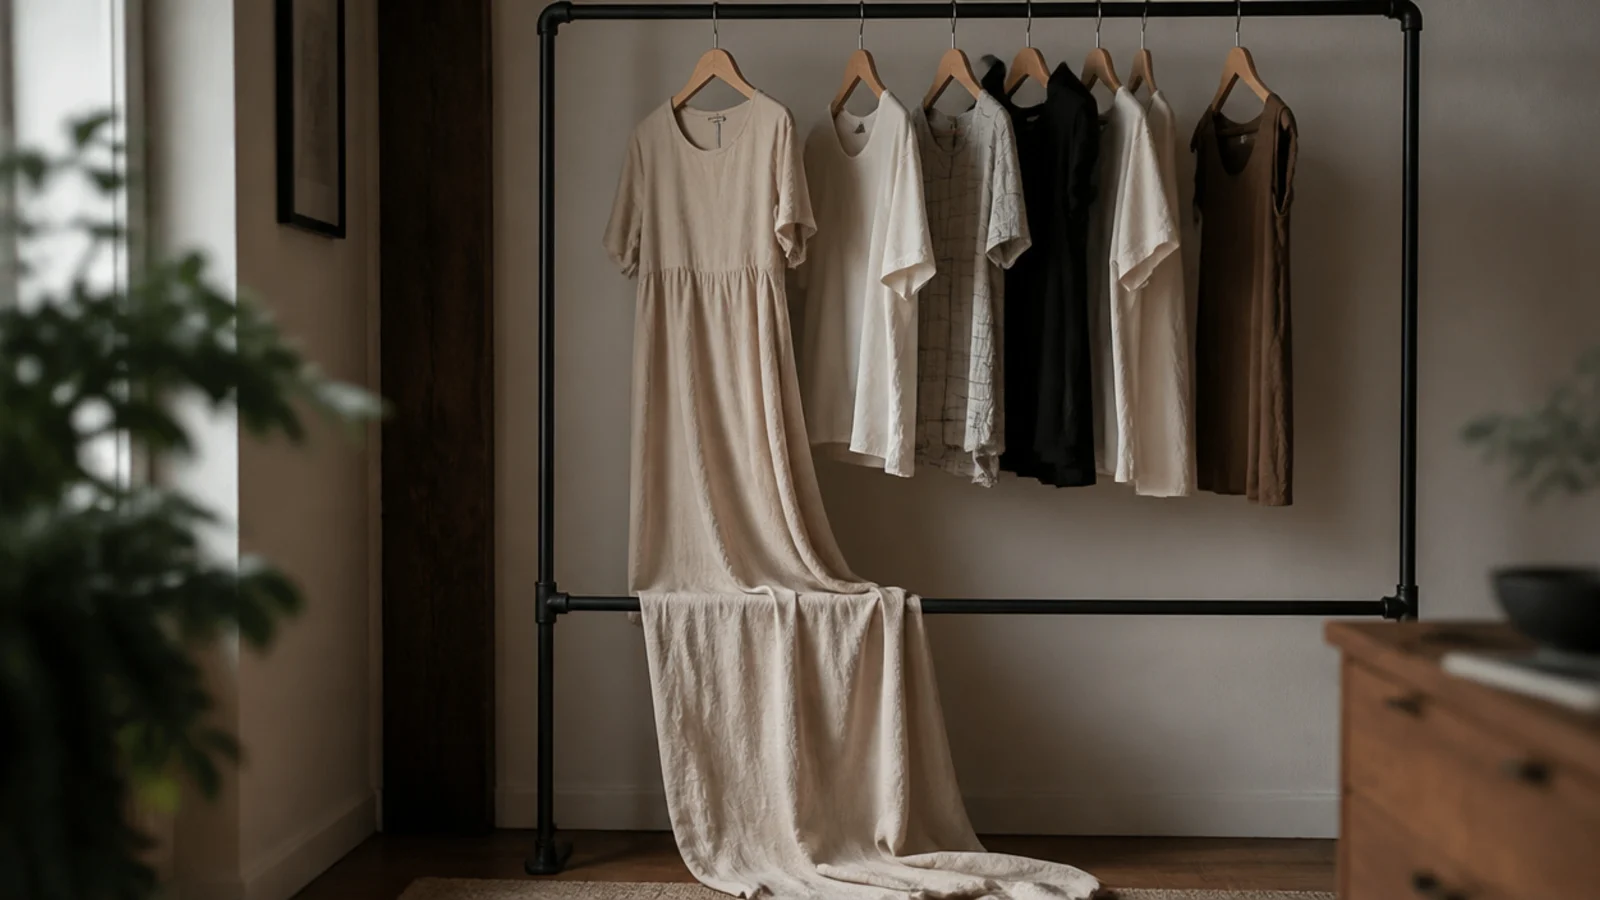
Mistake 11: I double-hung everything and lost the dresses
Having discovered double-hang, I applied it to the entire closet. Then I hung a dress and watched the hem drape over the lower rail.
The fix: one bay left at full length, with 66 to 70 inches of clear drop, placed at the far end of the closet so the long line of fabric closes the view. Thirty to thirty-six inches of width covers most wardrobes, and anything longer than 70 inches needs its own full-height section.
Mistake 12: I stored shoes two rows deep
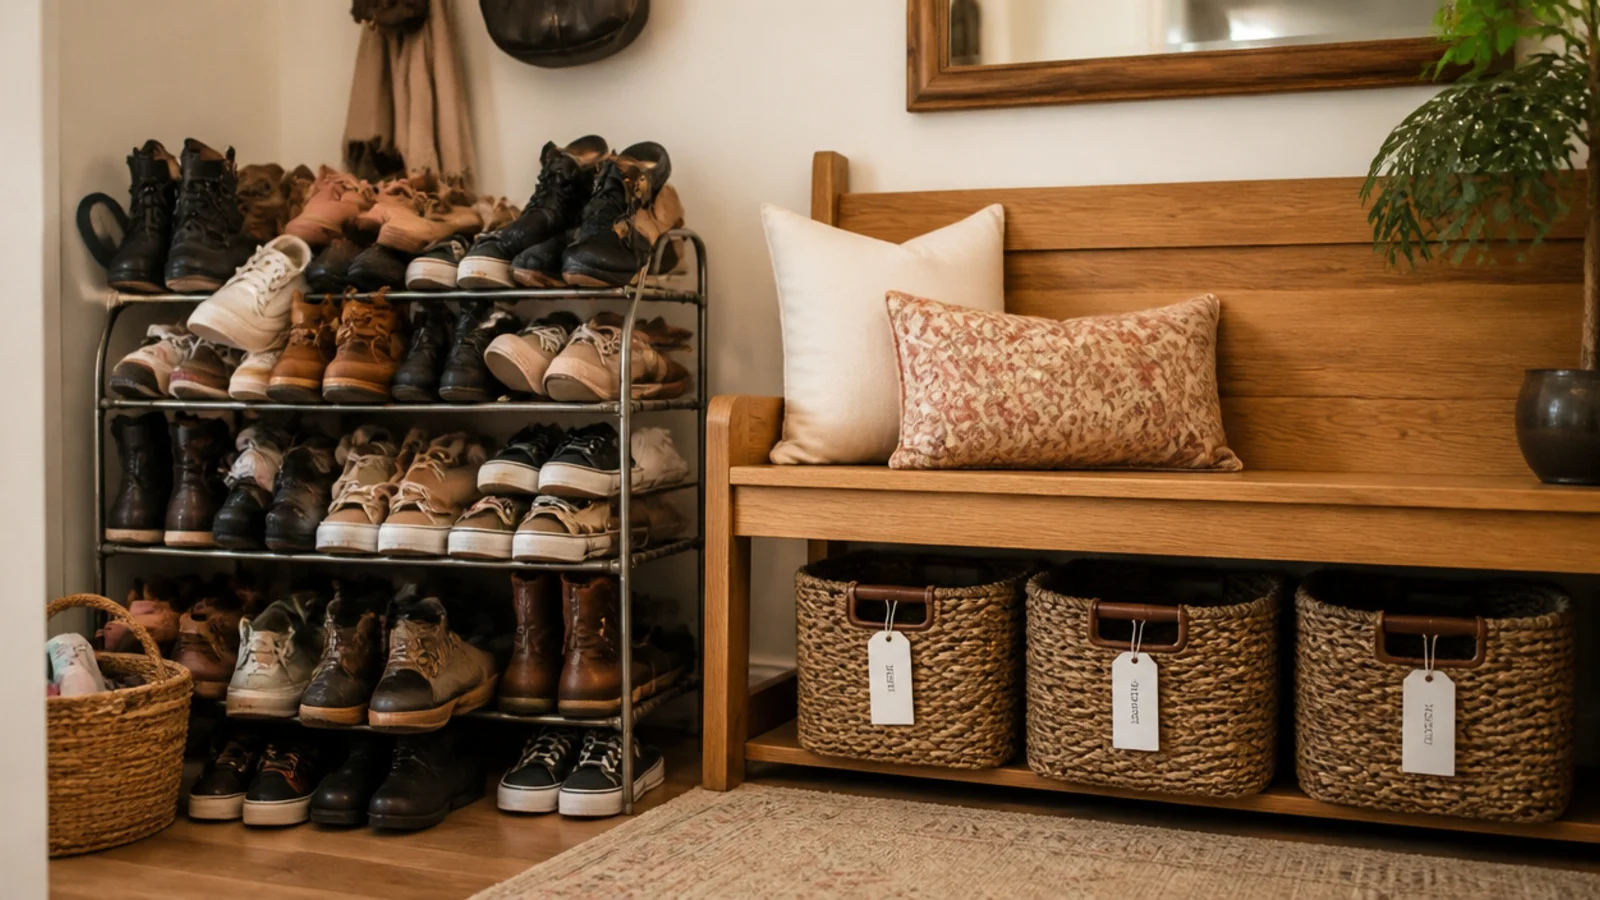
It doubled the capacity on paper. In practice the back row was invisible, so I wore the front eight pairs and forgot the rest existed until I moved.
The fix: one visible row per shelf, usually eight to twelve pairs across four feet, and everything else in labelled boxes on the high shelf. If you need two rows, use a riser so the back row sits higher and stays in sight. Rise heights are covered in closet shoe storage that works.

Mistake 13: I skipped a hamper entirely
The closet was beautifully organised and there was a pile of laundry on the floor of it every single day, because there was nowhere else for it to go.
The fix: a lidded basket at the end of the walkway, at least 14 by 18 inches inside, or a pull-out behind a door if you have cabinetry. This is the cheapest thing on the list and the one that changed the daily reality most. Under $40.

Mistake 14: I mounted the top shelf at 90 inches
I wanted maximum storage, so I pushed the shelf up near the ceiling. Anything on it required a stool, so I stopped putting anything on it that I needed.
The fix: top shelf at 84 inches with the double-hang rod beneath it. Above 84 works only for genuinely archival storage, and even then you want a stool that lives nearby rather than one that lives in the garage.
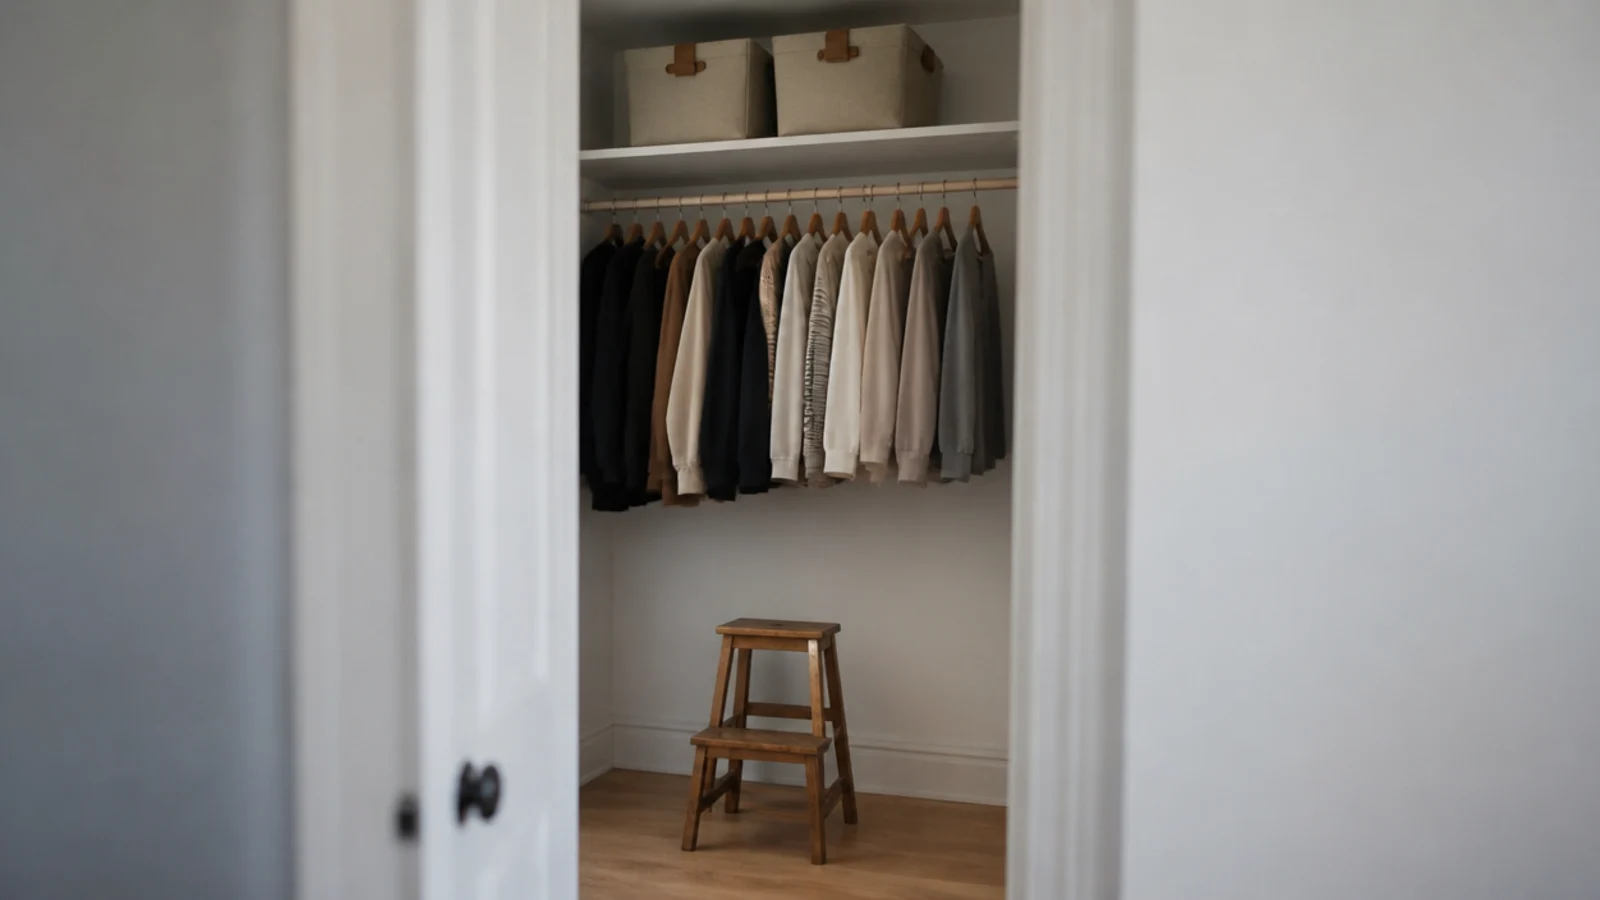
Mistake 15: I organized before I edited
I bought matching bins, drawer dividers and shoe boxes for a wardrobe I had not gone through. Two months later I donated a third of it and the containers no longer fit what was left.
The fix: empty the closet completely, decide what stays, then measure and buy. It feels backwards because containers are the fun part. Buying them first just locks in the volume you already had.
Walk-In Closet Mistakes: What I'd Do Differently Now
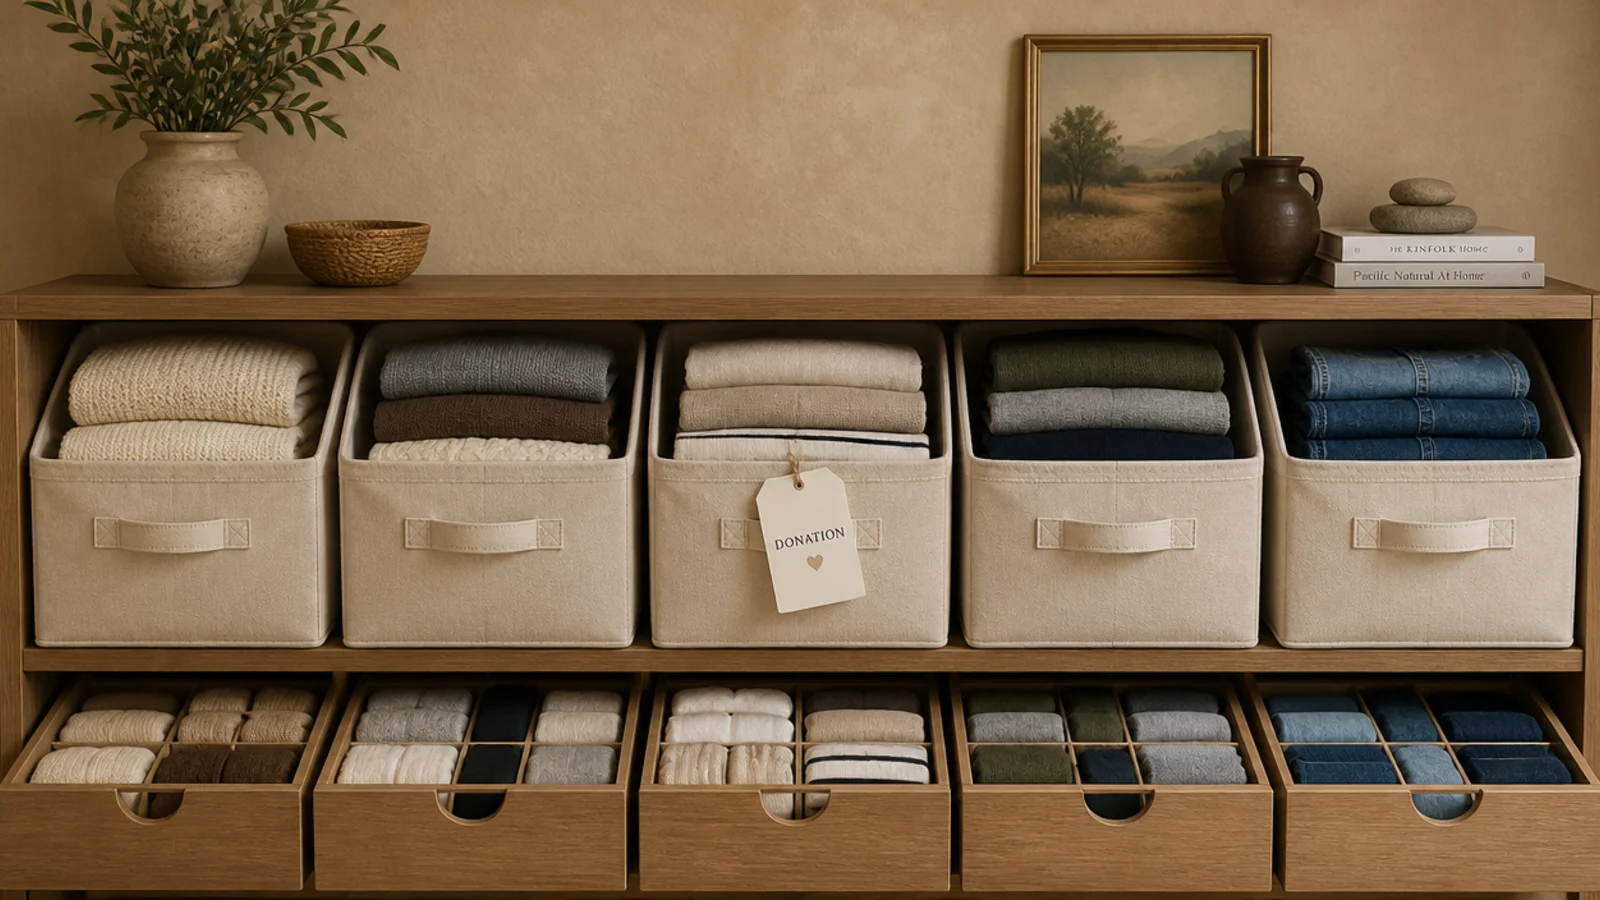
Looking at fifteen in a row, they sort into two piles. The physical ones — rod depth, walkway, shelf depth, shelf height — are the ones I could not fix by tidying, and they are the ones I would spend a whole extra day planning now.
The rest were habits. Off-season clothes on the main rail, no hamper, mismatched hangers, two rows of shoes: none of those cost anything to fix, and together they did more for how the closet felt than the structural work did.
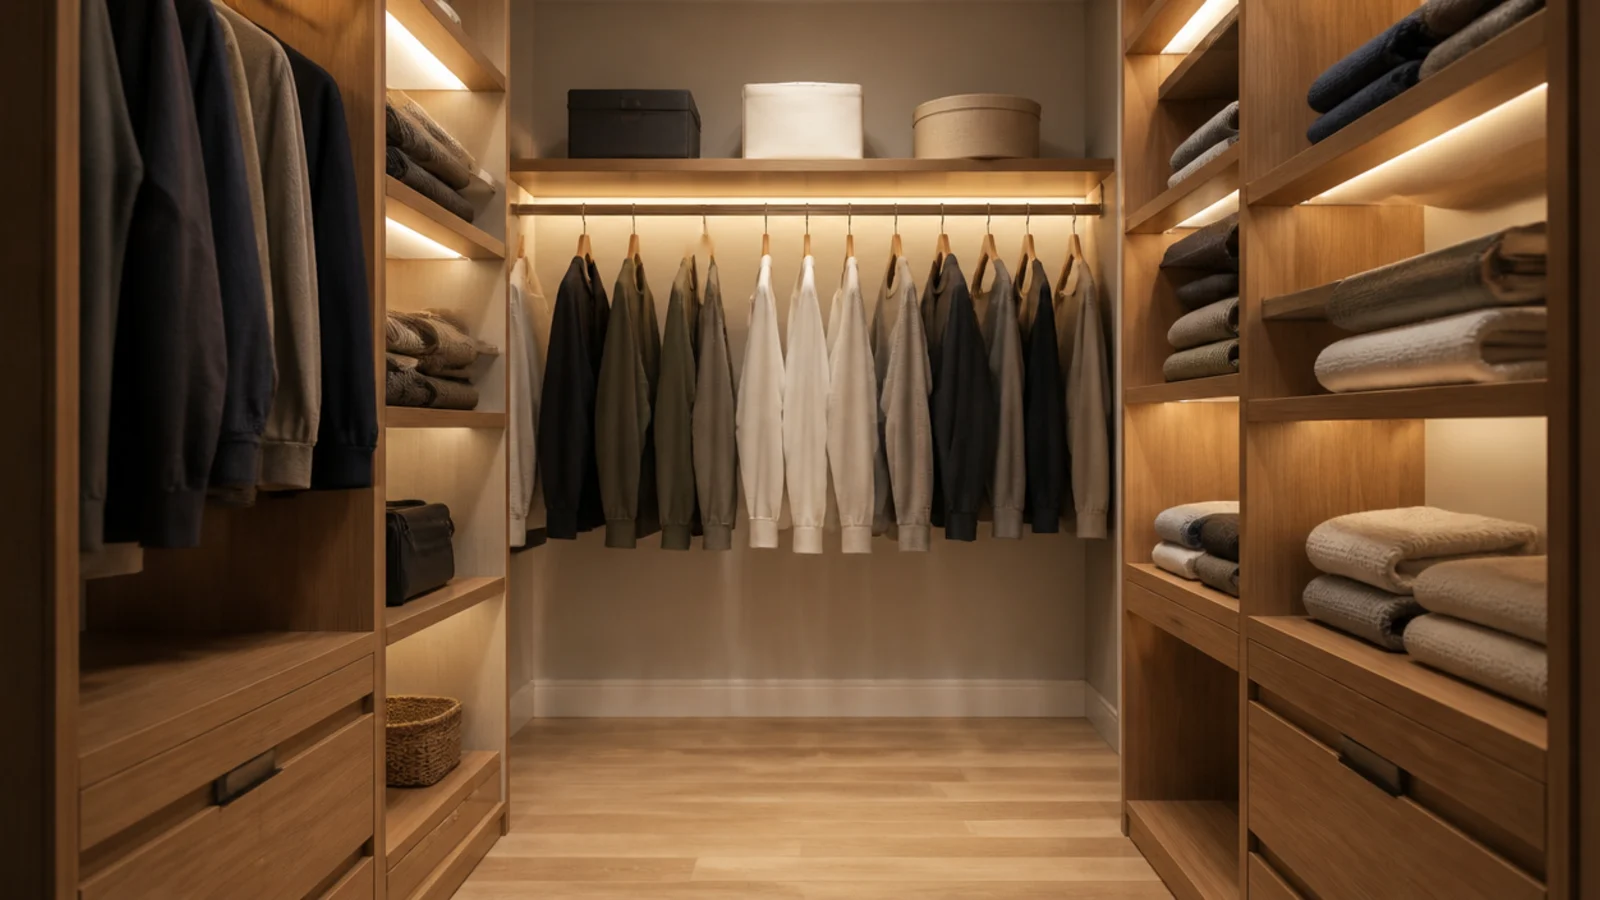
If I could hand my younger self one page it would say this. Measure 24 inches of hanging depth and 36 inches of walkway before you decide anything else. Change the bulb to 3000K on day one. Edit the wardrobe before you buy a single container. Then keep 20 percent of the rod empty forever, because a closet at capacity is a closet that ends up on a chair in the bedroom.
The island I would simply not buy. In nine feet of width there was never a version of that where it worked.
Frequently asked questions
What is the most common small walk-in closet mistake?
Hanging depth. A rod needs 24 inches of clear space from the back wall because shoulders measure about 22 inches across, and most builder closets give you 20 or less. Everything hanging then touches plaster and creases along the same line daily, which is a problem no amount of organizing or folding will fix.
How narrow can a walk-in closet walkway be?
Thirty-six inches between two facing hanging walls is comfortable and 30 inches is the absolute squeeze. Below 30 you turn sideways every morning and clothes brush you as you pass. If the room cannot give you 30, put hanging on one wall only and shelving on the other, which needs far less depth.
Why does my closet make clothes look a different color?
The bulb, almost certainly. Anything above 3000K, or with a low CRI rating, pushes navy toward black and drains warm neutrals to grey. You choose an outfit under one light and see a different one in daylight. A 3000K bulb at CRI 90 or above costs about four dollars and solves it entirely.
Is an island a mistake in a small walk-in closet?
Usually, yes. An island needs 36 inches of clearance on every side, which means the closet has to clear roughly ten feet of width before one fits comfortably. In anything narrower it becomes something you edge around daily. A bench against the end wall gives the same surface with none of the traffic problems.
Should I organize a closet before or after decluttering?
After, always. Buying bins and dividers for a closet you have not edited locks the current volume in place and you end up with tidy storage full of things you were going to donate. Take everything out, decide what stays, then measure and buy containers for what is left.
If you are planning a small walk-in right now, get the depth and the walkway right before you look at a single photograph, because those two are the decisions you cannot undo later. The small walk-in closet layout guide has the wall-by-wall version, and small walk-in closet organization covers what goes where once the structure is right. Save the pin so the numbers are with you when you start measuring.
Want more like this? Browse all 15 small walk-in closet ideas guides — they all use the same measurements and budget tiers.
Pin it for later
Save this to your Small Walk-In Closet Ideas board
Pin it now so it is waiting for you when the tape measure comes out — and so the next person hunting for this idea can find it too.
Save this pinKeep going
More ideas worth saving while you have the tape measure out.