Small Walk-In Closet Ideas · Listicle
15 Cozy Small Walk-In Closet Ideas That Look Pricey

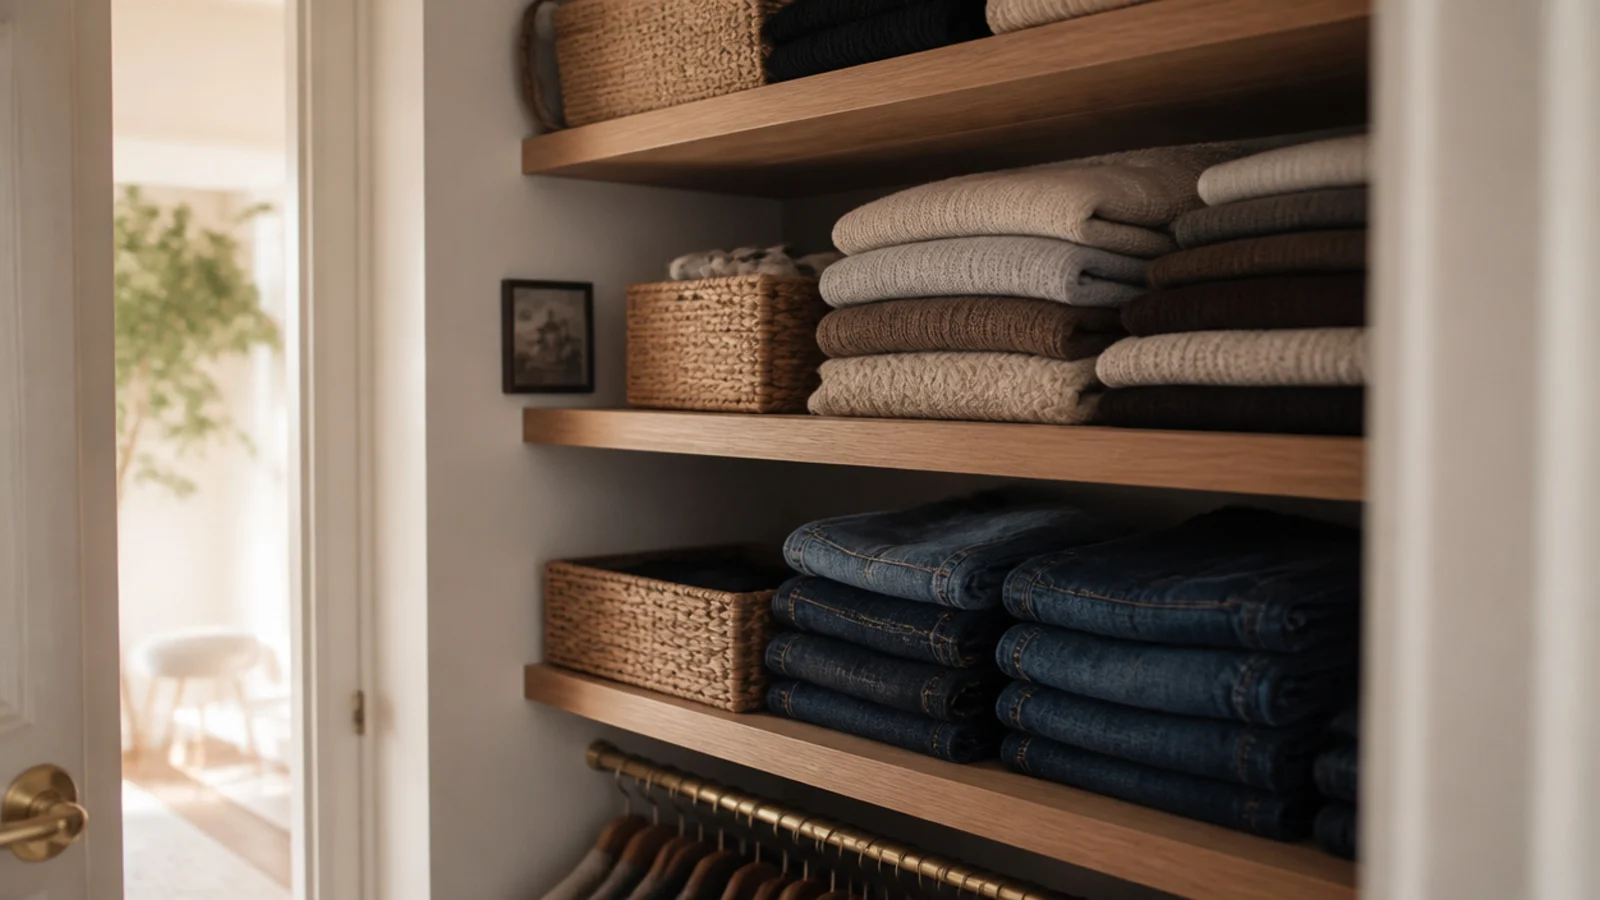
Small closet shelving ideas divide neatly into two piles: the ones that hold more, and the ones that make a $300 install look like $3,000. The second pile is mostly four details — depth, front edge, hardware position and paint — and none of them costs real money. I have used all fifteen of these across four closets, and the cheap ones do the heaviest lifting.
In this guide17 sections — tap to openHide
- 1.Where small closet shelving ideas earn their money back
- 2.Choose solid shelves over wire
- 3.Set the depth at 12 to 14 inches
- 4.Add a slim front lip to every shelf
- 5.Mount adjustable standards behind the shelf line
- 6.Paint the shelves the exact wall color
- 7.Wrap one continuous shelf at 84 inches
- 8.Break the run every 30 inches
- 9.Close the gap to the ceiling
- 10.Add a recessed toe kick at the base
- 11.Pair a brass rod under each shelf
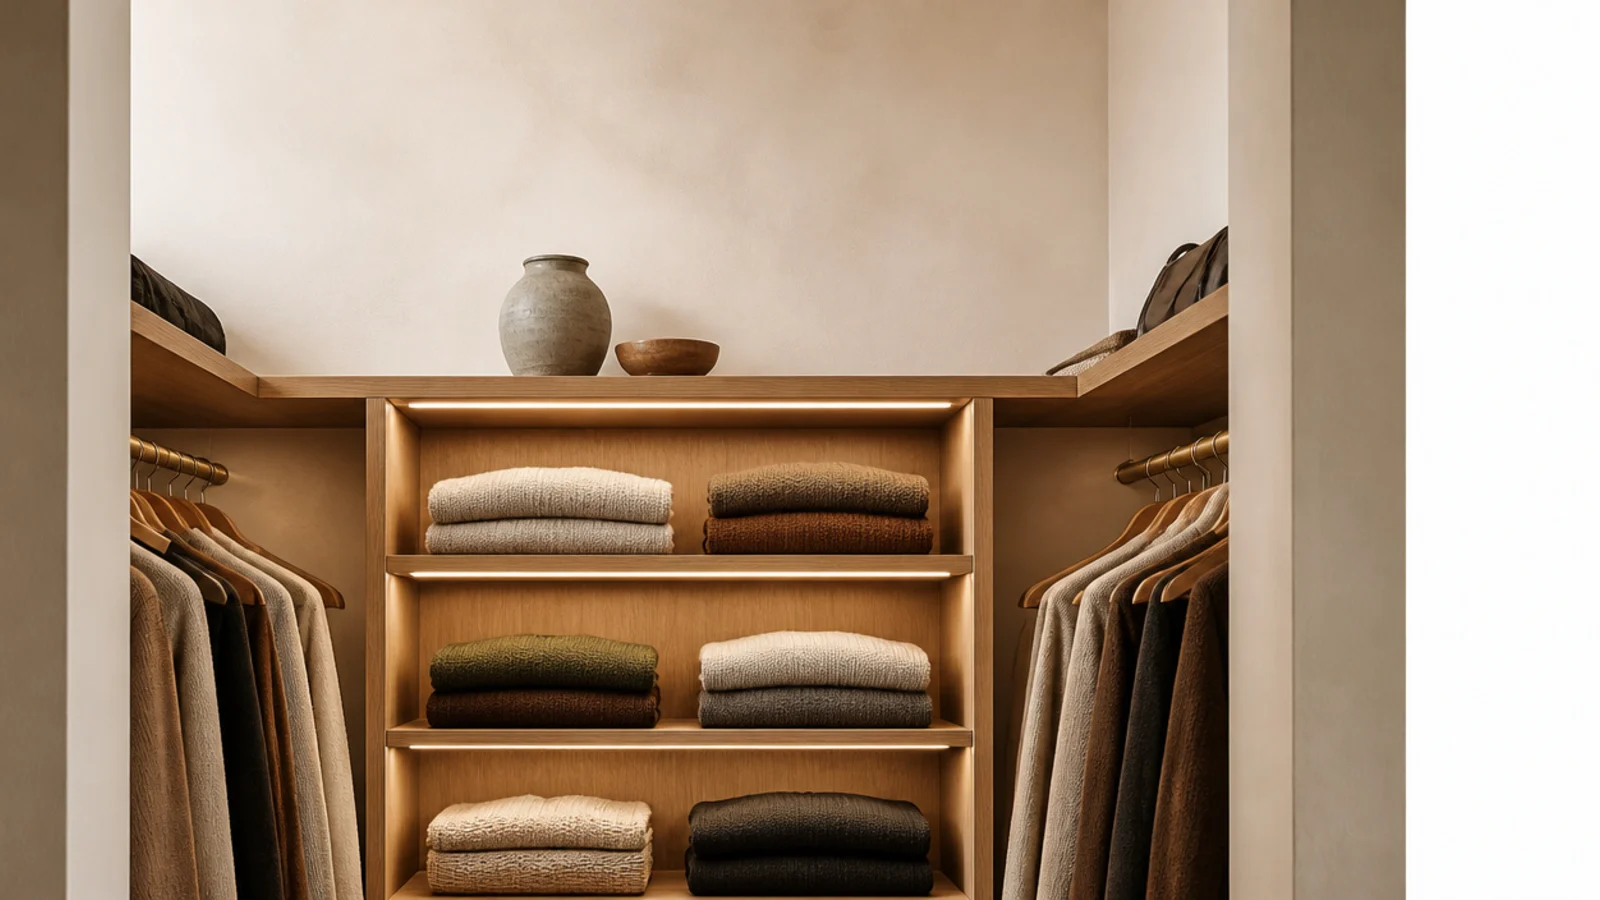
- 12.Light every shelf from the front edge
- 13.Size cubbies to a folded sweater
- 14.Angle the shoe shelves and add a lip
- 15.Put open drawer boxes at knee height
- 16.Limit yourself to two finishes
- 17.Mistakes to Skip
Where small closet shelving ideas earn their money back
Start with depth, because it decides everything downstream. A folded sweater is roughly 12 inches square, so 12 to 14 inches is the depth that holds a stack fully supported with its edge in view. At 18 inches a second row disappears behind the first. At 10 inches stacks overhang and slump within a week.
Span is next. Three-quarter inch solid wood carries about 30 inches between supports with folded clothing on it. Melamine starts to bow past 24 inches under the same load. Beyond those numbers you add a center bracket or a vertical divider — and the divider is the better answer, because it also makes the run look designed.
Then spacing. Ten inches of clear height for knits, 12 to 14 for bins and bags, 7 for flats, 9 for heels, 13 for tall boots. Adjustable standards let you revise all of that later, which you will.
None of this changes the room's structural rules: a hanging rod still needs 24 inches of clear depth and a walkway still needs 36 inches, 30 at the squeeze.
Budget tiers: a wire kit with liner and a wooden lip runs $110 to $250 ($), a modular system on standards $400 to $900 ($$), and built-in joinery $2,500 and up ($$$).
1. Choose solid shelves over wire
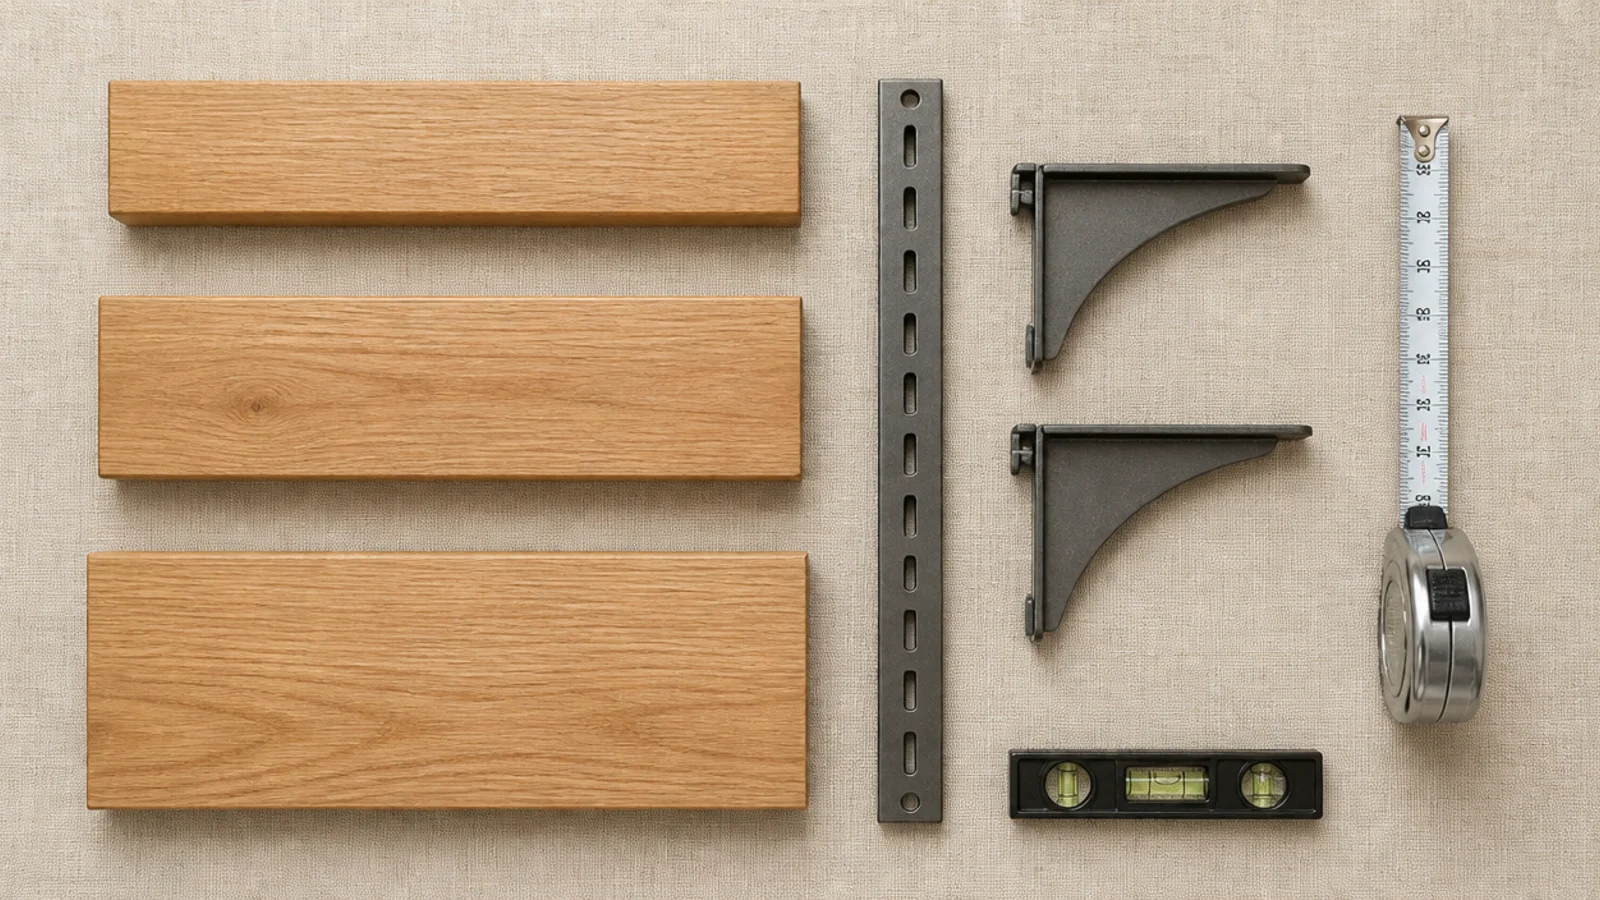
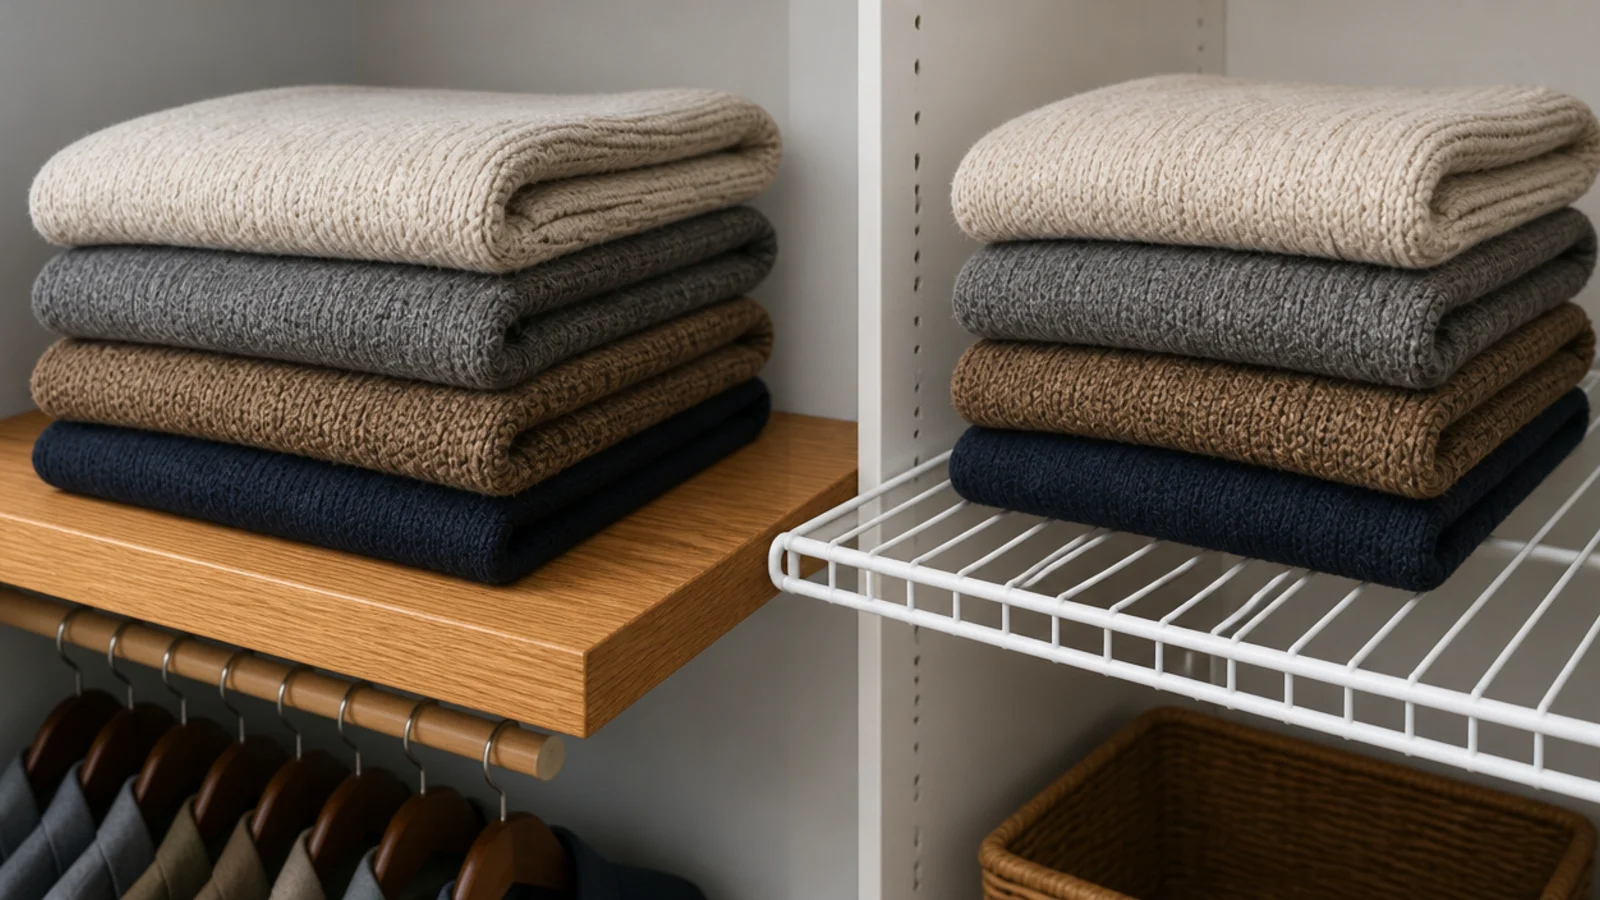
Wire is strong, cheap and cuts with a hacksaw, and it will always look like wire. Small items tip through the gaps, folded knits pick up ridge marks, and the front edge reads as hardware.
Three-quarter inch solid pine costs $14 to $25 a board and takes paint beautifully; oak runs $30 to $45 and takes stain. If the budget is fixed, keep the wire and add a rigid liner plus a wooden front lip for about $10 a shelf — that combination gets you most of the way there.
2. Set the depth at 12 to 14 inches
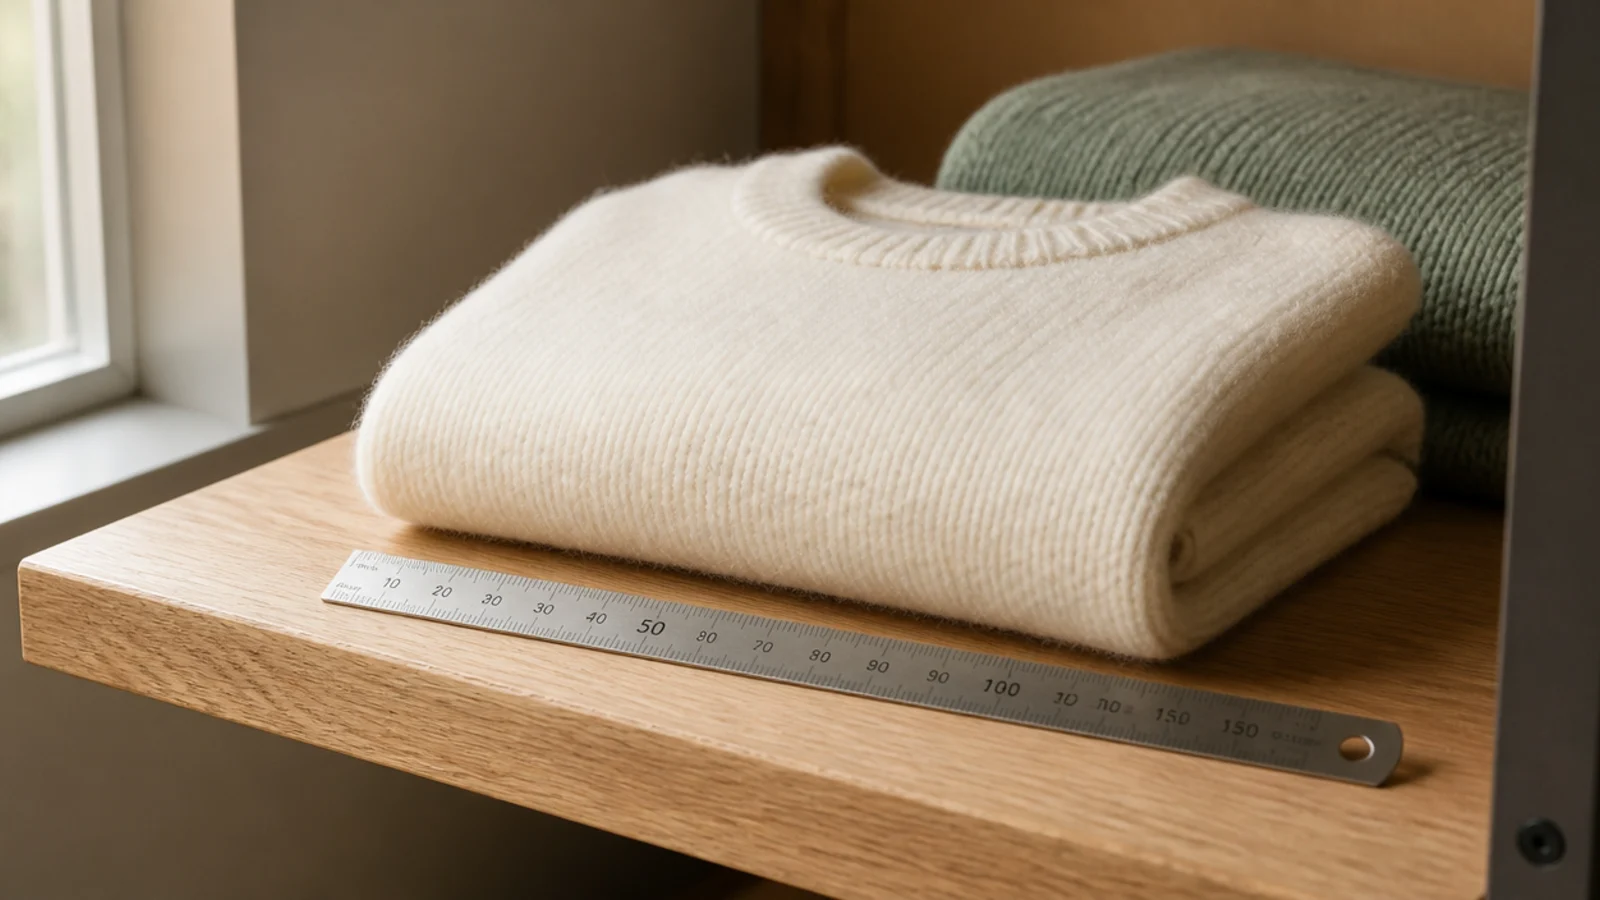
Fourteen inches is my default for a shelf that carries both folded knits and a basket. Twelve is better in a closet under 6 feet wide, where every inch of shelf is an inch off the walkway.
Measure your own folded sweater before committing — if you fold to 14, build to 15. Then keep every shelf in the room at the same depth. A run of shelves at three different depths looks like a series of repairs, no matter how carefully each one was installed.
3. Add a slim front lip to every shelf
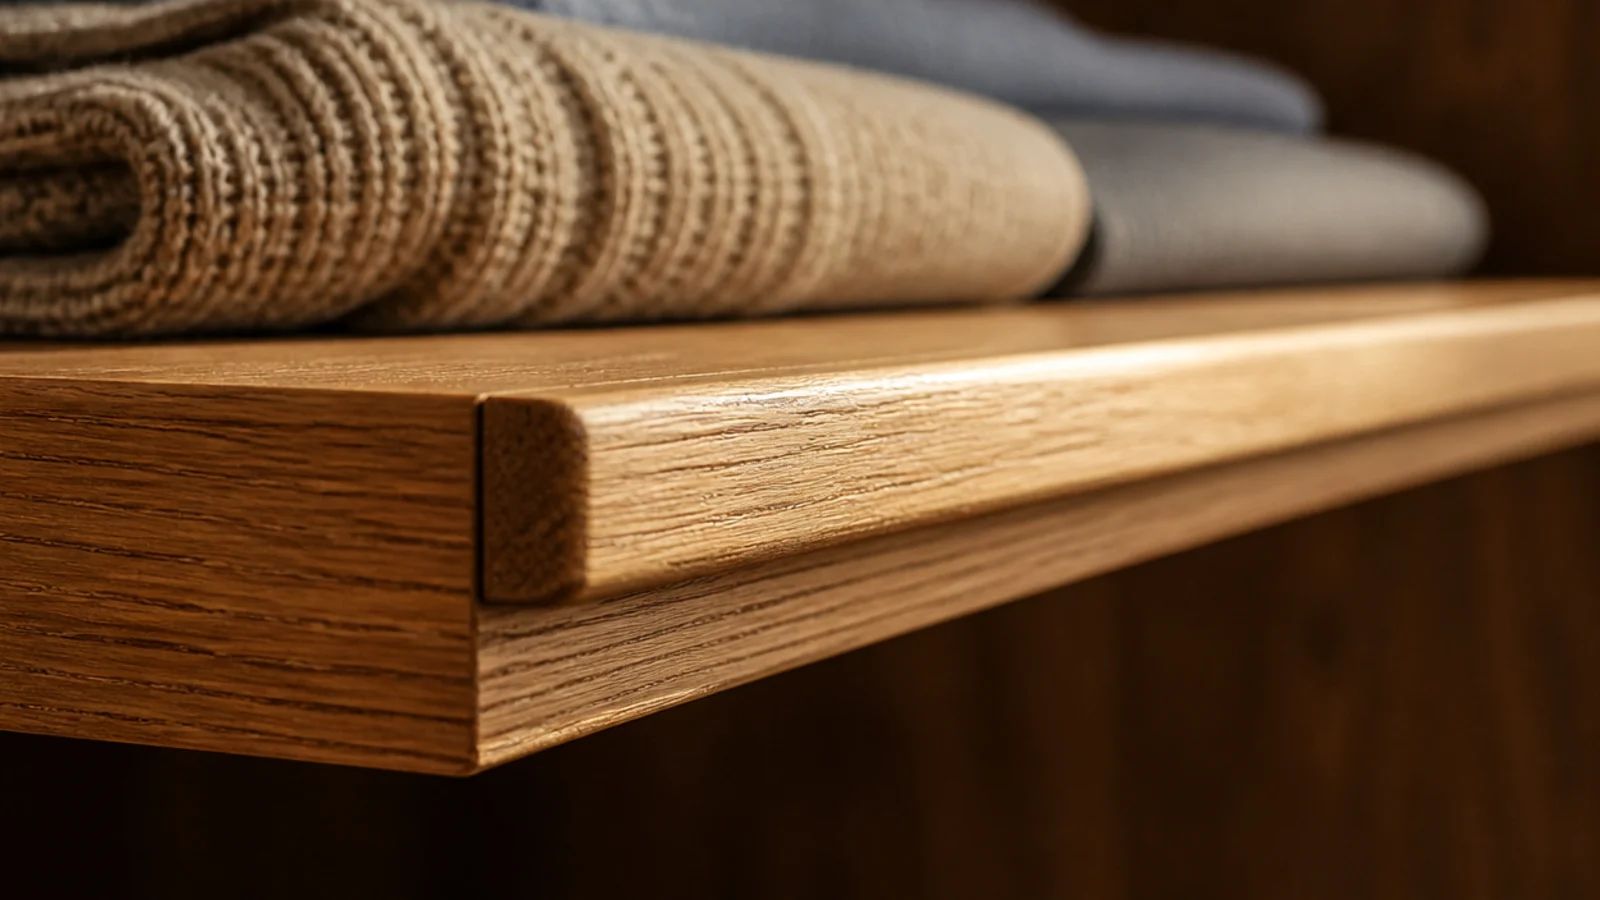
This is the single highest-return detail on the list. A strip of wood 1 inch tall and half an inch thick, glued and pinned along the front edge, turns a plain board into something that reads as joinery.
It costs about $4 a shelf. It also stiffens the board, which buys you a few extra inches of safe span, and it hides an LED strip perfectly. Round the top edge with 220 grit before painting — a sharp machine edge is what makes cheap wood look cheap.
4. Mount adjustable standards behind the shelf line
Slotted standards give you shelves you can move in two minutes, which matters because your first spacing is never your final spacing.
The trick is position. Set the standards so they sit behind the back edge of the shelves rather than in front of them, and the brackets vanish from view at eye level. Standards cost $12 to $22 each; fixed brackets cost $6 a pair and commit you to spacing you will want to change by spring.
5. Paint the shelves the exact wall color
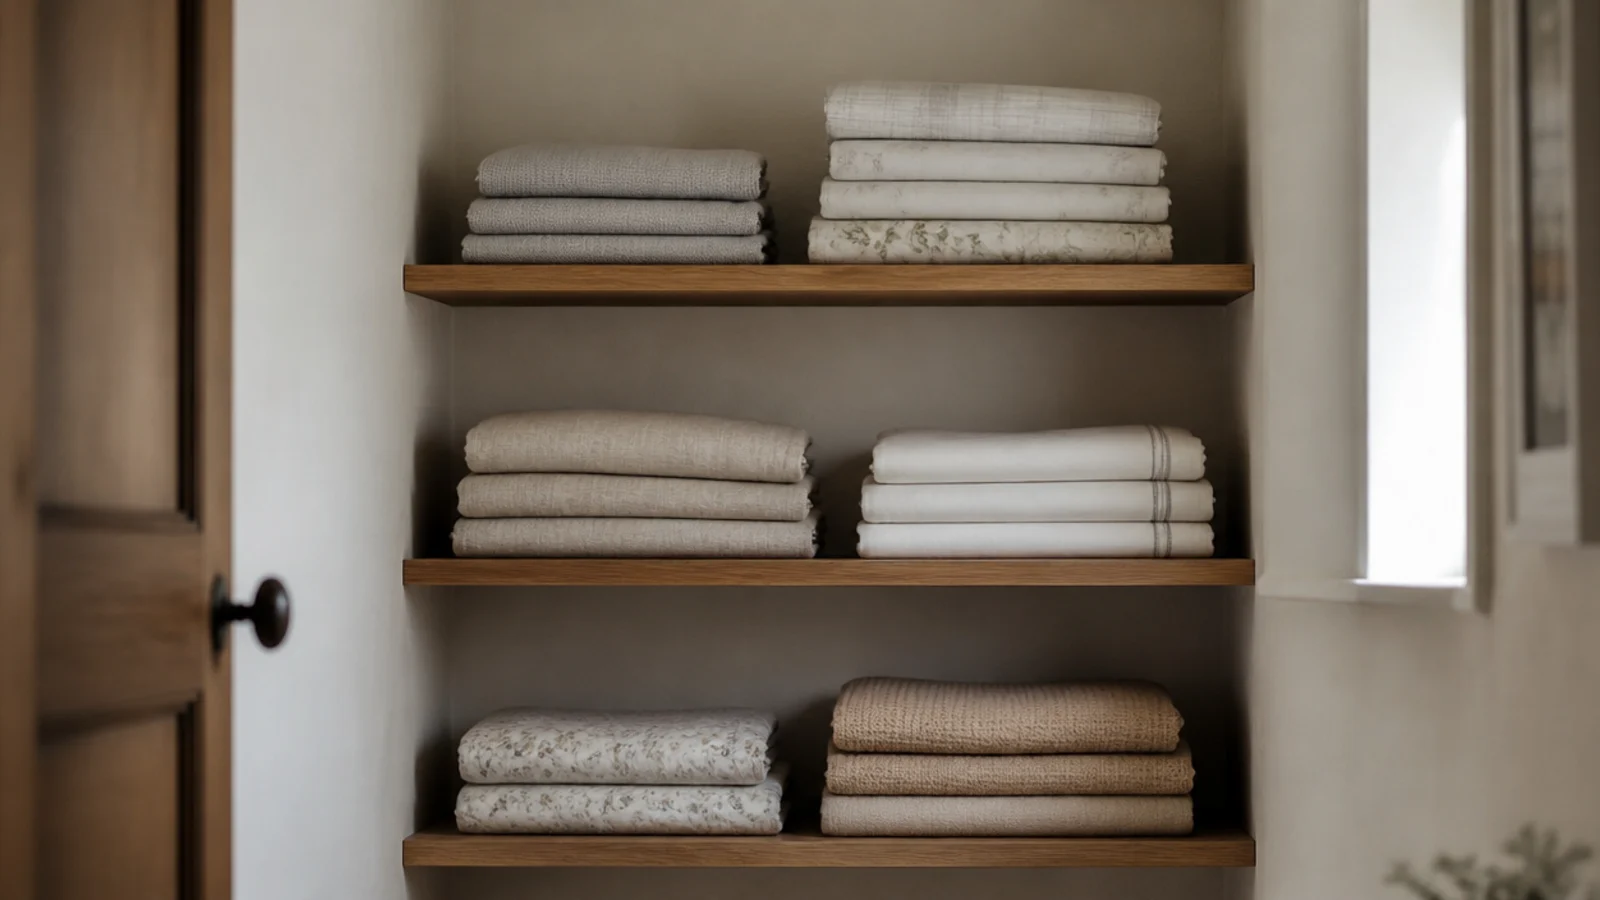
Contrast makes a small closet feel chopped up. One color across walls, shelving and dividers makes the whole thing read as architecture instead of furniture that was carried in.
Use a warm white in satin — it wipes clean and bounces the light you added. If you want the wood to show, then commit fully and stain everything the same tone. What never works is white shelves on a colored wall with a third wood tone in the drawers.
6. Wrap one continuous shelf at 84 inches
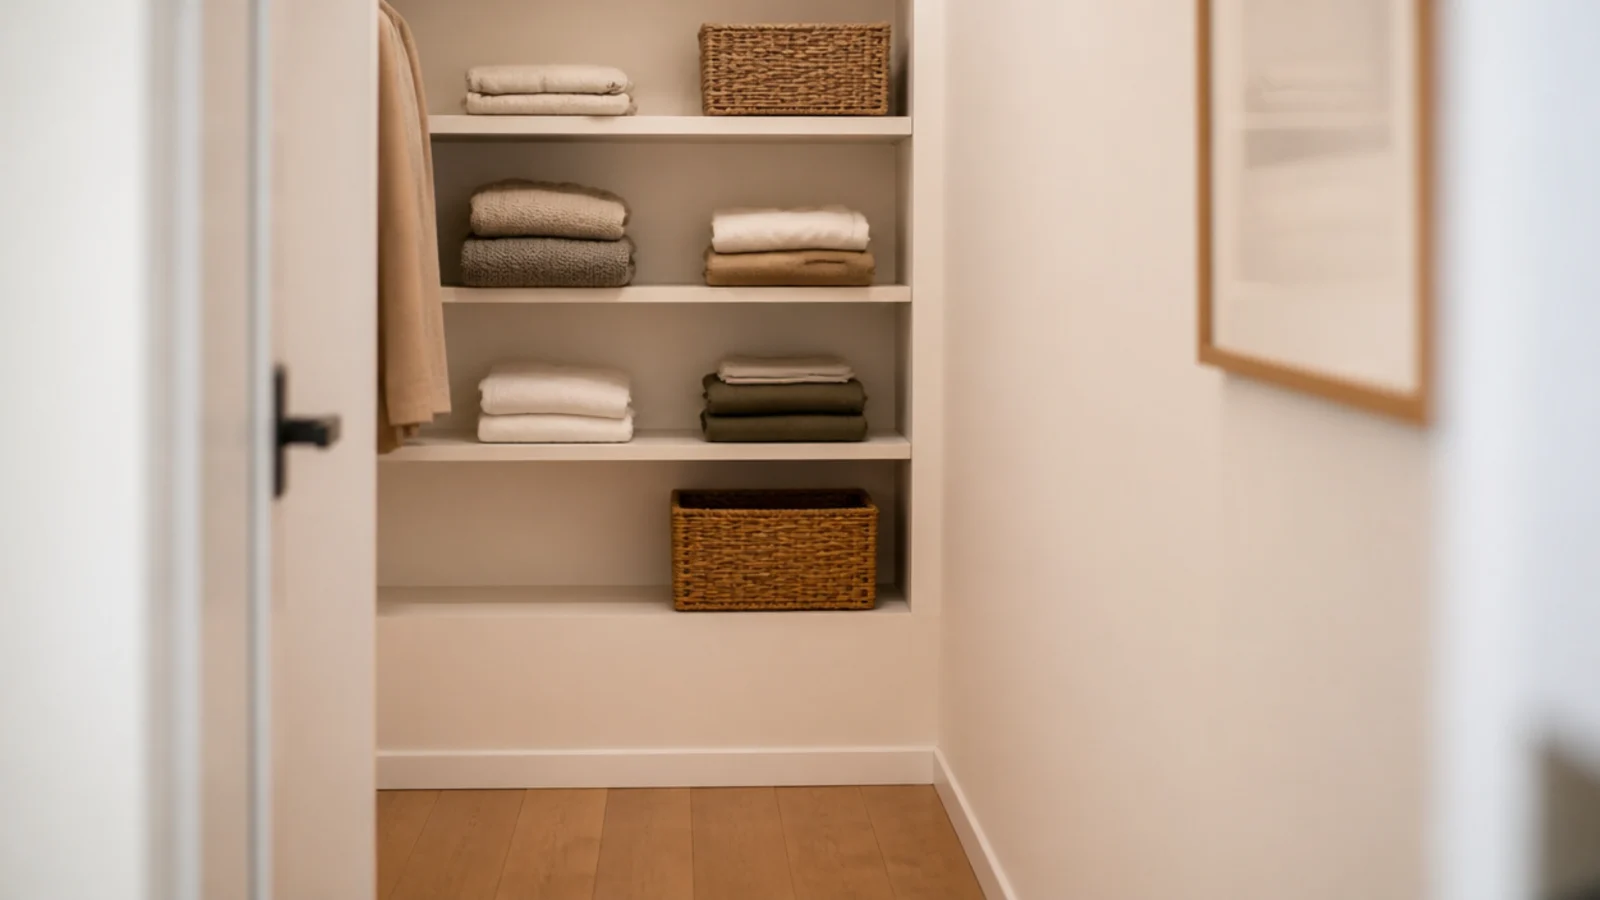
The 12 to 18 inches between the top rod and the ceiling is dead space in almost every closet. One unbroken shelf at 84 inches, running around every wall, converts it and gives the room a single strong horizontal.
Keep it 14 inches deep so it takes real bins rather than dust. The continuity is the point — three short shelves at three heights make a small room feel busy, and one line all the way round makes it feel taller than it is.
7. Break the run every 30 inches
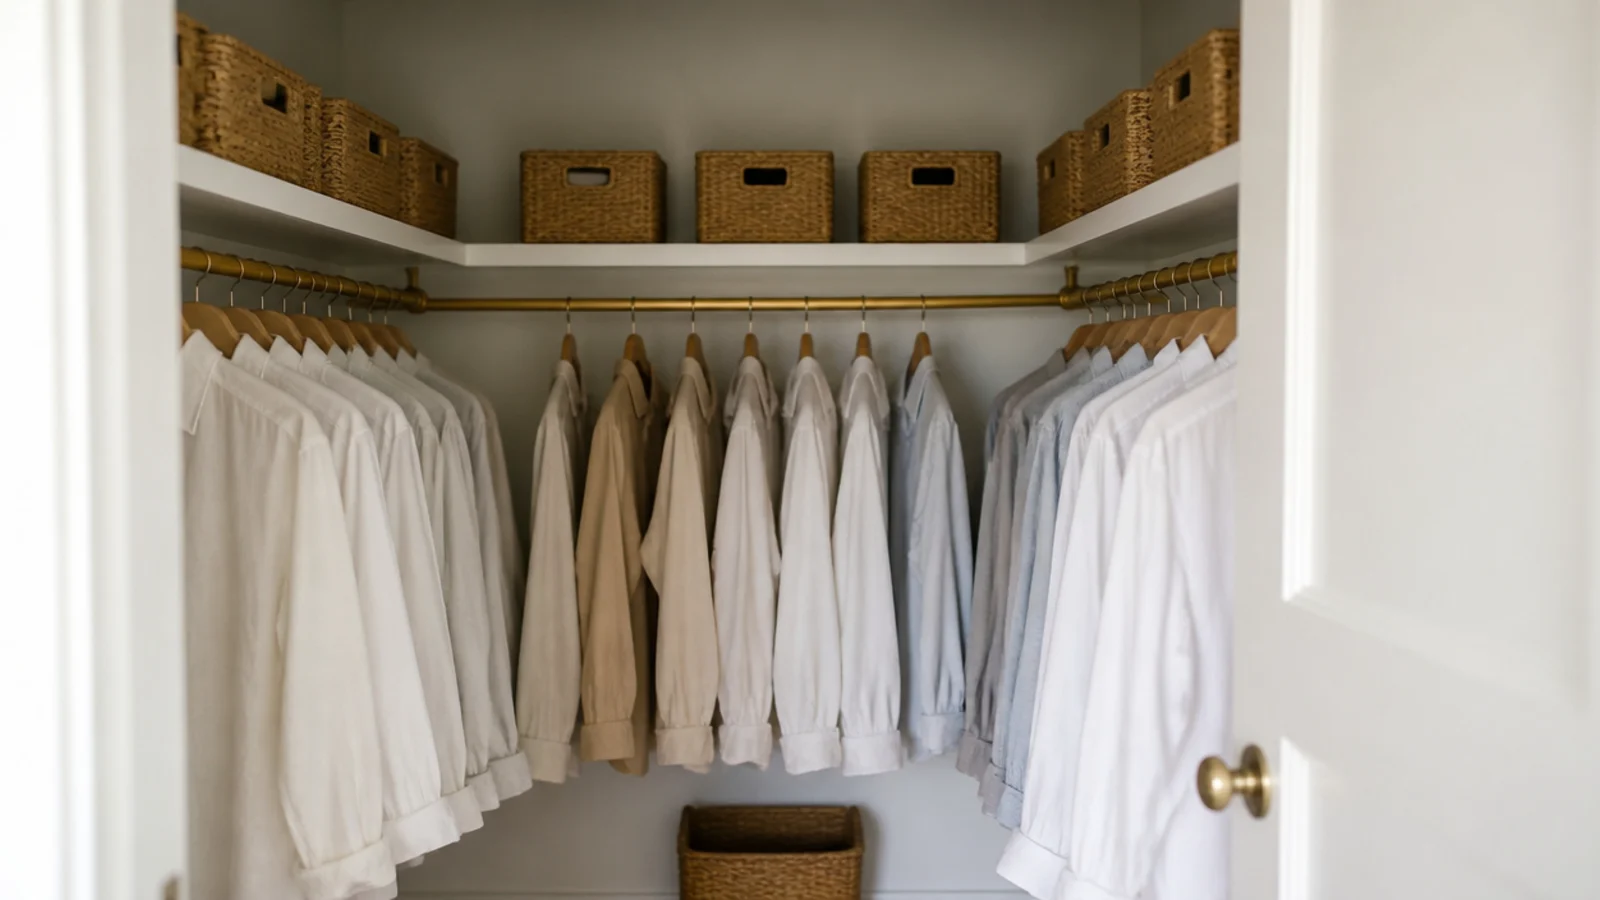
A long open shelf sags in the middle and sprawls at the edges. A vertical divider every 24 to 30 inches solves both at once.
Structurally it splits the span so a three-quarter inch board never bows. Visually it creates bays, and bays are what make storage look considered — each one holds a category, and the divider stops a stack collapsing sideways into its neighbor. Dividers cut from the same board cost almost nothing.
8. Close the gap to the ceiling
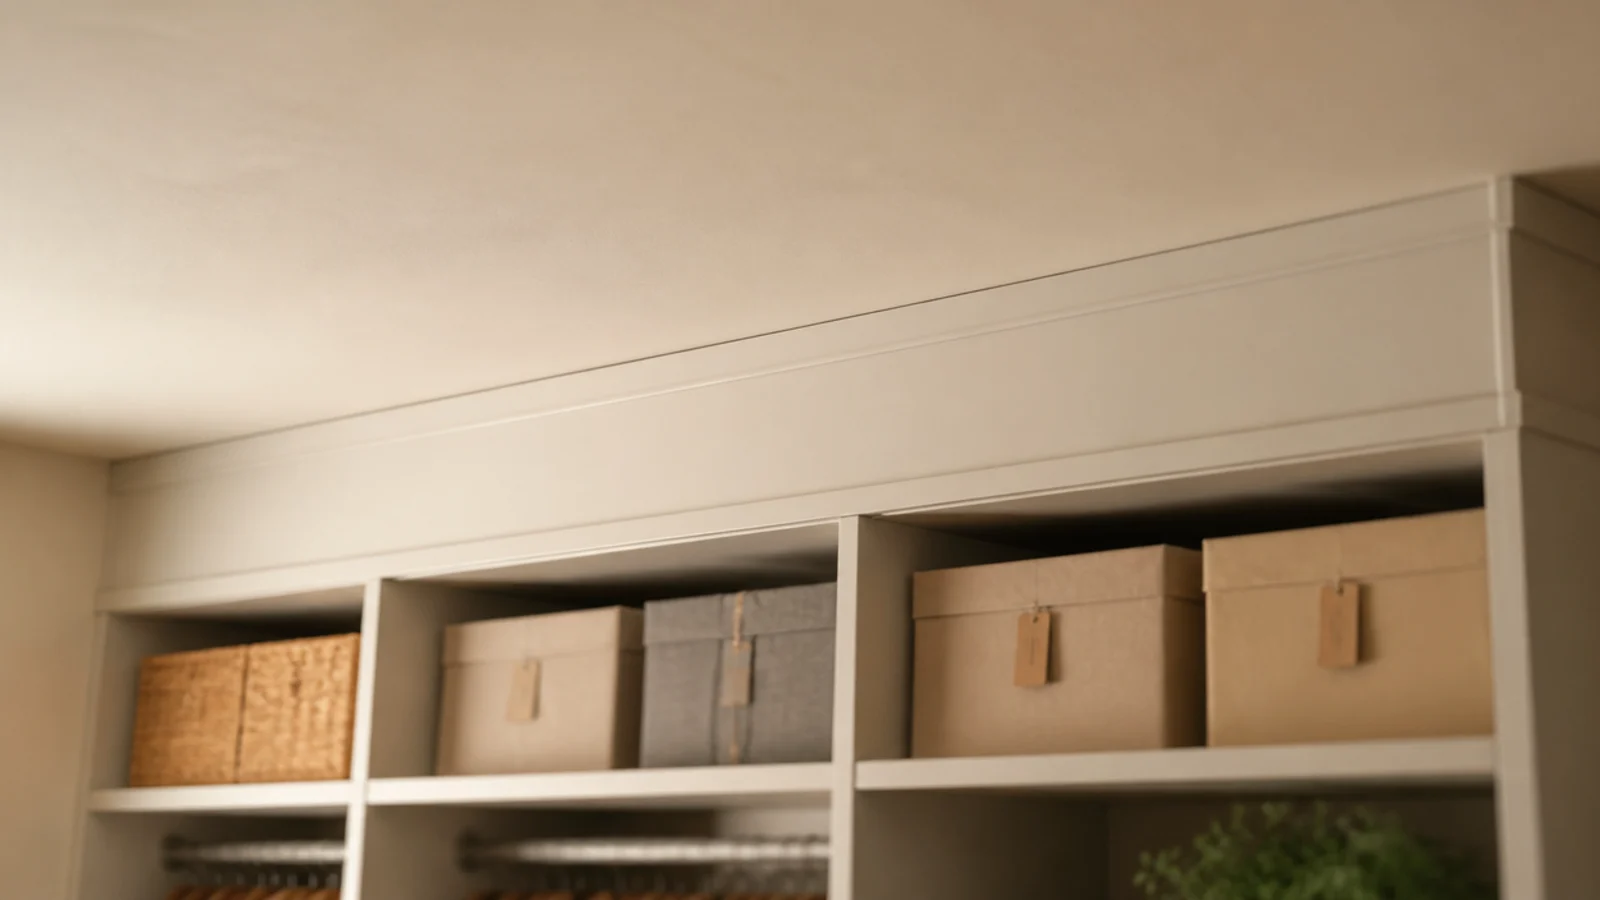
The 6 to 10 inch strip above the top shelf is the loudest signal that a system was bought rather than built. It is also a dust shelf nobody can reach.
Fill it with a painted panel scribed to the ceiling, or run the shelving right up and cap it with a slim trim. In a rental, a strip of foam board painted to match and held with removable adhesive does the same job and comes off cleanly on move-out day.
9. Add a recessed toe kick at the base
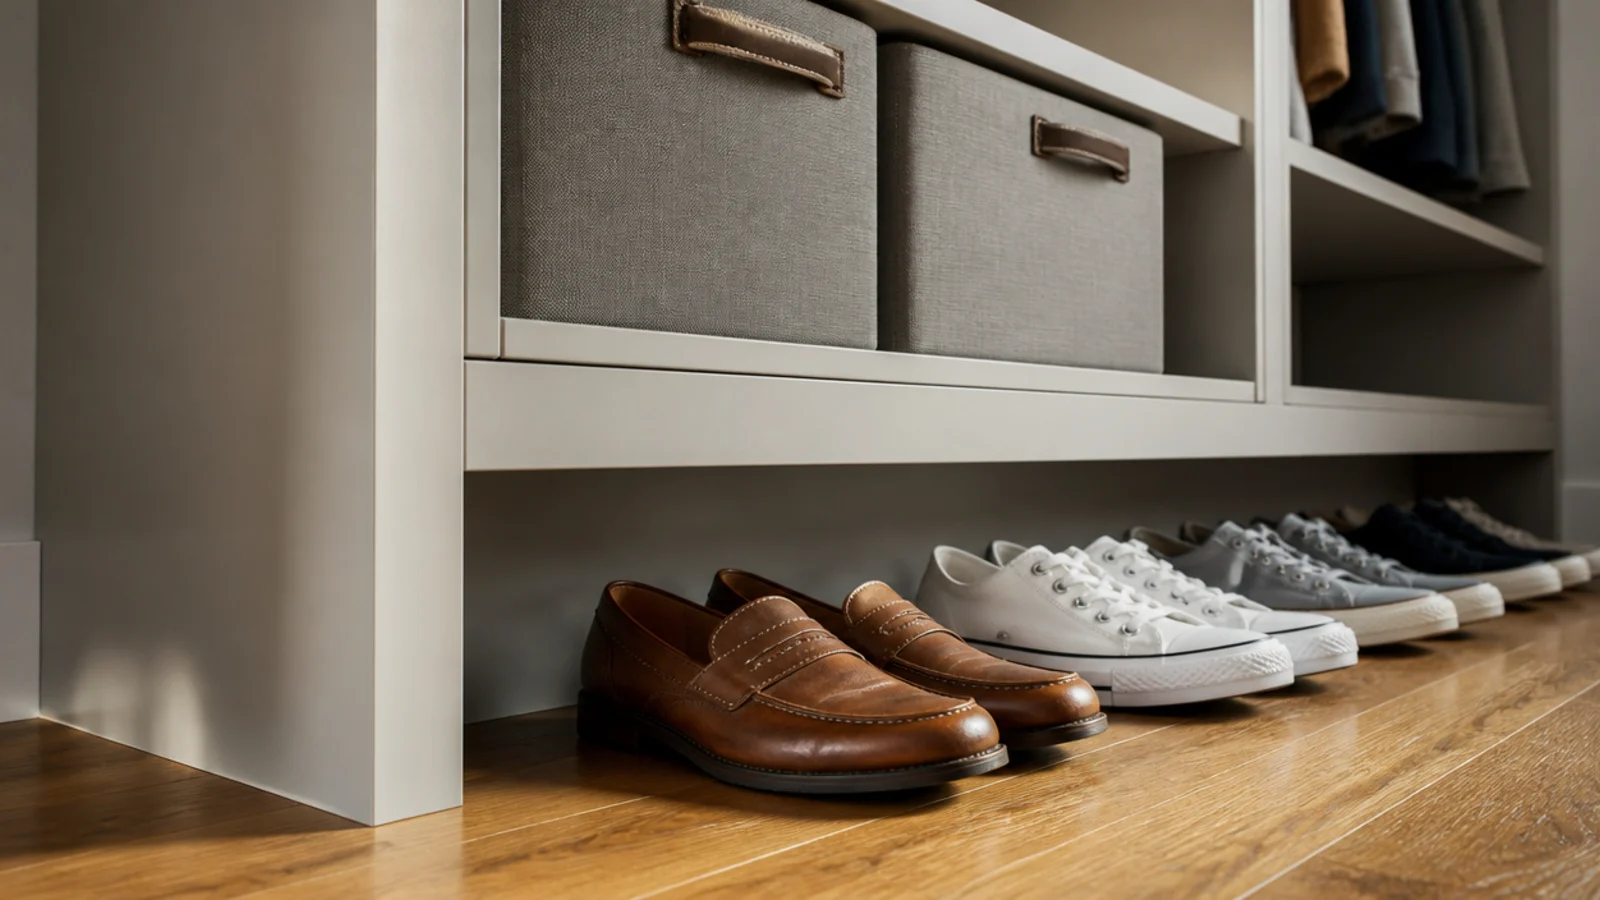
A shelving unit that sits flat on the floor forces you to stand back from it. A 3-inch high, 3-inch deep recess at the base lets your toes go under so you can work right up against the shelves.
It matters most in a closet with a 36-inch walkway, where three inches of standing room is genuinely useful. Paint the recess the same color as everything else so it disappears into shadow instead of drawing a dark line.
10. Pair a brass rod under each shelf
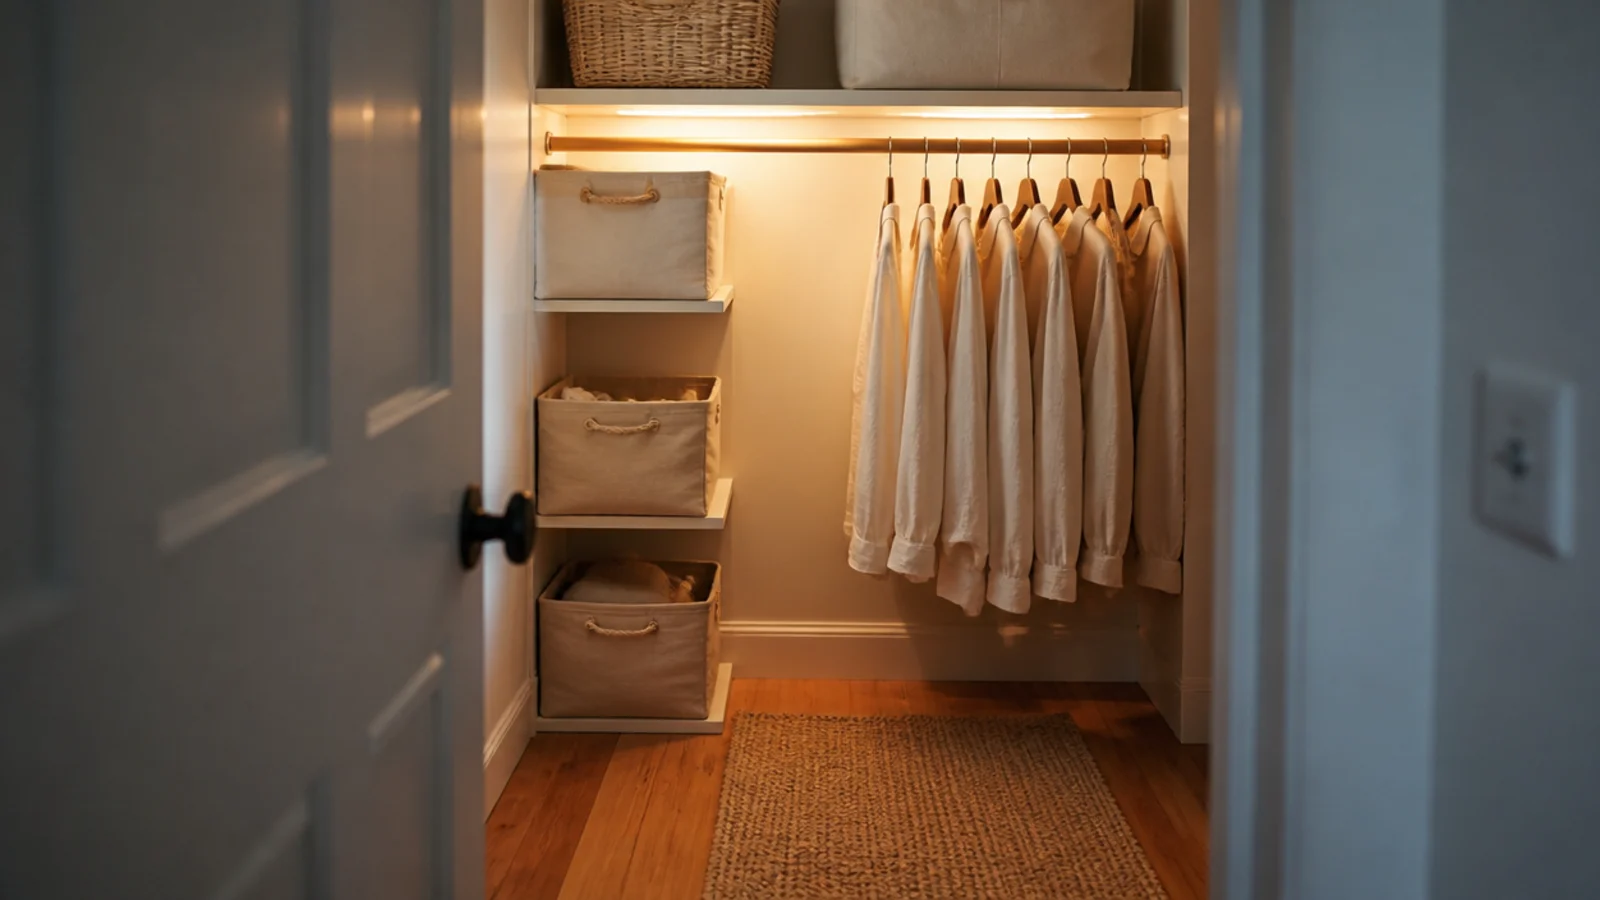
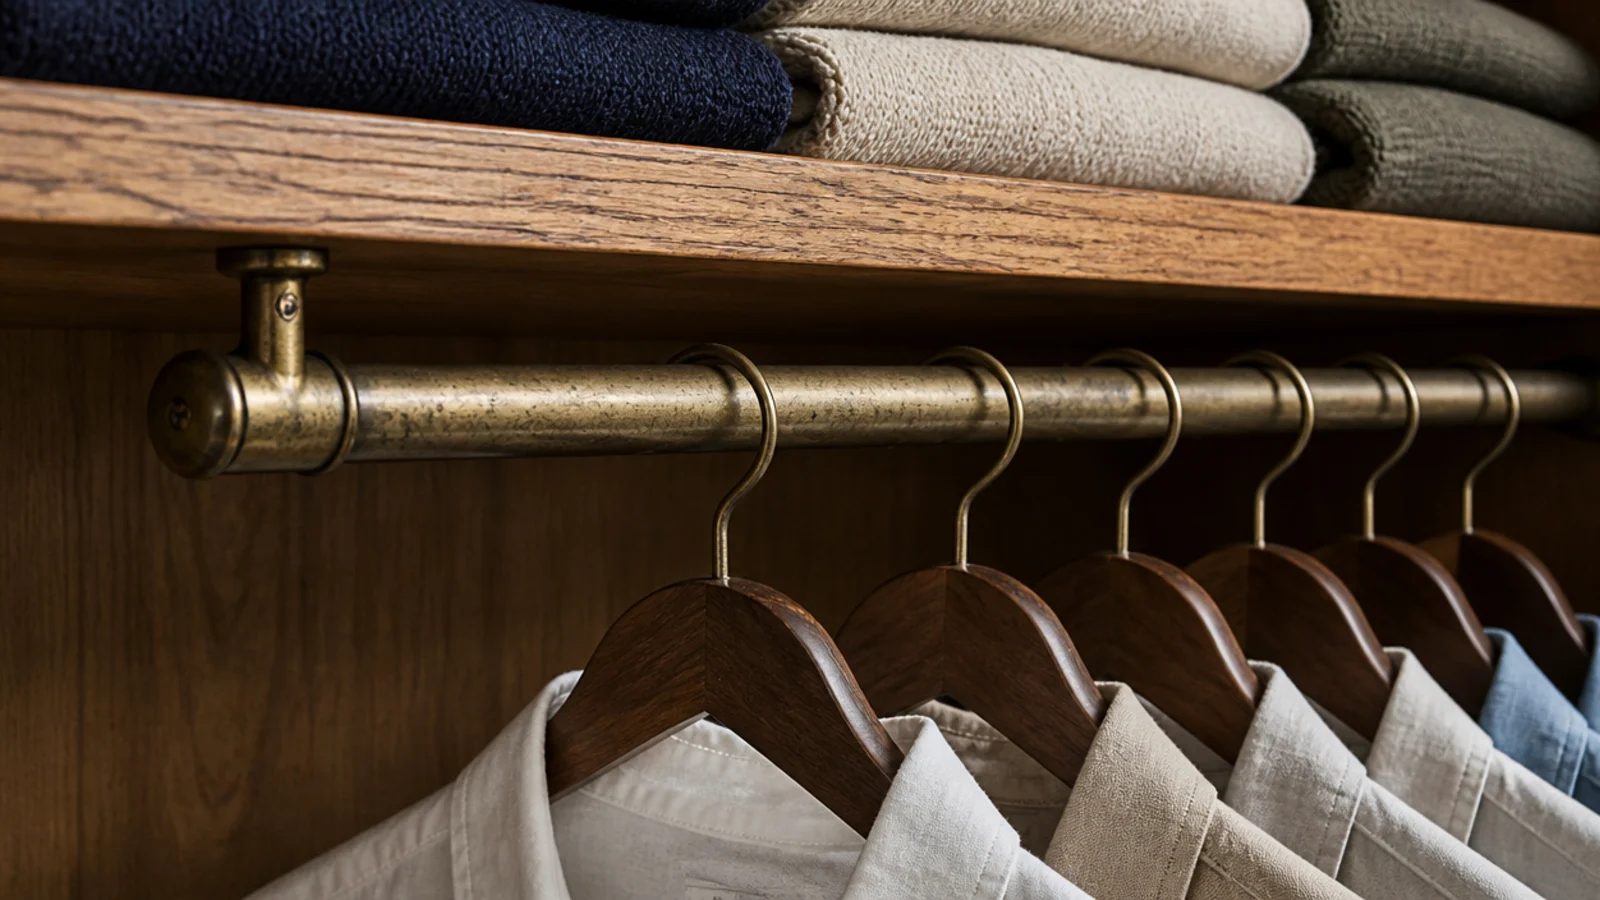
A shelf with a hanging rod fixed directly beneath its front edge is the detail every expensive closet photograph has in common.
Set the rod 2 inches back from the front edge so hangers clear the lip, and leave 24 inches of clear depth in front of the wall for shoulders. Solid brass tube runs $25 to $50 for a 4-foot length, and it develops a patina that painted steel never will. Pair it with brass hooks and stop there.
11. Light every shelf from the front edge
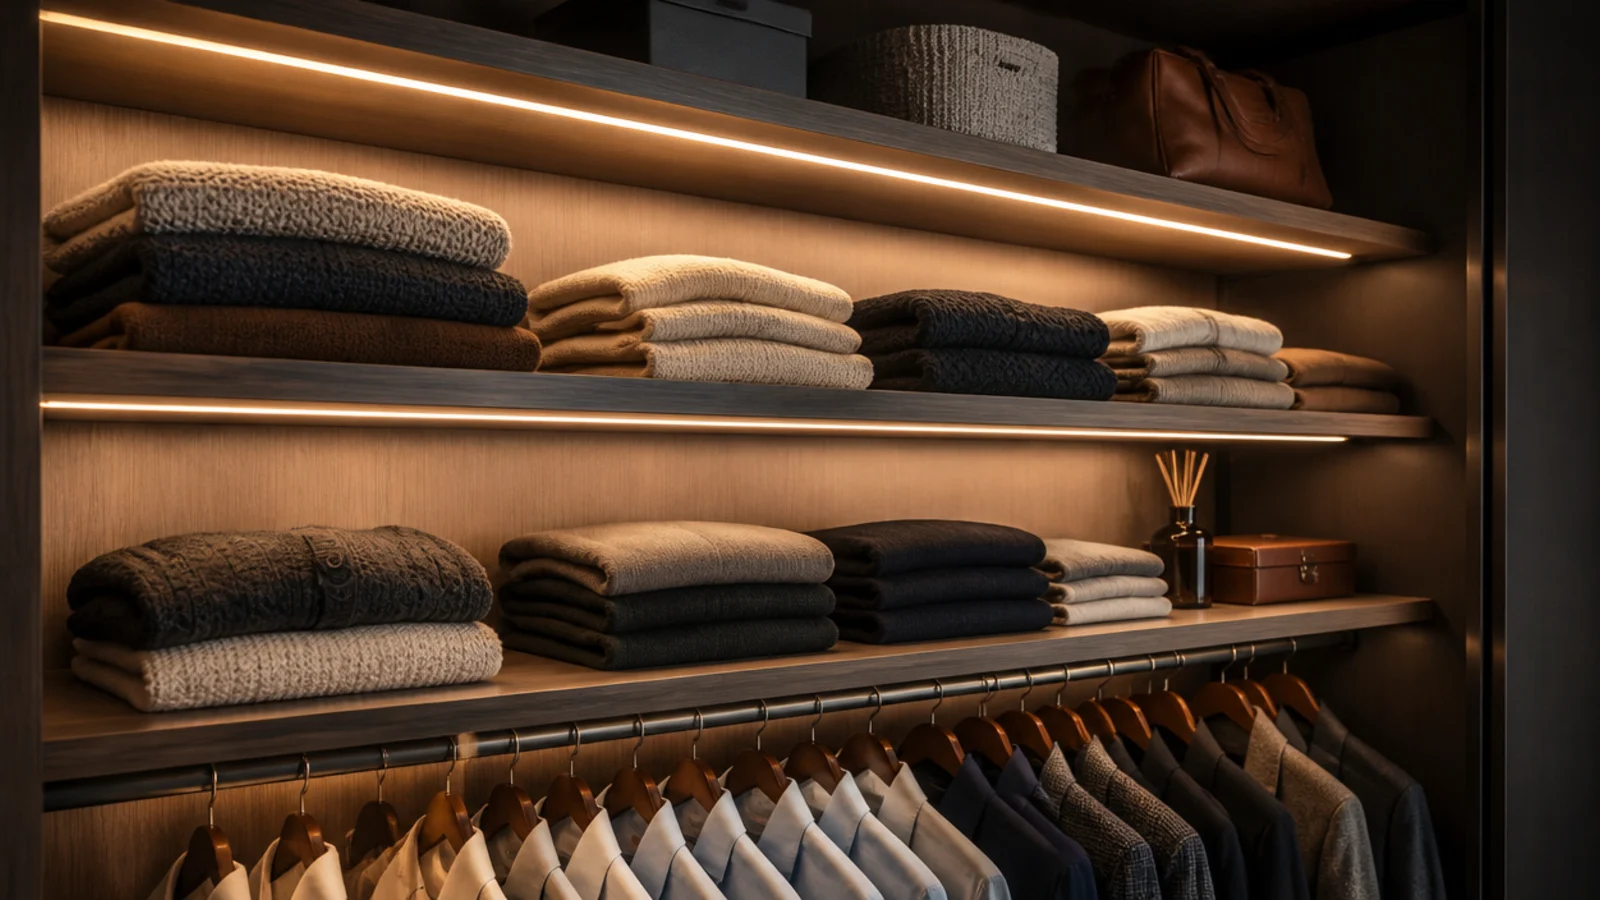
A single ceiling bulb throws your own shadow onto whatever you are looking at. Strips concealed behind each front lip wash light down the faces of the clothes instead.
Use 3000K or warmer at CRI 90 or above — cool white reads navy as black. Rechargeable strips cost $18 to $30 each and stick on with adhesive, so this is a renter-friendly upgrade. Run one per shelf rather than one bright bar in the middle of the ceiling.
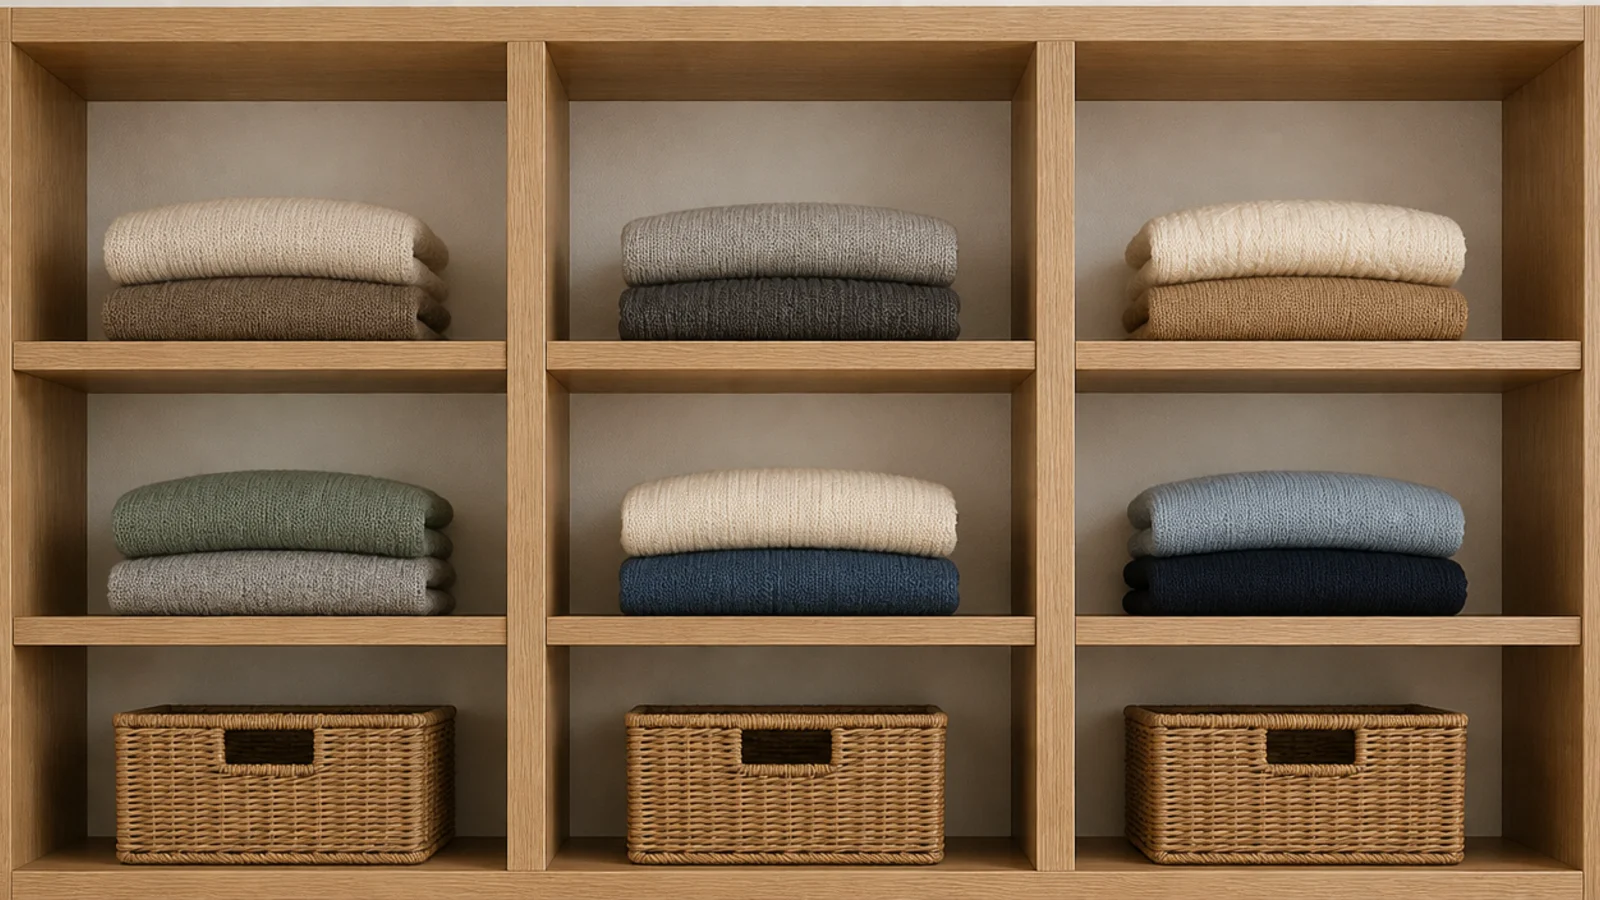
12. Size cubbies to a folded sweater
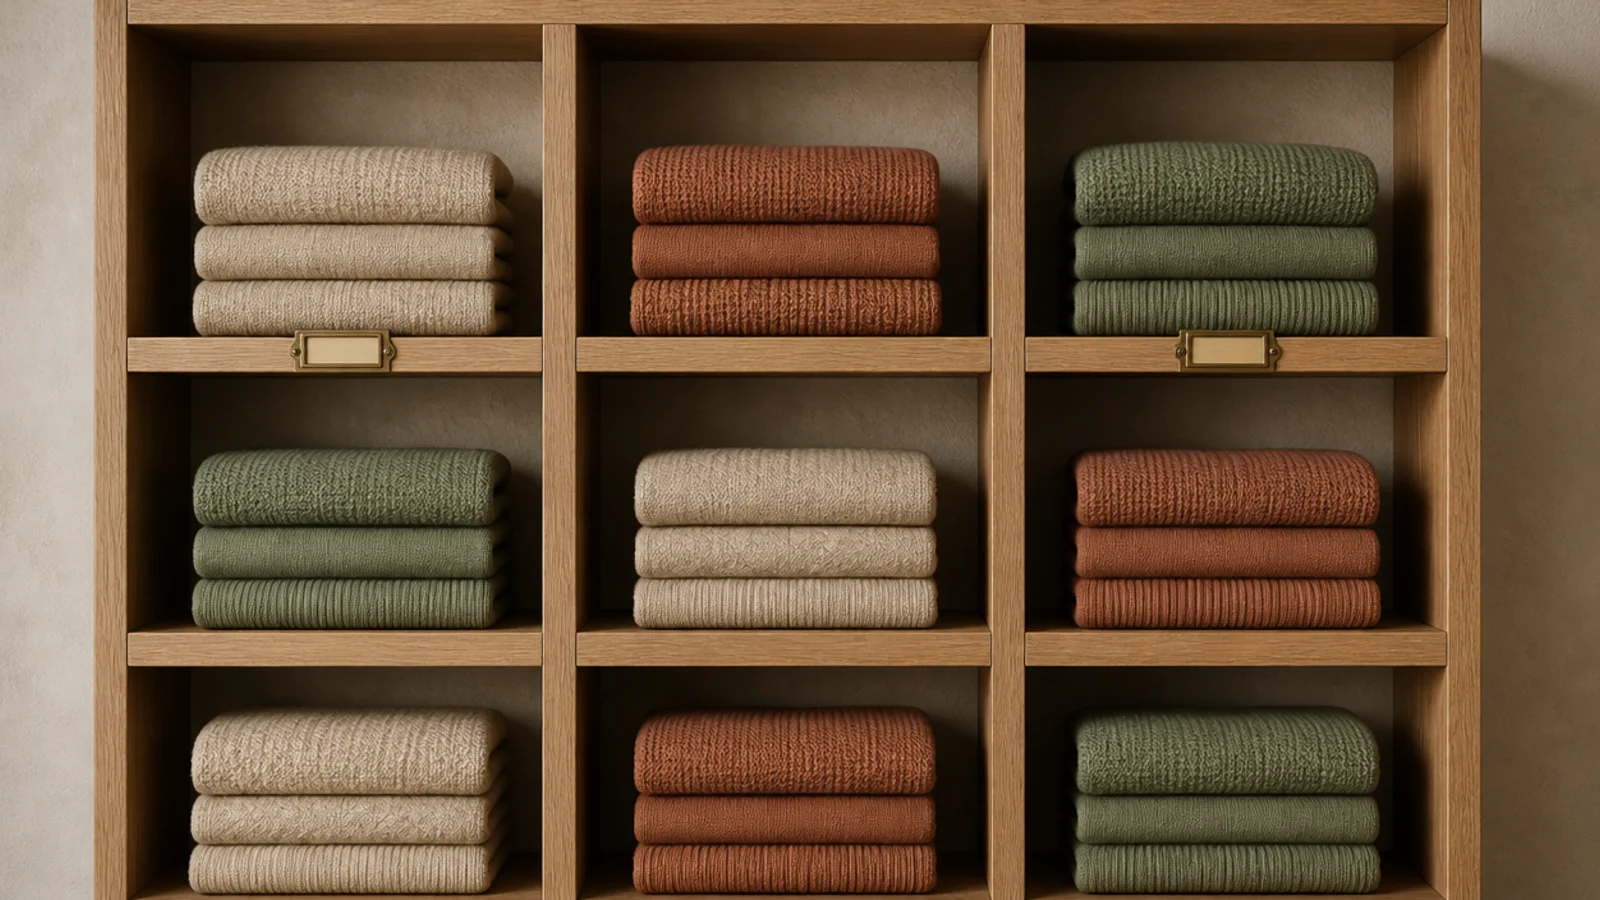
Cubbies at 12 to 14 inches square hold exactly one stack each, which means nothing leans, nothing avalanches, and every category has an obvious home.
Six cubbies replace a chest of drawers in a closet too narrow for one. Build them from the same board as the shelves with vertical dividers on 13-inch centers. Add a small brass label frame per cubby if you share the closet — it settles arguments before they start.
13. Angle the shoe shelves and add a lip
Flat shoe shelves show a row of toes. Tilt them about 10 degrees with a slim retaining lip along the front and you see the whole shoe, which turns storage into display.
Ten inches of depth is plenty. Space them 7 inches apart for flats, 9 for heels, 13 for tall boots. Four shelves on a 40-inch end wall hold roughly 16 pairs — see small walk-in closet organization for how to sort what goes where.

14. Put open drawer boxes at knee height
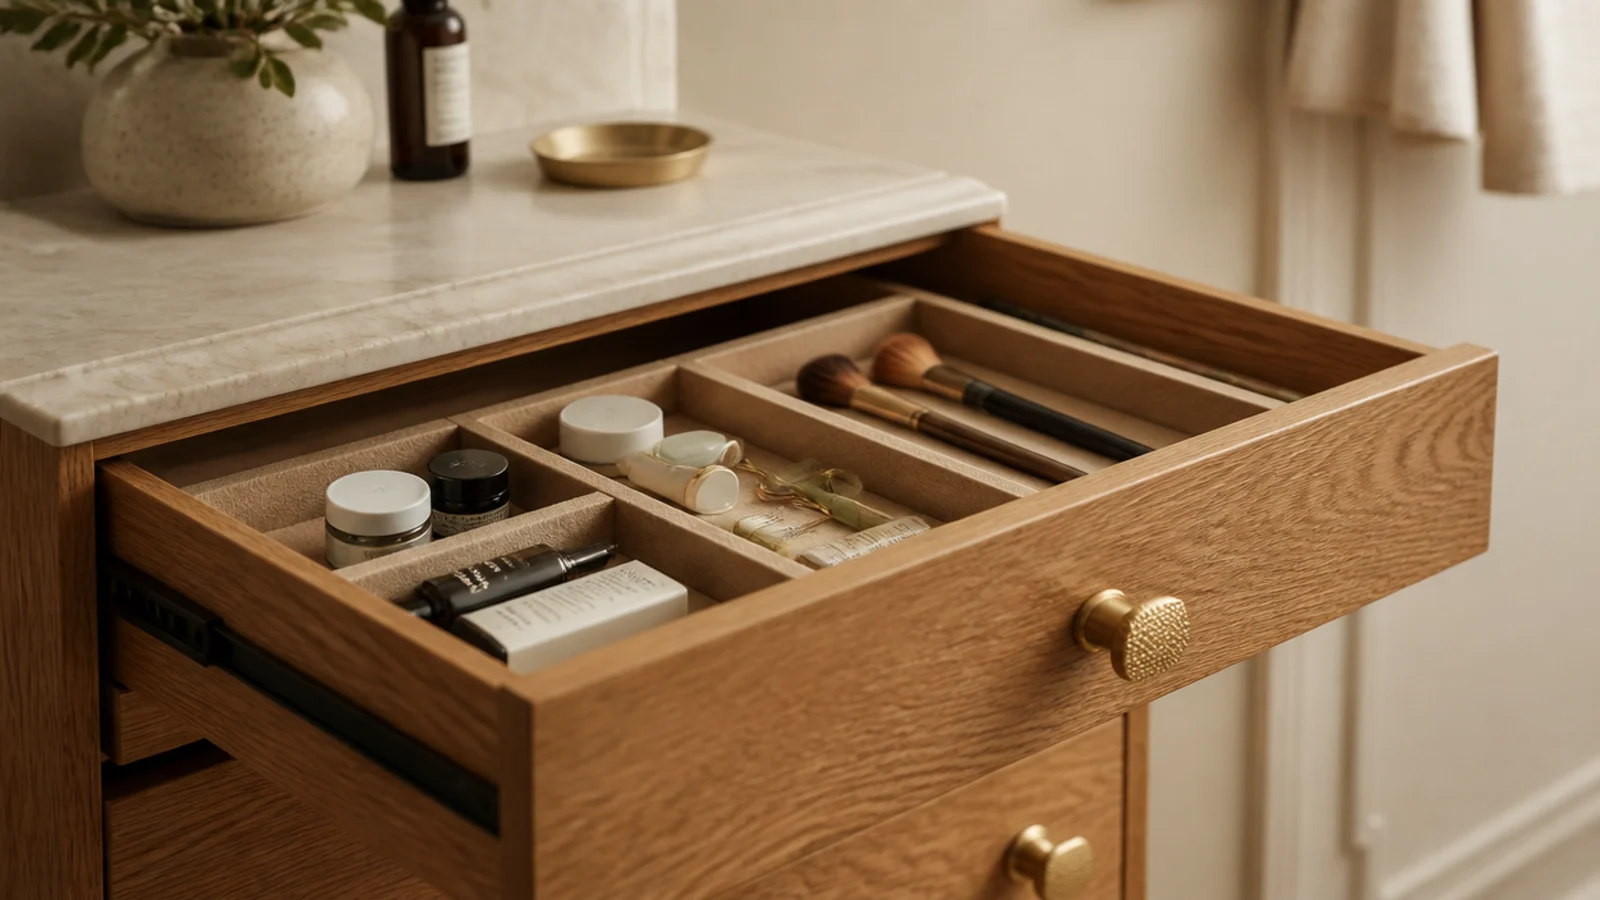
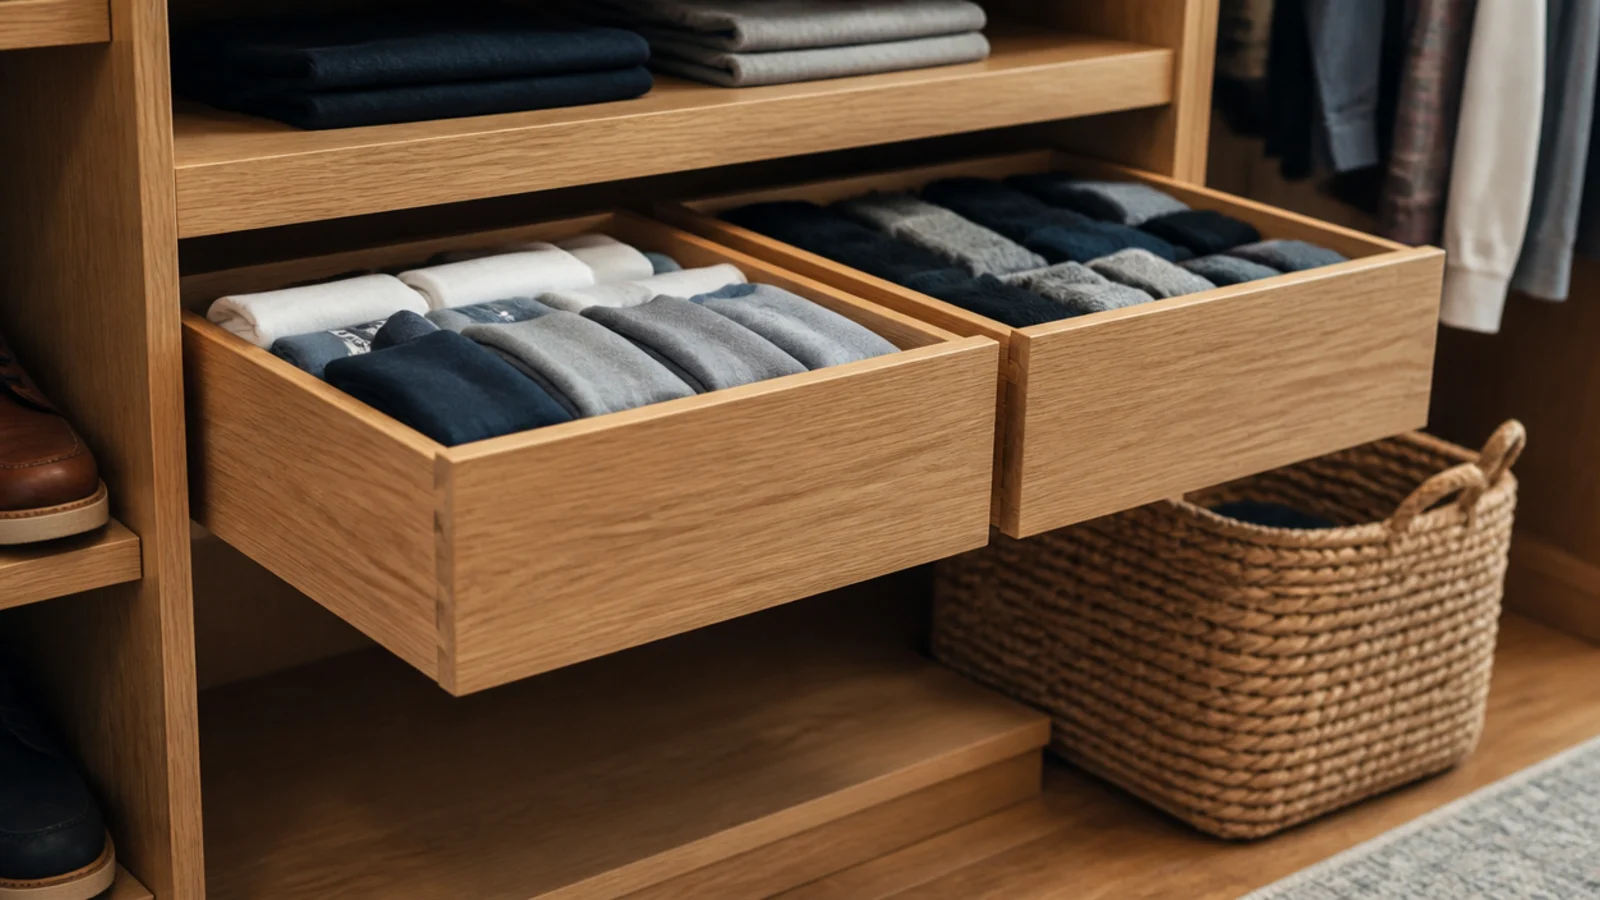
Between 18 and 30 inches off the floor is awkward for hanging and perfect for drawers. Open boxes on runners are cheaper than fitted drawers and easier to reach into.
Keep them 6 inches deep for socks and underwear, 8 to 10 for tees filed on edge. Line the bottoms with a scrap of linen. The same principle that keeps a vanity organized applies here: shallow, divided and visible beats deep and stacked.
15. Limit yourself to two finishes
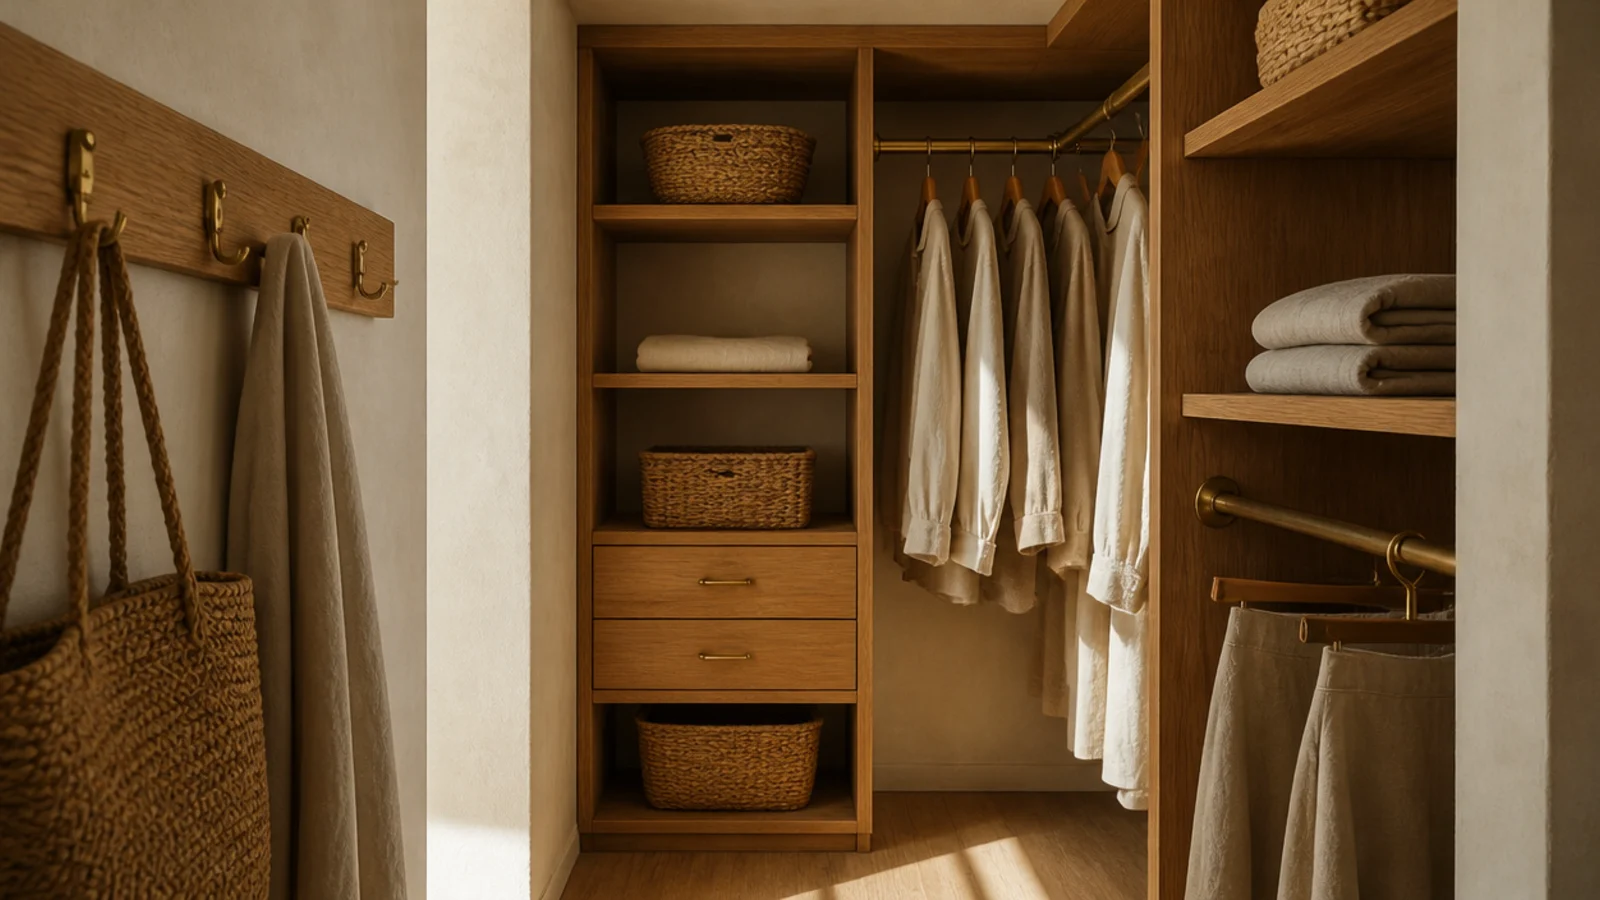
Pick two — warm oak and brass, or warm white paint and brass — and repeat them across shelves, rods, hooks and handles.
Every closet that looks expensive online is doing this, and every closet that looks cluttered has four finishes fighting. Baskets count as a finish, so choose one weave and stick to it. This costs nothing at all and it is the difference between a room that feels styled and one that feels accumulated.
Mistakes to Skip
- Running an unsupported shelf past 30 inches in solid wood, or 24 in melamine. It will bow under folded denim, and a sagging shelf undoes every other detail on this list.
- Mixing shelf depths down one wall. Three depths in one run reads as a series of repairs, however neatly each shelf was installed.
- Leaving the gap between the top shelf and the ceiling open. It collects dust nobody can reach and it announces that the shelving was bought in a box.
Frequently asked questions
How deep should closet shelves be?
Twelve to fourteen inches suits folded knits, jeans and handbags, because a folded sweater is roughly 12 inches square. Deeper shelves hide a second row behind the first and you forget what is back there. Shallower ones let stacks overhang and slump. Shoe shelves can drop to 10 inches when you tilt them slightly.
How far apart should closet shelves be?
Set 10 inches of clear height for folded knits, 12 to 14 inches for bins and handbags, 7 inches for flats and sneakers, 9 for heels and 13 for tall boots. Adjustable standards let you change your mind, which matters because the first spacing you choose is almost never the one you keep.
How long can a closet shelf span without sagging?
Three-quarter inch solid wood handles about 30 inches between brackets with folded clothing on it. Melamine and particle board sag past 24 inches under the same load. If you need a longer run, add a center bracket or a vertical divider, which also breaks the shelf into sections that look intentional.
What makes closet shelving look custom instead of cheap?
Four details: a slim front lip on every shelf, standards mounted so the hardware sits behind the shelf line, shelves painted the exact wall color, and a filler panel closing the gap to the ceiling. None of them costs much. Together they remove every visual tell that a system arrived flat-packed.
Is wire or wood shelving better in a small closet?
Wood looks better and holds small items; wire is cheaper and cuts to any length in minutes. If the budget says wire, add a rigid liner at about $10 a shelf and a thin wooden lip along the front edge. That combination behaves like solid shelving and costs a fraction of the price.
If you only do three of these, make them the front lip, the single paint color, and lighting at the shelf edge — together they cost under $80 and change how the whole room photographs. For the build itself, the twenty-step closet project covers mounting and spans, and small walk-in closet layout works out where the shelving should go before you cut anything. Save the pin below so the depths and spans stay with you.
Want more like this? Browse all 15 small walk-in closet ideas guides — they all use the same measurements and budget tiers.
Pin it for later
Save this to your Small Walk-In Closet Ideas board
Pin it now so it is waiting for you when the tape measure comes out — and so the next person hunting for this idea can find it too.
Save this pinKeep going
More ideas worth saving while you have the tape measure out.