Small Walk-In Closet Ideas · Listicle
30 Simple Small Walk-In Closet Ideas on a Budget

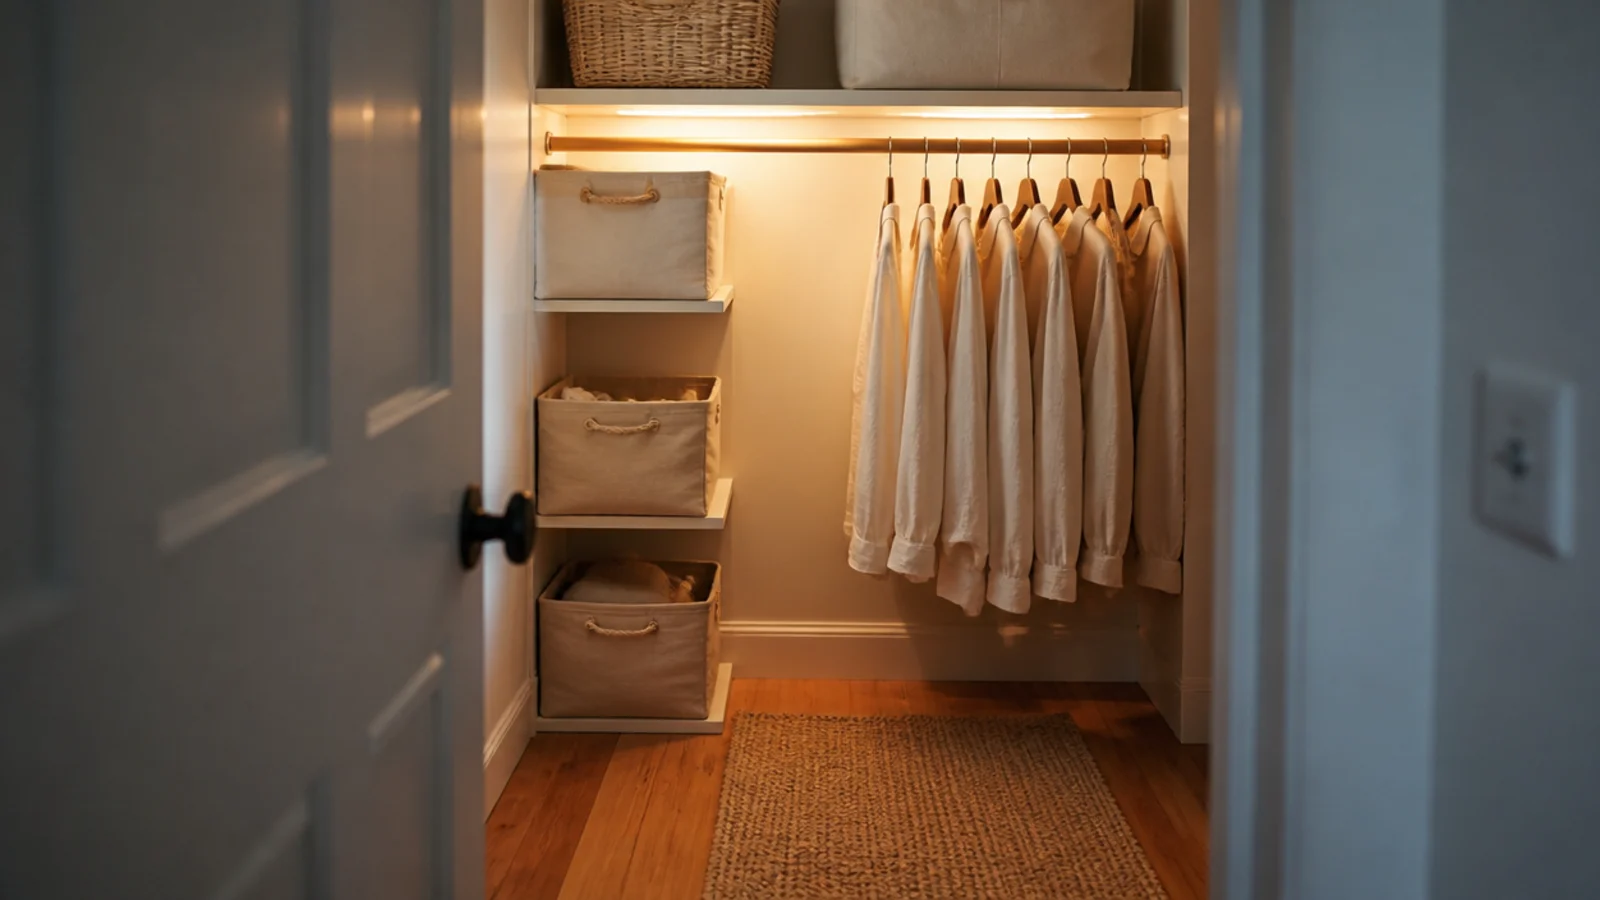
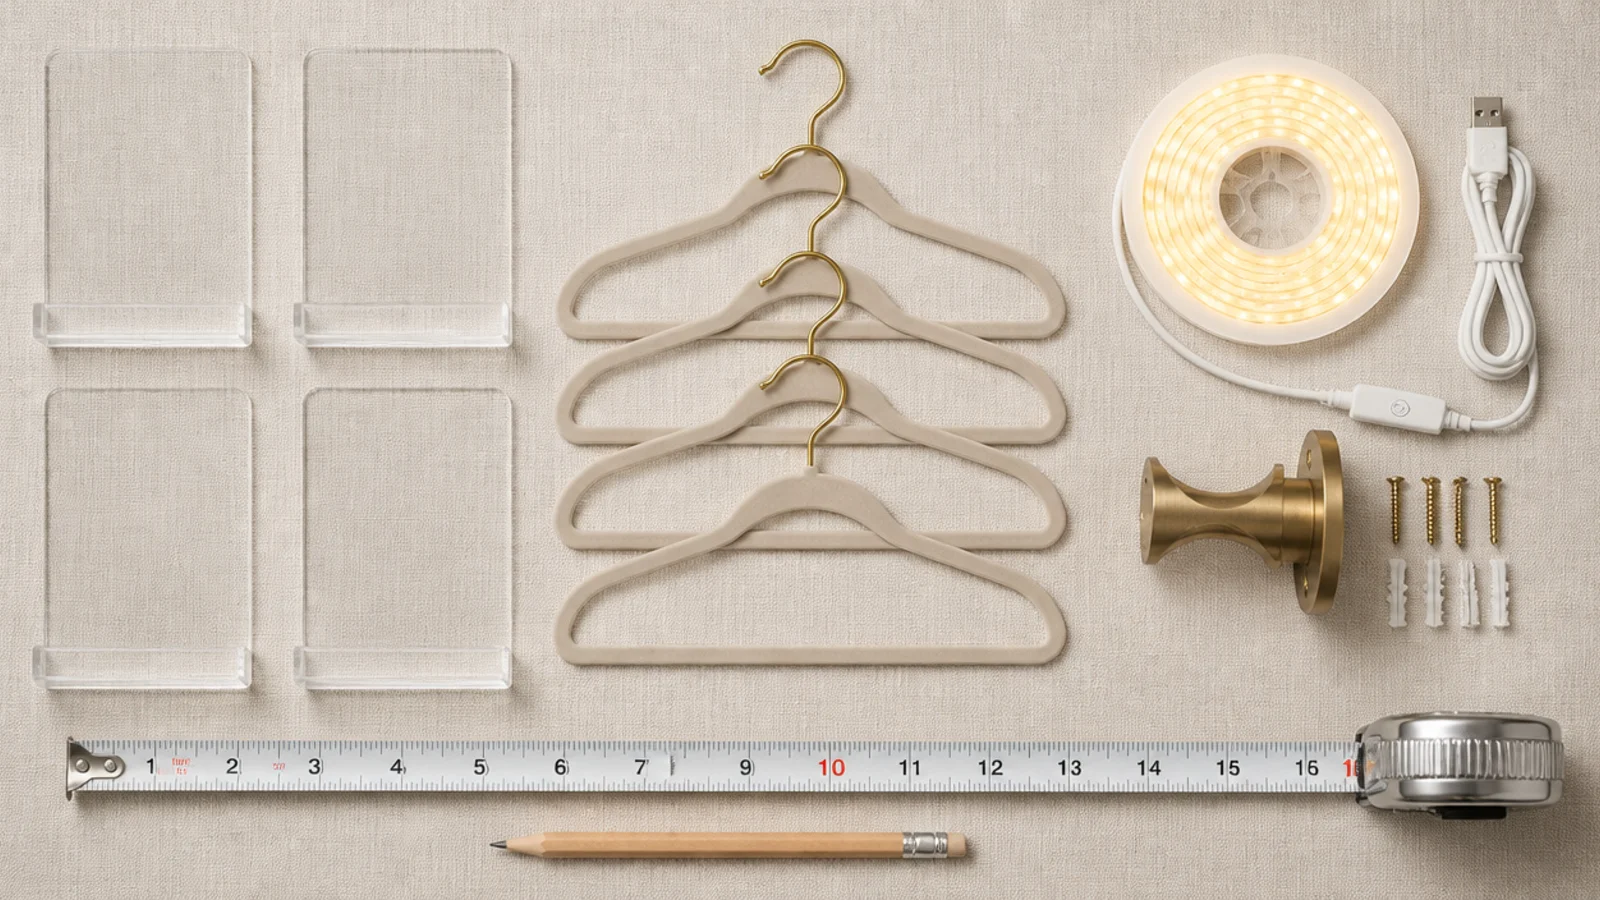
A budget walk in closet is mostly about spending in the right order. I have redone three of these for under $200 each, and every time the money went to the same four things before anything decorative: light, a second rod, dividers, and matching hangers. Everything below stays under $60 a line, and most of it is under $25.
In this guide32 sections — tap to openHide
- 1.What a budget walk in closet actually needs first
- 2.Add a second rod at 42 inches
- 3.Tension-rod a dead bay
- 4.Hang a canvas shelf tower
- 5.Fit an over-door shoe rack
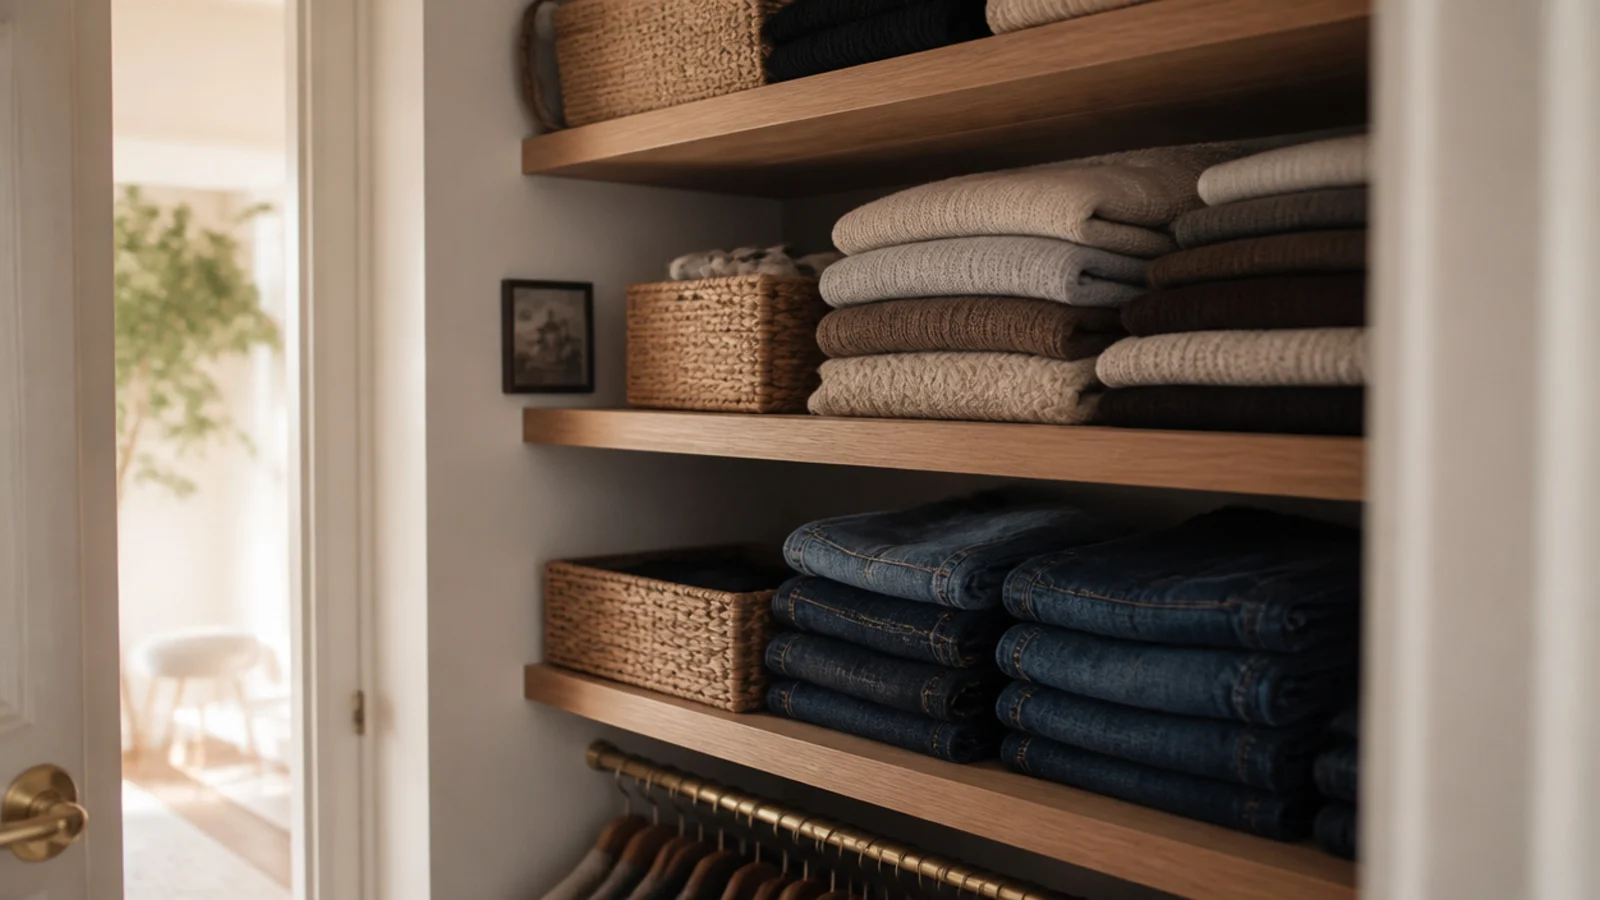
- 6.Slot in shelf dividers
- 7.Switch to slim velvet hangers
- 8.Stick on a rechargeable LED strip
- 9.Add peel-and-stick hooks
- 10.Cut your own drawer dividers
- 11.Turn shoe boxes into shelf bins
- 12.Paint the interior warm white
- 13.Take the door off entirely
- 14.Hang a curtain instead
- 15.Thrift a narrow chest of drawers
- 16.Start with a wire kit
- 17.Let the store cut your boards
- 18.Choose adjustable standards over fixed brackets
- 19.Put a pegboard on the end wall
- 20.Stack storage cubes into a tower
- 21.Use a wooden crate for boots
- 22.Repurpose a shower rod as a valet rail
- 23.Rack belts on the door back
- 24.Drop in cedar blocks
- 25.Thrift a full-length mirror
- 26.Add a wooden lip to wire shelves
- 27.Line the shelves
- 28.Vacuum-bag the off-season bulk
- 29.Swap the ceiling bulb for a warm high-CRI one
- 30.Buy secondhand baskets in one material
- 31.Upgrade in $40 stages
- 32.Mistakes to Skip
What a budget walk in closet actually needs first
Fix the light before you buy a single bin. A cool white bulb reads navy as black and turns warm neutrals muddy, so you dress in the closet and find out in the parking lot. A 3000K bulb at CRI 90 or above costs about $6.
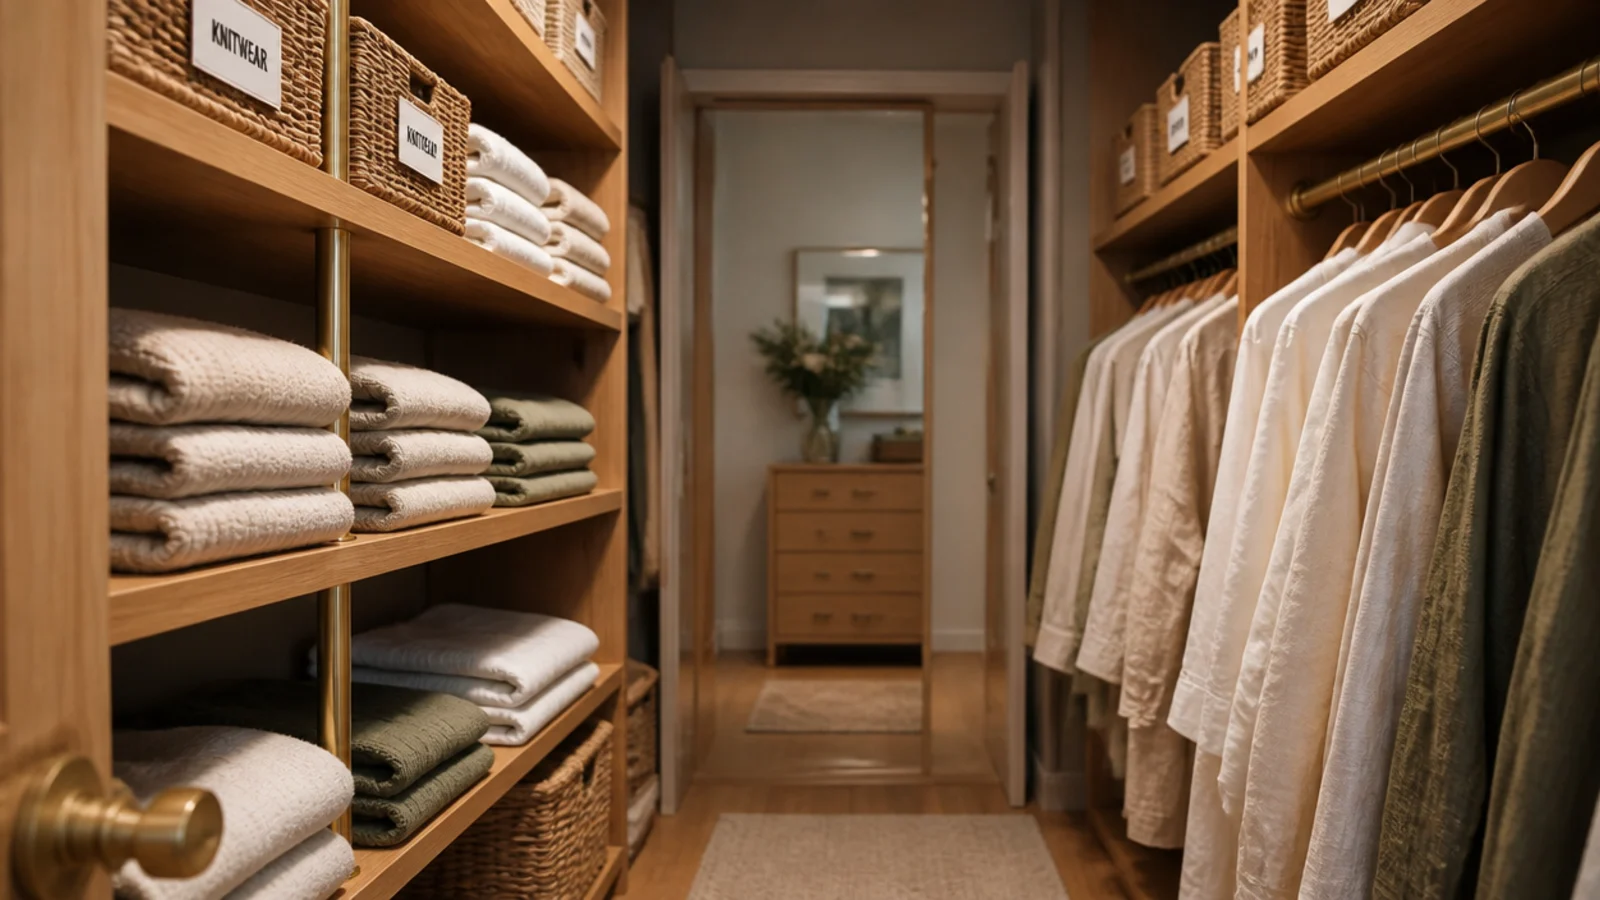
Then add hanging. A rod at 42 inches under an existing rod at 84 inches roughly doubles what a wall holds, because shirts, jackets and folded-over trousers all live comfortably in half a wall each. A single high rod at 66 to 72 inches wastes the entire floor half.
The structural numbers do not bend for a budget. A rod needs 24 inches of clear depth, since a shoulder on a hanger is about 22 inches across. A walkway needs 36 inches, 30 at the absolute squeeze. Shelves want 12 to 14 inches for folded knits. Under 5 feet of room width, drop the walkway entirely and build one deep reach-in wall.
Tiers for what follows: under $30 a line is ($), $30 to $120 is ($$), and the full wire or modular systems at $80 to $400 sit at ($$$) for a project like this.
1. Add a second rod at 42 inches
The single highest-value upgrade in any closet. A double-hang kit — two brackets and a rod — runs $25 to $70 and installs in an hour.
Measure your longest shirt first; most hang 36 to 40 inches and clear the lower rod easily. Screw the brackets into studs, not drywall plugs, because a loaded rail passes 40 pounds fast.
2. Tension-rod a dead bay
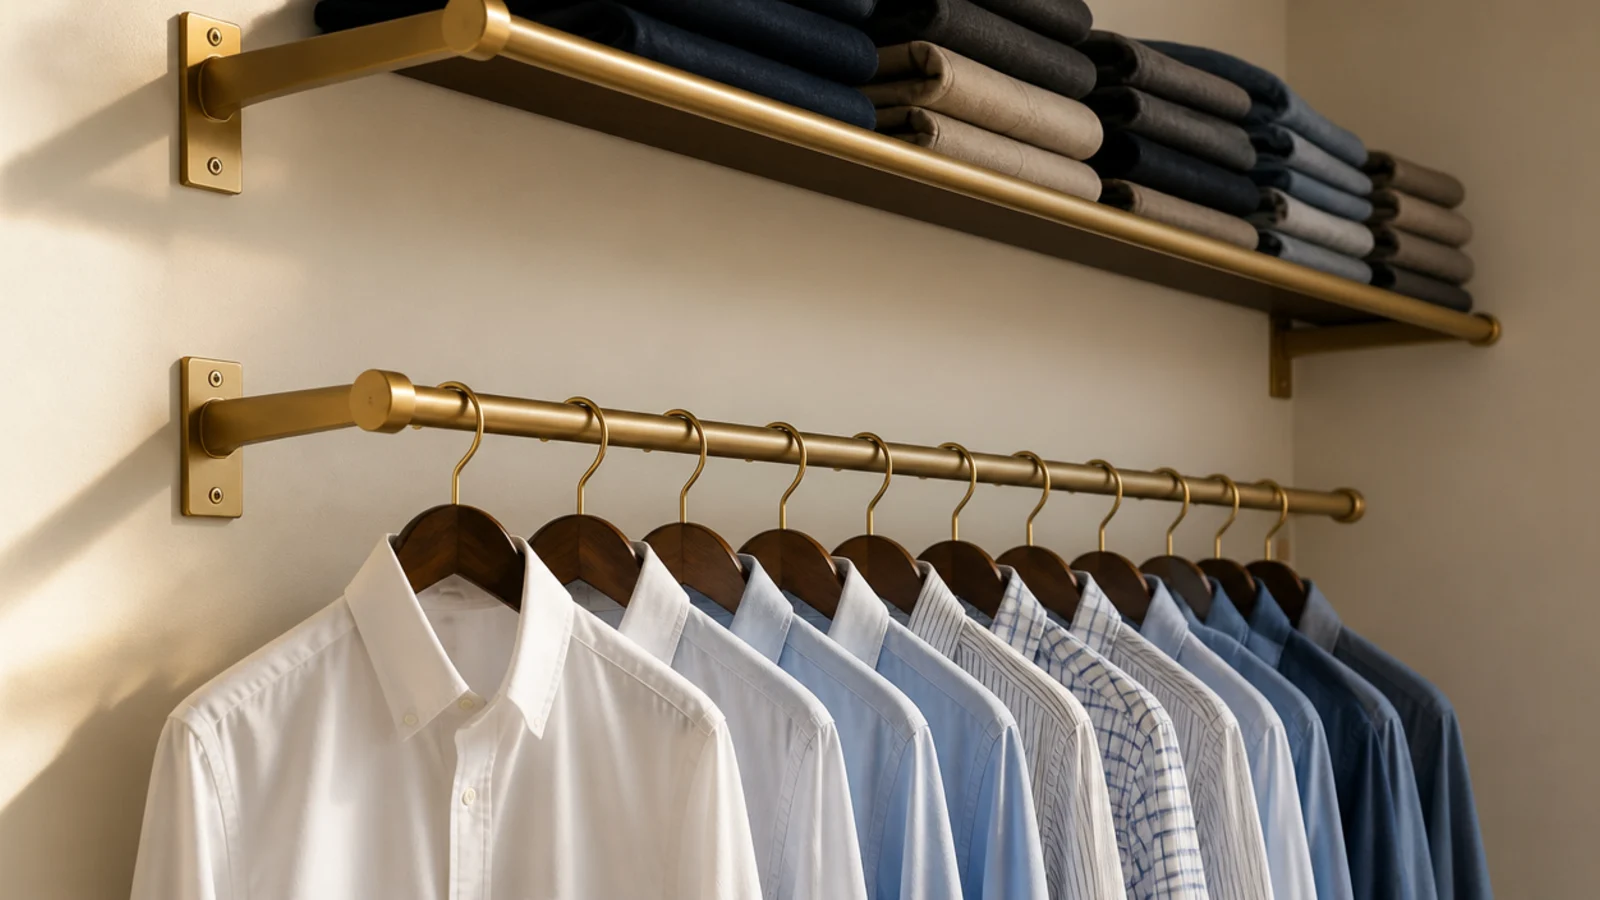
Every closet has a stub of wall doing nothing. A spring-tension rod spans up to 4 feet for $12 to $20 and holds a full row of shirts with no hardware at all.
Choose one rated above 20 pounds and set it between two solid surfaces, not drywall to drywall. Perfect for renters, and it comes down in ten seconds.
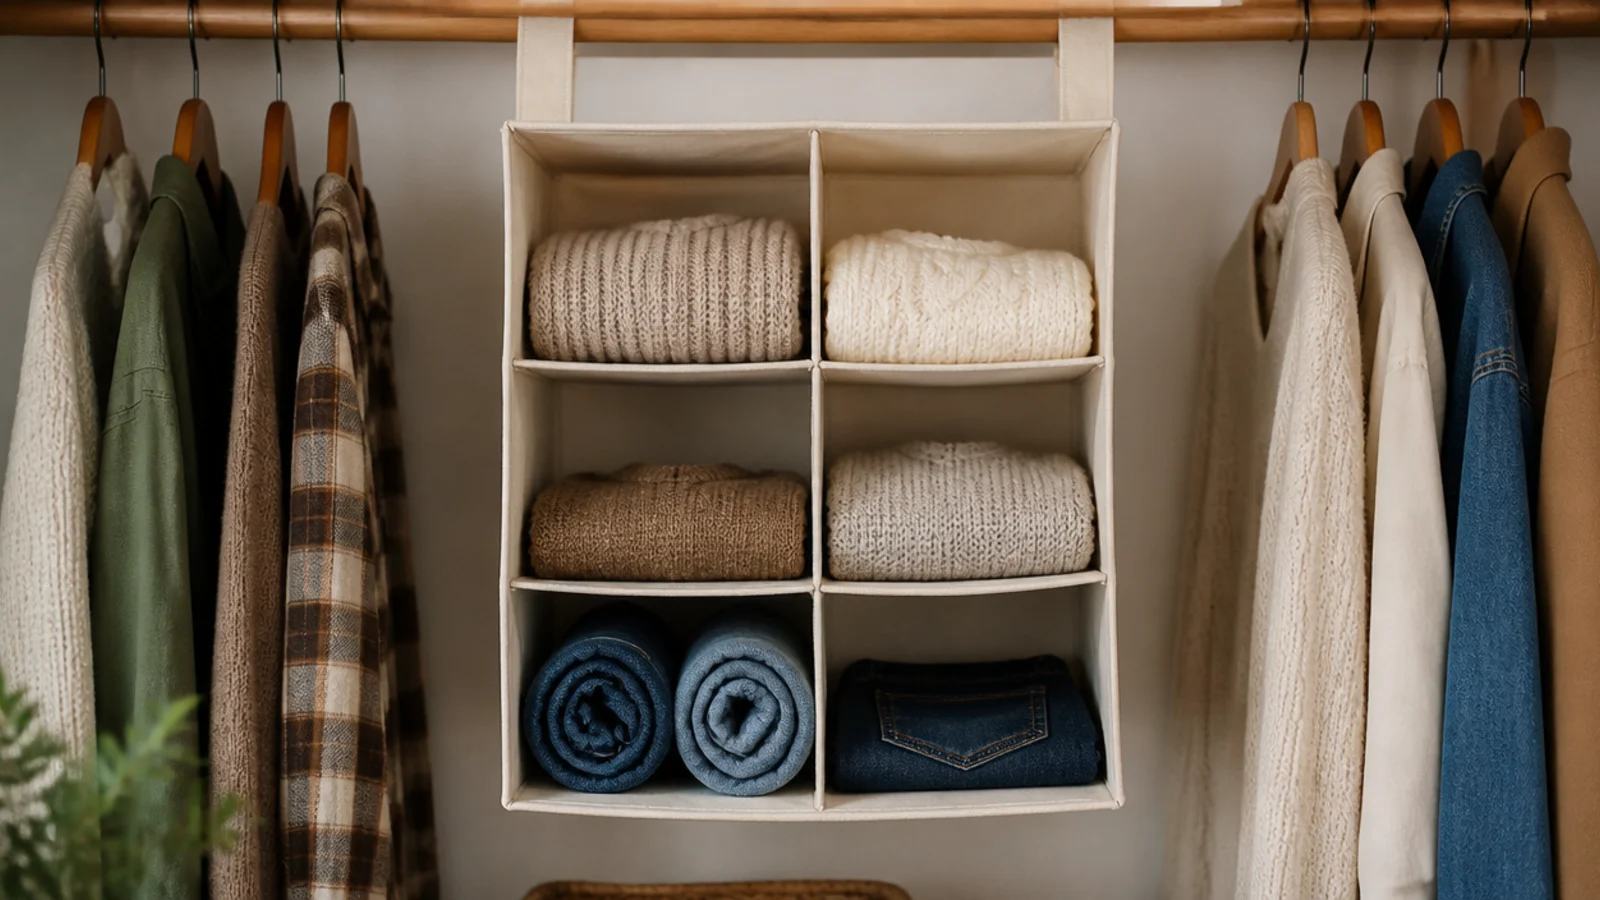
3. Hang a canvas shelf tower
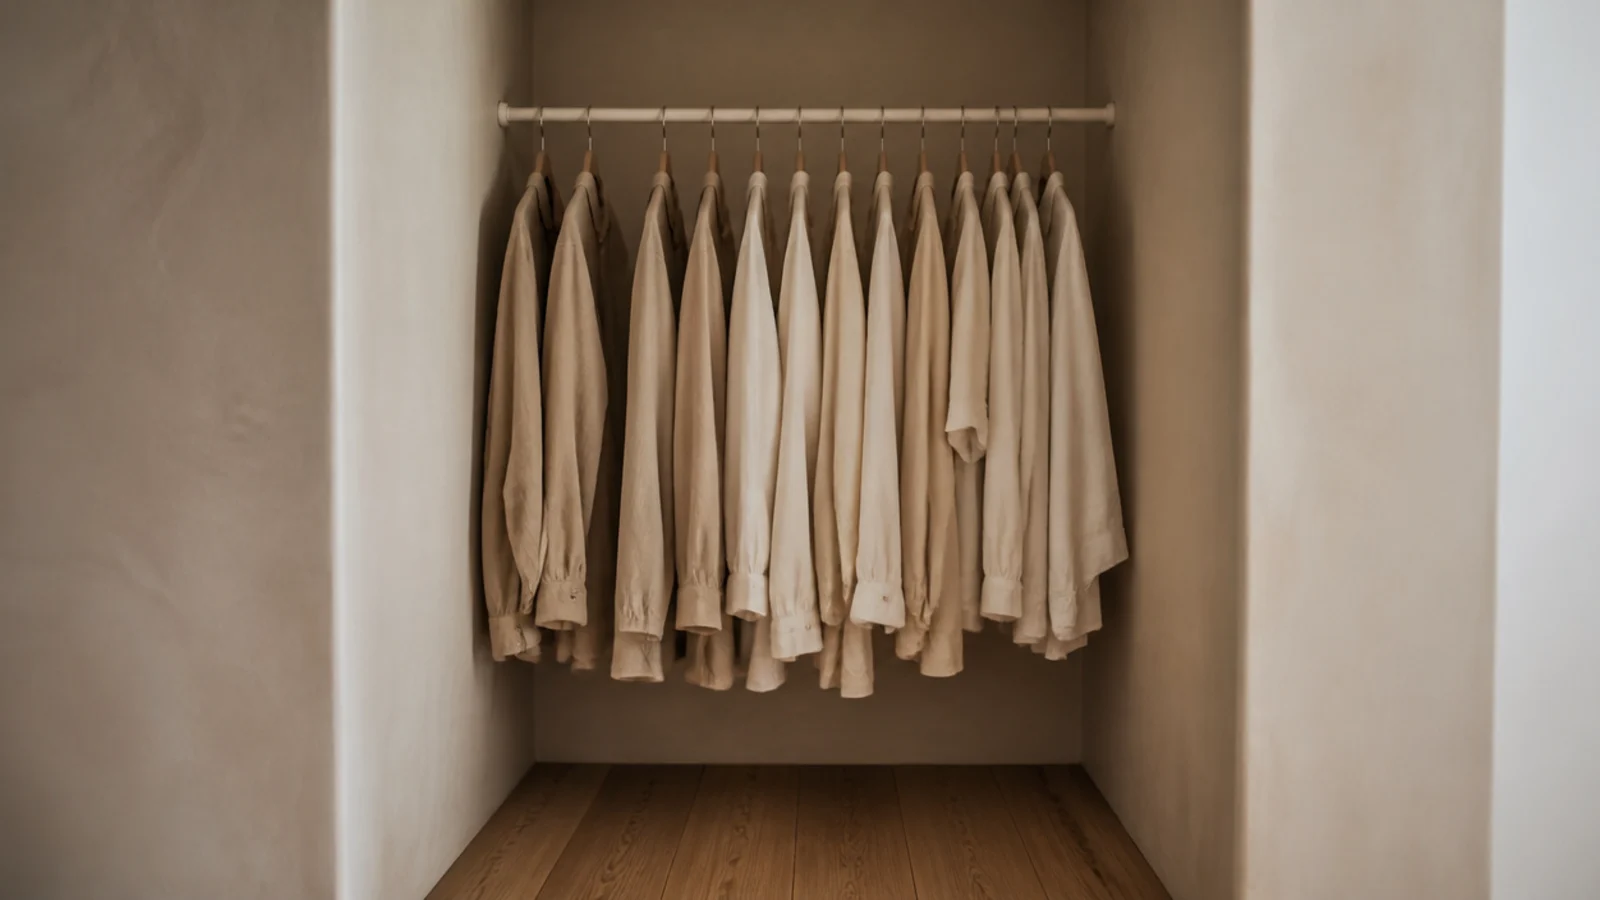
Six fabric shelves that hang from an existing rod cost $20 to $35 and add real folded storage without touching a wall.
Hang it at the end of a rail rather than the middle so it does not split your hanging into two useless halves. Keep it to knits and jeans — the rod is carrying all of that weight.
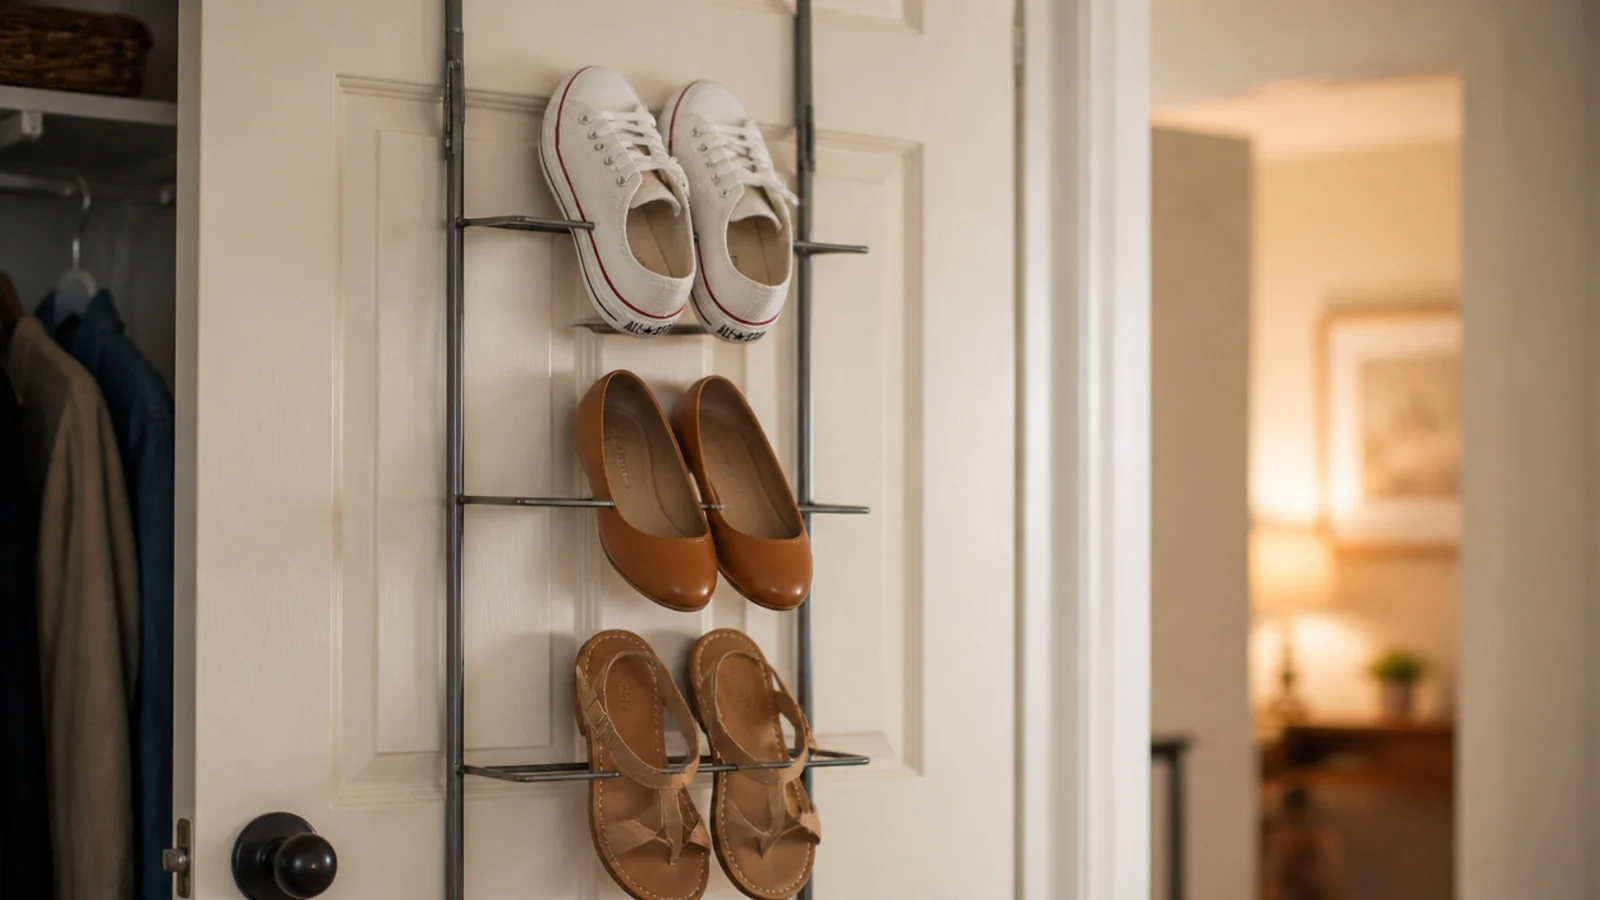
4. Fit an over-door shoe rack
The back of a door is 4 inches of depth nobody uses. A metal over-door rack at $18 to $30 holds ten to twelve pairs of flats and sneakers.
Check the door clears the frame with the rack hooked over it — some older doors are tight. Heels and boots do better on an angled shelf; this is for the everyday pairs.
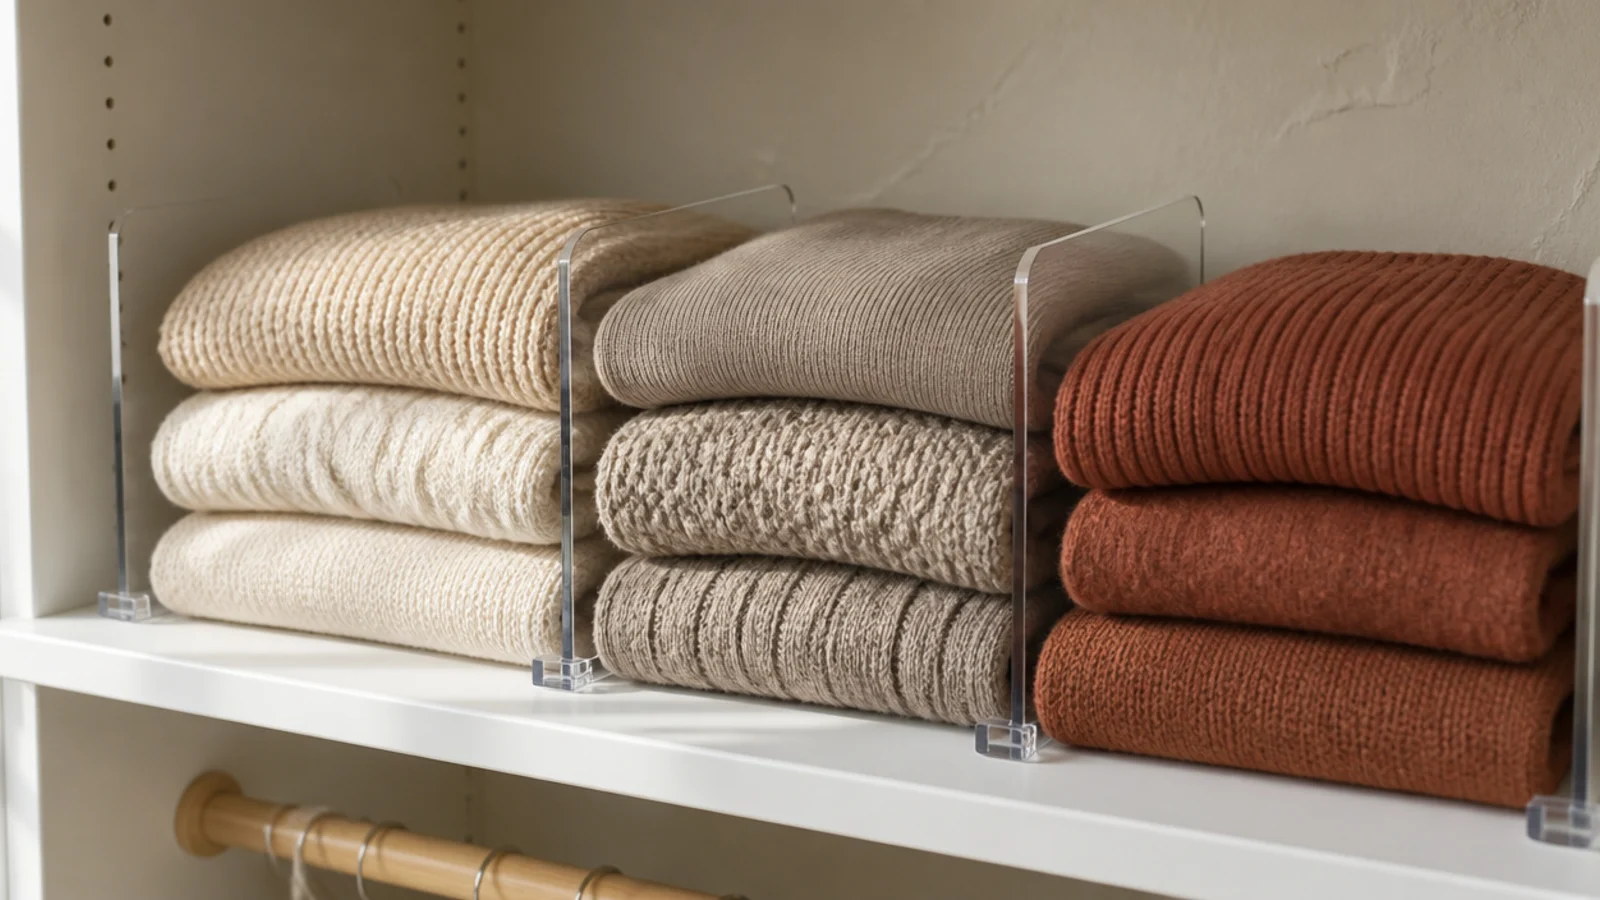
5. Slot in shelf dividers
An open shelf lets stacks lean, and a leaning stack looks like mess even when it is clean. A divider every 12 inches turns the shelf into slots.
Acrylic clip-ons run about $4 each; wood versions that screw in run $8. This is the cheapest visible improvement you can make in an afternoon.
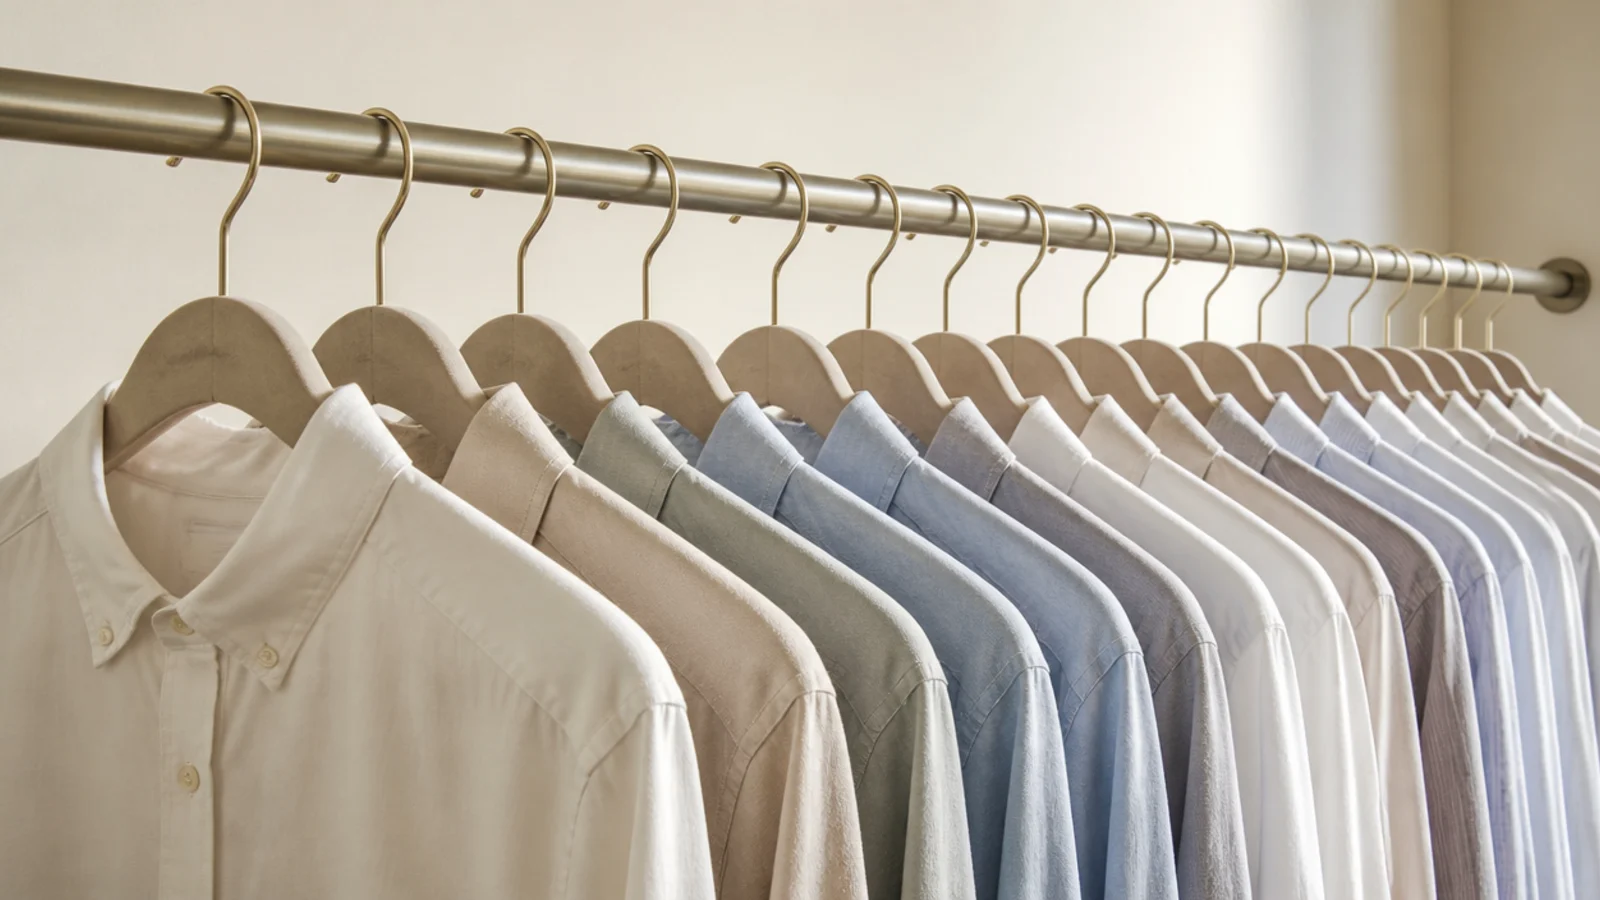
6. Switch to slim velvet hangers
Mixed hangers sit at different depths, so shirts fan out and eat rail. One profile fixes it instantly.
Velvet hangers cost about $0.60 each in a fifty-pack. A 48-inch rail that held 30 shirts holds 36 or more afterwards, and the shoulder line finally runs straight, which is most of what makes a photographed closet look calm.
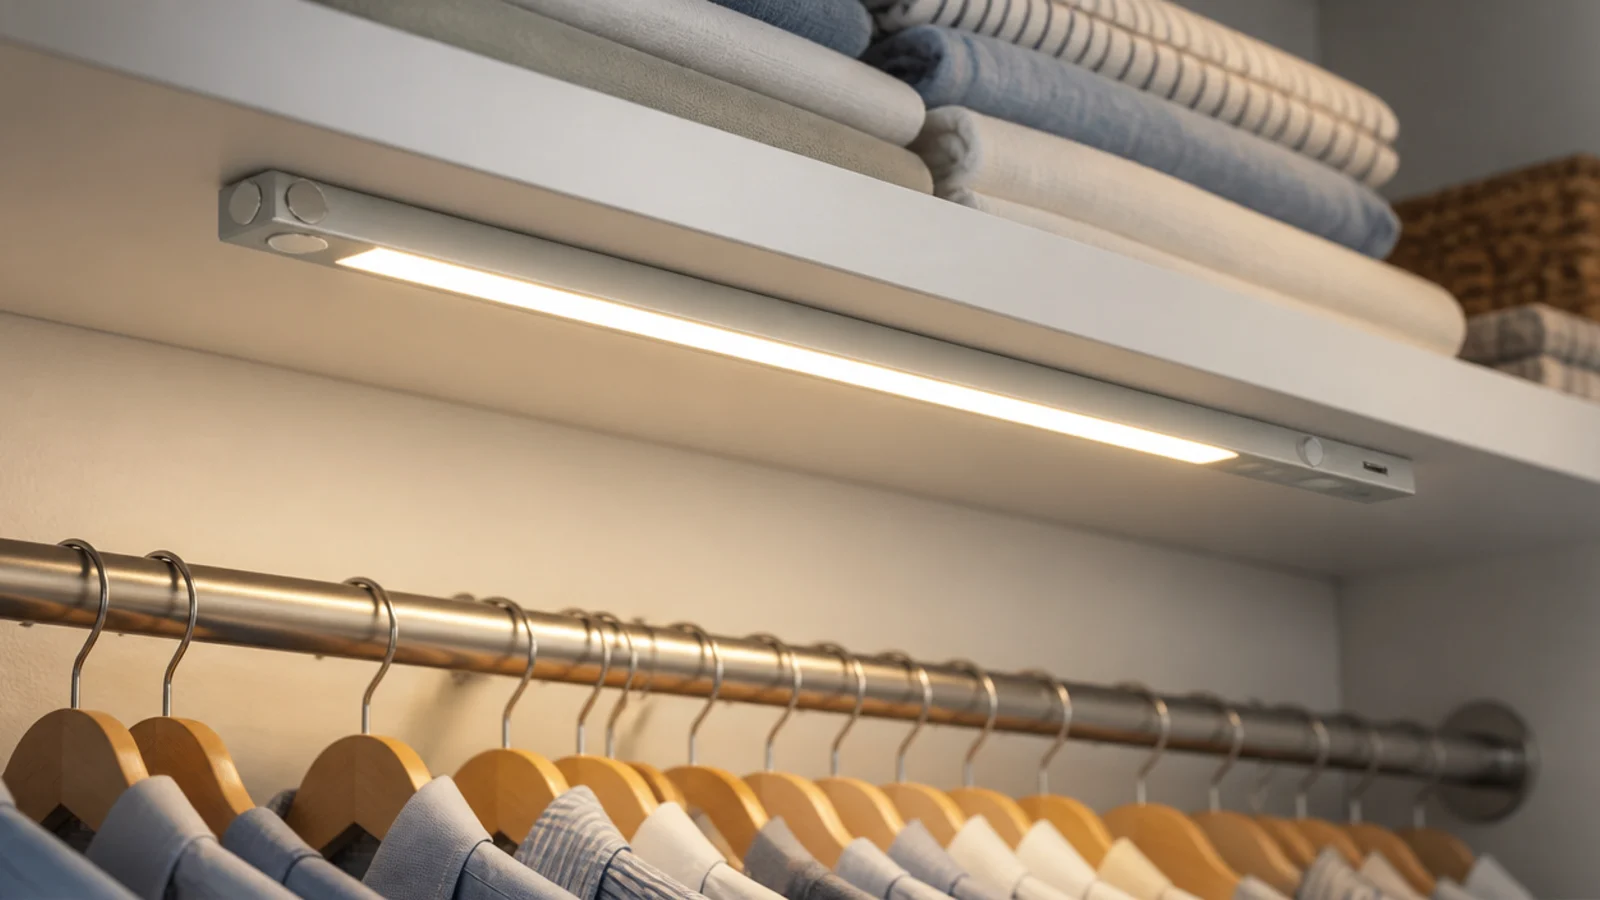
7. Stick on a rechargeable LED strip
A magnetic rechargeable strip costs $18 to $30, mounts with adhesive under a shelf, and runs for weeks on a charge.
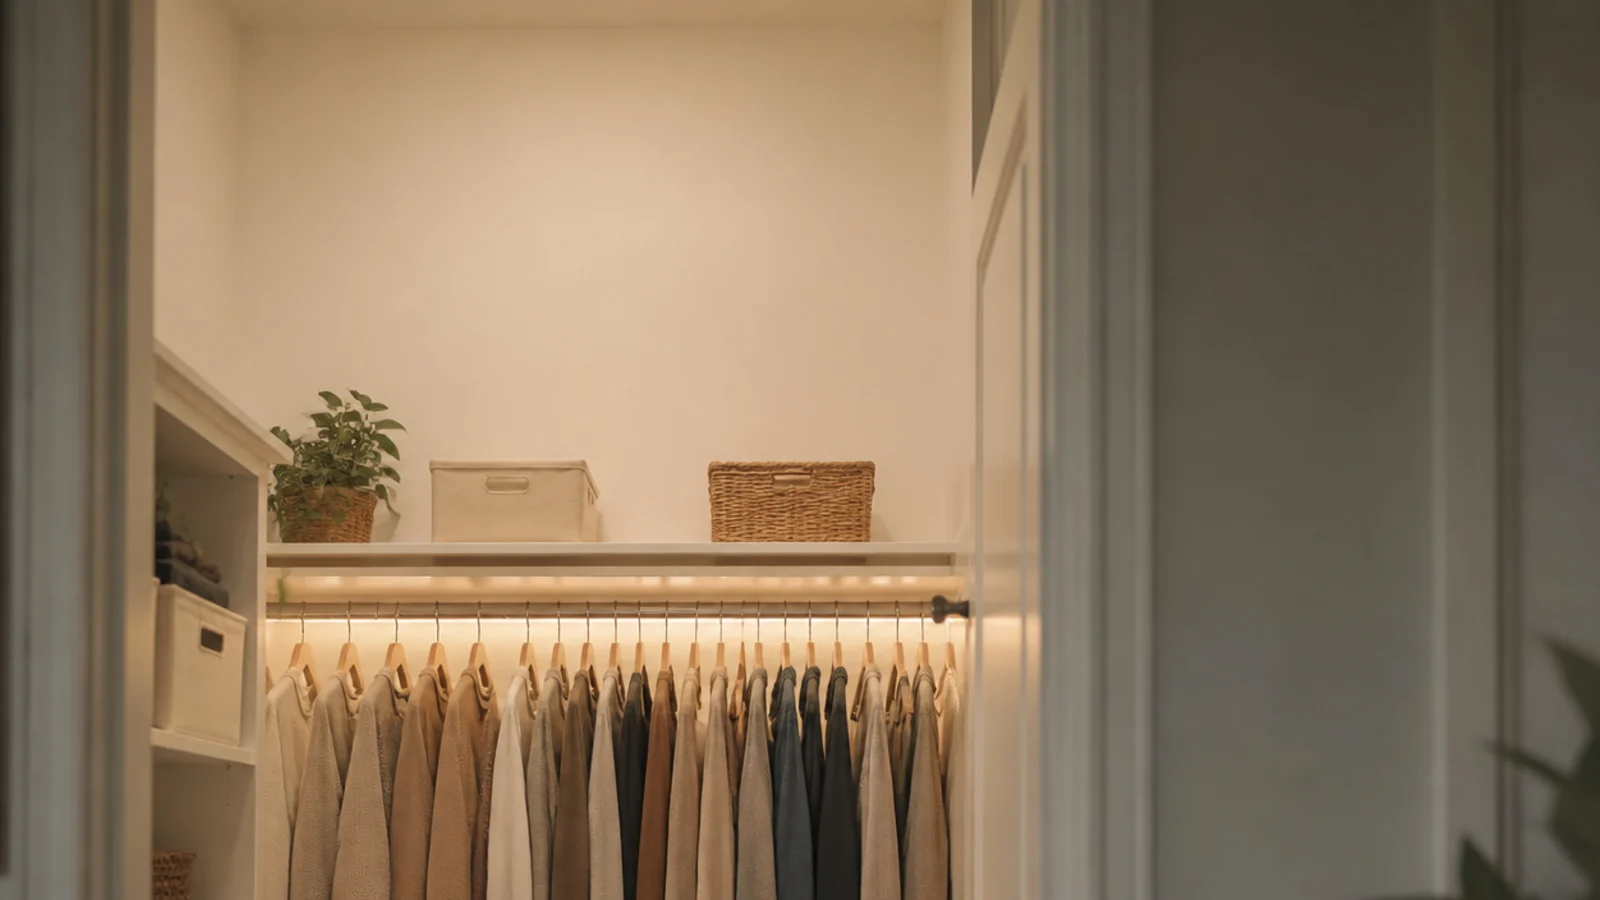
Choose 3000K or warmer at CRI 90 or above. Mount it under the shelf front so light falls down the face of the clothes rather than onto the top of your head, which is what a ceiling bulb does.
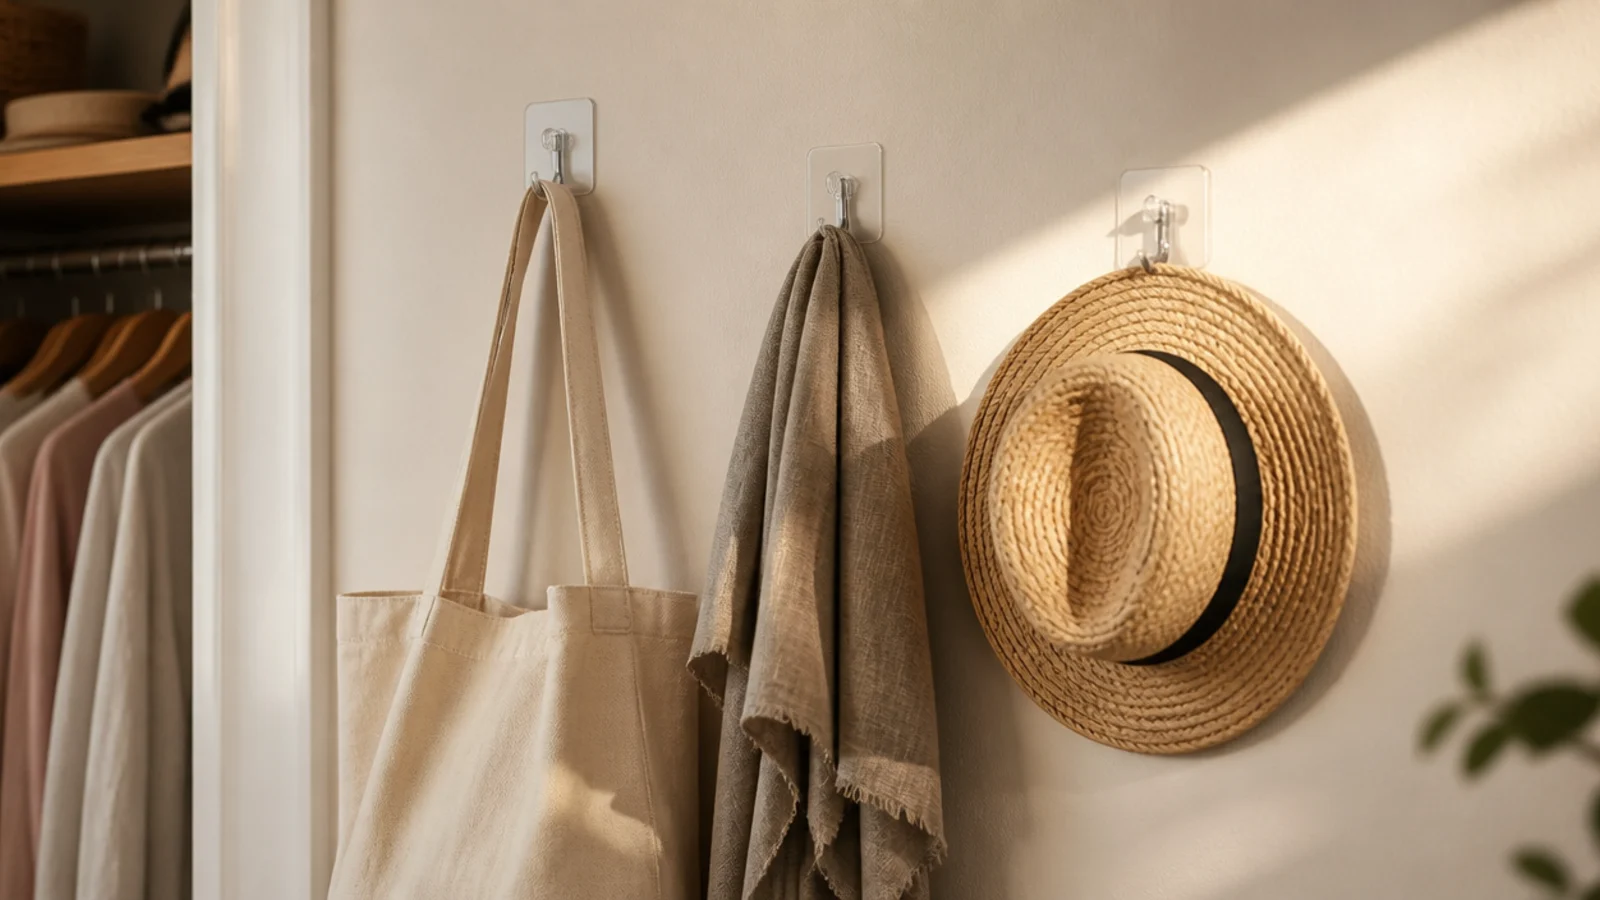
8. Add peel-and-stick hooks
A hook rated to 5 pounds costs about $2 and holds a canvas tote, a robe or a belt loop. Six of them turn a bare wall into storage.
Press them onto a clean, fully cured painted surface and wait an hour before loading. Flat builder-grade paint is the one finish that peels, so test in a low corner first.
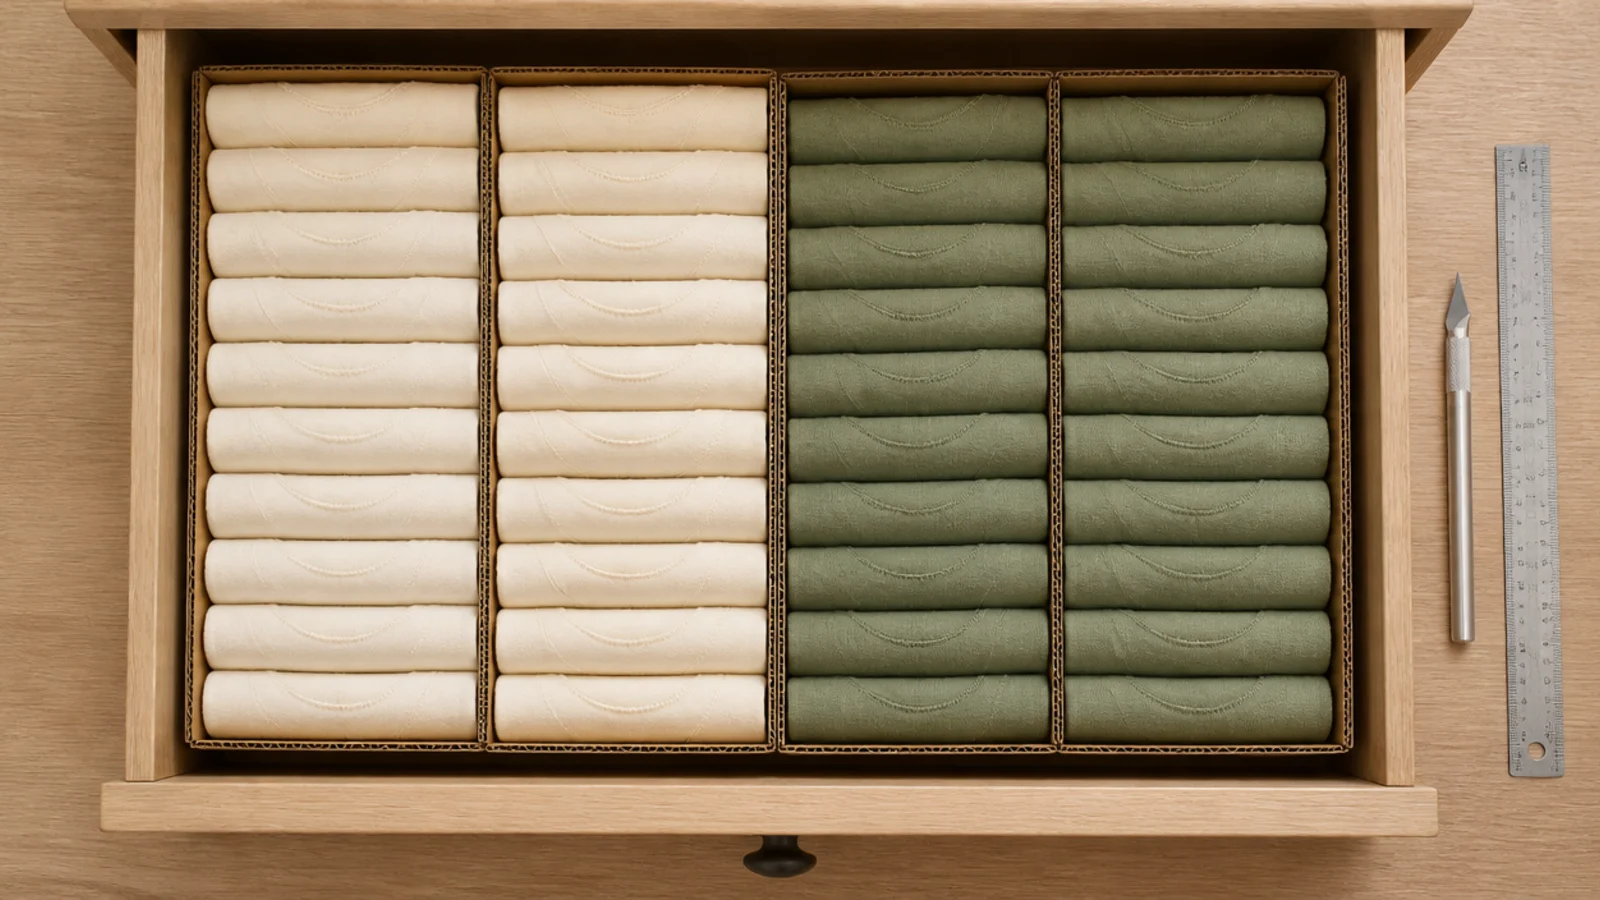
9. Cut your own drawer dividers
Drawer dividers cost $15 a set and take five minutes to make for free out of a corrugated box.
Cut strips half an inch shorter than the drawer depth so the drawer still closes, and score-fold the ends into tabs. Wrap them in kraft paper if you want them to look intentional. They stop filed tee shirts collapsing sideways, which is the whole job.
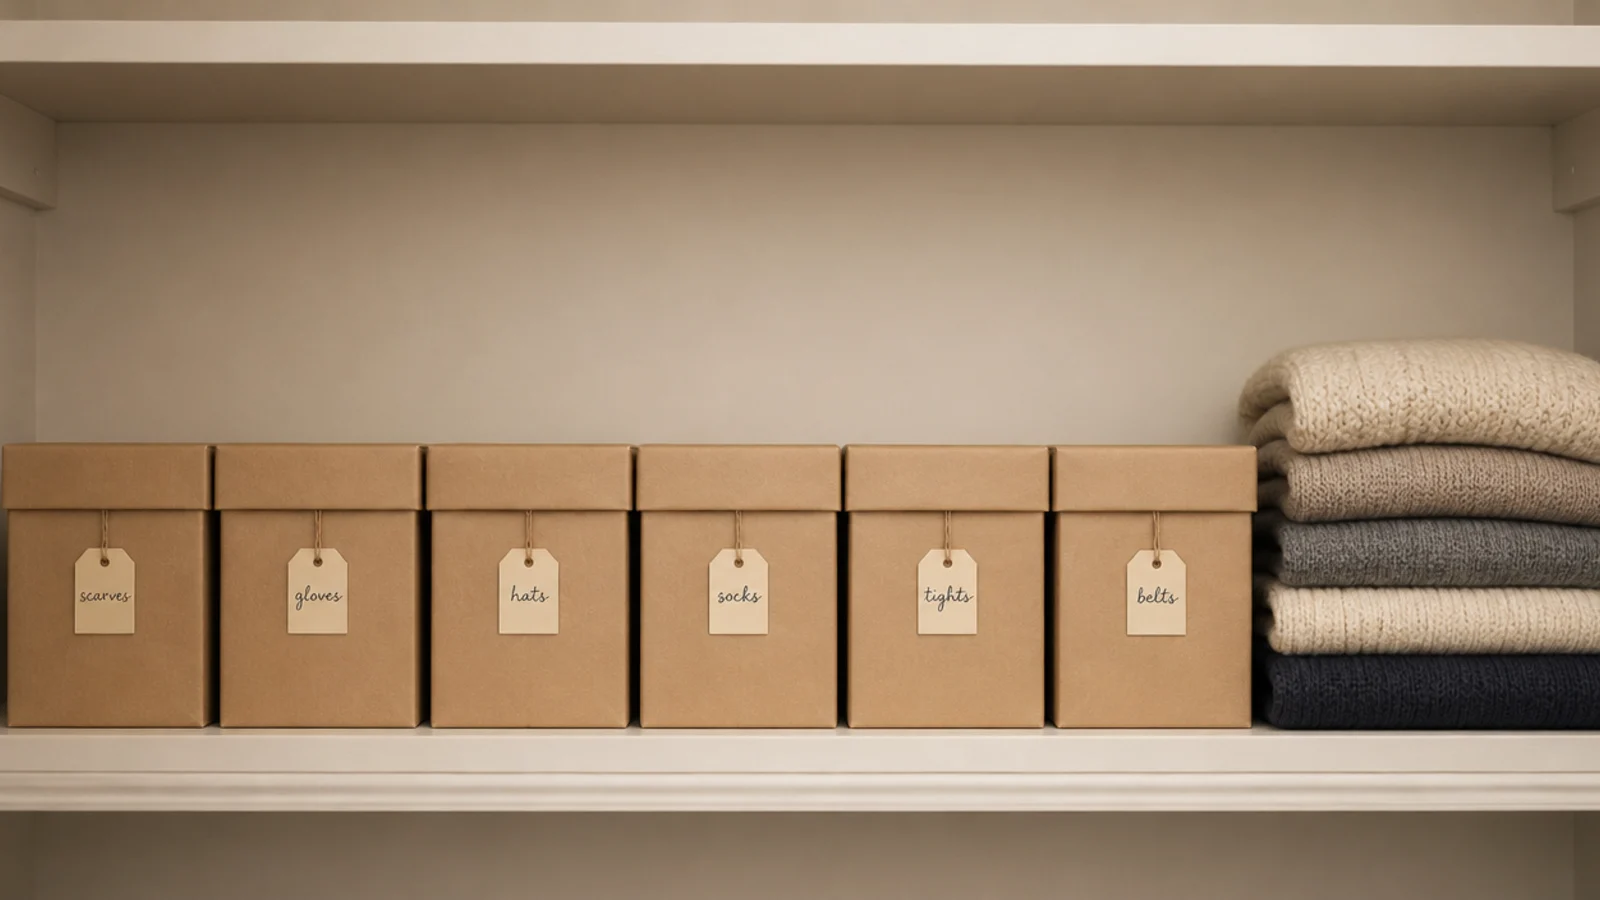
10. Turn shoe boxes into shelf bins
Sturdy lidded shoe boxes are free, uniform and exactly the right size for a 12 to 14 inch shelf.
Cover them in plain kraft paper or leftover wallpaper, tie a small tag on the front, and they read as bought storage from three feet away. Replace them one at a time as the budget allows, or do not — mine lasted four years.
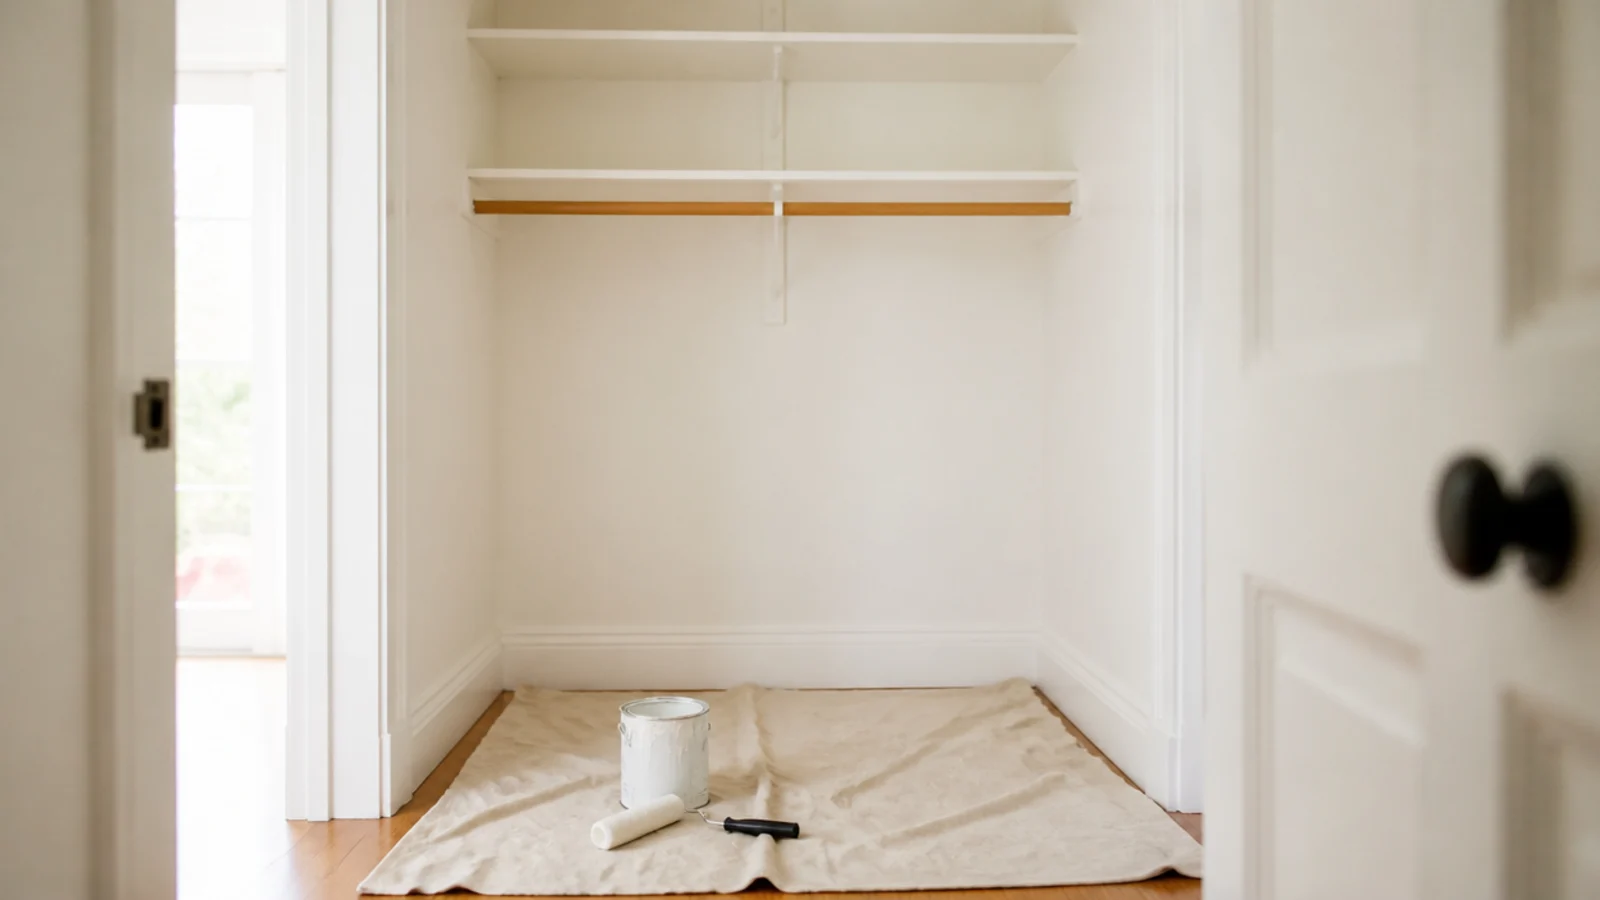
11. Paint the interior warm white
A quart of paint costs $18 and does more for a dim closet than any organizer.
Use the same warm white on walls and shelving so nothing visually chops the room into sections. A contrasting back wall shortens a narrow space, and in a 6-foot closet you cannot spare the inches.
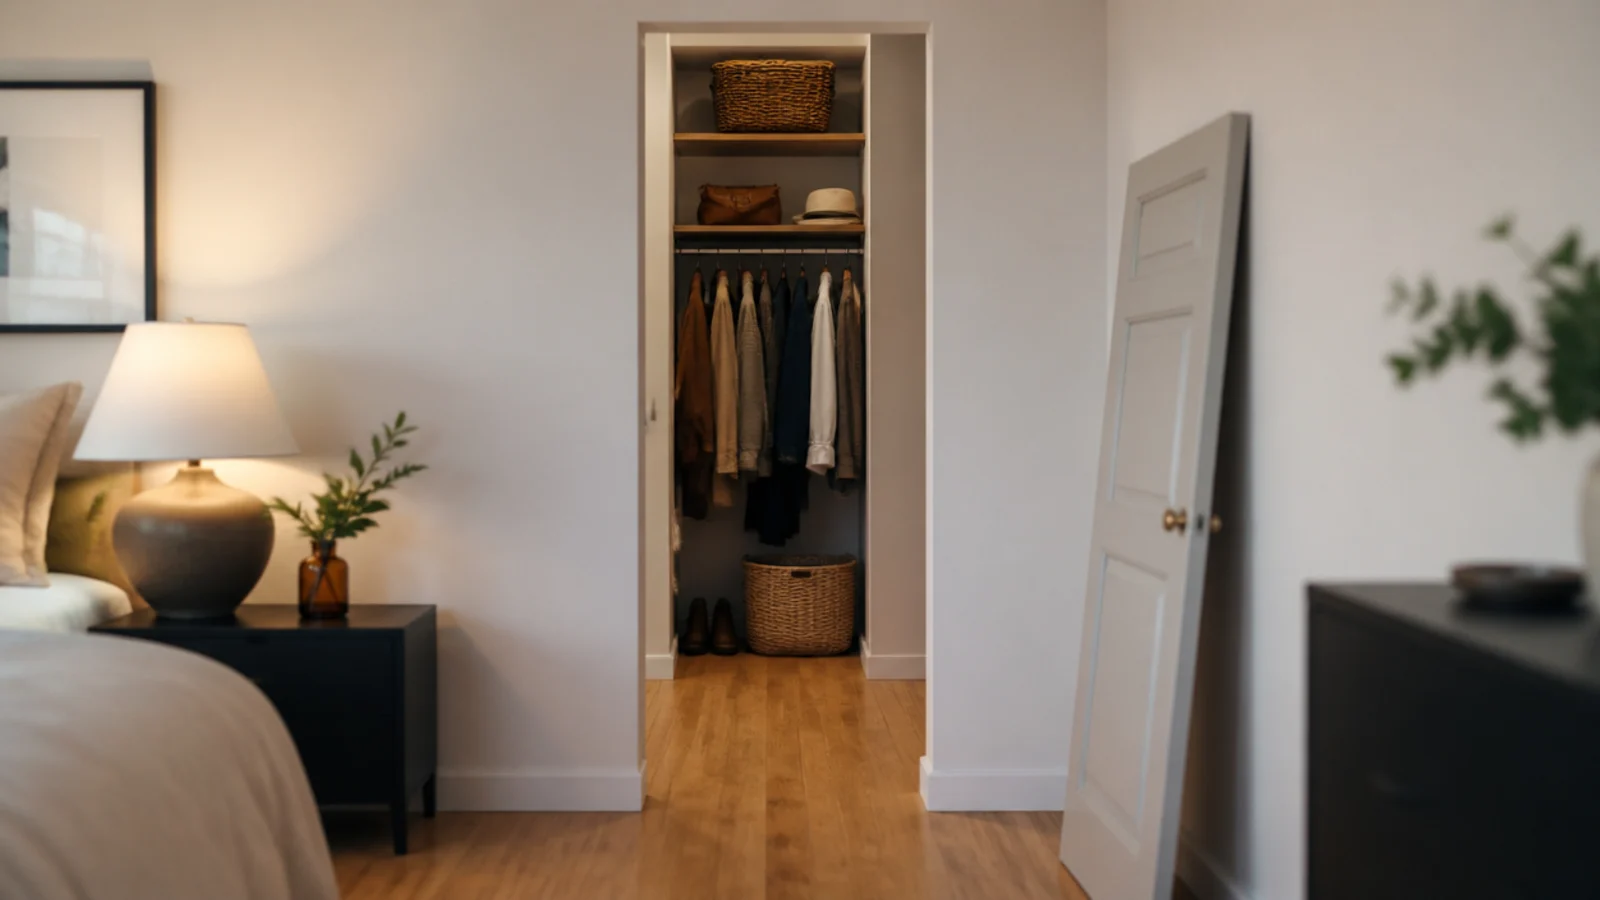
12. Take the door off entirely
An inward-swinging door steals a 30-inch arc of the floor you measured so carefully. Lifting it off its hinges costs nothing and takes five minutes.
Store the door flat under a bed for the end of the lease. If the closet faces the bed and you want it hidden, the curtain in the next idea handles that for $40.
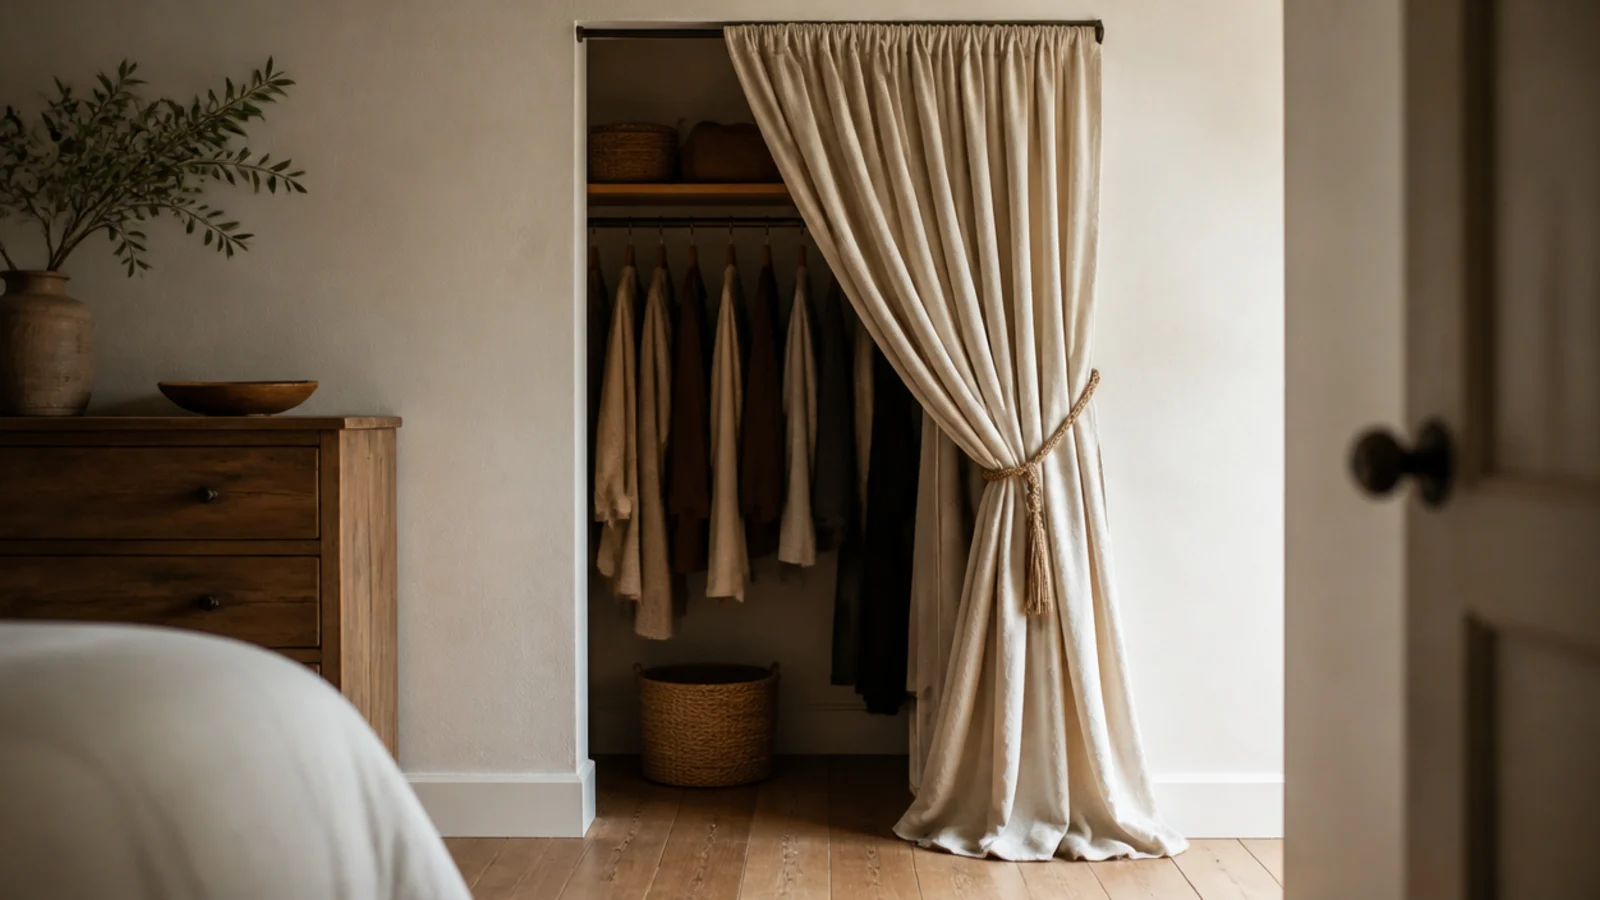
13. Hang a curtain instead
A floor-length linen or cotton curtain on a slim rod runs $30 to $70 and softens the whole opening.
Mount the rod 2 inches above the frame and let the fabric break slightly on the floor — a curtain that hovers looks temporary. In a rental, a tension rod inside the frame does it with no holes at all.
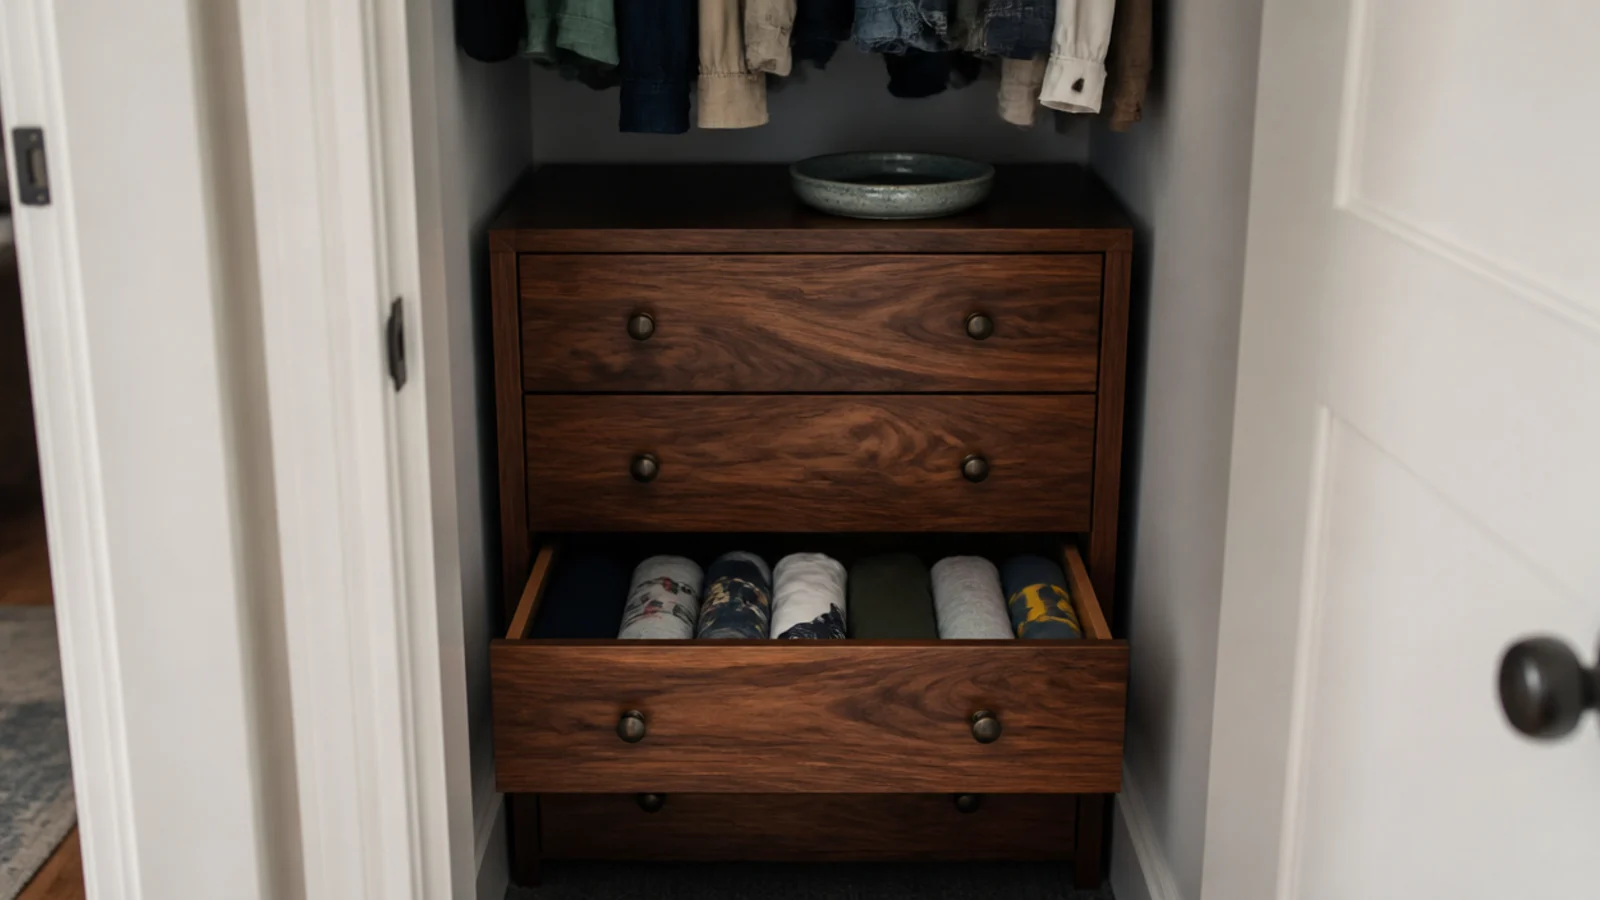
14. Thrift a narrow chest of drawers
A secondhand dresser at $40 to $120 replaces a bought drawer unit at three times the price and adds a flat surface.
Keep it under 24 inches deep so it stays inside the hanging footprint and never crosses the 36-inch walkway. Measure the doorway before you buy — closet doorways are commonly 24 to 30 inches wide.
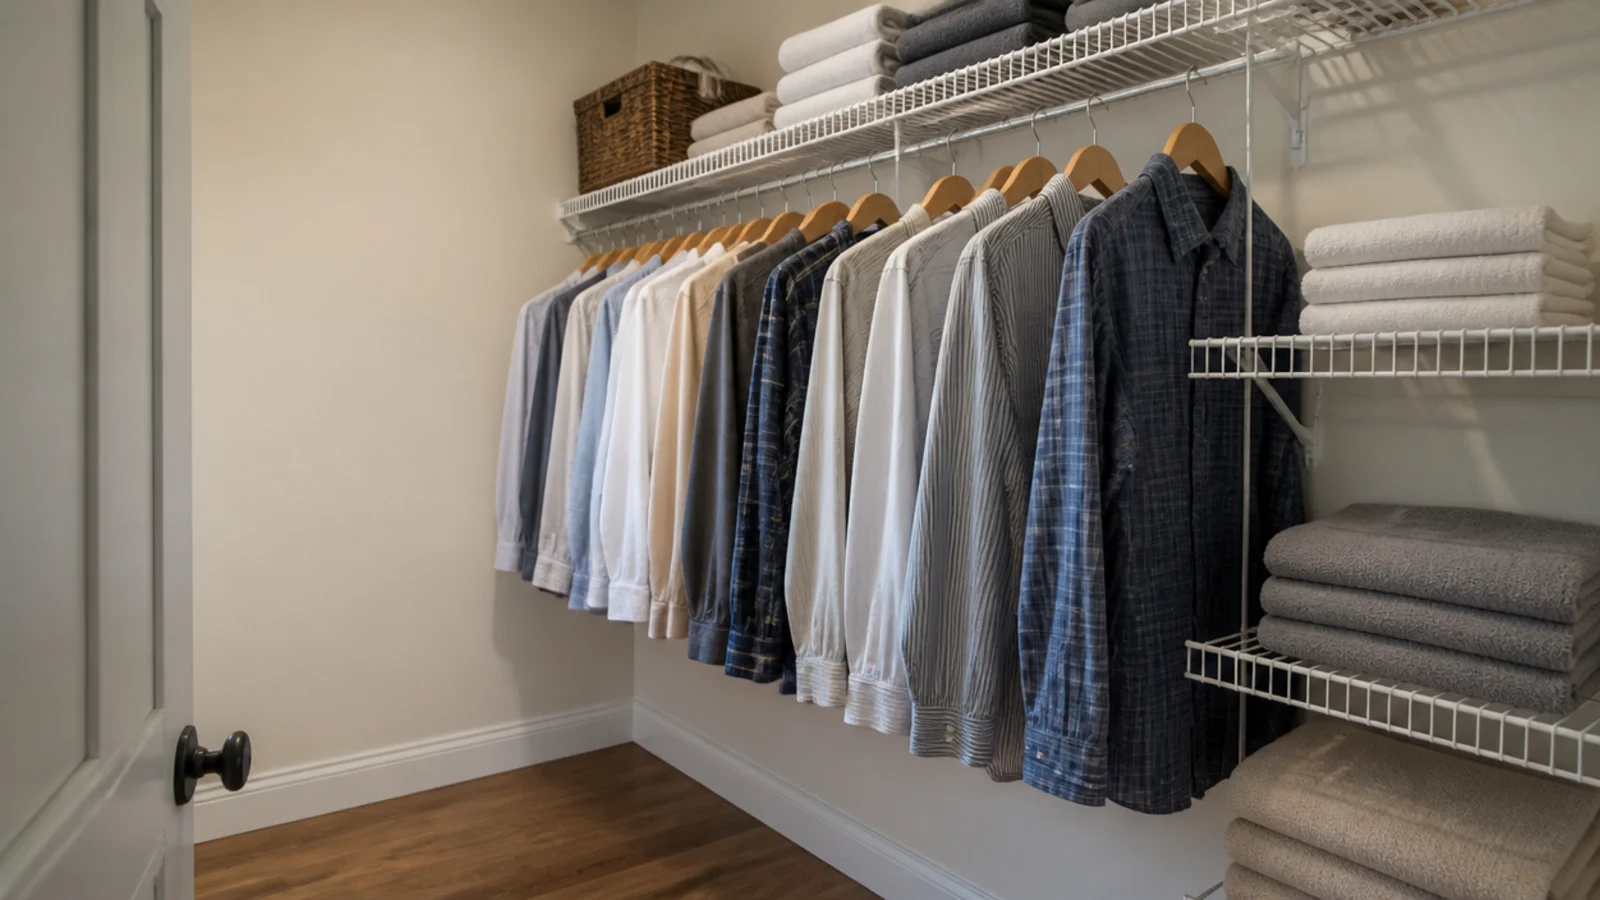
15. Start with a wire kit
A white-coated wire kit covers a 6-foot wall for $80 to $200 and is genuinely strong when the hang rail hits studs.
Cut the shelves to length with a $10 hacksaw and cap the ends. Wire has two flaws — small items tip through, and ridges mark folded knits — and both are fixed in ideas 26 and 27 for about $10 a shelf.
16. Let the store cut your boards
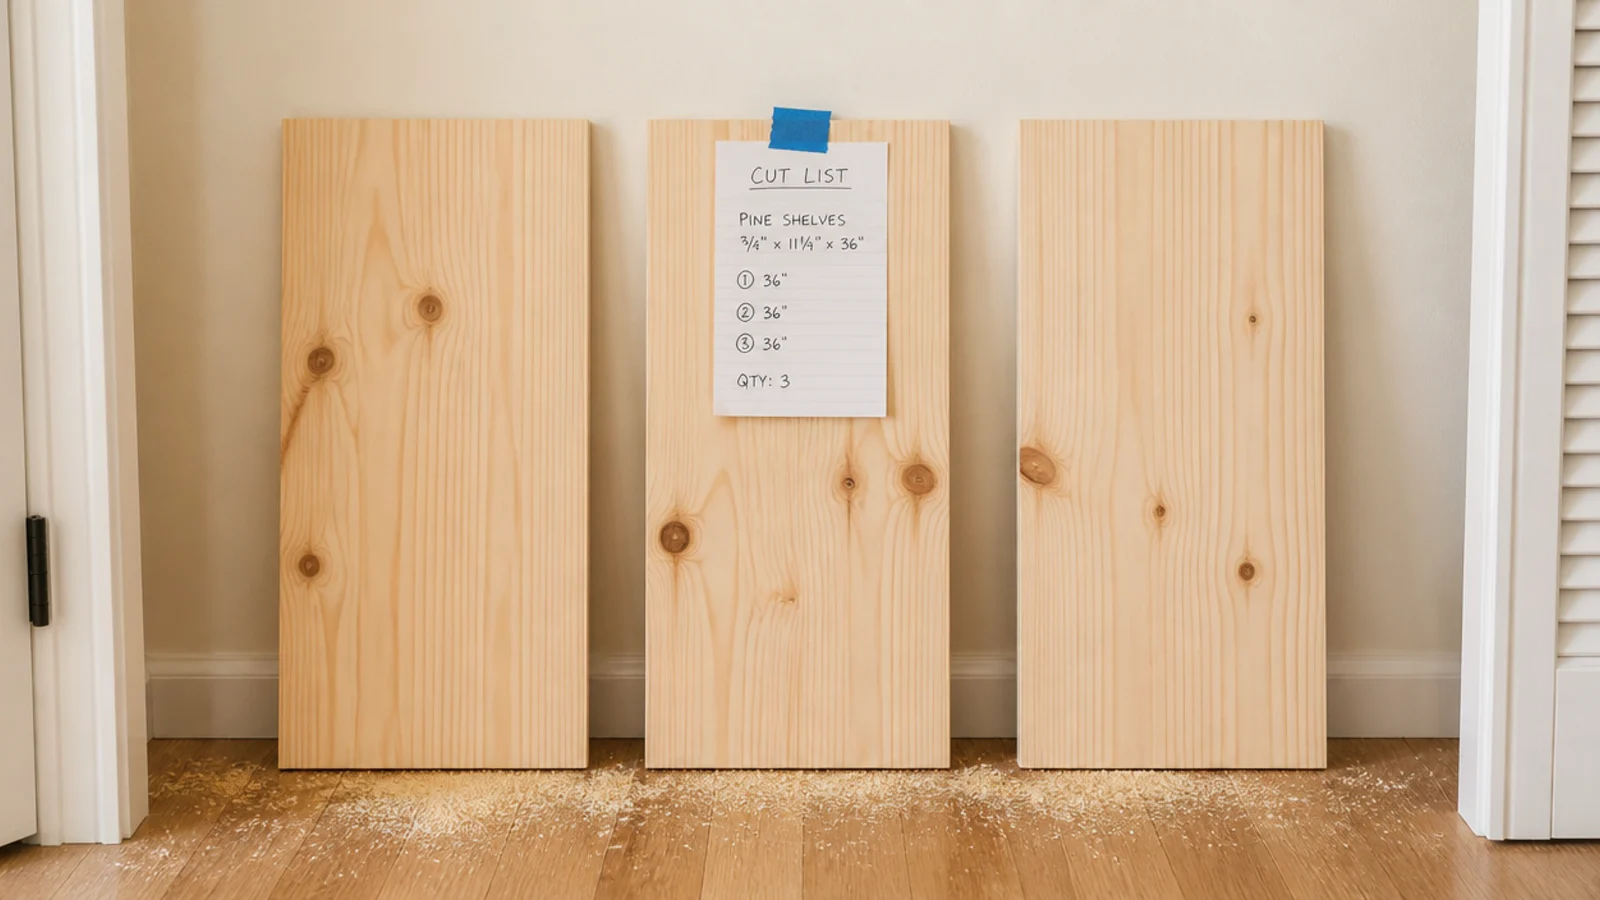
Most home centers make straight cuts free or for about $0.50 each. Arrive with a written cut list and leave with finished lengths.
That removes the saw, the sawhorses and the dust from the whole project. Add half an inch per board for trimming, and check the cuts before you drive home.
17. Choose adjustable standards over fixed brackets
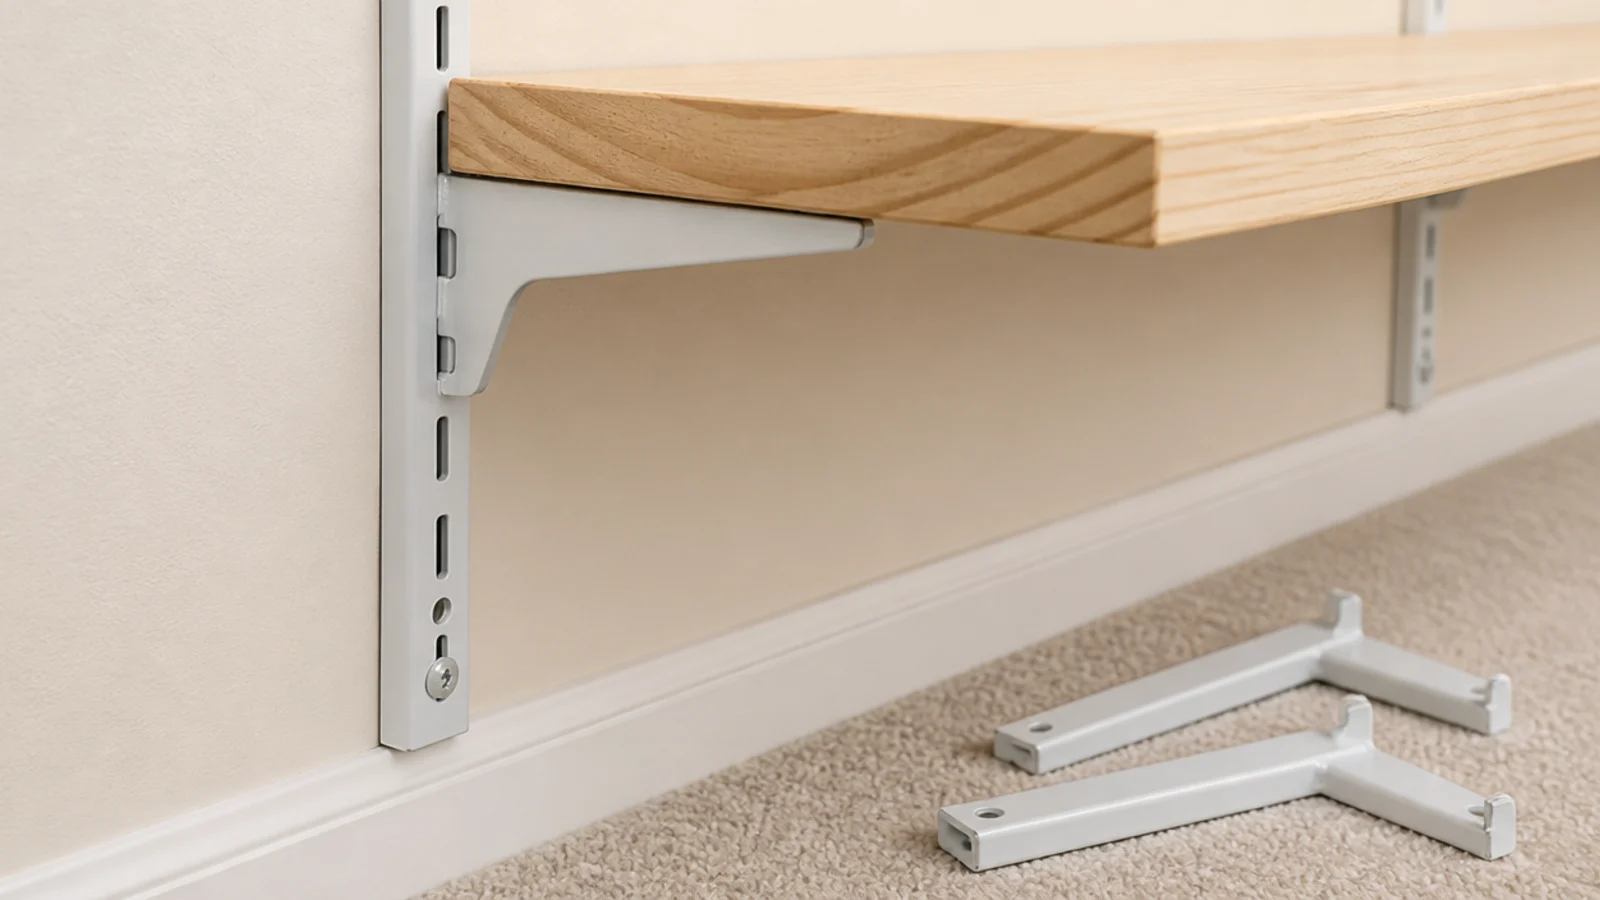
Slotted standards cost $12 to $22 each versus $6 for a pair of fixed brackets, and they are worth the difference every time.
Shelf spacing is the thing you will change — 10 inches for knits, 14 for bins, 7 for shoes. With standards that is a two-minute adjustment. With fixed brackets it is patching and repainting.
18. Put a pegboard on the end wall
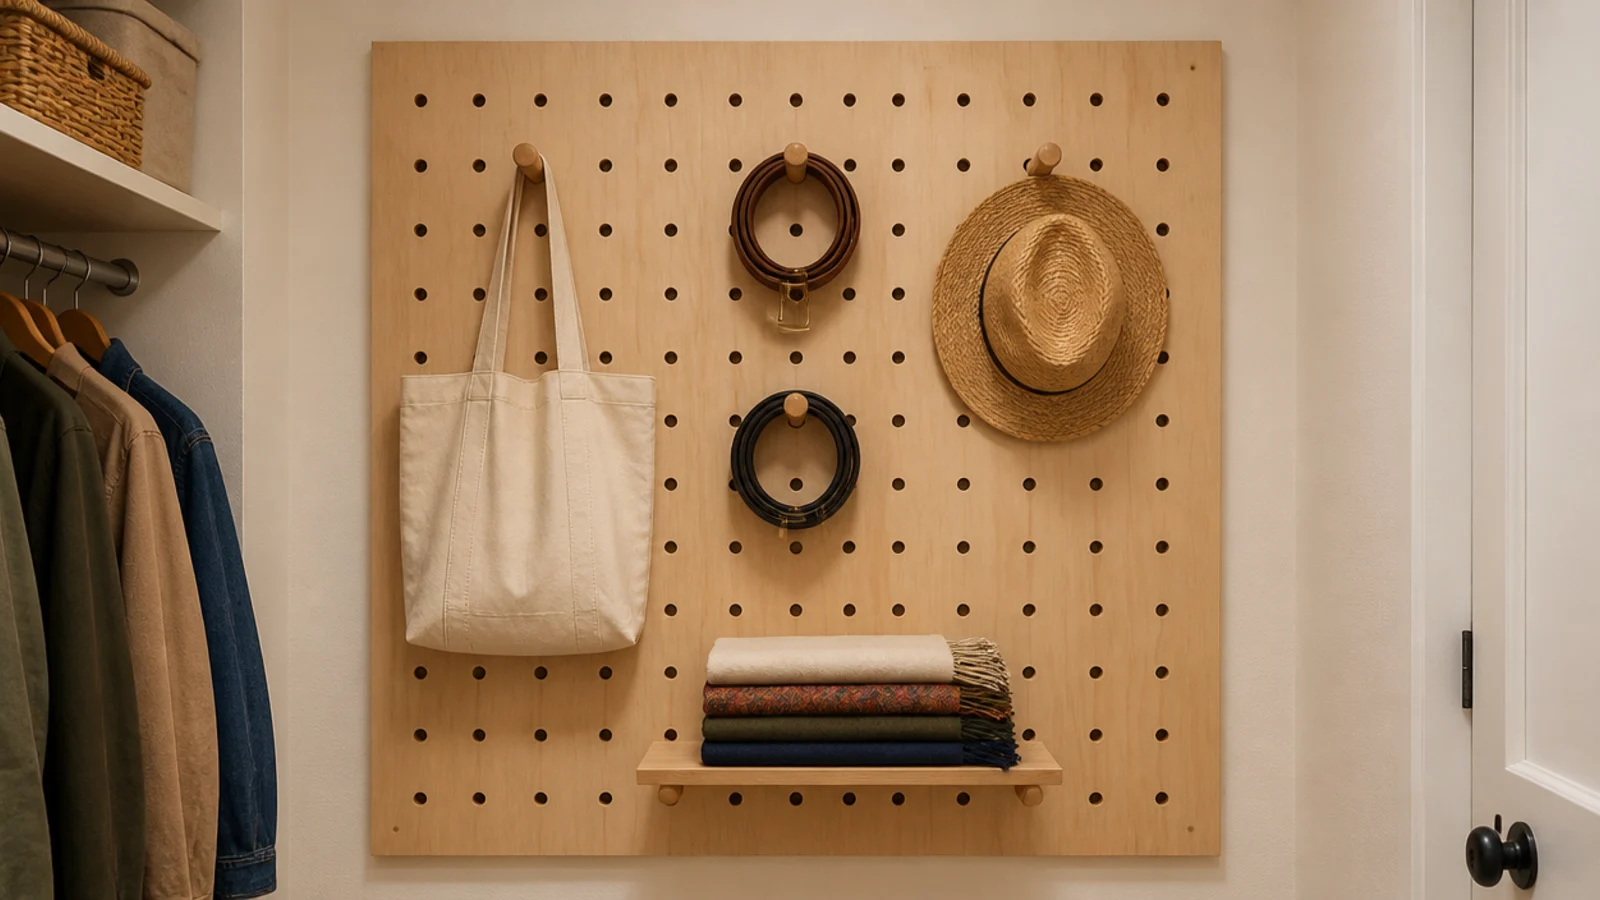
A birch pegboard panel runs $25 to $40 and turns a shallow end wall into infinitely rearrangeable storage.
Pegs, hooks and small shelves handle bags, belts, hats and jewelry in about 3 inches of depth, which is far less than any shelf needs. Mount it on furring strips so the pegs have room to seat behind.
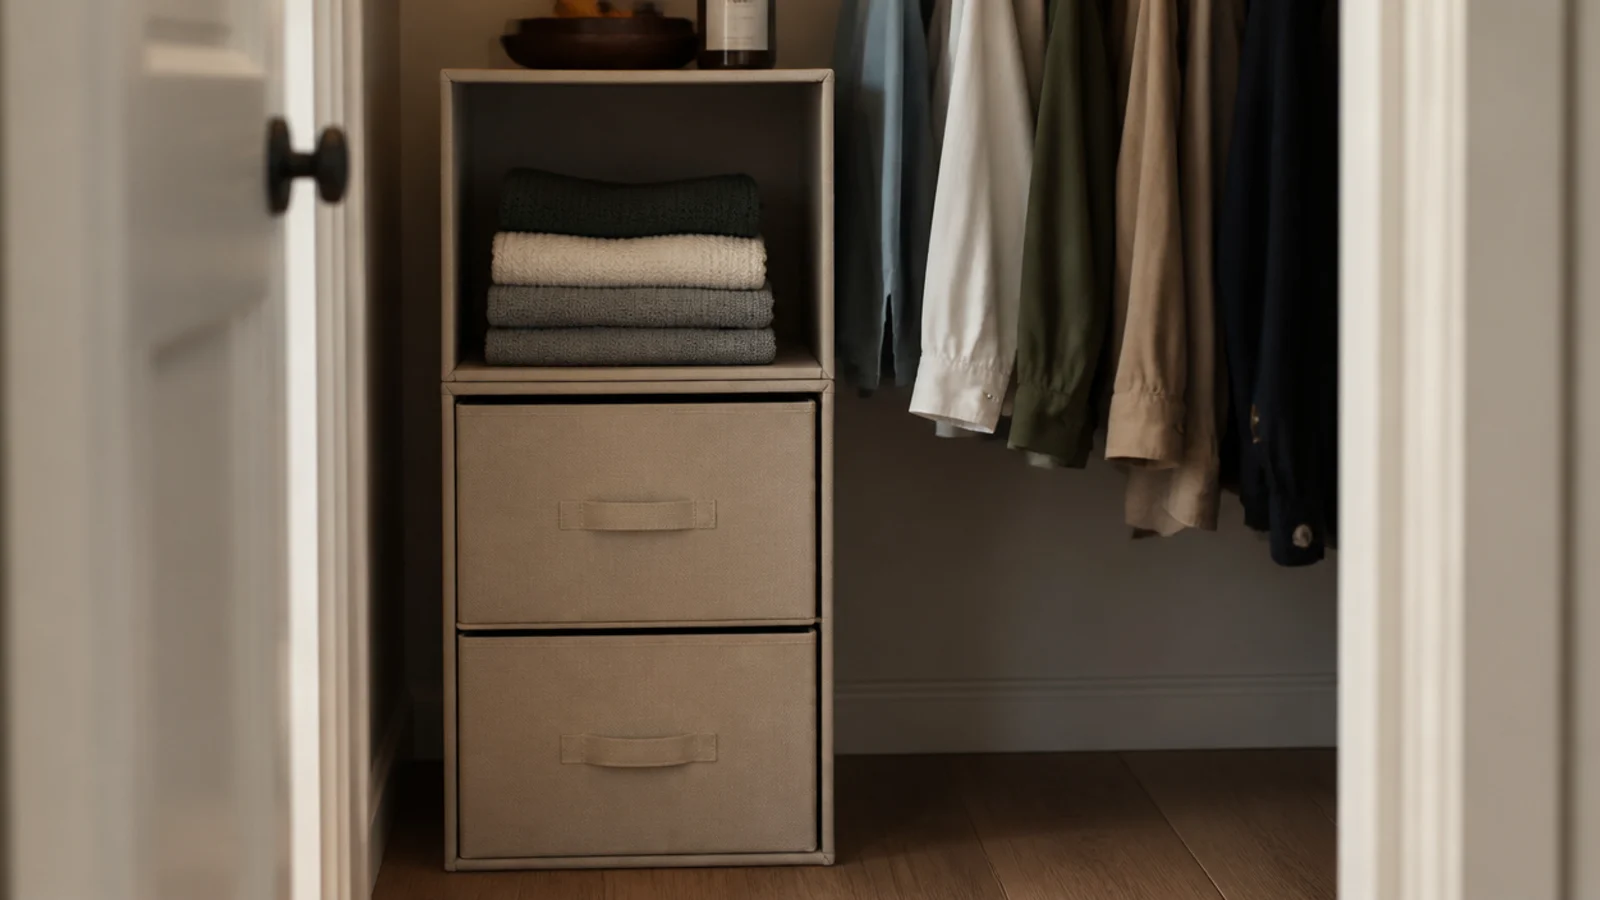
19. Stack storage cubes into a tower
Two four-cube units stacked and strapped together make a 60-inch tower for $60 to $100 total.
Anchor the top unit to the wall with one strap — a tower of cubes is genuinely tippy when the upper drawers are loaded. Fabric drawer inserts at $5 each turn half the cubes into closed storage.
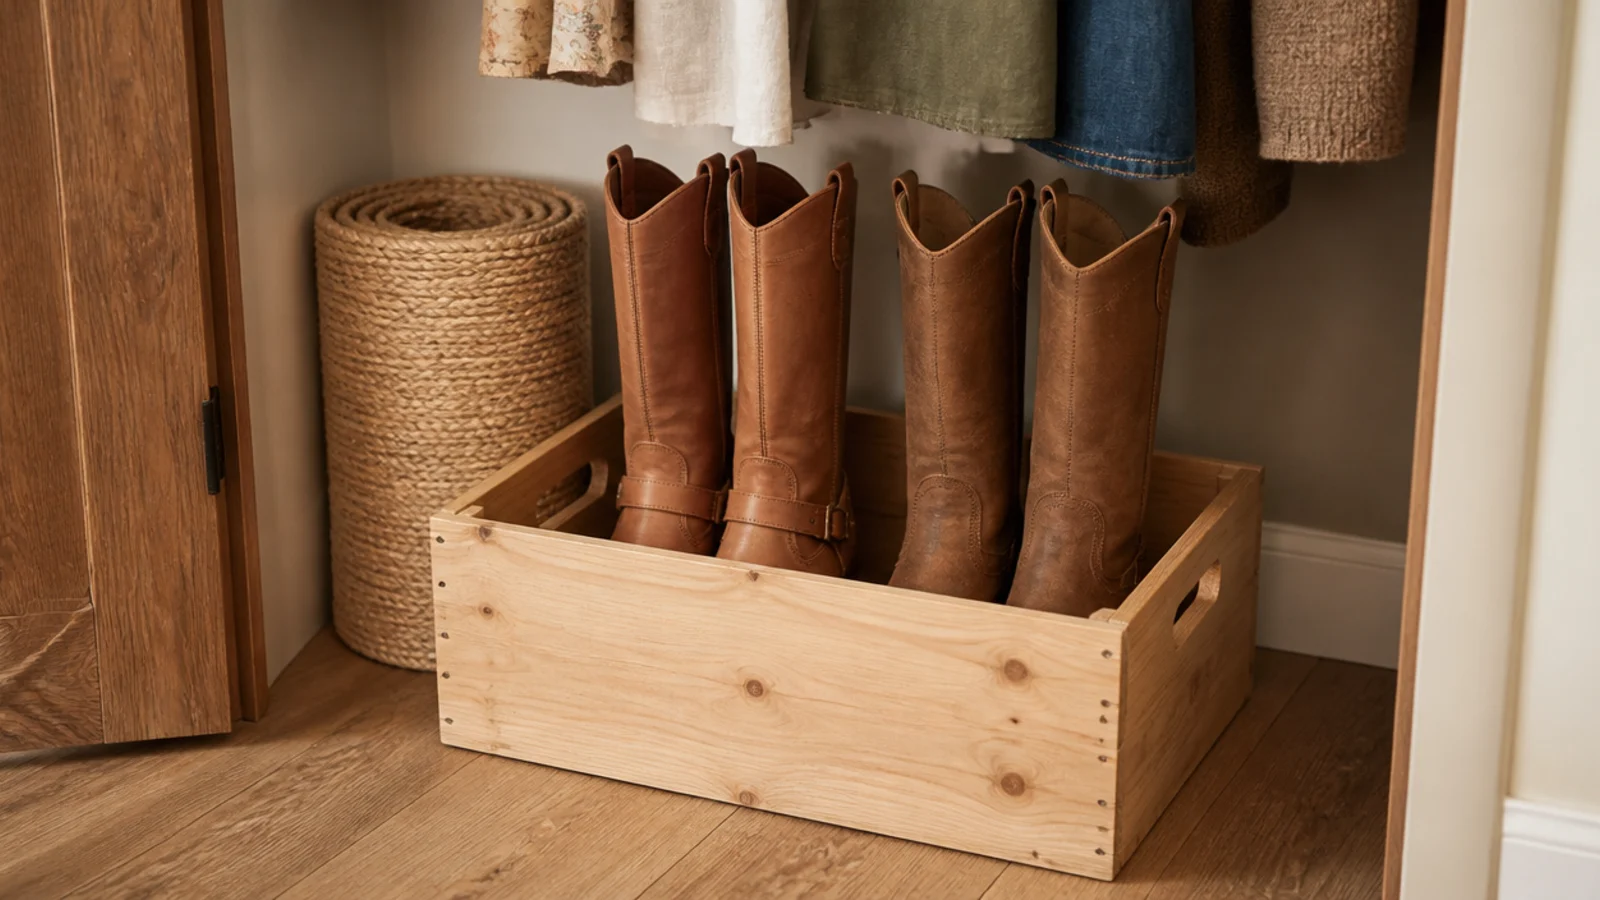
20. Use a wooden crate for boots
Tall boots slump, crease at the ankle and fall into each other on an open floor.
A plain pine crate at $10 to $18 holds two pairs upright with the shafts supported. Stand a rolled magazine inside each boot for the same effect at zero cost.
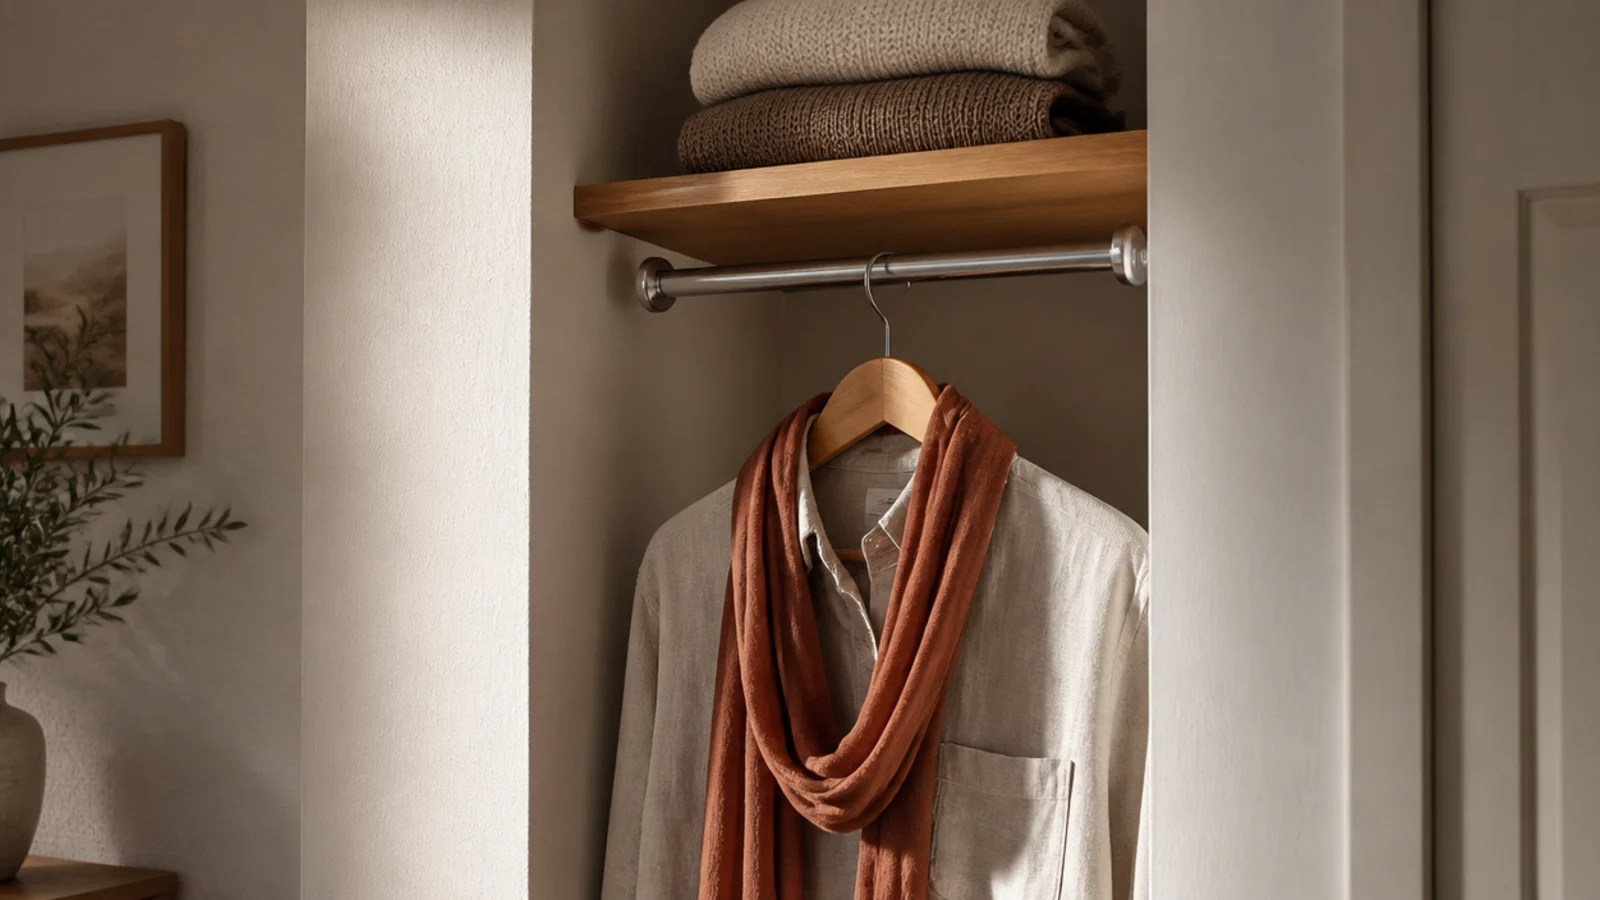
21. Repurpose a shower rod as a valet rail
A short tension rod fitted across a shallow recess becomes the valet rail that ends the morning scramble.
You need only 12 inches of clear space for a hanger to swing. Hang tomorrow's outfit the night before and the whole routine gets quieter. A bought pull-out valet rod costs $12 to $25 if you would rather buy it.
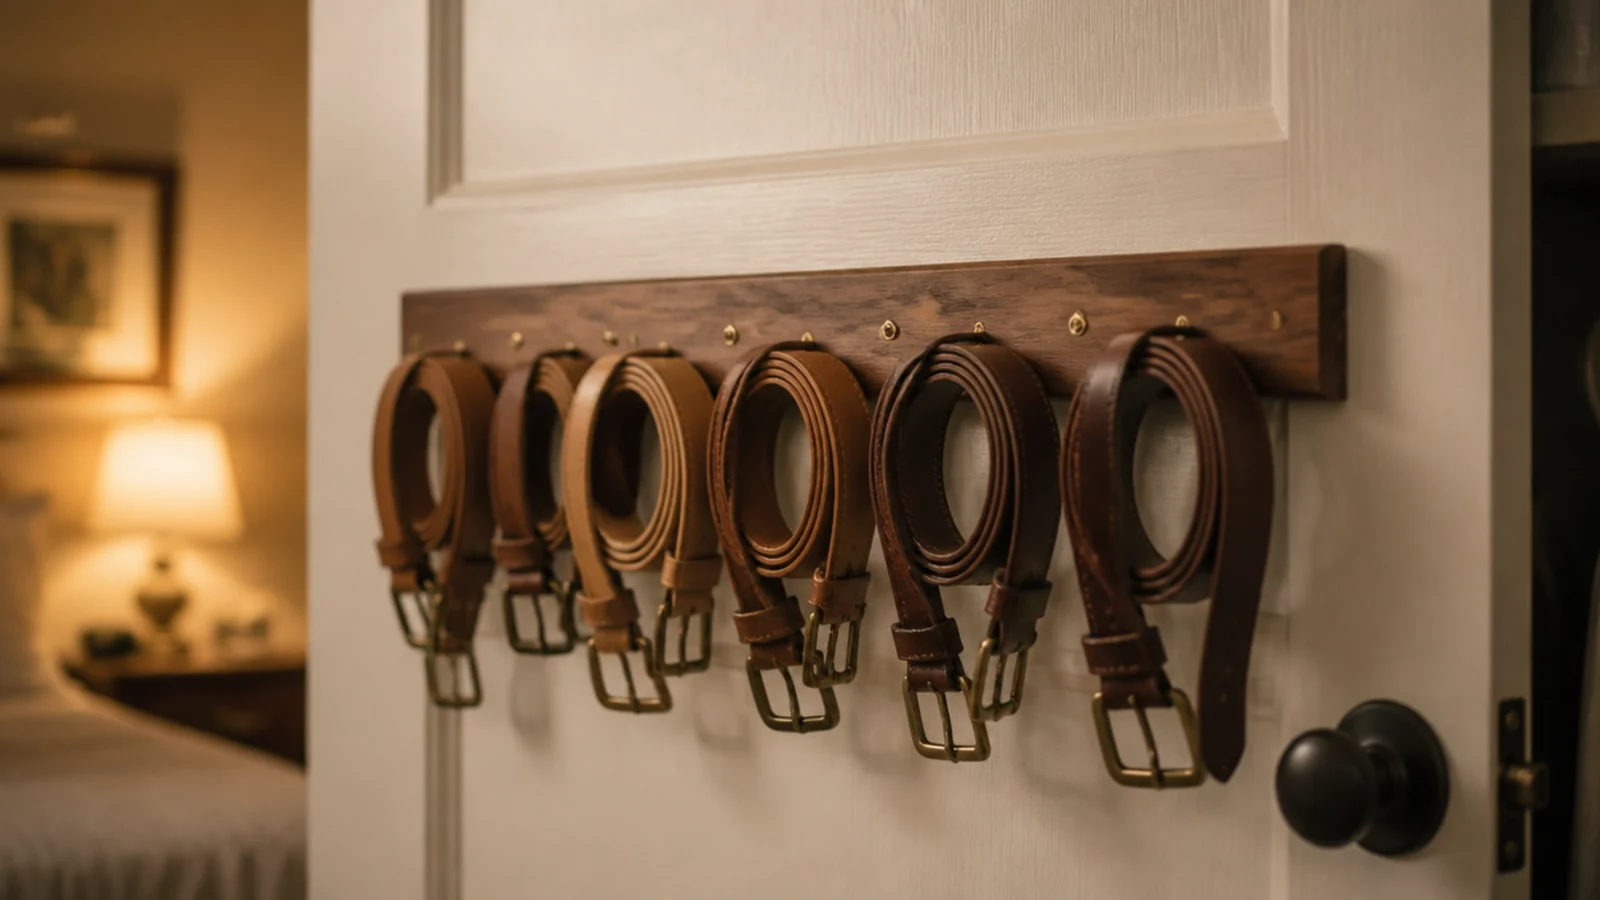
22. Rack belts on the door back
Coiled belts in a drawer tangle and crease. A slim wooden rack on the door back holds a dozen in 4 inches of depth for about $15.
Use an over-door frame rather than screws on a hollow-core door, which will not hold anything for long. Scarves draped on a second row keep them creaseless too.
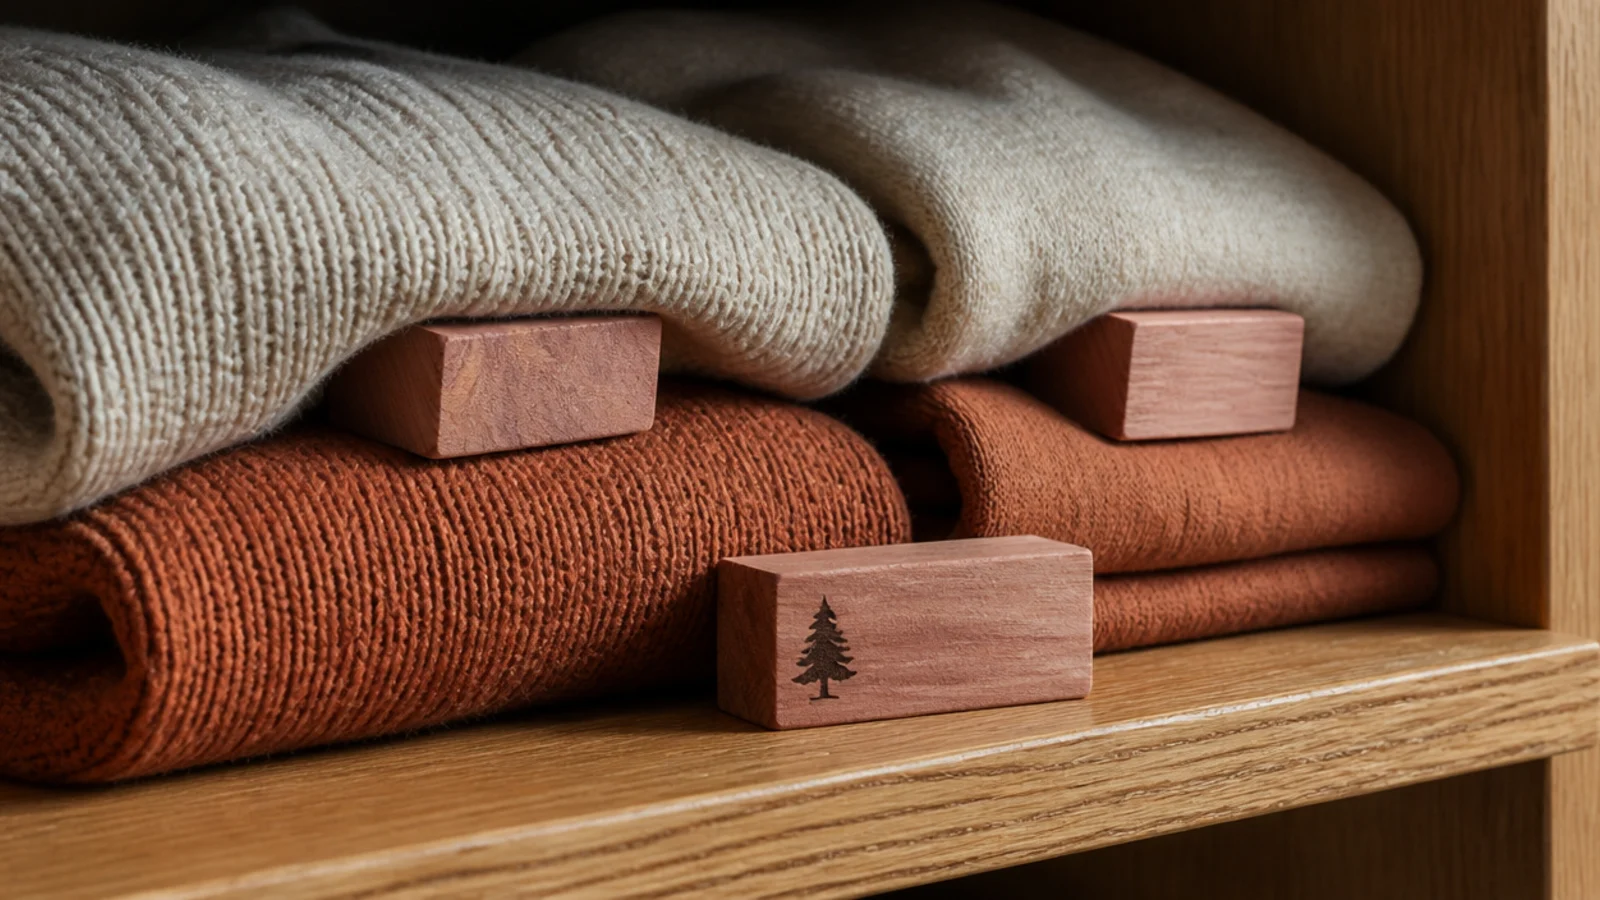
23. Drop in cedar blocks
A bag of untreated cedar blocks costs $10 and protects wool far better than the fabric-softener-scented alternatives.
Tuck two or three between folded sweaters and sand them lightly once a year to refresh the oils. Cedar does not kill larvae already in wool, so wash knits before storing them.
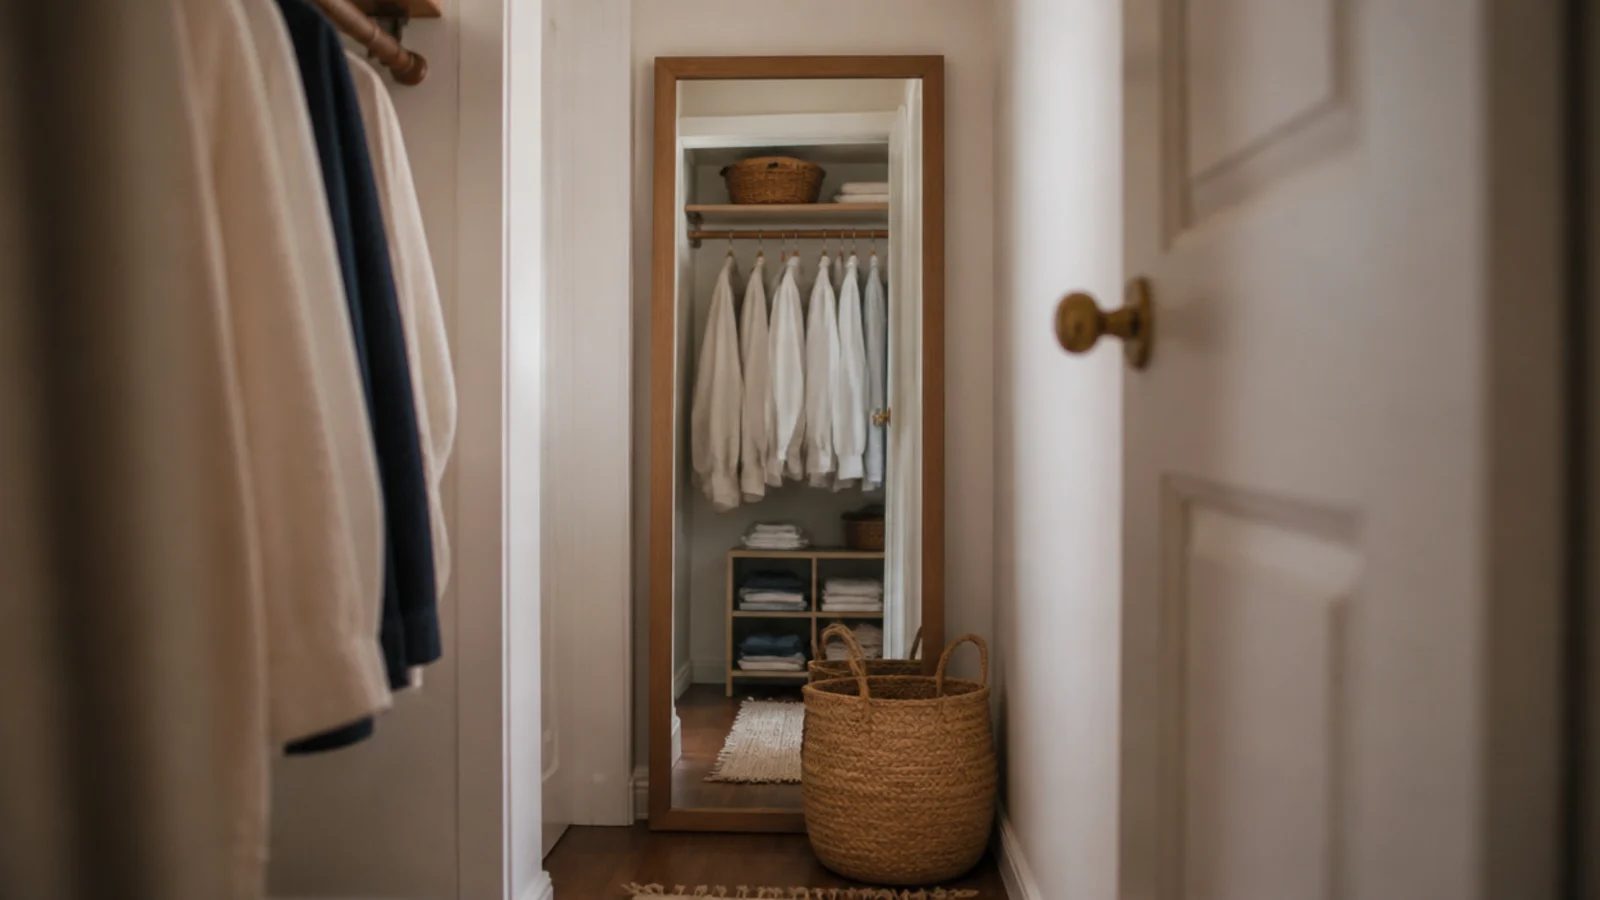
24. Thrift a full-length mirror
Mirrors are the best-value secondhand purchase in any home. A framed full-length mirror runs $20 to $60 used against $120 new.
Fix it to the end wall at 60 inches to center, or lean it and secure it with one L-bracket. It bounces your warm shelf light back across the space and makes a 6-foot closet feel considerably less like a cupboard.
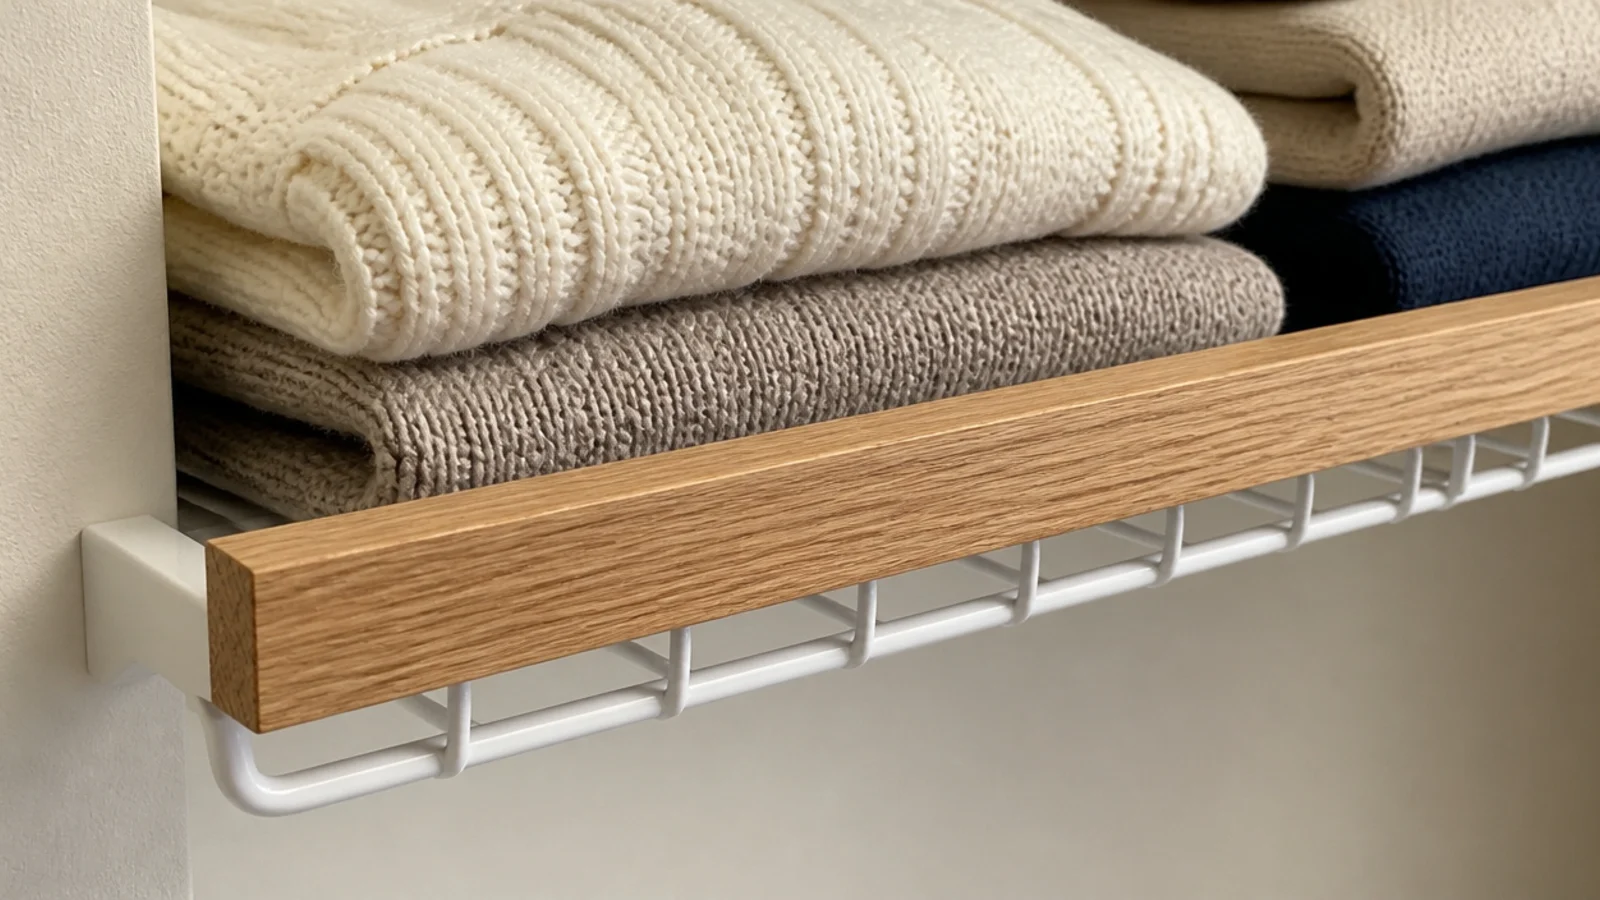
25. Add a wooden lip to wire shelves
A slim oak or pine strip along the front edge of a wire shelf costs about $10 and instantly reads as joinery.
Attach it with zip ties from below or adhesive-backed clips — no drilling into the shelf. It also stops small items rolling off the front, which is wire shelving's other quiet failing.
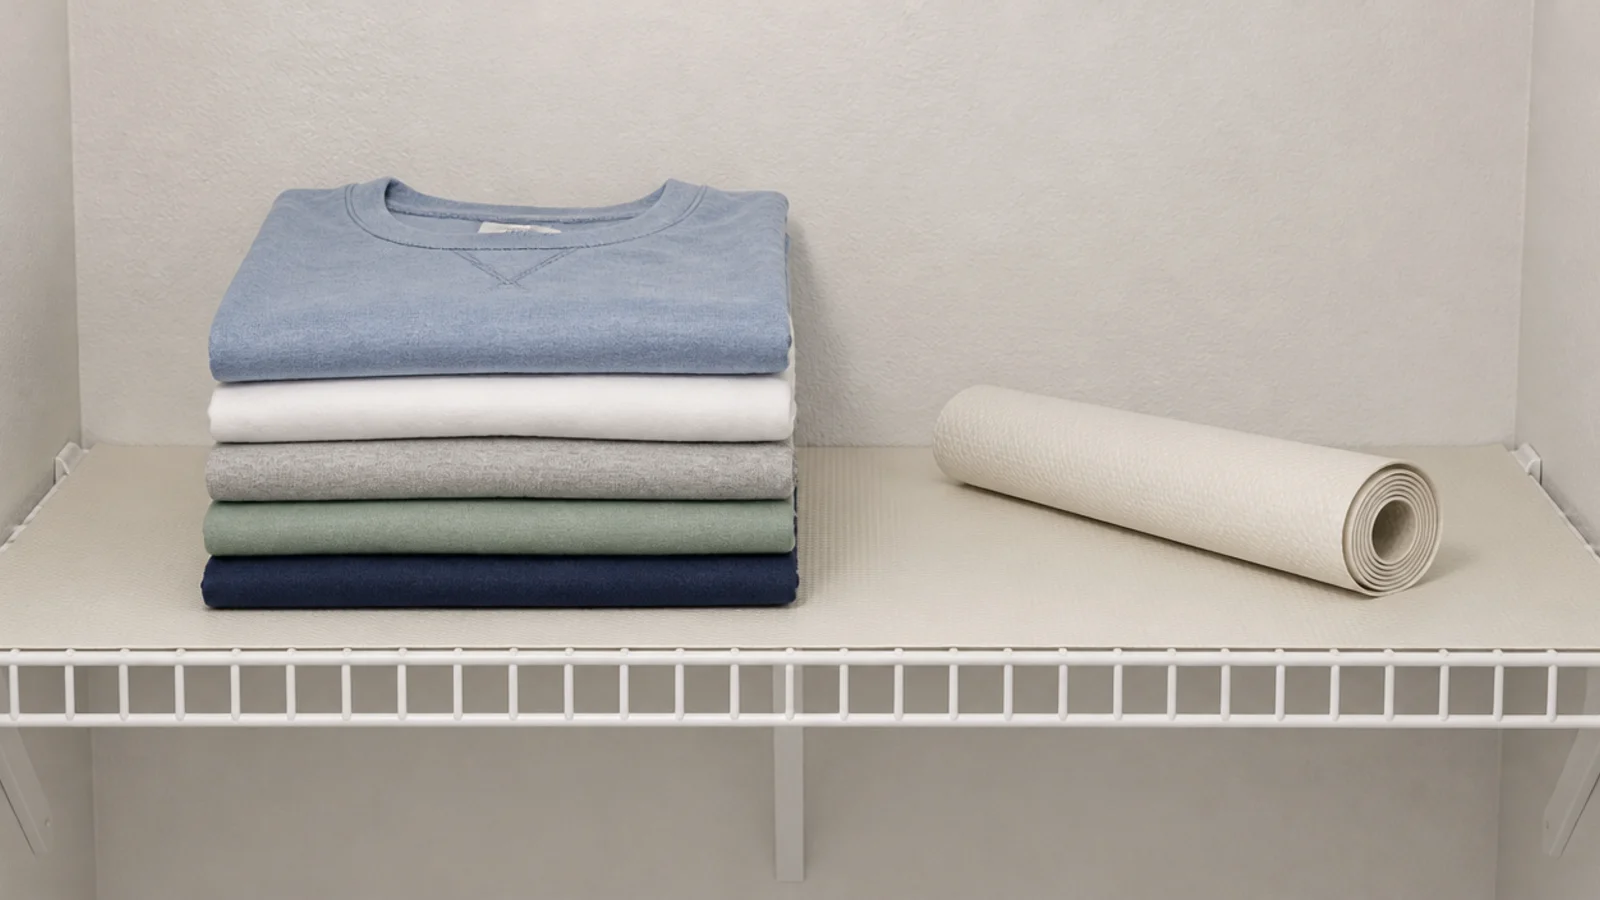
26. Line the shelves
Rigid shelf liner at $8 to $12 a roll turns wire into a flat surface so folded knits stop picking up ridge marks.
Cut it half an inch shorter than the shelf so it does not curl at the edges. On solid shelves, liner protects the finish and makes a thrifted unit feel considered.
27. Vacuum-bag the off-season bulk
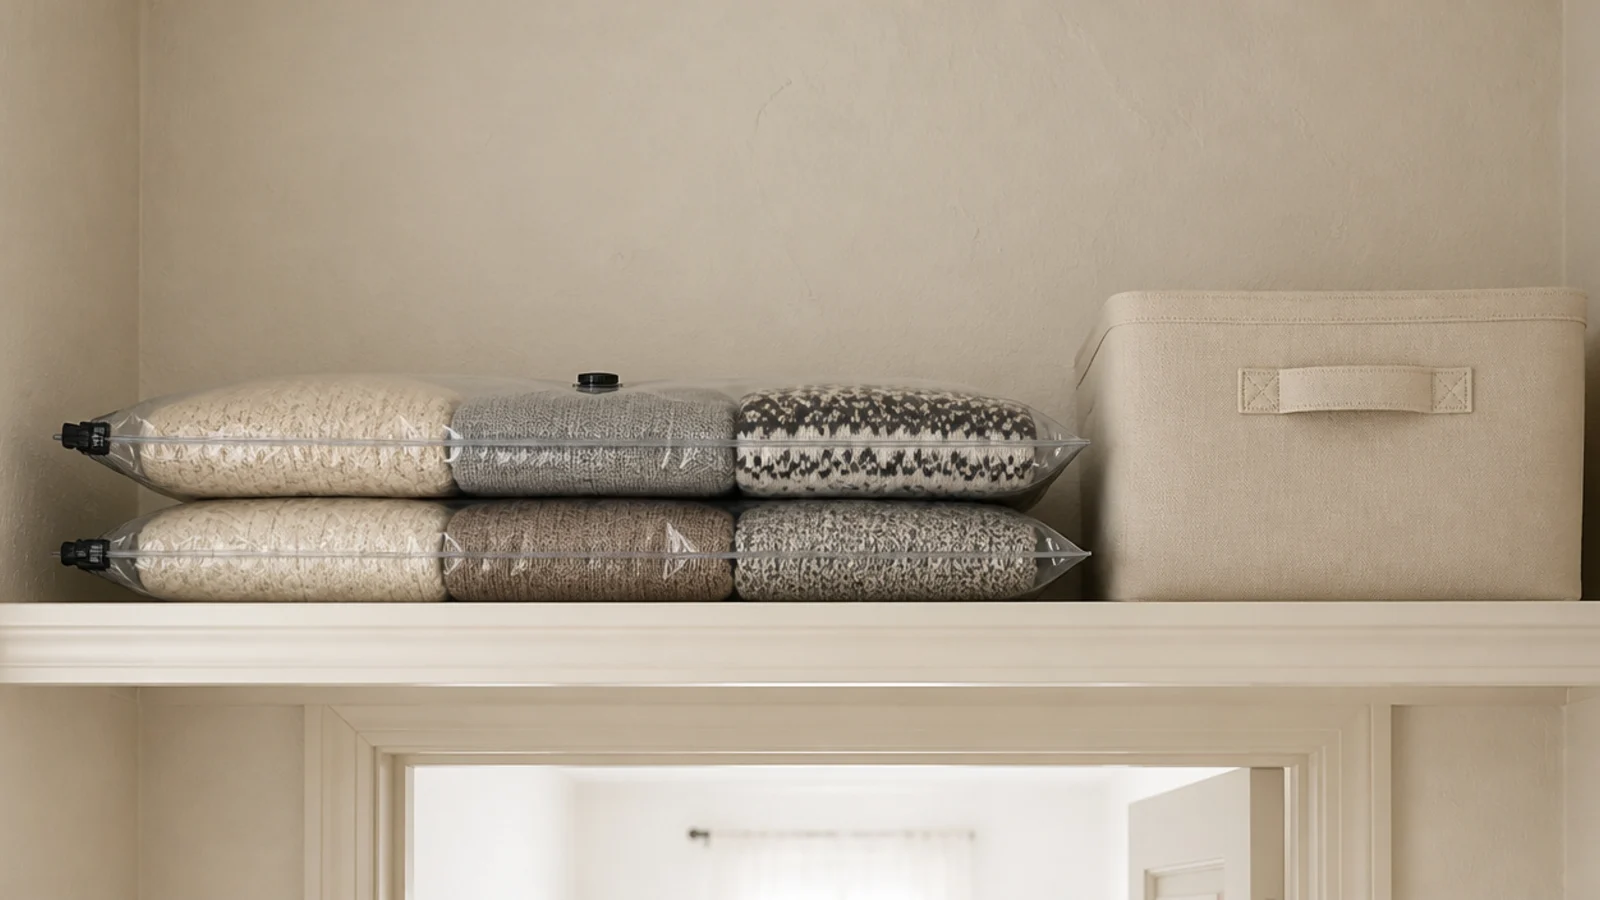
Duvets, coats and heavy knits compress to roughly half their volume in a vacuum bag, which is often the difference between a top shelf that closes and one that does not.
Store them flat above 84 inches. Skip long-term compression for down, which needs to loft — give it a shake and a day out each season instead. Bags cost about $3 each.
28. Swap the ceiling bulb for a warm high-CRI one
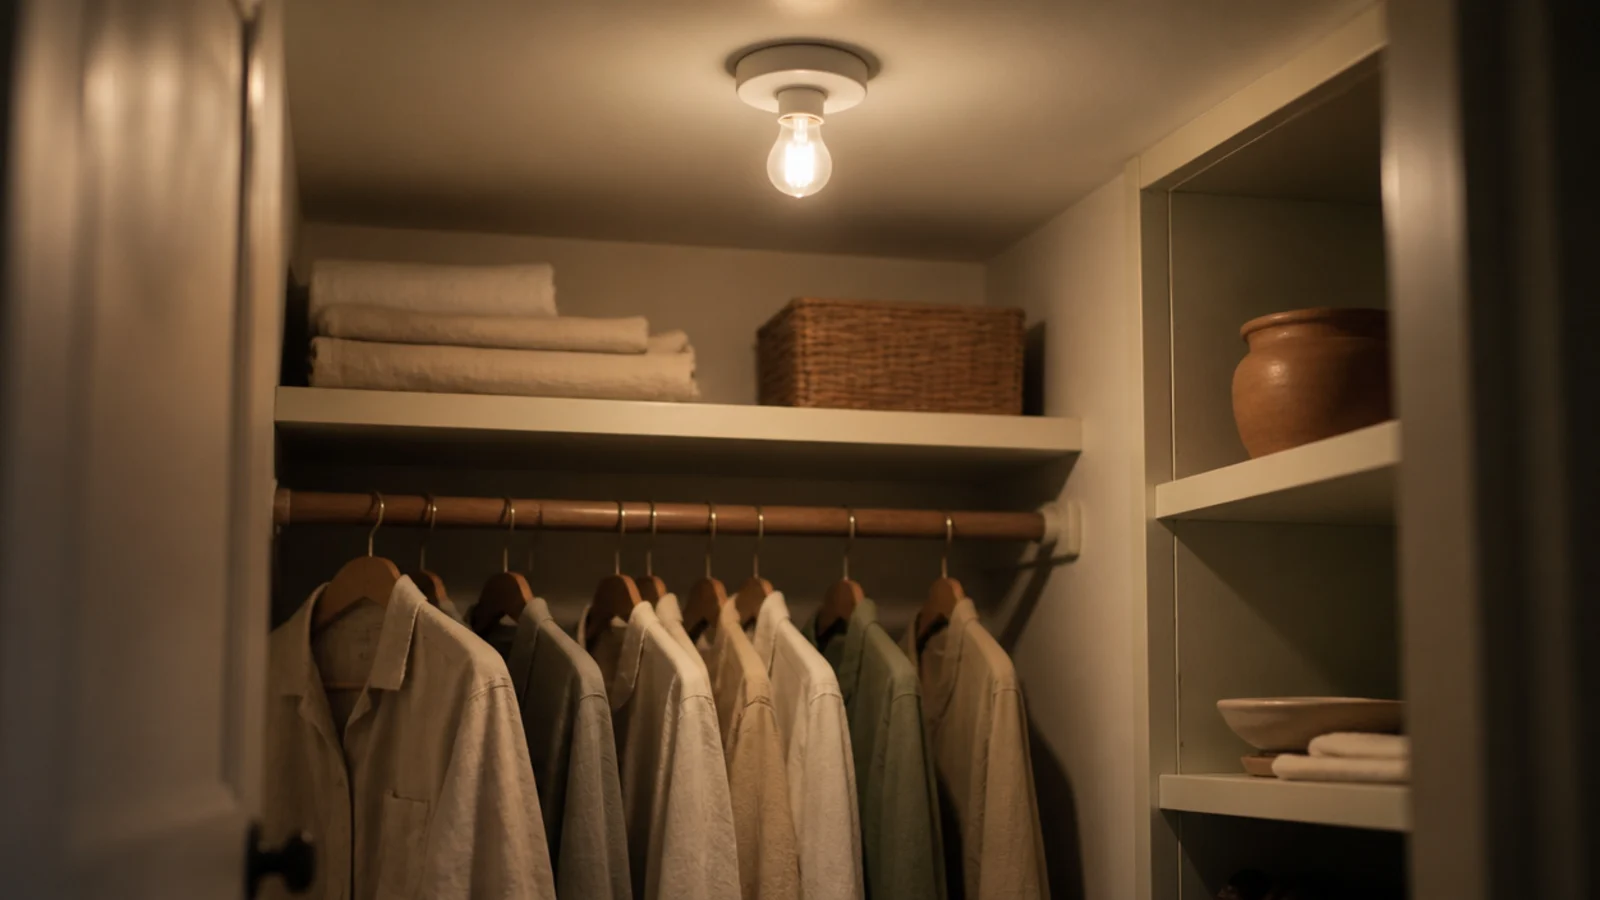
The cheapest meaningful change in the whole room. A 3000K bulb at CRI 90 or above costs about $6 and stops every color you own from shifting.
Cool white LEDs read navy as black and make warm neutrals look dirty. Check the CRI figure on the box, not just the color temperature — plenty of warm bulbs still render badly.
29. Buy secondhand baskets in one material
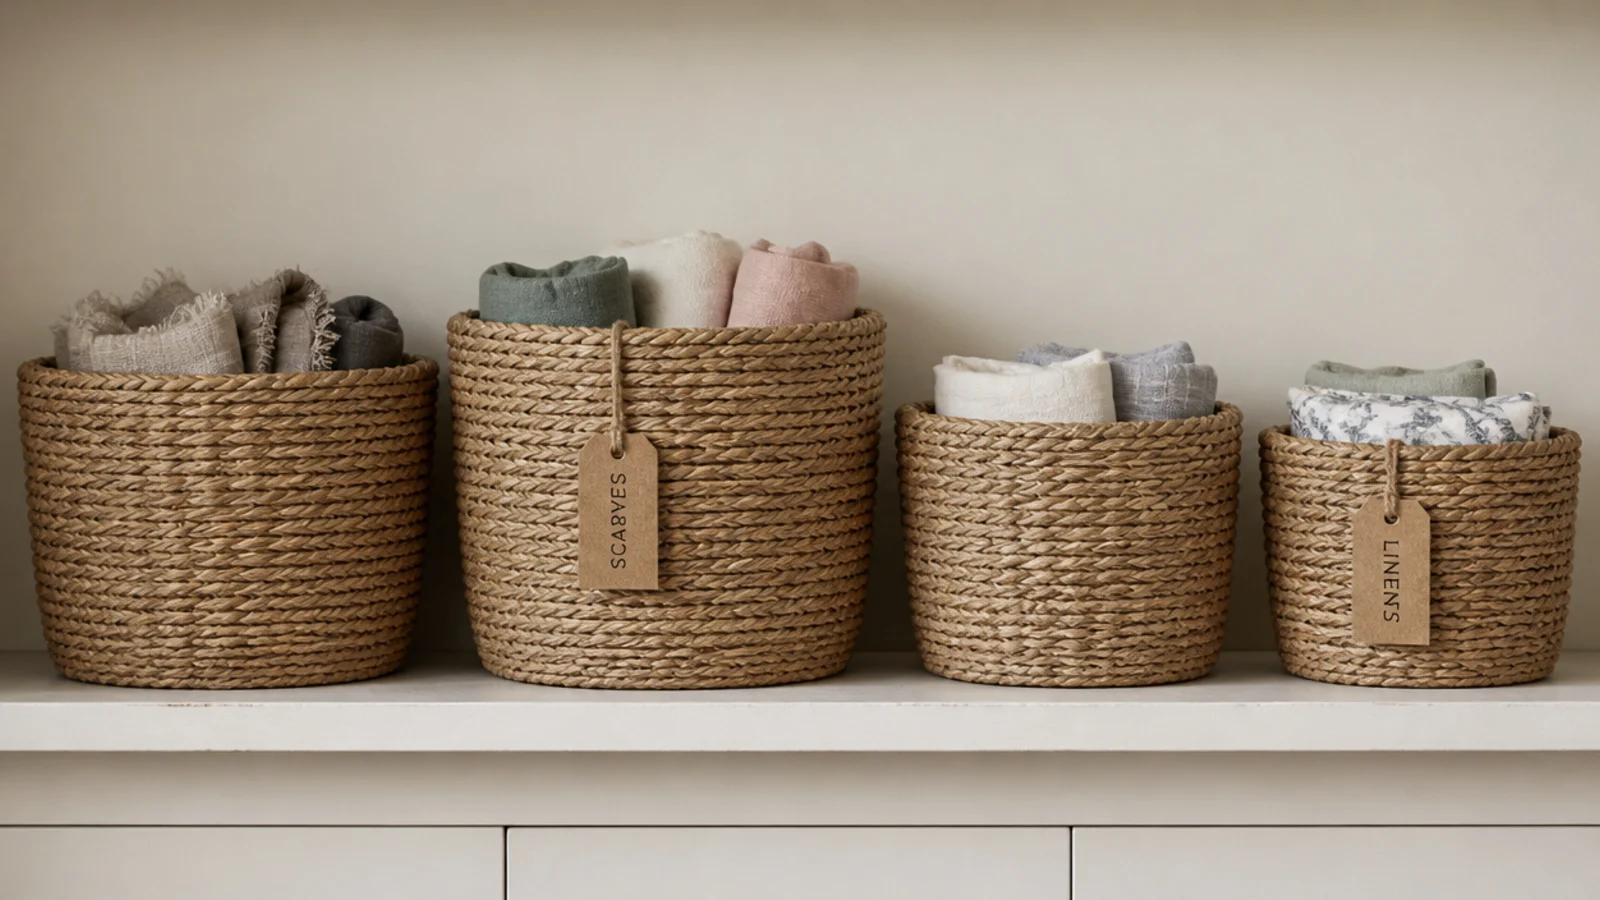
Thrifted baskets cost $3 to $8 each against $20 new, and mismatched sizes look intentional as long as the material matches.
Stick to one — all seagrass, or all canvas. Measure the shelf first: a 14-inch shelf wants baskets 12 to 13 inches deep so nothing overhangs the front edge and gets knocked down.
30. Upgrade in $40 stages
The closets that actually get finished are the ones done one wall and one payday at a time.
Light first, then the second rod, then dividers and hangers, then containers. That order gives you a visible win every month for under $40, and you never end up with a half-built system you resent. There is a longer plan in walk-in closet on a budget, and the same staged approach works for shoe storage on a budget.
Mistakes to Skip
- Buying bins before sorting. Containers bought first just store the same problem more neatly, and half of them will be the wrong depth for the shelf.
- Hanging a rail on plastic drywall plugs to save $4. They carry about 10 pounds and a loaded shirt rail passes 40, so the whole thing arrives on the floor at some point.
- Choosing 5000K daylight bulbs because they look brighter in the aisle. Every warm neutral you own will look muddy, and you will blame the clothes.
Frequently asked questions
How much does it cost to upgrade a small walk-in closet?
You can transform one for $80 to $150 in hardware alone. Shelf dividers, matching hangers, a second rod and a warm LED strip cover the four real problems: slumping, spacing, capacity and seeing. A full wire kit for a 6-foot wall adds $80 to $200, and a modular tower system starts around $400 if you want adjustability.
What is the cheapest way to double closet hanging space?
Add a second rod. A double-hang kit with brackets and a rod runs $25 to $70 and takes an hour. Put the lower rod at 42 inches and the upper at 84, and the same wall holds roughly twice the shirts, jackets and folded-over trousers. Nothing else comes close for the money.
Can I improve a rented closet without drilling?
Yes. Tension rods span a 4-foot bay and hold a full row of shirts. A canvas shelf tower hangs from an existing rod for about $25. Over-door racks handle shoes, peel-and-stick hooks rated to 5 pounds take bags, and rechargeable LED strips light it. None of that leaves a hole behind.
Are wire closet shelves worth it on a budget?
They are, with one adjustment. Wire is cheap, strong and easy to cut, but small items tip through the gaps and folded knits pick up the ridges. Lay a rigid shelf liner or a thin plywood board on top for about $10 per shelf and the system behaves like a solid one for a fraction of the price.
What should I spend money on first in a small closet?
Light, then hanging capacity, then containers. A warm 3000K strip at CRI 90 or above costs $20 and changes how everything in the room reads. A second rod costs $25 to $70 and doubles what fits. Containers come last, because buying bins before you sort just means storing the same problem more neatly.
Do the four cheap things first — warm bulb, second rod, dividers, matching hangers — and live with it for a week before spending another dollar. Most people find that is where they stop. If you want the full build instead, the twenty-step closet project covers it end to end, and small closet shelving ideas sorts out the spacing. Save the pin below so the prices and measurements travel with you.
Want more like this? Browse all 15 small walk-in closet ideas guides — they all use the same measurements and budget tiers.
Pin it for later
Save this to your Small Walk-In Closet Ideas board
Pin it now so it is waiting for you when the tape measure comes out — and so the next person hunting for this idea can find it too.
Save this pinKeep going
More ideas worth saving while you have the tape measure out.