Small Walk-In Closet Ideas · How-To
20 Steps to Style a Stunning Small Walk-In Closet

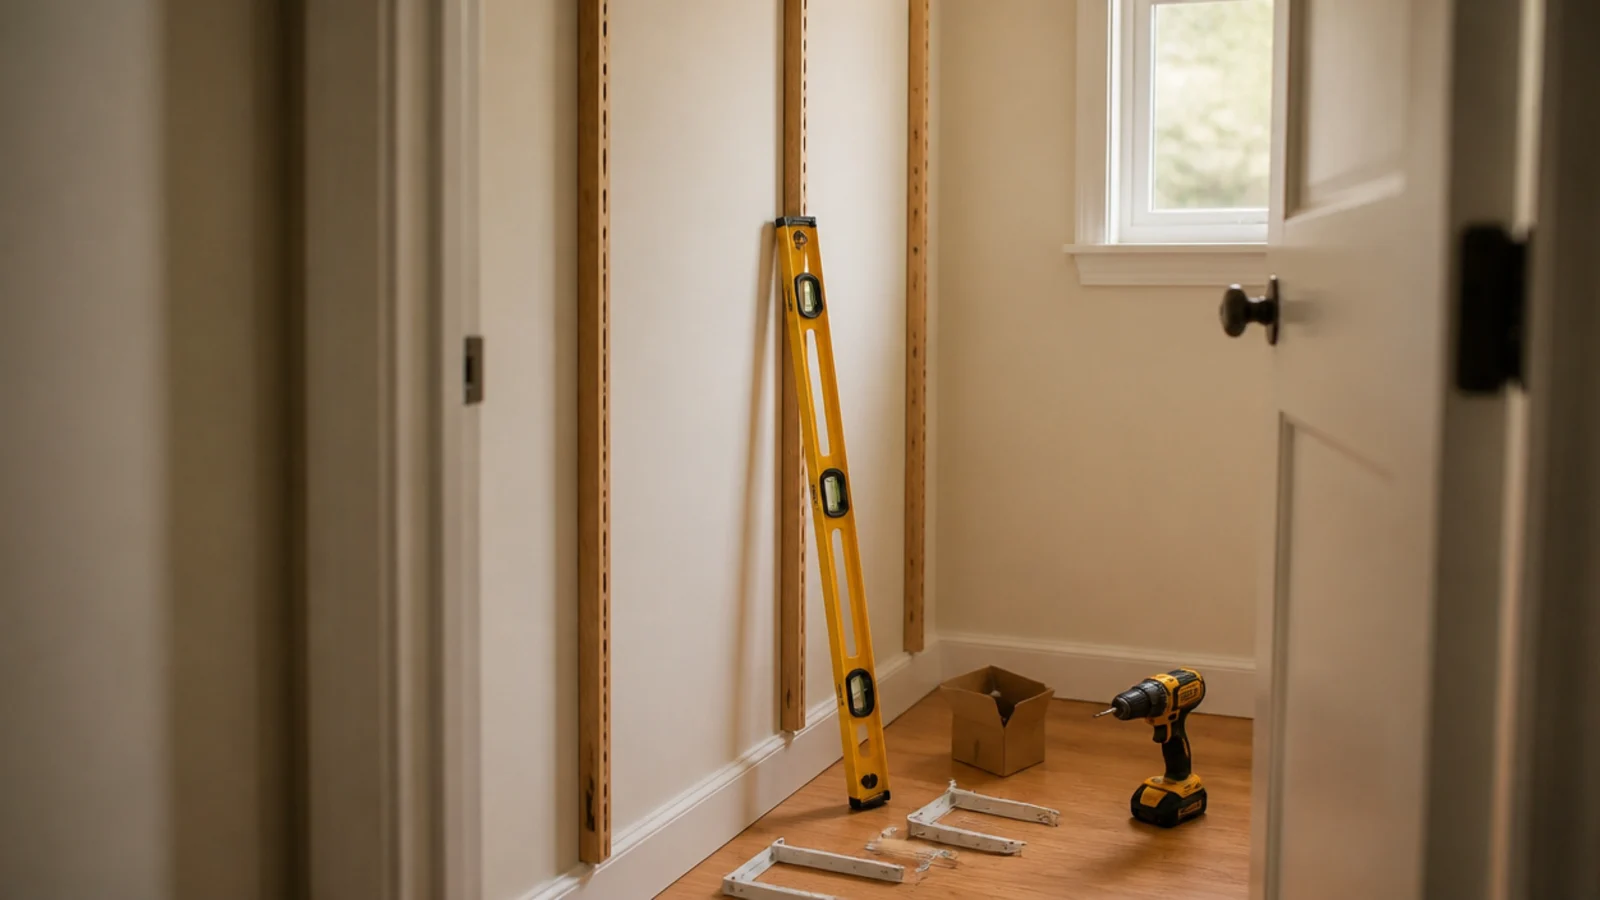
A DIY small walk in closet is mostly arithmetic and one afternoon with a drill. I have built three of these now, and the pattern is always the same: the people who love the result did all their measuring before buying anything, and the people who redo it in a year bought a kit first and measured after. These twenty steps run in the order that actually works.
In this guide23 sections — tap to openHide
- 1.What You'll Need for a DIY Small Walk-In Closet
- 2.Step 1: Measure the room and subtract the door swing
- 3.Step 2: Decide if it should be a walk-in at all
- 4.Step 3: Chalk the 36-inch walkway on the floor
- 5.Step 4: Empty it completely and sort in four piles
- 6.Step 5: Count your hanging by type
- 7.Step 6: Convert your counts into linear inches
- 8.Step 7: Draw an elevation for every wall
- 9.Step 8: Set the double-hang heights at 42 and 84
- 10.Step 9: Reserve one bay for long-hang
- 11.Step 10: Plan shelves at 12 to 14 inches deep
- 12.Step 11: Choose the system before you drill anything
- 13.Step 12: Find the studs and mark one level line
- 14.Step 13: Mount the top hang rail into studs
- 15.Step 14: Hang the vertical standards plumb
- 16.Step 15: Fit the rods and check 24 inches of clearance
- 17.Step 16: Add shelves and load-test them
- 18.Step 17: Add drawers or baskets at knee height
- 19.Step 18: Fit 3000K lighting with a high CRI
- 20.Step 19: Add the mirror and a valet rod
- 21.Step 20: Load it back in, live a week, then edit
- 22.Pro Styling Rules
- 23.Mistakes to Skip
What You'll Need for a DIY Small Walk-In Closet
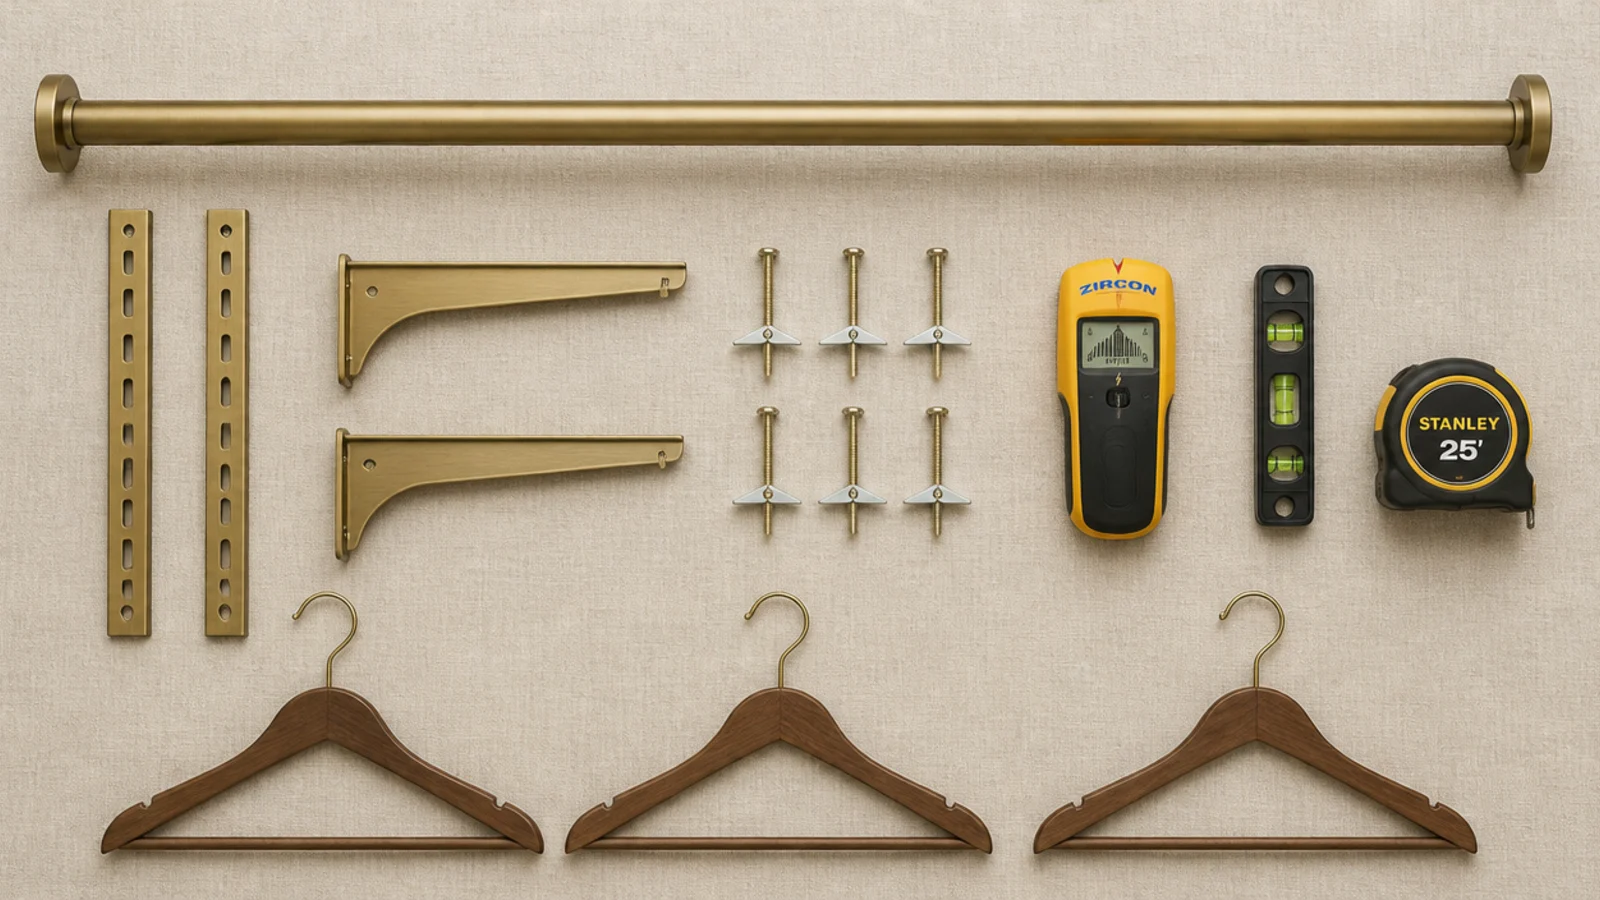
Nothing specialist. If you own a drill and can borrow a 4-foot level, a single-sided 6-foot closet comes in around $180 to $320 in a modular system, or under $120 in wire.
| Item | Spec that matters | Rough cost |
|---|---|---|
| Hang rail | Steel, screwed into every stud at 16 in centers | $18–$30 |
| Shelf standards | Slotted steel or wood, 60–80 in tall | $12–$22 each |
| Shelf boards | 12–14 in deep, 3/4 in solid or melamine | $14–$40 each |
| Closet rods | 1-1/4 in diameter, cut with a hacksaw | $10–$25 |
| Toggle bolts | 1/8 in, for half-inch drywall between studs | $5 |
| LED strip | 3000K, CRI 90+, rechargeable or plug-in | $18–$30 |
| Hangers | One profile only, slim velvet or walnut | $20–$60 |
| Tools | Drill, stud finder, 4 ft level, tape, hacksaw, pencil | borrowed |
Step 1: Measure the room and subtract the door swing
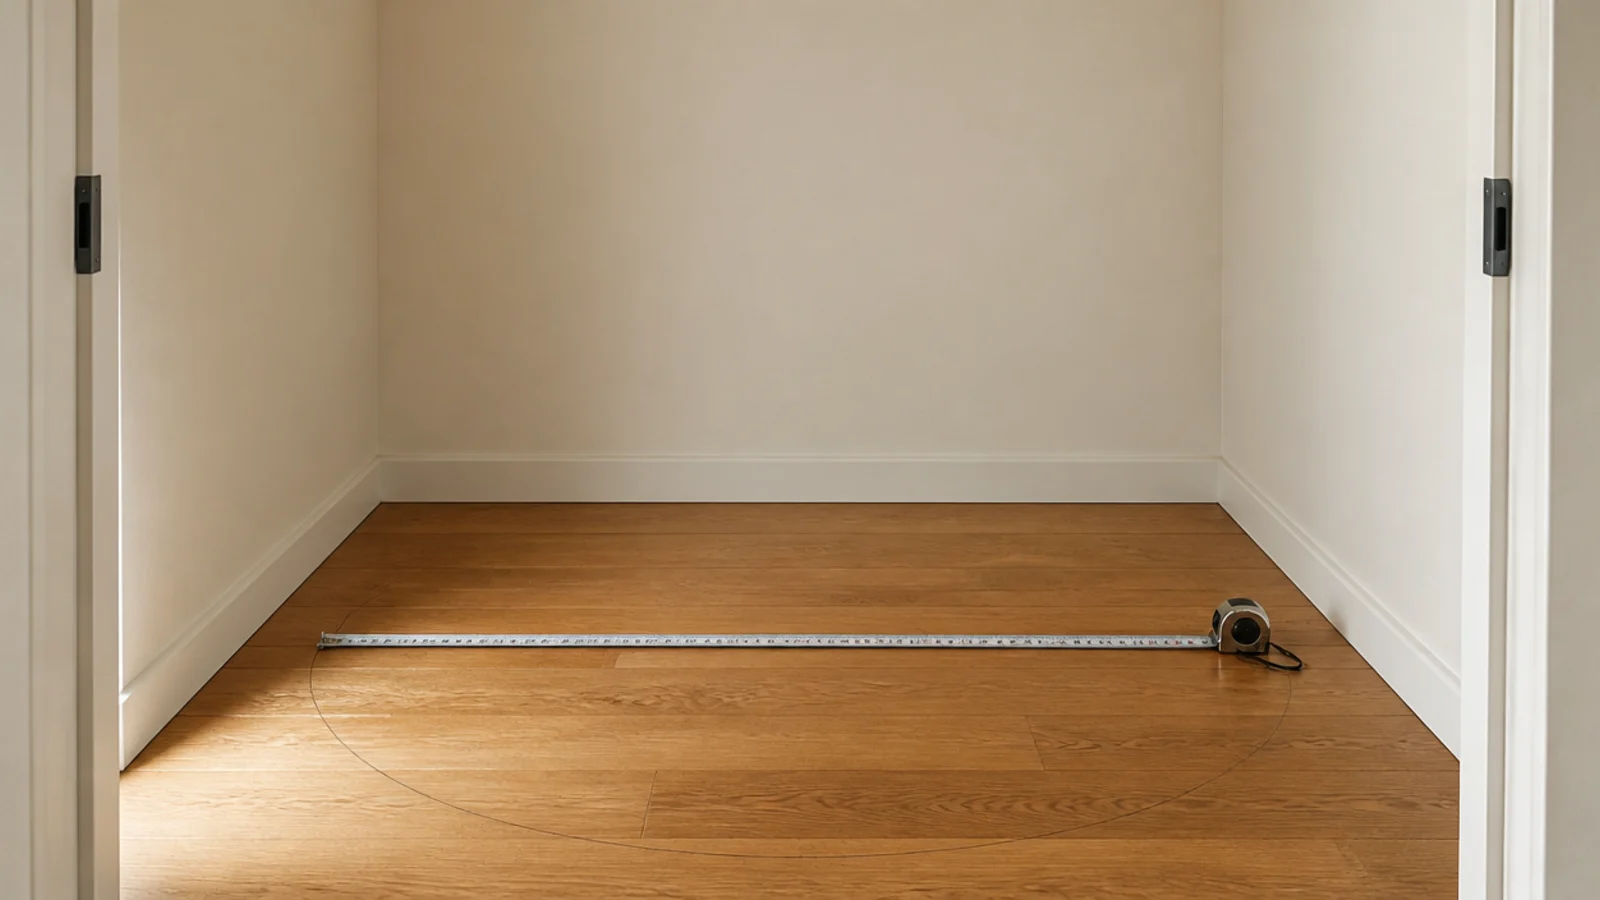
Take the width, the depth and the ceiling height, then open the door fully and mark its arc on the floor in pencil.
That arc is floor you cannot use. On an inward-swinging door it is usually a 30-inch bite out of exactly the space you need to stand in. Write all four numbers down; every decision from here refers back to them.
Step 2: Decide if it should be a walk-in at all
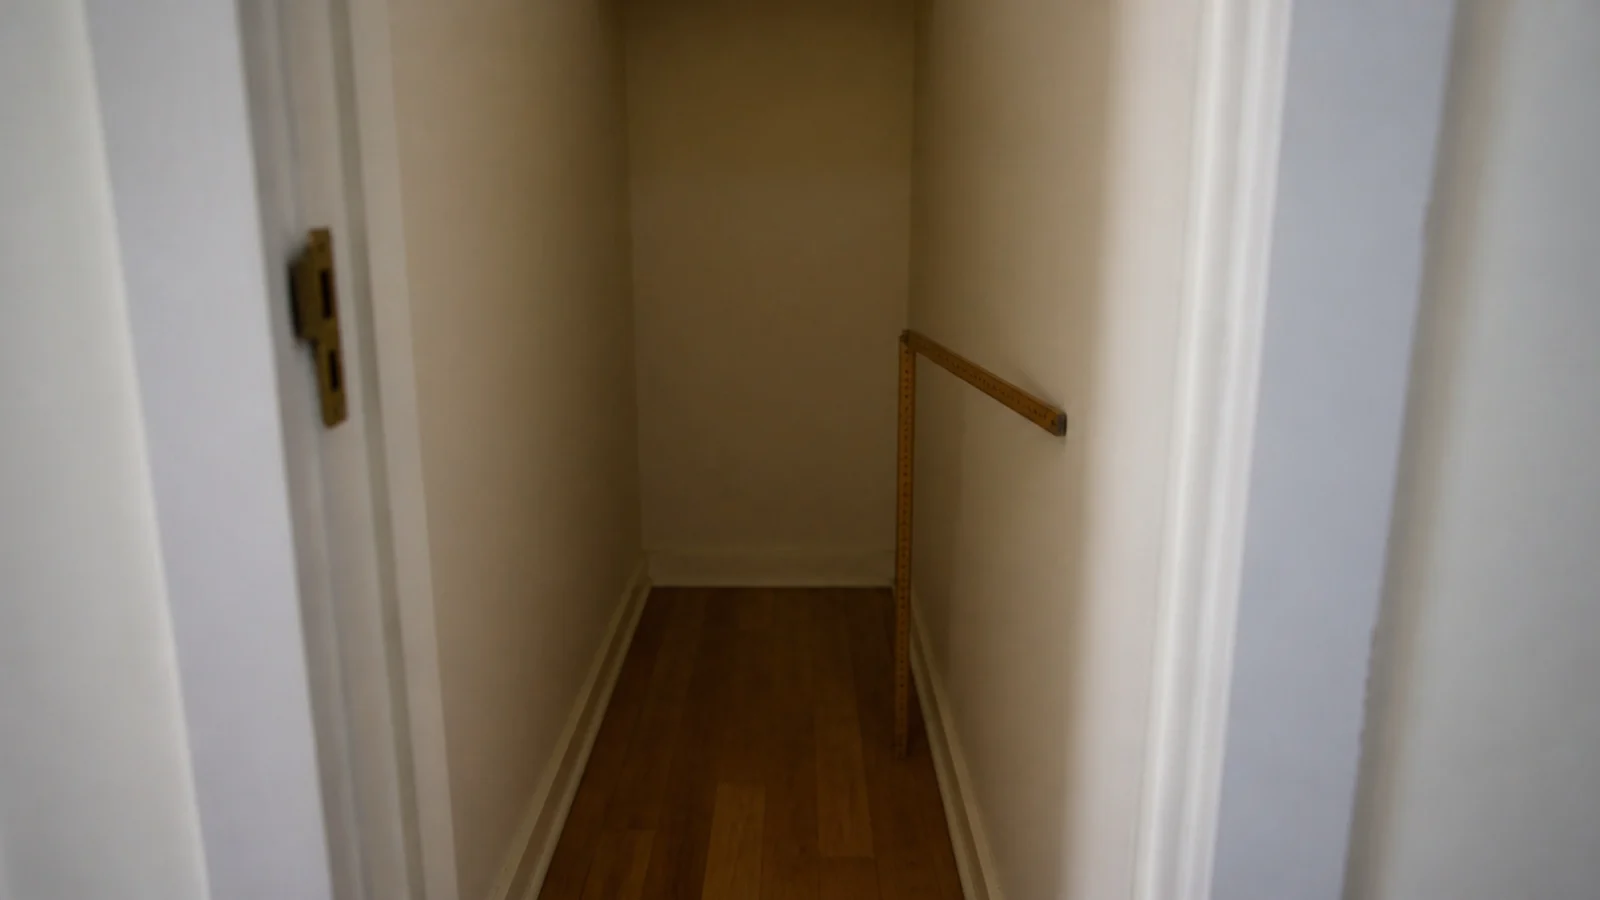
A hanging rod needs 24 inches of clear depth, and you need 36 inches to stand and turn. That is 60 inches minimum for a single-sided walk-in.
If your room is under 5 feet wide, take the door off and build one deep reach-in wall at 24 to 26 inches instead. It sounds like a downgrade and it is not — a good reach-in holds more than a cramped walk-in and you see everything at once.
Step 3: Chalk the 36-inch walkway on the floor
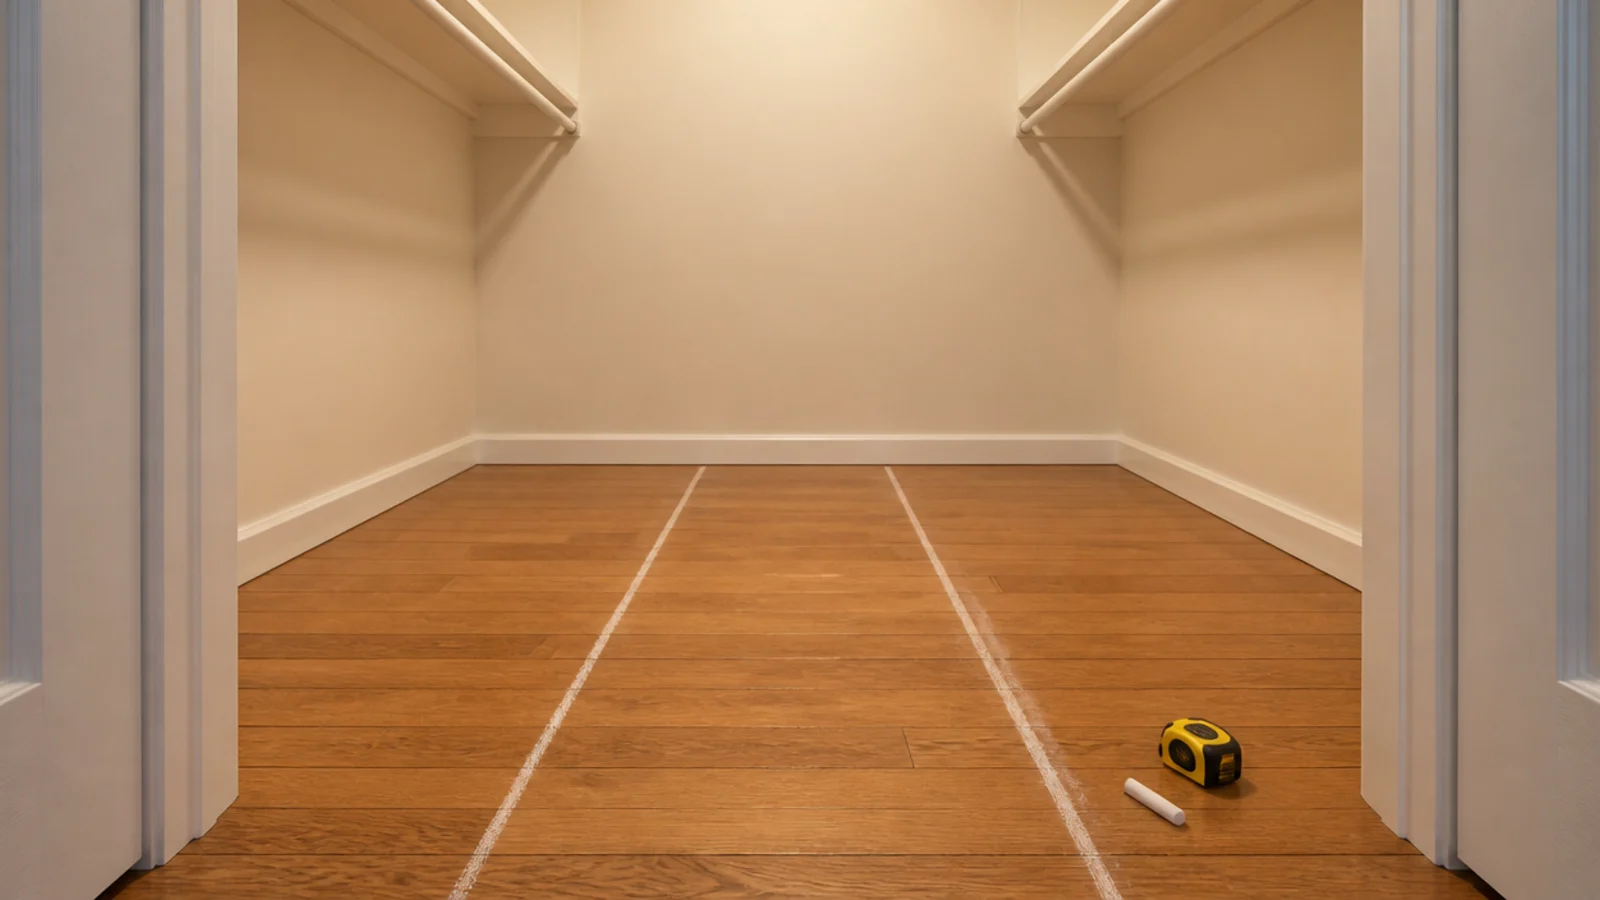
Draw two chalk lines 36 inches apart down the middle of the room, then stand between them and mime getting dressed. Turn, crouch, reach up.
Thirty inches is the absolute squeeze and you will feel it daily. Whatever is left outside those lines is your build depth — usually 24 inches on one side, or 12 inches of shelving on the other if the room is tight.
Step 4: Empty it completely and sort in four piles
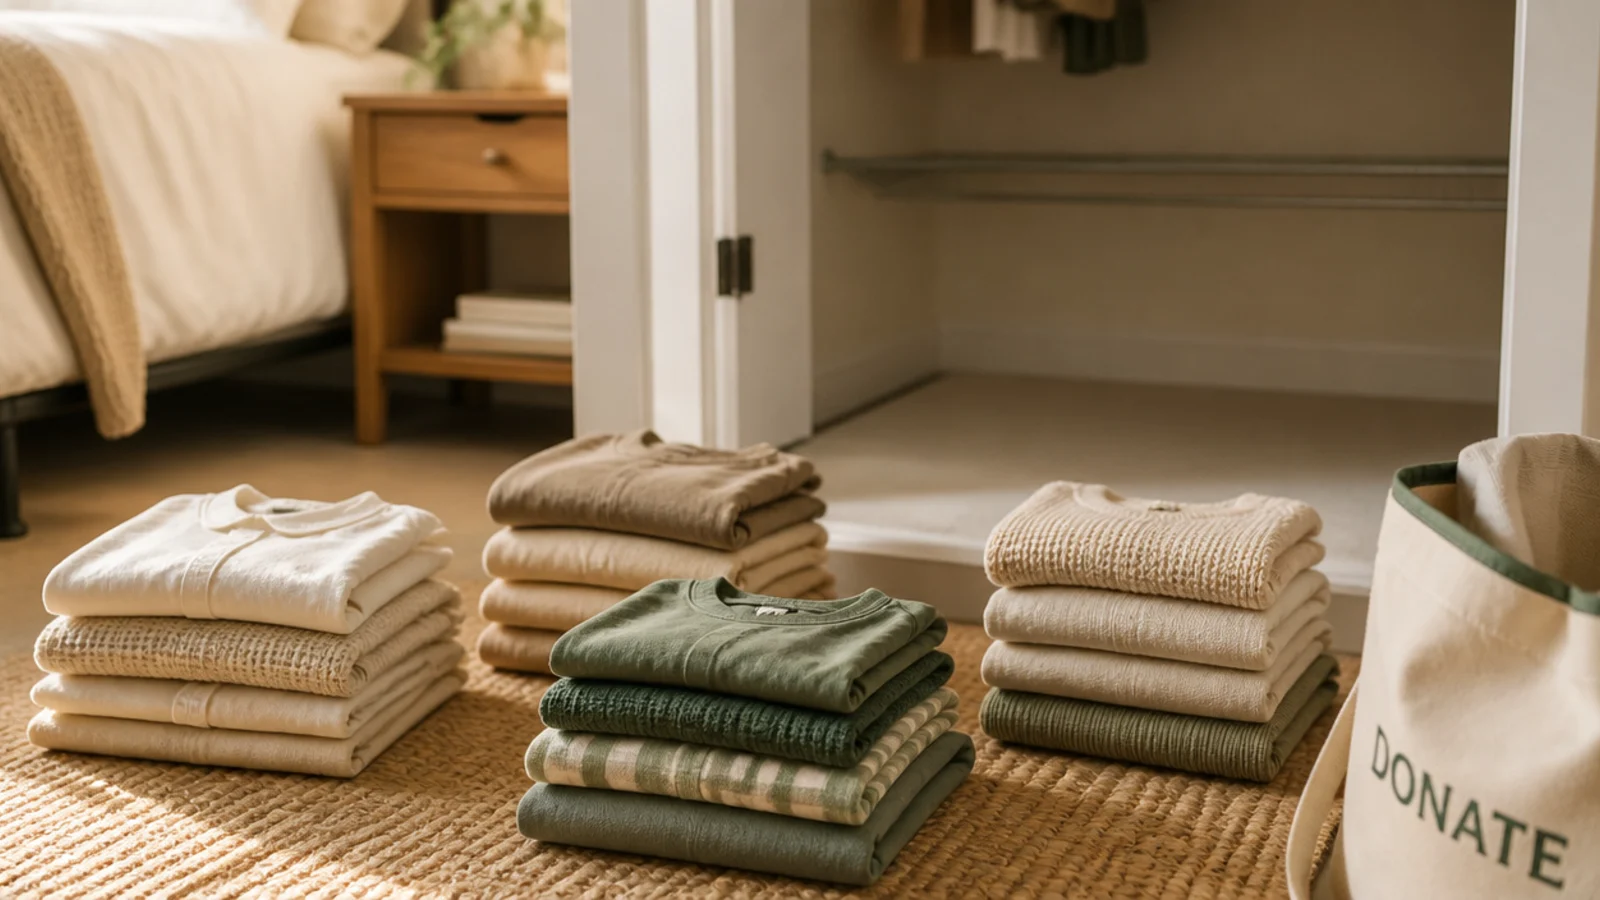
Everything comes out. Not most of it — all of it, including the floor.
Then four piles: keep and hang, keep and fold, out of season, and gone. Do this before you buy a single bracket, because the fourth pile routinely takes 20 percent off the volume you were about to build for. An hour here saves you a bay you never needed.
Step 5: Count your hanging by type
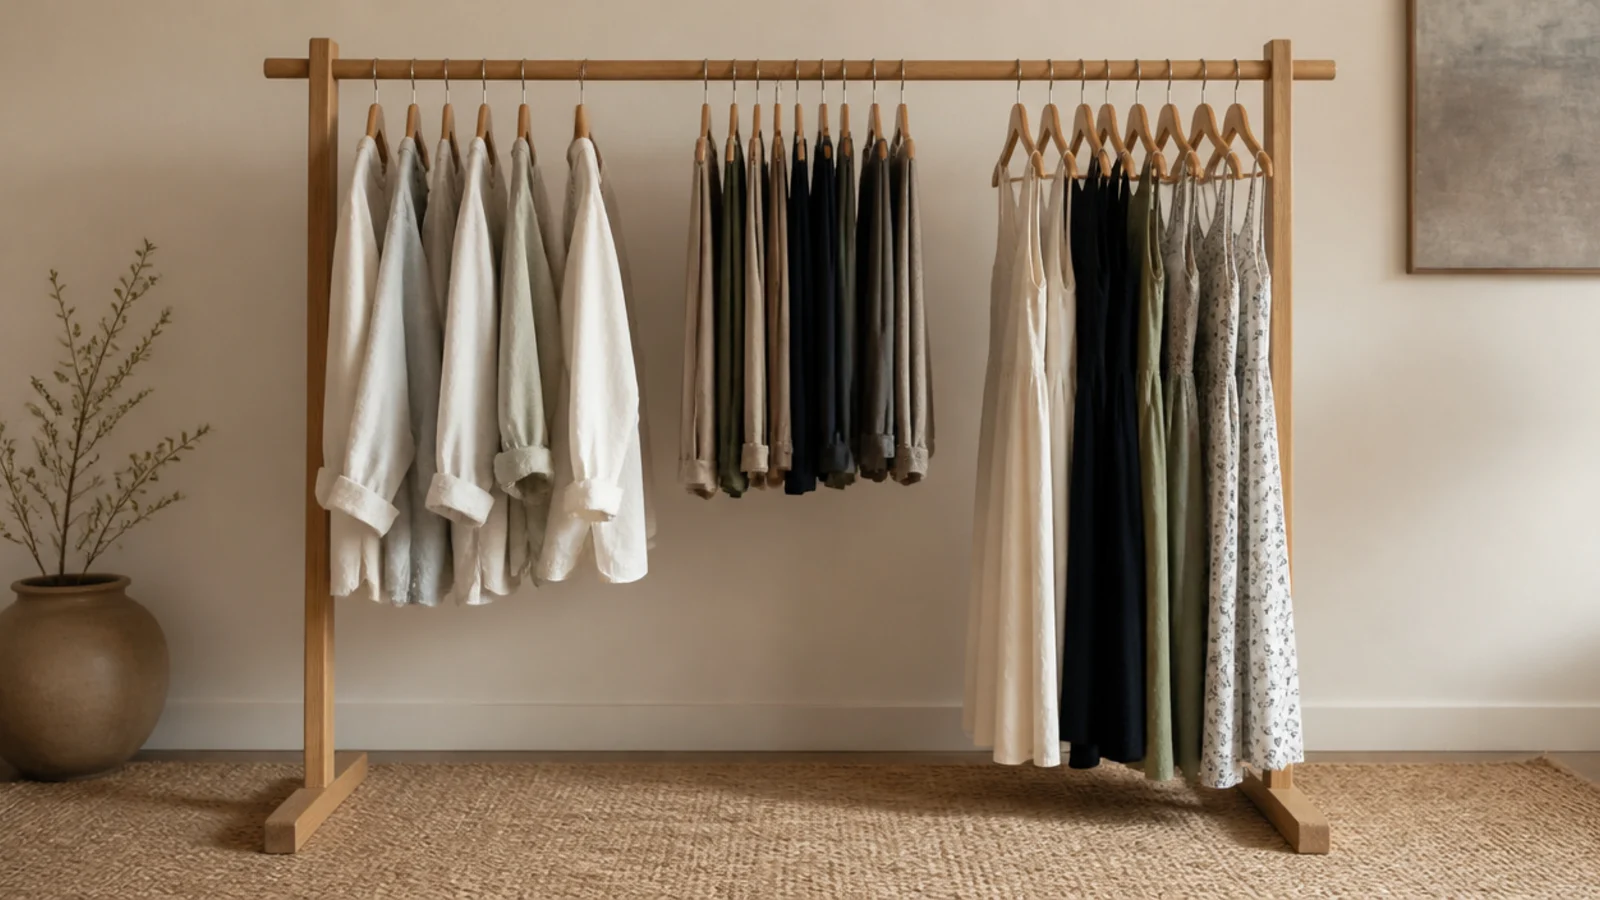
Sort the keep-and-hang pile into shirts, trousers, jackets, dresses and coats, and count each stack. Write the numbers down.
This is the step everyone skips and it is the one that makes the build fit. Most people are astonished to find they own six long pieces and forty short ones, having planned a closet split roughly half and half.
Step 6: Convert your counts into linear inches
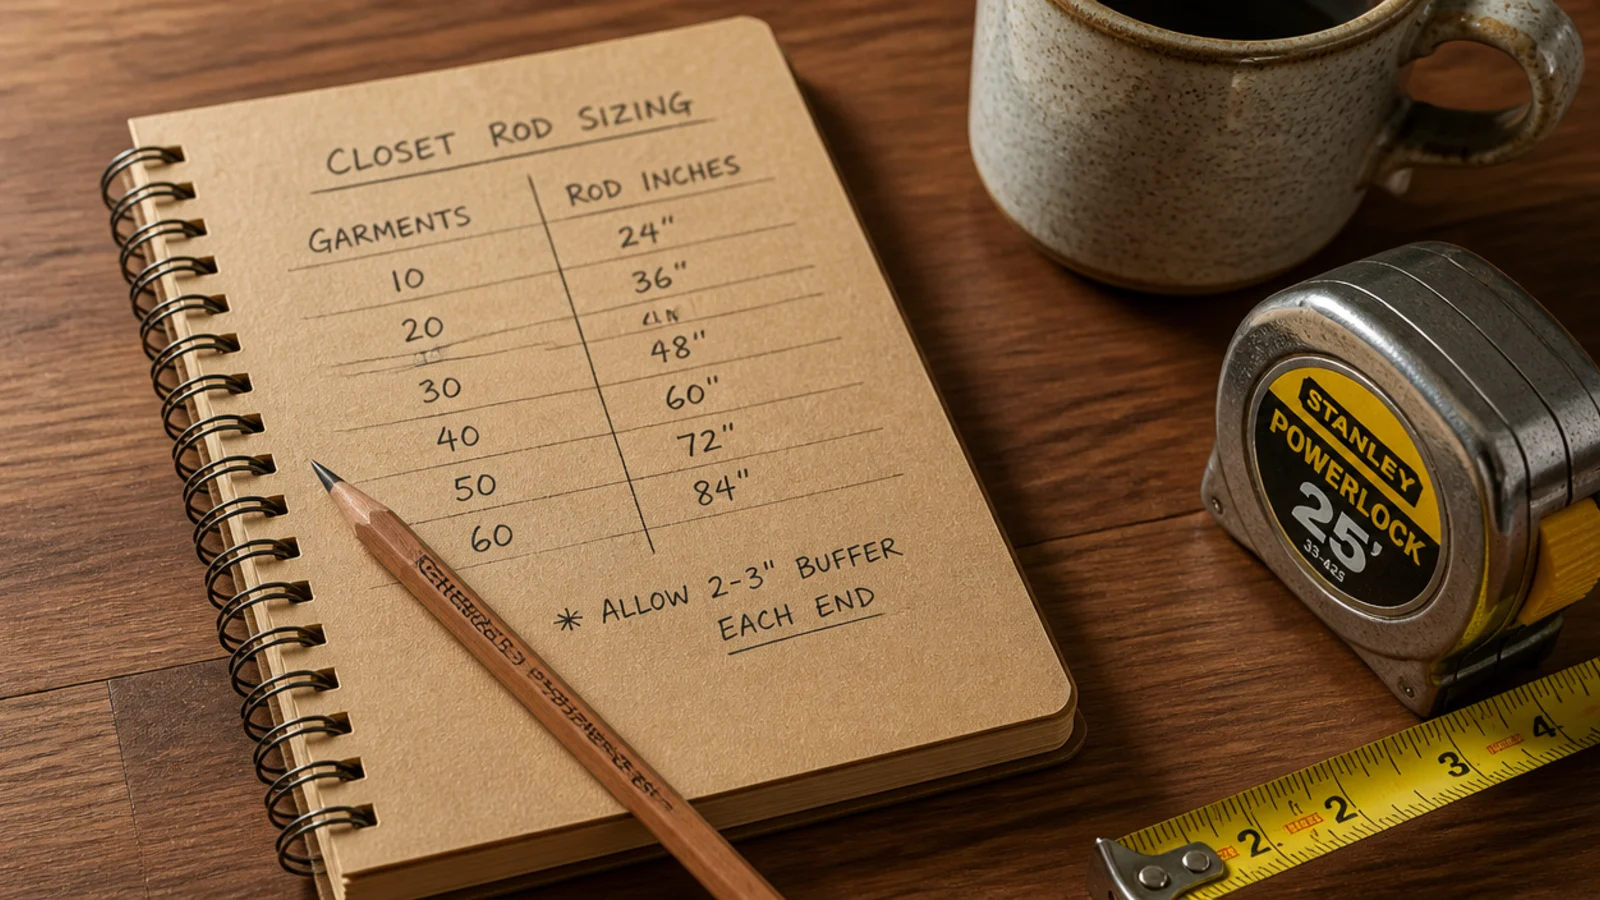
On a slim hanger, allow 1 inch per shirt, 1.5 inches per jacket and 2 inches per coat. Multiply your counts and you get the rod length each type needs.
Add 20 percent so the rail is not packed solid — clothes crushed on a rod wrinkle and you stop wearing them. Forty shirts therefore want about 48 inches of rail, not 40.
Step 7: Draw an elevation for every wall
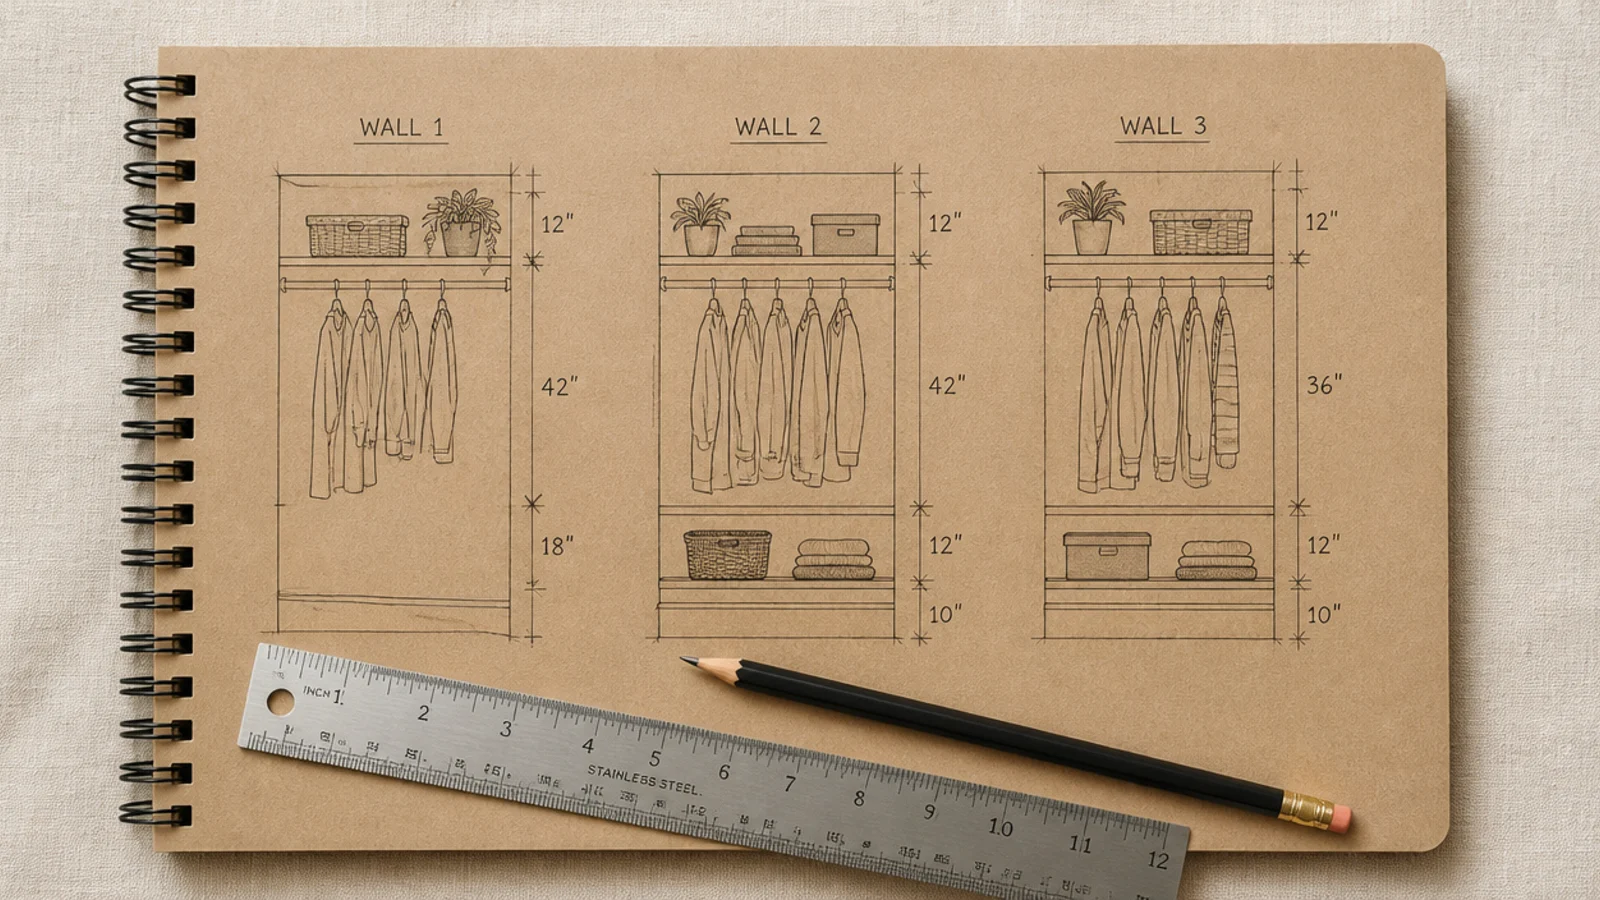
Sketch each wall flat on paper with its width and ceiling height, then draw in the rods and shelves at their heights. Three quick drawings, ten minutes.
You will spot the problems here for free: a shelf that lands in front of a light switch, a rod that fouls the door casing, a drawer that cannot open into the walkway. Small walk-in closet layout covers the four arrangements worth sketching.
Step 8: Set the double-hang heights at 42 and 84
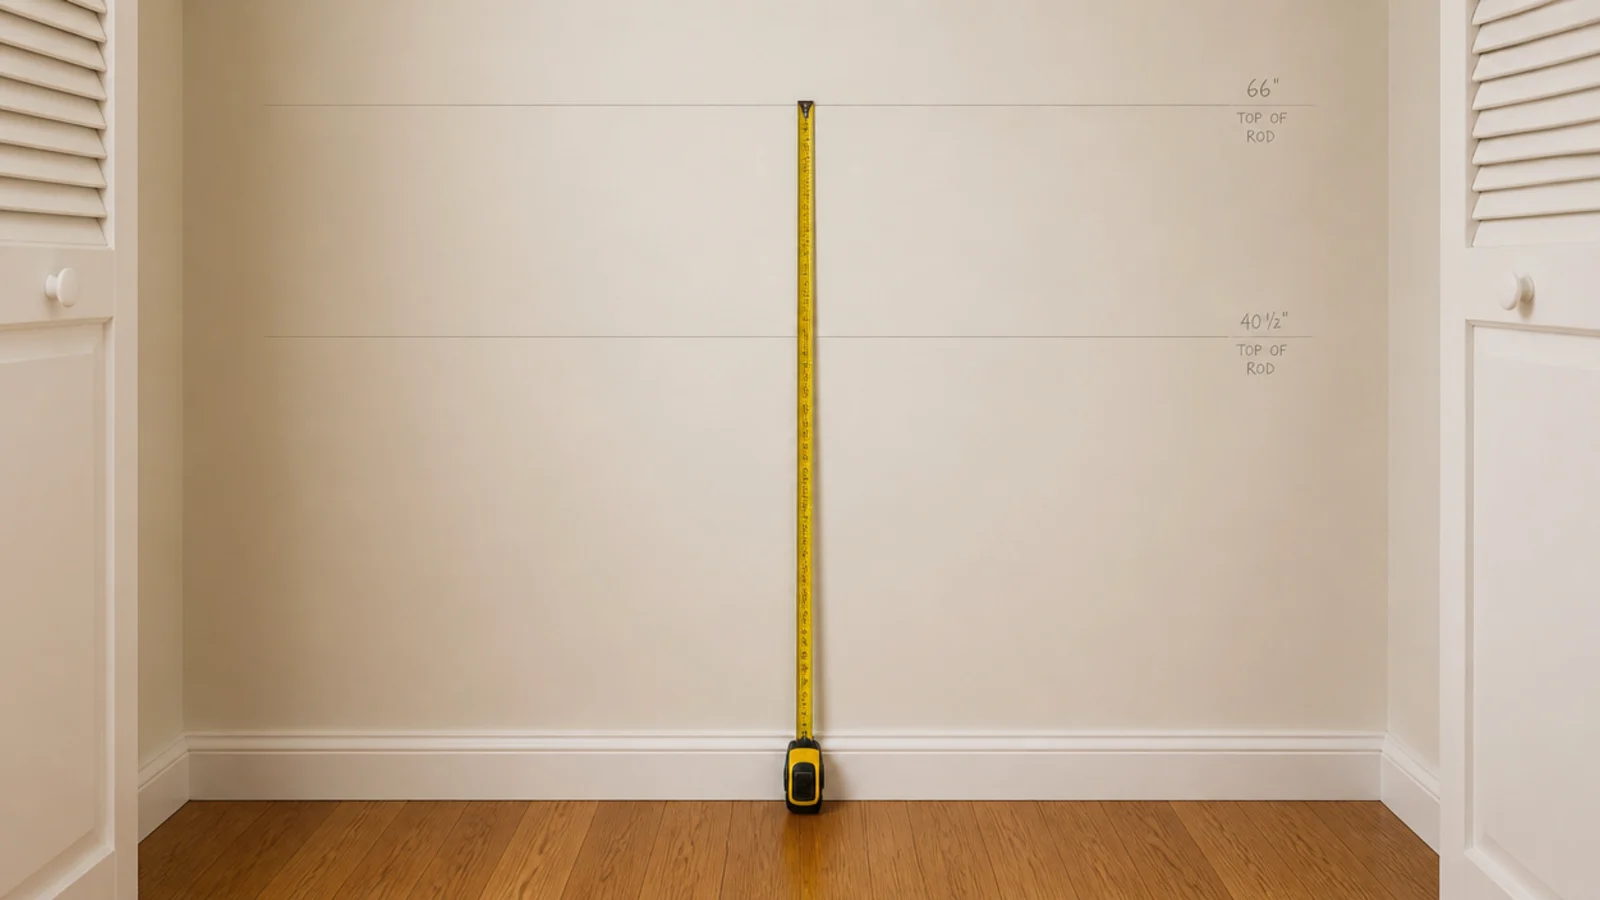
Mark 42 inches and 84 inches on the wall for your double-hang bay. Lower rod for shirts, upper rod for jackets and trousers folded over the bar.
Those two rods hold roughly twice what a single rod at 66 to 72 inches manages, in the same wall. Check your longest shirt first — most measure 36 to 40 inches on the hanger and clear the lower rod comfortably.
Step 9: Reserve one bay for long-hang
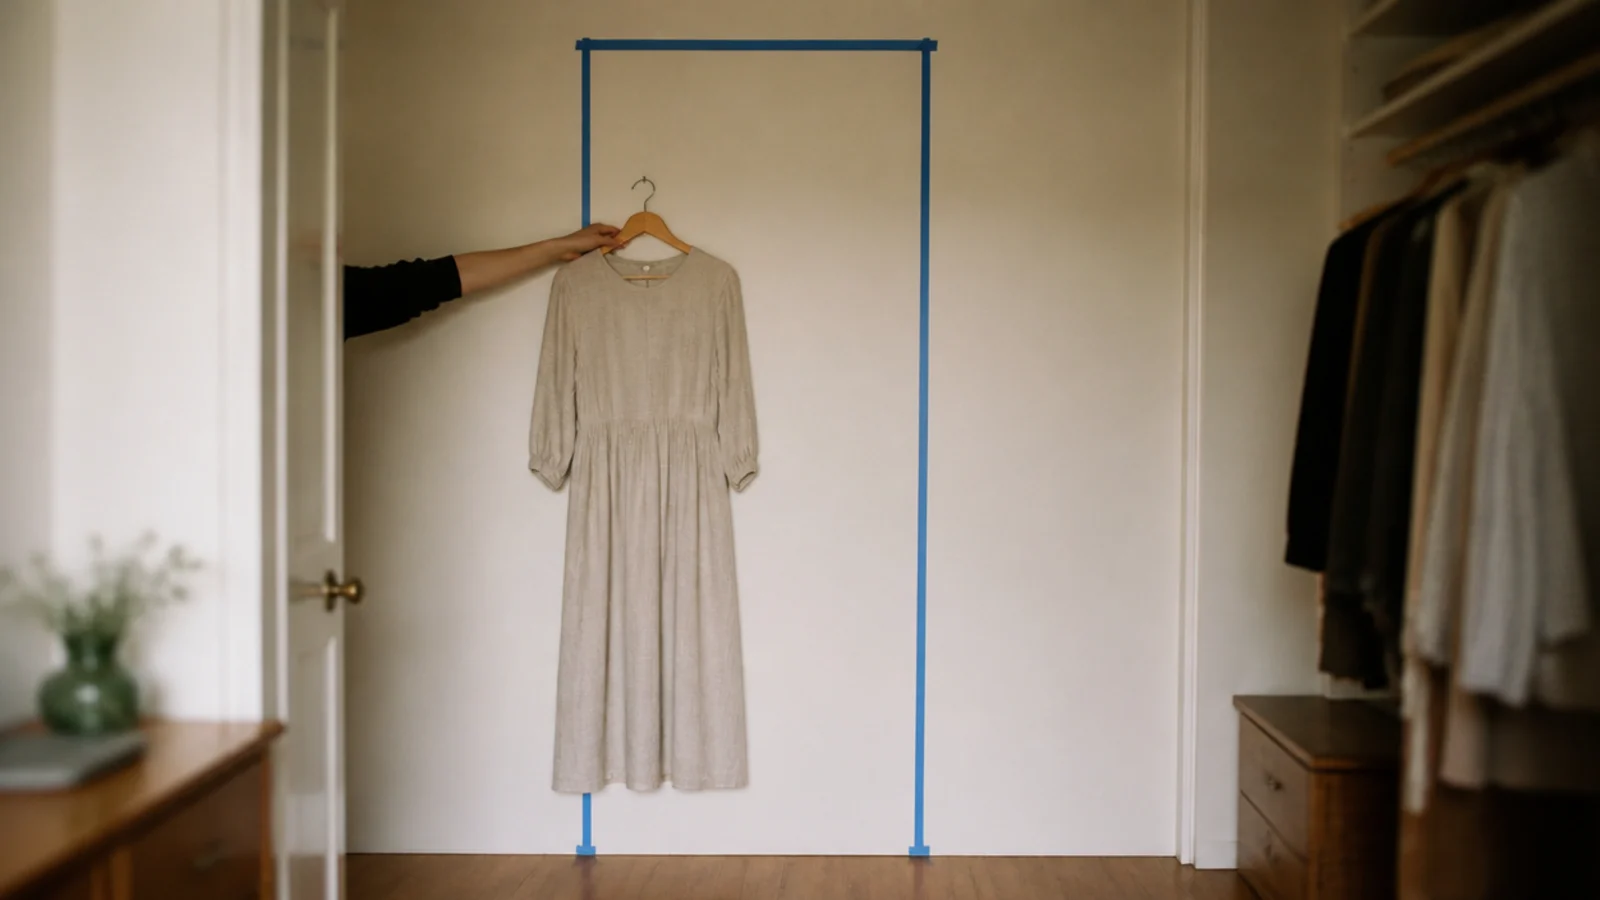
Dresses, robes and full coats need 66 to 70 inches of clear drop. Mark one bay for them, 24 to 30 inches wide, and no more.
Long-hang is the single biggest space thief in a small closet. Every extra inch you give it costs you the 42 inches of double-hang underneath, which is where most of your wardrobe actually lives.
Step 10: Plan shelves at 12 to 14 inches deep
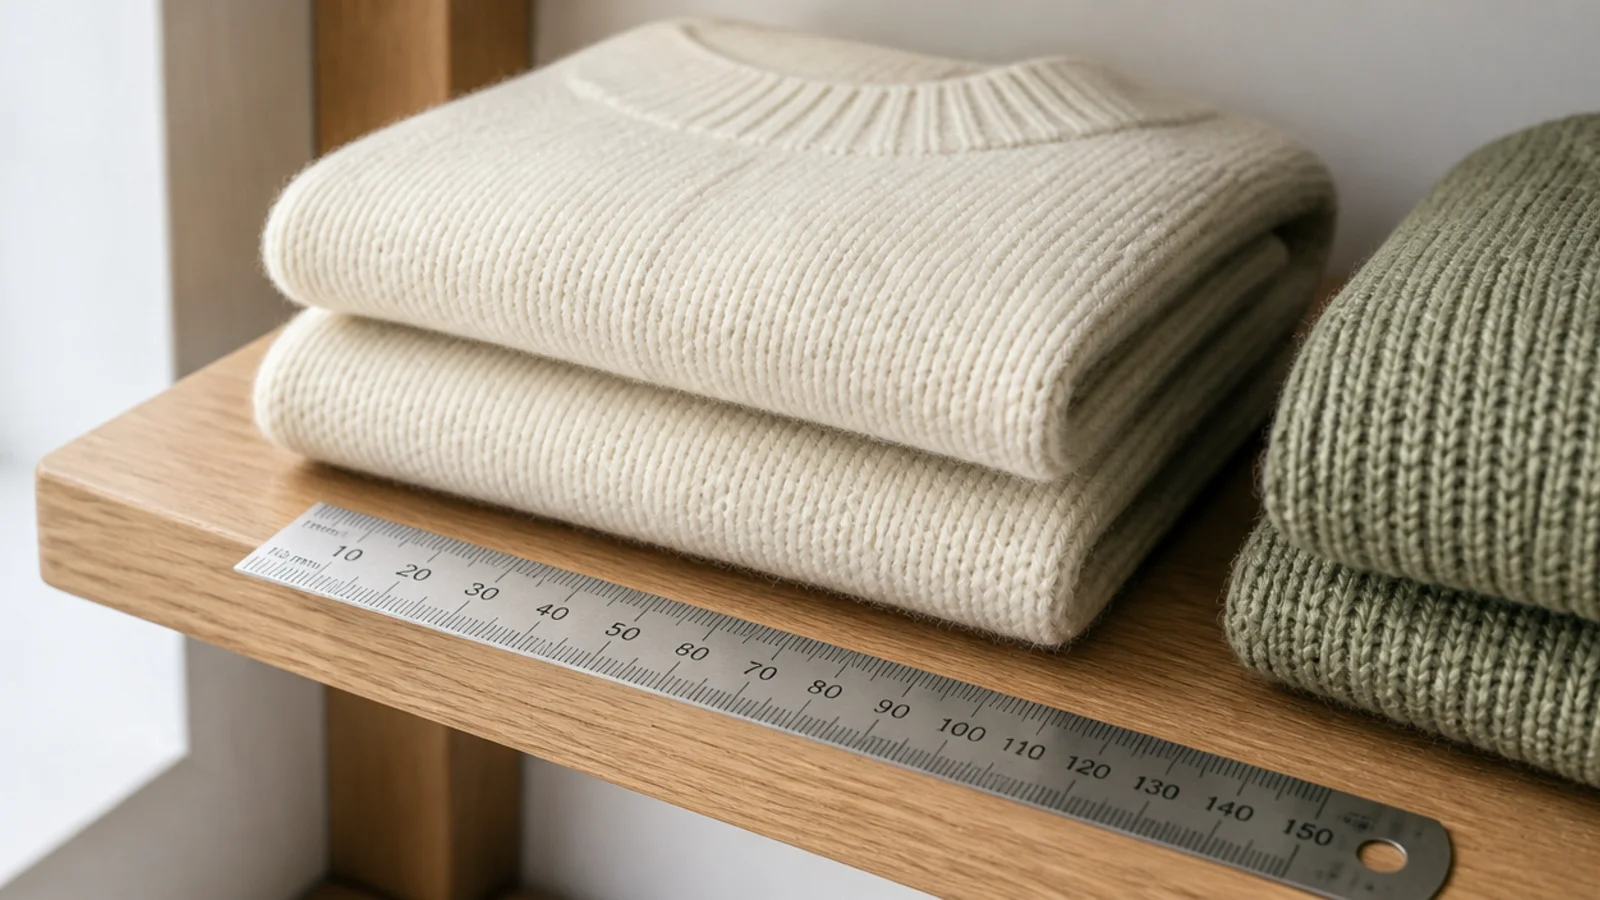
A folded sweater is roughly 12 inches square, so 12 to 14 inches is the depth that holds a stack fully supported with the edge in view.
Go to 18 inches and a second row hides behind the first forever. Drop to 10 and stacks slump off the front. Set 10-inch vertical gaps for knits and 14-inch gaps for bags and bins.
Step 11: Choose the system before you drill anything
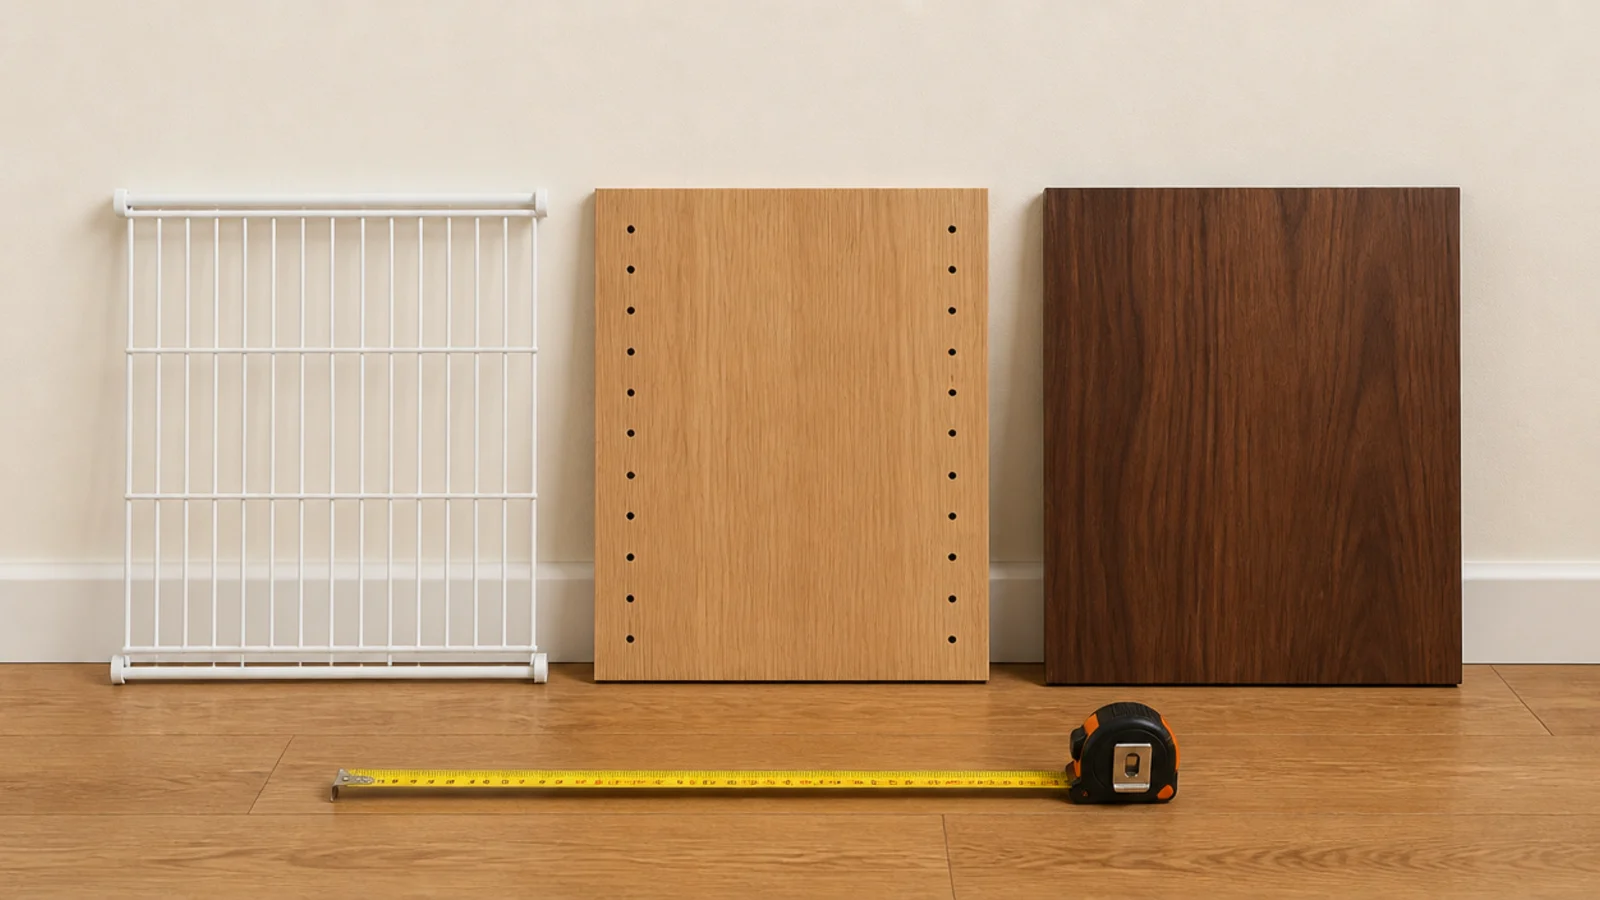
Wire kits cover a 6-foot wall for $80 to $200 ($) and go up fast, but shelves flex and small items tip through the gaps. Modular wood-look towers on standards run $400 to $900 ($$) and adjust forever. Built-ins start around $2,500 ($$$).
For most small closets, a modular system plus one bought drawer unit gives the custom look at half the price. Best small closet systems compares them properly.
Step 12: Find the studs and mark one level line
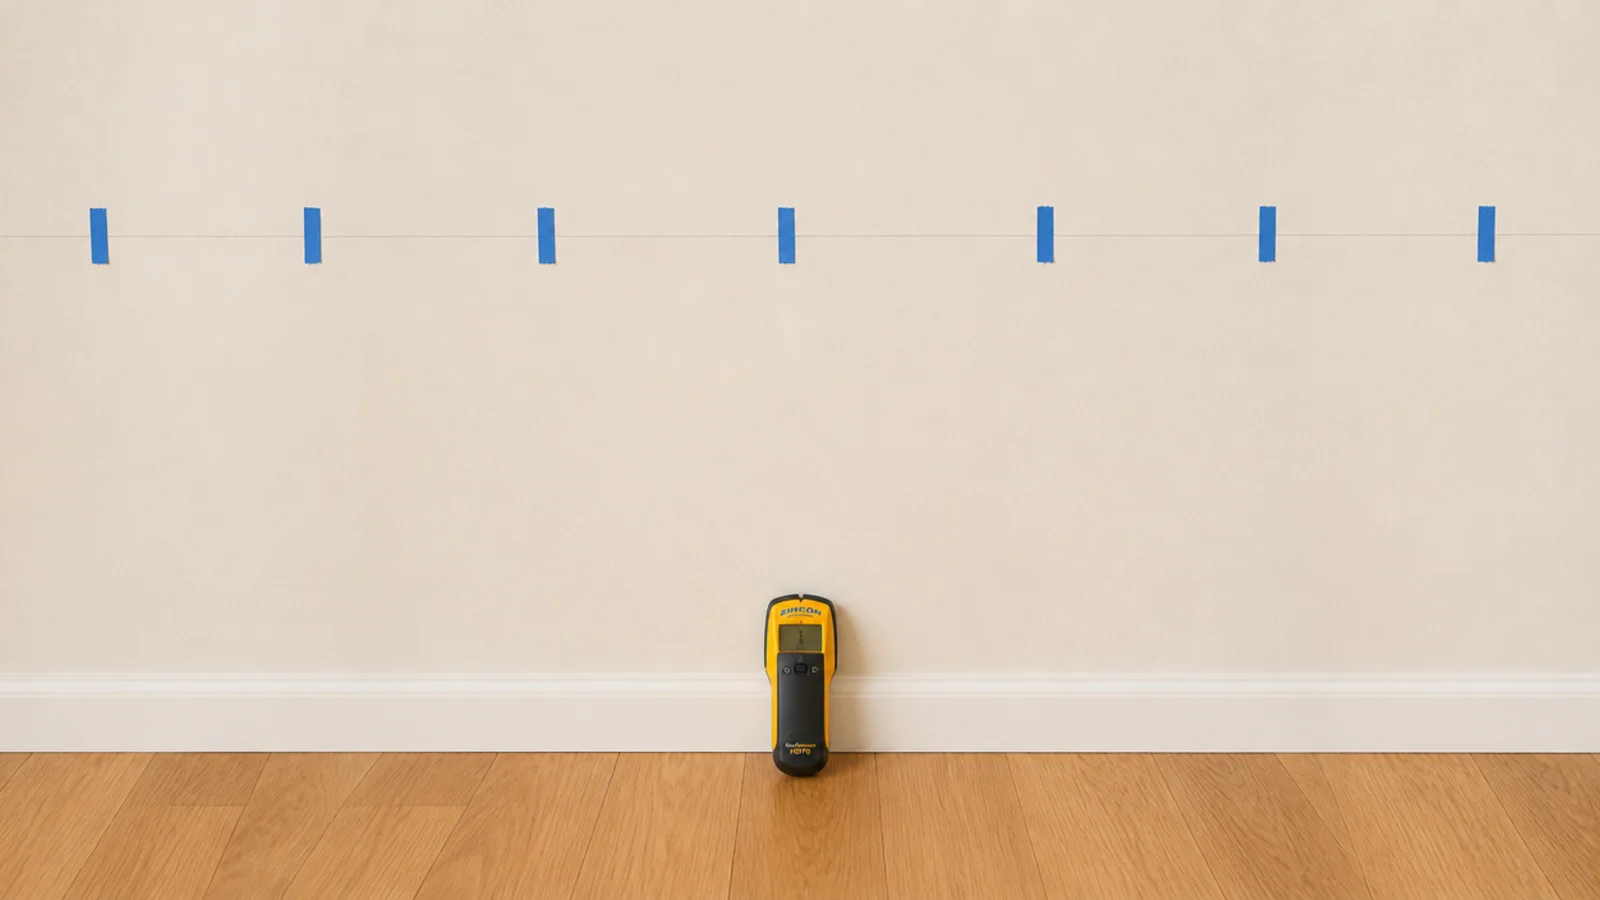
Run the stud finder along the wall in 6-inch sweeps and mark every hit with painter's tape. Then draw one long level line for the hang rail.
Level to the floor, not the ceiling — ceilings in older homes slope, and a rail leveled to a sloping ceiling makes every shelf above it look wrong. Tape survives the whole build; pencil disappears behind the rail.
Step 13: Mount the top hang rail into studs
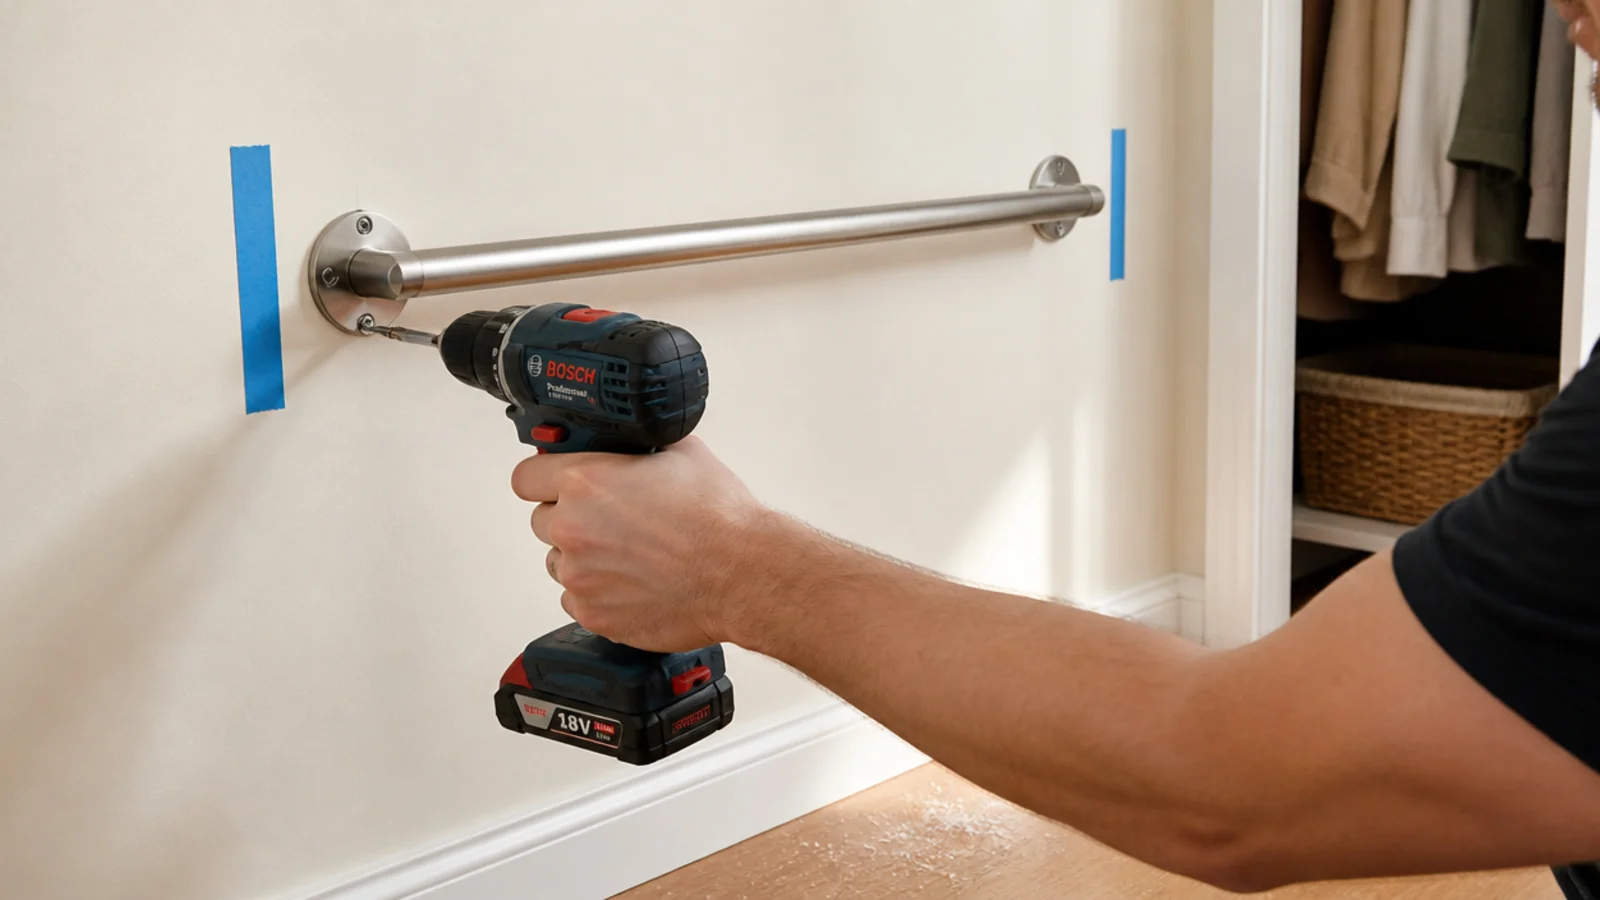
The rail carries the entire load, so it goes into every stud you found, with 2.5-inch screws. No exceptions, no plastic plugs.
A rail full of winter coats can pass 80 pounds. Drill pilot holes a size under the screw, drive until snug, then a quarter turn and stop. Overtightening crushes the drywall face and the screw loses its bite.
Step 14: Hang the vertical standards plumb
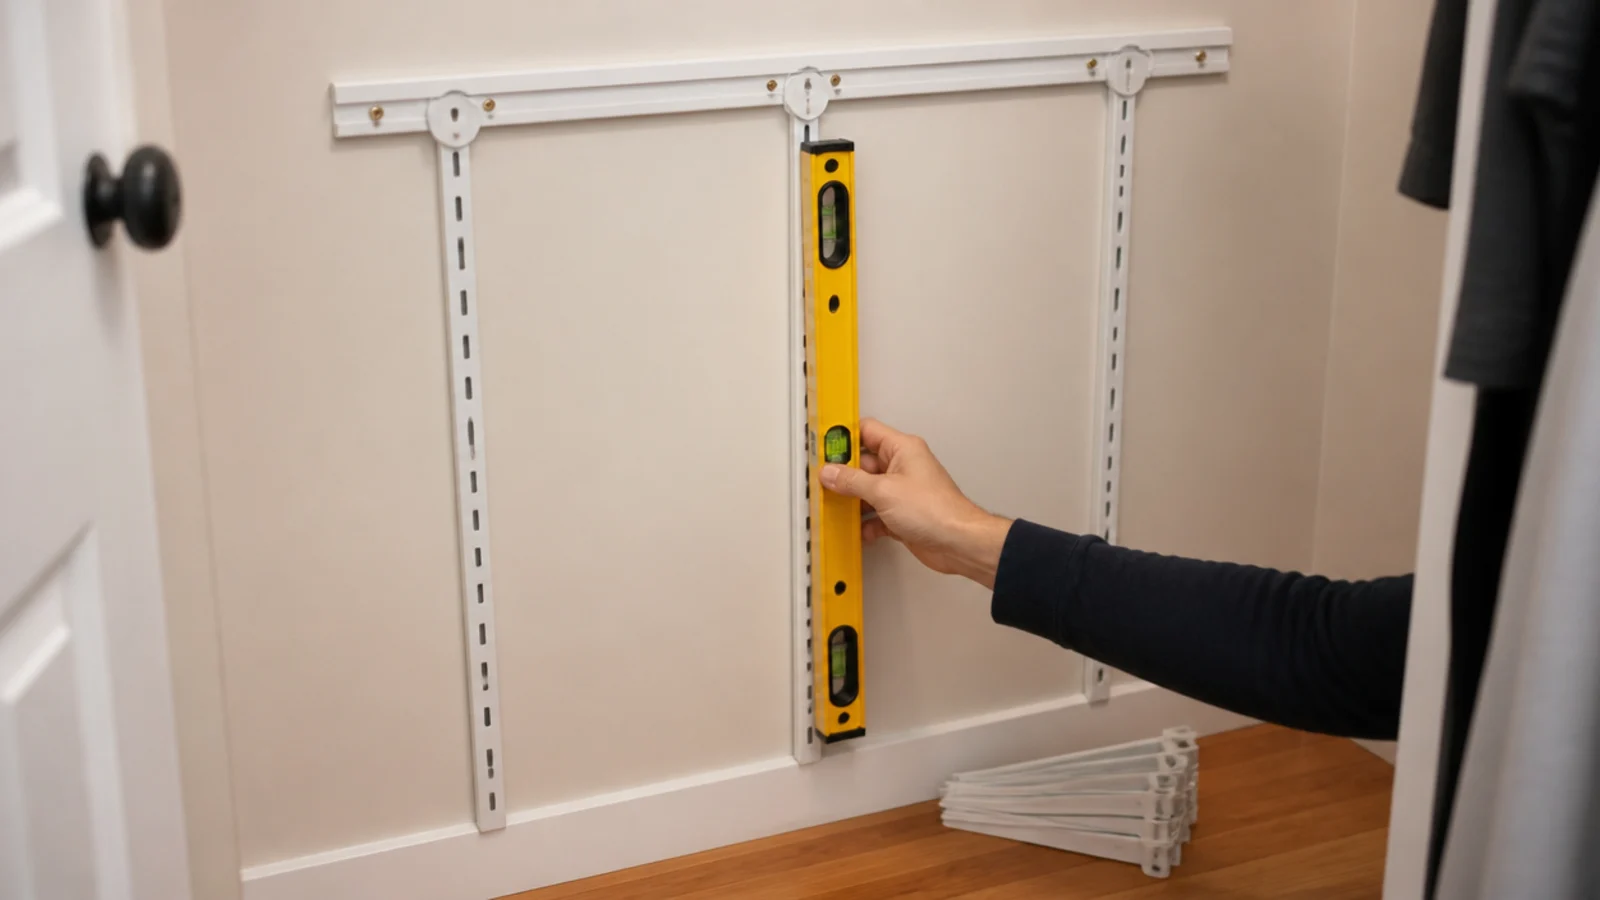
Hook the standards onto the rail at 24 to 32 inch spacings, then hold a long level against each one and check it is plumb before locking it down.
A standard that is out by an eighth of an inch at the top gives you a shelf that visibly tilts, and every shelf above it repeats the error. Check all of them now while adjusting costs you nothing.
Step 15: Fit the rods and check 24 inches of clearance
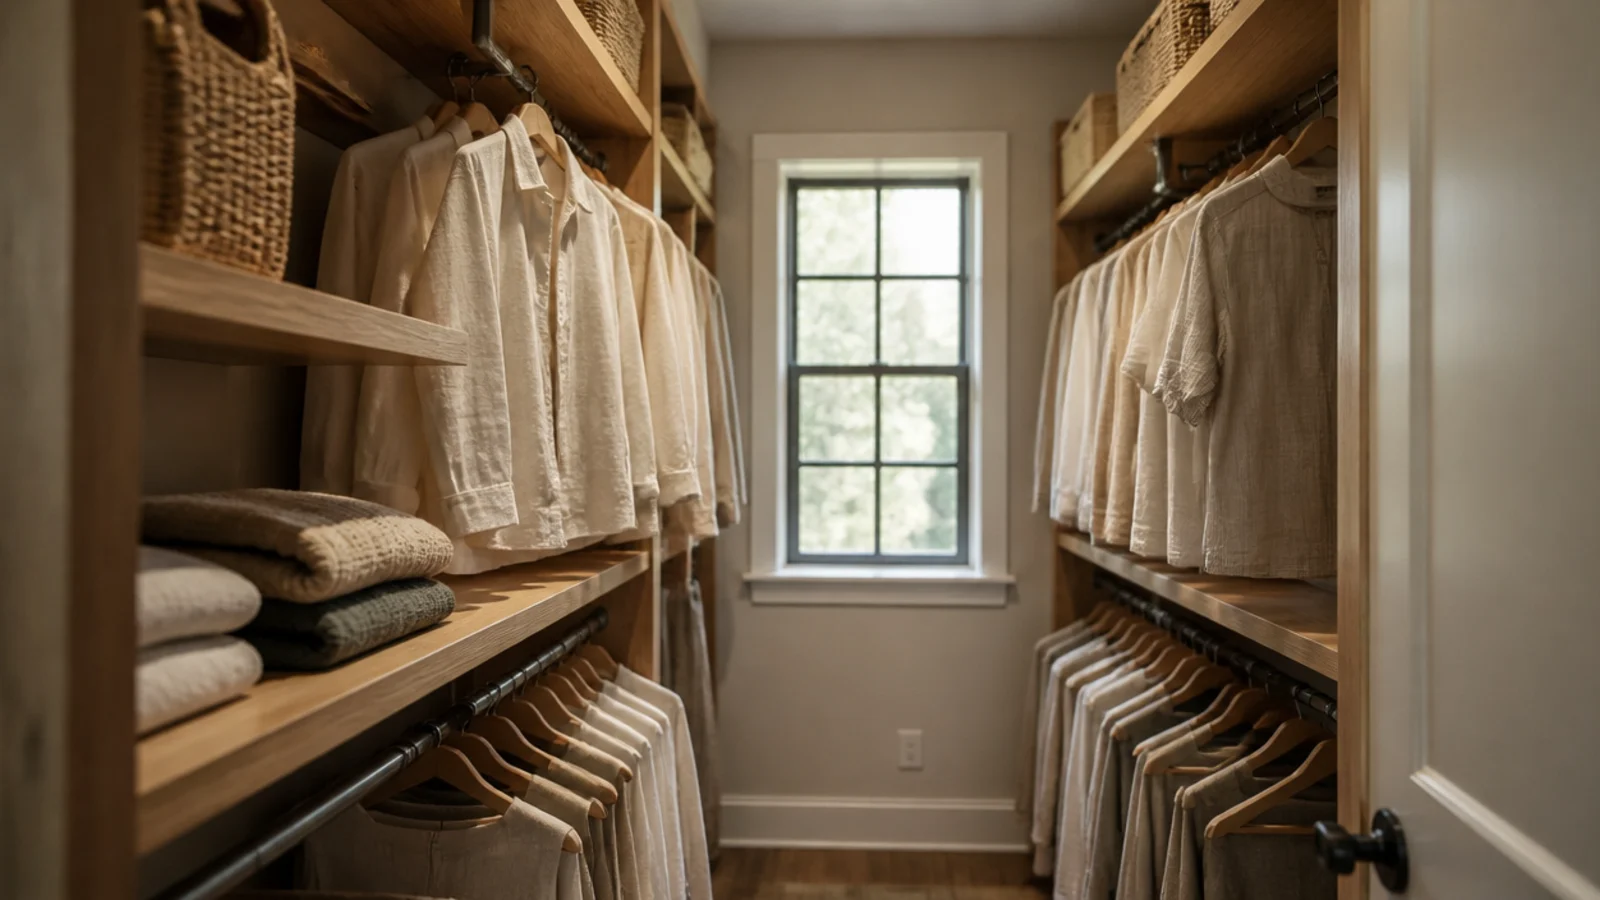
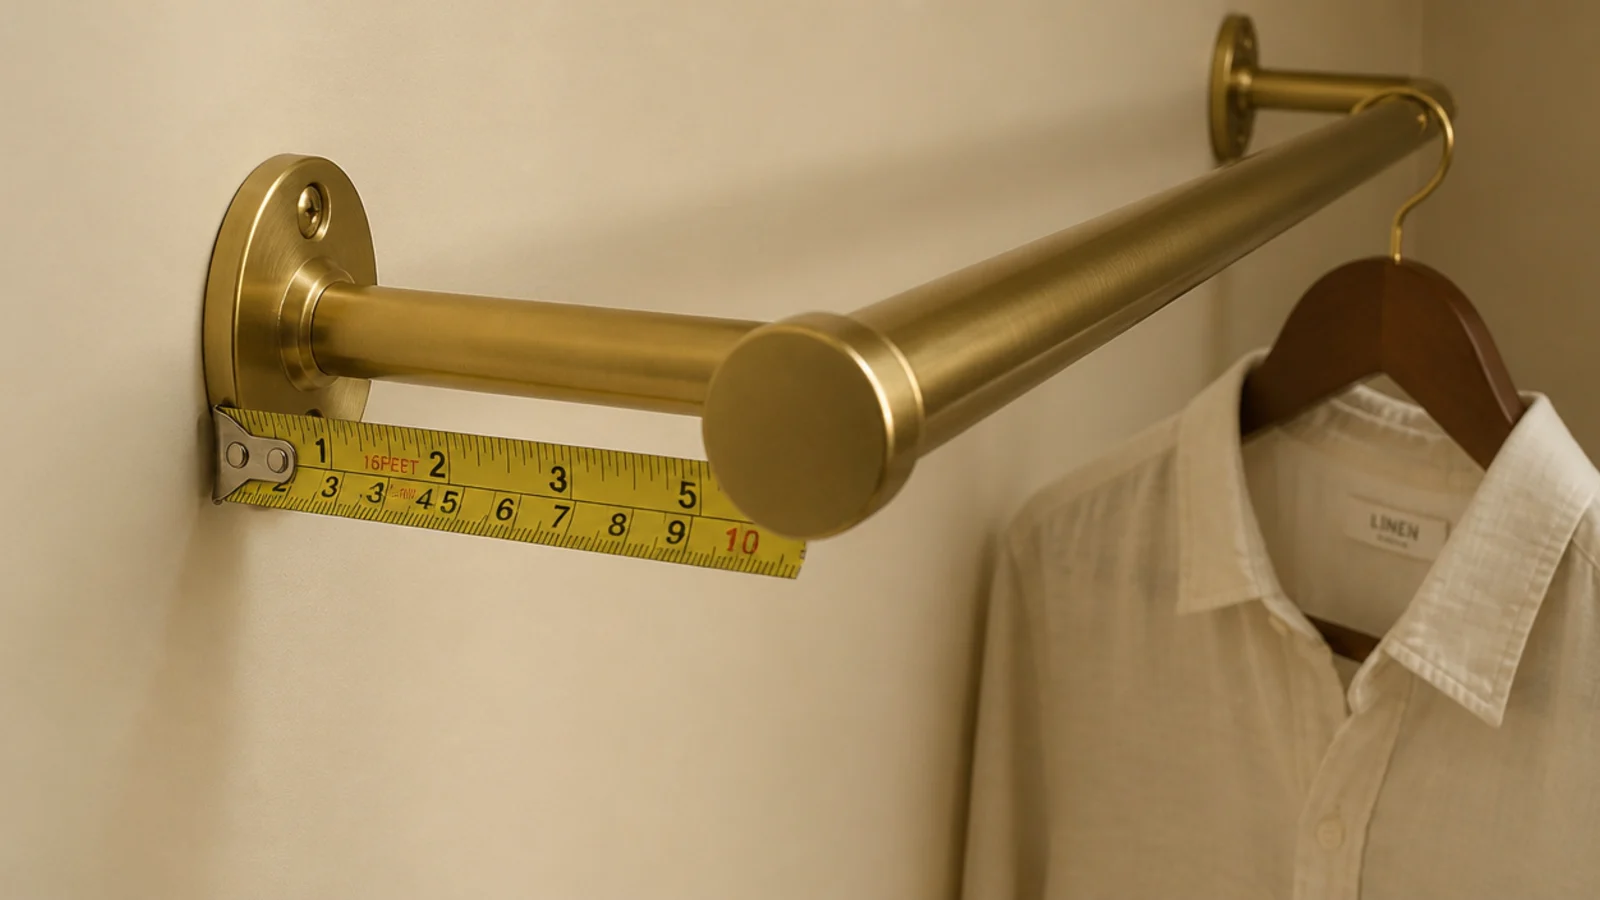
Cut the rods with a hacksaw, seat them in the brackets, then measure from the back wall to the rod. You want 12 inches to the rod center, giving 24 inches of clear depth in front of the wall.
Hang one shirt and swing the door. If the sleeve touches anything, the rod is too far forward or the bay is too narrow, and this is the last easy moment to fix it.
Step 16: Add shelves and load-test them
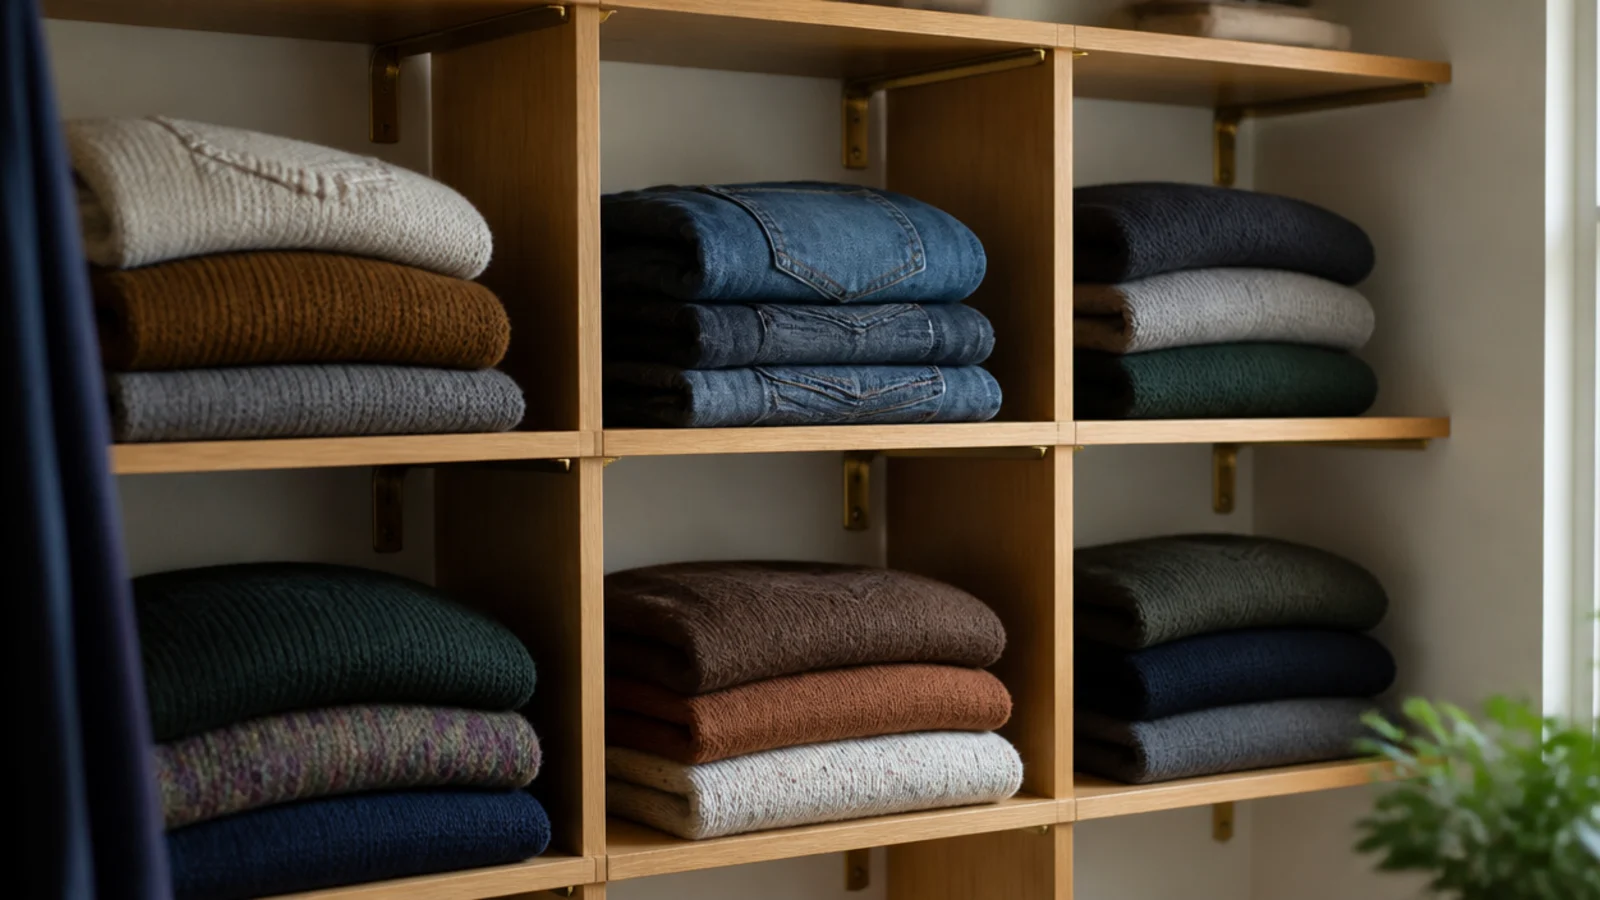
Set the shelves on their brackets and load the heaviest thing you own onto each one — a stack of denim, a pile of wool sweaters — then leave it an hour.
Look for bracket movement, hairline cracks around anchors, or a shelf bowing in the middle. A 30-inch span in melamine will sag under books; solid wood or a center bracket fixes it now rather than in six months.
Step 17: Add drawers or baskets at knee height
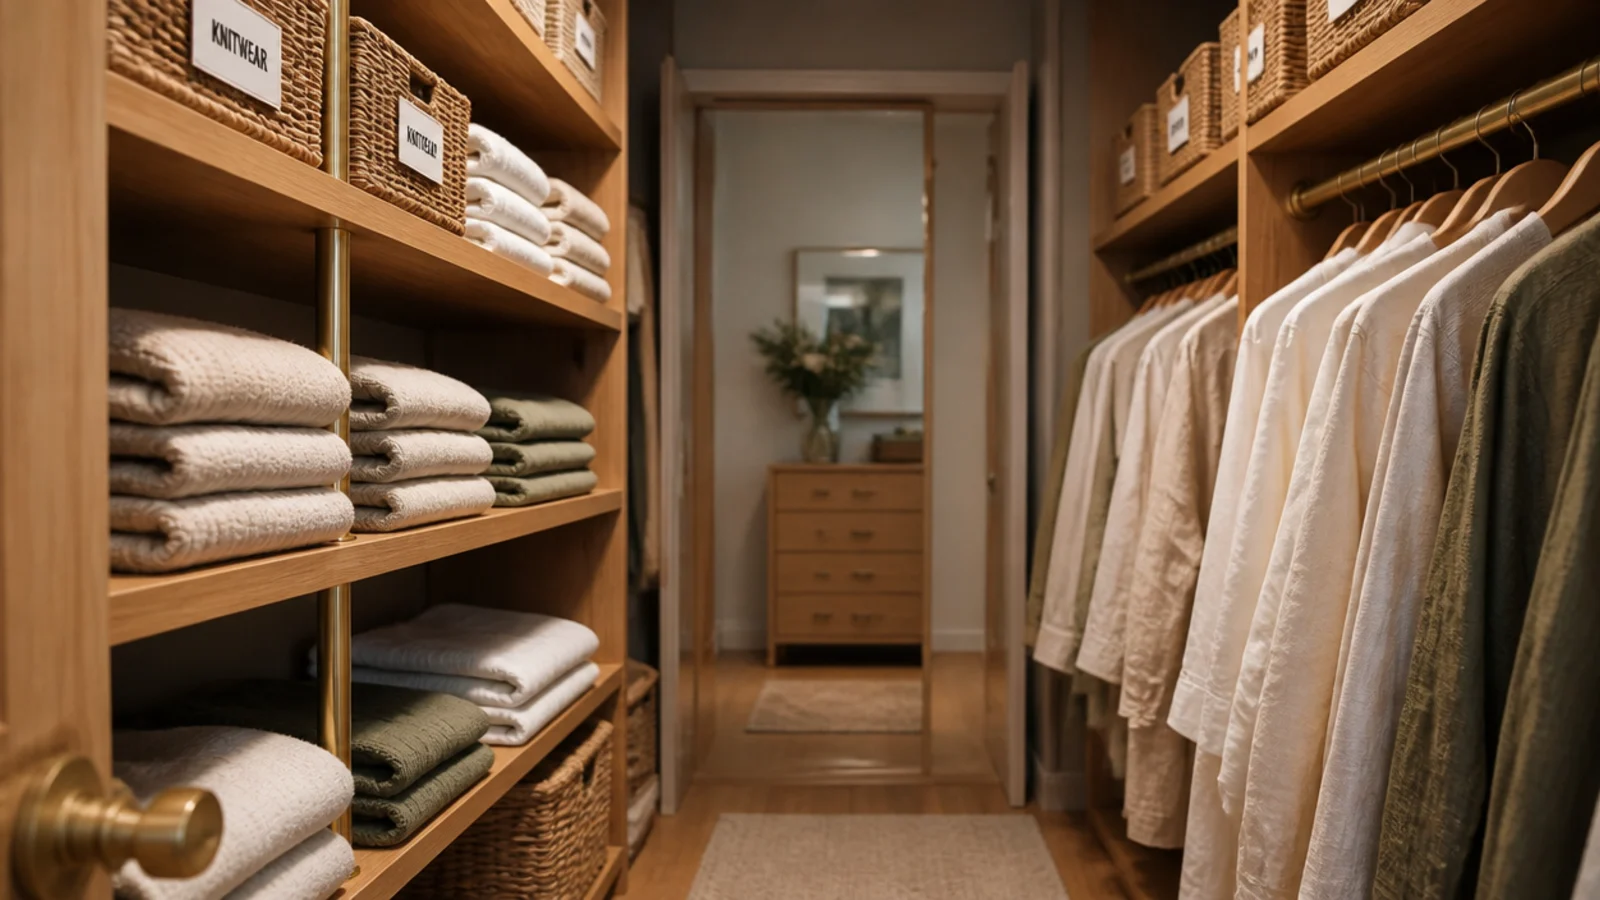
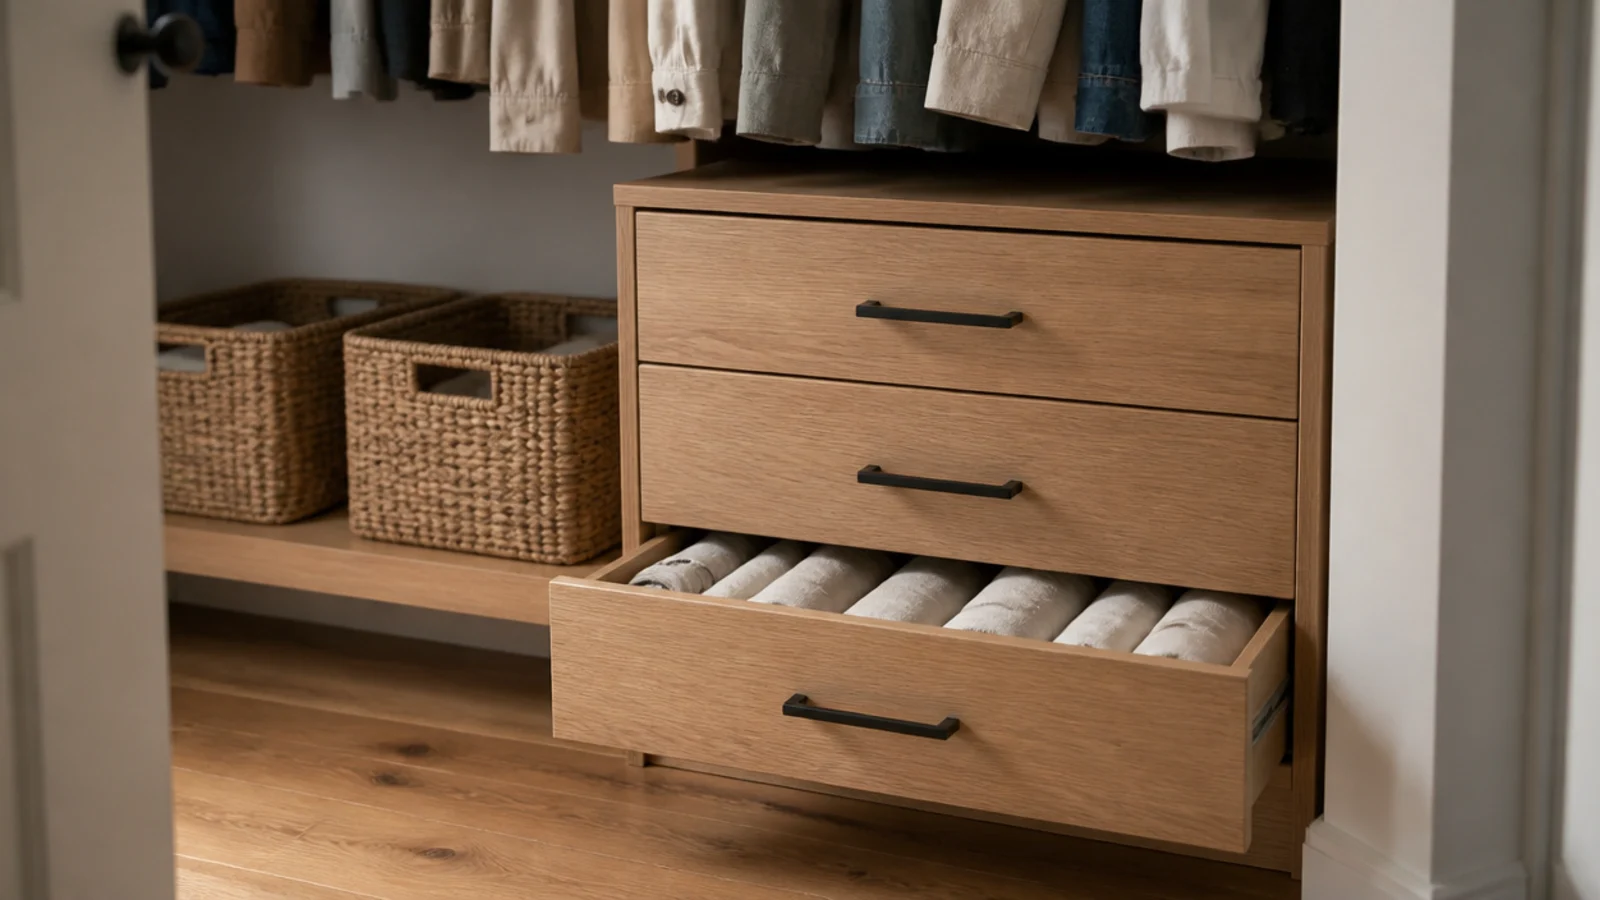
The 30 to 40 inches under a short hanging bay is prime storage. A low three-drawer unit under 24 inches deep fits inside the hanging footprint without narrowing the walkway.
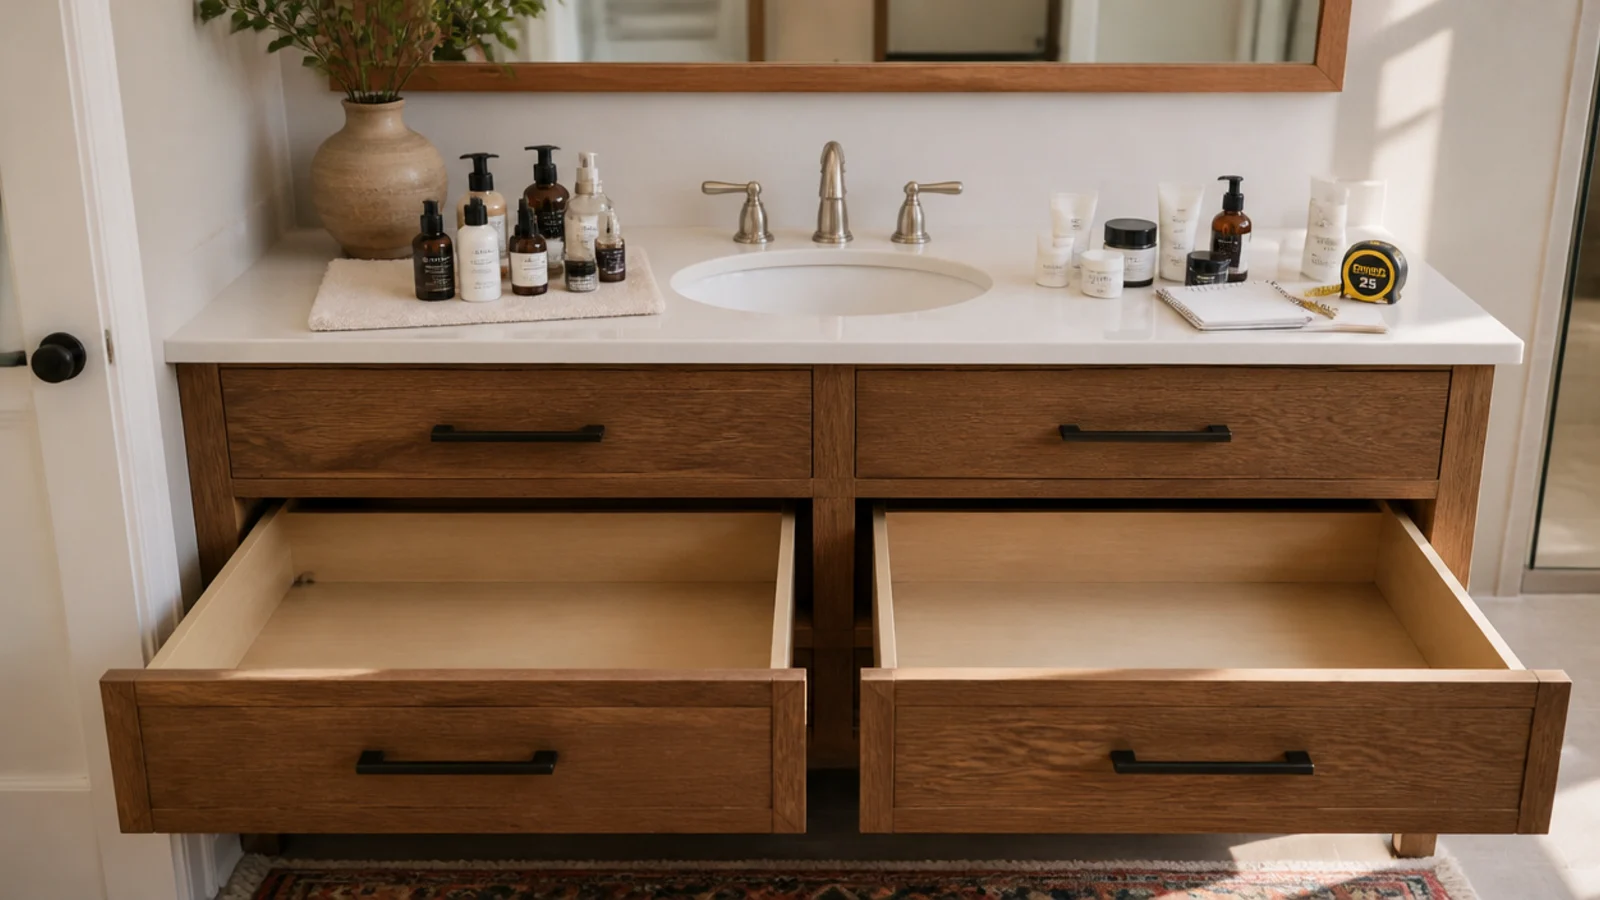
Shallow 6-inch drawers suit socks and underwear; 8 to 10 inch drawers suit tees rolled on edge so you see every one. The same dividing logic that runs a vanity drawer works perfectly here.
Step 18: Fit 3000K lighting with a high CRI
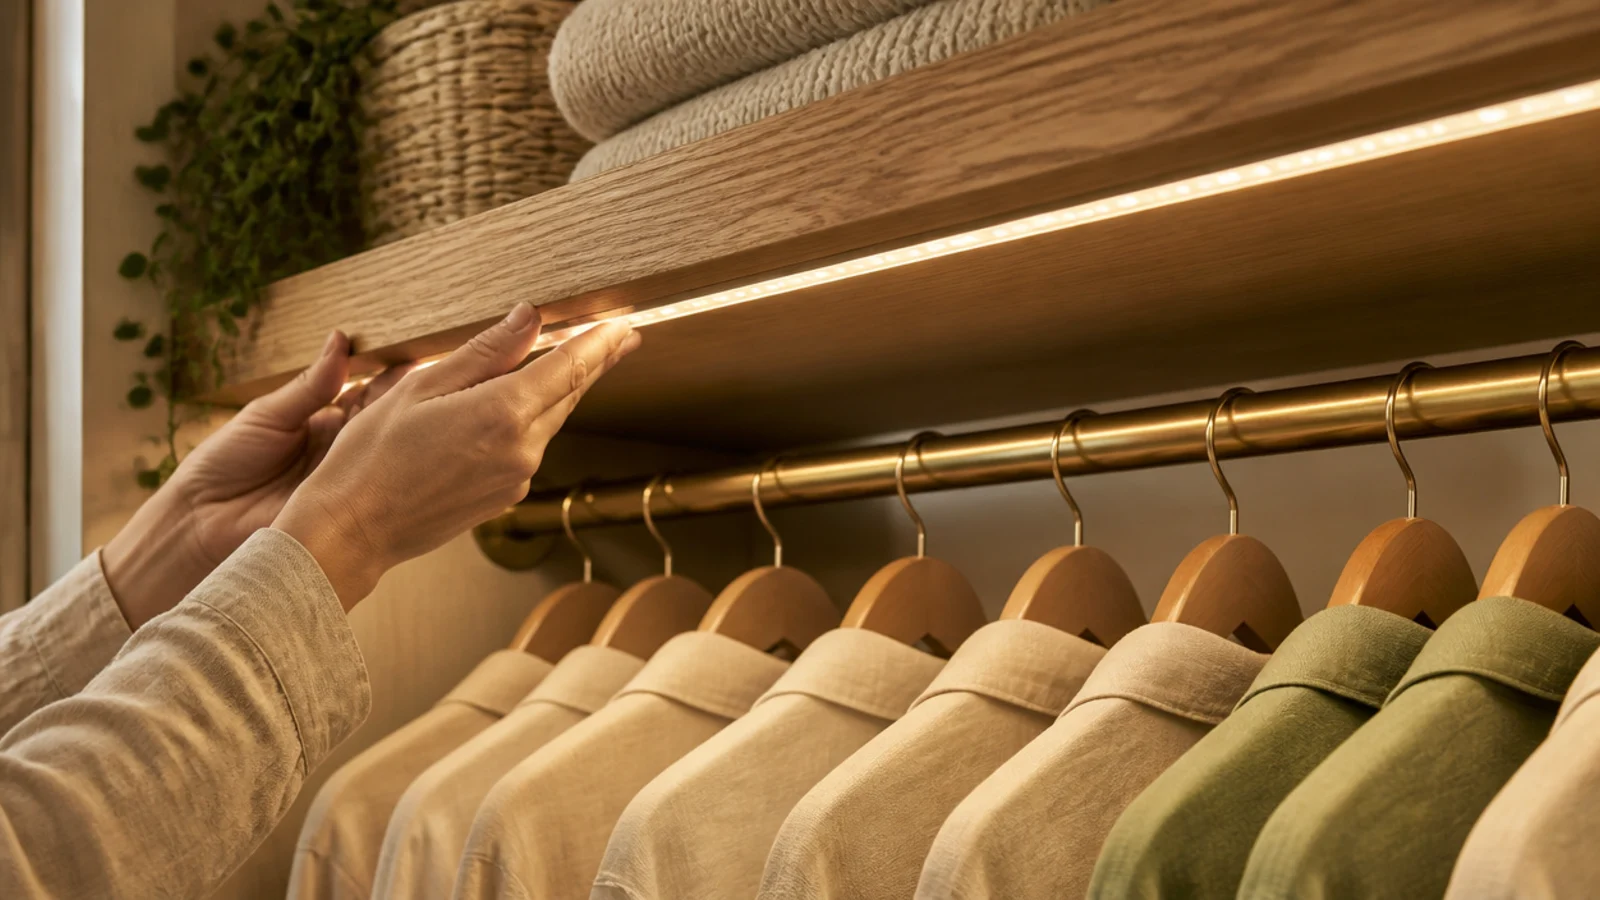
Cool white LEDs read navy as black and turn warm neutrals muddy. Fit 3000K or warmer at a CRI of 90 or above, and mount it under the shelf front so light falls down the face of the clothes.
A rechargeable motion strip costs $18 to $30 and needs no electrician. Run one per hanging bay rather than one bright bar in the middle, which just creates shadows at both ends.
Step 19: Add the mirror and a valet rod
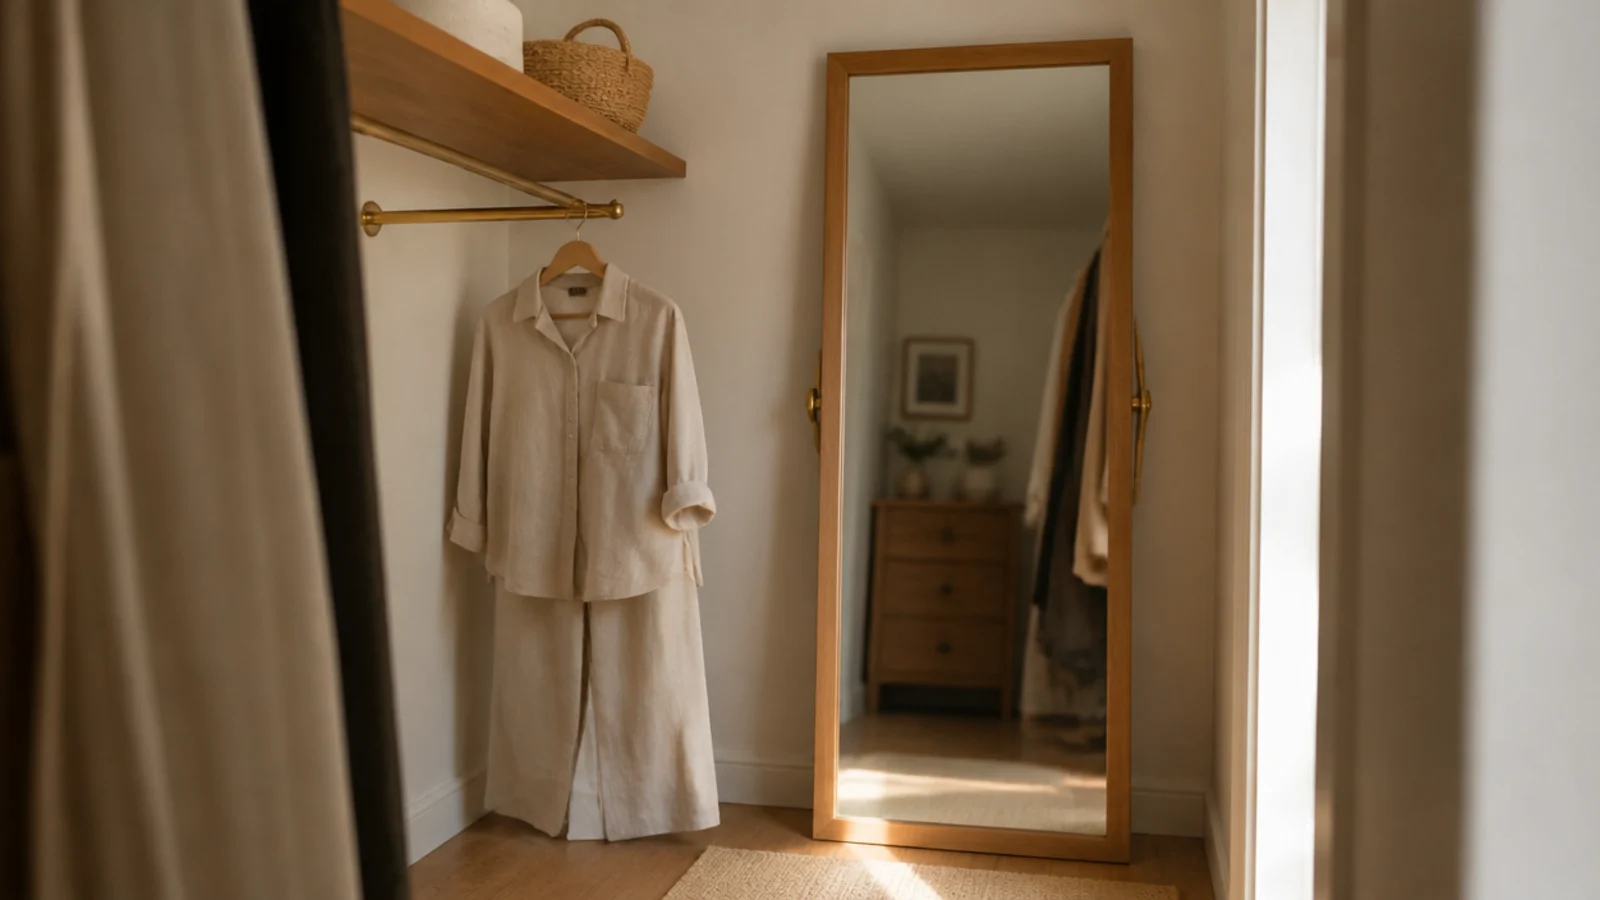
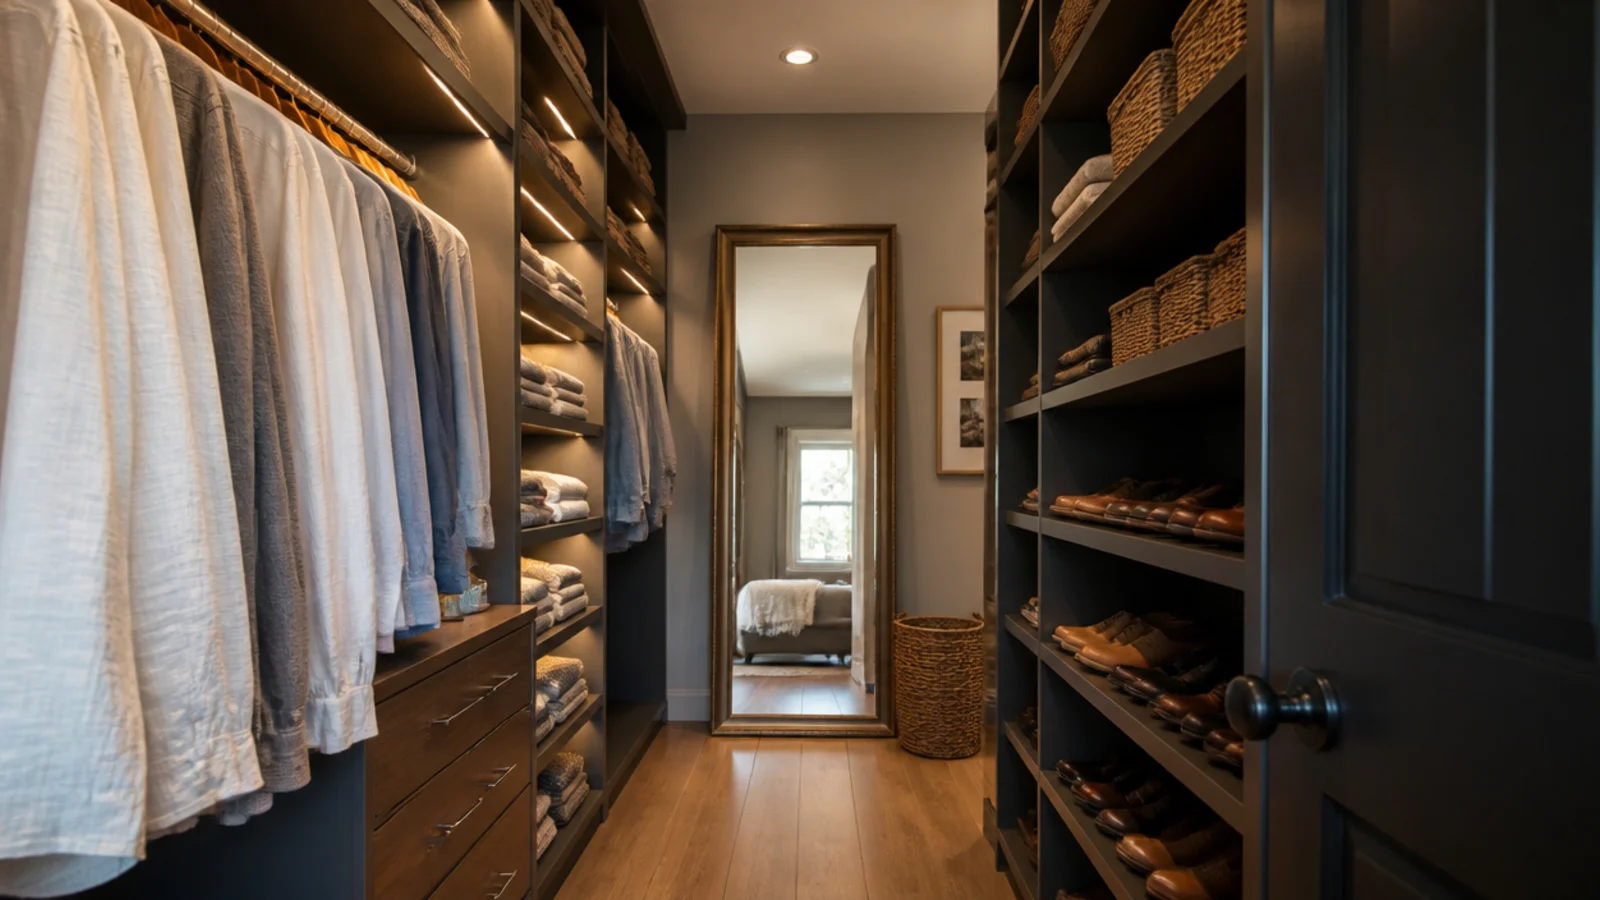
A full-length mirror on the door back or end wall means you dress and check in the same room, and it bounces that warm shelf light back down the space.
Then fit a 12-inch pull-out valet rod at 60 inches near the door. It costs $12 to $25 and it is the thing guests always comment on, because it is the piece that makes the closet feel considered rather than assembled.
Step 20: Load it back in, live a week, then edit
Put everything back by type, not by color, and then leave it completely alone for seven days.
After a week you will know exactly which shelf you never reach and which rod is already overcrowded. Move two things, remove two things. Every closet I have built is better a week later with a small edit, and mine are no exception.
Pro Styling Rules
Mistakes to Skip
- Buying the kit before counting the clothes. Kits arrive split roughly half long-hang and half double-hang, which almost never matches what anyone actually owns.
- Hanging the rail on drywall anchors alone. The rail carries the entire load, and a full coat bay can pass 80 pounds. Studs and 2.5-inch screws, every time.
- Leaving painting until after the install. Cutting in around brackets and a loaded rail is slow, and it never looks clean no matter how careful you are.
Frequently asked questions
How long does a DIY walk-in closet take to build?
Plan on one weekend for a single-sided closet and two for a double-sided one. Emptying and sorting takes an evening on its own and cannot be rushed. Mounting a hang rail and standards runs about three hours, shelves and rods another two, and lighting an hour. The tempting part, styling it, is the bit you should leave until last.
How much does a small walk-in closet system cost?
A wire kit from a home center covers a 6-foot wall for $80 to $200. A modular wood-look tower system with adjustable shelves runs $400 to $900 for the same space. A custom built-in with drawer boxes starts around $2,500. Most small closets look best with a modular system plus one section of drawers bought separately.
Do closet shelves need to hit studs?
The top hang rail does, without exception, because it carries the whole load. Screw into every stud you can find at 16-inch centers with 2.5-inch screws. Individual shelf standards can use heavy-duty toggle bolts in half-inch drywall at 25 to 35 pounds each, but a rail full of winter coats can easily hit 80 pounds, so studs win.
What tools do I need for a DIY closet build?
A drill, a stud finder, a 4-foot level, a tape measure, a pencil and a hacksaw for cutting rods to length. That is the whole list for a wire or modular system. If you are building shelves from scratch, add a circular saw or a store cut list, sandpaper in 120 and 220 grit, and clamps.
Should I paint the closet before installing shelves?
Yes, and it takes one extra hour. Cutting in around brackets, standards and a full hanging rail afterwards is slow, messy work that never looks clean. Prime and paint the empty room, let it cure a full 24 hours so screws do not drag wet paint into the holes, then mount everything onto a finished surface.
Build the hanging wall first and live with it for a few days before you commit to the shelving side — you will change at least one height, and moving a bracket beats moving a whole system. For the sorting stage, small walk-in closet organization covers what goes where and why. Save the pin below so the rod heights and shelf depths are with you at the hardware counter.
Want more like this? Browse all 15 small walk-in closet ideas guides — they all use the same measurements and budget tiers.
Pin it for later
Save this to your Small Walk-In Closet Ideas board
Pin it now so it is waiting for you when the tape measure comes out — and so the next person hunting for this idea can find it too.
Save this pinKeep going
More ideas worth saving while you have the tape measure out.