Vanity Organization · How-To
20 Steps to Style a Stunning Vanity Organization

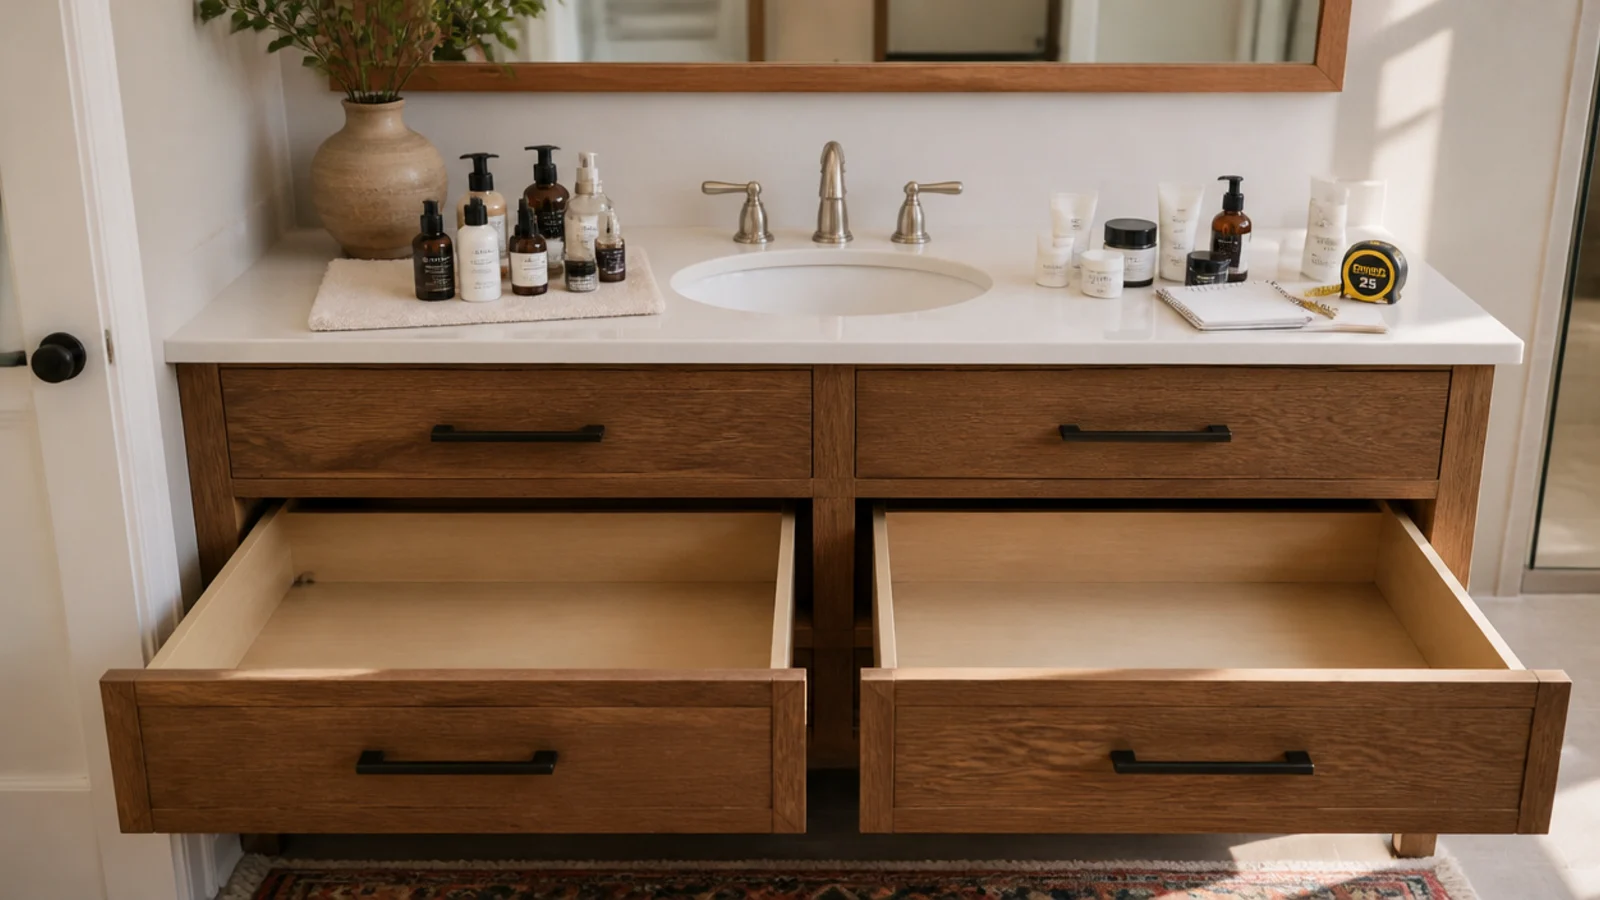
DIY vanity organization goes wrong at the shop, not at the vanity. Almost everyone buys the containers first, then tries to make a collection they have not culled fit inside them. Work in the opposite order and the whole thing takes an afternoon. These twenty steps take you from a drawer you dread opening to a counter you want to photograph, with every measurement you need along the way.
In this guide23 sections — tap to openHide
- 1.What You'll Need for a DIY Vanity Organization Reset
- 2.Step 1: Empty the vanity completely
- 3.Step 2: Sort into four honest piles
- 4.Step 3: Bin anything past its date
- 5.Step 4: Clean the empty drawers
- 6.Step 5: Measure the drawers internally
- 7.Step 6: Map your routine in order
- 8.Step 7: Decide what earns the countertop
- 9.Step 8: Give every zone a physical home
- 10.Step 9: Choose insert depths that match the contents
- 11.Step 10: Dry-fit with paper templates first
- 12.Step 11: Line the drawers before anything goes in
- 13.Step 12: Build the shallow drawer for daily steps
- 14.Step 13: Stand bottles upright in the deep drawer
- 15.Step 14: File palettes and compacts on edge
- 16.Step 15: Set up a weighted brush cup
- 17.Step 16: Style the counter tray with the daily few
- 18.Step 17: Give hair tools a heat-safe home
- 19.Step 18: Corral backstock into one labelled basket
- 20.Step 19: Fix the mirror lighting
- 21.Step 20: Live with it a week, then edit
- 22.Pro Styling Rules
- 23.Mistakes to Skip
What You'll Need for a DIY Vanity Organization Reset
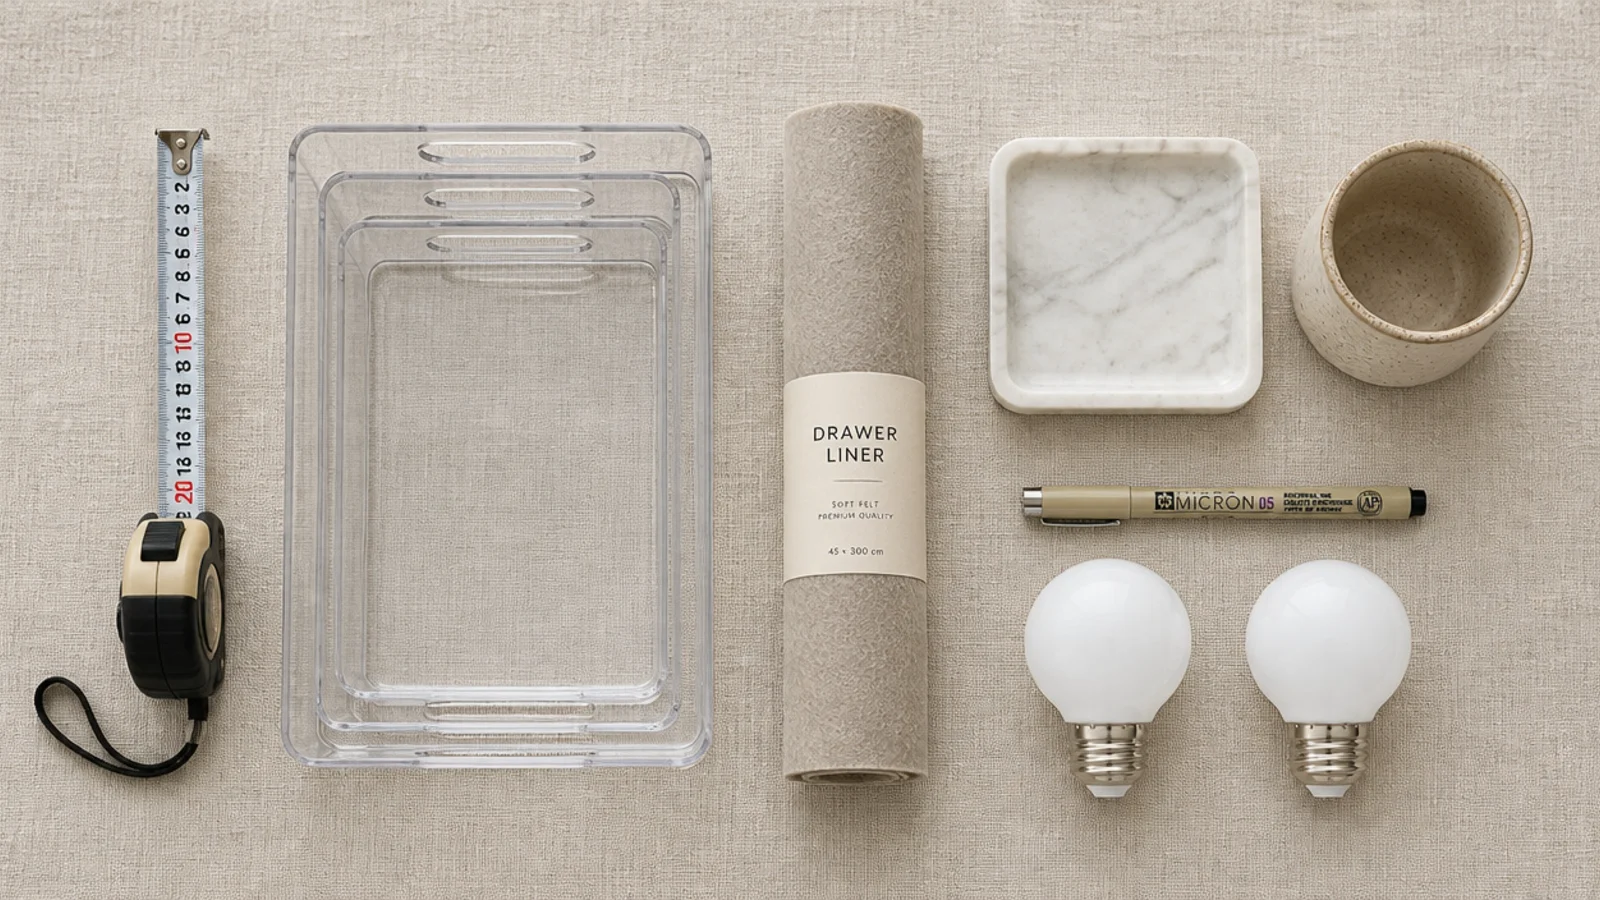
Nothing here is specialist, and you likely own half of it. A full reset runs about $25 to $60 with dollar-store and repurposed containers, or $80 to $150 if you buy solid wood inserts and new bulbs.
| Item | Spec that matters | Rough cost |
|---|---|---|
| Tape measure | Reads internal drawer width, depth and height | owned |
| Drawer inserts | 2–3 in deep for flat items, 4–5 in for bottles | $12–$45 |
| Drawer liner | Felt for quiet, non-slip for anything that slides | $6–$14 |
| Small trays | Marble, brass or stoneware, sized to each group | $6–$25 |
| Brush cup | Heavy base, 3–4 in tall, wide mouth | $4–$12 |
| Deep bin | About 4 x 6 in, holds bottles upright | $5–$12 |
| Backstock basket | One per household, roughly 12 in wide | $8–$20 |
| Bulbs | 3000–4000K, high CRI, two of them | $10–$24 |
| Fine marker | For writing open dates on bases | $2 |
Step 1: Empty the vanity completely
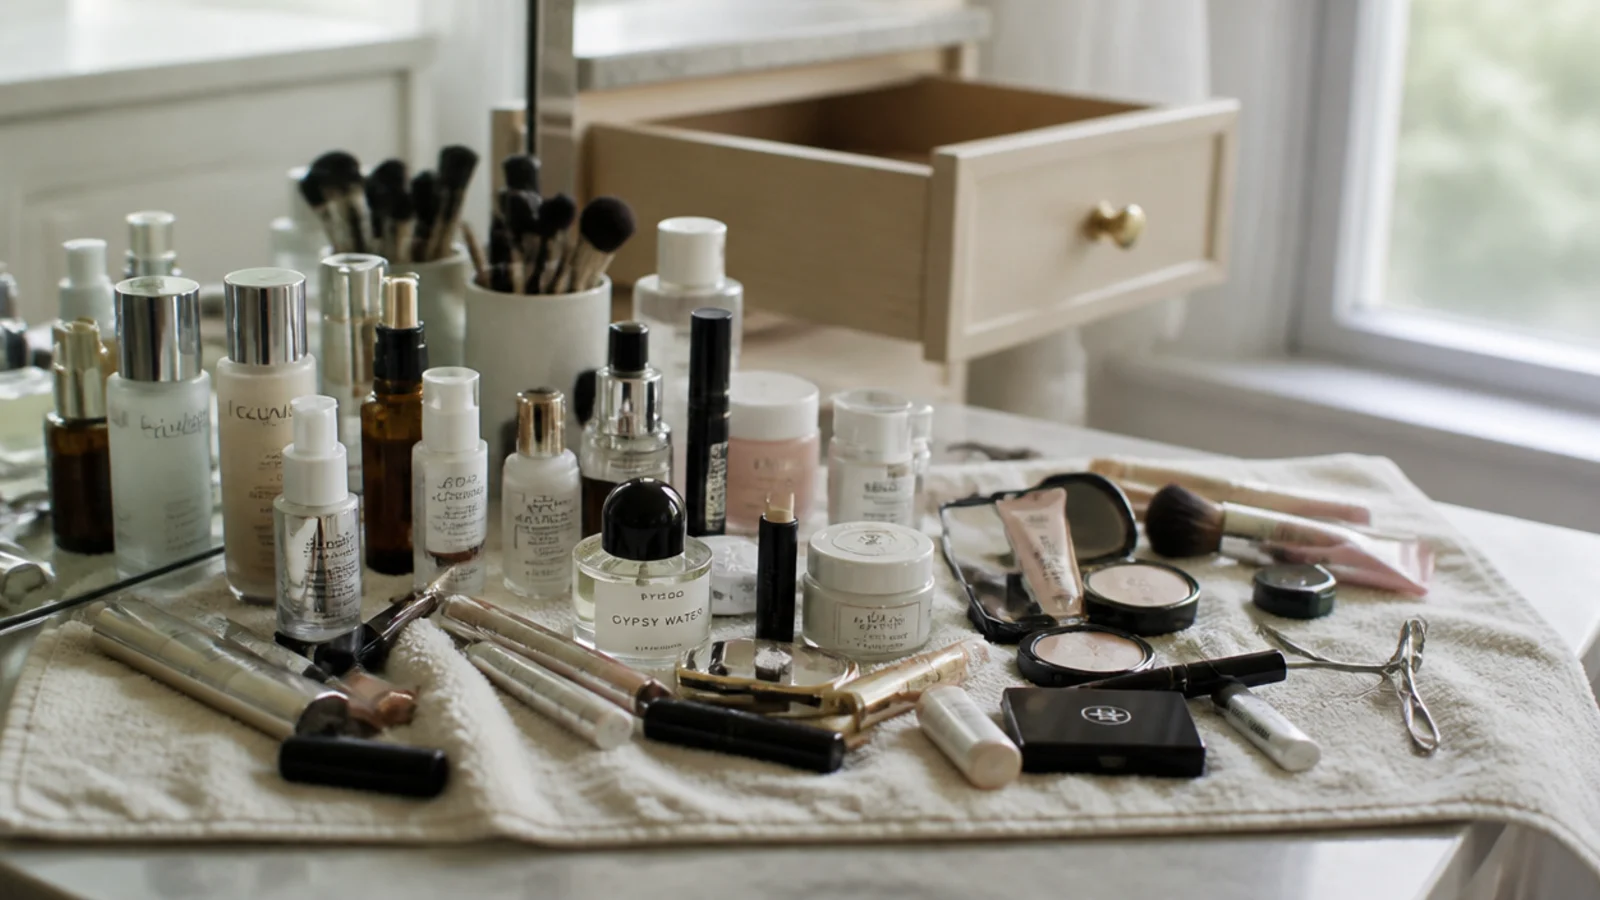
Spread a towel across the counter or the floor and take out every single thing. Drawers, cabinet, the shelf behind the mirror, the bag under the sink you forgot about.
Half measures fail here. You cannot see duplicates or judge volume while a third of the collection is still hidden, and volume is the real problem in almost every vanity I have reset.
Step 2: Sort into four honest piles
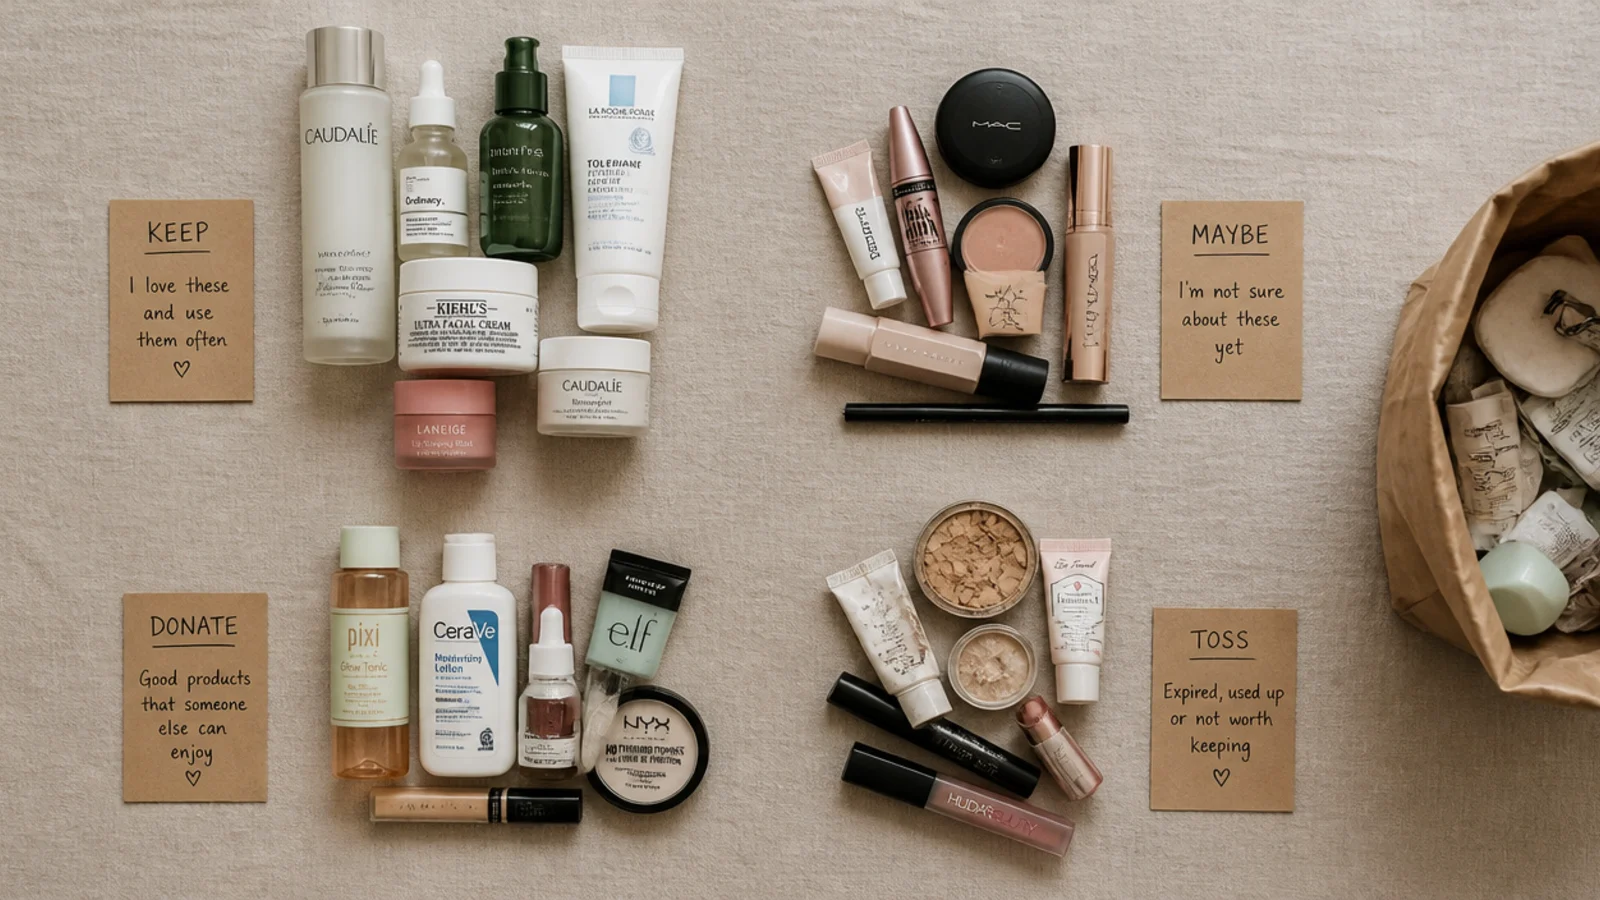
Four piles only: daily, weekly, backstock, and gone. If something needs a fifth category, it belongs in gone.
Be strict about daily — it should be five to eight things, not twenty. Weekly covers masks, tools and the good serum you rotate. Backstock is anything sealed. Gone covers empties, mistakes, and the shade that has never suited you.
Step 3: Bin anything past its date
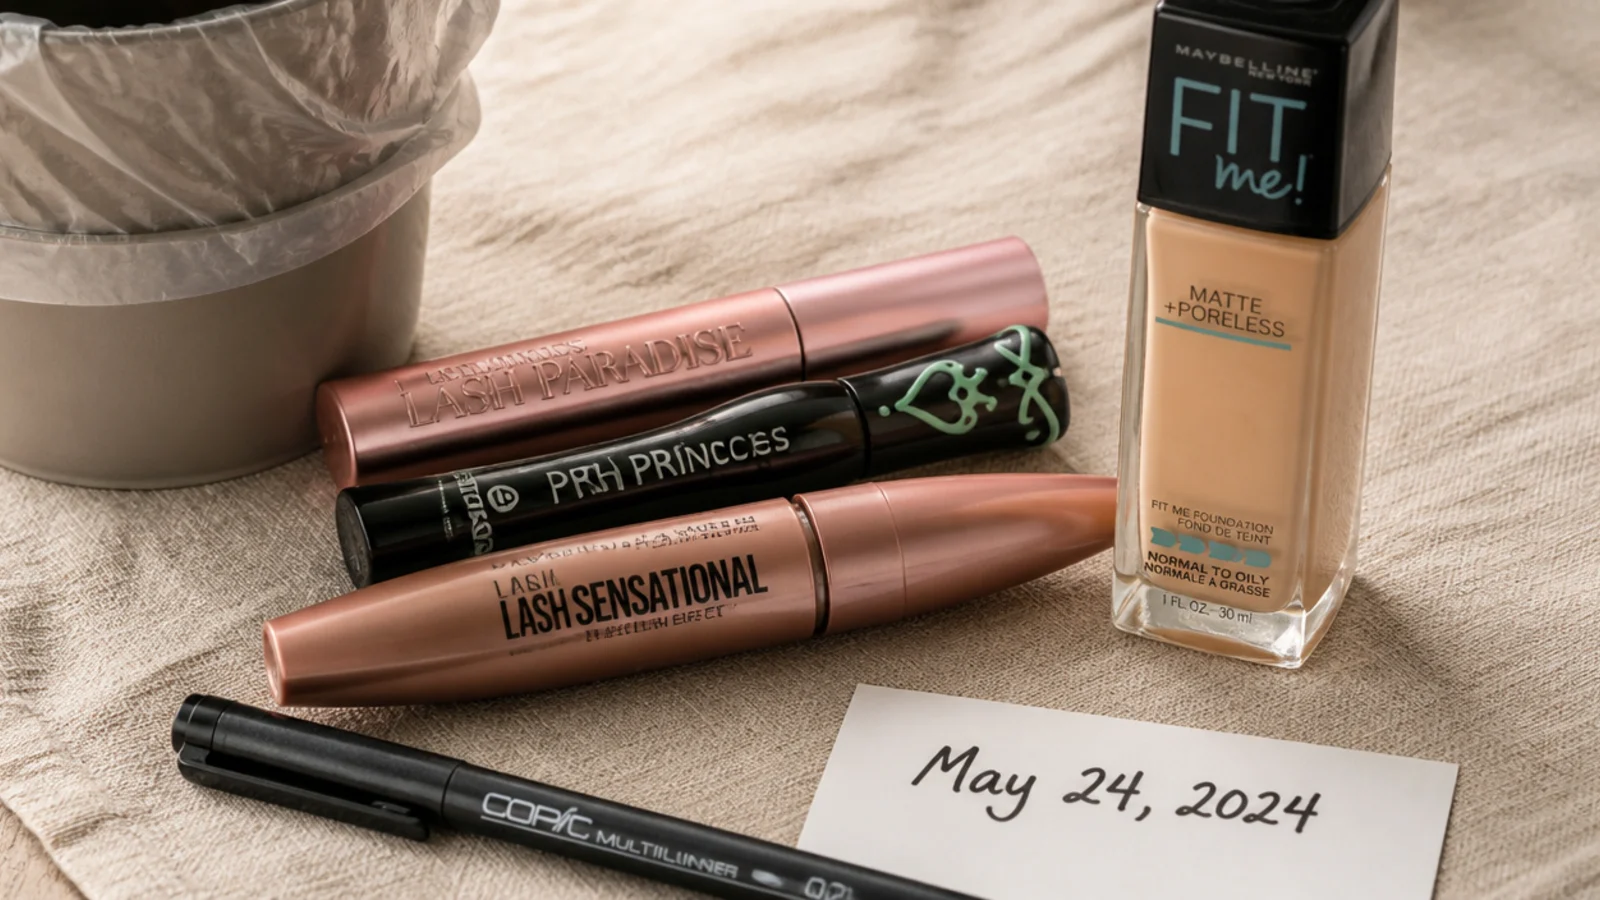
Mascara is finished at three months, liquid foundation at six to twelve, and powders at roughly two years. Sunscreen goes by the printed date, no negotiation.
Anything separated, gritty, or smelling of crayons is done. This step usually removes more volume than every organizer you were planning to buy, which is exactly why it comes before the shopping.
Step 4: Clean the empty drawers
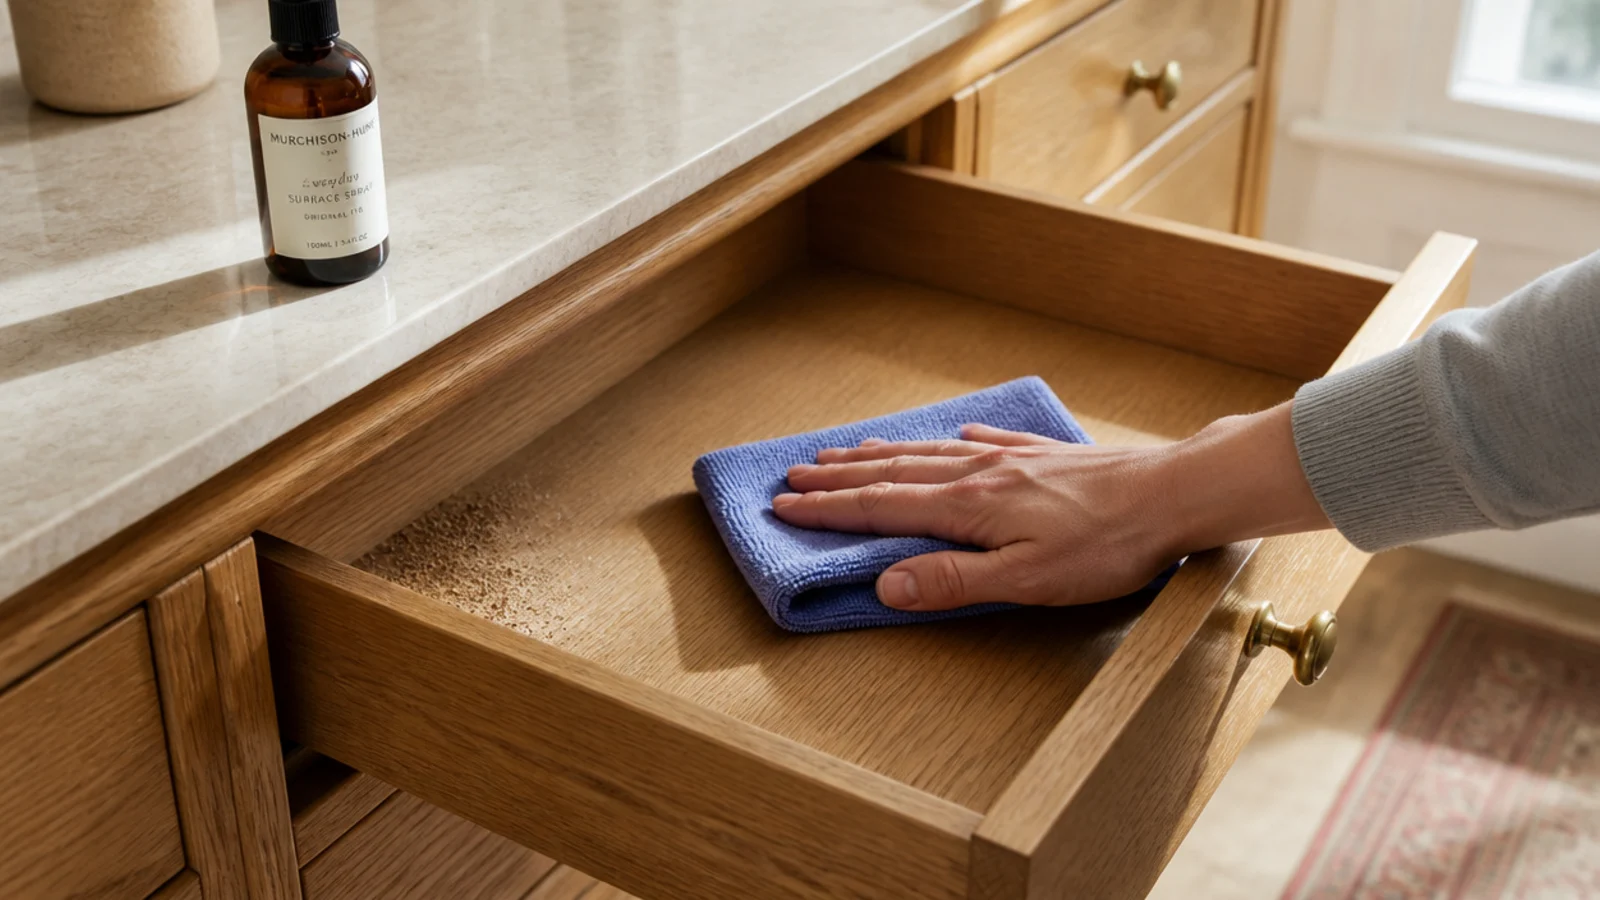
Vacuum the loose powder out of the corners, then wipe the drawer with a damp microfibre cloth and let it dry fully before anything goes back in.
Wood swells if you soak it, so damp rather than wet. Check the runners while the drawer is out — a stiff drawer is usually grit in the track, and thirty seconds of cleaning fixes what feels like a broken vanity.
Step 5: Measure the drawers internally
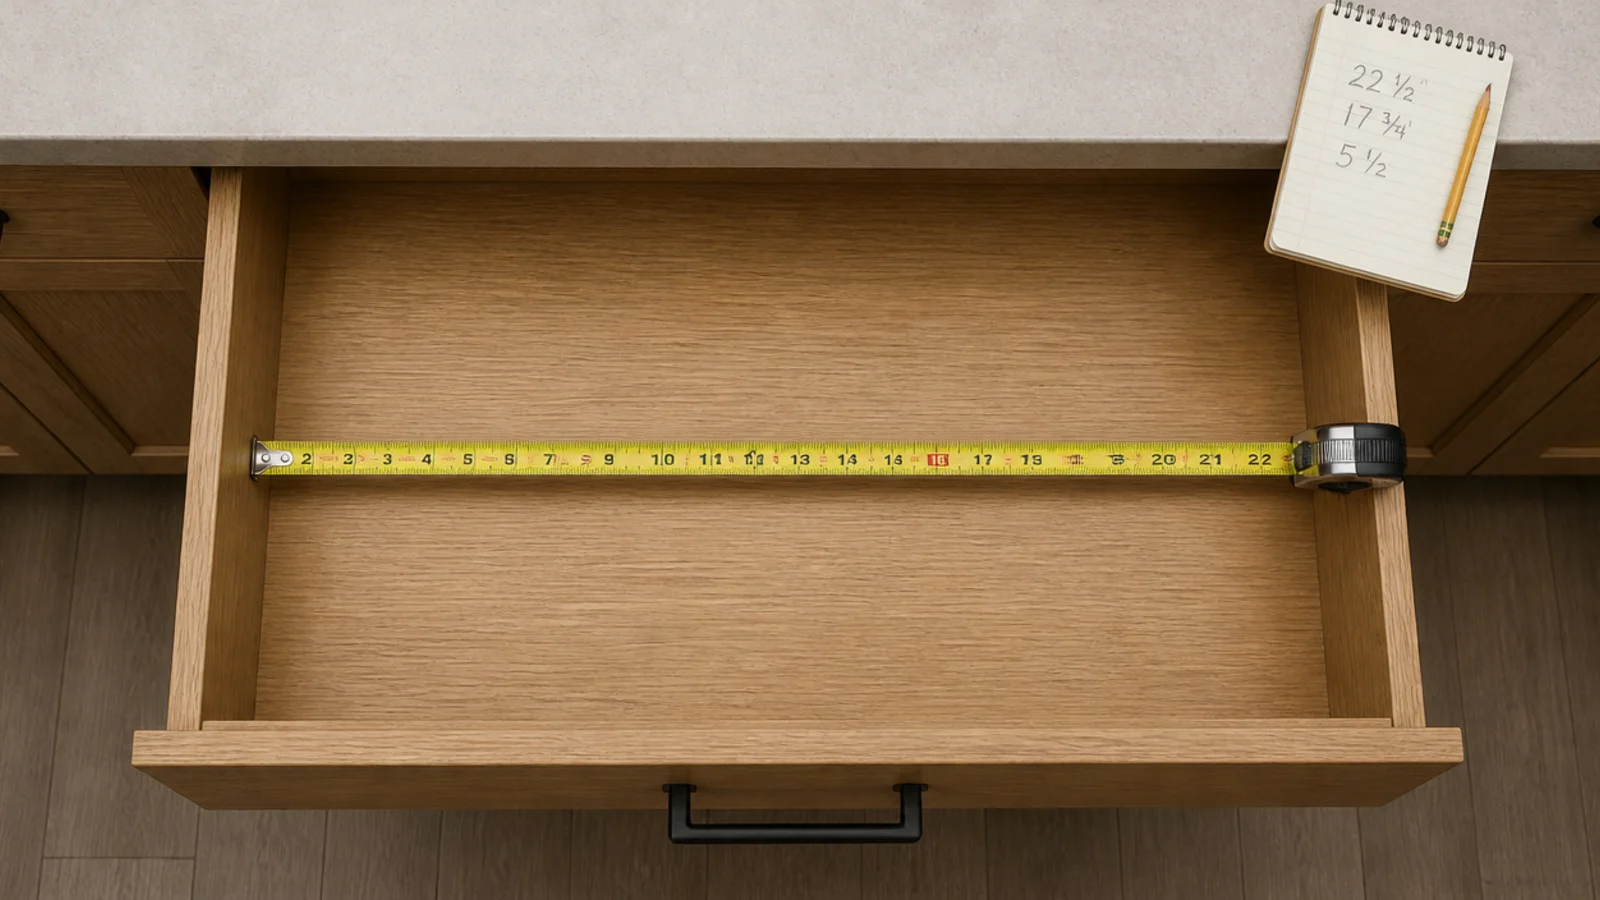
With the drawer empty, measure the internal width, internal depth front to back, and internal height. Write all three on your phone.
Subtract about 1/8 inch from width and depth as clearance so inserts actually drop in. Check the runners too, since side-mount hardware can steal half an inch of usable width and it never appears in the listing.
Step 6: Map your routine in order
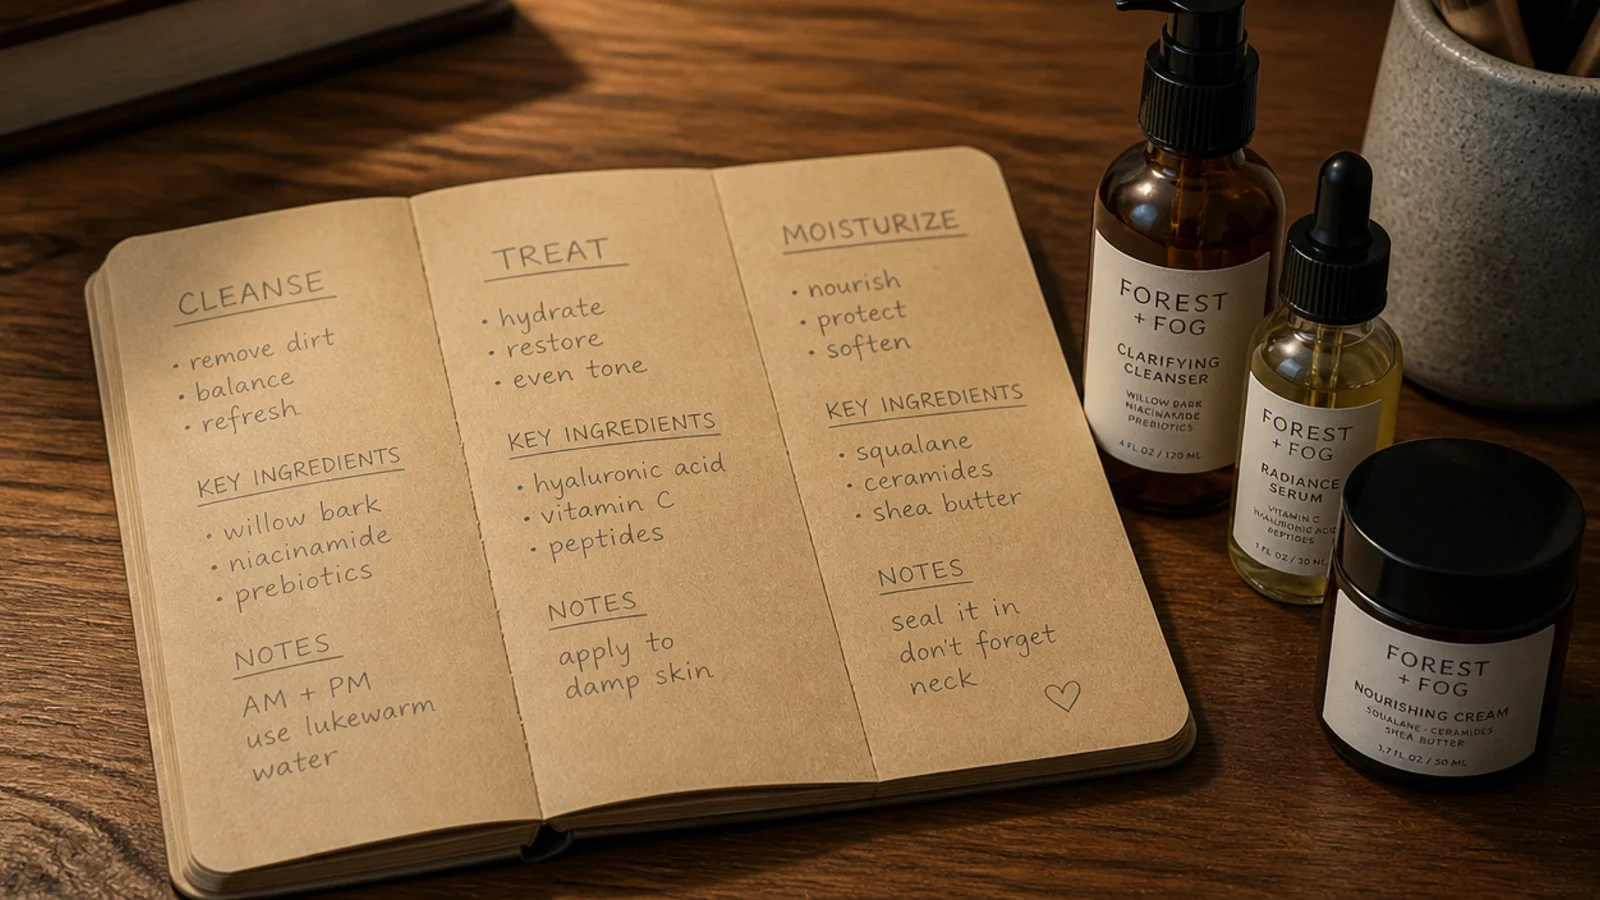
Write your routine down in the sequence you perform it: cleanse, treat, colour. That order is the layout, because it is the sequence a hand actually moves in.
Grouping by product type instead — all bottles, all tubes, all compacts — looks neat and adds a step to every morning. If two people share the vanity, write two columns and give each person a separate drawer or a separate tray.
Step 7: Decide what earns the countertop
Only daily items live on the counter. Everything weekly, seasonal or aspirational goes behind a drawer front, including the pretty bottle you keep out because it is pretty.
Move actives off any sunlit surface at this point too, because sunlight degrades retinol, vitamin C and acids faster than most people expect. Display bottles can hold the windowsill; the working products cannot.

Step 8: Give every zone a physical home
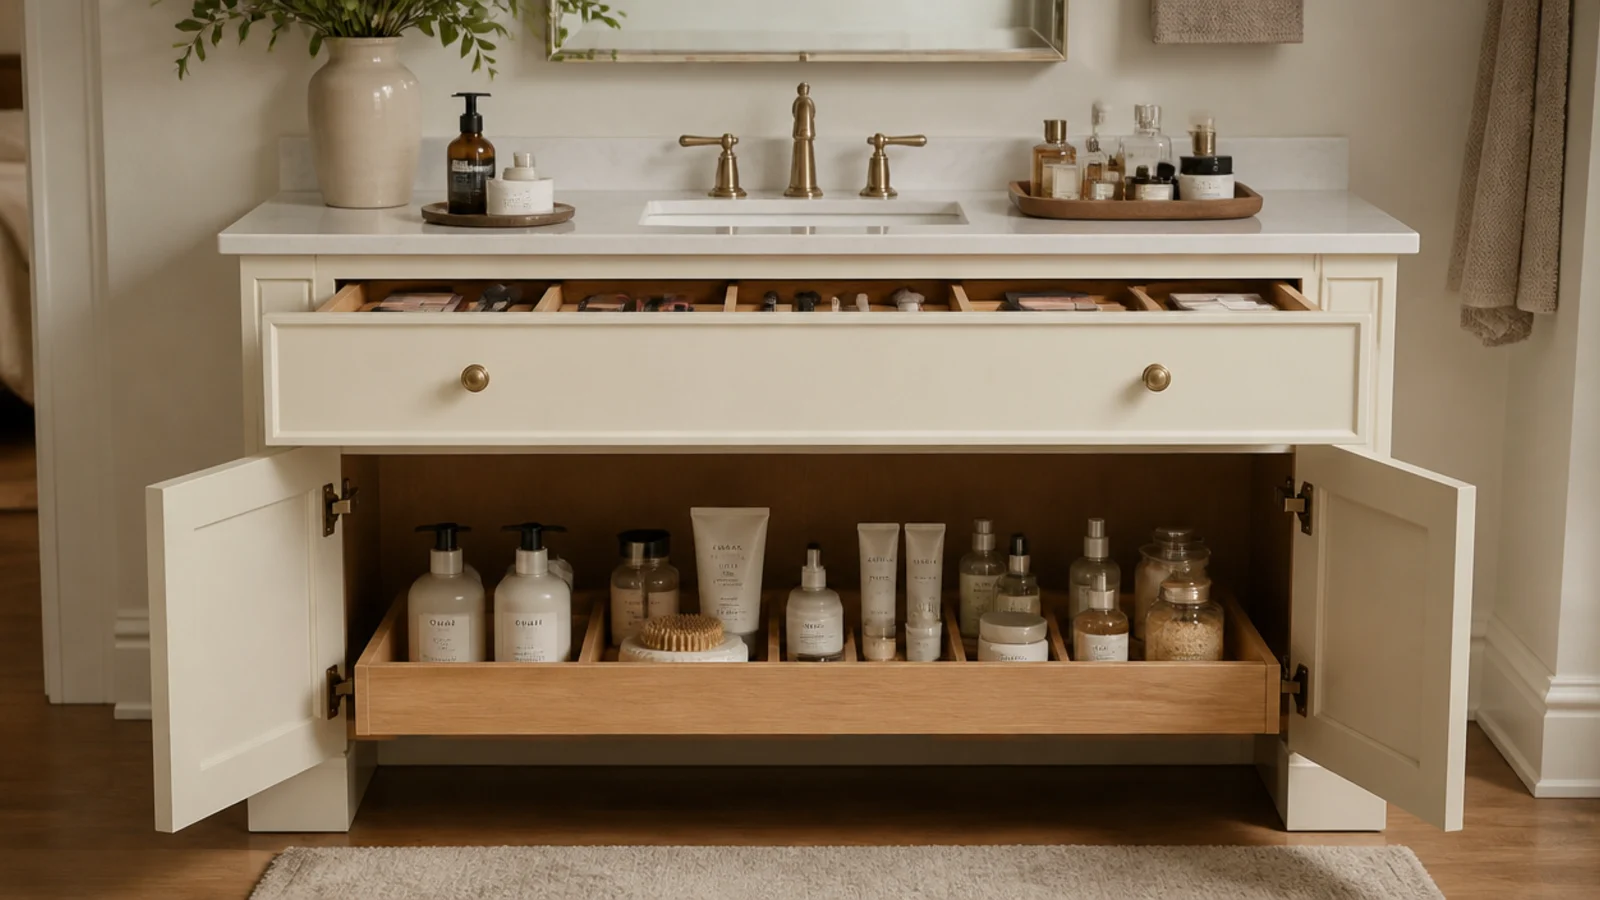
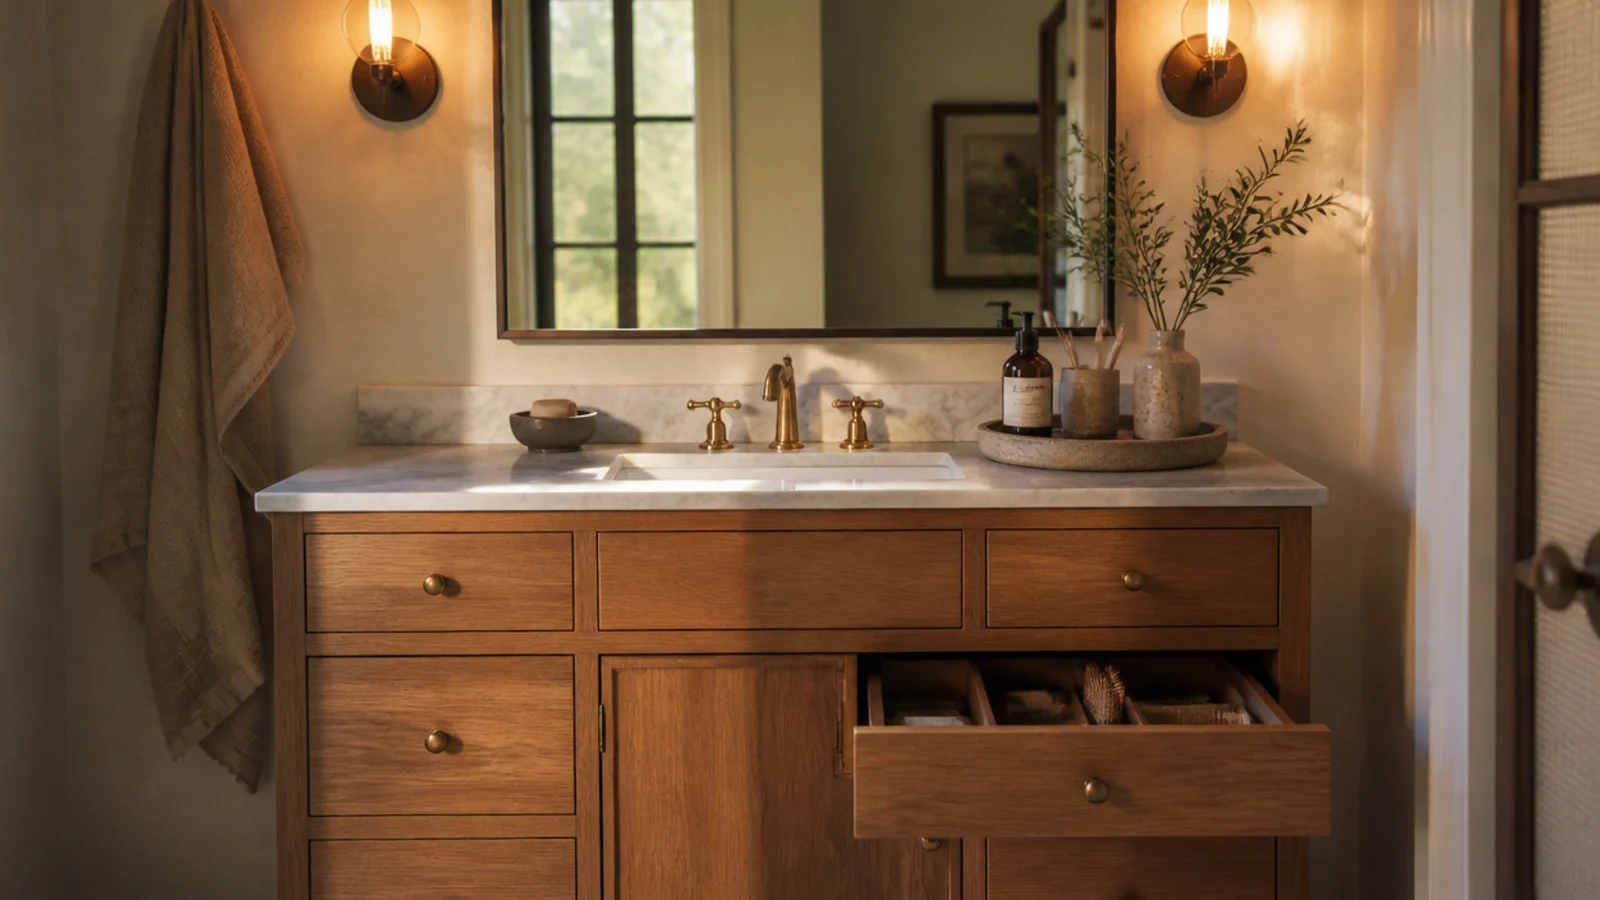
Four homes cover most vanities: the counter tray for daily items, the shallow drawer for steps one and two, the deep drawer for bottles, and the cabinet for backstock and tools.
Write the assignment down before you place a single product. Deciding while holding things in your hands is how the old layout quietly rebuilds itself.
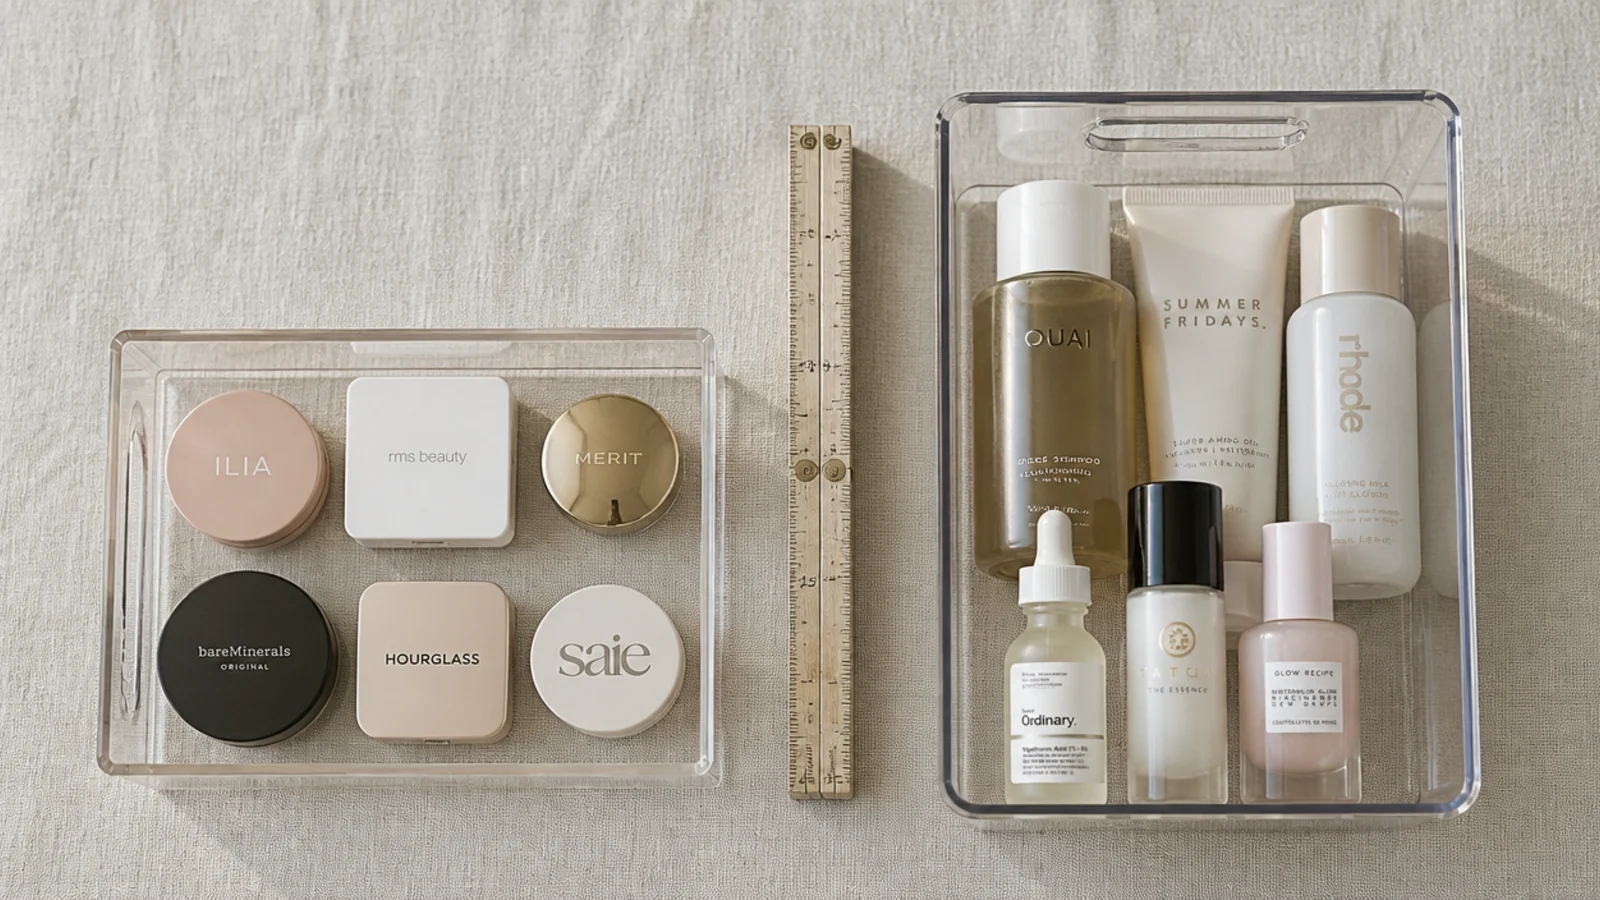
Step 9: Choose insert depths that match the contents
Depth is the specification people skip and the one that decides whether a drawer works. Two to three inches suits flat palettes, compacts, pencils and brushes laid down.
Four to five inches suits bottles, primers and pumps that must stand upright. If every drawer you own is shallow, bottles go in a cabinet bin instead — laying them down is how a drawer liner gets ruined.
Step 10: Dry-fit with paper templates first
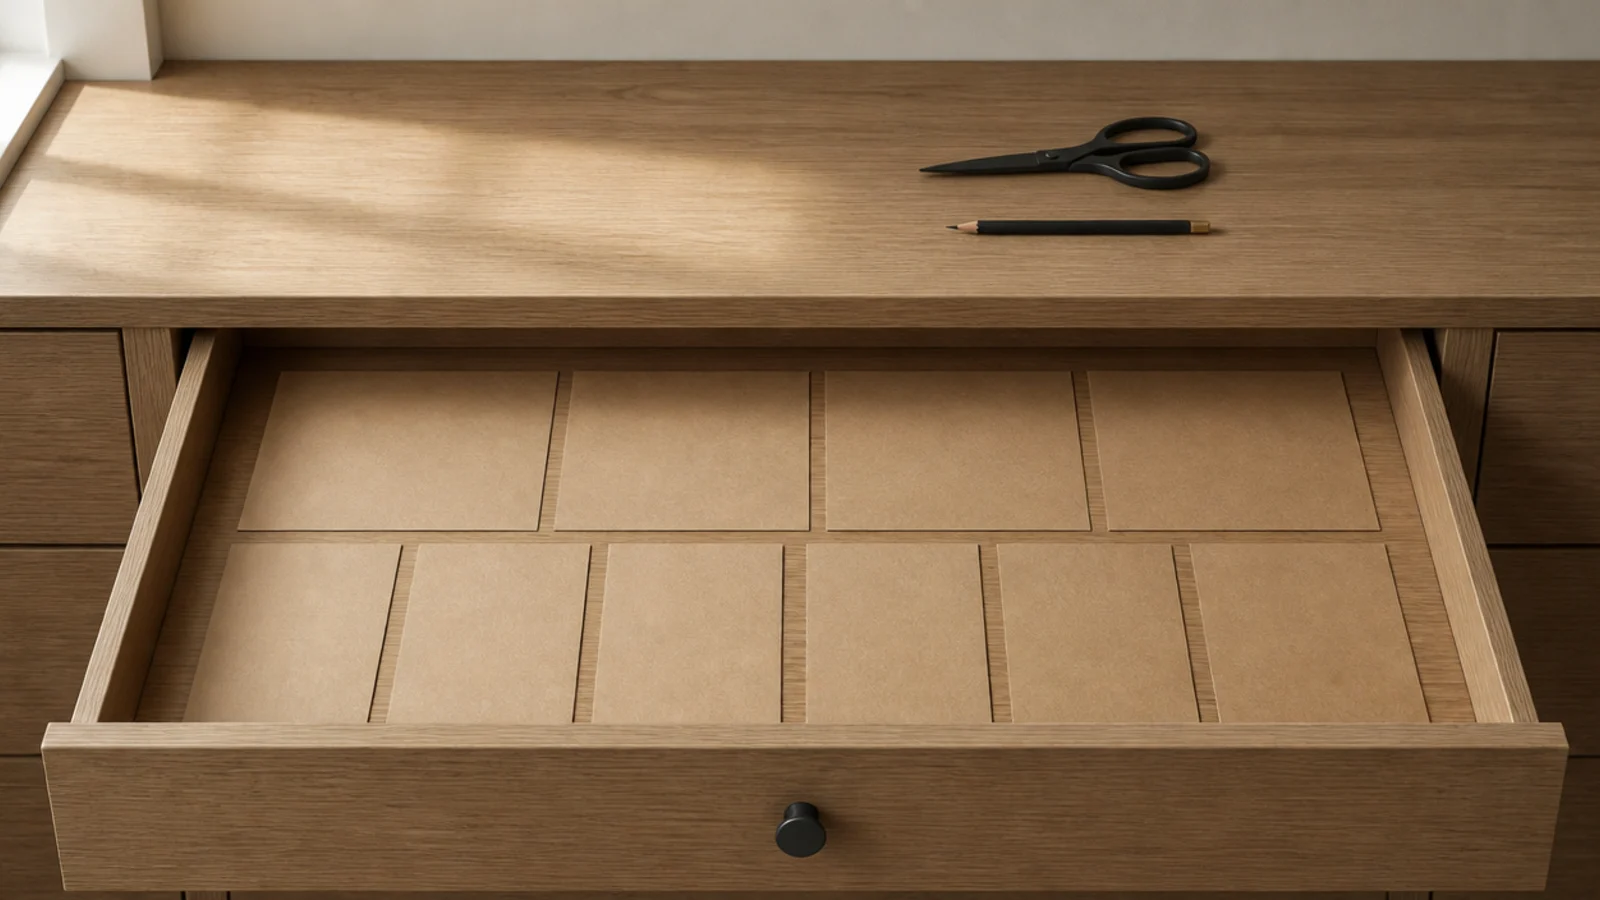
Before ordering anything, cut kraft paper or cardboard rectangles at the sizes you are considering and lay them in the empty drawer.
Two minutes of paper shows you instantly that the four-compartment tray leaves a useless 2 inch strip, or that two narrow trays beat one wide one. This is the cheapest mistake-prevention in the whole project.
Step 11: Line the drawers before anything goes in
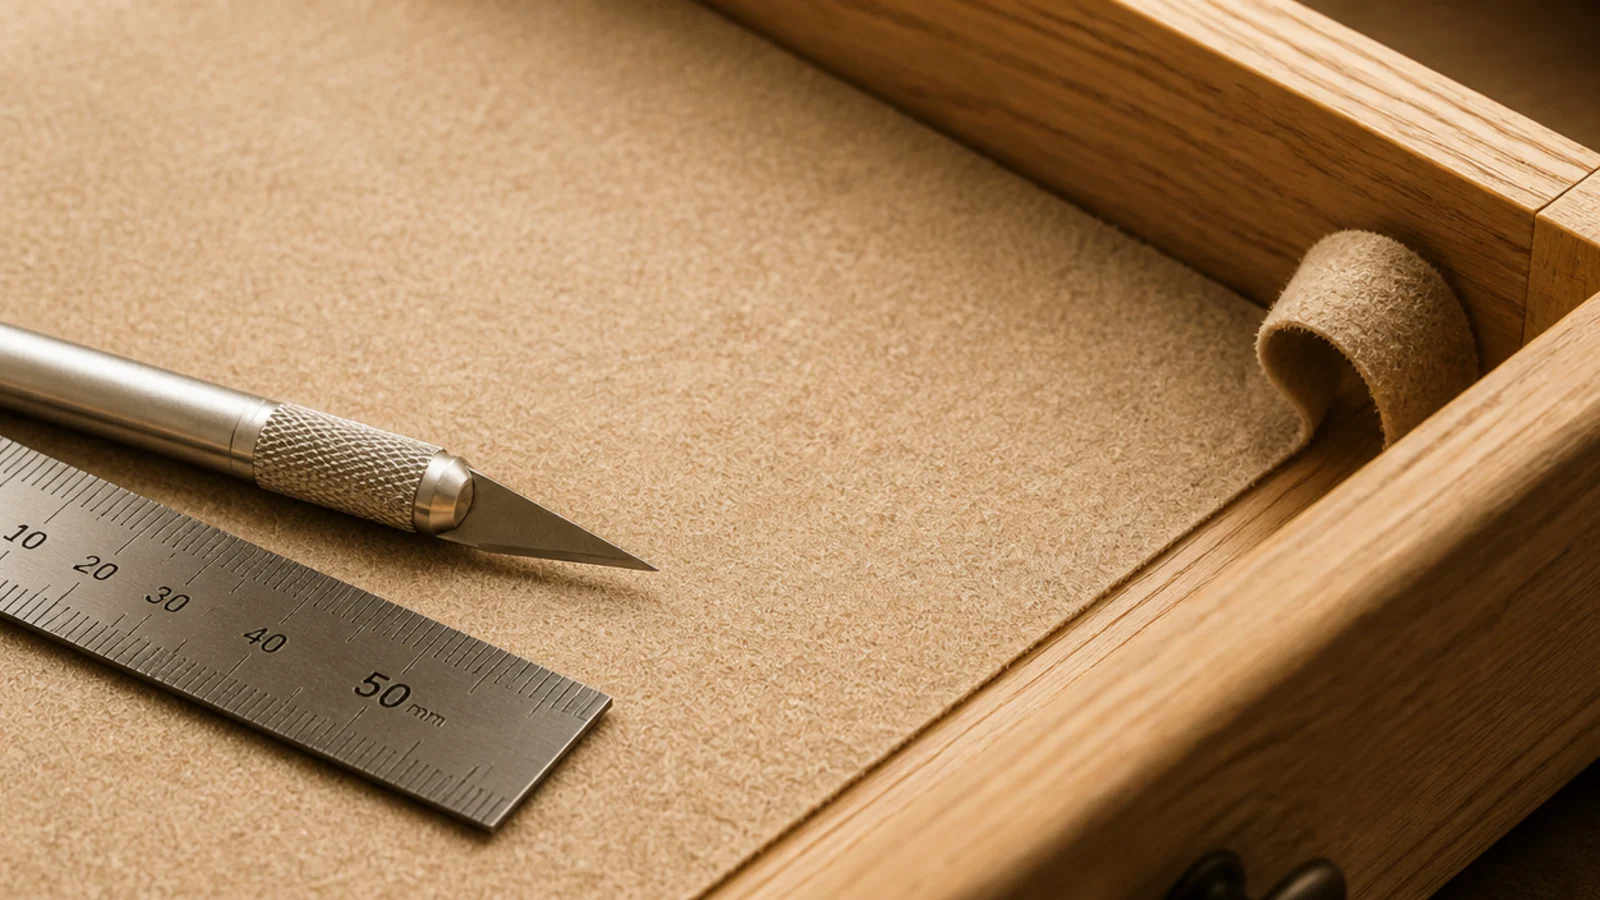
Cut liner to the internal dimensions and smooth it into the base. Felt quiets rattling metal and glass; non-slip rubber liner stops loose organizers travelling every time the drawer opens.
For renters, this is a no-damage upgrade that also protects a laminate base from spills. A roll runs $6 to $14 and covers two or three drawers with offcuts left over.
Step 12: Build the shallow drawer for daily steps
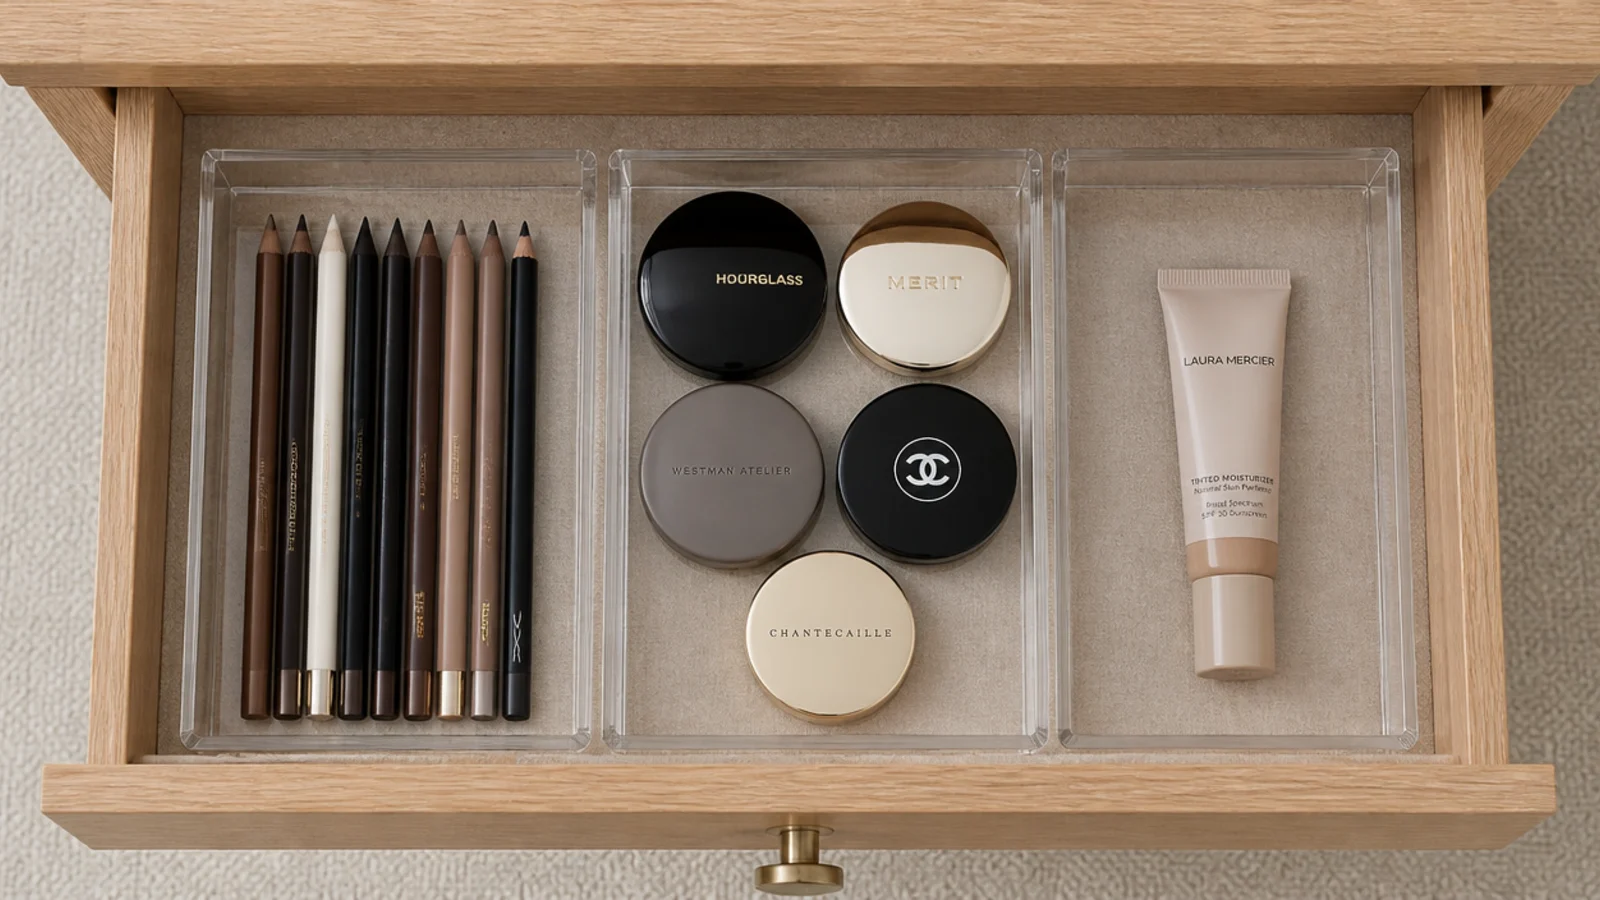
Load the shallow drawer with routine steps one and two, front to back in the order you use them. Front row is what you reach for first.
Leave one compartment empty. It becomes the landing strip for whatever comes home from the shop, and without it every new purchase lands on the counter and stays there.
Step 13: Stand bottles upright in the deep drawer
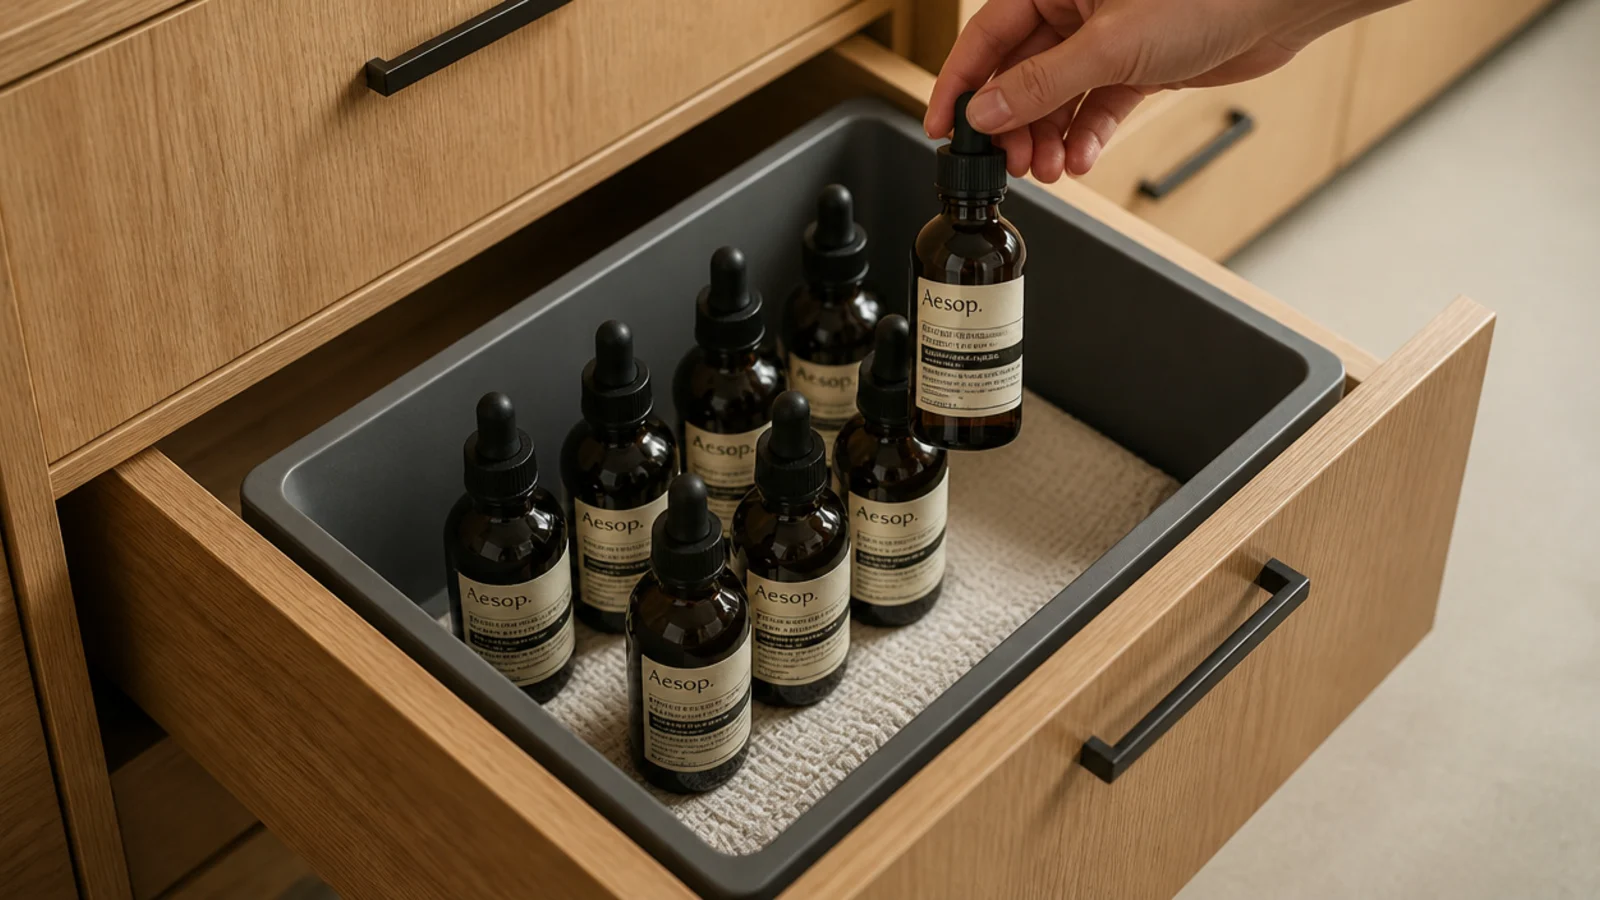
Anything with a pump or a dropper stores upright, always. On its side a pump seeps into the liner and a dropper stains felt, and you find out weeks later.
Pack the bin tightly enough that bottles hold each other vertical — about 4 by 6 inches keeps six standing. A folded cloth in the base catches any drip and washes out.
Step 14: File palettes and compacts on edge
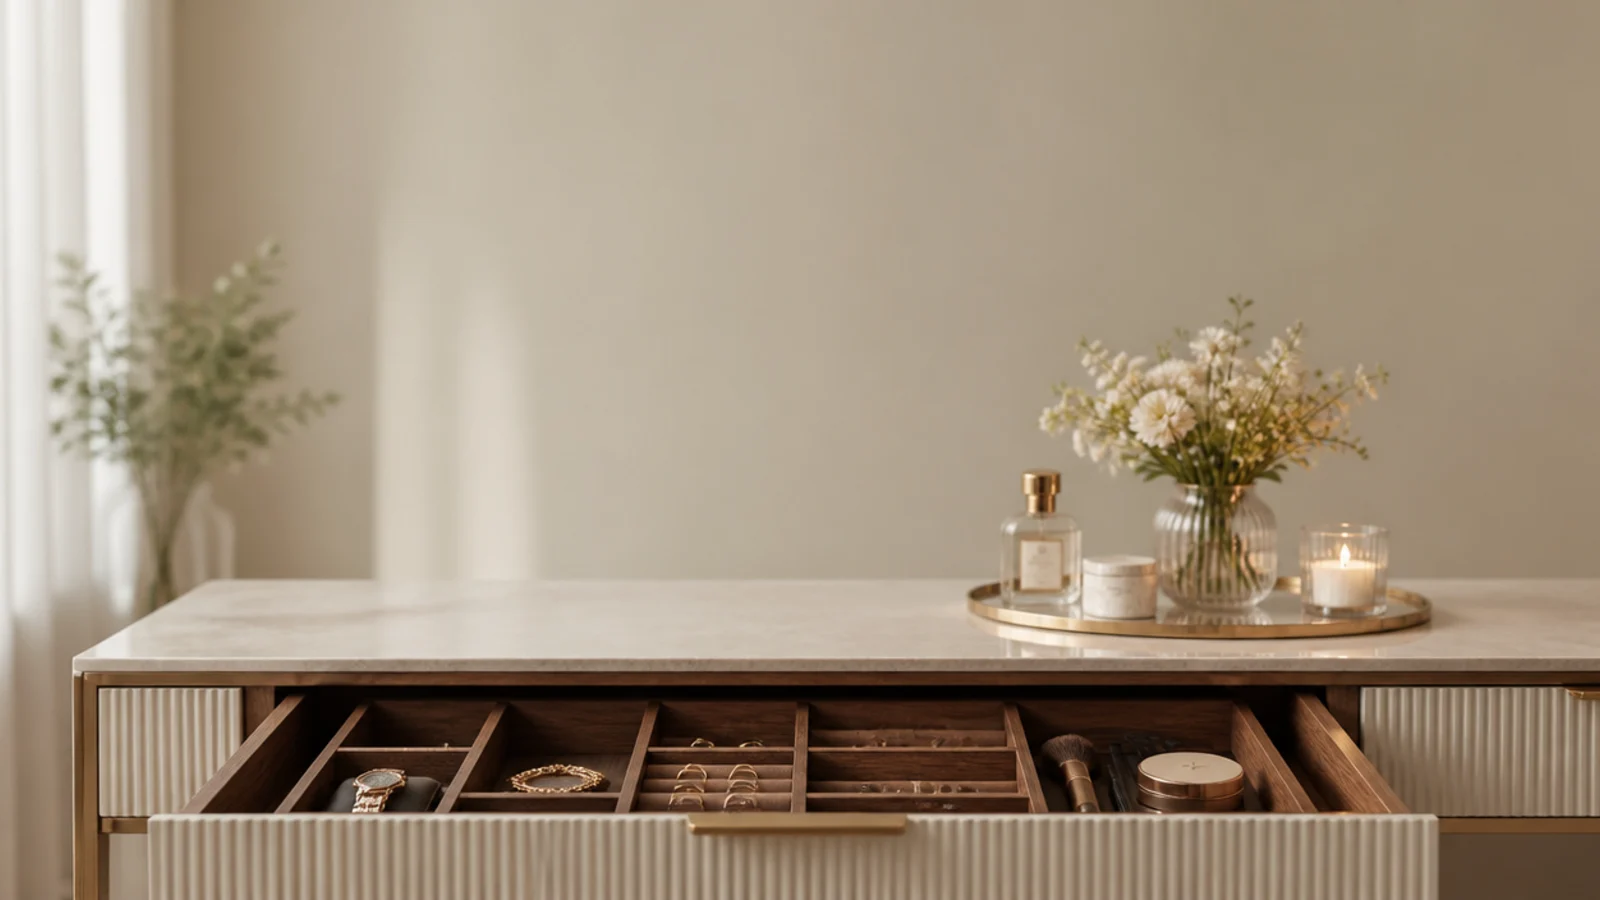
Stand flat palettes on their long edge in a slim divider, spaced about 1 1/4 inches apart, so every one is readable in a single glance.
Stacked flat, the bottom palette is invisible and therefore unused. On edge, the whole collection behaves like a record crate. Cardboard strips wrapped in kraft paper do this free while you decide on inserts.

Step 15: Set up a weighted brush cup
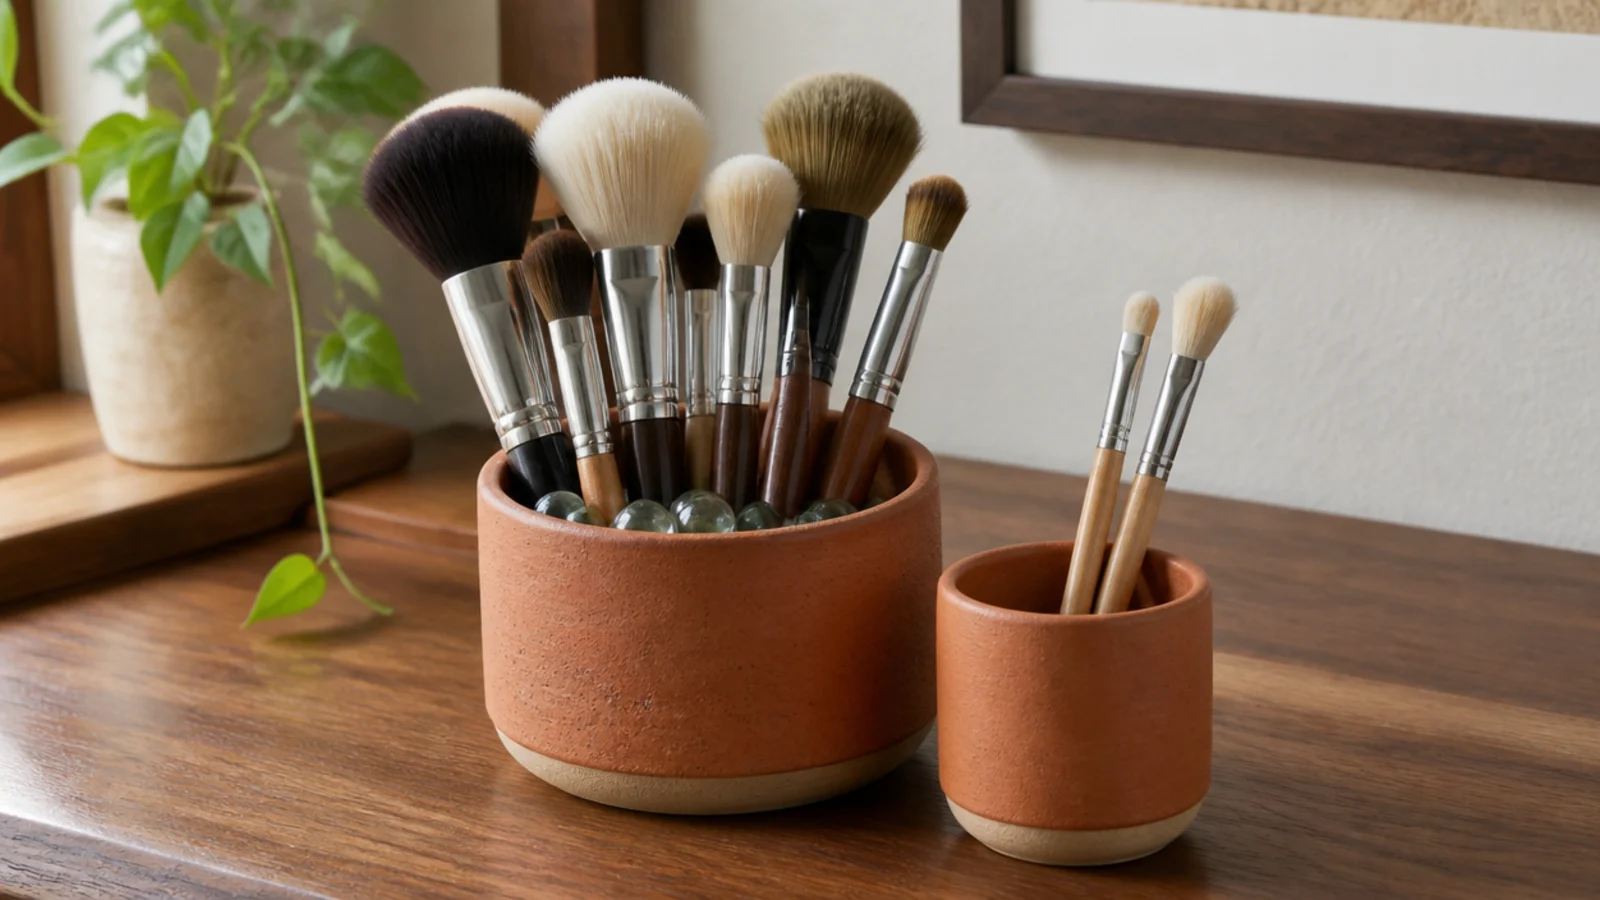
Brushes stand bristles-up in a heavy cup or they splay, and a splayed brush never fully recovers. Weight is the specification that matters — a light cup tips the moment you pull one out.
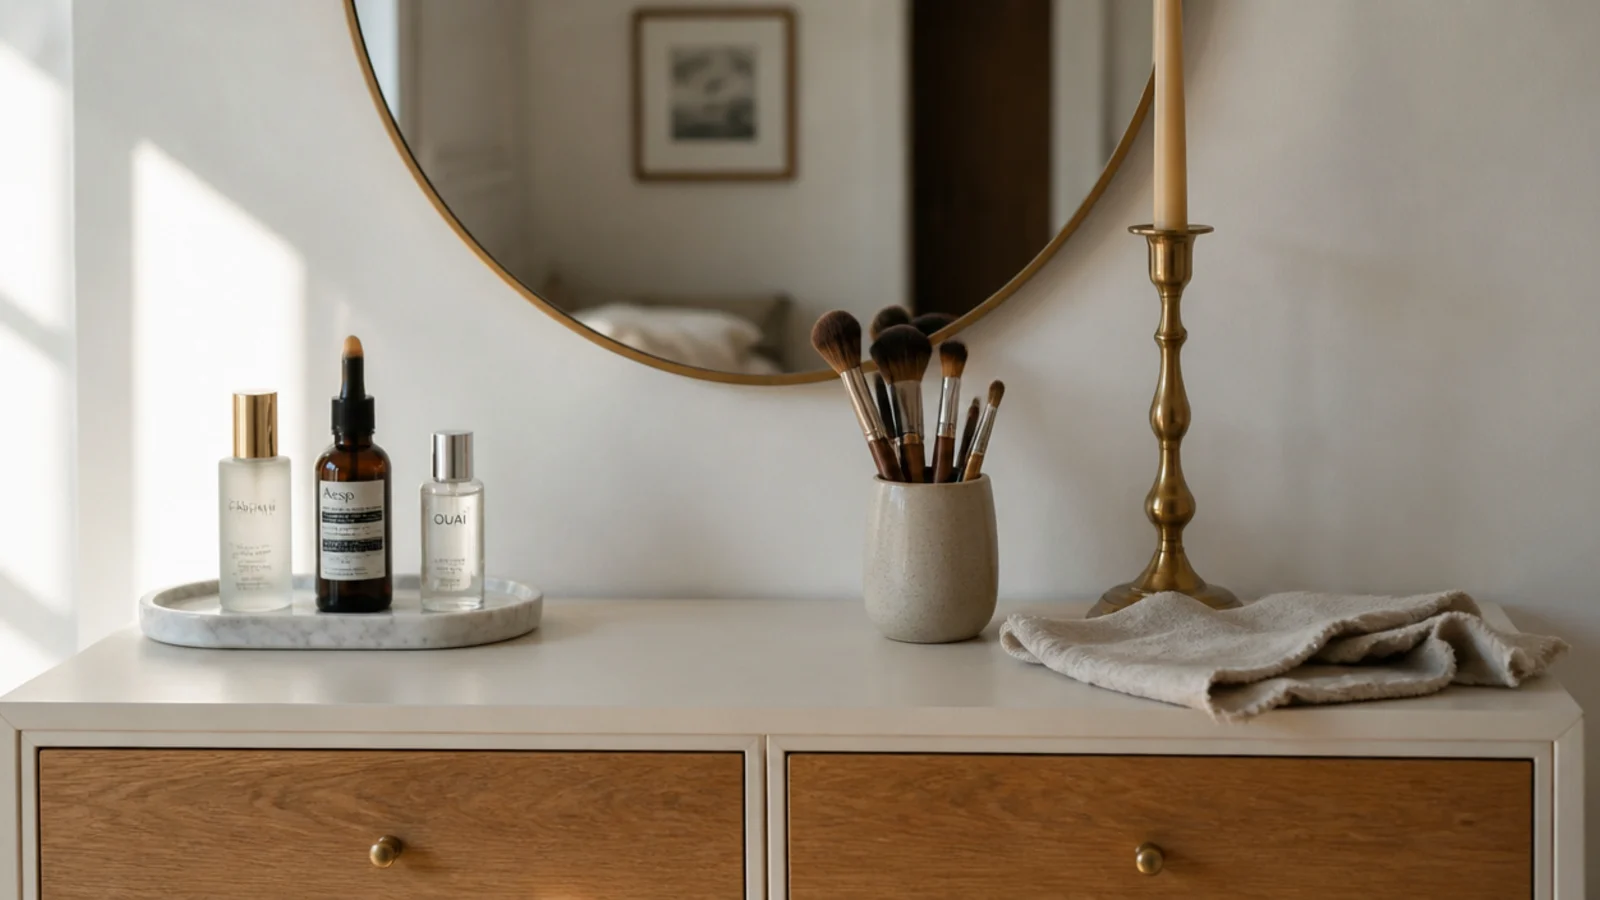
Use a squat stoneware tumbler or small crock, 3 to 4 inches tall with a wide mouth. Add a handful of glass beads if yours is too light. Keep it out of the shower steam.
Step 16: Style the counter tray with the daily few
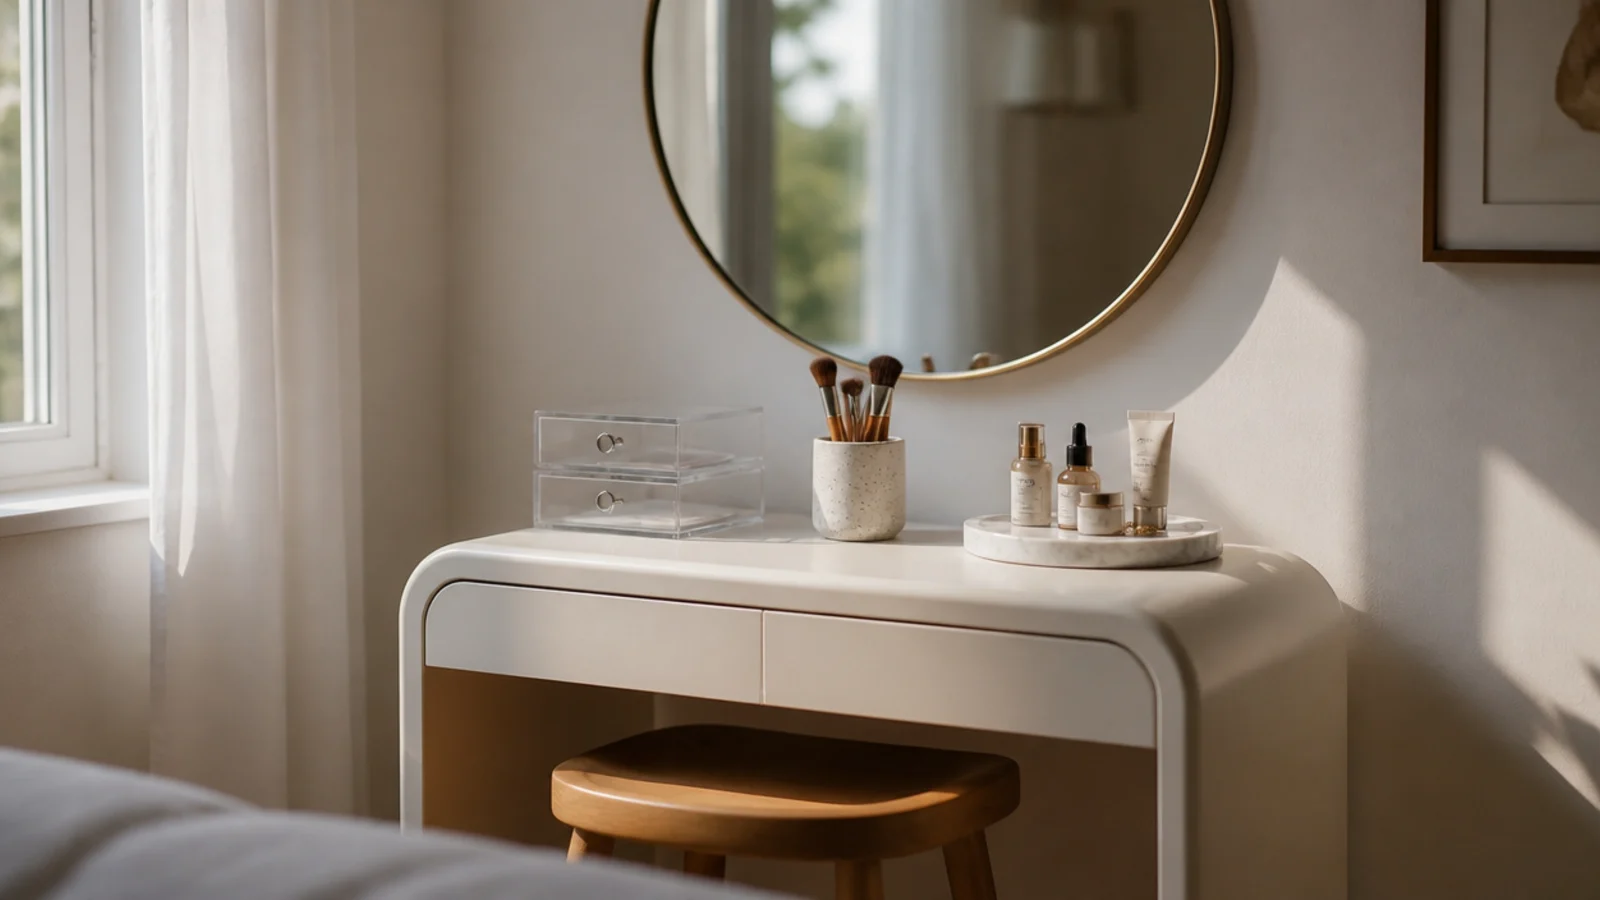
Group the survivors on one tray sized to the group with an inch of margin. A tray catches the ring a pump leaves on stone and turns six loose objects into a single composition.
Vary the heights — one tall bottle, one low jar, one small dish — and leave the front 6 inches of counter clear as working space. There is a deeper guide in vanity tray styling.

Step 17: Give hair tools a heat-safe home
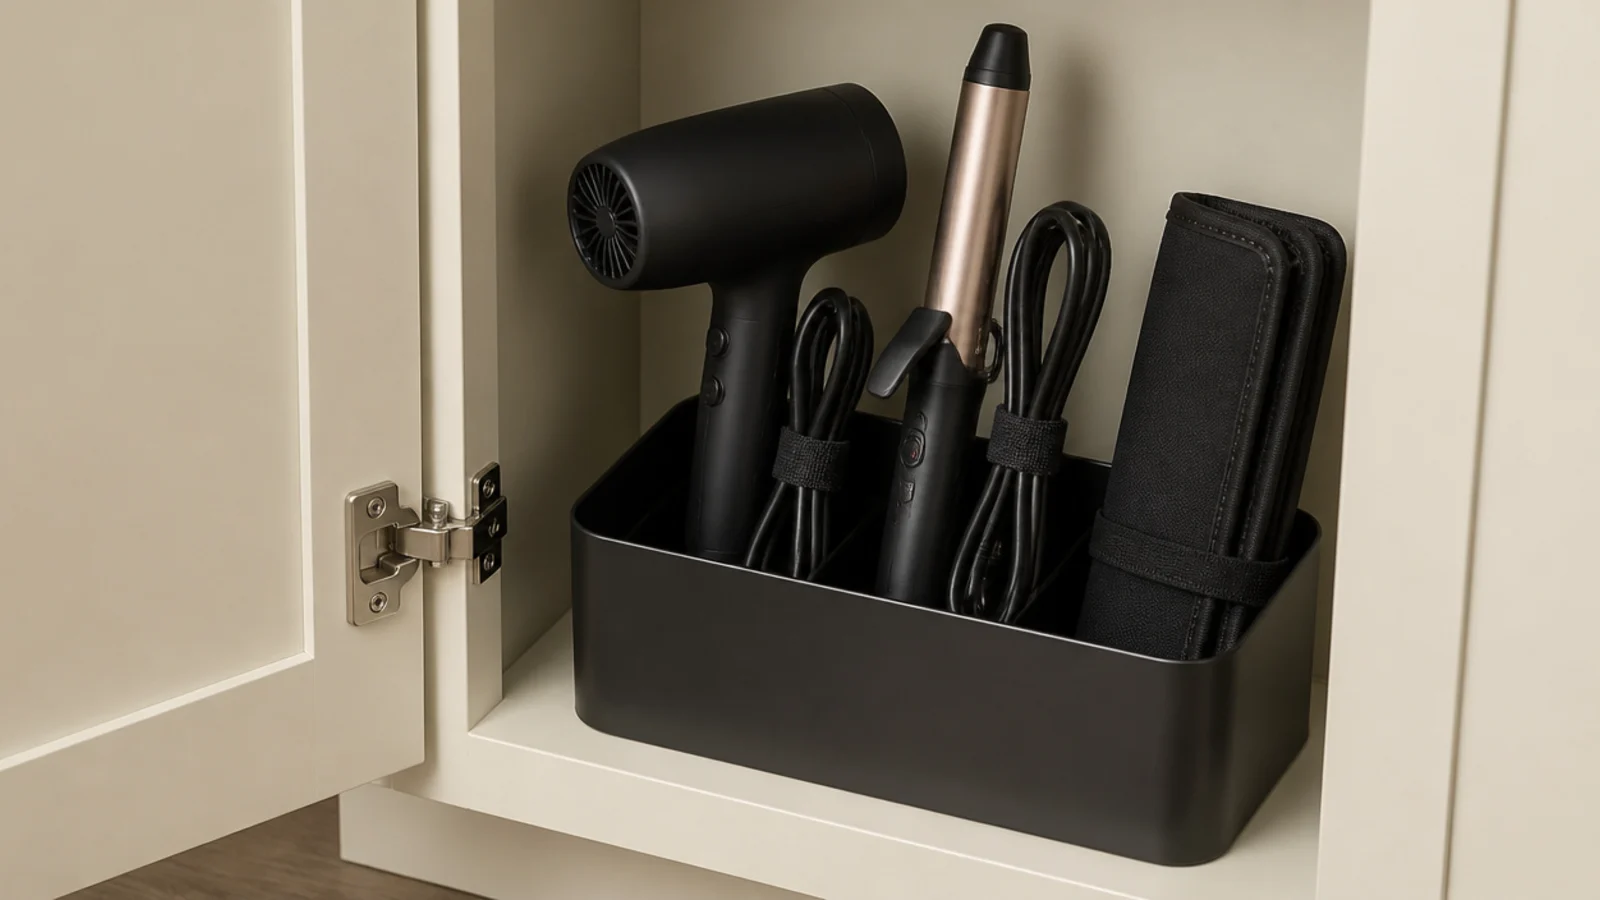
A warm iron needs somewhere it cannot scorch. A metal bin roughly 6 by 10 inches in the cabinet holds a dryer and an iron upright, and a heat mat gives you a place to set a hot tool down.
Coil cords loosely and secure them with fabric ties. Tightly wrapped cords fail at the base within a year, which is a repair nobody budgets for.
Step 18: Corral backstock into one labelled basket
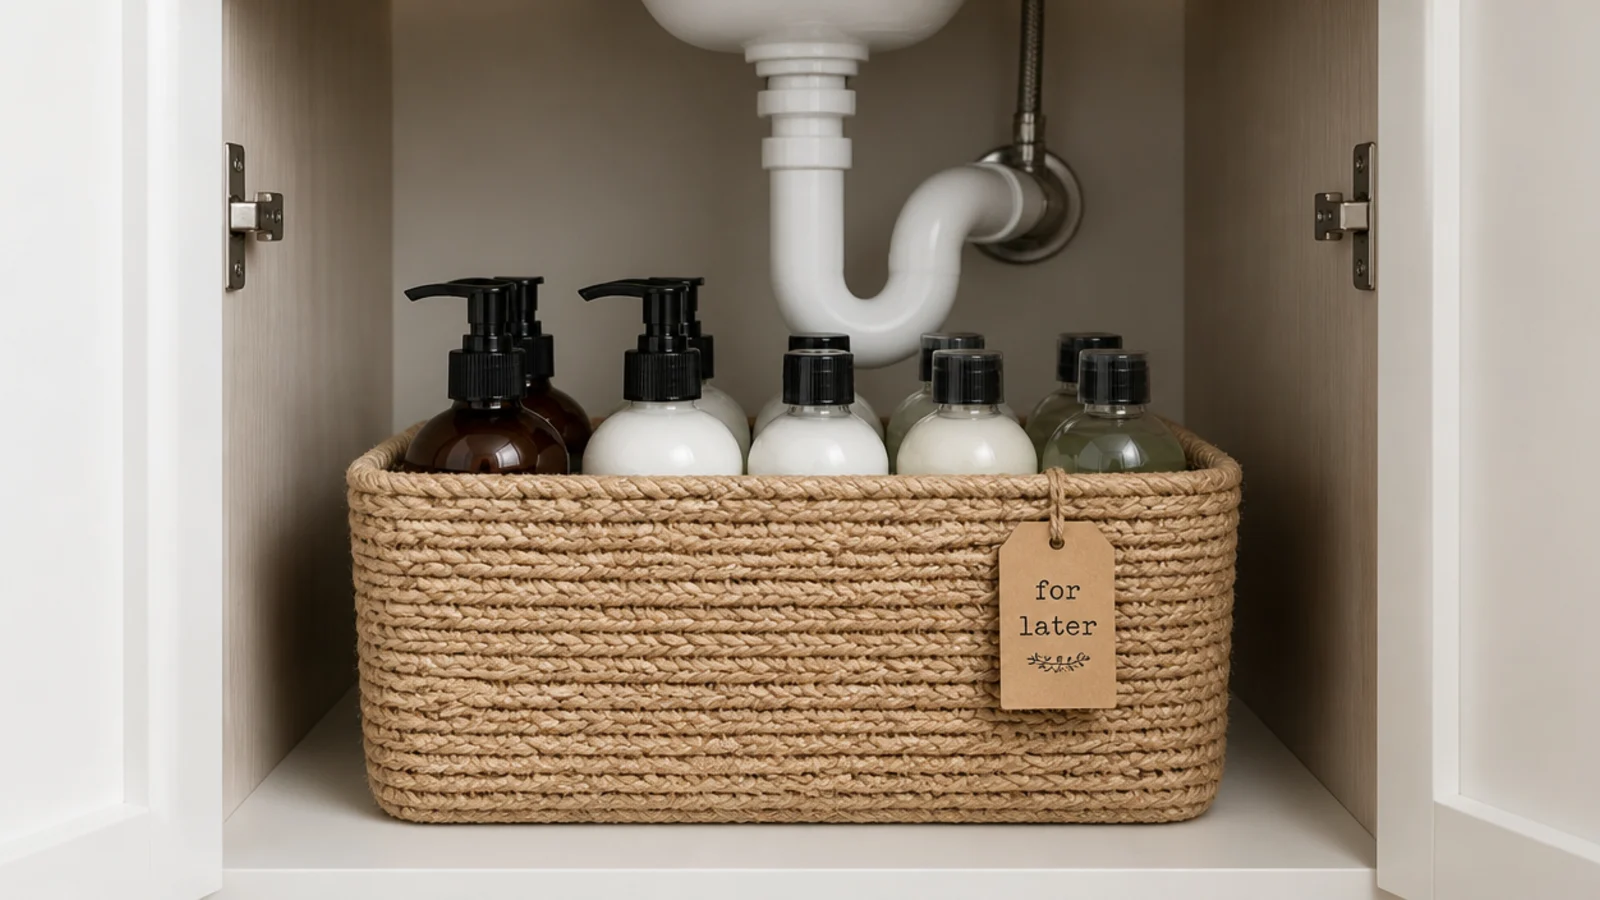
Every sealed spare goes into a single basket, roughly 12 inches wide, stored under the sink. One spare per product, and nothing new enters until the open one is finished.
Tie a small label to the handle. A glance tells you what you own, which is the entire reason people stop buying a third bottle of the same sunscreen.
Step 19: Fix the mirror lighting
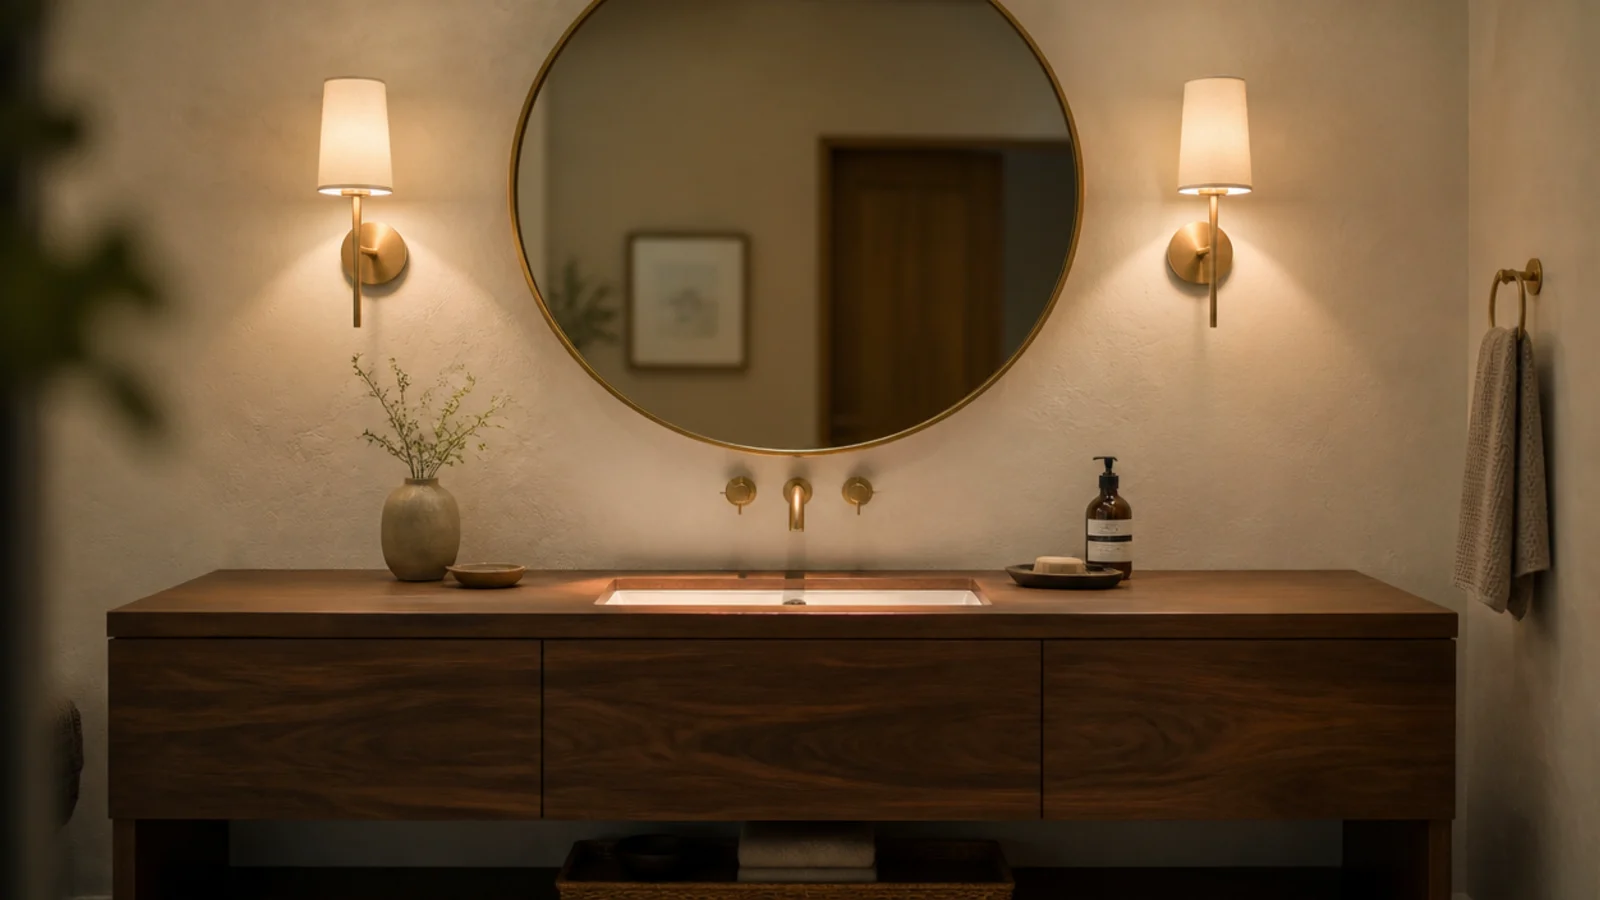
Swap to bulbs between 3000K and 4000K with a high CRI rating, and get light onto your face from both sides rather than from overhead. Overhead fixtures drop shadows into your eye sockets and under your jaw.
Two sconces at roughly eye level flanking the mirror is the ideal. Renting? Plug-in sconces with adhesive cord channels, or a clamp-on ring at eye height, achieve the same thing without drilling.
Step 20: Live with it a week, then edit
Use the vanity for seven days without adjusting anything, then notice what you moved, what you never touched, and what ended up on the counter anyway.
Remove two things. Then put two dates in the calendar for a twice-yearly cull, because containers manage volume and only a cull removes it. That single habit is what keeps this reset from being an annual event.
Pro Styling Rules
Mistakes to Skip
- Shopping before sorting. You cannot size containers for a collection you have not culled, and the cull usually removes a third of the volume.
- Measuring the outside of the drawer. Inserts are sized to internal dimensions minus about 1/8 inch, and that clearance is what makes them drop in.
- Filling every compartment on day one. With no empty landing strip, the next thing you buy lives on the counter permanently.
Frequently asked questions
How long does a full vanity reset take?
Set aside two to three hours for the emptying, culling, measuring and rebuilding, then a second short session a week later to edit. If you are adding inserts you will also lose a day waiting on the order. The culling is the slow part, and it is also the part that produces most of the result.
Should I buy drawer inserts before or after I sort?
After, every time. You cannot size containers for a collection you have not culled yet, and half of what is in the drawer today will not survive the date check. Sort first, measure the empty drawer second, and shop last with three numbers written down: internal width, internal depth and internal height.
What size drawer inserts do I need for a vanity?
Size them to the drawer's internal width and depth minus about 1/8 inch of clearance so they actually drop in. For height, two to three inches suits flat palettes, compacts and pencils, while four to five inches suits bottles, primers and pumps that must stand upright. Side-mount drawer runners can steal another half inch of usable width.
How do I keep a vanity organized after the reset?
Three habits hold it. Put things back in routine order rather than wherever there is a gap, keep only daily items on the counter, and cap backstock at one spare per product. Then book two culls a year. Most vanities drift because new purchases have nowhere to land, so leave a fifth of one drawer permanently empty.
Do I need new furniture for a DIY vanity makeover?
Almost never. Nearly every vanity problem is layout, lighting and volume rather than the piece itself. Fix the routine order, add inserts sized to the drawers you already have, and change the bulbs to 3000K to 4000K high CRI. If the vanity is genuinely too small, a rolling cart adds storage for around $40.
Do the first four steps tonight even if you buy nothing — emptying, sorting, culling and measuring is where most of the result lives, and it costs an evening. Order inserts once you have three numbers written down rather than a vague sense of the drawer. From here, fifteen vanity organization ideas covers the system in brief, vanity drawer organization goes deeper on inserts and liners, and diy small walk-in closet uses the same measure-first method on clothes. Save the pin so the numbers are with you at the shop.
Want more like this? Browse all 15 vanity organization guides — they all use the same measurements and budget tiers.
Pin it for later
Save this to your Vanity Organization board
Pin it now so it is waiting for you when the tape measure comes out — and so the next person hunting for this idea can find it too.
Save this pinKeep going
More ideas worth saving while you have the tape measure out.