Vanity Organization · Listicle
30 Beautiful Vanity Organization Ideas to Steal Today

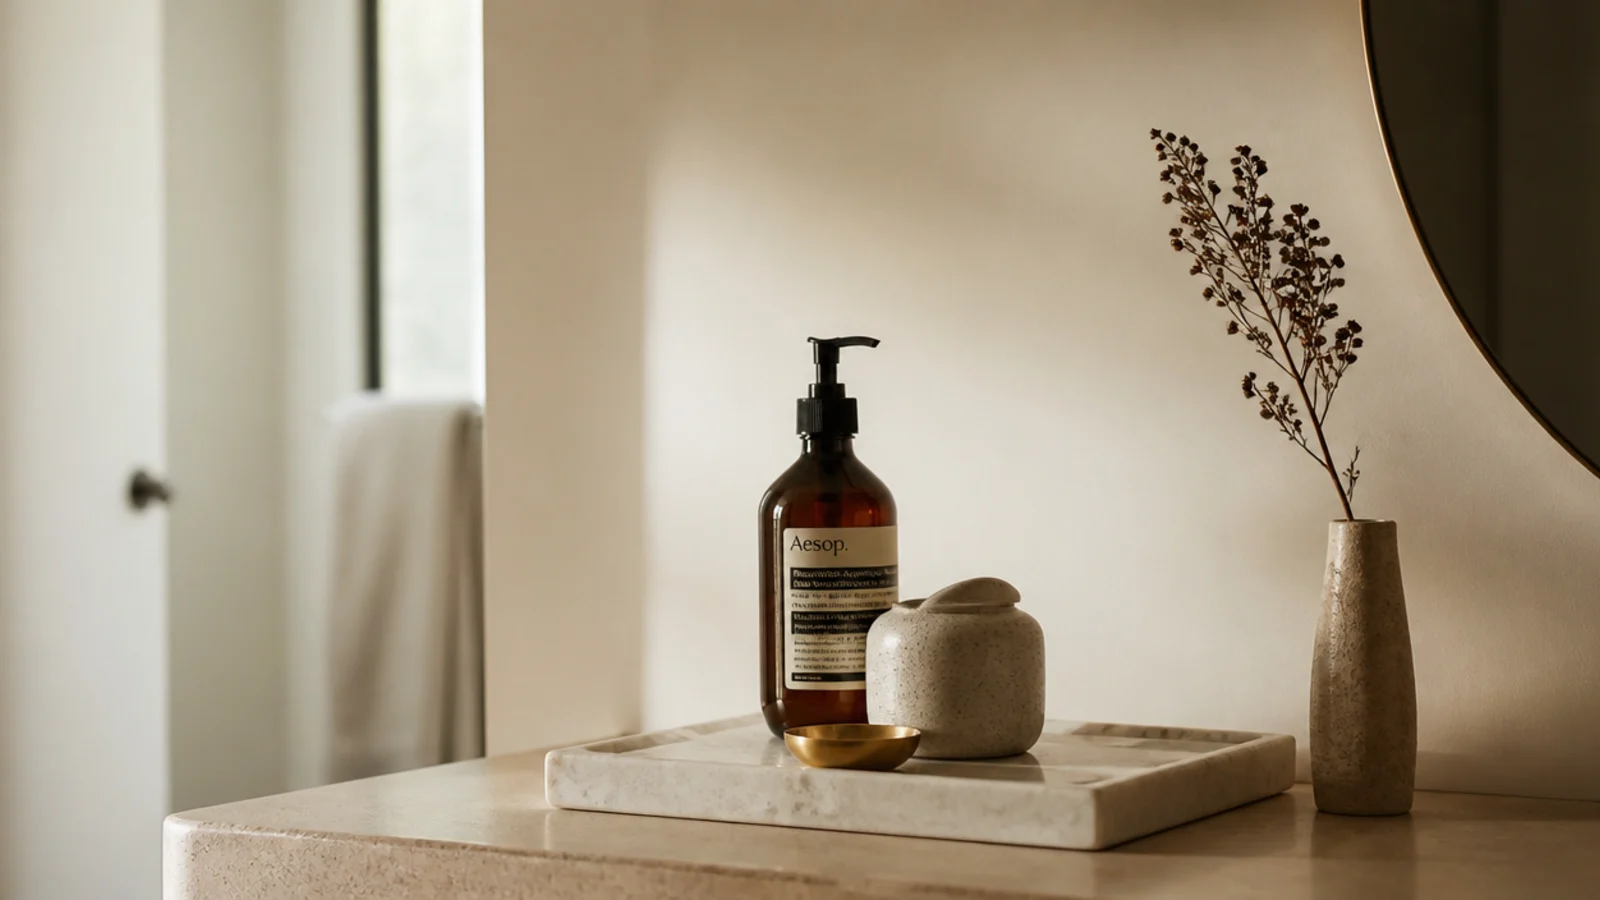
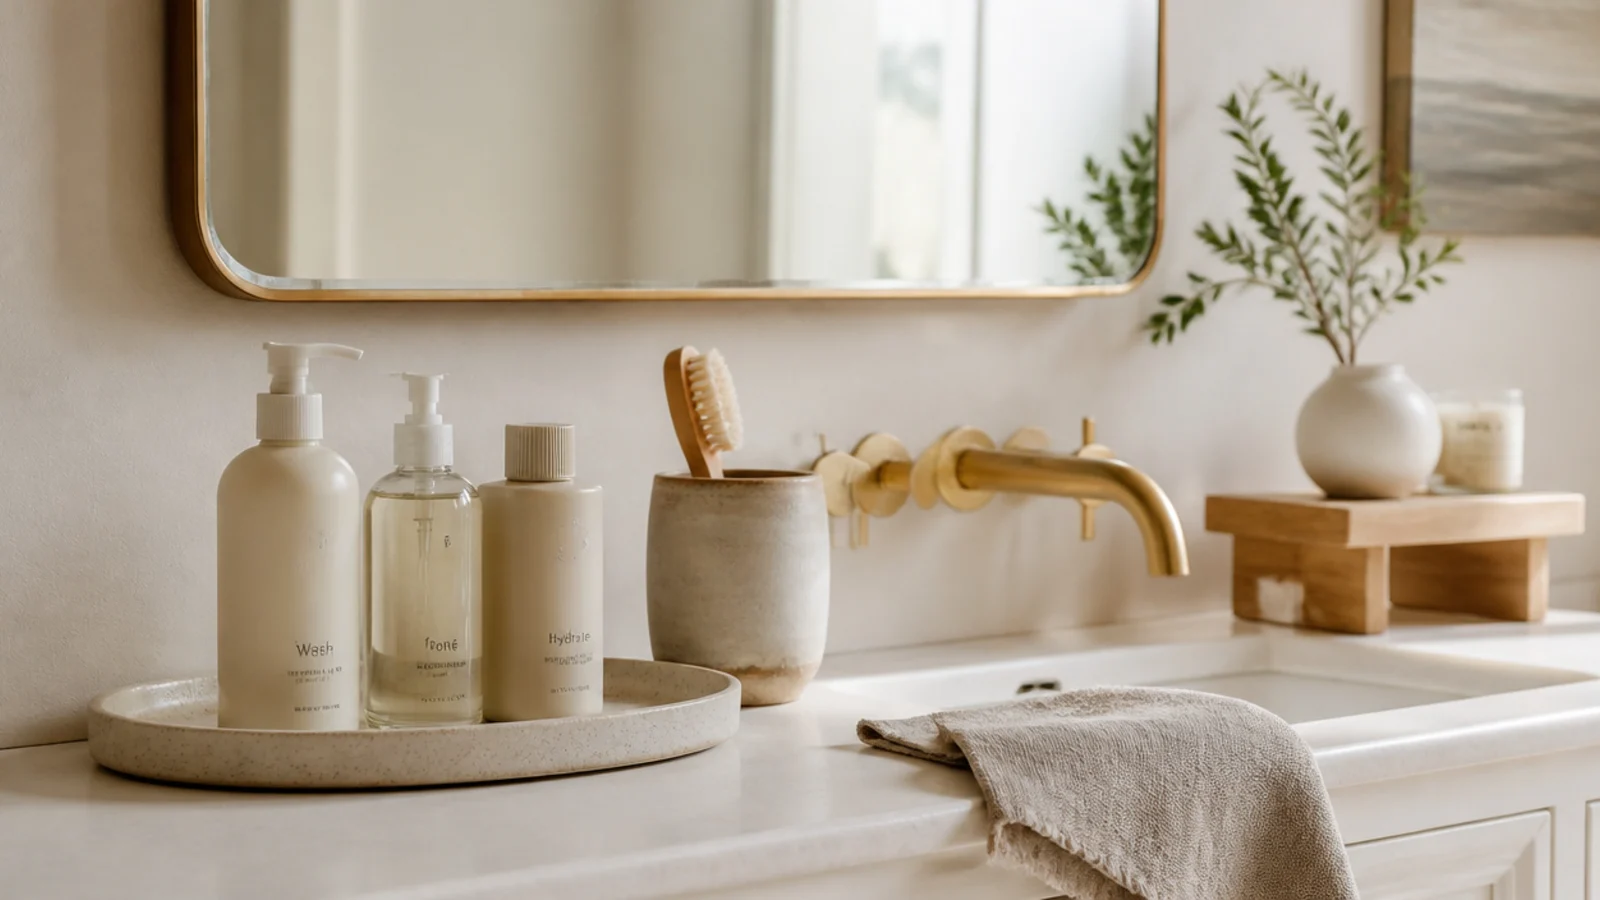
Vanity tray styling is the fastest visual upgrade in this whole board, and it is barely about the tray. Grouping objects does two things at once: it contains the drips a pump bottle leaves behind, and it turns six loose items into one composition your eye reads as a single thing. Here are 30 ways to do it well, from a $6 clay saucer upward.
In this guide32 sections — tap to openHide
- 1.What vanity tray styling is actually doing
- 2.Size the tray to the group, not the counter
- 3.Give each routine step its own tray
- 4.Match the material to the room
- 5.Style in threes
- 6.Vary the heights deliberately
- 7.Lift one object on a riser
- 8.Repeat one material three times
- 9.Leave a third of the tray empty
- 10.Choose a lip over a flat board
- 11.Line the tray with linen or felt
- 12.Use a mirrored tray to bounce light
- 13.Start with a clay plant saucer
- 14.Borrow a cake stand for height
- 15.Pick rattan for a bedroom vanity
- 16.Pick stone beside a sink
- 17.Add a valet tray for the night
- 18.Give each person their own tray
- 19.Nest a small tray inside a bigger one
- 20.Group perfume by bottle height
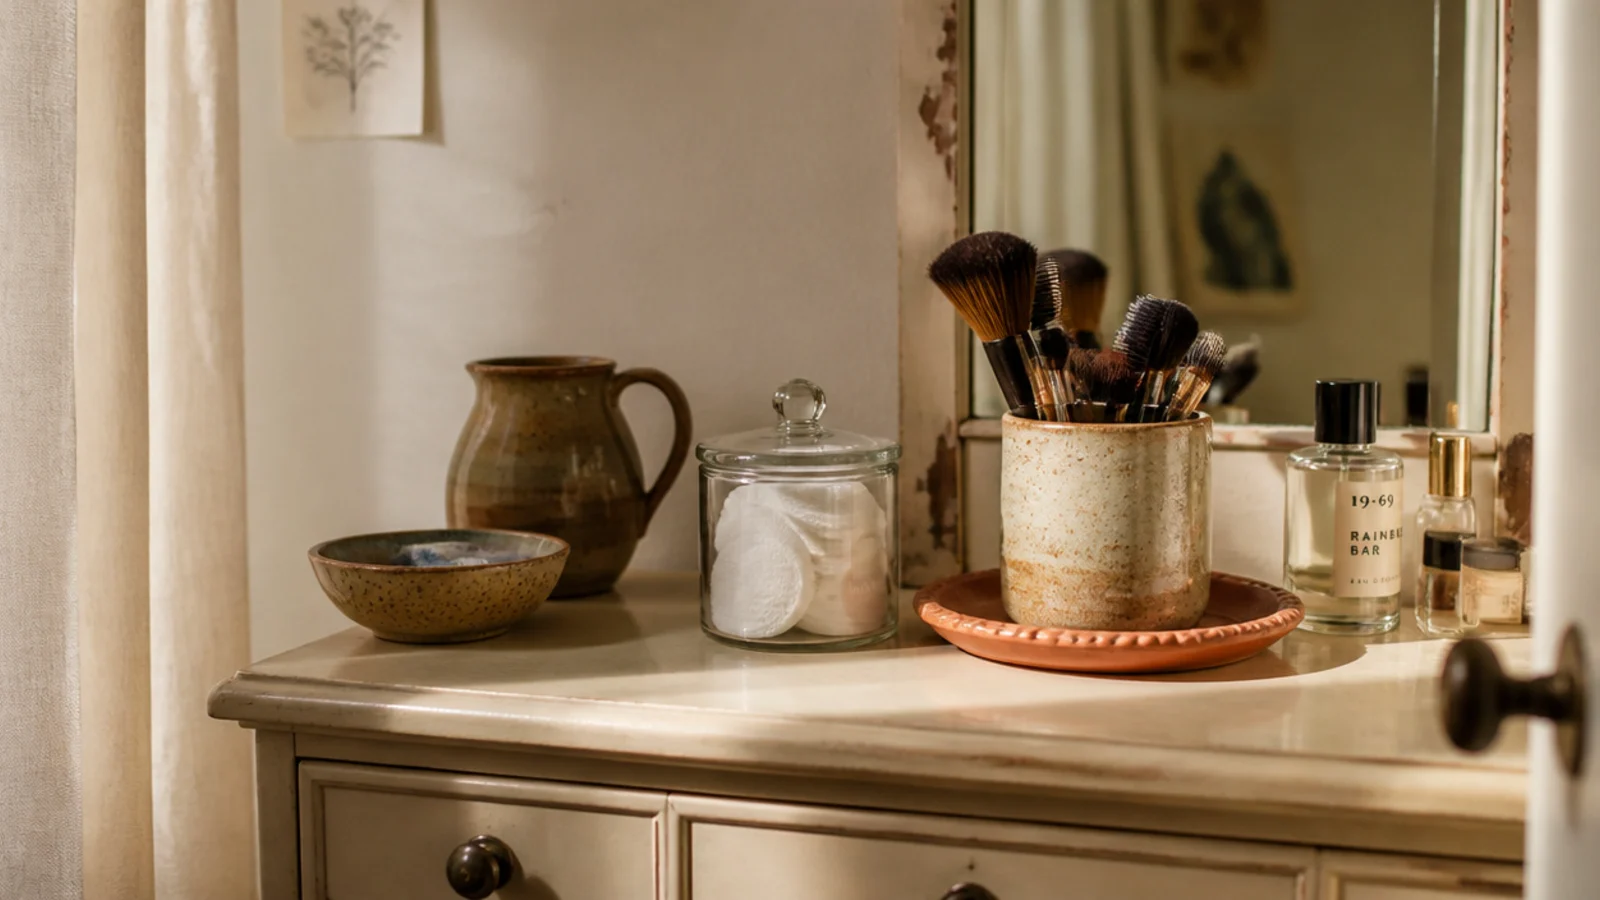
- 21.Put the brush cup on the tray
- 22.Contain the small stuff in a lidded jar
- 23.Keep the tray out of the splash zone
- 24.Add one soft, living element
- 25.Swap one object with the season
- 26.Keep only daily items on the tray
- 27.Anchor the group with something heavy
- 28.Hold the palette to two materials plus green
- 29.Light the tray warm, from both sides
- 30.Photograph it, then remove two things
- 31.Wipe the tray weekly
- 32.Mistakes to Skip
What vanity tray styling is actually doing
A counter looks cluttered when the eye has to count objects. Put those same objects on a tray and the count drops to one, which is why a tray fixes a surface that felt chaotic five minutes earlier without a single thing being removed.
The practical half matters as much. Anything with a pump or a dropper stores upright and still leaves a ring, so a tray with a lip protects stone, wood and paint and wipes clean in seconds.
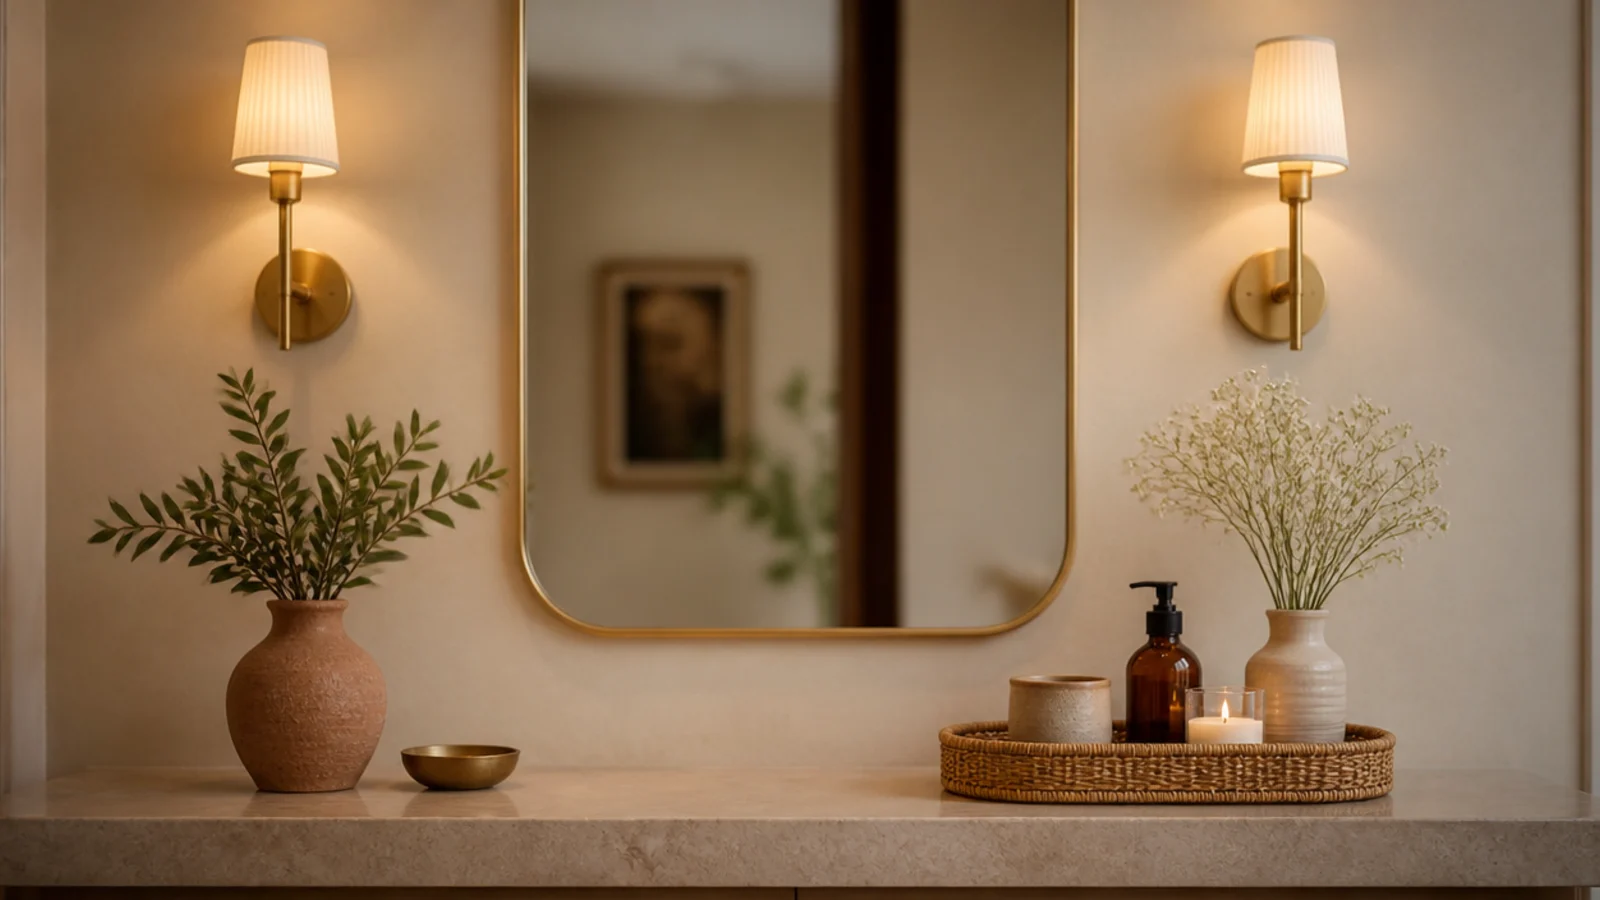
The rules are simple. Only daily items go on the tray — five to eight things, sorted in routine order, cleanse then treat then colour. Vary the heights so nothing reads as a fence. Repeat one material three times so mismatched packaging looks intentional. Leave about a third of the tray empty, and leave the front 6 inches of the counter clear as working space.
Then check the light, because it decides how everything reads: 3000K to 4000K, high CRI, lighting your face from both sides rather than from overhead.
Budget tiers below: $ under $10, $$ $10 to $25, $$$ $25 to $50.
1. Size the tray to the group, not the counter
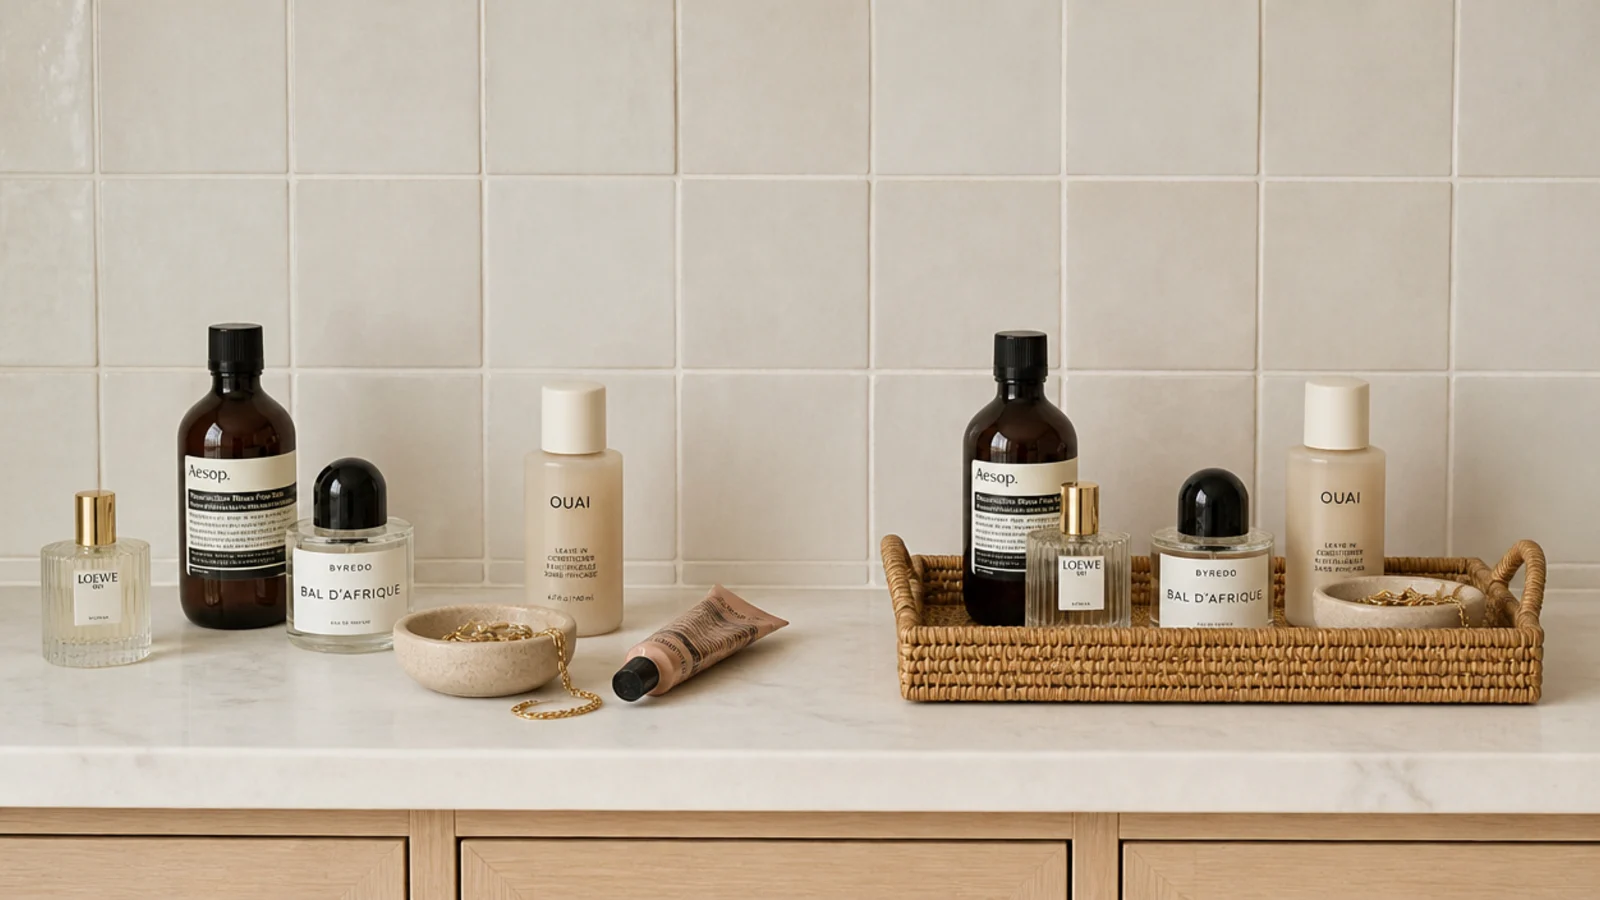
Measure the objects, then add about an inch of margin all round. A 9 by 6 inch tray suits a daily trio; 12 by 8 inches carries a full lineup.
An oversized tray simply invites more objects, which is how a tidy vanity refills itself. $–$$
2. Give each routine step its own tray
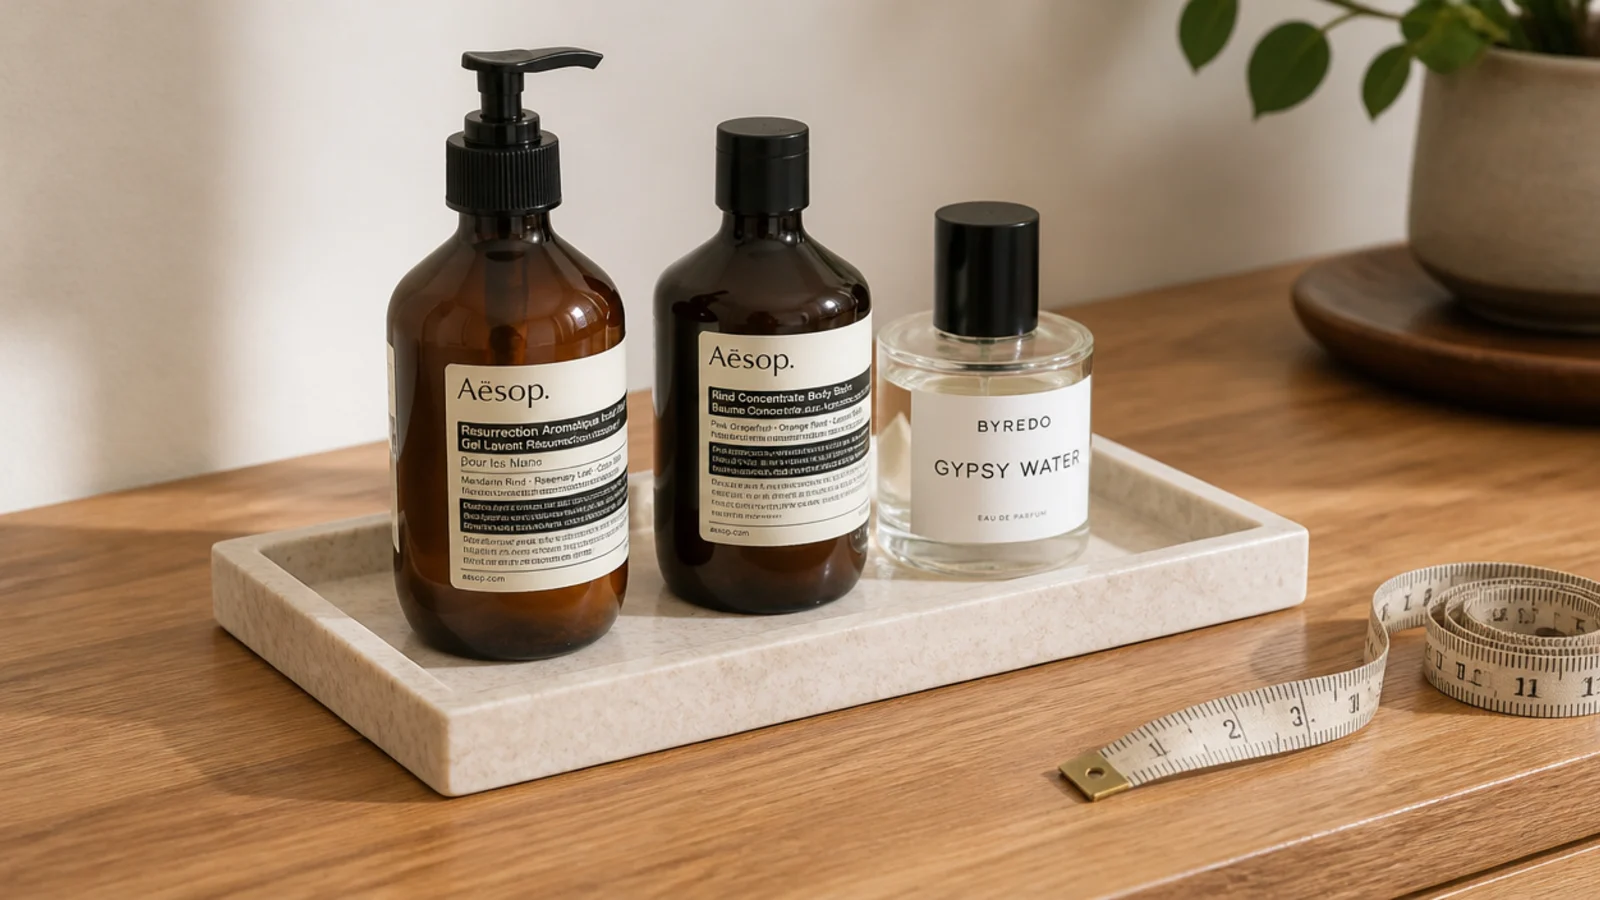
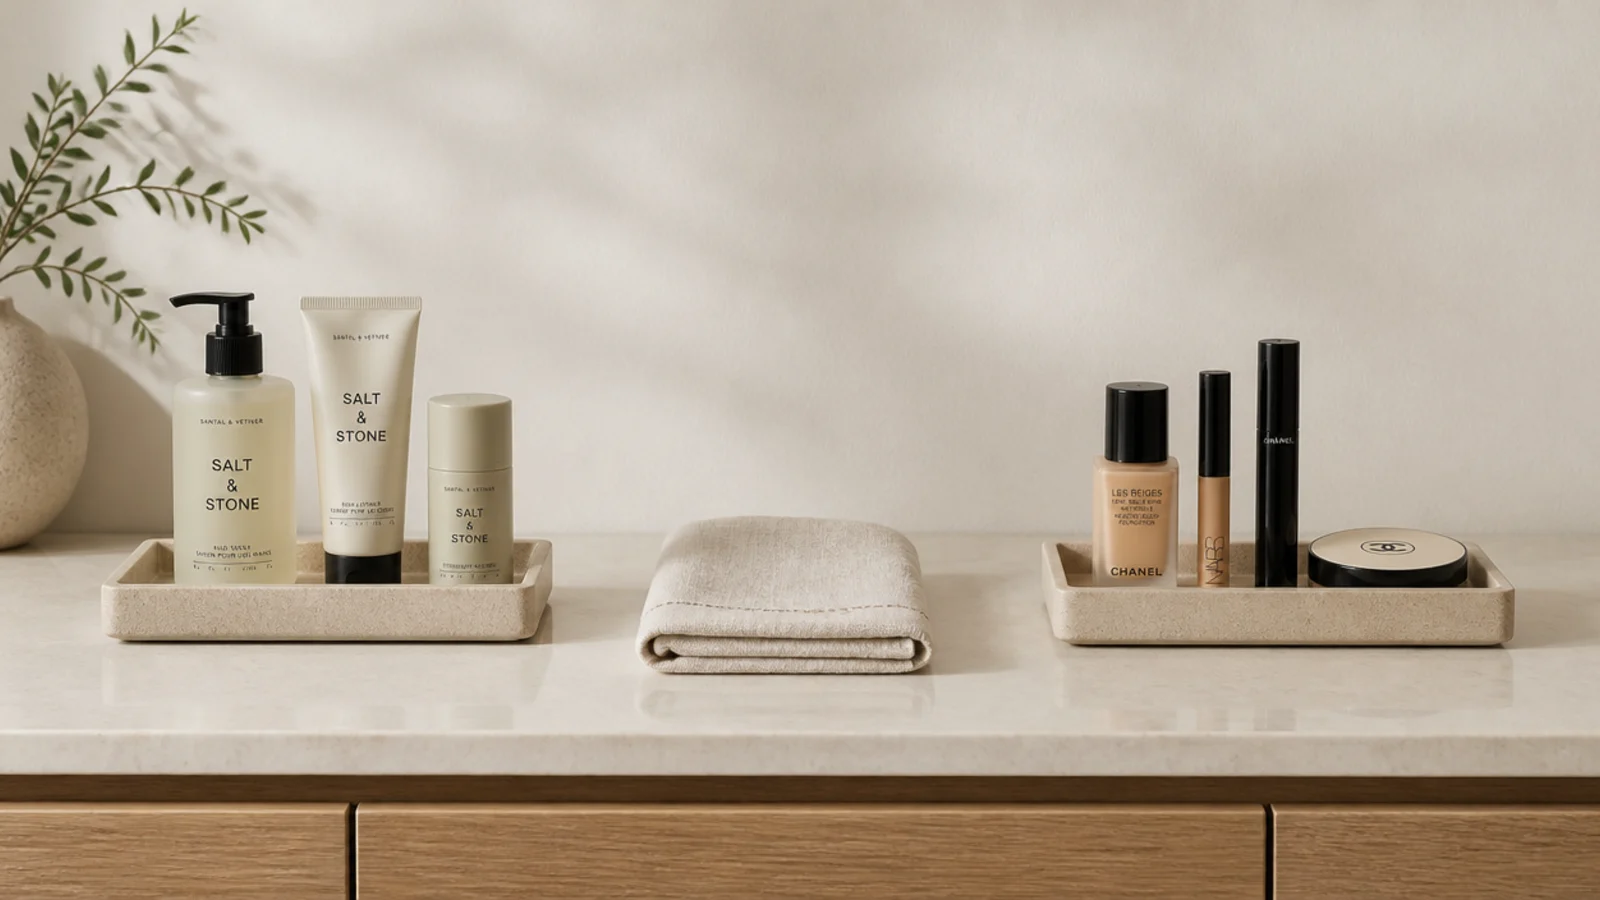
Two or three small trays beat one big one. Cleansing on the left, treatment in the middle, colour on the right, in the order your hand actually moves.
Small trays also lift out individually when you wipe the counter, which means the counter actually gets wiped. $$
3. Match the material to the room
Stone, ceramic and metal handle splashes at a sink. Rattan, wood and leather belong on a bedroom vanity where nothing gets wet.
Untreated wood in a damp bathroom swells, stains and eventually smells, however good it looked in the shop. $$
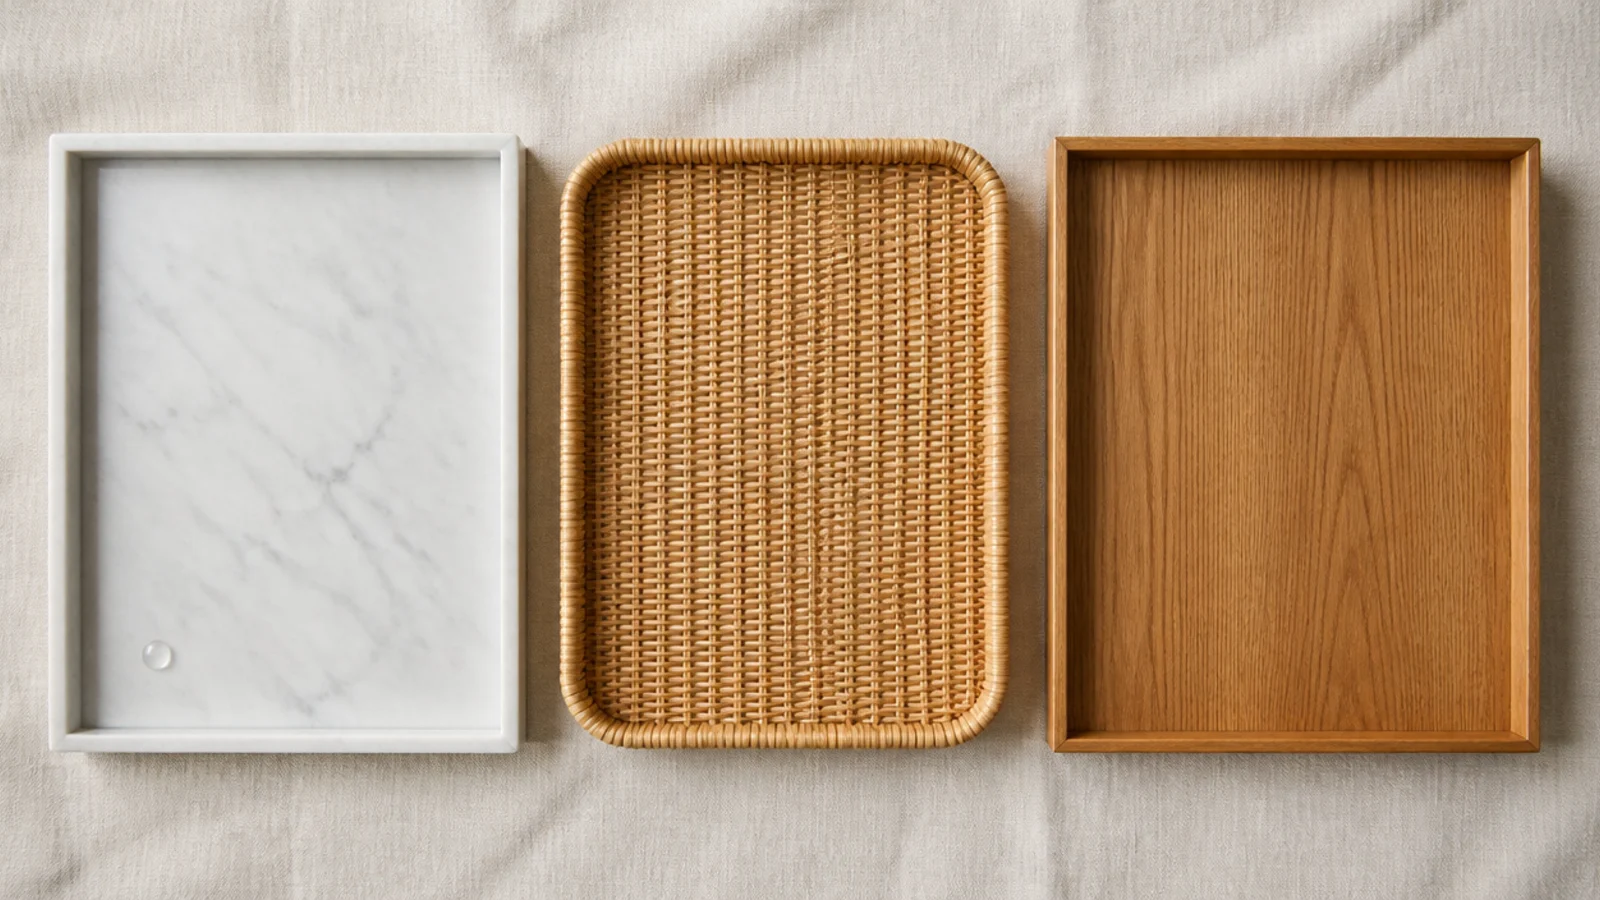
4. Style in threes
Three objects on a tray read as composed; four read as a queue. Set them in a loose triangle rather than a line, with one object slightly forward.
Odd numbers work because your eye keeps moving between them instead of pairing them off. Free
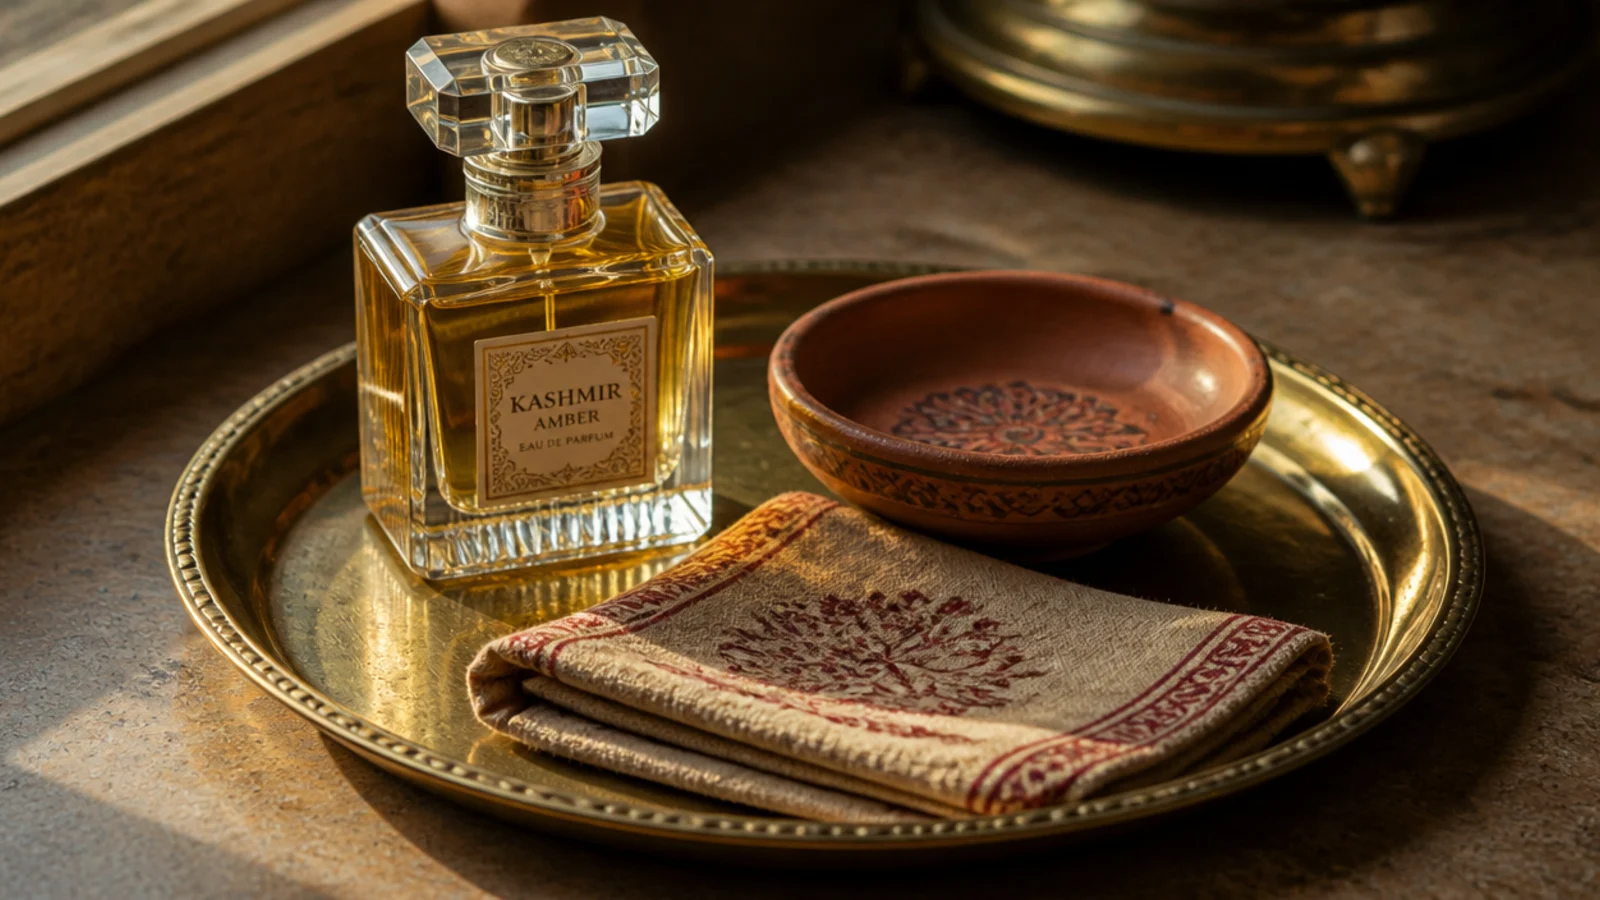
5. Vary the heights deliberately
Pick a tall object, a mid one and a low one. Equal heights turn a group into a fence, and that flatness is the single most common styling failure I see.
A tall bottle, a squat jar and a shallow dish covers it with things you already own. Free
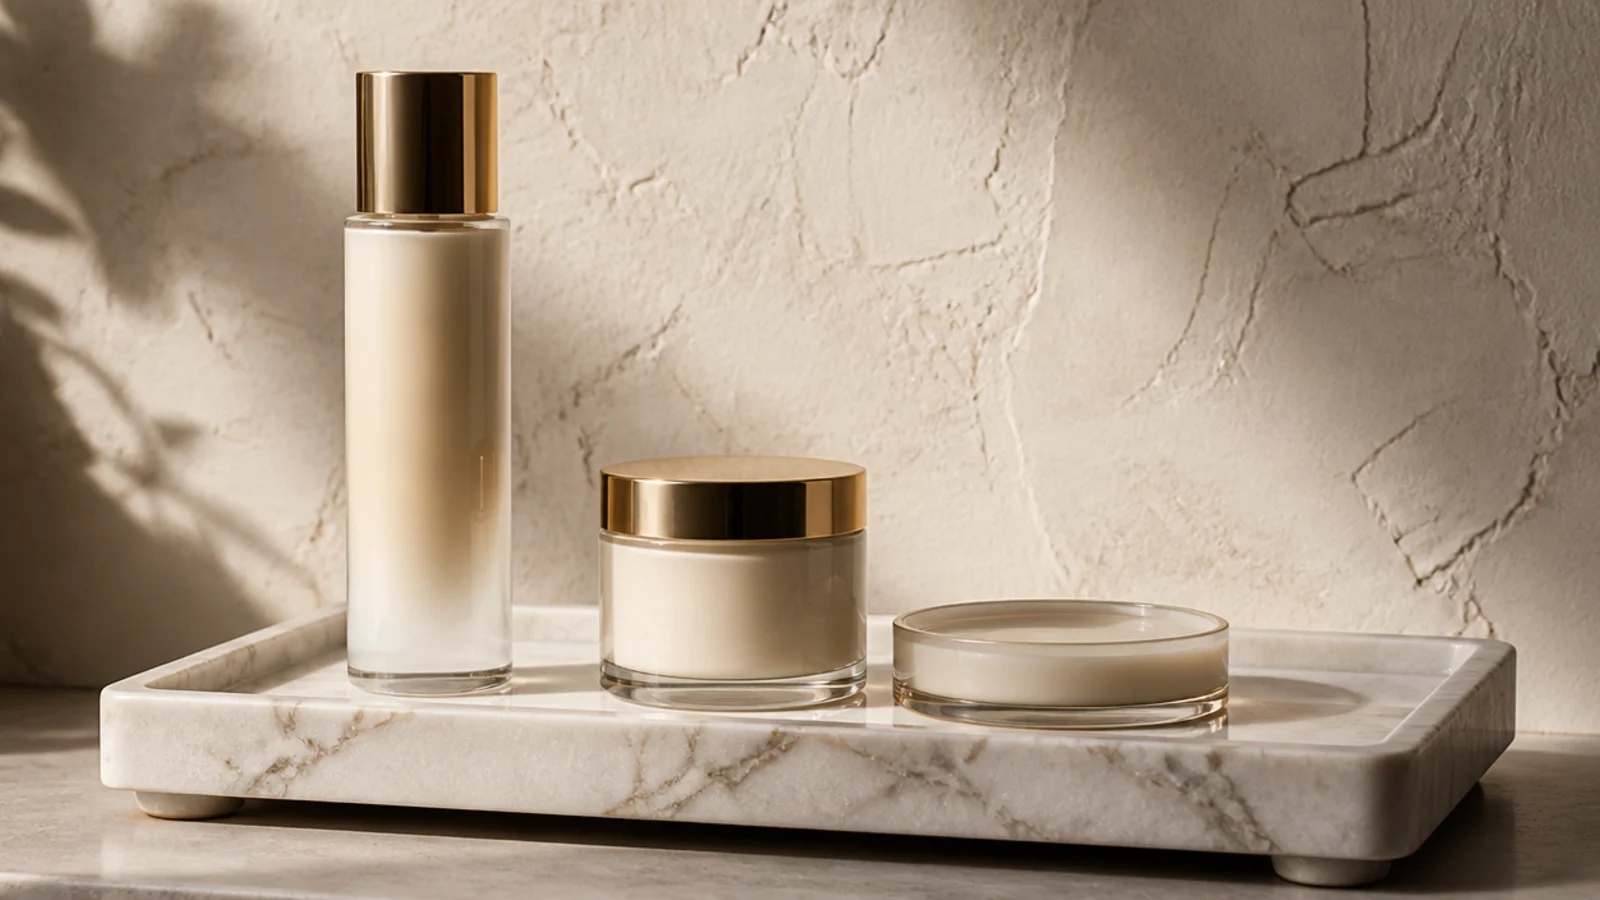
6. Lift one object on a riser
If everything is the same height, borrow 2 inches. A small stone block, an upturned dish or two stacked books lifts one item into a focal point.
Risers cost $8 to $15, or nothing if you use what is on the shelf already. Free–$$
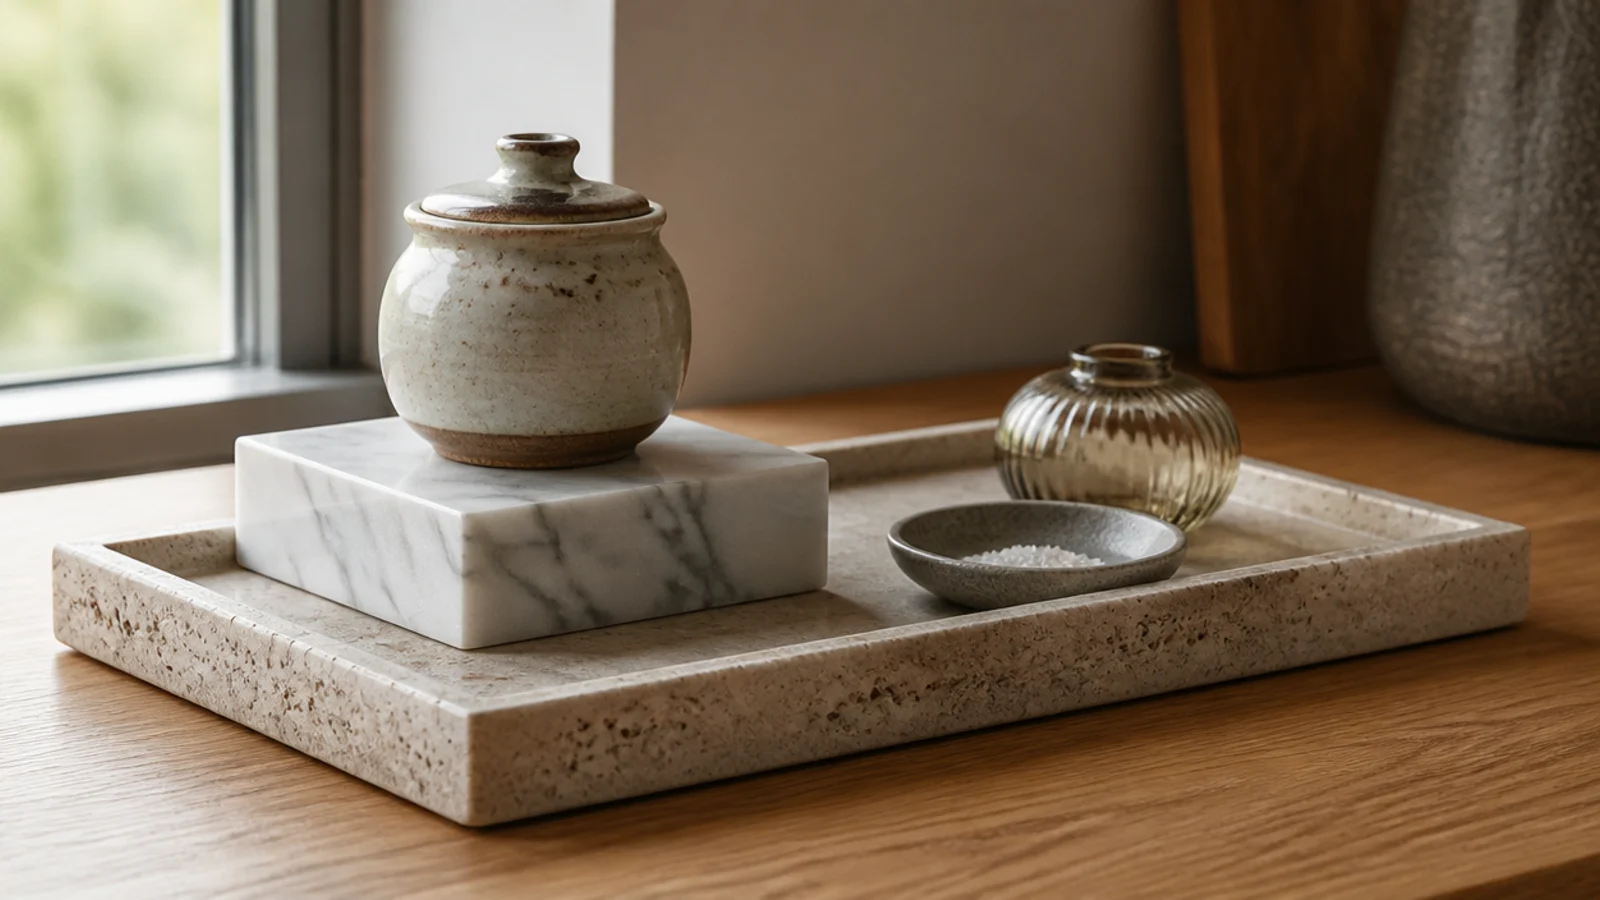
7. Repeat one material three times
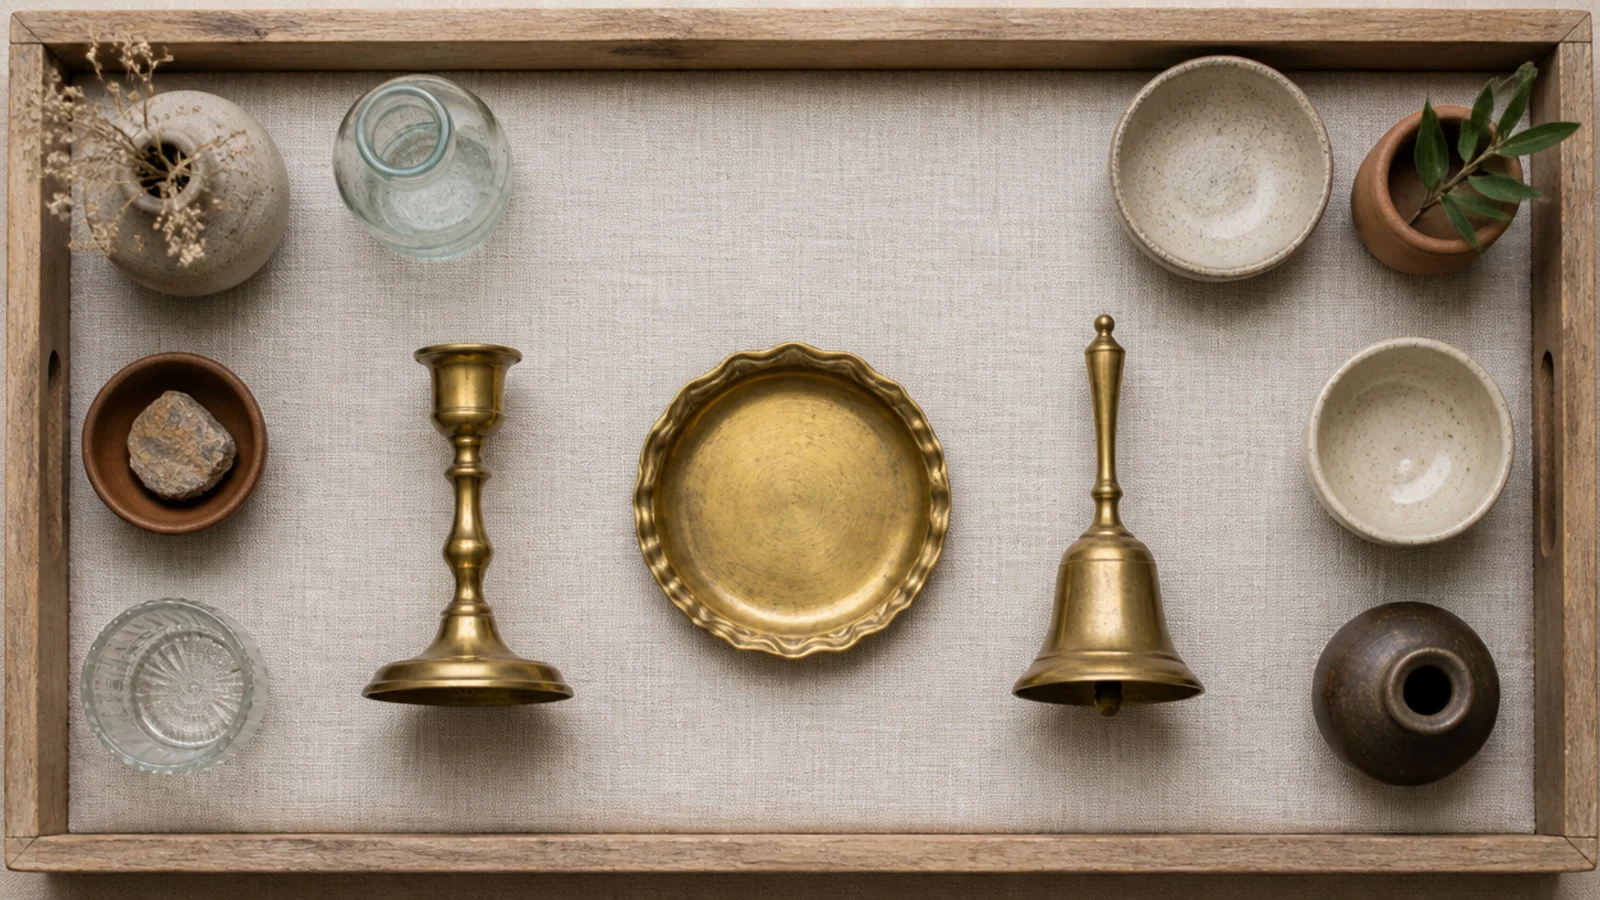
Place a single material three times across the tray — three brass pieces among clay and glass, say. Repetition, not matching, is what makes a mixed group look deliberate.
It costs nothing if you shop your own house, and it is the trick behind almost every styled vanity you have saved. Free
8. Leave a third of the tray empty
Empty tray surface is not wasted, it is what tells the eye the arrangement was chosen. Fill every inch and the tray becomes storage again.
If the group has crept past the edges, something on it is not a daily item. Free
9. Choose a lip over a flat board
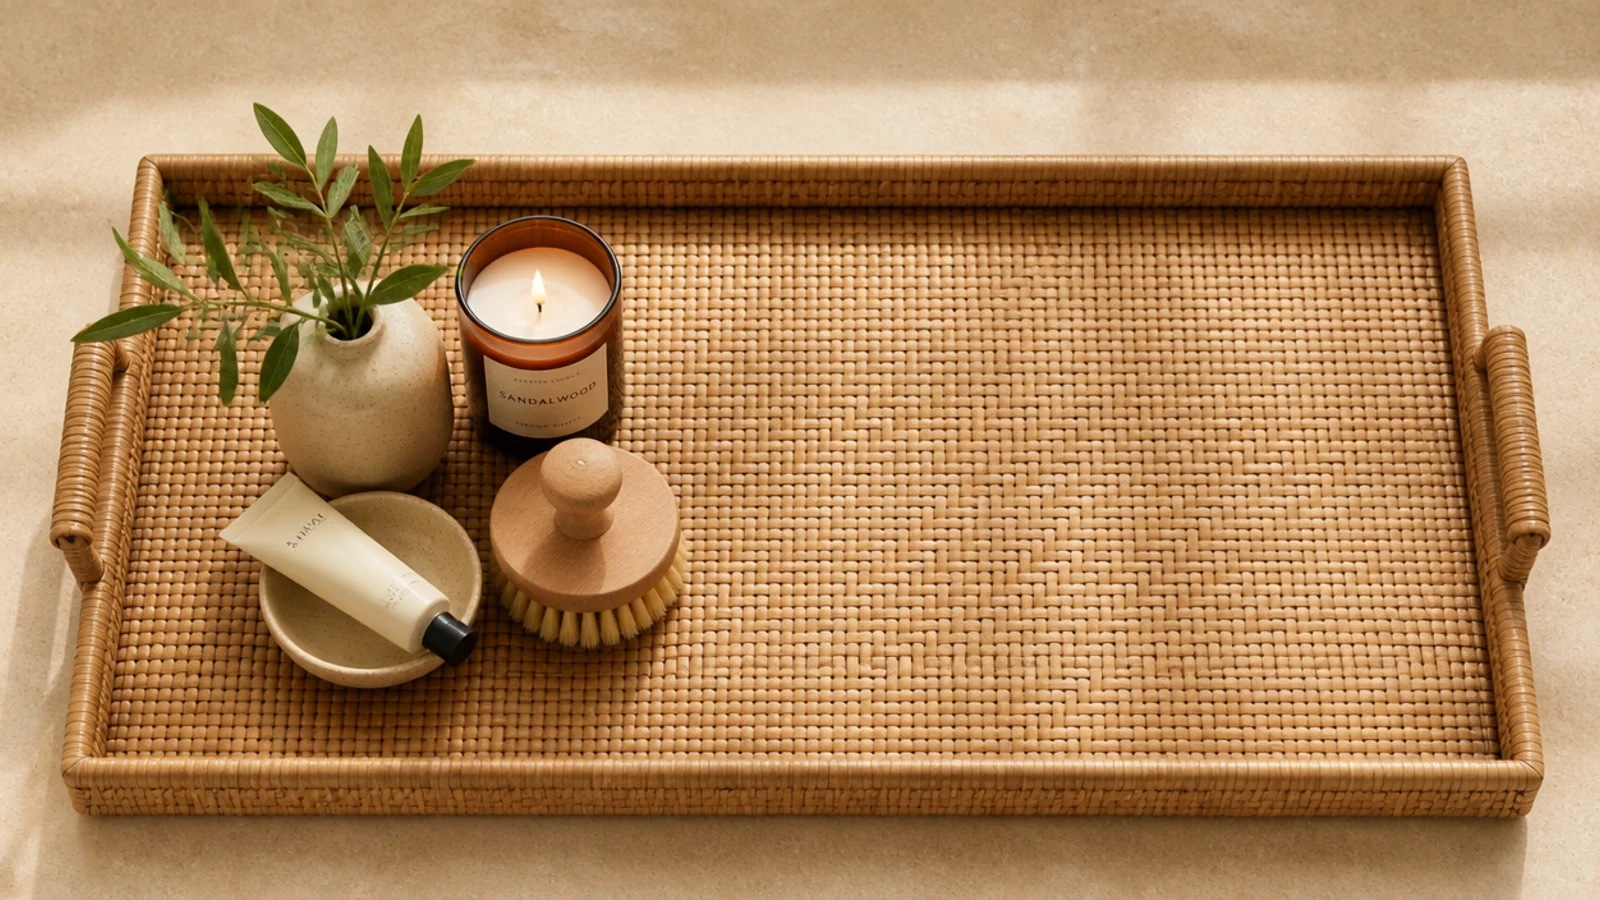
A raised rim of even a quarter inch contains a spilled serum that a flat board sends straight onto the counter and down the cabinet front.
Flat boards look beautiful and belong under objects that never leak — a candle, a folded cloth, a stone dish. $$
10. Line the tray with linen or felt
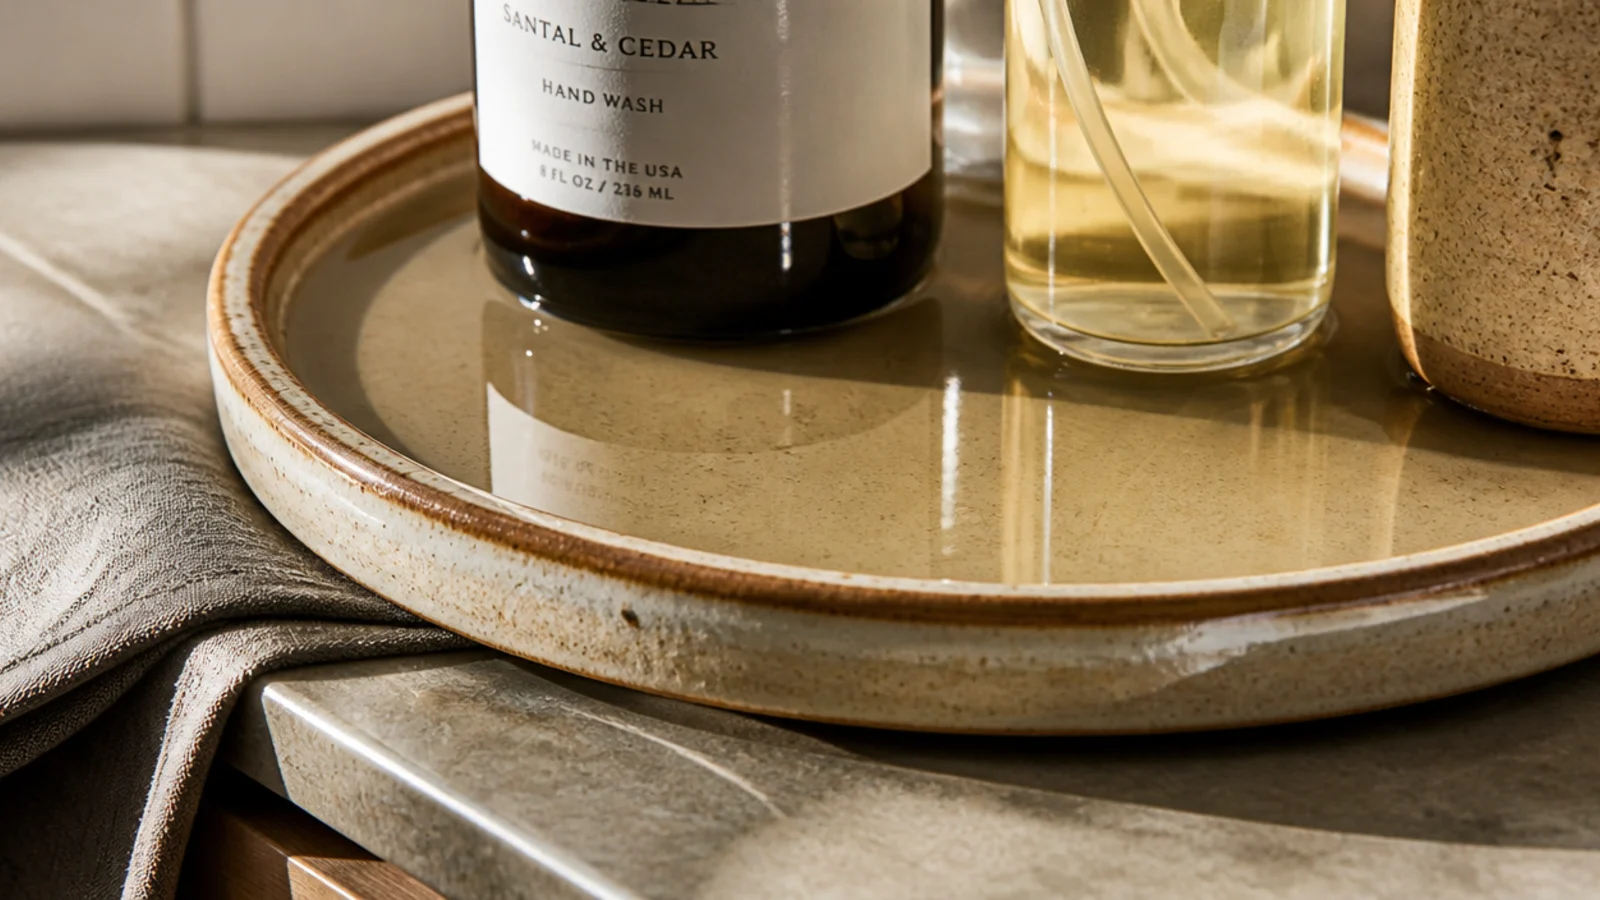
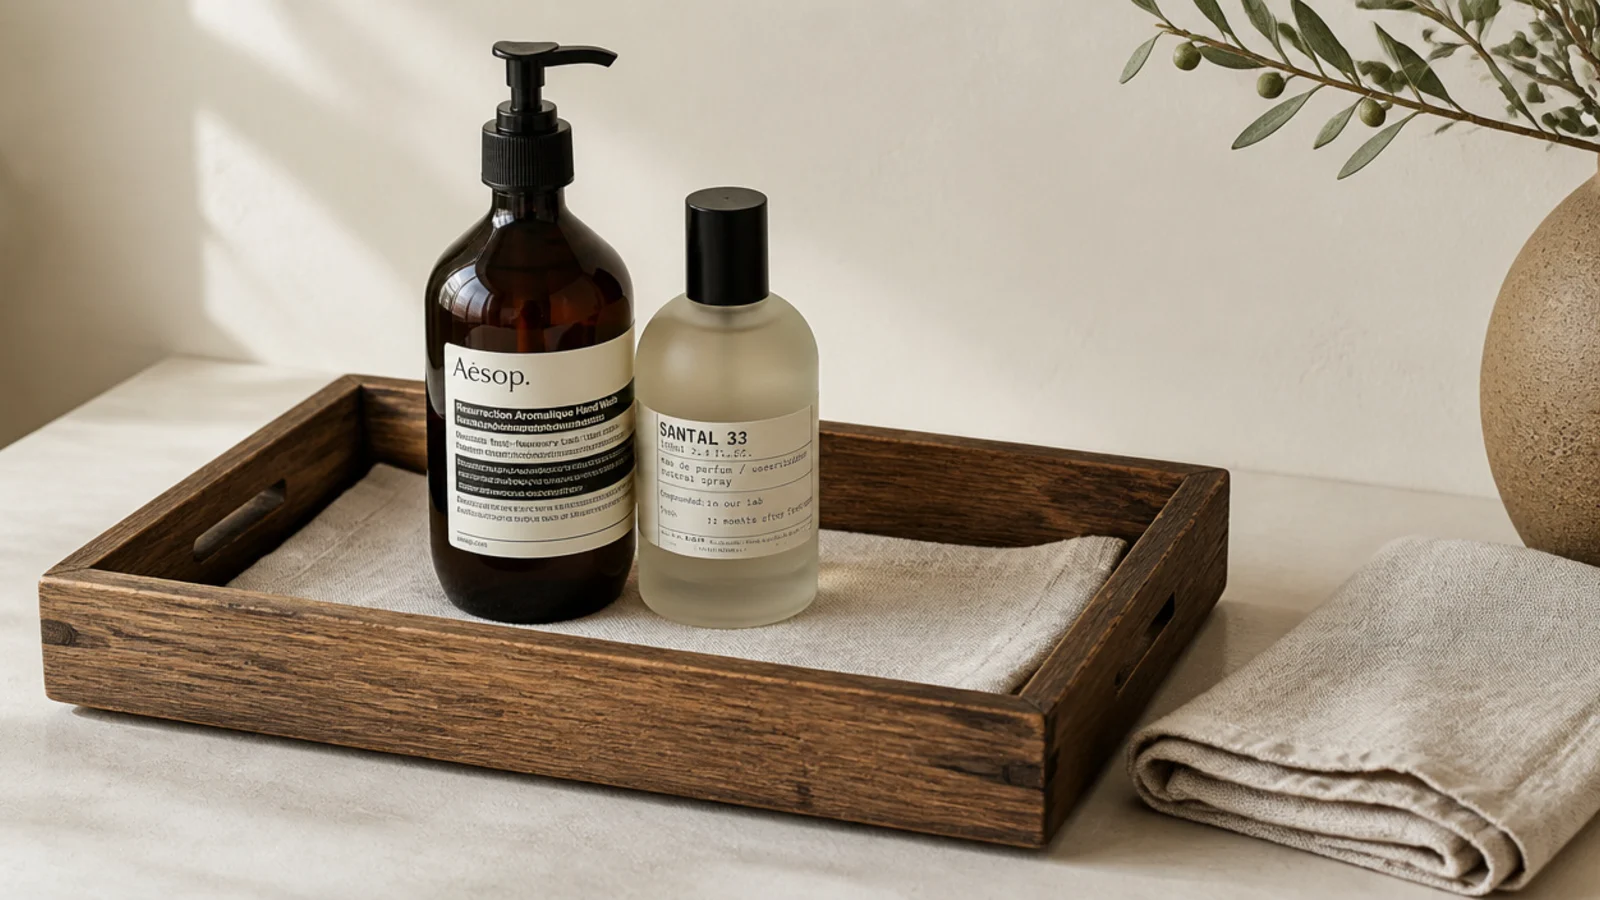
A folded linen cloth or a felt offcut in the base stops glass clinking against stone and absorbs small drips.
It also lets you lift the whole group out to clean, and it washes. This is a free upgrade with an offcut you already have. Free–$
11. Use a mirrored tray to bounce light
In a dim corner, a mirrored tray throws light back up into glass bottles and doubles what a single lamp achieves.
Keep it away from direct sun, since skincare actives degrade in sunlight and a mirror concentrates the problem rather than solving it. $$–$$$
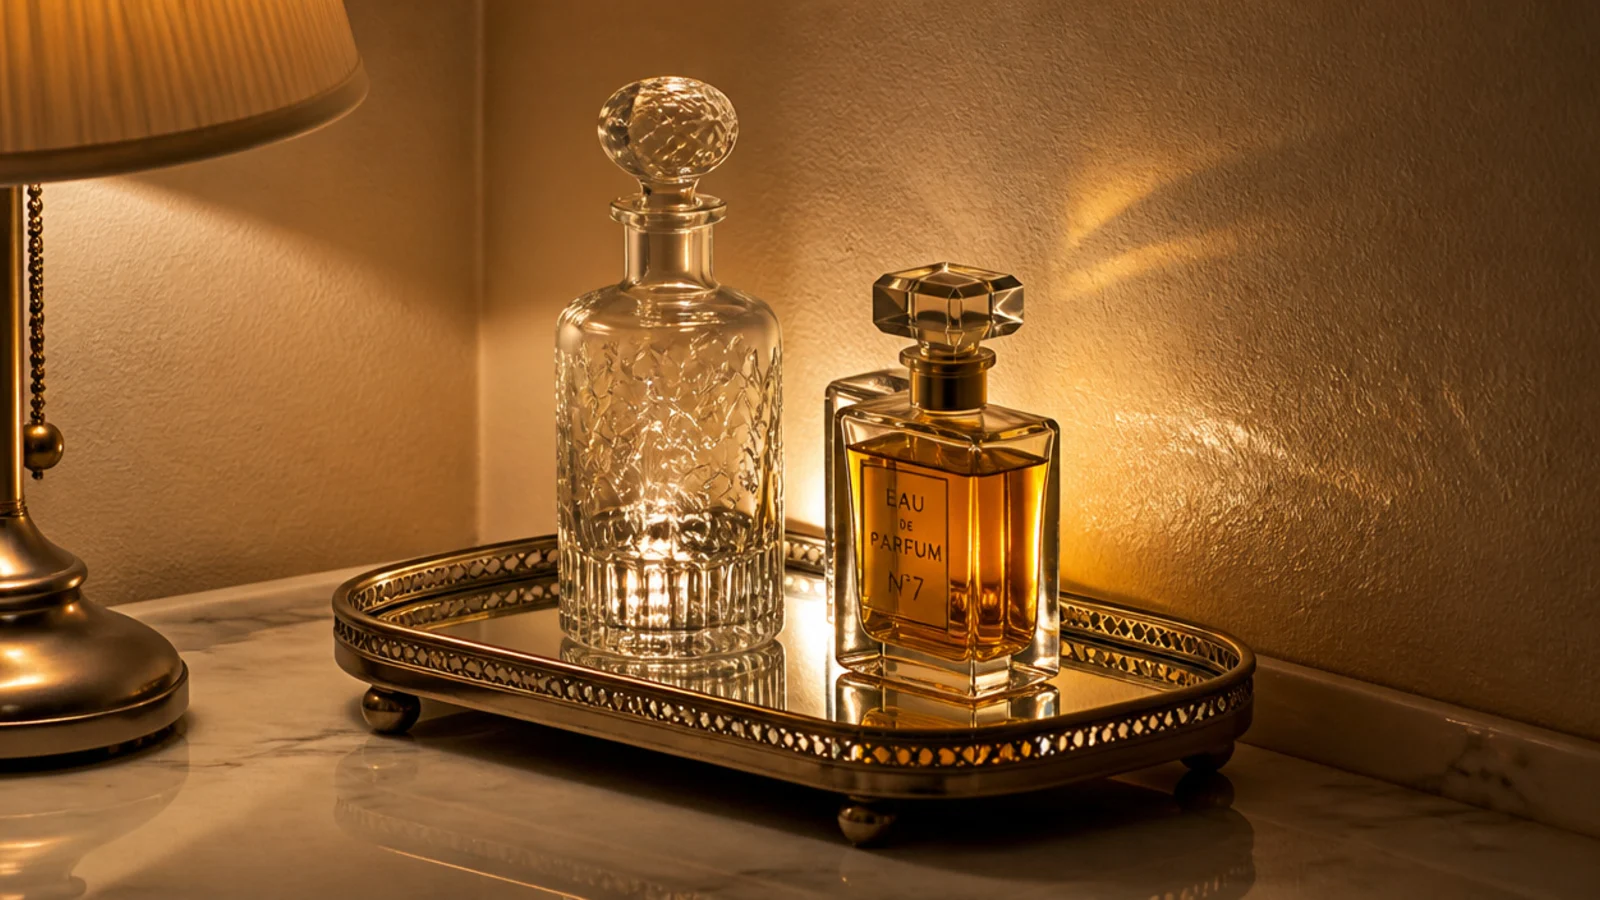
12. Start with a clay plant saucer
The unglazed terracotta saucer sold under a plant pot is the best cheap tray in any store: warm colour, gently curved rim, about $6 for a wide one.
Unglazed clay marks over time, which most people like. Seal it if you would rather it did not. $
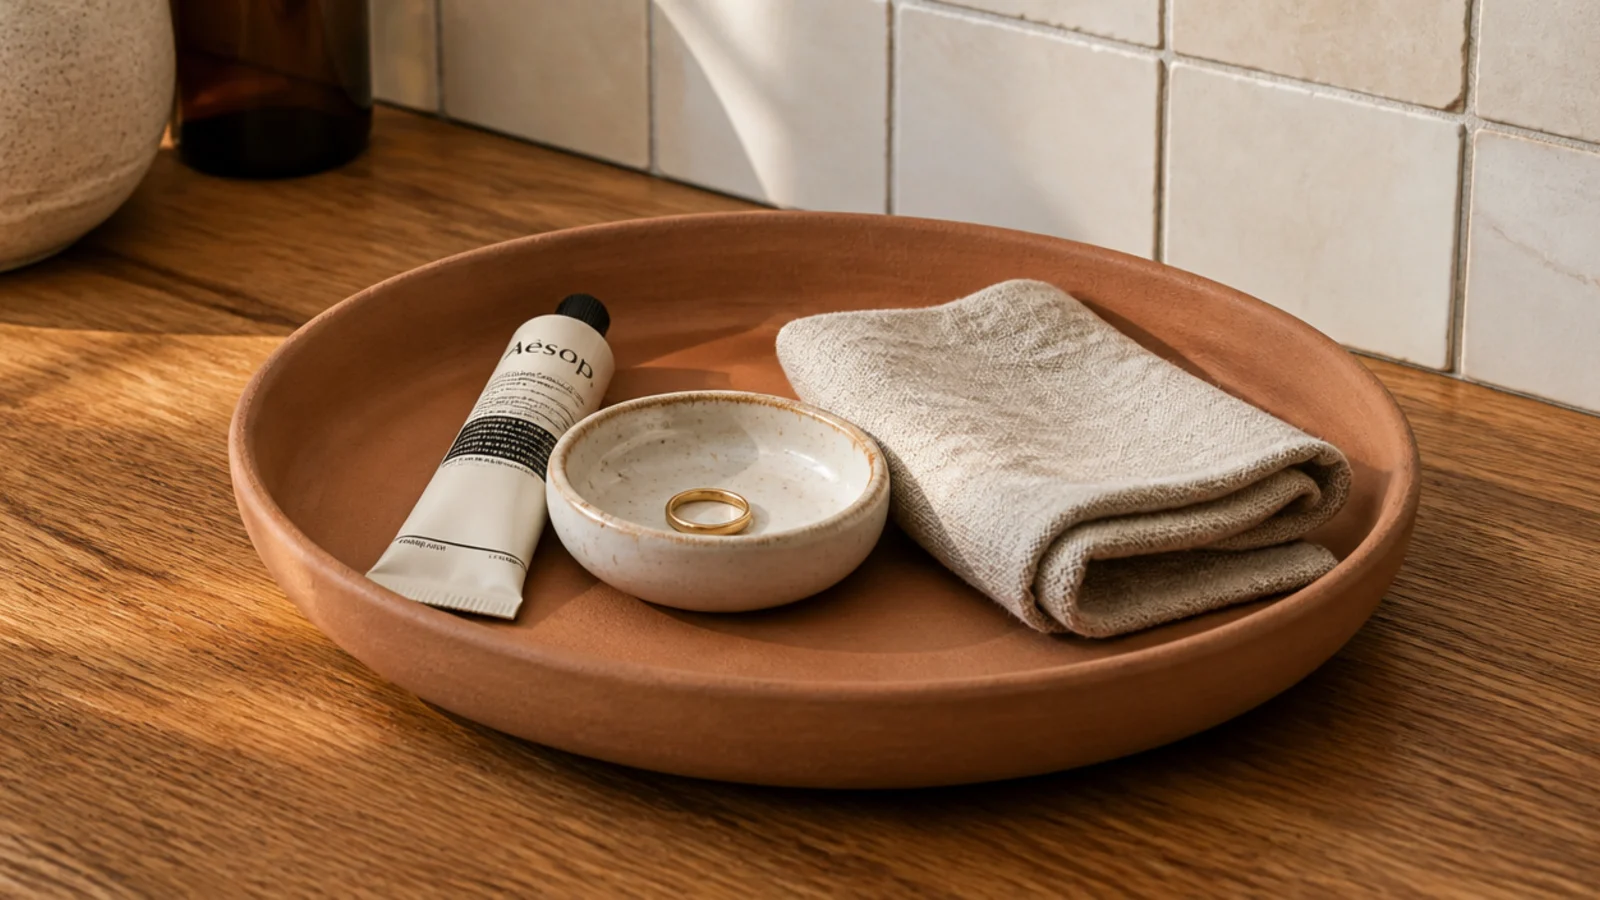
13. Borrow a cake stand for height
A low cake stand gives you a second level on a crowded counter without taking a second footprint, and small items tuck underneath it.
Perfume looks particularly good raised, since the bottles are usually the prettiest objects on the vanity. $–$$
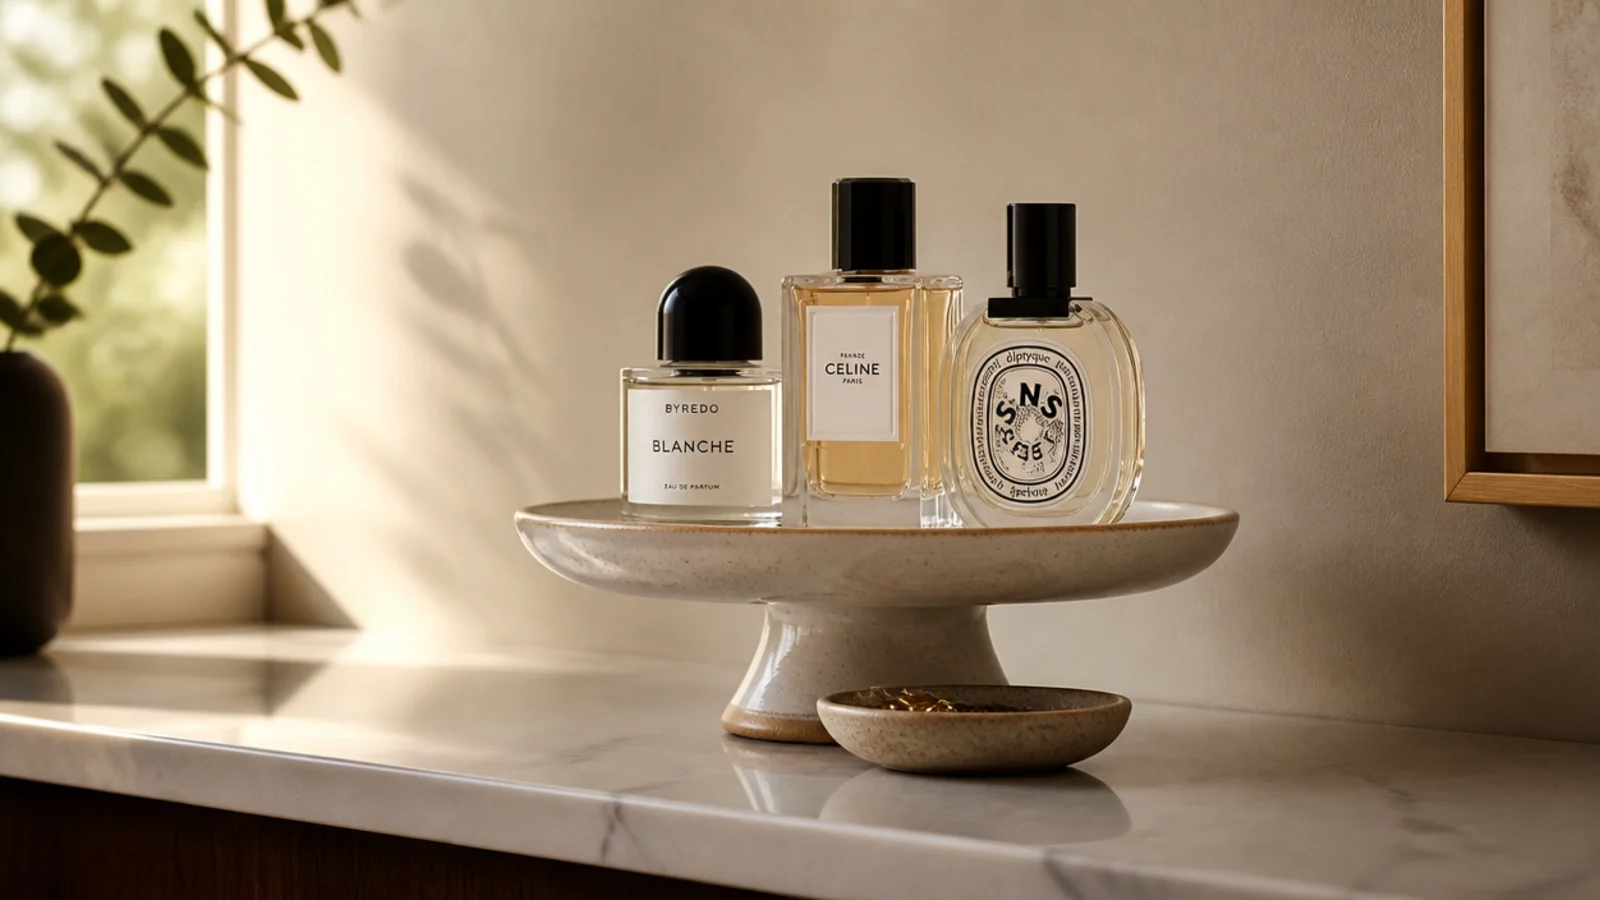
14. Pick rattan for a bedroom vanity
Woven rattan brings texture to a dressing table where nothing gets splashed, and it softens hard surfaces like glass and walnut.
Line it with linen so small items do not fall through the weave. Around $12 to $20 for a useful size. $$
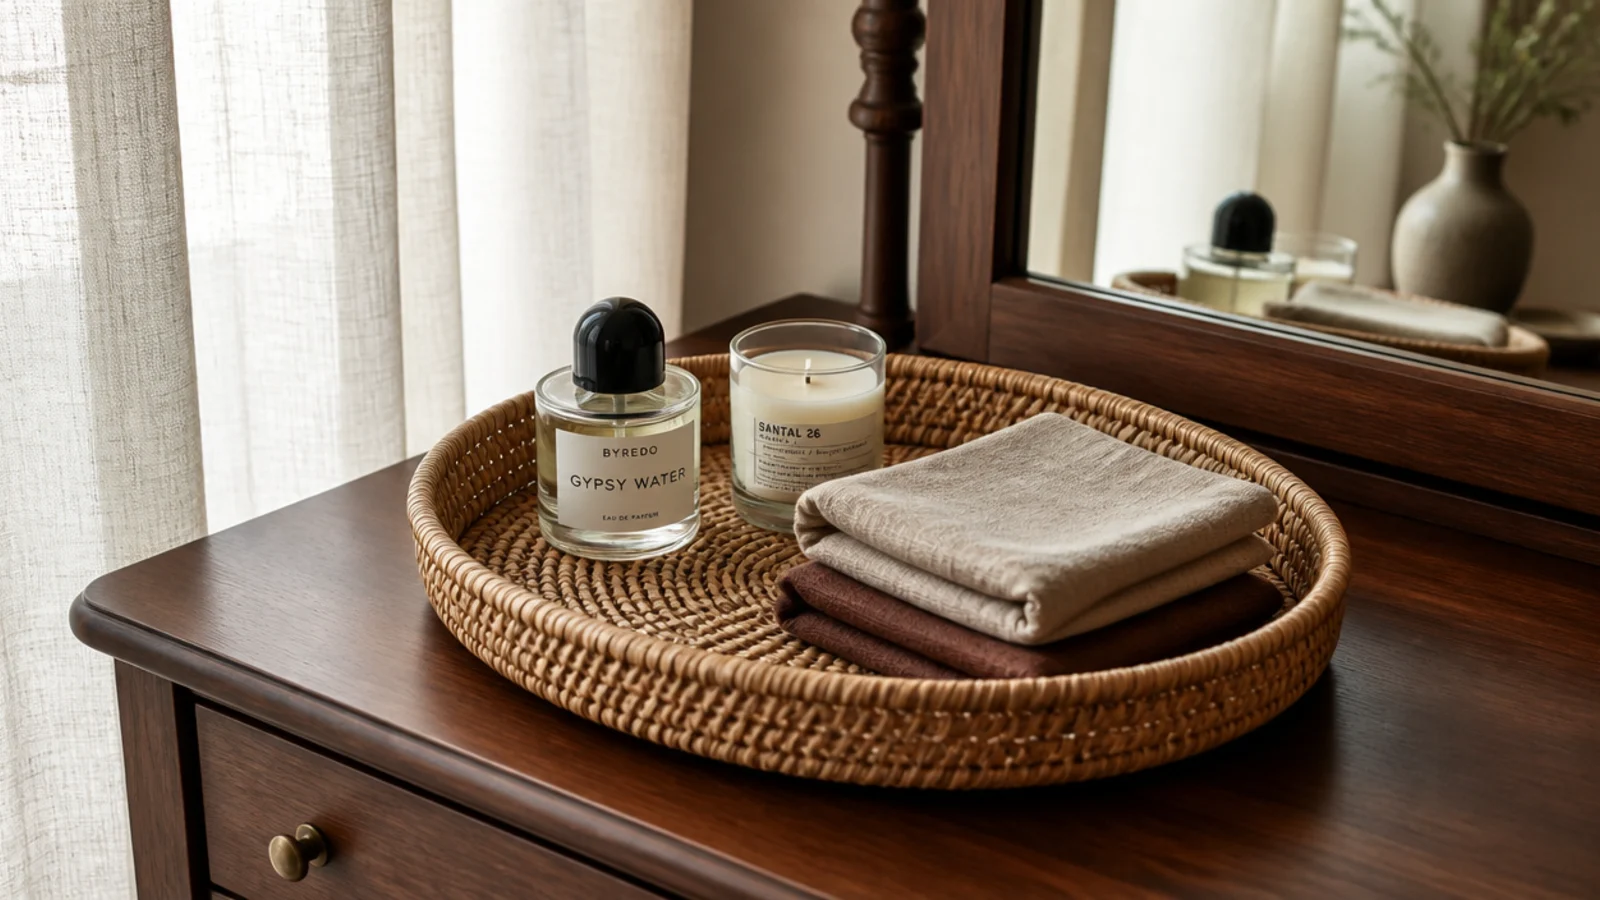
15. Pick stone beside a sink
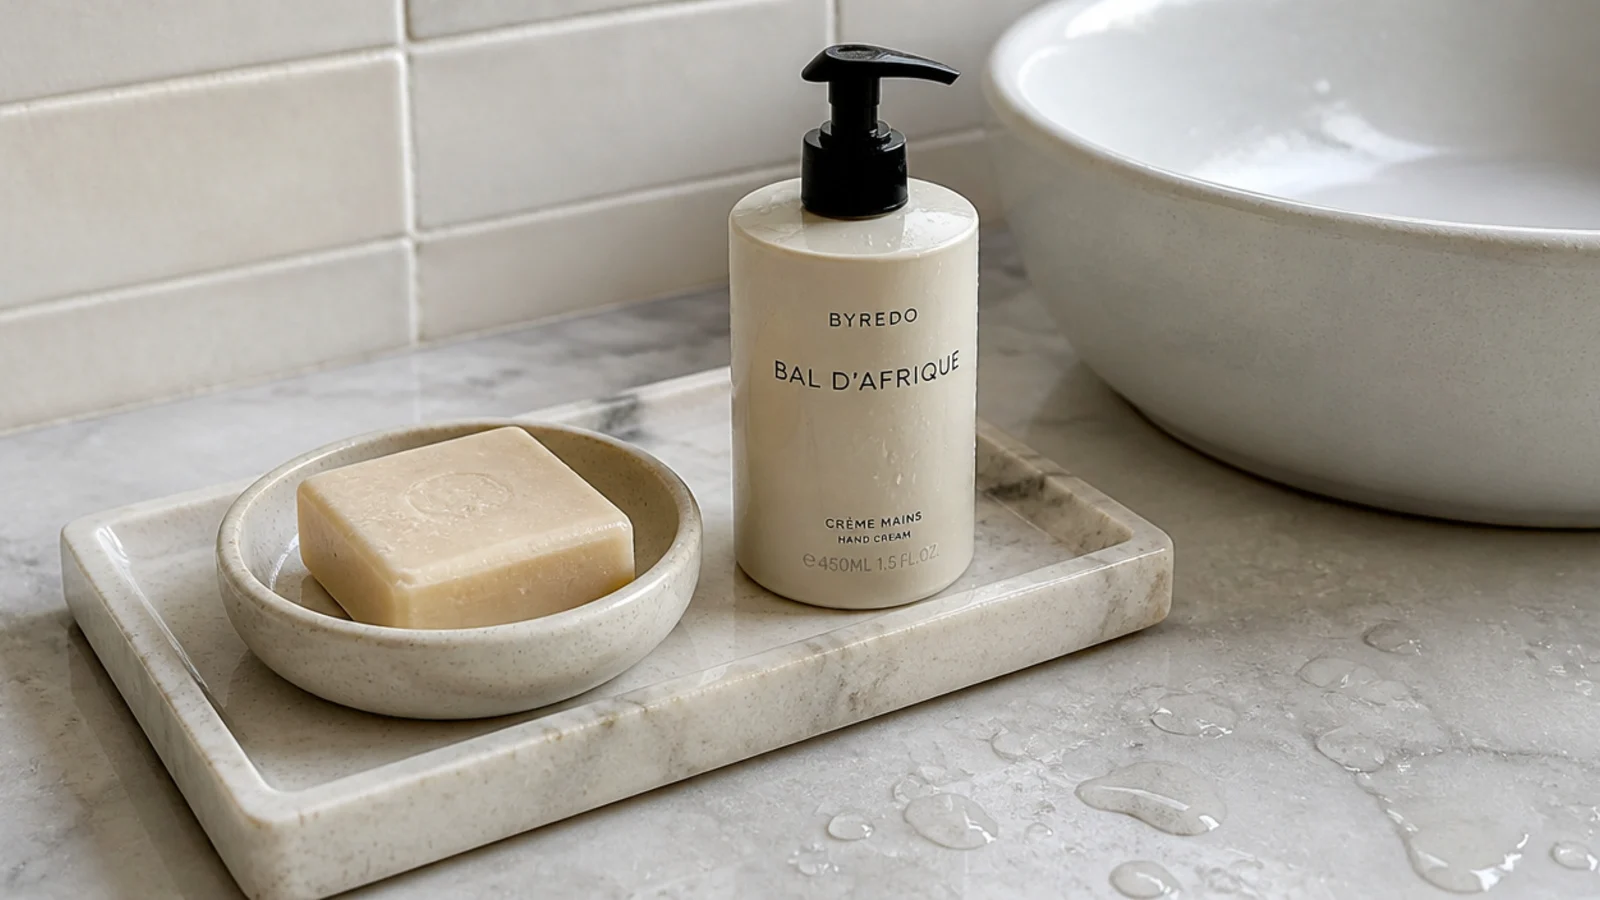
Marble, slate and glazed ceramic all wipe clean and shrug off standing water, which no wooden tray manages for long.
An offcut of stone from a countertop fabricator is often free or a few dollars and makes a superb tray with softened edges. Free–$$$
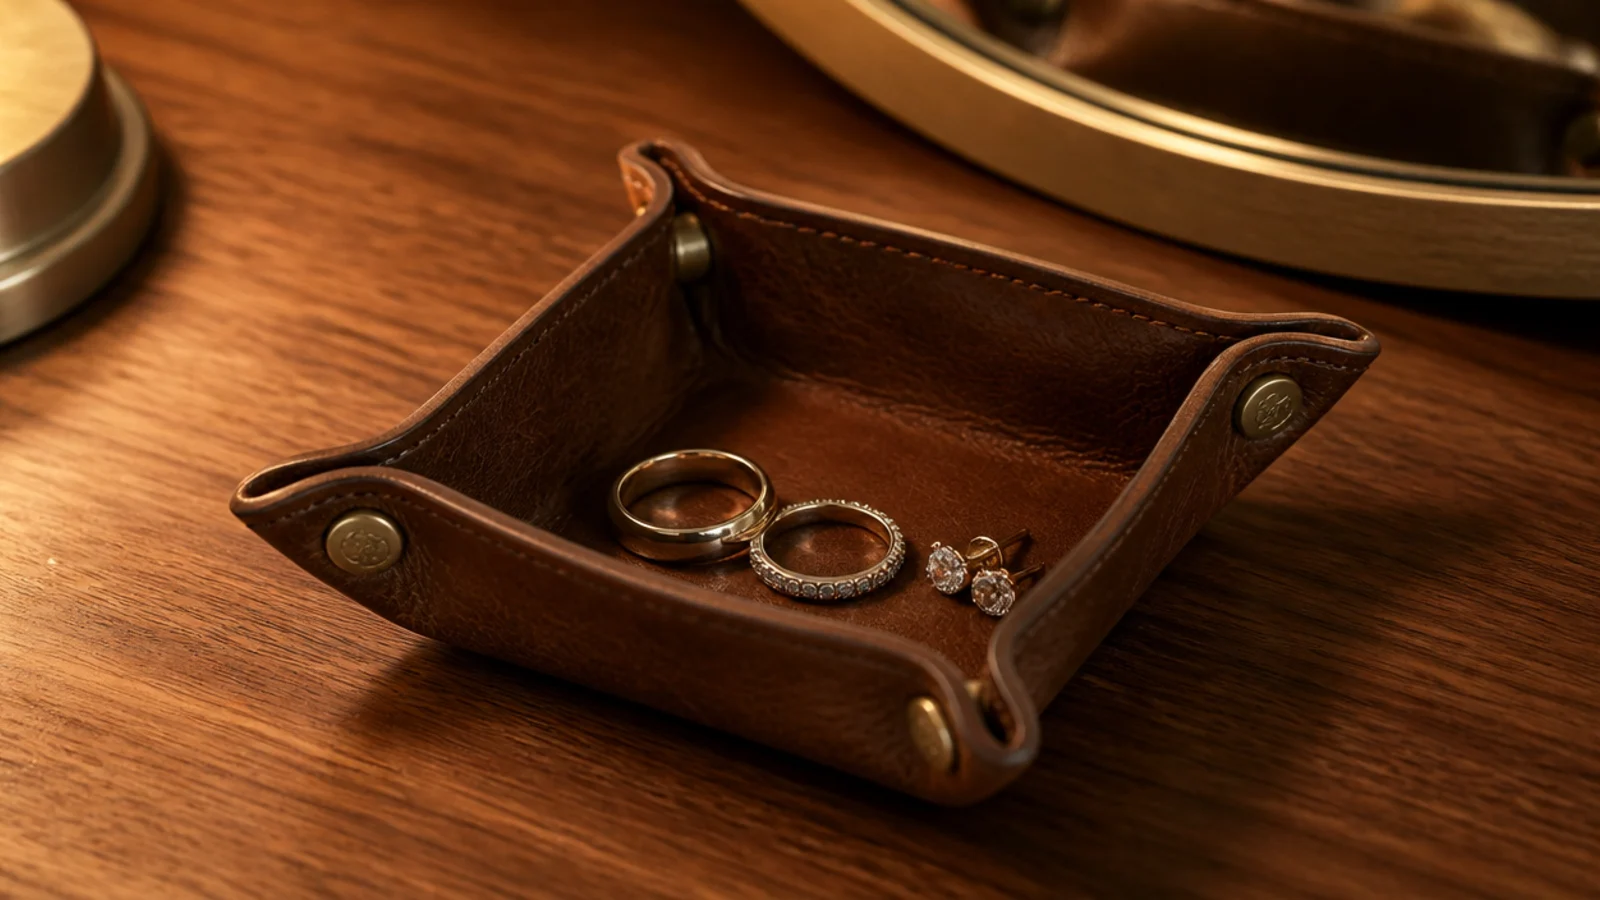
16. Add a valet tray for the night
A small leather or ceramic valet tray, about 5 inches square, catches rings and earrings at the end of the day.
Without one, jewellery lives on the counter edge and eventually in the basin. Keep it away from the bottle group so nothing leaks onto it. $–$$
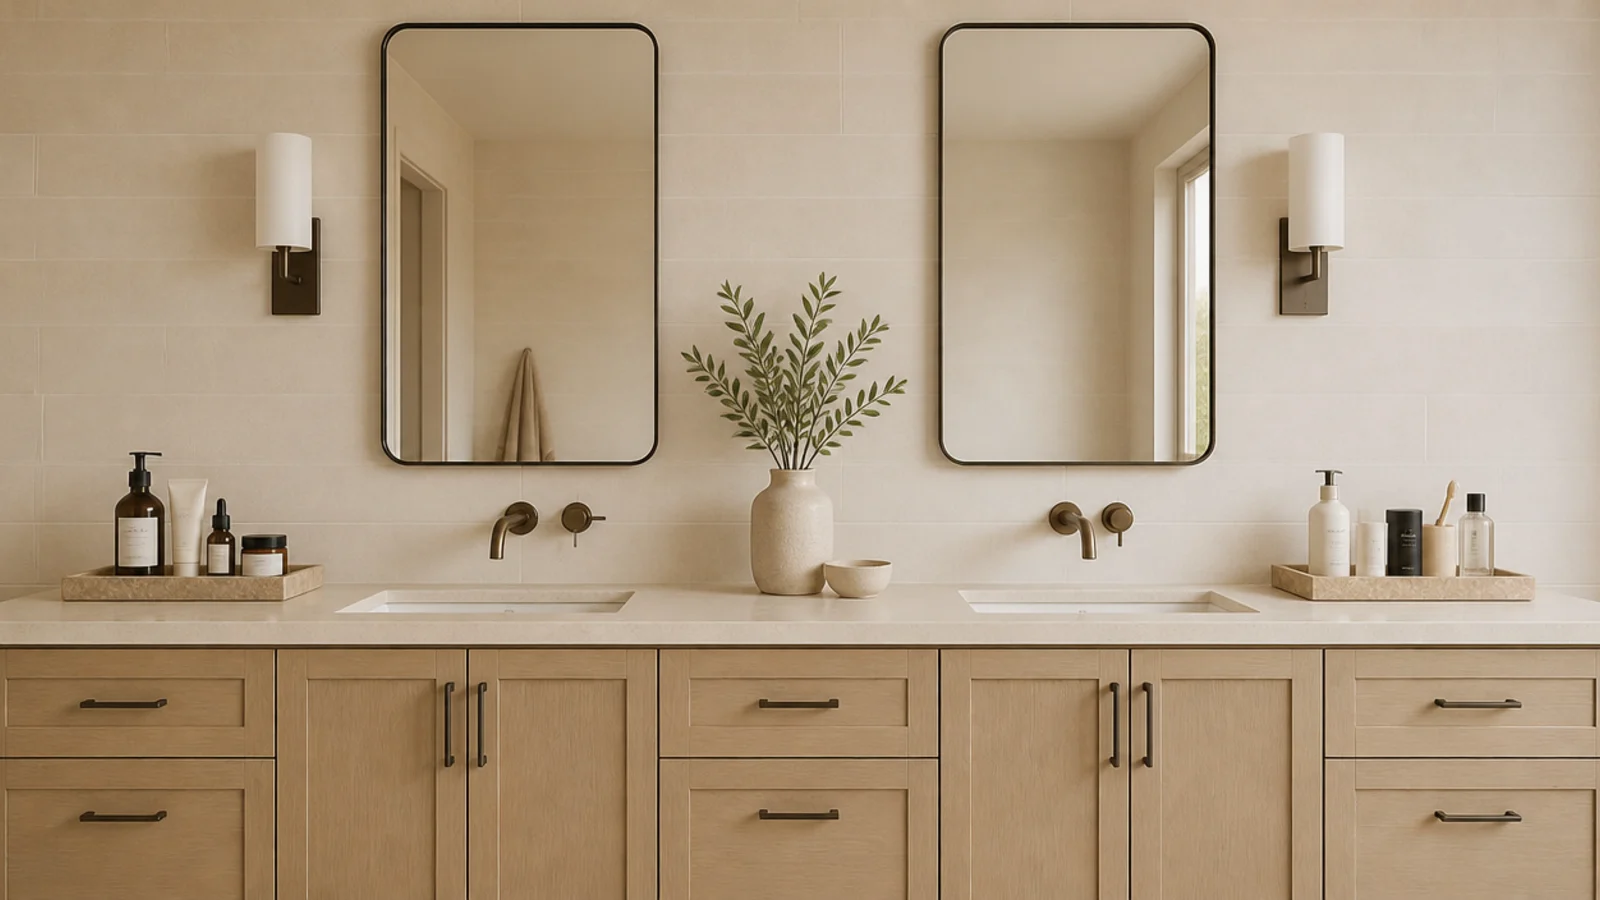
17. Give each person their own tray
Shared vanities fail because two routines compete for one surface. One matching tray each ends the argument in an afternoon.
Keep shared items — soap, hand cream — in the middle, and match the two trays so the counter still reads as one composition. $$
18. Nest a small tray inside a bigger one
A small brass or ceramic dish sitting inside a larger tray adds a second layer and gives tiny things a home so they stop drifting.
It is also how you fit rings, clips and studs into a display without them looking like debris. $
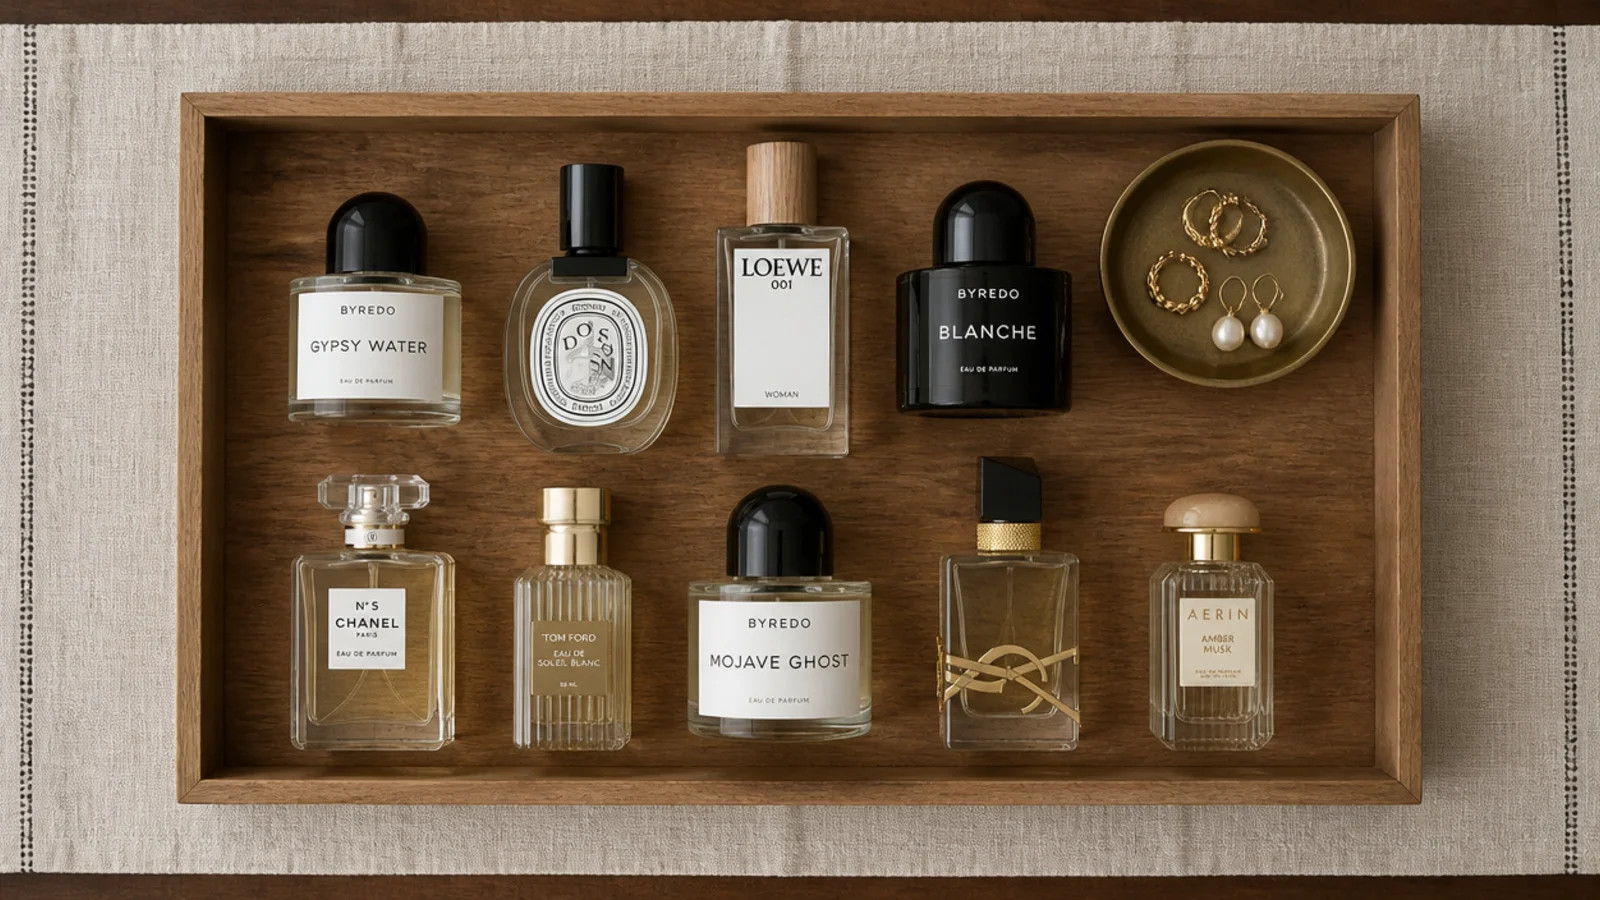
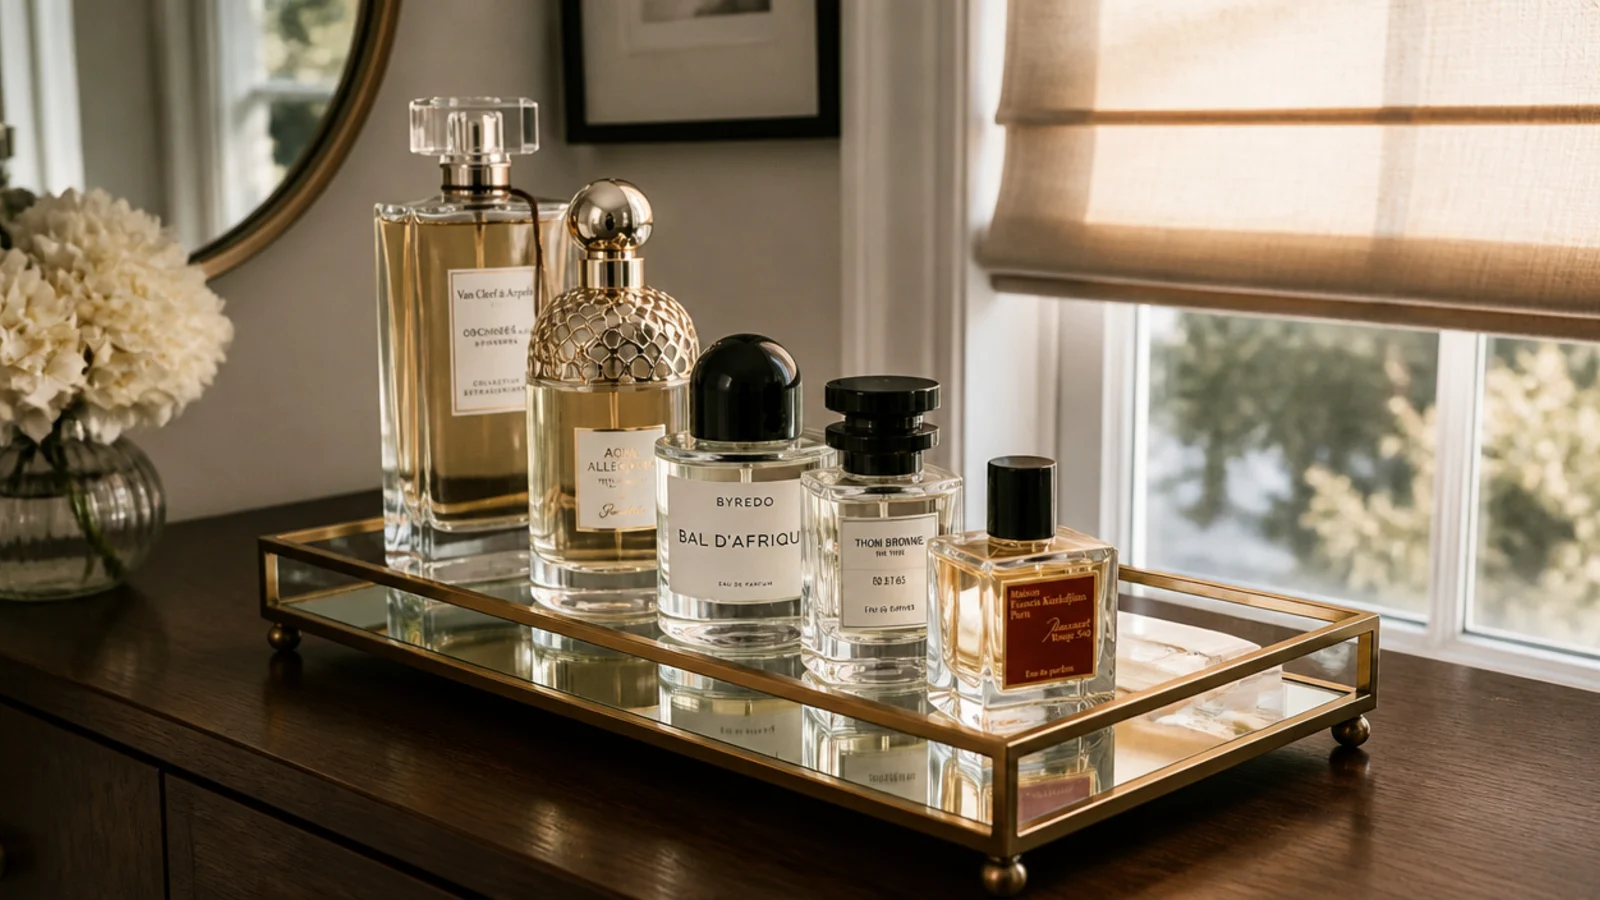
19. Group perfume by bottle height
Arrange scent tallest at the back, shortest at the front, so every label is visible and nothing is hidden.
Keep the group out of direct sun, since heat and light degrade fragrance as surely as they degrade actives. A shaded dresser beats a bright sill. Free
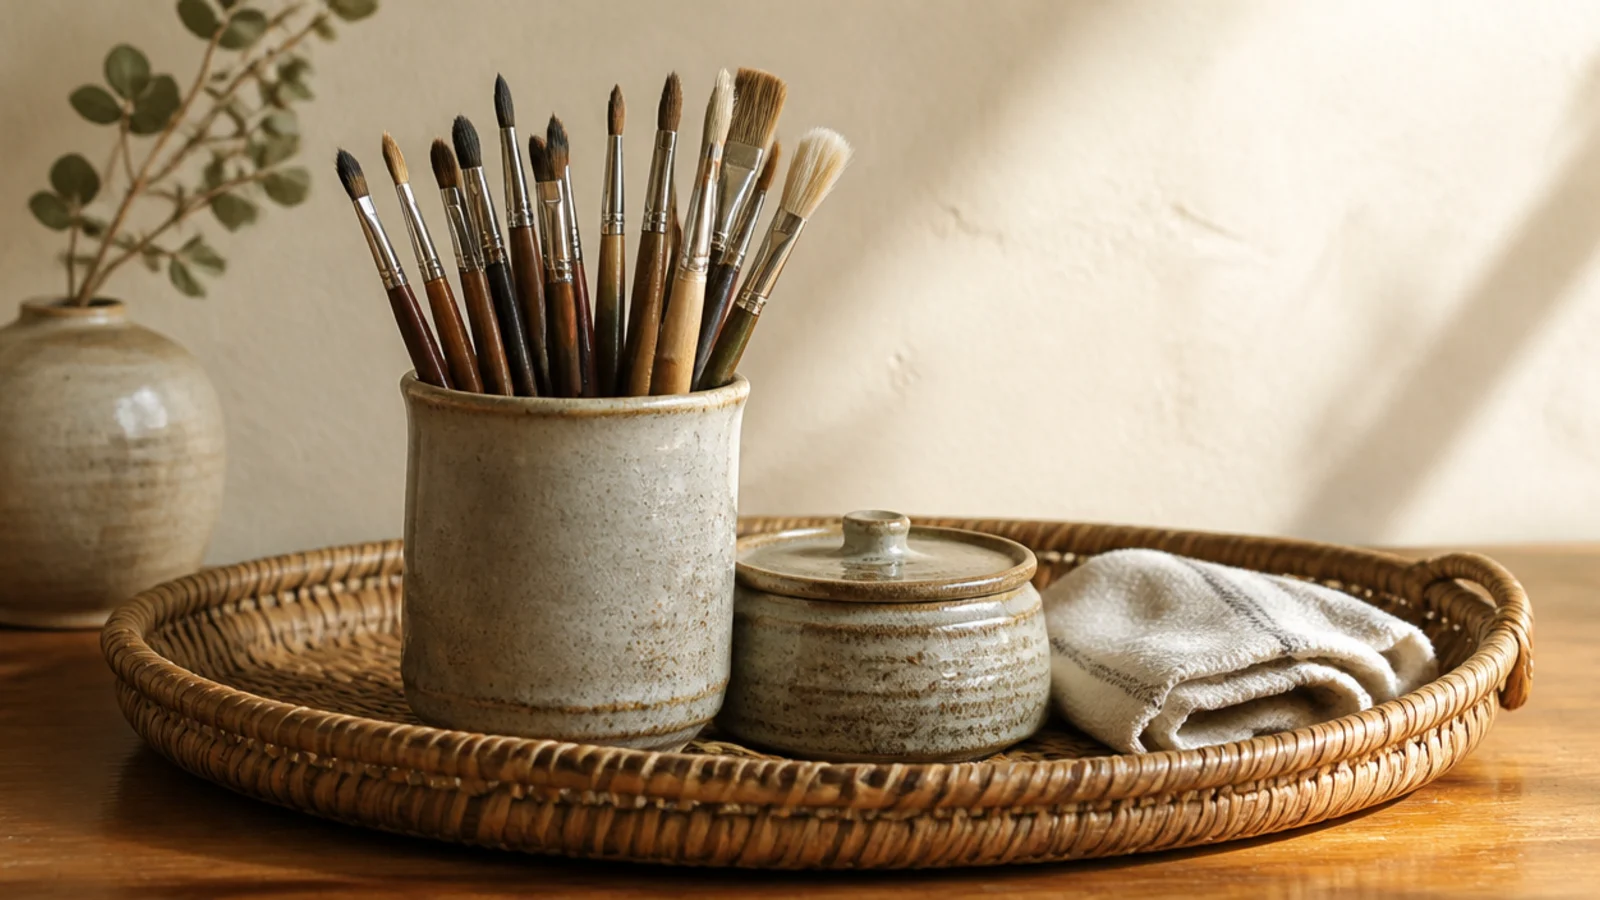
20. Put the brush cup on the tray
Brushes stand bristles-up in a weighted cup, and including that cup in the composition stops it looking like an afterthought at the counter edge.
Choose one 3 to 4 inches tall with a heavy base so it does not tip when you pull a brush out. $
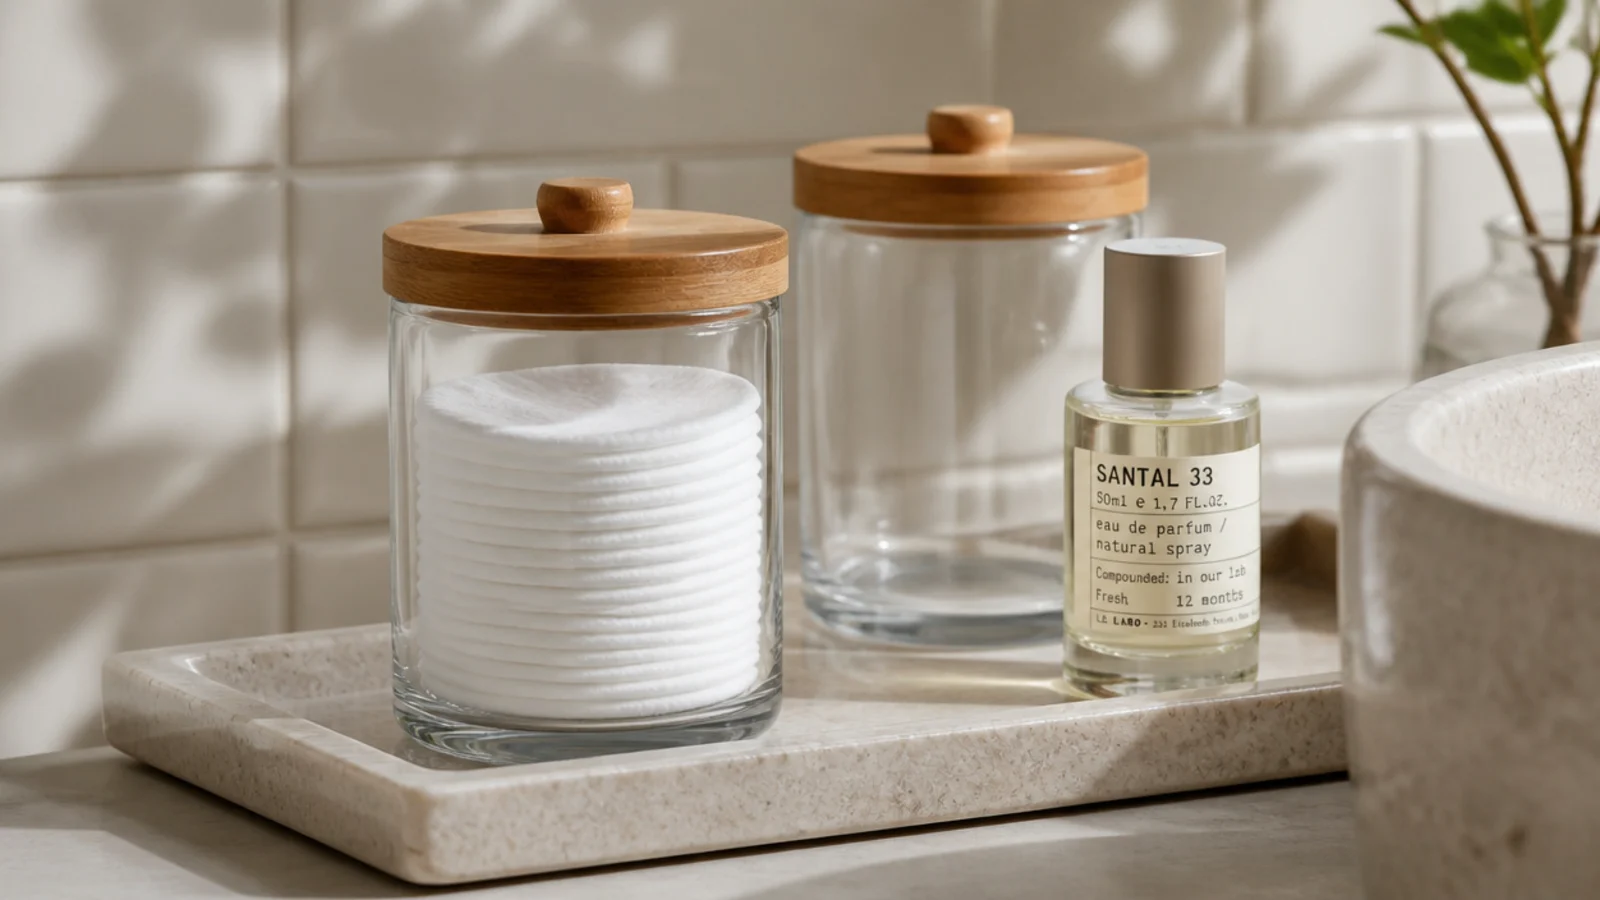
21. Contain the small stuff in a lidded jar
Loose cotton pads, buds and clips read as mess. The same items in a clear lidded jar read as texture, and stay clean in a humid room.
Two thrifted jars cost a couple of dollars and instantly tidy the busiest corner of the tray. Free–$
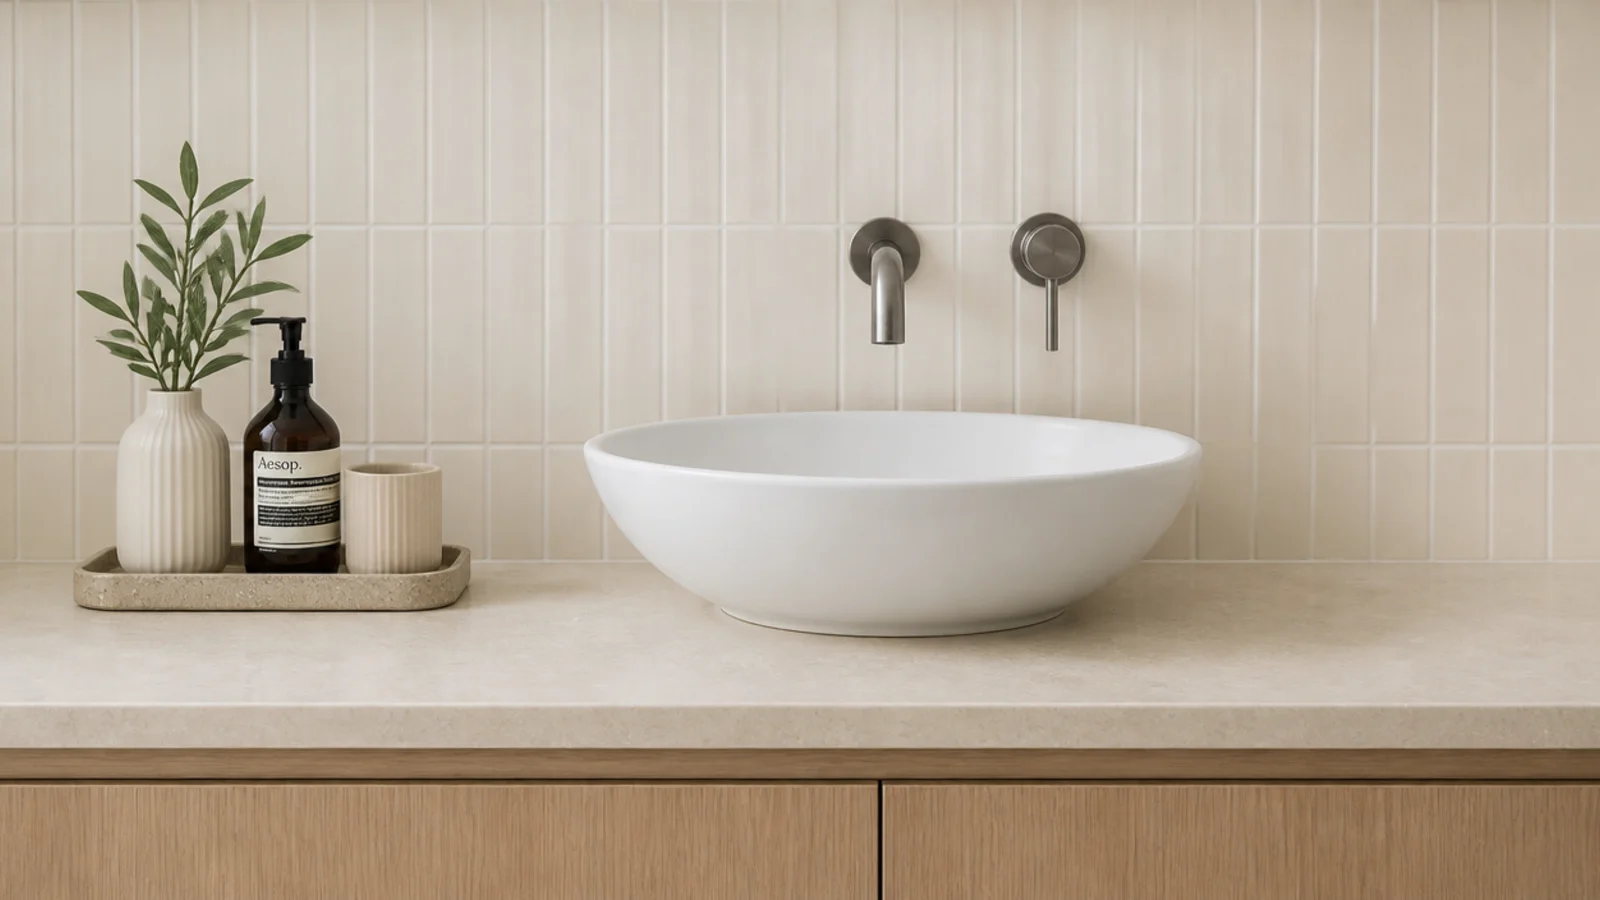
22. Keep the tray out of the splash zone
Set the group at least 8 inches from the faucet. Constant splashing marks stone, lifts finishes and leaves a chalky film on glass.
If the counter is too narrow for that, mount a small wall shelf instead and give the counter back to washing. Free
23. Add one soft, living element
Every group of hard objects needs something that moves: a small trailing plant, a single dried stem, a folded cloth with a visible weave.
One is enough. Two competing plants on a small tray tips straight back into clutter. $
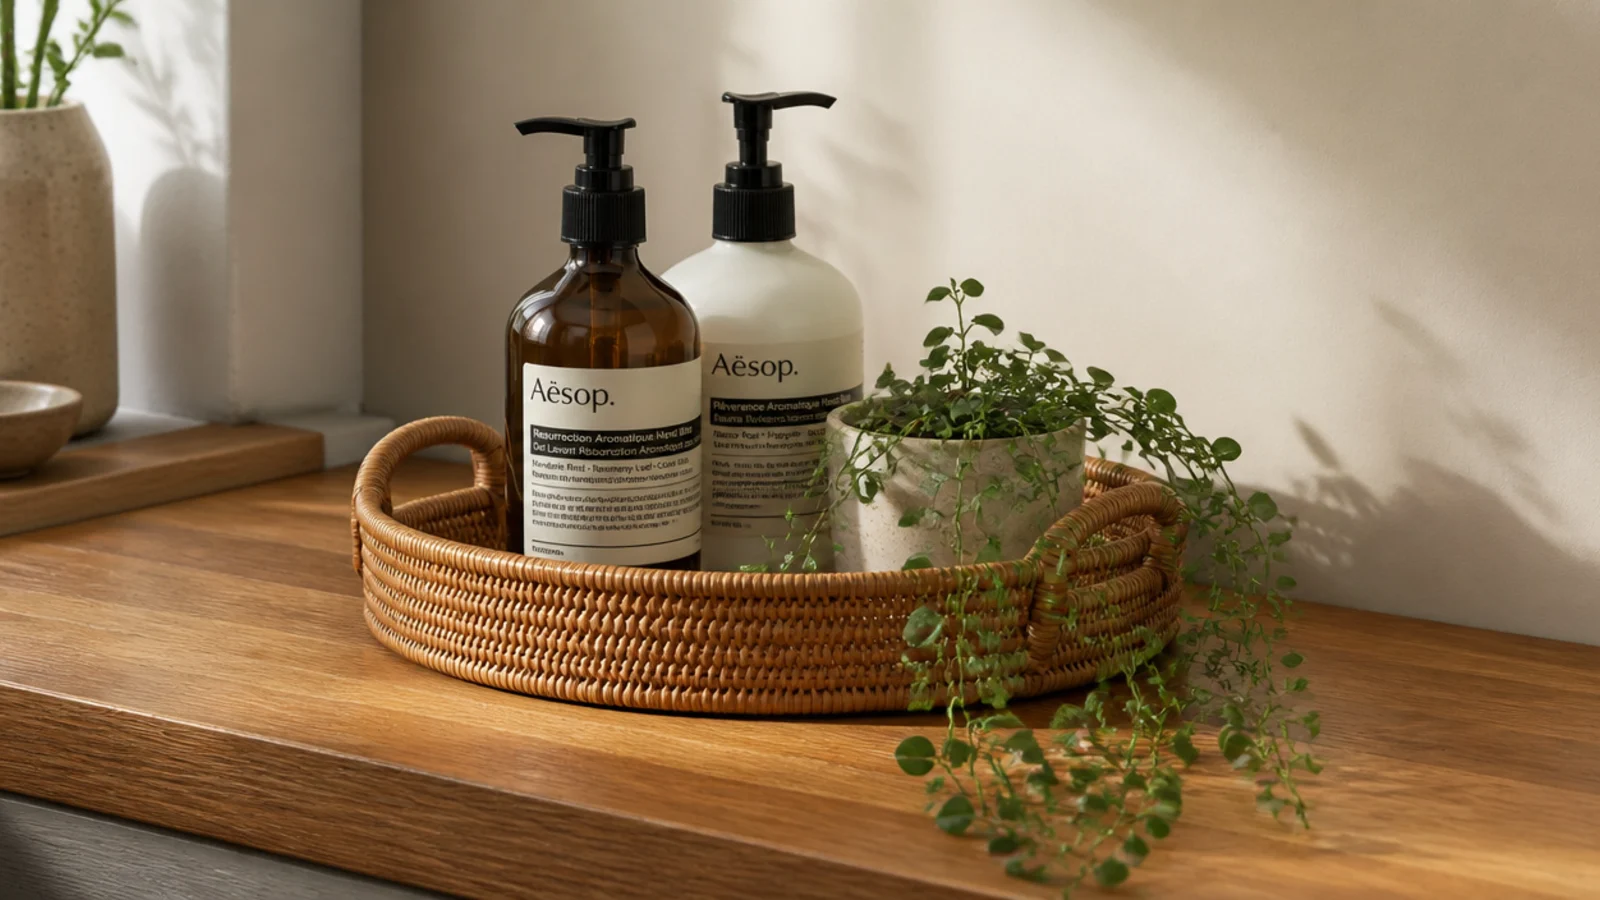
24. Swap one object with the season
Change one element rather than restyling the whole tray — a dried seed head in autumn, a green cutting in spring.
It keeps the vanity feeling current for the cost of a stem, and the underlying arrangement stays stable. Free–$

25. Keep only daily items on the tray
A tray stops working the moment it becomes general storage. Anything you have not touched in seven days goes into a drawer.
That single rule is what keeps a styled counter styled, and it is why the tray needs to be small enough to enforce it. Free
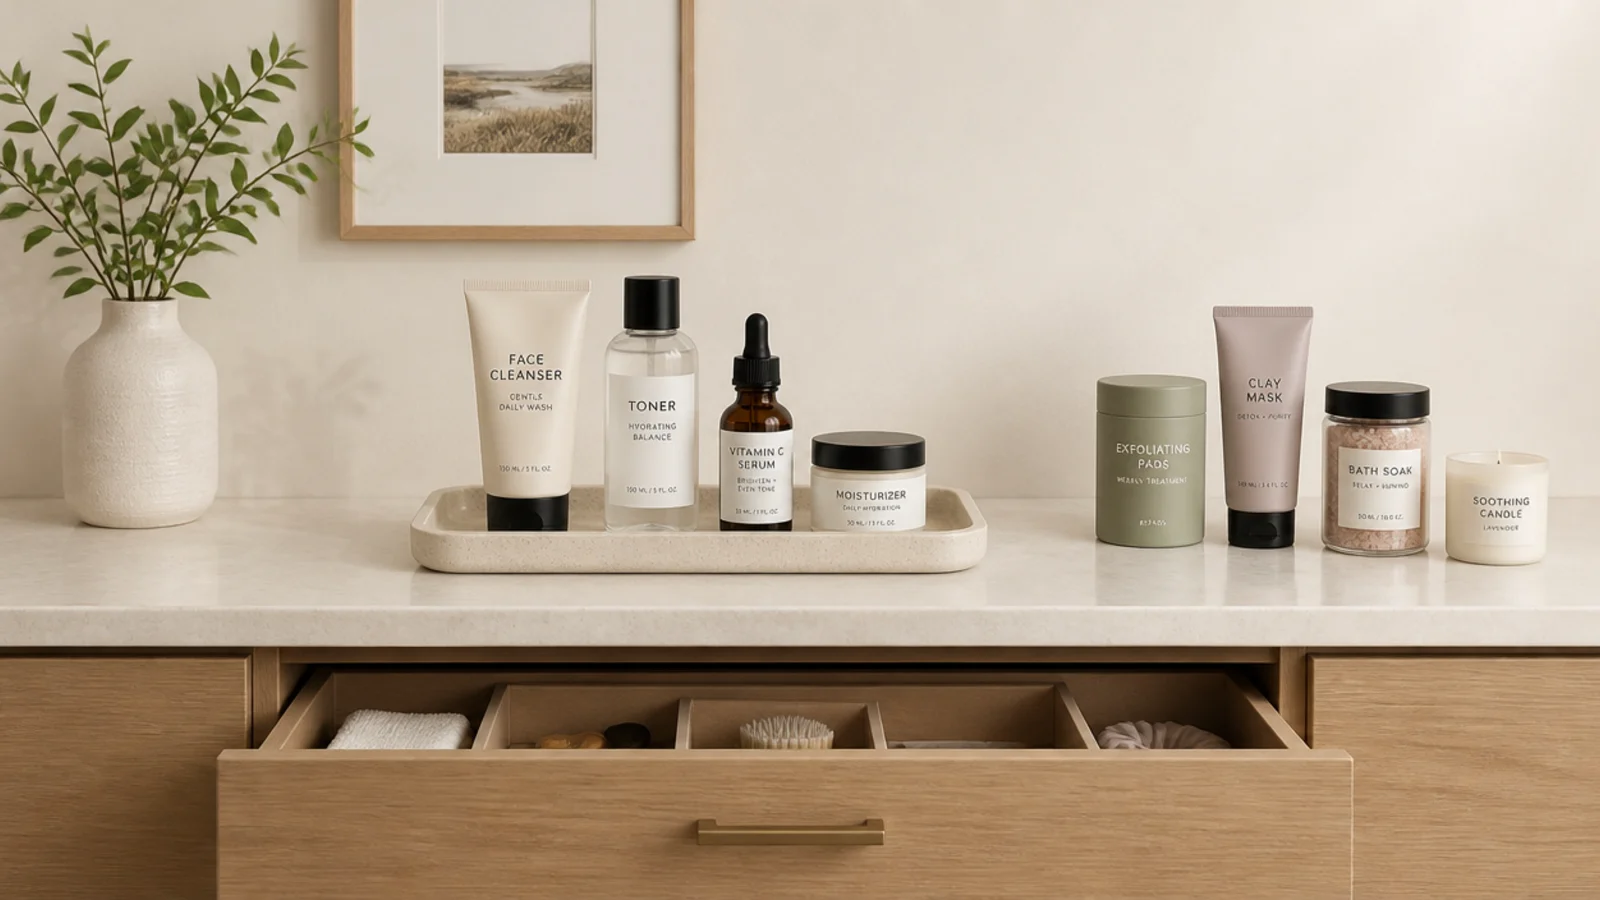
26. Anchor the group with something heavy
A single weighty object — a stone bowl, a thick glass bottle, a solid ceramic jar — grounds a group of lightweight things.
Without an anchor, a tray of plastic and thin glass looks temporary no matter how neatly it is arranged. $–$$
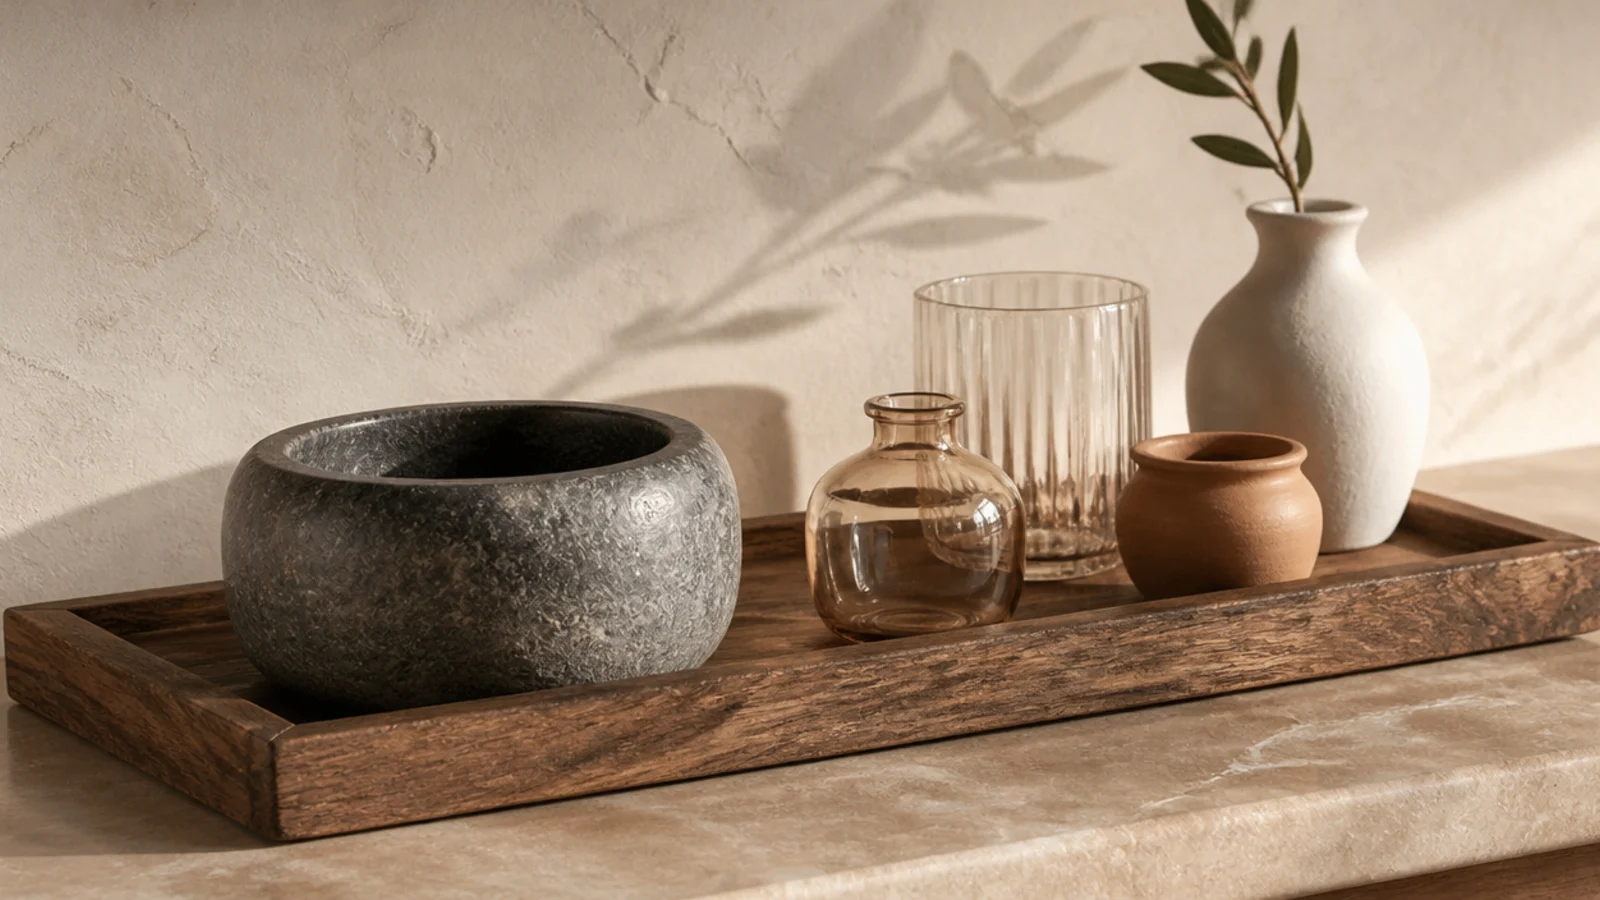
27. Hold the palette to two materials plus green
Clay and glass, or wood and metal, plus one living thing. A third material is where a carefully styled tray starts looking accidental.
Product packaging already brings colour, so let the containers stay quiet and let the plant do the work. Free
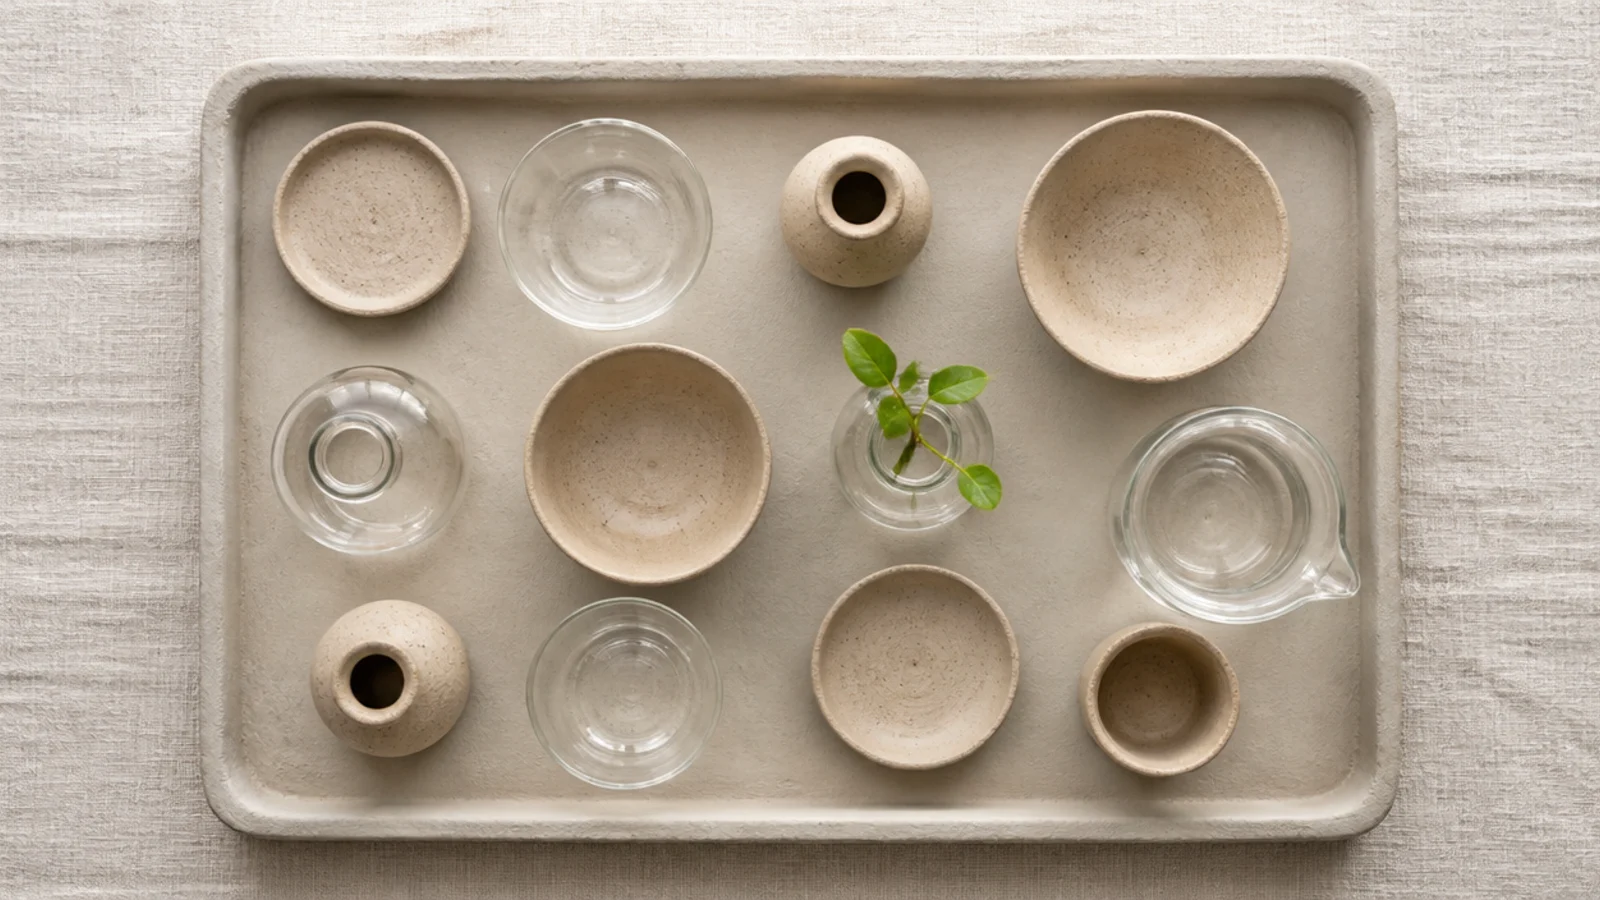
28. Light the tray warm, from both sides
Bulbs at 3000K to 4000K with a high CRI keep clay, brass and skin looking warm; 5000K daylight bulbs turn all three grey.
Light your face from both sides rather than overhead, which shadows the eyes and jaw. It changes how the whole counter reads. $$
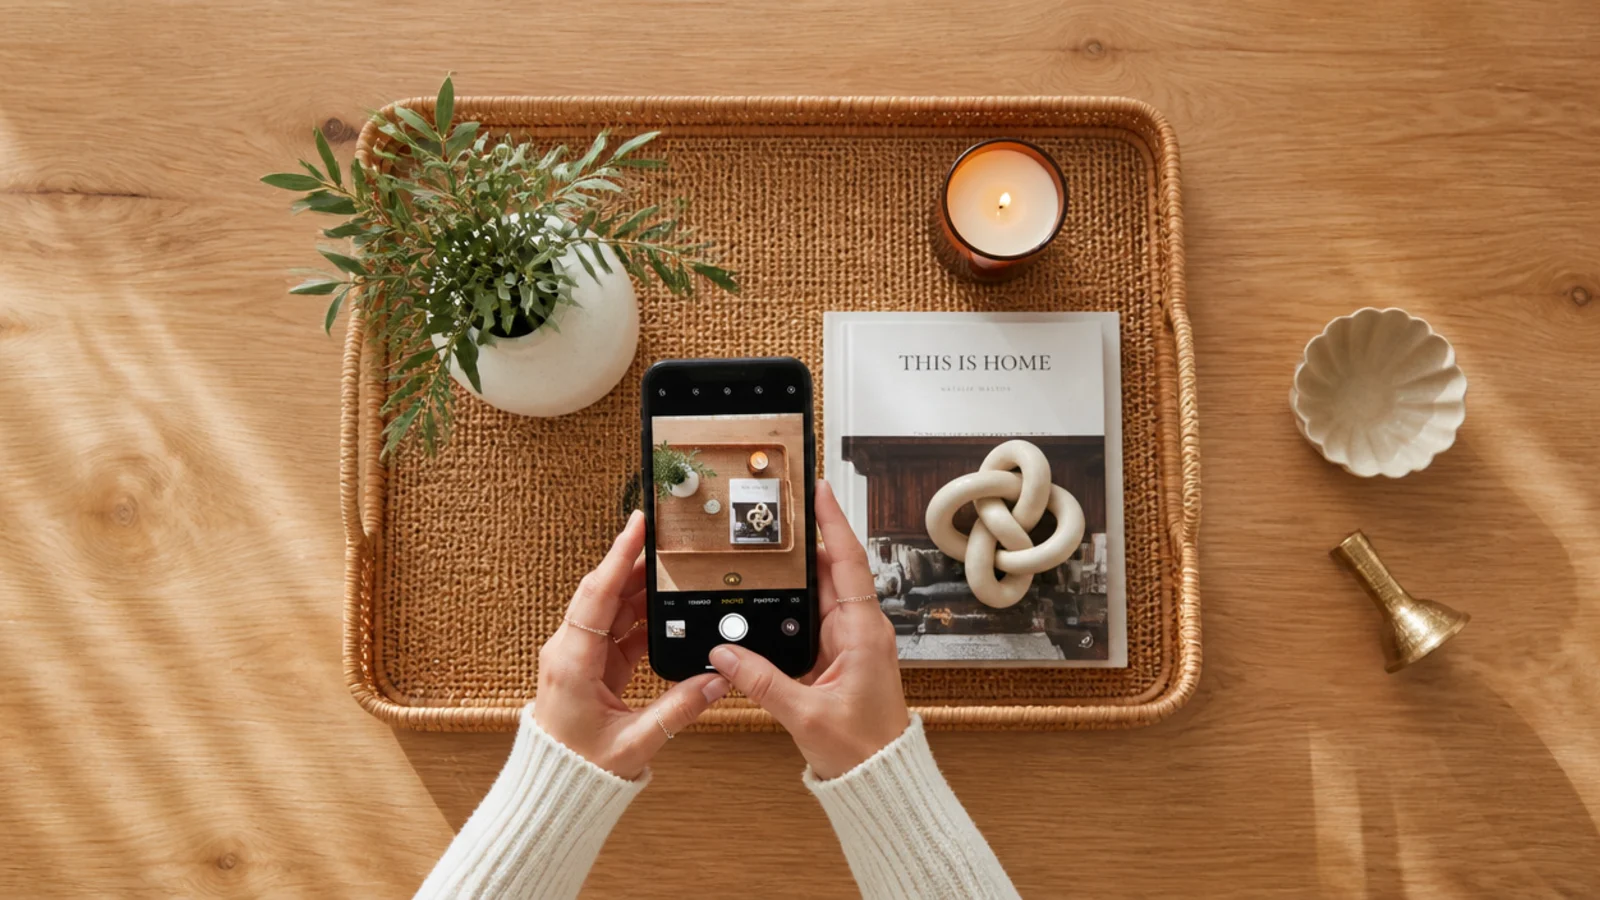
29. Photograph it, then remove two things
Take one phone photo from your seated height. The camera flattens depth and shows instantly which objects are the same height and which are simply extra.
Then remove two things. Almost every tray I style is better a week later with two fewer objects on it. Free
30. Wipe the tray weekly
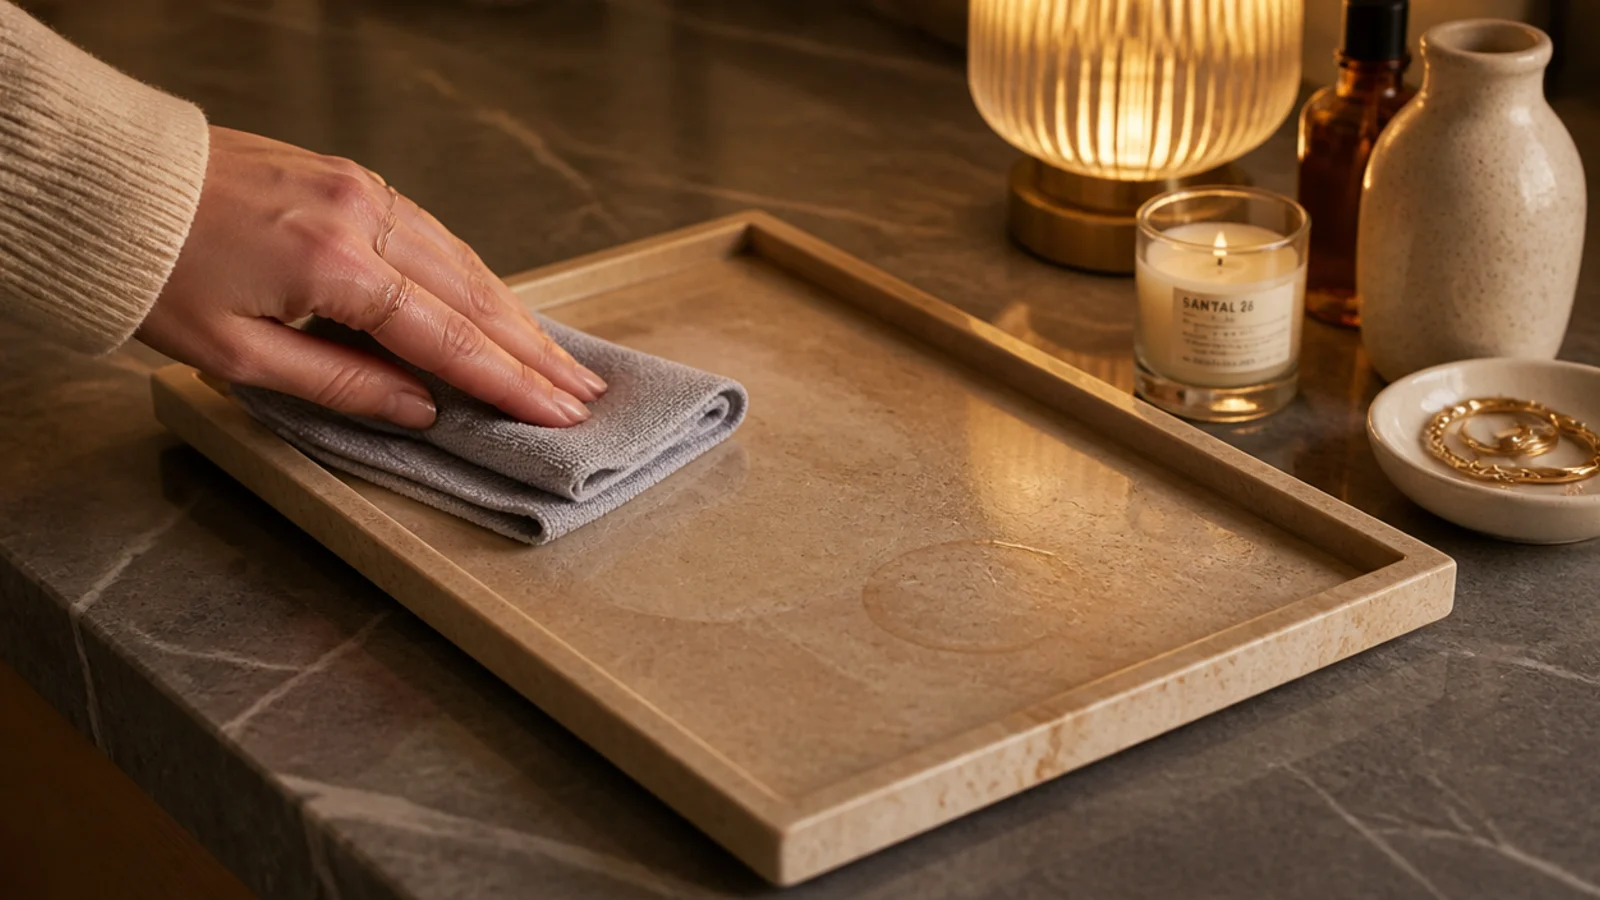
Lift the group off, wipe the tray, wipe the counter under it, and put back only what belongs. Ninety seconds, once a week.
Pair it with a twice-yearly cull — mascara at three months, liquid foundation at six to twelve, powders at about two years — and the display stays honest. Free
Mistakes to Skip
- Buying a tray big enough for everything. A tray that fits the whole collection becomes storage within a fortnight, and the counter is lost again.
- Using a flat board under pump bottles. Without a lip, a leak runs straight off the edge onto the counter and down the cabinet front.
- Styling under cool 5000K light. It turns terracotta grey and undoes every warm material choice on the tray.
Frequently asked questions
What size tray do I need for a vanity?
Size it to the group rather than the counter, allowing about an inch of margin around the objects. A 9 by 6 inch tray suits a daily skincare trio, and 12 by 8 inches handles a fuller lineup. Whatever you choose, keep the front six inches of the counter completely clear as working space.
What goes on a vanity tray?
Only what you use daily, which is usually three to five items plus one soft element. A tall bottle, a low jar, a brush cup and a small dish for rings covers most routines. Everything weekly or seasonal belongs in a drawer, because a tray stops working the moment it becomes general storage.
What material is best for a bathroom vanity tray?
Stone, ceramic, metal or sealed rattan. Marble and stoneware shrug off splashes and wipe clean, while untreated wood swells and stains in a damp room. In a bedroom, wood, leather and rattan are lovely because there is no water. Whatever the material, a raised lip contains a spill that a flat board cannot.
How do I make my vanity look expensive?
Group everything on one tray, vary the heights, and repeat one material three times across the composition. Then leave about a third of the tray empty. Light matters as much as objects: 3000K to 4000K bulbs with high CRI, lighting your face from both sides, make clay, brass and skin all read warm.
How many things should be on a vanity counter?
Five to eight, and all of them daily. Small counters punish clutter faster than any other surface in the house, and a crowded one leaves nowhere to set anything down. If the group has crept past eight, the extras are almost always weekly items that quietly moved in and never left.
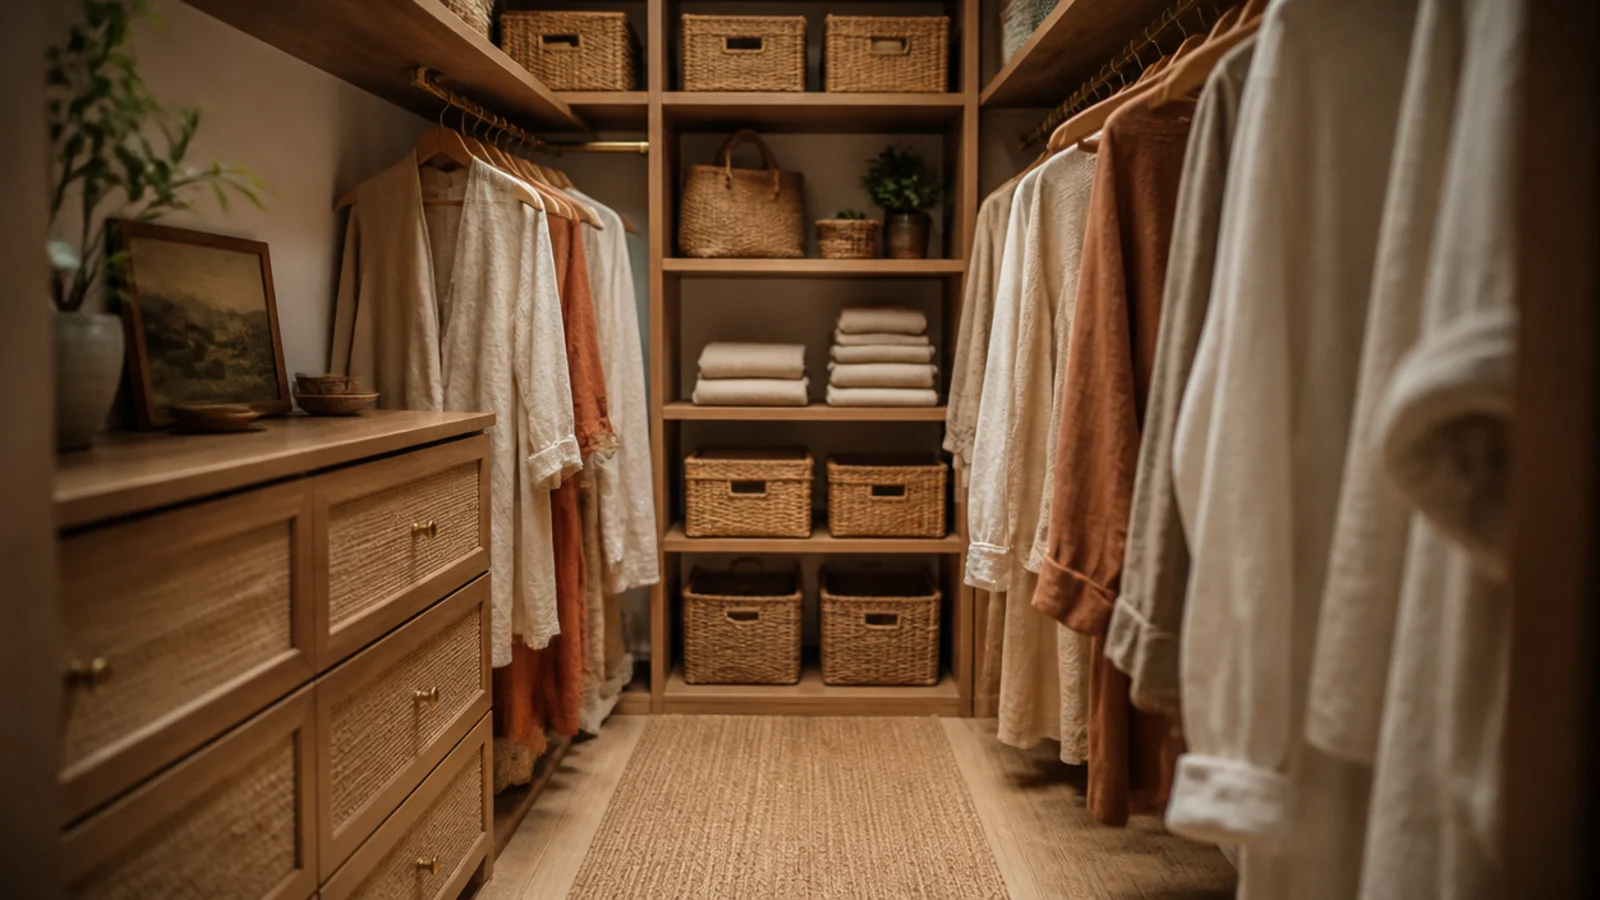
Style the group before you buy anything: lay a folded cloth on the counter, arrange three objects at three heights on it, and let that footprint choose the tray. Then edit twice — once now, once a week from now. For the surface rules in full, vanity countertop organization goes deeper, fifteen vanity organization ideas covers the whole system, and minimalist walk-in closet applies the same restraint to clothes. Save the pin before you restyle the counter.
Want more like this? Browse all 15 vanity organization guides — they all use the same measurements and budget tiers.
Pin it for later
Save this to your Vanity Organization board
Pin it now so it is waiting for you when the tape measure comes out — and so the next person hunting for this idea can find it too.
Save this pinKeep going
More ideas worth saving while you have the tape measure out.