Vanity Organization · Listicle
15 Affordable Vanity Organization Ideas for Renters

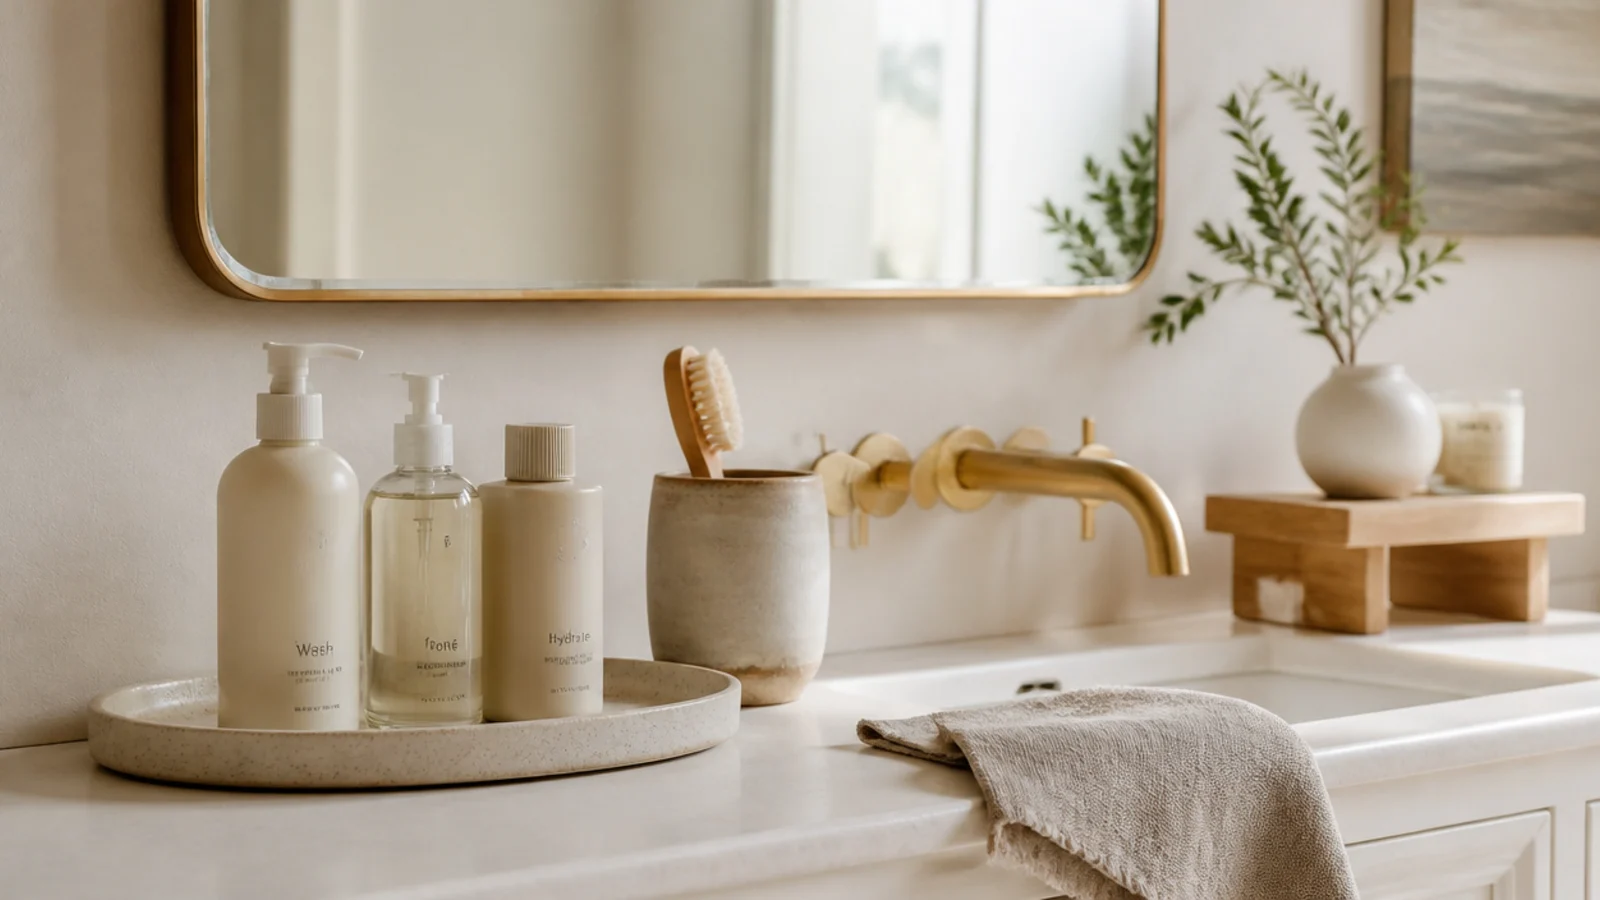
Vanity countertop organization in a rental has exactly one rule: nothing permanent. No drilling, no adhesive that lifts paint, no cabinet you cannot carry down three flights on move-out day. I have sorted out vanities in five apartments under leases that forbade wall damage, and every fix that survived was freestanding, weighted or fully reversible. Here are fifteen that cost less than a lamp and leave the walls exactly as you found them.
In this guide17 sections — tap to openHide
- 1.Where vanity countertop organization actually starts
- 2.One tray that holds the entire daily routine
- 3.A weighted cup that keeps brushes bristles-up
- 4.A stackable acrylic drawer unit on the counter
- 5.A riser shelf that doubles the counter
- 6.Adhesive hooks inside the cabinet door
- 7.A rechargeable light bar on the mirror
- 8.Drawer inserts measured to the inside, not the outside
- 9.A two-tier turntable for the cabinet corner
- 10.A tension rod under the sink
- 11.A slim rolling cart in the gap beside the vanity
- 12.A lidded box for backstock you already own
- 13.Decant the cotton rounds and swabs
- 14.An over-the-door organizer for the overflow
- 15.A heat mat and one coiled cord
- 16.A twice-yearly cull with a trash bag
- 17.Mistakes to Skip
Where vanity countertop organization actually starts
Before you buy a single bin, sort by routine rather than by category. Cleanse, treat, colour — that is the order your hands move in, and it is the order the counter should read in from left to right. Sorting by category feels tidier on paper and falls apart within a week, because you end up opening three containers to complete one step.
Then split the products in two. Anything you touch daily stays on the counter. Everything else goes into a drawer, and the drawer is where the actual capacity lives. A typical vanity counter can hold about eight items before it stops looking styled, and most people are storing thirty.
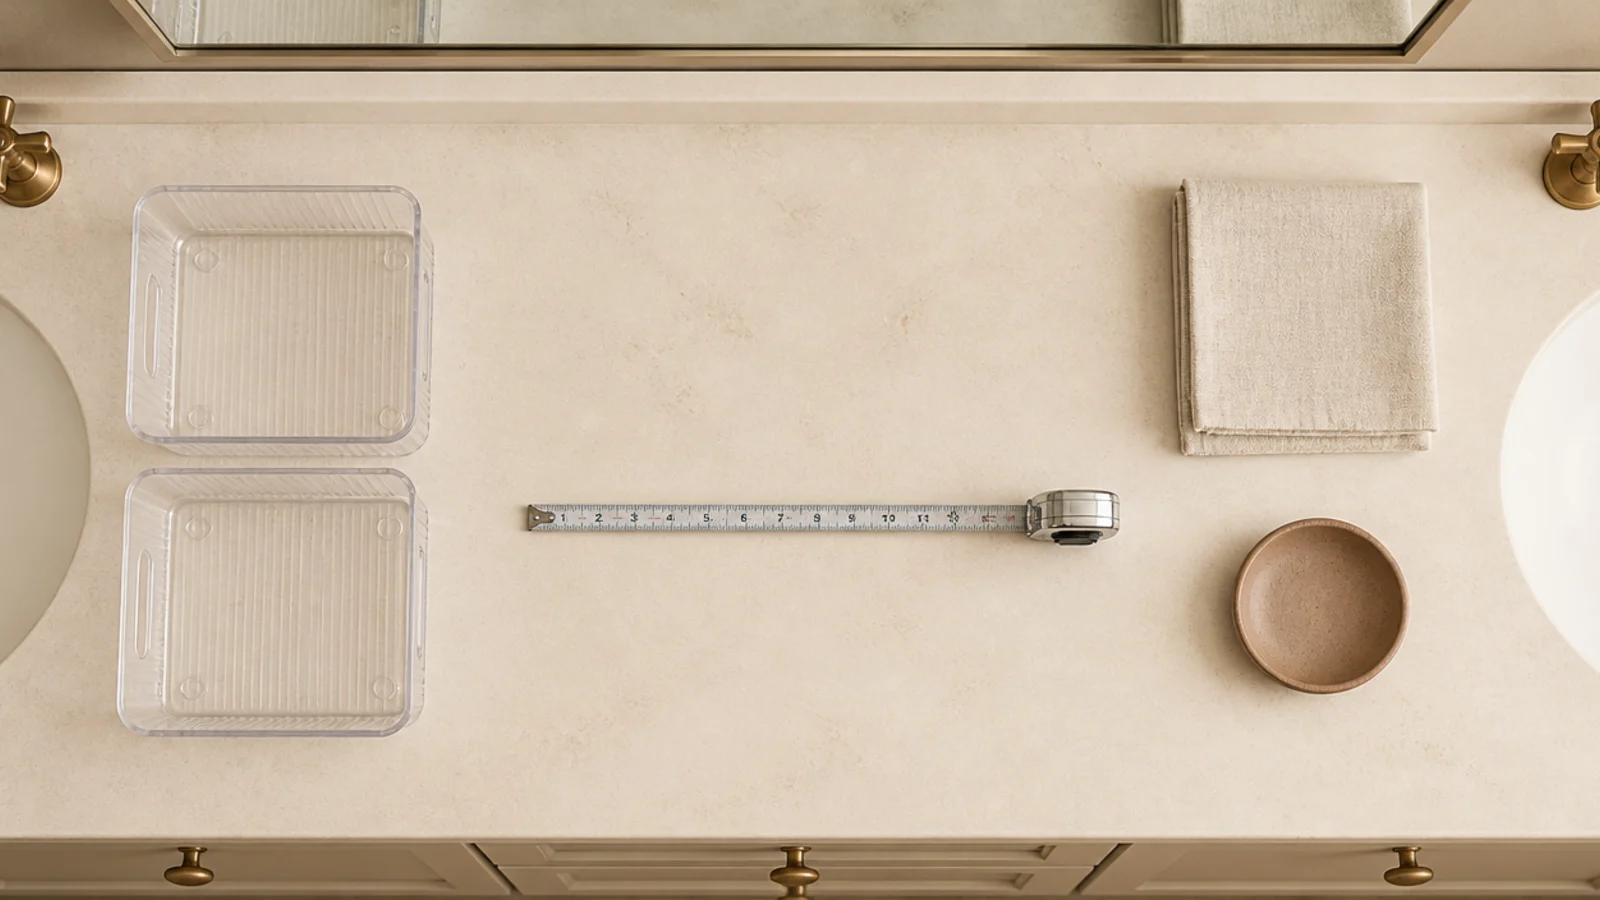
Measure before you shop. Drawer inserts are sized to their outside dimensions, and drawers are quoted by their outside width too, so measure the inside of the drawer and subtract an eighth of an inch of clearance. Two to three inches of insert depth suits flat palettes and compacts; four to five inches suits serum bottles and pumps standing upright.
Budget tiers here: $ is under $25 — trays, cups, liner, tension rods. $$ is $25 to $75 — turntables, riser shelves, stacking drawer units, a rolling cart. $$$ is $75 and up, which in a rental is usually a lit mirror or a full drawer insert set.
1. One tray that holds the entire daily routine
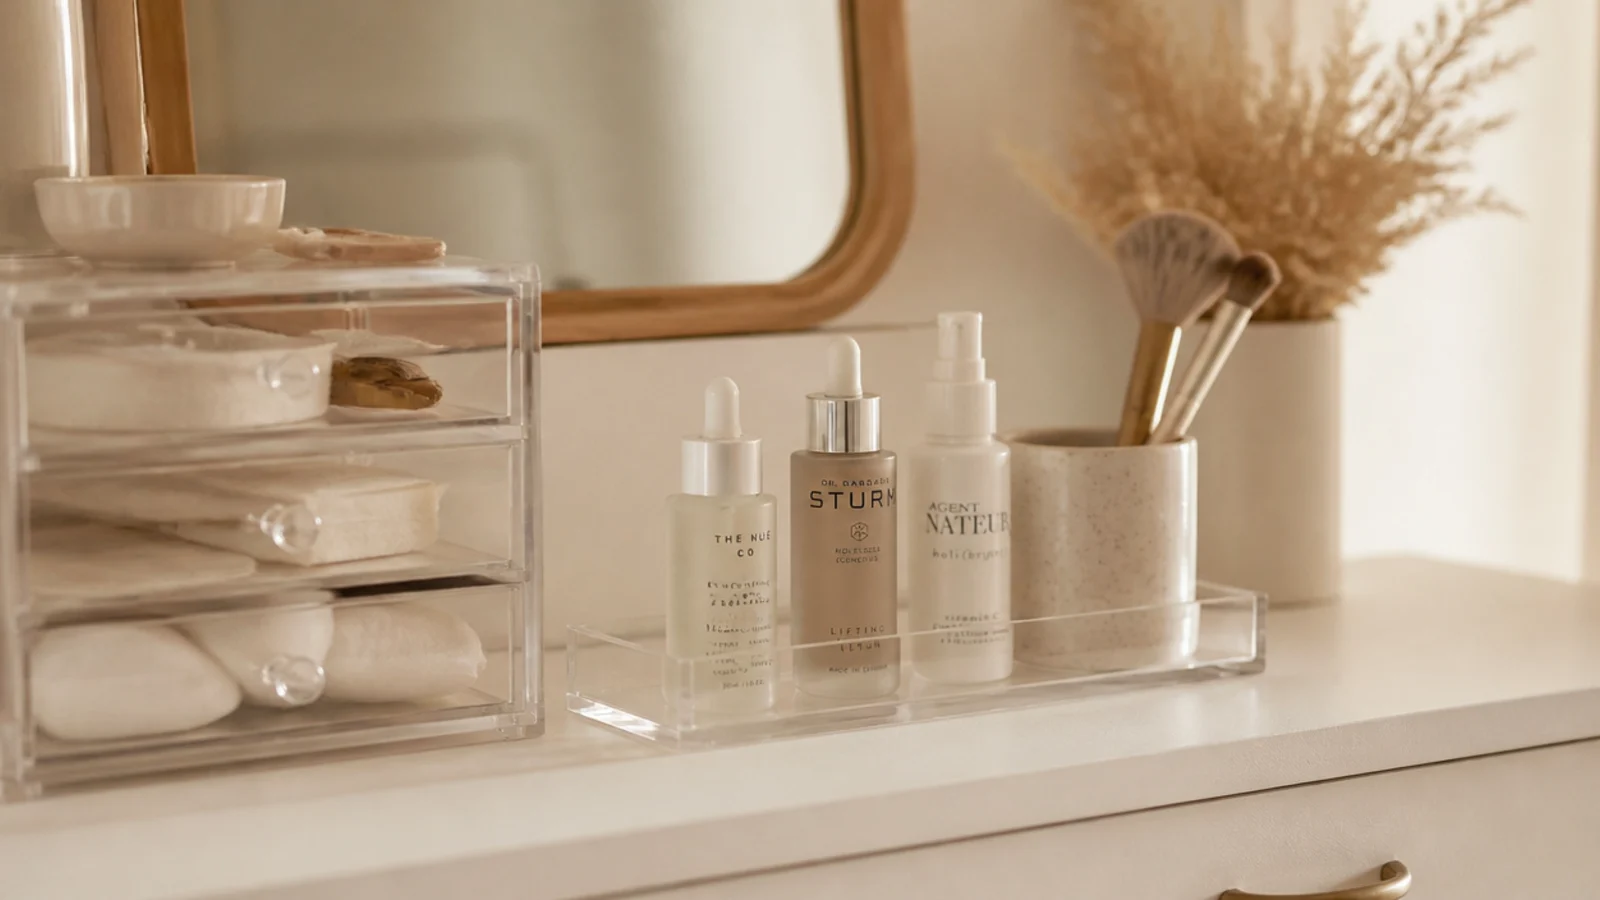
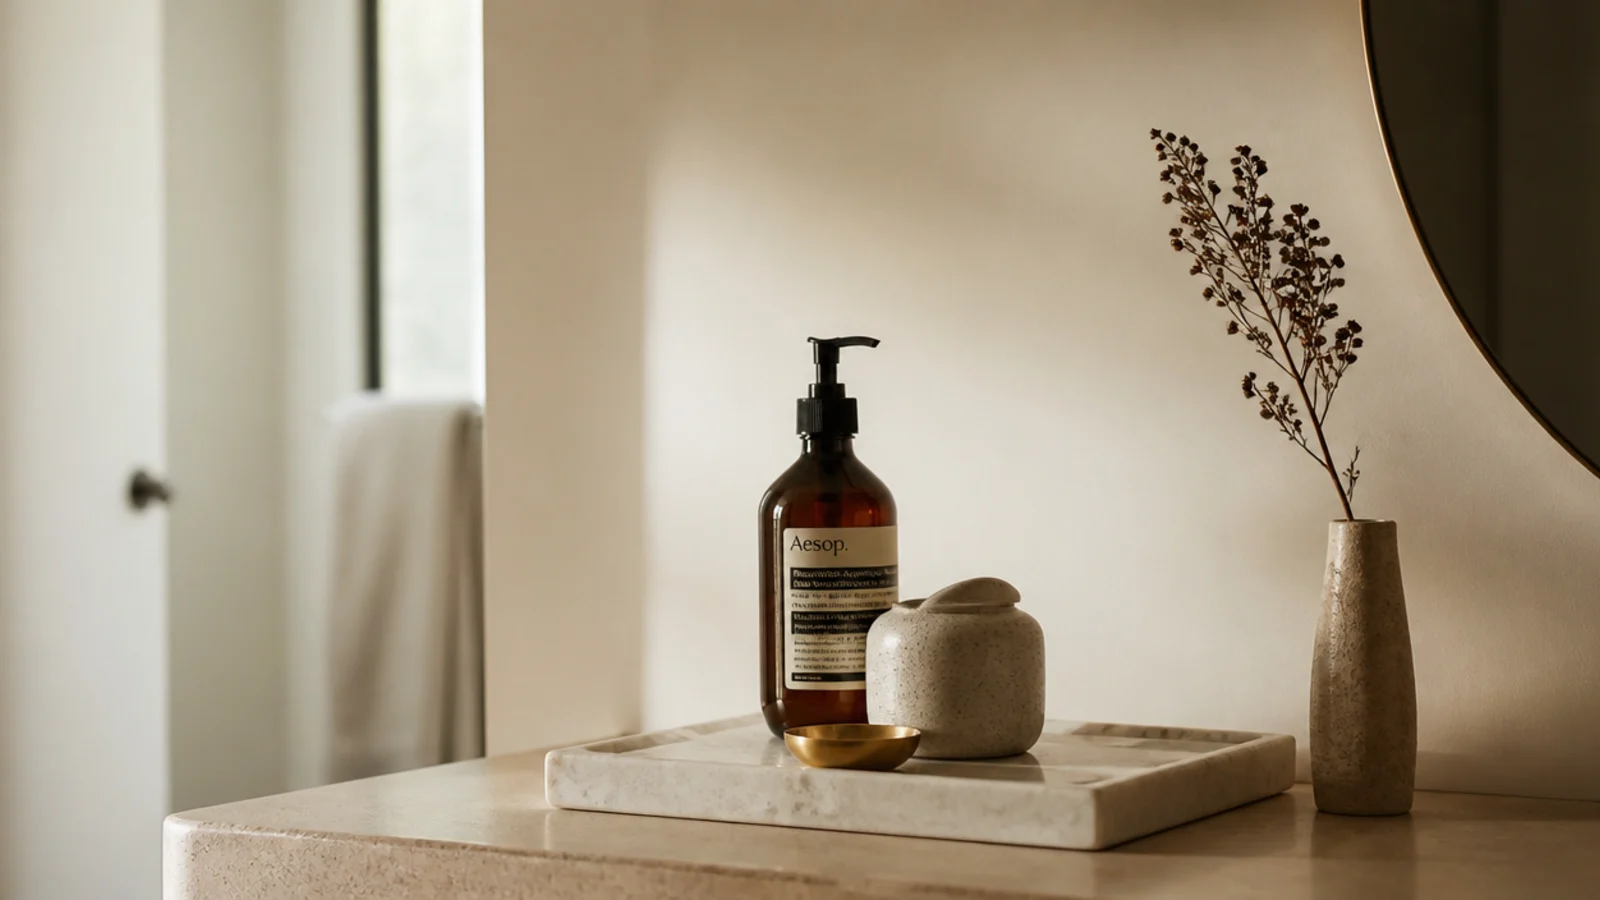
A tray is the cheapest organizing decision available and, in a rental, the safest one — it sits on the counter and touches nothing else. Choose one about 12 by 8 inches with a raised lip of at least a quarter inch. That lip is what contains a tipped serum bottle instead of letting it run into the grout line.
Put only the daily items on it, arranged cleanse, treat, colour, left to right. Six separate objects become one composition, and wiping the counter turns into a four-second job. Stoneware, lacquered wood or a marble offcut, $12 to $30 ($).

2. A weighted cup that keeps brushes bristles-up
Brushes stored flat in a drawer come out bent, and a bent brush never comes back. Bristles need to stand upward with air around them.
The key word is weighted. A light plastic cup tips the moment nine brushes lean one way, and then you have brushes on a wet counter. A stoneware, marble or thick glass cup roughly three inches across and four inches tall holds eight to ten brushes without crowding. Add half an inch of clean rice or glass beads in the base if it still feels tippy. Around $10 to $22 ($).

3. A stackable acrylic drawer unit on the counter
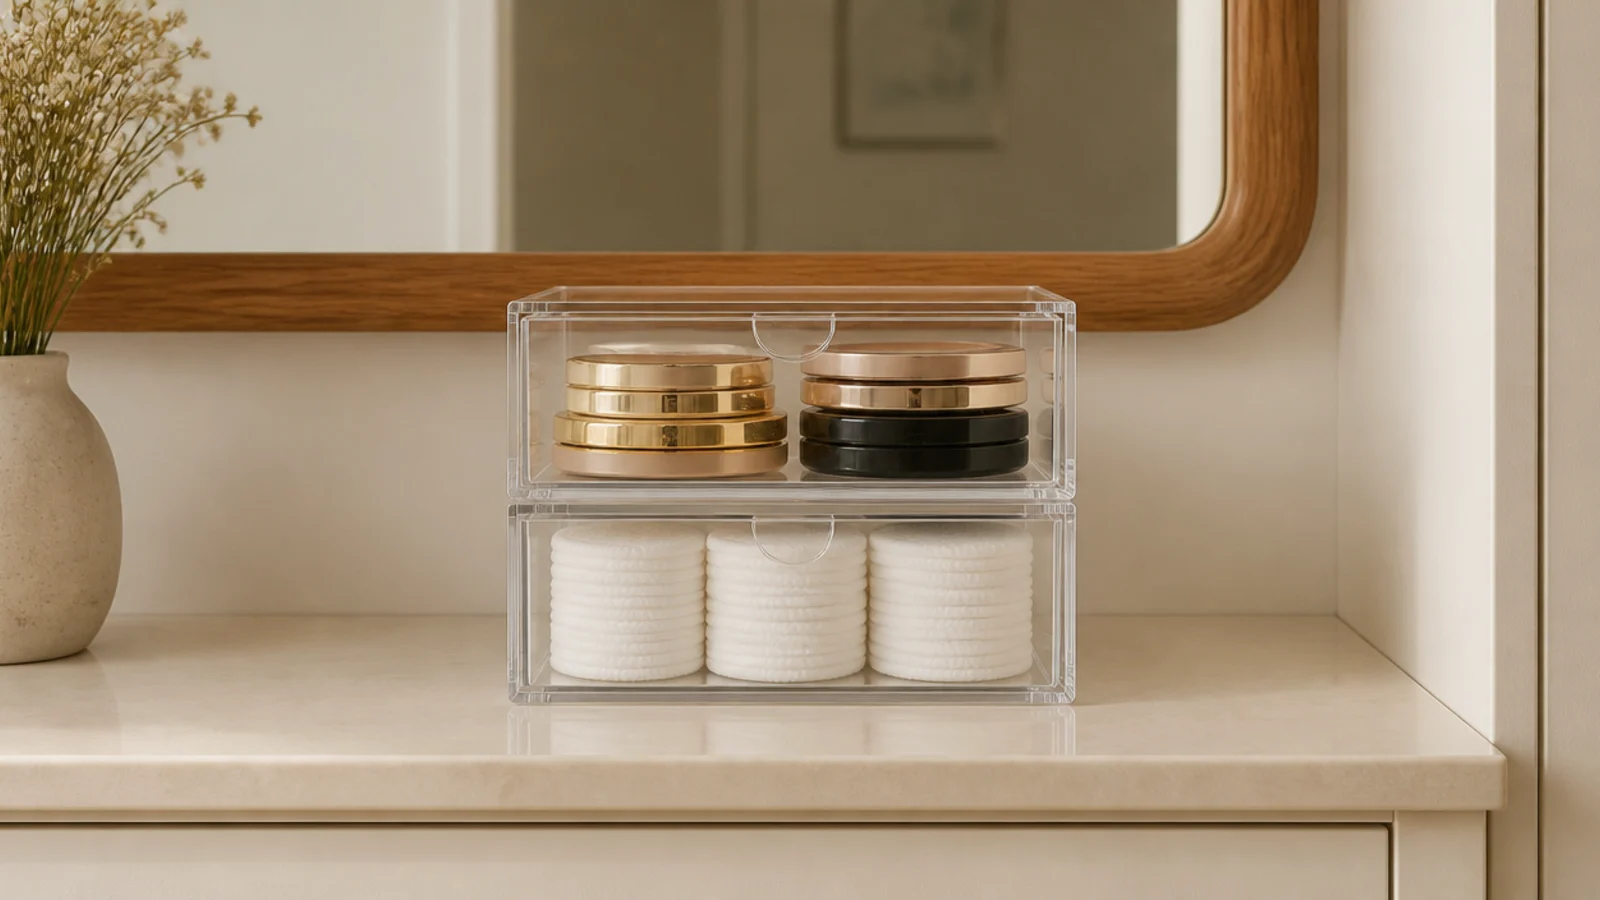
When the counter cannot grow sideways, grow upward. A two-drawer clear acrylic unit roughly 9 inches wide and 7 inches tall gives you two hidden layers in the footprint of one candle.
Clear works here because you can see what is inside without opening anything, which is the whole reason drawers get abandoned. Keep the lower drawer for bulk — cotton rounds, spare hair ties — and the upper for compacts lying flat. Look for units where the drawers pull on runners rather than dragging on bare acrylic. $18 to $40 ($$). The full breakdown lives in acrylic vanity organizers.
4. A riser shelf that doubles the counter
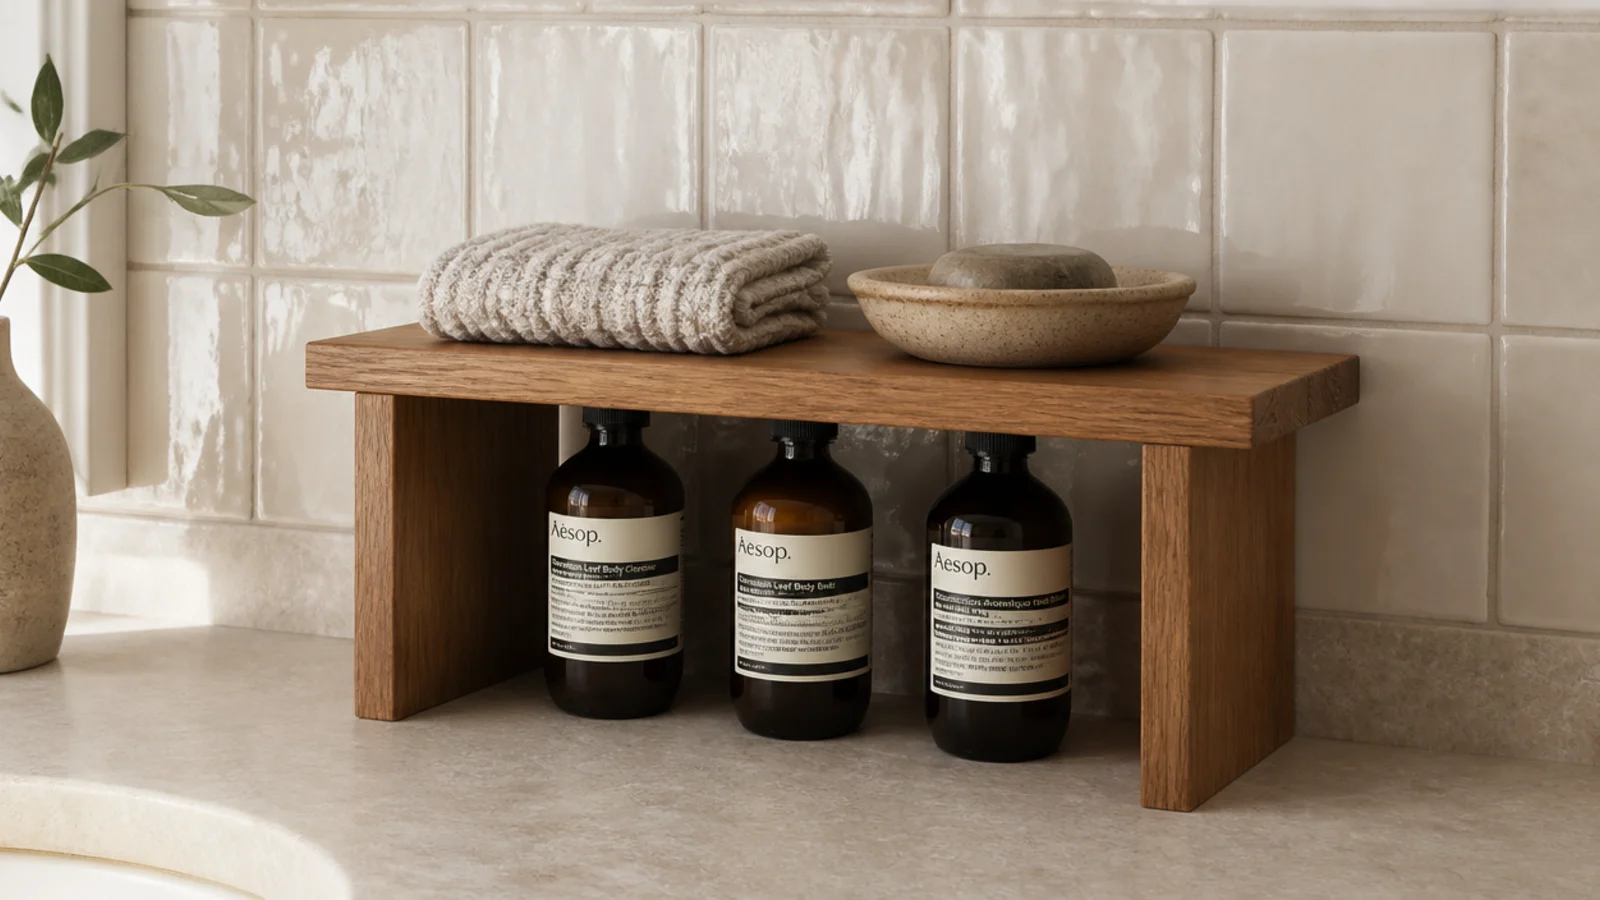
A small riser turns the six inches of air above your counter into a second surface. Look for one about 12 inches wide with at least 5 inches of clearance underneath, so pump bottles fit beneath rather than beside.
Bottles go under, folded washcloths and a dish go on top. In a shared bathroom, a riser is also the cleanest way to divide territory without a conversation — one person under, one on top. Oak, bamboo or powder-coated metal, $15 to $35 ($), and it lifts off in one motion when you clean.
5. Adhesive hooks inside the cabinet door
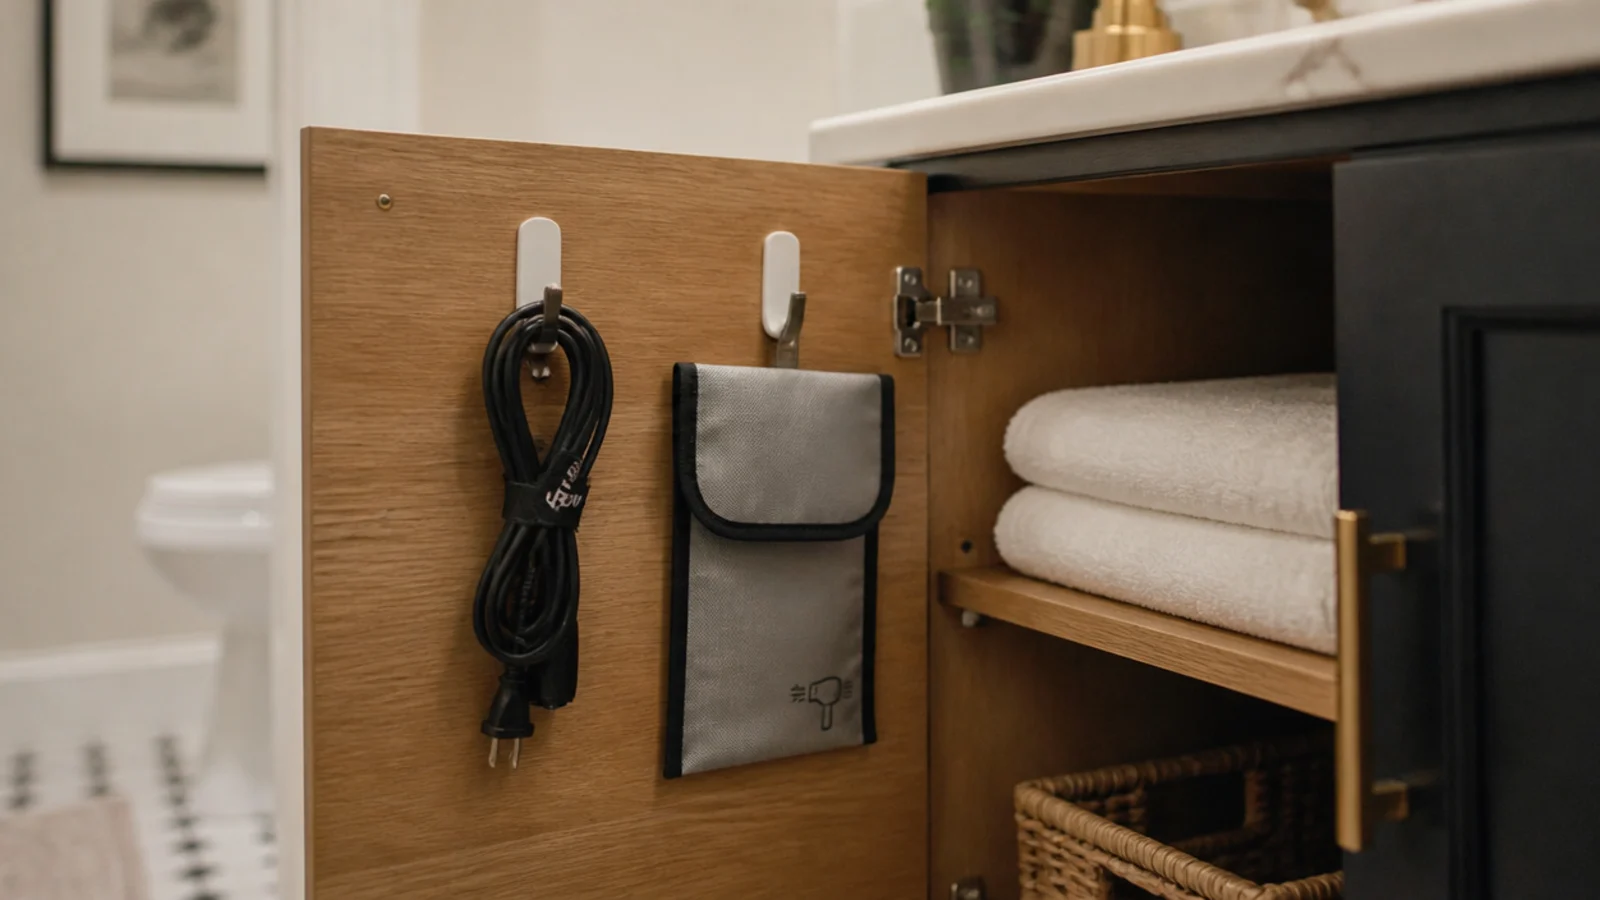
The inside of a vanity cabinet door is the most wasted surface in any bathroom, and it is also the safest place to test adhesive — nobody inspects it at move-out.
Two hooks rated to three pounds each hold a hair dryer by its cord loop or a heat-resistant pouch for a straightener. Clean the surface with rubbing alcohol first, press for 30 seconds and wait a full hour before hanging anything. Check the door still closes: allow 2 inches of clearance to the shelf edge. Around $8 a pack ($).
6. A rechargeable light bar on the mirror
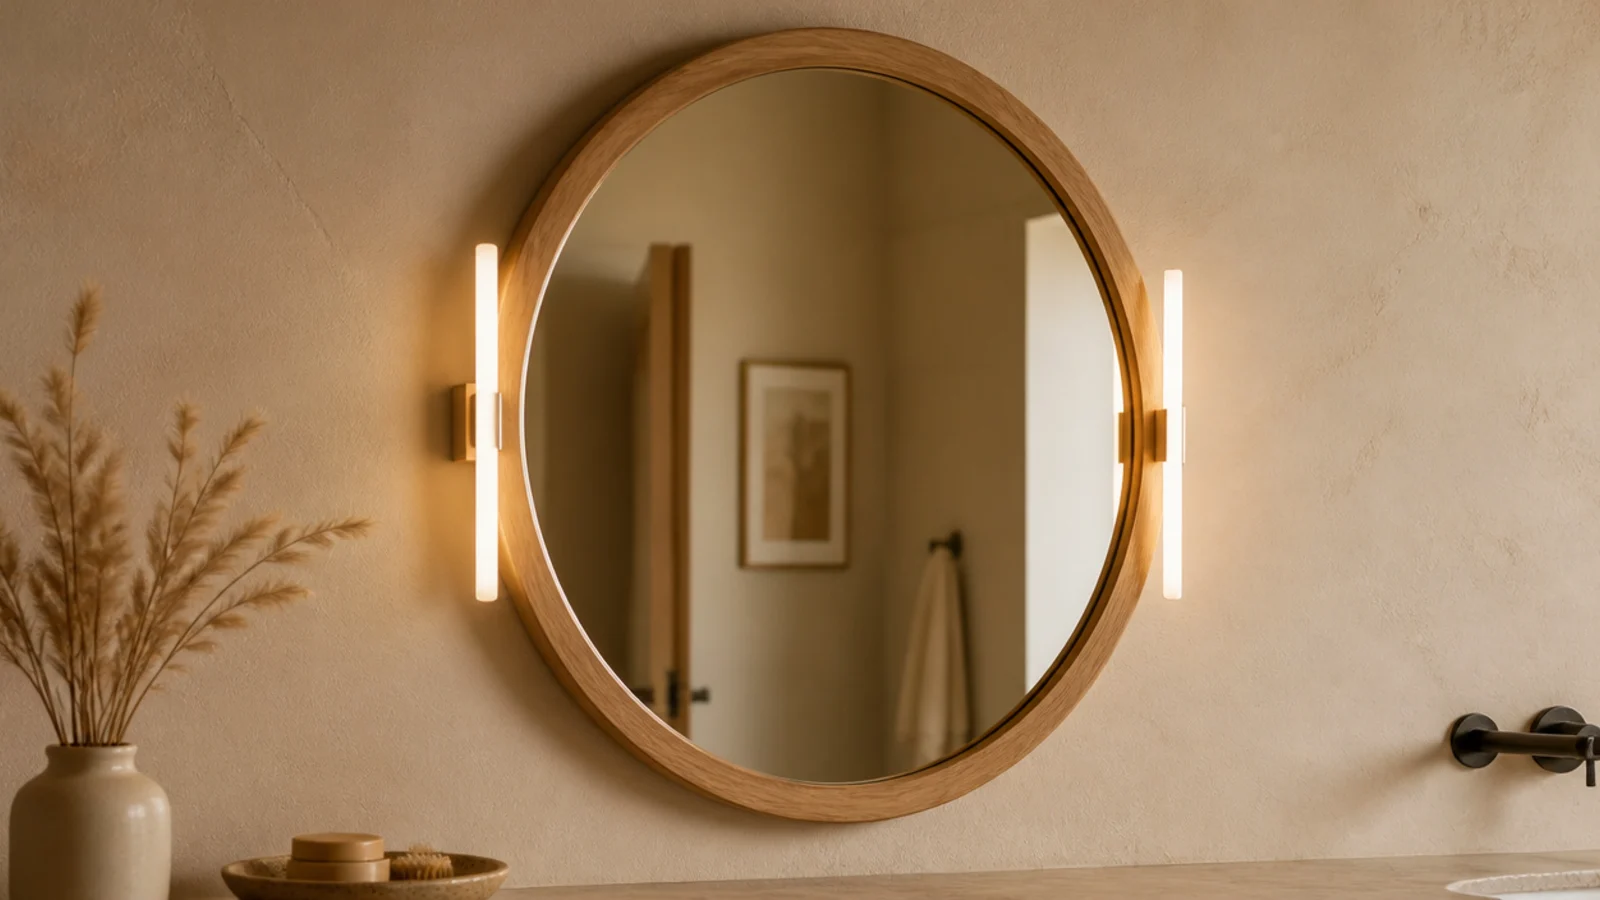
Overhead bathroom lighting drops shadow straight down your face, which is why makeup done there looks different everywhere else. You want light arriving from both sides at eye level.
Two rechargeable magnetic light bars, one clipped to each side of the mirror, fix this without an electrician or a single hole. Look for 3000K to 4000K and a high CRI rating — colour rendering is the number that decides whether your foundation matches in daylight. Warmer than 3000K and everything skews orange. $25 to $70 for a pair ($$).
7. Drawer inserts measured to the inside, not the outside
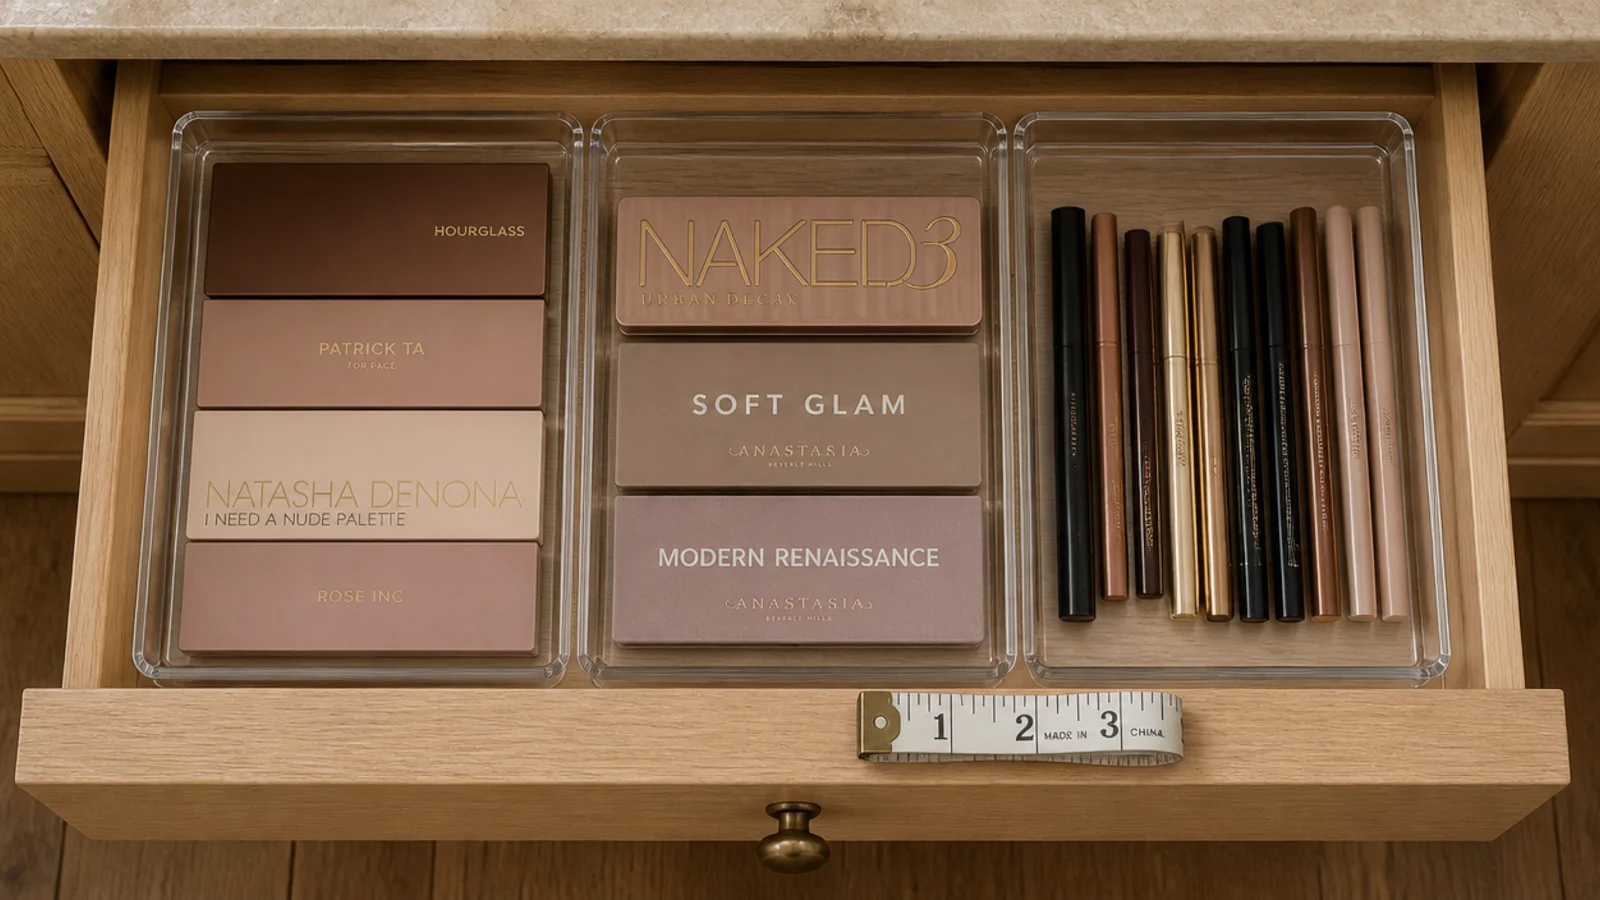
This is the mistake I made three times before it stuck. Drawer inserts are sold by outside dimensions and drawers are described by outside width, so buying to the number on the label leaves you with a set that will not close.
Open the drawer, measure the internal width, depth and height, then subtract an eighth of an inch from each. Take two to three inches of insert depth for palettes and compacts, four to five for bottles and pumps standing upright. A measured set of three costs $20 to $45 ($$) and holds far more than a bigger unmeasured one.
8. A two-tier turntable for the cabinet corner
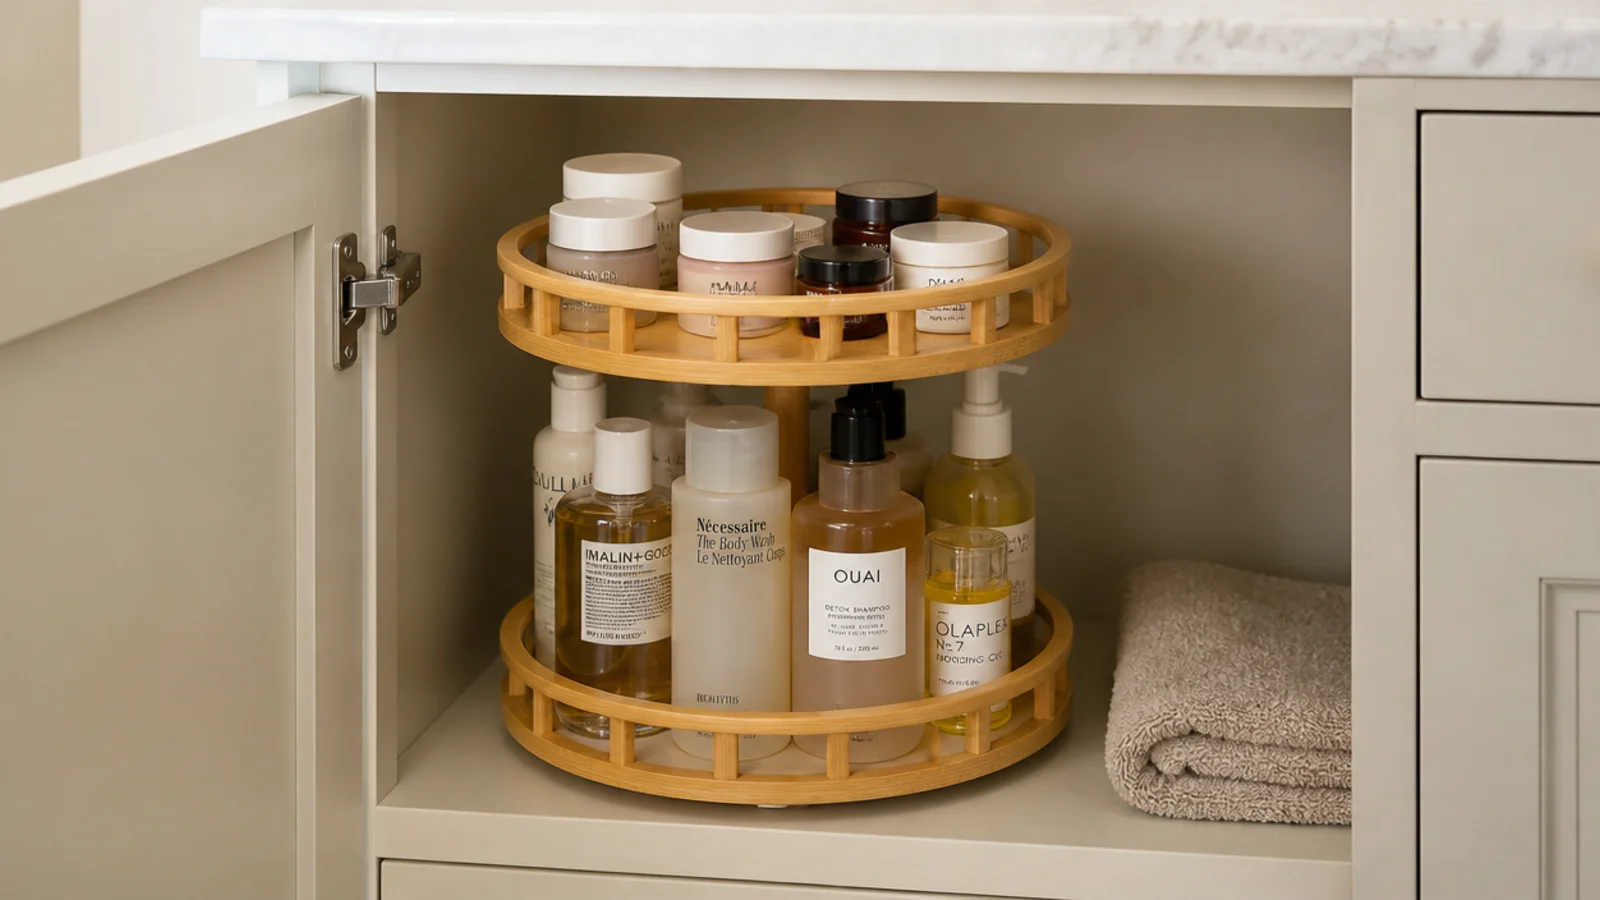
The back corner of an under-sink cabinet is where products go to be forgotten. A turntable converts that dead depth into something you can reach with one hand.
Two tiers, 11 inches across, with a raised outer rim so nothing walks off as it spins. Tall bottles on the lower ring, small jars above. Load it so every label faces outward — a turntable you have to rummage through is just a round shelf. Bamboo or a plastic that wipes clean, $14 to $30 ($$).
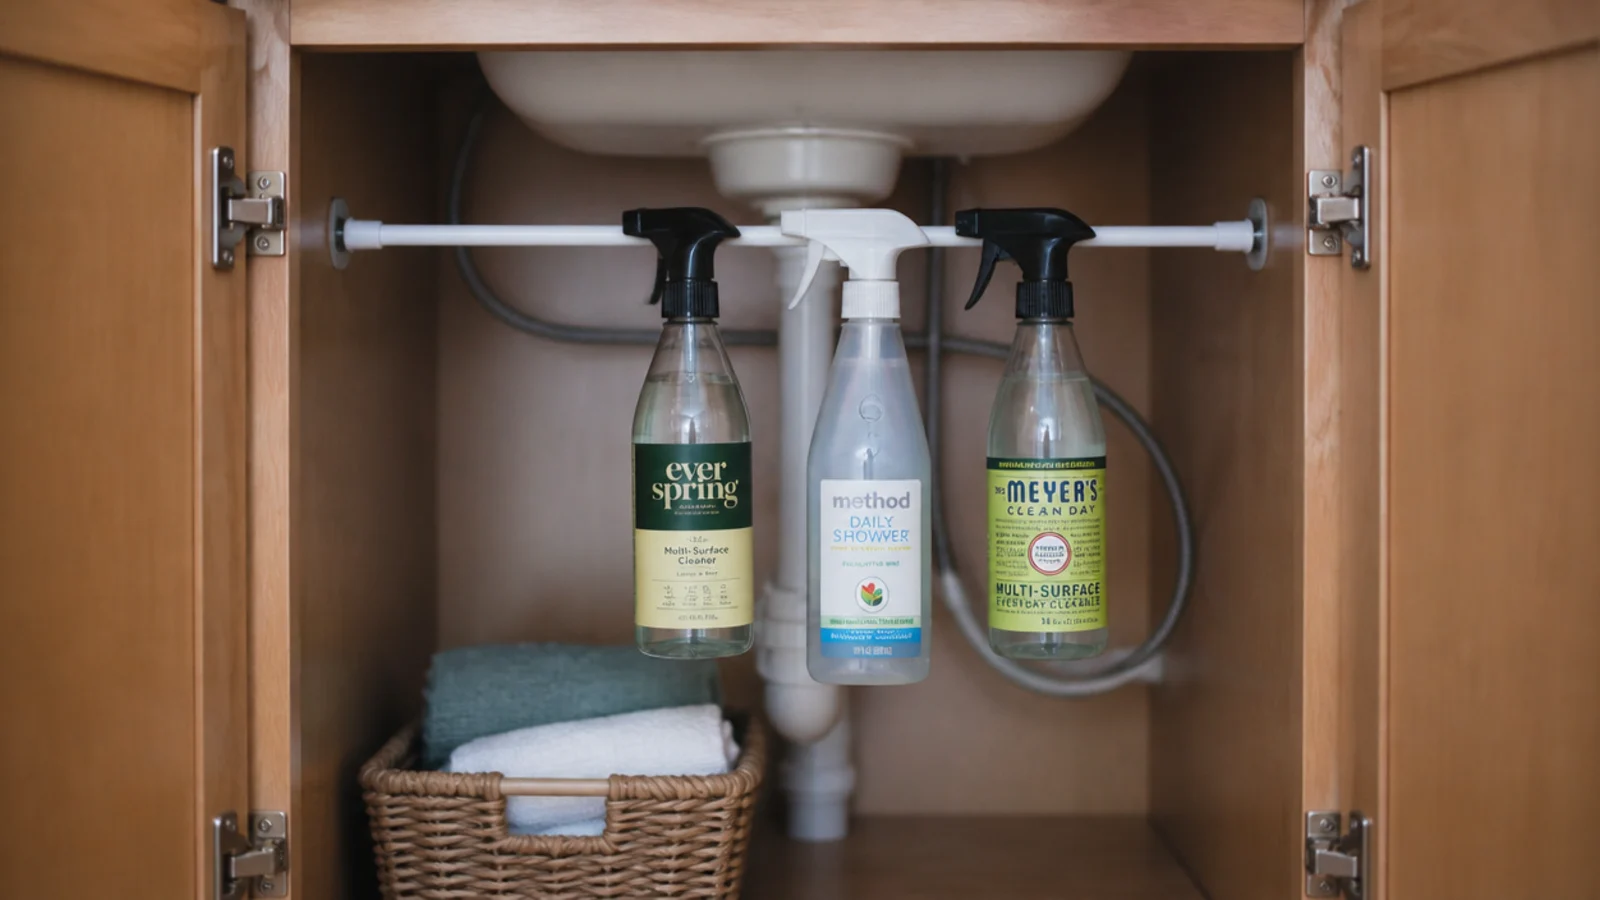
9. A tension rod under the sink
A spring-loaded tension rod braced between the two side walls of an under-sink cabinet holds spray bottles by their triggers, lifting them completely off the floor of the cabinet.
That freed floor then takes a basket. Choose a rod rated to at least 10 pounds and set it about 4 inches below the cabinet top so bottle tops clear the shelf above. It presses outward rather than screwing in, which makes it entirely rental-safe. Around $8 to $14 ($), and it is the fastest fix on this list.
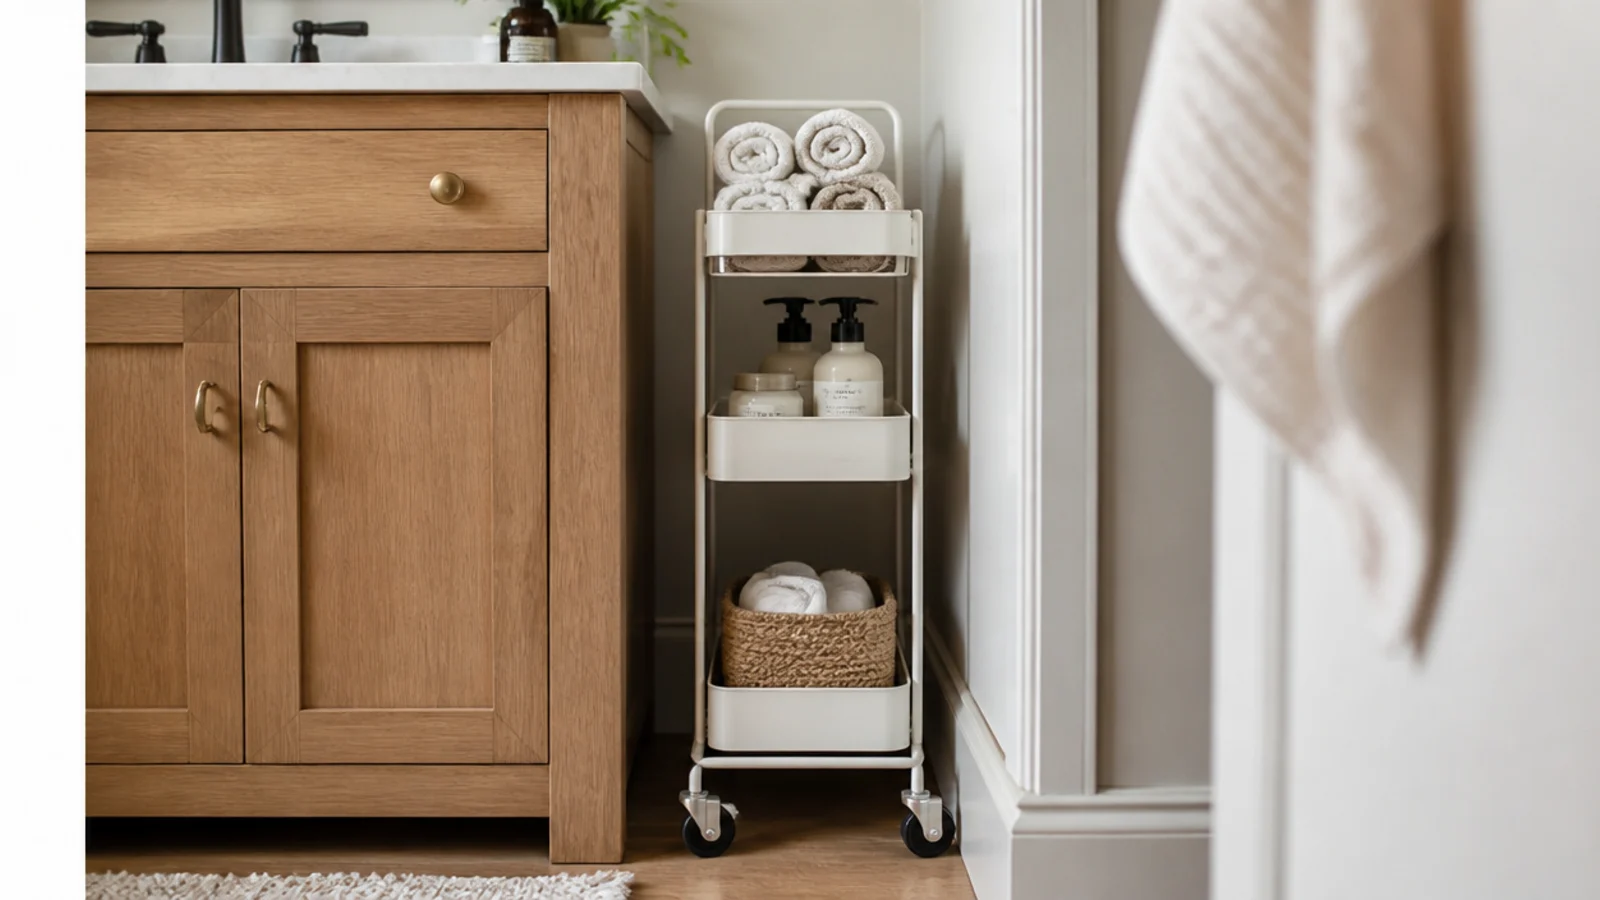
10. A slim rolling cart in the gap beside the vanity
Almost every bathroom has a six-to-ten-inch gap between the vanity and the wall or tub. A narrow three-tier cart slots into it and rolls out when you need the back of it.
Measure the gap at its narrowest point, subtract an inch, and shop to that number. Heaviest things on the bottom tier so it does not tip as it rolls. Backstock, towels and hair tools live here rather than on the counter. $30 to $60 ($$), and it moves with you.
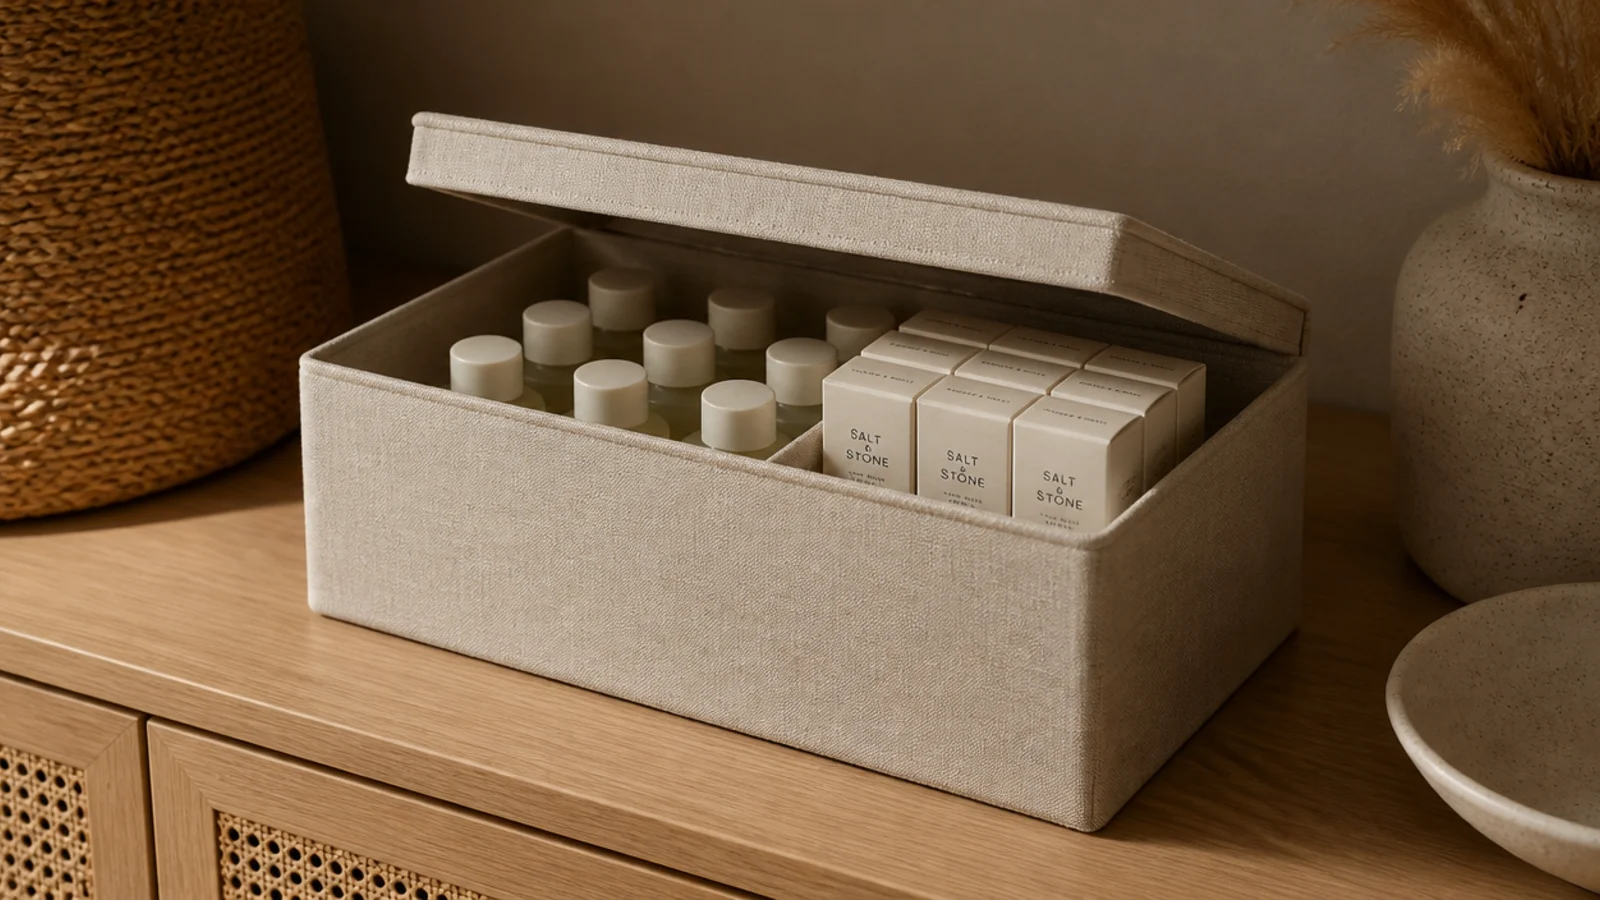
11. A lidded box for backstock you already own
Most cluttered vanities are not short of storage — they are storing three of everything. A single lidded box, roughly a shoebox in size, holds every unopened backup in one place.
Two rules make it work. Nothing new gets bought until the box is checked, and the box lives away from the window, because heat and direct sun break down actives like retinol and vitamin C faster than any expiry date suggests. A linen-covered box runs $12 to $25 ($), and mine has saved more money than any organizer I own.
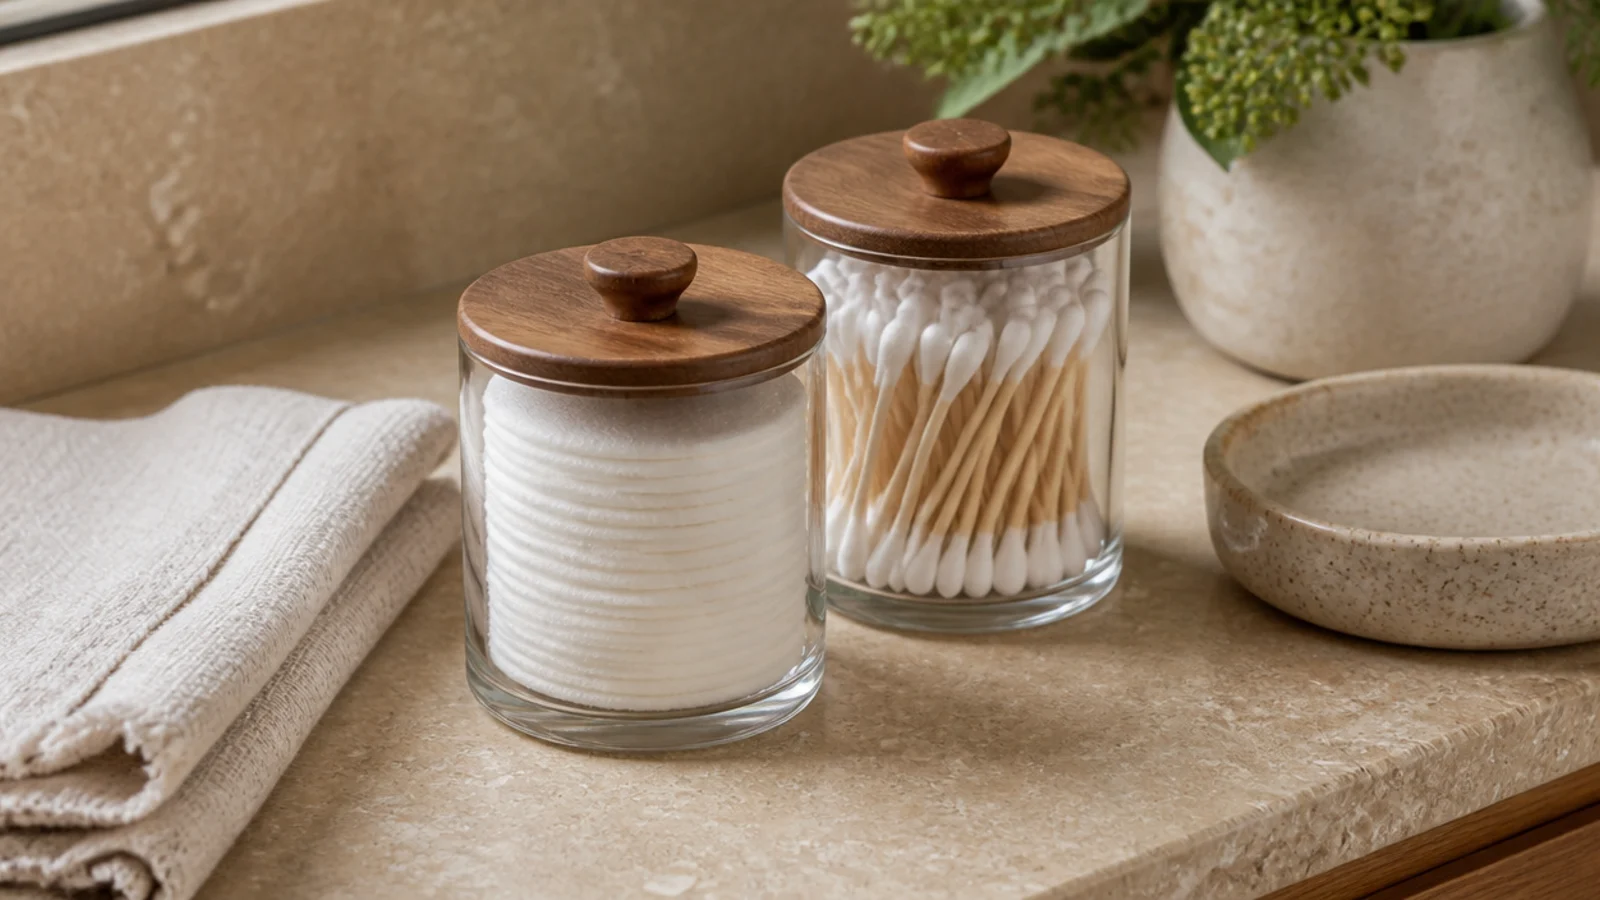
12. Decant the cotton rounds and swabs
Bulk packaging is the reason a small vanity feels chaotic. Crumpled plastic bags refuse to stack, refuse to stand up, and take a whole cupboard shelf between them.
Two small glass canisters with wooden lids, around 4 inches tall, hold a month of cotton rounds and swabs and cost about $8 each ($). Refill from the bulk bag stored in the lidded box. It looks like a styling choice and is genuinely a space decision — jars stack, bags do not.
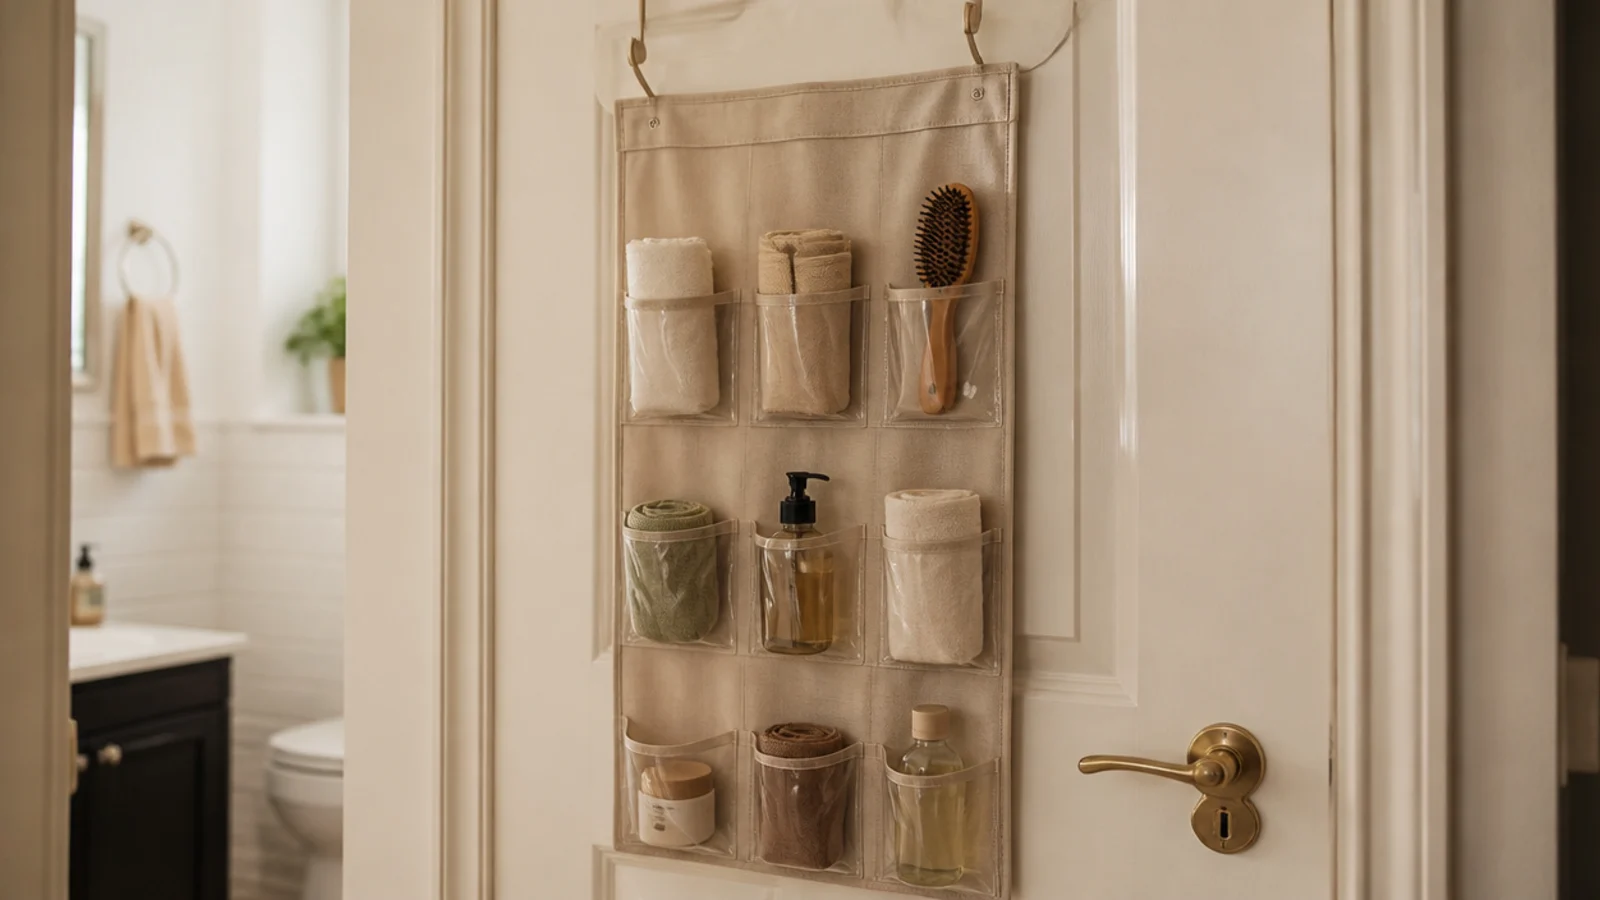
13. An over-the-door organizer for the overflow
If the bathroom door opens against a blank wall, the back of it is a whole storage wall you already have. Over-the-door hooks carry the frame; no fixings go into anything.
Choose a canvas or clear-pocket organizer with a slim profile — under 3 inches deep, or the door stops closing properly. Rolled washcloths, a brush, spare bottles. Pad the hooks with felt so they do not mark the door edge; that mark is the only thing a landlord would ever notice. $15 to $30 ($).
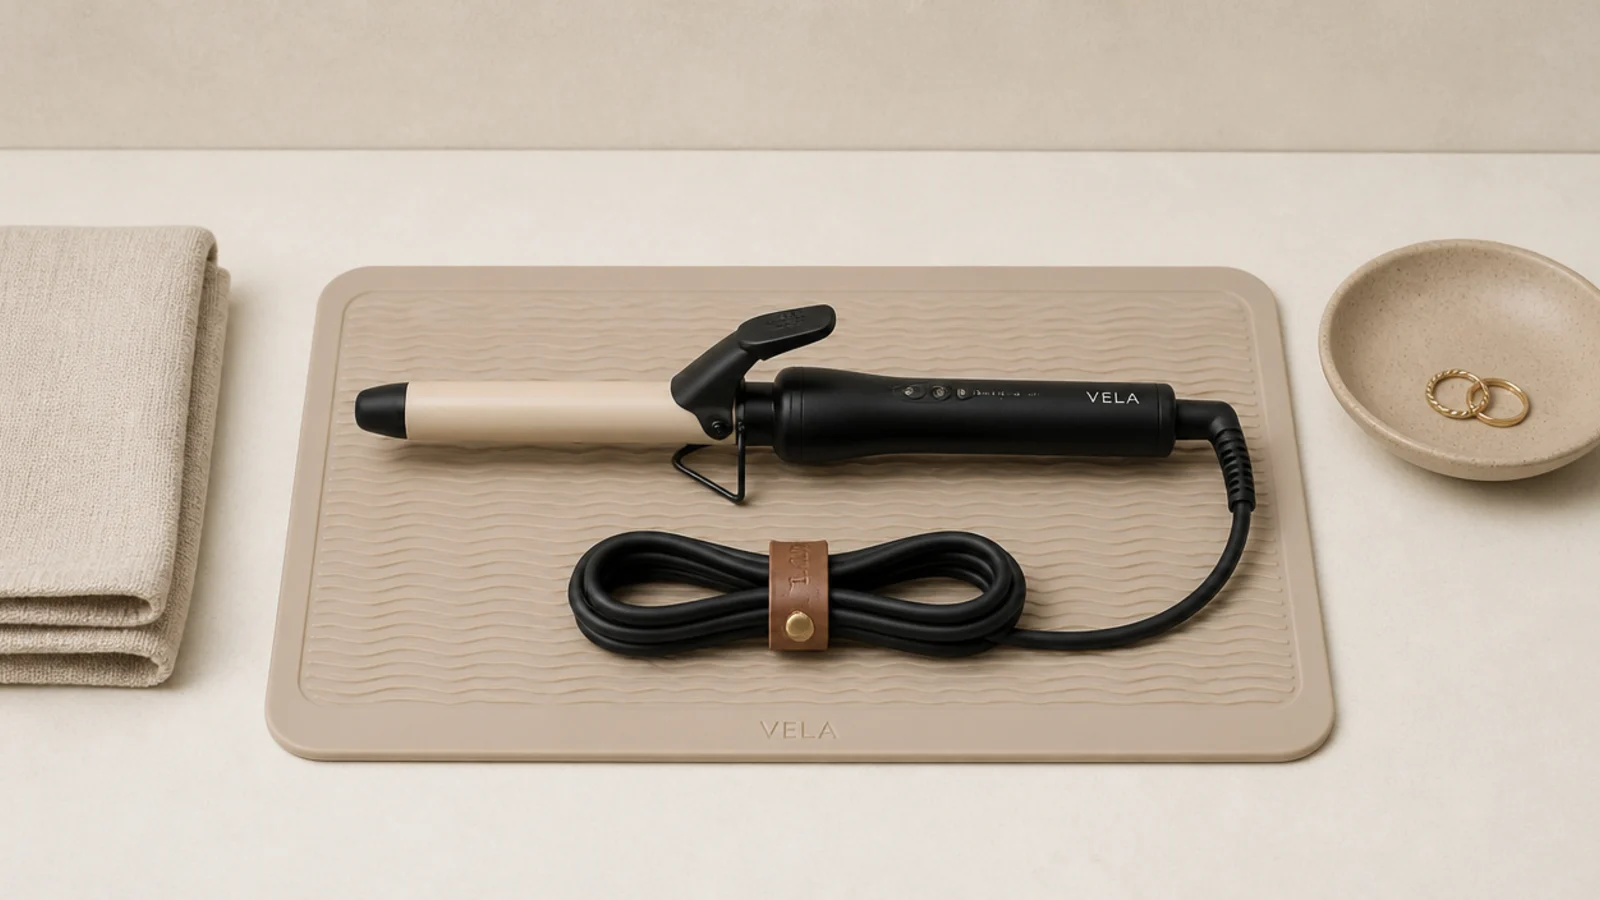
14. A heat mat and one coiled cord
Hot tools are the reason most vanity counters look chaotic, and it is the cords doing it rather than the tools. A silicone heat mat gives a curling iron somewhere legitimate to cool down without scorching the counter.
Coil the cord into a loop the size of your palm and hold it with a leather strap or a velcro tie. Uncoiled cords take three times the space and drag other things off the counter with them. Mat and ties together run under $20 ($). Anything that stays hot never goes back in a drawer.
15. A twice-yearly cull with a trash bag
No organizer on this list beats owning less, and dates make the decision for you rather than leaving it to sentiment.
Mascara goes at three months, liquid foundation at six to twelve, powders at about two years. Anything that has separated, smells different or has changed colour goes regardless of date. Do it in spring and autumn with a bag in one hand, and give it ten minutes. Every single time I have done this, I have freed more room than the bins I was about to buy would have — and it costs nothing. Small vanity organization leans on this hardest.
Mistakes to Skip
- Buying drawer inserts before measuring the drawer interior. Outside dimensions are what is printed on the box, and a set that will not let the drawer close goes straight back.
- Sticking a heavy adhesive shelf onto flat builder-grade paint. It holds for a month, then leaves a paint-coloured patch on the shelf and a bare patch on the wall.
- Storing brushes bristles-down in a cup because it looks neater. The bend sets within weeks and no amount of washing brings the shape back.
Frequently asked questions
How do I organize a vanity without drilling into the wall?
Work with weight and friction instead of screws. A tray, a weighted brush cup, a riser shelf and a two-tier turntable all sit on the counter and hold themselves down. Tension rods brace between two cabinet walls, and rolling carts slot into a six-inch gap. Between those four, most vanities are solved before adhesive ever comes into it.
What is the best way to arrange products on a vanity counter?
In routine order rather than by category: cleanse, treat, colour, left to right. Your hand then moves in one direction each morning and nothing gets picked up twice. Keep only the daily items out, put everything else in a drawer, and group the counter items on a single tray so the surface reads as one object rather than eight.
How do I stop my makeup brushes from splaying?
Store them bristles-up in a cup heavy enough not to tip, and never lay them flat in a crowded drawer. Bristles bent against a drawer wall keep that bend permanently. A weighted stoneware or marble cup around three inches wide holds eight to ten brushes upright without crowding them into each other.
Will adhesive organizers damage rental paint?
Sometimes, and flat builder-grade paint is the worst offender. Test one strip in a hidden spot for 48 hours before you commit to a row of them. Clean the surface with rubbing alcohol, press for 30 seconds and wait an hour before loading. To remove, warm the strip with a hair dryer and pull slowly, parallel to the wall.
How often should I clear out my vanity?
Twice a year, and it beats any organizer you can buy. Mascara goes at three months, liquid foundation at six to twelve, powders at about two years. Ten minutes with a trash bag in spring and autumn usually frees more space than the bins people buy to fix the same problem.
Start with the tray and the brush cup — under $40 together, five minutes, and they change the counter more than anything else here. Once the surface is calm, work down into the drawer with measured inserts, and keep the twice-yearly cull in your calendar. For the full drawer method, see vanity drawer organization, and if your rental has one closet doing every job, small walk-in closet lighting covers the same no-drill lighting trick. Save the pin so the measurements are with you in the aisle.
Want more like this? Browse all 15 vanity organization guides — they all use the same measurements and budget tiers.

Pin it for later
Save this to your Vanity Organization board
Pin it now so it is waiting for you when the tape measure comes out — and so the next person hunting for this idea can find it too.
Save this pinKeep going
More ideas worth saving while you have the tape measure out.