Vanity Organization · Listicle
20 Creative Vanity Organization Ideas Anyone Can Do

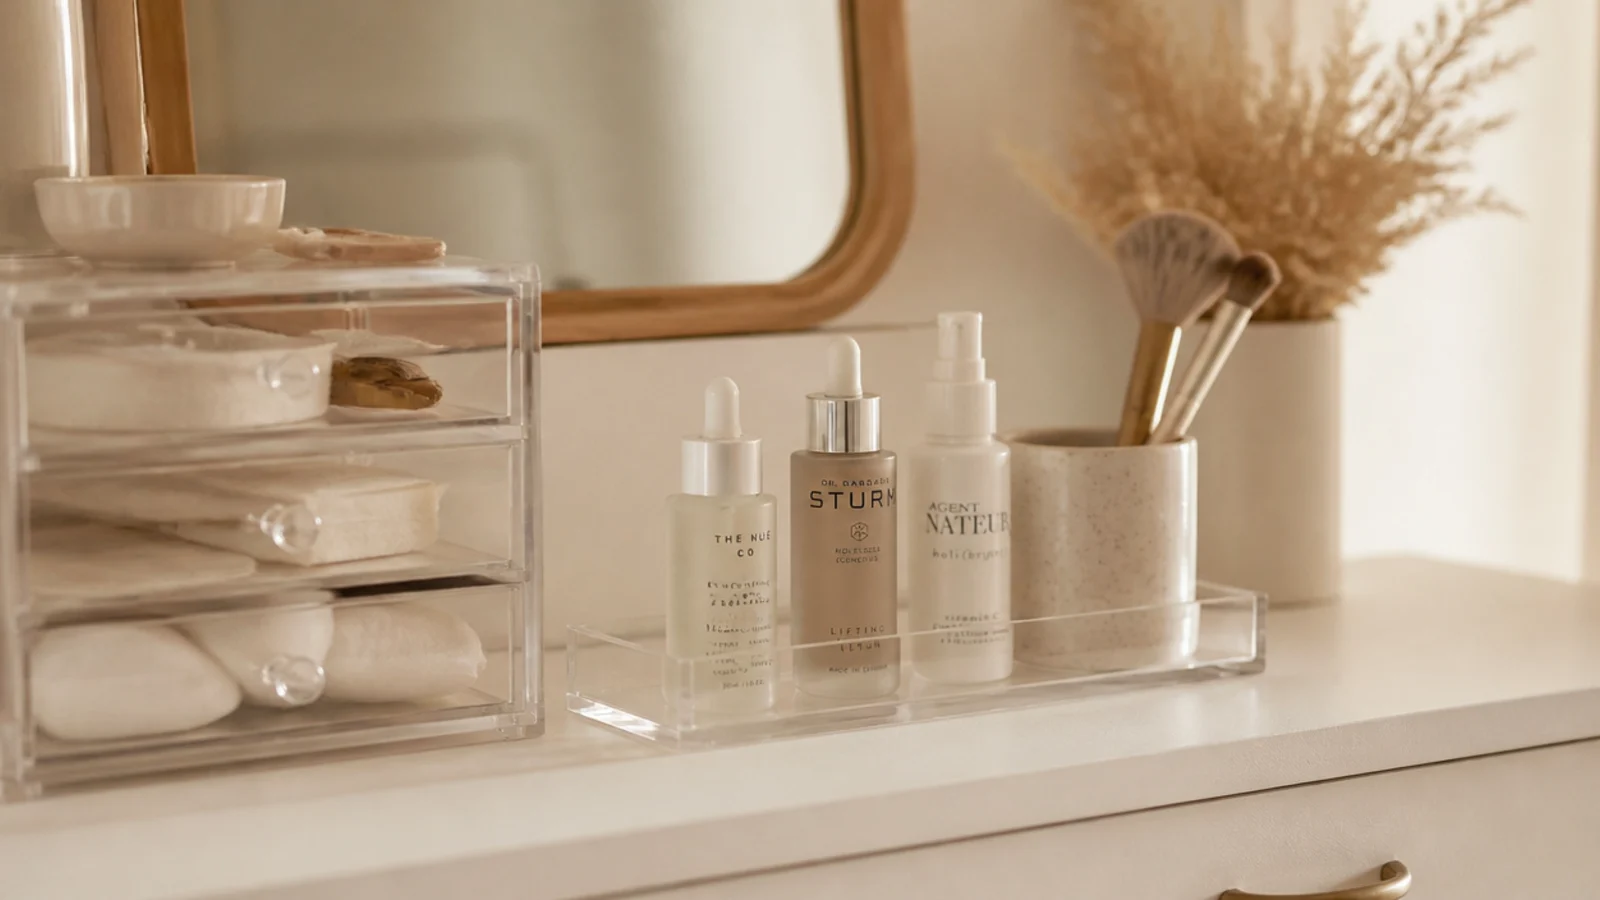
Acrylic vanity organizers get bought in nine-piece sets and used in twos, which is how a tidy counter turns into a shelf of empty boxes. Clear storage only earns its place where seeing the contents changes your behaviour — and there are about six spots per vanity where that is genuinely true. Here are twenty ways to use it well, with the measurements that decide whether a piece fits or goes back.
In this guide22 sections — tap to openHide
- 1.What acrylic vanity organizers do better than anything else
- 2.A stackable clear drawer unit as the base layer
- 3.An angled lipstick tier you can read at a glance
- 4.A divided brush holder that keeps bristles up
- 5.A vertical file rack for flat palettes
- 6.Drawer dividers cut to the internal dimensions
- 7.A lipped tray for the daily five
- 8.A turntable for the under-sink corner
- 9.A stepped riser so you can see the back row
- 10.A slotted rack for nail polish
- 11.A lidded canister for cotton rounds
- 12.An upright caddy for pumps and droppers
- 13.Mini bins for the tiny things that migrate
- 14.A shallow tray inside the top drawer
- 15.Felt pads under everything that sits on stone
- 16.A jewelry tray with slotted compartments
- 17.A hair tool caddy that takes the heat
- 18.Frosted labels on the back, not the front
- 19.One warm material to break up the clear
- 20.A wipe-down routine that keeps it clear
- 21.An empty compartment left deliberately spare
- 22.Mistakes to Skip
What acrylic vanity organizers do better than anything else
Clear plastic solves one specific problem: you forget what you own the moment it goes behind a door. Everything else — warmth, hiding bulk, wiping down — another material does better.
So use it where visibility pays. Palettes filed upright, lipsticks angled so the base labels read, small things in walled bins. Use warm materials for the parts that do not need to be seen: the box of backstock, the brush cup, the tray your hand lands on every morning.
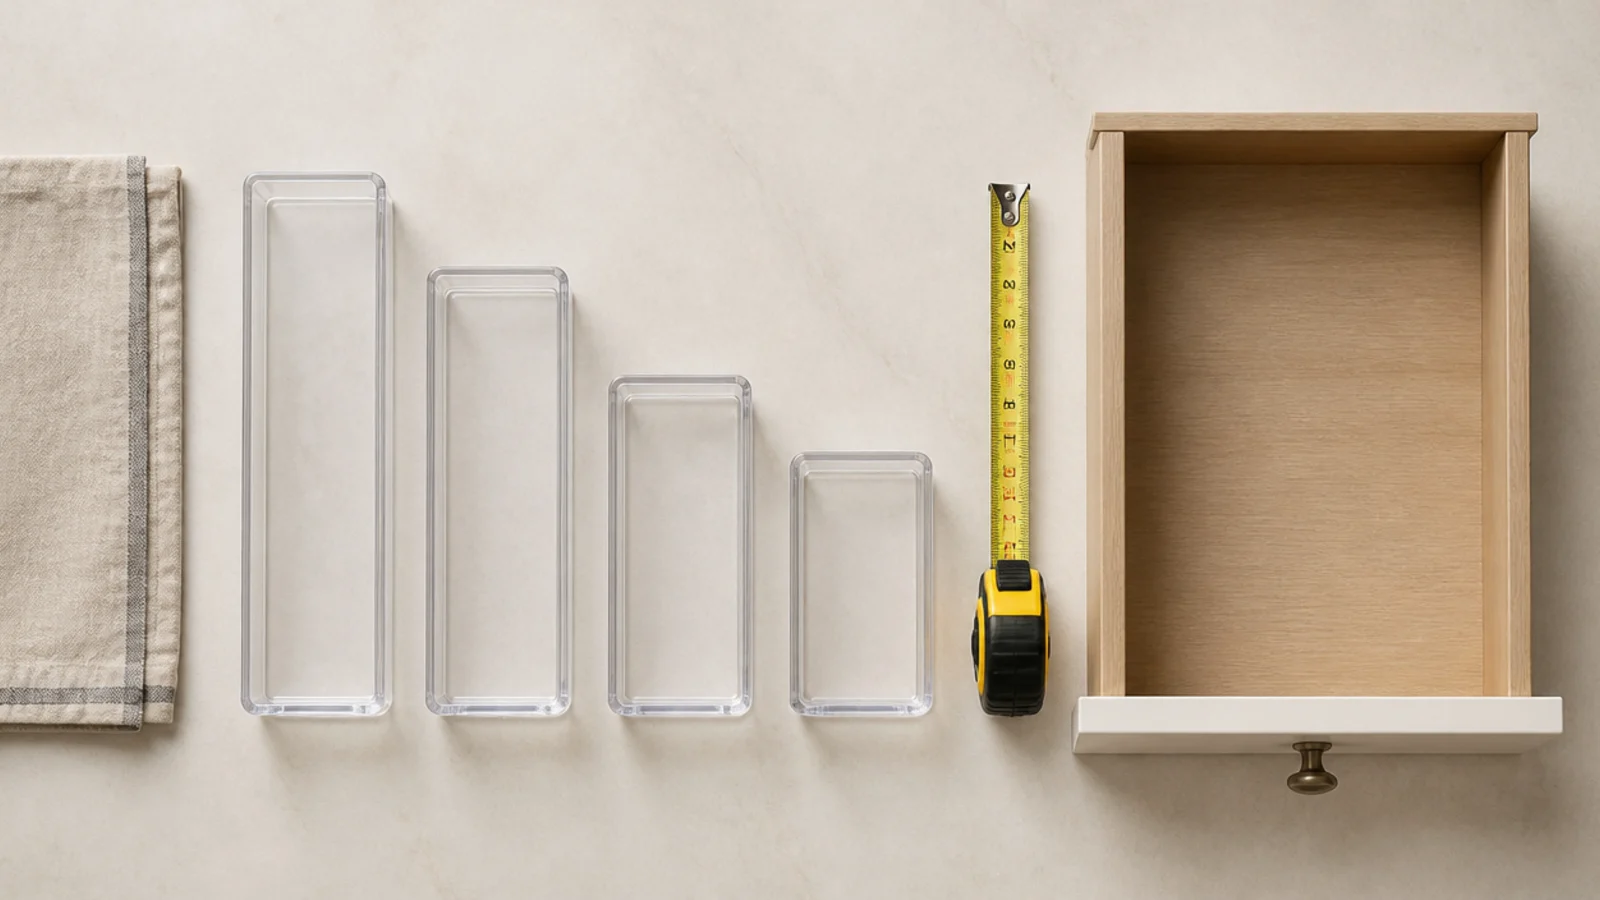
Measure before you buy anything. Drawers get described by their outside width, and inserts by their outside dimensions, so the only number that matters is the internal one. Measure the inside width and depth of the drawer, then subtract an eighth of an inch of clearance so the set glides rather than jams. Two to three inches of height fits flat palettes and compacts; four to five inches fits serum bottles and pumps standing upright.
Then load in routine order — cleanse, treat, colour — rather than by product category. Categories look neat and force you to open three containers to finish one step.
Budget tiers here: $ is under $20 for a tray, a bin set or a canister. $$ is $20 to $60 for a stacking drawer unit or a fitted insert set. $$$ is $60 and up, usually a full multi-drawer tower.
1. A stackable clear drawer unit as the base layer
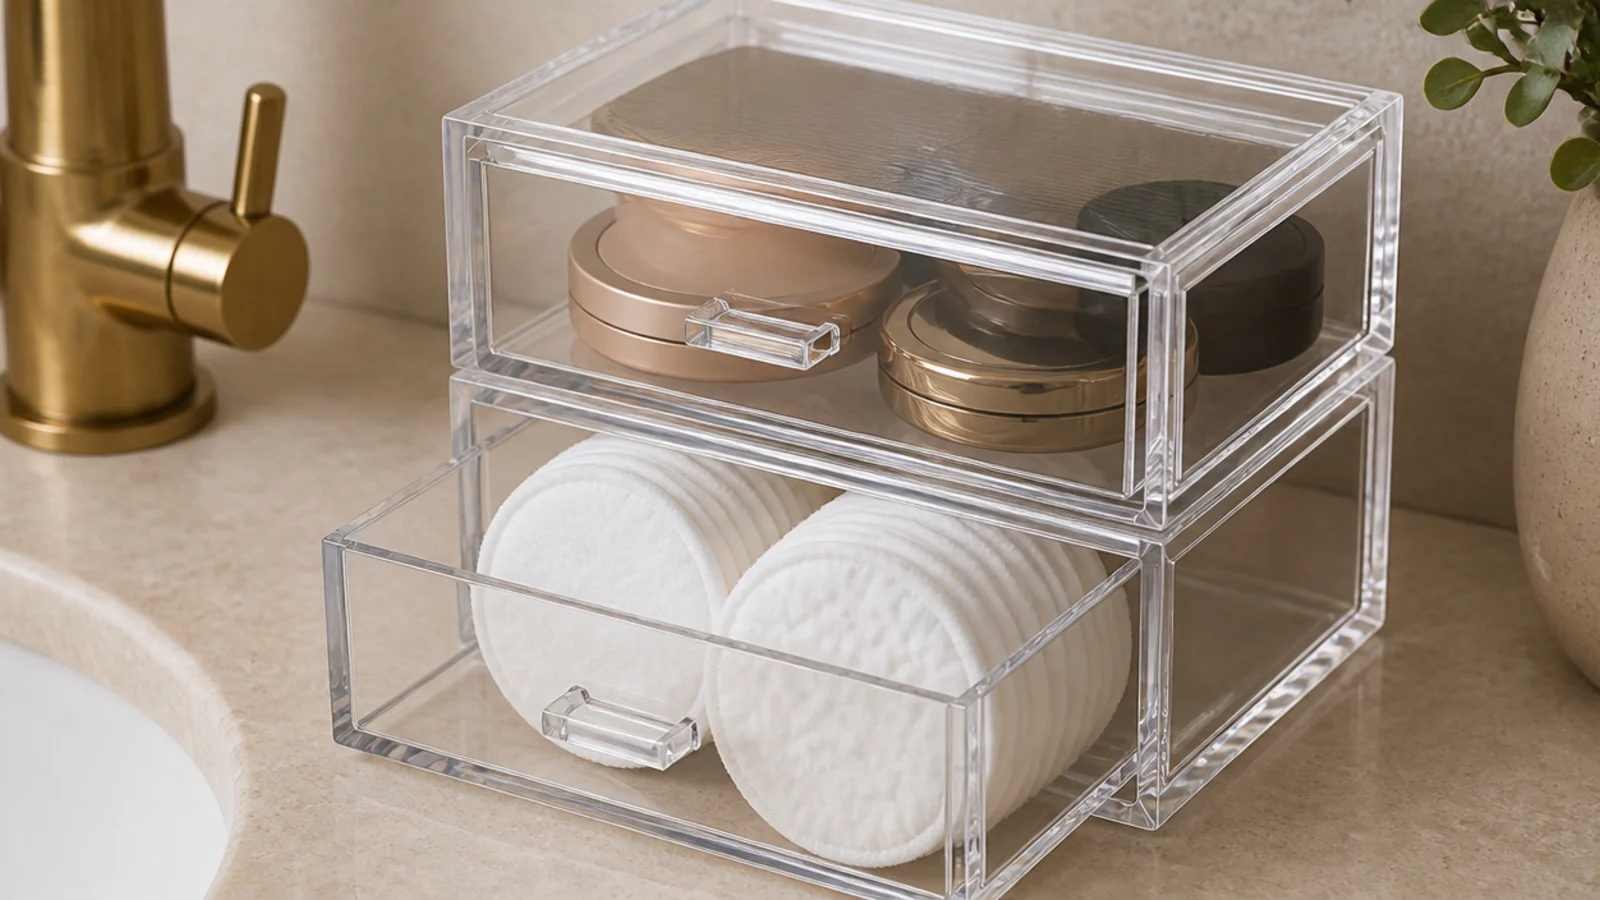
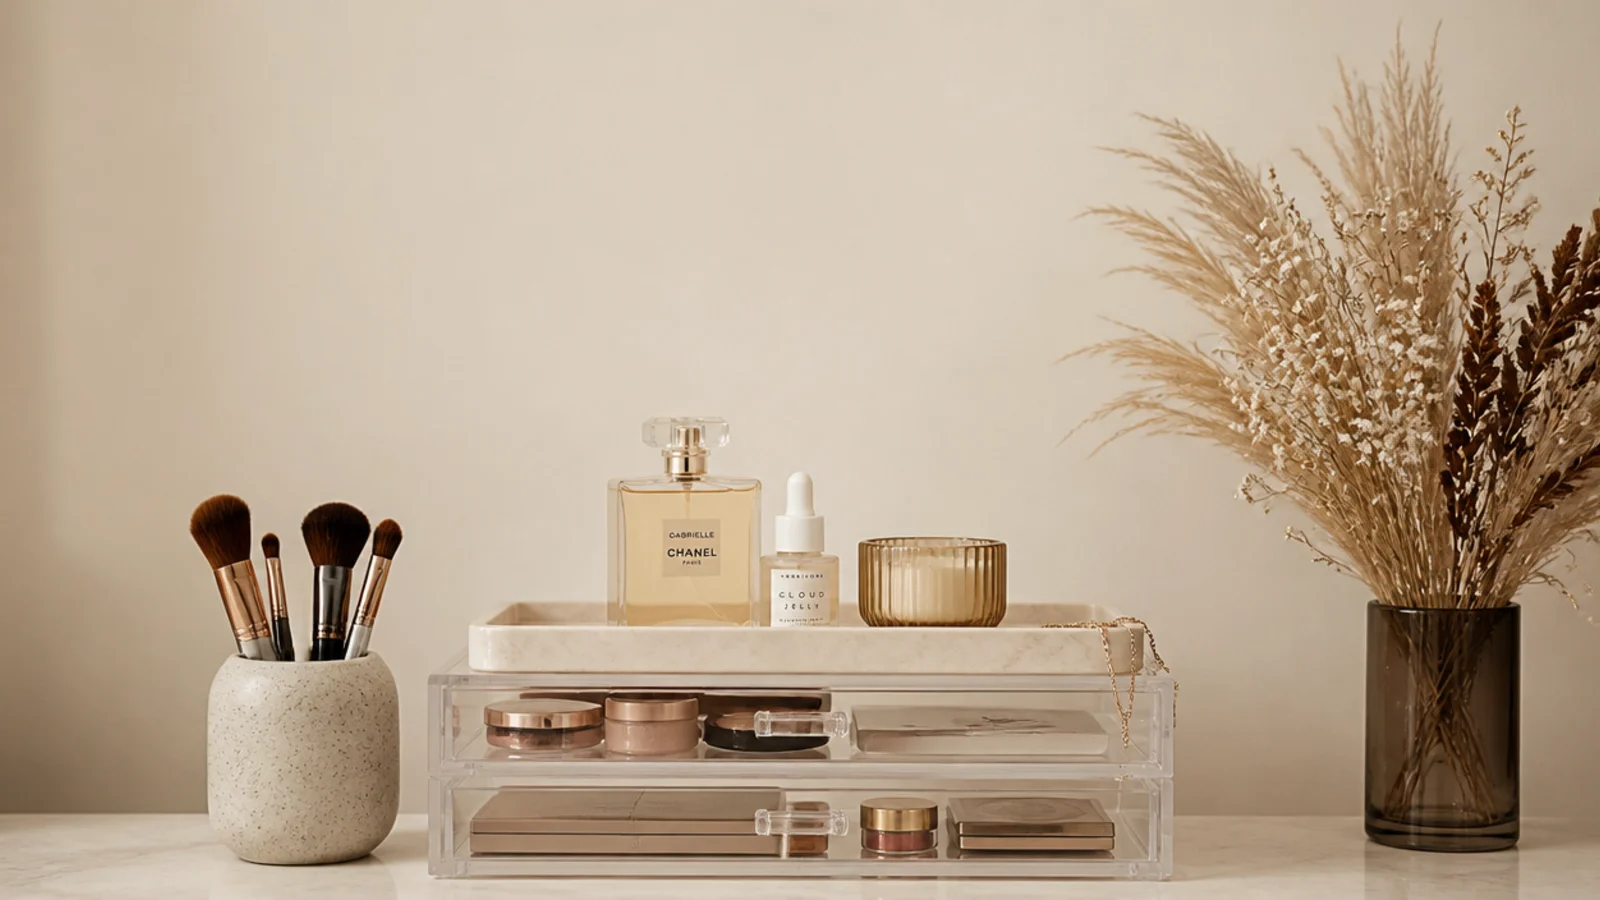
The workhorse. A two-drawer unit roughly 9 inches wide, 7 inches tall and 6 inches deep gives two hidden layers in the footprint of a large candle.
Keep bulk low and daily items high — cotton rounds and spare hair ties underneath, compacts lying flat above. Look for drawers that run on moulded rails rather than dragging acrylic on acrylic, because the dragging kind scratches itself within a month. $18 to $40 ($$).
2. An angled lipstick tier you can read at a glance
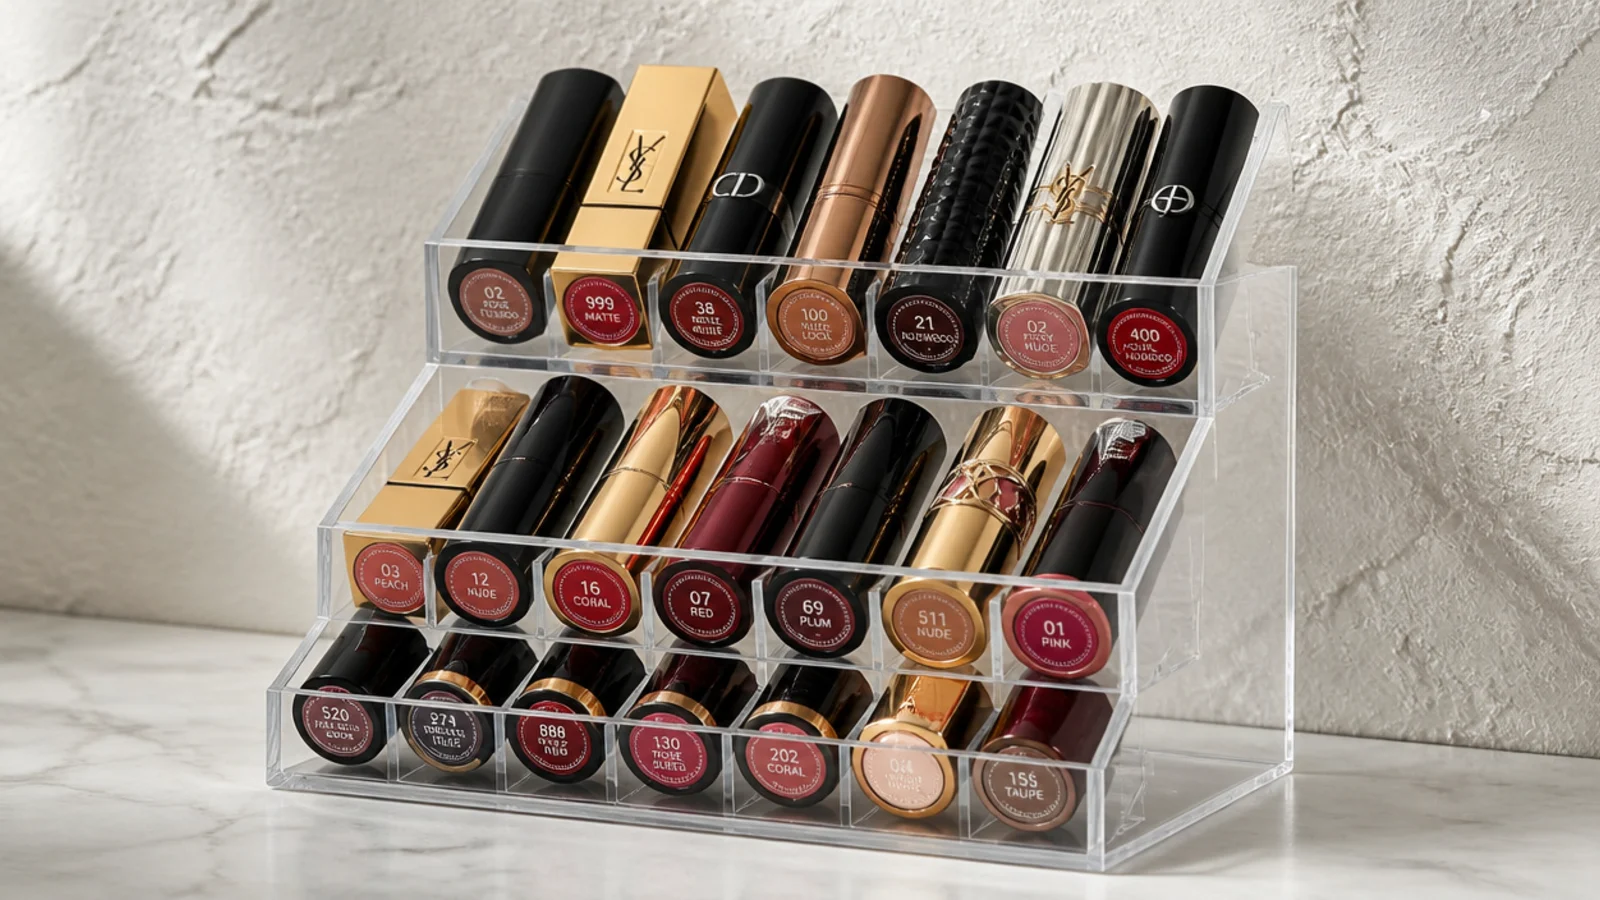
Lipsticks stored upright in a cup are unidentifiable from above. An angled tier tilts every tube forward so the shade label on the base faces you while you are sitting down.
Twelve to sixteen slots is the useful size; anything larger and you are storing shades you do not wear. Measure your tallest tube against the slot depth — deep slots swallow short bullets entirely. Around $12 to $25 ($).
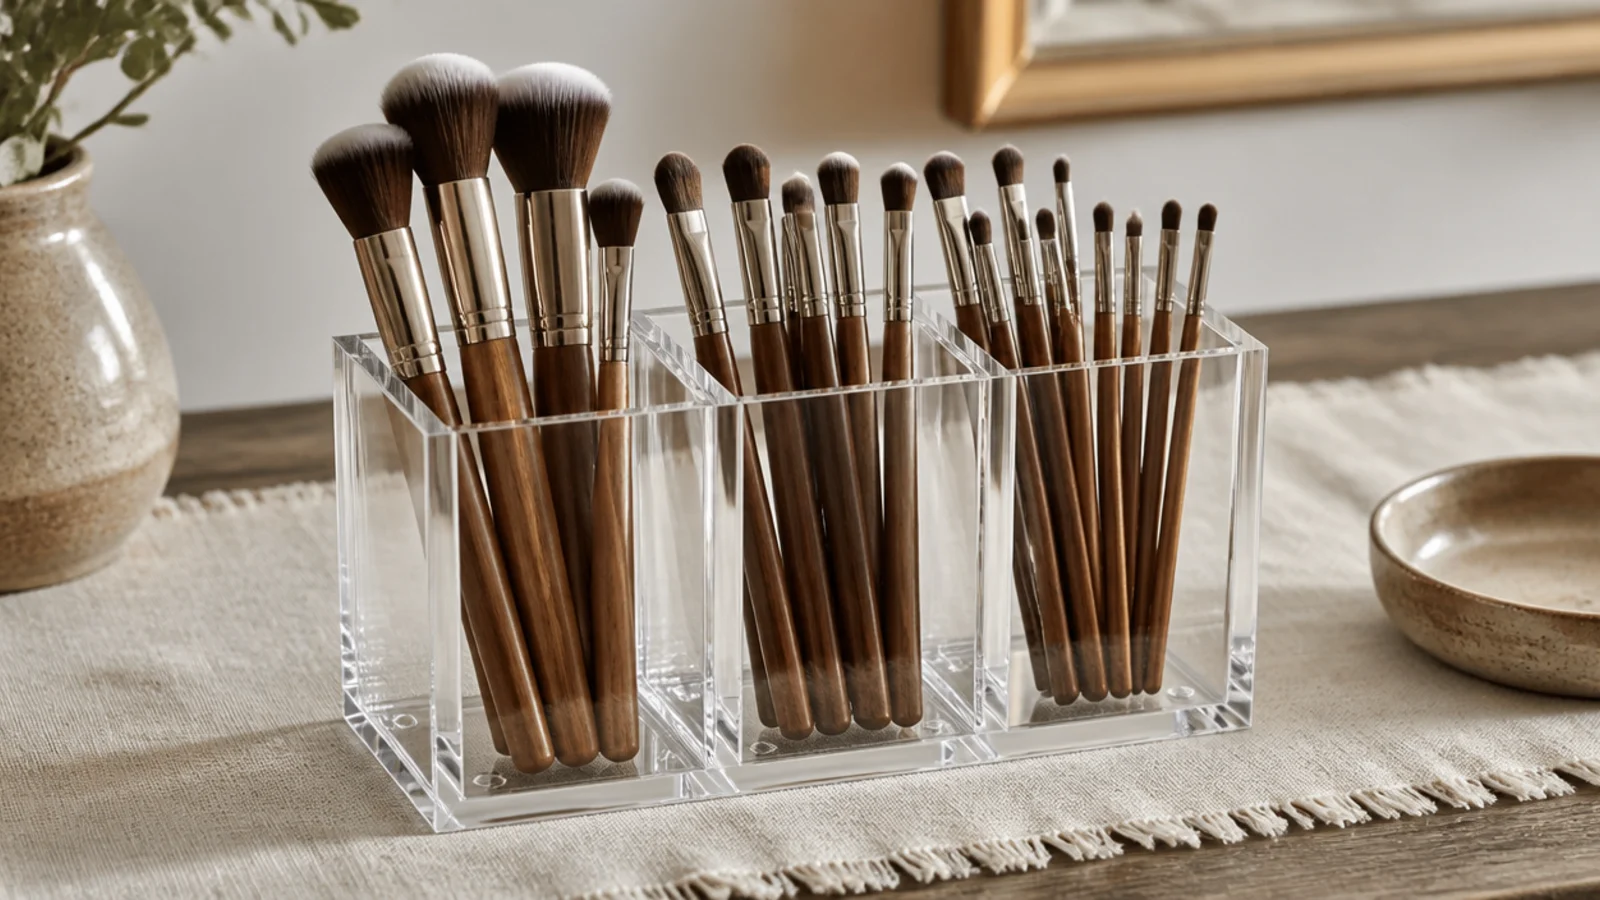
3. A divided brush holder that keeps bristles up
Brushes must stand bristles-up or they splay, and once the bristles take a bend they keep it. A divided holder does what a plain cup cannot: it stops nine brushes leaning into the same corner and crushing the shapes together.
Look for three or four compartments and a base wide enough that it does not tip when the brushes lean. If it feels light, add half an inch of glass beads. $14 to $28 ($).
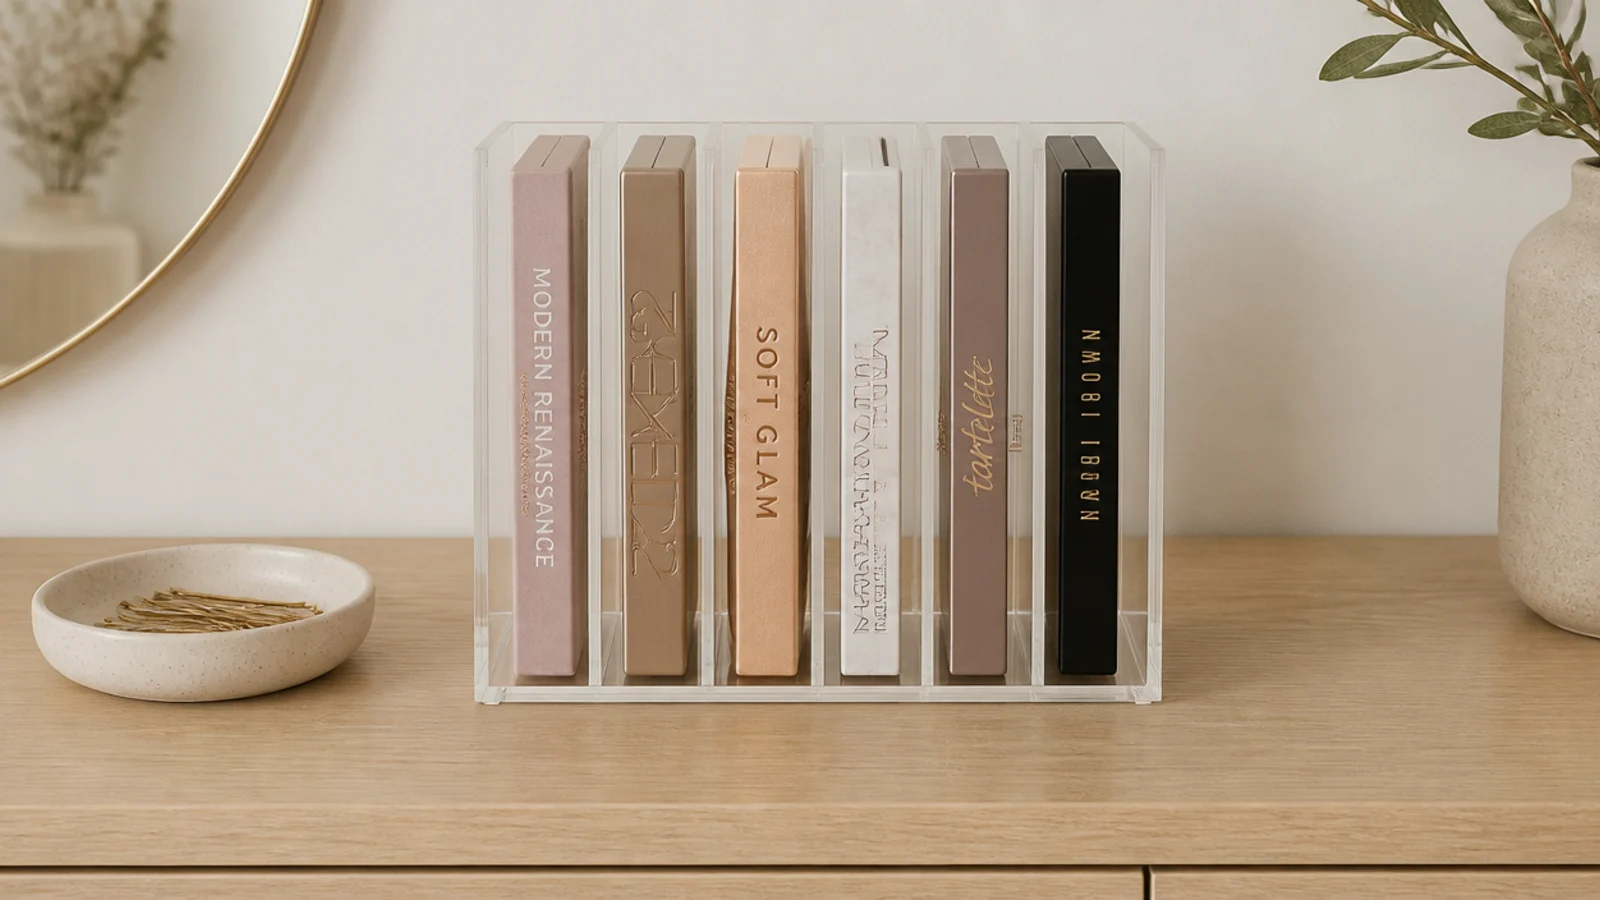
4. A vertical file rack for flat palettes
Stacked palettes are a system for using only the top one. Filed upright like books, you can read every spine and pull one out without dismantling the pile.
Slot width matters more than slot count — measure your thickest palette and add a sixteenth of an inch. Six slots covers most collections honestly. This is the single change that made my own drawer usable, and it costs $15 to $30 ($$).
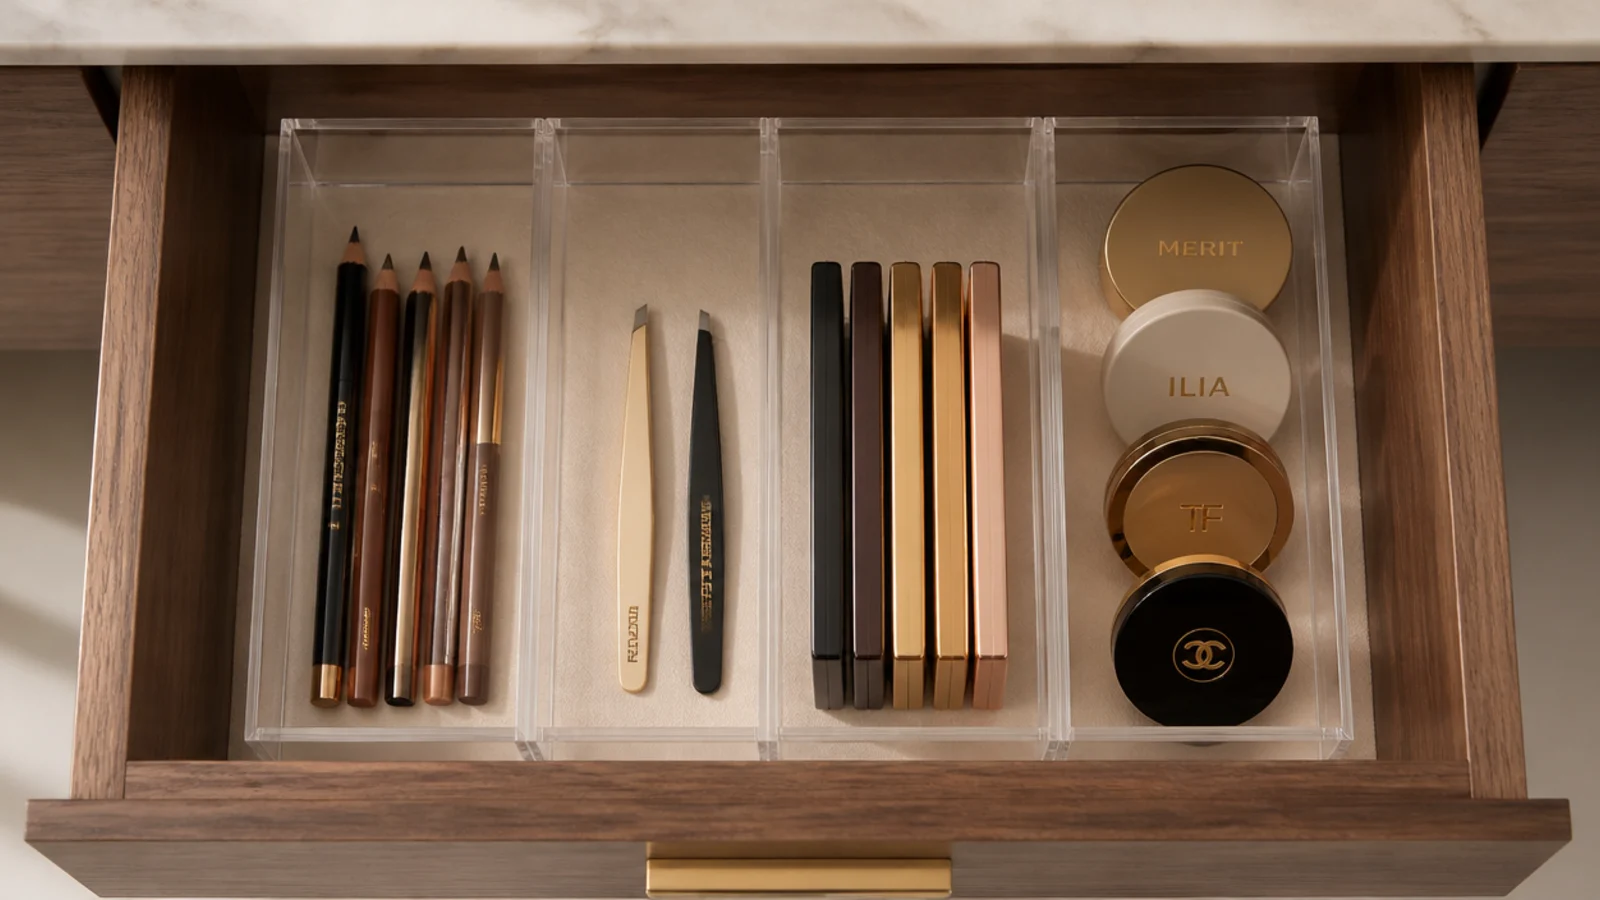
5. Drawer dividers cut to the internal dimensions
Adjustable dividers turn one deep drawer into four lanes. They only work if the run measures to the drawer interior with an eighth of an inch spare, otherwise they bow and pop out every time you close it.
Run the lanes front to back rather than side to side. Front-to-back lets you pull one item from the depth of the drawer without lifting the ones in front of it. $20 to $45 for a set ($$), and it is the backbone of vanity drawer organization.
6. A lipped tray for the daily five
A tray is how six objects become one composition, and the lip is how a tipped serum bottle stays on the tray instead of running into the counter seam.
Twelve by eight inches with a quarter-inch lip is the right default. Load it cleanse, treat, colour from left to right, and keep it to five items. Clear works here if the counter is busy; a warm material works better if it is not. Around $15 to $28 ($).

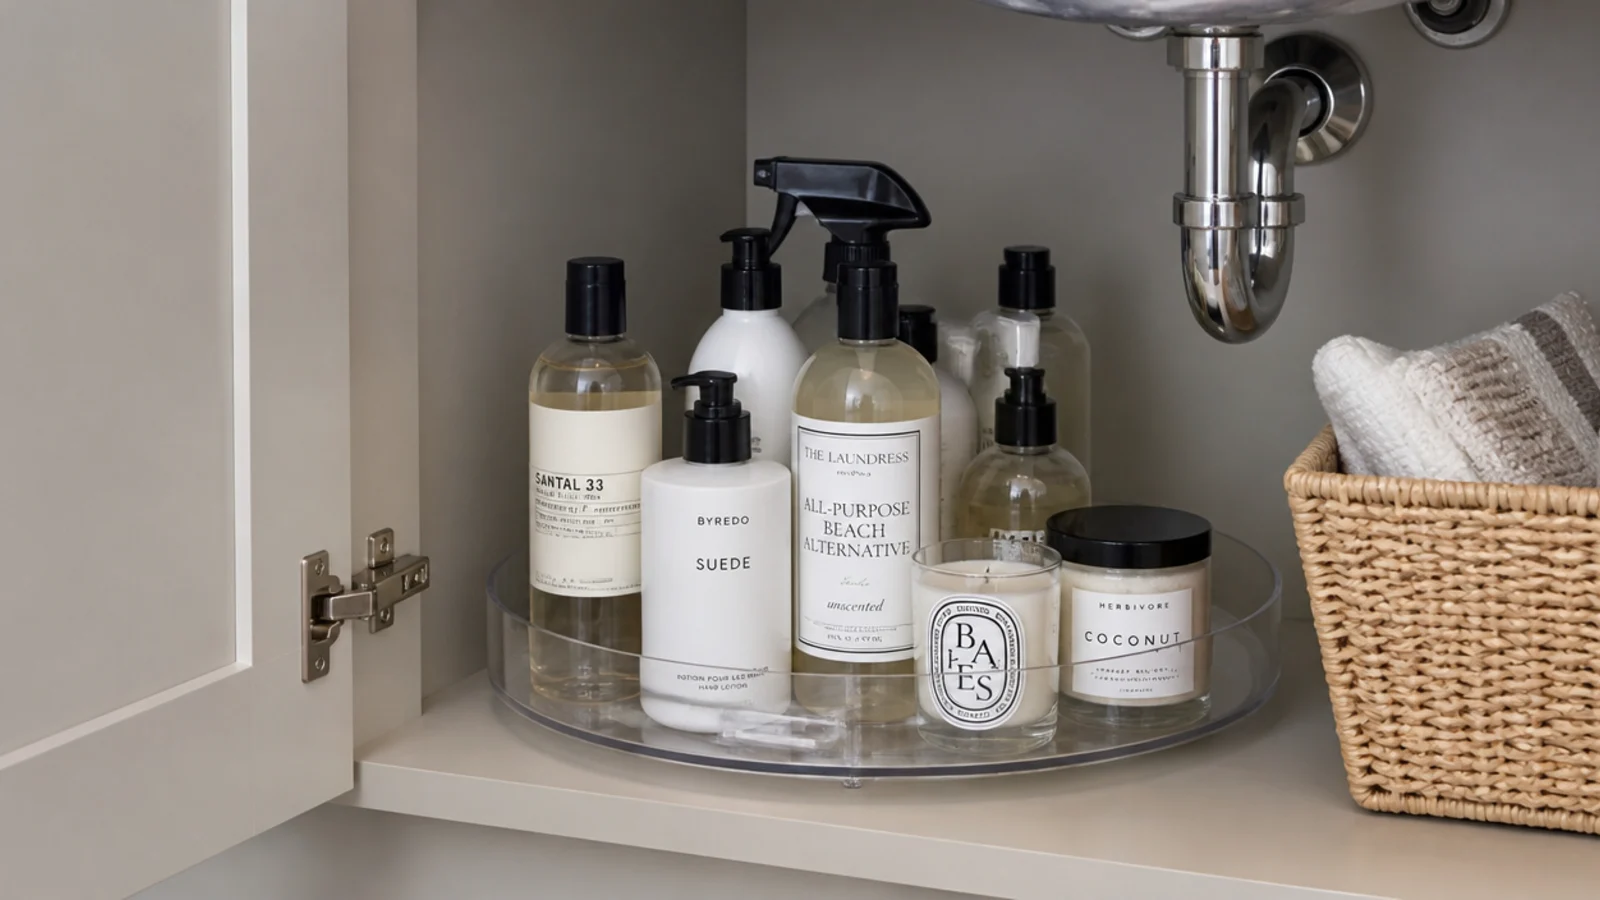
7. A turntable for the under-sink corner
The back of an under-sink cabinet is where bottles disappear. A clear turntable, 11 inches across with a raised outer rim, brings that depth back within reach of one hand.
Tall bottles on the outer ring, small jars inward, every label facing out. The rim is not decorative — without it, bottles walk off the edge as it spins. $14 to $30 ($$).
8. A stepped riser so you can see the back row
A three-step riser is the reason shops can show forty products in two feet. Each row sits about an inch and a half above the one in front, so nothing hides behind anything.
Use it for skincare rather than makeup — tall bottles at the back, pumps in the middle, small jars at the front. Keep it out of direct sun, because actives like retinol and vitamin C degrade in heat and light far faster than the date on the box suggests. $18 to $35 ($$).

9. A slotted rack for nail polish
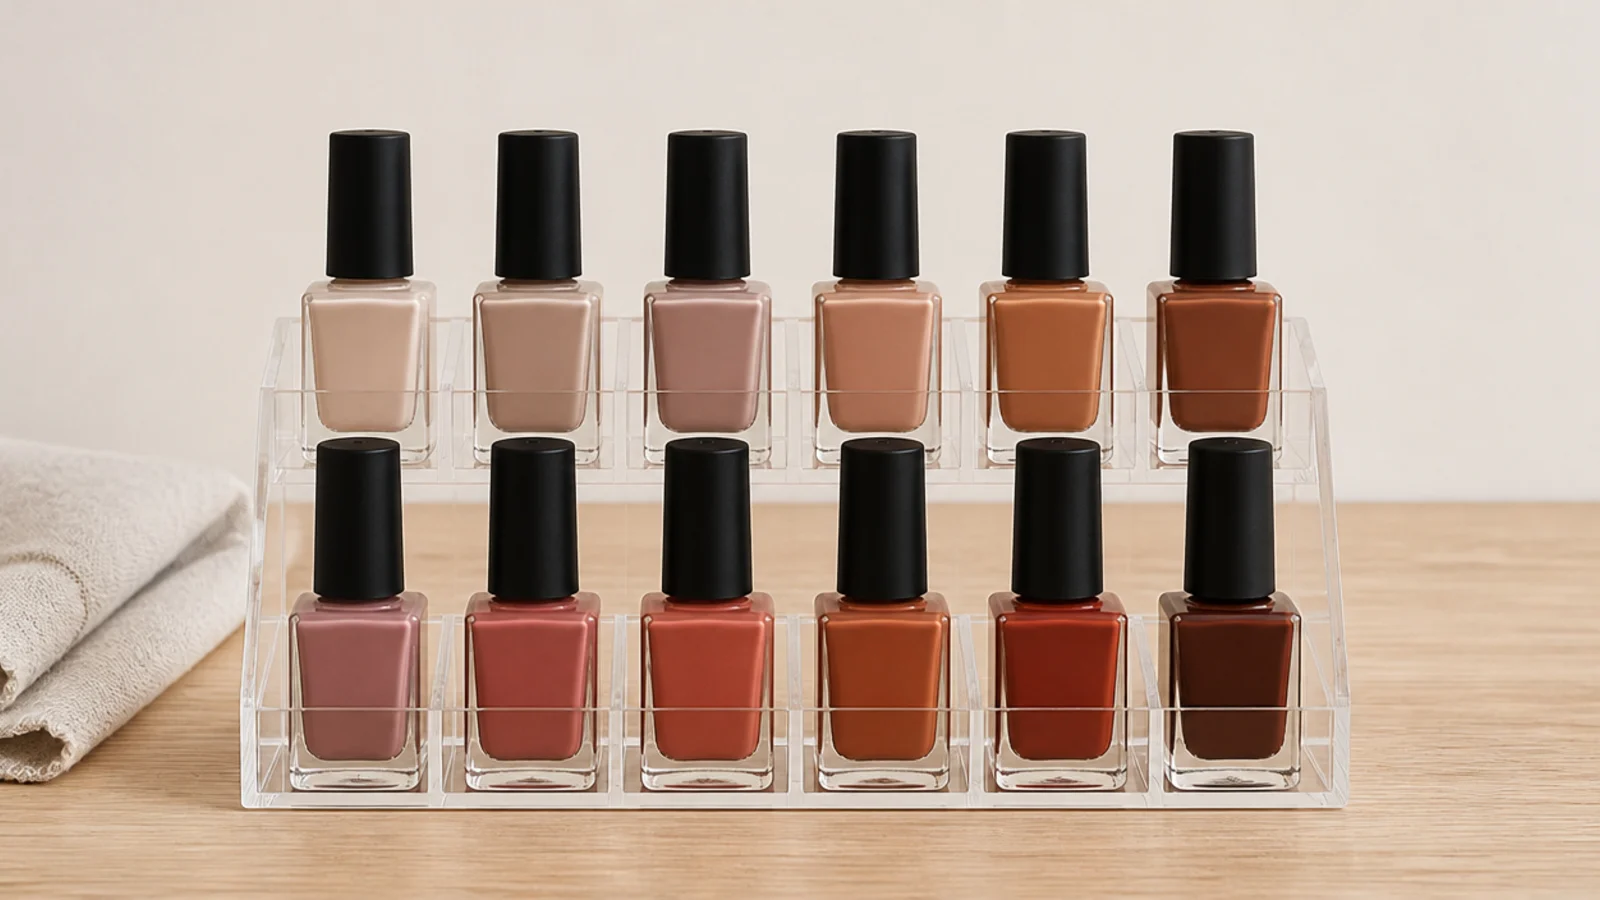
Polish stored on its side settles unevenly and leaks around the neck. A slotted rack holds every bottle upright, which is genuinely a preservation decision rather than a styling one.
Twelve slots suits most collections. Check the slot diameter against your widest bottle base before buying — square bottles do not fit round slots, which sounds obvious and catches people constantly. $12 to $22 ($).
10. A lidded canister for cotton rounds
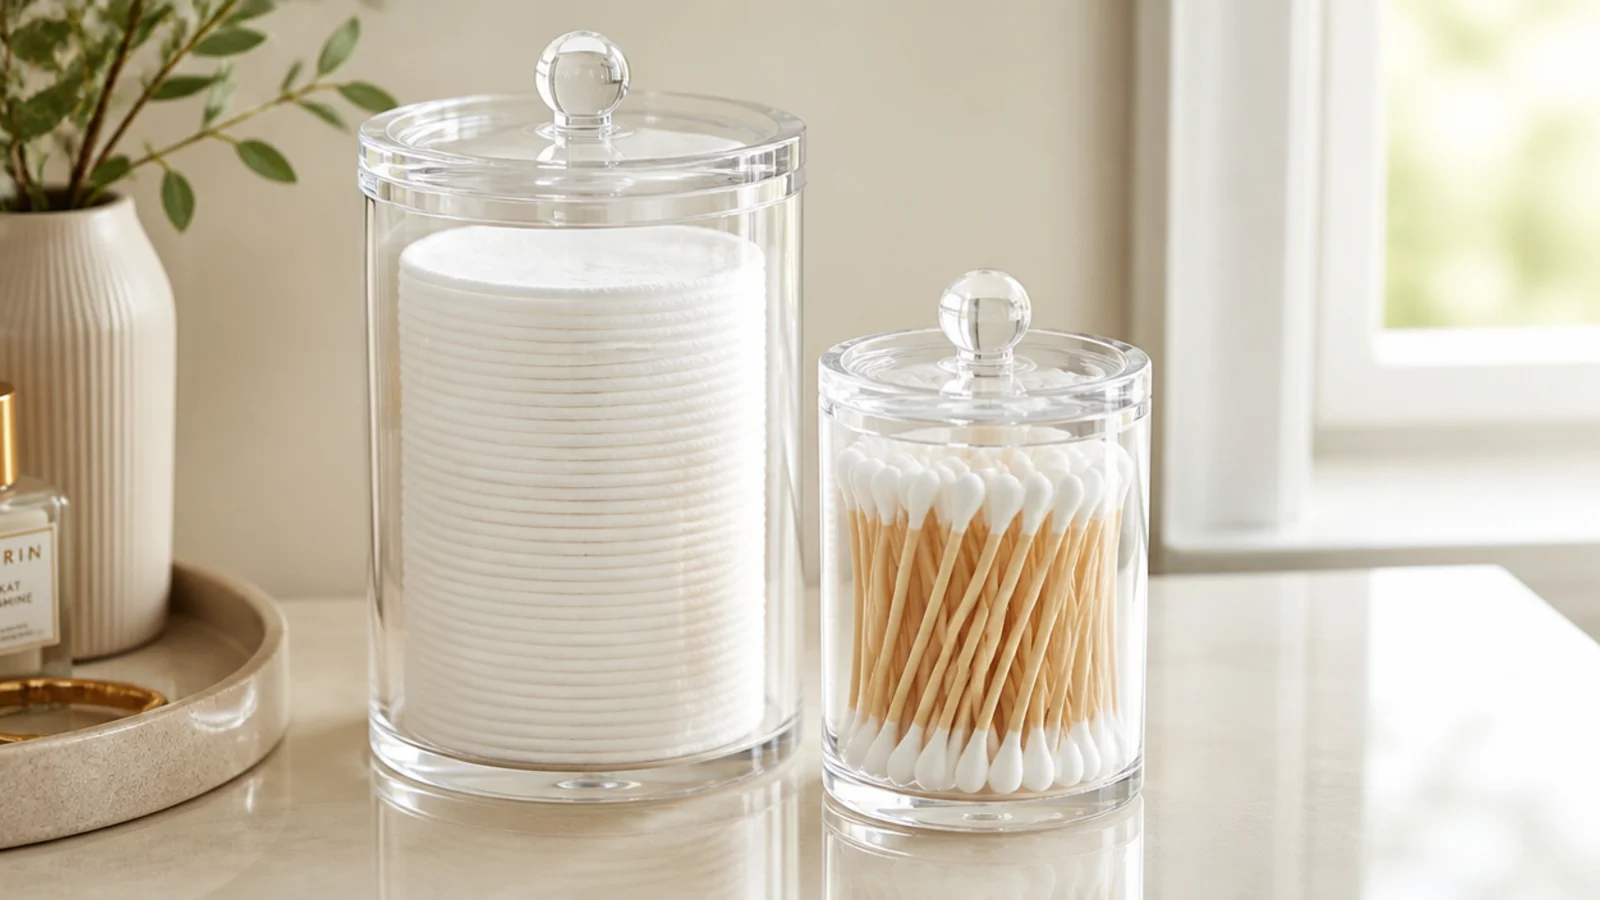
Bulk bags will not stand up, will not stack and take a whole shelf between them. A lidded canister about 4 inches tall holds a month of cotton rounds and keeps bathroom dust off them.
Refill it from the bulk pack stored elsewhere rather than trying to fit the whole bag. Two canisters — rounds and swabs — replace four crumpled plastic packets. Around $8 to $16 each ($).
11. An upright caddy for pumps and droppers
Pumps and droppers must stand upright. On their side they weep into the drawer over weeks and the formula separates in the tube, and you notice neither until it is wasted.
A compartmented caddy with four-to-five-inch walls holds bottles vertically without them knocking together. This is the depth rule in action: flat things want two to three inches, bottles want four to five. $16 to $32 ($$).

12. Mini bins for the tiny things that migrate
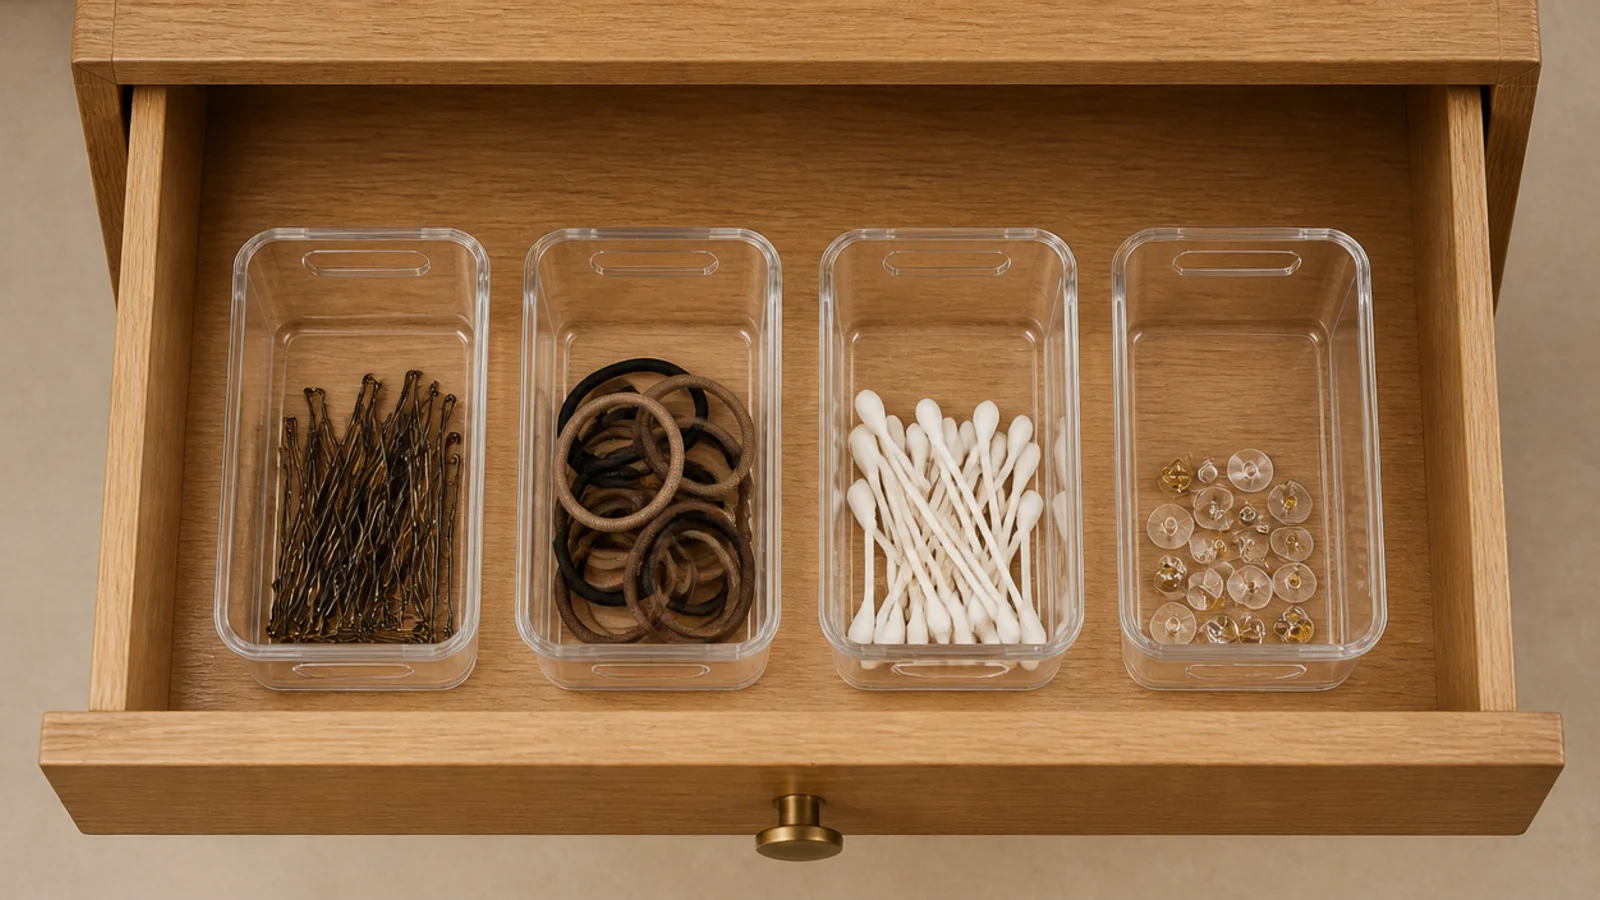
Bobby pins, elastics, spare earring backs and swabs travel across a drawer unless something has walls. Four small bins, roughly 3 by 3 inches, stop the migration entirely.
Fill each one about half full. A packed bin gets tipped out to find one thing and then repacked badly, which is how the drawer ends up mixed again by Thursday. A four-pack runs $10 to $18 ($).
13. A shallow tray inside the top drawer
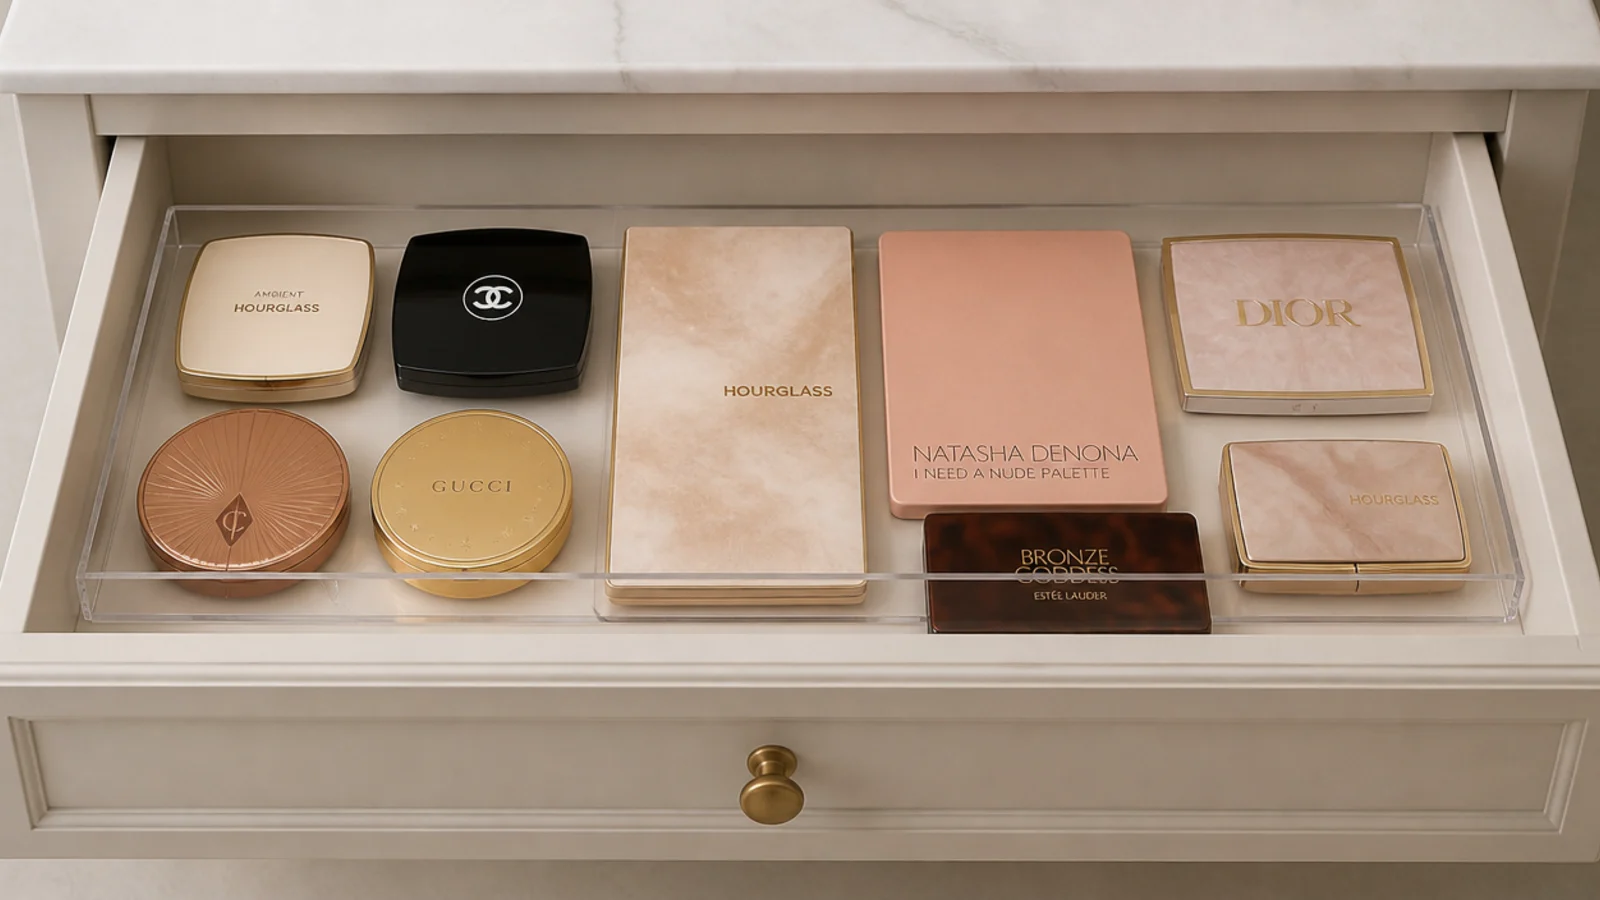
The top drawer should hold one layer, not a pile. A shallow tray about two inches deep enforces that — flat compacts and palettes lie side by side and every one is visible when the drawer opens.
Anything that will not lie flat belongs in a deeper drawer below. Deciding by height rather than by product type is what stops the top drawer refilling itself. $12 to $24 ($).
14. Felt pads under everything that sits on stone
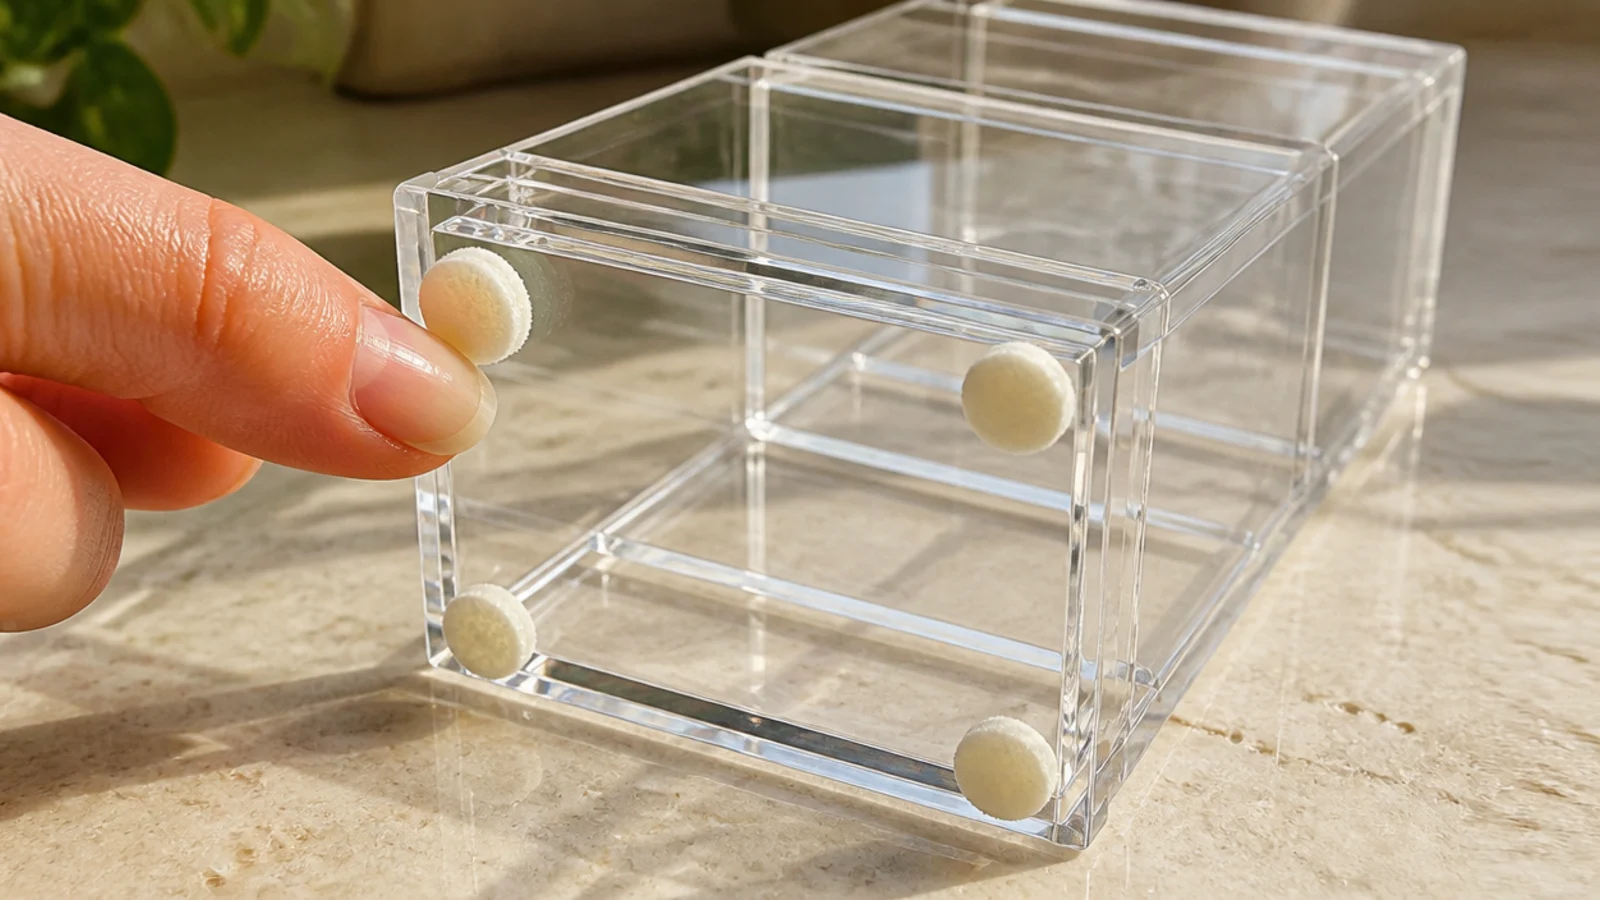
Acrylic scratches from sliding, not dropping. Four small felt pads under each unit is a two-minute job that keeps the base clear for years.
It also protects the counter. Grit trapped under an acrylic base will mark a stone or laminate top as it moves. Lift rather than slide when you wipe underneath. A sheet of pads costs about $4 ($) and outlasts the organizers.
15. A jewelry tray with slotted compartments
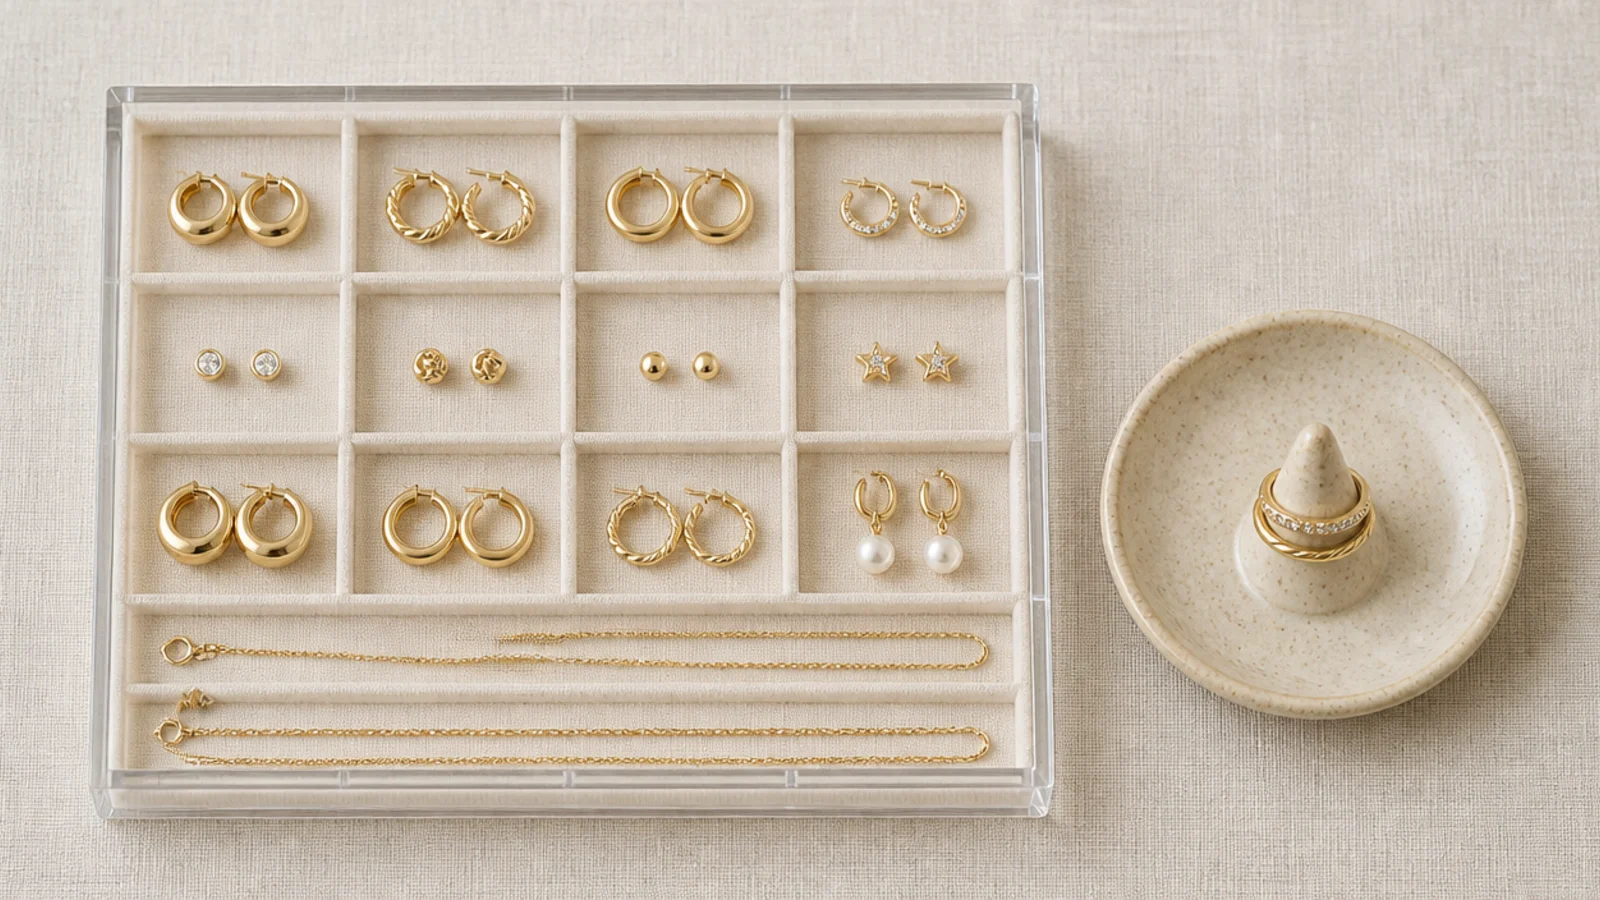
Everyday earrings and rings end up in a dish, and fine chains end up knotted at the bottom of it. A compartmented tray gives each pair its own square.
Sixteen compartments at roughly 1.5 inches each covers daily jewelry. Lay chains flat and diagonally across a compartment rather than coiling them — coiled chains tangle with themselves. $15 to $30 ($$), and it lives inside a drawer, away from dust.
16. A hair tool caddy that takes the heat
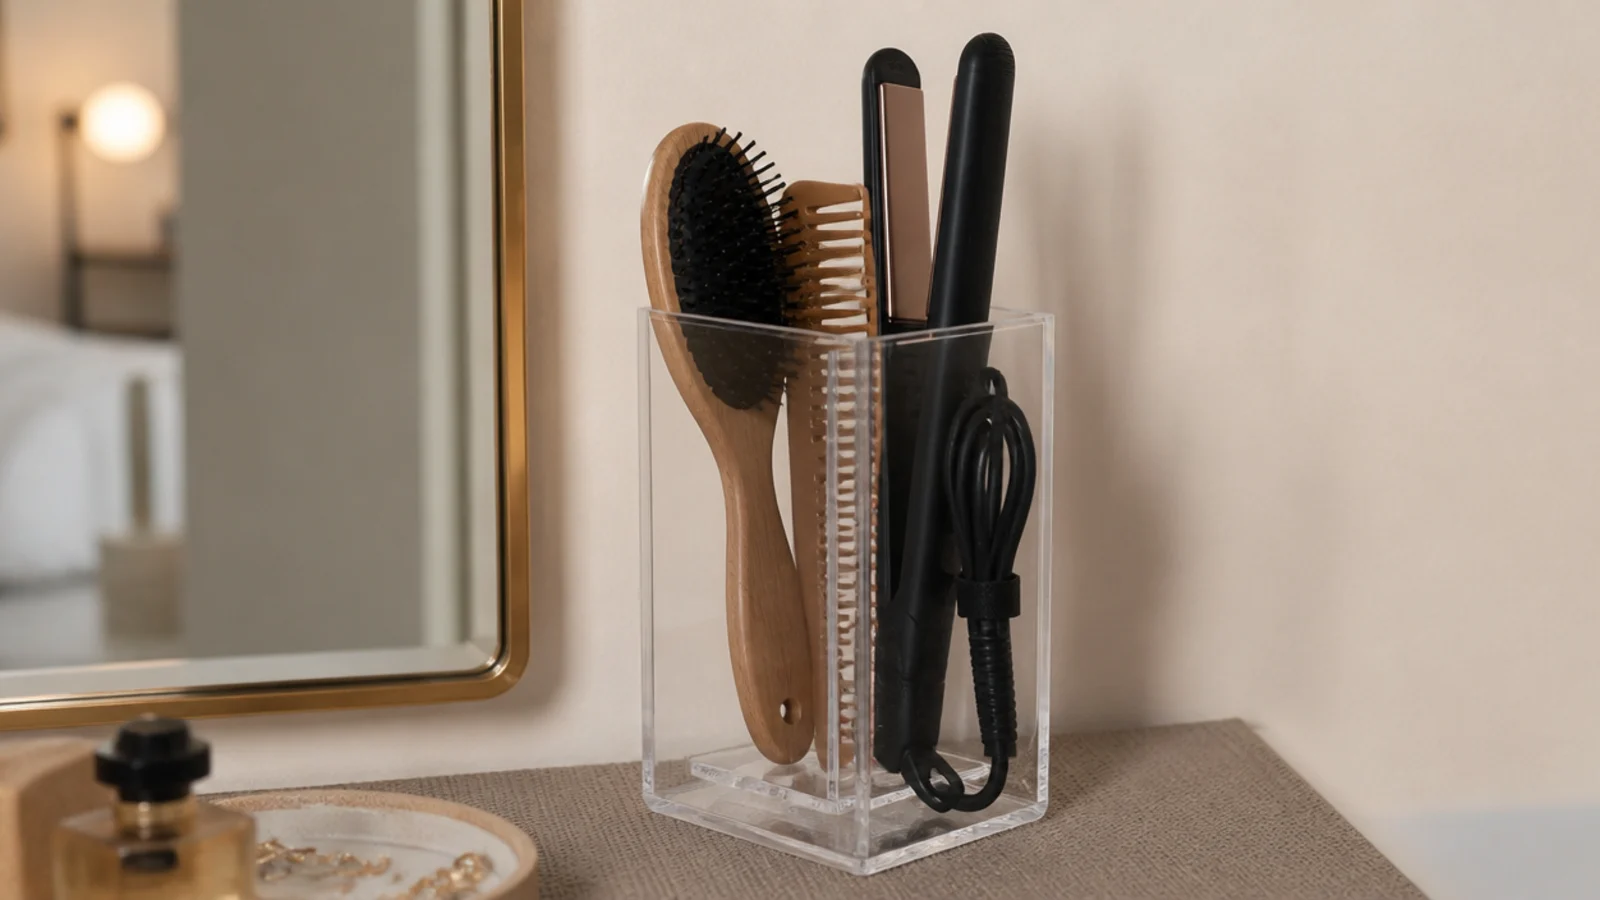
Brushes, combs and cooled tools need a home that is not the counter. A tall caddy with two or three sleeves keeps them upright and off the surface.
The rule is that nothing goes back until it is fully cool — acrylic softens and marks at temperatures a straightener reaches easily. Park hot tools on a silicone mat first, then put them away. $16 to $30 ($$).
17. Frosted labels on the back, not the front
Clear bins with big labels across the front defeat the point of clear bins. Put a small frosted vinyl label on the inside of the back panel instead.
You read it straight through the front, and from any other angle the label disappears. Keep the wording to one or two words. A sheet of frosted vinyl labels runs about $8 ($), and it is the cheapest upgrade on this list.

18. One warm material to break up the clear
An all-acrylic vanity photographs beautifully and feels like a laboratory. One warm object fixes it entirely.
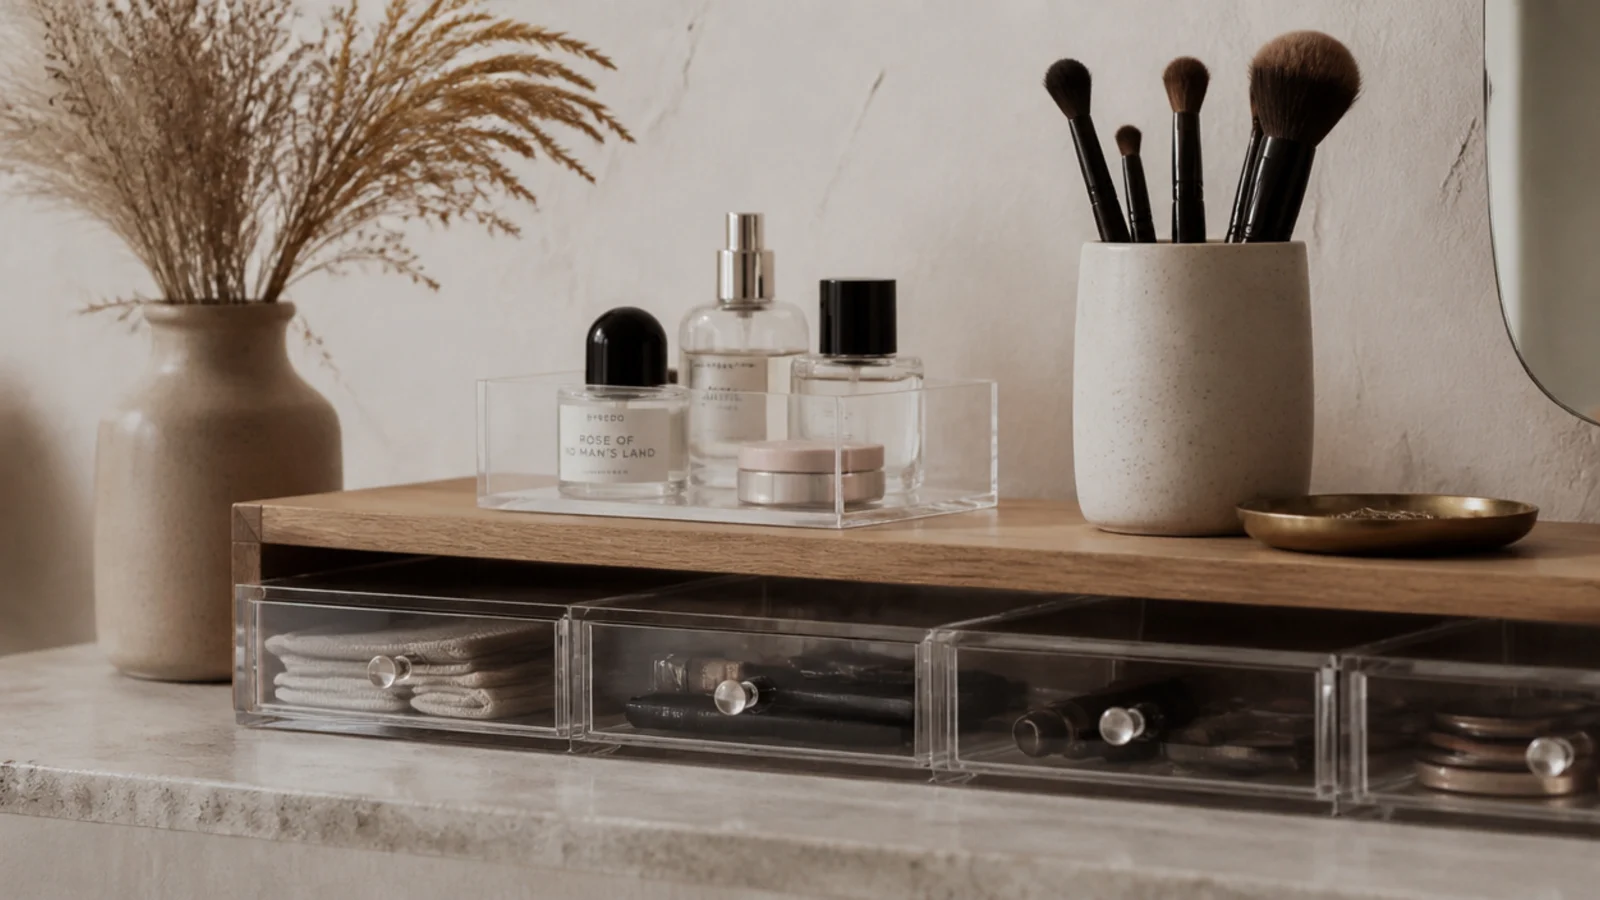
A stoneware brush cup, an oak riser or a small brass dish gives the eye somewhere to rest. Keep it to one material family plus clear — clear and oak, or clear and stoneware. Mixing three finishes with acrylic is what makes an organized counter still look busy. More on that in vanity tray styling.
19. A wipe-down routine that keeps it clear
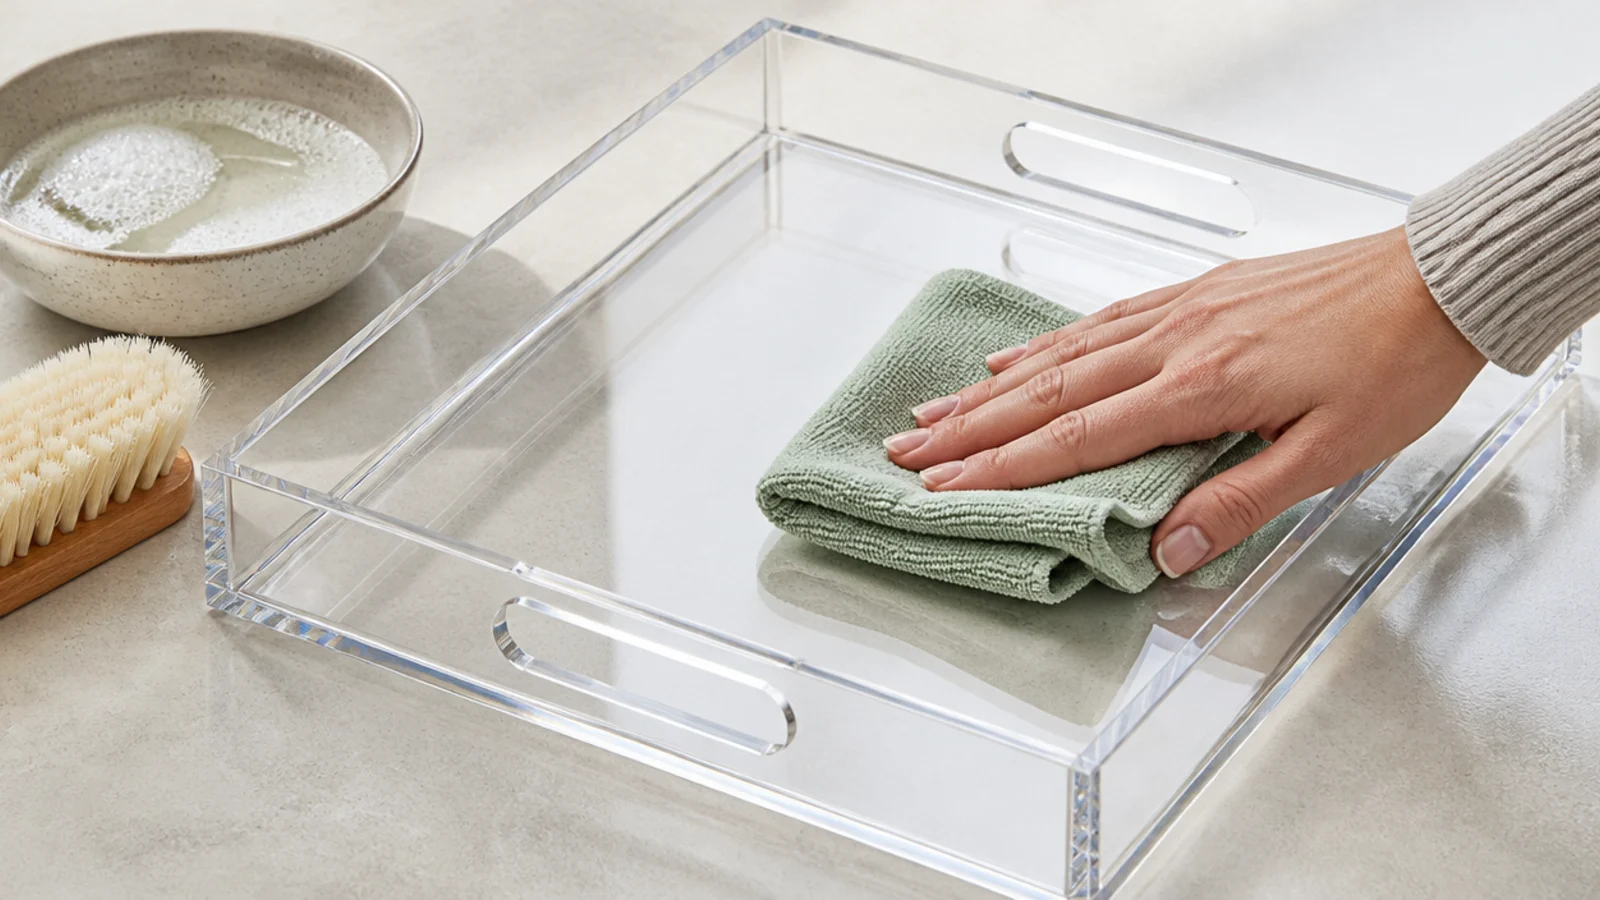
Acrylic goes milky from cleaning, not from age. Rubbing alcohol, ammonia glass cleaner and abrasive pads all cause fine crazing that never polishes out.
Warm water, a drop of dish soap and a microfiber cloth, dried immediately. Lift loose powder off with a dry soft brush first — dragging wet pigment across acrylic grinds it in. Once a month takes four minutes and keeps a $20 organizer looking new for years.
20. An empty compartment left deliberately spare
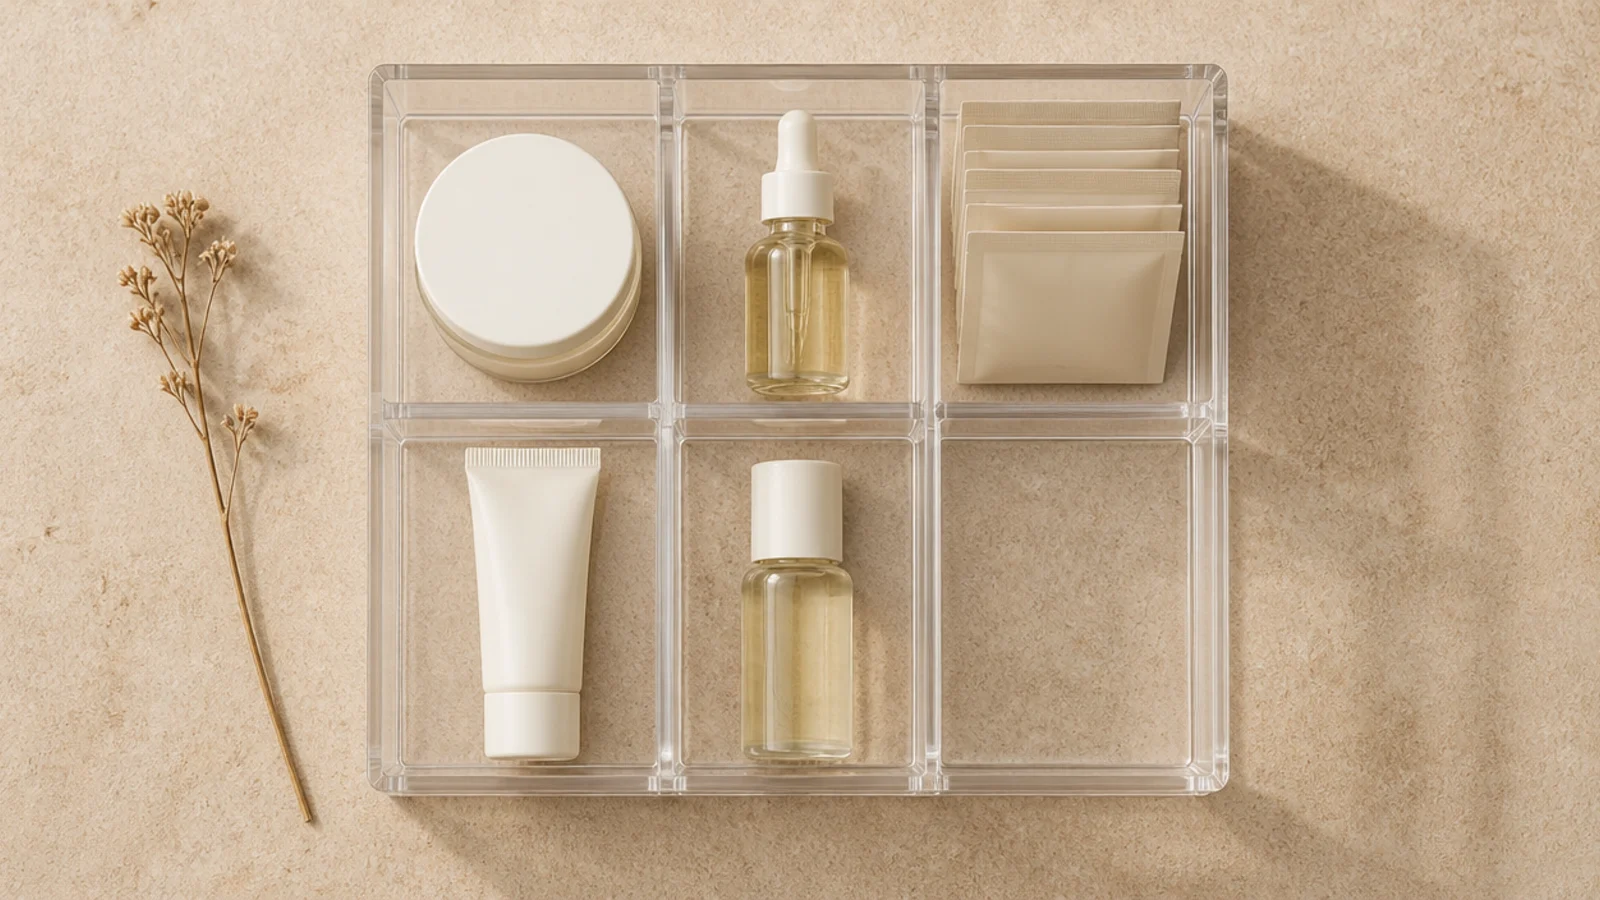
Fill every slot and the system has nowhere to absorb a new purchase, so the new thing sits on the counter and the counter starts over.
Leave one compartment and about a third of the drawer empty. That space is also where the twice-yearly cull shows up — mascara at three months, liquid foundation at six to twelve, powders at about two years. Editing dated products frees more room than any organizer you can buy, and it costs nothing at all.
Mistakes to Skip
- Cleaning acrylic with rubbing alcohol or ammonia glass cleaner. The clouding it causes is microscopic cracking, and no polish brings the clarity back.
- Buying a multi-piece set before editing your products. You end up organizing things you were about to throw away, then storing empty boxes for months.
- Stacking towers taller than the drawer they sit beside. Anything above about 10 inches on a counter blocks the mirror and gets knocked over reaching past it.
Frequently asked questions
How do I clean acrylic organizers without clouding them?
Warm water, a drop of dish soap and a microfiber cloth, then dry immediately. Skip rubbing alcohol, glass cleaner with ammonia and anything abrasive — they cause fine surface crazing that turns clear acrylic permanently milky. Powder spills lift best with a dry brush first, because rubbing wet pigment across acrylic grinds it into the surface.
What size acrylic organizer fits inside a vanity drawer?
Measure the inside of the drawer, not the front, then subtract an eighth of an inch from the width and depth for clearance. Two to three inches of insert height suits flat palettes and compacts; four to five inches suits serum bottles and pumps standing upright. Anything taller than the drawer opening will jam on the frame.
Is acrylic or wood better for vanity storage?
Acrylic wins where you need to see the contents, which is most makeup and skincare. Wood wins where you want warmth and hidden bulk, like a lidded box of backstock. Most vanities that look calm use both: a clear insert set inside the drawer, and one warm material — oak, stoneware or brass — on the counter.
Do acrylic organizers scratch easily?
Yes, and mostly from being dragged rather than dropped. Stick four small felt pads under any unit that sits on stone or tile, and lift rather than slide when you clean underneath. Fine scratches on a flat outer face can be polished out with plastic polish and a soft cloth, but crazing from harsh cleaners cannot.
How many acrylic organizers do I actually need?
Fewer than most sets contain. One drawer insert set sized to the drawer, one counter tray and one brush cup covers a normal routine. Buying a nine-piece kit before editing your products usually means storing things you would have thrown out anyway, which is the expensive way to stay cluttered.
Start with one insert set measured to your drawer and one lipped tray on the counter — under $50 together, and they carry most of the result. Everything after that should answer a problem you have actually had twice. For the wider system, makeup vanity organization covers the full routine, and if the same clear-bin logic is being applied to your wardrobe, small walk-in closet organization uses it well. Save the pin so the measurements come shopping with you.
Want more like this? Browse all 15 vanity organization guides — they all use the same measurements and budget tiers.
Pin it for later
Save this to your Vanity Organization board
Pin it now so it is waiting for you when the tape measure comes out — and so the next person hunting for this idea can find it too.
Save this pinKeep going
More ideas worth saving while you have the tape measure out.