Vanity Organization · Listicle
15 Cozy Vanity Organization Ideas That Look Pricey

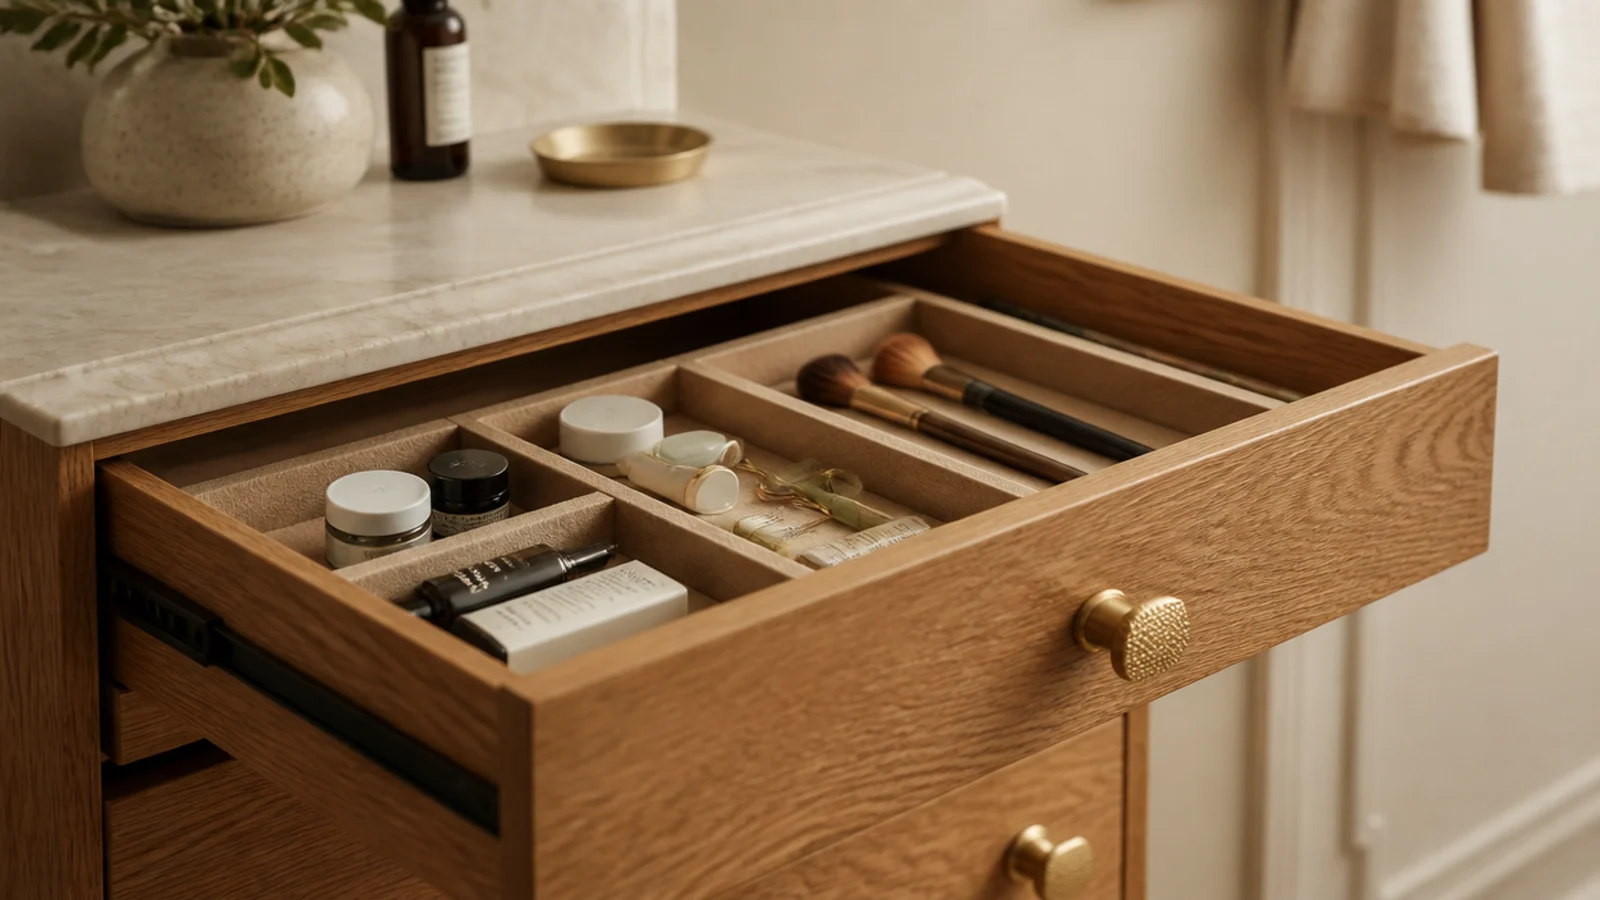
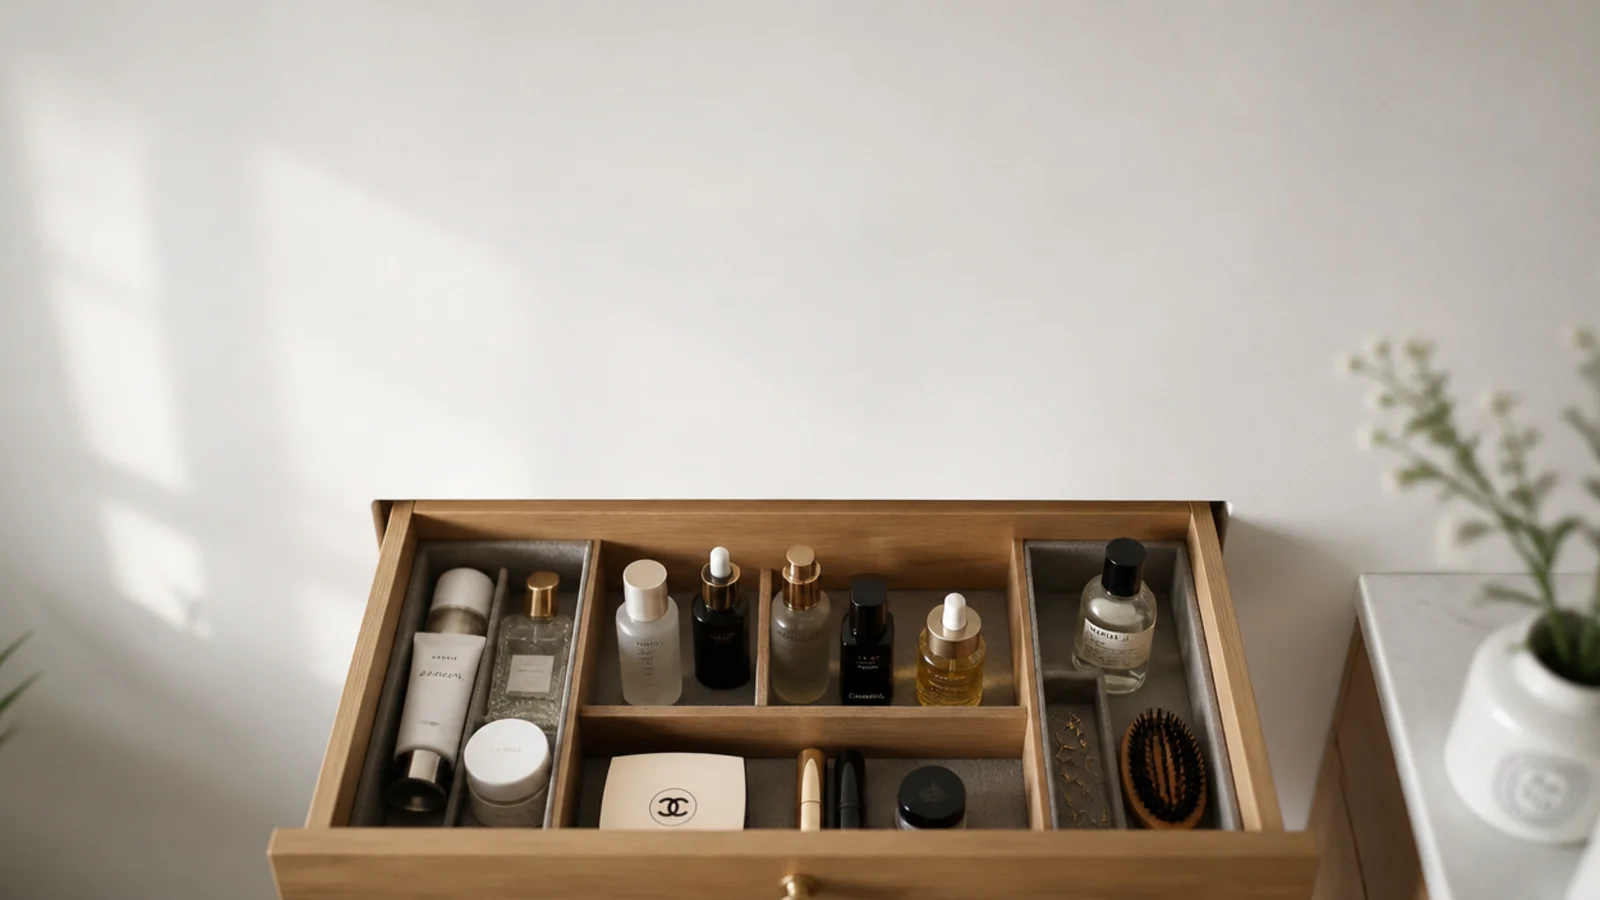
Vanity drawer organization is where a cheap vanity starts looking expensive, because a drawer is the one part of the room that gets opened and inspected at close range. The tells are small and consistent: things that rattle, inserts that slide, a leftover strip nobody uses. Fix those three and a builder-grade drawer reads like custom cabinetry. Here are 15 ways to get there for under $60.
In this guide17 sections — tap to openHide
- 1.Where vanity drawer organization shows the money
- 2.Measure the inside, then take an eighth off
- 3.Pick insert depth by what it holds
- 4.Line the base in felt before anything goes in
- 5.Choose modular trays over one fixed insert
- 6.Fill odd widths with spring dividers
- 7.Load the drawer in routine order
- 8.Stand every bottle upright
- 9.File palettes on edge like records
- 10.Give brushes a lined channel of their own
- 11.Put jewellery in a slotted shallow tray
- 12.Spend on the top drawer, save on the rest
- 13.Paper the drawer sides in something textured
- 14.Swap the pulls and keep the originals
- 15.Stop the trays travelling with non-slip liner
- 16.Leave one compartment permanently empty
- 17.Mistakes to Skip
Where vanity drawer organization shows the money
Everything starts with three numbers taken from inside the empty drawer: internal width, internal depth front to back, and internal height. Subtract about 1/8 inch from width and depth for clearance, because inserts sized to outside measurements never drop in, and side-mount runners can quietly steal another half inch of usable width.
Depth is the second decision and the one most people skip. Two to three inches suits flat palettes, compacts, pencils and brushes laid down. Four to five inches suits bottles, primers and pumps that need to stand upright, since anything with a pump or a dropper leaks the moment it lies on its side.
Then arrange in routine order — cleanse, treat, colour — front to back, because that is the sequence a hand actually moves in. Only daily items belong on the counter, so the drawer is carrying everything else.
Budget tiers below: $ under $10, $$ $10 to $25, $$$ $25 to $60. The expensive-looking details are mostly in the first two tiers, and the single most convincing one costs about $6 a roll.
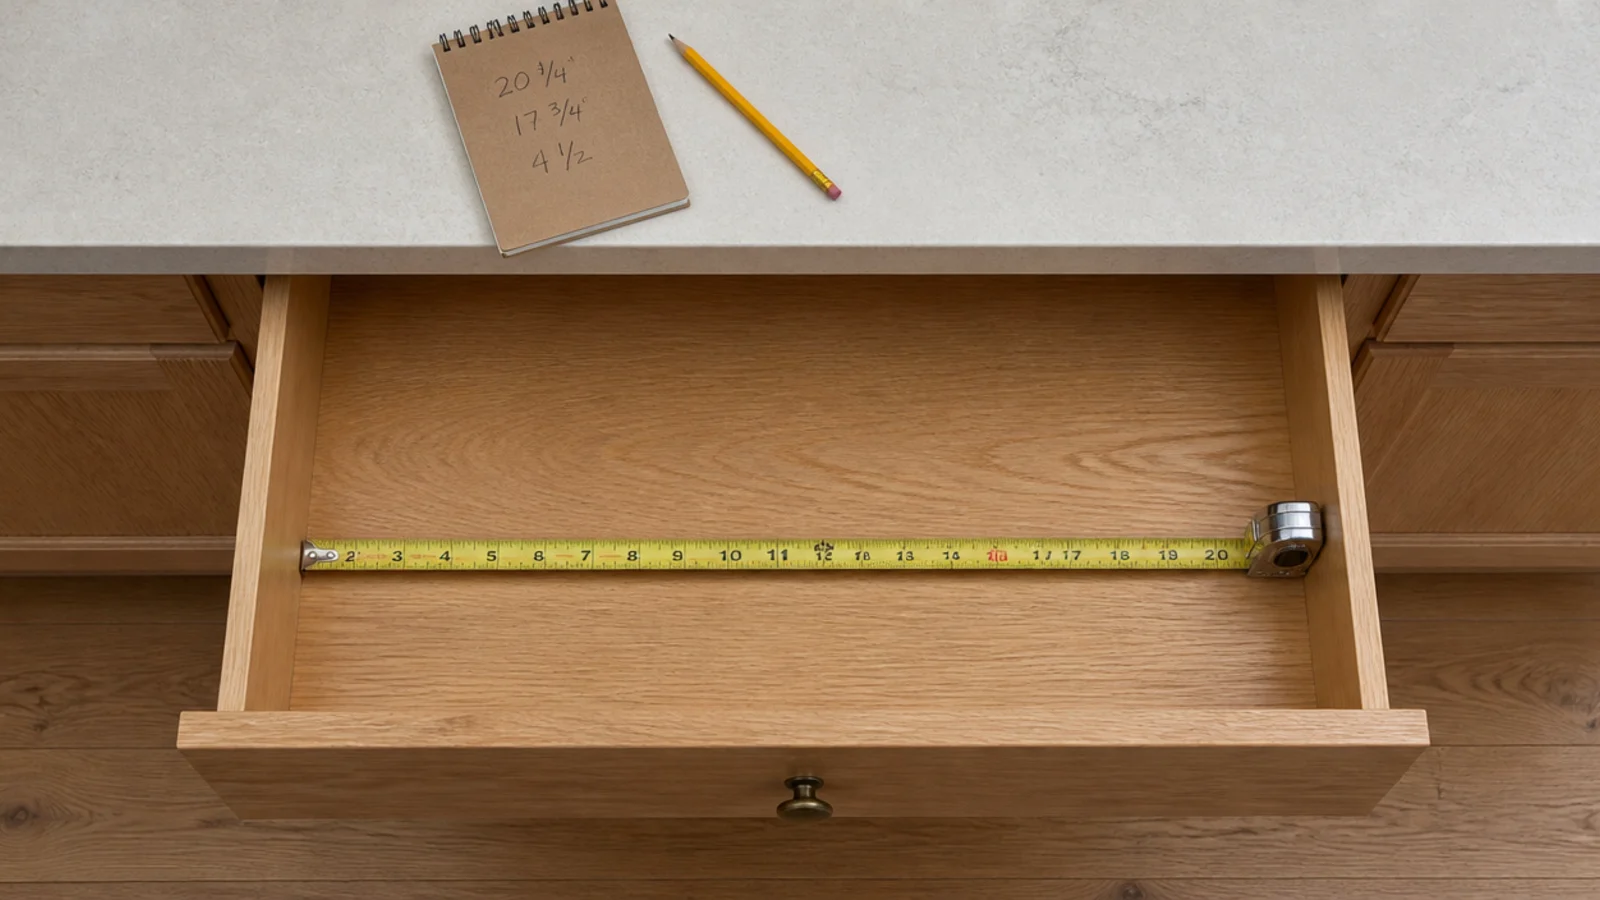
1. Measure the inside, then take an eighth off
Pull the drawer right out if it comes free, and measure the internal width, the depth front to back and the height at the shallowest point. Write all three down before you look at a single product listing.
Subtract about 1/8 inch from width and depth. That clearance is the difference between a set that drops in and a set that wedges an inch proud of the runners.
Check the hardware while you are in there. Side-mount runners eat width, and a soft-close mechanism at the back can cut usable depth by an inch. Ten minutes here prevents the two returns almost everyone makes. Free
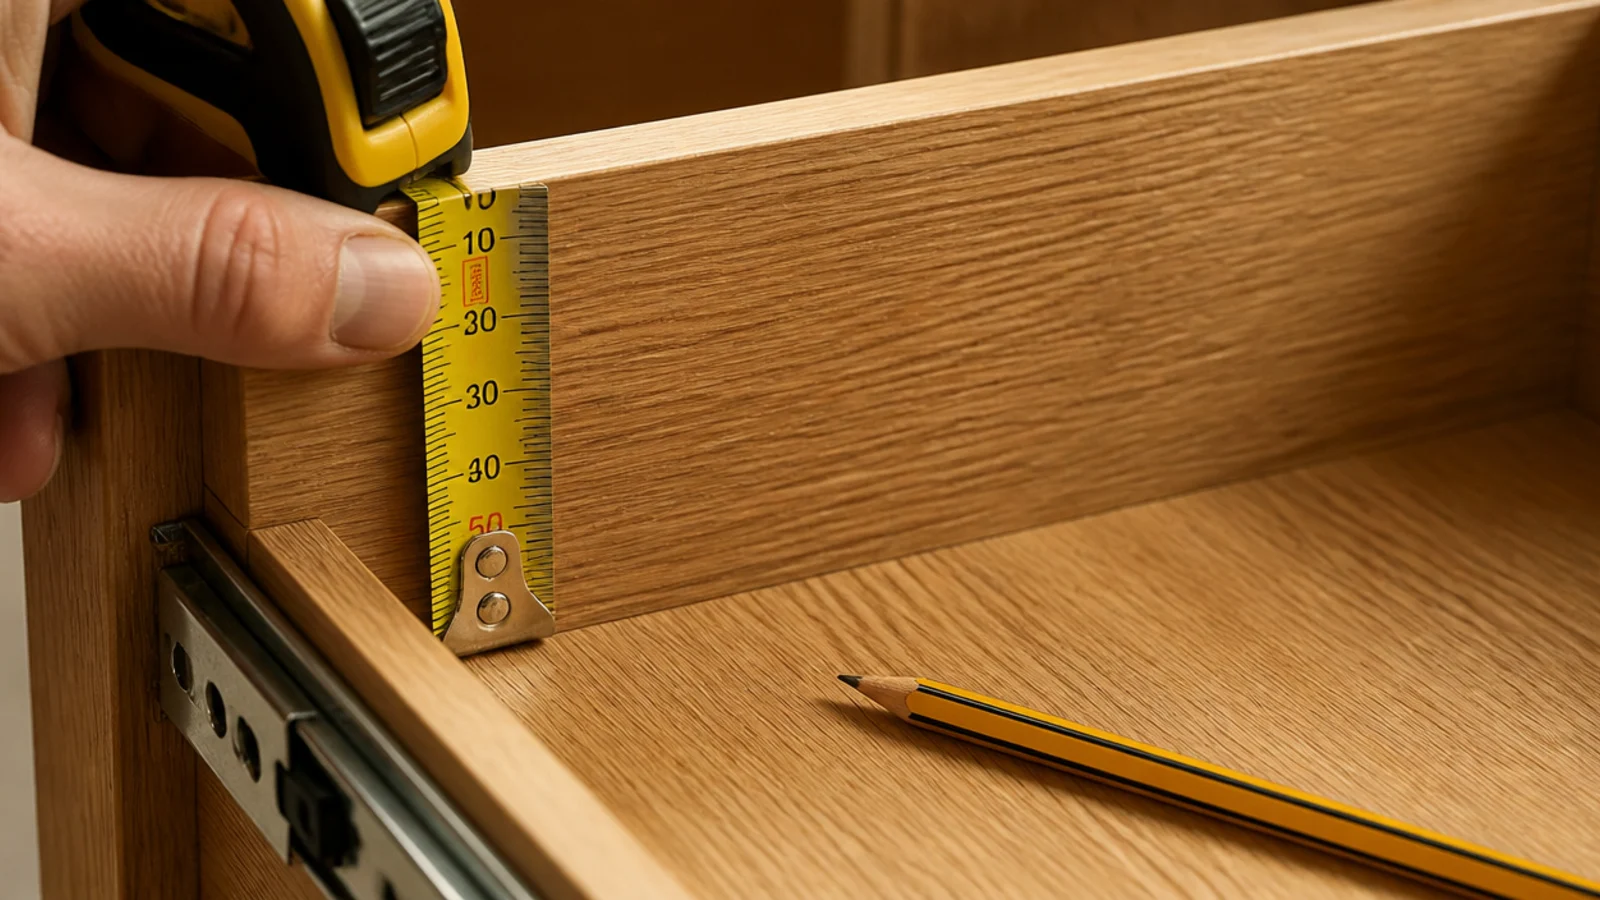
2. Pick insert depth by what it holds
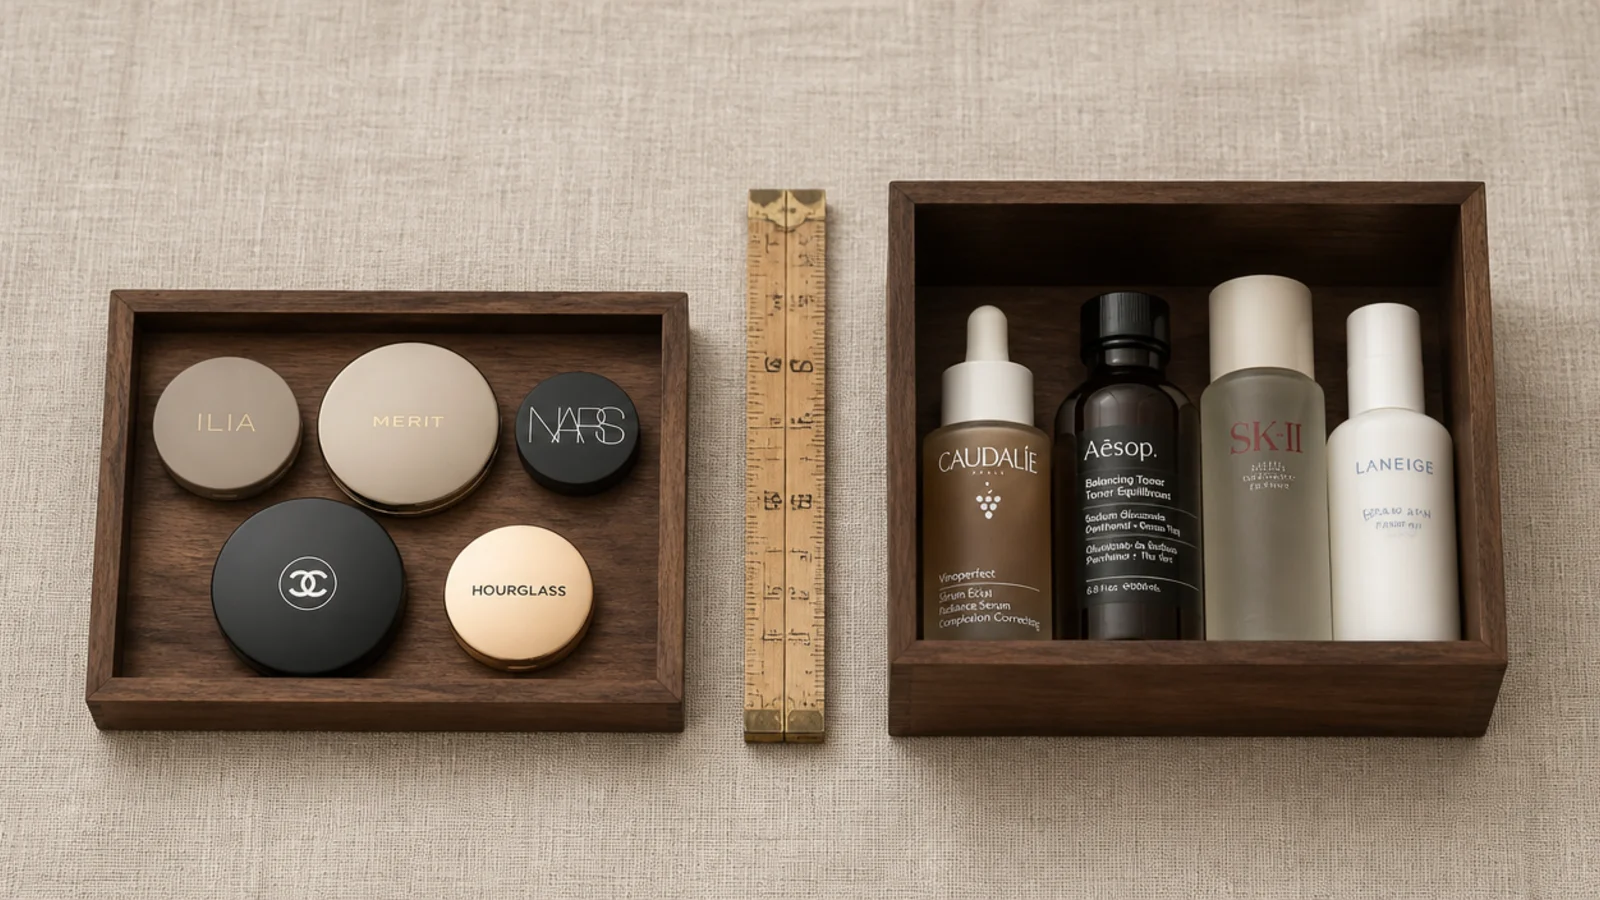
Depth decides whether a drawer works, and it is the specification nobody checks. Two to three inches suits flat things — palettes, compacts, pencils, tweezers, brushes laid down.
Four to five inches suits bottles, primers and pumps, which have to stand upright to stay sealed. A 5 inch bin about 4 by 6 inches keeps six bottles standing and holding each other vertical.
If every drawer you own is shallow, bottles belong in a cabinet bin rather than lying down where they leak. Mixing both depths in one drawer works well: a shallow tray over the back half on risers, tall items at the front. $$
3. Line the base in felt before anything goes in
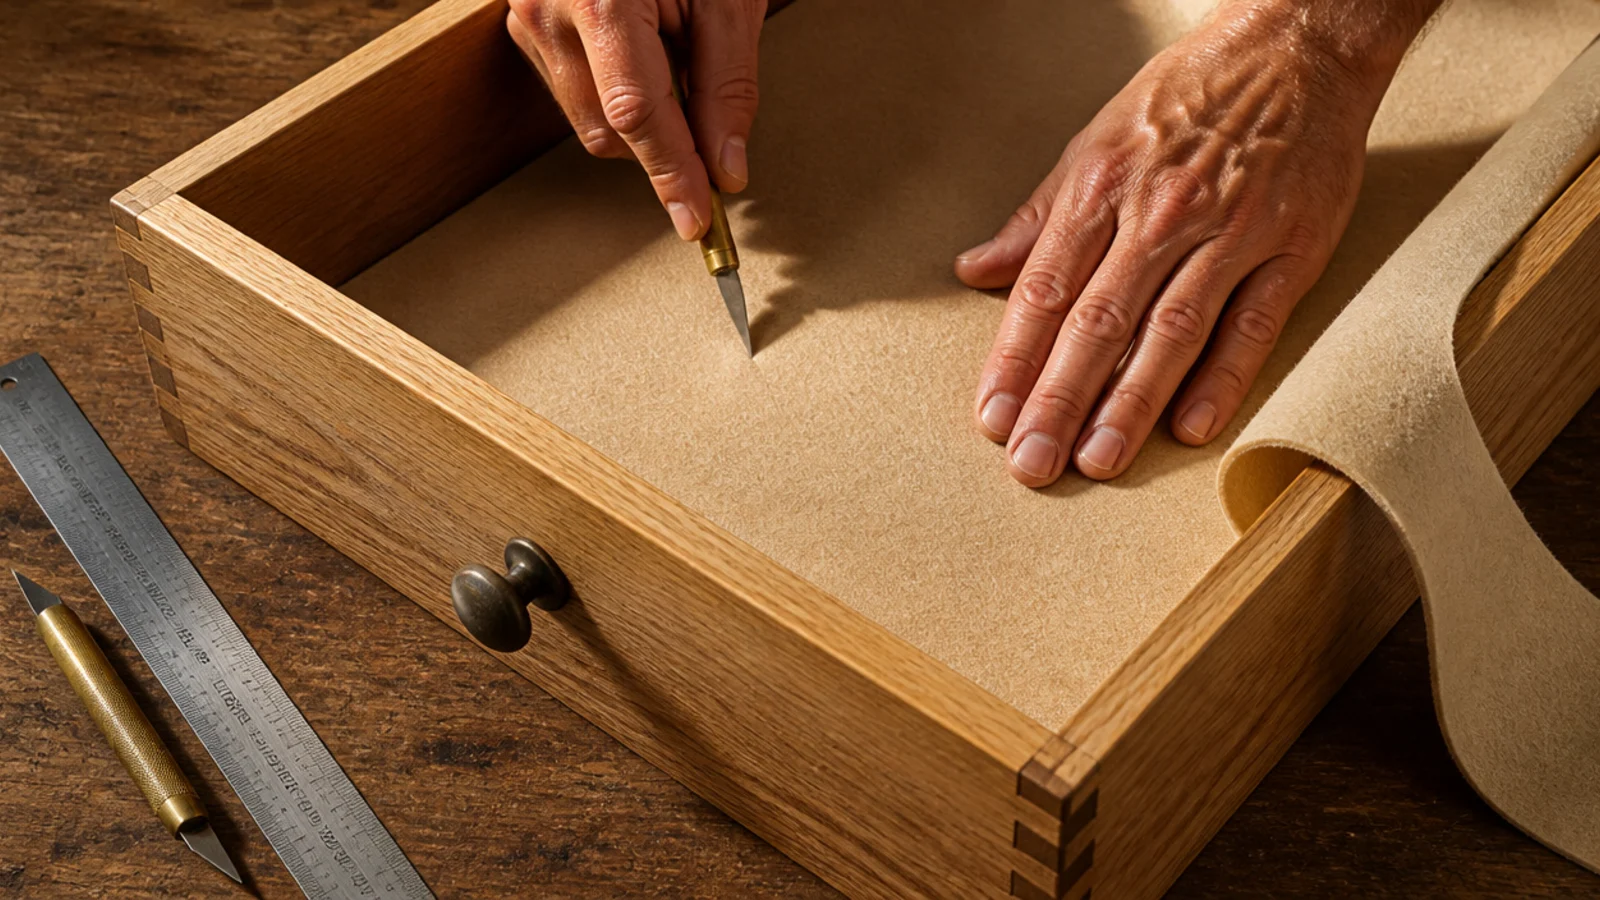
Rattle is what makes a drawer feel cheap. A sheet of felt cut to the internal dimensions silences glass and metal instantly, and it takes about ten minutes.
Sand, oatmeal and soft grey all look expensive against warm wood. Cut with a steel rule and a sharp craft knife, dry-lay rather than gluing, and it lifts out to wash.
A roll runs $6 to $14 and lines two or three drawers. For a rental this is the whole upgrade, since nothing is fixed and nothing is damaged. Non-slip rubber liner does the same job in a bathroom where damp is likely. $
4. Choose modular trays over one fixed insert
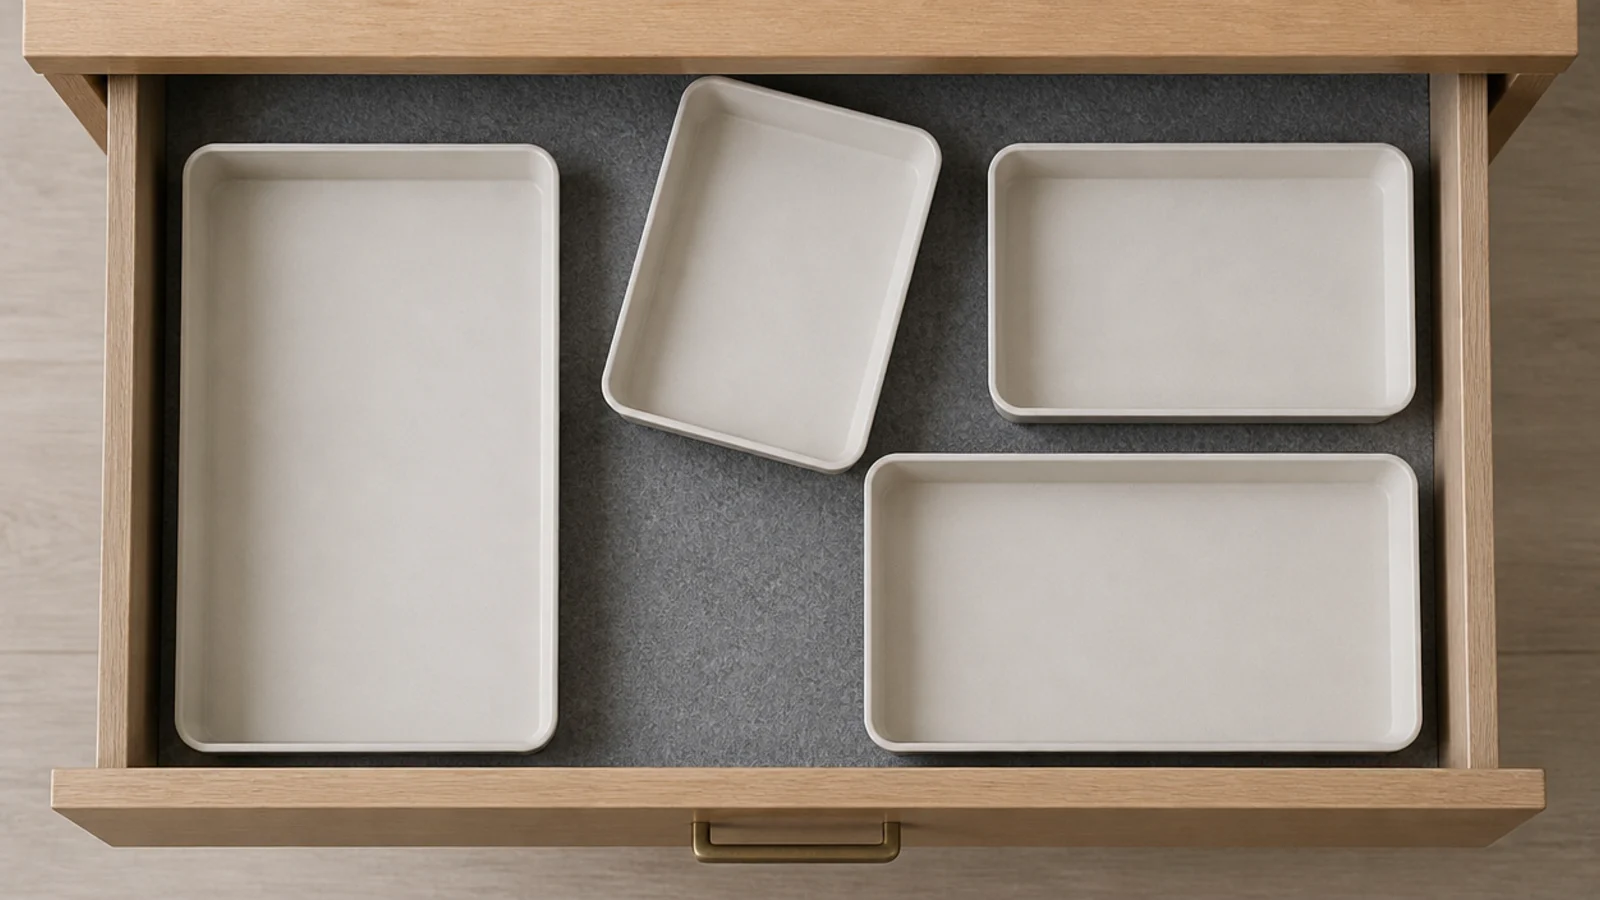
A single moulded insert with fixed compartments only works until your collection changes, which is roughly one season. Several separate trays in two or three sizes adapt forever.
Buy them in one material and one colour so the drawer still reads as a set. Mixing bamboo and clear acrylic in the same drawer is the fastest way to lose the custom look.
Lay them out on the counter before loading anything, and expect to rearrange twice. Modular sets cost $15 to $30 and outlast three rounds of product changes. $$
5. Fill odd widths with spring dividers
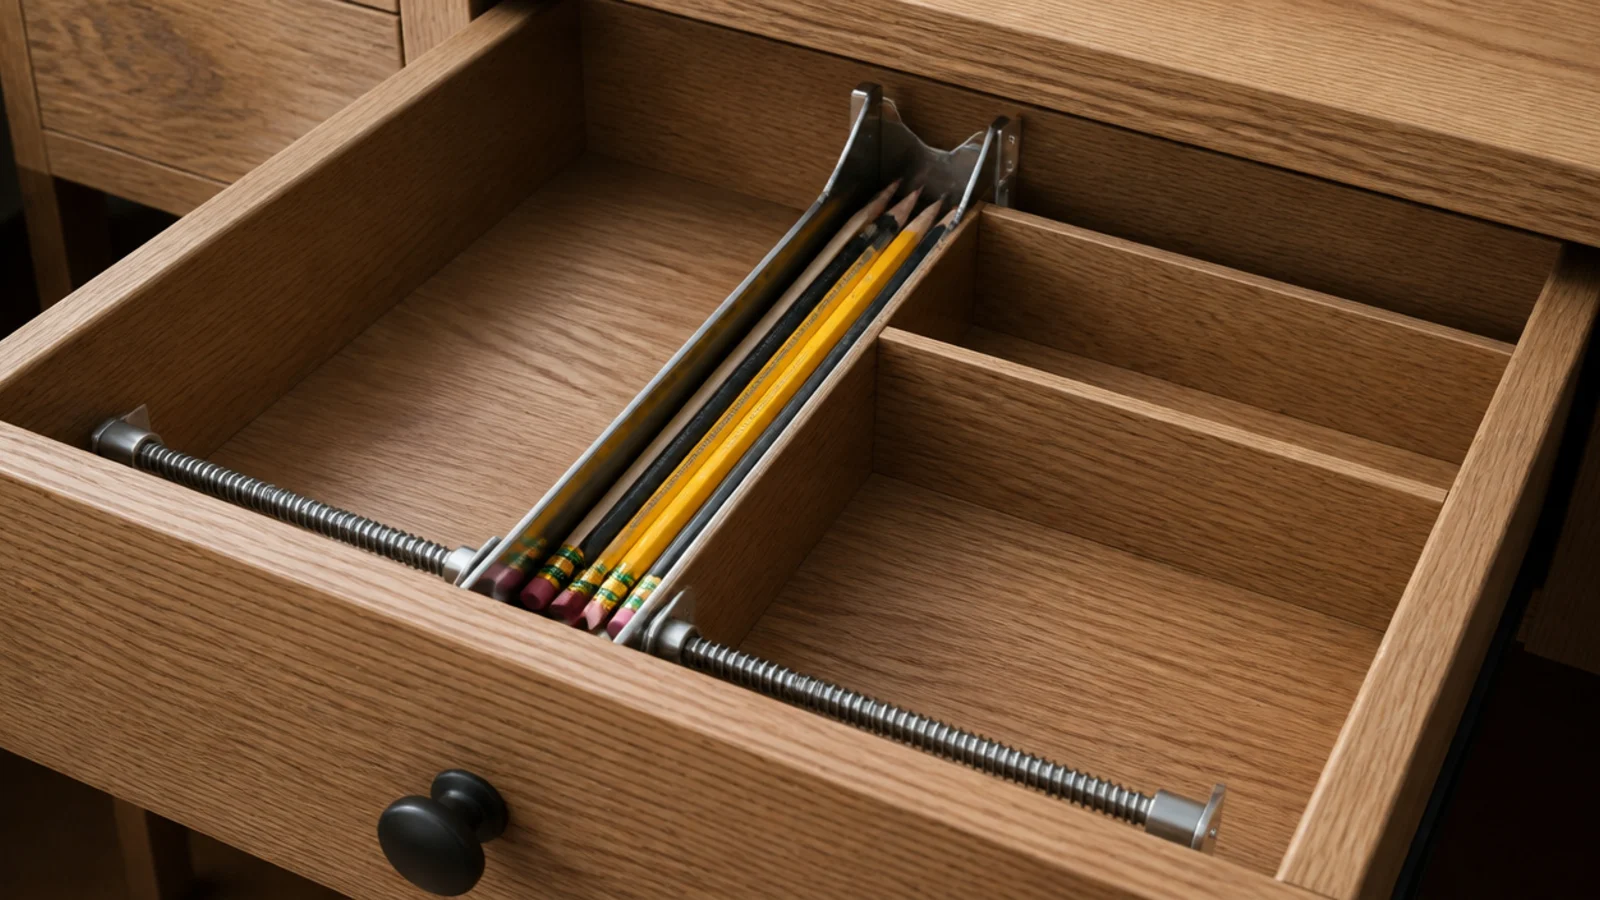
Nearly every drawer ends up with an awkward 2 to 3 inch strip that no tray fits. Left empty, that strip is where things migrate and jam the drawer.
A spring-loaded divider tensions across the width and turns the leftover into a proper channel for pencils, tweezers or a thermometer. They cost about $10 for a pair and need no fixings at all.
They also let you resize compartments as the collection shifts, which matters more than a perfect first layout. Choose ones with felt-tipped ends so they do not mark the drawer sides. $–$$
6. Load the drawer in routine order
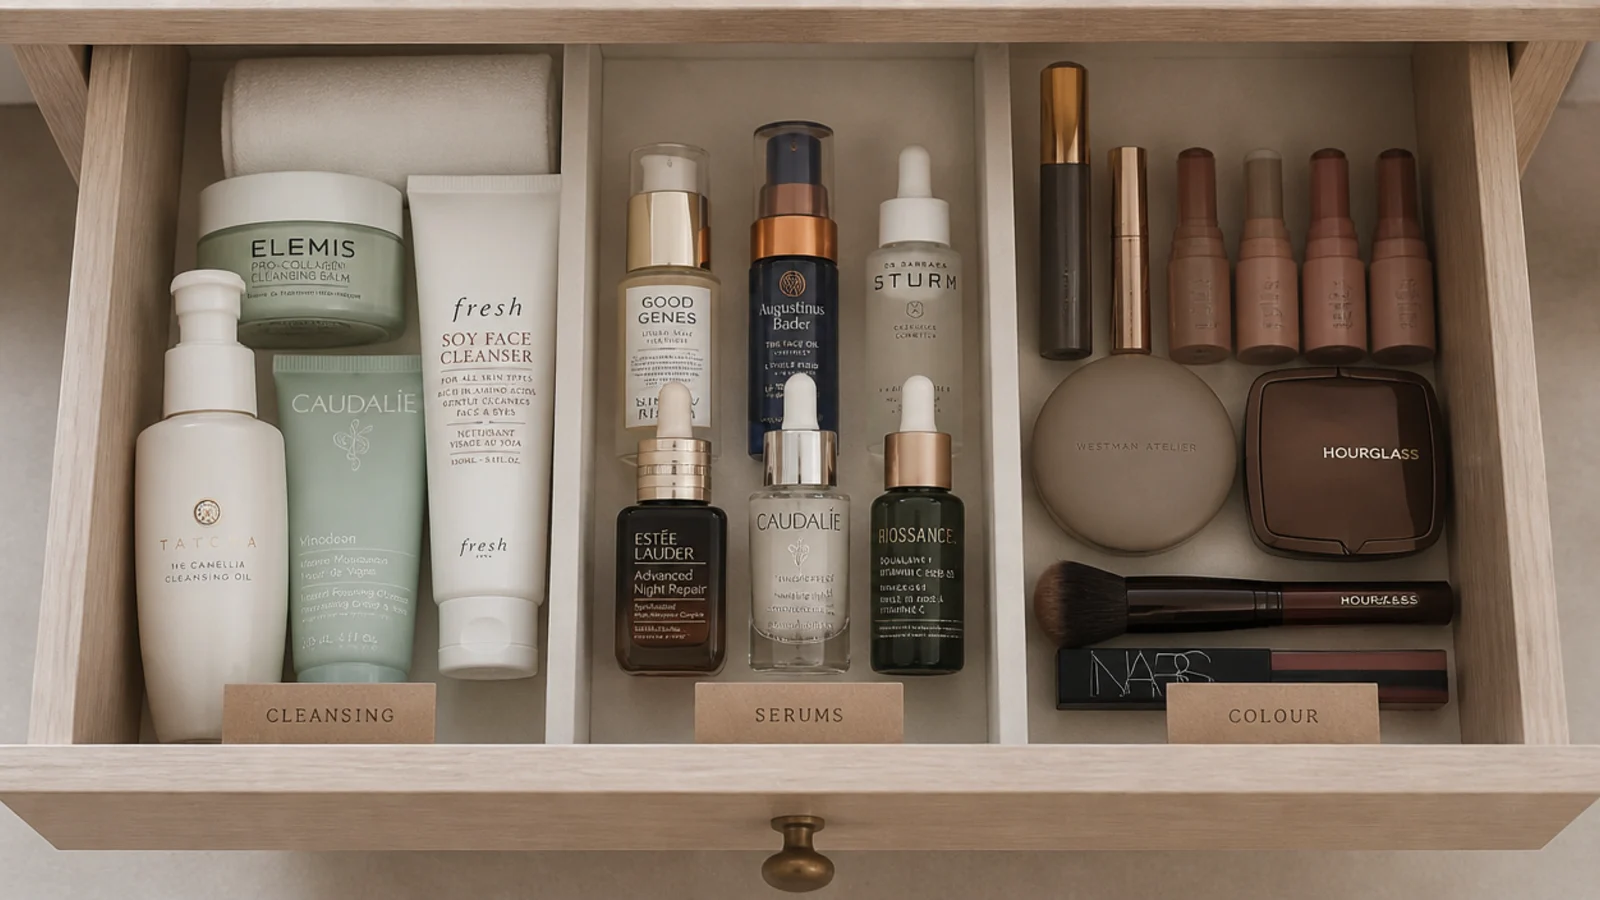
Once the compartments exist, fill them in the order you use things: cleanse at the front, treat in the middle, colour at the back. Your hand learns the layout in about two days.
Sorting by product type instead — all tubes together, all compacts together — looks tidy in a photo and adds a step to every morning, because you are hunting by shape rather than by sequence.
If two people share the vanity, give each person a drawer or split it front to back and label the lanes. Shared drawers without a rule always revert. Free
7. Stand every bottle upright
Anything with a pump or a dropper stores standing. On its side, a pump seeps into the liner and a dropper stains felt, and you find out weeks later when the drawer smells of serum.
Pack the bin tight enough that bottles support each other. Loose bottles fall over every time the drawer closes, which is the noise you keep hearing.
Lay a folded cloth or a felt offcut in the base to catch drips, and wash it rather than replacing the liner. Deep bins run $5 to $12 and are the least glamorous, most useful thing in the drawer. $

8. File palettes on edge like records
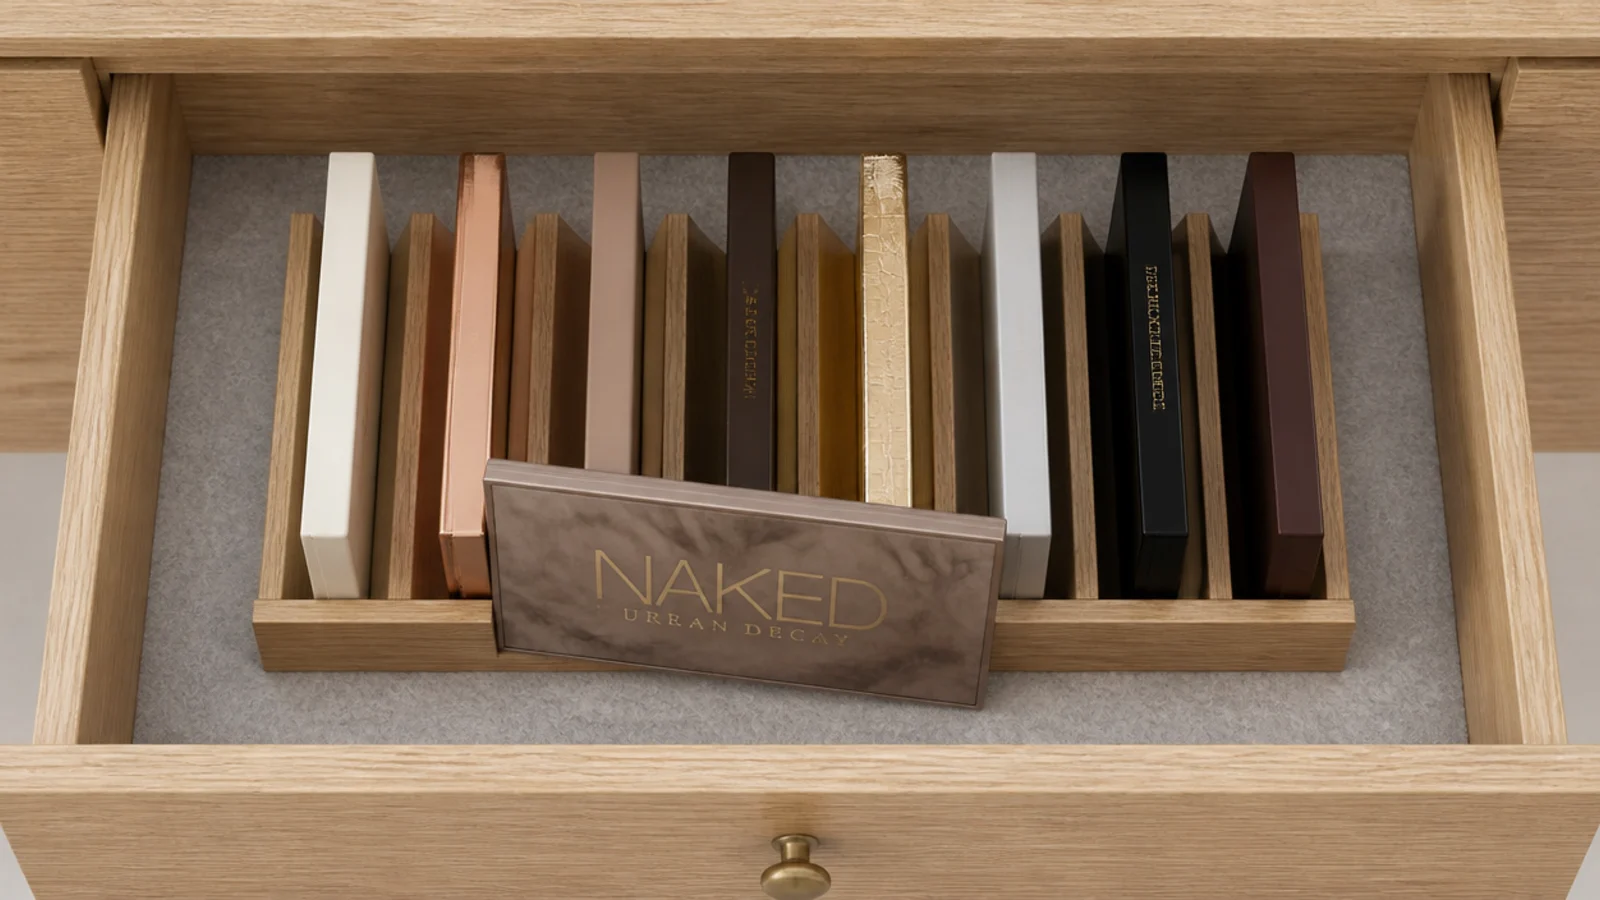
Stacked flat, the bottom palette is invisible and therefore never used. Stood on edge in a slim divider, the whole collection is readable in one glance.
Space slots about 1 1/4 inches apart in a drawer 2 to 3 inches deep, and the palettes hold each other upright. Two cardboard strips wrapped in kraft paper prove the spacing for free before you buy anything.
The same trick works for compacts, powder pans and flat brush sets. It is the single biggest capacity gain available in a shallow drawer, and it costs nothing to test. Free–$$
9. Give brushes a lined channel of their own
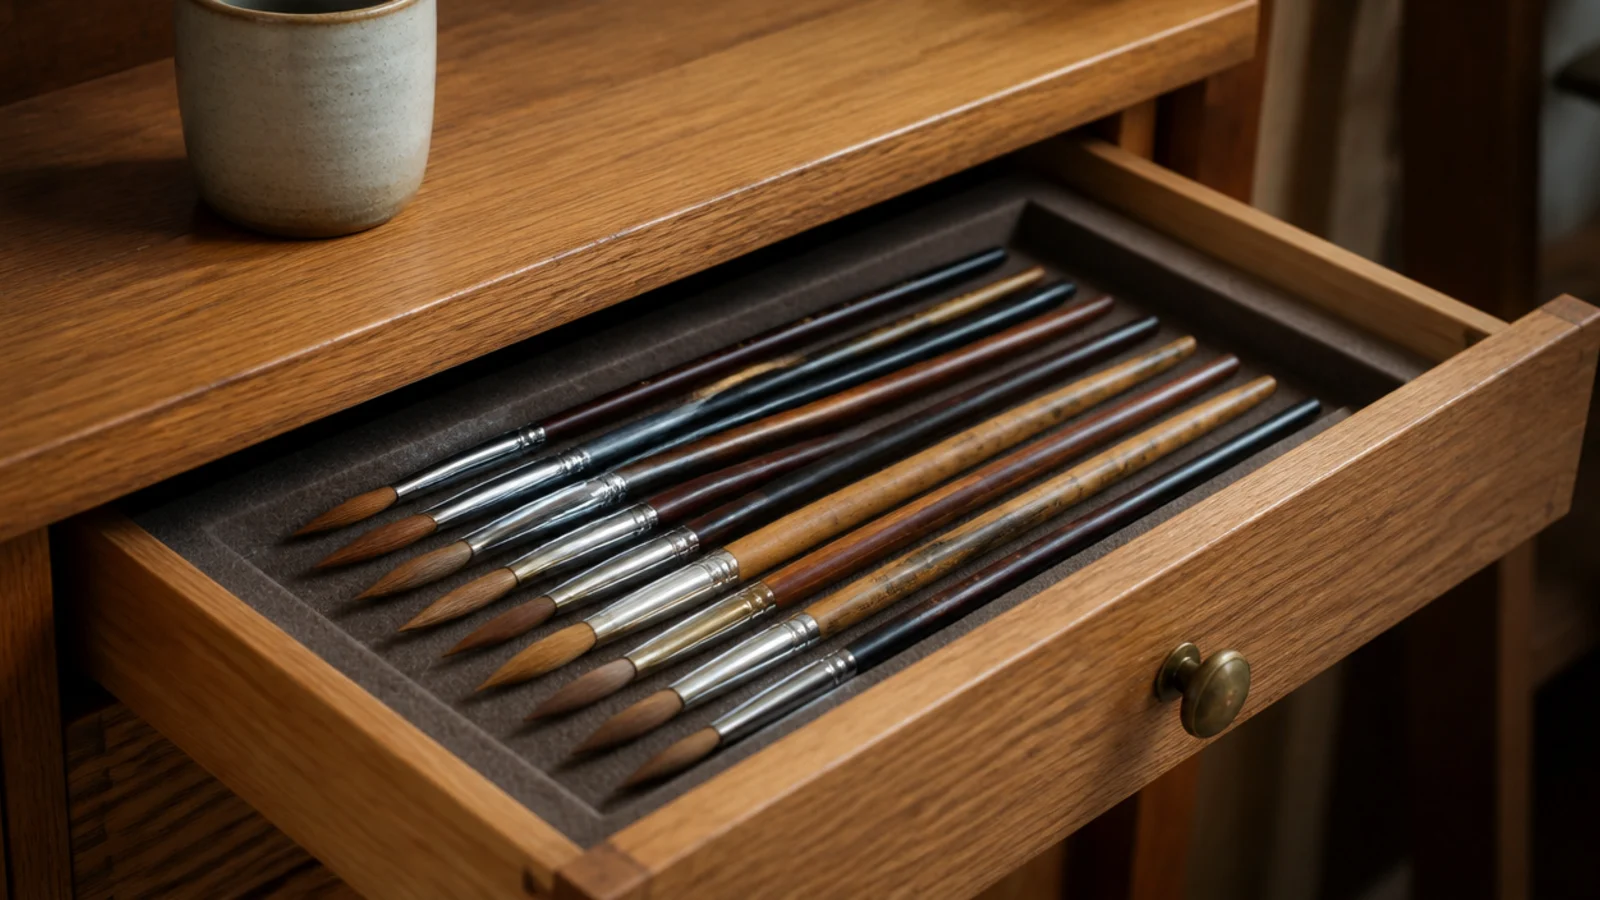
Brushes loose in a drawer collect every crumb of spilled powder and lose their shape against everything else. A dedicated channel about 2 1/2 inches wide, lined in felt, keeps them clean and parallel.
Lay them with the bristles all facing the same direction, and the drawer suddenly looks arranged rather than filled. Any brush you use daily is better standing bristles-up in a weighted cup on the counter, since bristles-down splays them permanently.
Wash brushes monthly, reshape while damp, and dry flat with the bristles hanging over an edge. $
10. Put jewellery in a slotted shallow tray
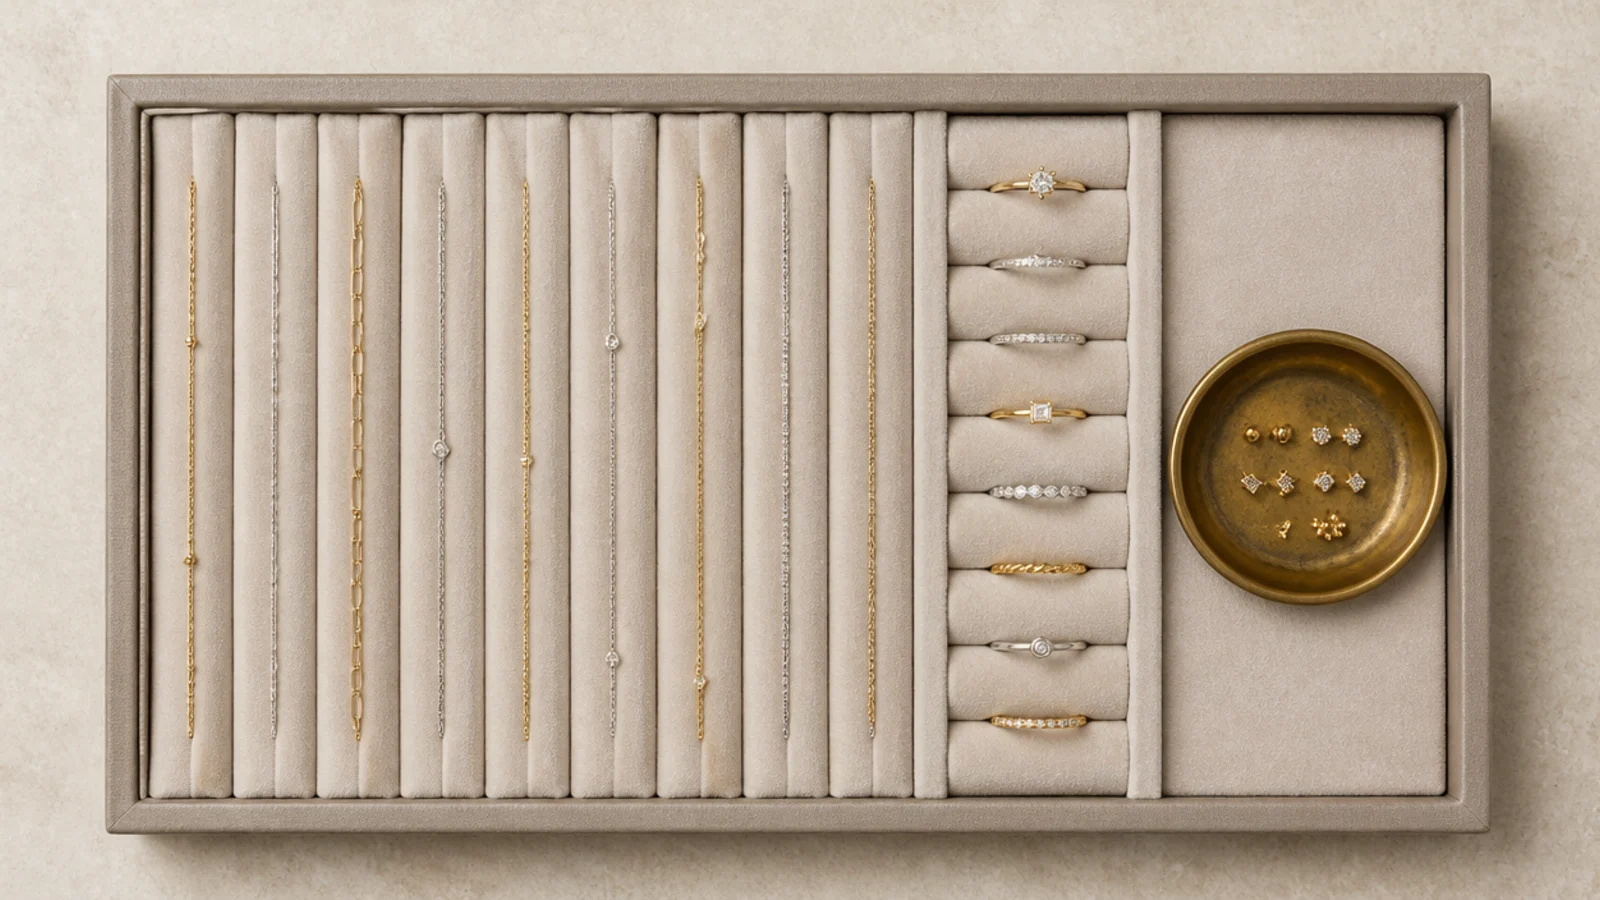
Fine chains knot into a single lump within a week in an open compartment. A shallow tray with narrow padded slots keeps each chain straight and each ring visible.
Look for slots around 1 inch wide and a tray under 2 inches deep so it fits a standard vanity drawer. Padded jewellery trays start about $12; a felt-lined cutlery tray does the same job for $6.
Keep it away from the bottle compartment. A leaked oil ruins suede lining far faster than it ruins anything else in the drawer. $–$$
11. Spend on the top drawer, save on the rest
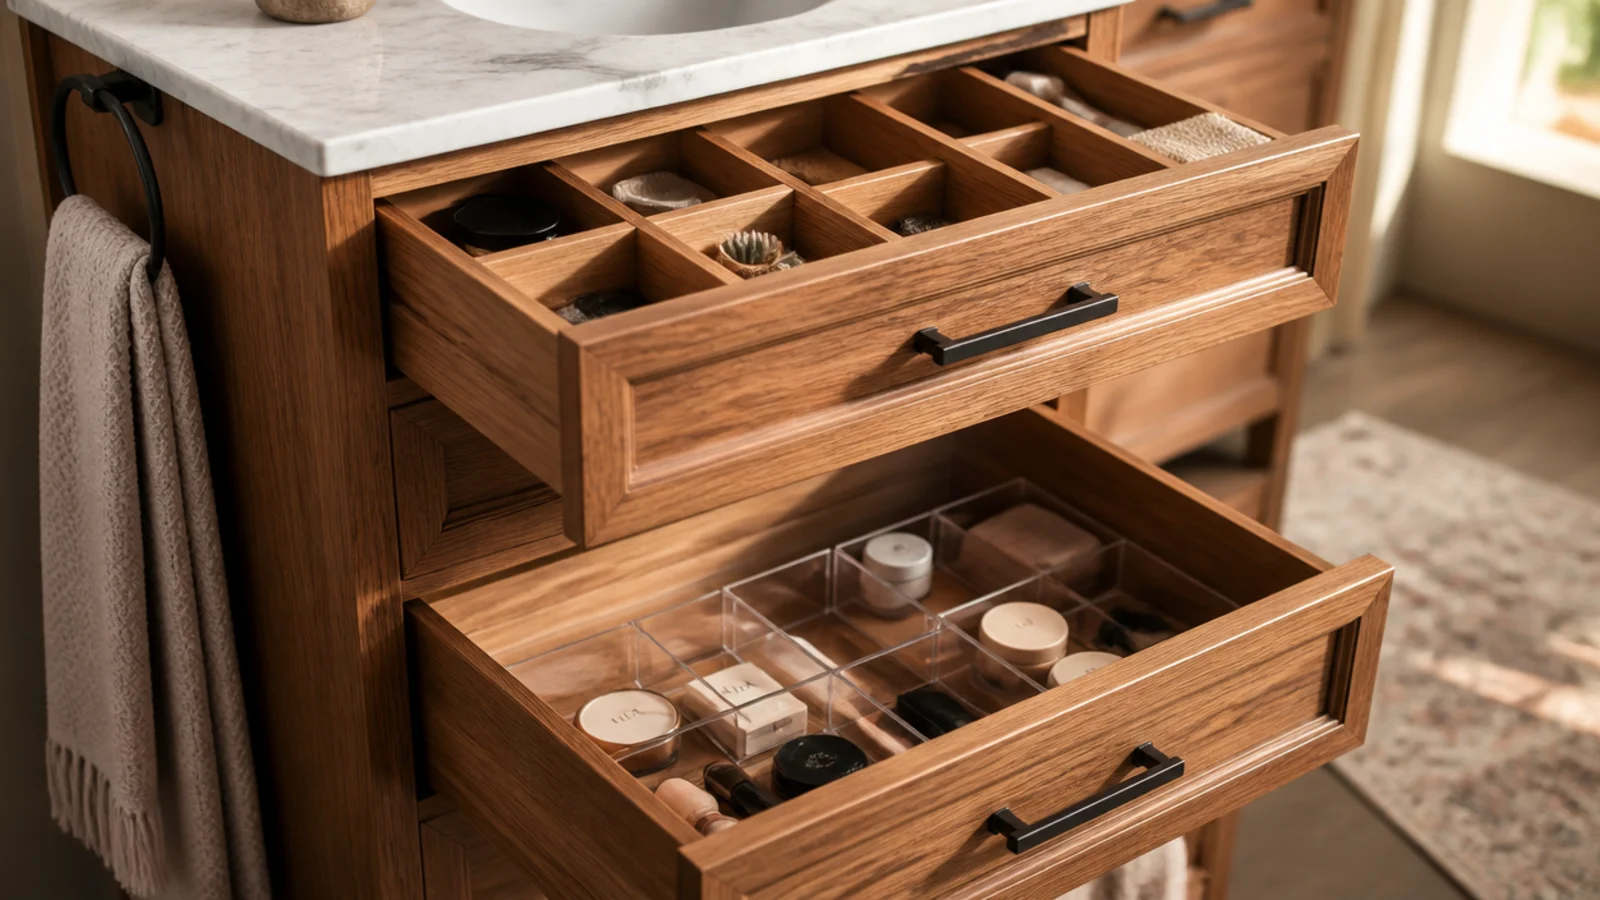
The top drawer gets opened ten times a day, often in front of other people. That is where solid oak or walnut dividers earn their price, because real wood reads as cabinetry rather than storage.
Lower drawers and cabinet bins can be plain clear acrylic at a fifth of the cost, and nobody will ever notice. Wooden sets run $30 to $60; acrylic equivalents are $12 to $25.
If you buy one nice thing for a vanity, make it the insert in the drawer you use most. It is the piece you touch, and touch is most of what reads as expensive. $$–$$$
12. Paper the drawer sides in something textured
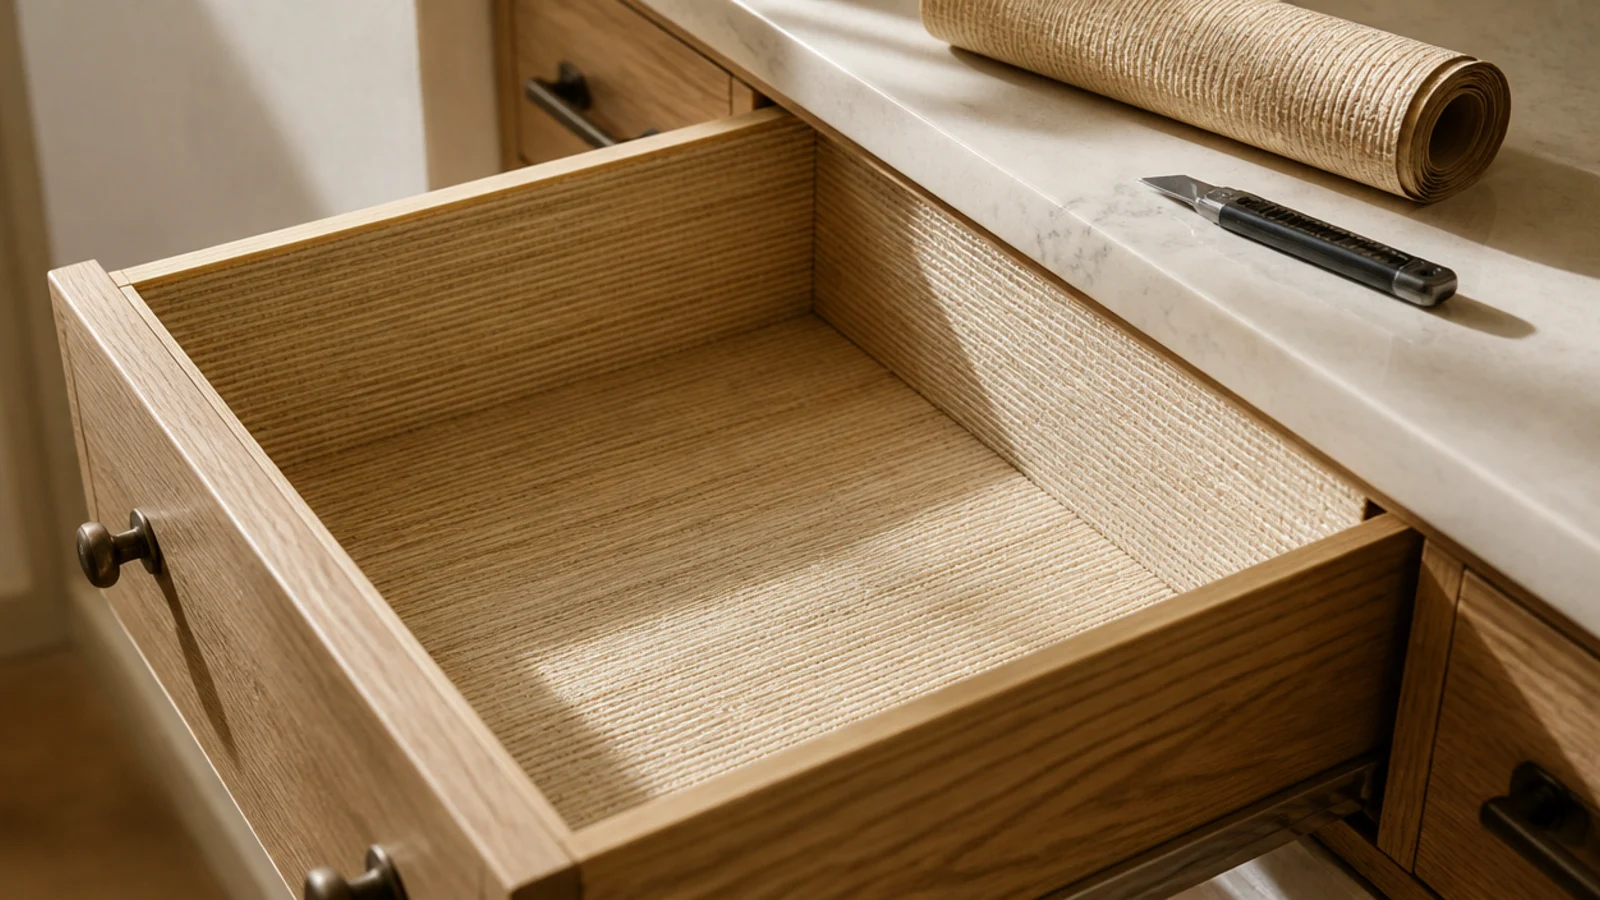
Interior drawer paper is an old decorator trick and it still works. Warm sand grasscloth, a fine linen weave or a marbled paper on the sides and base makes a builder-grade drawer feel considered.
Choose texture rather than pattern, since pattern competes with everything you put in. Cut with a steel rule, fix with removable double-sided tape so a rental stays intact, and it comes out cleanly at move-out.
A single roll covers two or three drawers for around $15 and takes an afternoon. Pair it with felt in the base rather than instead of it. $$
13. Swap the pulls and keep the originals
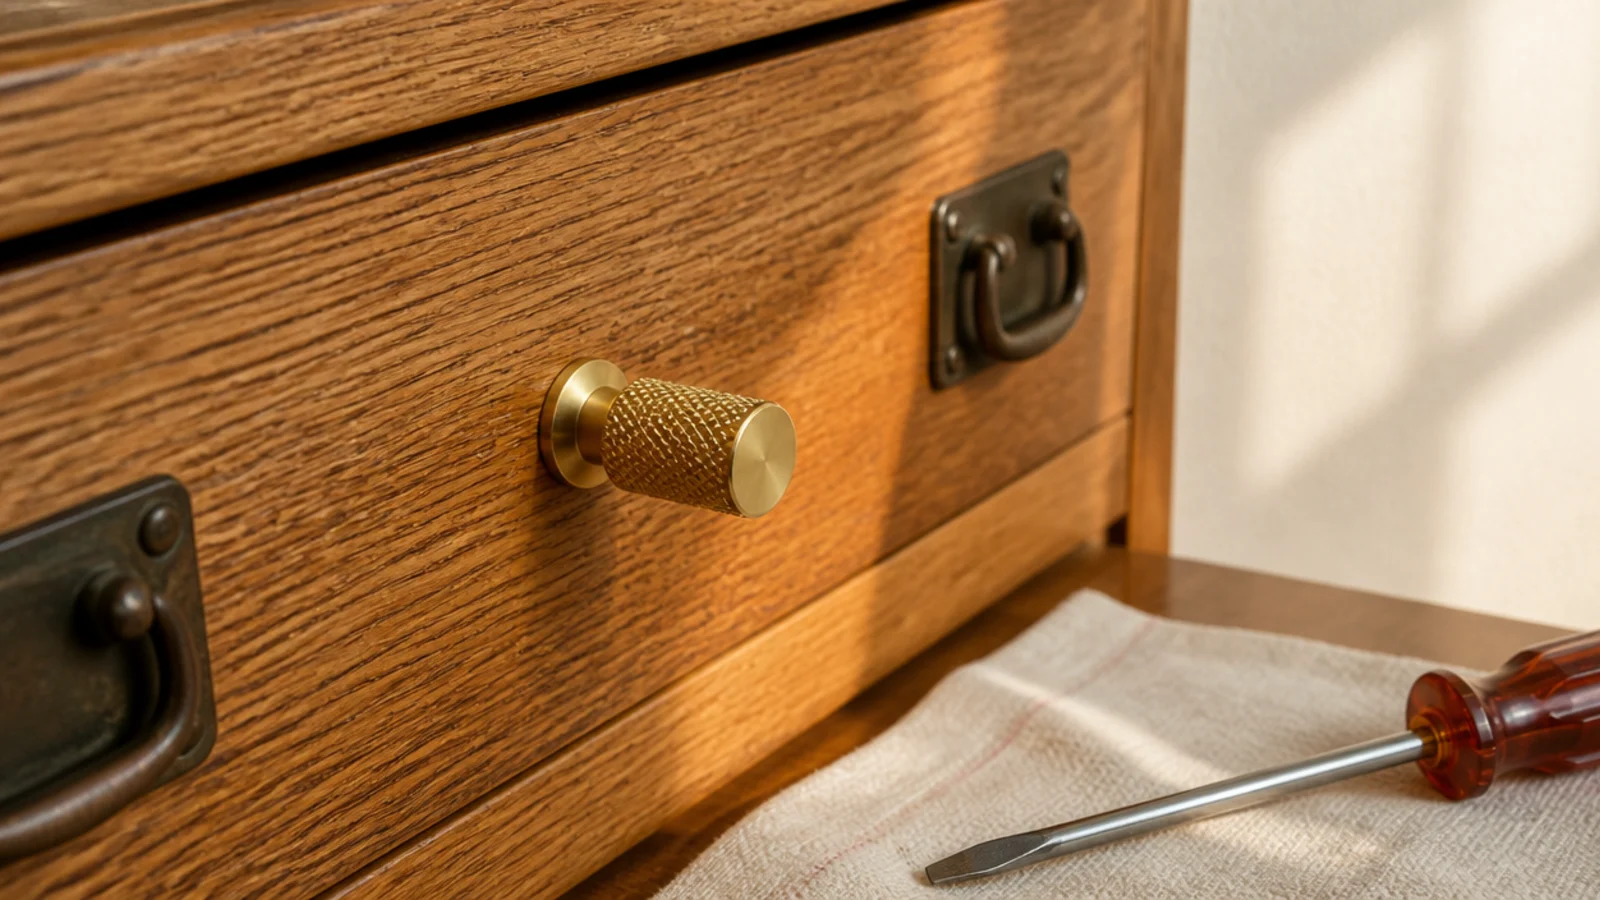
Nothing changes the read of a vanity faster than hardware. Knurled brass, aged bronze or a simple solid bar pull instantly stops a drawer front looking builder-grade.
Measure the hole spacing first — 3 inches and 96 mm are the common ones and they are not the same. Pulls run $4 to $12 each, so a two-drawer vanity is under $30.
Keep the original handles in a labelled bag. Ten minutes with a screwdriver at move-out restores the vanity exactly, which makes this the best value change available to a renter. $–$$
14. Stop the trays travelling with non-slip liner
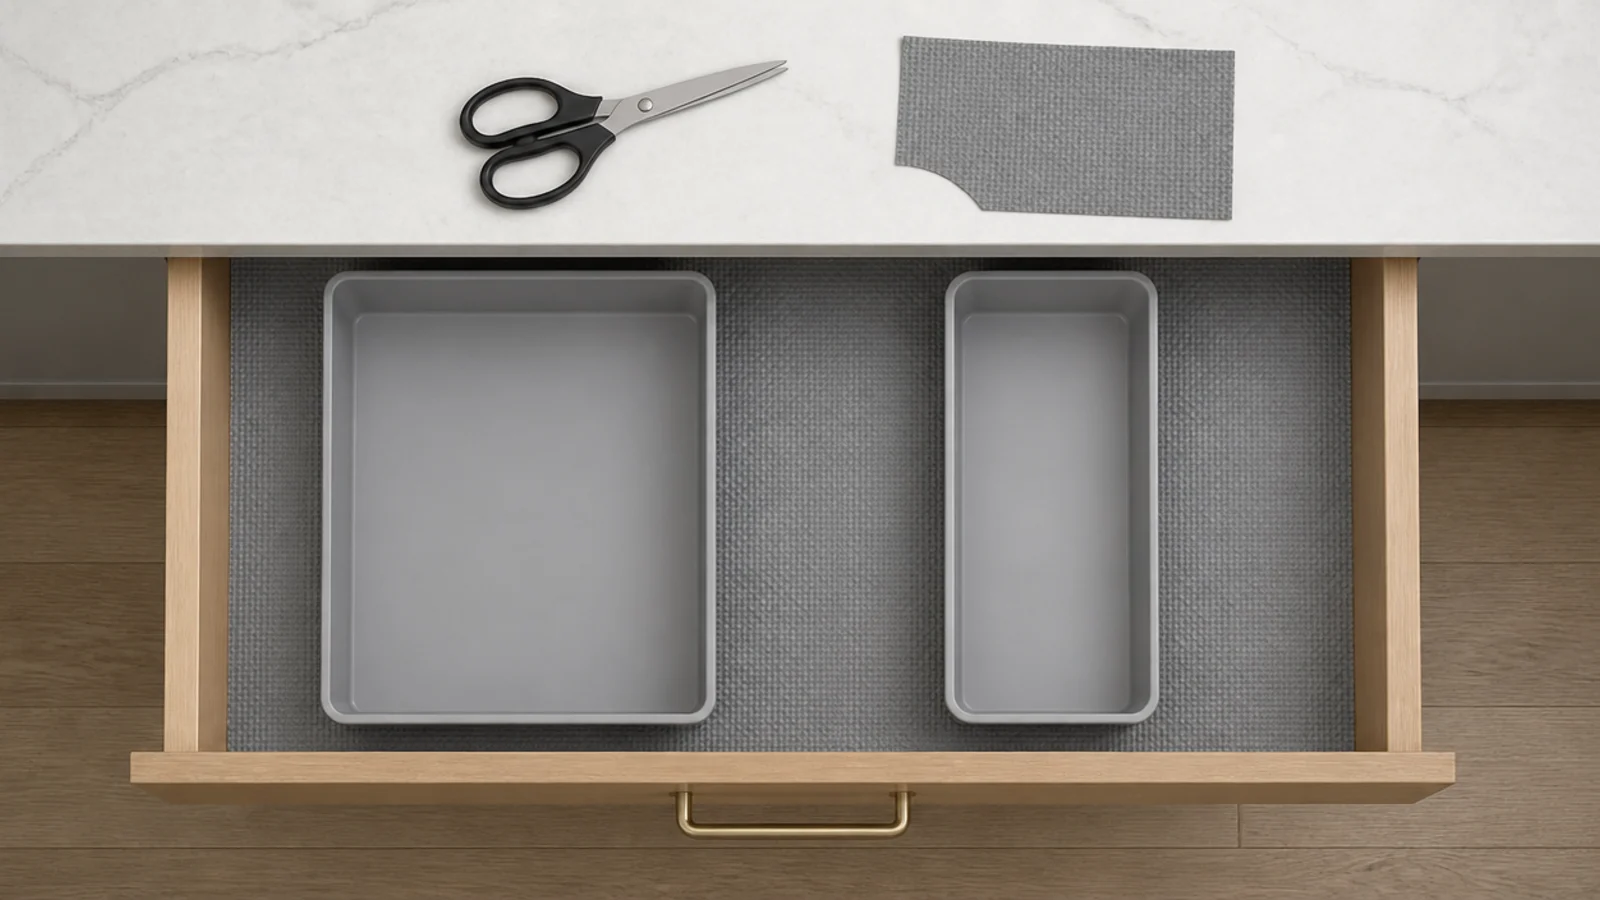
If everything slides forward each time the drawer shuts, the inserts are undersized. Cut a sheet of non-slip liner to the drawer base and set the trays on top of it.
A blob of museum putty under each corner does the same for pennies. Better still, fill the leftover strip with a narrow tray so nothing has room to move in the first place.
Liner runs about $8 a roll and does double duty under freestanding cabinet bins. Quiet drawers are most of what people mean by well made. $
15. Leave one compartment permanently empty
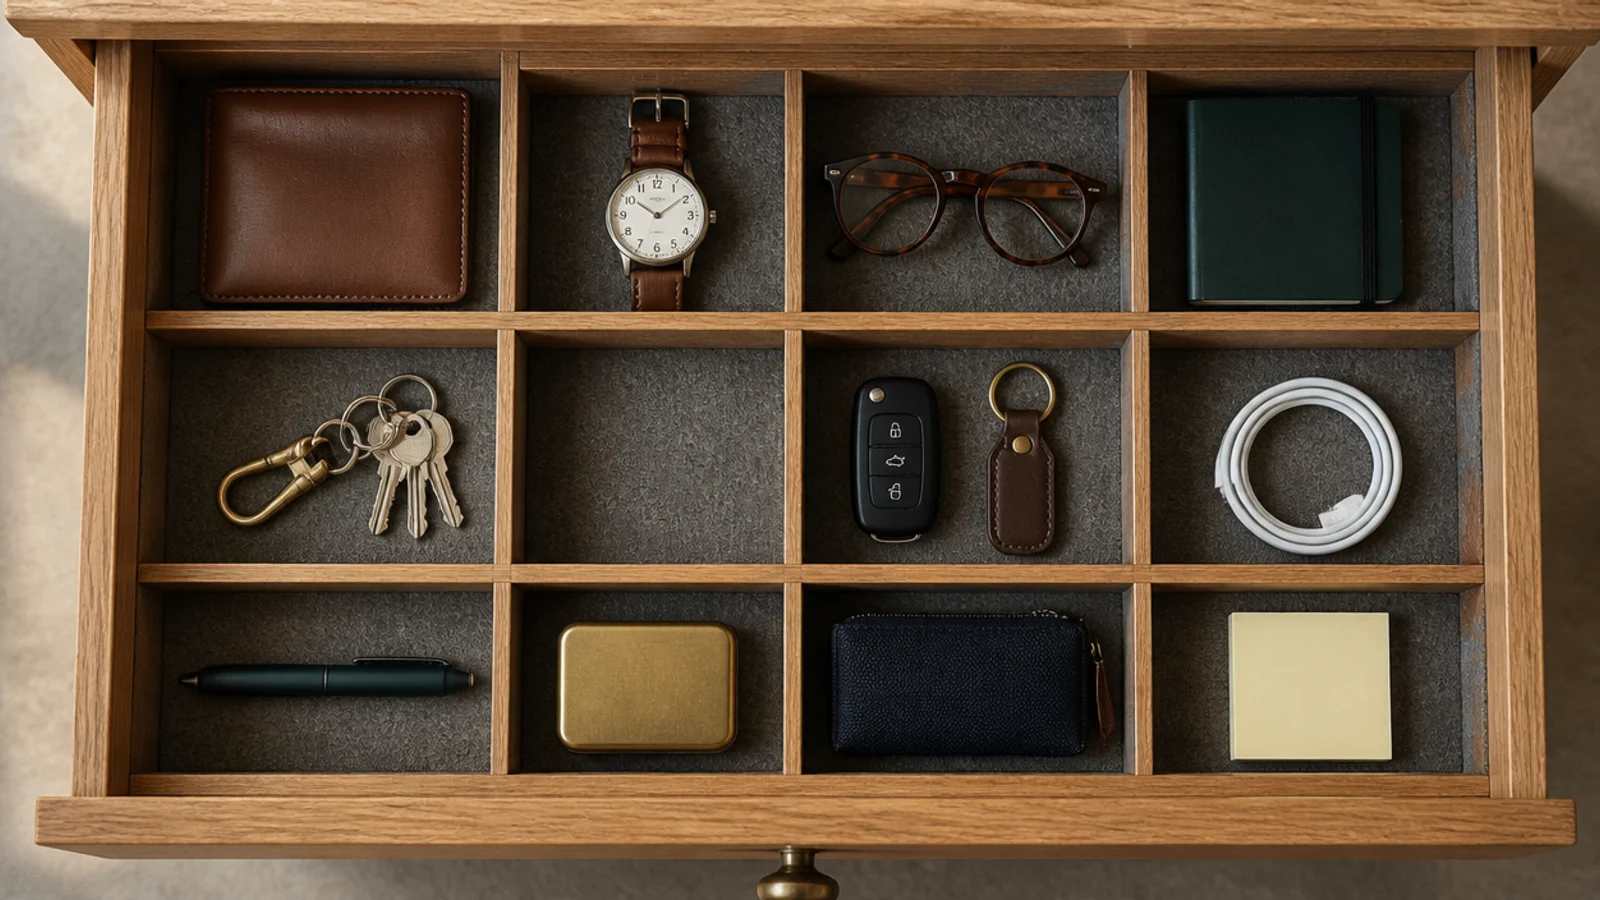
An empty slot looks like a mistake and behaves like insurance. It is the landing strip for whatever comes home from the shop, and without it every new purchase lives on the counter.
Keep it near the front where it is easy to reach, and empty it during the twice-yearly cull. Mascara is finished at three months, liquid foundation at six to twelve, and powders at roughly two years, so the drawer needs regular room.
Write open dates on bottle bases with a fine marker as things arrive, and the cull takes fifteen minutes rather than an afternoon. Free
Mistakes to Skip
- Measuring the outside of the drawer. Inserts are sized to internal dimensions minus about 1/8 inch, and that clearance is what makes a set drop in cleanly.
- Laying pumps and droppers flat to fit a shallow drawer. They leak into the liner within weeks, and the felt never fully recovers.
- Buying one fixed moulded insert. It suits exactly the collection you own today, and your collection changes every season.
Frequently asked questions
How do I measure a vanity drawer for organizers?
Empty the drawer, then measure the internal width, the internal depth front to back, and the internal height at the shallowest point. Subtract about an eighth of an inch from width and depth so inserts drop in rather than wedge. Check the runners as well, because side-mount hardware can quietly steal half an inch of usable width.
What depth of drawer insert should I buy?
Two to three inches suits flat items: palettes, compacts, pencils, tweezers and brushes laid down. Four to five inches suits bottles, primers, pumps and droppers that must stand upright. If your drawers are all shallow, keep bottles in a cabinet bin instead of laying them on their sides where they leak into the liner.
Are expensive drawer organizers worth it?
Spend on the pieces you see and touch every day. Solid oak or walnut dividers in the top drawer genuinely read as custom cabinetry, while clear acrylic in a lower drawer works just as well for a fifth of the price. Buying modular trays rather than one fixed insert matters more than the material either way.
How do I make a cheap vanity look expensive?
Three low-cost moves do most of it: line the drawers in felt so nothing rattles, swap the pulls for solid brass or knurled metal, and organize contents so labels all face one way. Together they cost under $50 in a typical vanity and change the impression far more than a new organizer set does.
How do I stop drawer organizers sliding around?
Cut a sheet of non-slip liner to the drawer base and set the trays on top of it, or run museum putty under each corner. Sliding is usually a sign of undersized inserts, so fill the leftover strip with a narrow tray rather than leaving a gap that lets everything travel each time you close the drawer.
Line the drawer and load it in routine order first — those two moves cost about $8 and deliver most of the expensive look. Buy inserts only once the three internal measurements are written down. For the full reset process, the twenty-step vanity organization guide walks through it in order, acrylic vanity organizers covers what is worth buying clear, and small closet shelving ideas uses the same measure-first logic on shelves. Save the pin so the measurements come with you.
Want more like this? Browse all 15 vanity organization guides — they all use the same measurements and budget tiers.
Pin it for later
Save this to your Vanity Organization board
Pin it now so it is waiting for you when the tape measure comes out — and so the next person hunting for this idea can find it too.
Save this pinKeep going
More ideas worth saving while you have the tape measure out.