Vanity Organization · Listicle
25 Budget-Friendly Vanity Organization Ideas for Small Spaces

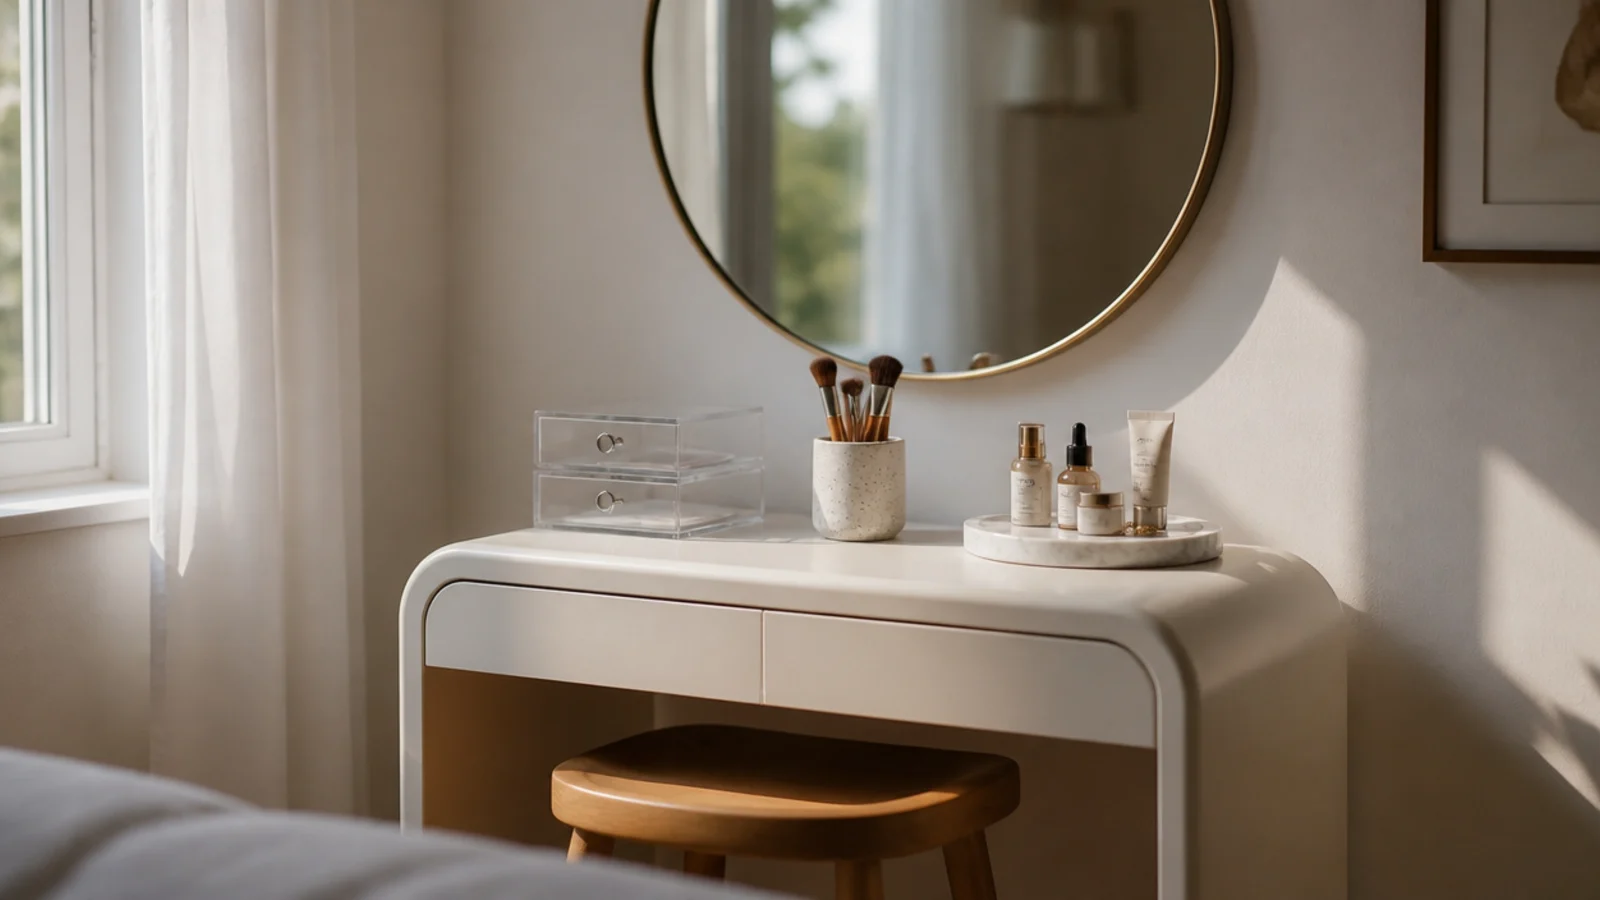
Makeup vanity organization gets sold as a shopping problem and it is almost always a volume problem. A 30 inch vanity holds a surprising amount once the collection is honest, and no amount of clear acrylic will rescue a drawer holding four foundations you no longer wear. These 25 ideas are what I use in small rentals and tight bathrooms, all under $30, most under $10.
In this guide27 sections — tap to openHide
- 1.How makeup vanity organization works in a small space
- 2.Build a daily capsule of five products
- 3.Stack two clear drawers instead of one big box
- 4.Add a two-tier riser inside the cabinet
- 5.Sort lipsticks in a bead-storage box
- 6.File palettes upright in a napkin holder
- 7.Stand brushes bristles-up in a weighted cup
- 8.Repurpose a kitchen cutlery tray
- 9.Divide the shallow drawer by routine step
- 10.Keep pumps and droppers standing upright
- 11.Use a magnetic board for metal-pan compacts
- 12.Dry sponges on a small metal rack
- 13.Stand pencils in a narrow cup by length
- 14.Give samples a single lidded tin
- 15.Keep a packed travel capsule ready
- 16.Add a rolling cart beside the vanity
- 17.Hang a rail of small cups on the wall
- 18.Use the back of the cabinet door
- 19.Turn a shoebox lid into a drawer template
- 20.Colour-sort what you own in a shallow tray
- 21.Keep tools out of the steam
- 22.Cap backstock at one spare
- 23.Write the open date on the base
- 24.Park an empties dish at the vanity
- 25.Photograph the drawer when it is right
- 26.Book the twice-yearly cull
- 27.Mistakes to Skip
How makeup vanity organization works in a small space
Start with the cull, because everything else is sizing containers to a collection. Mascara is finished at three months, liquid foundation at six to twelve, and powders at roughly two years. That single pass usually removes a third of the volume, which changes what you need to buy.
Then set the order. Sort by routine — cleanse, treat, colour — rather than by product category, because that is the sequence a hand actually moves in. Base products in the front row, eyes next, lips last, and skincare nearest the tap.
Only daily items earn the counter. In a small space that limit is not aesthetic, it is practical: a crowded counter has no working surface left, so everything gets held in one hand while you reach with the other.
Go vertical for the rest. Stacking drawers, a two-tier riser, a wall rail and the back of the cabinet door add real capacity without adding footprint.
Budget tiers below: $ under $10, $$ $10 to $20, $$$ $20 to $30. Nothing on this list crosses $30, and several ideas cost nothing at all.
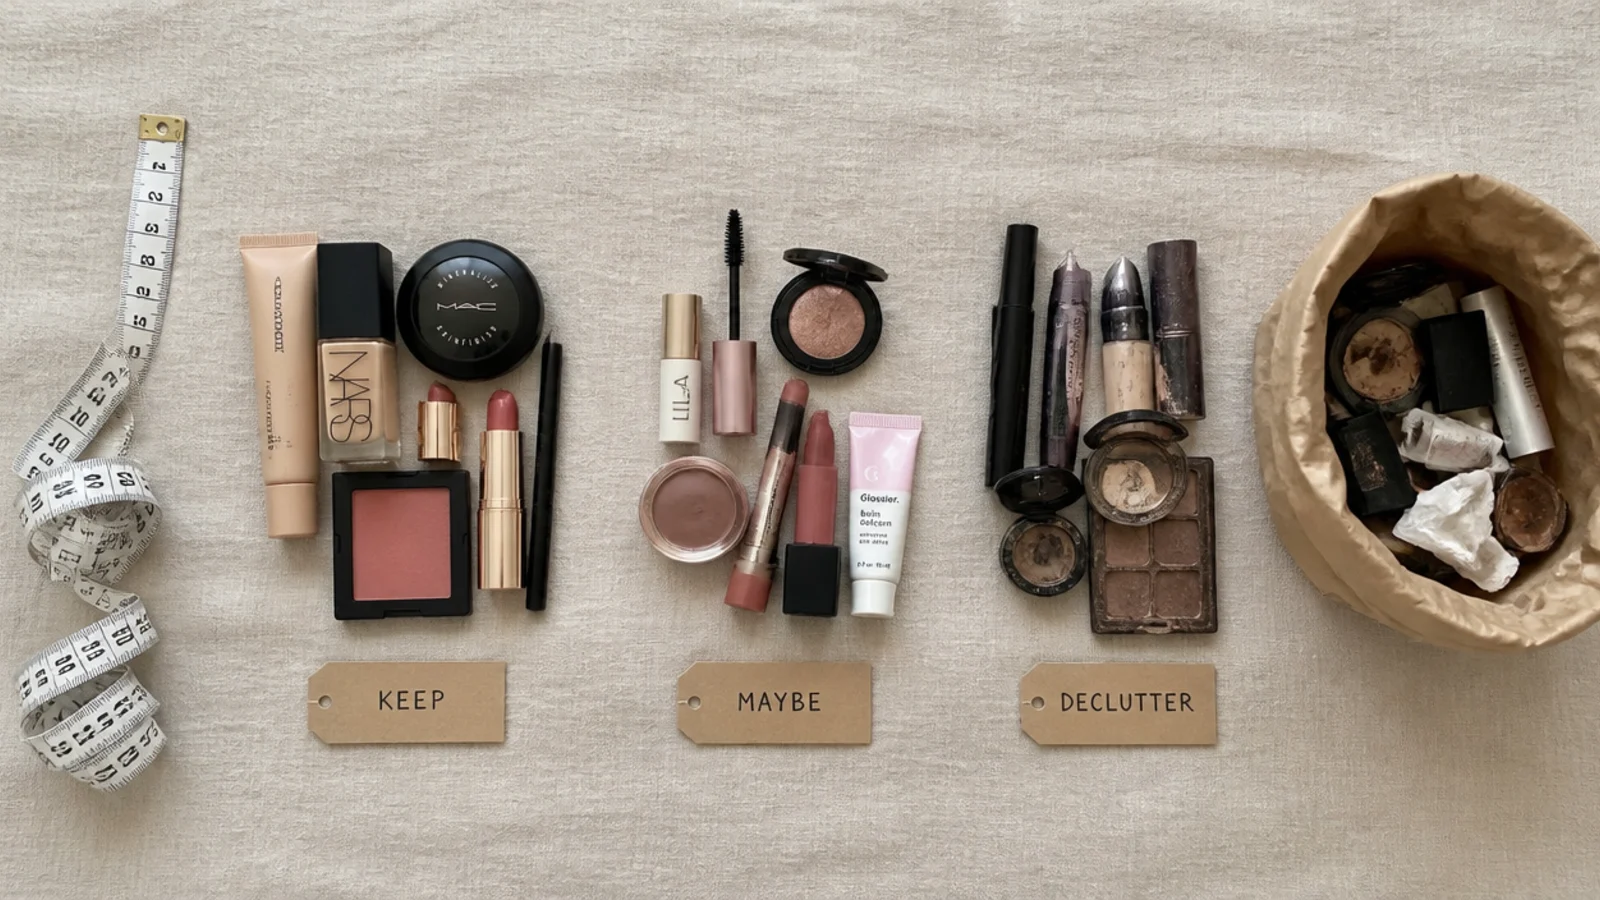
1. Build a daily capsule of five products
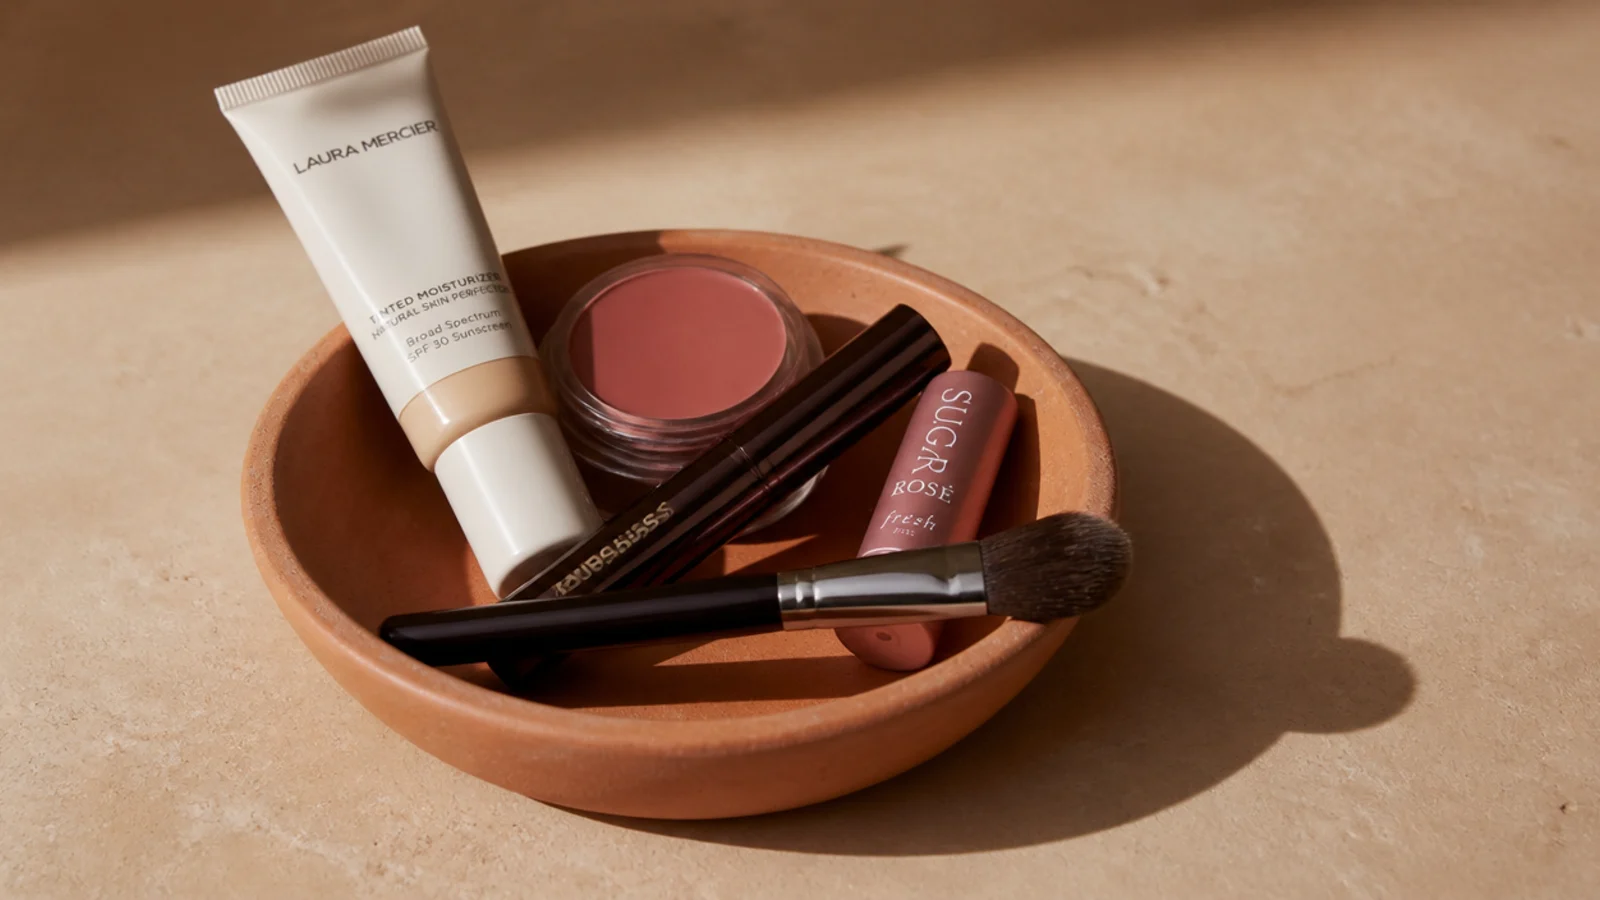
Pick the five to eight things you touch every single day and let only those live out. Mine is tinted moisturizer, cream blush, mascara, a lip balm and one brush.
Everything else goes into a drawer, including things you love. A capsule makes the morning faster and makes a small counter look deliberate rather than raided. Free
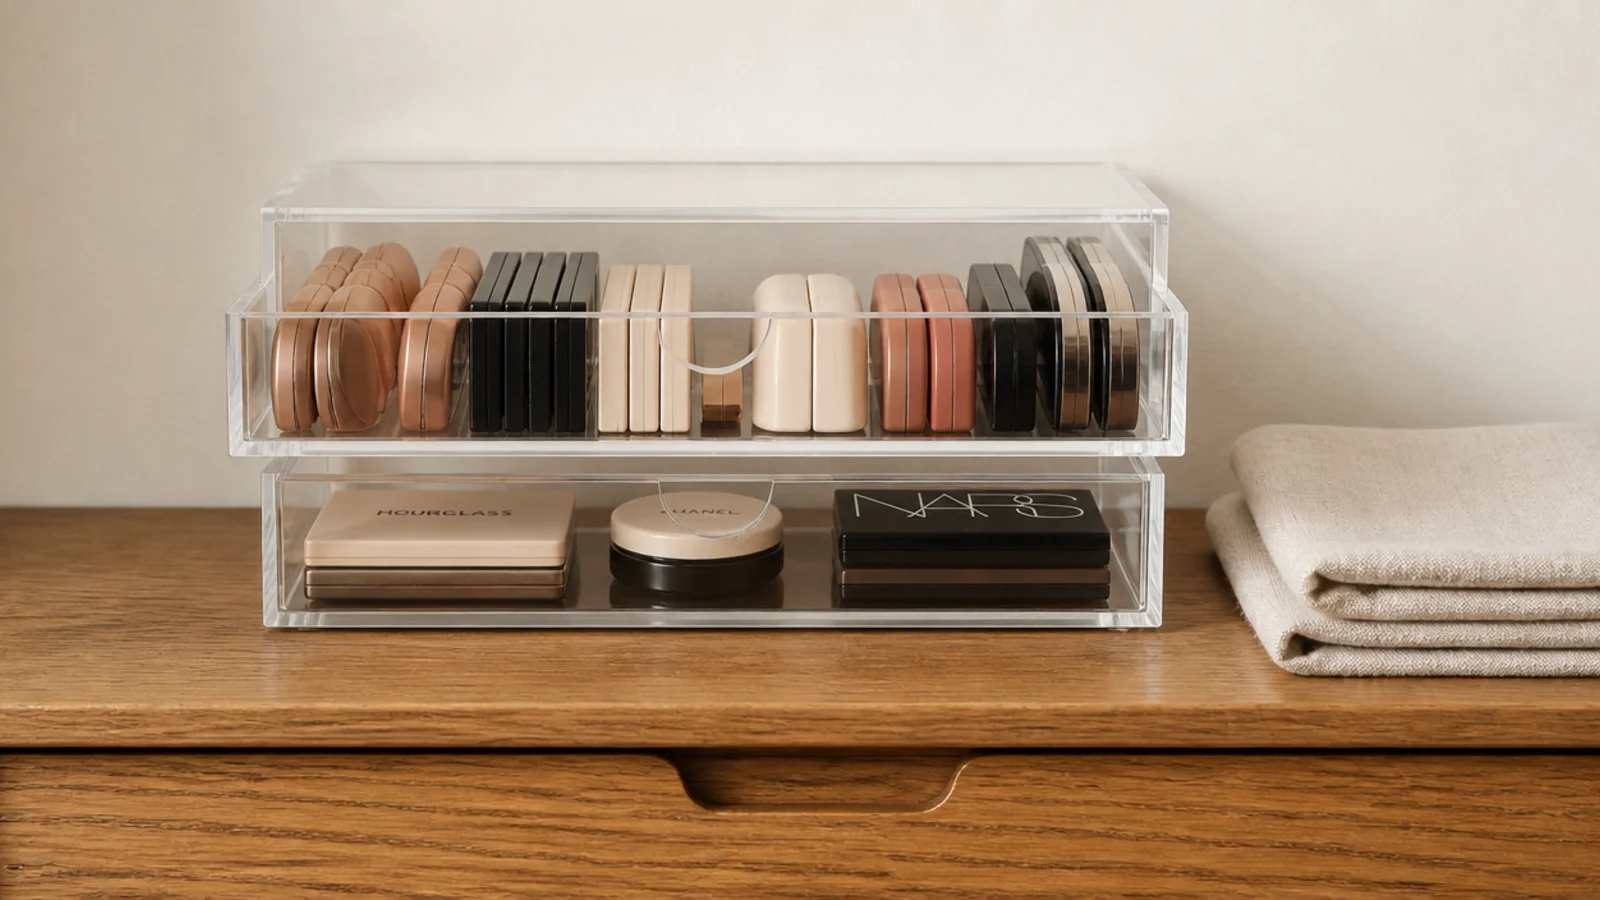
2. Stack two clear drawers instead of one big box
Two shallow stacking drawers with a 10 by 8 inch footprint hold more usable makeup than one deep box, because nothing gets buried under a second layer.
Keep the top drawer for daily items and the lower one for weekly. Look for units around 2 to 3 inches deep per drawer, which suits palettes and compacts lying flat. $$
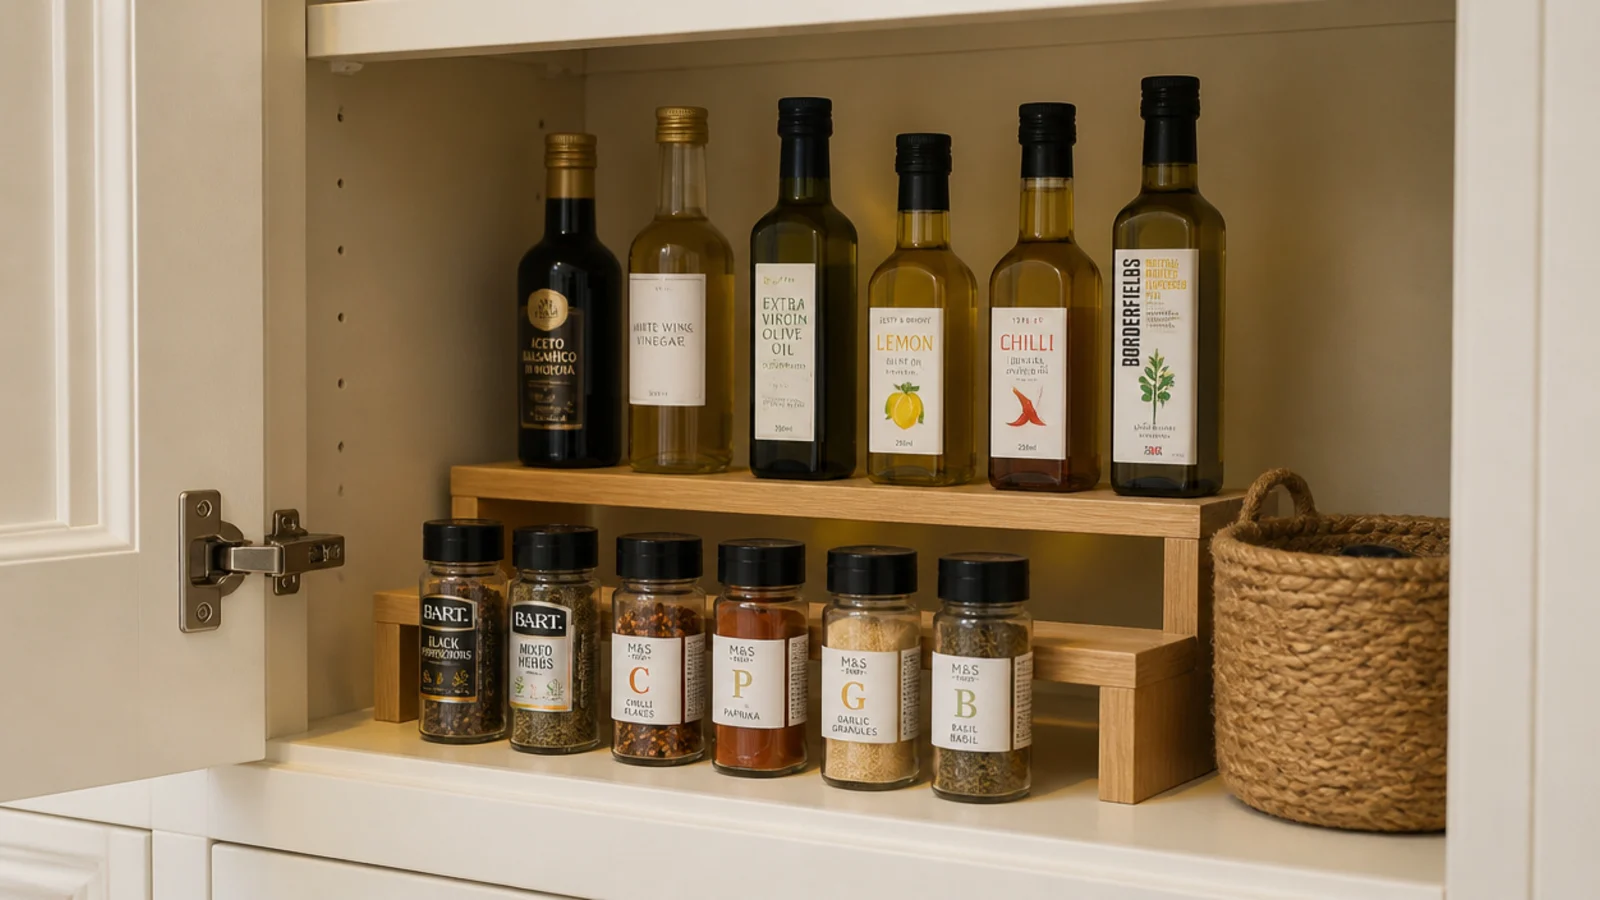
3. Add a two-tier riser inside the cabinet
A cabinet shelf wastes its back half because you cannot see it. A 3 inch step riser lifts the back row so every bottle is readable in one glance.
Bamboo and coated wire versions both run about $12. A cut length of 2 by 4 timber under a plank does the same job for the price of an offcut. $–$$
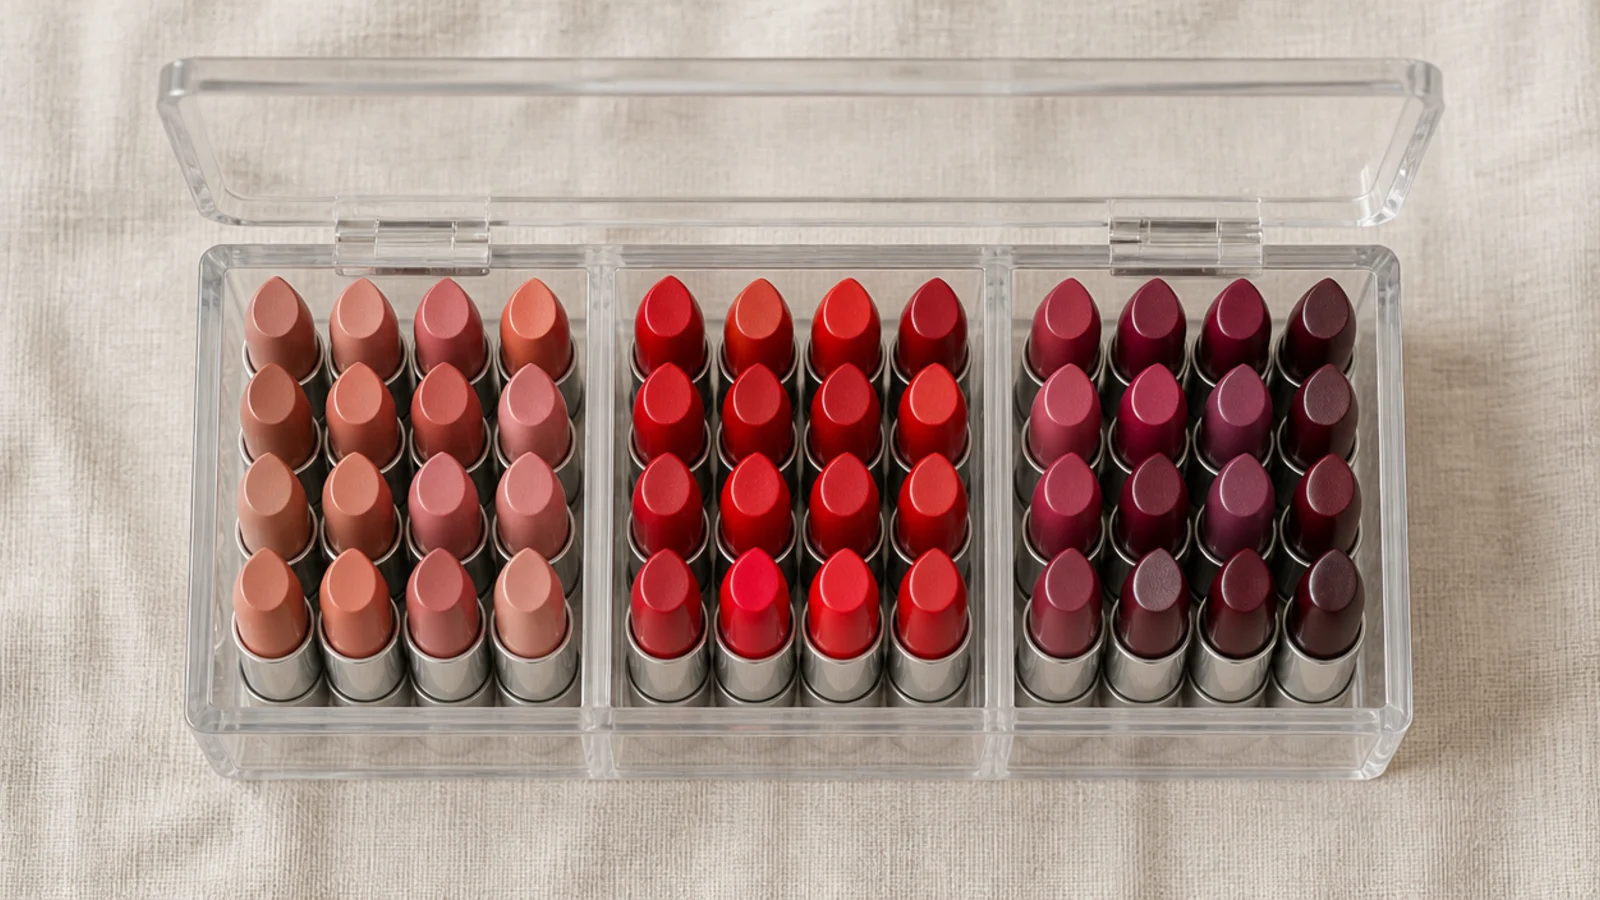
4. Sort lipsticks in a bead-storage box
The compartment boxes sold for beads and craft supplies are the cheapest lipstick organizers in any store, usually $6 to $9 for around 15 compartments.
Sort by shade family rather than by brand — nudes, reds, berries — because that is how you choose one at 8am. Duplicates become embarrassingly obvious within a minute. $
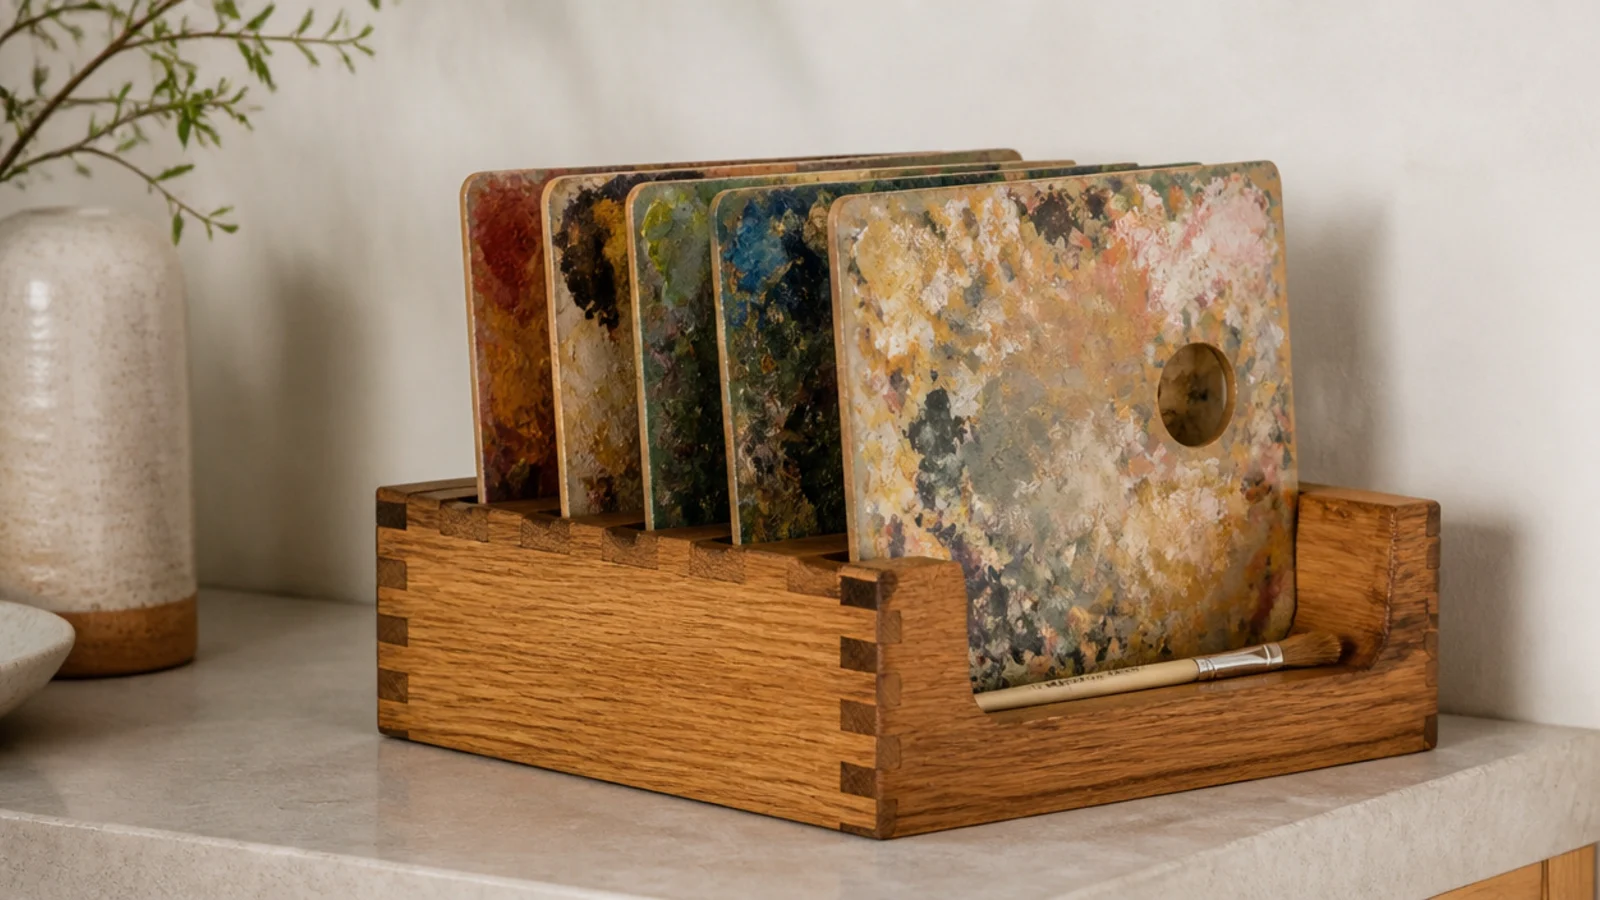
5. File palettes upright in a napkin holder
A wooden or wire napkin holder stands flat palettes on edge like records for around $5, so every palette is readable and reachable without lifting four others.
Space slots about 1 1/4 inches apart. Stacked palettes always end the same way: the bottom one is invisible and therefore unused. $
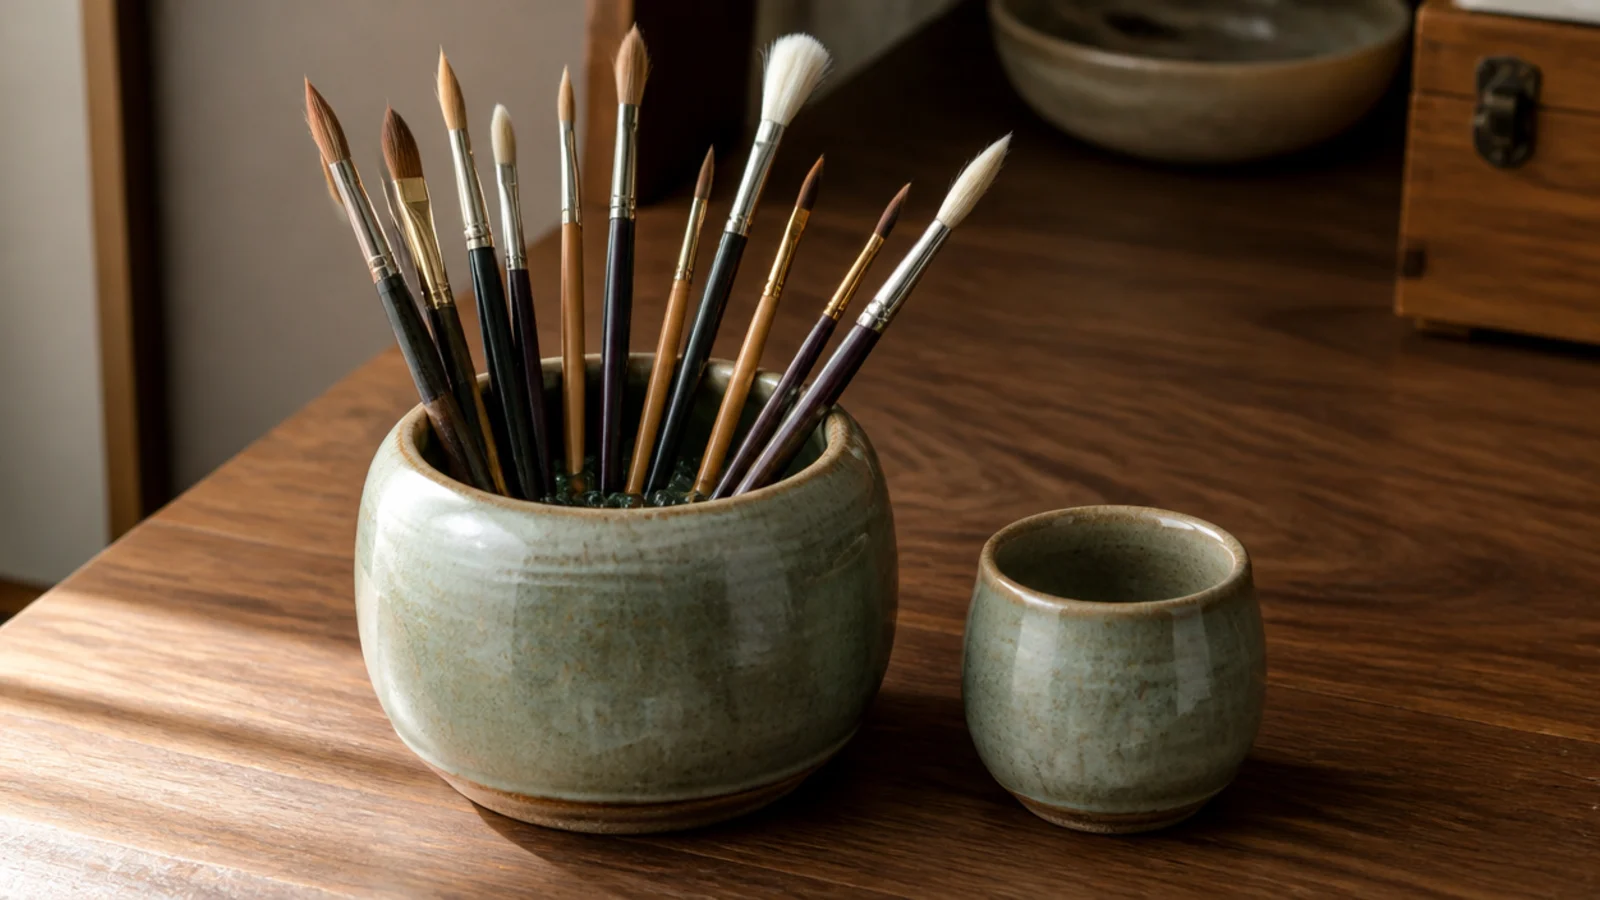
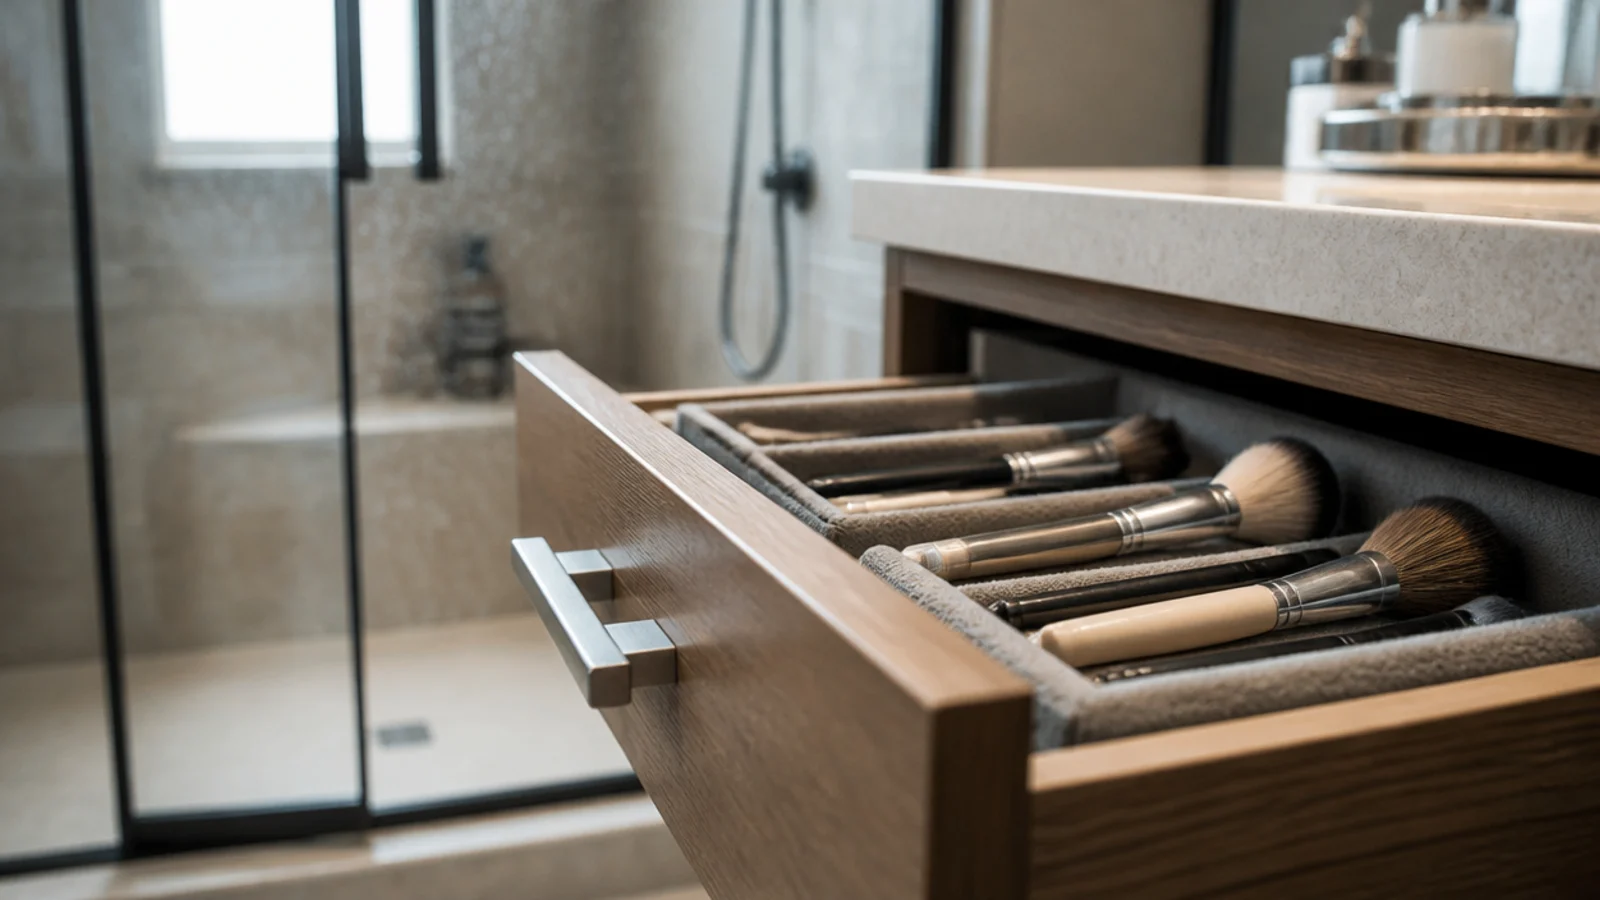
6. Stand brushes bristles-up in a weighted cup
Brushes stand bristles-up in a weighted cup or they splay, and a splayed brush never fully recovers its shape.
Use something 3 to 4 inches tall with a heavy base and a wide mouth — a squat stoneware tumbler or small crock. If yours is light, drop a handful of glass beads in the base so it stops tipping when you pull one out. $
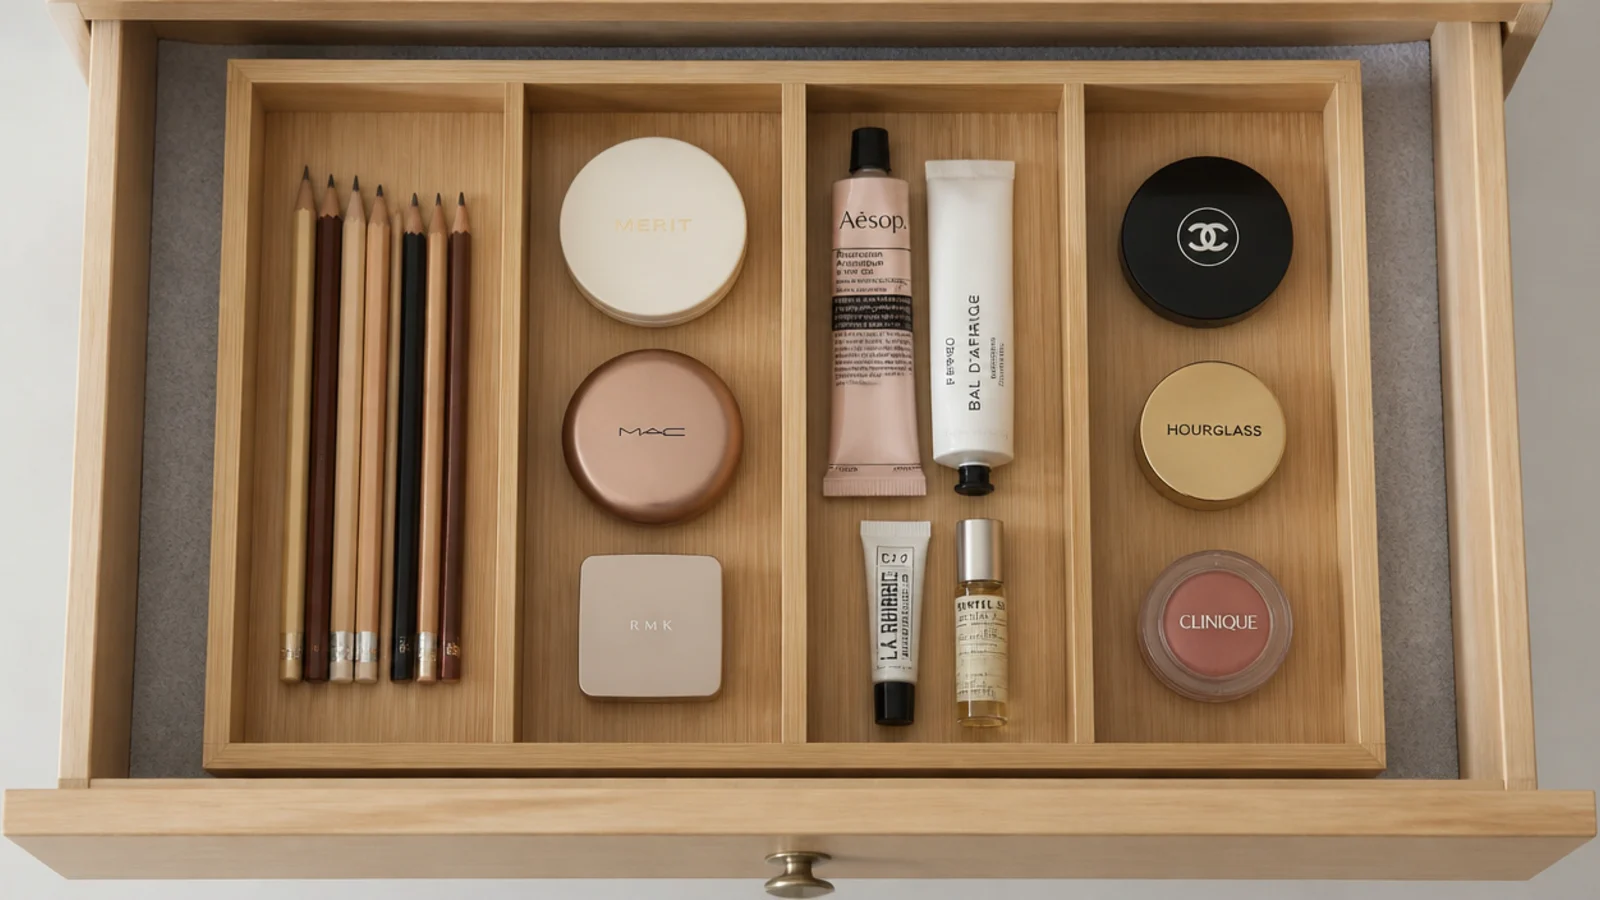
7. Repurpose a kitchen cutlery tray
A bamboo cutlery tray from the kitchen aisle is a better makeup insert than most things sold as makeup inserts, at about $6 for five channels.
Measure the drawer's internal width and depth first and subtract 1/8 inch for clearance. Trays with sloped channels are the ones to avoid, since pencils roll to the back. $
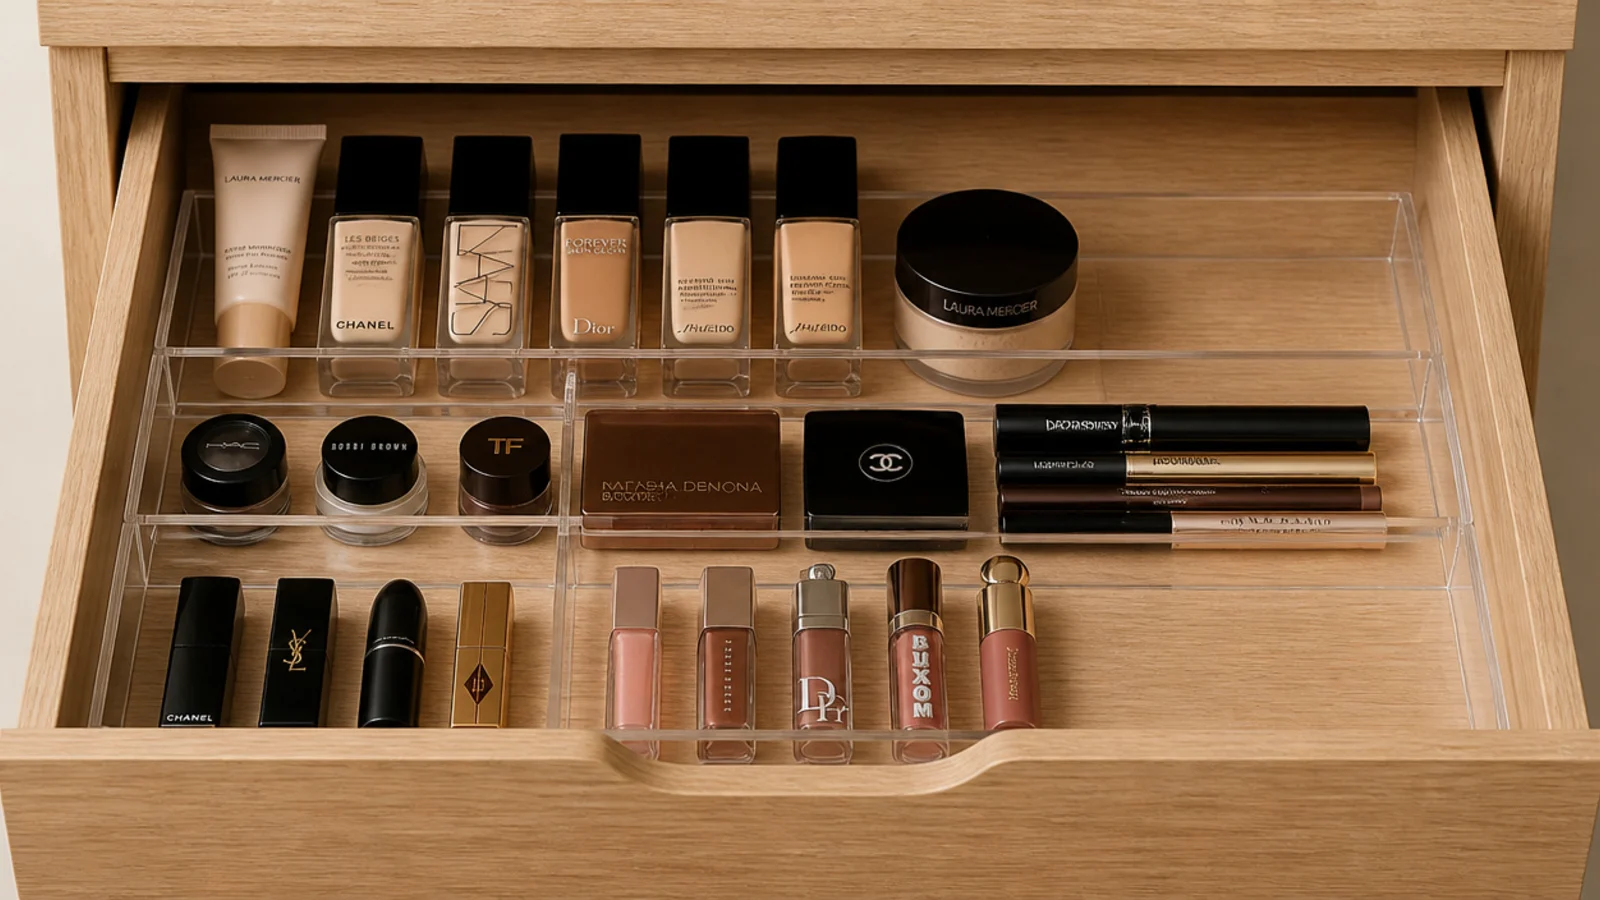
8. Divide the shallow drawer by routine step
Give the shallow drawer three lanes front to back: base, eyes, lips. Front lane is what you reach for first, so it should be the step you start with.
Leave one compartment permanently empty as a landing strip. Without it, the next purchase lands on the counter and stays there for a year. $–$$
9. Keep pumps and droppers standing upright
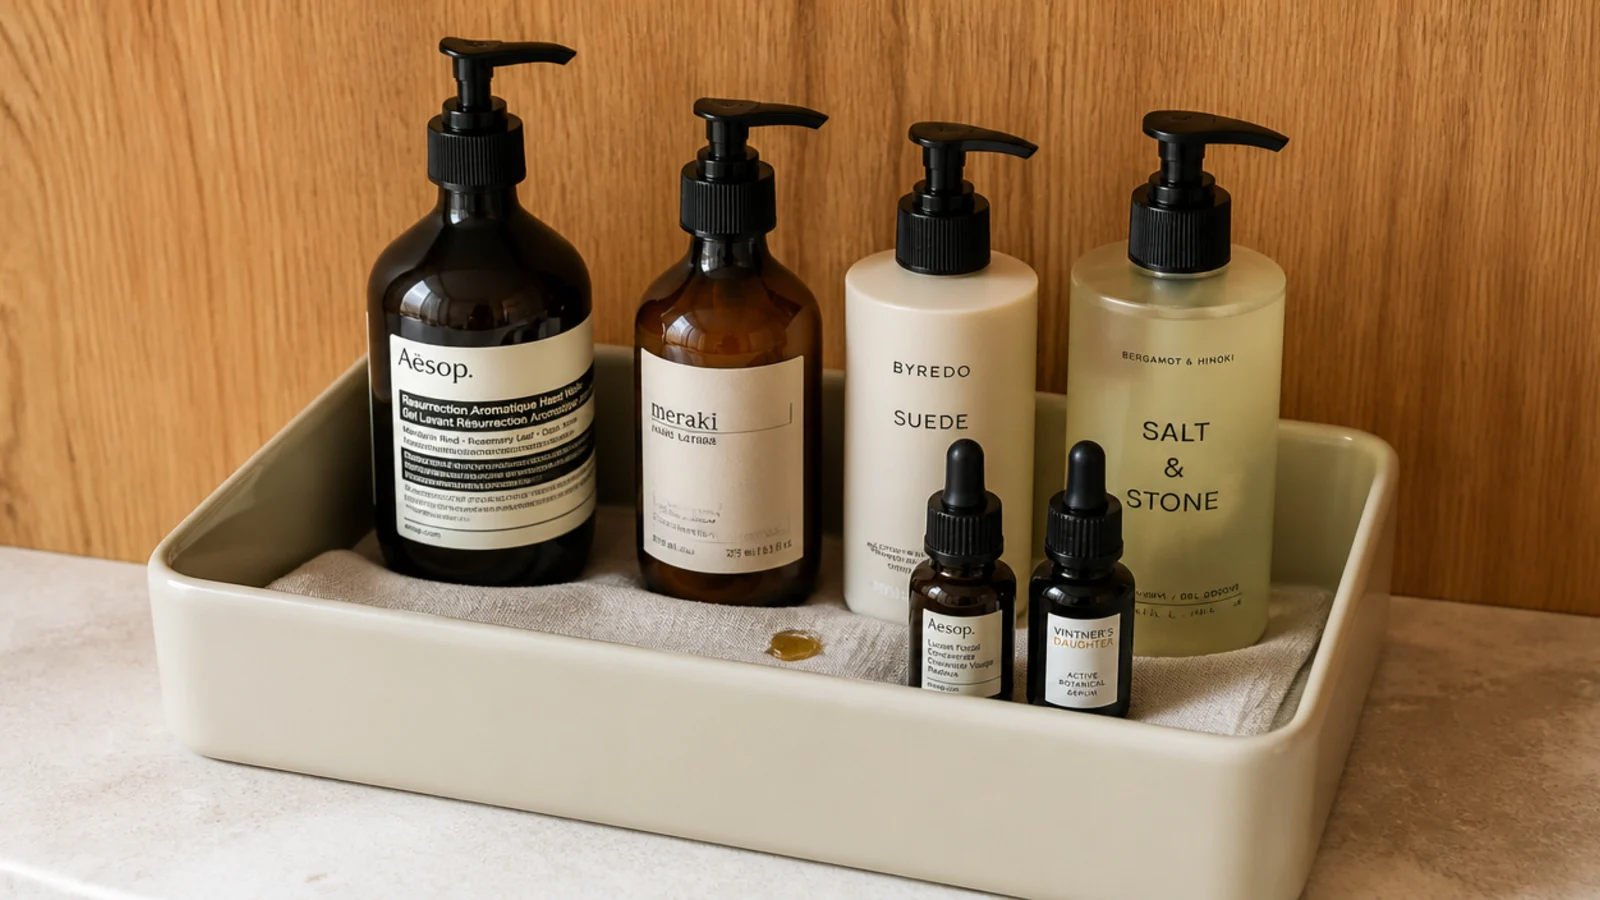
Anything with a pump or a dropper stores upright. On its side, a pump seeps into the drawer liner and a dropper stains felt, and you discover it weeks later.
A 4 to 5 inch deep bin roughly 4 by 6 inches keeps six bottles standing and holding each other vertical. A folded cloth in the base catches drips. $
10. Use a magnetic board for metal-pan compacts
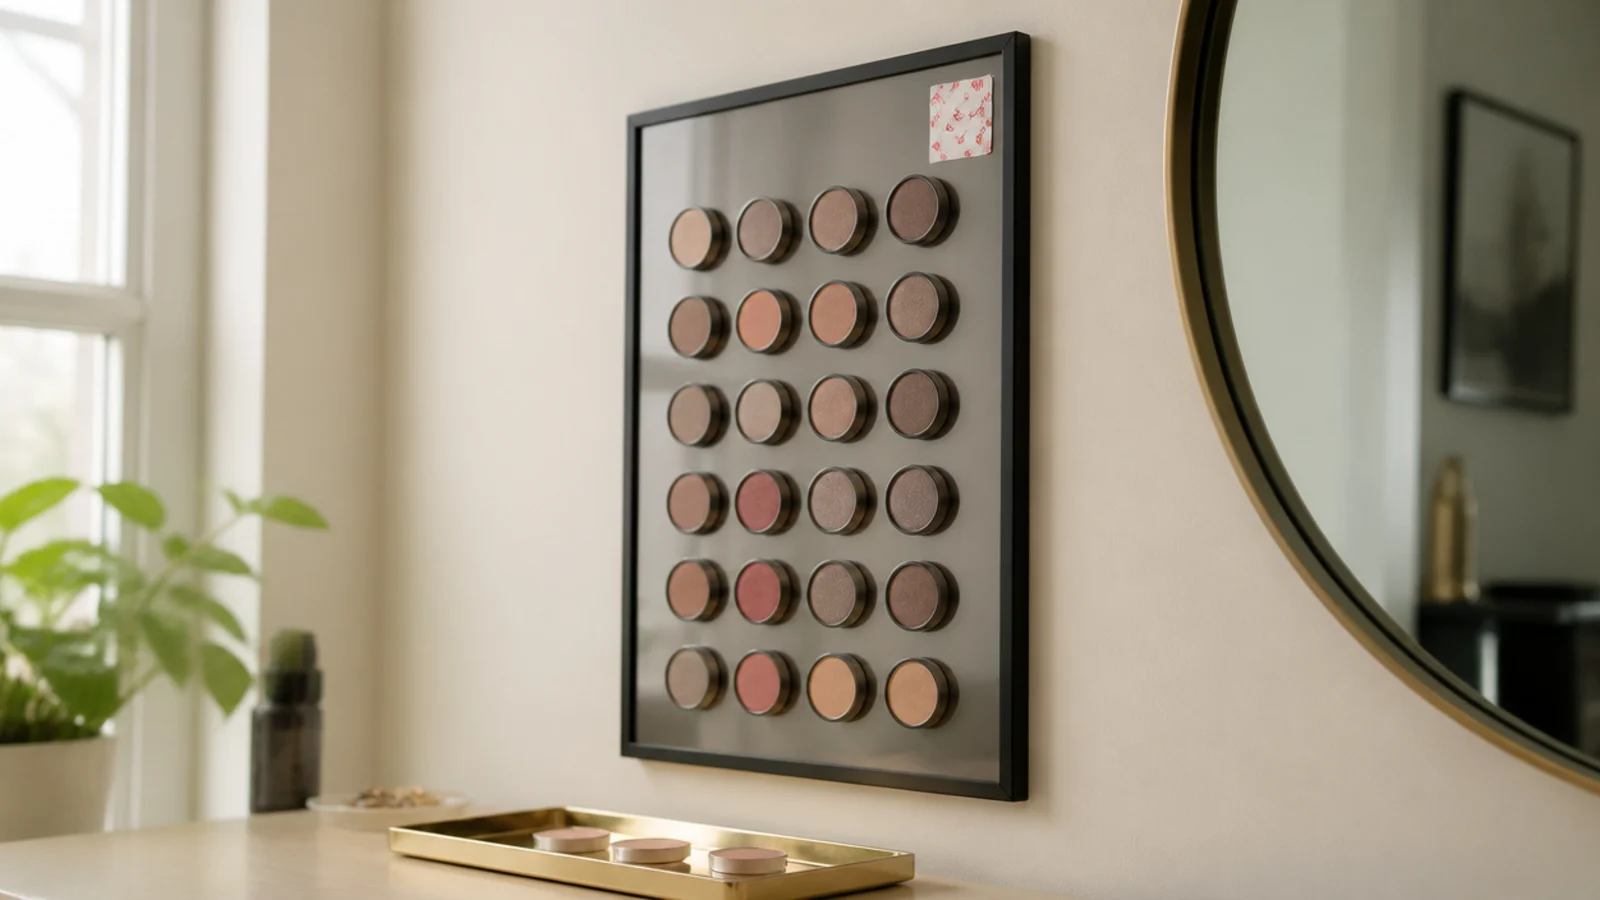
Single eyeshadow and blush pans have steel bases, so a slim magnetic board holds a whole collection on the wall and frees an entire drawer.
Renting? Mount it on heavy-duty adhesive strips rated above the loaded weight, and keep it off freshly painted walls for at least three weeks. $$
11. Dry sponges on a small metal rack
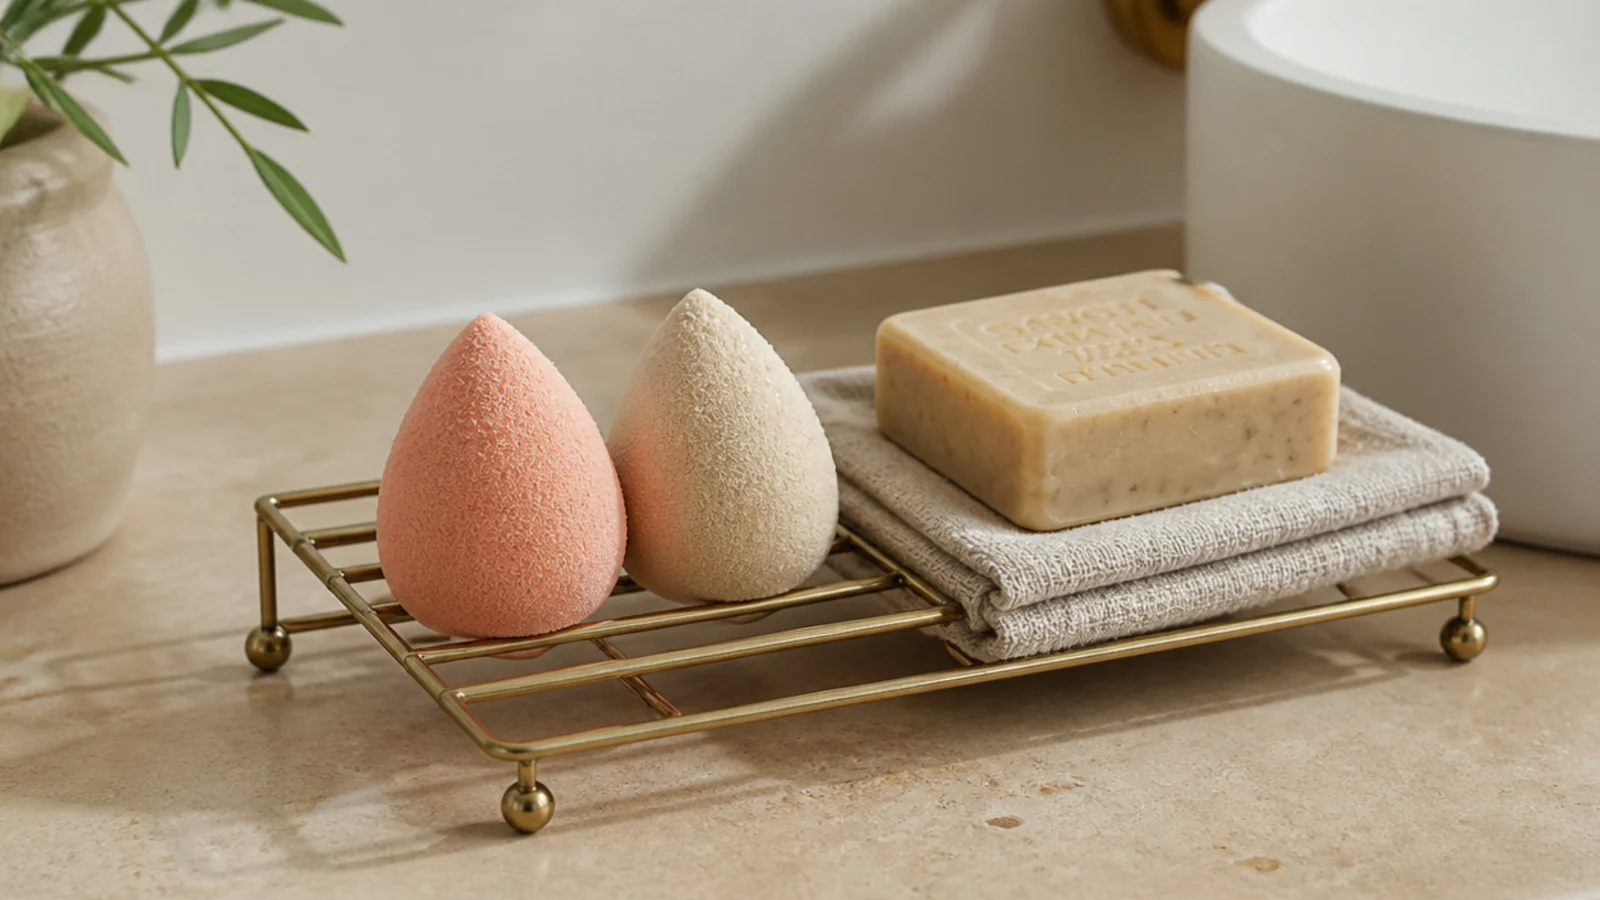
A damp sponge sitting in a closed pot is the least hygienic object on a vanity. A $6 wire rack lets air move underneath so it dries fully between uses.
Keep it away from shower steam and replace sponges every one to three months. Wash after every few uses with gentle soap and squeeze rather than wring. $
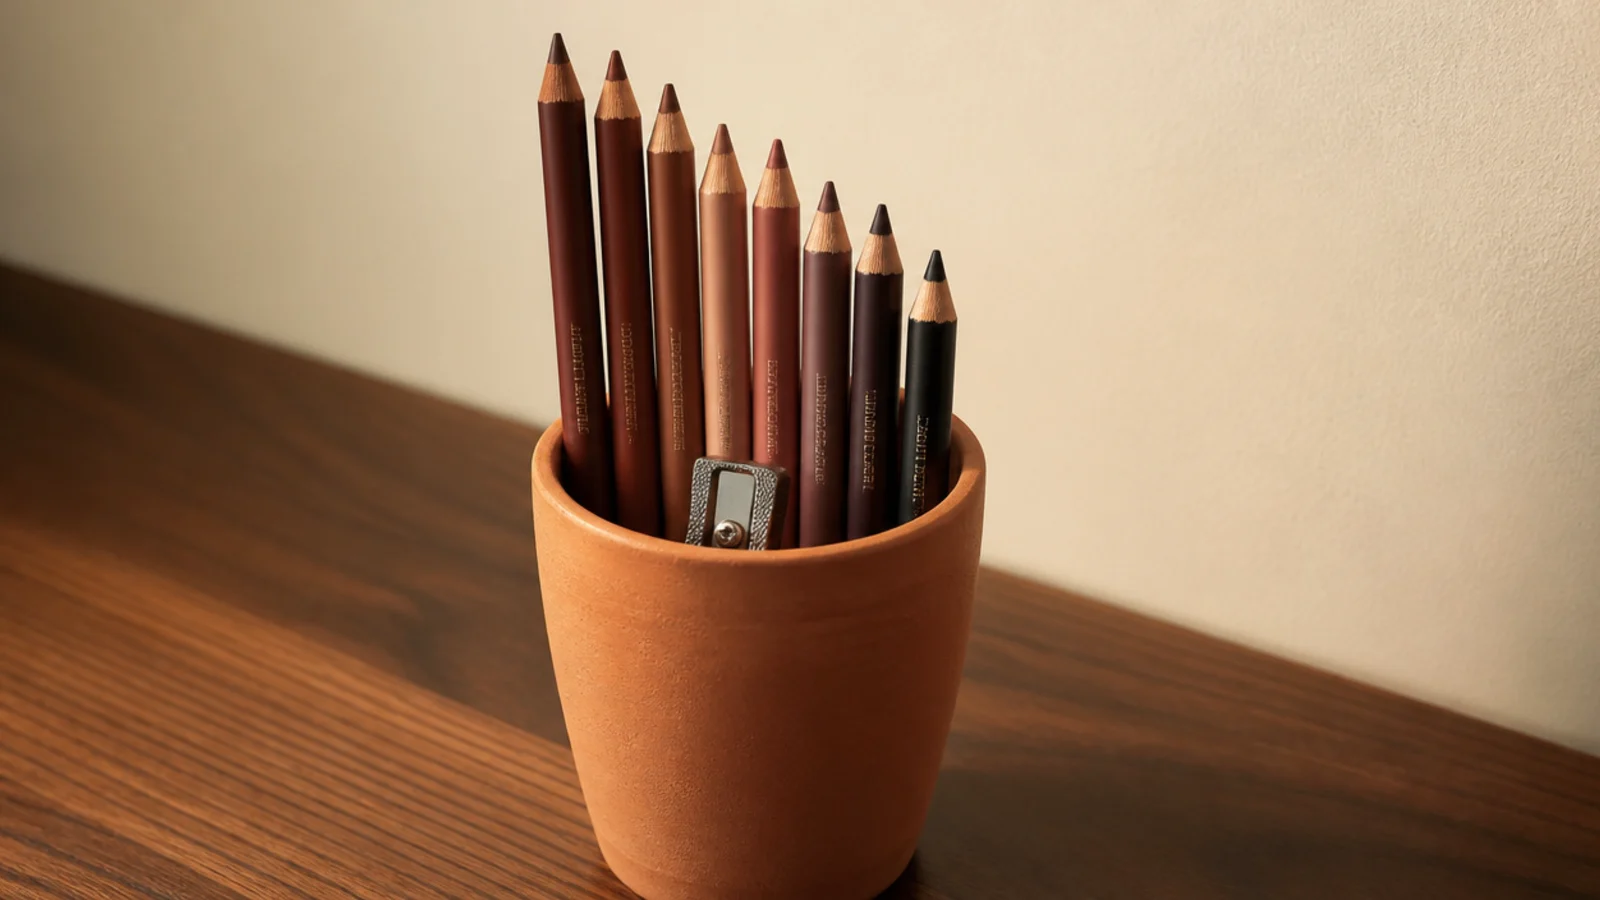
12. Stand pencils in a narrow cup by length
Pencils laid flat in a drawer roll, gather powder and blunt against each other. Standing them tip-up in a narrow 2 inch cup keeps points intact and shades visible.
Sort tallest at the back and tuck a small sharpener in among them so it never wanders. A shot glass or small vase works perfectly. Free–$
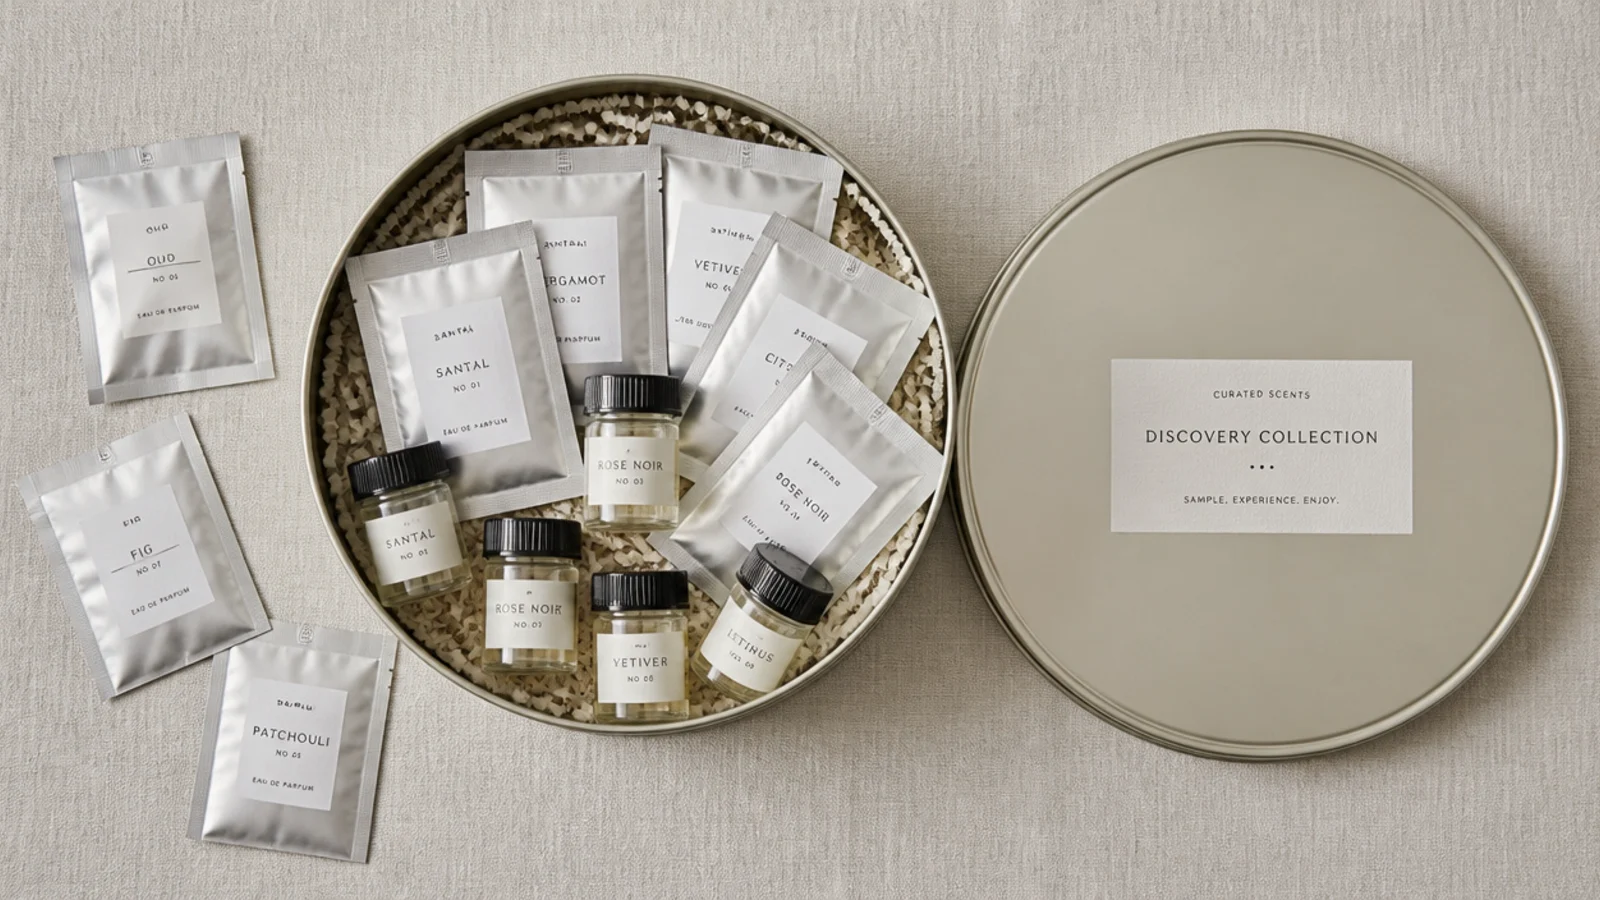
13. Give samples a single lidded tin
Sachets multiply invisibly. One shallow lidded tin, about 4 inches across, is the entire sample allowance, and nothing new goes in until something comes out.
Take three on every trip instead of packing full sizes. Sachets over a year old are usually oxidised, so bin those without opening them. Free–$
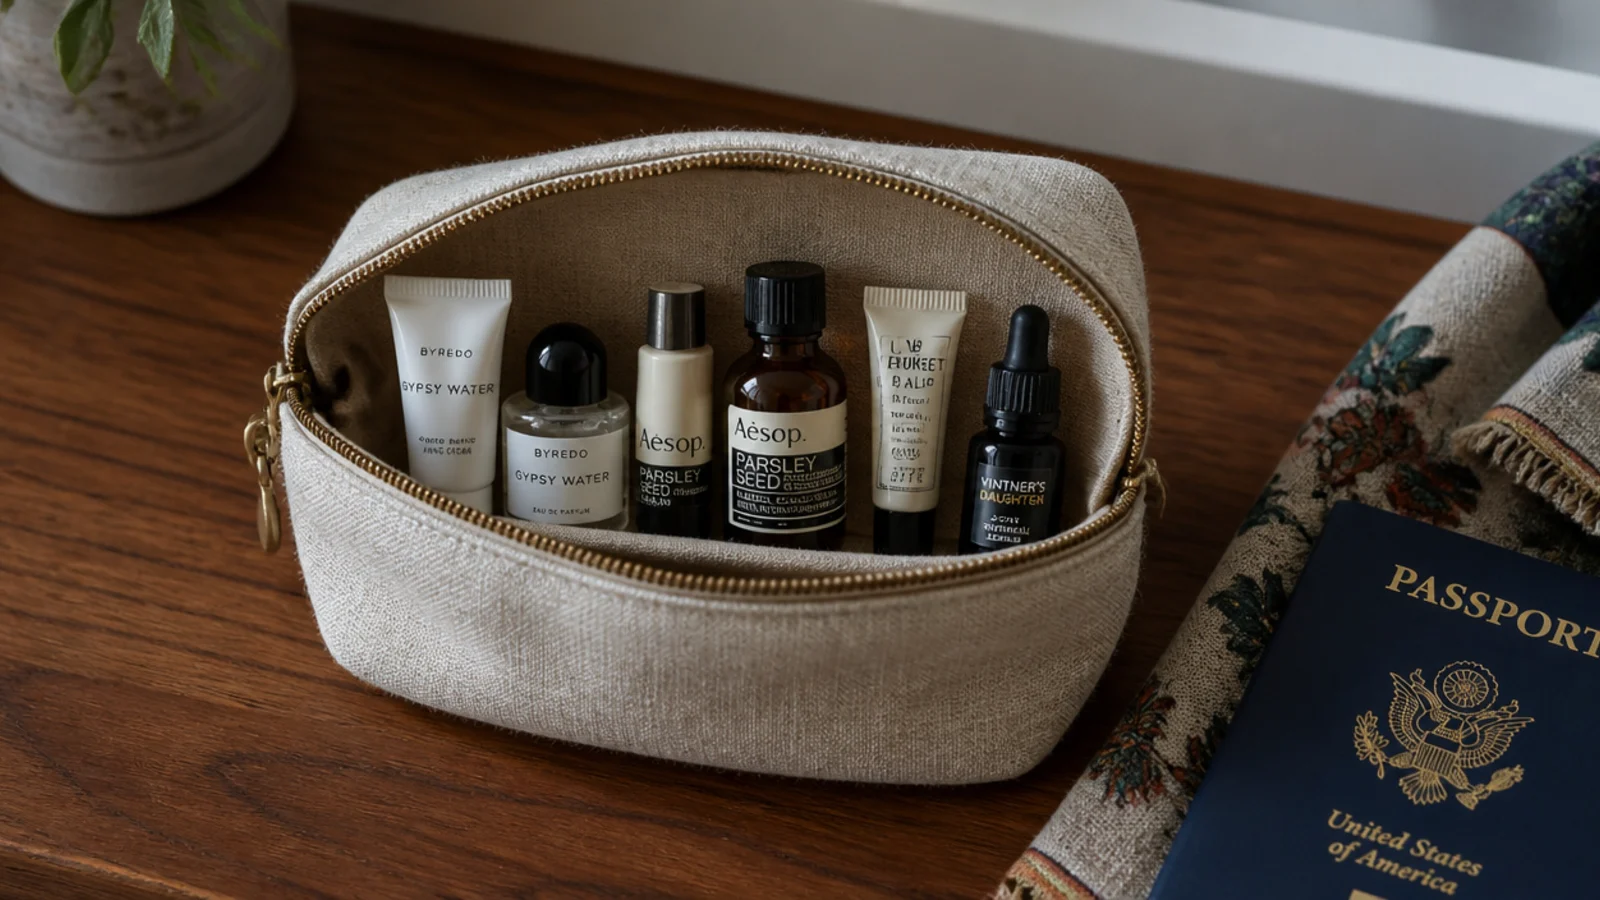
14. Keep a packed travel capsule ready
A small zip pouch holding minis of your daily five stays packed permanently. It saves twenty minutes before every trip and stops you raiding the drawer and leaving gaps.
Refill it the day you unpack, not the night before you leave. A linen pouch runs about $8, or reuse the one a beauty box arrived in. Free–$
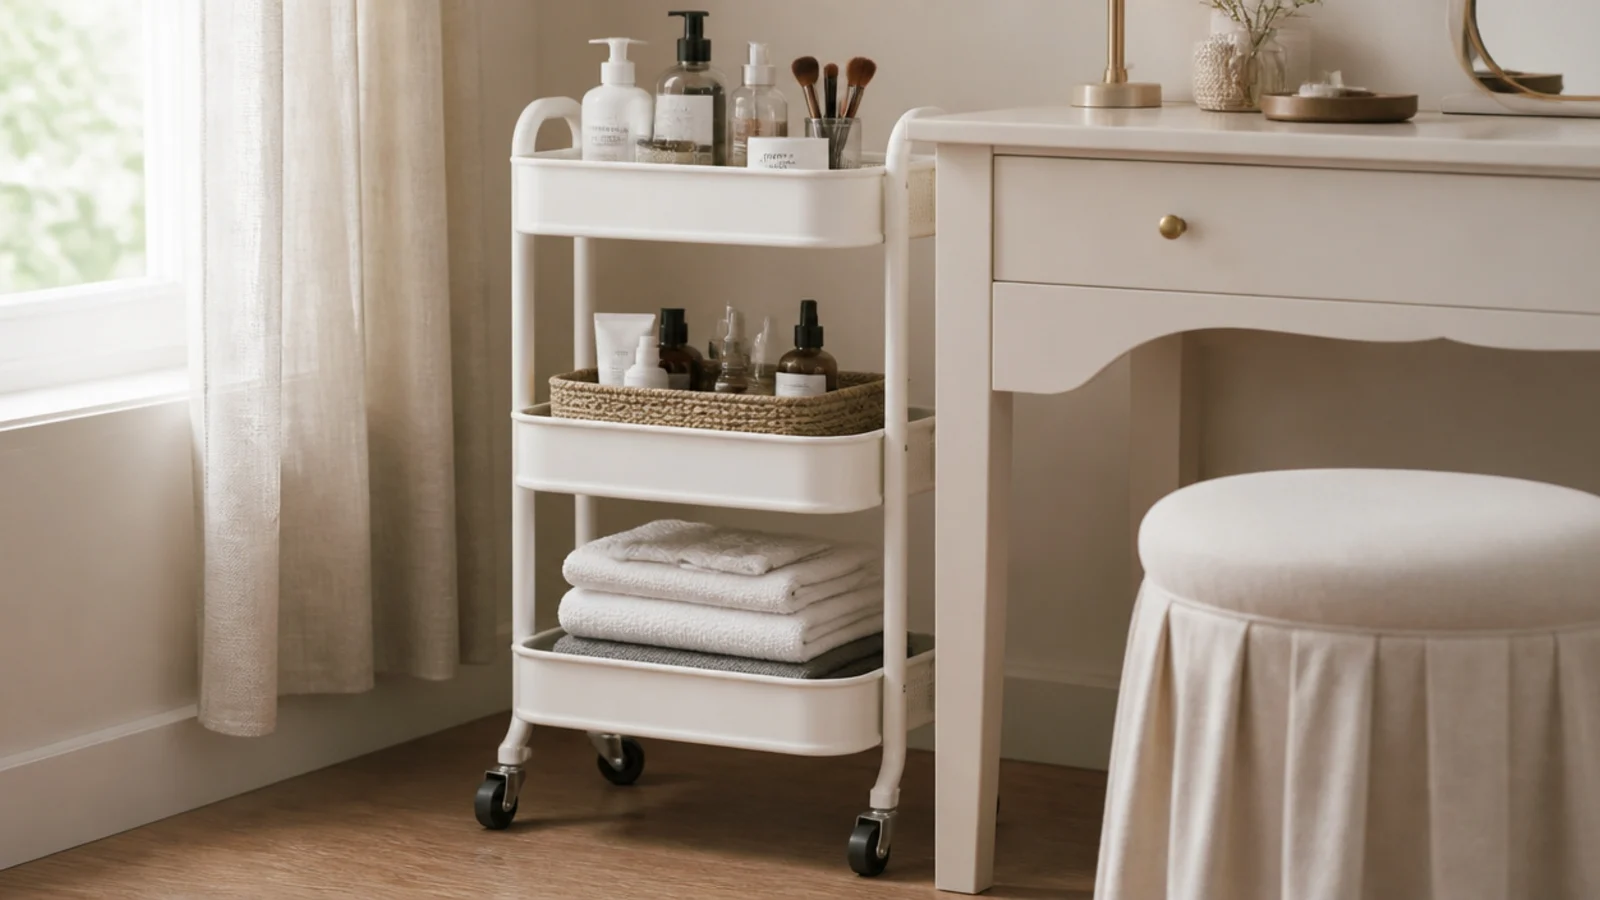
15. Add a rolling cart beside the vanity
When the vanity is genuinely too small, a 12 inch wide three-tier cart adds a full extra vanity worth of storage for about $25 to $40 and rolls into a closet when guests arrive.
Baskets on each tier stop small items rolling around. Give the top tier to tools, the middle to backstock, the bottom to towels. $$$
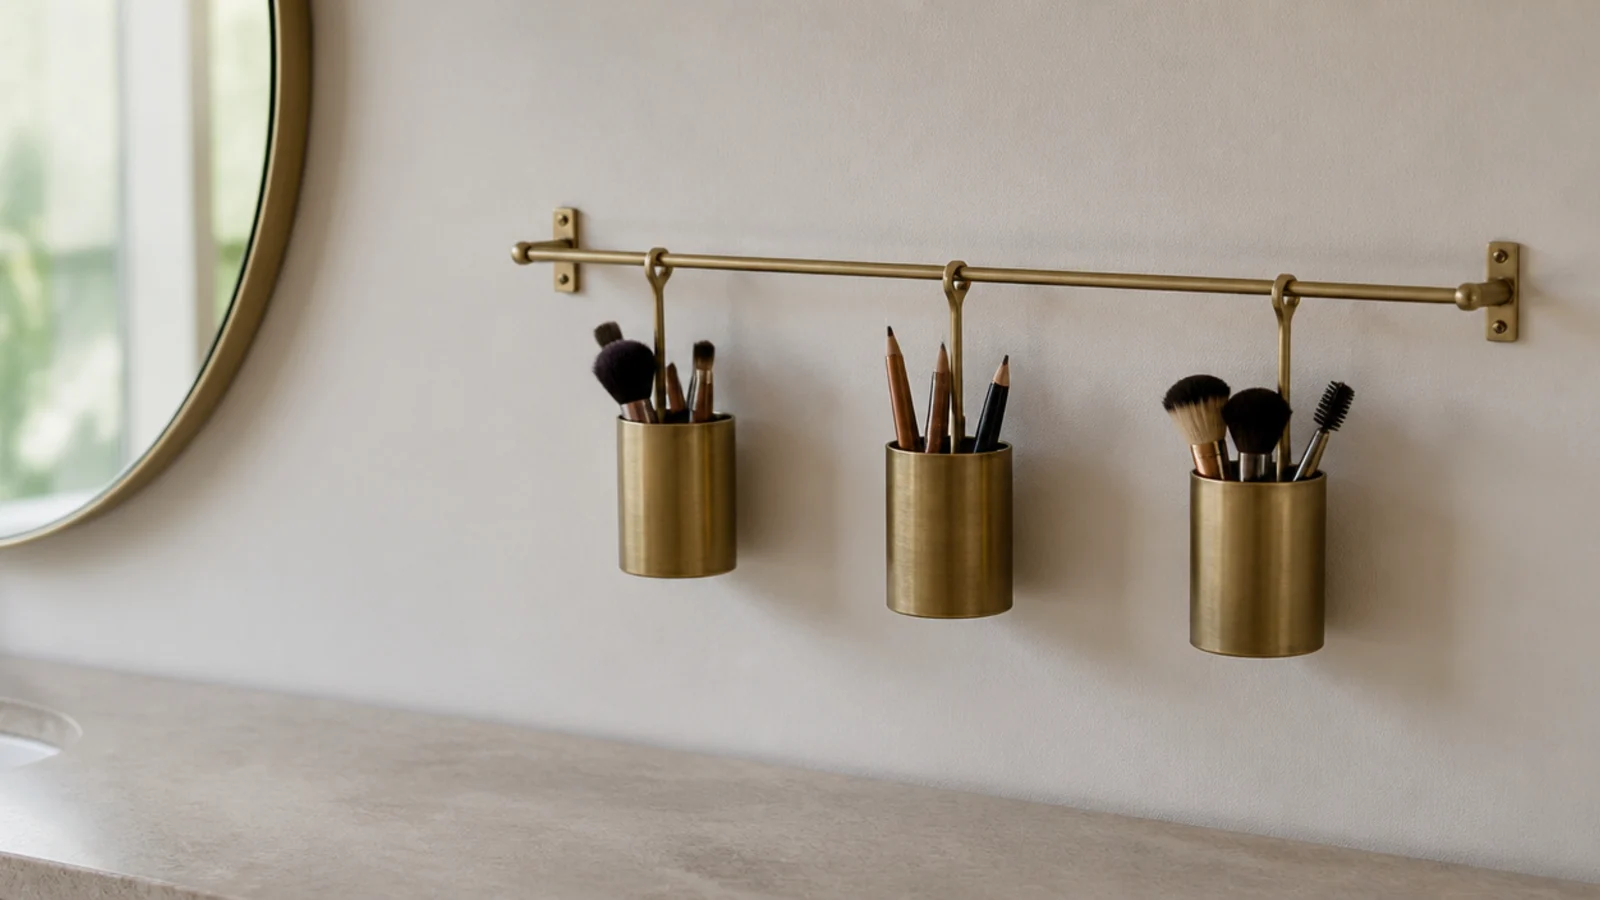
16. Hang a rail of small cups on the wall
A slim rail with three hanging pots takes brushes, pencils and cotton buds off the counter entirely for around $15.
Mount it 8 to 10 inches above the counter so bottles still fit underneath. Adhesive rails hold a light load fine; anything heavier wants two small screws and a plug. $$
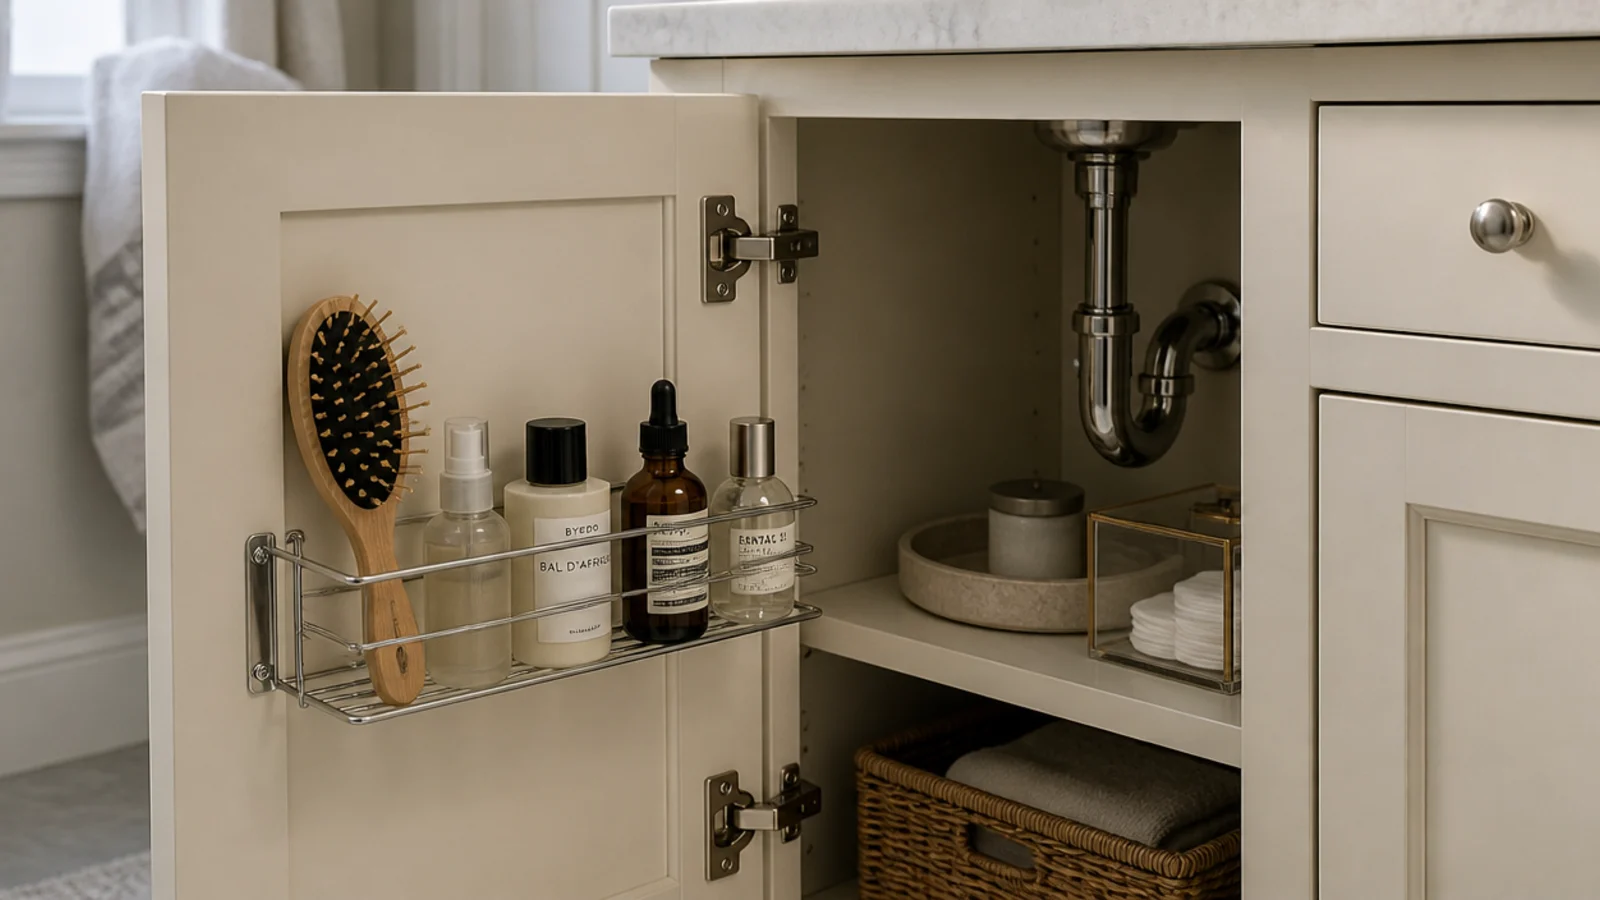
17. Use the back of the cabinet door
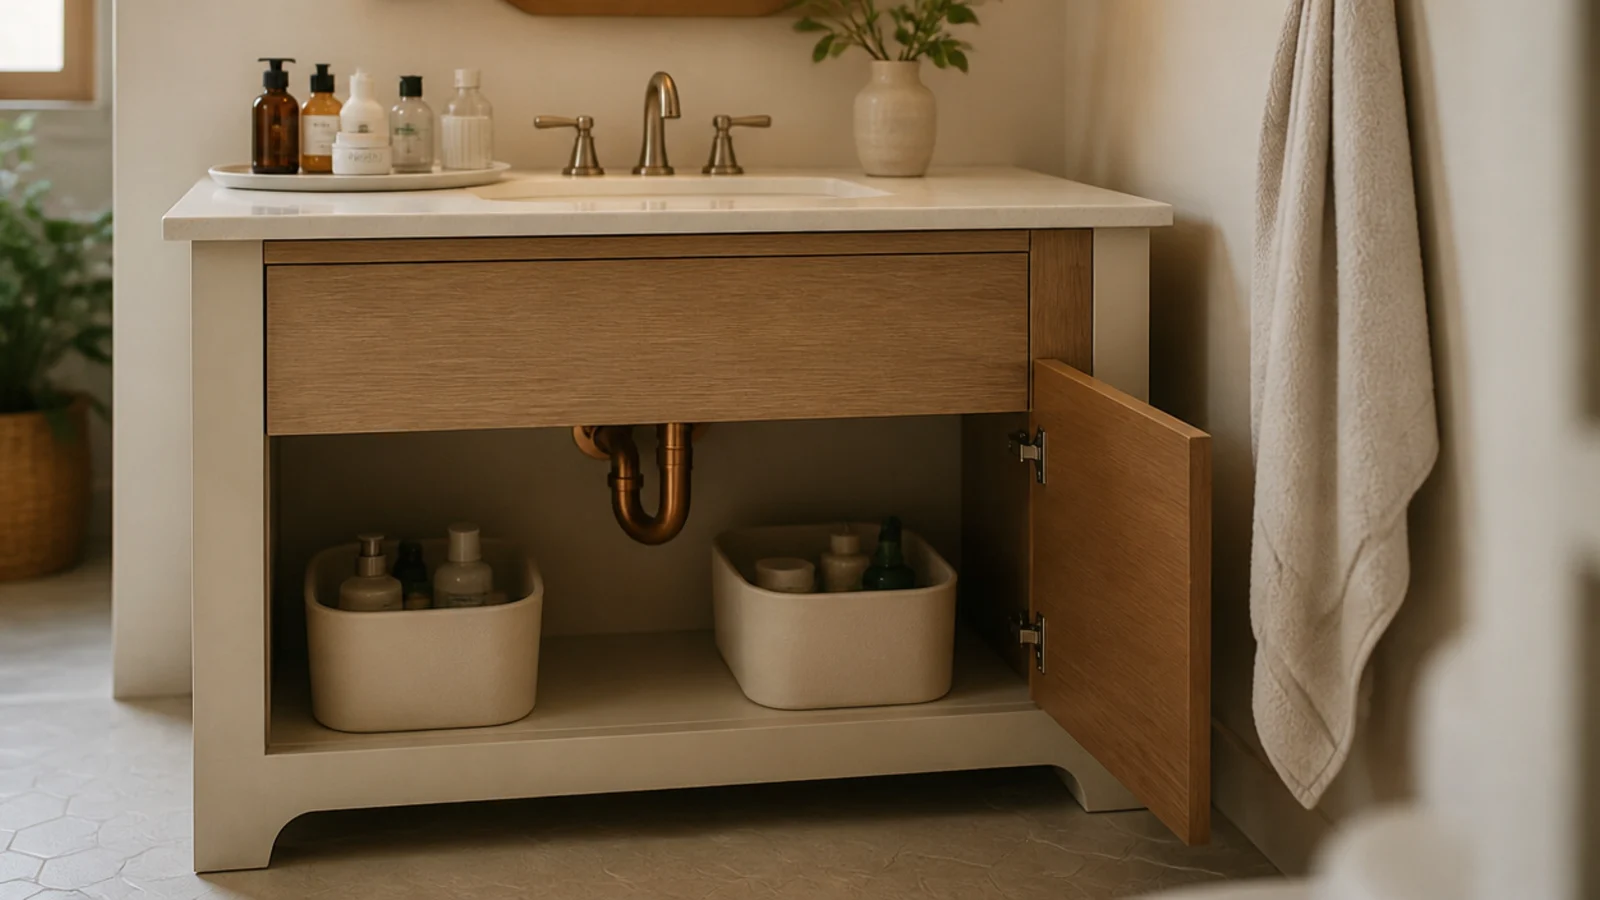
The inside of a vanity door is 2 to 3 inches of storage nobody uses. A shallow adhesive rack there holds hairbrushes, spray bottles and cotton pads.
Check the door swing clears the plumbing before you fix anything, and keep the loaded weight under about 5 pounds on adhesive mounts. $–$$
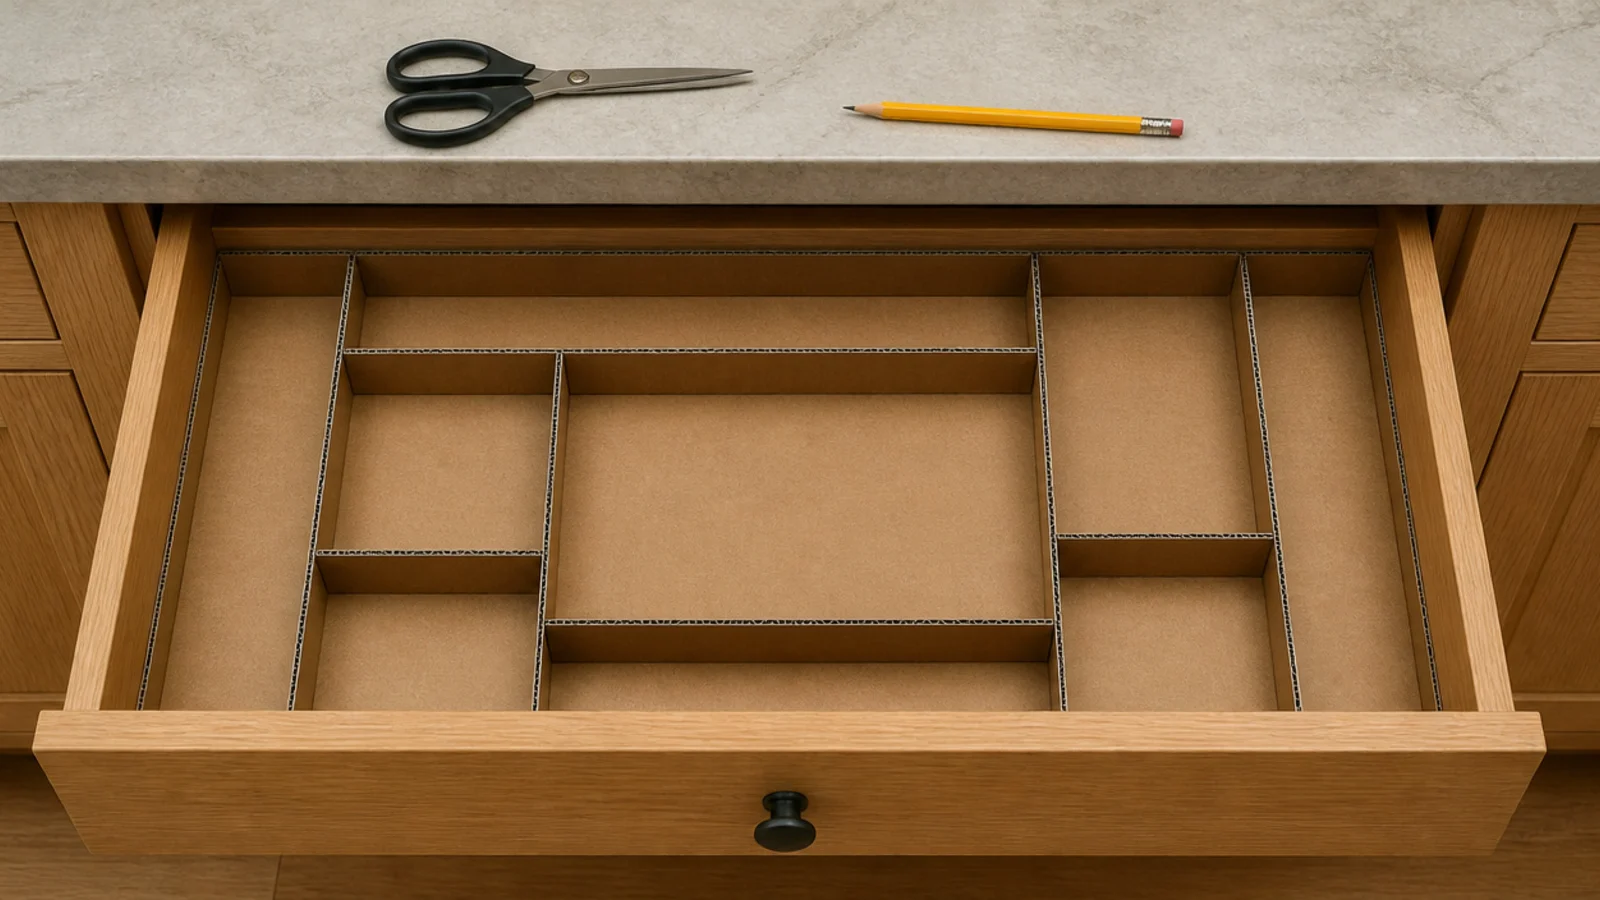
18. Turn a shoebox lid into a drawer template
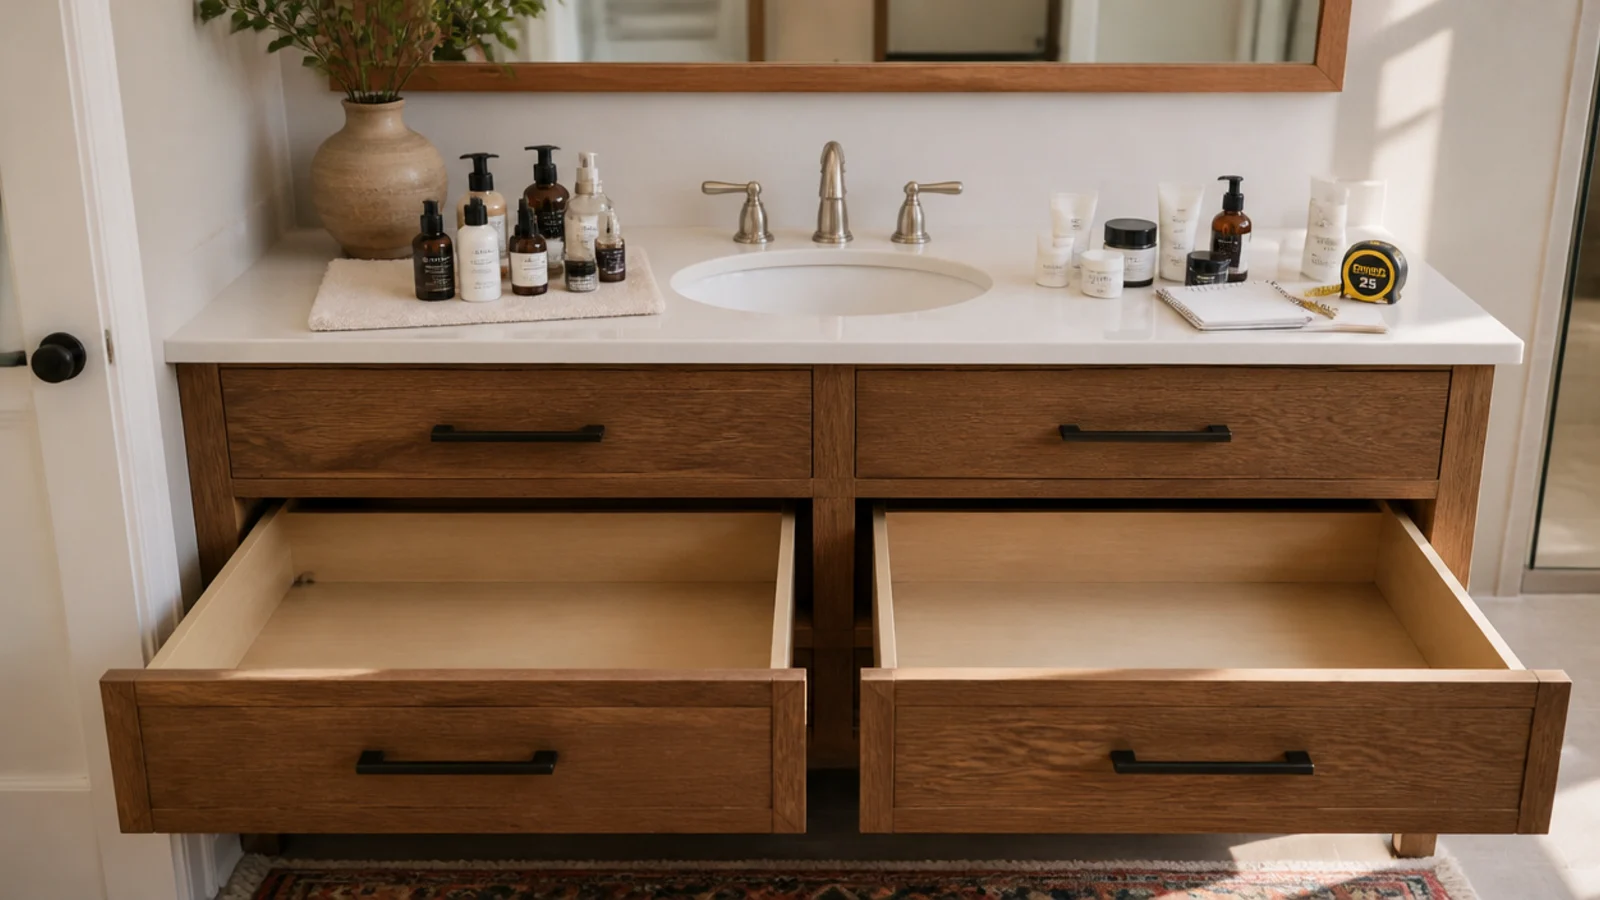
Before buying inserts, cut cardboard rectangles at the sizes you are considering and lay them in the empty drawer.
Two minutes of cardboard reveals that the four-compartment tray leaves a useless 2 inch strip. It is the cheapest way to avoid a return, and the offcuts become temporary dividers. Free
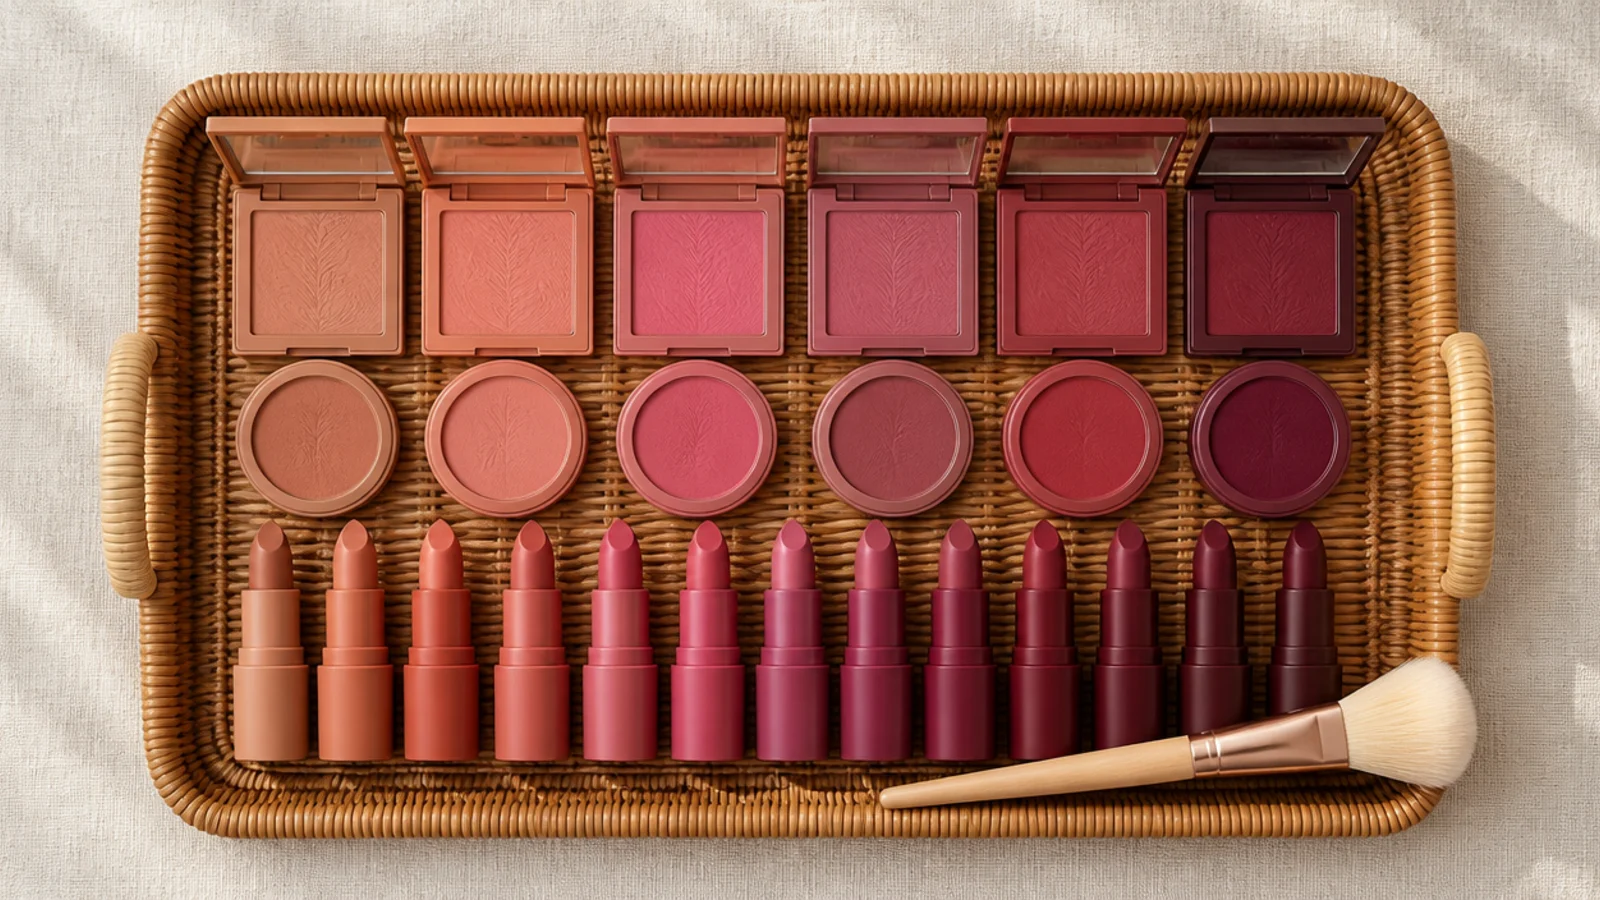
19. Colour-sort what you own in a shallow tray
Group blushes and lips by shade family in a shallow tray rather than by brand. Sorted this way, you can see that you own six near-identical nudes and no true red.
It makes getting ready faster and shopping smarter, and it costs nothing but ten minutes. A rattan tray for $8 makes it look intentional. Free–$
20. Keep tools out of the steam
Heat and humidity shorten the life of cream products, sponges and anything with active ingredients, so an open shelf near a shower is the worst spot in the room.
A closed drawer is enough separation in most bathrooms. Skincare actives also degrade in sunlight, so keep them out of a bright windowsill as well. Free
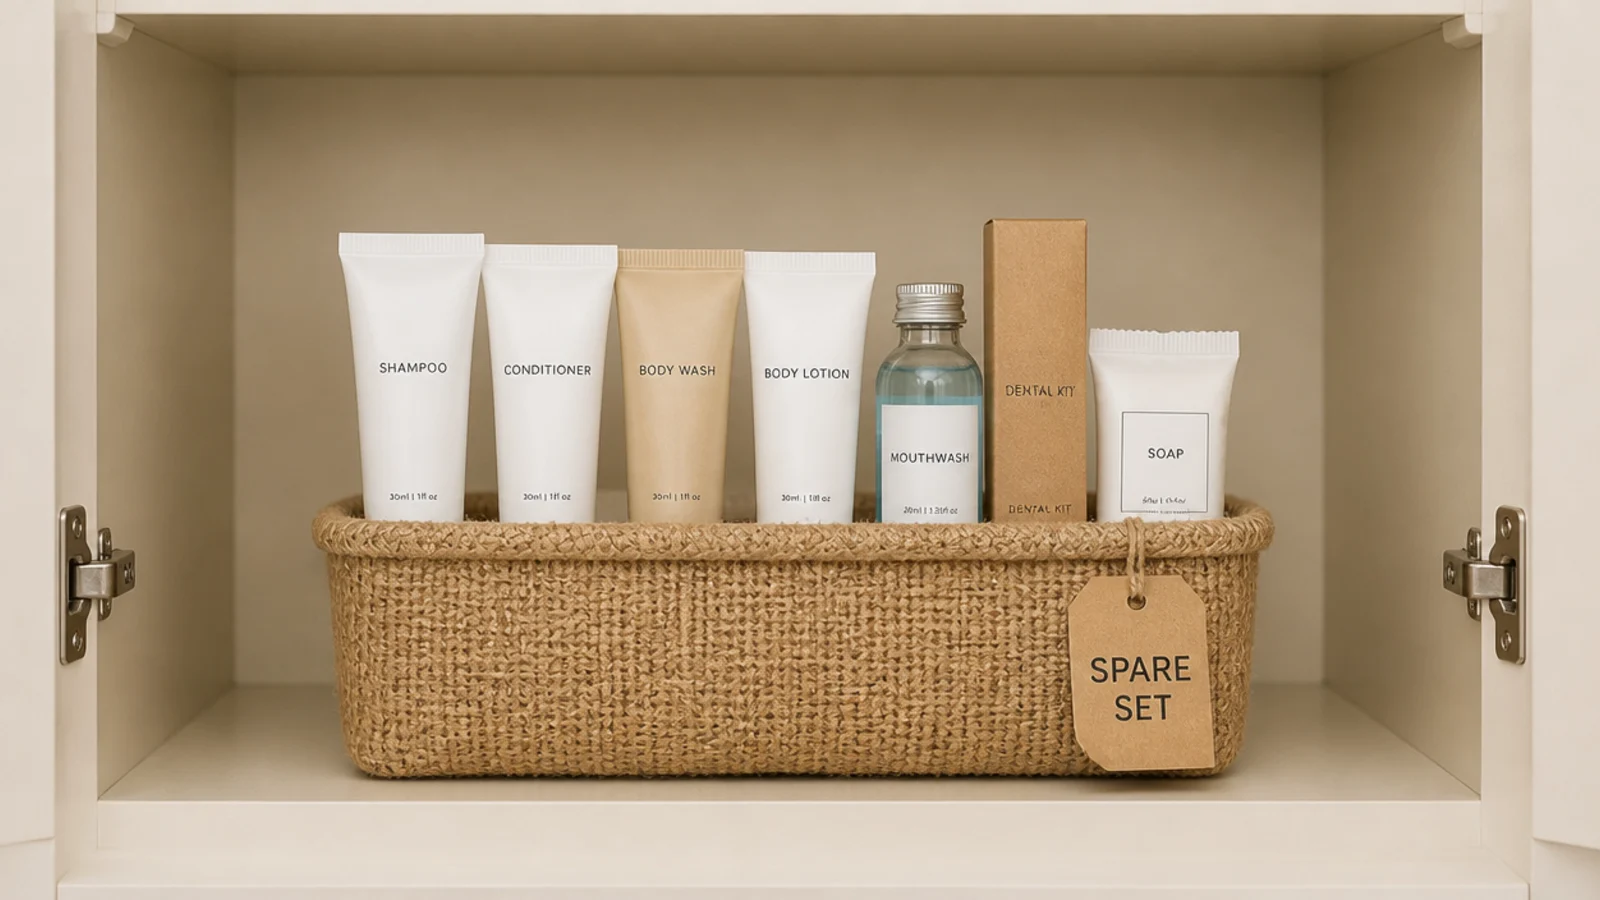
21. Cap backstock at one spare
One sealed spare per product, all together in a single small basket. Nothing new opens until the current one is finished.
This rule is the difference between a small vanity that stays organized and one that overflows by spring. There is more on bulk zoning in vanity organization on a budget. $
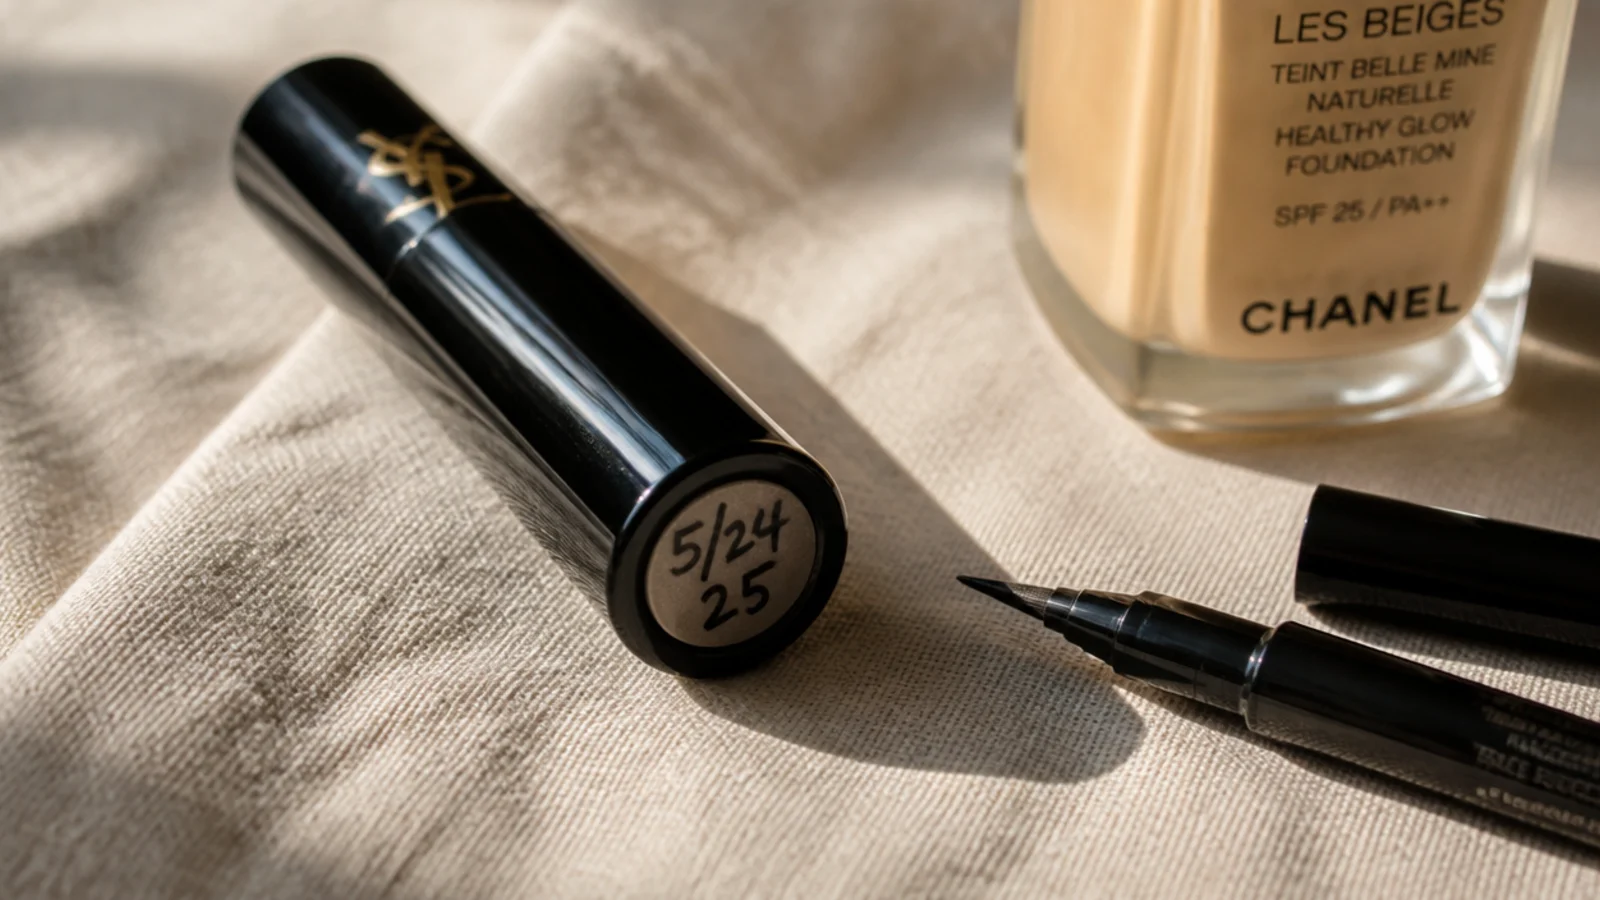
22. Write the open date on the base
A fine marker and ten seconds per product removes all guesswork later. Write the month you opened it on the base as it comes home from the shop.
Mascara at three months and any eye product are the two worth being strict about, since both fail quietly rather than obviously. Free
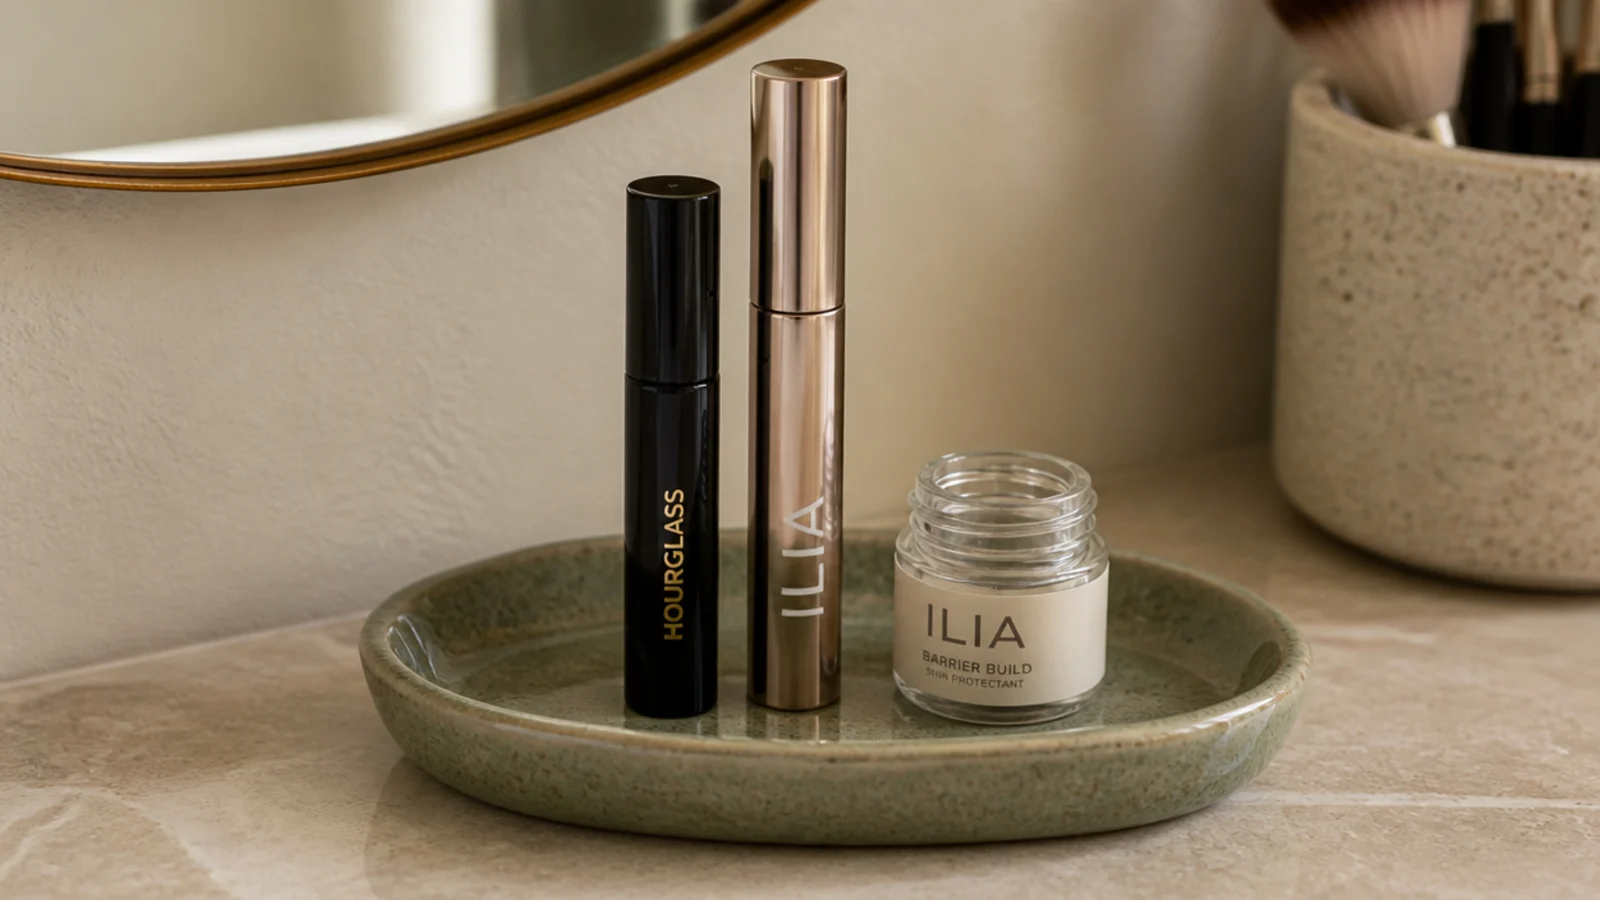
23. Park an empties dish at the vanity
A small dish for finished products means empties leave the drawer the day they run out instead of living there for months pretending to be stock.
Empty it on bin day. This tiny habit keeps a small vanity honest better than any organizer, and a thrifted saucer costs a dollar. Free–$
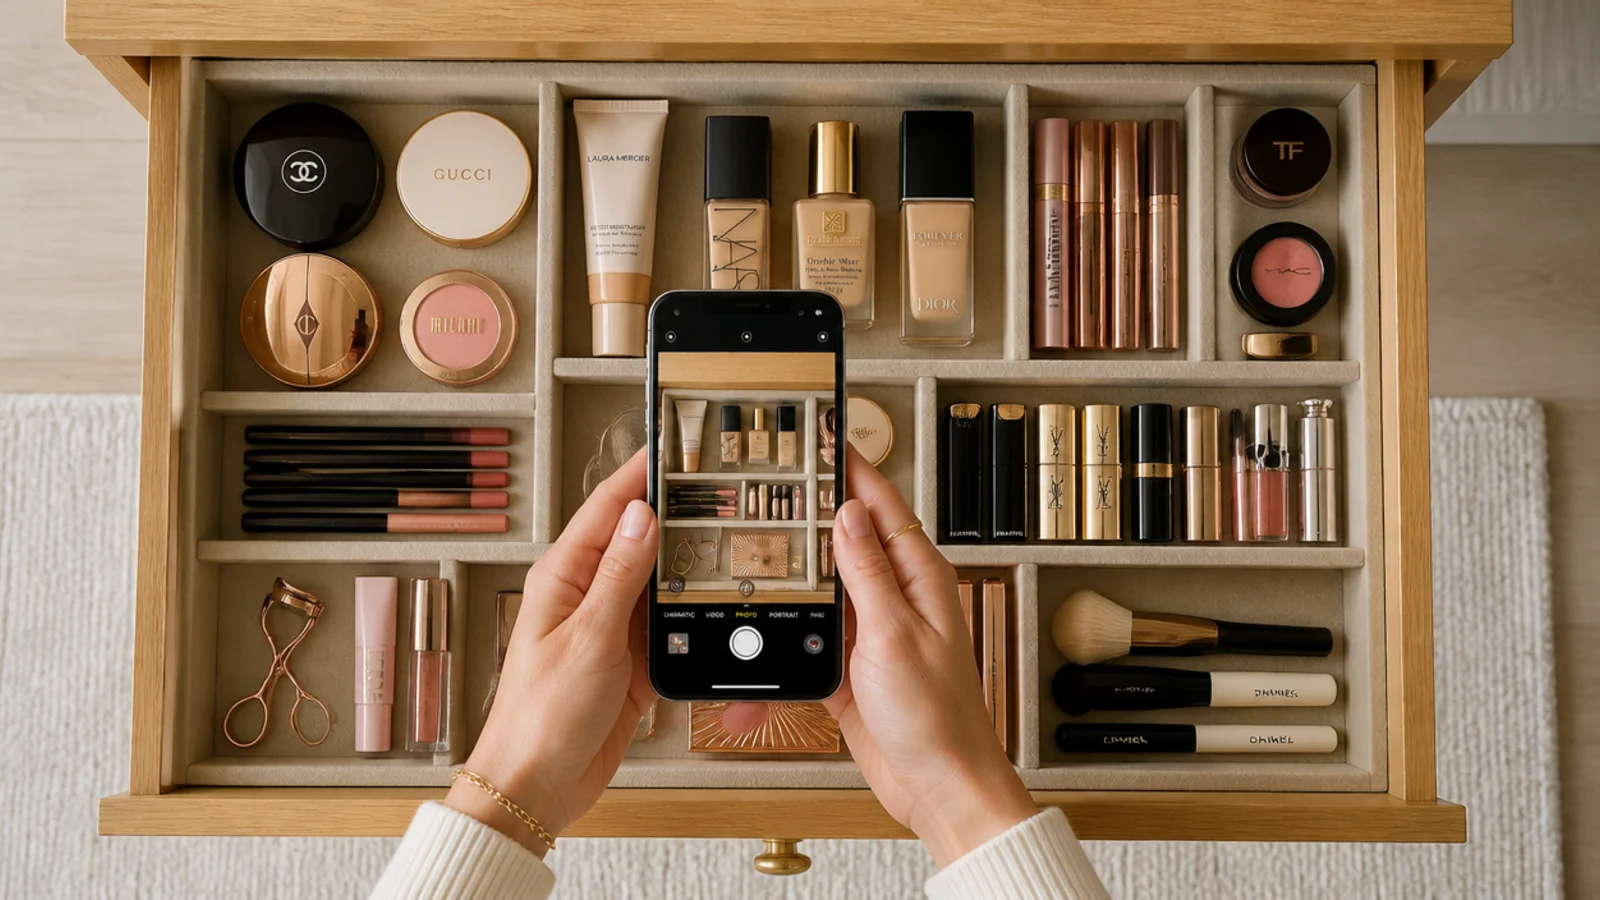
24. Photograph the drawer when it is right
Take one overhead photo of each drawer the day you finish. It becomes the reset instruction for next month, when everything has drifted.
I keep mine in a phone album. Restoring a drawer from a photo takes four minutes, where rebuilding from memory turns into another whole project. Free
25. Book the twice-yearly cull
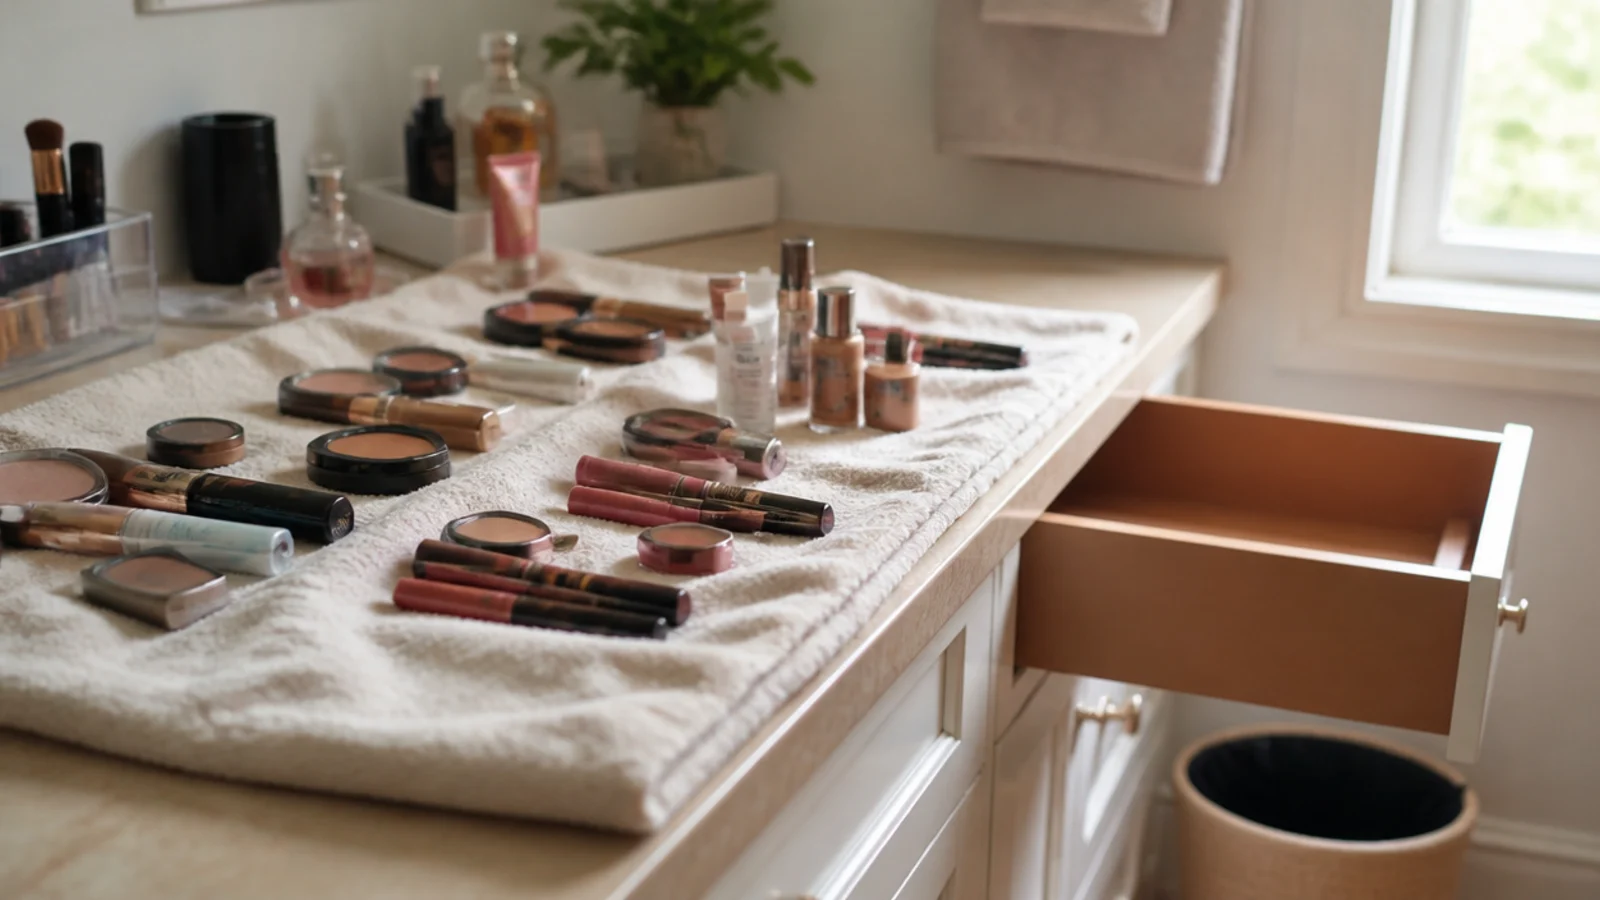
Put two dates in the calendar. Empty everything onto a towel, check dates, wipe the drawer, and put back only what you actually used since last time.
A twice-yearly cull does more than any organizer you can buy, because containers manage volume and only a cull removes it. Mine takes about 30 minutes. Free
Mistakes to Skip
- Buying a big multi-compartment organizer before culling. You end up sizing storage for products that should have left the house, and it eats the counter.
- Storing brushes bristles-down or loose in a drawer. Both wreck the shape, and loose brushes collect every crumb of spilled powder.
- Keeping everything on open shelving in a steamy bathroom. Heat, humidity and sunlight all shorten product life, whatever the container costs.
Frequently asked questions
How do I organize makeup in a small vanity?
Cut the collection first, then go vertical. Keep a daily capsule of five to eight products on the counter, file palettes on edge in a shallow drawer, and stand brushes bristles-up in a weighted cup. Everything else moves into stackable drawers or a cabinet bin. Volume is almost always the problem in a small vanity, not the storage.
What is the cheapest way to organize makeup?
Shop the kitchen aisle and your own cupboards. A cutlery tray makes an excellent drawer insert for about $6, a napkin holder files palettes upright, a bead-storage box sorts samples, and a heavy glass tumbler is a perfect brush cup. Buy purpose-made acrylic only for the two or three places where nothing you own fits.
Should makeup be stored in the bathroom?
Only if it stays in a closed drawer. Repeated heat and steam shorten the life of cream products, sponges and anything with active ingredients, and an open shelf near a shower is the worst spot in the house. A bedroom vanity is kinder to your products, and it usually has better light for applying them too.
How do I stop makeup brushes from splaying?
Store them bristles-up in a cup heavy enough not to tip, roughly three to four inches tall with a wide mouth. Bristles-down crushes the shape permanently and a brush rolling loose in a drawer picks up every crumb of powder. Wash with a gentle shampoo, reshape while damp, and dry flat with the bristles hanging over an edge.
How often should I throw makeup out?
Twice a year, checking dates as you go. Mascara is finished at three months, liquid foundation at six to twelve, and powders at roughly two years. Write the open month on the base of each item with a fine marker as it comes home, and the twice-yearly cull turns into a fifteen-minute job rather than a guessing game.
Do the cull and the daily capsule first — together they cost nothing and they decide how much storage you actually need. Then buy for the two or three gaps that remain, starting with a weighted brush cup and one shallow insert. For the drawer detail, vanity drawer organization has the measurements; for clear storage specifically, acrylic vanity organizers covers what is worth buying; and shoe storage for a small space uses the same vertical thinking elsewhere. Save the pin for your next organizing run.
Want more like this? Browse all 15 vanity organization guides — they all use the same measurements and budget tiers.
Pin it for later
Save this to your Vanity Organization board
Pin it now so it is waiting for you when the tape measure comes out — and so the next person hunting for this idea can find it too.
Save this pinKeep going
More ideas worth saving while you have the tape measure out.