Small Walk-In Closet Ideas · Listicle
25 Gorgeous Small Walk-In Closet Ideas Worth Trying

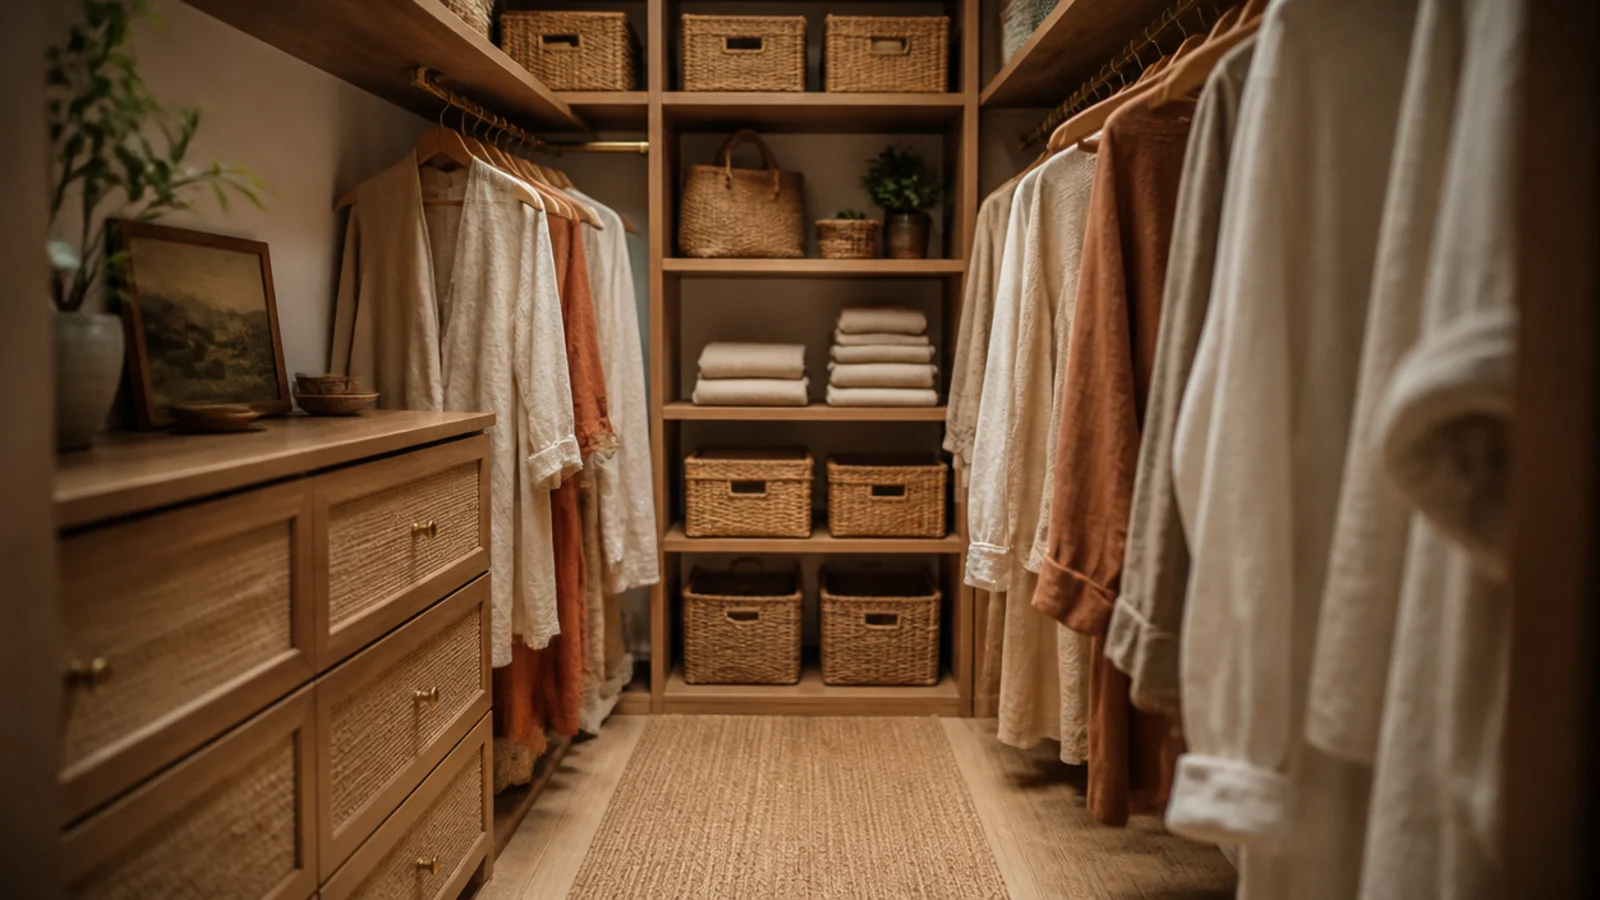
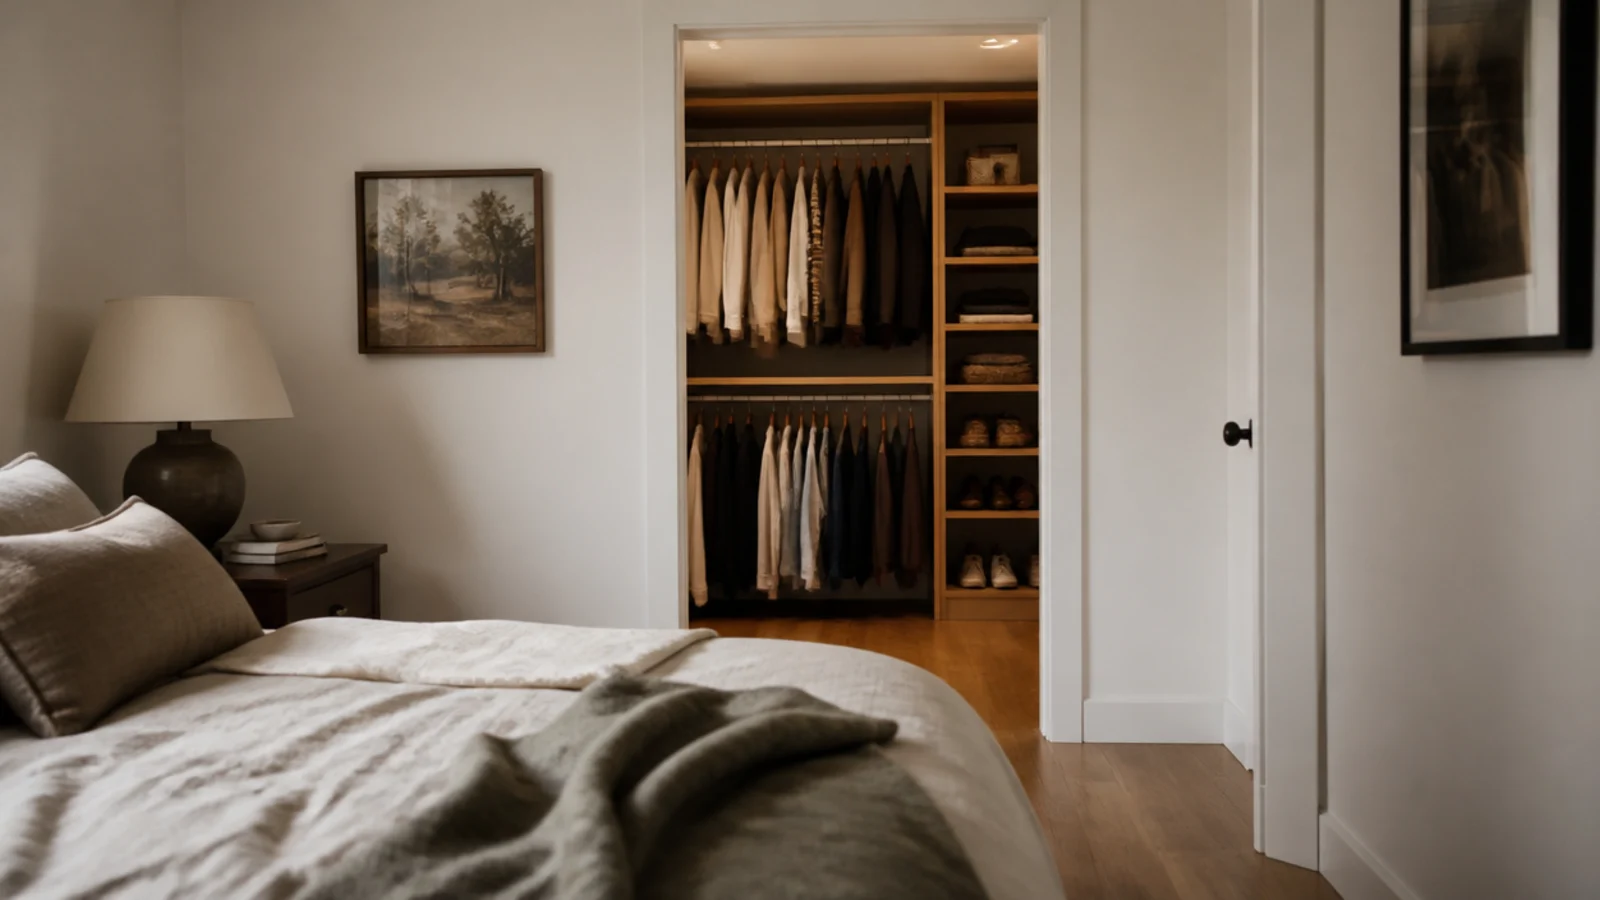
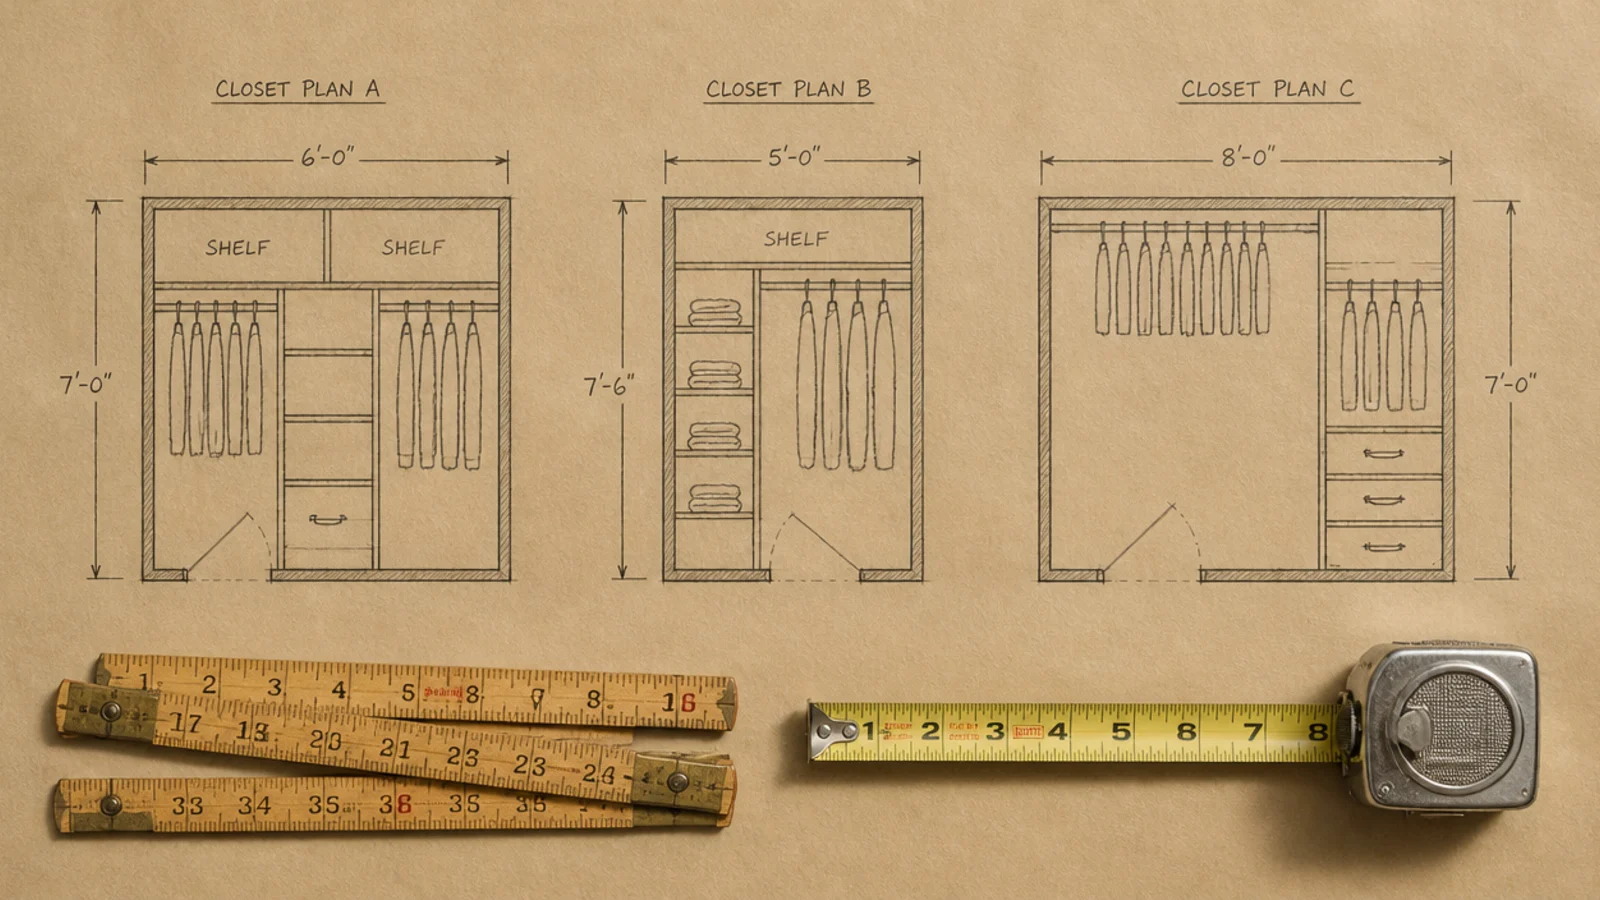
Small walk in closet layout is decided before you buy anything, and almost entirely by three numbers. I have planned five of these and redrawn two after building them, which is how I learned that a floor plan hides problems a strip of painter's tape finds in ten seconds. Twenty-five arrangements and rules below, all measured, all tested in rooms under 8 feet wide.
In this guide27 sections — tap to openHide
- 1.How a small walk in closet layout is decided by three numbers
- 2.The single-sided run, under 8 feet
- 3.The galley, 8 feet and up
- 4.The U-shape, only past 9 feet
- 5.The L-shape for a square room
- 6.The reach-in conversion, under 5 feet
- 7.Set the walkway at 36 inches first
- 8.Put long-hang at the far end
- 9.Keep daily hanging nearest the door
- 10.Give the end wall to shoes
- 11.Slide drawers under the short rod
- 12.Never turn a rod around a corner
- 13.Fill the corner with shelving instead
- 14.Return 12 inches of shelving opposite
- 15.Only add an island past 10 feet
- 16.Use a narrow bench instead
- 17.Let the door swing set the first 30 inches
- 18.Place the mirror on the longest sightline
- 19.Put the switch outside, the sensor inside
- 20.Keep the window if there is one
- 21.Zone the wall vertically
- 22.Split a shared closet by wall, not by rod
- 23.Leave one bay deliberately flexible
- 24.Fit the laundry basket into the plan
- 25.Draw every wall as a flat elevation
- 26.Mock the whole plan in painter tape
- 27.Mistakes to Skip
How a small walk in closet layout is decided by three numbers
Twenty-four inches. That is the clear depth a hanging rod needs, because a shoulder on a hanger measures about 22 inches across. Any hanging wall is therefore 24 to 26 inches deep before you take a step.
Thirty-six inches. That is the walkway you need to stand, turn and open a drawer without backing into the doorway. Thirty is the absolute squeeze, and you will resent it daily.
Five feet. Below that room width, do not build a walk-in at all. One deep reach-in wall with no corridor holds more and shows you everything at once.
From those three, the arrangements fall out. Under 8 feet of width, single-sided. Eight feet or more, galley with two facing walls. Nine or ten feet, a U-shape becomes possible. Past 10 feet, an island fits, because an island needs 36 inches of clearance on all four sides.
Heights are constant regardless of plan: double-hang at 42 and 84 inches, long-hang at 66 to 70 inches of drop, single-hang at 66 to 72, shelves 12 to 14 inches deep.
Budget tiers for a full fit-out: wire at $80 to $200 ($), modular on standards at $400 to $900 ($$), and built joinery from $2,500 ($$$).
1. The single-sided run, under 8 feet
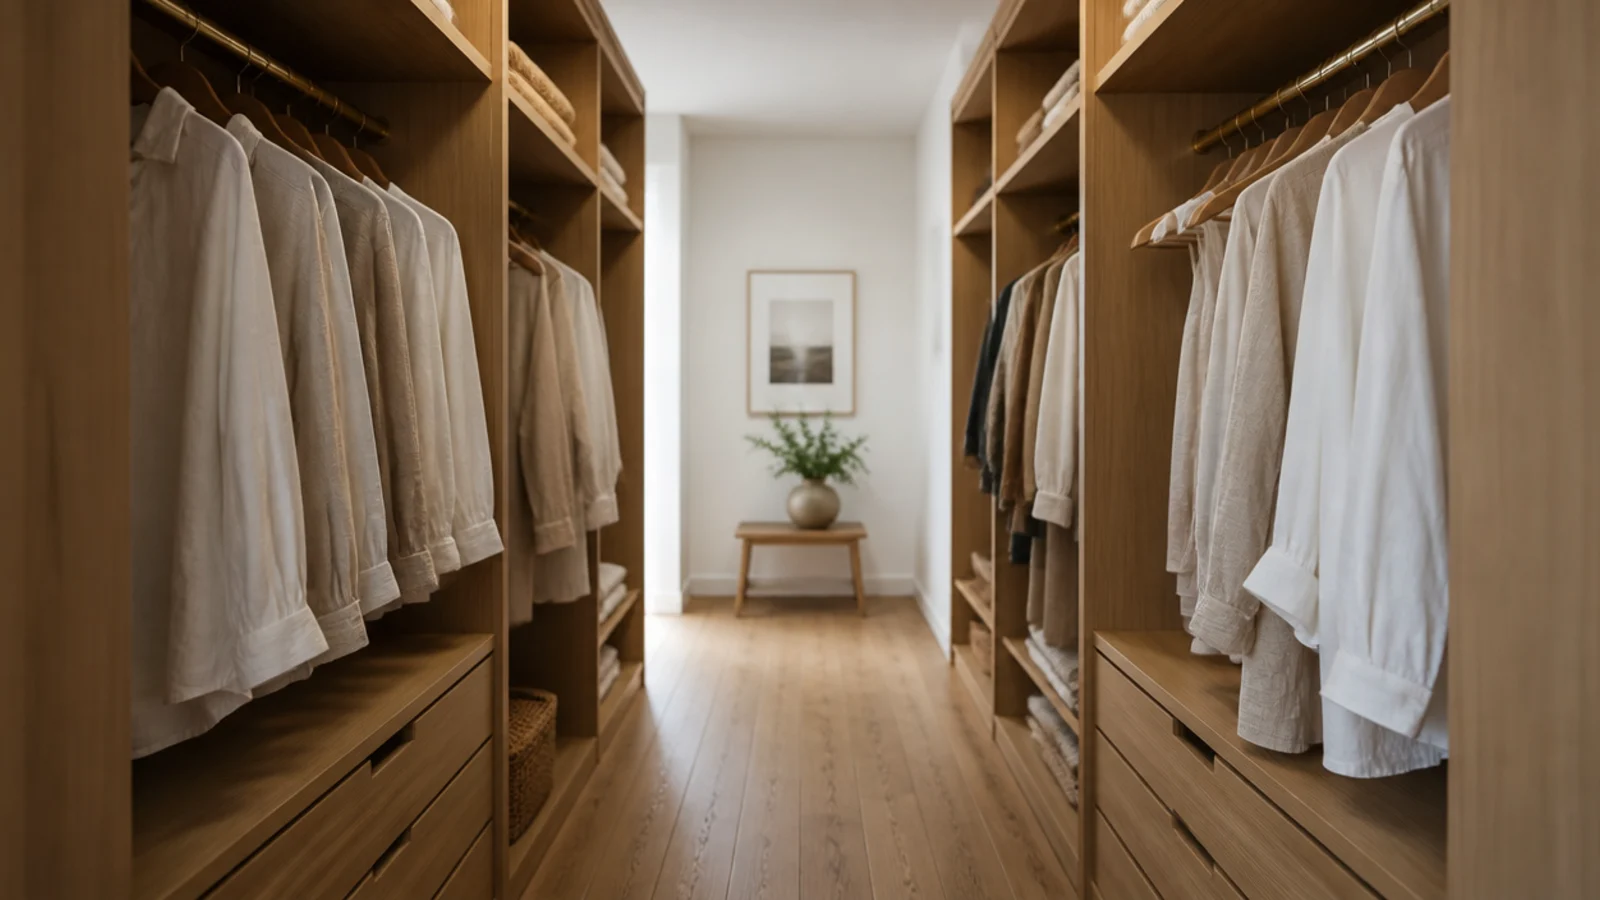
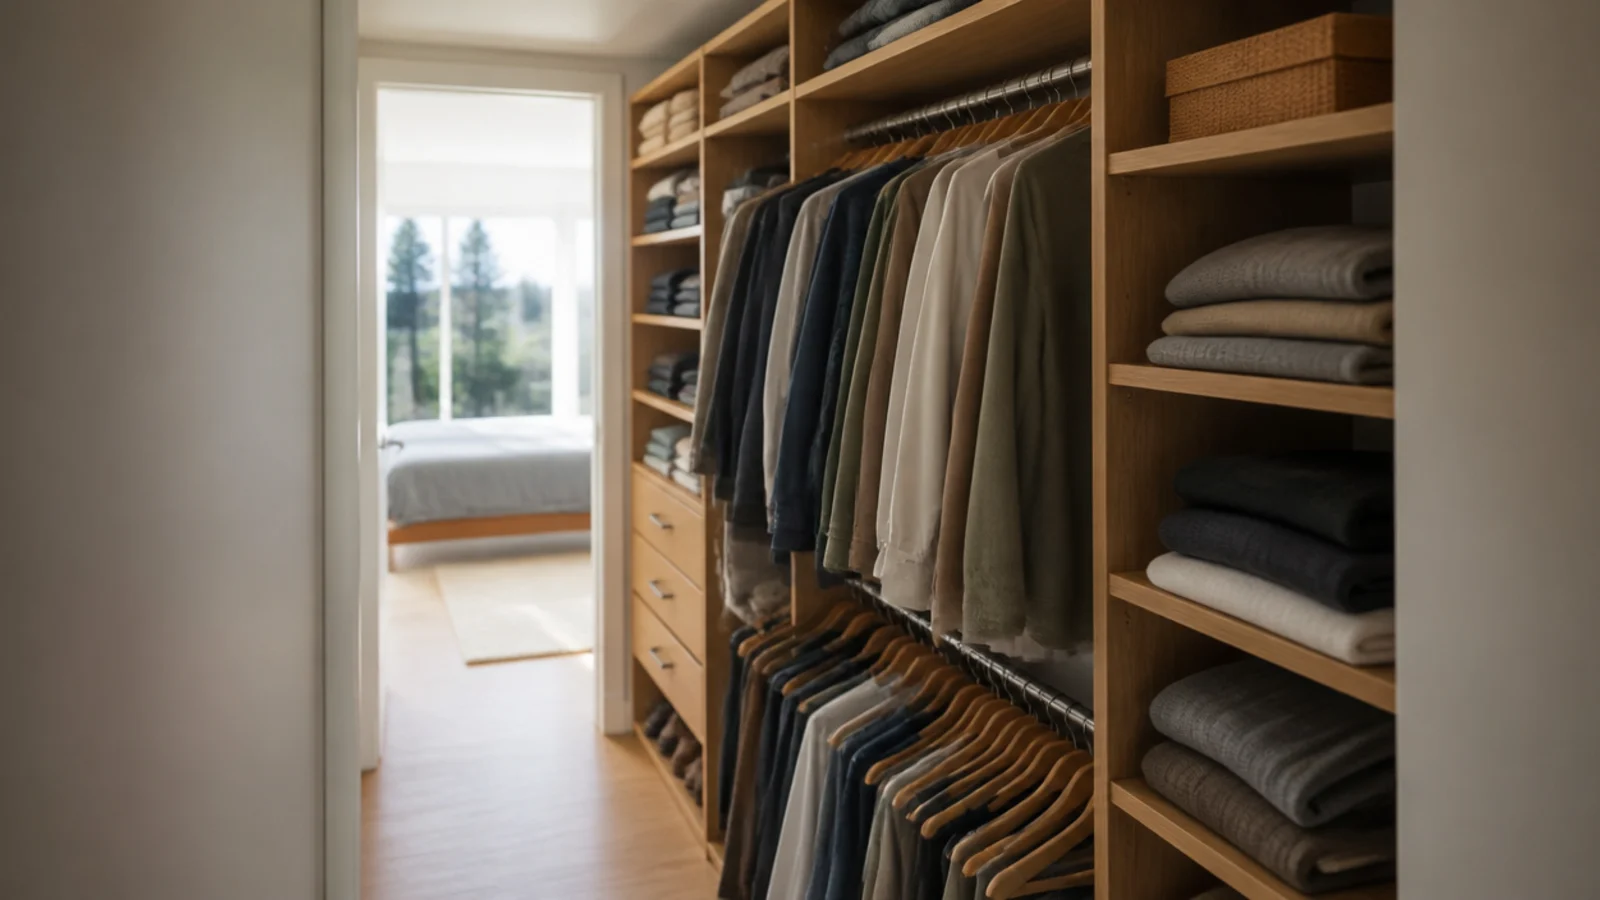
One wall of hanging, one clear lane, and the opposite wall left plain or given 12-inch shelves. This is the correct plan for most small rooms and the one people skip because it feels like giving up.
It is not. A 24-inch hanging wall plus a 36-inch walkway needs 60 inches, so it fits where nothing else does, and every inch of it is reachable. Put the mirror on the bare wall opposite.
2. The galley, 8 feet and up
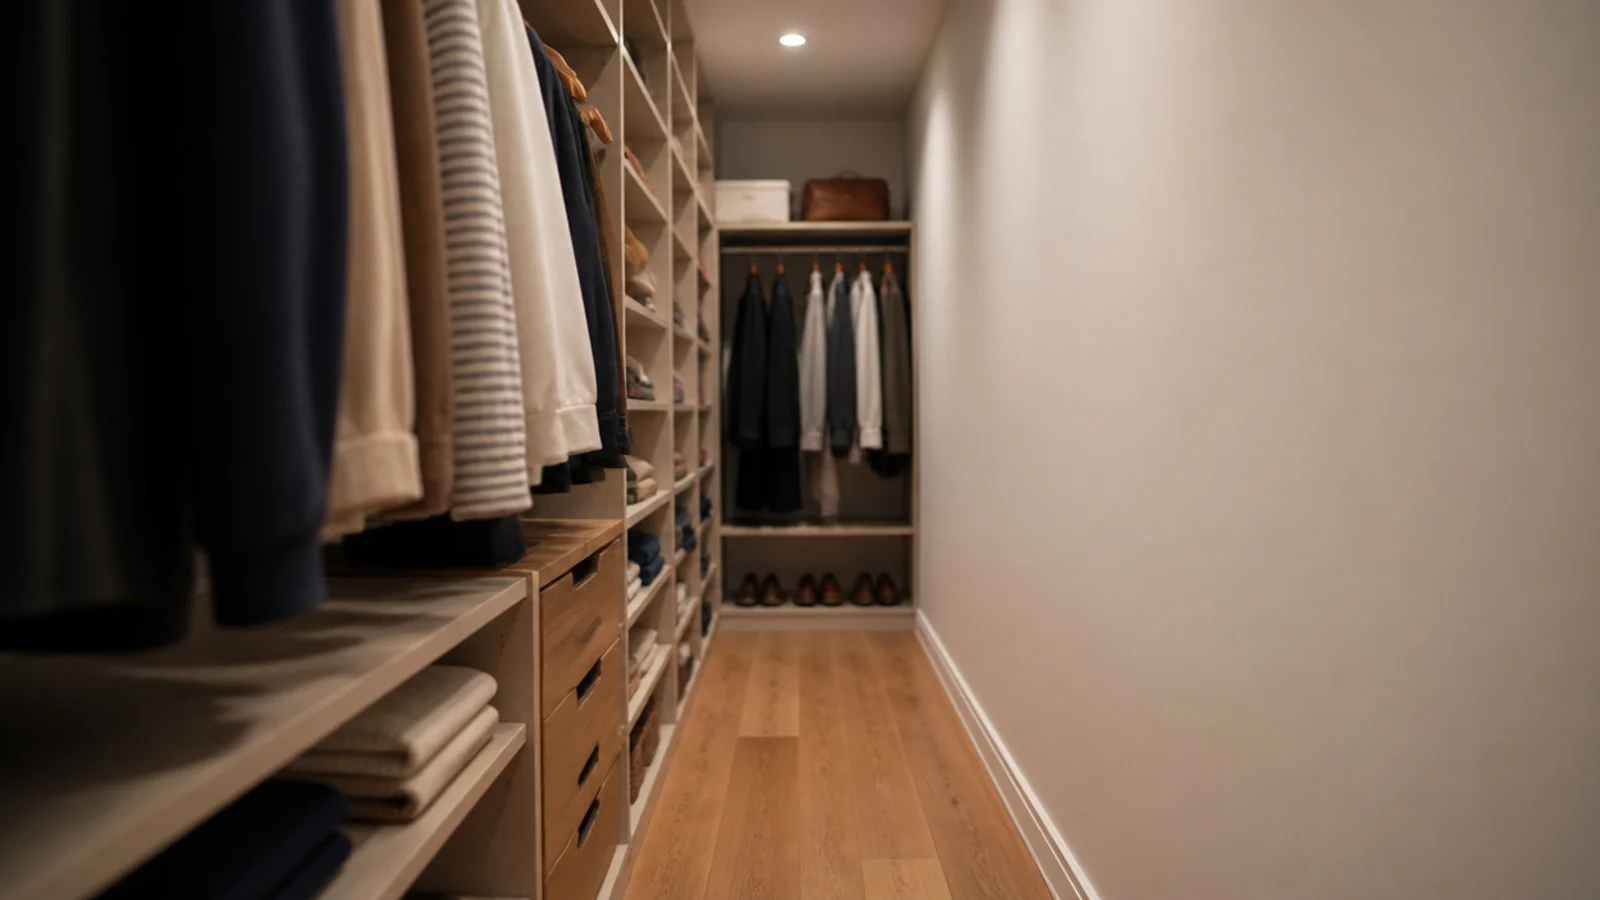
Two facing hanging walls, each 24 to 26 inches deep, with 36 inches down the middle. That totals 96 inches, so the room must be a full 8 feet wide before this works.
At 90 inches you are down to a 30-inch lane and turning sideways to pass. It is doable, and I have lived with it, but the difference between 30 and 36 inches is the difference between a dressing room and a corridor.
3. The U-shape, only past 9 feet
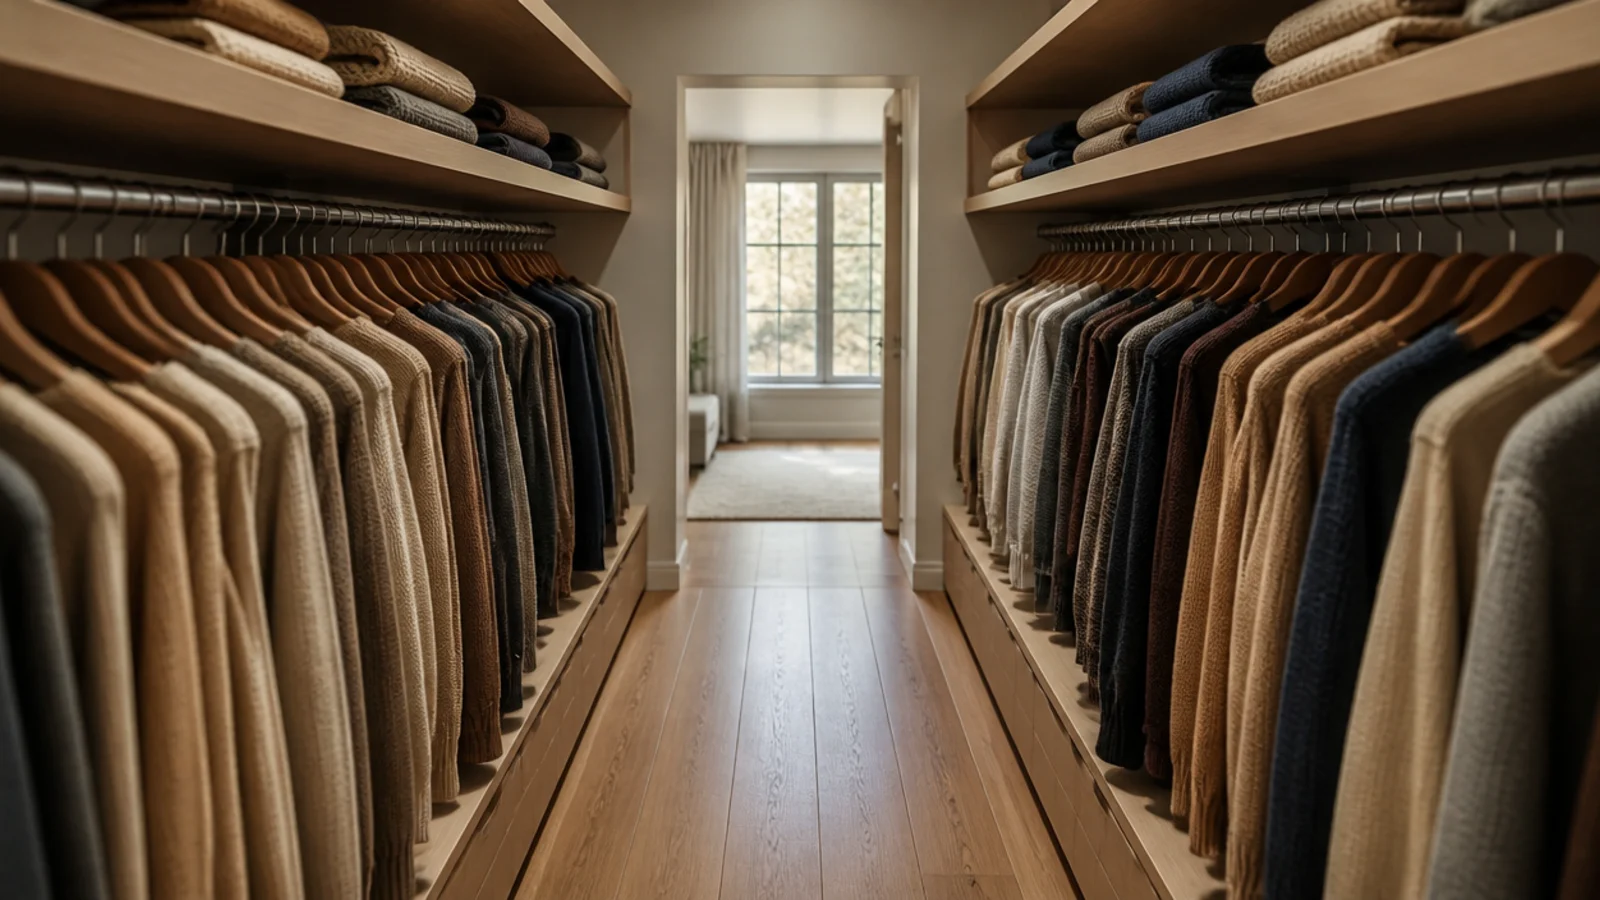
Hanging on both sides plus a full end wall gives you the most storage per square foot of any arrangement, but the corners are where it gets expensive.
You need 9 to 10 feet of width so the end-wall run does not choke the lane, and you must handle both corners with shelving rather than returning rods. Done properly it holds a two-person wardrobe in about 60 square feet.
4. The L-shape for a square room
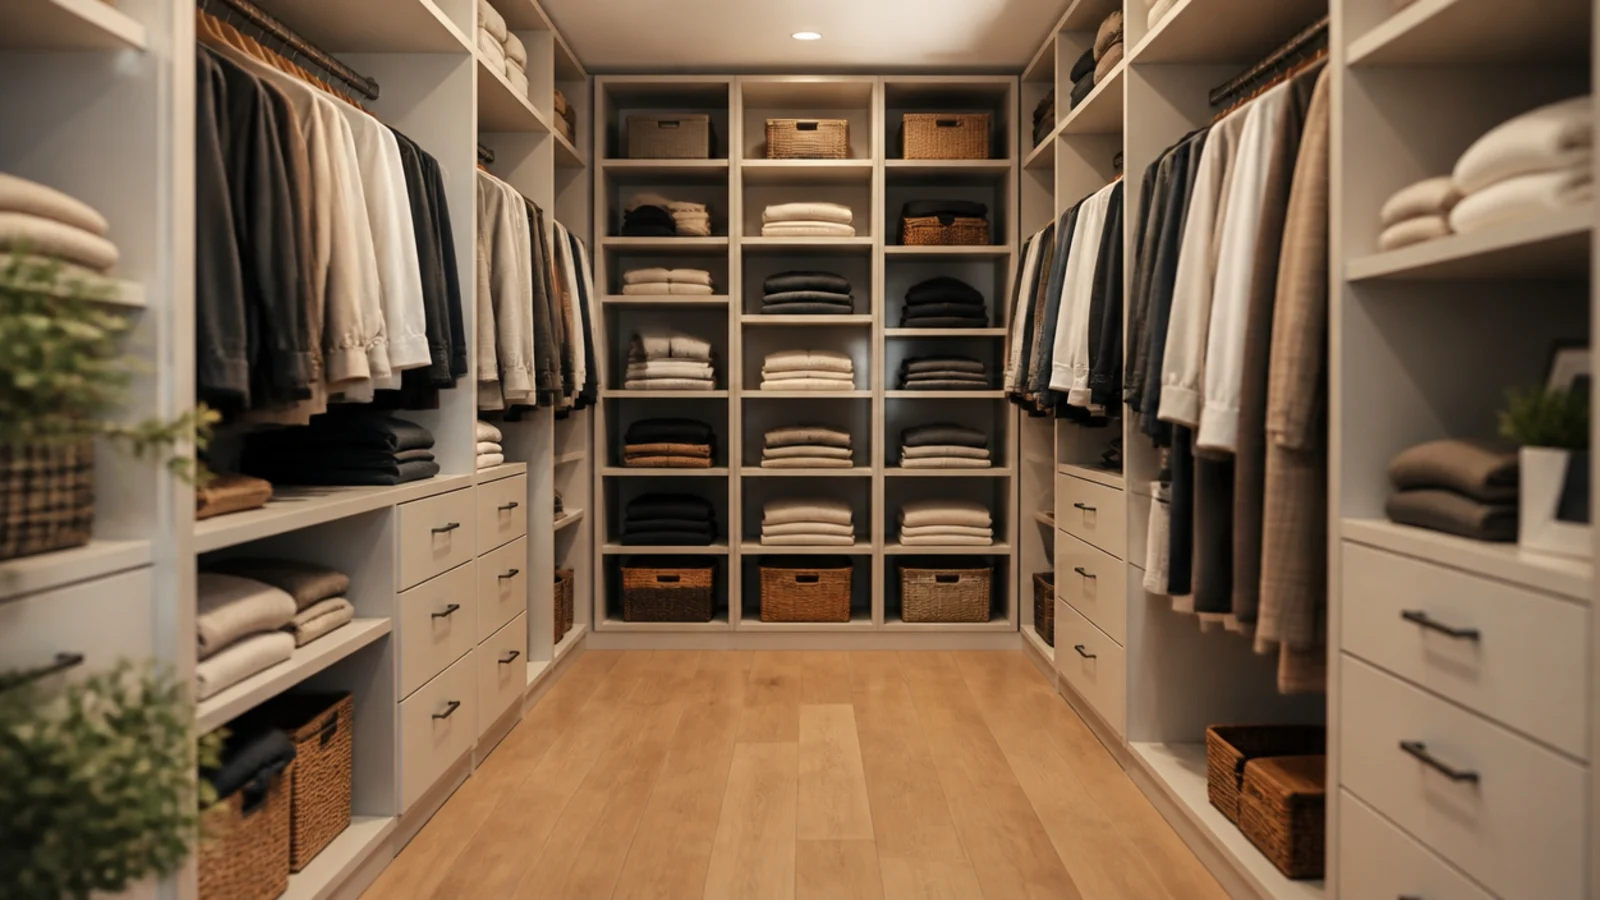
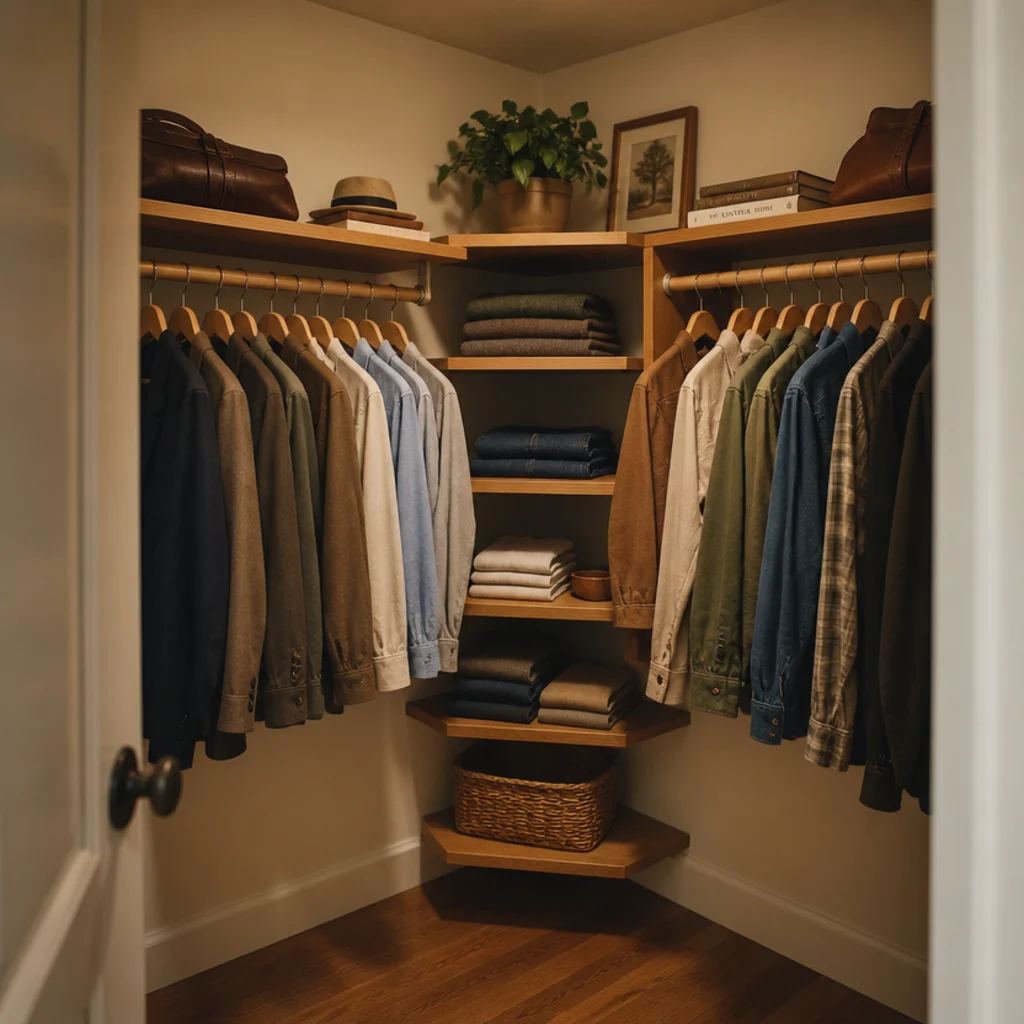
In a squarish closet, hanging along two adjoining walls beats trying to force a galley. Run the long wall as double-hang and the short wall as shelving plus a single rod.
Stop the rod 24 inches before the corner. The corner itself becomes stacked shelves, which reach into the space a rod cannot. This plan also leaves an open floor area big enough to stand and dress comfortably.
5. The reach-in conversion, under 5 feet
If the room is under 5 feet wide, take the door off and build one dense wall 24 to 26 inches deep facing the opening. No walkway, no corridor, no compromise.
You gain everything the corridor was eating, and you see the whole wardrobe from the doorway. It feels like a downgrade on paper and it is an upgrade in use — a good reach-in genuinely stores more than a bad walk-in.
6. Set the walkway at 36 inches first
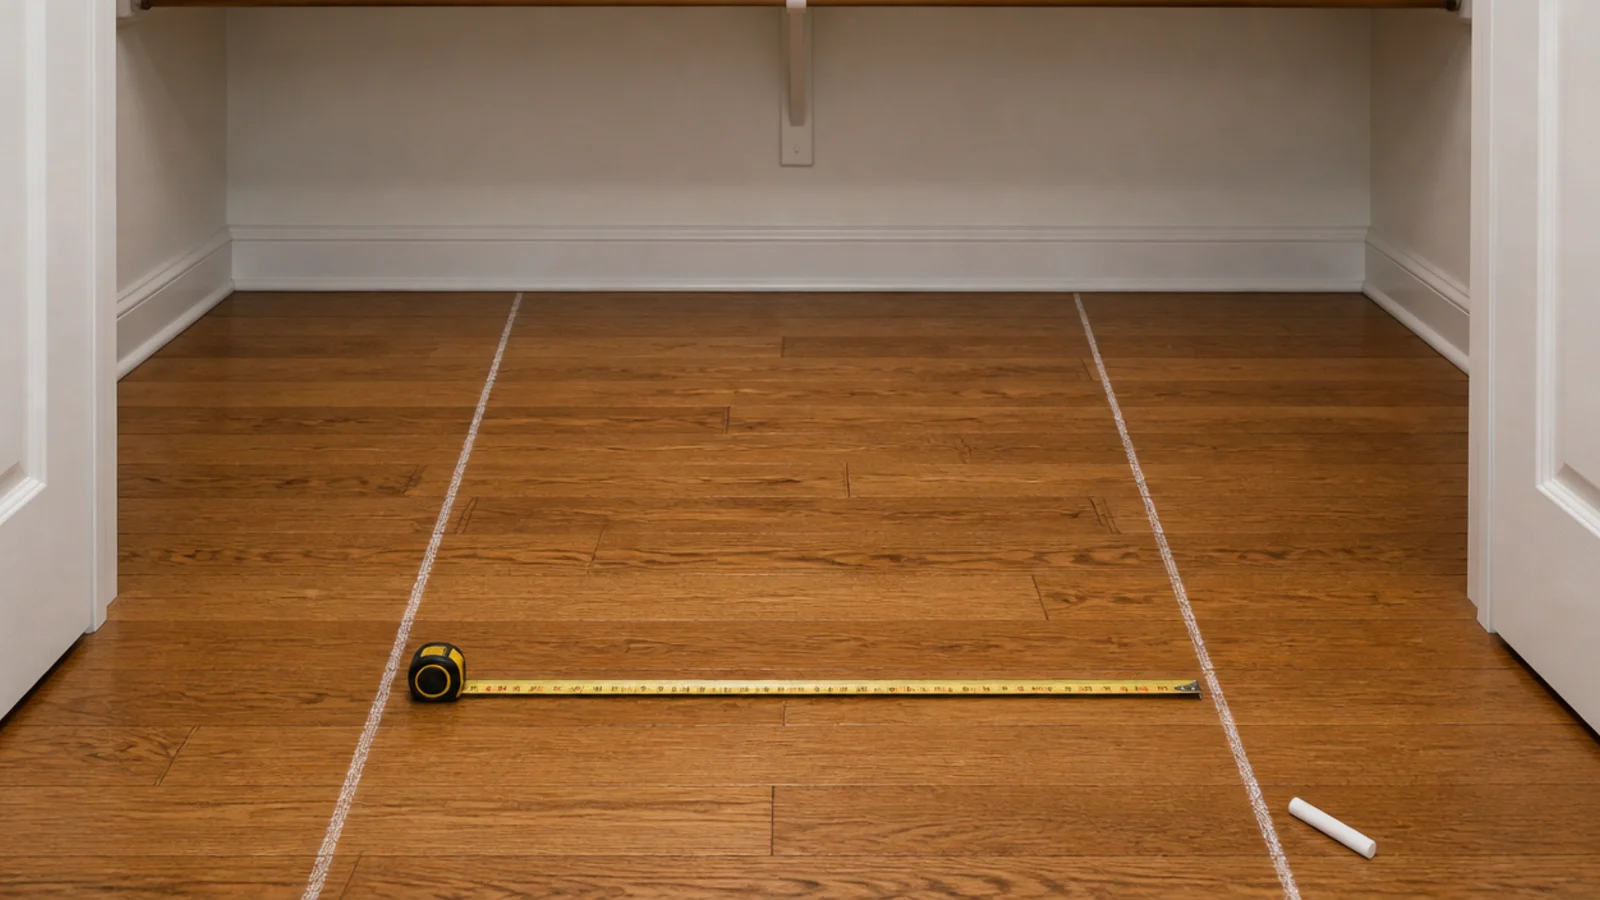
Chalk two lines 36 inches apart down the middle of the empty room, then stand in the lane and mime getting dressed. Turn, crouch, reach up, open an imaginary drawer.
Whatever is left outside those lines is your build depth. Doing this first stops you designing a beautiful wall of storage and discovering afterwards that you cannot stand in front of it.
7. Put long-hang at the far end
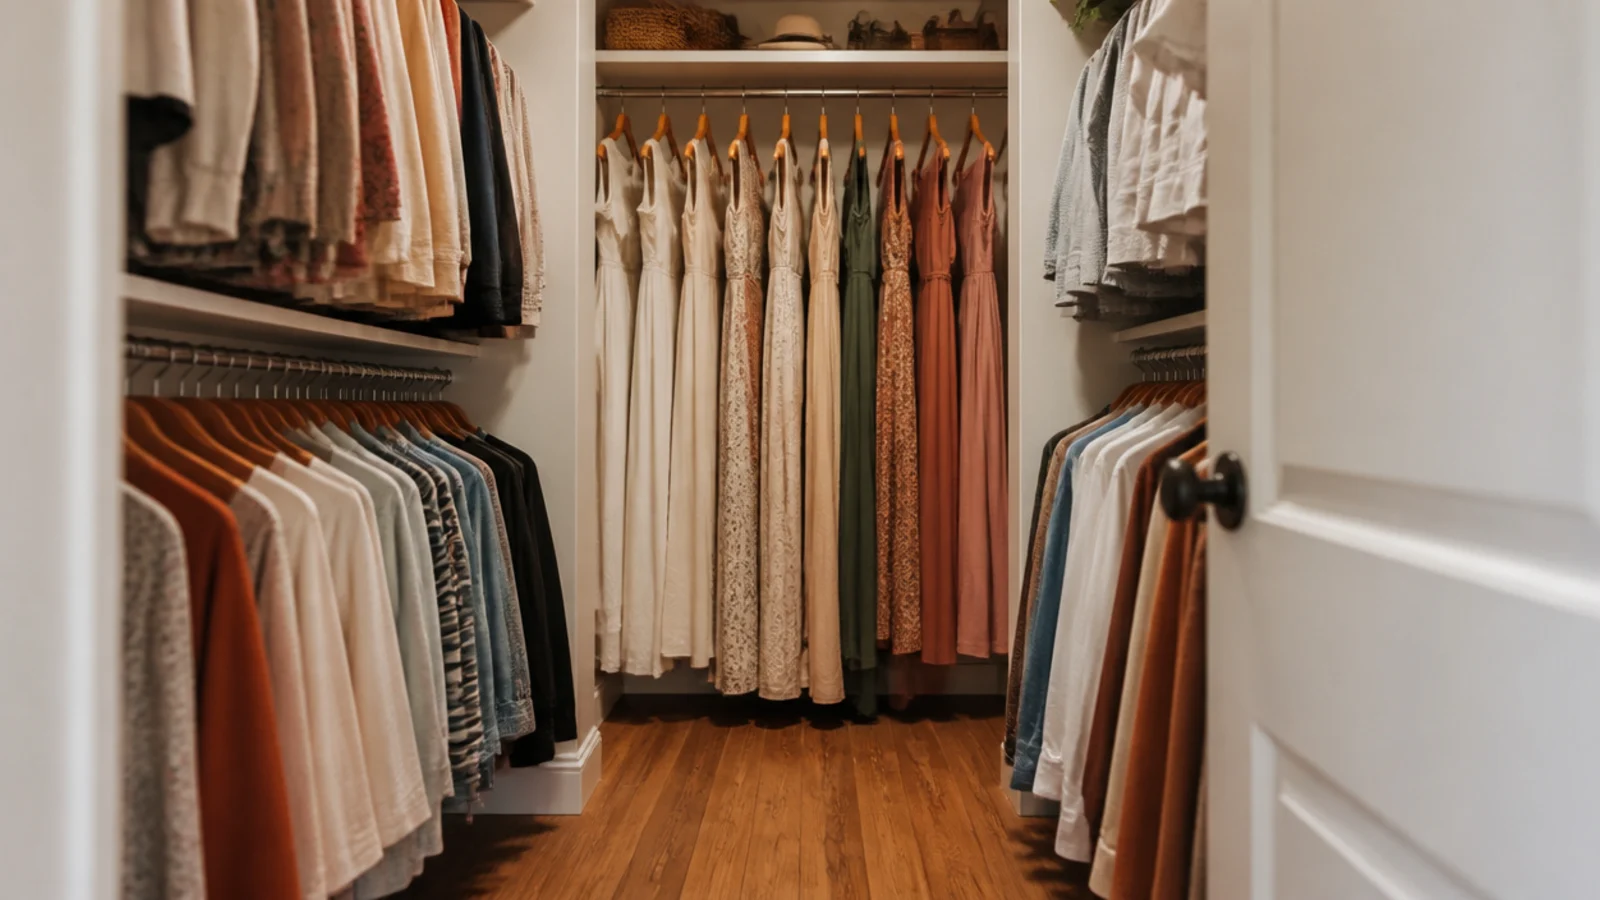
Dresses, coats and formalwear are the least-used things you own, so they belong at the end of the room furthest from the door.
Give them one bay of 24 to 30 inches with 66 to 70 inches of clear drop. Putting long-hang by the door is the most common planning error I see, because it means walking past your entire seasonal wardrobe to reach a work shirt.
8. Keep daily hanging nearest the door
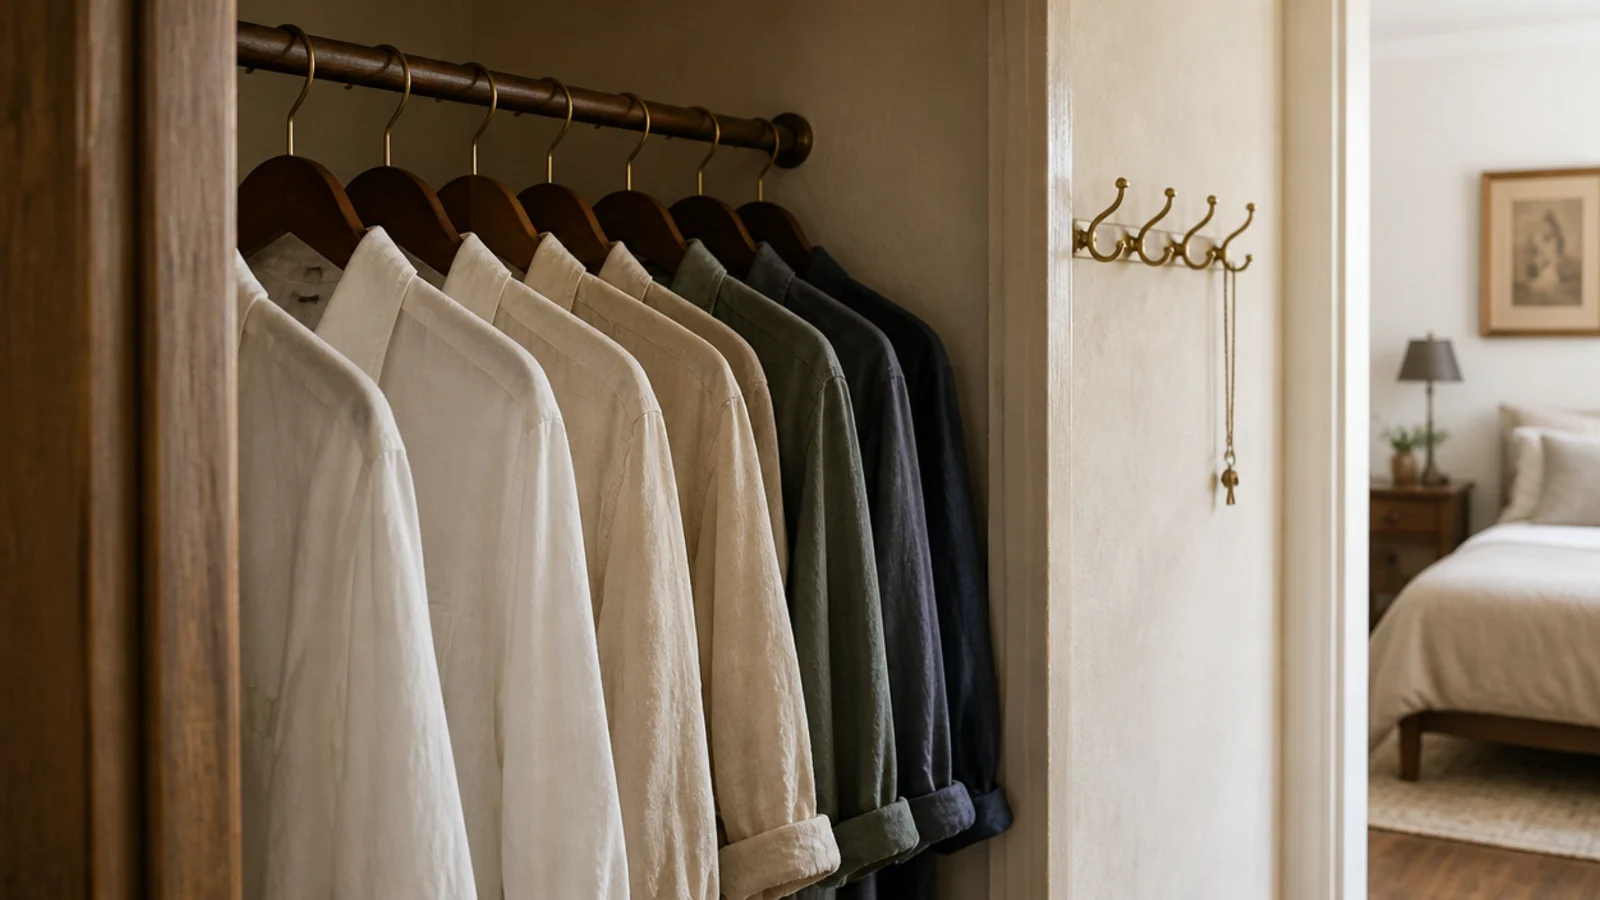
The first 3 feet inside the door should hold what you reach for weekly. Shirts, everyday trousers, the jacket you actually wear.
Double-hang this section at 42 and 84 inches so the density is highest exactly where your hands go first. It sounds obvious and almost nobody plans it deliberately, which is why so many closets have coats blocking the entrance.
9. Give the end wall to shoes
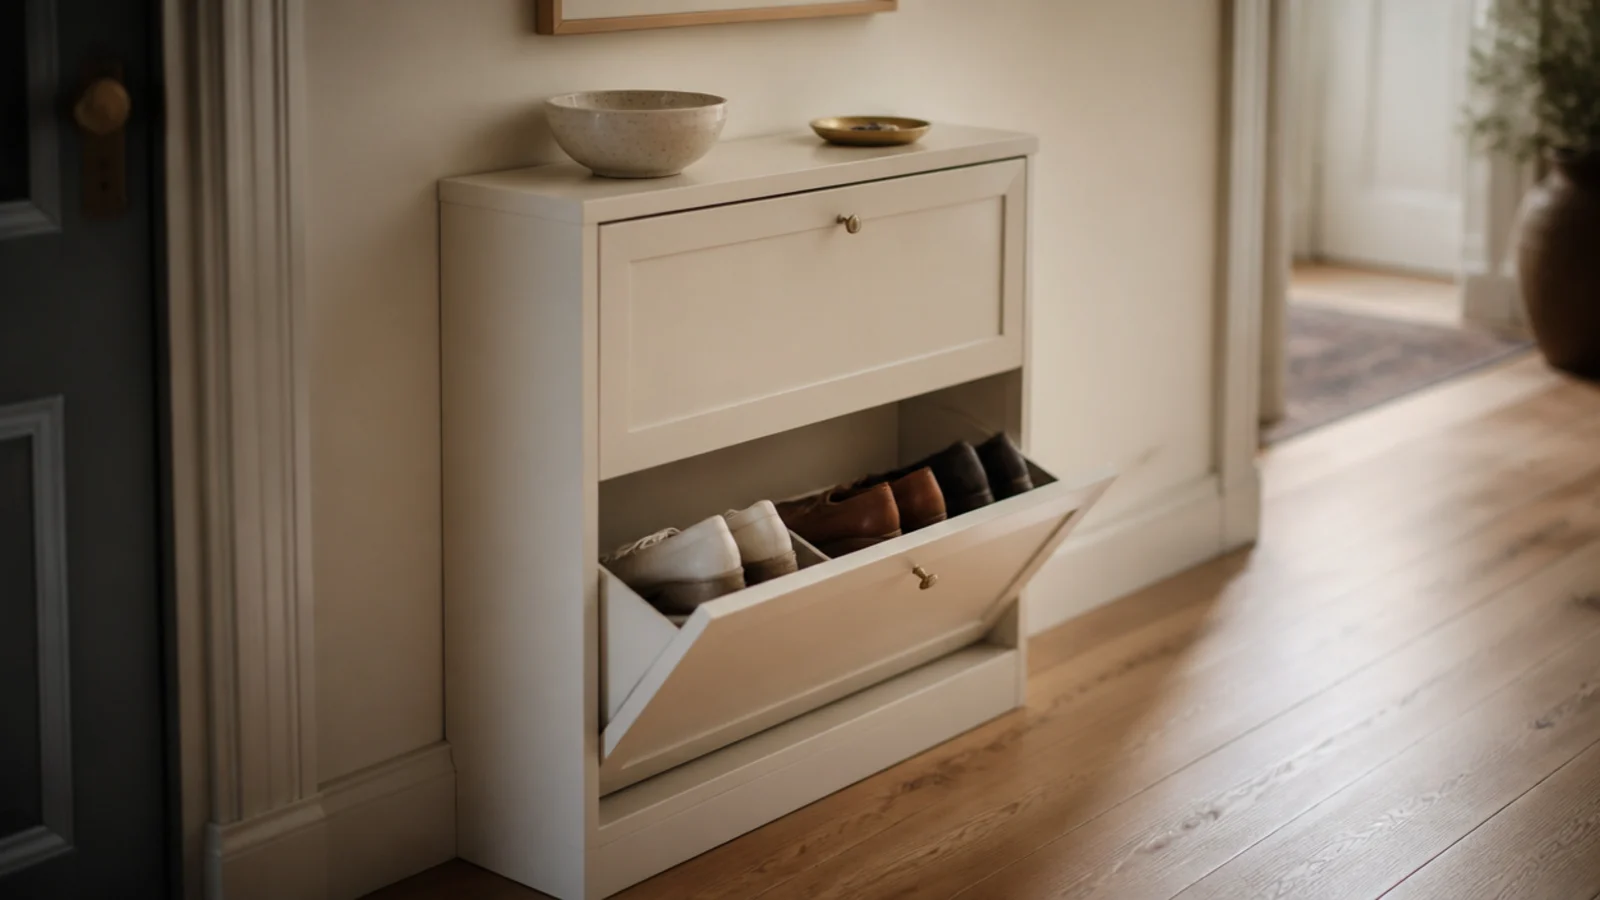
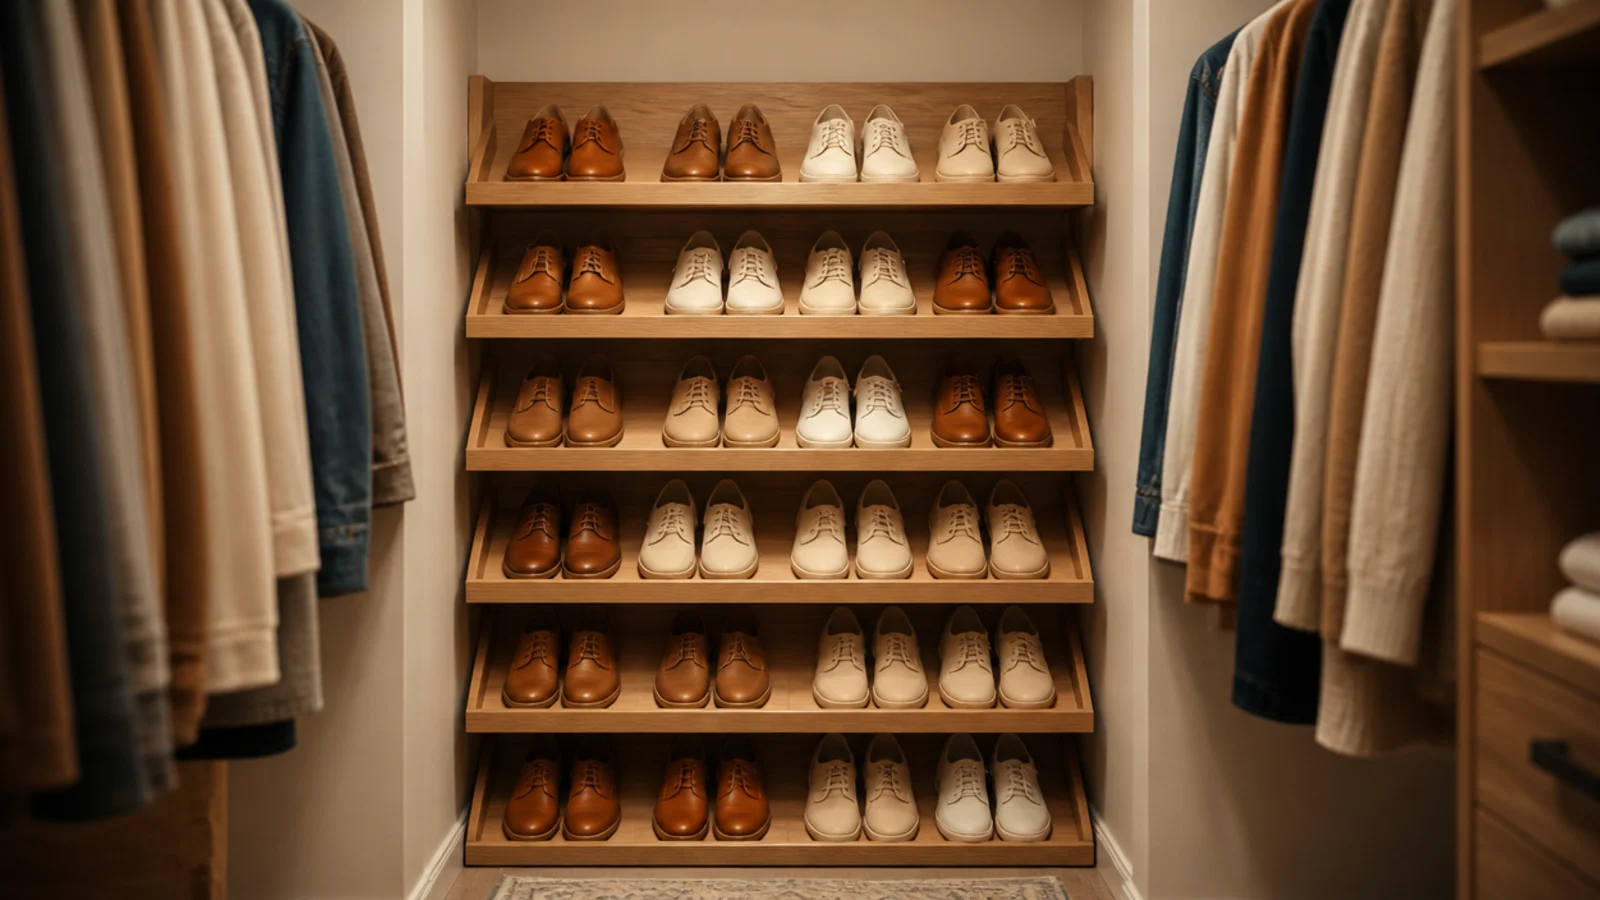
The narrow wall at the end of a walk-in is usually 24 to 40 inches across, too shallow for comfortable hanging and perfect for footwear.
Four angled shelves at 10 inches deep hold about 16 pairs in 40 inches of height. Space them 7 inches for flats, 9 for heels, 13 for boots, and add a slim front lip so nothing slides. The tilt is what lets you see the whole shoe.
10. Slide drawers under the short rod
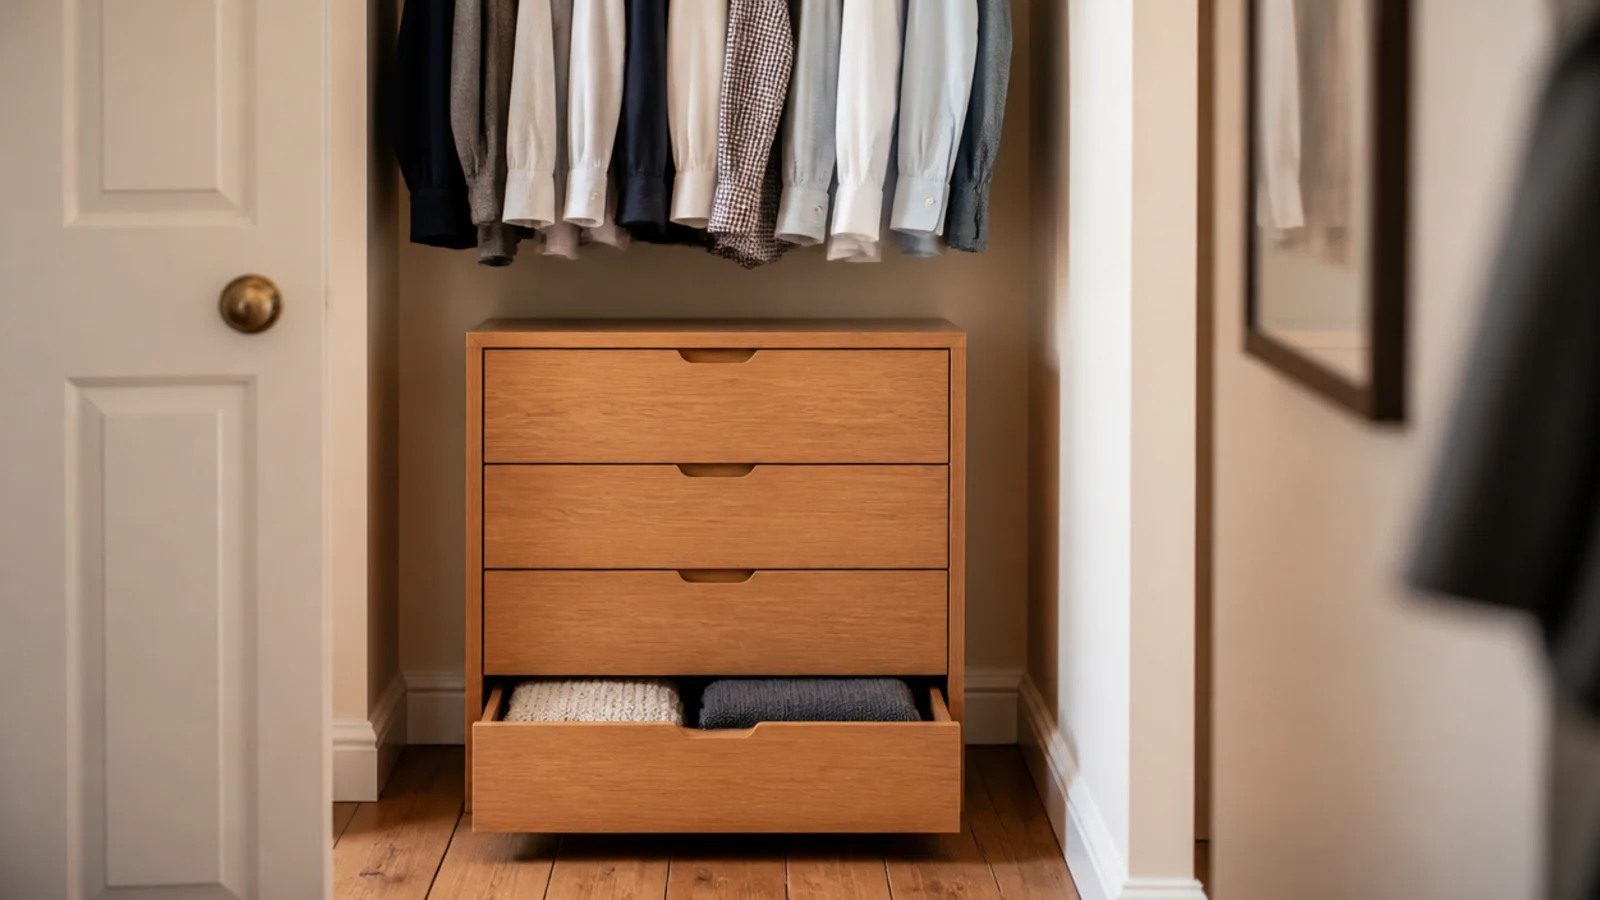
Under a rod at 42 inches there is roughly 40 inches of air doing nothing. That is exactly the height of a three-drawer chest.
Keep the unit under 24 inches deep so it stays inside the hanging footprint. This is the move that lets a closet absorb a bedroom dresser, and it uses space that no other element in the plan wants.
11. Never turn a rod around a corner
A rod that continues around an inside corner loses its final 22 inches to the return wall — you cannot get a shoulder in there, so those hangers become permanently inaccessible.
Stop the rod at least 24 inches short. Everyone who has built a closet has learned this the expensive way once. Walk-in closet mistakes collects the rest of them.
12. Fill the corner with shelving instead
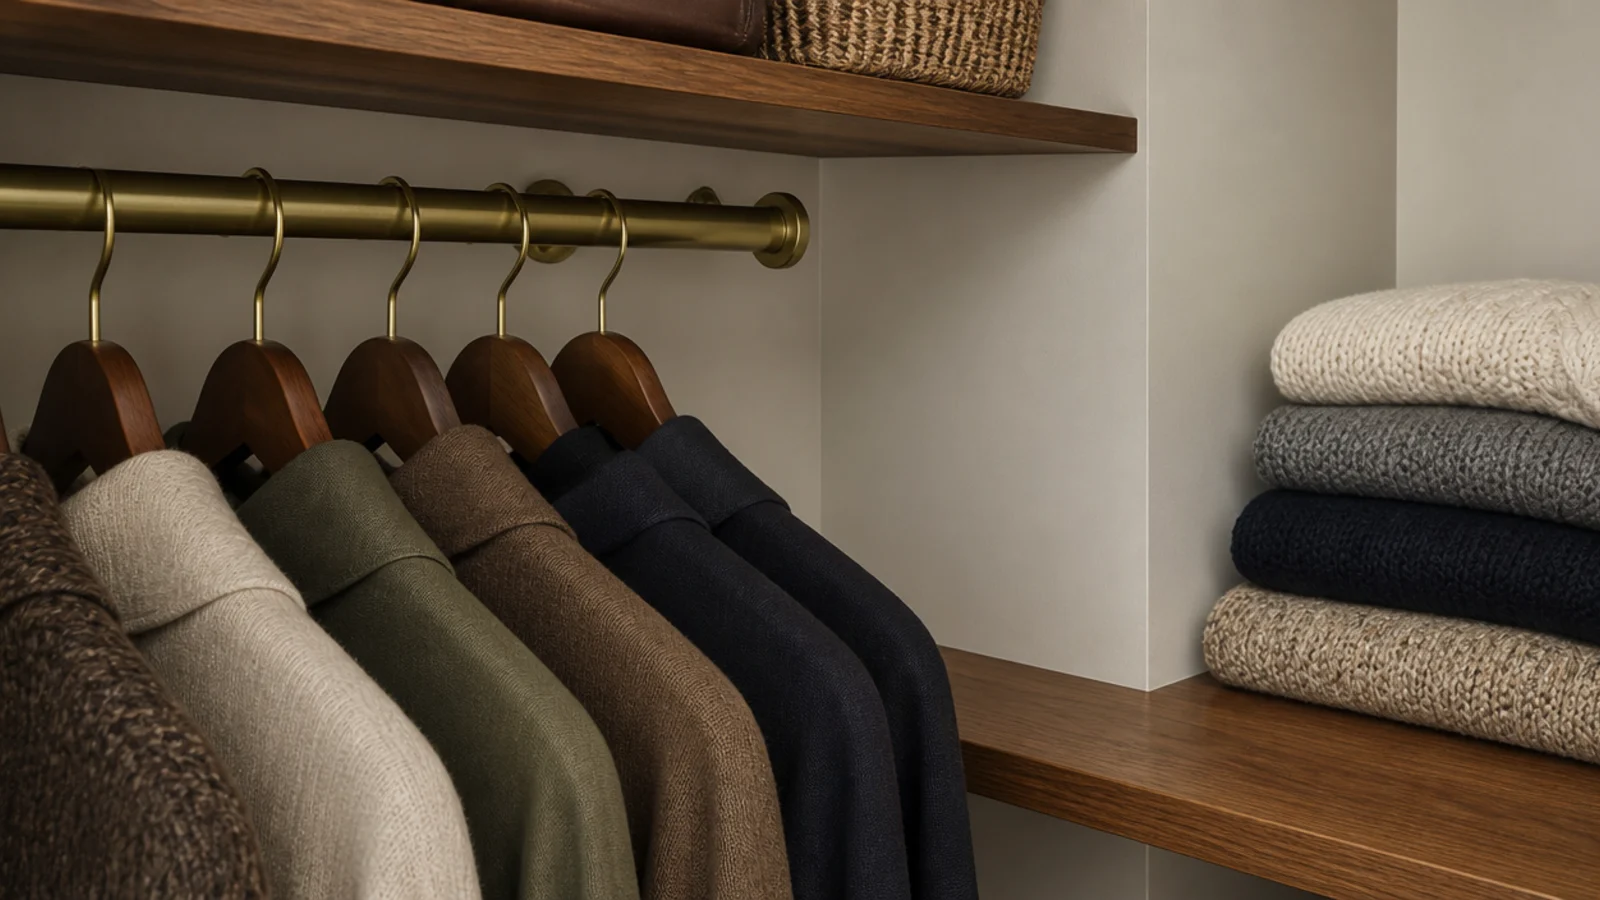
Shelves reach into corners perfectly well, because you approach them from the front rather than the side.
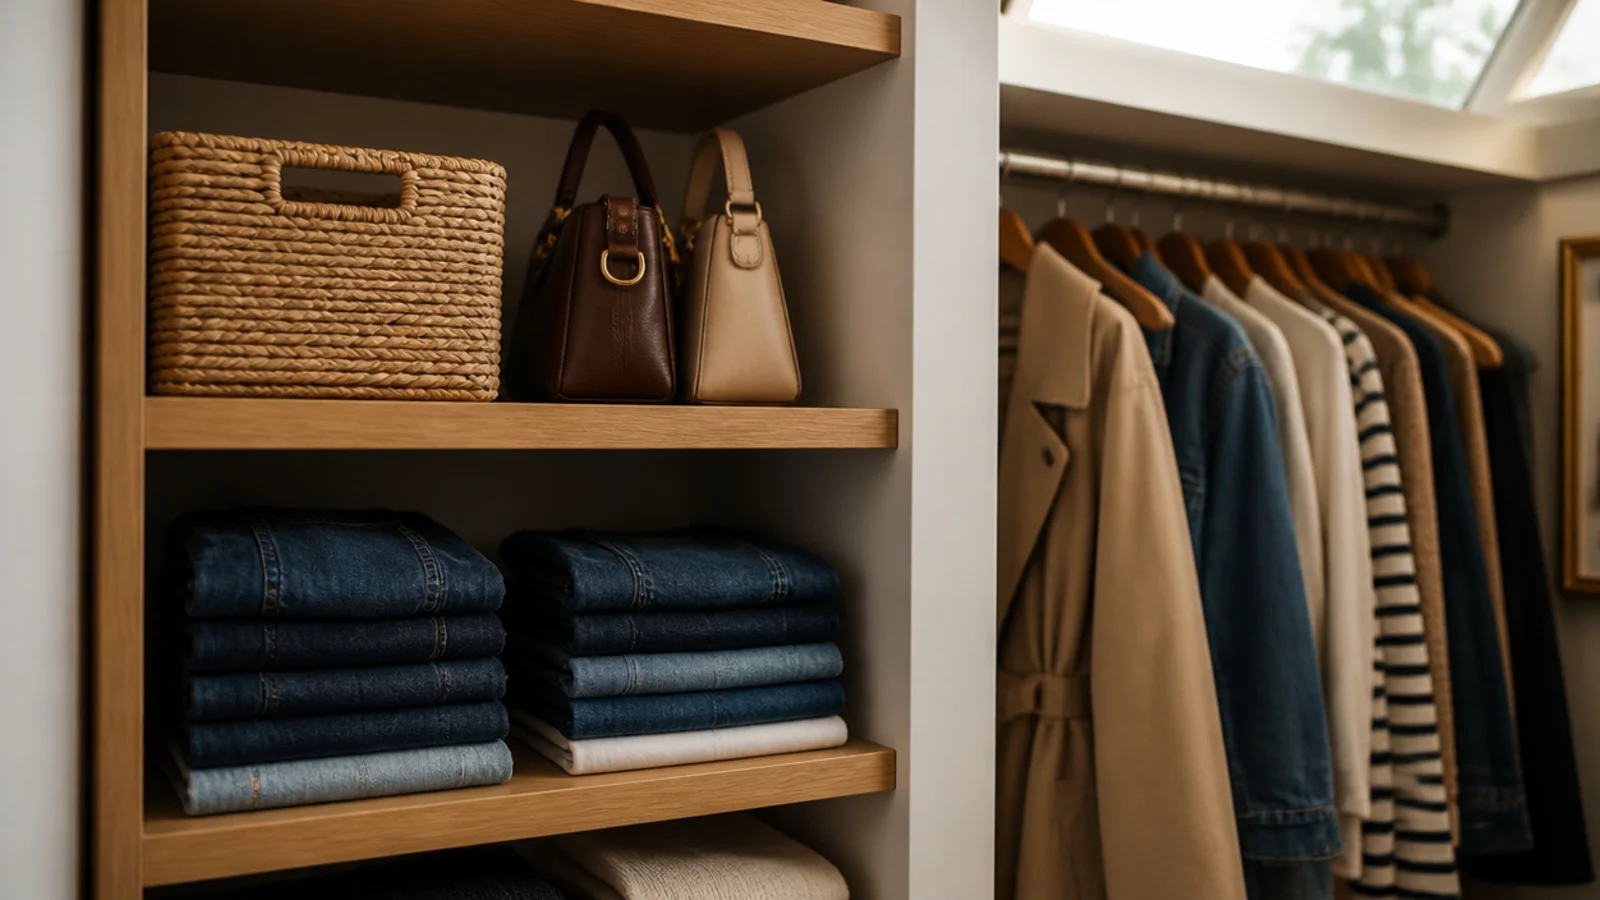
Stack them 10 inches apart for folded knits and use the deepest part for bags and bins you touch less often. A corner given to shelving stores more than the same corner given to an unreachable stub of rod, and it costs less to build.
13. Return 12 inches of shelving opposite
In a single-sided plan, the bare opposite wall can carry 12-inch shelves without touching your 36-inch lane, as long as the room is at least 72 inches wide.
Use it for folded knits, shoes or baskets — not hanging, which needs the full 24 inches. Twelve inches is also the depth at which a shelf stops feeling like an obstacle you brush past with your shoulder.
14. Only add an island past 10 feet
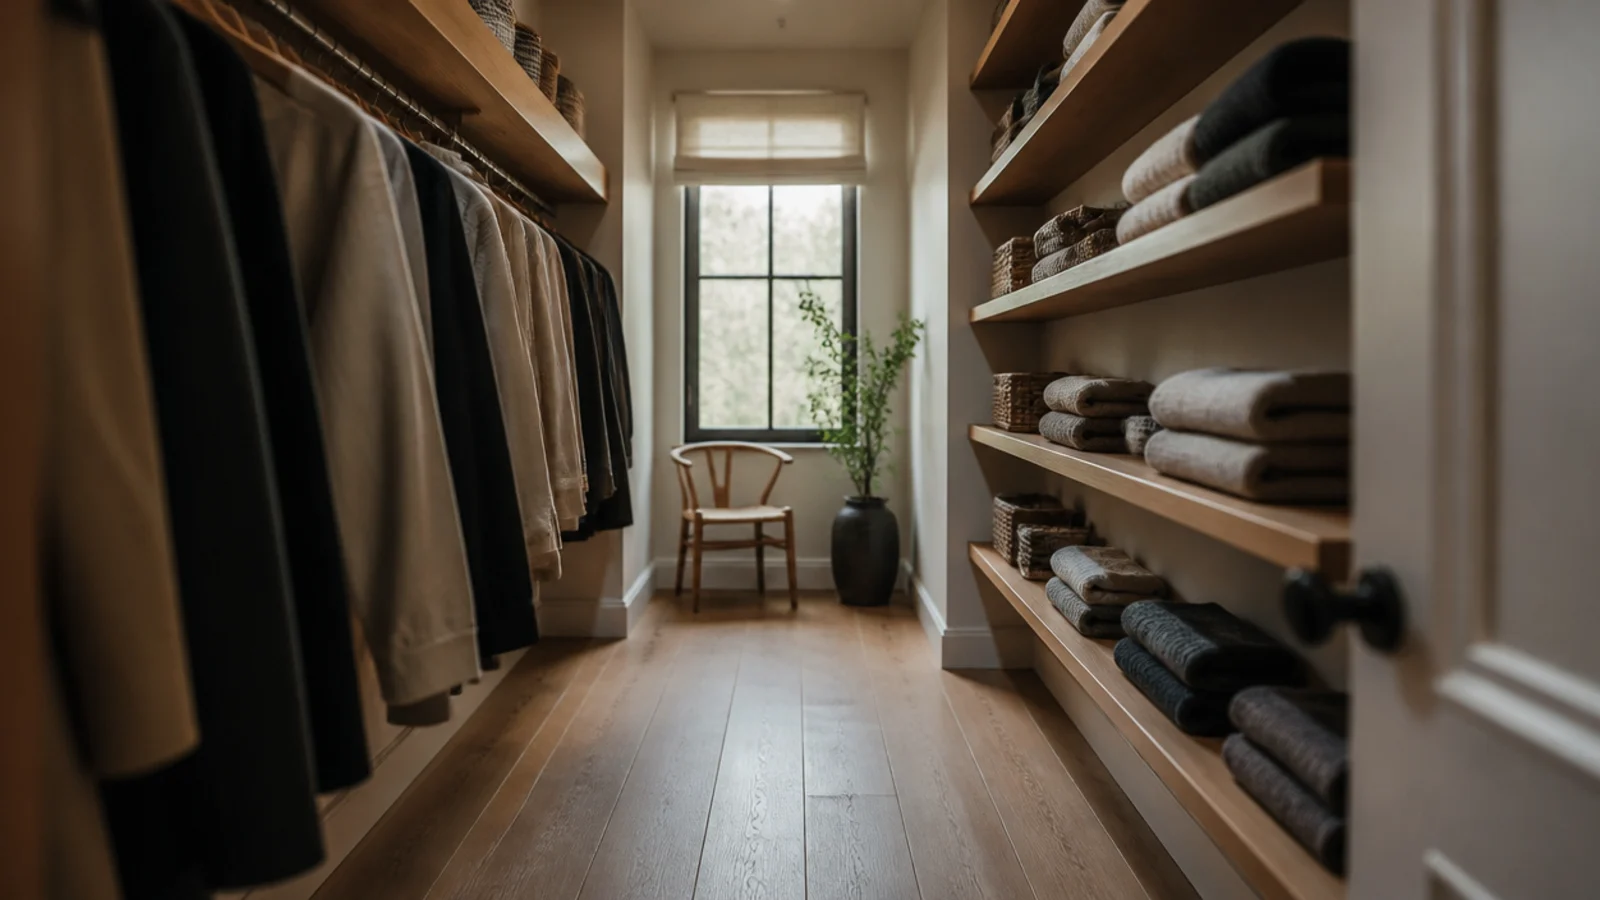
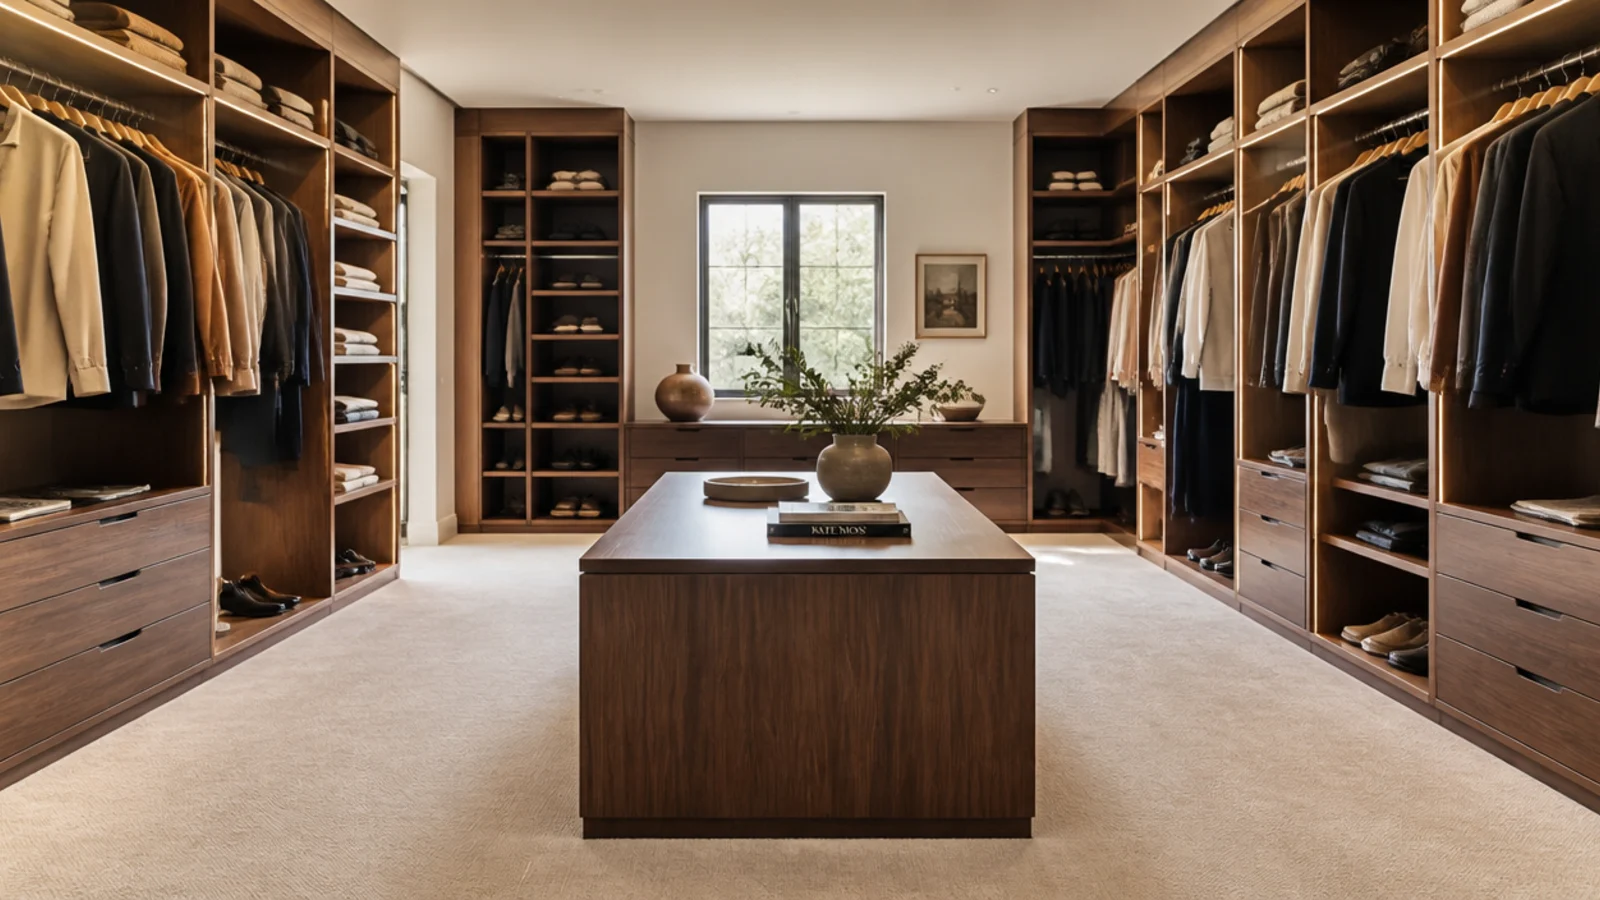
An island needs 36 inches of clearance on all four sides. A modest 24-inch island plus two walkways already claims 96 inches before either wall gets any hanging.
So the room needs to run past 10 feet wide for one to work, and closer to 12 to feel generous. Below that, an island is a beautiful way to make a closet unusable.
15. Use a narrow bench instead
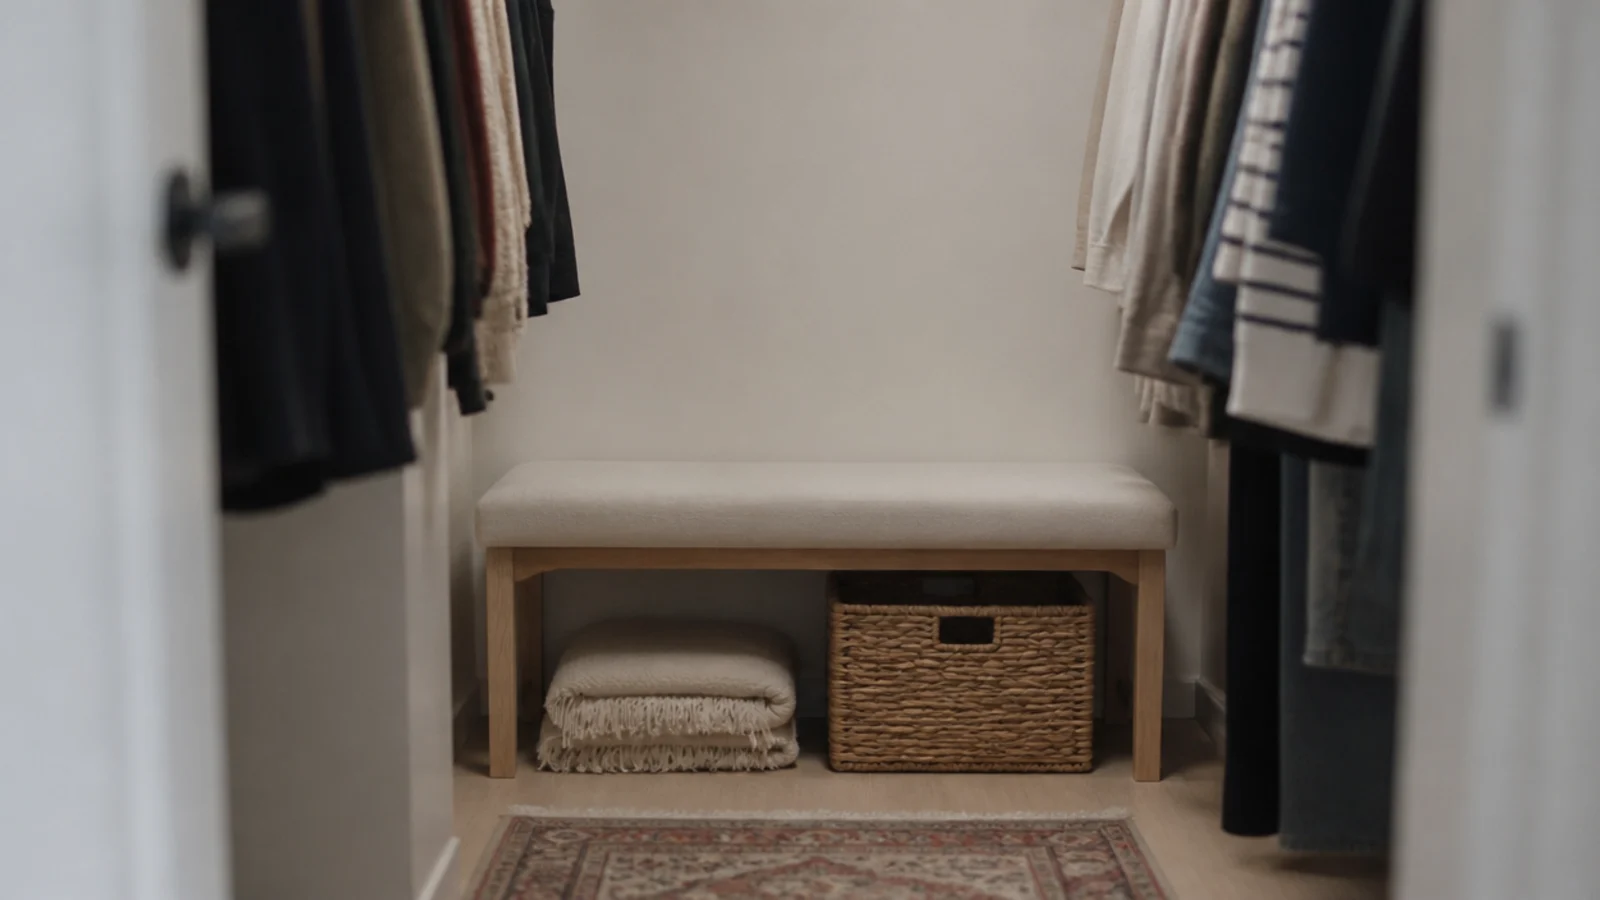
What most people want from an island is a flat surface and somewhere to sit. A bench 16 inches deep against the end wall gives both and takes no lane.
Add a shelf underneath for baskets or shoes. At $80 to $250 ($$) it costs a fraction of an island and it is the piece you will actually use, because folding on a bench beats folding on a bed in another room.
16. Let the door swing set the first 30 inches
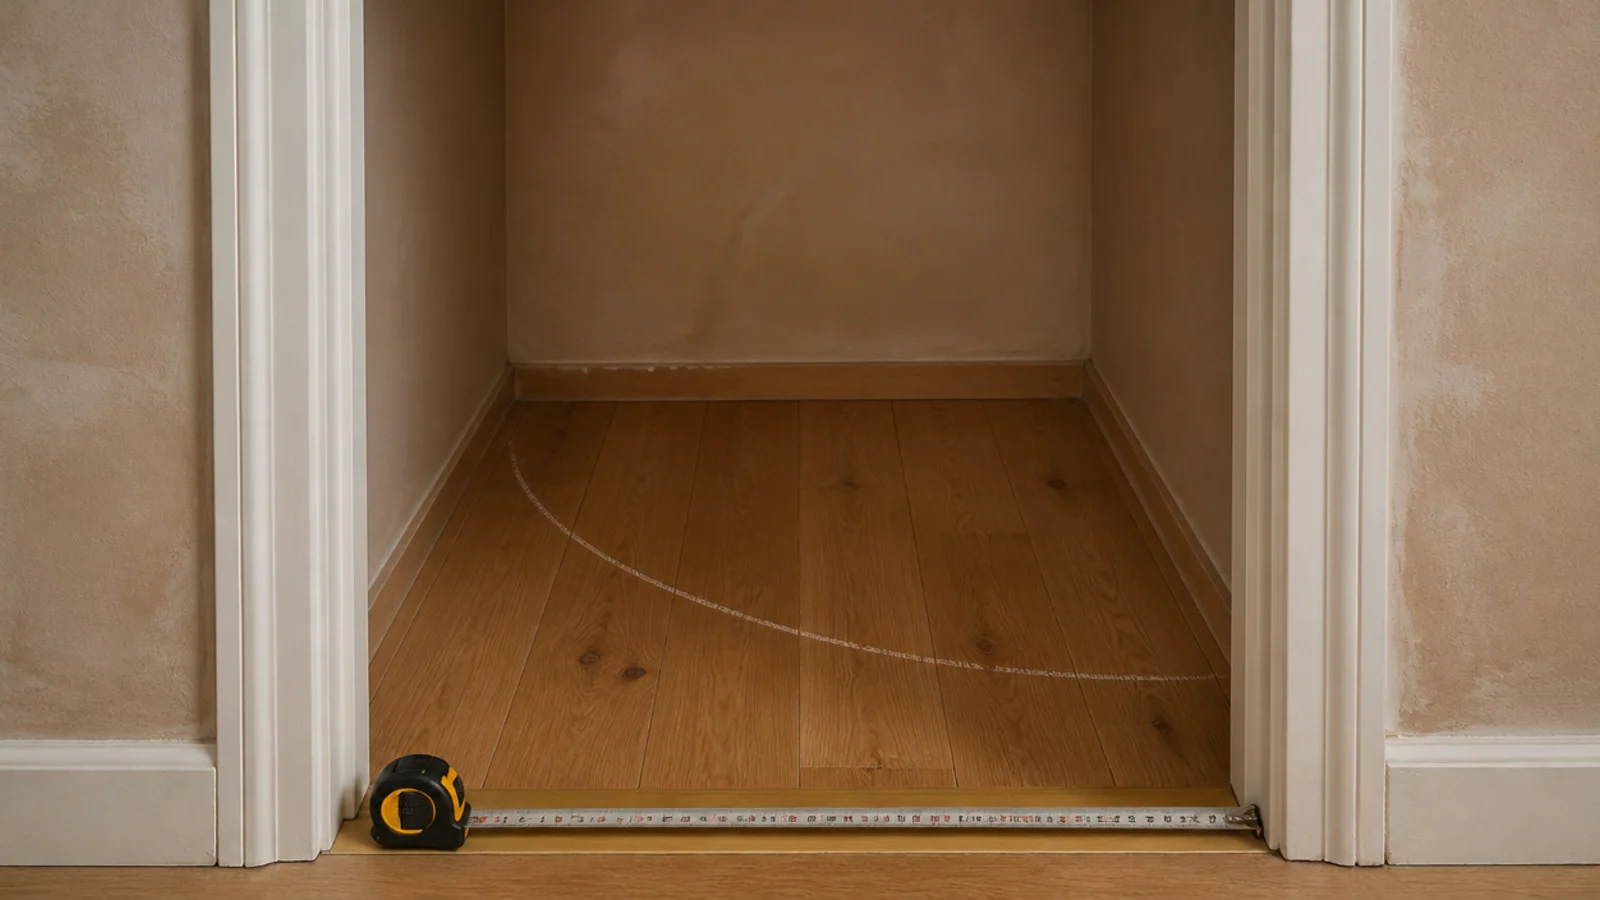
If the door opens inward, chalk its arc before planning anything. Nothing can live inside it — not a drawer, not a basket, not a shoe rack.
That is often 6 square feet of the room gone. A slider, a pocket door or a curtain gives all of it back for $30 to $350 depending on which you choose, and in a room under 8 feet wide it is nearly always worth doing.
17. Place the mirror on the longest sightline
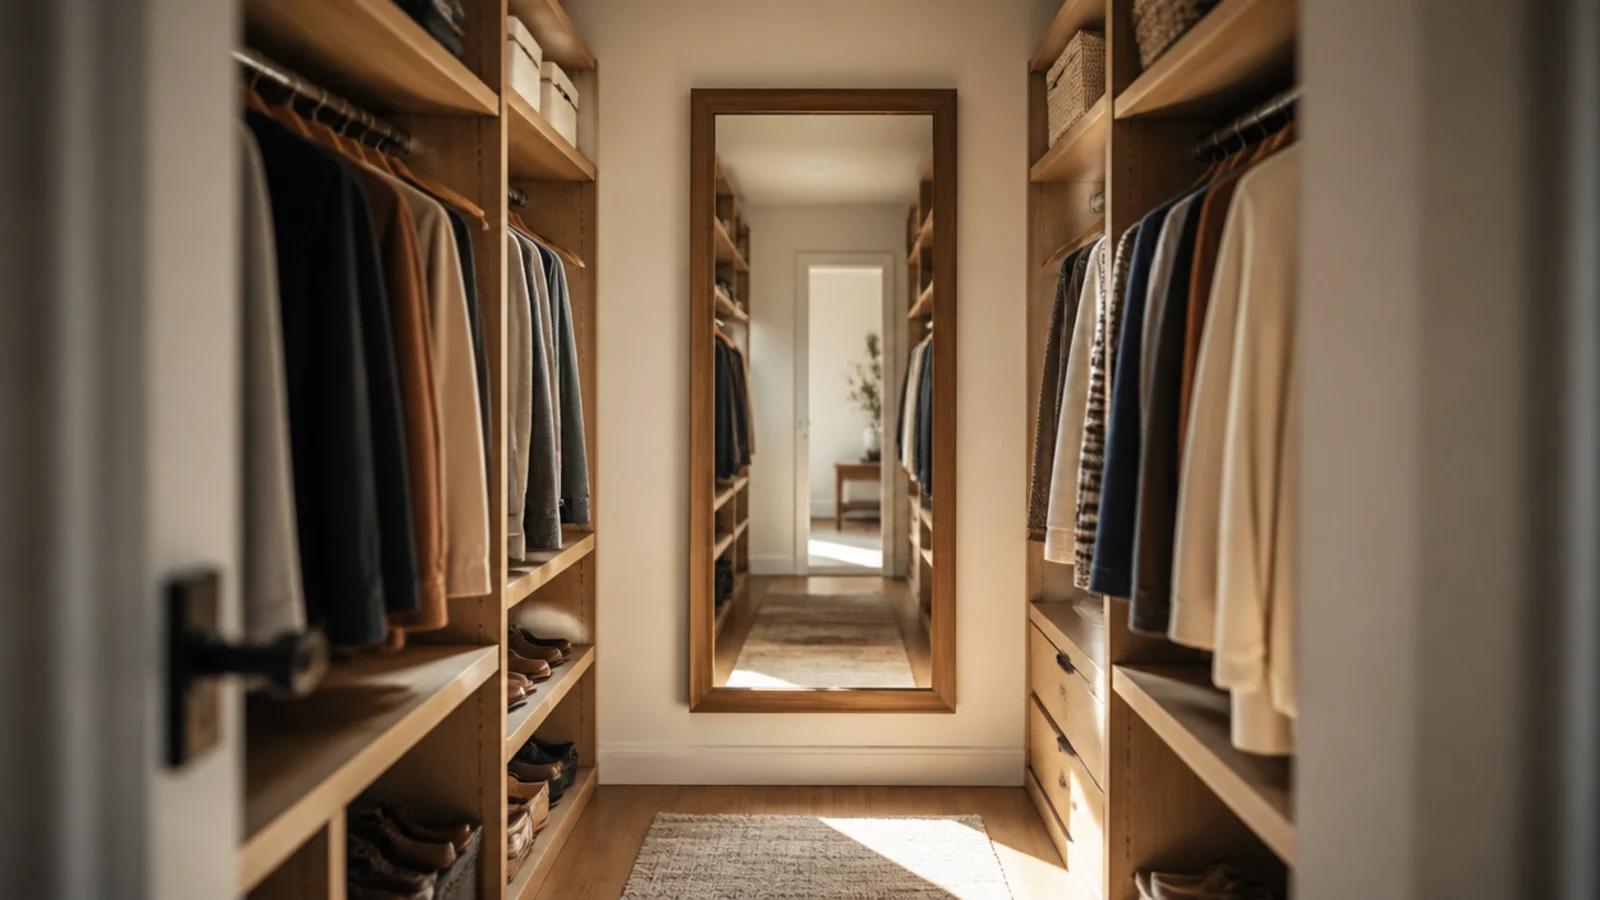
Put the full-length mirror where it faces the longest view in the room, usually the end wall of a galley or the bare wall in a single-sided plan.
Fix it at 60 inches to center. A mirror facing down the length of a narrow closet doubles the apparent depth and bounces your shelf lighting back across the clothes, which matters in a windowless space.
18. Put the switch outside, the sensor inside
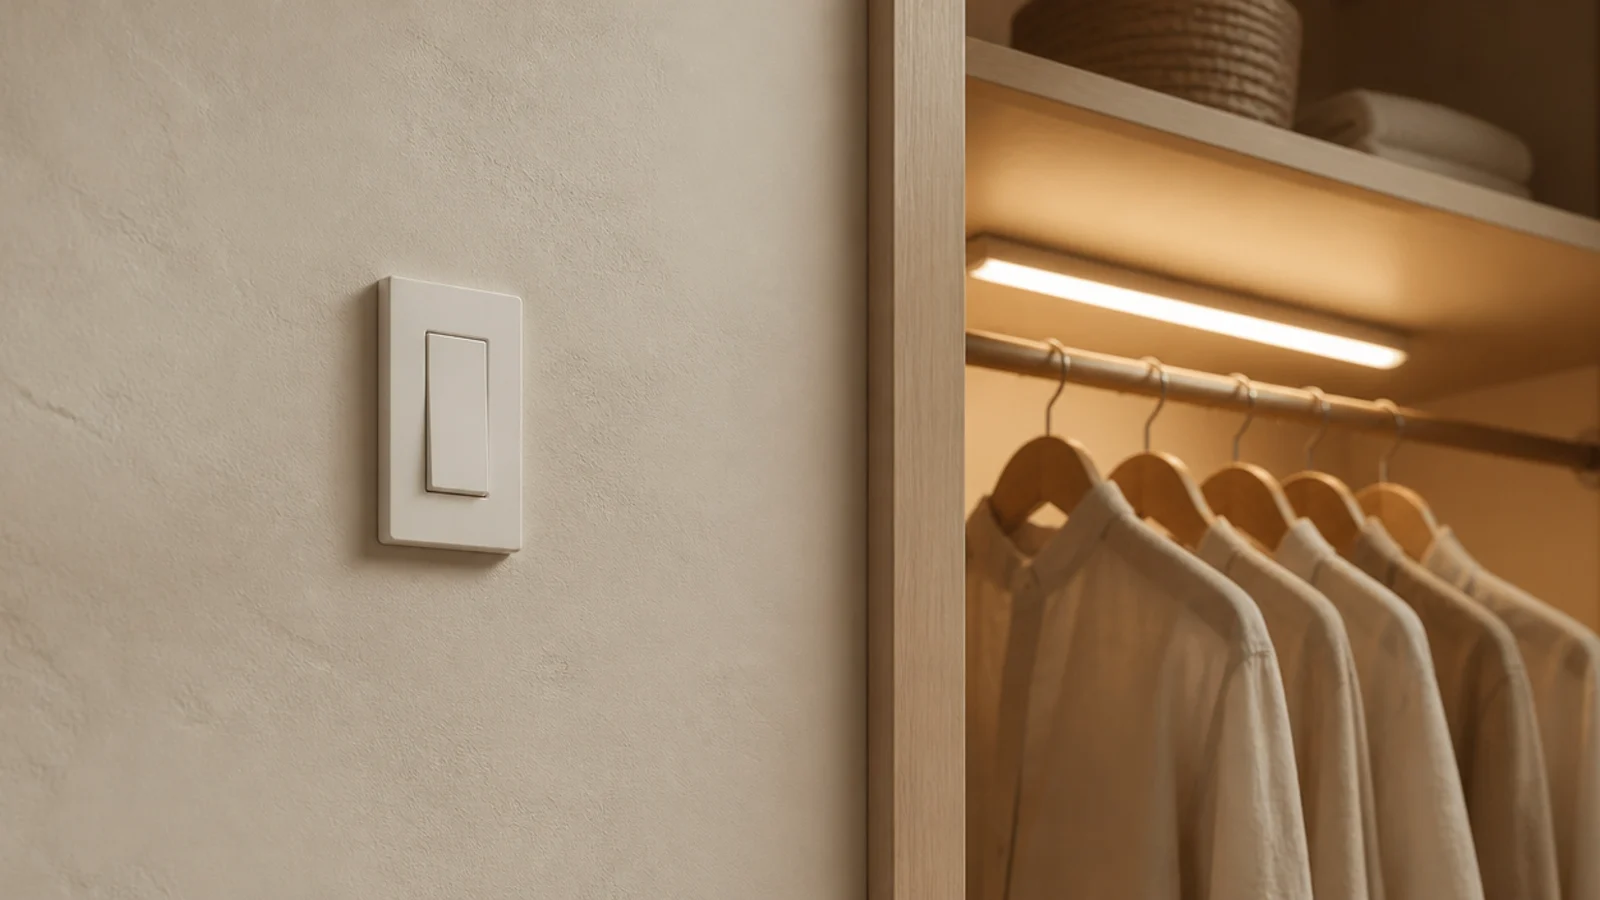
A switch by the door outside gives you control; a motion sensor inside means the light works when your hands are full of laundry. Do both.
Keep the light 3000K or warmer at CRI 90 or above — cool white reads navy as black. Rechargeable sensor strips cost $18 to $30 each and stick on, so this is renter-friendly even when the wiring is not.
19. Keep the window if there is one
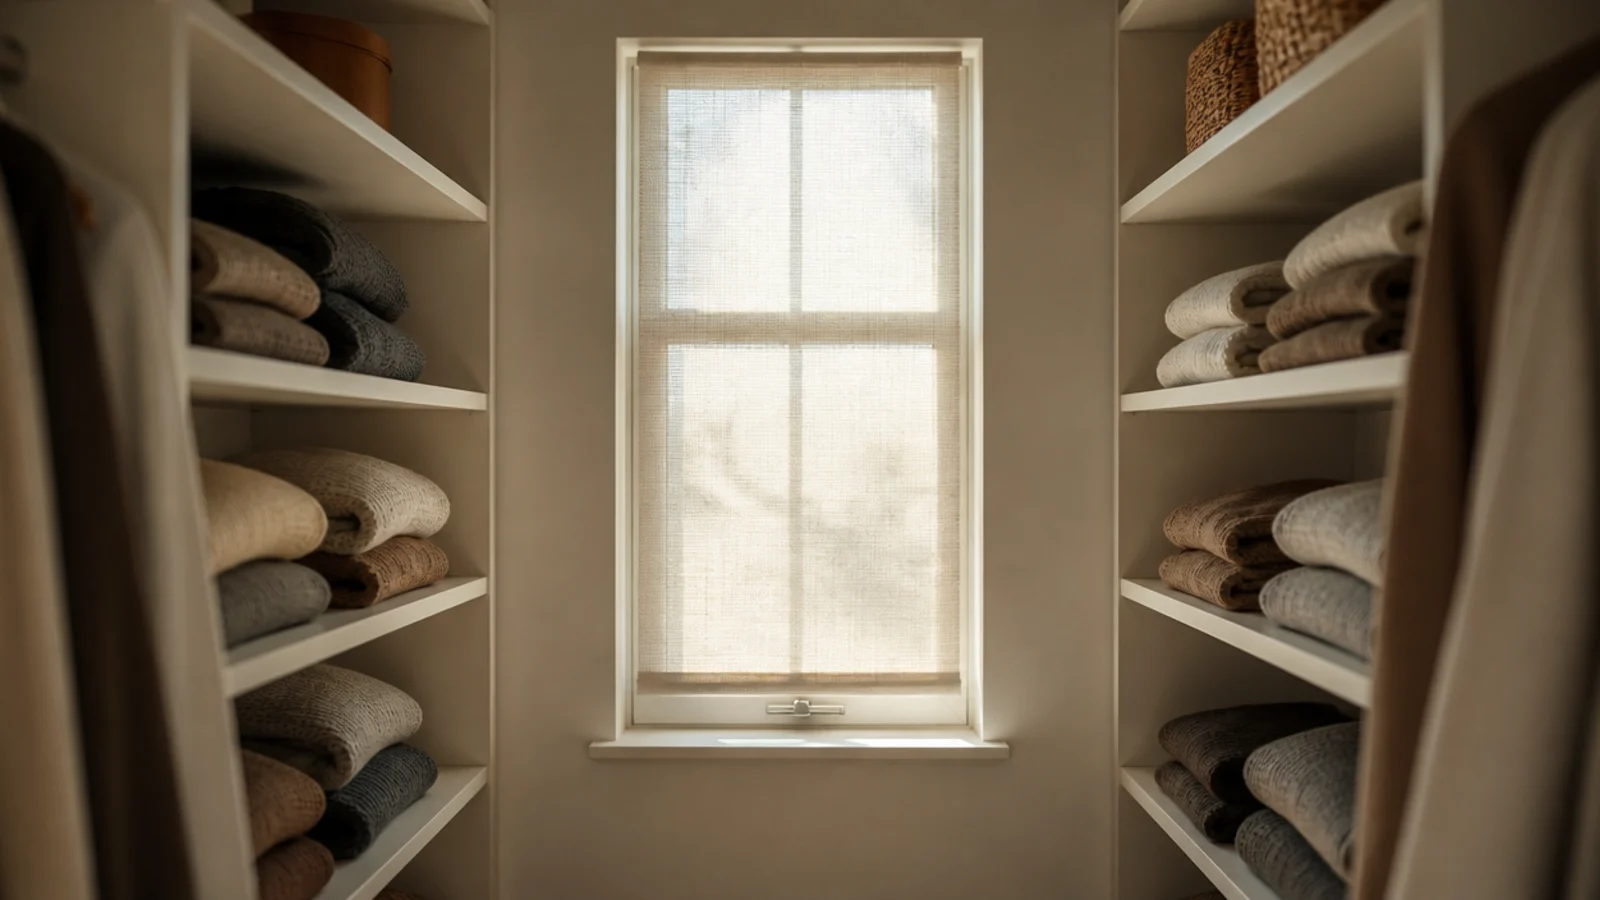
A window in a closet is a gift, and the reflex to shelve over it is almost always wrong. Stop the shelving on both sides of the reveal.
Fit a sheer linen shade rather than a blackout blind — clothes fade in direct sun, but diffused daylight is the only light source that shows true color at zero cost. It also solves the ventilation problem entirely.
20. Zone the wall vertically
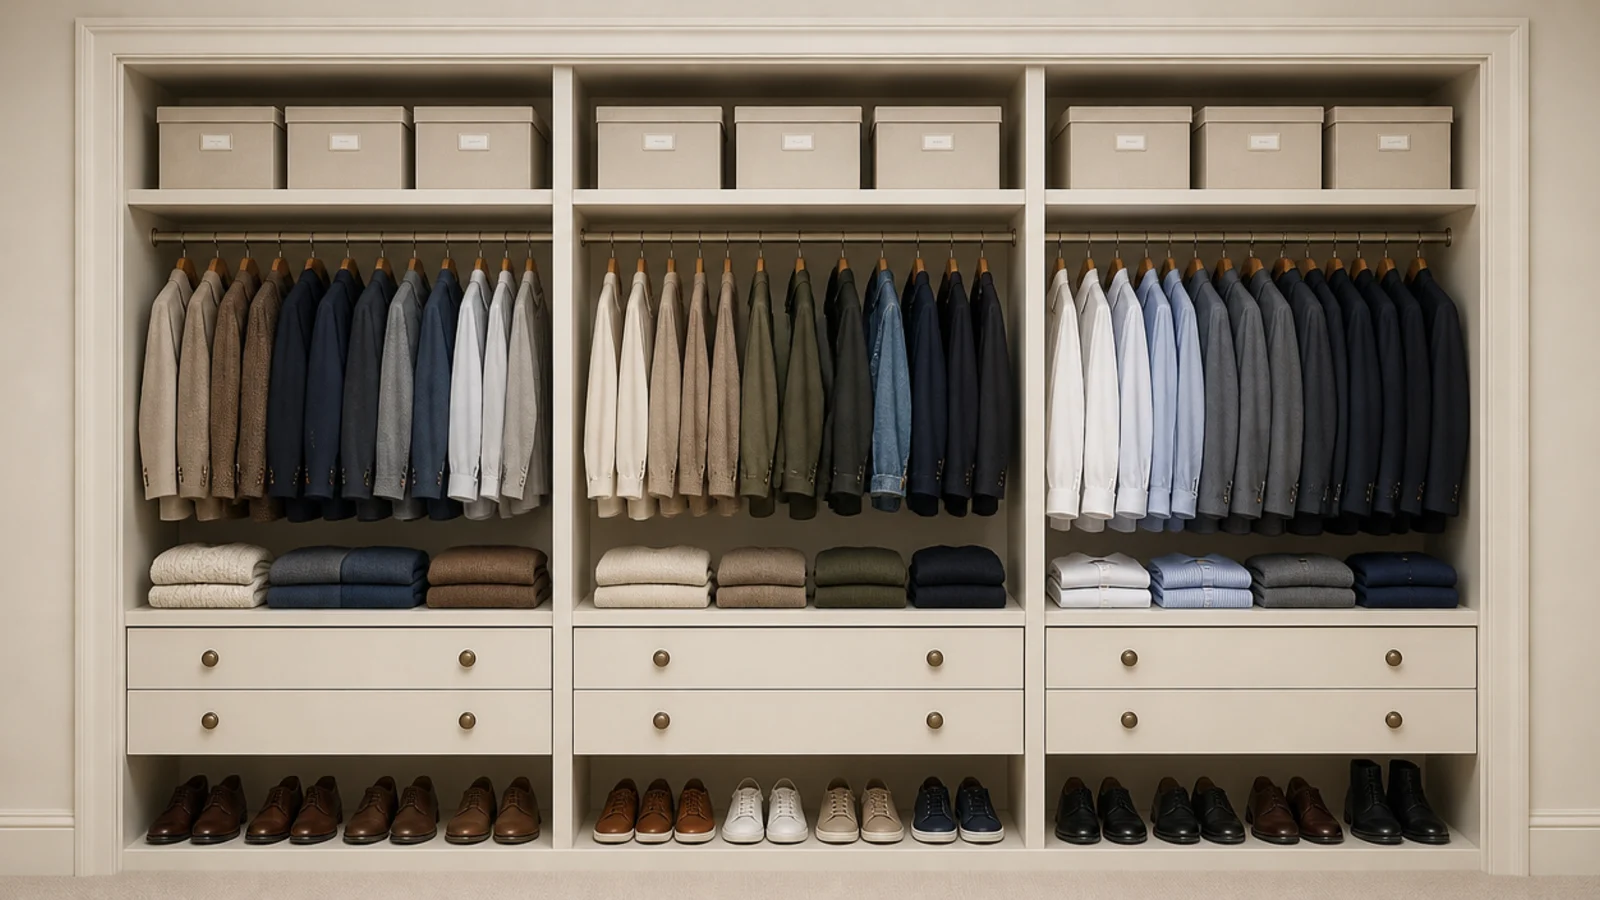
Every wall splits into three bands. Below 24 inches is shoes and low drawers. Between 24 and 84 inches is hanging and daily folded storage. Above 84 inches is seasonal.
Plan those bands before you plan the widths. It stops you putting the thing you use daily at ankle height, which is the layout error that quietly makes a closet annoying without ever being obvious.
21. Split a shared closet by wall, not by rod
Two people sharing a galley should get one wall each, fitted identically. Splitting a single rail down the middle guarantees a slow territorial creep.
If the room only allows a single-sided plan, split it vertically — one person takes the double-hang section, the other takes the long-hang plus drawers — and agree the boundary in tape before anything is installed.
22. Leave one bay deliberately flexible
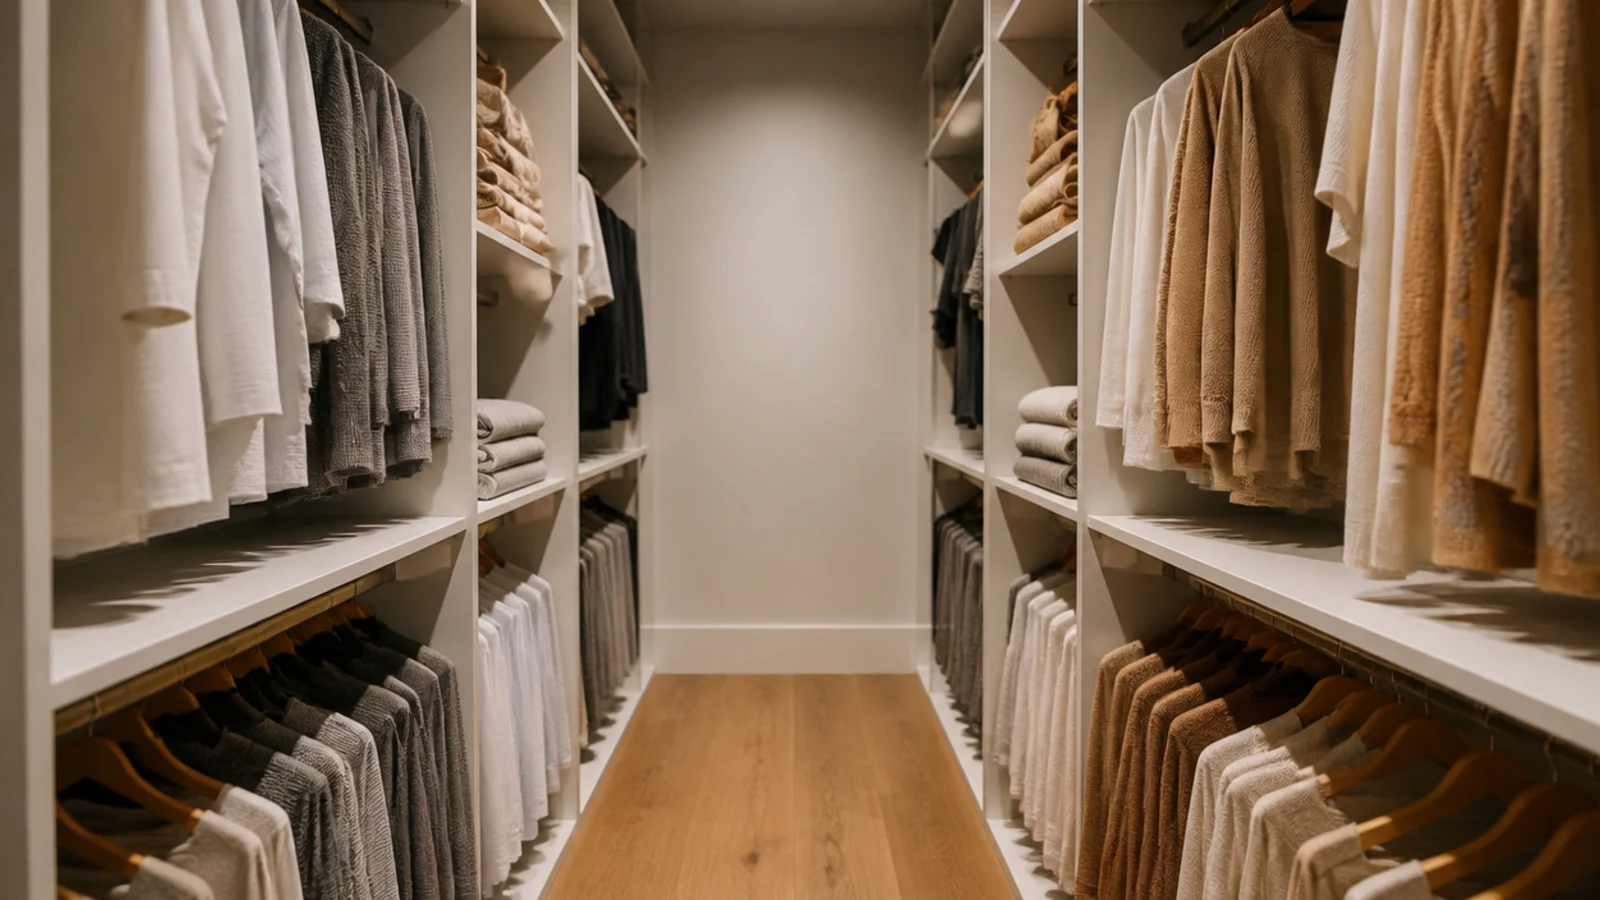
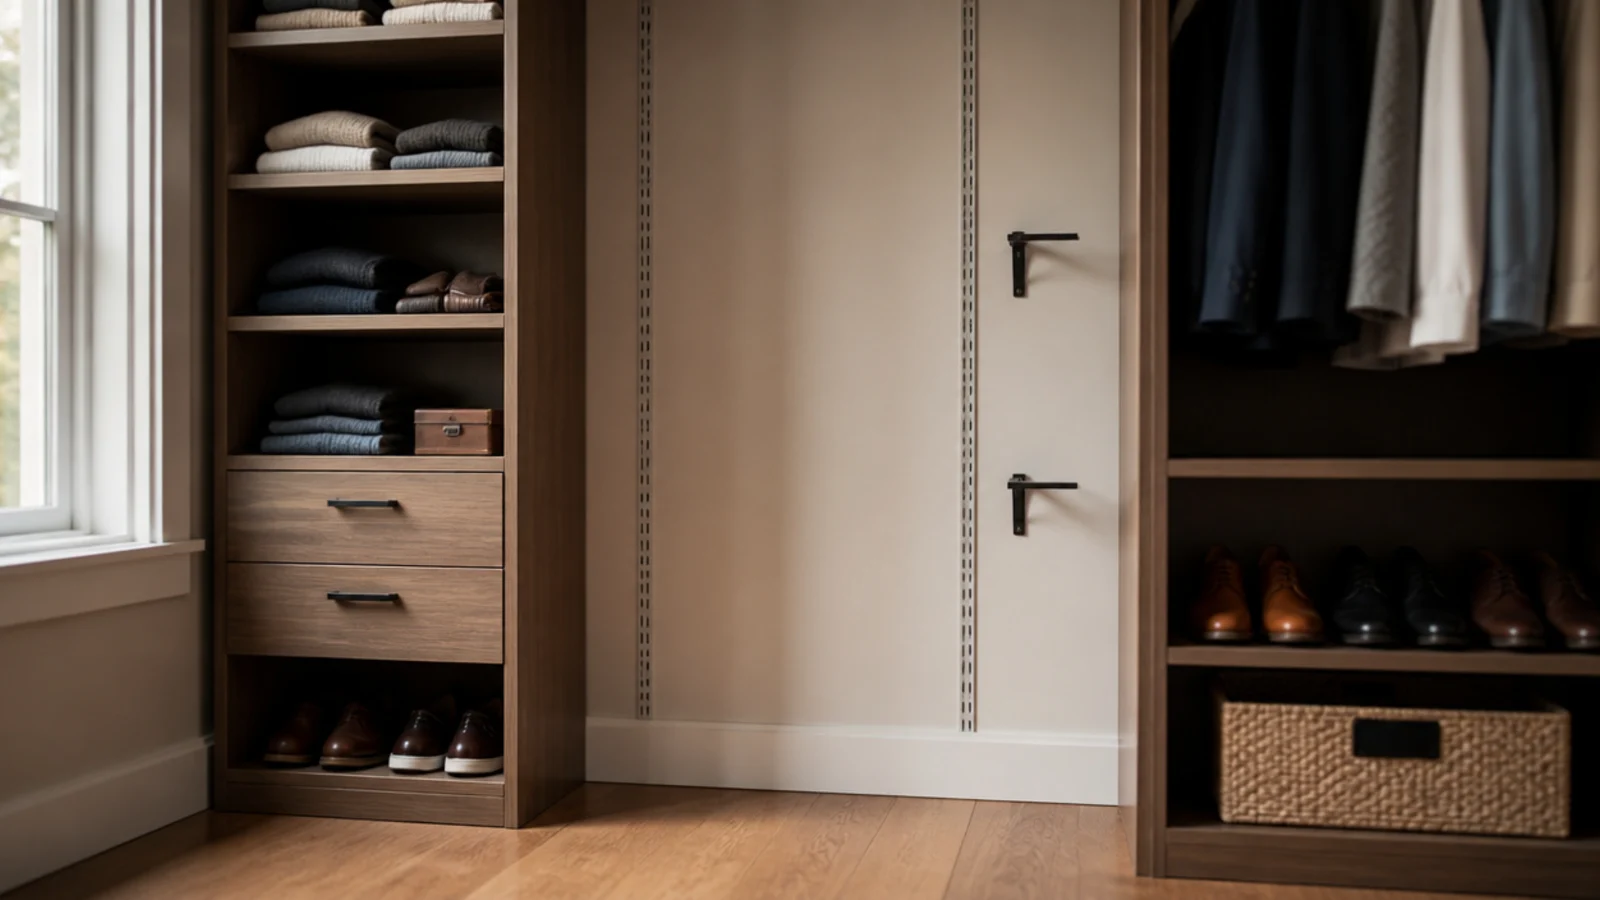
Fit one bay with standards and brackets but leave the shelves out, or leave a 24-inch section of rail empty.
Wardrobes change. A new job, a new climate, a bulky coat — the flexible bay absorbs it without forcing a rebuild. Every closet I have planned without one has needed a re-jig within two years, and every one with a spare bay has not.
23. Fit the laundry basket into the plan
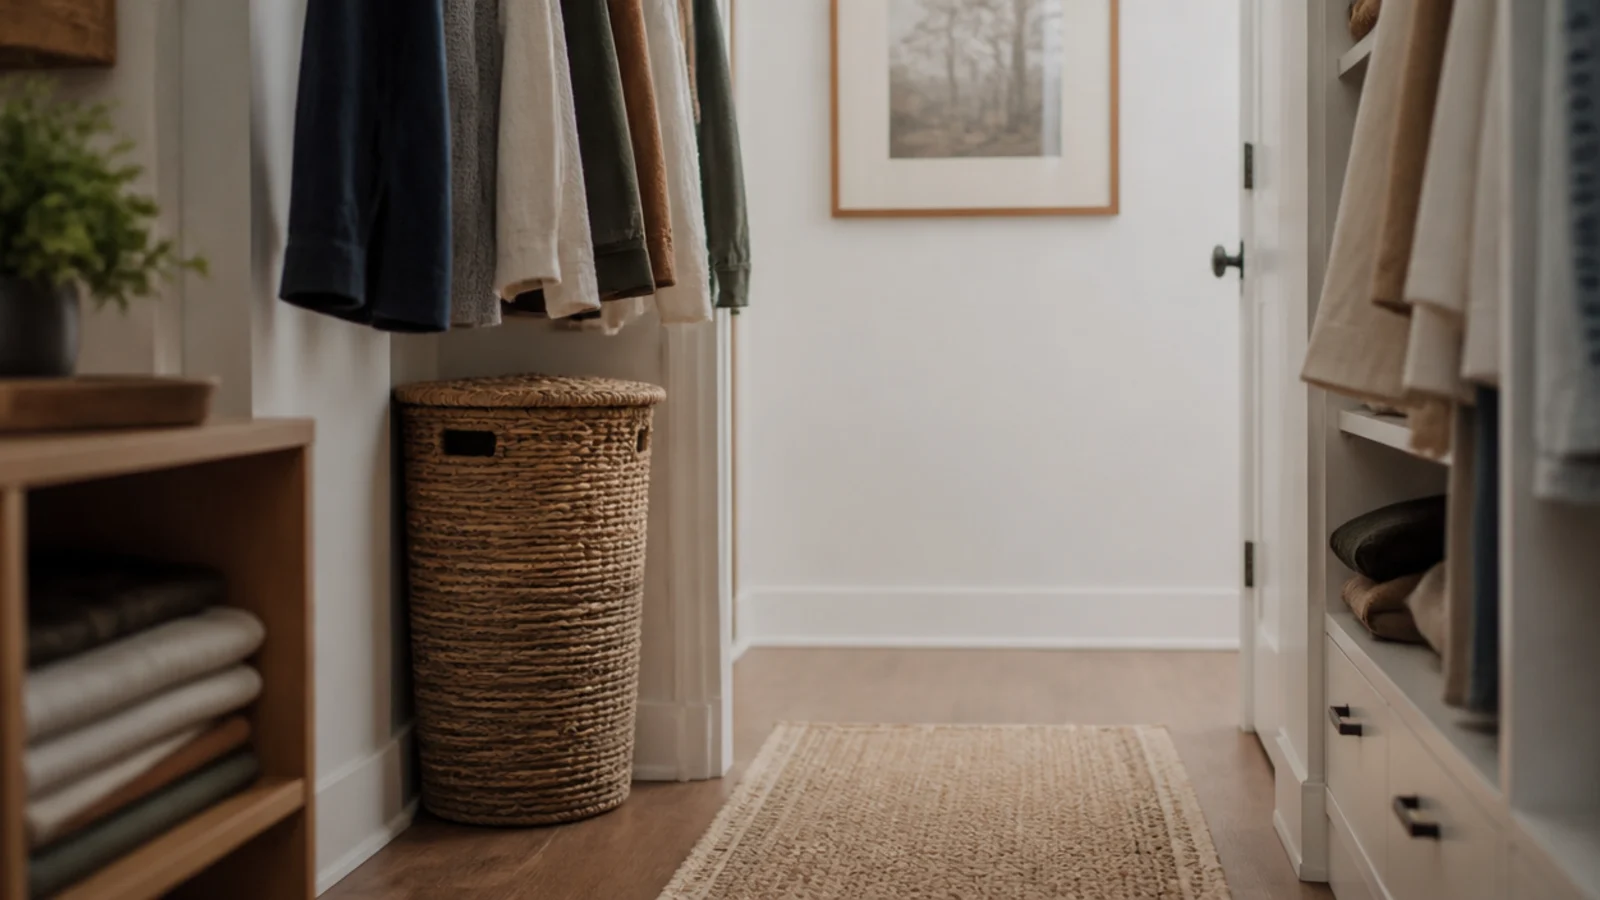
Laundry has to go somewhere, and if it is not planned it lives in the middle of your 36-inch lane.
Put a tall narrow basket under a short hanging bay, entirely inside the 24-inch hanging depth. Two compartments if you separate darks. This is a 10-minute decision that prevents the single most common reason a closet stops being walkable.
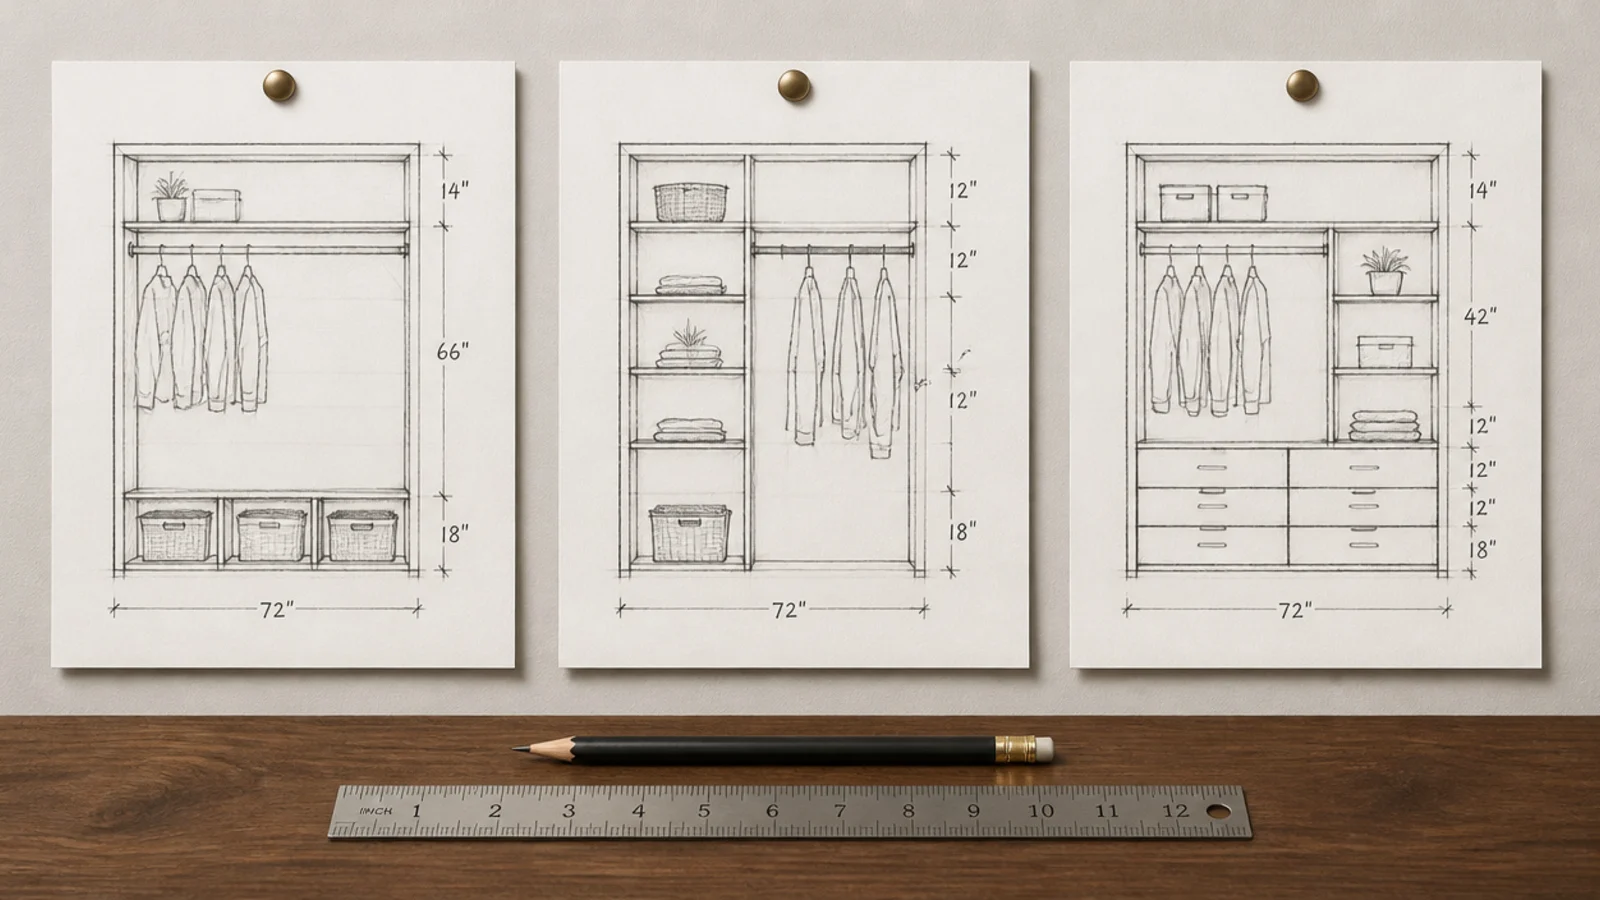
24. Draw every wall as a flat elevation
A floor plan cannot show you that a shelf lands across a light switch or that a drawer front hits the door casing. An elevation can.
Sketch each wall flat, mark the rod and shelf heights in inches, and note every switch, vent and casing. Three drawings, ten minutes, and it is the step that separates a closet that fits from one that nearly does. Then order hardware from the sketches — the same discipline that makes a small vanity work in a tight bathroom.
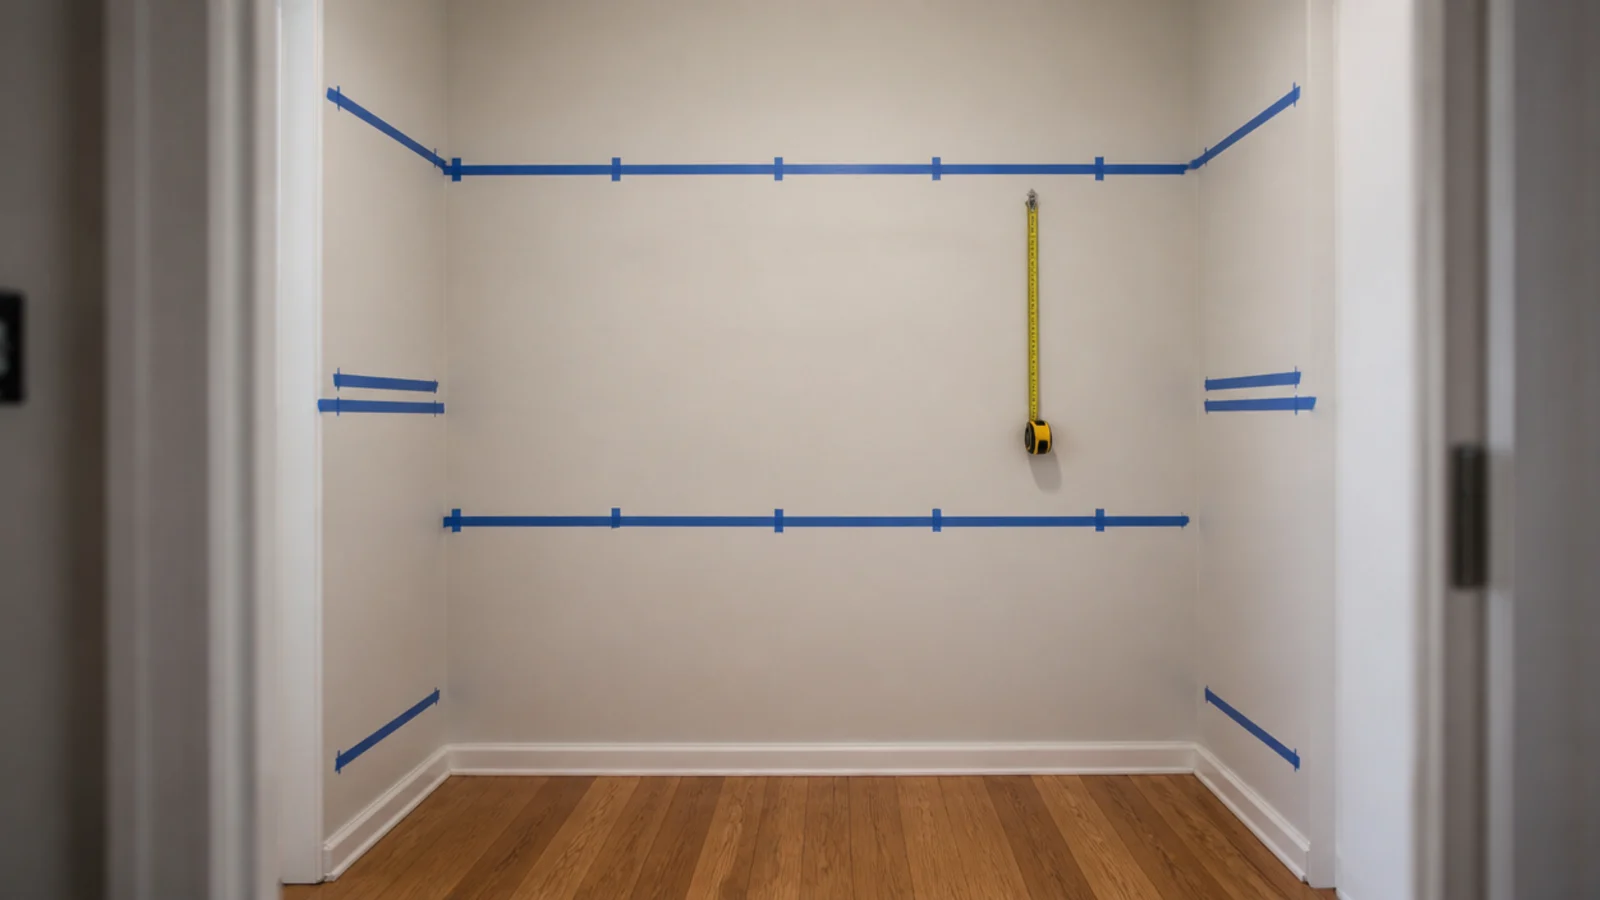
25. Mock the whole plan in painter tape
Stick blue tape on the walls at every rod and shelf line, at full size, and chalk the walkway on the floor. Then live with it for two days.
You will find something. A rod at 84 inches you cannot comfortably reach, a shelf that blocks the light switch, a bay that is 4 inches too narrow for your coats. Tape costs $4 and fixing hardware after installation costs a weekend. The twenty-step build picks up from here.
Mistakes to Skip
- Turning a hanging rod around an inside corner. The last 22 inches become unreachable, and you will store nothing there for the life of the closet.
- Planning two facing hanging walls in a room under 8 feet wide. Something has to give, and it is always the walkway, which is the part you use most.
- Buying the system before taping the plan on the wall. Every closet I have taped out first has changed in at least one place, and tape costs four dollars.
Frequently asked questions
What is the best layout for a small walk-in closet?
Single-sided if the room is under 8 feet wide, galley if it is 8 feet or more, and U-shaped only past 9 or 10 feet. Those thresholds come from one rod needing 24 inches of clear depth and a walkway needing 36 inches. Under 5 feet of width, skip the walkway entirely and build a deep reach-in.
How wide should a walk-in closet walkway be?
Thirty-six inches is the working minimum, which lets you stand, turn and open a drawer without stepping back into the doorway. Thirty inches is the absolute squeeze and you will feel it every morning. Anything narrower stops being a dressing room and becomes a corridor you grab clothes from on the way past.
How do you handle a corner in a closet layout?
Do not turn a hanging rod around a corner. The last 22 inches become unreachable because a shoulder on a hanger blocks the return. Stop the rod short and use the corner for shelving, a shoe stack or a drawer tower instead. It is the single most commonly wasted 4 square feet in any closet plan.
Can a small walk-in closet have an island?
Only past about 10 feet of width. An island needs 36 inches of clearance on all four sides, so a 24-inch island plus two walkways already claims 96 inches before the hanging on either wall. Below that, a narrow bench at the end wall gives you the flat surface without stealing the floor you walk on.
How do I plan a closet layout before building?
Count your hanging by type, convert it to linear inches at 1 inch per shirt and 2 per coat, then sketch each wall as a flat elevation with rod and shelf heights written on. Finally mask the plan onto the floor and walls with painter tape and live with it for two days. Tape catches mistakes that paper hides.
Measure the width, subtract 36 inches for the lane, and the plan mostly picks itself from there — single-sided, galley or reach-in. Once the arrangement is settled, small closet shelving ideas covers the depths and spans that fill it out. Save the pin below so the three numbers are with you when you start taping walls.
Want more like this? Browse all 15 small walk-in closet ideas guides — they all use the same measurements and budget tiers.

Pin it for later
Save this to your Small Walk-In Closet Ideas board
Pin it now so it is waiting for you when the tape measure comes out — and so the next person hunting for this idea can find it too.
Save this pinKeep going
More ideas worth saving while you have the tape measure out.