Small Walk-In Closet Ideas · UGC
20 Small Walk-In Closet Before and After Makeovers

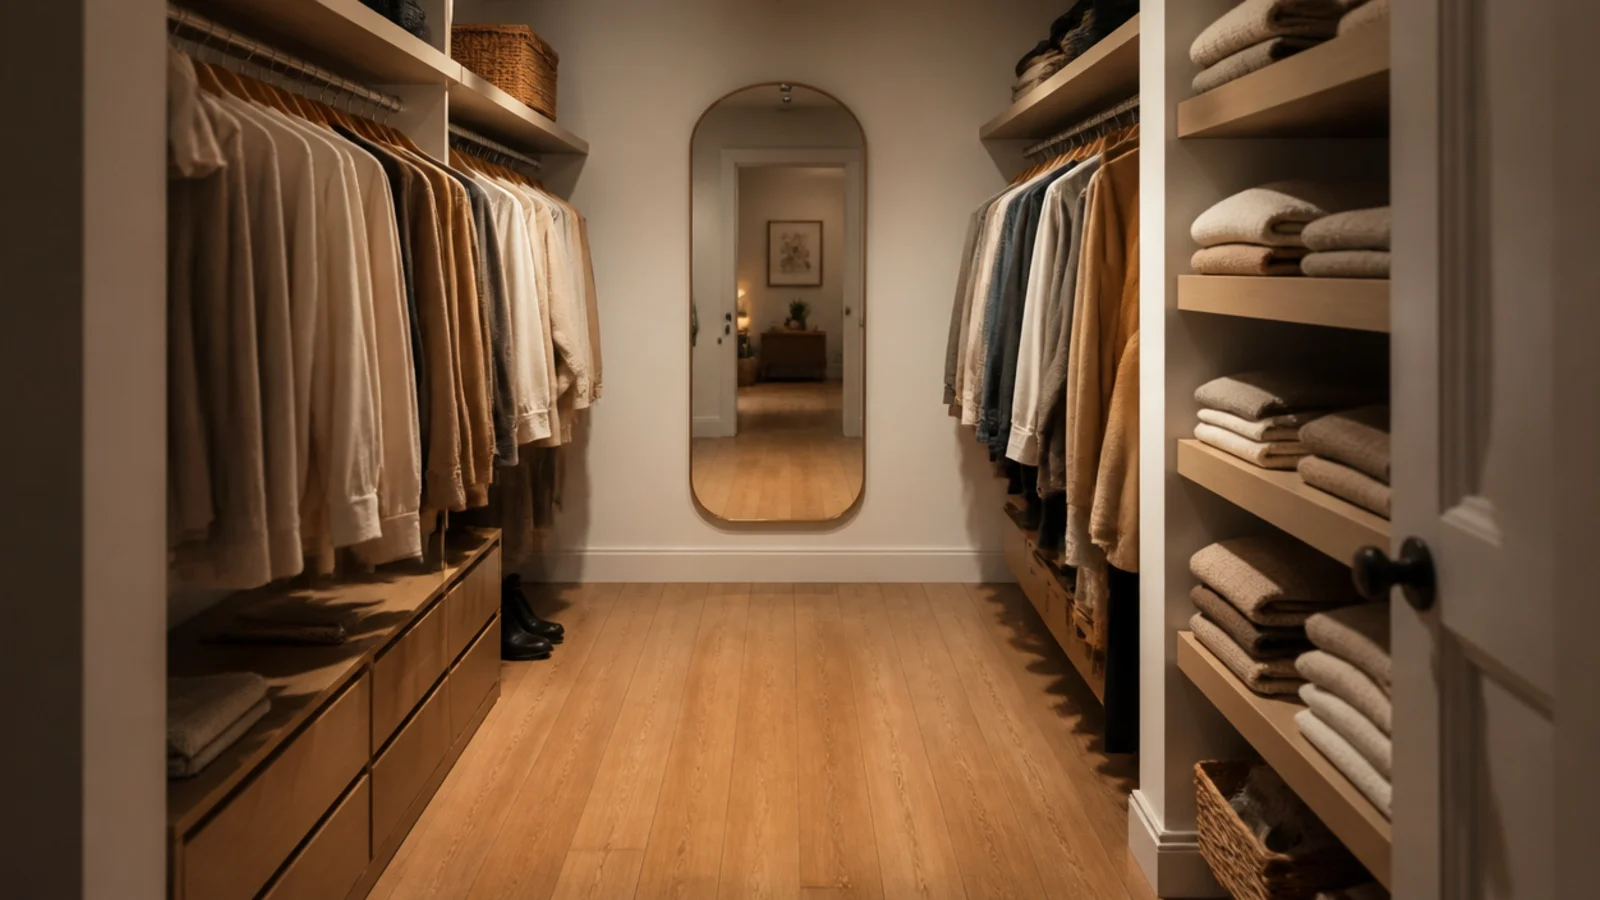
Small closet before and after is the most honest thing I can show anyone, because the changes that worked are rarely the ones people were planning to make. I have redone three of my own small walk-ins and worked through a lot of other people's, and the same handful of fixes keeps appearing.
Eight of the twenty below cost nothing at all. The most expensive was $340, and that was a full shelving rebuild in a closet with genuinely unusable wire shelves. The most common change across all twenty is not a purchase — it is getting things off the floor.
The other pattern is that the physical faults never respond to tidying. A rod hung too close to the wall, a shelf too deep to see into, a walkway under 30 inches: no amount of folding fixes any of those, and I wasted years trying.
Here is what each closet looked like before, what changed, and what it cost.
In this guide21 sections — tap to openHide
- 1.Makeover 1: The builder closet with one rod
- 2.Makeover 2: The closet you could not walk into
- 3.Makeover 3: The rental with no drilling allowed
- 4.Makeover 4: The wire-shelf closet
- 5.Makeover 5: The closet that looked grey
- 6.Makeover 6: The closet with a permanent laundry pile
- 7.Makeover 7: The wedge under the eaves
- 8.Makeover 8: The door that ate the room
- 9.Makeover 9: The shoe avalanche
- 10.Makeover 10: The 20-inch shelves
- 11.Makeover 11: The island that had to go
- 12.Makeover 12: The closet where nothing matched
- 13.Makeover 13: The dark end wall
- 14.Makeover 14: The rail that was full in July
- 15.Makeover 15: The handbag graveyard
- 16.Makeover 16: The closet with no mirror
- 17.Makeover 17: The closet nobody small could reach
- 18.Makeover 18: The chair in the bedroom
- 19.Makeover 19: The unfinished plaster box
- 20.Makeover 20: The jewelry tangle
- 21.Small Closet Before and After: What I'd Do Differently Now
Makeover 1: The builder closet with one rod
Before: a single rod at 66 inches with a shelf above it, and the entire bottom half of the wall empty except for baskets on the floor.
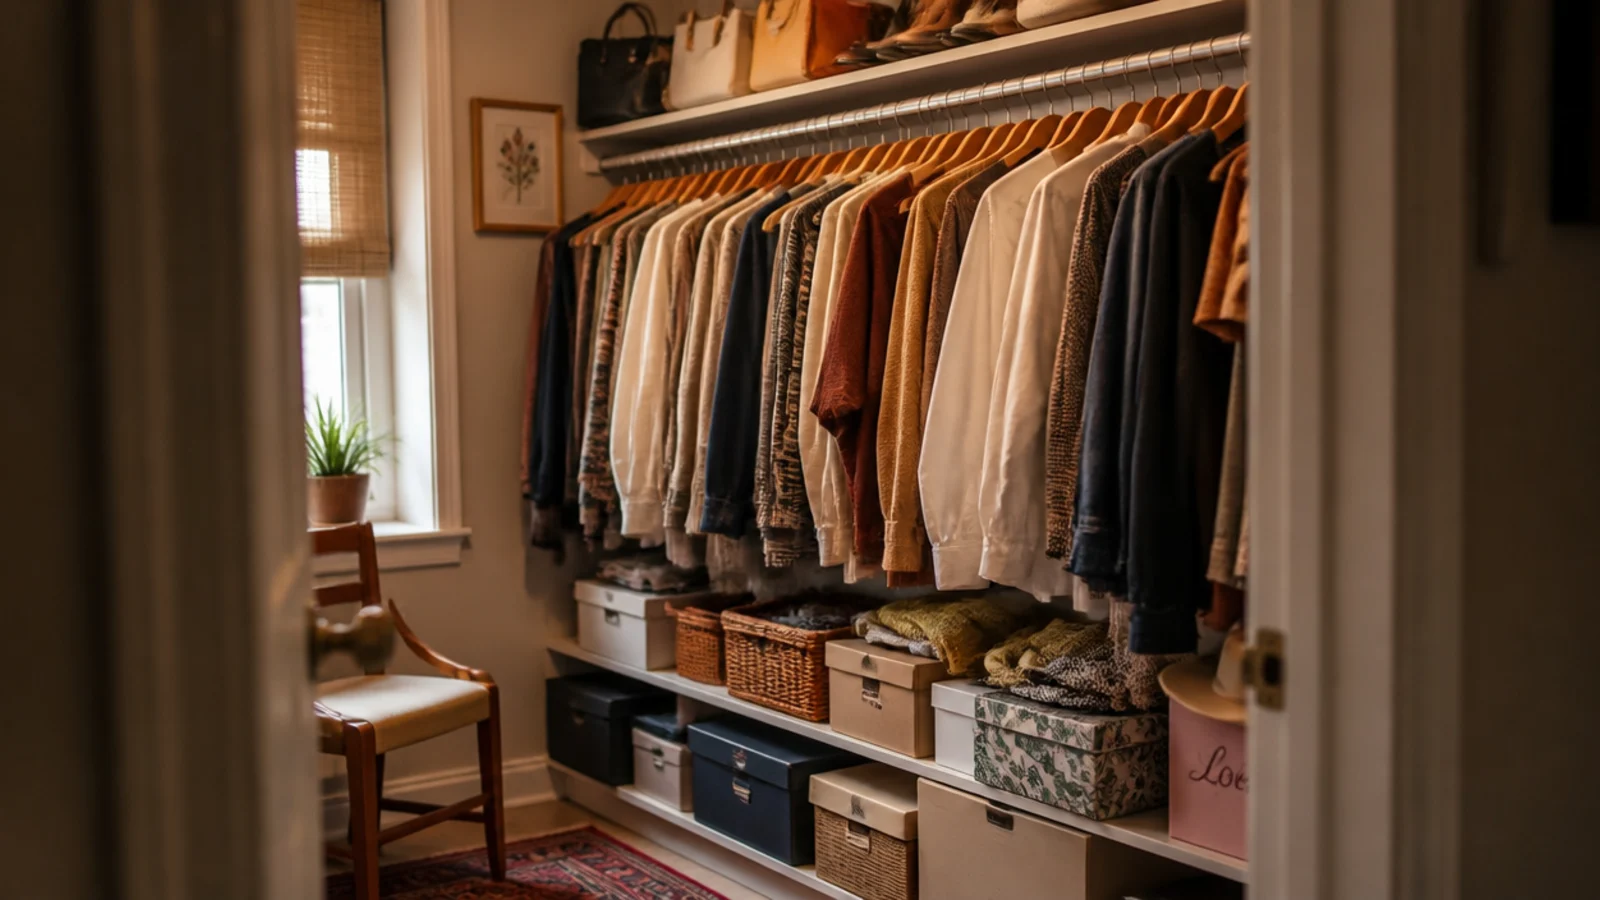
After: double-hang, with rods at 42 and 84 inches.
The wall went from holding about 30 garments to holding 60, and the floor baskets moved up onto the shelf. Two brackets and a rod, $42, and one afternoon.
Makeover 2: The closet you could not walk into
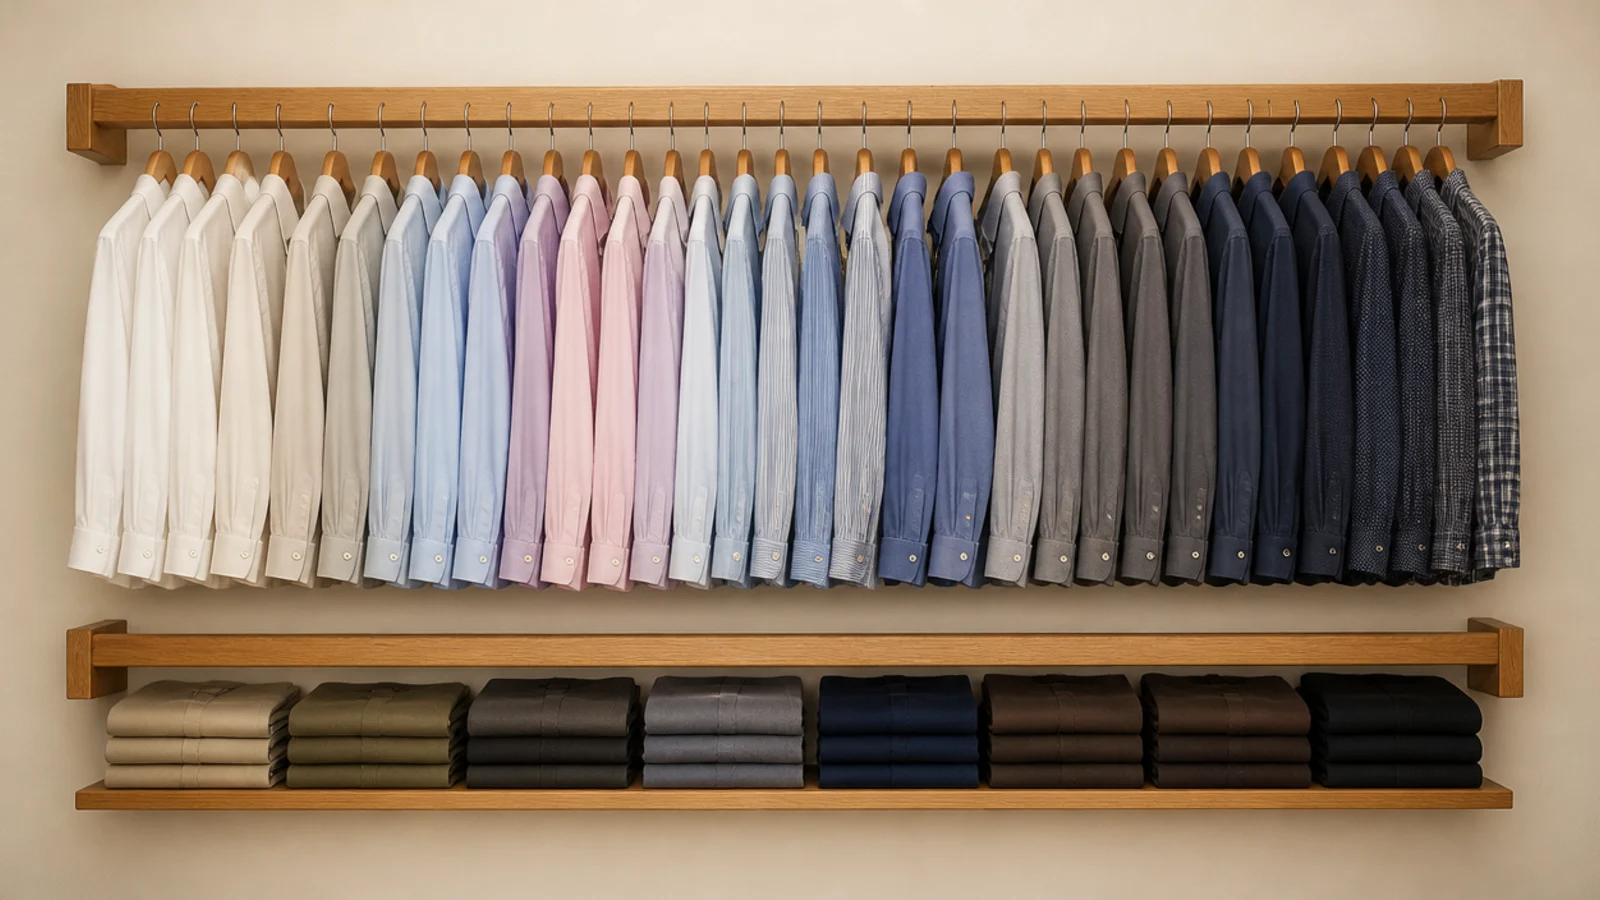
Before: hanging on both walls with 26 inches between them, which meant turning sideways and brushing sleeves on both shoulders.
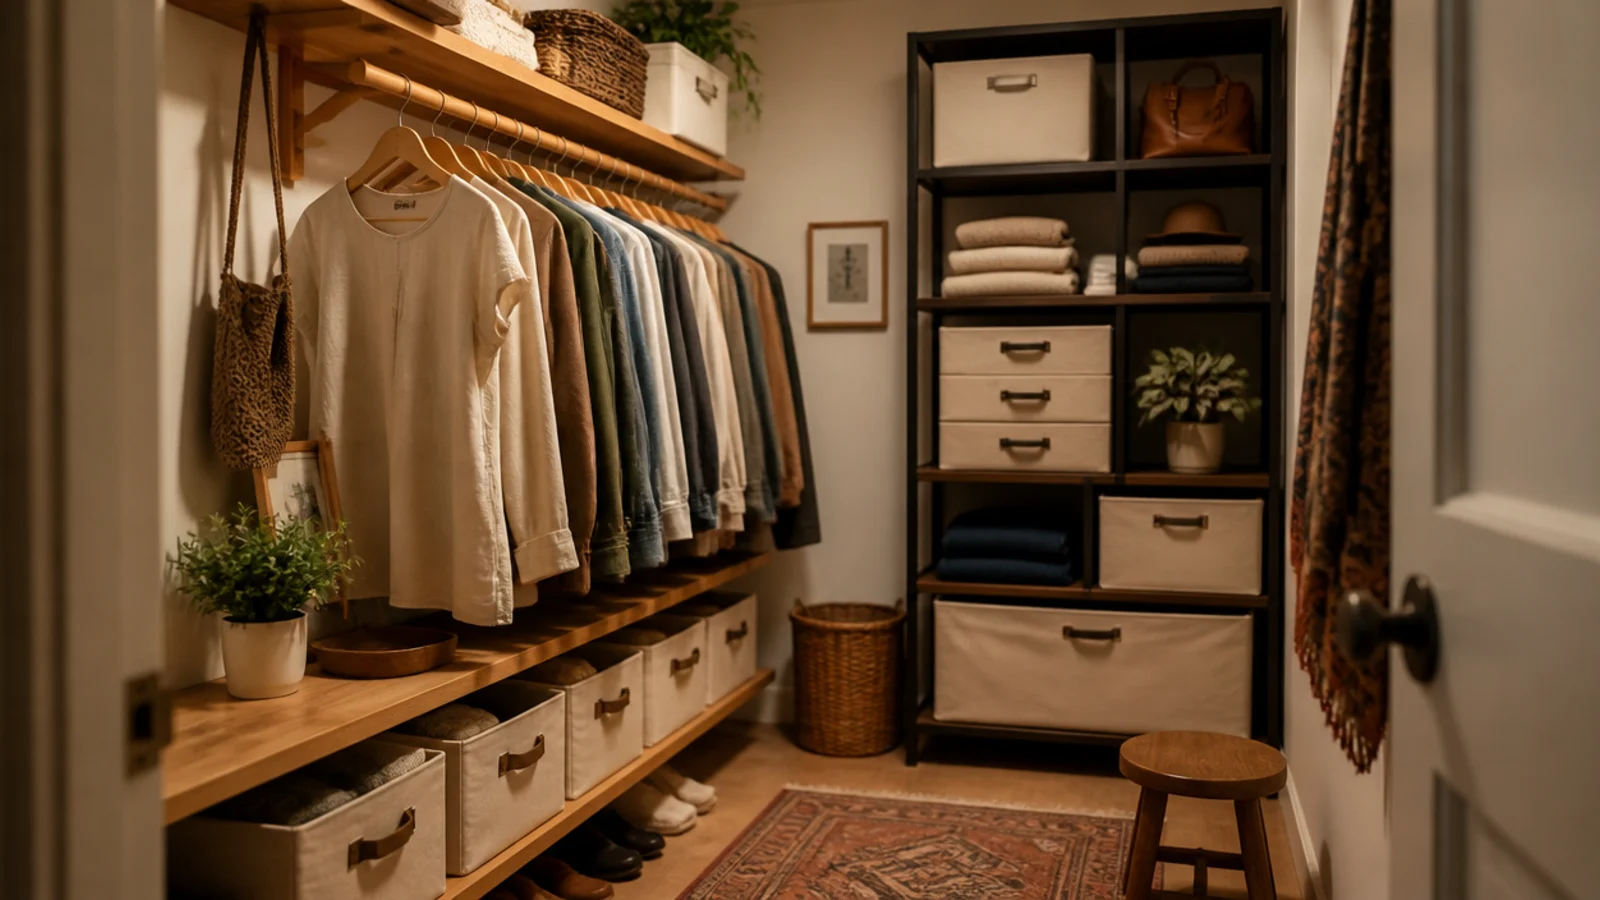
After: hanging on one wall only, shallow shelving opposite, and 38 inches of clear walkway.
Shelving needs 12 to 14 inches where hanging needs 24, so the space came back immediately. Capacity stayed the same because the remaining wall got double-hung. Cost $95 in boards and brackets.
Makeover 3: The rental with no drilling allowed
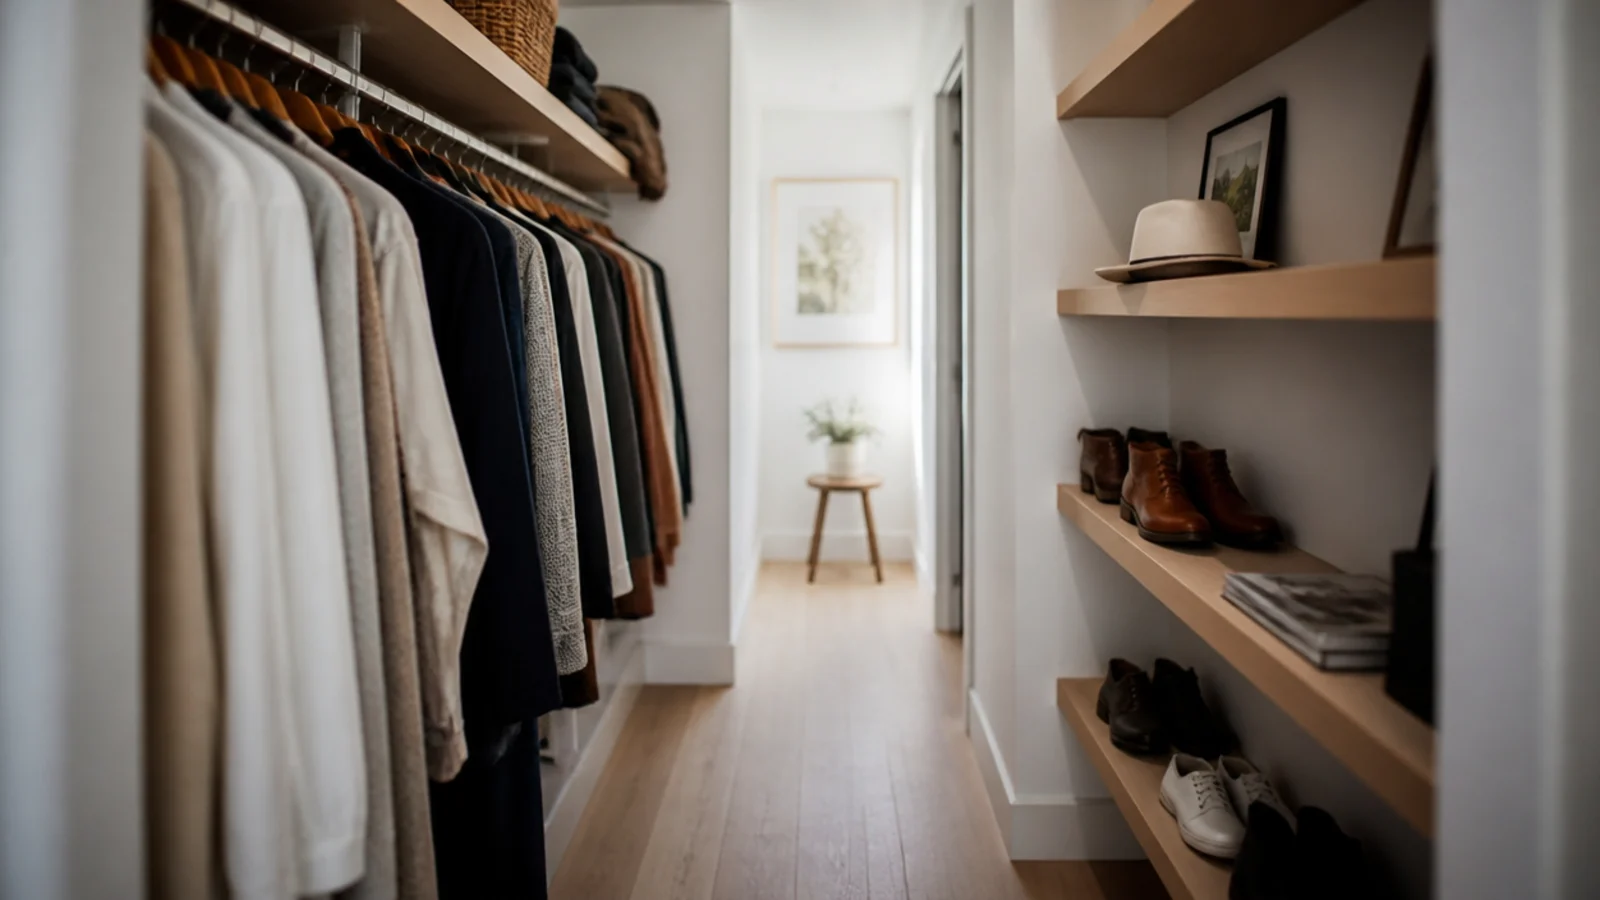
Before: one builder rod, a bare bulb, and everything else in cardboard boxes on the floor.
After: a tension rod for a second hanging line, a freestanding oak rack on the opposite wall, and stacked canvas bins on the shelf.
Nothing touched the walls. The whole thing came out on moving day and went straight into the next flat. Around $180 total, most of it in the rack.
Makeover 4: The wire-shelf closet
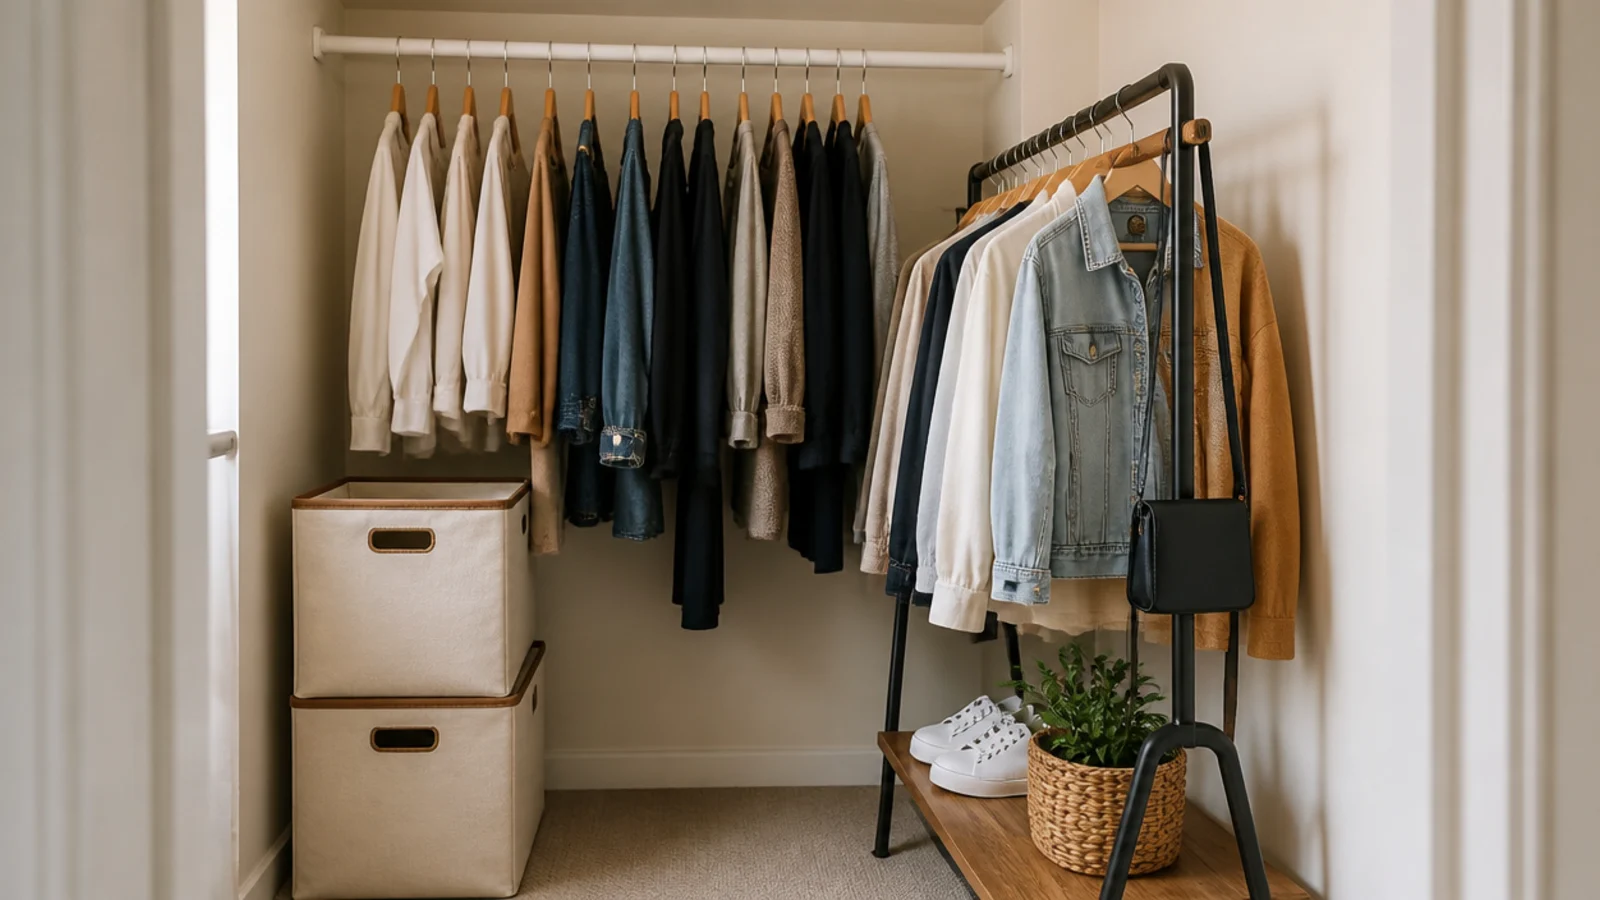
Before: white wire shelving that pressed ridges into every folded sweater and let socks fall through onto the shoes below.
After: three-quarter-inch plywood cut to 13 inches deep, sanded, primed and painted, dropped onto the same brackets.
This is the change people consistently read as custom, and it is just a flat surface. $88 in materials for the whole closet, plus two evenings including drying time.
Makeover 5: The closet that looked grey
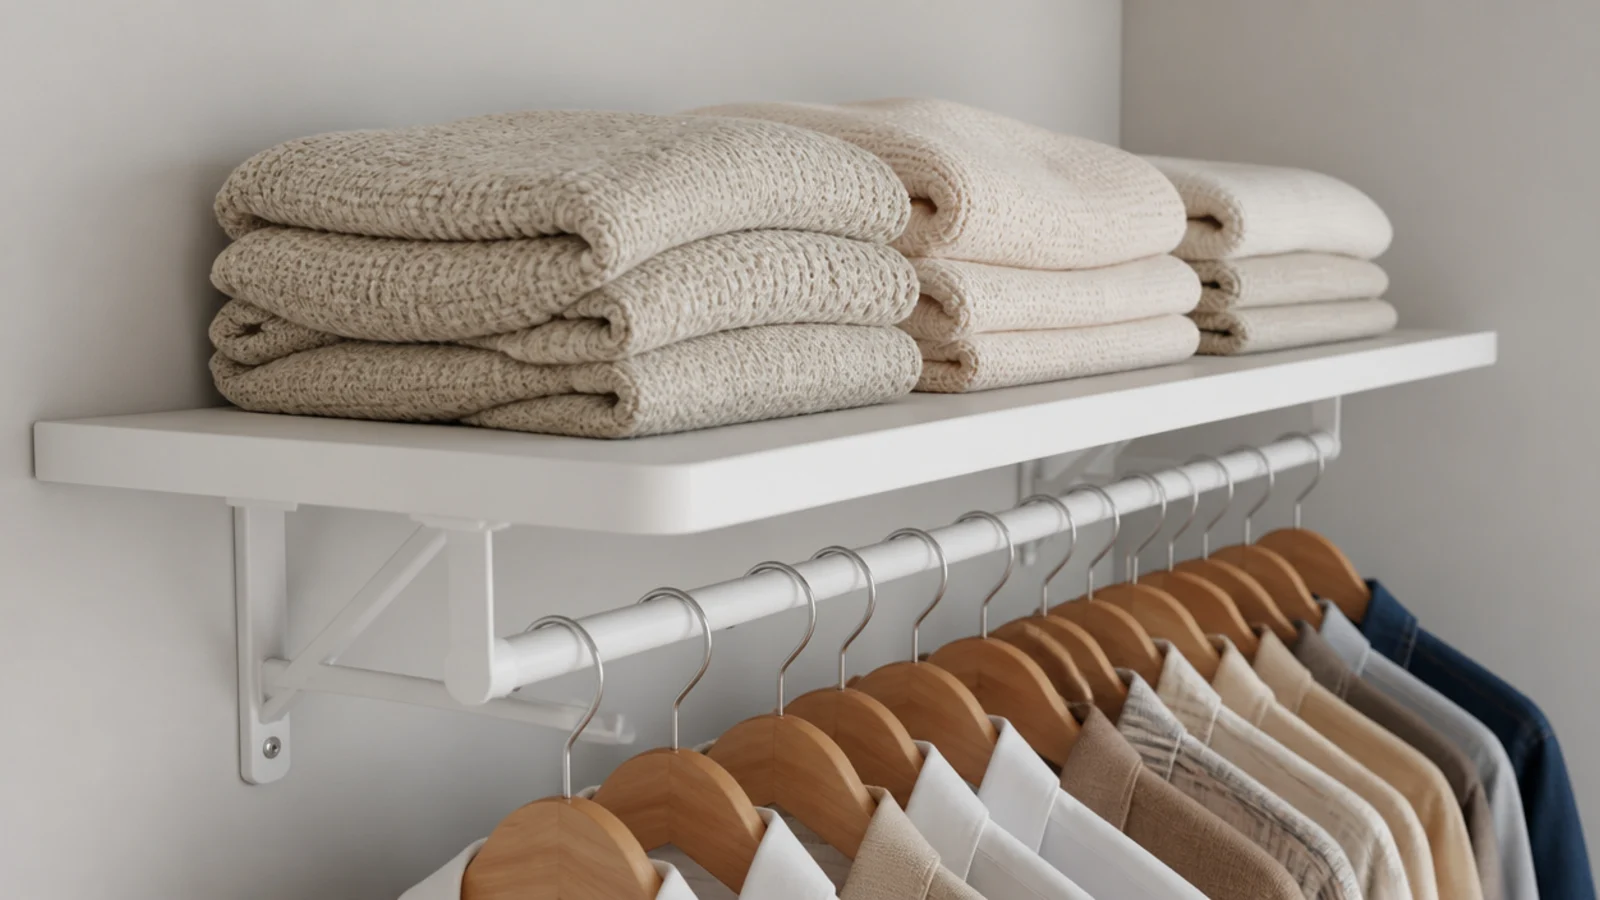
Before: a 5000K bulb with a low CRI rating, under which camel read grey and navy read black.
After: one 3000K bulb at CRI 90.
The owner had been planning to repaint the closet because it felt cold. It was not the paint. Four dollars, ten seconds, and it is the best value change in this entire article. Details in the renter lighting guide.
Makeover 6: The closet with a permanent laundry pile
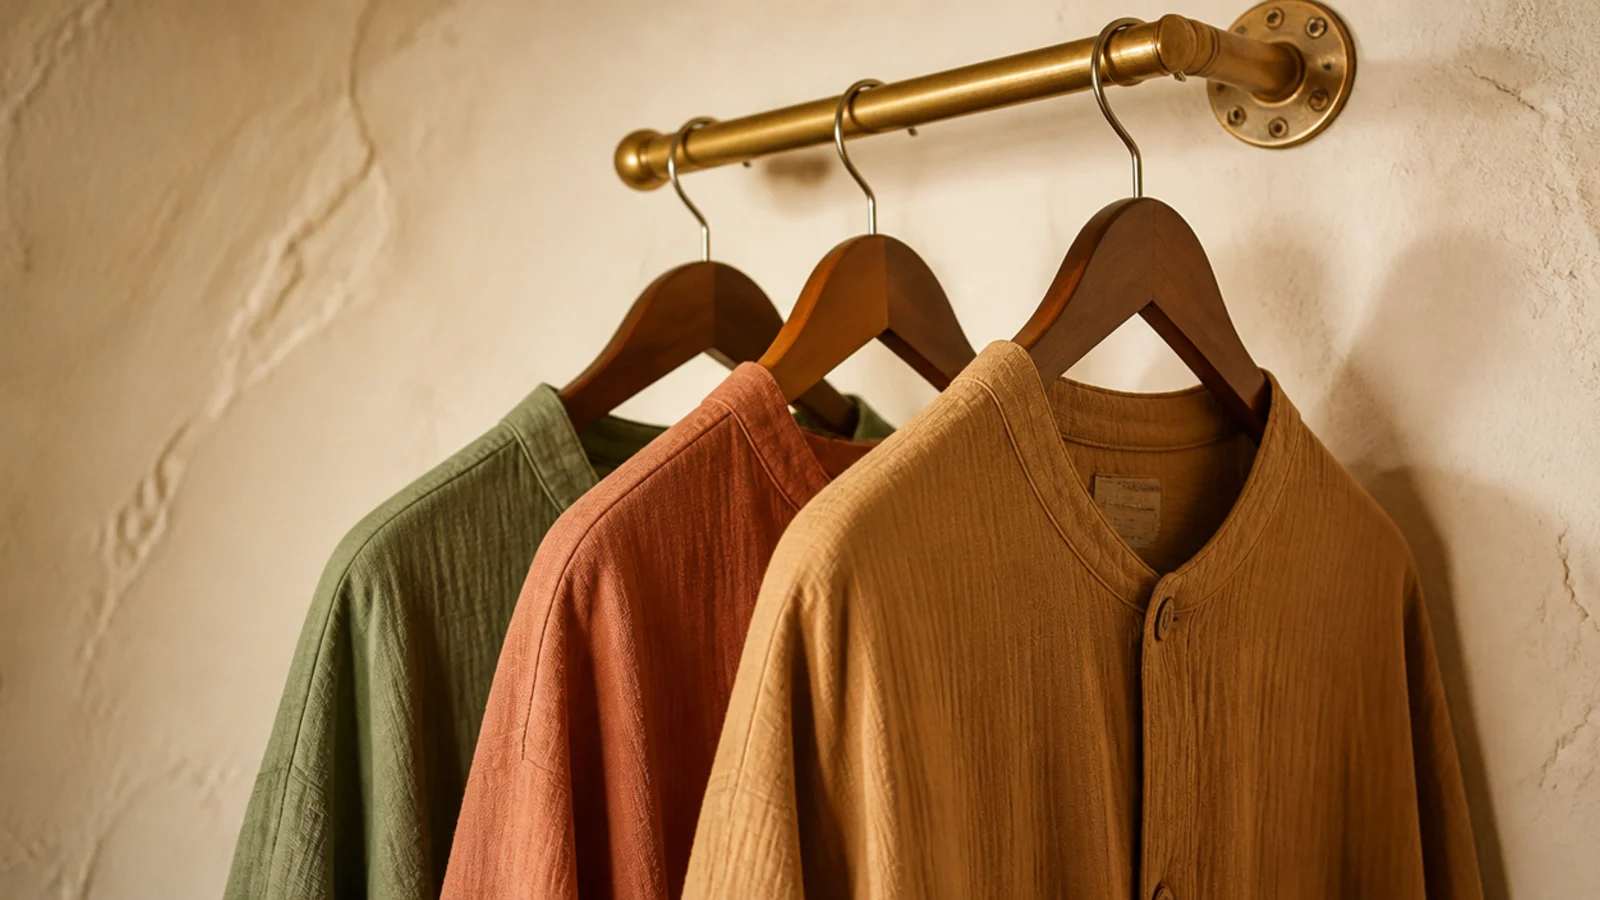
Before: an otherwise well-organised closet with a heap of washing on the floor of it every single day.
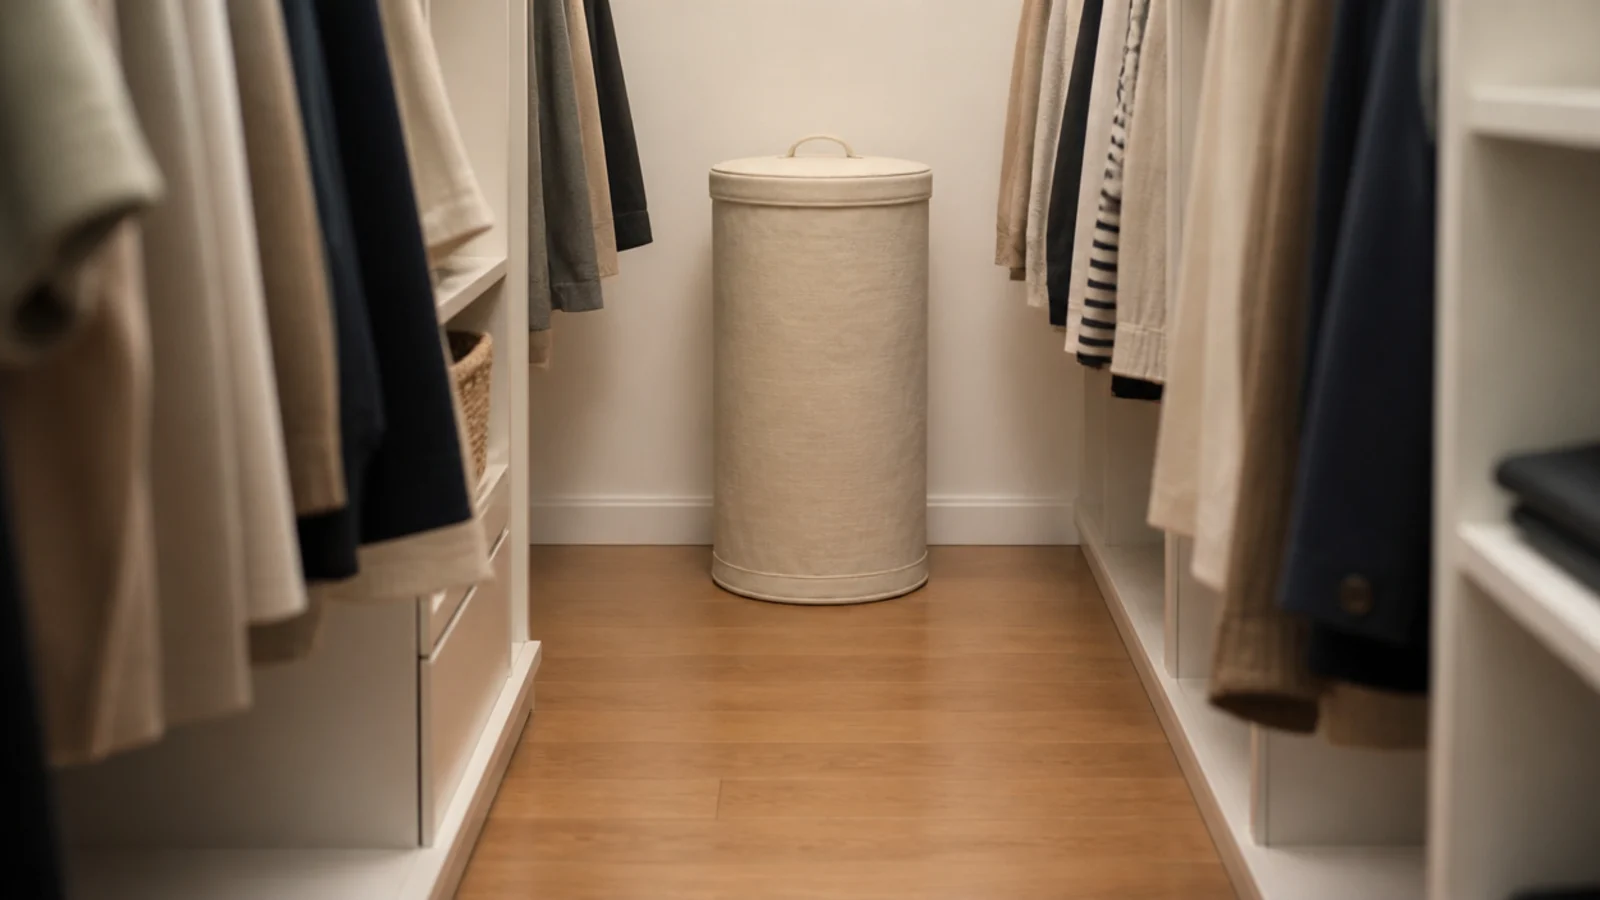
After: a lidded canvas hamper, 15 by 19 inches inside, at the end of the walkway.
There had been nowhere for laundry to go, so it went on the floor, and the floor is what makes a small closet feel small. $38, and the room read twice as calm the same evening.
Makeover 7: The wedge under the eaves
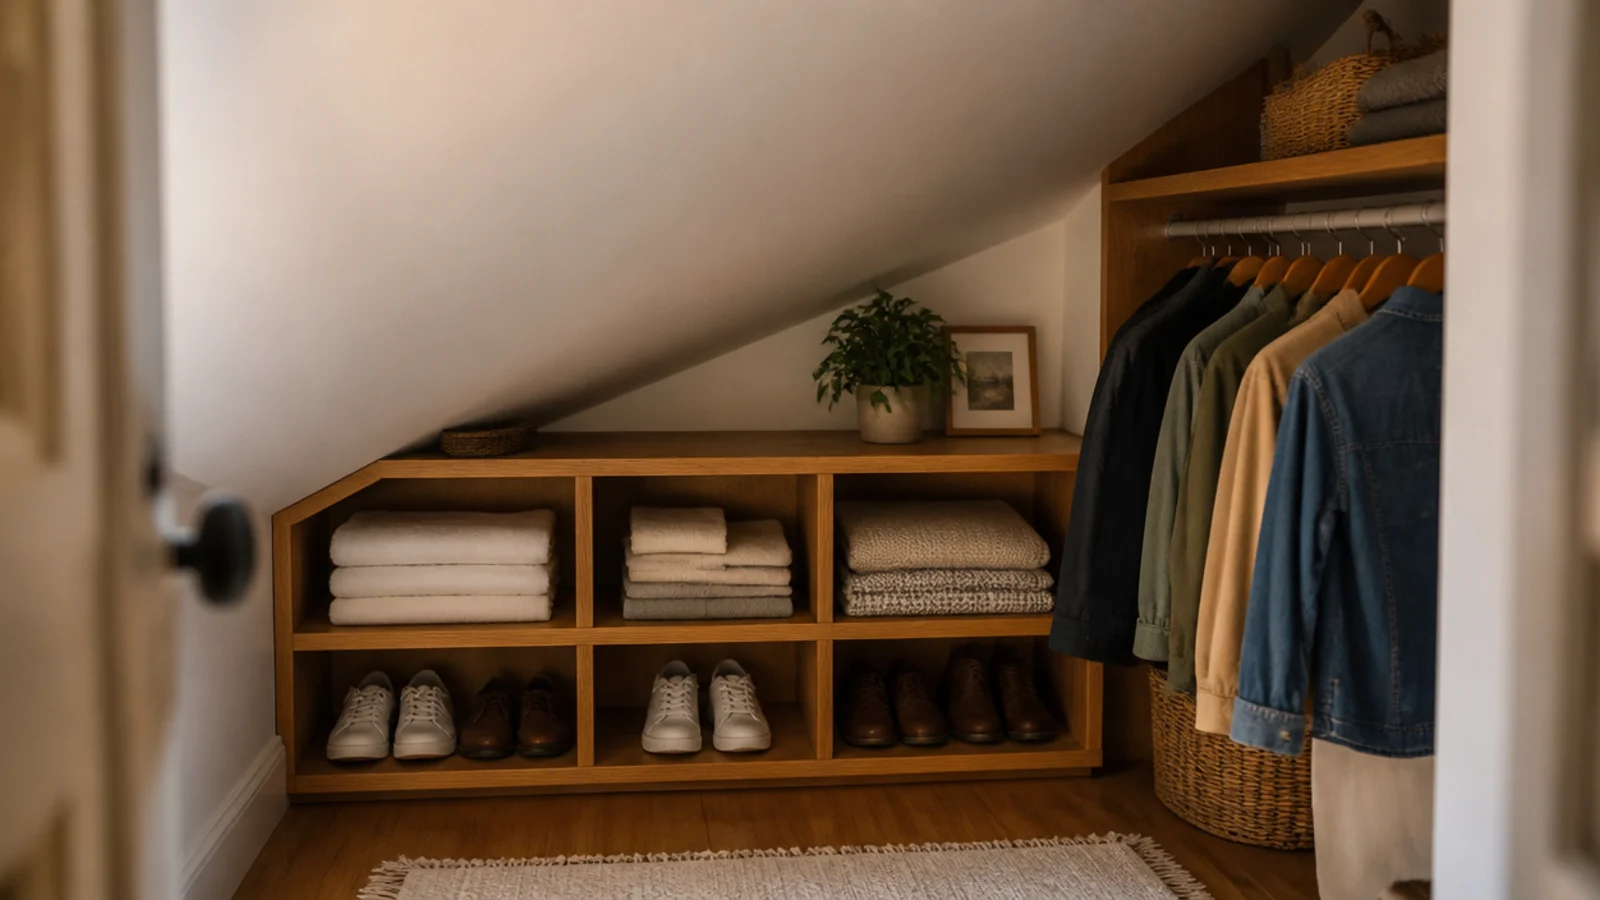
Before: an attic closet with a sloping ceiling, one rod jammed under the low side where nothing hung straight.
After: the rail moved to the tall wall with 66 to 70 inches of clear drop, and low shelving built into the sloped side.
Sloped ceilings are shelving space, not hanging space. Recognising that turned an awkward room into a well-organised one. $140 in cut boards.
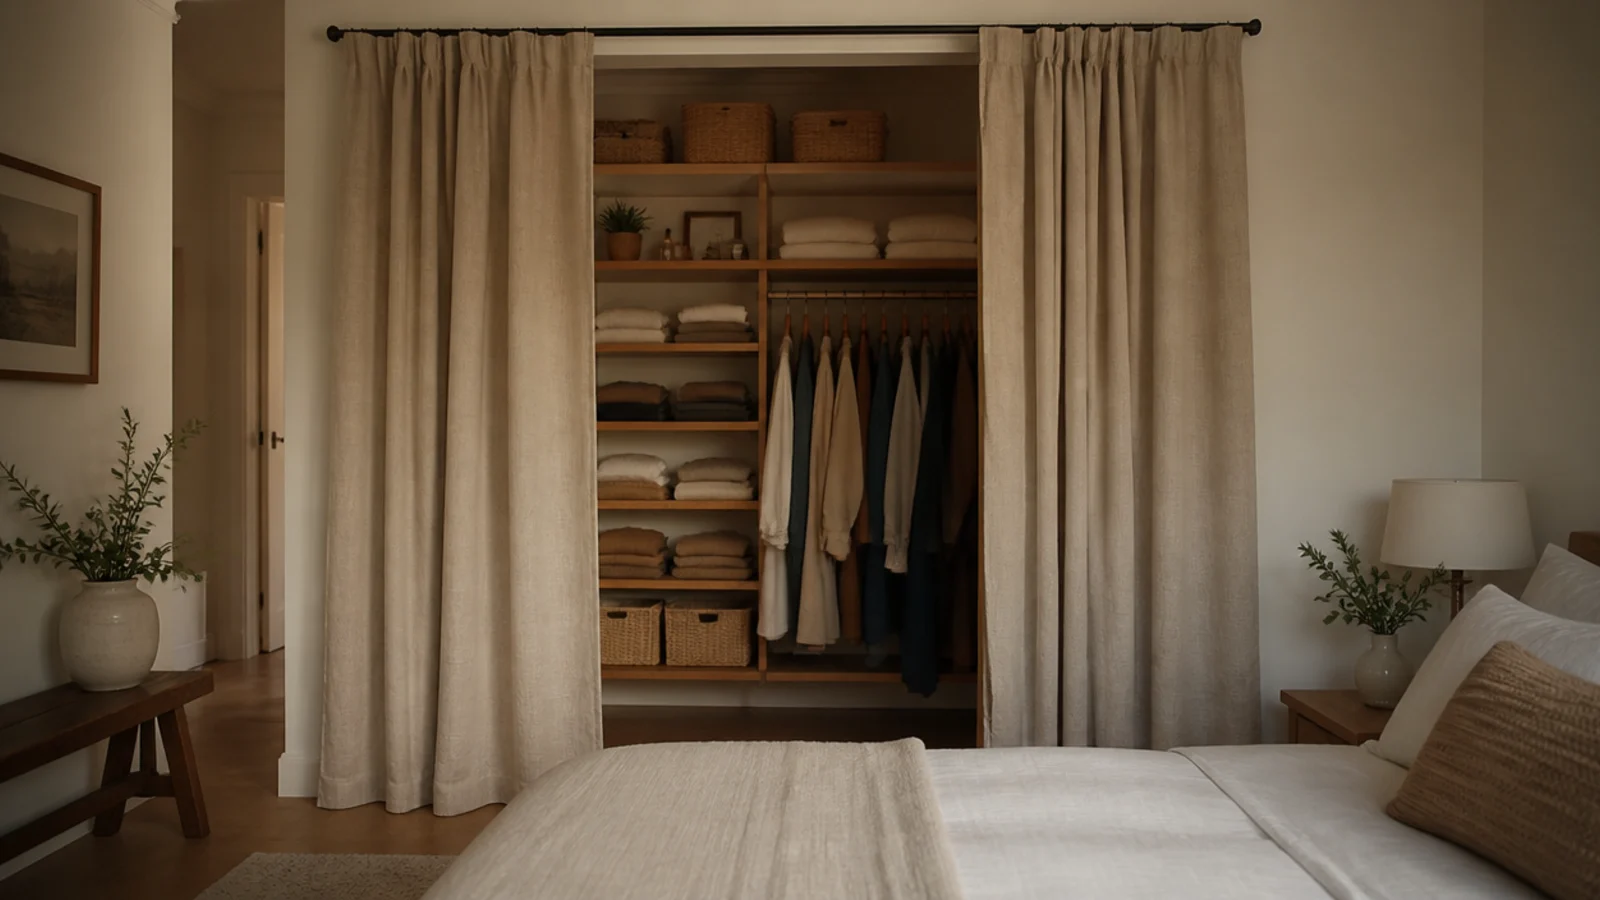
Makeover 8: The door that ate the room
Before: a swing door opening into the closet, which stole roughly six square feet and blocked the shelving whenever it was open.
After: a linen curtain on a slim rod, hemmed half an inch off the floor.
The door went to the basement. Two panels rather than one, so half can stay closed. Around $70 including the rod, and the closet gained a whole corner back.
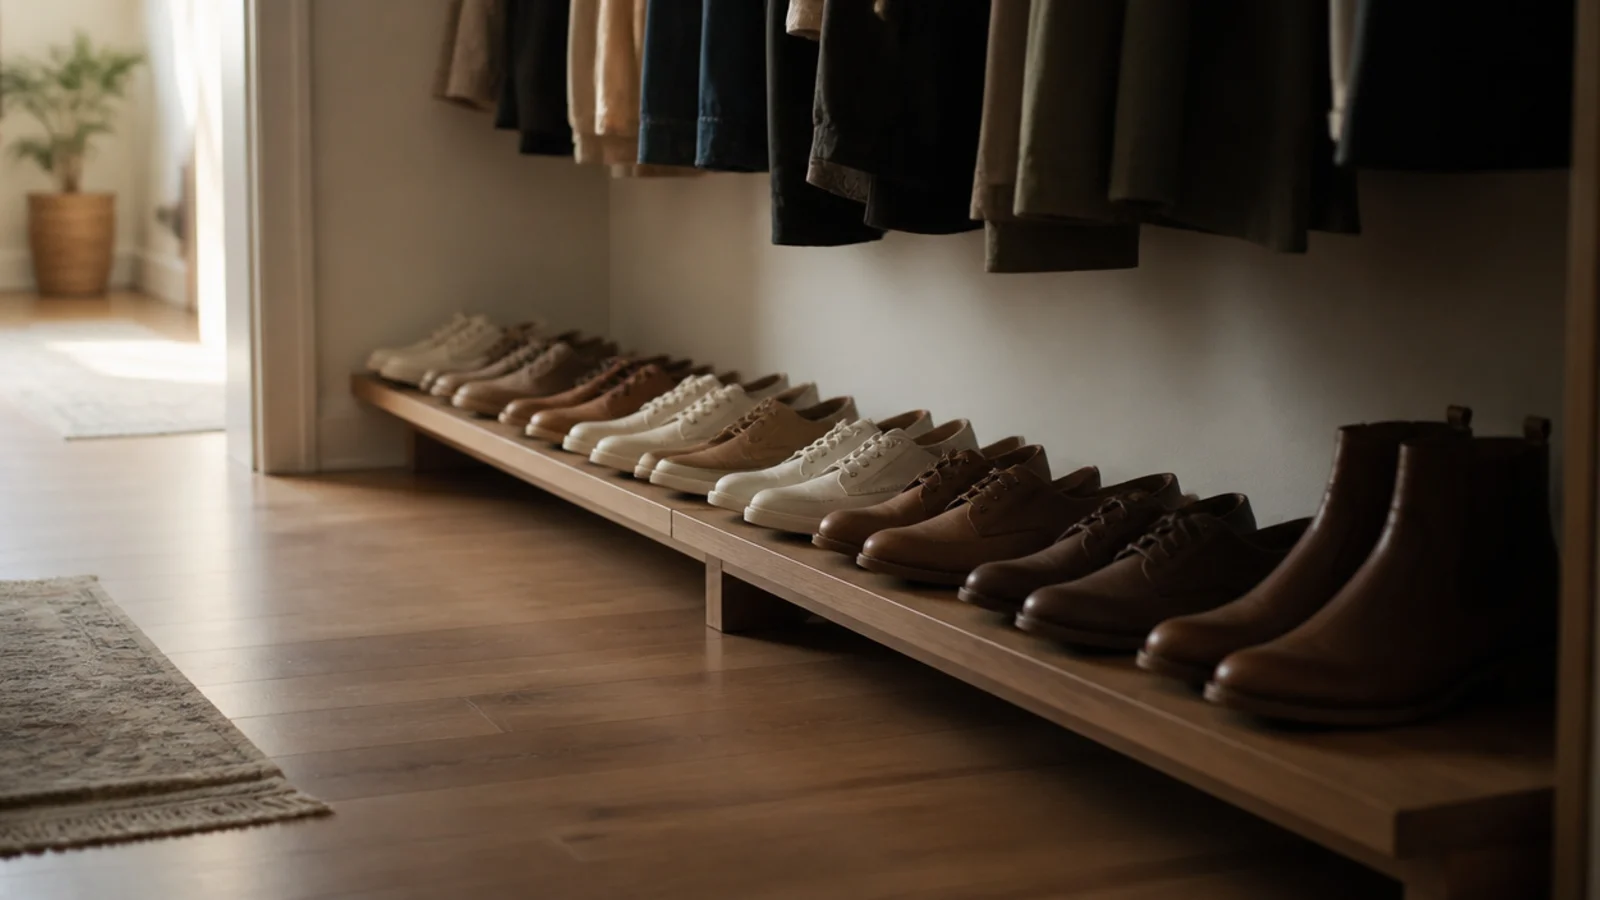
Makeover 9: The shoe avalanche
Before: about twenty pairs piled by the door in two layers, half of them unworn for a year.
After: one visible row on a low shelf, ten pairs, with the rest boxed on the high shelf and rotated seasonally.
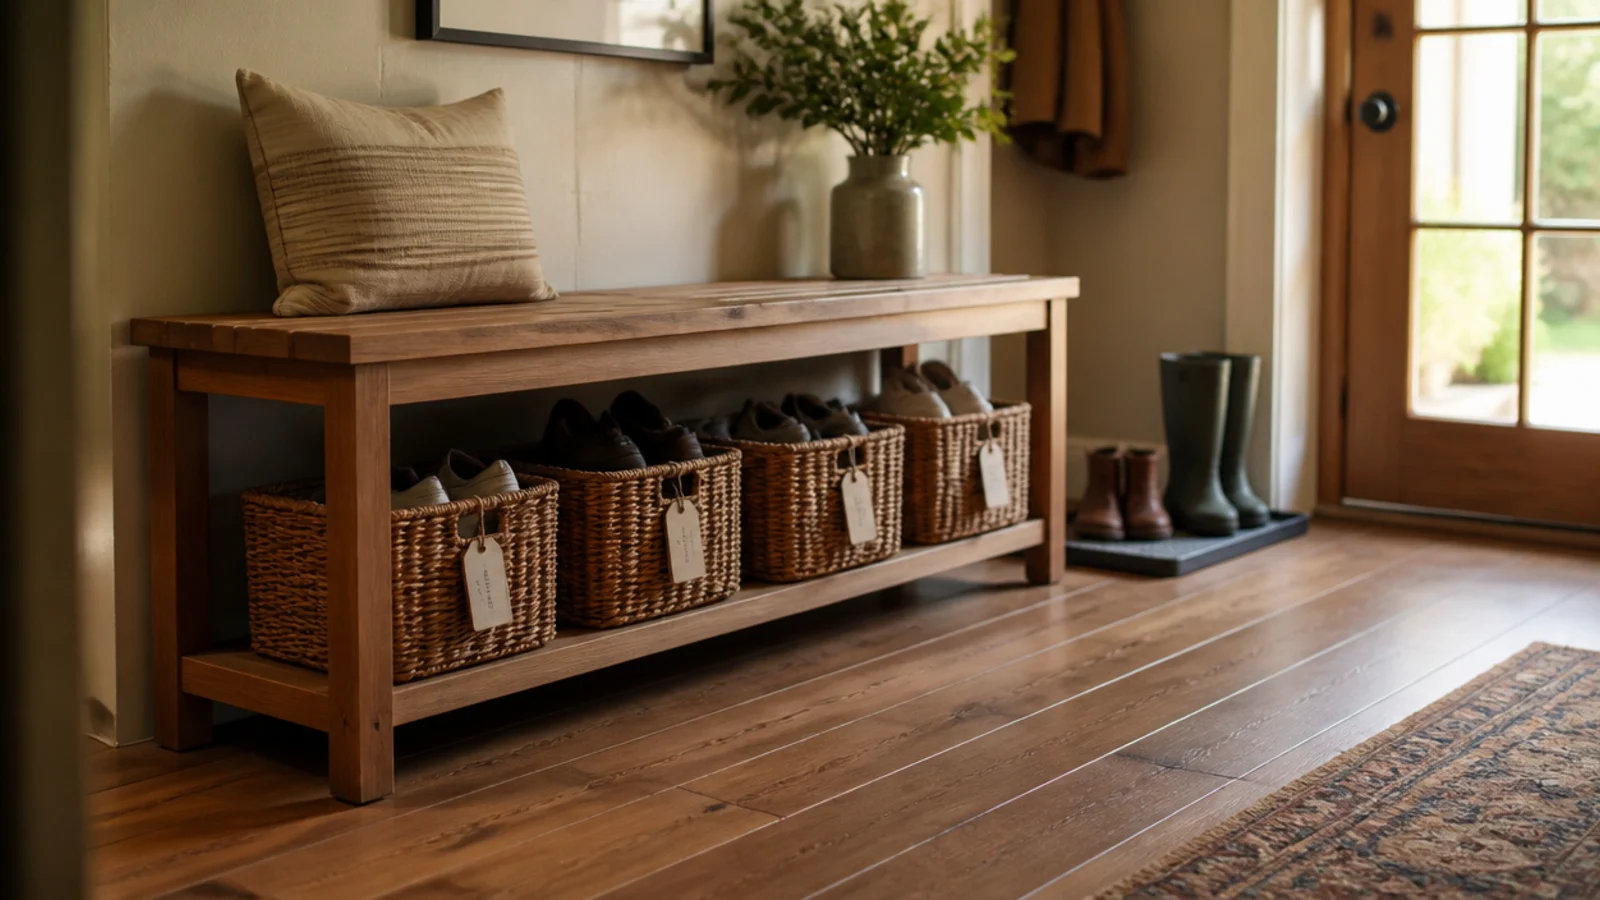
A back row you cannot see is storage, not a wardrobe. The floor cleared and stayed clear, which was the actual goal. Cost: nothing.
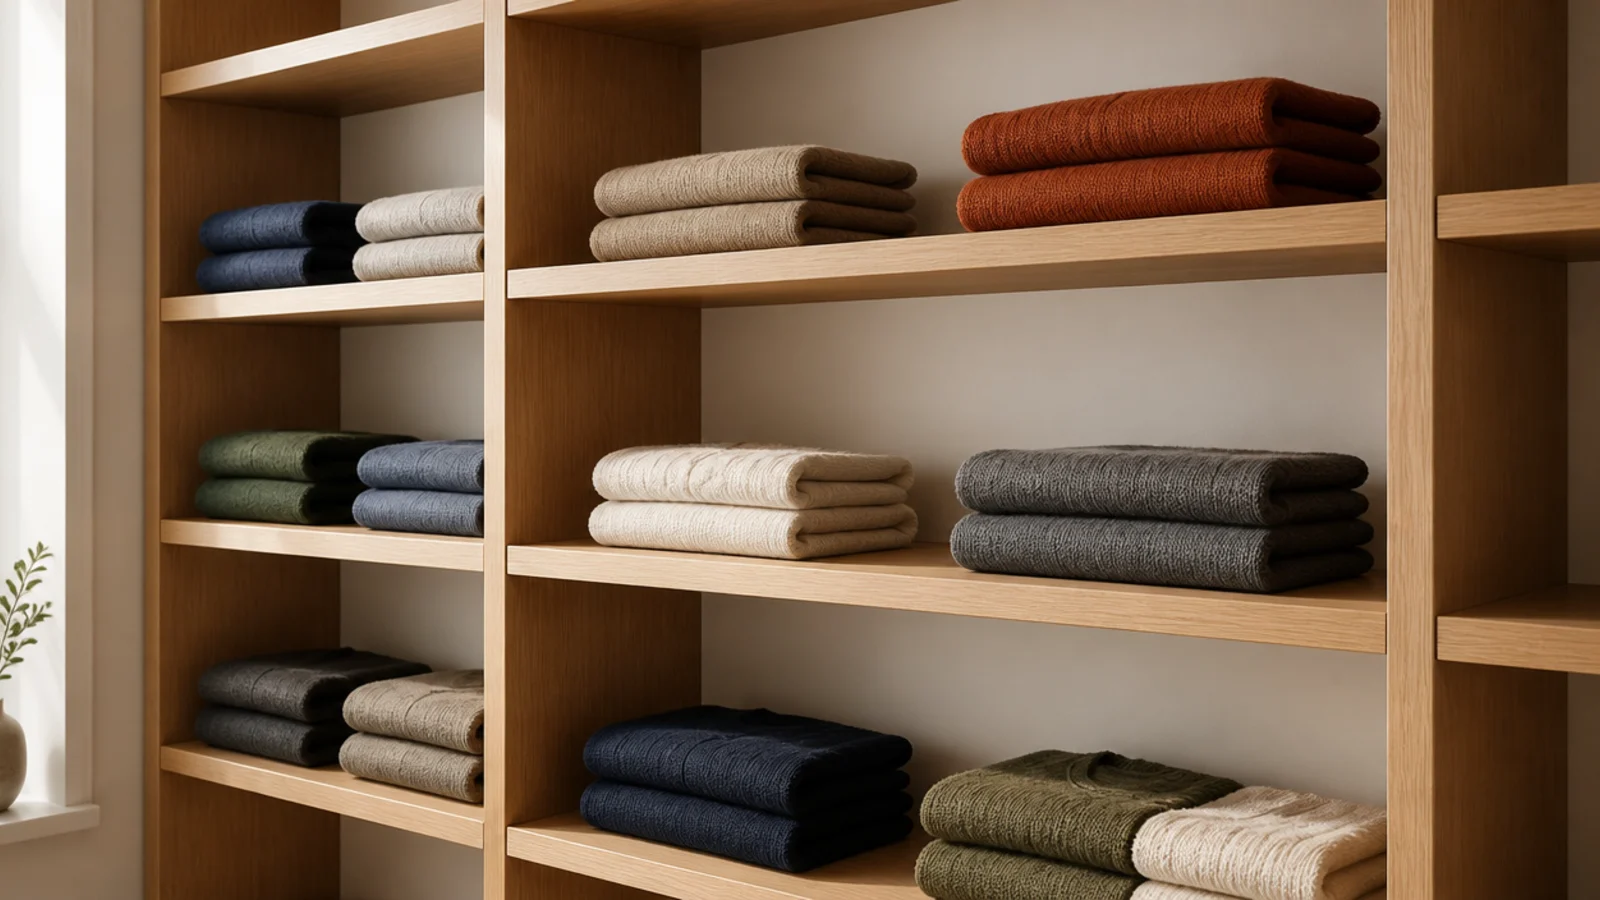
Makeover 10: The 20-inch shelves
Before: deep shelves with a shadowed second row holding two handbags, a hair dryer and a box nobody could identify.
After: the same shelves with bins defining a 13-inch working zone at the front, and the back deliberately left empty.
Anything past 14 inches disappears. Accepting that beats pretending the depth is usable. $45 in bins, one afternoon of sorting.
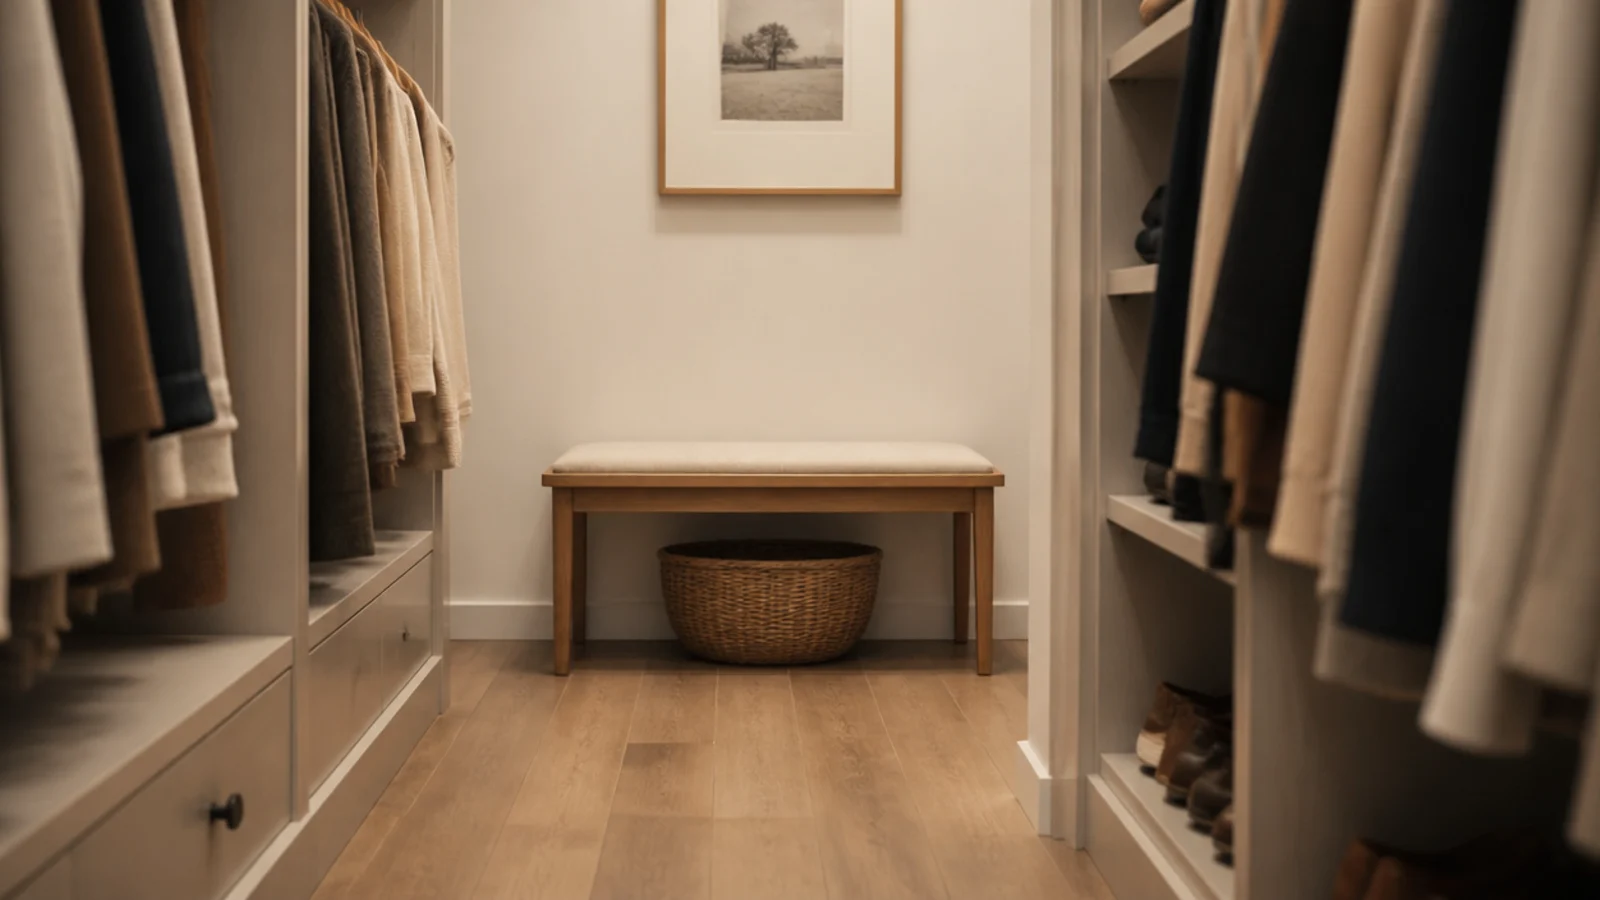
Makeover 11: The island that had to go
Before: a beautiful oak island in a nine-foot closet, with about 22 inches of clearance on each side.
After: an 18-inch deep bench against the end wall, and the island sold.
An island needs 36 inches of clearance all round, which means the closet has to clear roughly ten feet before one works. The bench gave the same folding surface and the walkway came back. Net cost after the sale: about $60.
Makeover 12: The closet where nothing matched
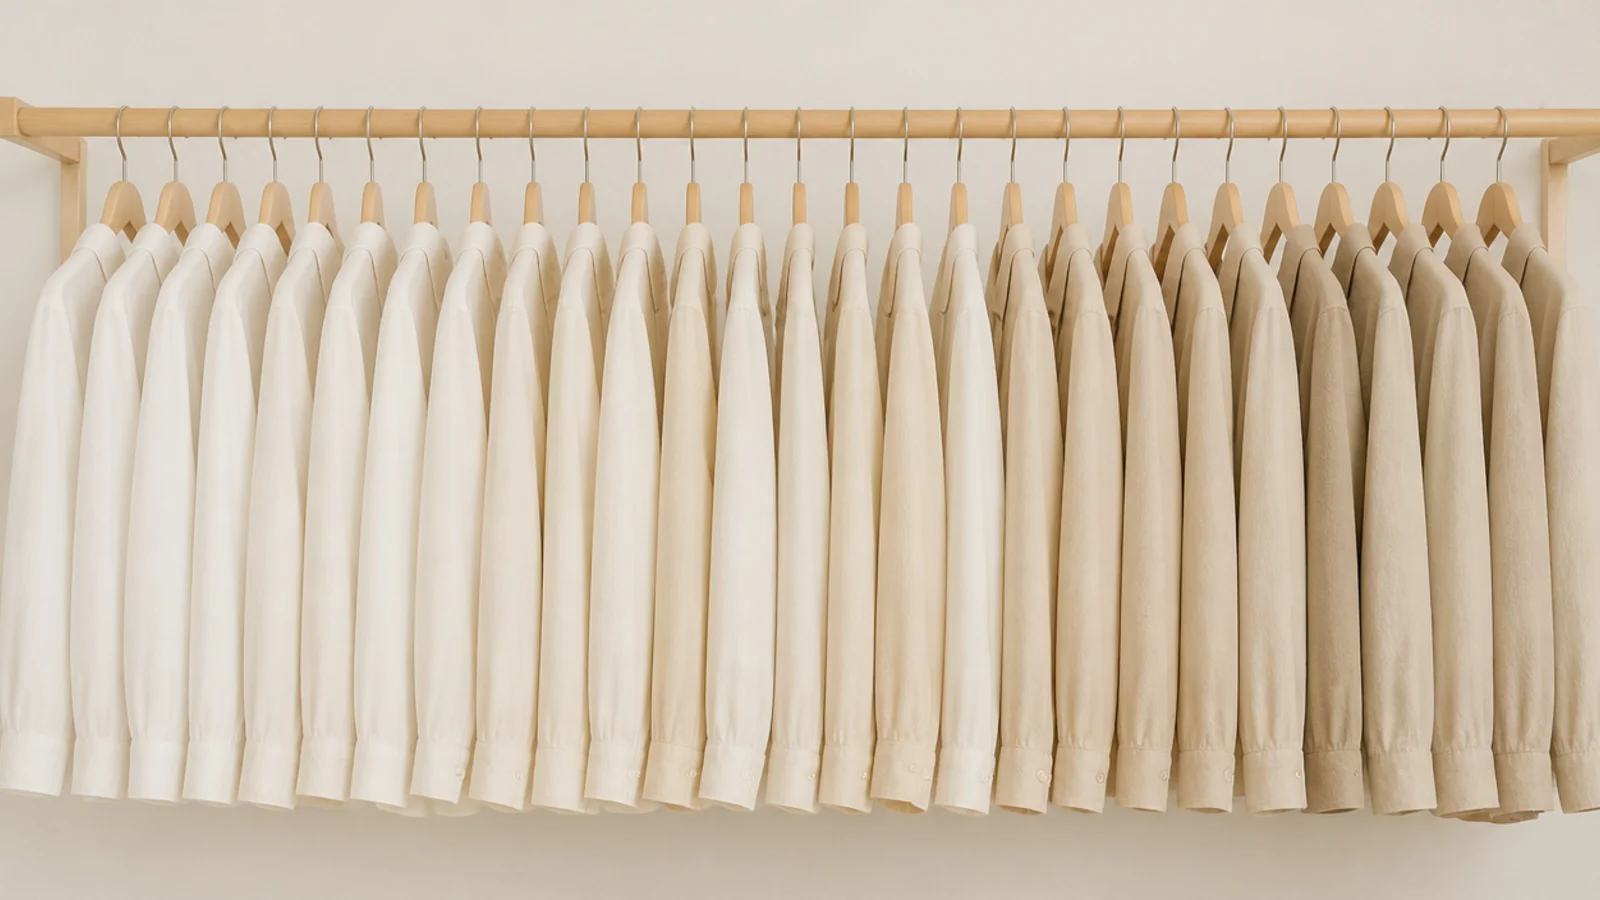
Before: wire hangers from the dry cleaner, bulky plastic ones and four wooden ones, giving a shoulder line that went up and down like a skyline.
After: fifty matching slim hangers and everything else recycled.
It also gained about a foot of rod, because slim hangers take less than half the width. $25, thirty minutes, and the single most photographable change on this list.
Makeover 13: The dark end wall
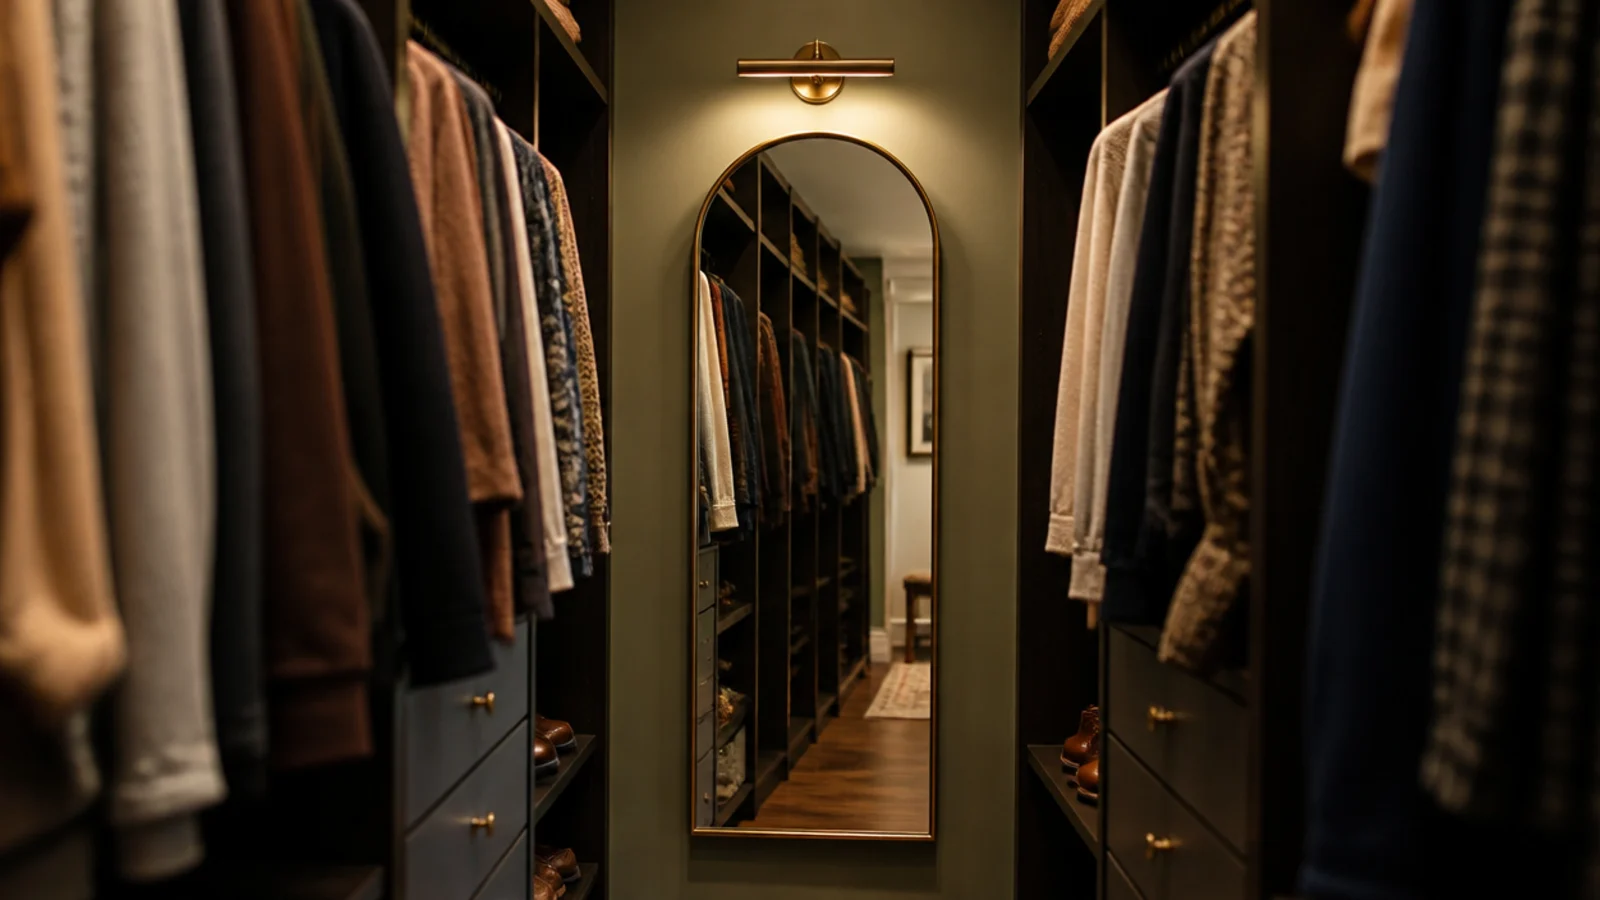
Before: a narrow closet ending in a blank wall that sat in shadow from mid-afternoon, making the whole room feel like a tunnel.
After: a full-length arched mirror on that wall with a plug-in picture light above it.
The mirror doubles the apparent length and bounces whatever light exists. Together they cost $190, and it is the change that most altered how big the closet felt.
Makeover 14: The rail that was full in July
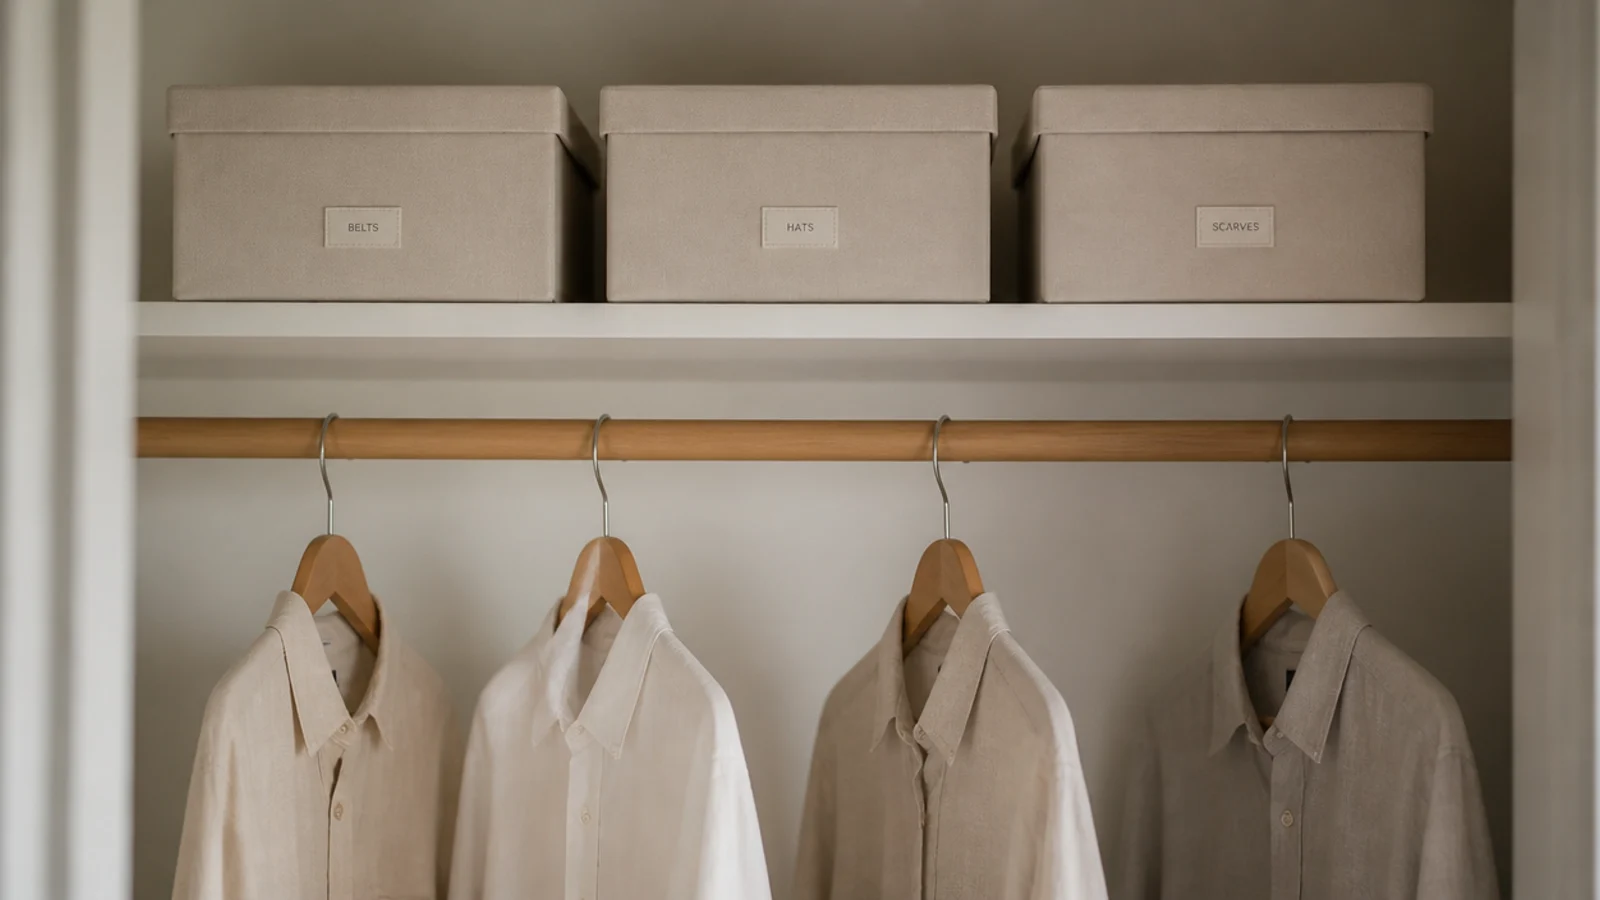
Before: wool coats sharing a rail with linen shirts year round, so the closet felt permanently at capacity.
After: off-season pieces in three lidded boxes above 84 inches, swapped in April and October.
The rail went from packed to about 20 percent empty without a single item leaving the house. $36 in boxes, and the owner stopped talking about needing a bigger closet.
Makeover 15: The handbag graveyard
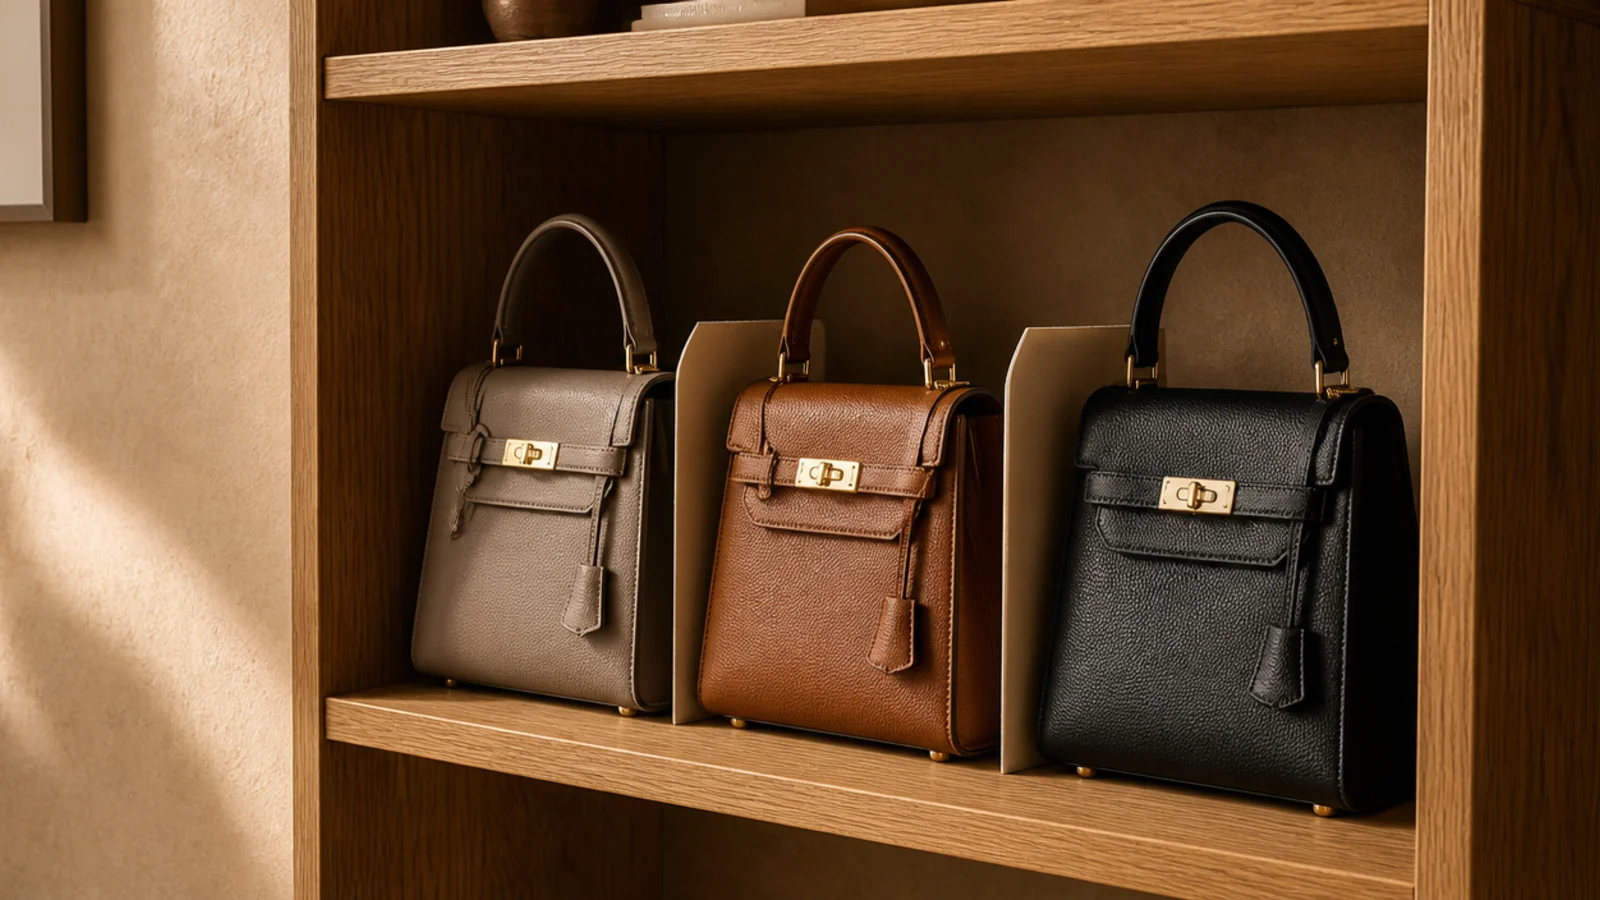
Before: six structured bags slumped into each other at the back of a deep shelf, creasing at the base.
After: three kept, stored upright and lightly stuffed, with rigid card dividers between them.
Bags keep their shape standing up with something inside them, and they lose it permanently lying in a heap. Dividers cost $18. The three that went made room for the three that mattered.
Makeover 16: The closet with no mirror
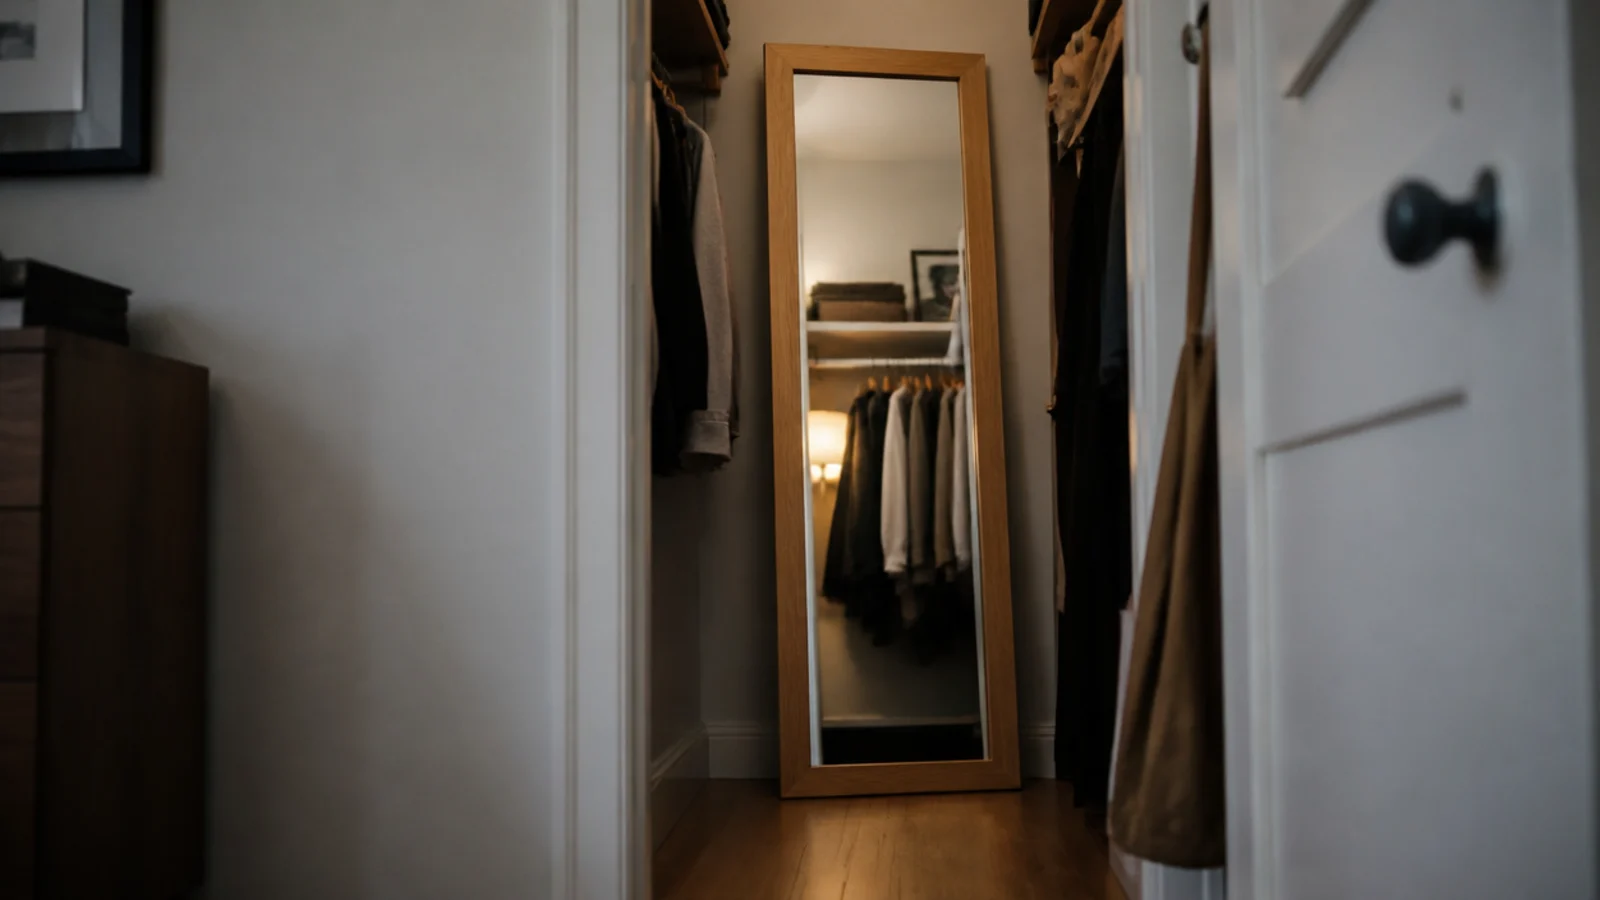
Before: a well-organised walk-in where the owner still got dressed in the hallway, because that was where the only mirror was.
After: a 66-inch mirror leaning just inside the doorway with an anti-tip strap.
A closet without a mirror sends you somewhere else to make the actual decision, which is why clothes end up back on the bed. $120, one small screw.
Makeover 17: The closet nobody small could reach
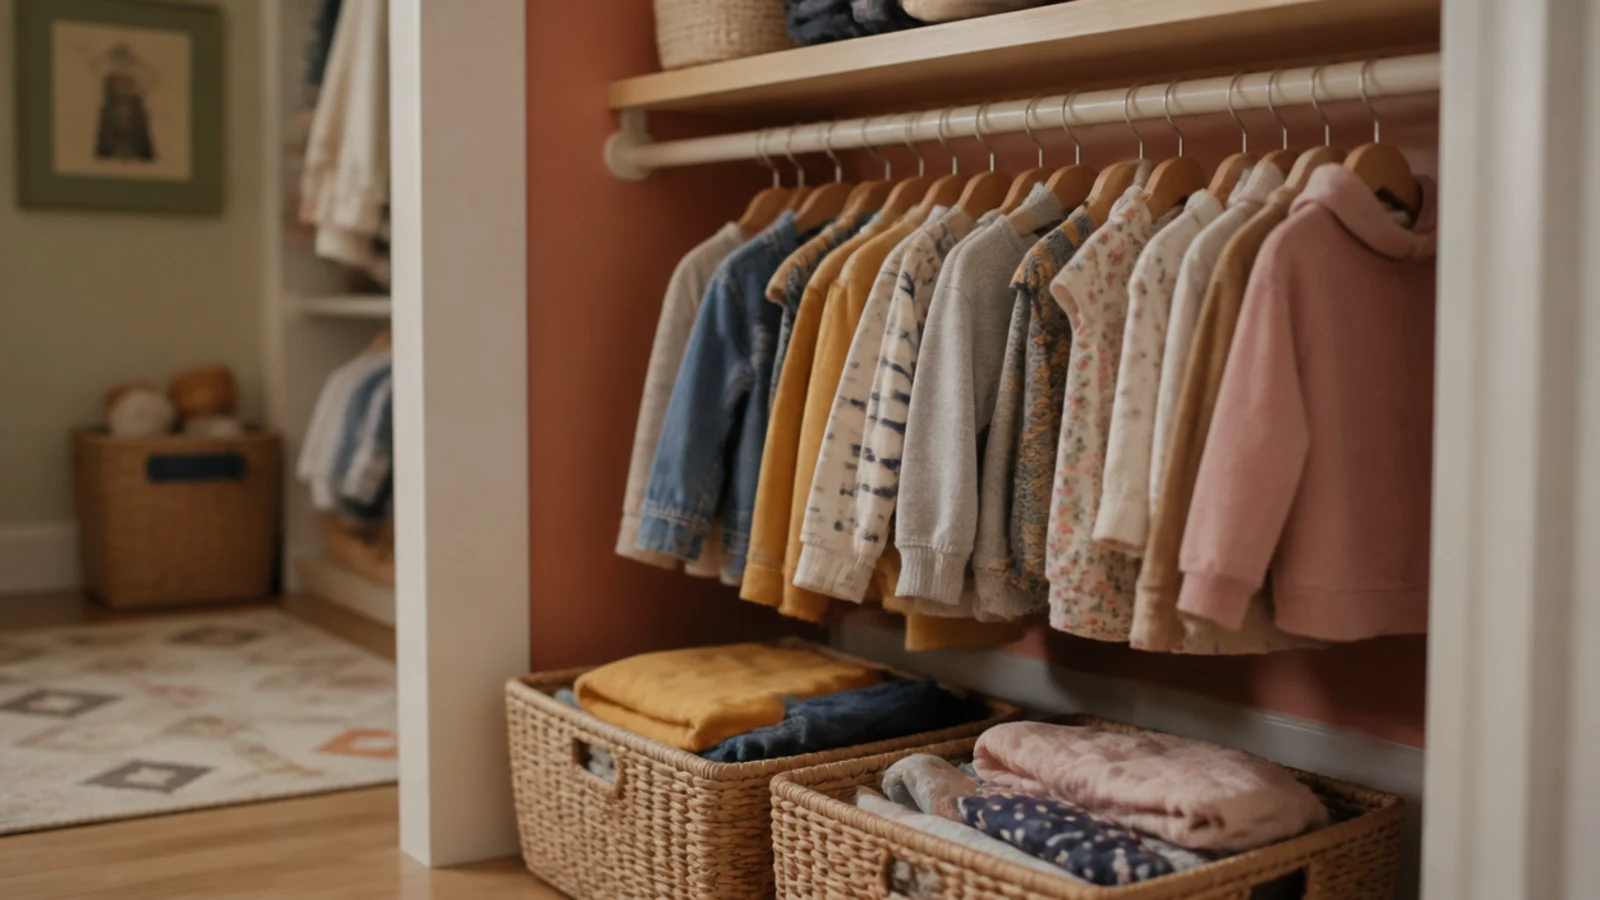
Before: a shared family closet with everything above 60 inches, so a six-year-old could not put anything away or get anything out.
After: a low rail at 34 inches and two open floor bins for folded things.
Children put clothes away when the storage is at their height and open at the top. The rail cost $28 and ended a daily argument.
Makeover 18: The chair in the bedroom
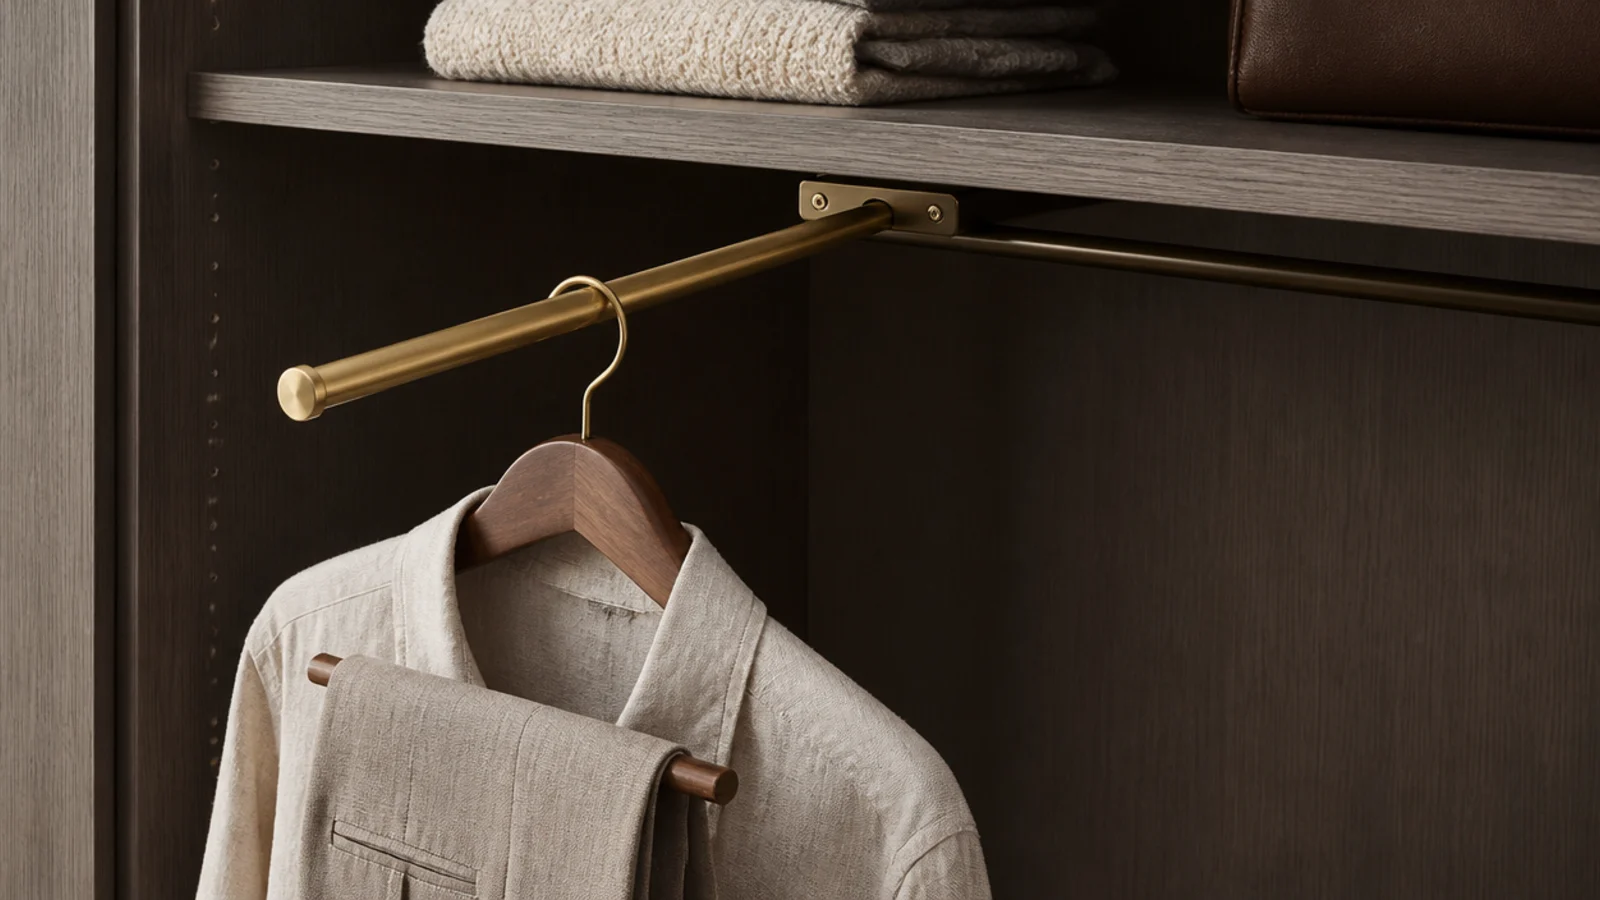
Before: a closet at capacity and a chair permanently buried under worn-once clothes.
After: a valet rod under the shelf, plus a deliberate hand-width of empty rail kept free at all times.
The chair pile exists because there is nowhere to put things that are neither clean nor dirty. Give that category a home and it stops. The rod was $19. There are more fixes like this in walk-in closet mistakes.
Makeover 19: The unfinished plaster box
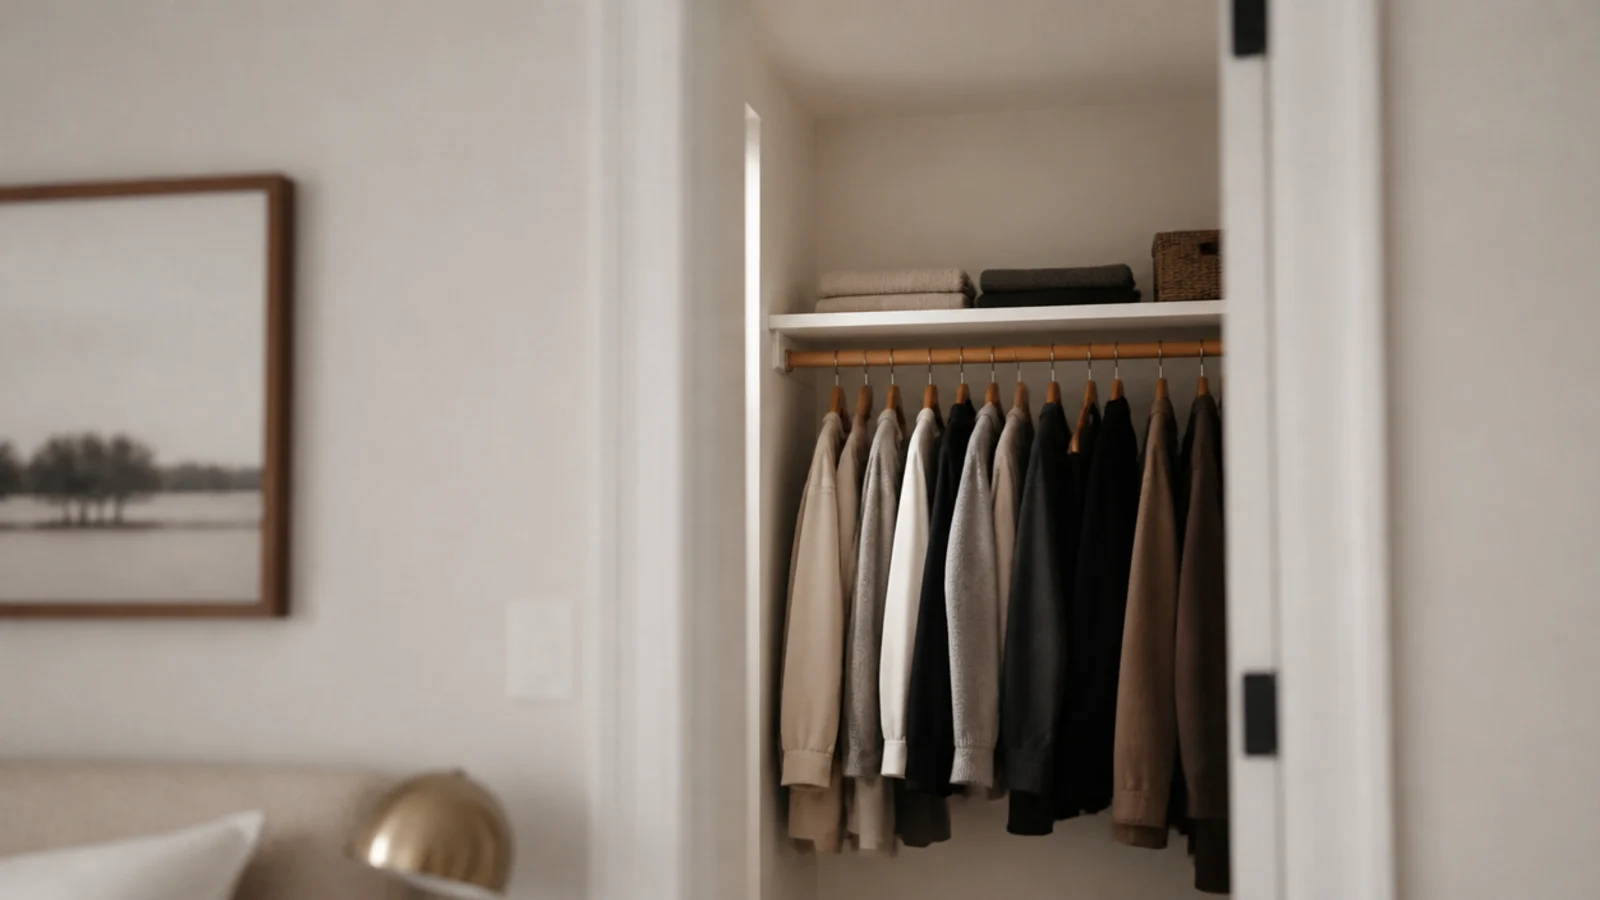
Before: bare builder plaster and a different, colder white from the bedroom it opened off.
After: the same warm white as the bedroom, walls and ceiling, in satin.
A closet in a different colour always reads as a separate box you left open. One gallon, $35, and every other decision in the room improved because of it.
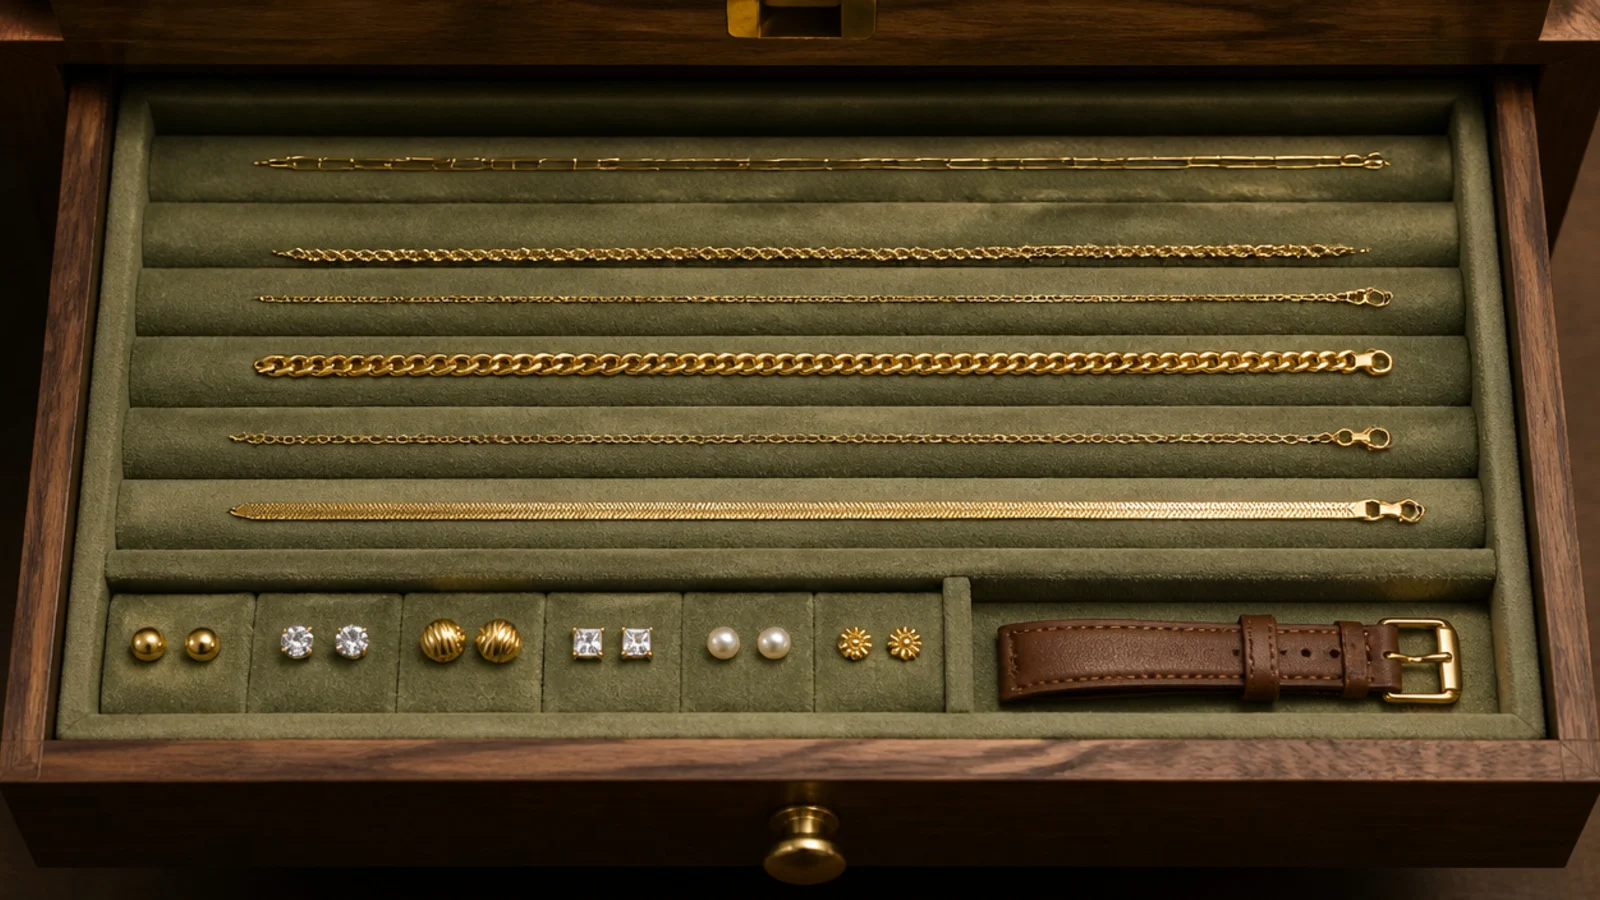
Makeover 20: The jewelry tangle
Before: a shallow dish holding four tangled chains, a pile of studs and a watch, on top of a dresser in the closet.
After: one lined shallow drawer with chains laid flat in separate channels.
Chains tangle because they move. Flat and separated, they stay untangled for months. Adhesive felt lining and a divider tray, $32 total, and the same logic runs through vanity before and after.
Small Closet Before and After: What I'd Do Differently Now
Twenty makeovers in a row make an uncomfortable pattern obvious. The most effective changes were almost never purchases of storage.
Eight cost nothing. Of the ones that cost something, the two best-value were a four-dollar bulb and a $42 second rod. The most expensive job on the list, the shelving rebuild, was necessary because the original shelves were physically wrong, not because there was not enough of them.
If I could give one instruction it would be to fix the floor first. Clear it entirely, put everything upward onto rails and shelves, and then look again before buying anything. In most of these closets, the room that appeared after the floor cleared was the room the owner thought they needed to buy.
The order I use now never changes. Empty the closet. Check the hanging depth is 24 inches and the walkway is at least 30. Change the bulb to 3000K. Add double-hang wherever the wall is standing empty. Then, and only then, buy containers for what is actually left.
Frequently asked questions
What is the cheapest small closet makeover that actually works?
Changing the bulb to 3000K and adding a second rod for double-hang. Together they cost under $50 and they fix the two things people complain about most, which are that the closet feels dark and that nothing fits. Neither one requires touching the structure or asking a landlord for permission.
How long does a small walk-in closet makeover take?
A styling and rod refresh is one Saturday, including the part where you empty the closet completely onto the bed. Swapping wire shelving for painted plywood adds a second day for paint to cure. A full system install with drawers is a weekend plus a delivery wait, usually two to three weeks from ordering.
Should I declutter or reorganize my closet first?
Empty it completely, then decide what stays, then measure and buy containers. Containers bought before the edit lock in the volume you already had, which is how people end up with beautiful matching bins full of clothes they donate three months later. The edit is the part that changes the outcome.
What single change makes the biggest difference in a small closet?
Getting the floor completely clear. Baskets, shoes and laundry on the floor are what make a small walk-in feel cramped, more than the amount of clothing does. Move all of it upward onto rails and shelves and the same room reads noticeably larger without anything leaving the house.
Is it worth hiring someone for a small closet makeover?
For rod heights, shelving and painting, no, that is a weekend with a drill. Hire out anything electrical, anything structural, and anything where the closet is not square, which is common in older houses and the reason built-in systems come out crooked when people fit them alone.
Try the free version first on whatever bothers you most: empty the floor, swap the bulb, and see what the room looks like on Sunday evening. If it still feels wrong after that, the problem is structural and worth spending on. The budget walk-in closet guide covers the paid fixes in order of value, and small walk-in closet organization covers what goes where afterwards. Save the pin before you buy a single bin.
Want more like this? Browse all 15 small walk-in closet ideas guides — they all use the same measurements and budget tiers.
Pin it for later
Save this to your Small Walk-In Closet Ideas board
Pin it now so it is waiting for you when the tape measure comes out — and so the next person hunting for this idea can find it too.
Save this pinKeep going
More ideas worth saving while you have the tape measure out.