Vanity Organization · UGC
20 Vanity Organization Before and After Makeovers

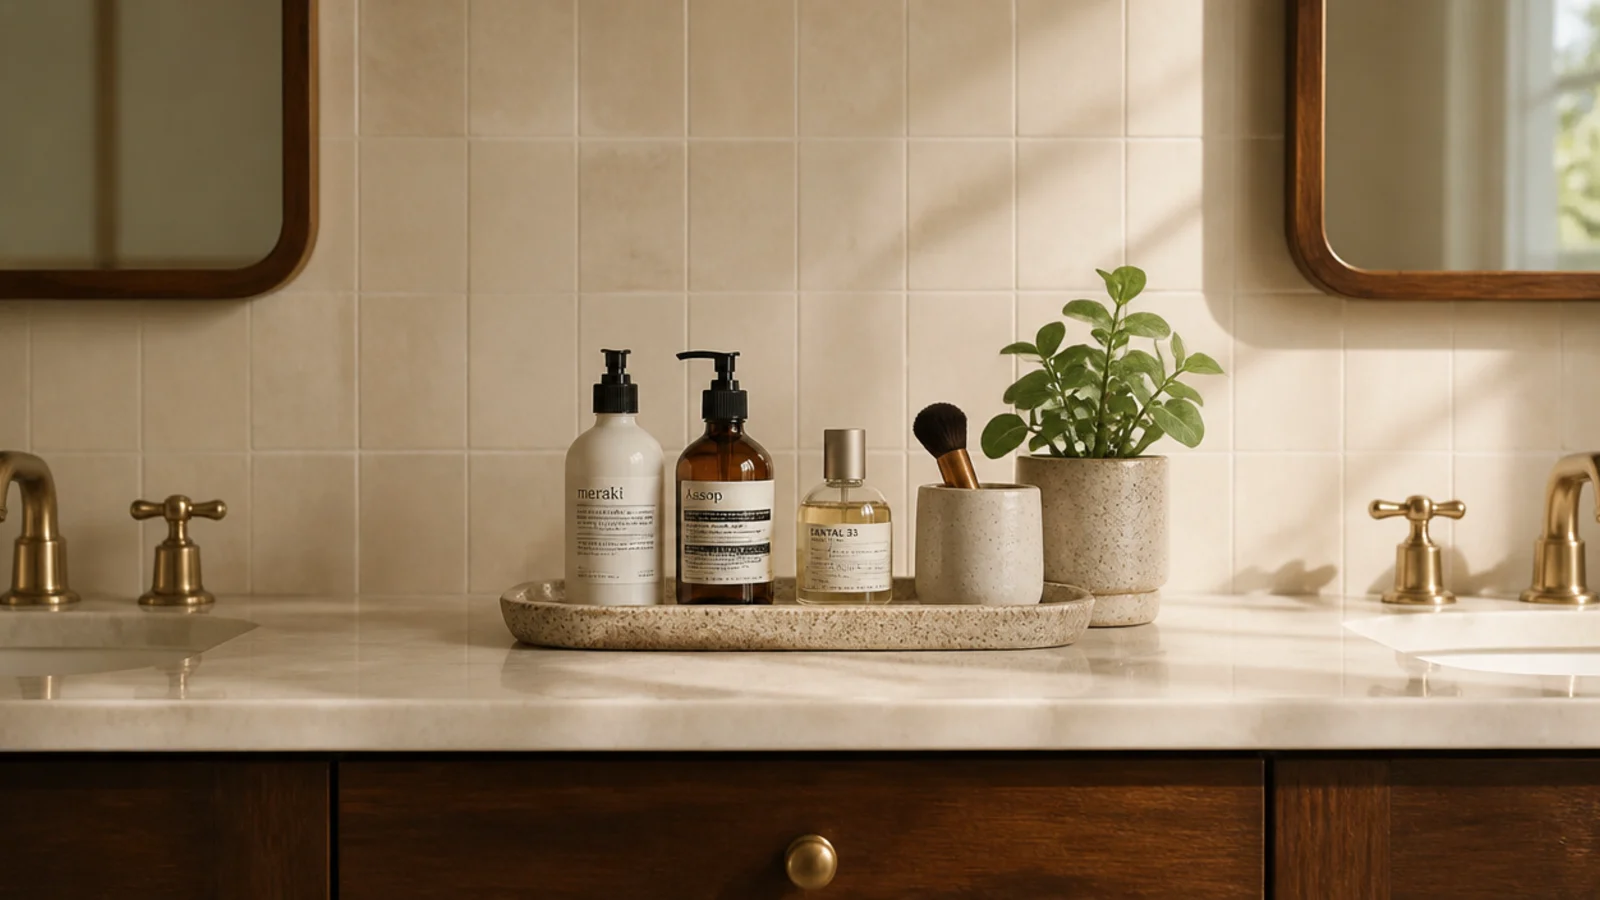
Vanity before and after is the most useful thing I can show anyone, because the changes that work are almost never the ones people expect to work. I have reset vanities in five bathrooms and two bedrooms of my own, plus a long list of friends who let me loose on theirs with a towel and a bin bag.
The pattern is consistent. Roughly two-thirds of them needed nothing bought at all — the storage was already there and the allocation was wrong, with daily items buried and seasonal things at arm's reach. The other third had a physical fault: no drawer, a drawer under two inches deep, or lighting from directly overhead.
What follows is twenty real makeovers, what each one looked like before, what changed, and what it cost. Seven cost nothing. The most expensive was $140, and it was lighting rather than storage.
In this guide21 sections — tap to openHide
- 1.Makeover 1: The rental bathroom with no drawers
- 2.Makeover 2: The drawer where everything slid
- 3.Makeover 3: The brushes that had splayed
- 4.Makeover 4: The mirror lit from above
- 5.Makeover 5: The sunny windowsill skincare
- 6.Makeover 6: The category bins that slowed mornings
- 7.Makeover 7: The palette pile
- 8.Makeover 8: The under-sink black hole
- 9.Makeover 9: The counter with thirty-two products
- 10.Makeover 10: The tangled jewelry dish
- 11.Makeover 11: The hot tools that owned the counter
- 12.Makeover 12: The bulk cotton bag
- 13.Makeover 13: The four half-used cleansers
- 14.Makeover 14: The dressing table nobody sat at
- 15.Makeover 15: The dark corner dressing table
- 16.Makeover 16: The shared bathroom stand-off
- 17.Makeover 17: The drawer that smelled damp
- 18.Makeover 18: The cold blue lit mirror
- 19.Makeover 19: The stash nobody had dated
- 20.Makeover 20: The counter that re-cluttered weekly
- 21.Vanity Before and After: What I'd Do Differently Now
Makeover 1: The rental bathroom with no drawers
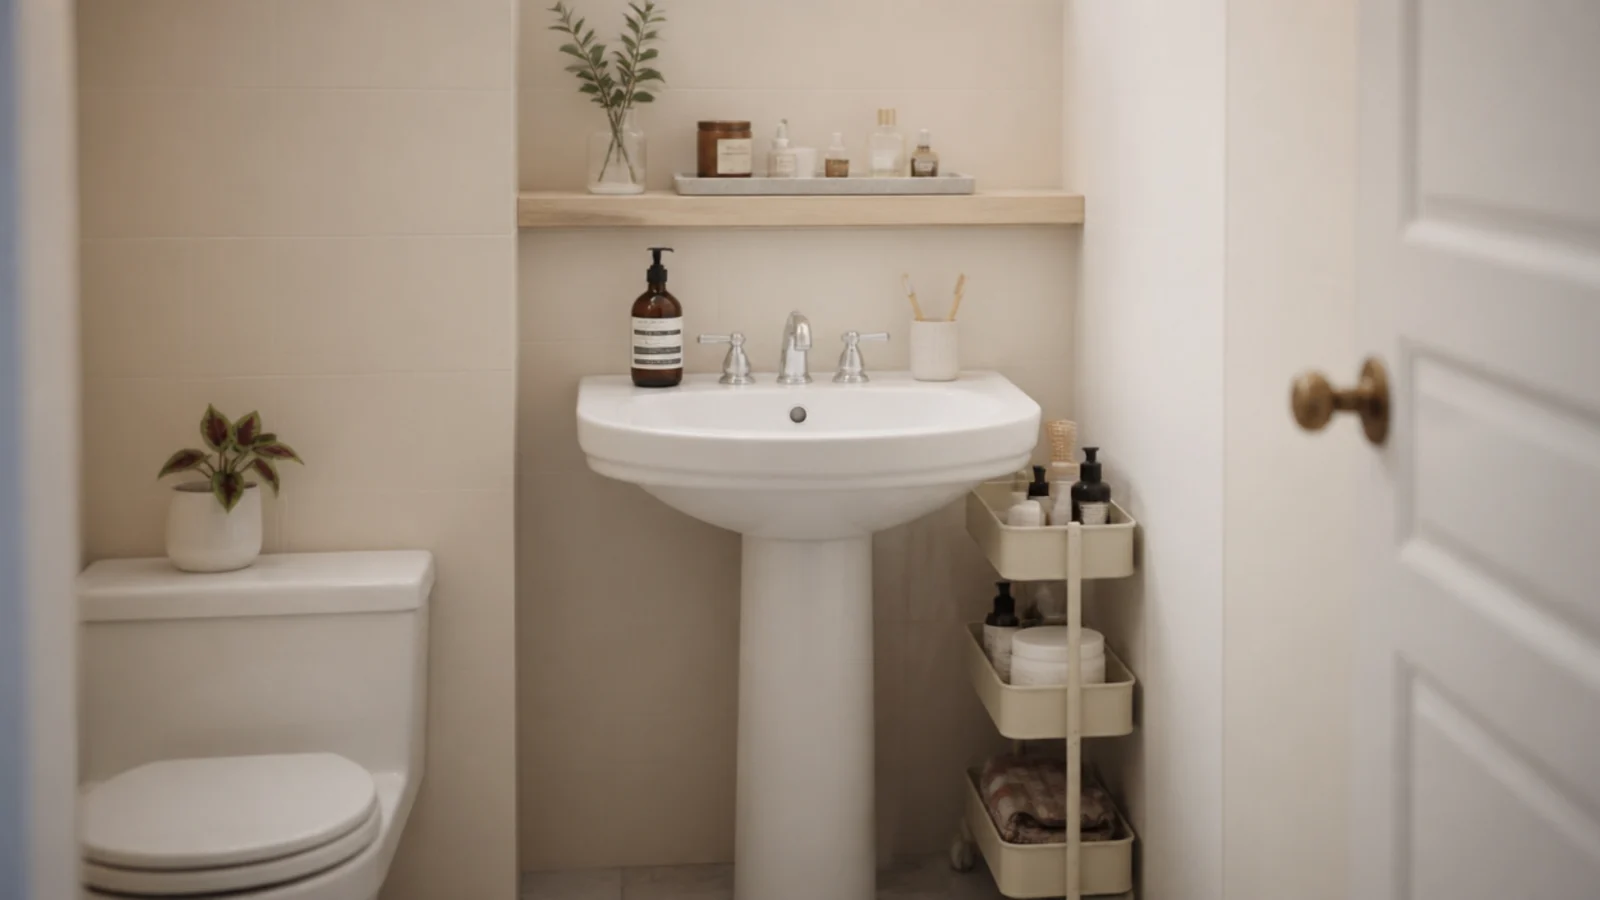
Before: a pedestal basin with no storage at all, so every bottle lived on the tub edge and got knocked into the bath weekly.
After: a 12 by 8 inch stoneware tray on the narrow sill, an oak riser with 5 inches of clearance beneath it, and a slim rolling cart in the gap beside the basin.
Nothing touched a wall, which the lease required. The cart took the backstock and towels. Total $68, and it moved out with her.
Makeover 2: The drawer where everything slid
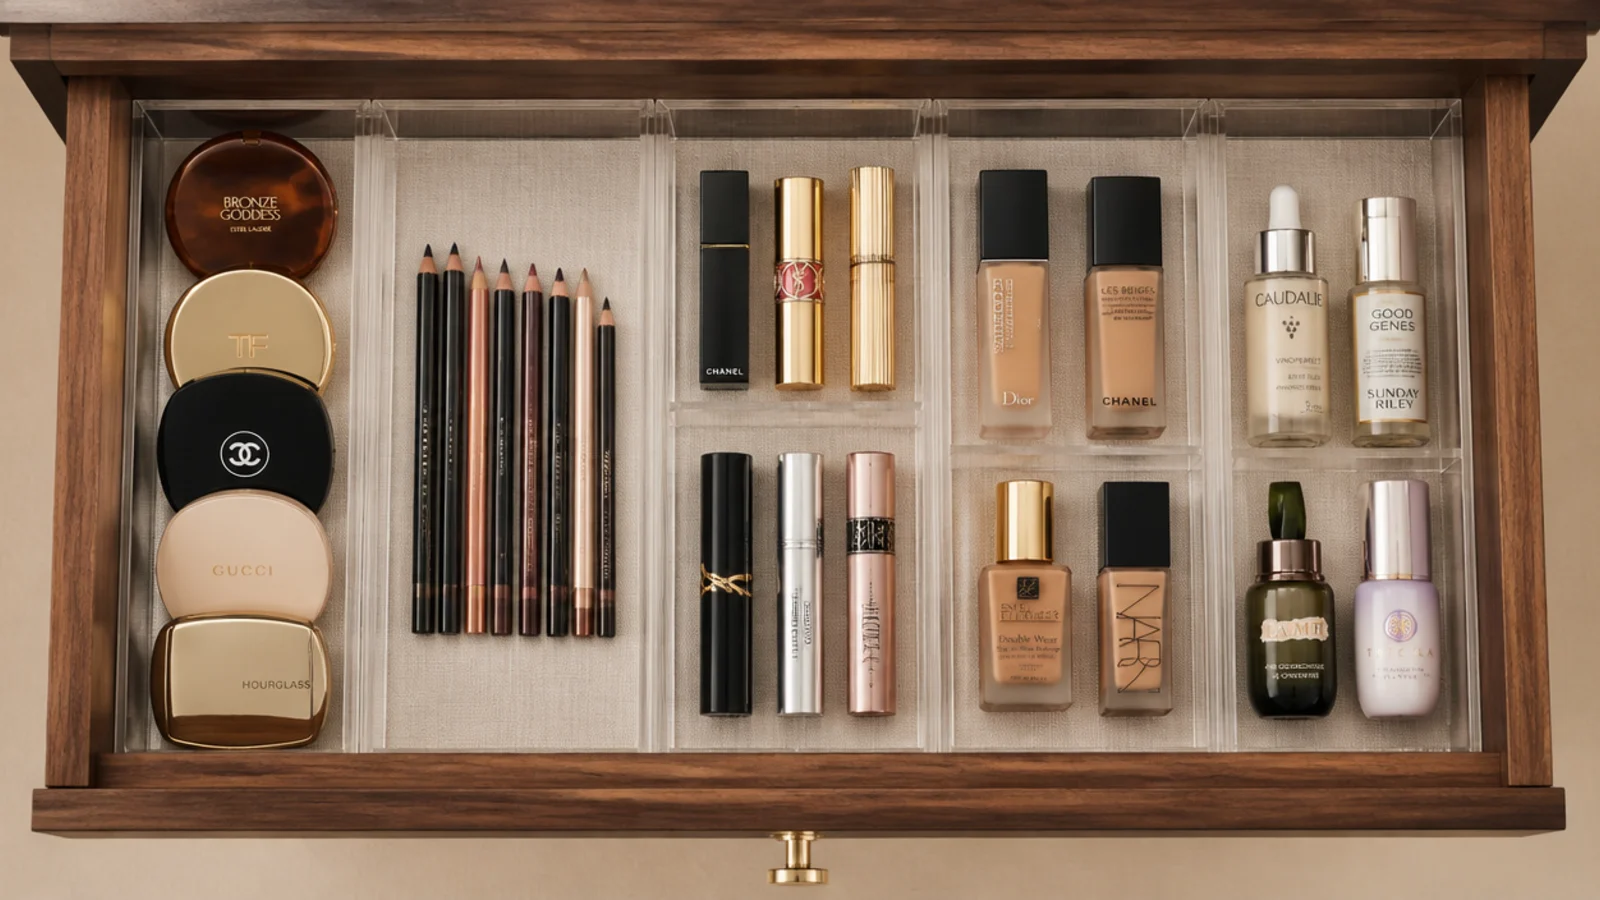
Before: one deep drawer with everything loose, so opening it rearranged the contents every time.
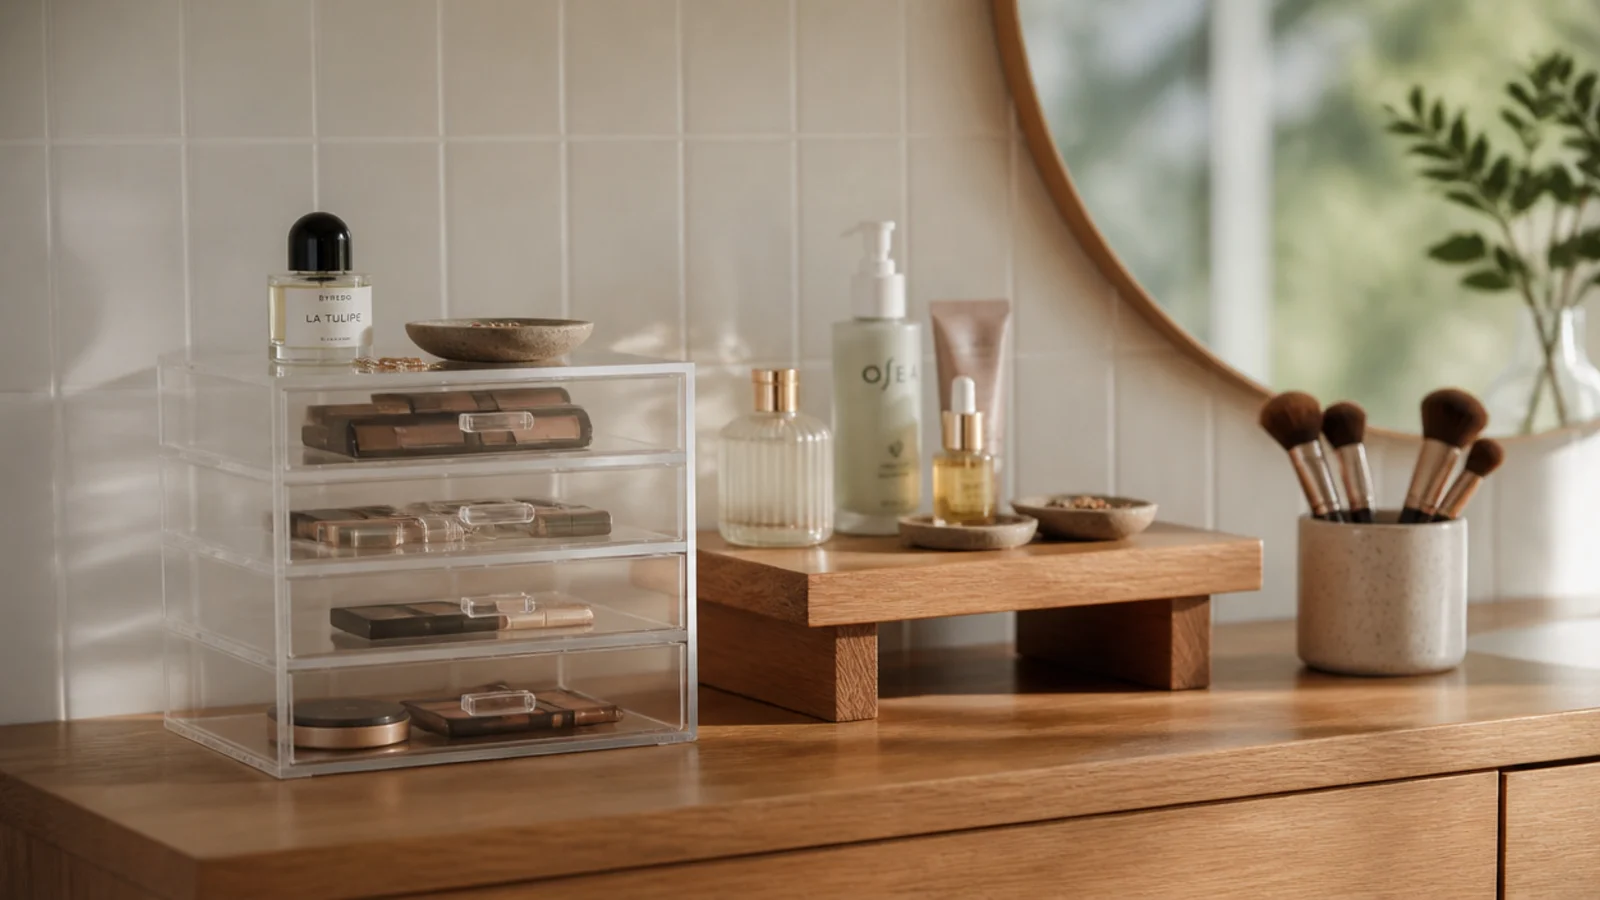
After: three fitted inserts measured to the internal width with an eighth of an inch of clearance, running front to back.
The measuring was the whole job. Inserts are sold by outside dimensions and drawers described by outside width, which is why guessing produces a set that will not close. Two-inch trays for flat compacts, four-inch for bottles. Cost $38.
Makeover 3: The brushes that had splayed
Before: twelve brushes loose in a shallow drawer, half of them bent permanently against the drawer wall.
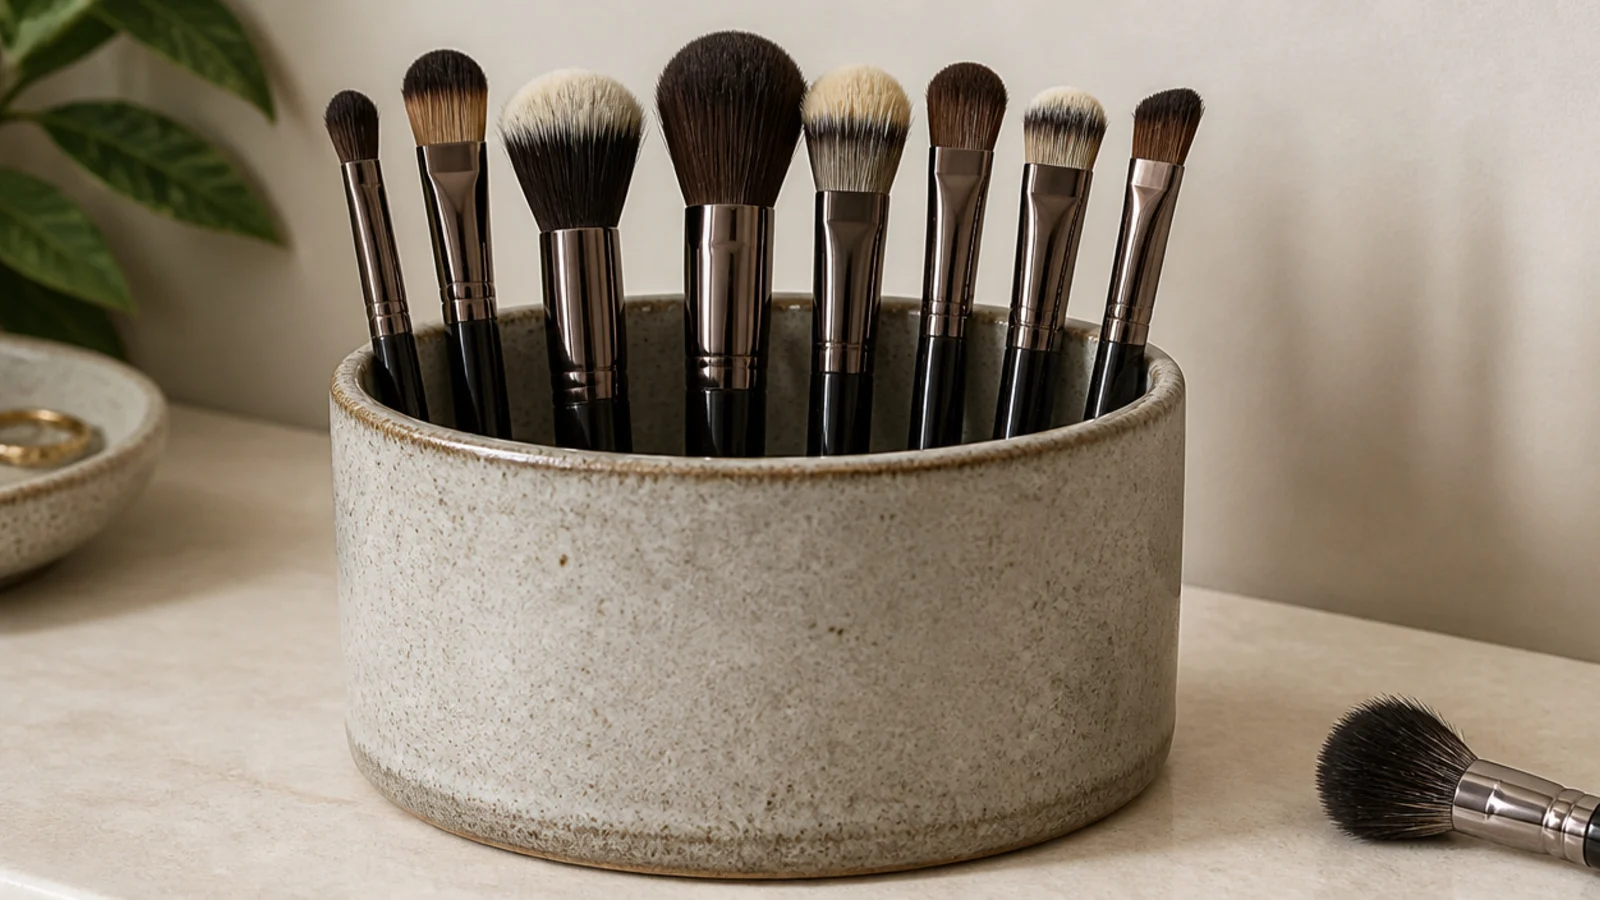
After: six brushes she actually used, standing bristles-up in a weighted stoneware cup.
The bend never washes out, so six had to go. The replacement cup is heavy on purpose — a light plastic one tips as soon as ten brushes lean the same way, usually onto a wet counter. Cup $16, and the remaining brushes have held their shape for two years.
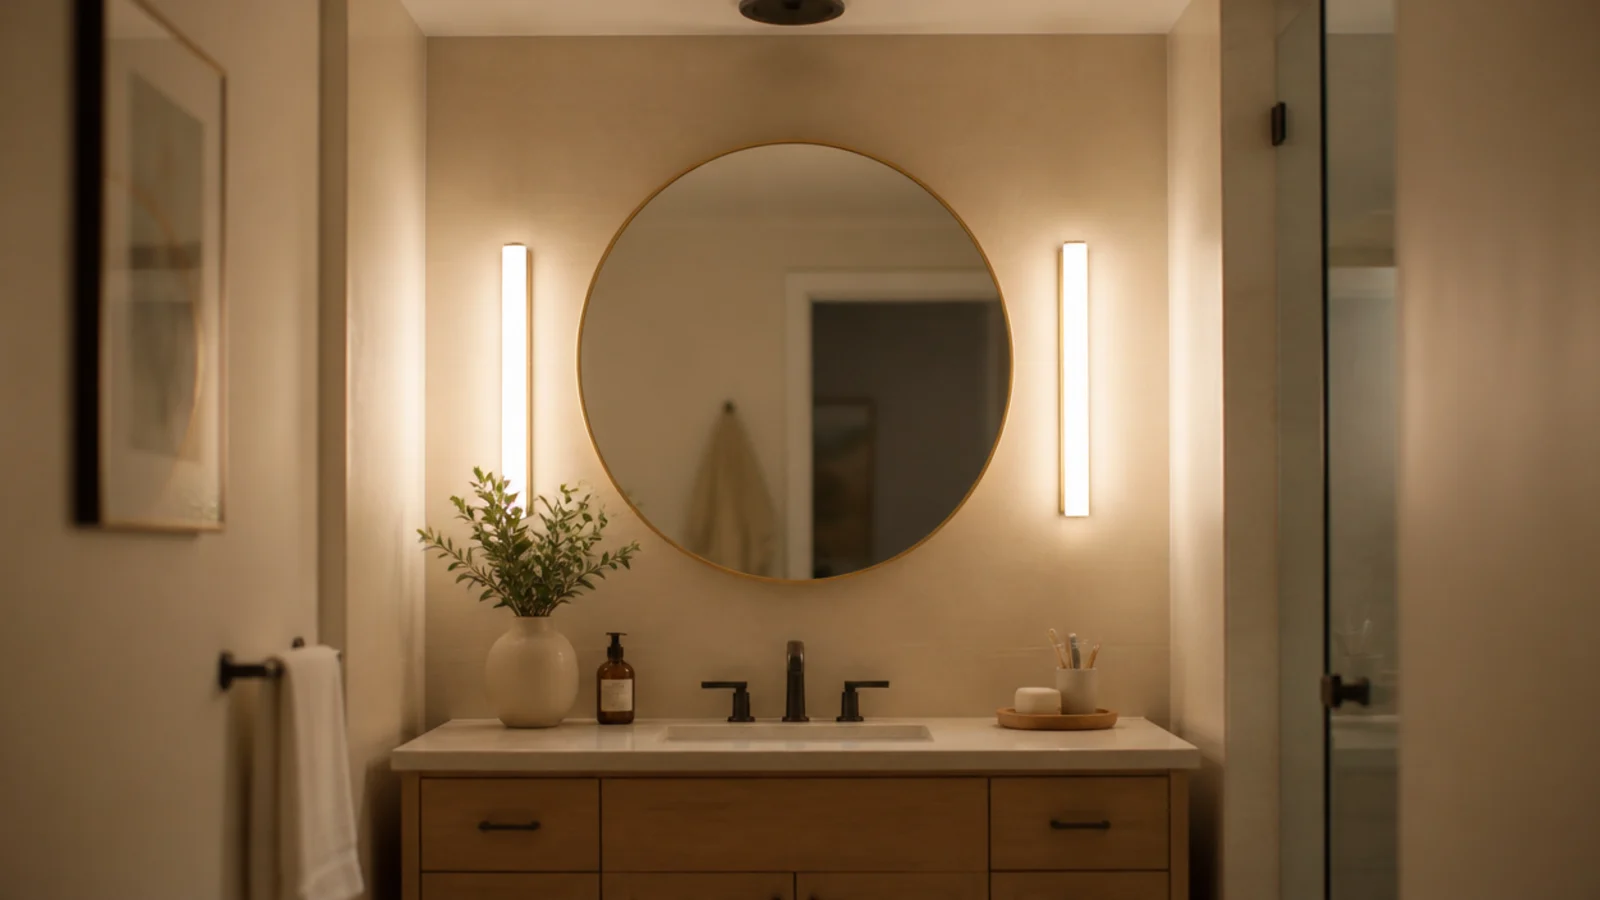
Makeover 4: The mirror lit from above
Before: one ceiling downlight, which dropped shadow under the brow and nose and made every base look different outdoors.
After: two slim bars flanking the mirror, centred at 55 inches, at 3500K with a high CRI rating.
Light from both sides at eye level is the entire trick. It changed her results more than any product bought that year. Clip-on rechargeable bars, $58, no wiring and no holes.
Makeover 5: The sunny windowsill skincare
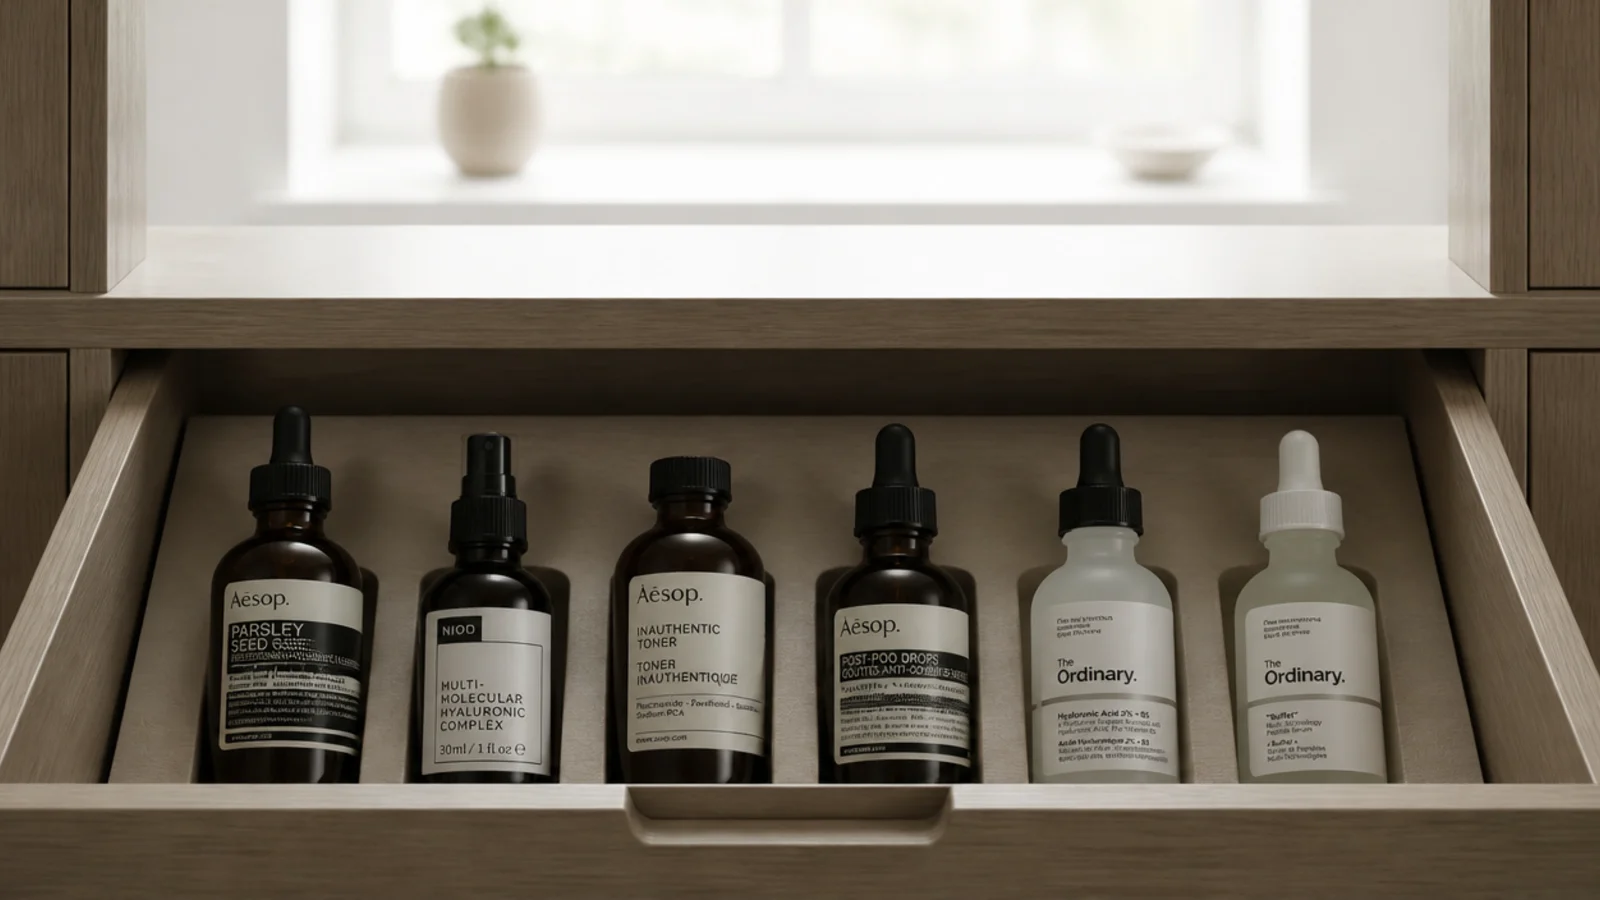
Before: vitamin C and a retinol standing in direct sun on a bright sill, one already turned amber.
After: both moved into a closed drawer, upright, in a fitted four-inch compartment.
Actives break down under light and warmth, which is exactly why they ship in amber glass. This is the most expensive habit I see, because it quietly wastes the products people spend the most on. Cost: nothing.
Makeover 6: The category bins that slowed mornings
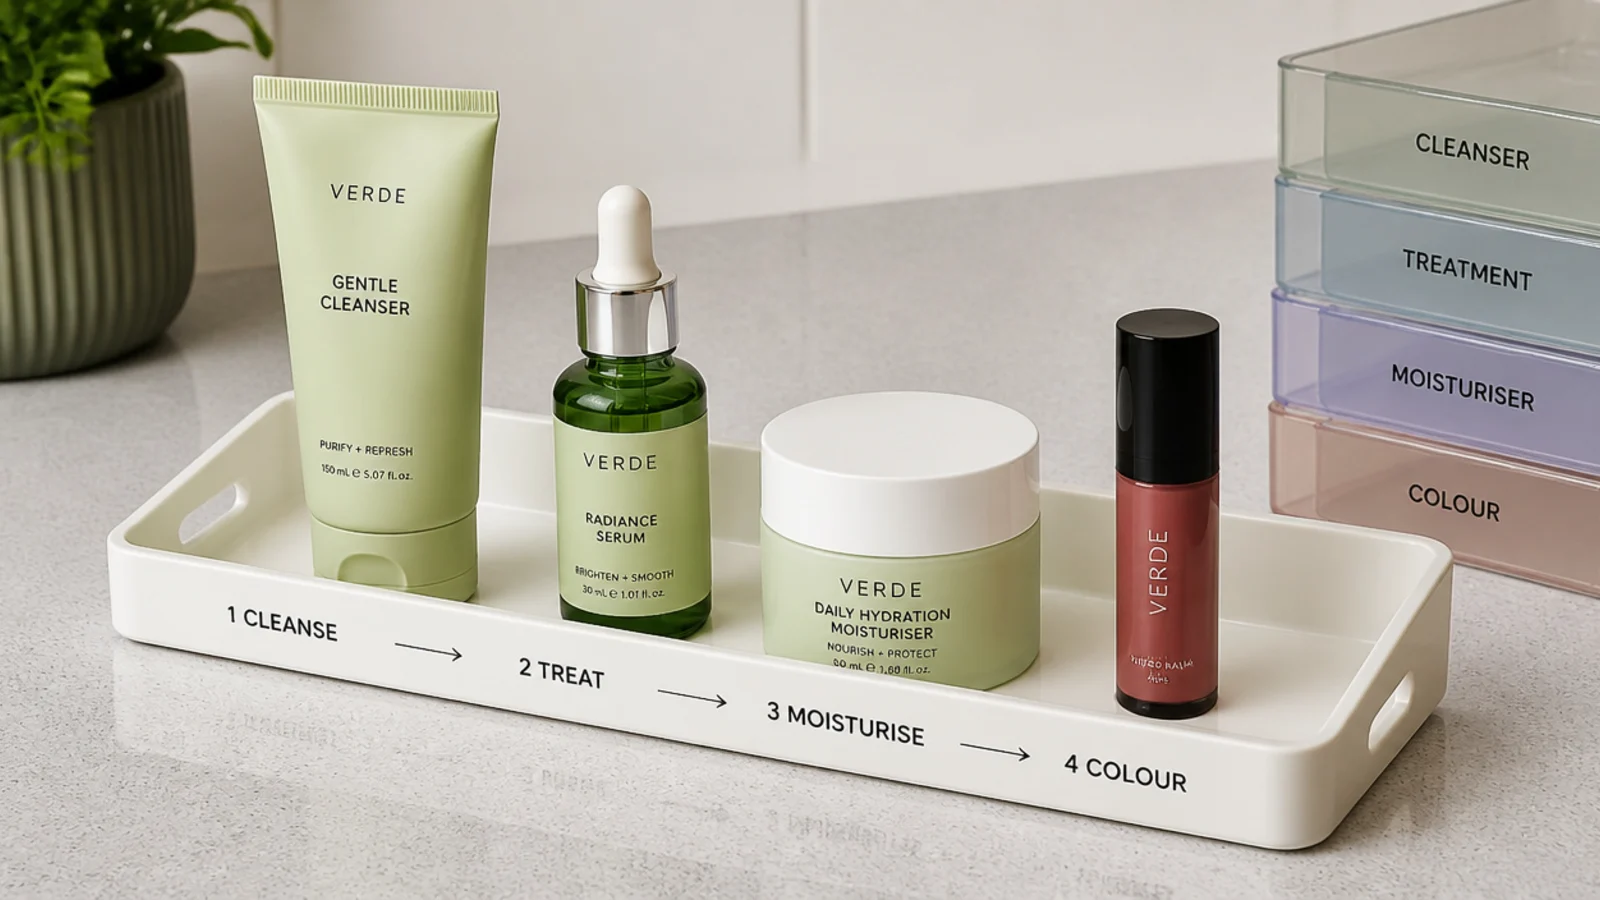
Before: four bins sorted by category — skincare, colour, hair, tools — so one step of a routine lived in three of them.
After: everything relaid in routine order, cleanse, treat, colour, left to right on a single tray.
Category sorting photographs beautifully and slows the morning down. Routine order means your hand travels one direction and nothing is picked up twice. Ten minutes, no cost, and three bins went to the charity shop.
Makeover 7: The palette pile
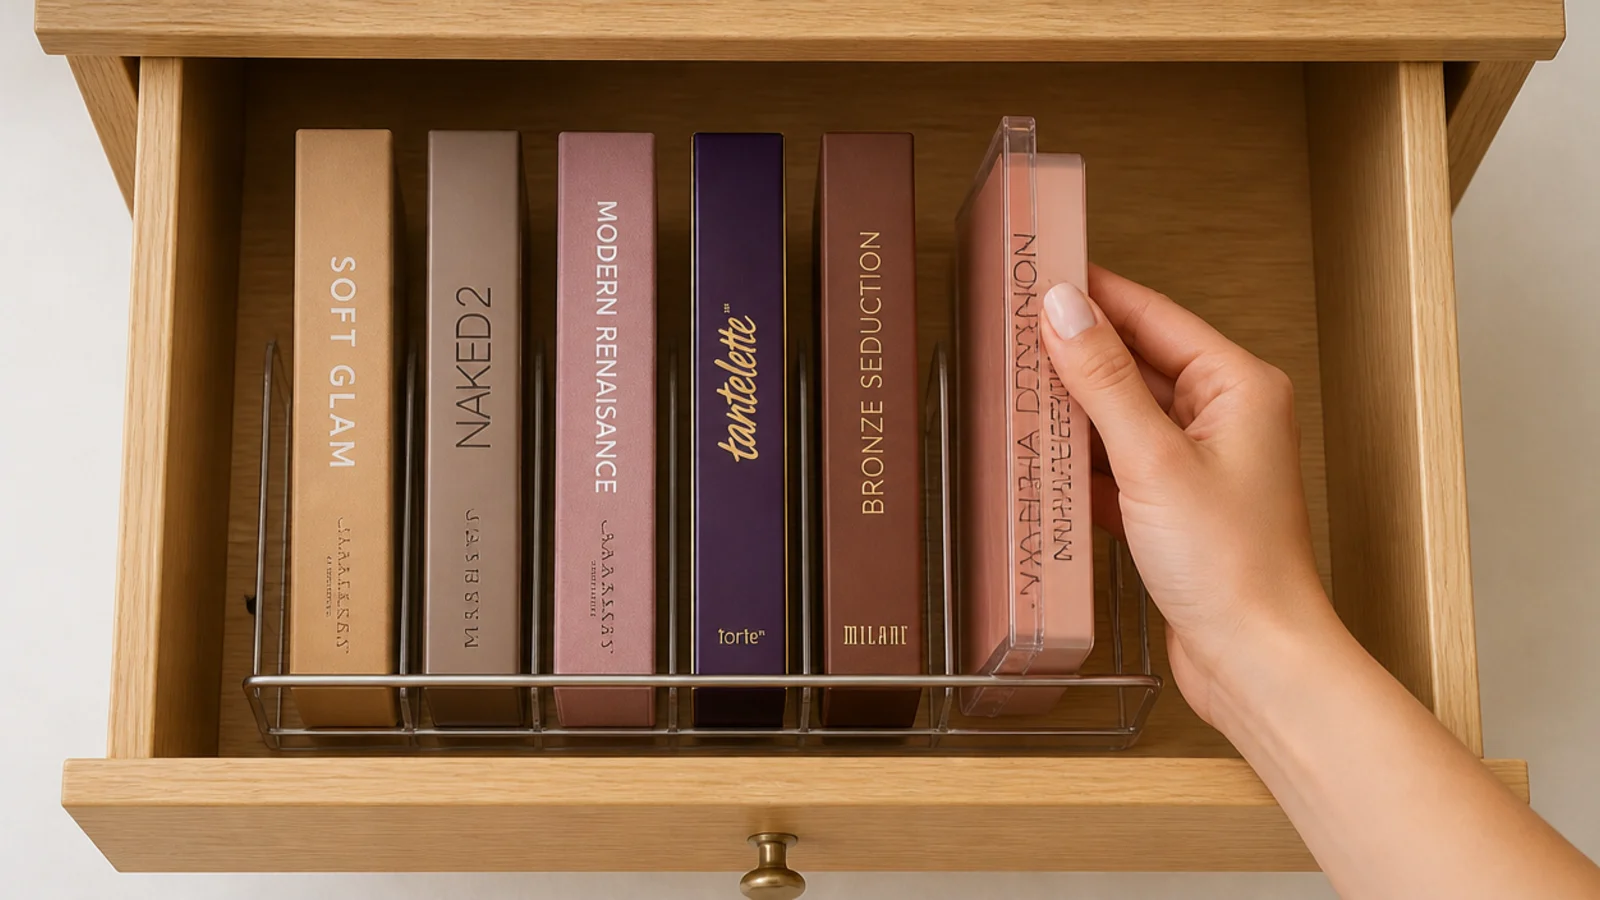
Before: six palettes stacked flat in a drawer, with only the top one in use for about a year.
After: a slotted rack holding them upright like books, every spine readable.
Measure your thickest palette and add a sixteenth of an inch for the slot. That one change brought half a collection back into use, which is cheaper than the shopping trip it prevented. Rack $22.
Makeover 8: The under-sink black hole
Before: an under-sink cabinet where the back third was unreachable and held three duplicates nobody knew about.
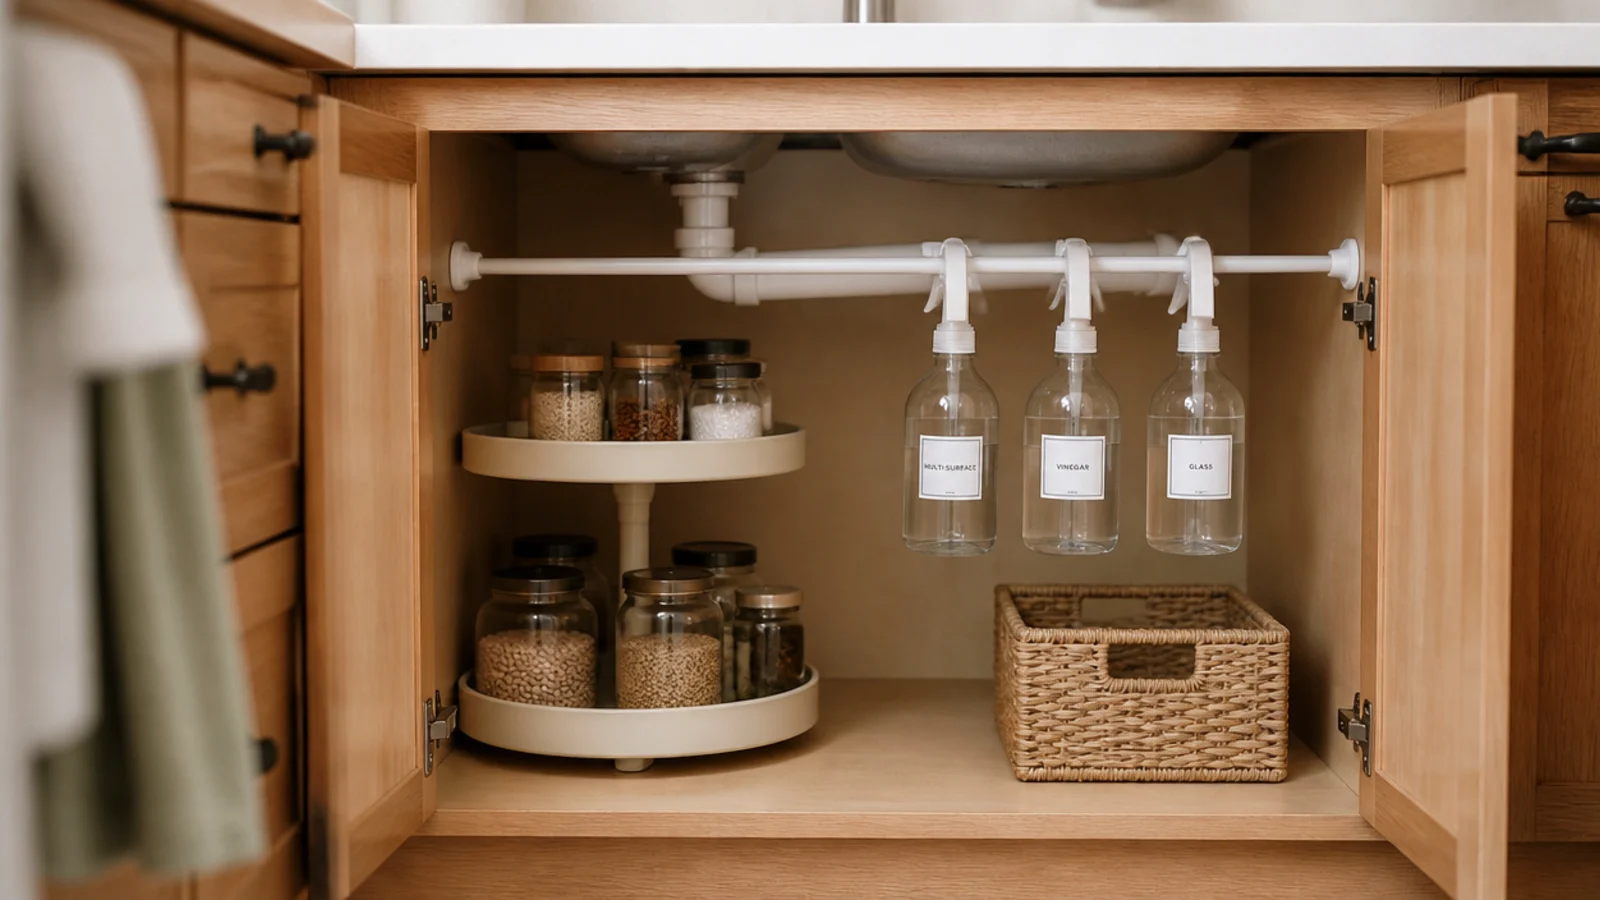
After: an 11-inch two-tier turntable with a raised rim, and a tension rod hanging spray bottles by their triggers.
The rod braces between the side walls with no screws, and lifting the sprays freed the cabinet floor for a basket. Every label faces outward or a turntable is just a round shelf. Total $26.
Makeover 9: The counter with thirty-two products
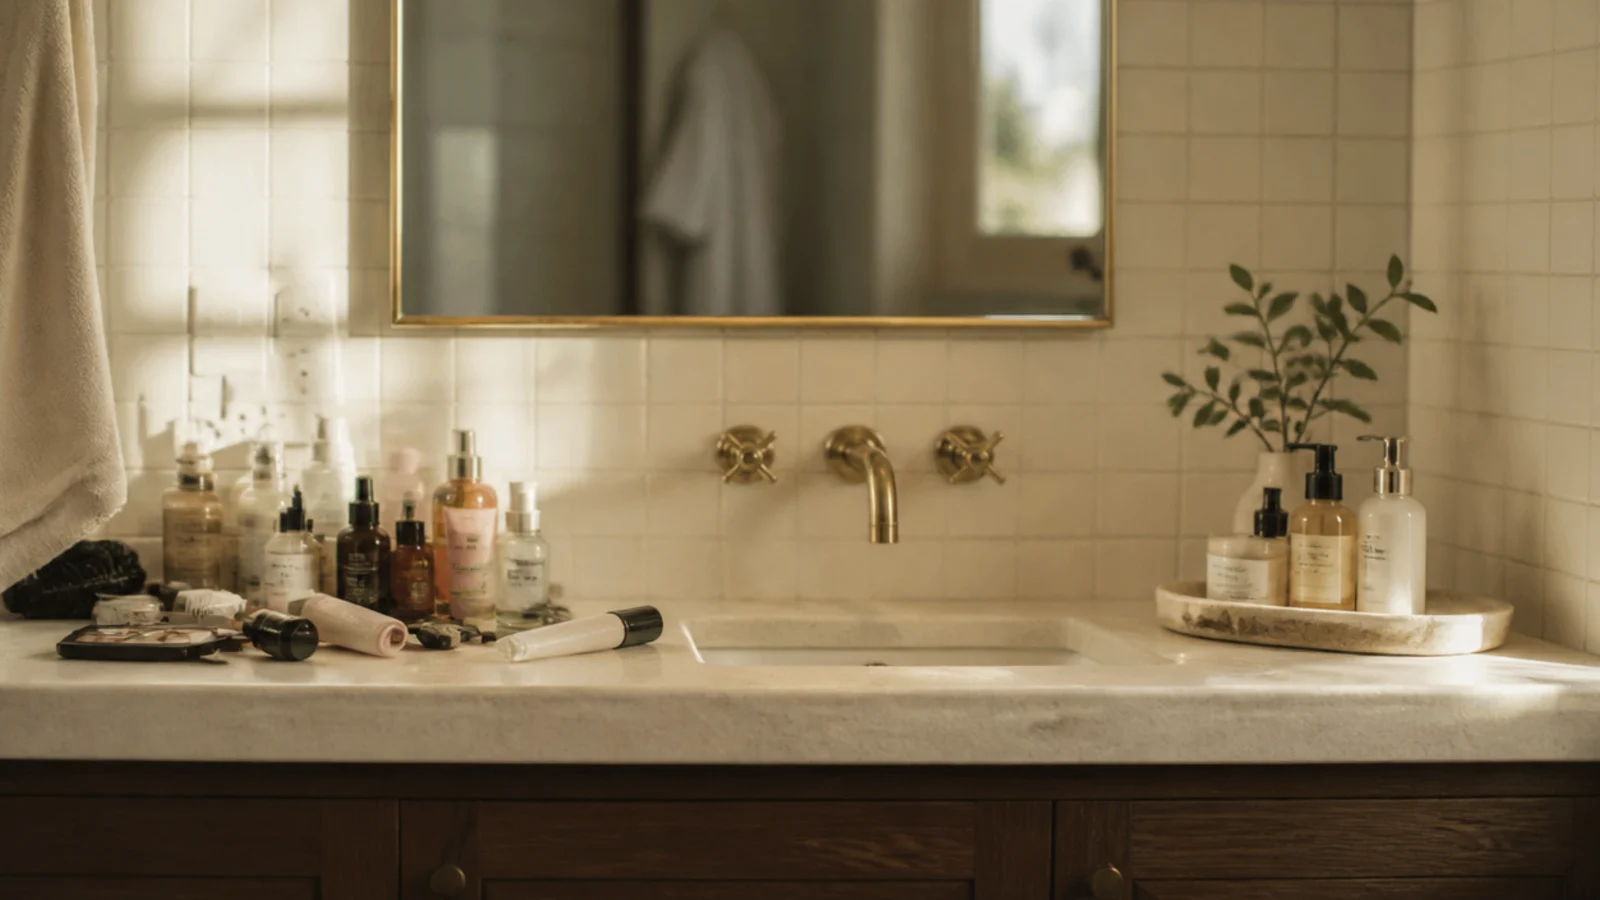
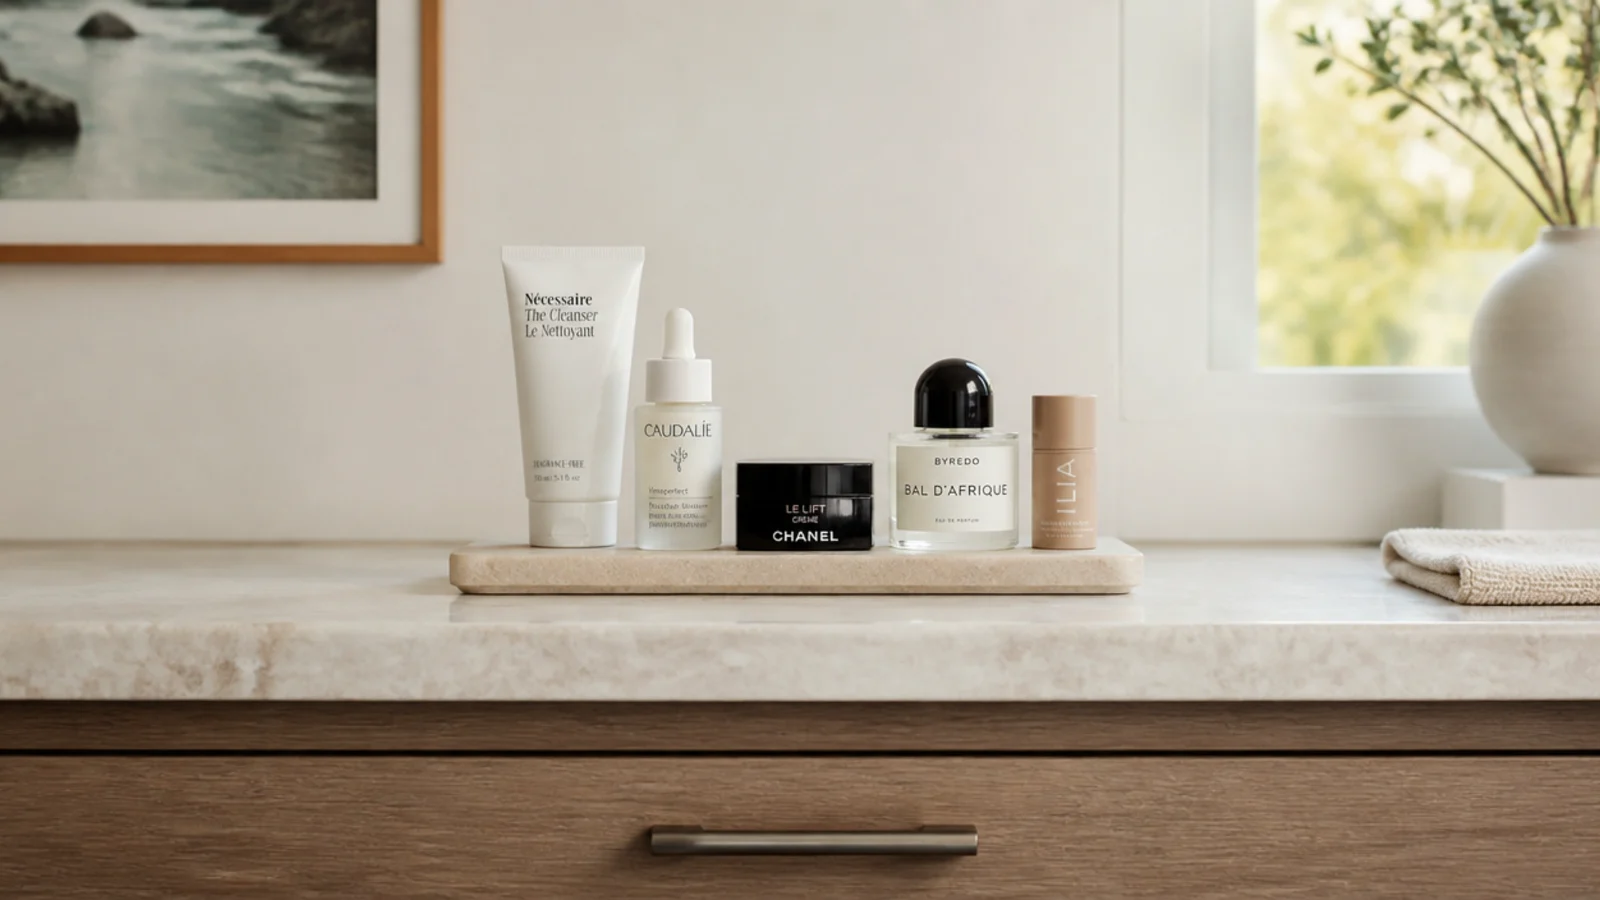
Before: thirty-two items on the counter, kept out on the logic that anything hidden gets forgotten.
After: five daily items on one tray, everything else in the drawer or the backstock box.
We ran the seven-day test first — move what you touch to one side for a week, and the truth is obvious by day seven. She reached for her good products more, not less. Cost: nothing.
Makeover 10: The tangled jewelry dish
Before: an open dish on the counter holding daily earrings and two chains, permanently knotted and dulled by bathroom dust.
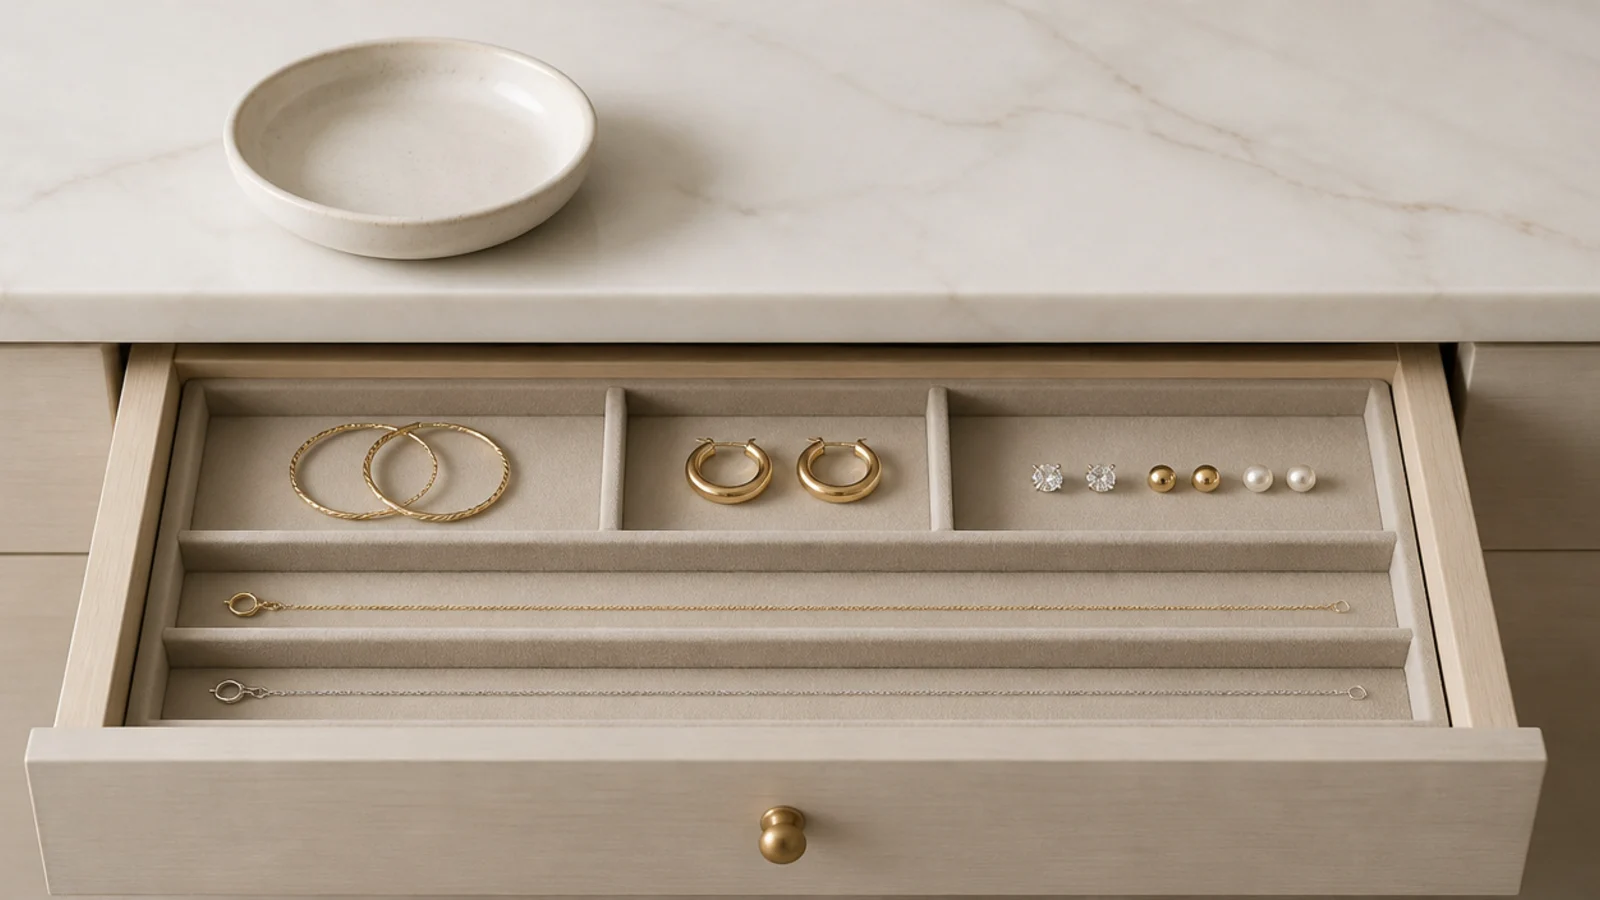
After: a compartmented tray inside the top drawer, one pair per square, chains laid flat and diagonally.
Coiled chains tangle with themselves; flat ones do not. The drawer also keeps dust off the metal, which matters more in a bedroom than people expect. Tray $24.
Makeover 11: The hot tools that owned the counter
Before: a dryer, a straightener and three cords living permanently across two-thirds of the counter.
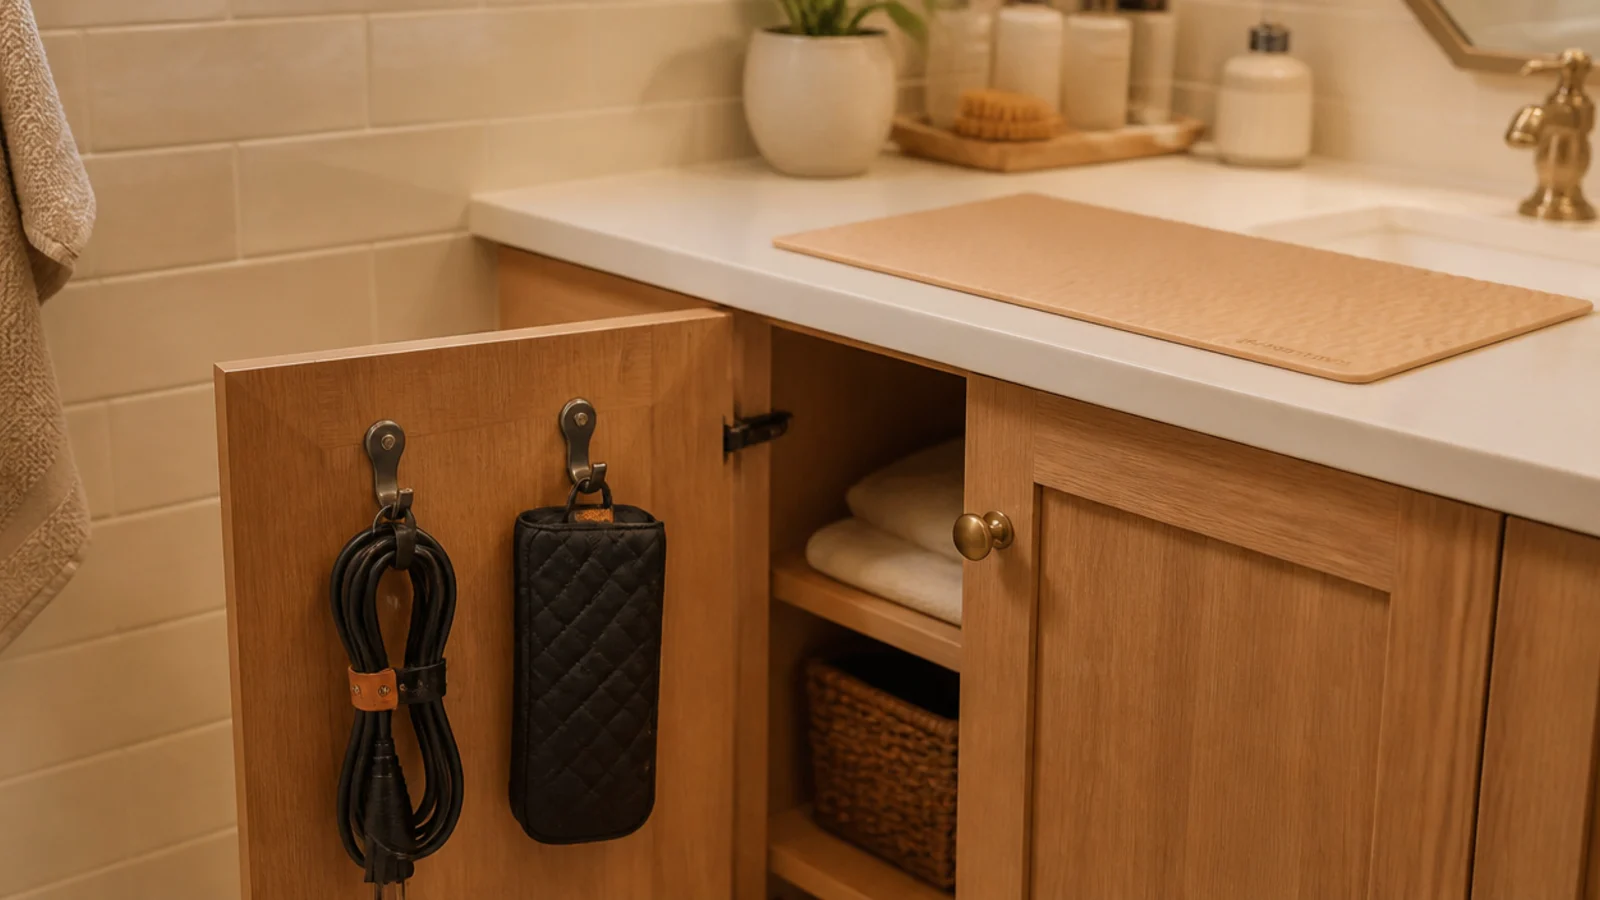
After: two adhesive hooks inside the cabinet door, a silicone heat mat on the counter, and every cord coiled palm-sized with a leather tie.
Nothing goes back until it is properly cold — acrylic softens at temperatures a straightener reaches easily. The inside of a cabinet door is the most wasted surface in any bathroom. Cost $24.
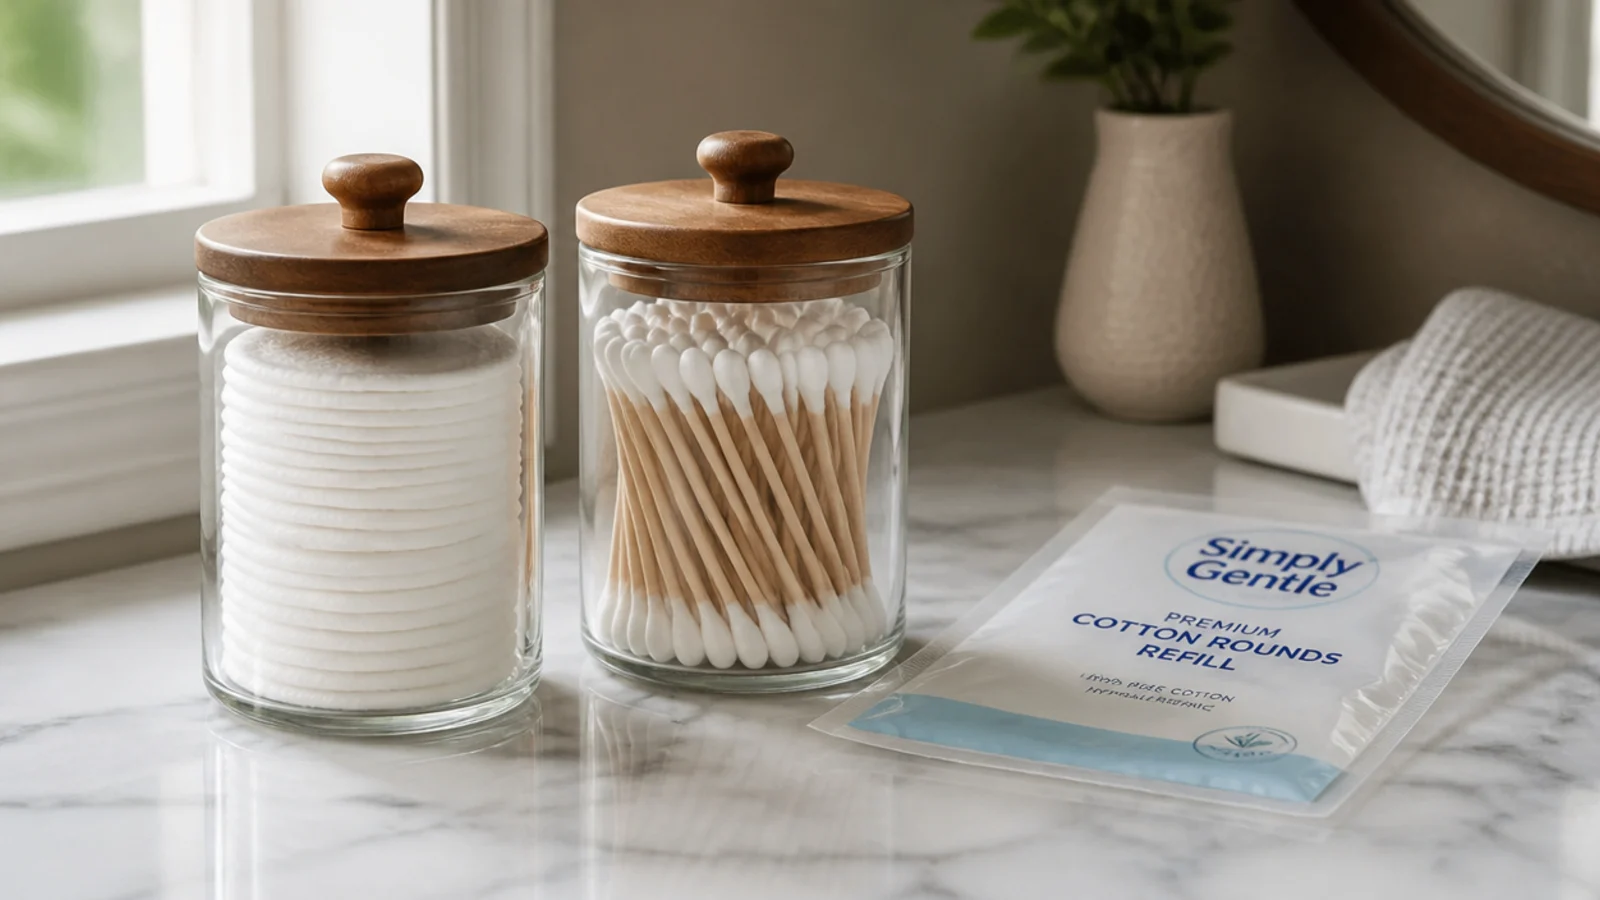
Makeover 12: The bulk cotton bag
Before: a slumped refill bag of cotton rounds taking a whole shelf and refusing to stand up.
After: two 4-inch glass canisters with wooden lids, refilled from the bulk pack stored elsewhere.
Jars stack and stand; bags do neither. It reads as a styling choice and is genuinely a space decision. Two canisters, $18 the pair, and the shelf gained back most of its depth.
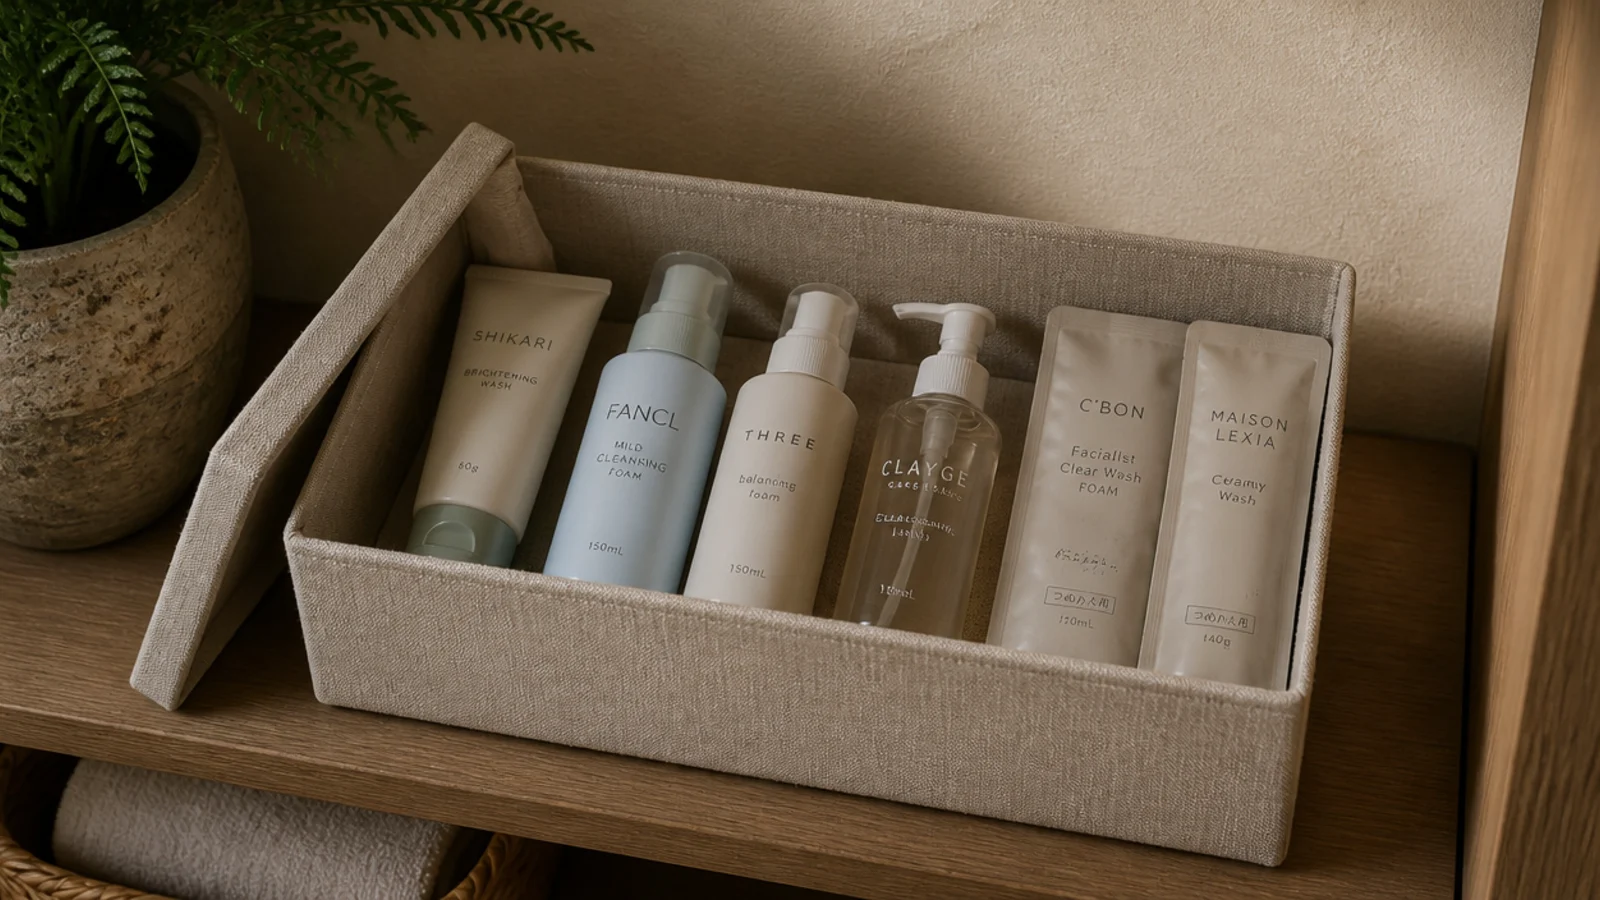
Makeover 13: The four half-used cleansers
Before: backups scattered across a bathroom cupboard, a bedroom drawer and a suitcase, so nothing read as a full shelf.
After: one lidded linen box holding every unopened product, stored away from the window.
The rule that made it stick: nothing new gets bought until the box is checked. She found two duplicates of something she had been about to reorder. Box $19, savings considerably more.
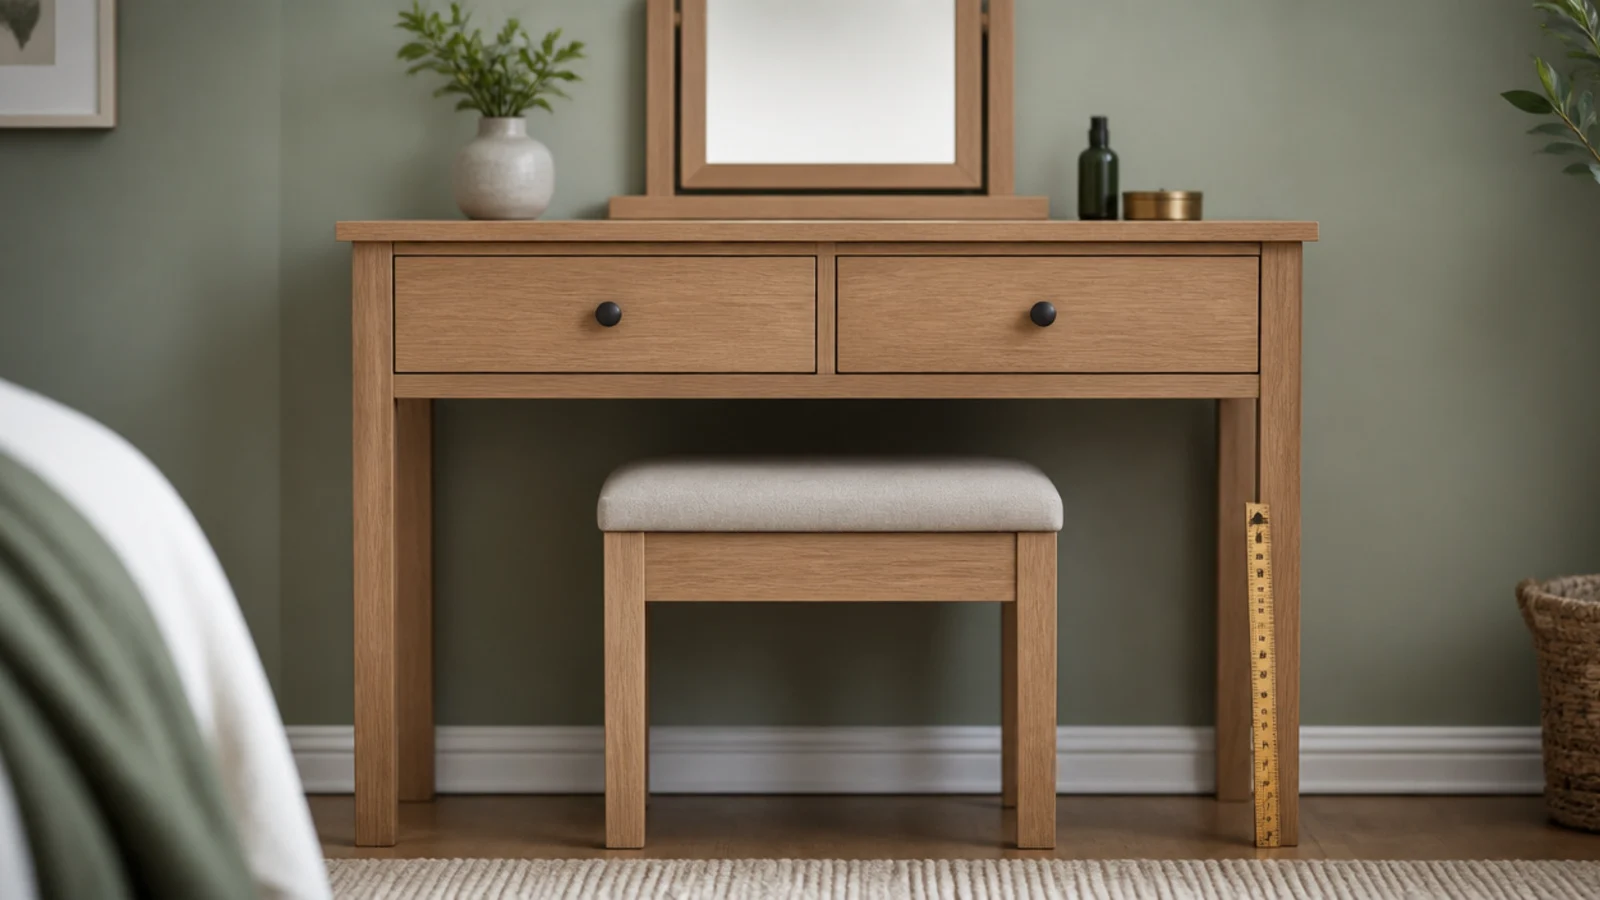
Makeover 14: The dressing table nobody sat at
Before: a beautiful table at 32 inches with a 6-inch centre drawer, so knees hit the frame and nobody ever sat down.
After: the centre drawer removed entirely and a lower stool at 18 inches, giving 25 inches of knee clearance.
Thirty inches to the surface is the number, with at least 24 inches of clearance beneath. A table you cannot sit at is a shelf. Stool $65.
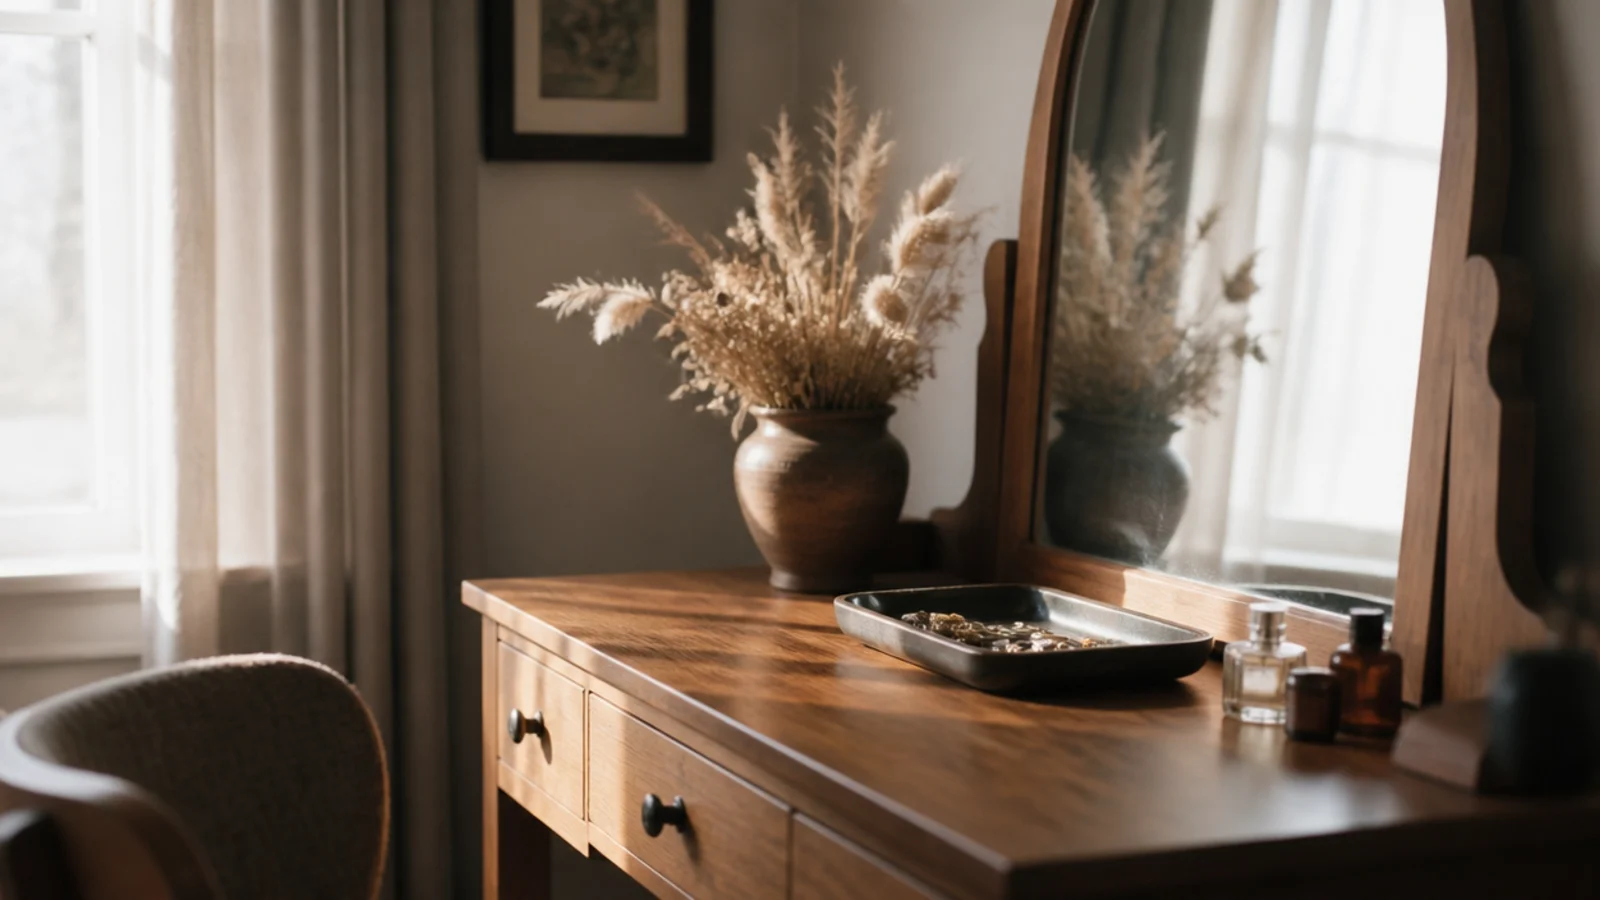
Makeover 15: The dark corner dressing table
Before: a dressing table facing a wall in the darkest corner of the bedroom, used maybe twice a month.
After: the same table moved perpendicular to the window, mirror unchanged.
Facing a window gives glare and a silhouette; backing onto it puts your own shadow across the mirror. Side light is the flattering version and it costs nothing. She now uses it daily, and we bought nothing at all.
Makeover 16: The shared bathroom stand-off
Before: two routines colliding on one 36-inch counter, with both parties quietly annoyed.
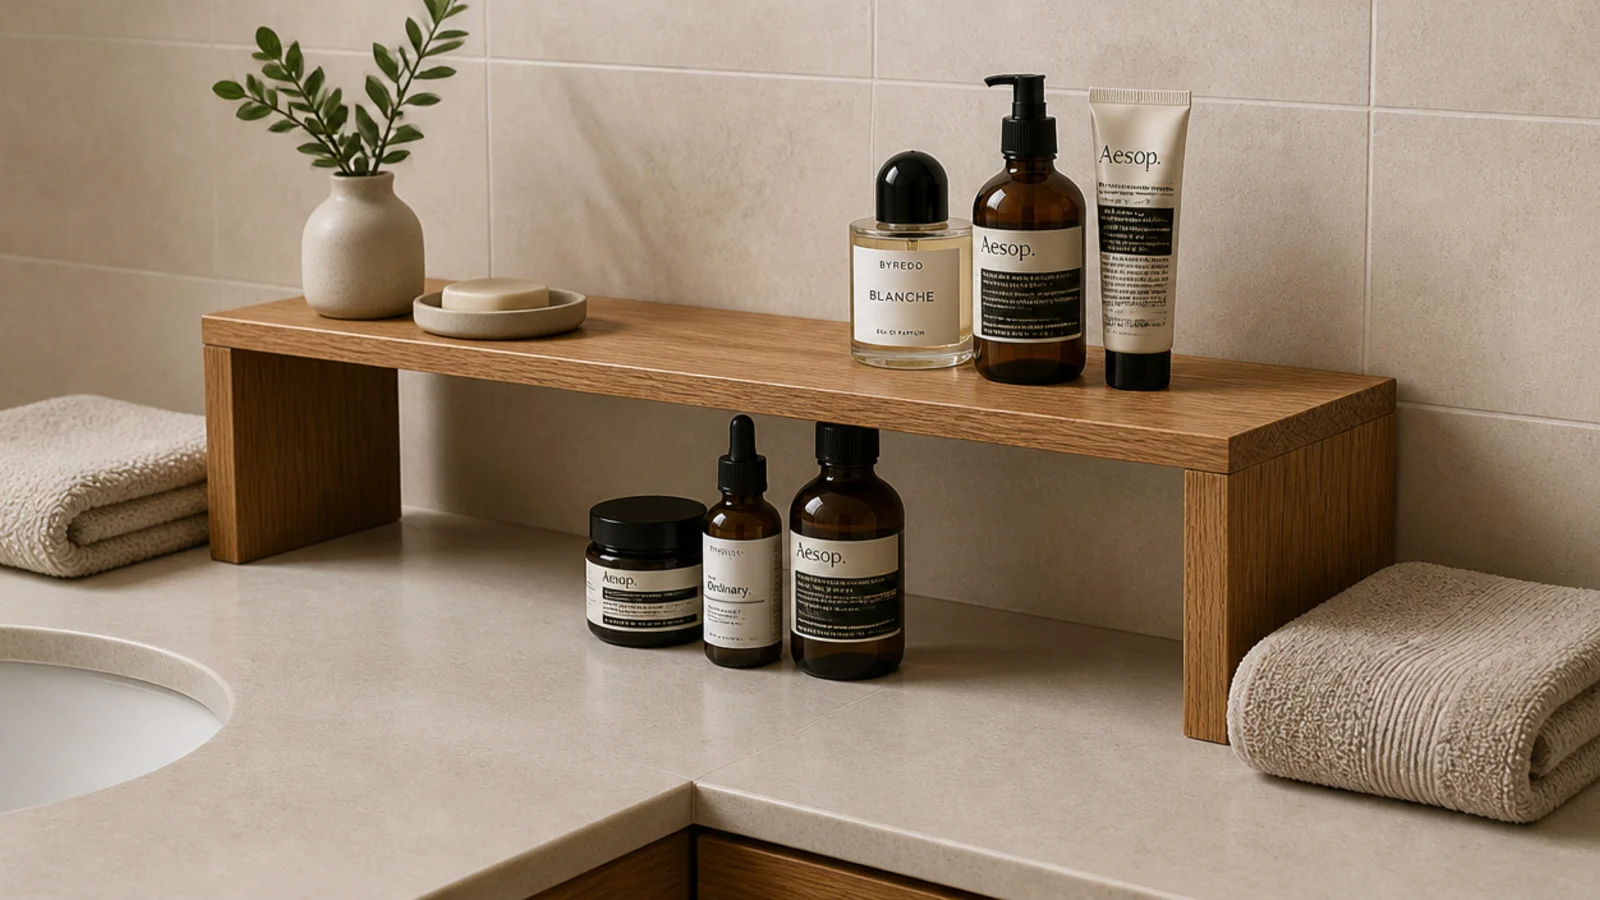
After: a 12-inch oak riser dividing the surface — one person underneath, one on top.
It is the cleanest way to split territory without a conversation, and it adds a second usable shelf in the same footprint. Look for at least 5 inches of clearance so pump bottles fit beneath. Riser $28.
Makeover 17: The drawer that smelled damp
Before: used washcloths going back into a closed drawer, giving the whole vanity a smell nobody could locate.
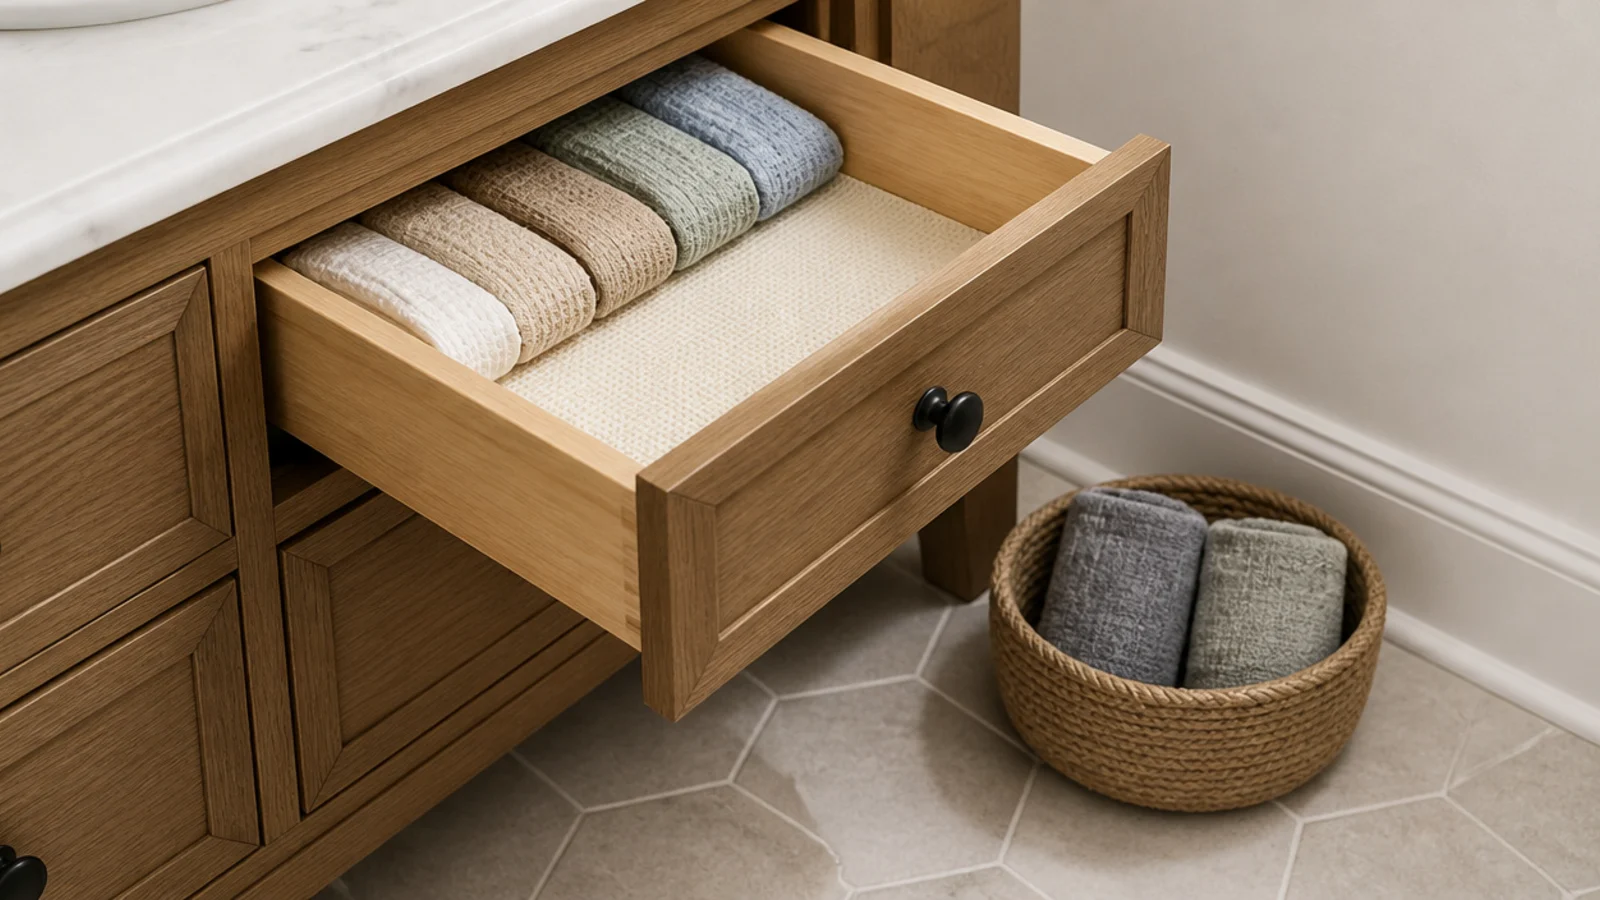
After: a 10-inch jute basket on the floor beside the table for anything damp, and a dry drawer above.
Sized for a week so it gets emptied rather than becoming storage. It is the fastest fix in this list and cost $14. The drawer liner got replaced too.
Makeover 18: The cold blue lit mirror
Before: a lit mirror sold as daylight at 6500K, which read blue, made warm skin look grey and still did not match real daylight.
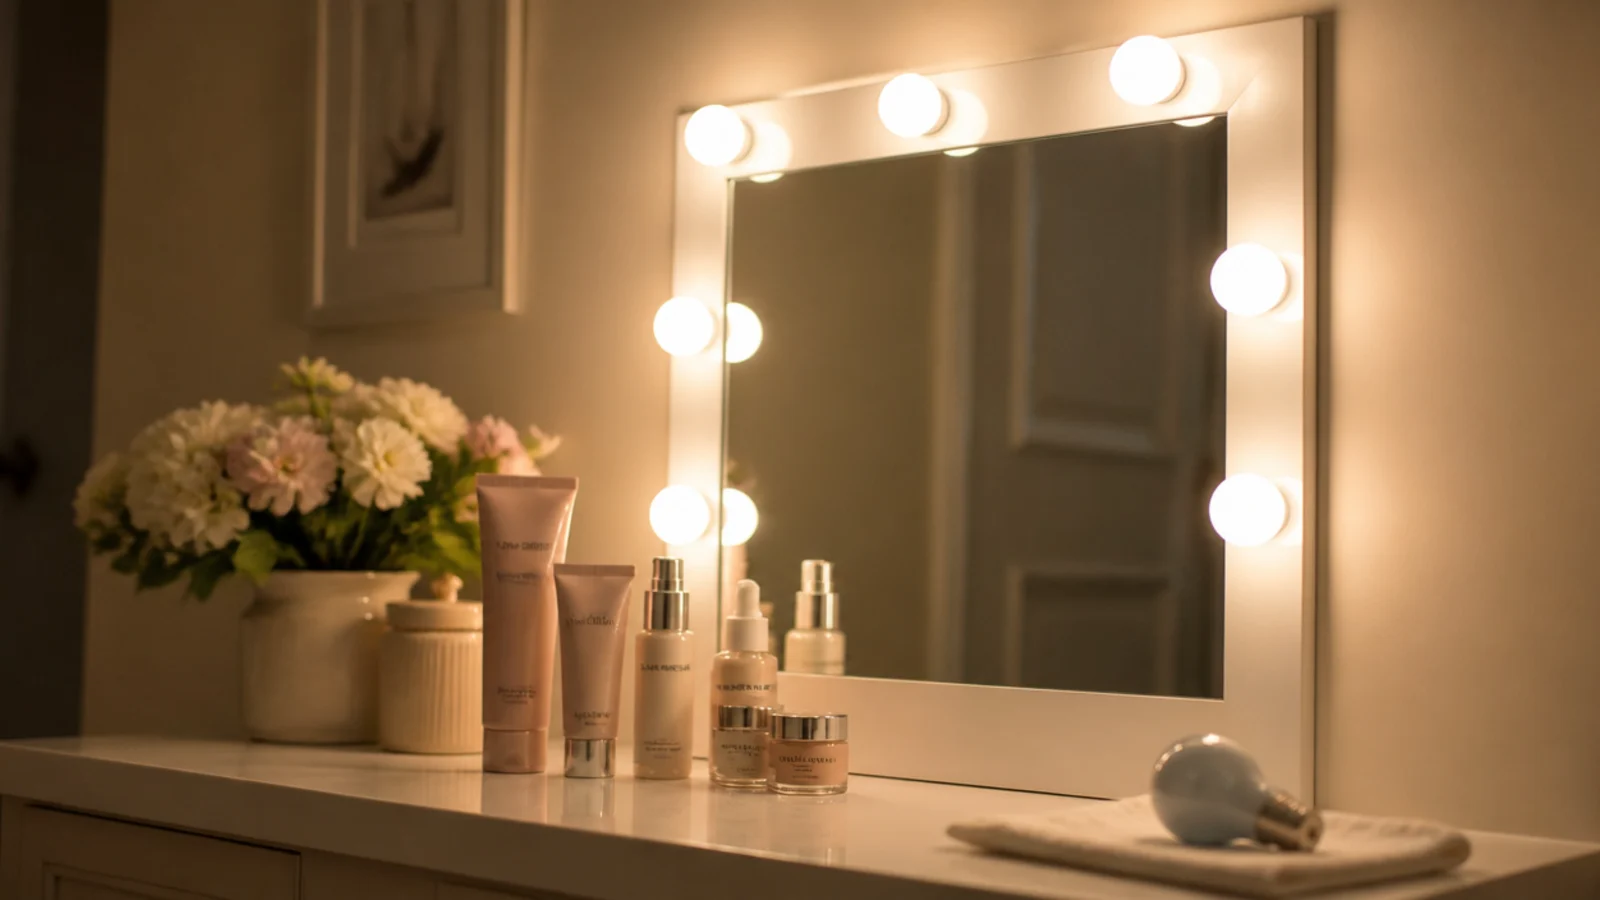
After: the same fixture swapped for 3500K with a high CRI rating.
Colour temperature decides whether light feels warm or cold; CRI decides whether colours read true. Anything cooler than 4000K greys out warm tones. Swap cost $140, the most expensive change here and the most noticeable.
Makeover 19: The stash nobody had dated
Before: a drawer holding mascara from two apartments ago and a foundation that had visibly separated.
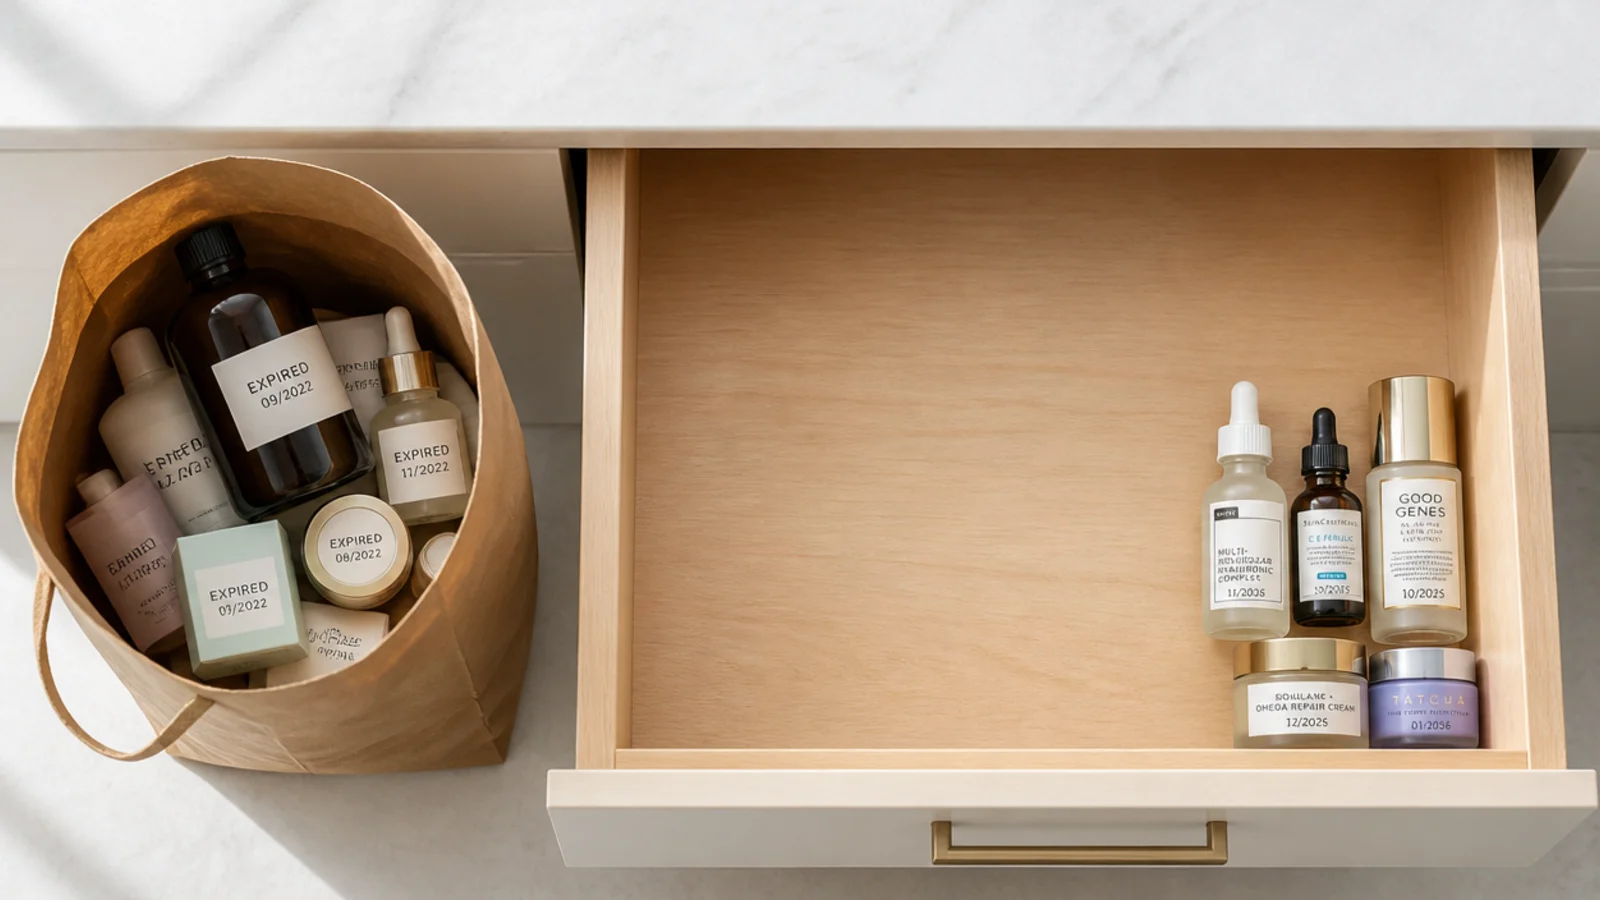
After: everything culled by date — mascara at three months, liquid foundation at six to twelve, powders at about two years.
Anything separated, discoloured or smelling different went regardless of date. Ten minutes freed half a drawer. It is the only step here that costs nothing and consistently returns the most space, as vanity organization mistakes covers in detail.
Makeover 20: The counter that re-cluttered weekly
Before: a vanity that was immaculate on Sunday and covered again by Thursday, every single week.
After: one square of counter left deliberately empty as a landing pad, and a one-in-one-out rule on colour products.
Stray items need somewhere legitimate to go or they land on top of your products. Keep a third of every drawer empty for the same reason. Free, and the only makeover here that fixed the relapse rather than the mess.
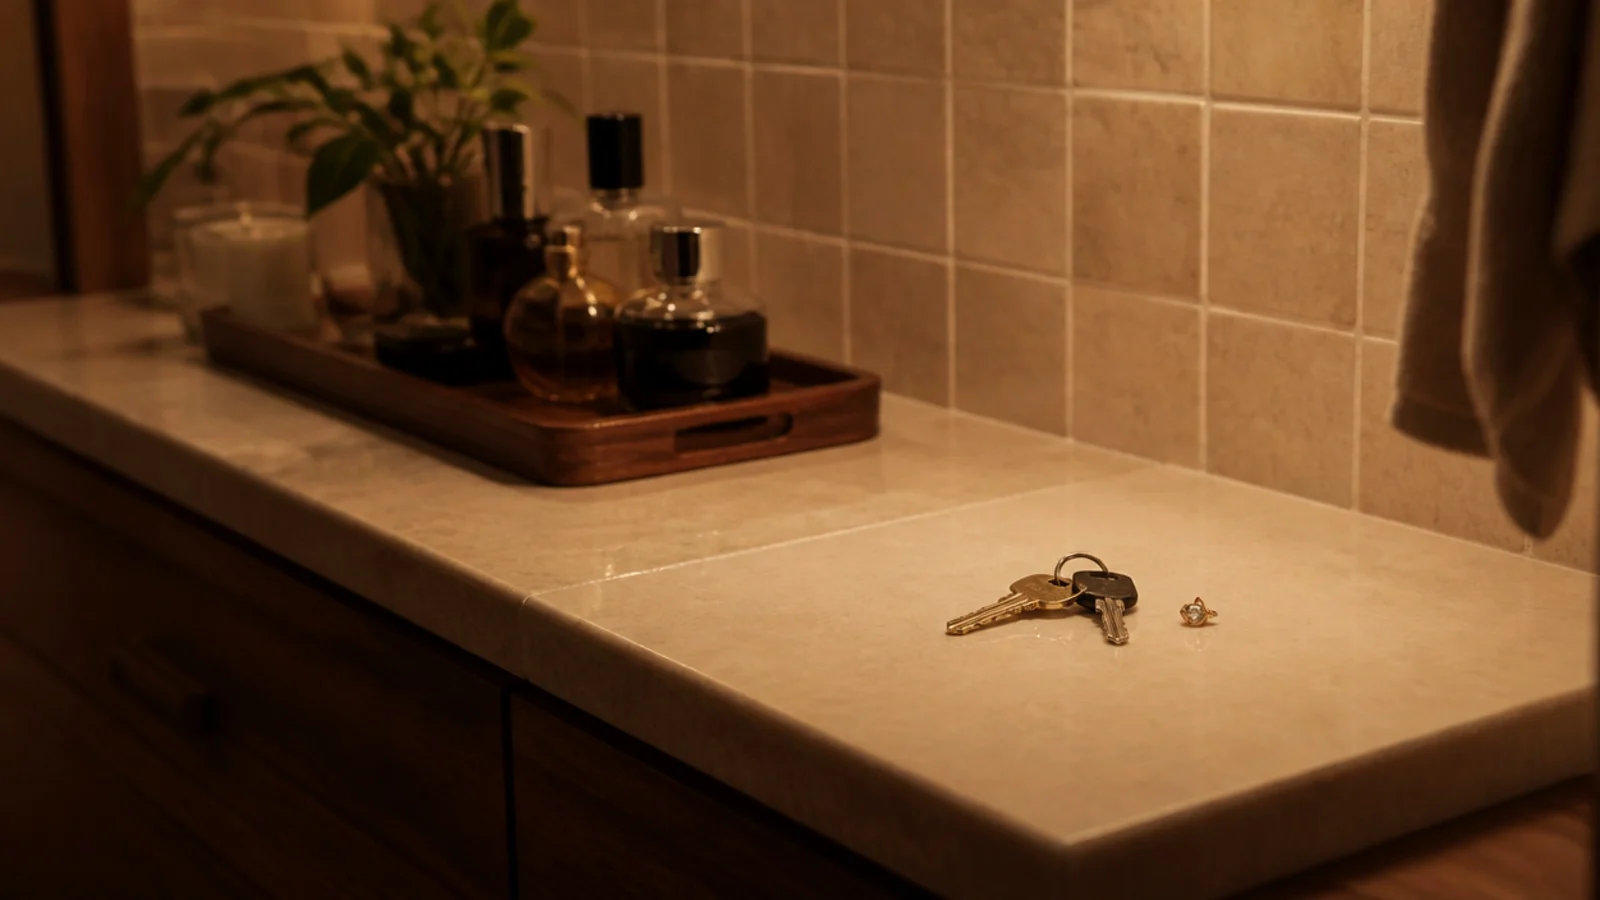
Vanity Before and After: What I'd Do Differently Now
Looking at twenty in a row, the pattern is uncomfortable: nearly everything that worked was subtraction or rearrangement, not purchase.
Seven cost nothing. The changes that cost real money were physical faults — no drawer, no knee clearance, light from the wrong direction — where organizing could never have helped. Everything else was removing products, moving furniture a quarter turn, or laying things out in the order they get used.
If I could go back, I would stop treating an empty surface as wasted. I spent years adding storage to vanities that were already over-supplied, and the ones I am proudest of now are the ones where two-thirds of the products left the room.
The other thing I would change is the order of operations. I used to organize first and fix the light and the measurements later, which meant doing it twice. Now I check the drawer depth, the knee clearance and where the light lands before a single container gets bought.
Frequently asked questions
What is the cheapest vanity makeover that actually works?
Rearranging into routine order and running a date cull. Both are free, take under half an hour together, and they change how a vanity functions more than any purchase. Across these twenty makeovers, those two steps appear more often than anything I bought, and several of the corners needed nothing else at all.
How long does a vanity makeover take?
A counter-only reset takes about thirty minutes, including emptying everything onto a towel first. Adding measured drawer inserts is an afternoon once you allow for measuring and a shopping trip. Changing the lighting is under an hour with clip-on bars, or an electrician visit if you are hard-wiring sconces.
Should I replace my vanity or reorganize it?
Reorganize first. Most vanities I have fixed had enough storage and the wrong allocation of it — daily items buried, seasonal items at arm's reach. Replace only when the drawer is under two inches deep, the knee clearance is below twenty-four inches, or there is genuinely no drawer at all.
What single change makes the biggest visual difference?
A tray. It contains spills, and it turns five or six separate objects into one composition, which is what the eye reads as tidy. In makeover after makeover, the counter photograph changes more from adding one tray and removing three products than from any organizer that costs ten times as much.
How do I keep a vanity tidy after the makeover?
Leave a third of every drawer empty and keep one counter square clear as a landing pad. New purchases and stray items need somewhere to go, and if there is no space they land on top of your products. Add a weekly lift-and-wipe and a twice-yearly date cull, and it holds.
Try the free version first on whichever vanity annoys you most: empty it onto a towel, cull by date, relay it in routine order and see what is genuinely left over. If it still does not work after that, the fault is physical and worth spending on. The measured build-out is in vanity drawer organization, the surface method is in vanity tray styling, and small closet before and after runs the same experiment on a wardrobe. Save the pin before you buy anything new.
Want more like this? Browse all 15 vanity organization guides — they all use the same measurements and budget tiers.
Pin it for later
Save this to your Vanity Organization board
Pin it now so it is waiting for you when the tape measure comes out — and so the next person hunting for this idea can find it too.
Save this pinKeep going
More ideas worth saving while you have the tape measure out.