Shoe Storage Ideas · Listicle
20 Genius Shoe Storage Ideas for a Cozy Home

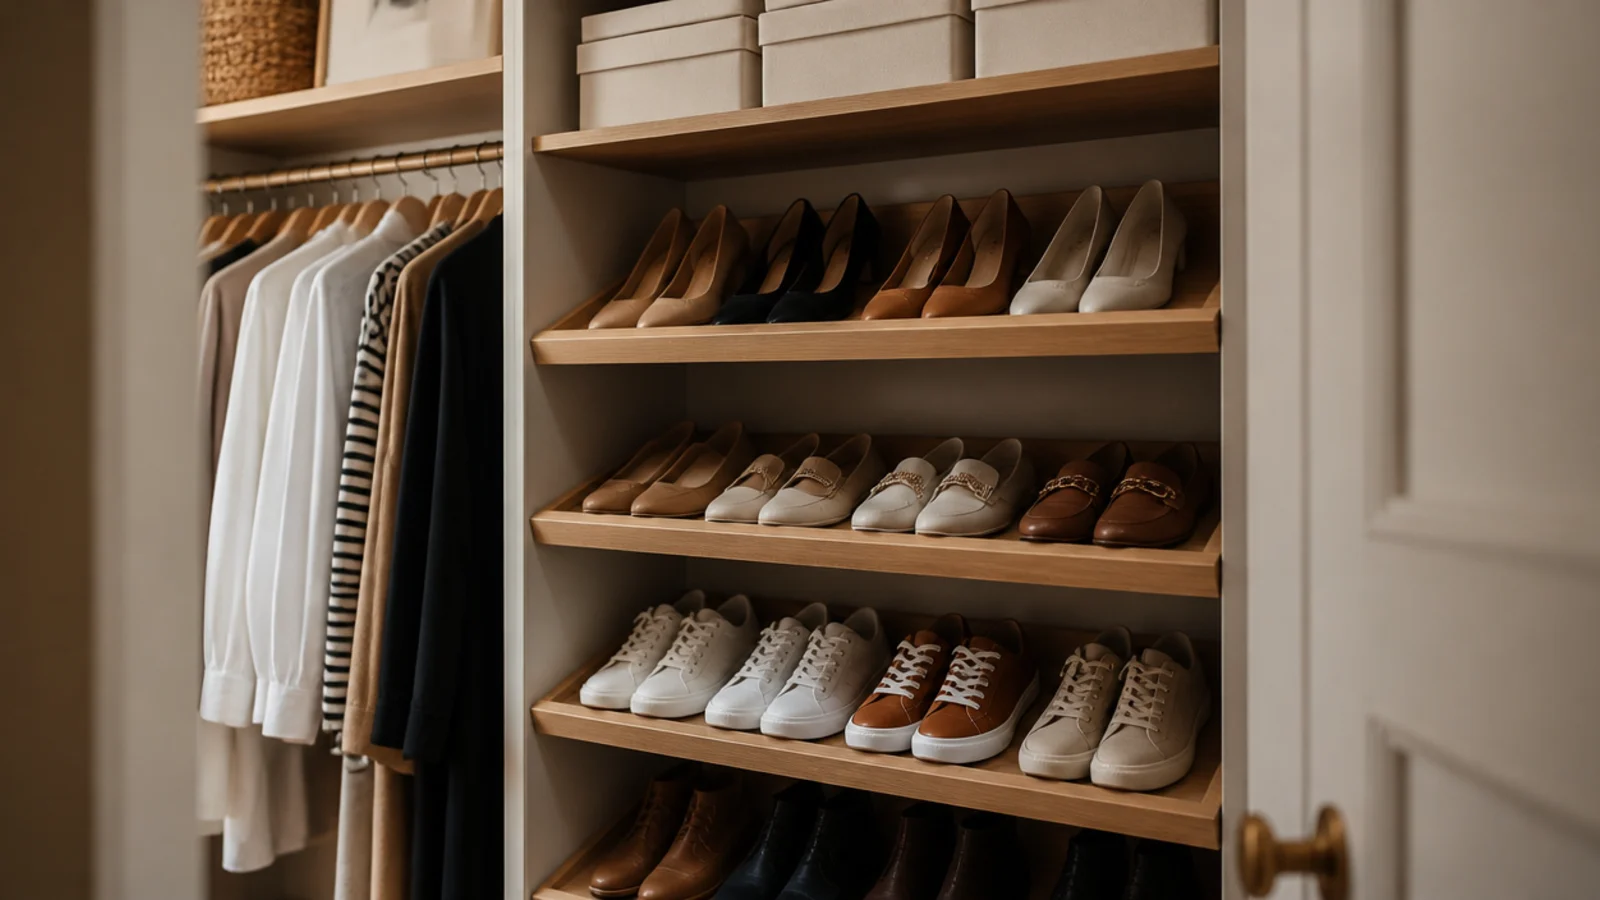
A shoe storage closet is the cheapest square footage in the house, and most of it is wasted on one fixed shelf and a rod. I have rebuilt four of them now and the pattern never changes: the floor fills with a pile, the shelf holds three pairs and a bag of chargers, and two feet of air sits doing nothing above the hanging clothes. These 20 layouts put that air to work.
In this guide22 sections — tap to openHide
- 1.Measuring a shoe storage closet before you buy a single shelf
- 2.Tilt the closet shelves to 45 degrees
- 3.Swap fixed shelves for adjustable track shelving
- 4.Double-hang one side and free a shoe column
- 5.Floor cubbies sized one pair each
- 6.Shelf dividers that stop the lean
- 7.A pull-out shoe drawer in the closet base
- 8.Hanging fabric shelves on the rod
- 9.Over-the-door racks on the closet door
- 10.Drop-front boxes for the pairs you protect
- 11.A dedicated boot shelf at 16 inches
- 12.Clip hangers for knee-high boots
- 13.The top shelf as a seasonal archive
- 14.Two-tier rails under the short-hang section
- 15.A slim rolling pull-out in the side gap
- 16.Turn a whole coat closet into a shoe closet
- 17.Motion-sensor LED strips inside the closet
- 18.Slatted shelves that let shoes dry out
- 19.Risers that double a deep shelf
- 20.Toe-kick drawers under a built-in closet
- 21.One shelf you keep permanently empty
- 22.Mistakes to Skip
Measuring a shoe storage closet before you buy a single shelf
Every reach-in ships with the same two things — one rod at 66 inches and one shelf above it. That layout suits a wardrobe from 1962 and nothing you own now.
Start with three measurements.
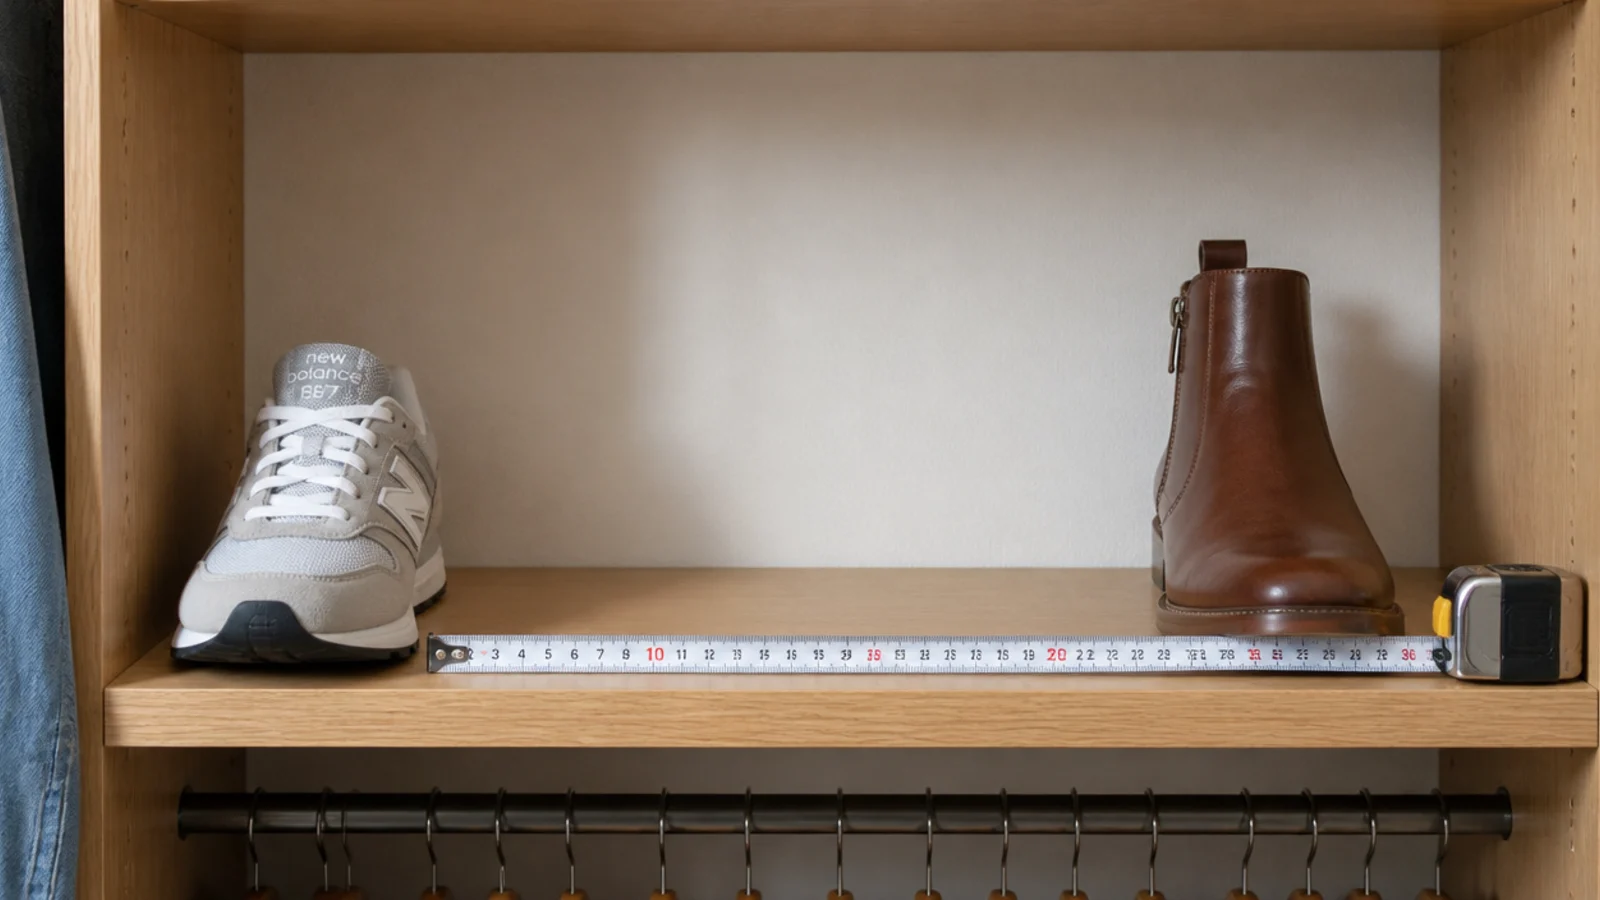
Shoe length. A men's size 12 sneaker is about 12.5 inches. Flat storage needs 13 inches of depth. Tilted at 45 degrees, nine inches is enough, and in a 24-inch-deep closet that saved depth is a whole extra column.
Tier height. Six inches clears flats and sneakers. Ankle boots need 14 to 16 inches, knee-high boots need 20. Put the tall bays at the bottom and stack the six-inch tiers above them.
Hanging height. Shirts and jackets need 40 inches, folded trousers 48, long dresses 68. Measure your longest garment, then count the dead air underneath. In most closets it is 24 to 30 inches, which is three shoe tiers you already own and are not using.
Then decide what genuinely belongs here. Two to three pairs per person plus one seasonal set is the honest daily number. Everything past that is archive, and archive belongs in bins on the top shelf rather than at eye level.
Budget tiers below: $ under $60, $$ $60–$150, $$$ $150 and up.
1. Tilt the closet shelves to 45 degrees
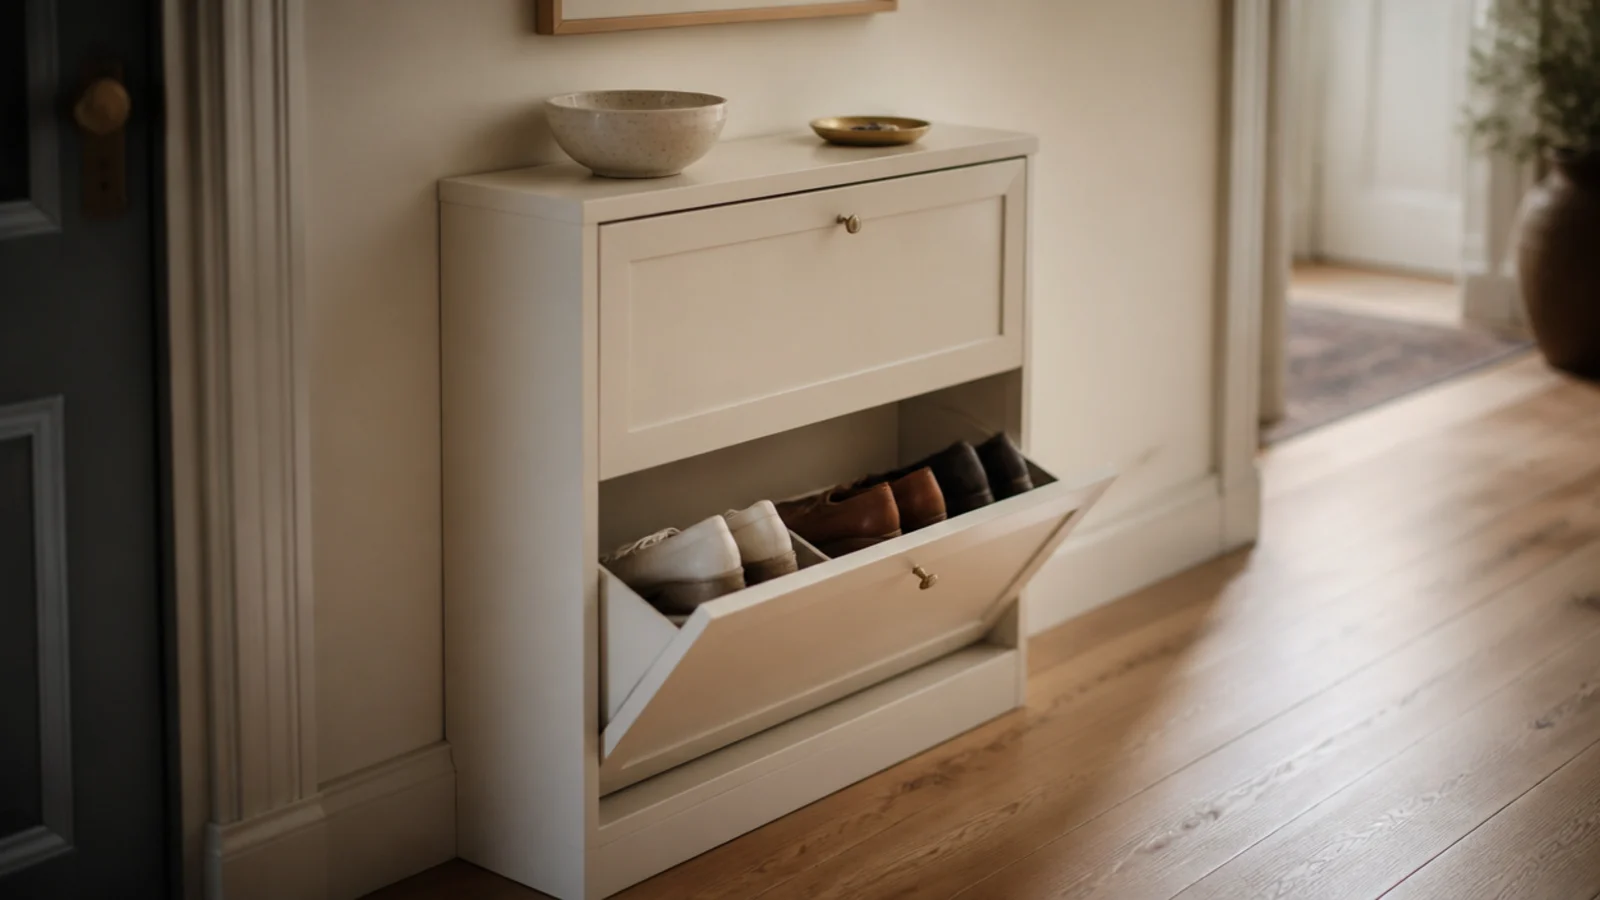
A flat shelf needs 13 inches to hold a size 12 sneaker. Angle the same shelf to 45 degrees and nine inches does it.
In a 24-inch reach-in that difference is transformative: tilted shelves on the back wall leave 14 inches clear in front for a rolling drawer or a laundry basket. Buy angled brackets, or rip a 1x2 cleat and screw it along the shelf front as a toe stop. Sneakers and flats tilt beautifully; heels do not, so keep one flat shelf for those. $
2. Swap fixed shelves for adjustable track shelving
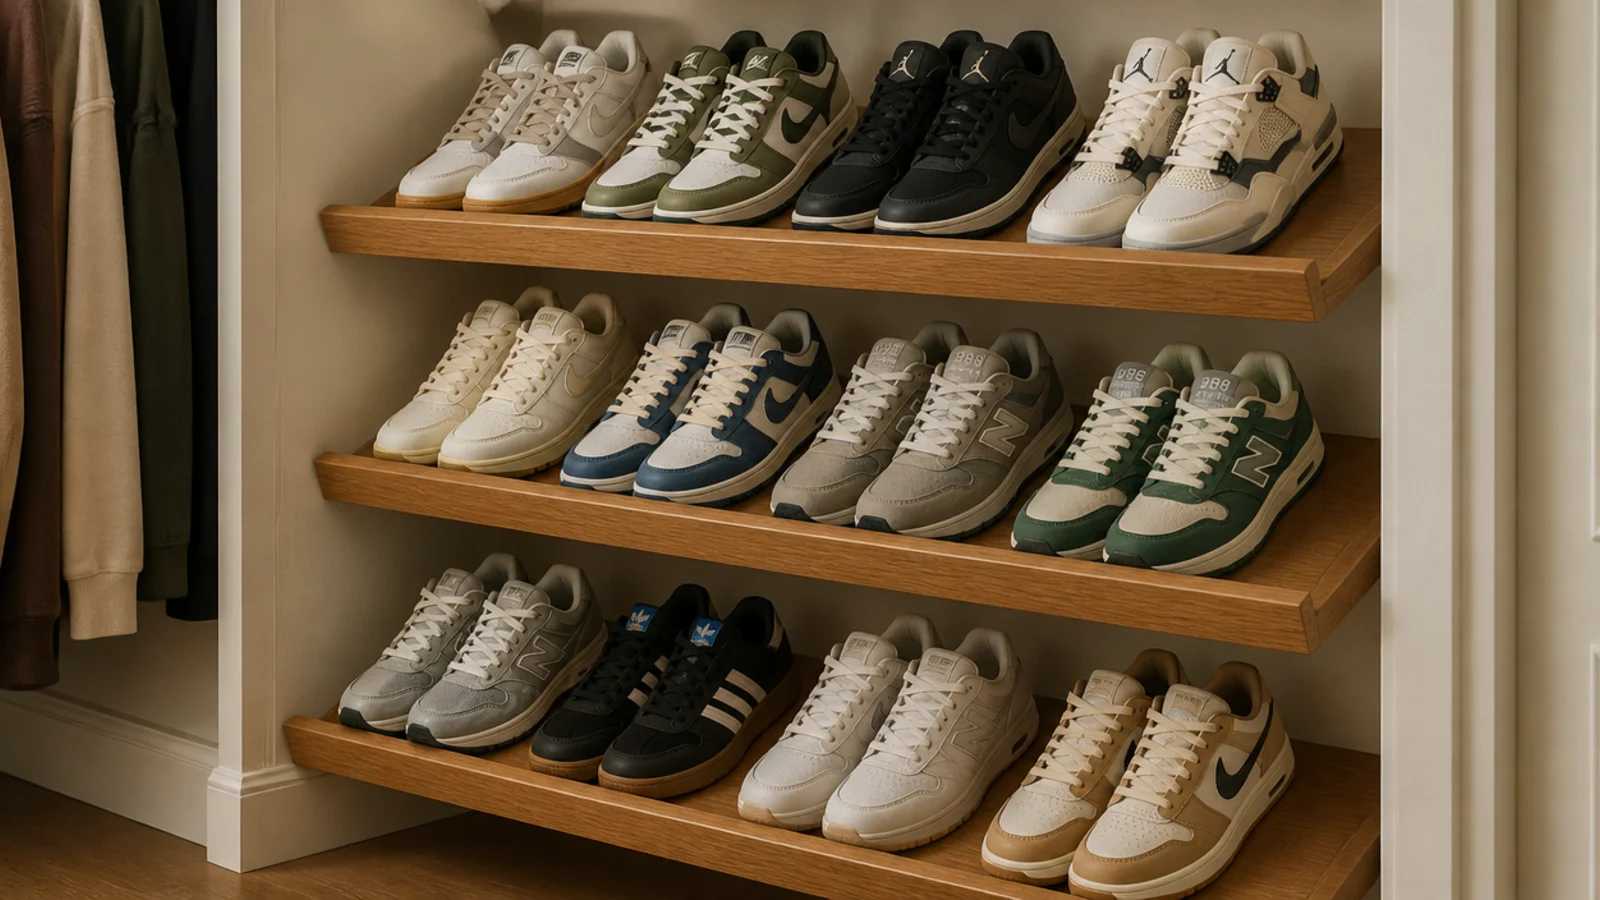
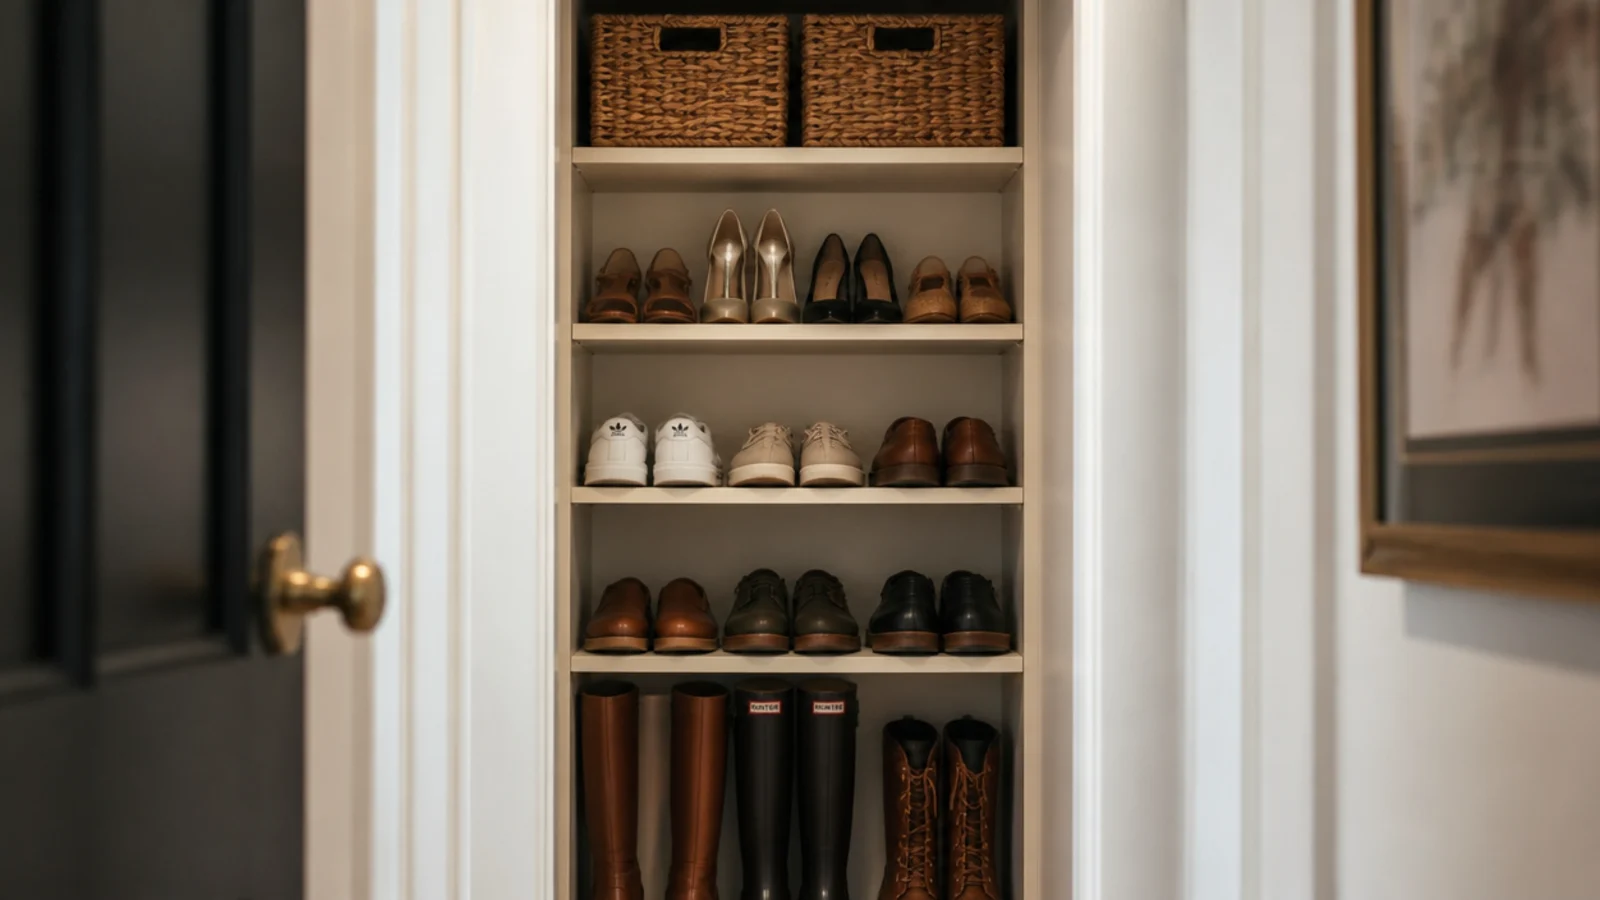
Most closets ship with one fixed shelf at 68 inches and nothing else, which is exactly why the floor becomes the shoe rack.
Two vertical steel standards screwed into studs, with clips and 12-inch boards, let you set every gap to the shoe it holds: six inches for flats, 16 for boots. Reconfiguring takes ten minutes when the household changes, which it always does. Standards run about $12 each and carry far more than a shelf resting on plastic pegs. $$
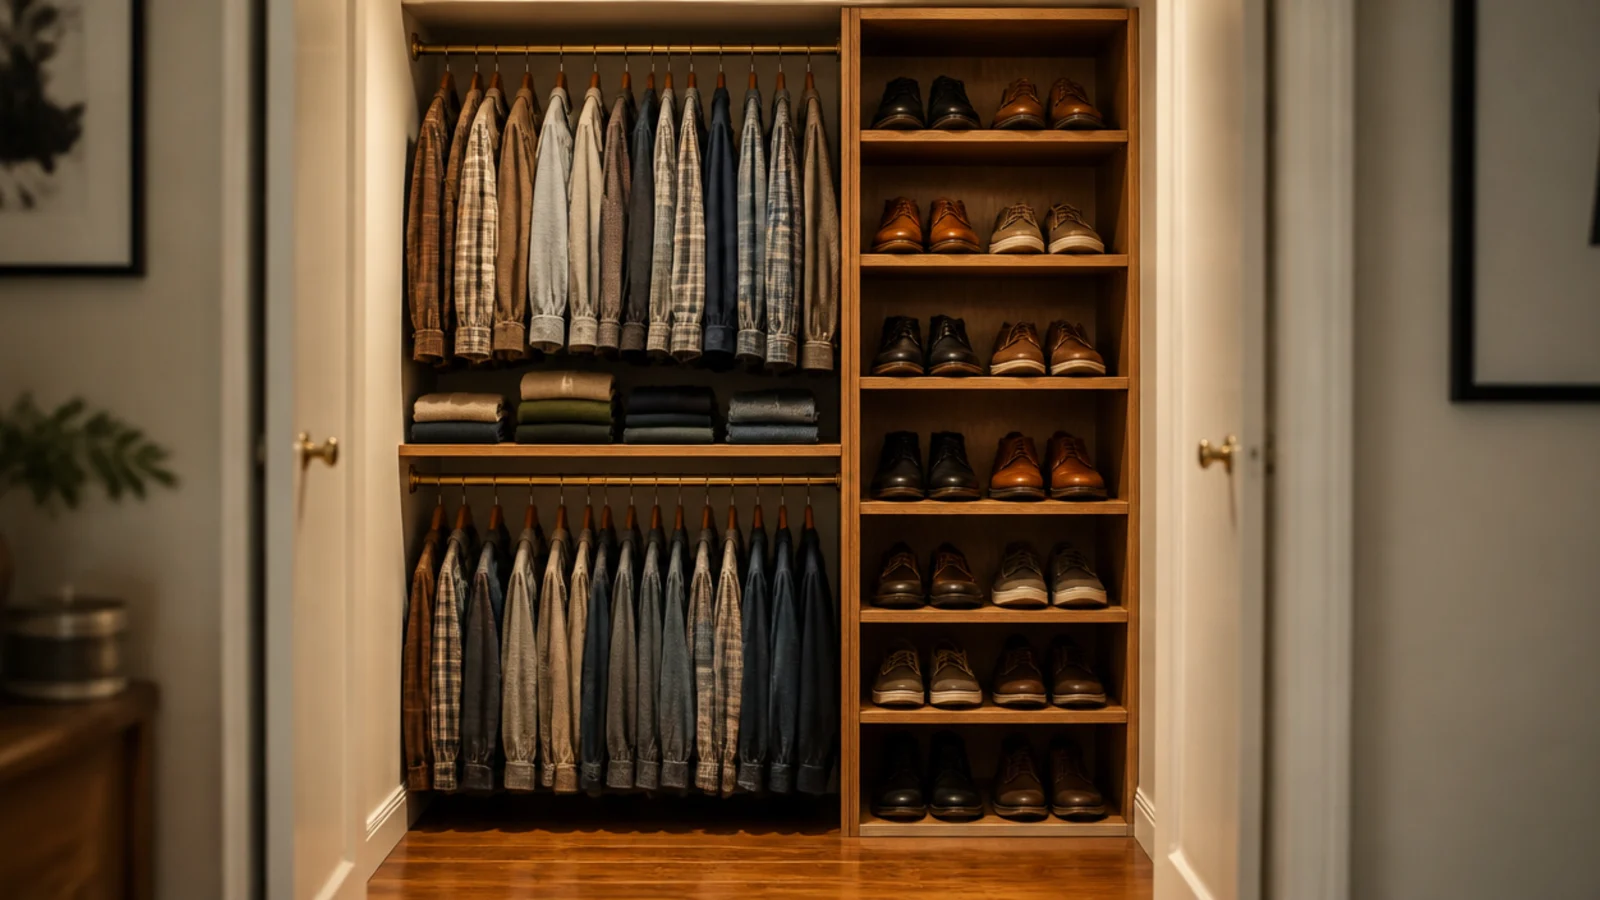
3. Double-hang one side and free a shoe column
Shirts and jackets need 40 inches of hanging height, not the 66 most closets hand them.
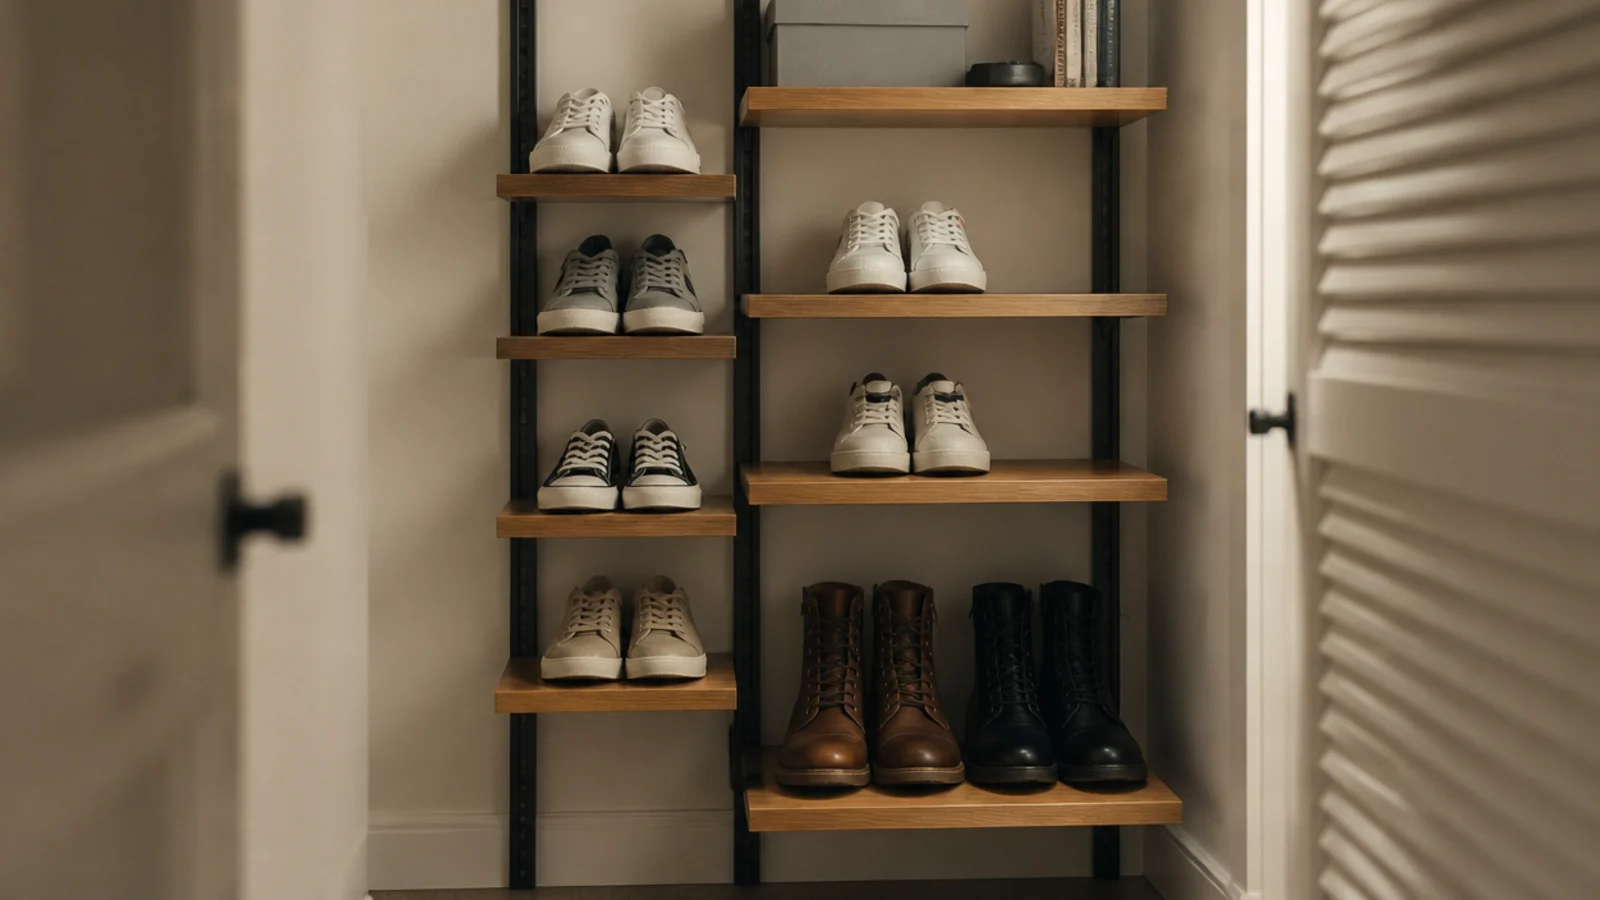
Double-hang half the closet — one rod at 82 inches, one at 42 — and everything that used to spread across the full width now fits in half the space. The other half becomes a full-height shoe column, 30 inches wide, with shelves every seven inches. That is 18 to 20 pairs in the space that previously held six shirts. $$
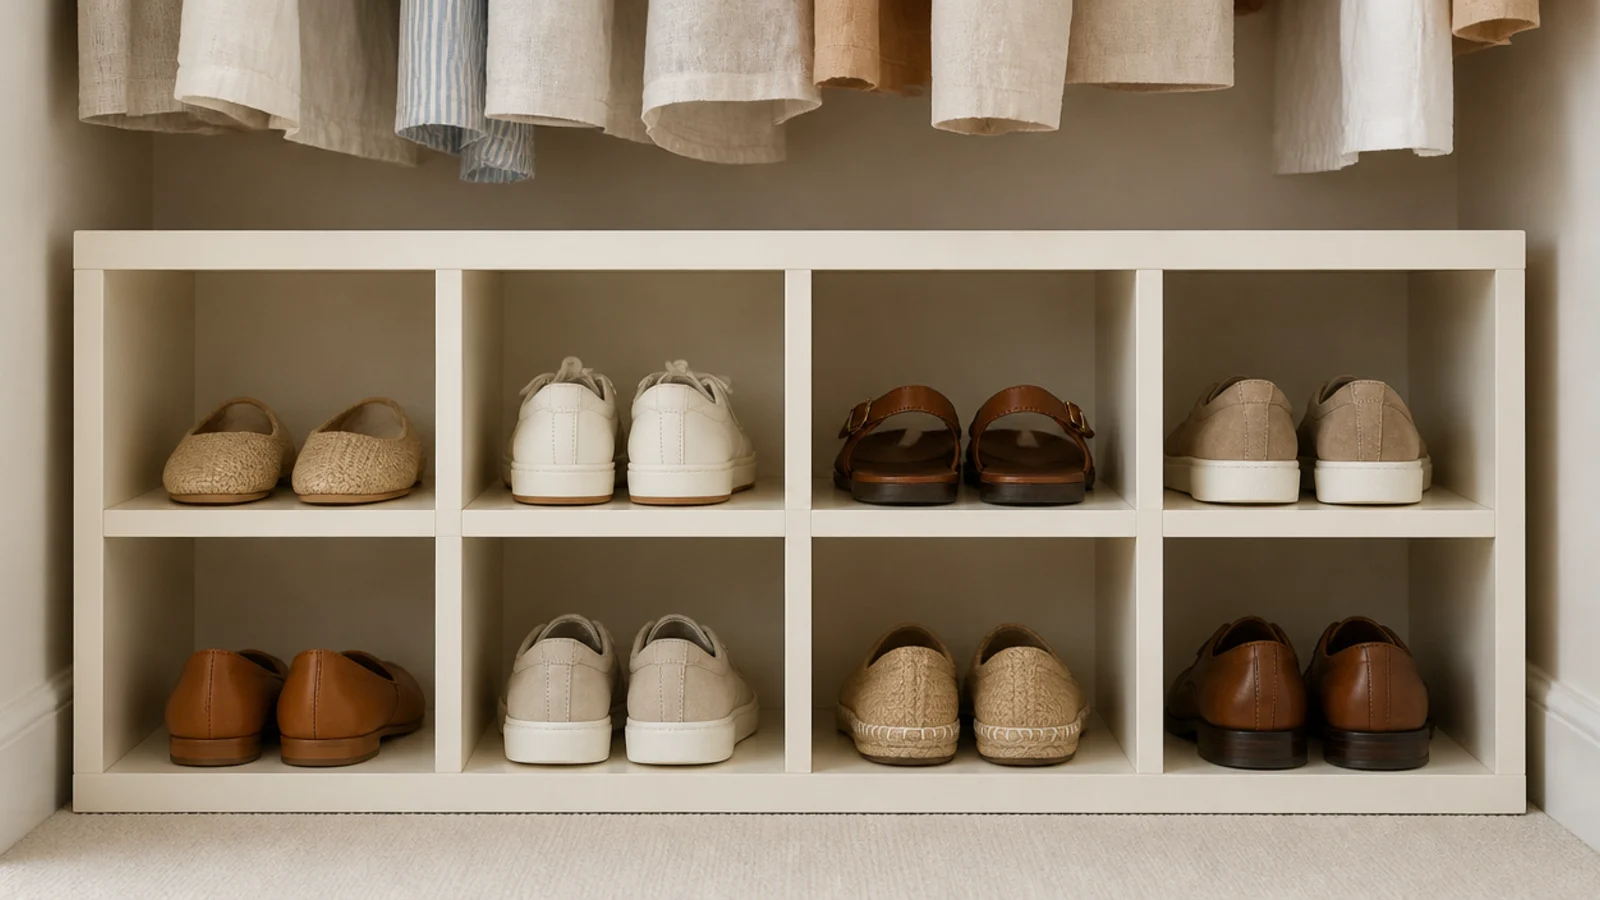
4. Floor cubbies sized one pair each
The closet floor is the pile zone, so give it structure rather than hoping.
A low cubby unit 13 inches deep with eight-inch-high openings turns floor chaos into a row where every pair has an address. One pair per opening is the rule; two pairs and it is a shelf again, and shelves become piles. Leave a three-inch gap between the unit top and any hanging hems. Flat-pack units run $40 to $80. $–$$
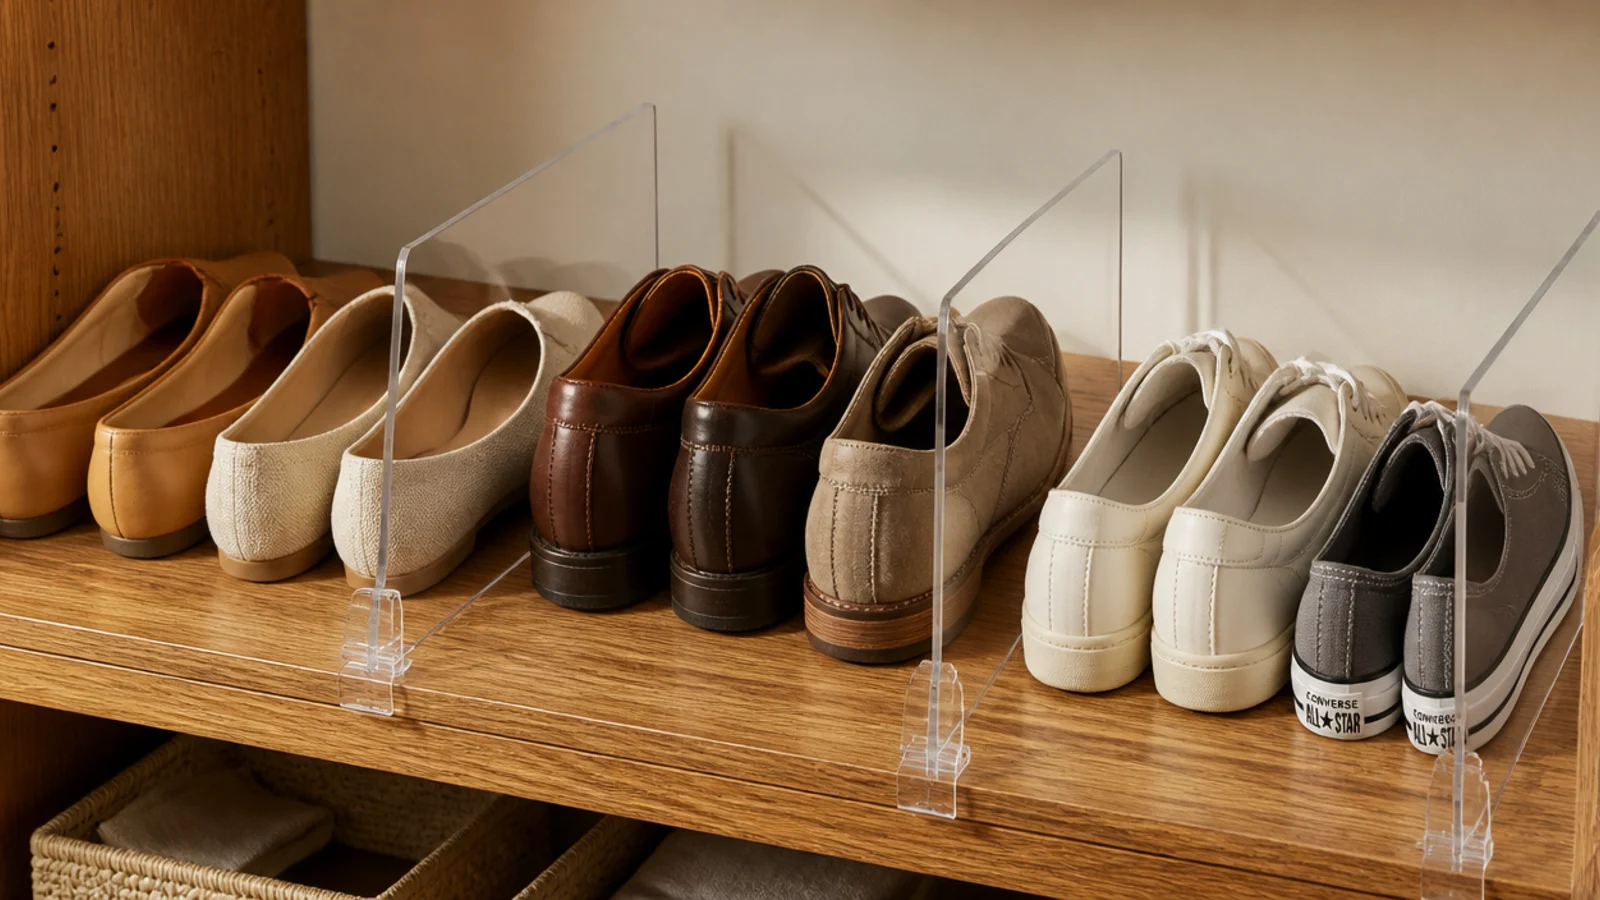
5. Shelf dividers that stop the lean
Long closet shelves fail sideways. Shoes slump, the row leans, and by Thursday half the shelf is unusable.
Clip-on acrylic dividers every 12 inches split a 36-inch shelf into three honest bays, and each bay holds two pairs standing upright. They cost about $4 each and clamp onto a three-quarter-inch shelf edge without a single screw, which makes them the fastest fix here for a rented closet you cannot modify. $
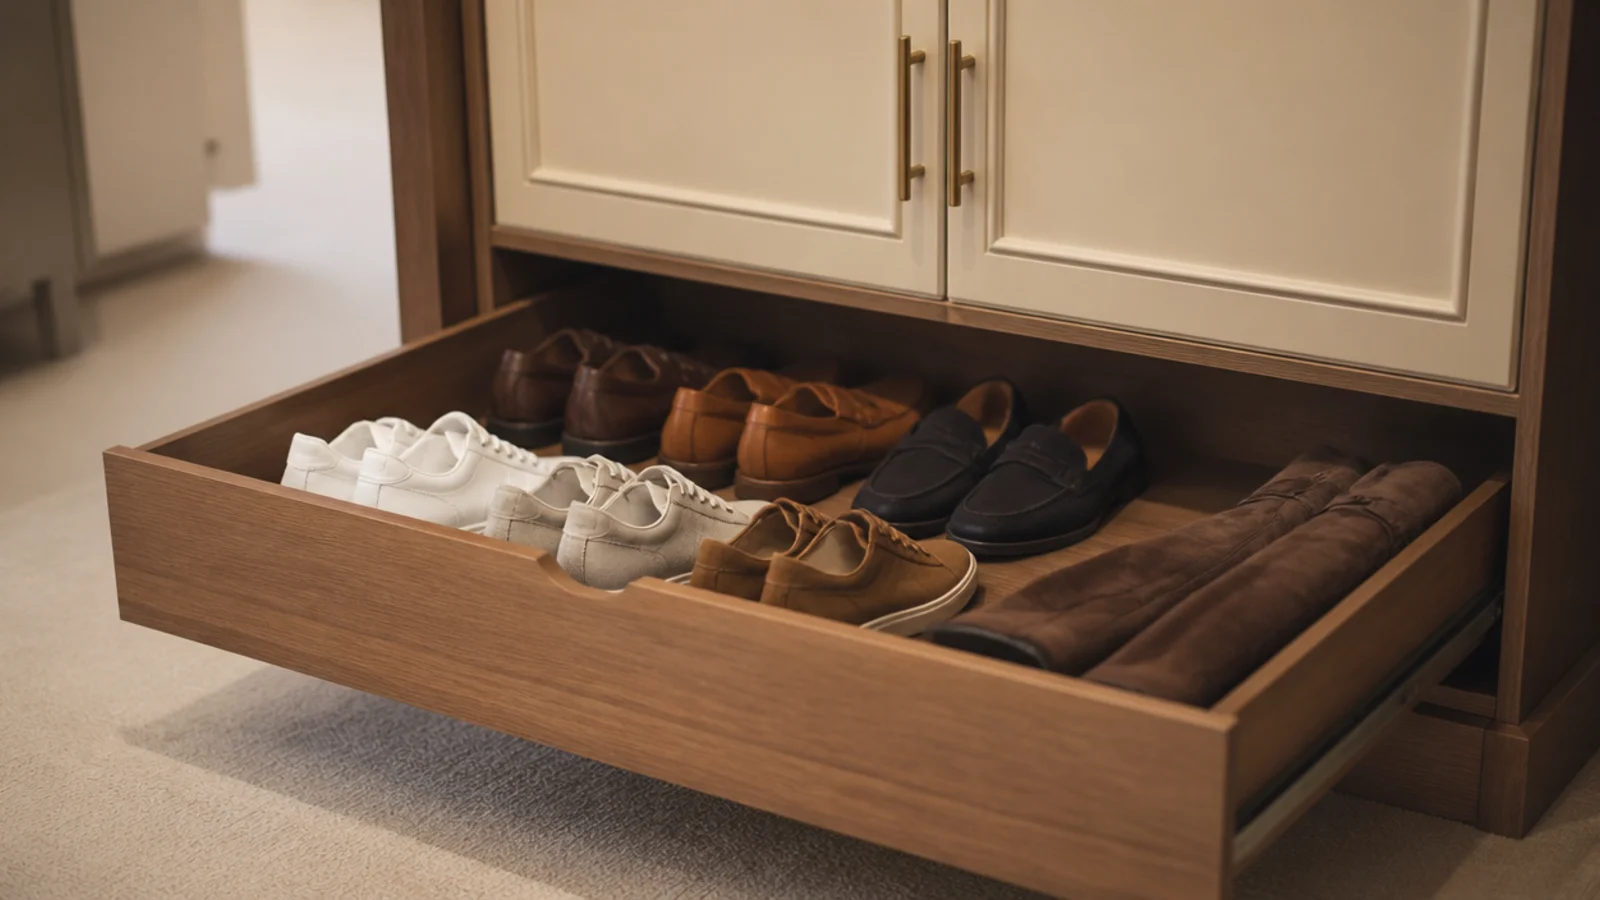
6. A pull-out shoe drawer in the closet base
Fixed shelves abandon their back third. You see the front pairs and forget everything behind them.
A drawer on full-extension runners brings all 22 inches of a reach-in out into the light. Build it 14 inches deep internally so boots lie flat, and cap the width at 30 inches or the runners start to rack. Full-extension slides cost about $25 a pair and are the entire point; half-extension slides recreate the problem. $$$
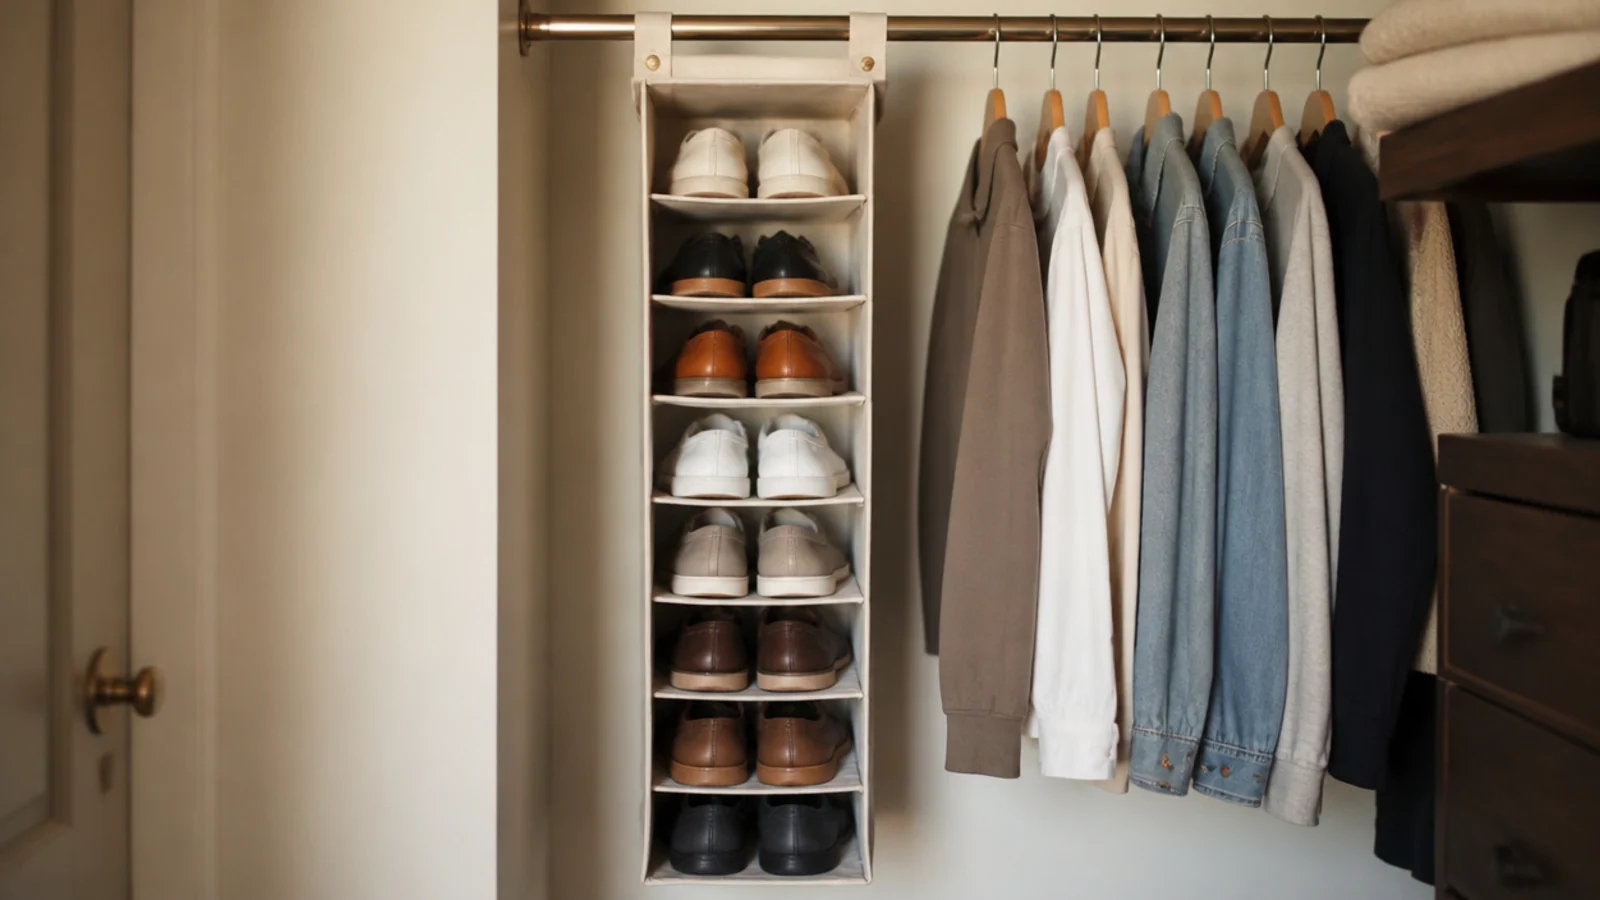
7. Hanging fabric shelves on the rod
A fabric column hung off the existing rod gives you eight or ten shelves for around $25 and needs no tools whatsoever.
Each shelf holds one pair comfortably, two only if they are flats. Choose one with a rigid board in every shelf and a hook-and-loop strap rather than a moulded plastic hook, because the plastic ones split at the rod within a year. Best for pairs you wear weekly — anything you dig for gets tipped out. $
8. Over-the-door racks on the closet door
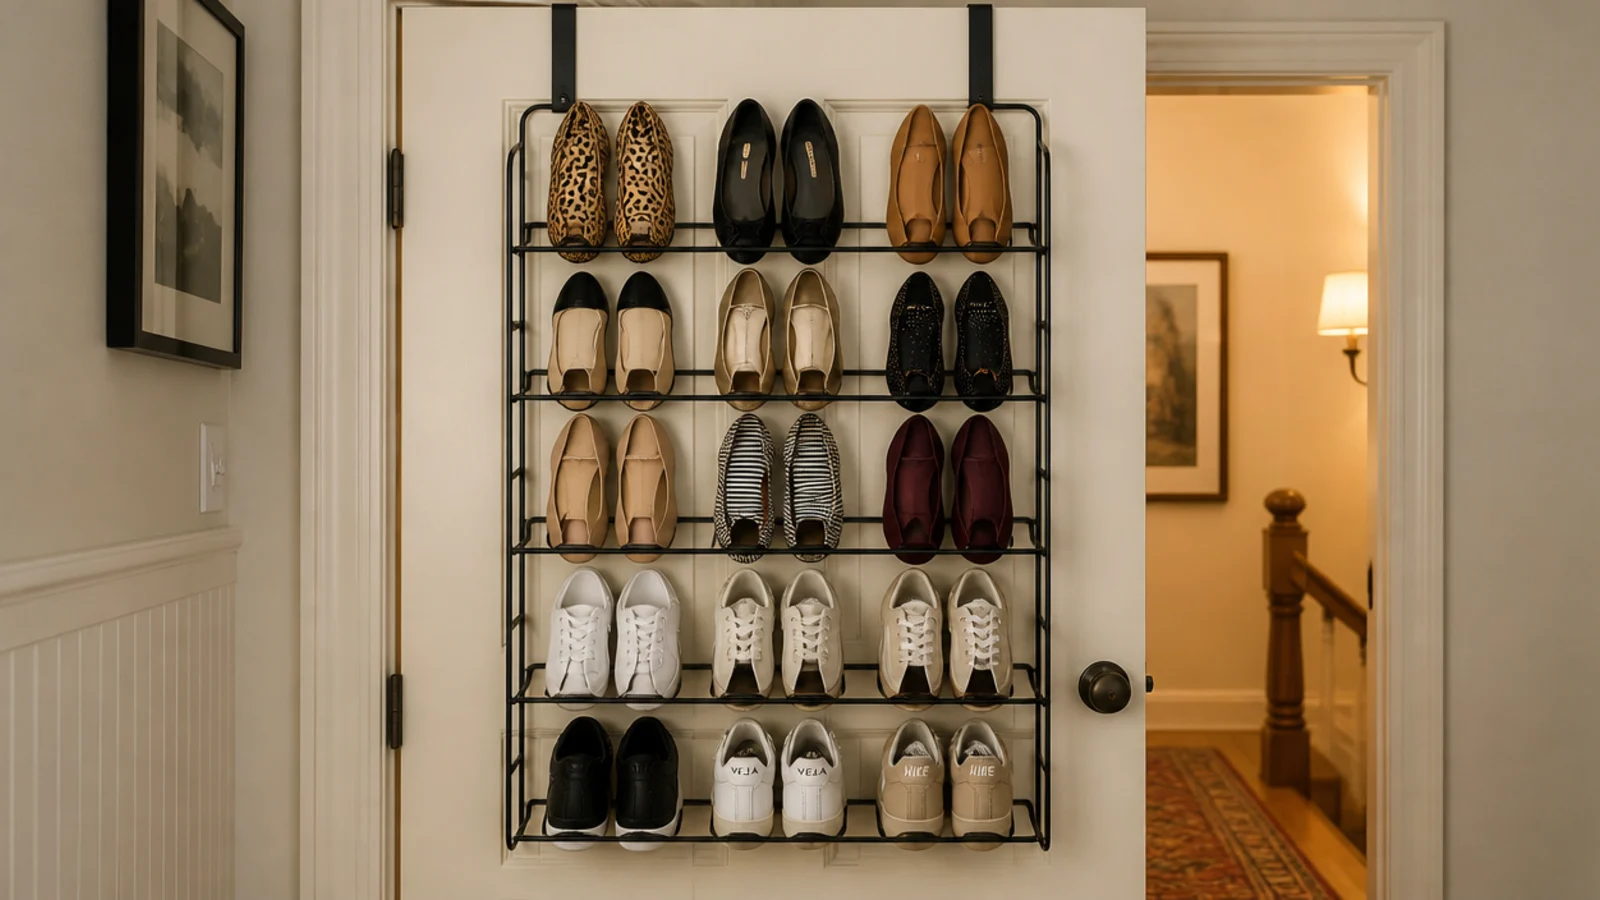
The inside face of a closet door is four square feet doing nothing at all.
A slim over-the-door rack puts 12 pairs of flats and sneakers there. Measure the door thickness first: most hangers fit a 1 3/8-inch door, and a solid-core door at 1 3/4 needs the wider bracket. Then check the door still closes against whatever sits behind it. In a shallow reach-in it often will not, and that is a $20 lesson. $
9. Drop-front boxes for the pairs you protect
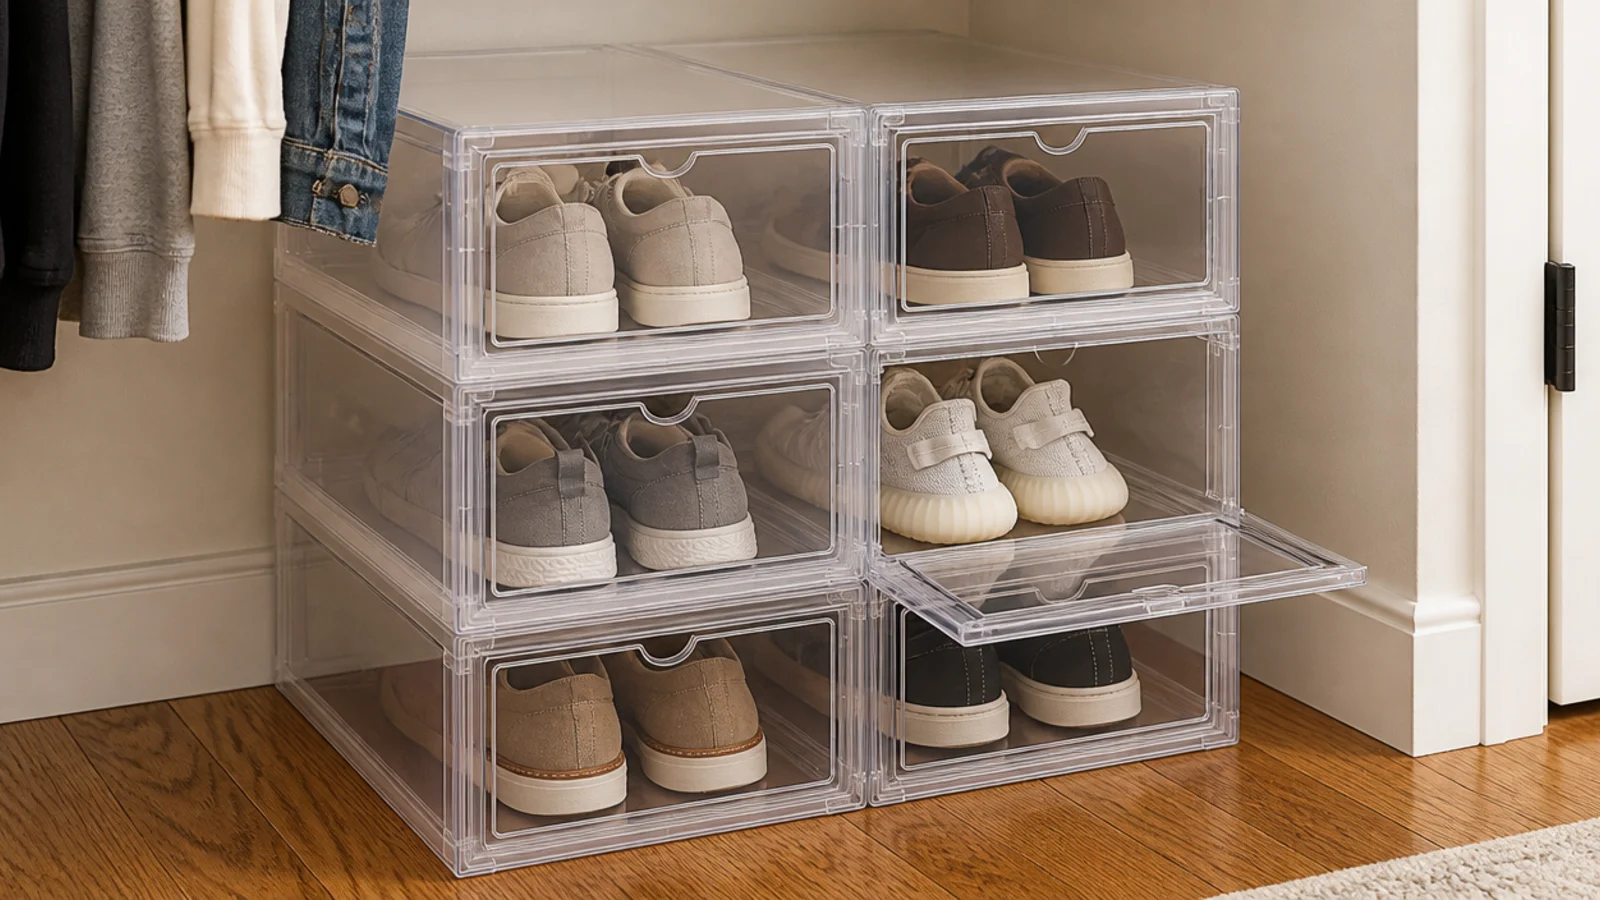
Clear drop-front boxes stack six high without burying the bottom pair, because the front panel opens instead of the lid.
Standard boxes run about 13 by 9 by 8 inches, which takes everything up to a size 12 sneaker but not a boot. Stack them on the closet floor or along the top shelf. Roughly $4 each in a multipack, and they keep dust off the pairs you wear twice a year. $
10. A dedicated boot shelf at 16 inches
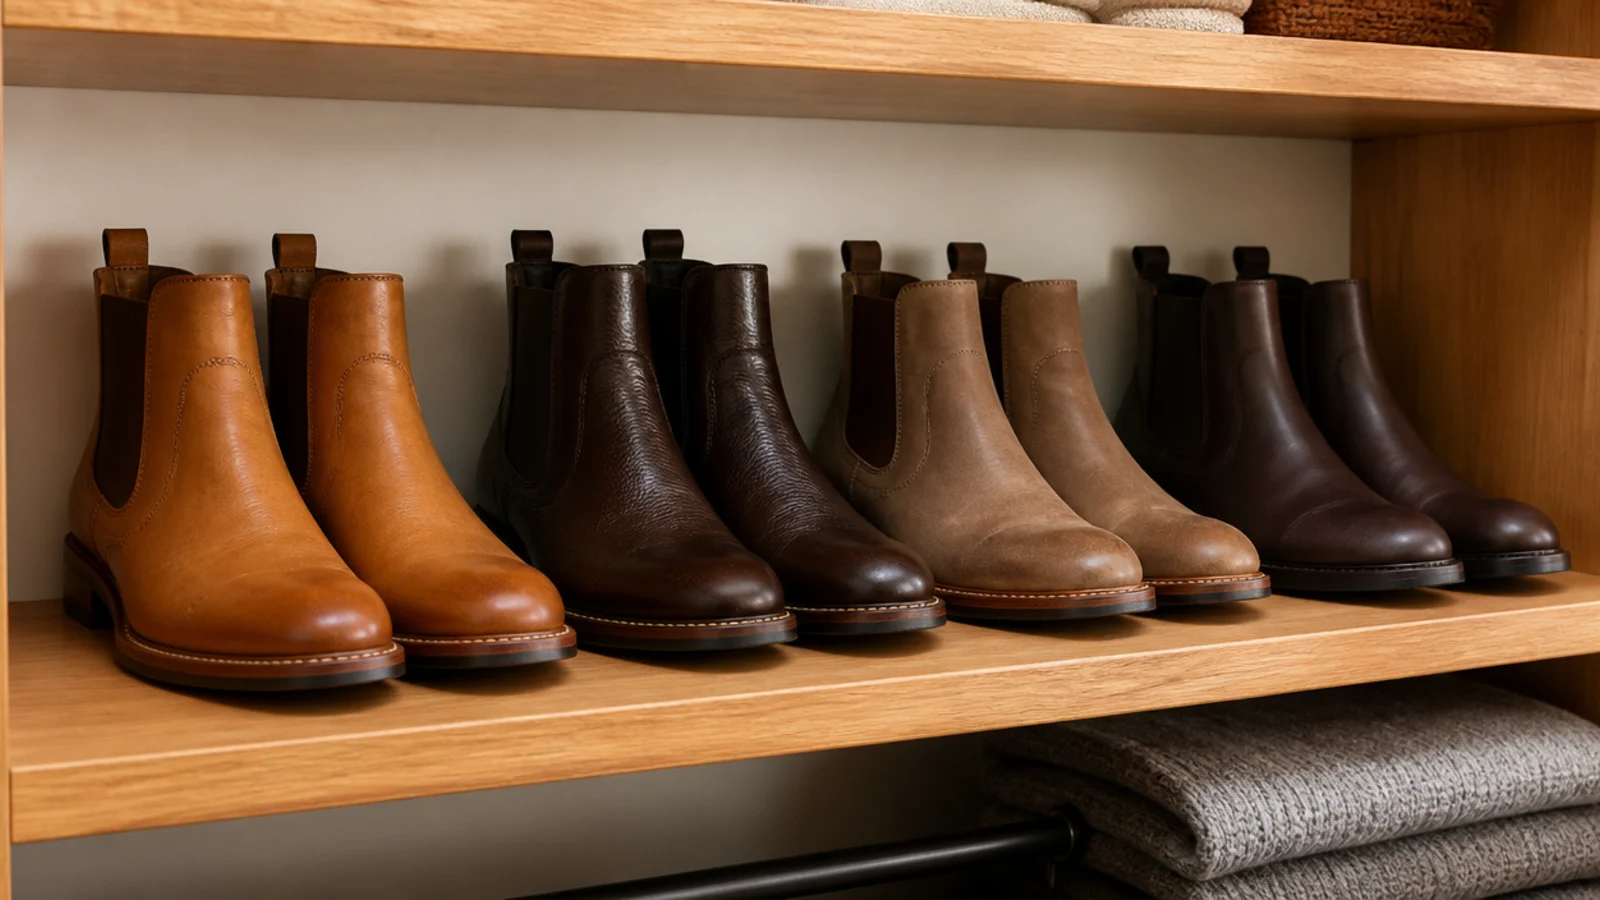
Every disappointing shoe shelf is spaced evenly at six inches. Give boots their own bay instead.
One 16-inch-high shelf at the bottom, where the weight belongs, holds four pairs of ankle boots standing upright. Knee-high boots need 20 inches or they fold and crease permanently at the ankle. If the closet cannot spare 20, boot shapers or a rolled magazine inside each shaft keep the leather from collapsing. $
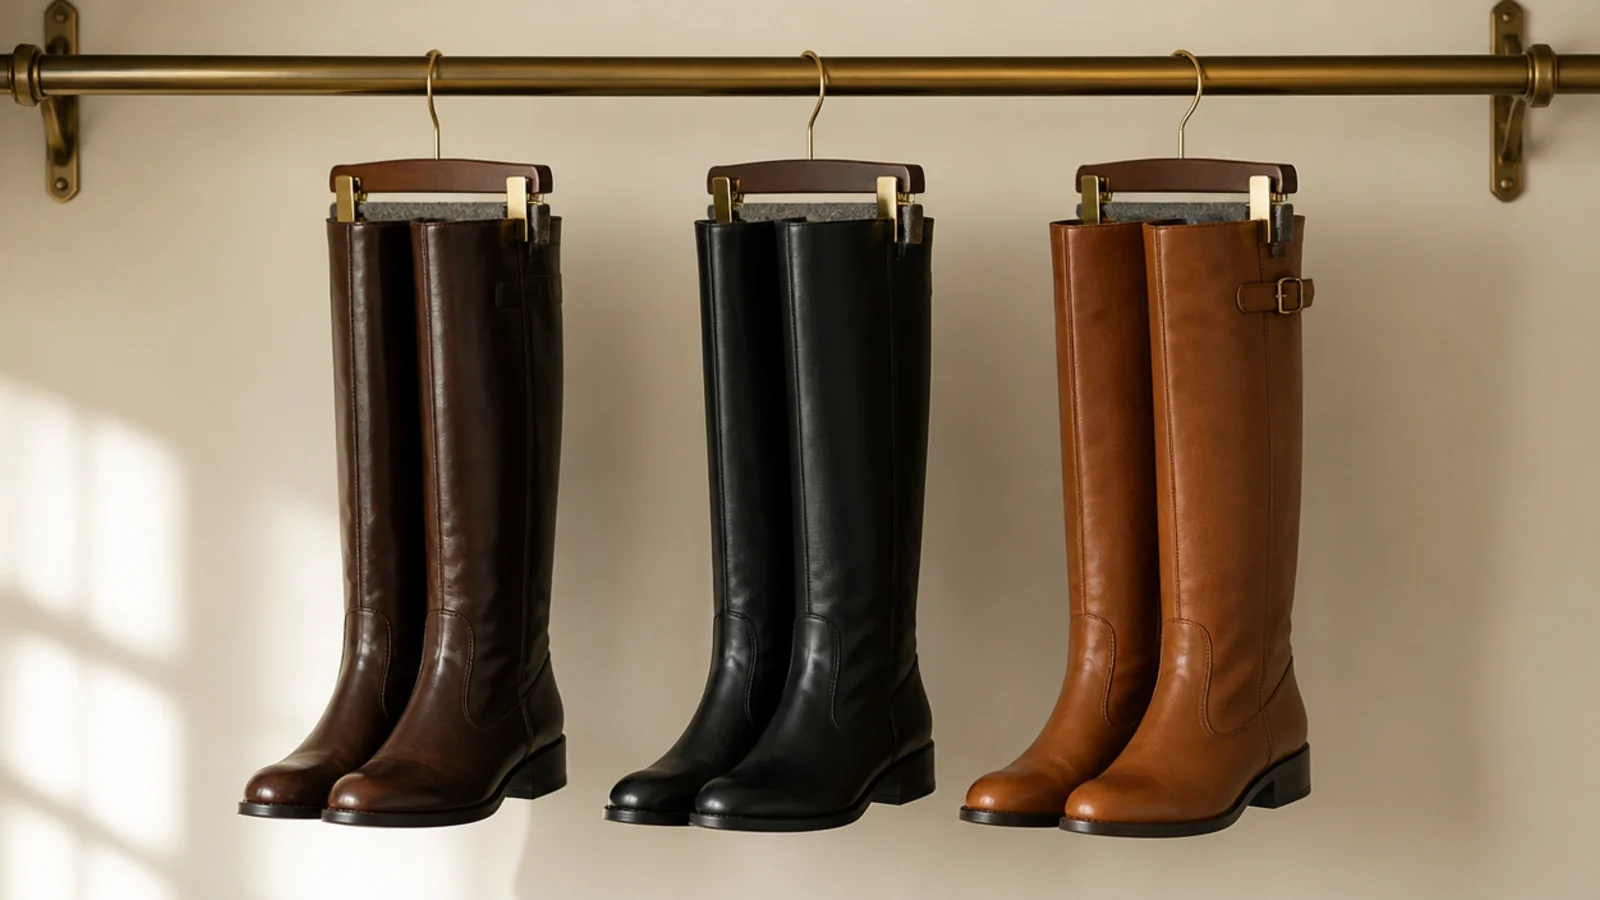
11. Clip hangers for knee-high boots
Trouser-clip hangers turn the rod itself into boot storage.
Clip each boot by the top of the shaft and hang the pair from one hanger. They stay straight, they dry from the inside, and they use vertical air instead of floor. A 30-inch rod section holds six pairs this way. Use felt-lined clips on soft leather; bare metal leaves a dent line across the shaft that never fully comes out. $
12. The top shelf as a seasonal archive
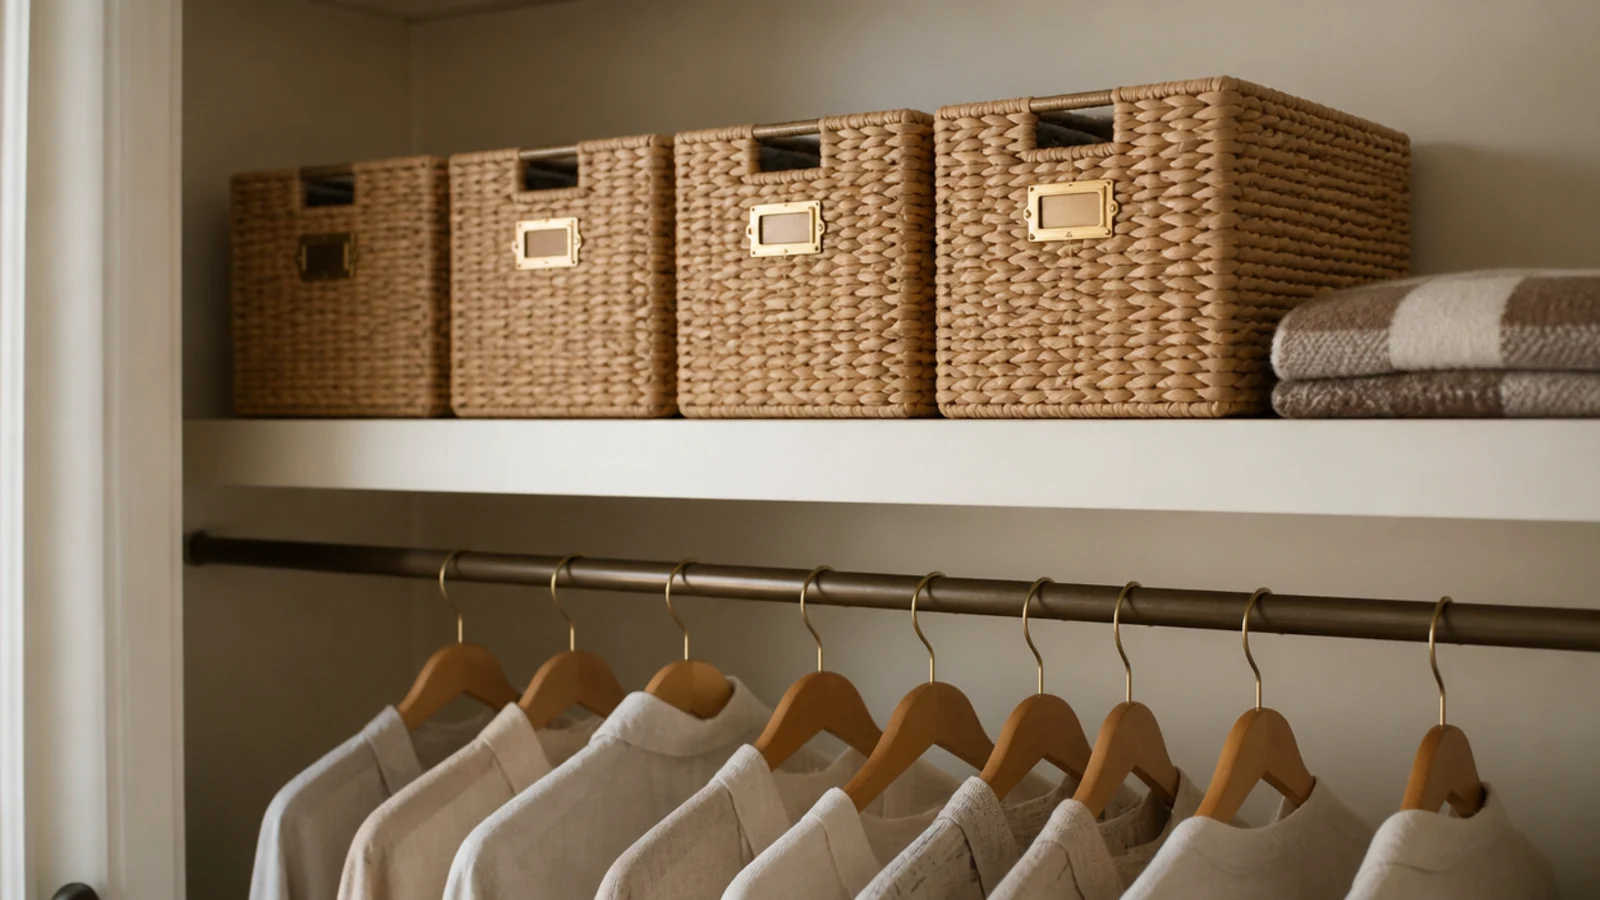
The shelf above the rod sits around 68 inches, which is the wrong height for anything daily and the right height for what you touch twice a year.
Put bins up there for the off-season pairs — sandals in January, snow boots in July. Keep each bin under 12 pounds, since you are lifting it at shoulder height. Rotate on the same weekend you swap the wardrobe over and it never becomes a project. $
13. Two-tier rails under the short-hang section
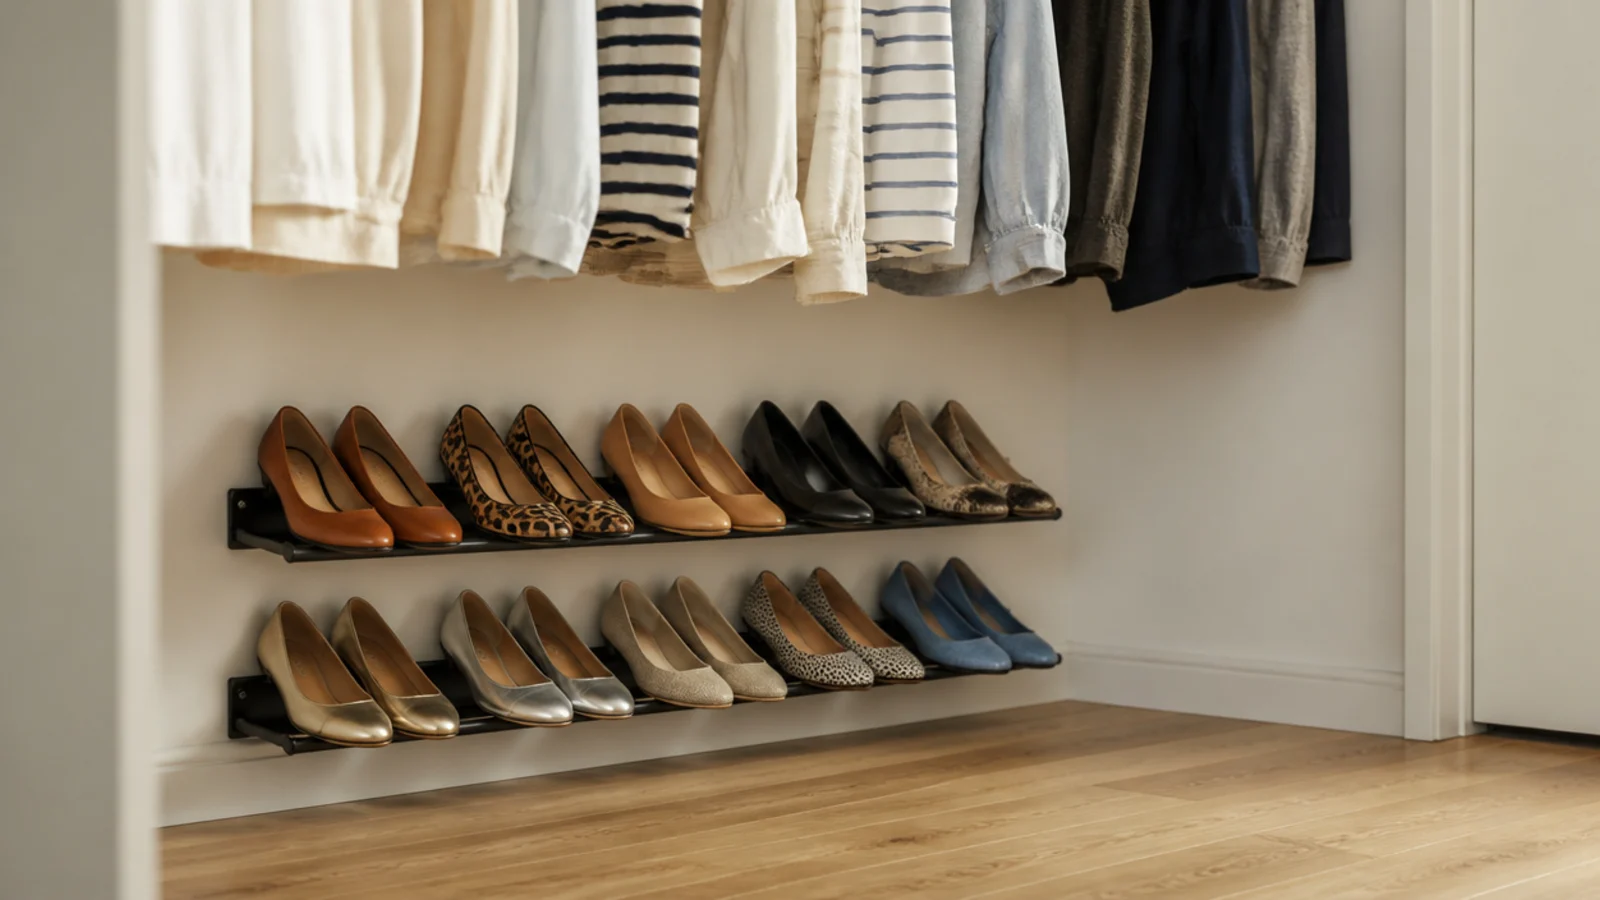
Under a rod holding shirts there are usually 24 to 30 inches of dead air above the floor.
Two slim rails mounted at 4 and 14 inches hold shoes tilted against the wall and use none of the walkway. Nine pairs of flats fit under a 36-inch section. Boots will not stay on rails — they pull free under their own weight, which is a design limit rather than a fault. $
14. A slim rolling pull-out in the side gap
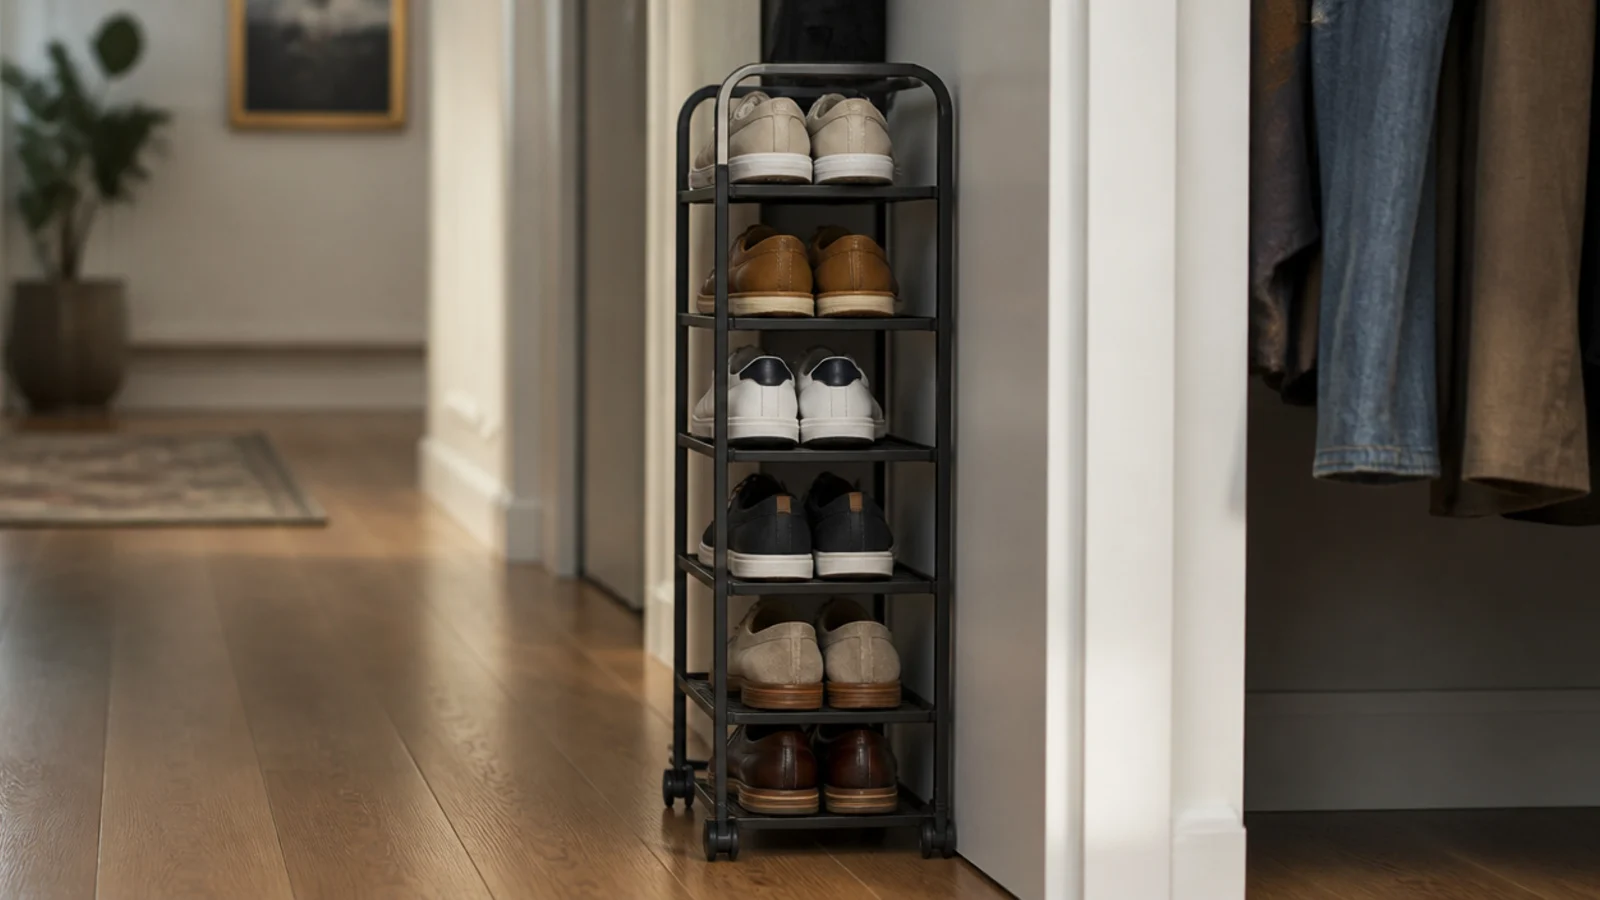
Almost every reach-in has a six to ten inch dead gap at one end, where the rod stops short of the side wall.
A narrow rolling tower on castors fills it exactly and rolls out so you can reach the back. Measure the gap at its narrowest point and subtract half an inch. Choose powder-coated steel over chrome wire, which marks soft soles and rusts wherever a damp pair sits. $$
15. Turn a whole coat closet into a shoe closet
If there is a second closet by the door holding four coats and a vacuum, convert the whole thing.
Strip the rod, run shelves at seven-inch gaps from 12 inches up to 72, and a standard 24-by-48-inch coat closet swallows 40 pairs. Leave the bottom 16 inches for boots and the top for bins. Coats move to wall hooks, which most households quietly prefer anyway. $$
16. Motion-sensor LED strips inside the closet
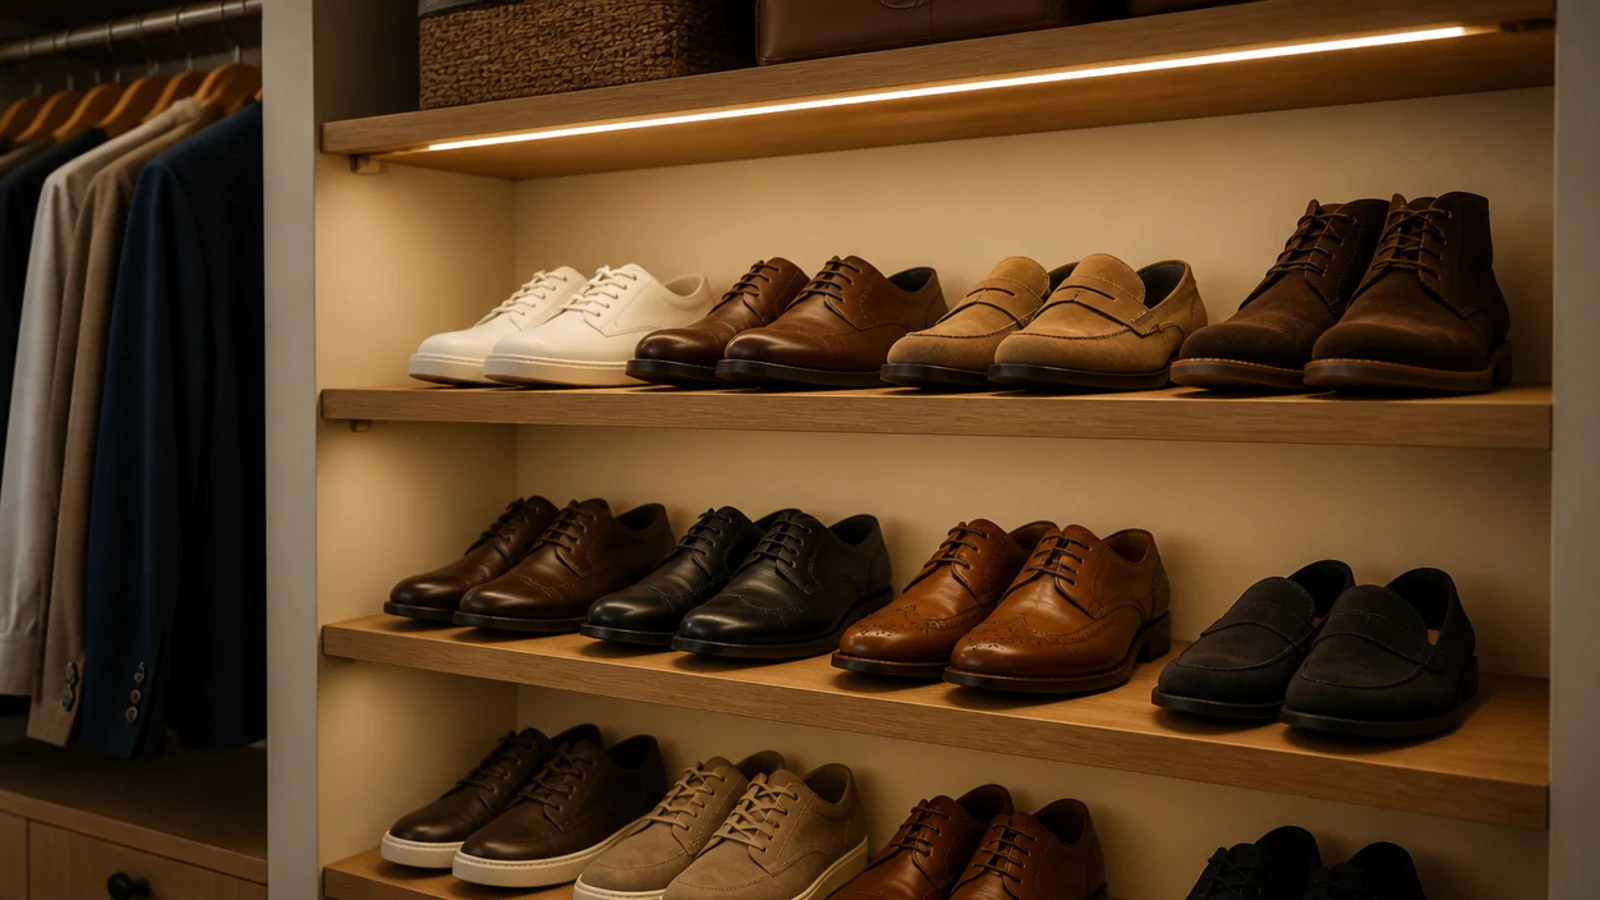
You cannot maintain a system you cannot see, and closet interiors are dim by design.
A rechargeable LED strip with a motion sensor, stuck along the front underside of the top shelf, lights every shelf below it for about $20. Aim it down the face of the shelves rather than at the back wall. A battery strip lasts three to four months in a closet opened twice a day. $
17. Slatted shelves that let shoes dry out
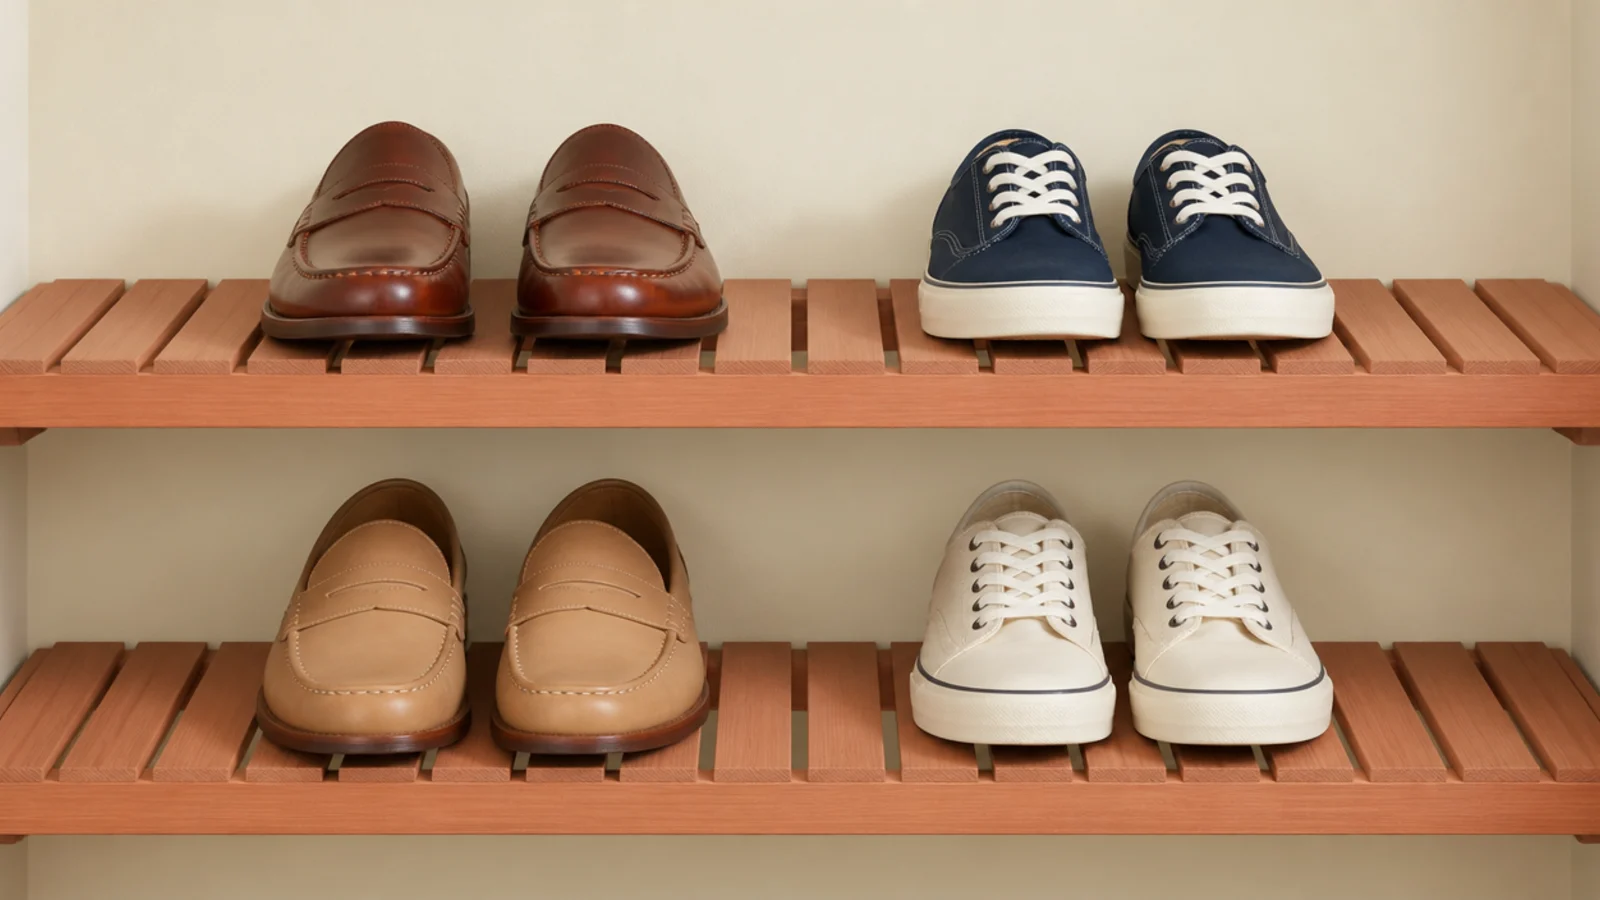
Solid shelves trap the moisture that comes off a shoe worn all day, and a closed closet holds it there.
Slatted shelves — 1x2 boards with half-inch gaps — move air through the entire stack. Cedar slats do the same job and handle the smell as a side effect. If the shelves are already solid, drill a row of one-inch holes along the back edge and leave the door ajar overnight. $–$$
18. Risers that double a deep shelf
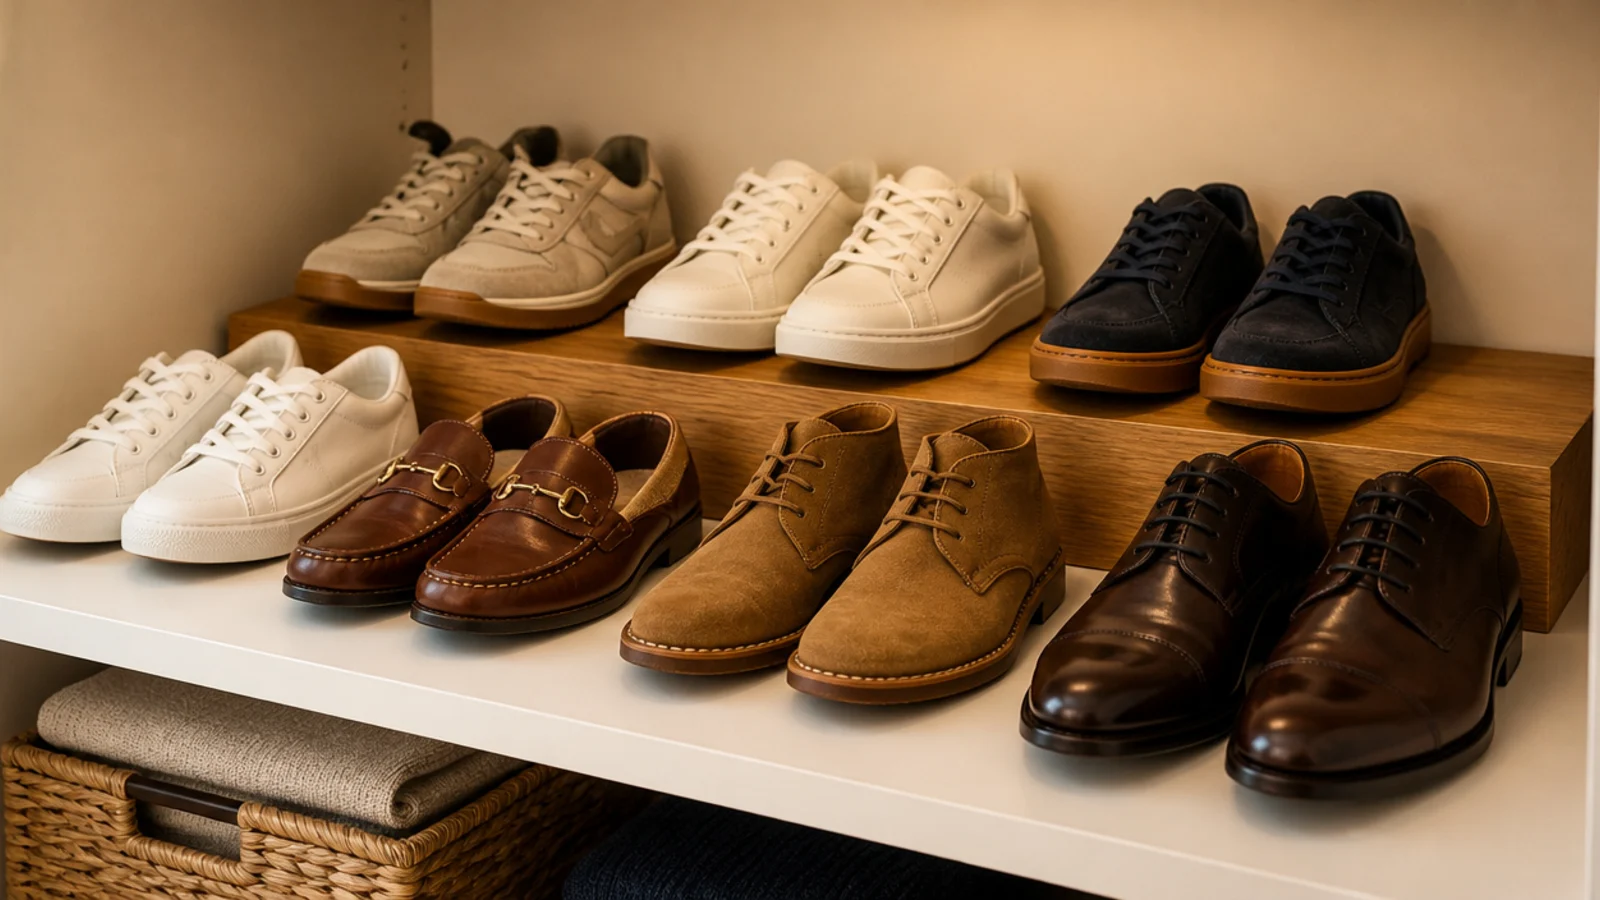
A 12-inch-deep shelf holds one row of shoes and wastes all the height above them.
A small riser, six inches tall and the width of the shelf, creates a stepped second row behind the first so you can see both at once. That doubles capacity without touching the closet structure. Acrylic risers cost $12 a pair; a scrap 1x6 on two offcut blocks does exactly the same job for nothing. $
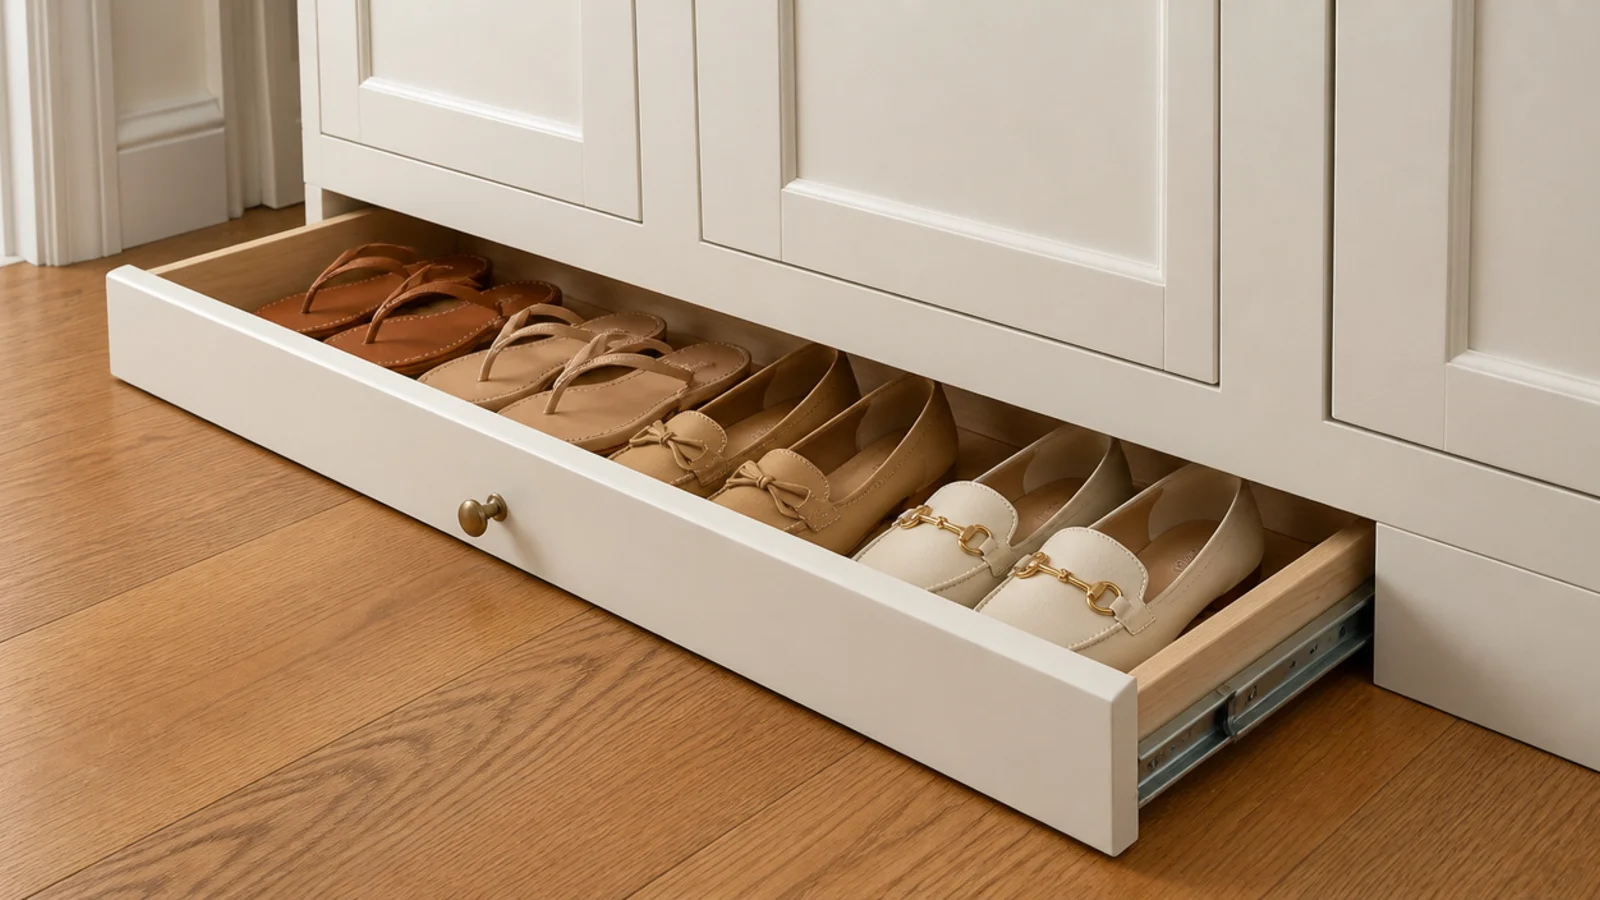
19. Toe-kick drawers under a built-in closet
If the closet has a built-in base cabinet, the four-inch recess beneath it is real storage nobody uses.
A shallow toe-kick drawer there holds a row of flats and sandals lying flat. It needs four inches of height and the full depth of the cabinet, and it is a careful weekend rather than an afternoon. The full build sequence lives in the DIY shoe storage walkthrough. $$$
20. One shelf you keep permanently empty
The rule that keeps the whole closet working long after the shelves go up.
Leave one shelf, or one cubby row, deliberately empty at all times. It absorbs the new pair, the guest pair, the pair somebody kicked off in a hurry — the arrivals that otherwise start a pile on the floor. A closet packed to exactly full has no tolerance, and a system with no tolerance fails in the first busy week. Free
Mistakes to Skip
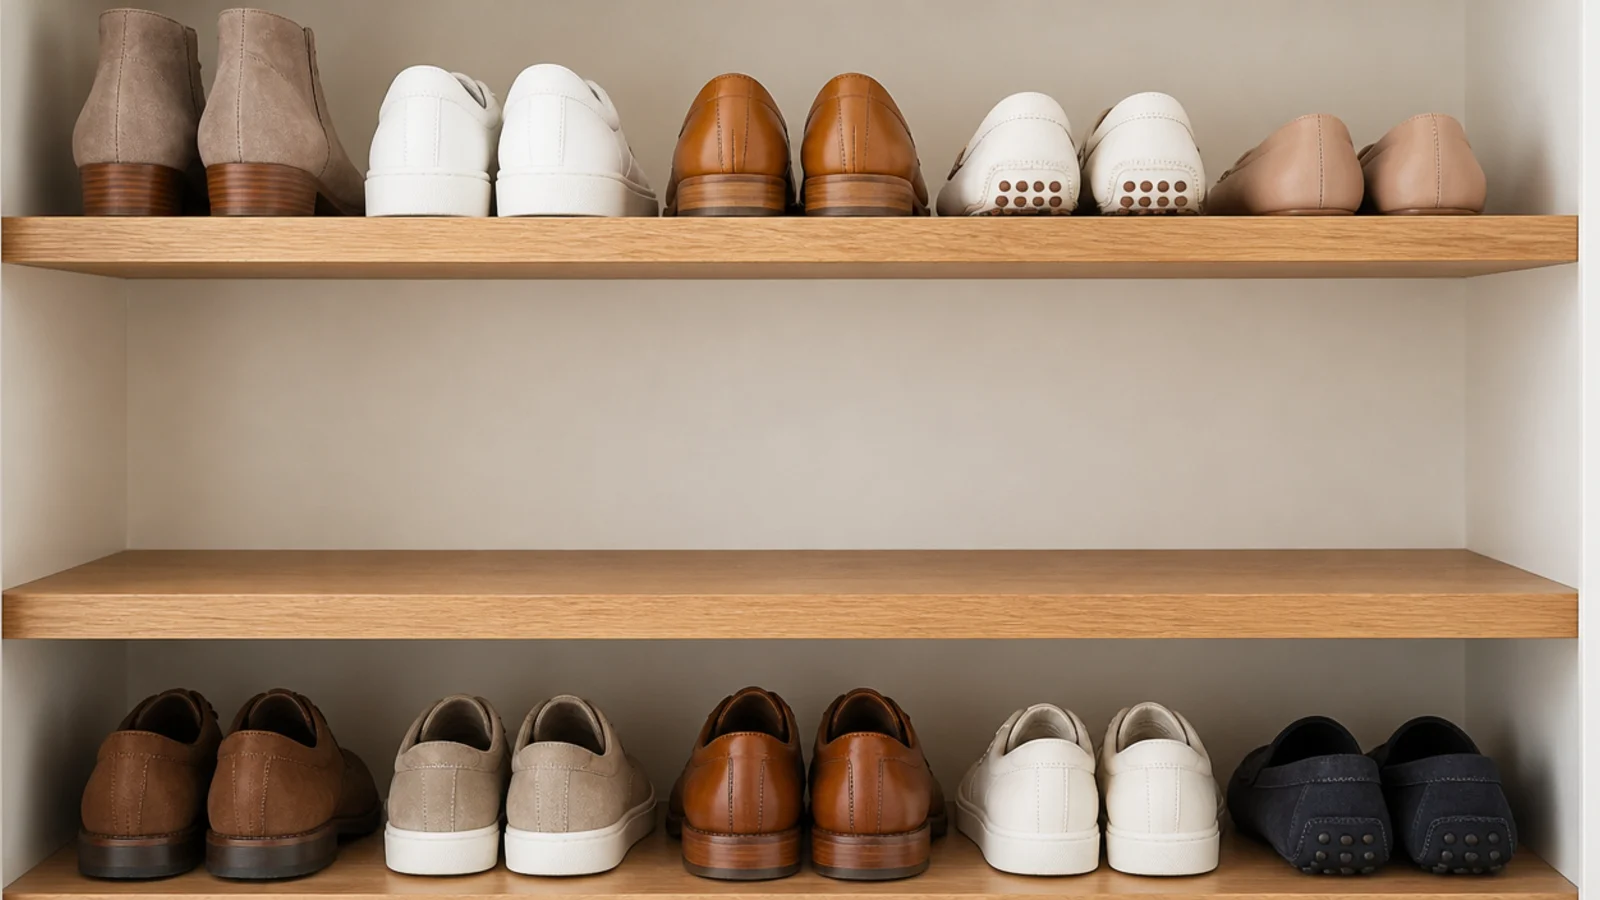
- Spacing every shelf at six inches because it looks tidy when empty. Boots then live on the closet floor and the pile you were solving comes straight back within a fortnight.
- Storing shoes in their original cardboard boxes. You cannot see in, cardboard holds damp against leather, and every box wastes an inch of shelf height you paid for.
- Filling the closet to exactly capacity on day one. There is nowhere for the next pair to go, so the next pair lands on the floor and quietly stays there.
Frequently asked questions
How deep do shoe shelves need to be in a closet?
Thirteen inches if the shoes sit flat, because a men's size 12 sneaker is about 12.5 inches long. Tilt the shelf to 45 degrees and nine inches is enough, which frees four inches of a standard 24-inch reach-in for something else entirely. Measure the largest shoe in the household first, then build every shelf around that one number rather than a catalog figure.
How far apart should closet shoe shelves be spaced?
Six inches of clear height covers flats, loafers and most sneakers. Ankle boots need 14 to 16 inches and knee-high boots need 20. The mistake nearly every rack makes is spacing all tiers evenly at six inches, which leaves boots on the floor forever. Set two tall bays at the bottom and keep six-inch spacing for everything above them.
How many pairs fit in a standard reach-in closet?
A reach-in 24 inches deep and 48 inches wide holds roughly 40 pairs once you shelve it from 12 inches up to 72 at seven-inch gaps. You probably do not want that many in one place. Keep two to three pairs per person plus one seasonal set within easy reach, and let the rest live in bins on the top shelf.
Can renters add closet shoe storage without drilling?
Yes, and the no-drill options are genuinely good now. Hanging fabric columns clip onto the existing rod, shelf dividers grip a three-quarter-inch shelf edge, over-the-door racks hook over the door, and stackable drop-front boxes need nothing at all. Between those four you can restructure a closet completely and carry every piece out with you on move-out day.
Do shoes need ventilation inside a closed closet?
They do. A shoe worn all day carries real moisture, and a closed closet holds it against leather and glue. Slatted shelves, a row of one-inch holes drilled along the back edge of a solid shelf, or simply leaving the door ajar overnight all move enough air. Never put a damp pair straight into a sealed box.
Reach for the tape measure before the catalog. Your largest shoe sets the depth, your tallest boot sets the biggest gap, and every other decision follows from those two numbers. If the closet is not the right home for daily pairs, shoe storage at the entryway solves the door instead, hidden shoe storage covers the pairs you never want on show, and a slim shoe cabinet works where no closet exists at all. Save the pin before your next closet overhaul.
Want more like this? Browse all 15 shoe storage ideas guides — they all use the same measurements and budget tiers.
Pin it for later
Save this to your Shoe Storage Ideas board
Pin it now so it is waiting for you when the tape measure comes out — and so the next person hunting for this idea can find it too.
Save this pinKeep going
More ideas worth saving while you have the tape measure out.