Shoe Storage Ideas · Listicle
25 Dreamy Shoe Storage Ideas for Any Home

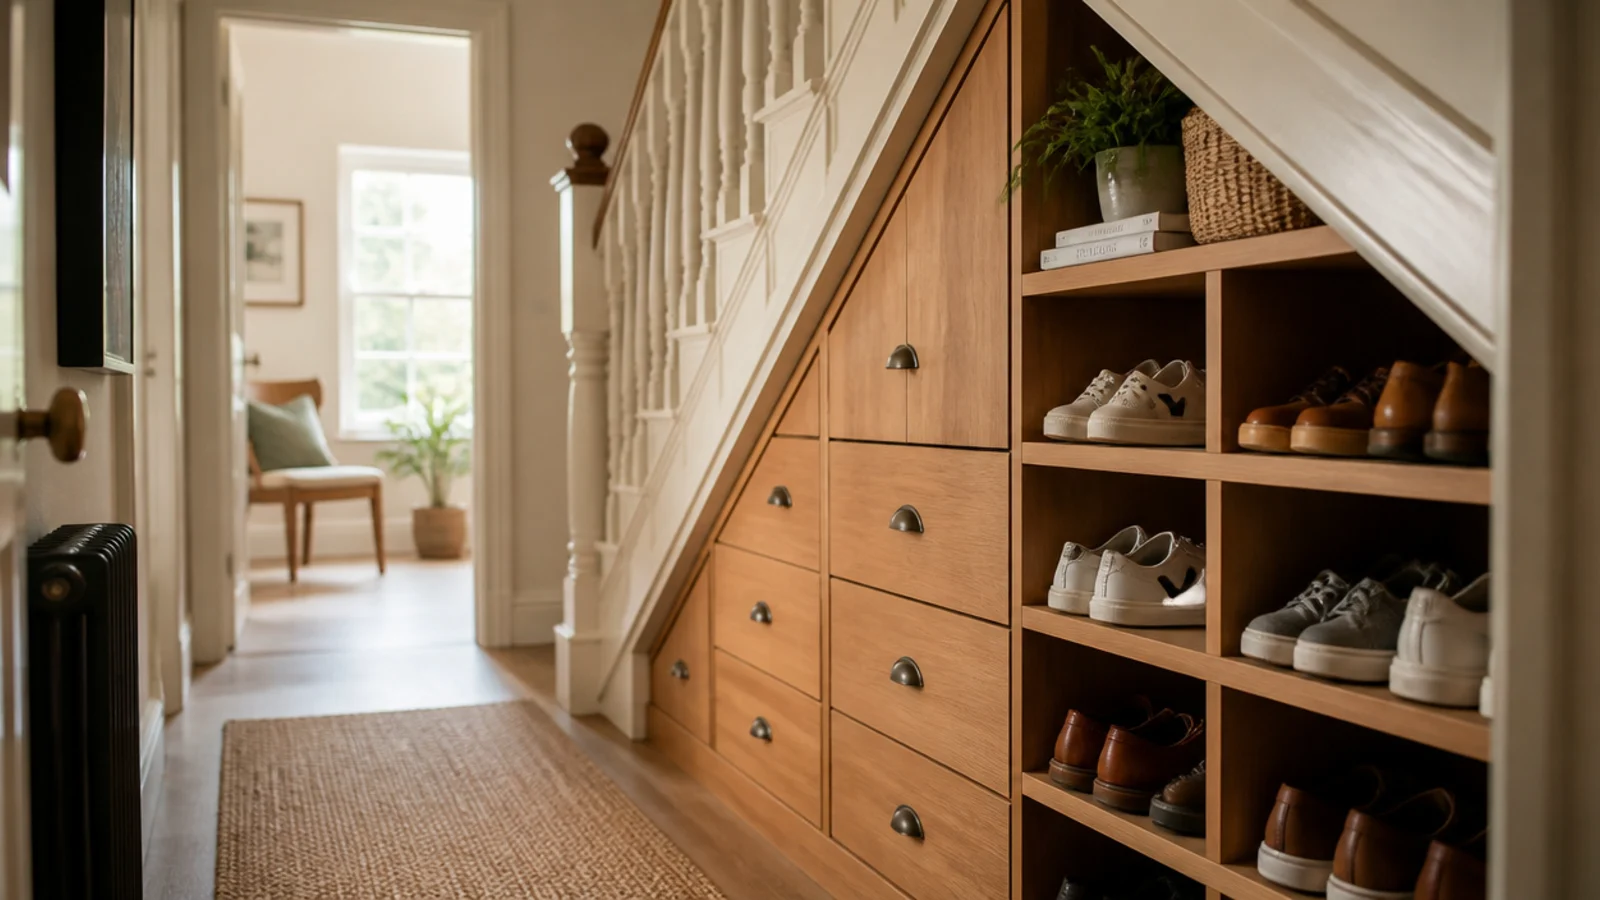
Under stairs shoe storage is the best square footage most houses ignore, and the reason it usually disappoints is geometry. The bay is a triangle, so half of it is too short to stand a boot in and the back corner is unreachable from the front. These 25 setups work with that shape instead of against it, and every one names the depth, height or budget tier it needs.
In this guide27 sections — tap to openHide
- 1.What under stairs shoe storage actually needs before you build
- 2.A pull-out tower in the tallest bay
- 3.Angled cubbies that follow the stair rake
- 4.Drawers built into the bottom three treads
- 5.A boot bay at the full-height end
- 6.Tilt-out fronts where the ceiling drops
- 7.Toe-kick drawers under the lowest step
- 8.Open cubbies with a painted back panel
- 9.A built-in bench seat in the middle bay
- 10.Rolling crates for the shallow triangle
- 11.Cane or fluted doors that let air move
- 12.A low shelf along the stringer wall
- 13.Vertical dividers for the deep back corner
- 14.A hanging rail for flats along the underside
- 15.Baskets on runners, one per person
- 16.A linen curtain instead of doors
- 17.Mirror-fronted doors on the tall end
- 18.Slim tilt-out cabinets beside the stairs
- 19.A warm LED strip inside the void
- 20.A drop shelf above the bench
- 21.Seasonal overflow in the deep back
- 22.Pegboard on the stair stringer
- 23.A boot tray inside the opening
- 24.A slim pull-out for polish and laces
- 25.Numbered lockers under the run
- 26.The no-build version on castors
- 27.Mistakes to Skip
What under stairs shoe storage actually needs before you build
Take four measurements before you look at a single photo. They decide everything that follows.
Depth. A men's size 12 sneaker is about 12.5 inches long. Flat storage needs 13 inches of depth. Tilt the shelf to 45 degrees and nine inches does the same job, which is why slim fronts fit under a low rake where open racks never will.
Clear height, in three places. Measure at the tall end, the middle and the low end. Six inches of clear height takes flats and sneakers, boots want 14 to 16, and knee-high boots need 20. Step your tiers down as the ceiling drops rather than spacing them evenly.
Reach. The deep back corner of a staircase void sits three to four feet behind the opening. Fixed shelving abandons it. Pull-outs, drawers and rolling units bring it forward, and that is the difference between eight pairs and thirty.
Pair count. Two to three pairs per person plus a seasonal set is the realistic daily load. Size the front bays for that and put everything else in the deep back.
One more rule: any closed bay needs ventilation holes or slatted fronts, or it will smell by week three.
Budget tiers below: $ under $60, $$ $60–$150, $$$ $150+.
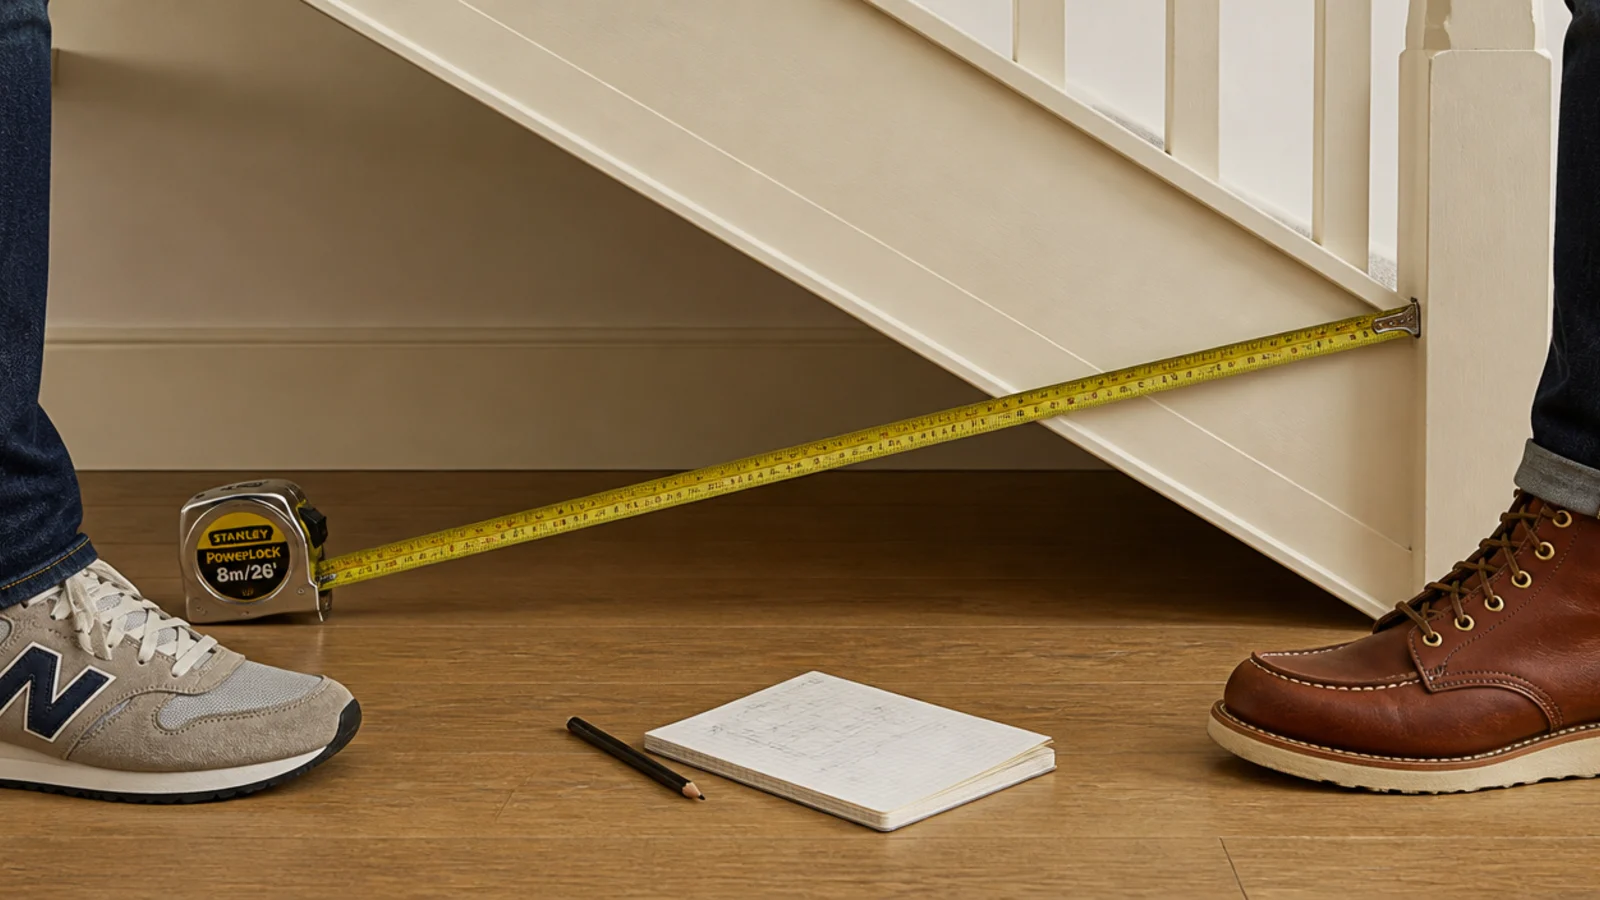
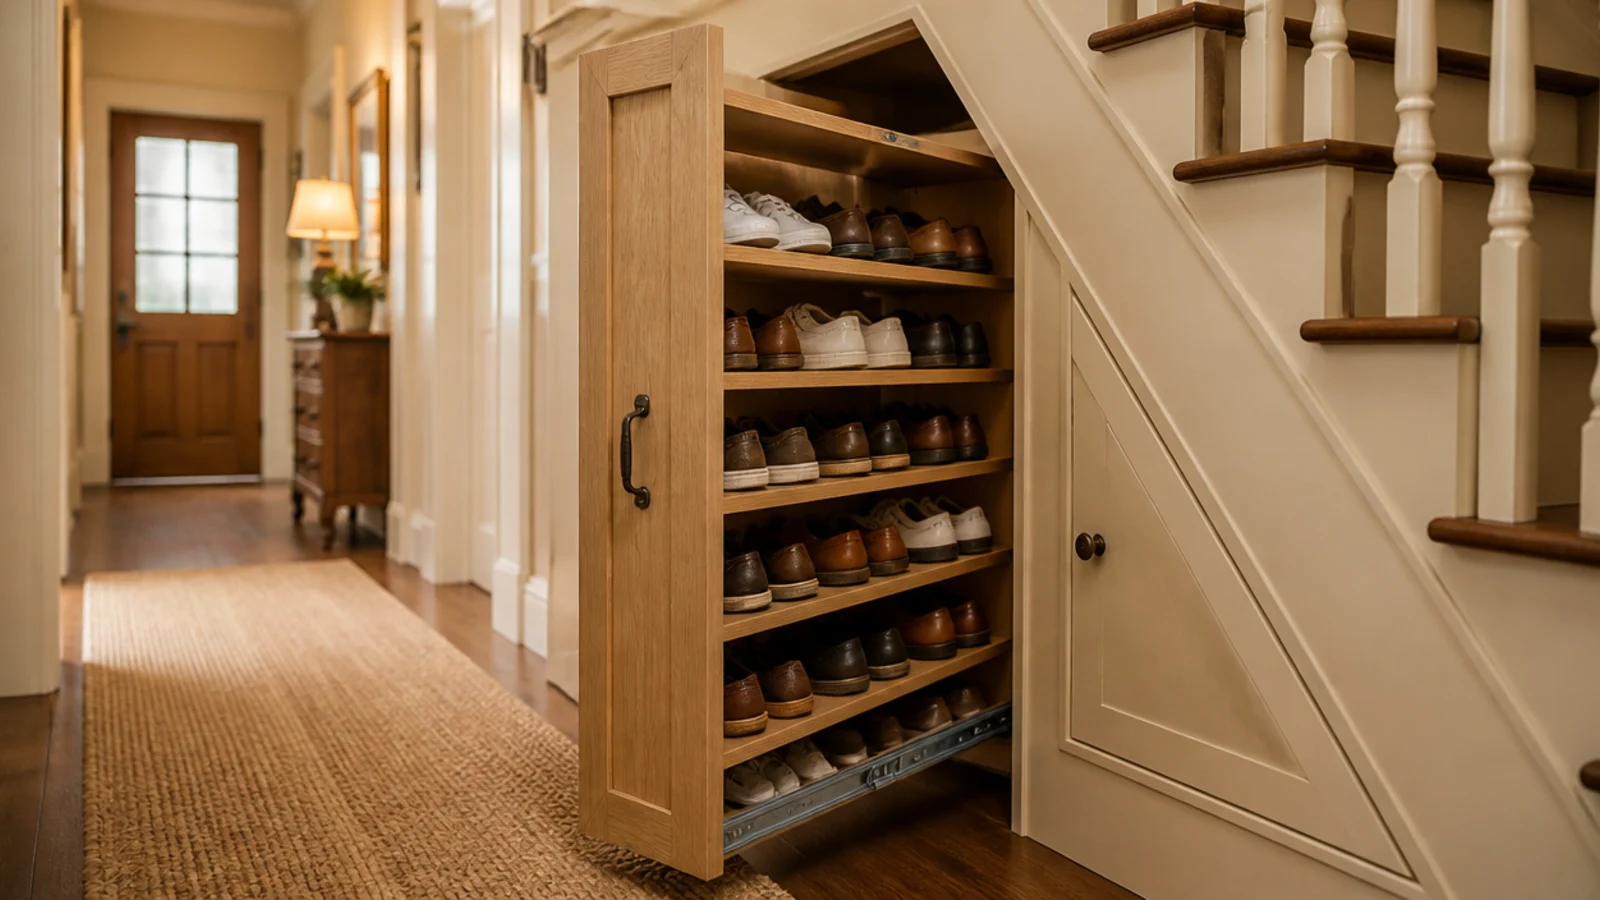
1. A pull-out tower in the tallest bay
The single highest-capacity move in the whole void. A tower on heavy-duty runners stores shoes on both faces and rolls the deep corner out to meet you.
Build it 20 inches wide, as tall as the headroom allows, and specify runners rated to 100 pounds — loaded shoe towers get heavy fast. Mine holds 18 pairs in a footprint that previously held a vacuum and three carrier bags. Full-extension slides only; half-extension means the back never gets used. $$$
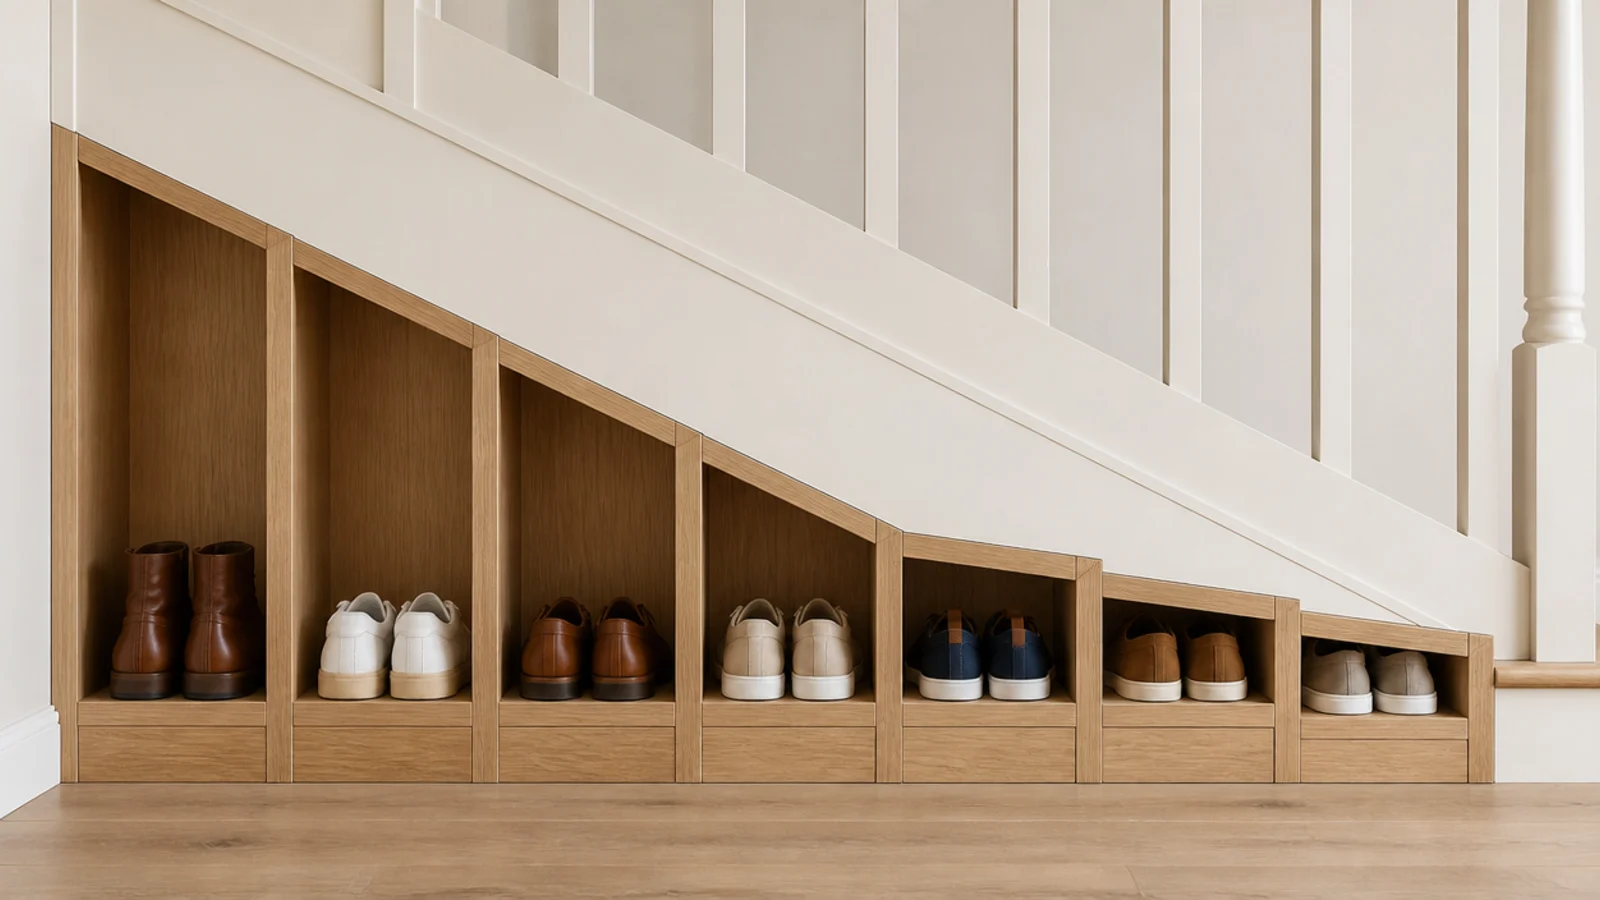
2. Angled cubbies that follow the stair rake
Instead of fighting the diagonal, cut the cubby tops to match it. Each opening steps down as the ceiling does, so nothing is wasted to an awkward wedge.
Make the tall openings 16 inches for boots and taper to 7 inches at the low end for flats. Keep every cubby 13 inches deep. One pair per opening, always — the moment a cubby holds two it becomes a shelf, and shelves become piles. $$–$$$
3. Drawers built into the bottom three treads
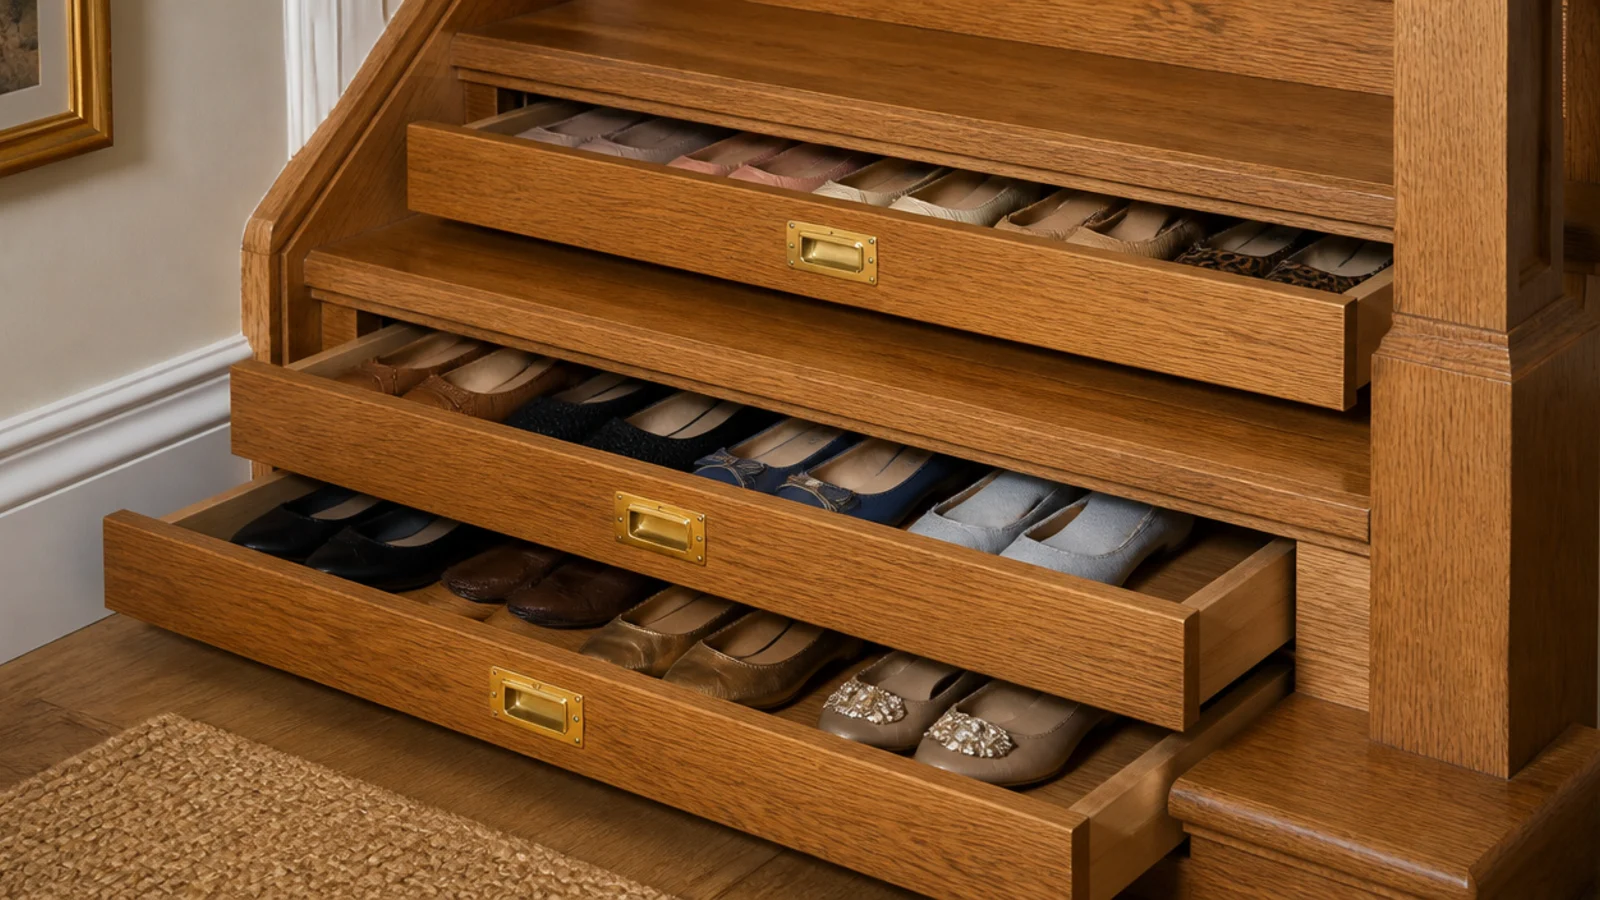
The bottom steps of a staircase are hollow, and the front of each riser can become a shallow drawer on side-mounted runners.
You get roughly 4 inches of internal height and 30 inches of width per tread, which holds three pairs of flats lying down. It is fiddly carpentry and worth it in a hallway with no other floor space. Add brass finger pulls rather than knobs so nothing catches a shin. $$$
4. A boot bay at the full-height end
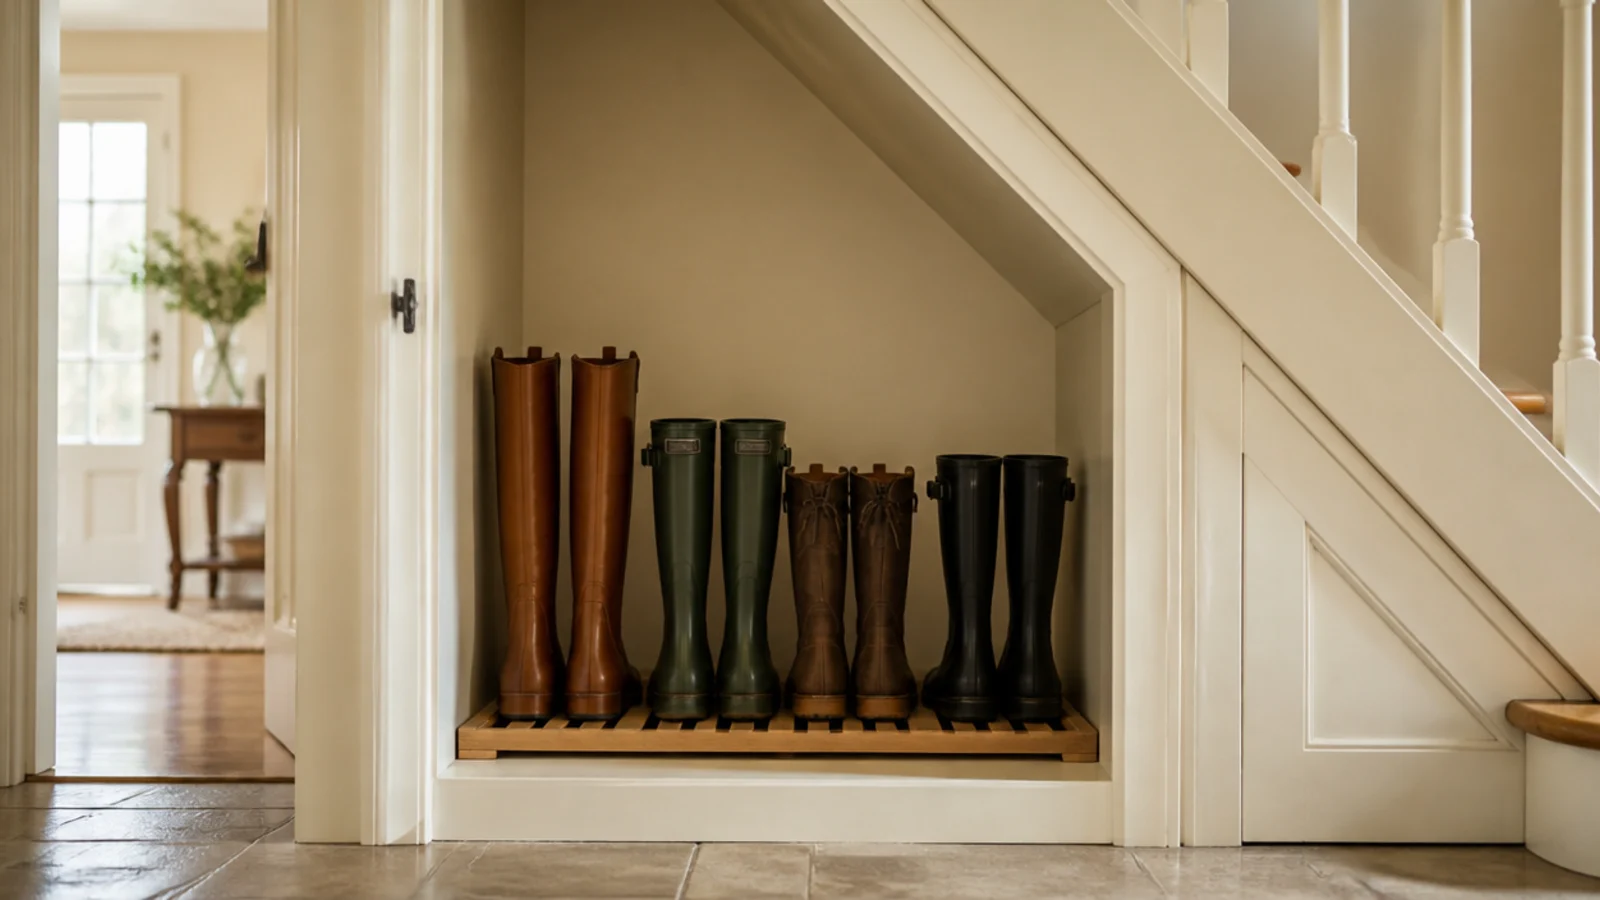
Give boots their own dedicated opening at the tall end of the run, with 16 inches of clear height and a raised slatted base an inch off the floor.
The slats matter. Boots that come in wet dry from underneath, and a solid base traps damp against the sole. Four pairs of adult boots need about 26 inches of width. Everything I know about keeping the rest of the entry dry sits in shoe storage ideas for the entryway. $$
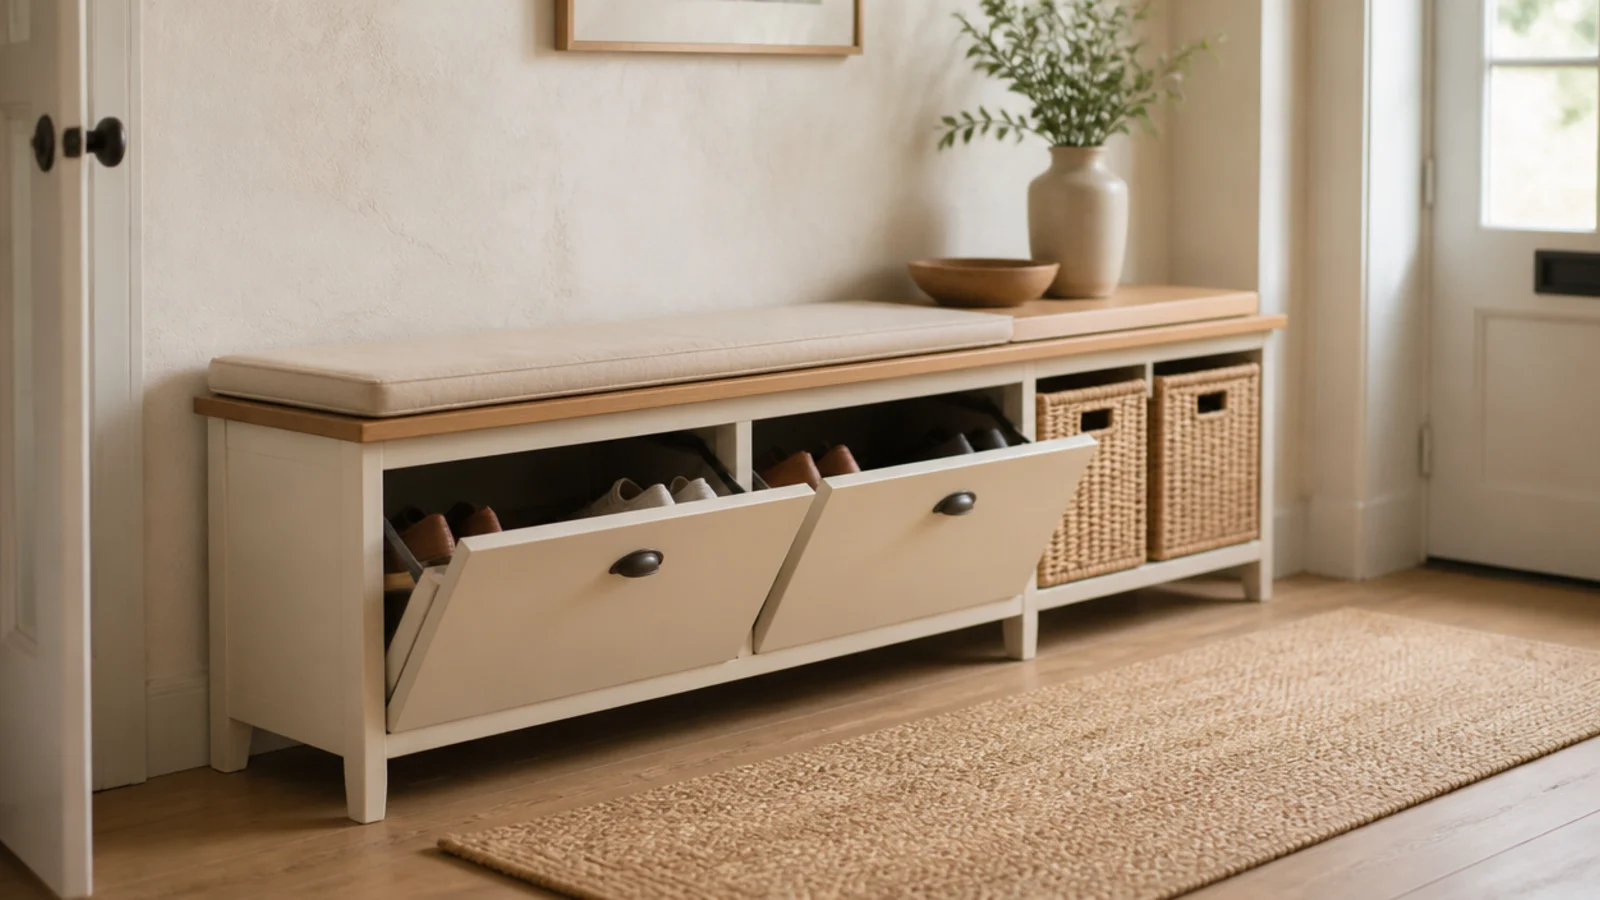
5. Tilt-out fronts where the ceiling drops
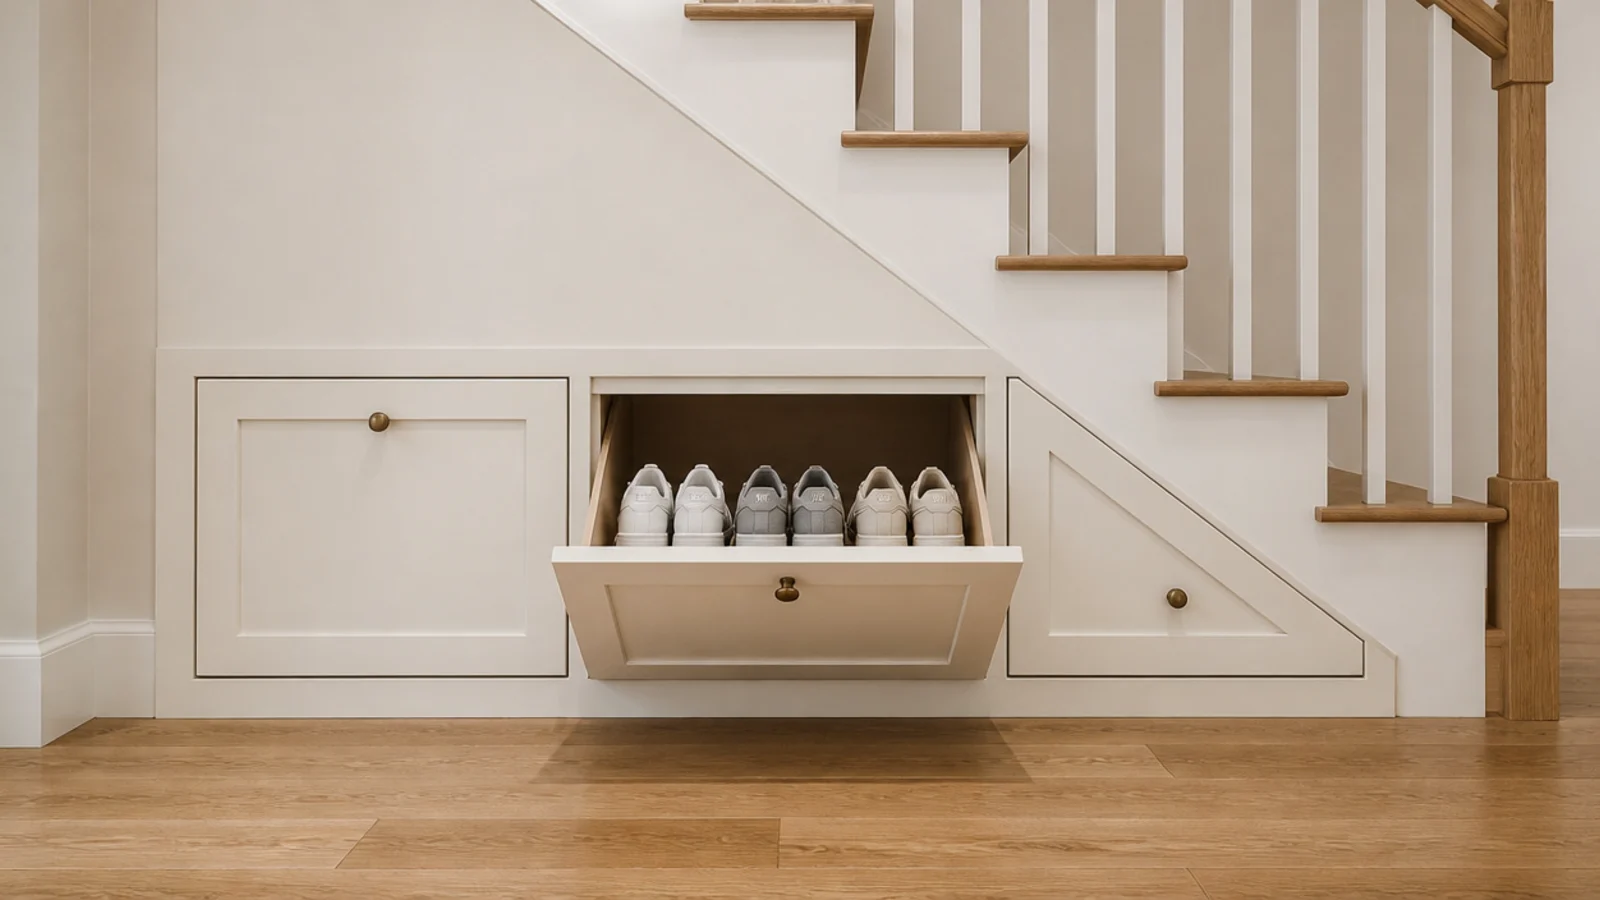
Where headroom falls under a foot, a tilt-out front is the only thing that still fits. Shoes rest at a steep angle inside a shallow drawer, so a nine-inch cabinet swallows a 12.5-inch shoe.
Two tilt-out fronts hold six to eight pairs of flats and sneakers. They hold no boots at all, so plan those elsewhere. Soft-close hinges are worth every penny; these get shut with a foot daily. $$
6. Toe-kick drawers under the lowest step
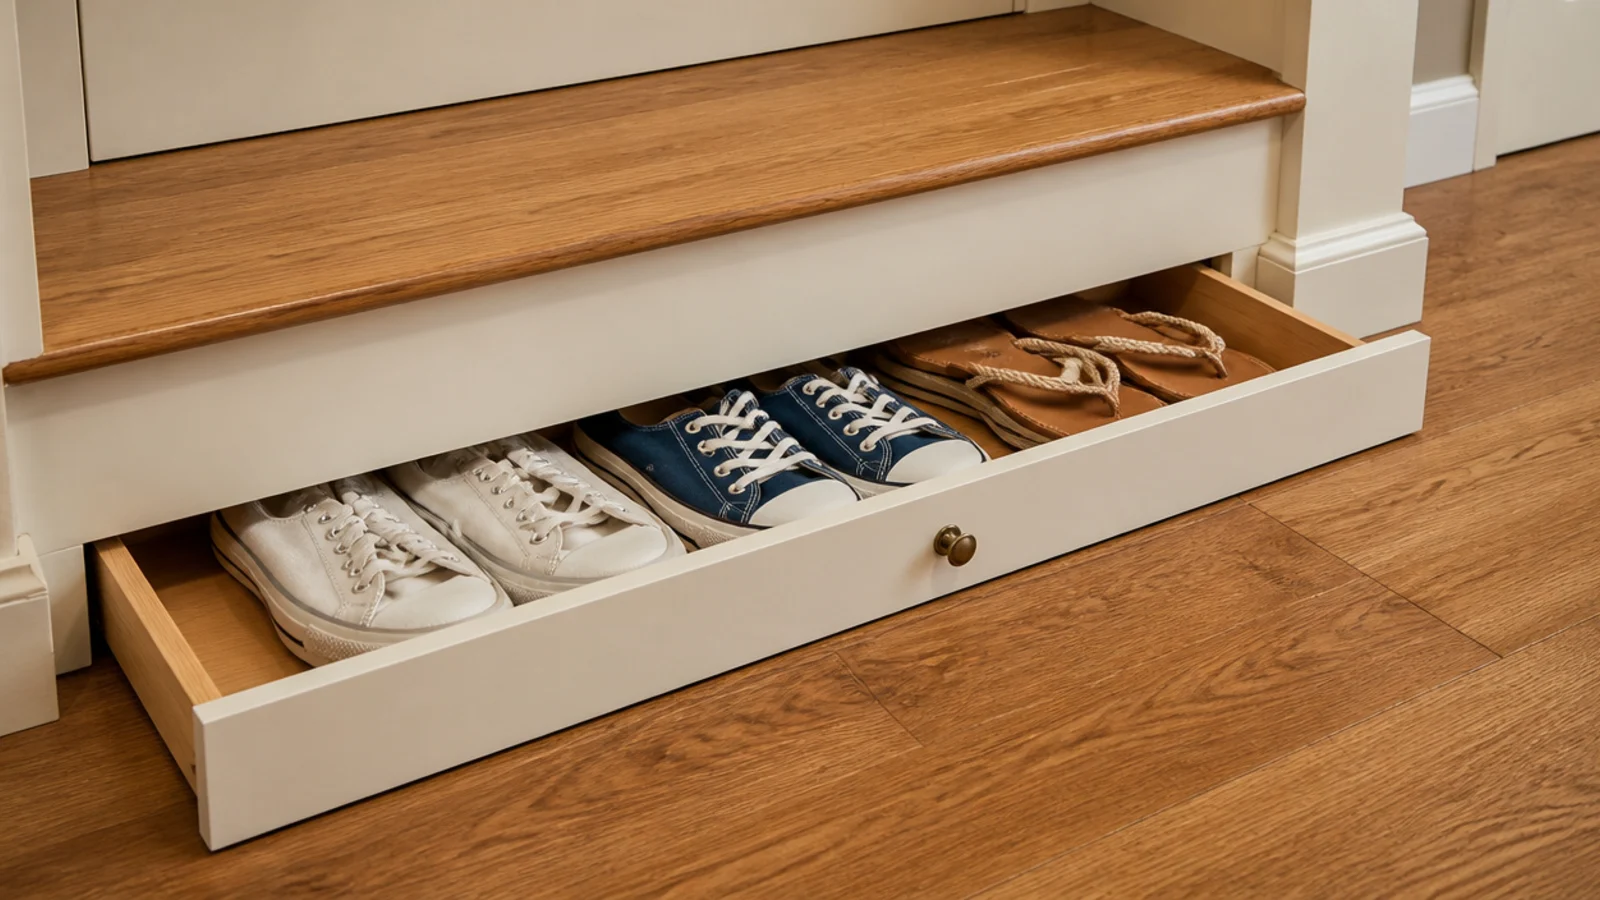
The recessed strip beneath the bottom riser is usually four inches high and completely unused. A drawer there takes sandals, canvas shoes and flip-flops lying flat.
It costs almost nothing if you are already building, and it is the only storage in the house that opens with your toe. Line it with a wipeable mat, because whatever is stored at floor level near a door gets gritty. $
7. Open cubbies with a painted back panel
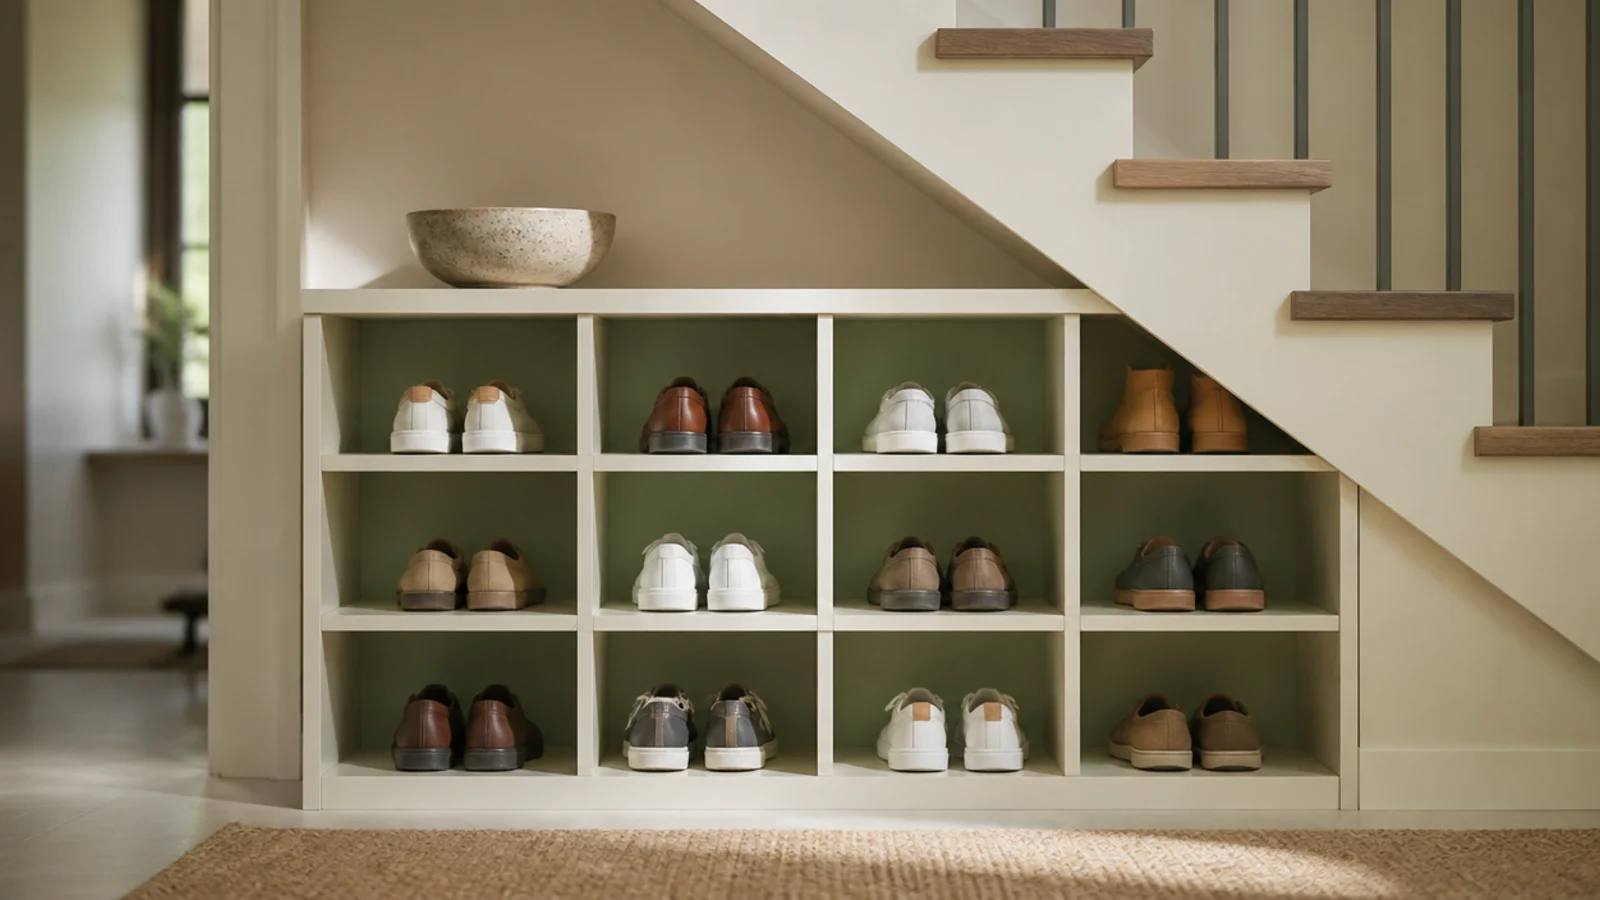
Open storage works because there is no door to skip. Paint the back panel a soft colour — muted sage or warm clay — and the unit reads as designed rather than assembled.
Size each opening 13 inches deep and 12 wide. Keep the lowest cubby 4 inches off the floor so a vacuum head passes underneath. Painting the back is a $12 change that does most of the visual work here. $$
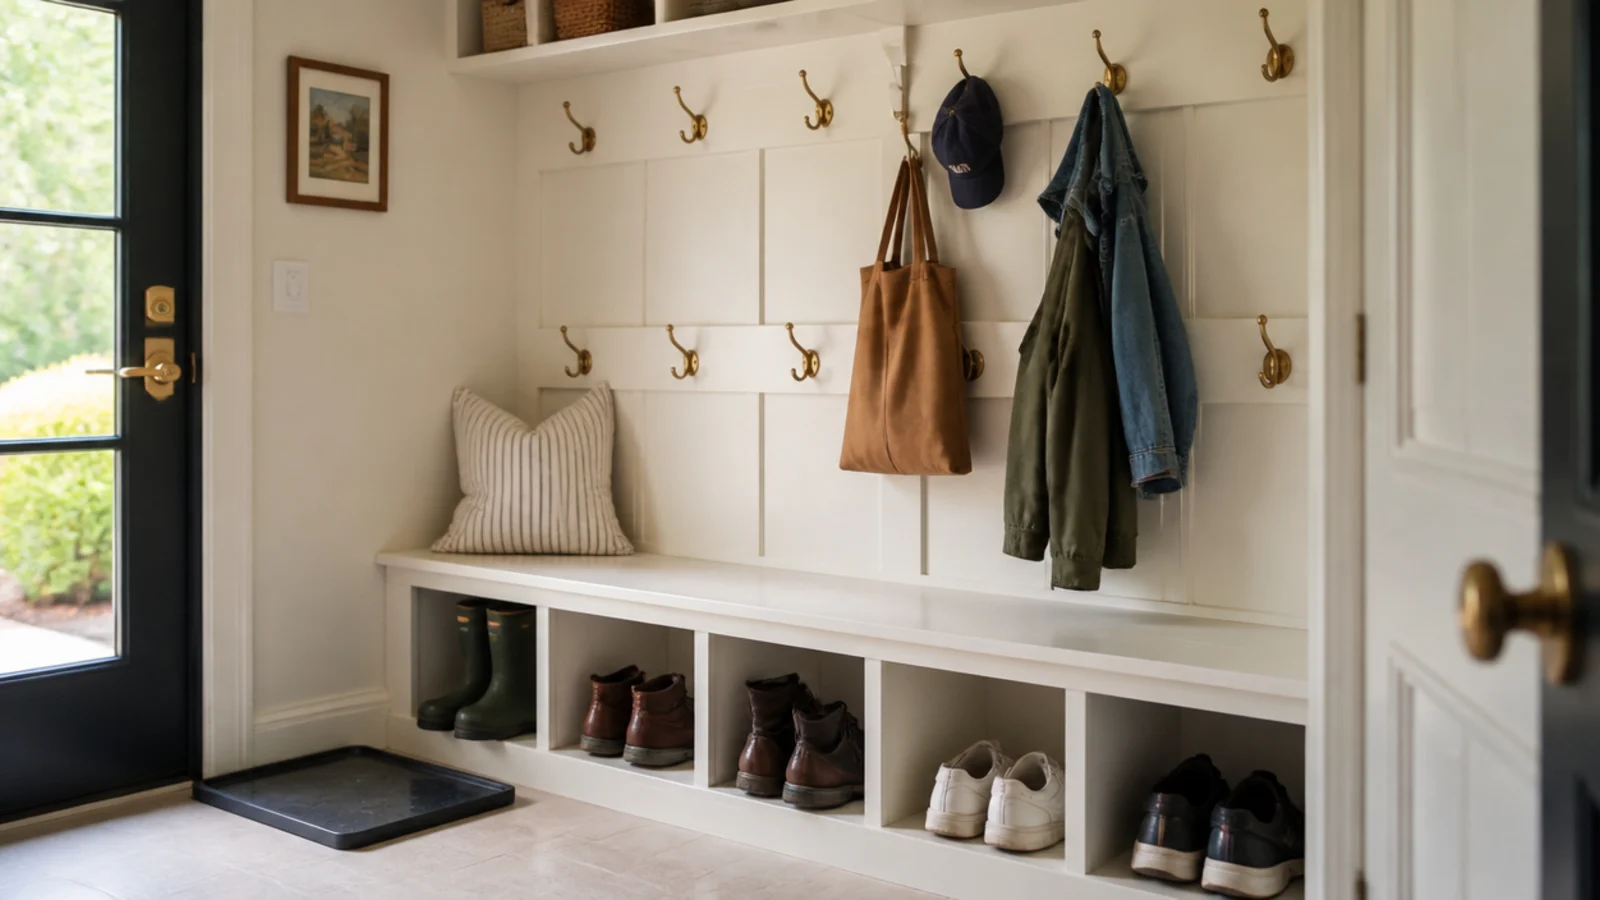
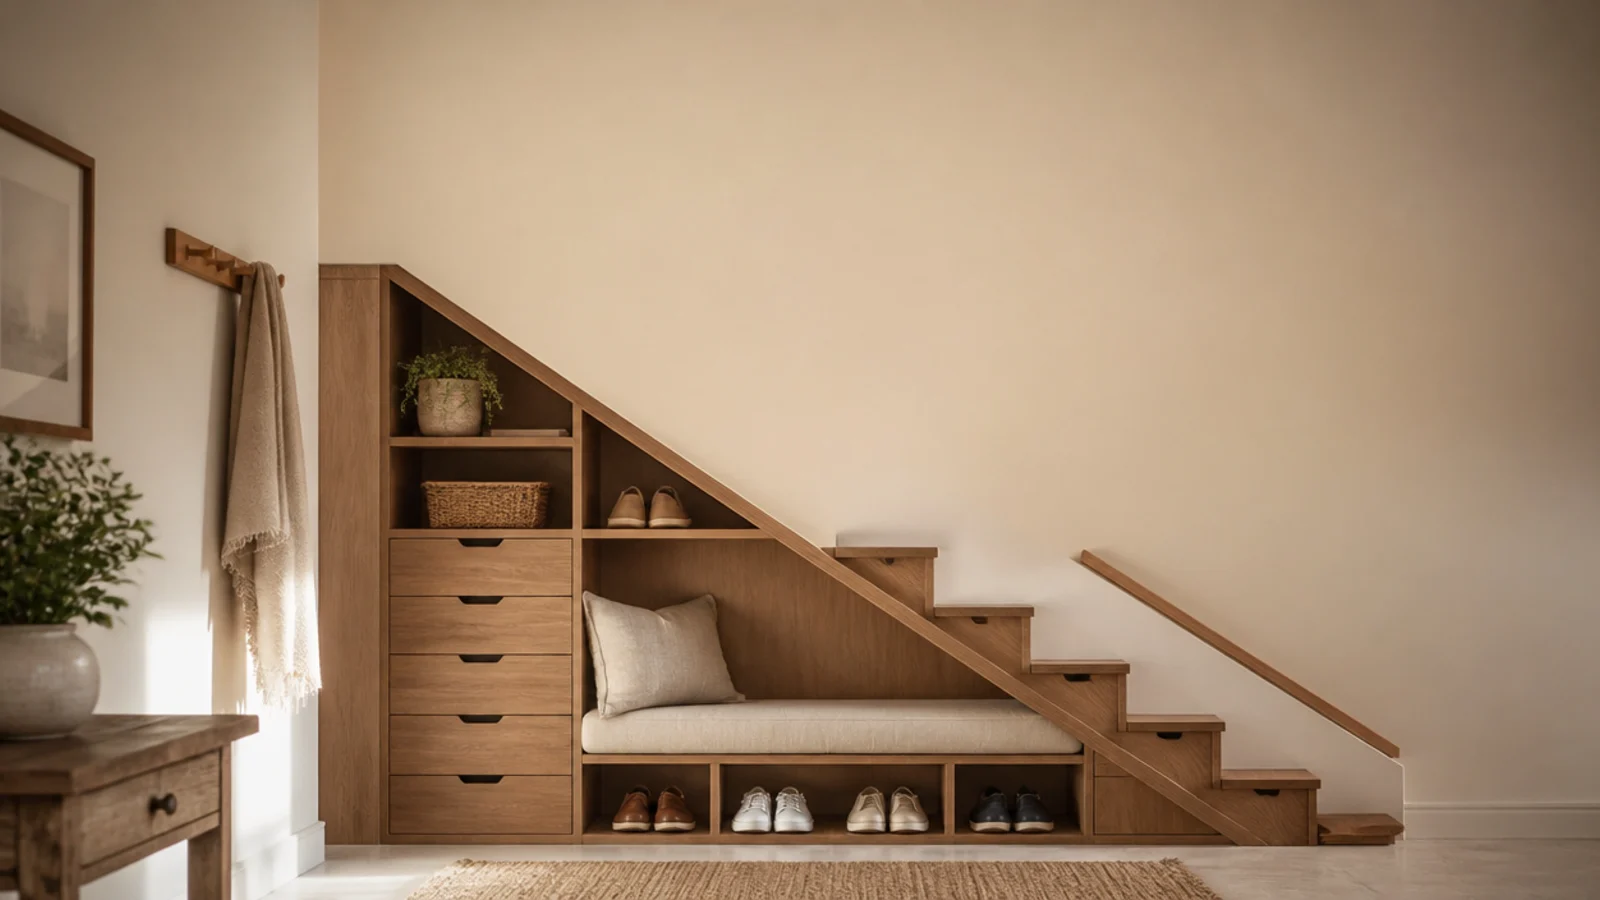
8. A built-in bench seat in the middle bay
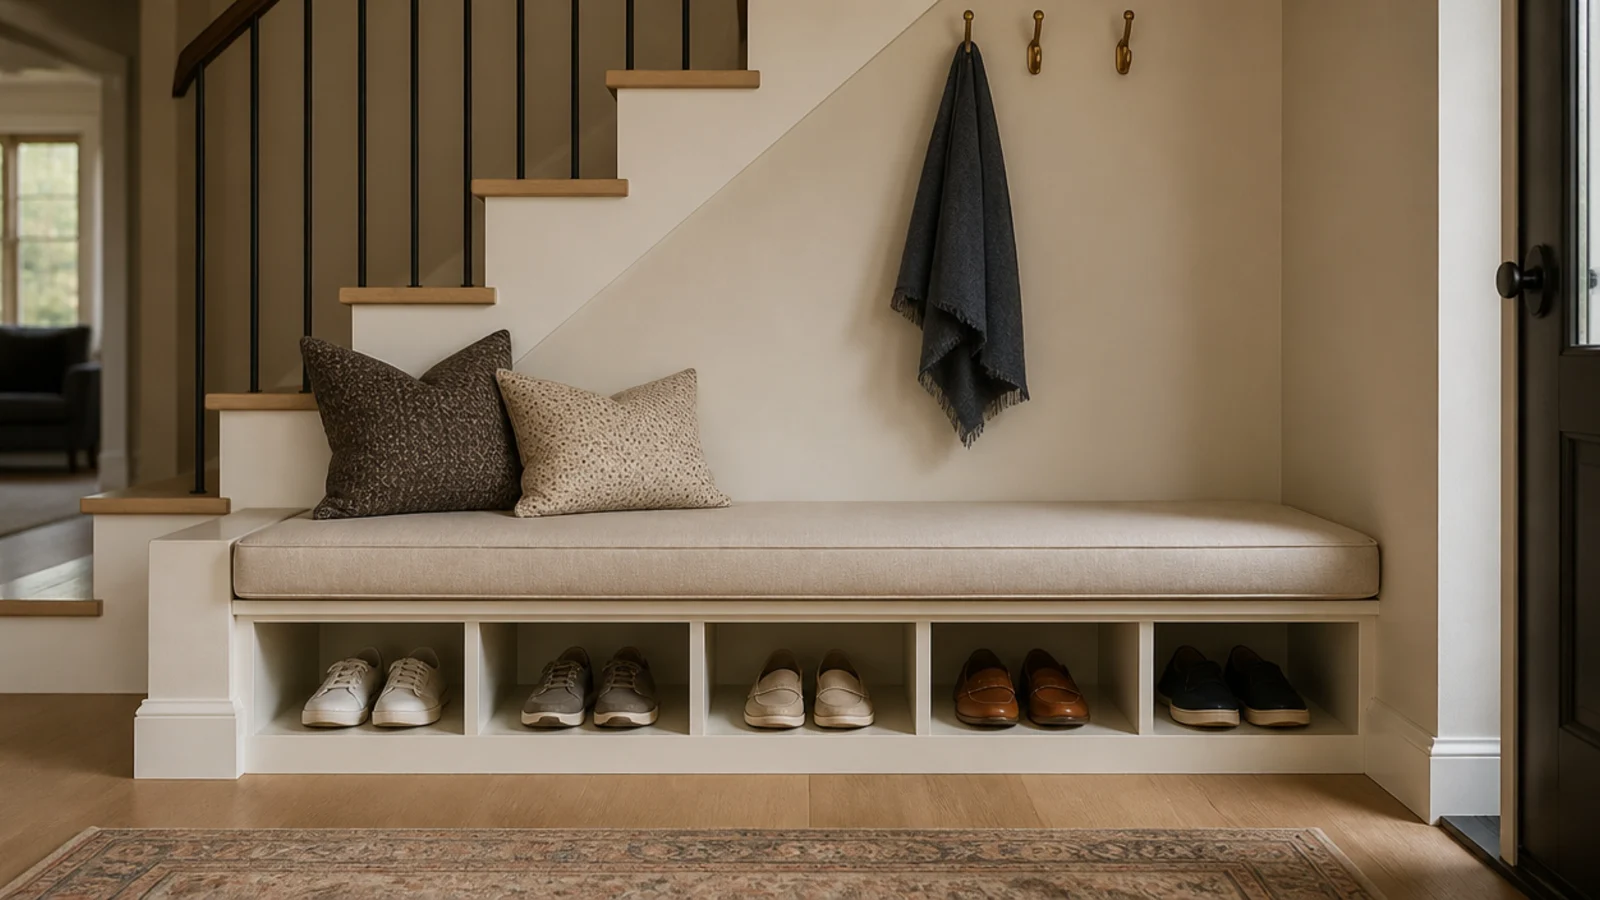
The middle of the run usually has 30 to 40 inches of headroom, which is exactly right for a seat with cubbies beneath.
Set the seat at 18 inches to the top of the cushion. Lower feels like a step and taller means feet dangle. Leave 13 inches of depth below for shoes and a 3-inch gap under the lowest shelf. If you want the standalone version, shoe storage benches covers sizing in detail. $$$
9. Rolling crates for the shallow triangle
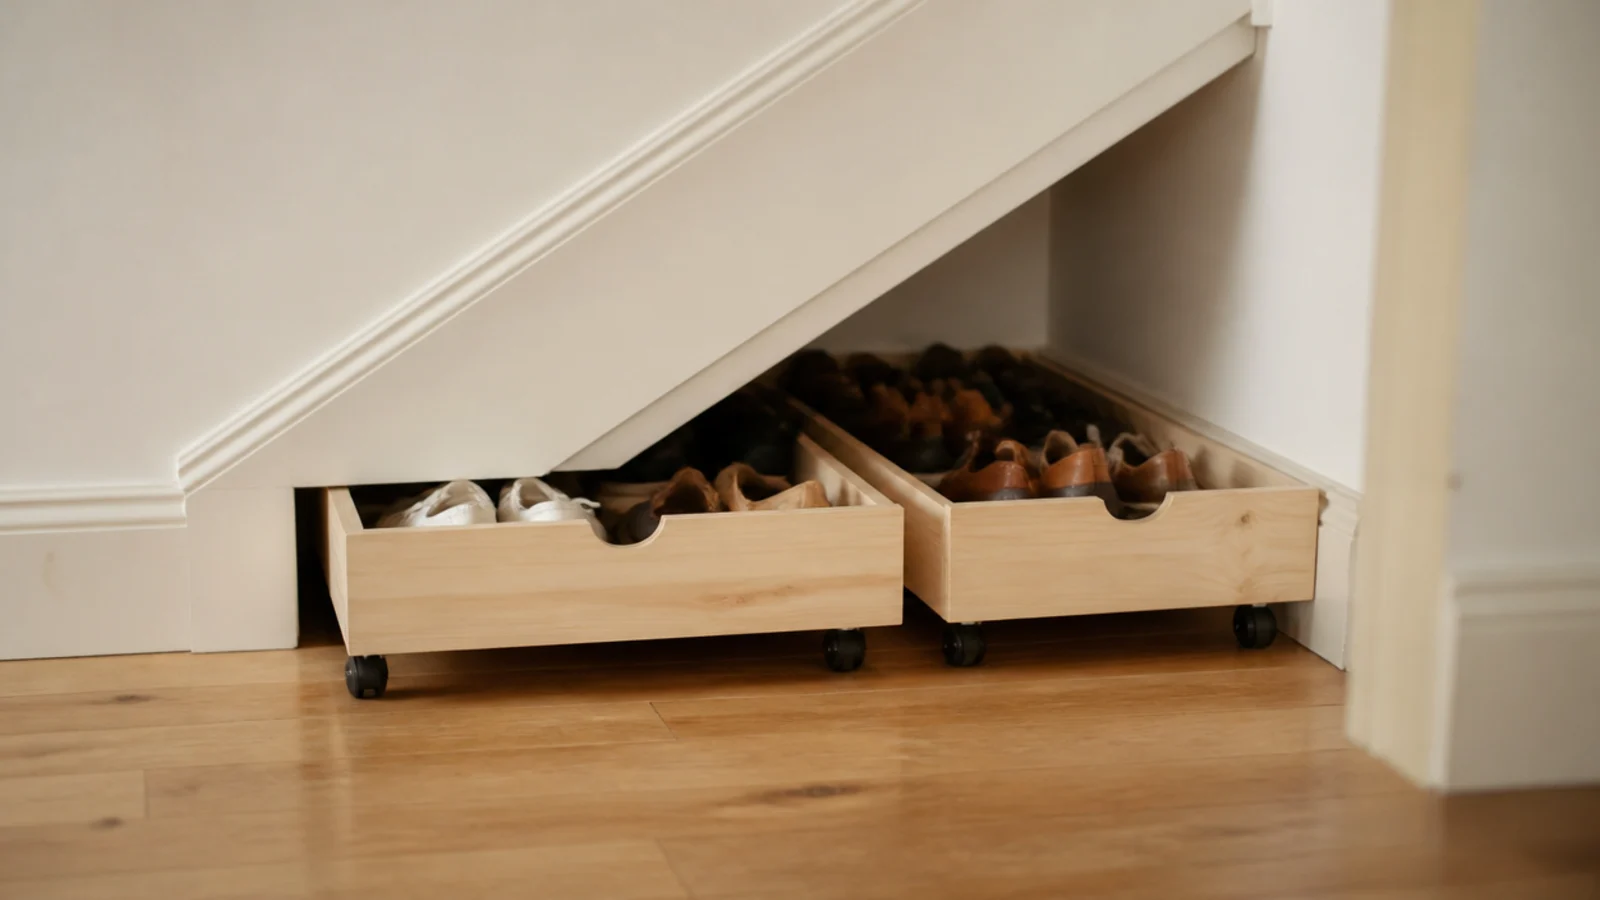
The last two feet of a staircase void are too low for anything fixed. Low crates on castors turn that wedge into a drawer you pull out with a foot.
Use crates no taller than the lowest headroom minus two inches, and seal raw pine before shoes go in — wet soles stain untreated timber within a season. Three crates cost about $35 and come apart flat on moving day. $
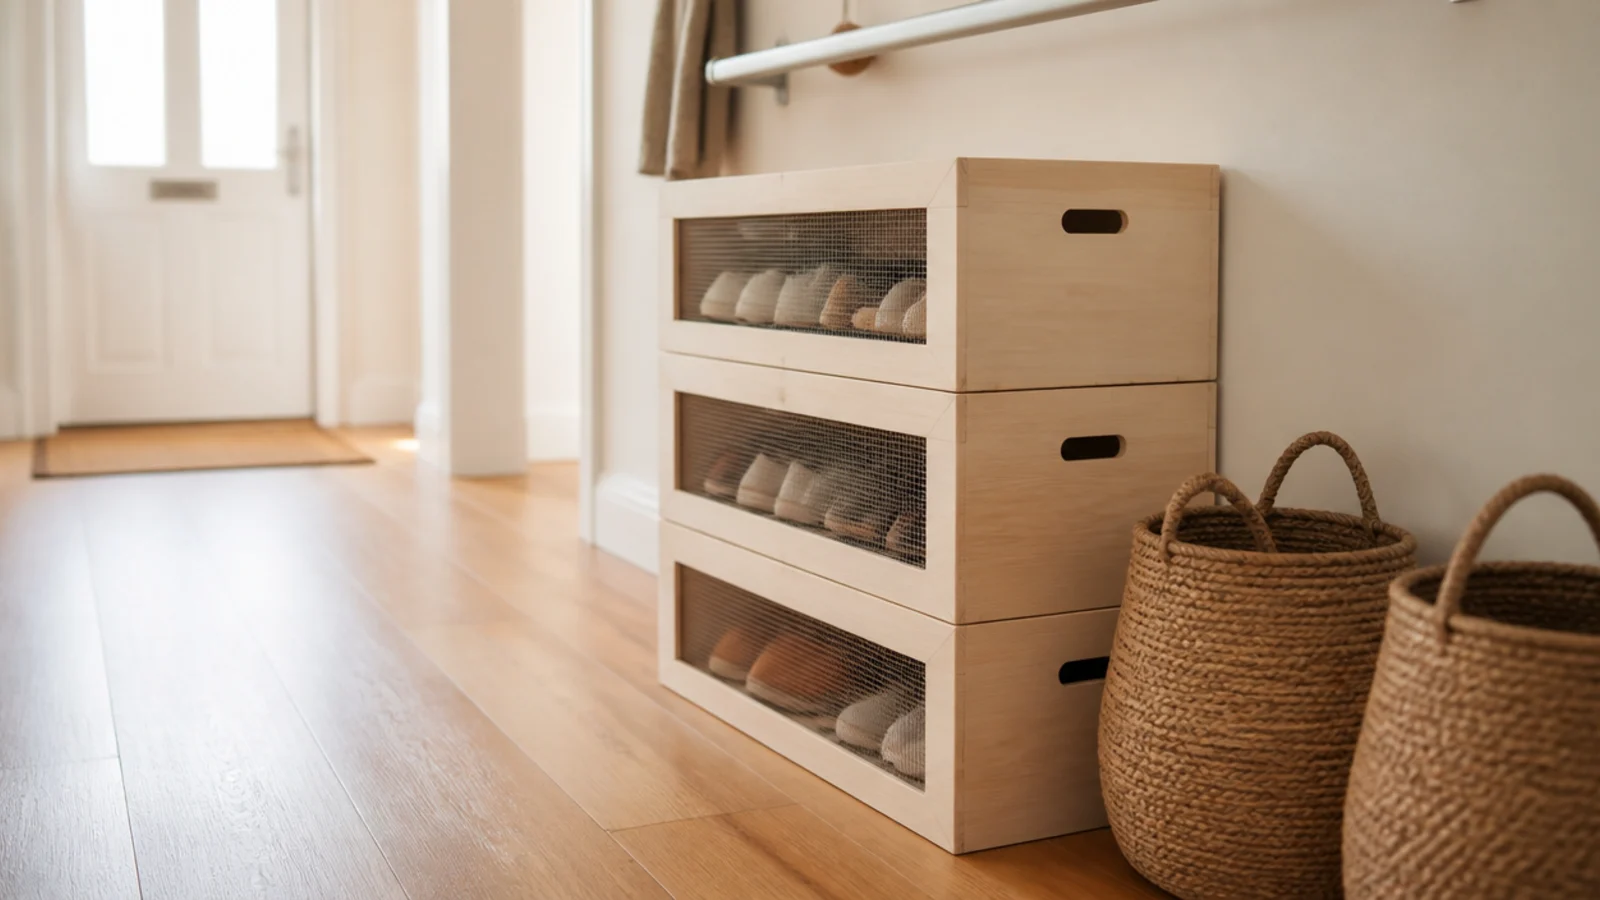
10. Cane or fluted doors that let air move
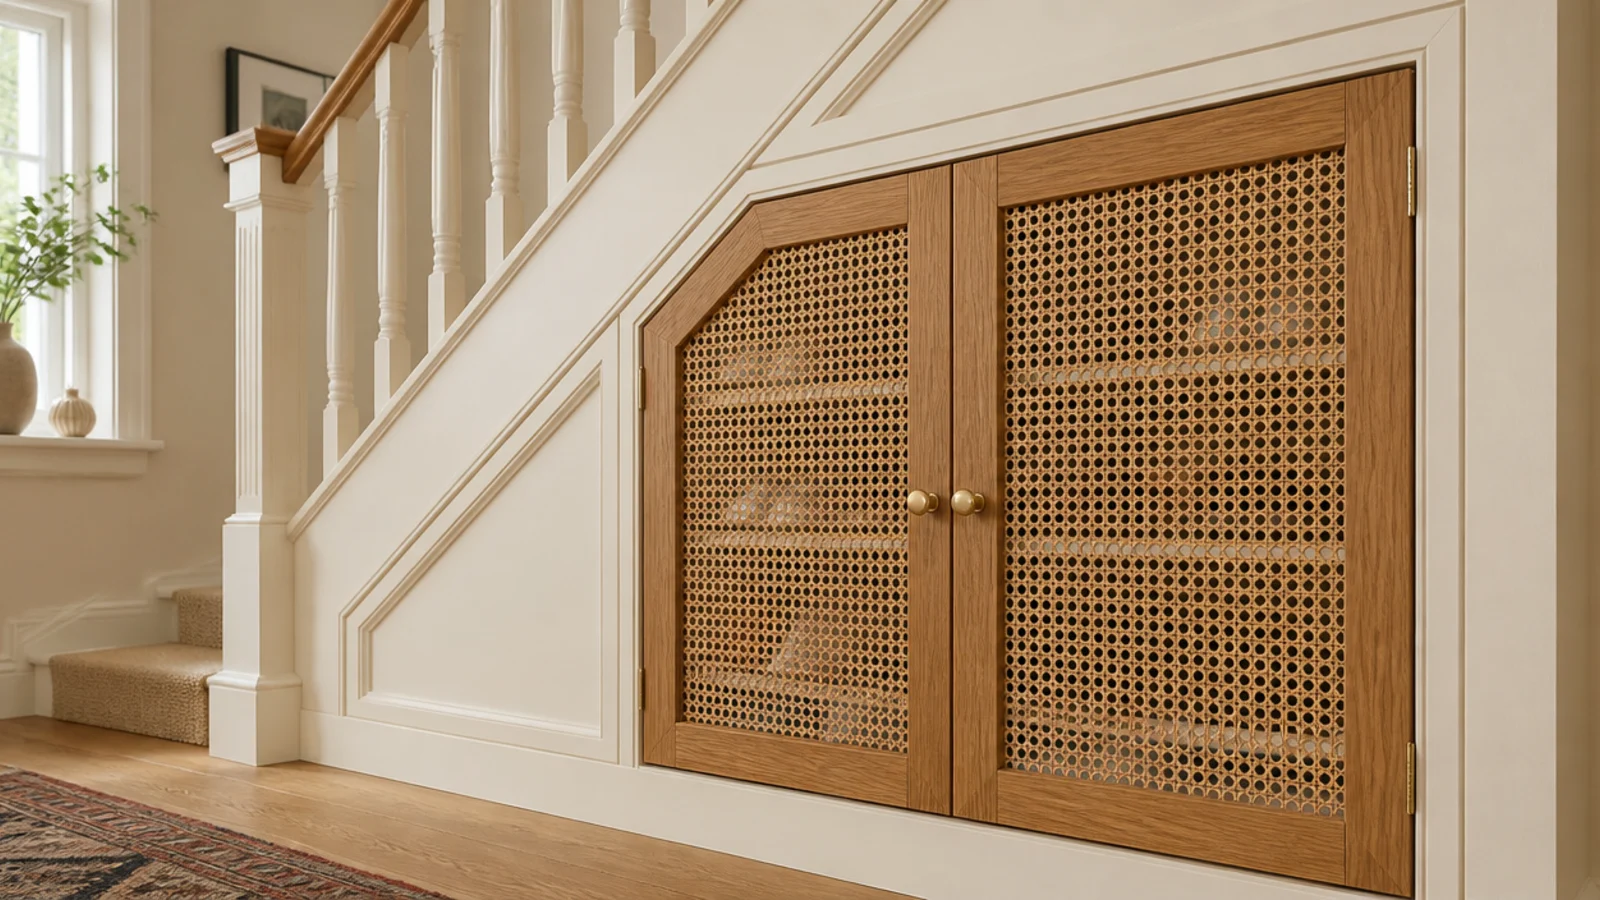
Closed shoe storage with no airflow smells, and a staircase void is the least ventilated cupboard in most houses. Cane webbing, fluted timber and slatted fronts all fix it while looking better than drilled holes.
If you already have solid doors, drill a row of one-inch holes near the top and bottom of each. Airflow is the actual solution; cedar blocks and charcoal bags only help once the air is moving. $$
11. A low shelf along the stringer wall
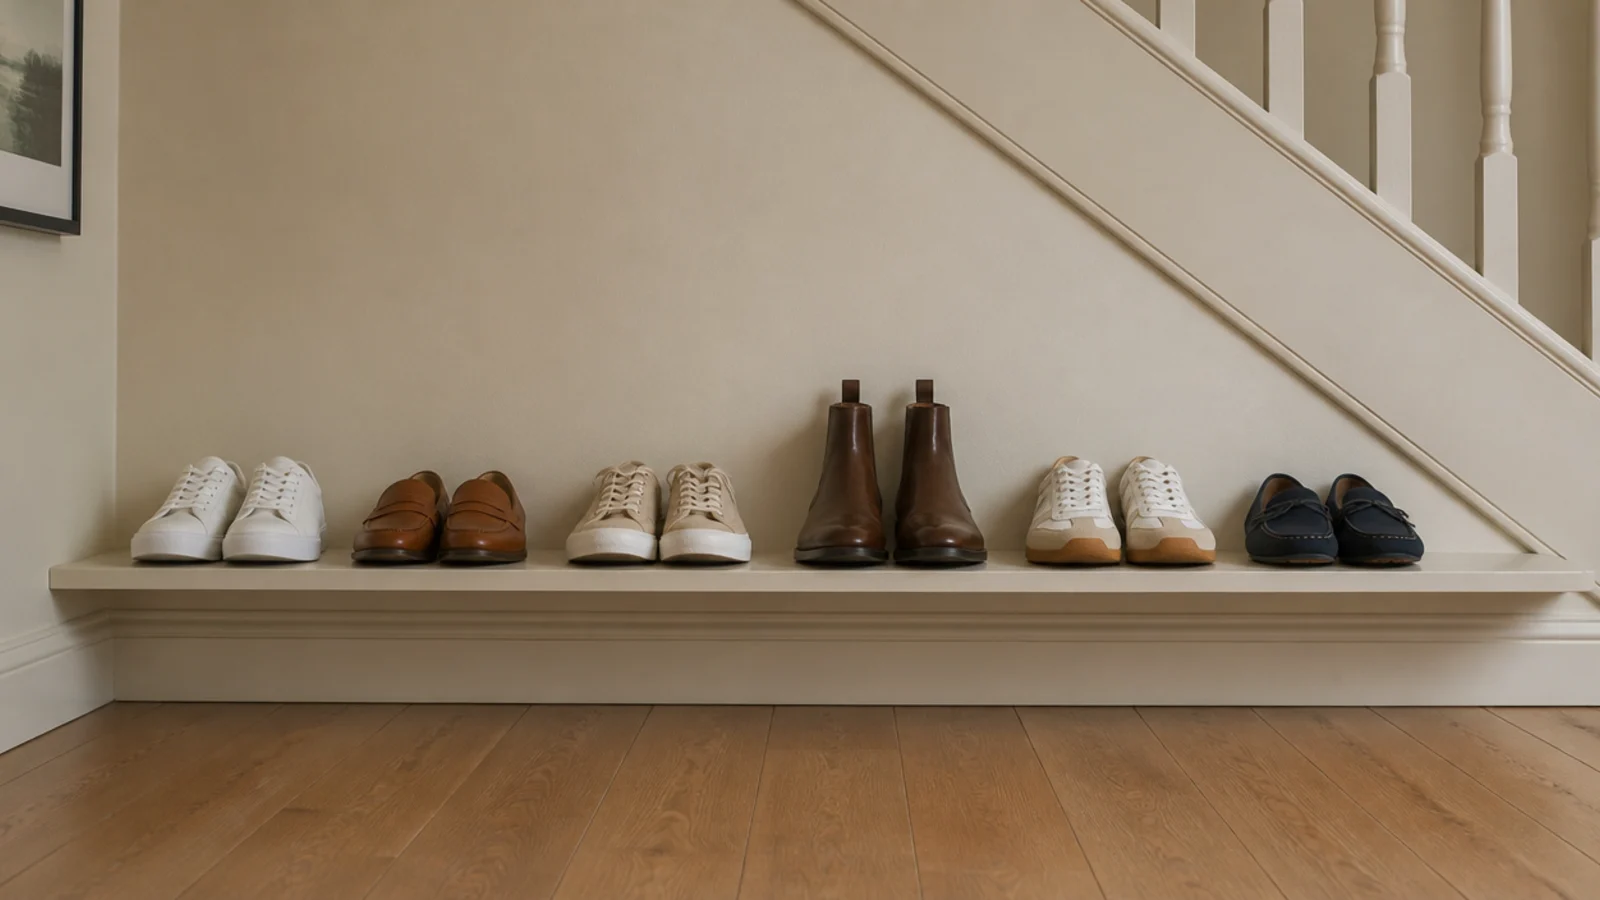
A single shallow shelf mounted 10 inches off the floor along the stair wall holds six pairs and keeps the floor clear for cleaning.
Ten inches is the number: high enough for a vacuum head, low enough that shoes go on with a foot rather than a bend. Keep it 10 inches deep and let the toes overhang slightly — the shelf reads lighter and you lose no capacity. $
12. Vertical dividers for the deep back corner
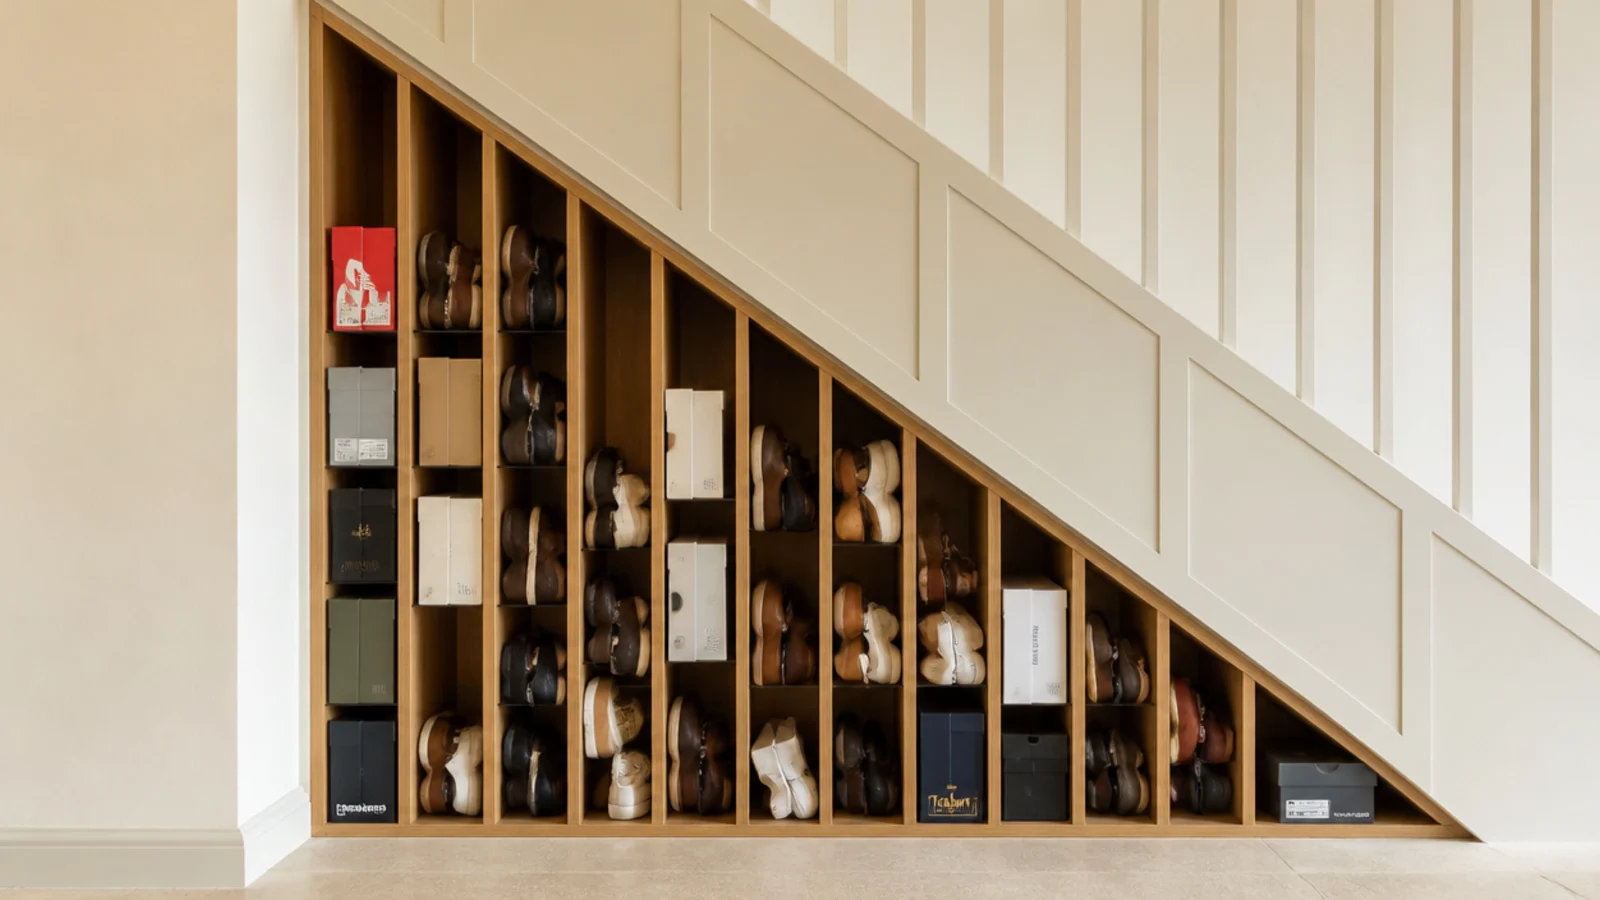
Deep spaces fail because things get pushed to the back and forgotten. Slim vertical dividers every 10 inches turn a cavern into files you can actually read.
Store shoes on edge between dividers, or use the slots for labelled boxes of out-of-season pairs. Half-inch plywood dividers cost about $30 for a whole bay and stop the single worst habit a staircase cupboard encourages. $
13. A hanging rail for flats along the underside
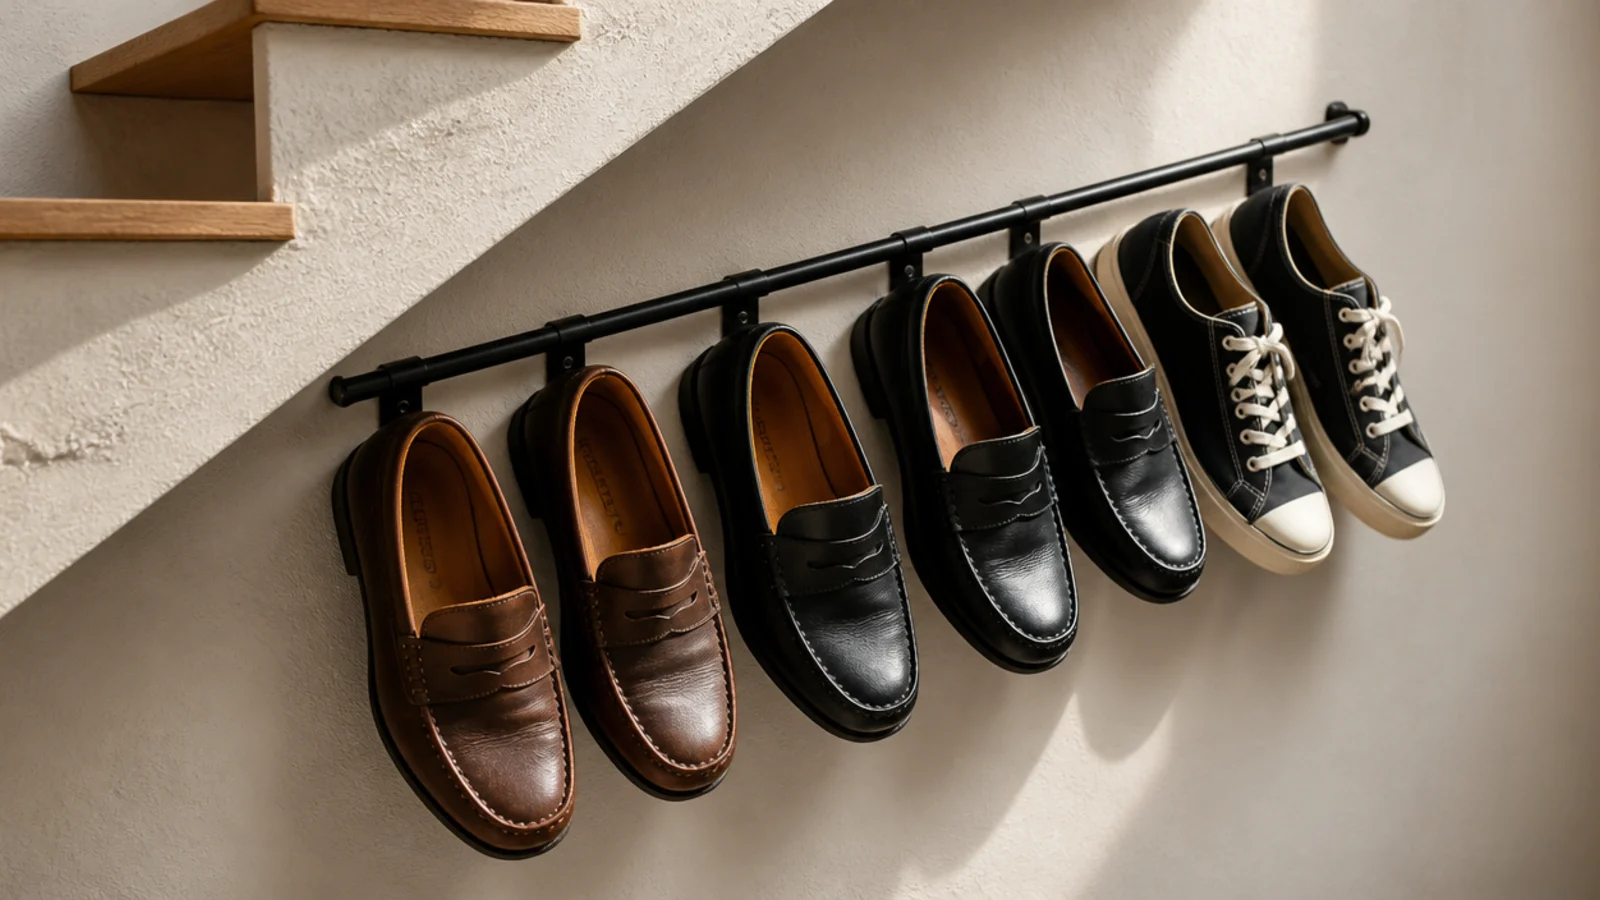
Slim rails fixed to the sloping soffit grip shoes by the heel and use about four inches of depth with no floor footprint whatsoever.
They work for flats, loafers and sneakers only. Heavy boots pull free and unstructured heels slip off within a day. Space rails 10 inches apart vertically so one row does not brush the pair below. Three rails across 36 inches hold roughly nine pairs. $
14. Baskets on runners, one per person
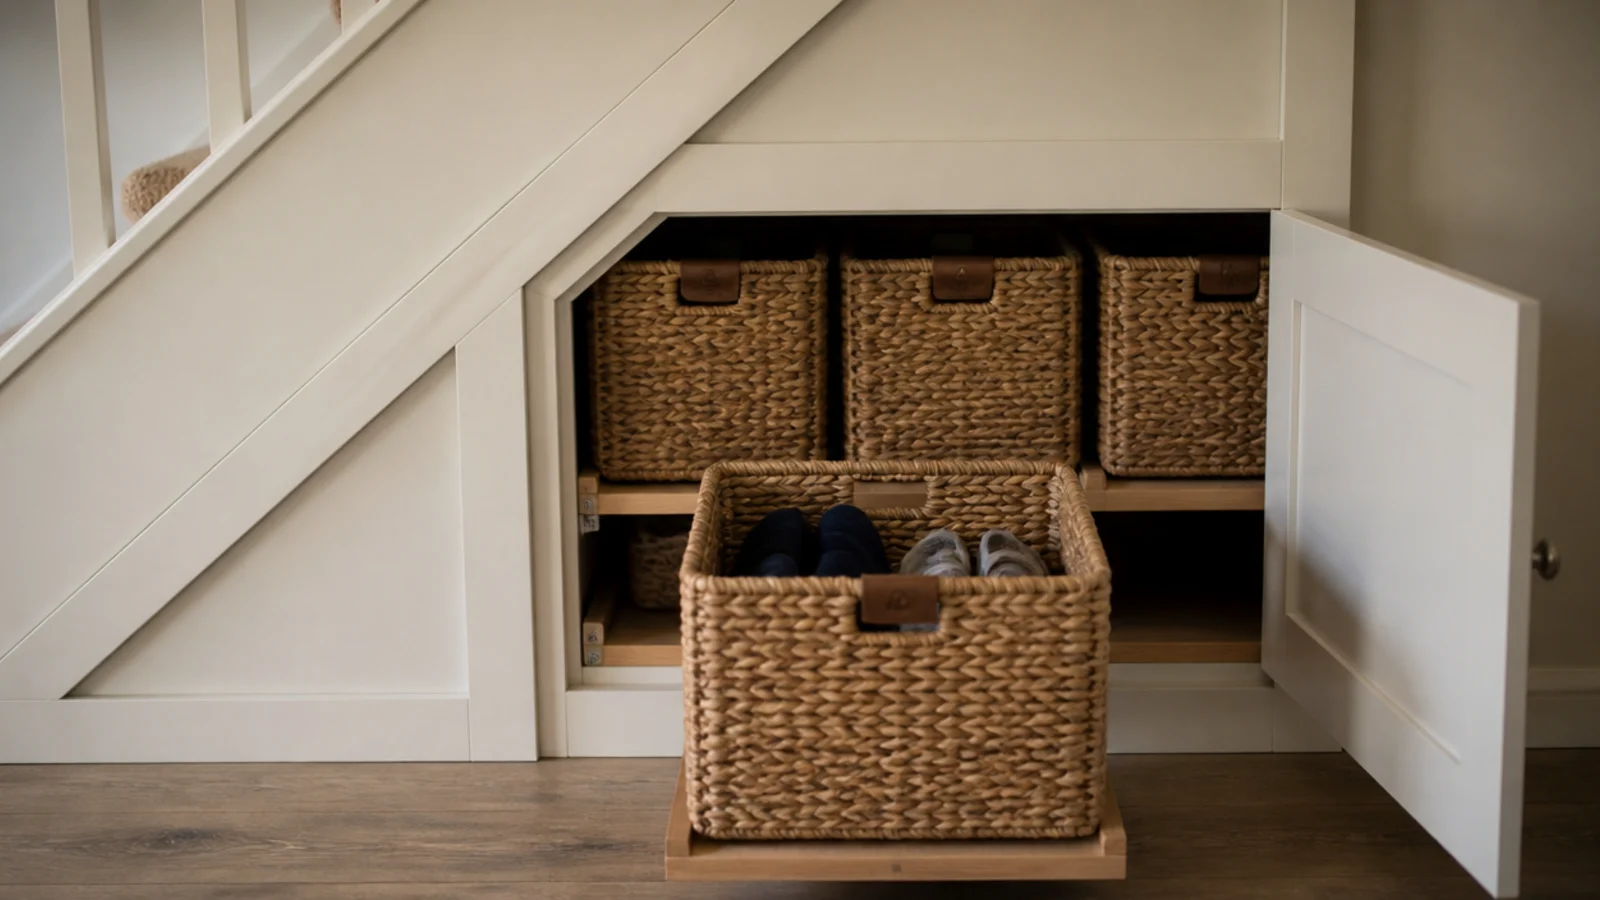
Named individual space is the single change that makes any shoe system stick. Shared storage means nobody owns the overflow, which is how piles restart.
Set woven baskets on simple timber runners so they slide like drawers. Size each one to a 13-inch shoe, tag it, and cap it at what fits. This works better with children than any amount of asking, and I have tested that theory thoroughly. $$
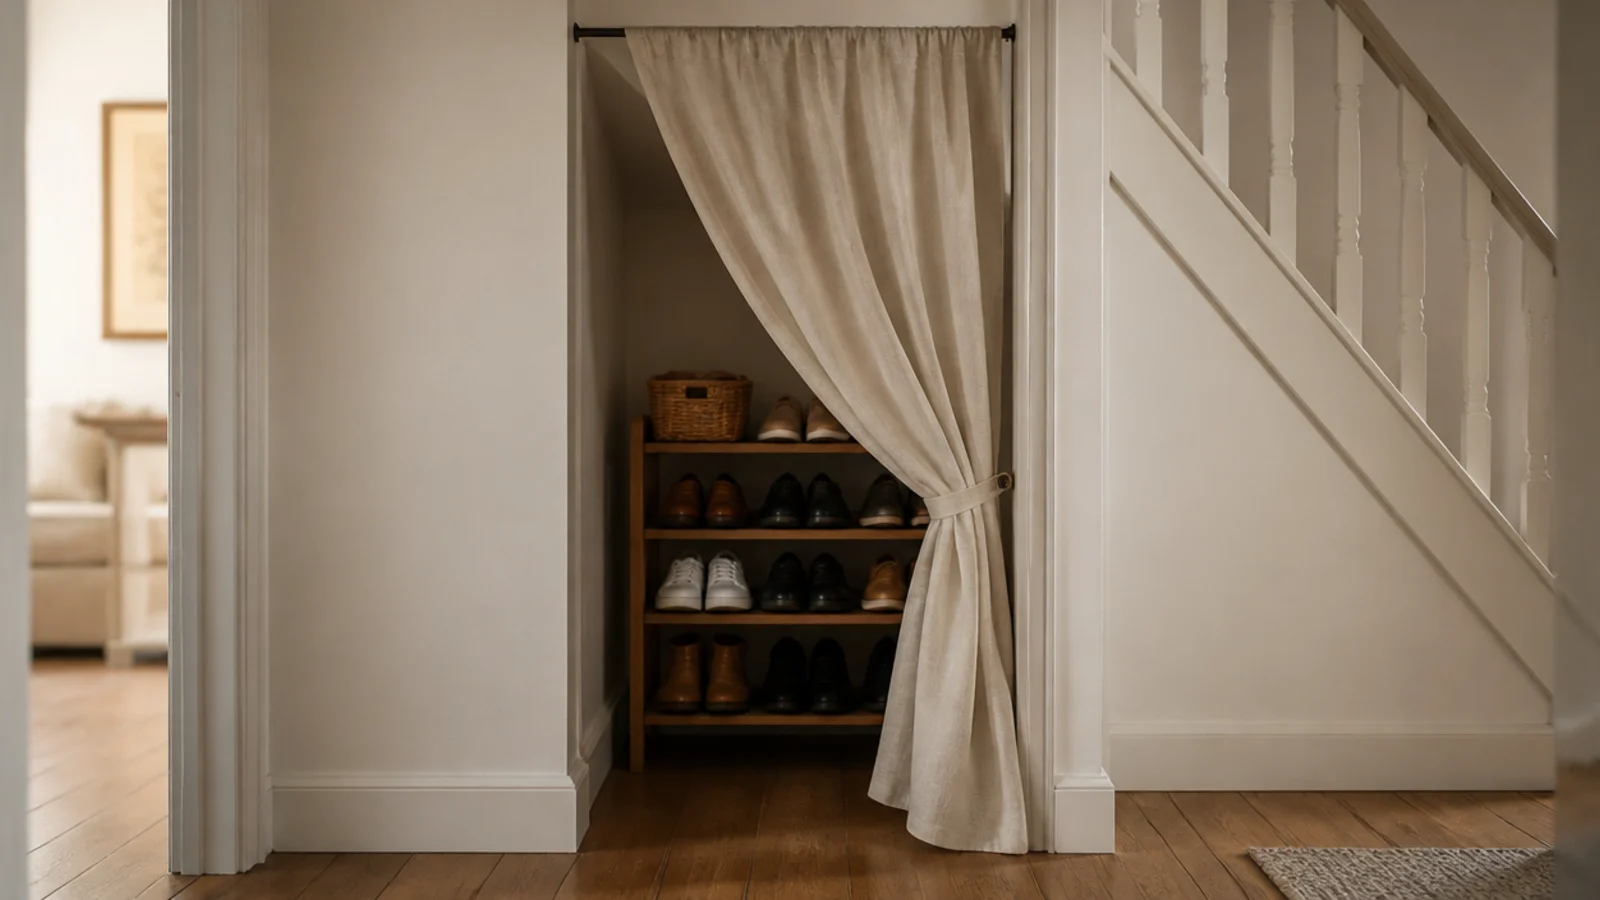
15. A linen curtain instead of doors
The renter answer, and honestly the fastest. A linen or canvas curtain on a tension rod hides a freestanding rack completely and leaves no holes behind.
Hang it a half inch off the floor so it clears the sweep. Natural fabric breathes, which unlike a solid door means the shoes underneath do not develop opinions. Rod and curtain together run about $30. $
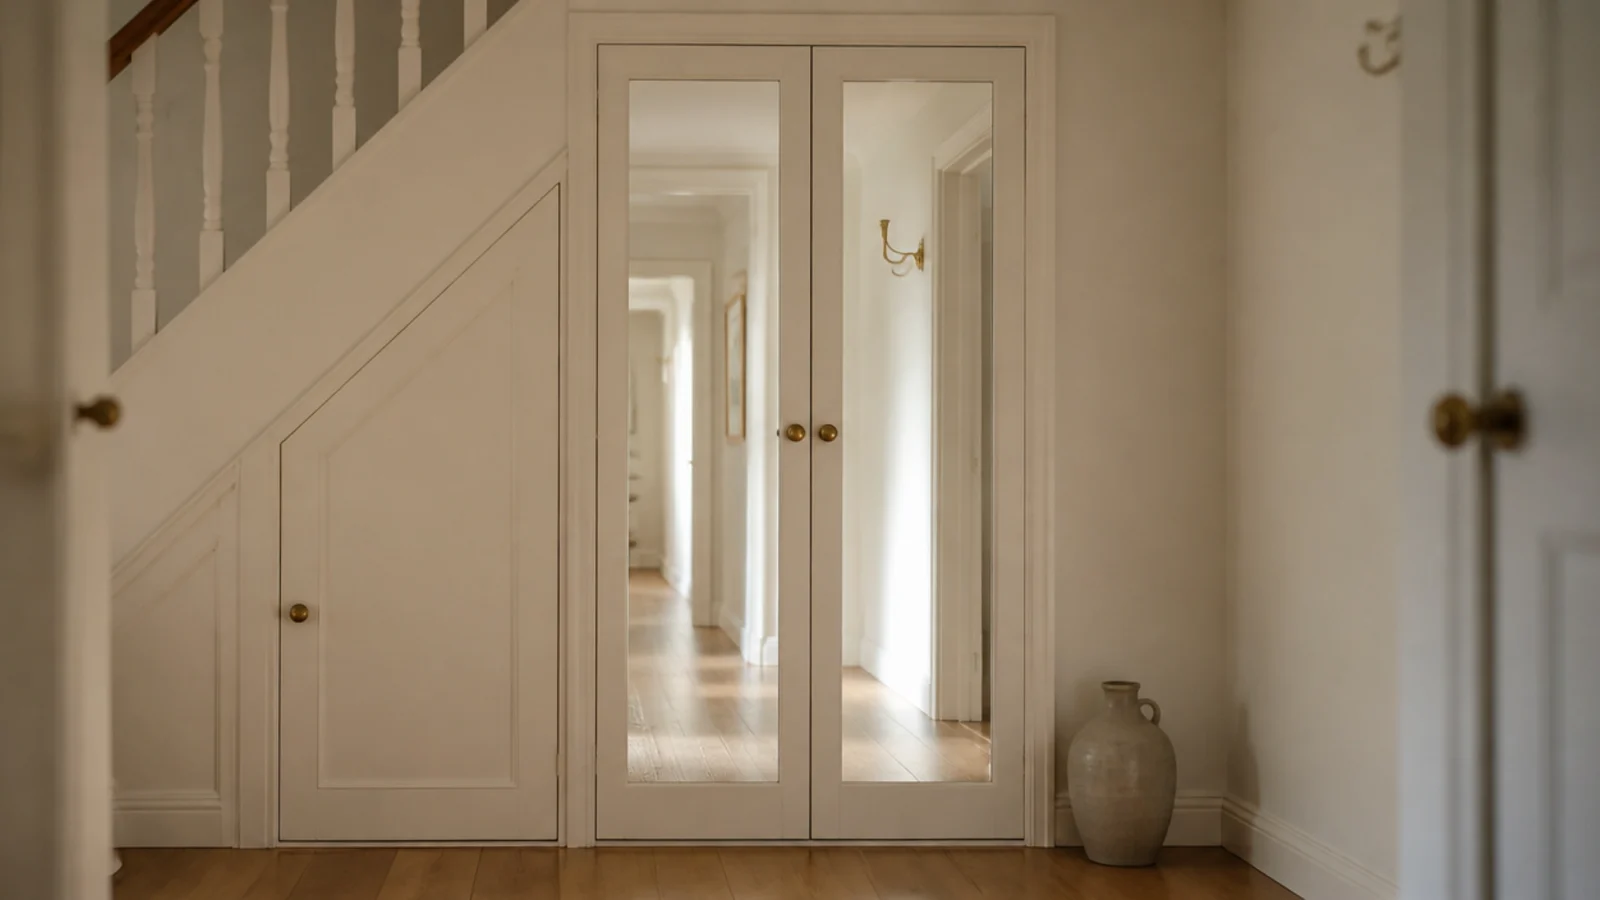
16. Mirror-fronted doors on the tall end
Staircase halls are usually dark, and full-length mirror doors on the tall bay give the light back while hiding 20 pairs.
Specify shatter-safe backing film if there are children, and hinge them to open away from the walkway. A mirrored front also gives you the last-check spot most entries lack, which quietly makes the whole hallway more useful. $$$
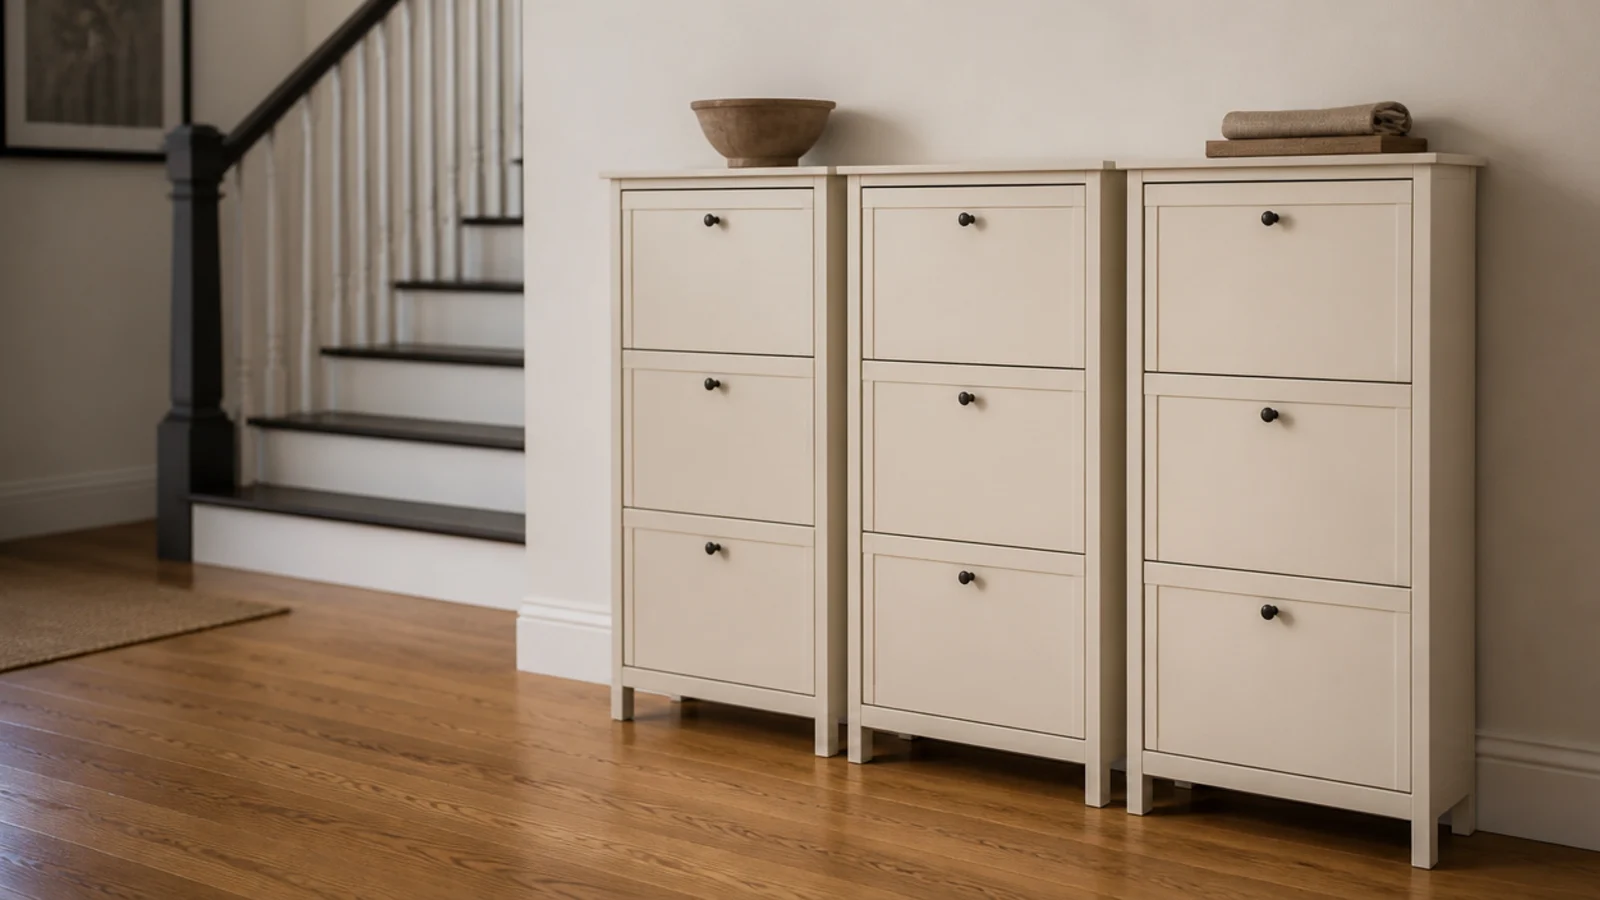
17. Slim tilt-out cabinets beside the stairs
If the void itself is plastered shut, the wall alongside the run still works. Slim tilt-out cabinets at nine inches deep hold 16 pairs without narrowing the walkway.
Keep at least 36 inches of clear passage past them. Match the cabinet colour to the wall rather than the floor — shoe furniture sits low, and matching the wall keeps a narrow hall feeling taller. $$
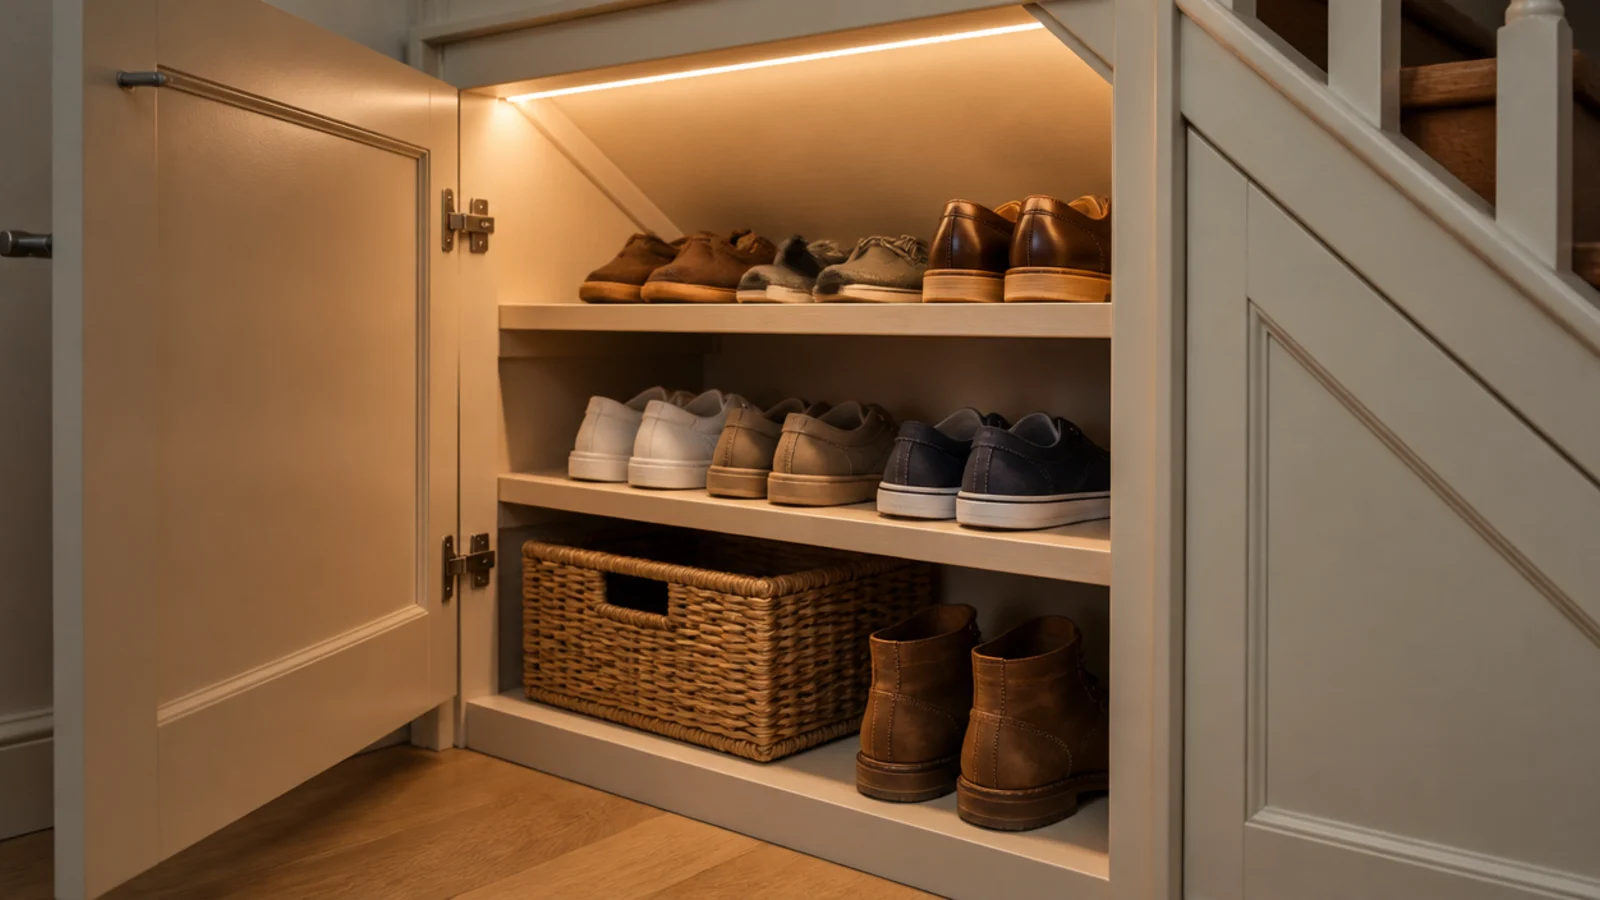
18. A warm LED strip inside the void
The cheapest upgrade here. A rechargeable strip or a motion puck at 2700K turns a black hole into storage you can use without a phone torch.
Stick it along the top inside edge so the light washes down over the shoes rather than into your eyes. Ten dollars, no wiring, and it is the change people notice first. Warm white only — cool bulbs make leather look grey. $
19. A drop shelf above the bench
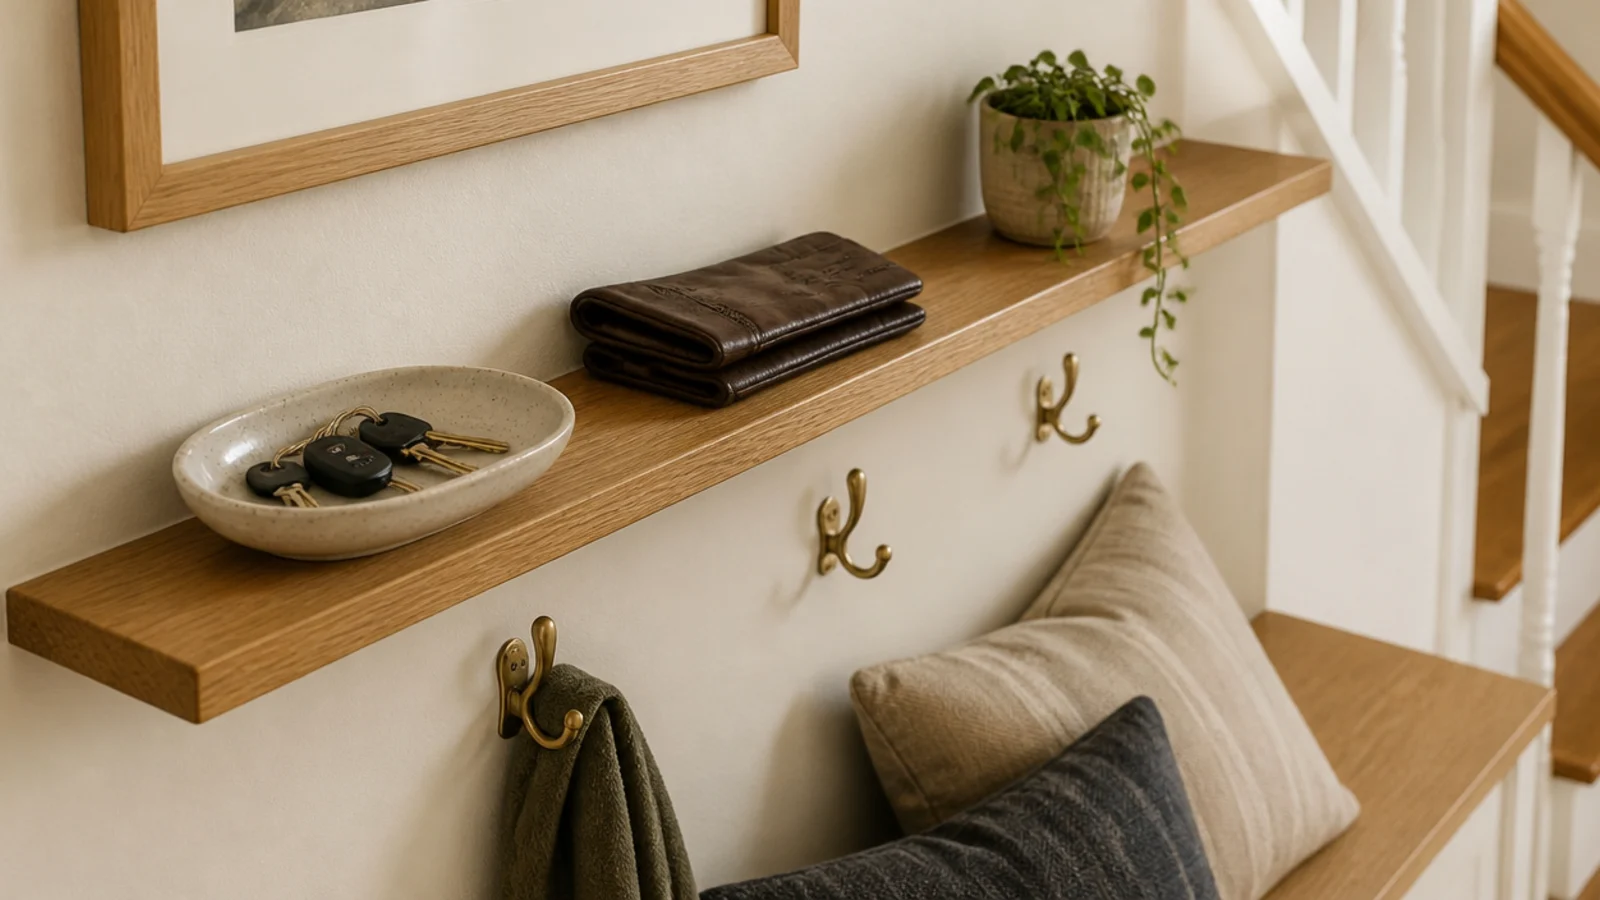
Shoe storage fails when keys, post and sunglasses land on the seat. A narrow shelf 40 inches above the floor gives them somewhere else to go.
Six inches deep is plenty, with a raised lip or a stoneware dish so small things stop sliding off. Add two brass hooks beneath it for bags. This one shelf protects the seat from becoming a shelf itself. $
20. Seasonal overflow in the deep back
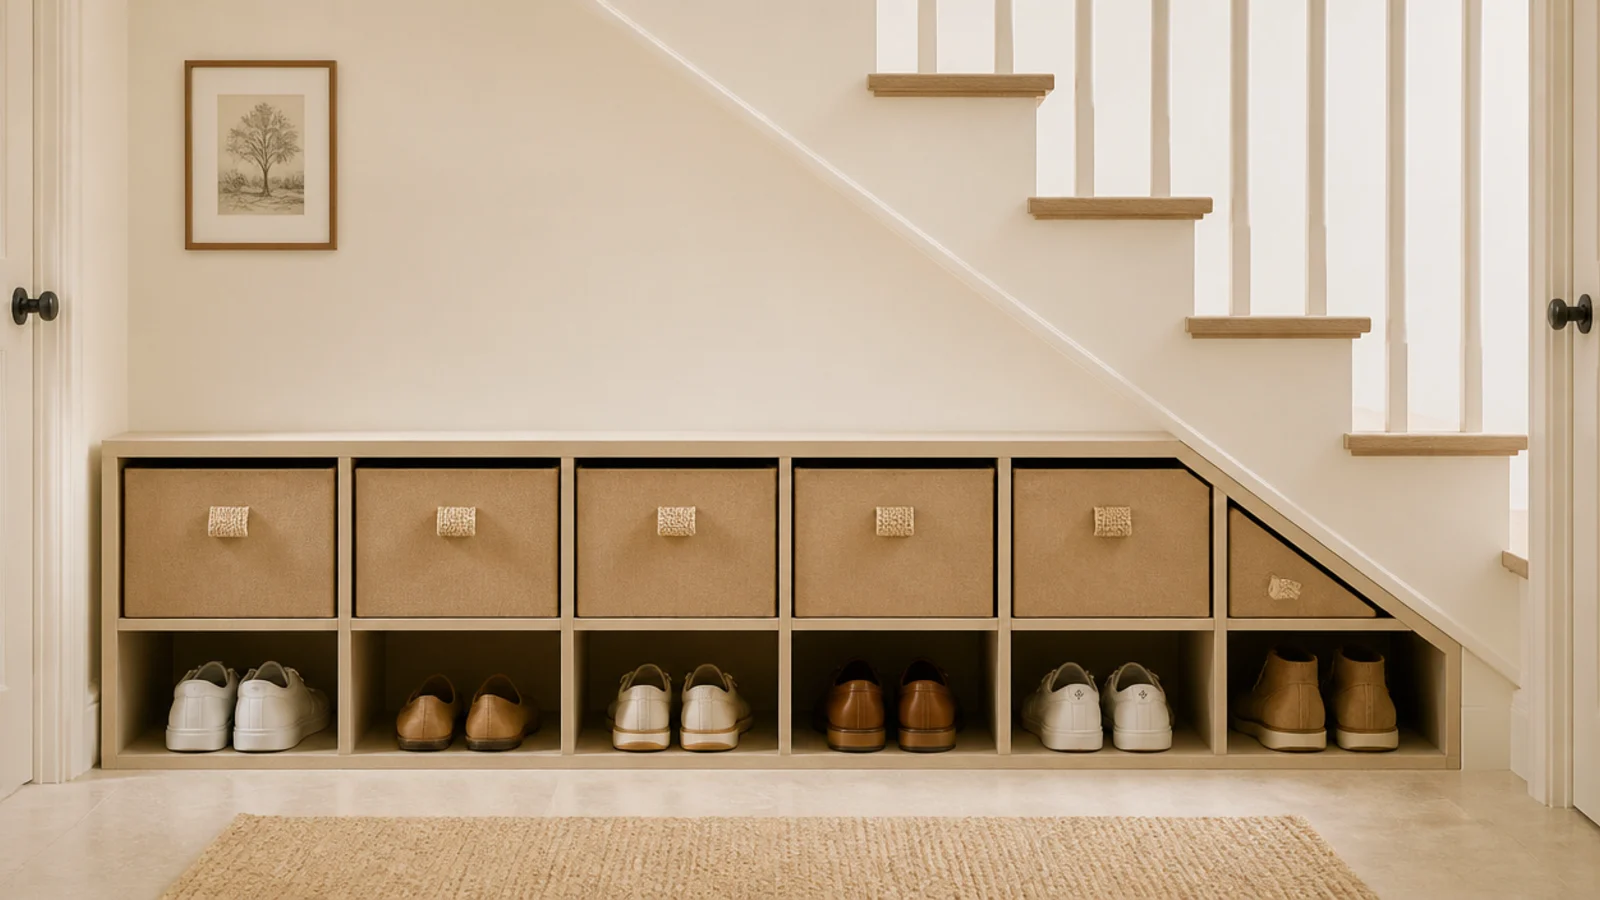
The unreachable back third is perfect for what you do not need this month. Snow boots in July, sandals in January, and the wedding shoes worn once a year.
Use labelled fabric boxes with a pull tab, sized to the lowest headroom. Swap twice a year when the clocks change so you never have to remember. Daily pairs stay in the front bays where hands actually reach. $
21. Pegboard on the stair stringer
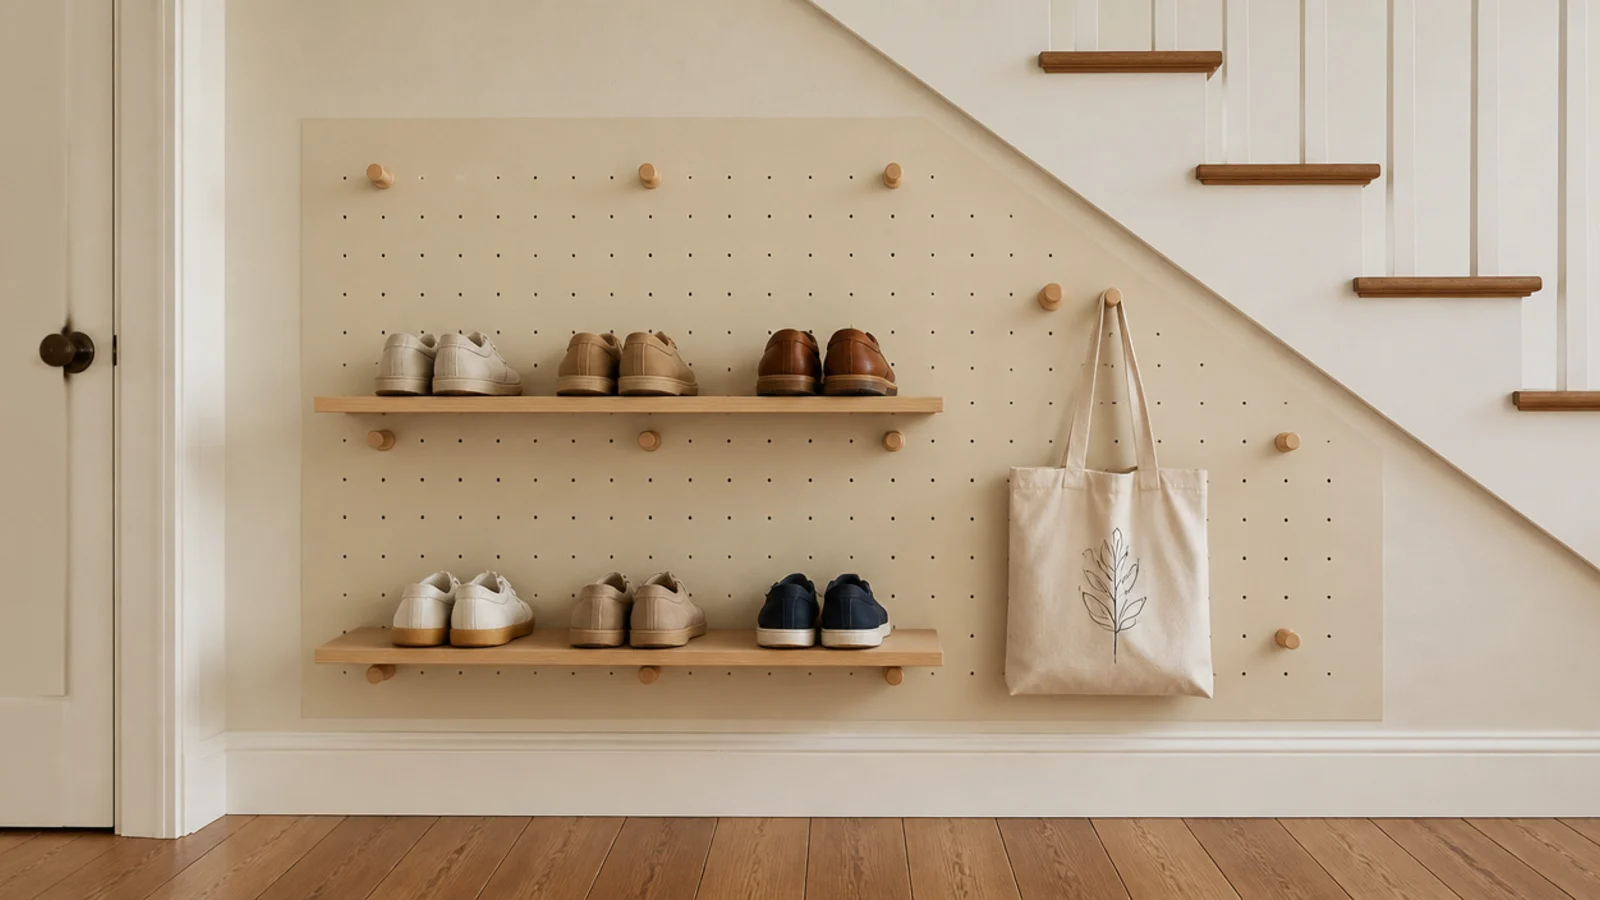
Pegboard on the wall beneath the run lets the layout move as the household changes — toddler shoes become teenage sneakers and the shelf heights need to follow.
Use a timber pegboard rather than hardboard so the pegs carry real weight, and paint it the wall colour. Two movable shelves and a few hooks cover a family of four for about $60. $$
22. A boot tray inside the opening
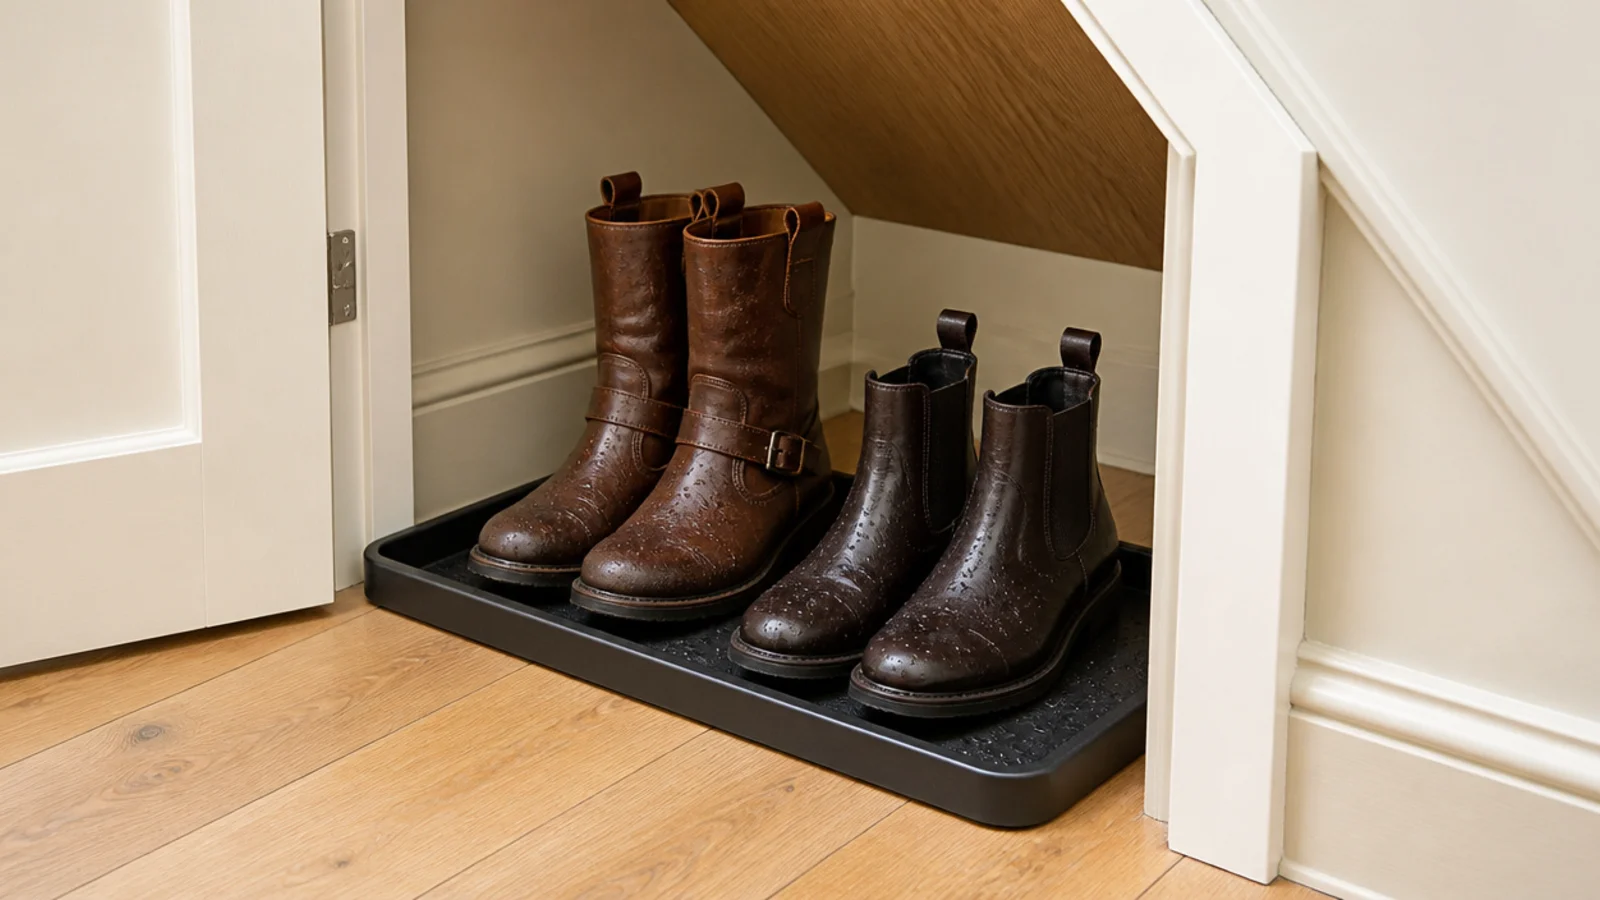
Wet boots put into a cupboard stay wet and transfer damp to everything beside them. Give them a raised-lip tray on the floor just inside the opening instead.
At least 15 inches deep for adult boots, in metal or heavy rubber rather than thin plastic that cracks in the cold. One tray prevents most of the damp-hallway problems people blame on the storage itself. $
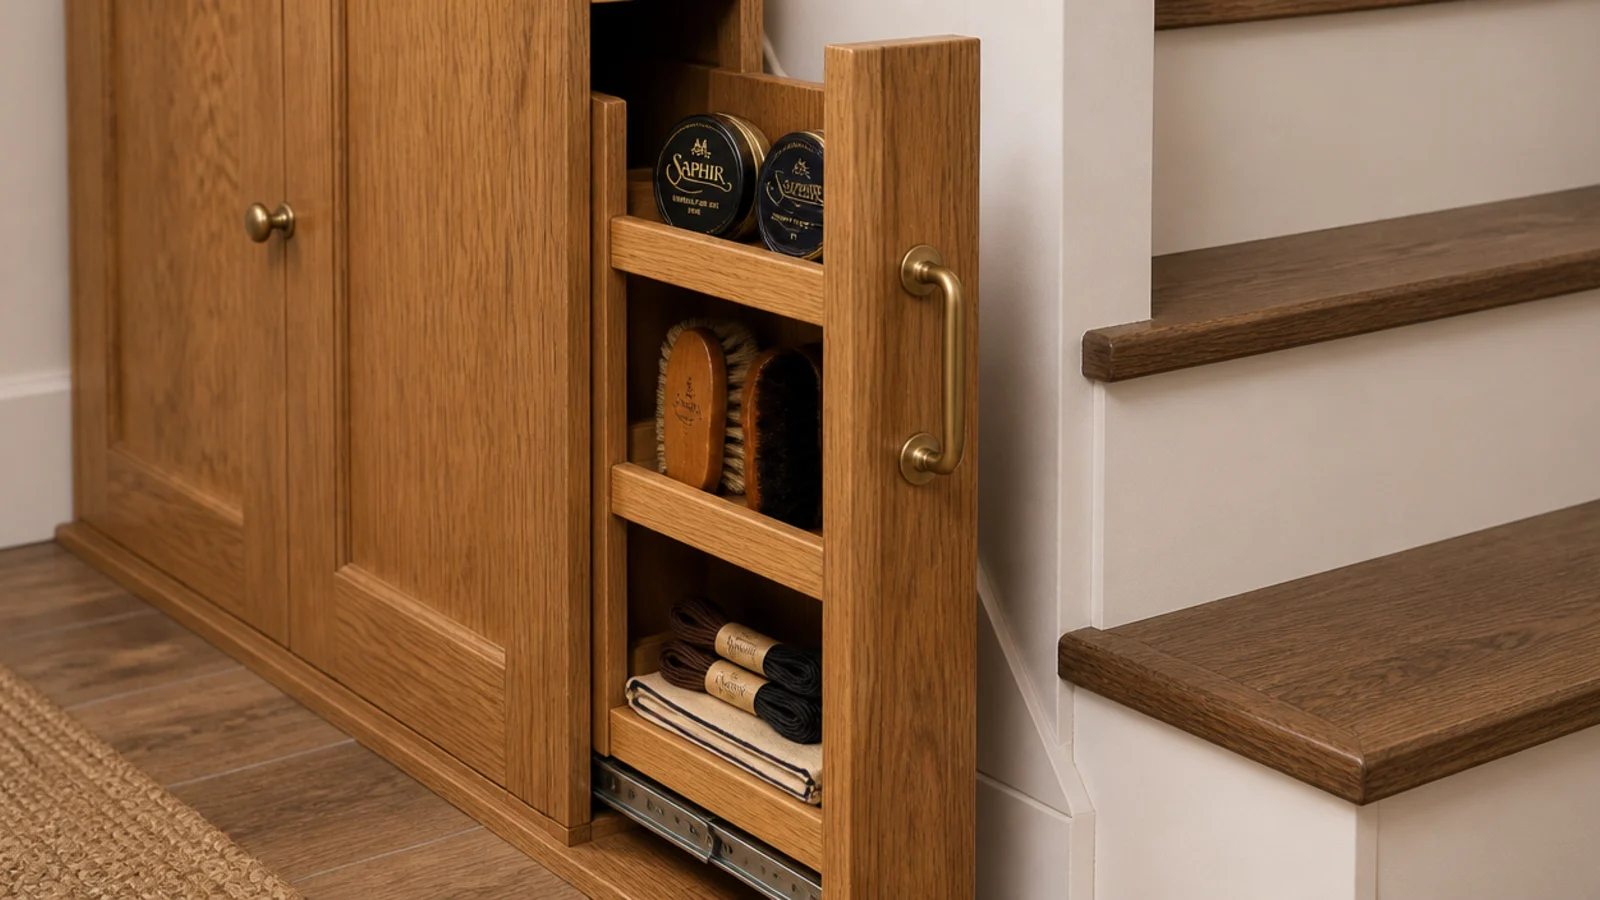
23. A slim pull-out for polish and laces
The six-inch gap left over at the end of a run of cabinets is the perfect home for the shoe care kit that otherwise lives in four different rooms.
A narrow vertical pull-out takes polish tins, brushes, spare laces and a cloth on three small shelves. It is scrap-material carpentry and it stops the good brush disappearing, which after three replacements I finally learned to care about. $
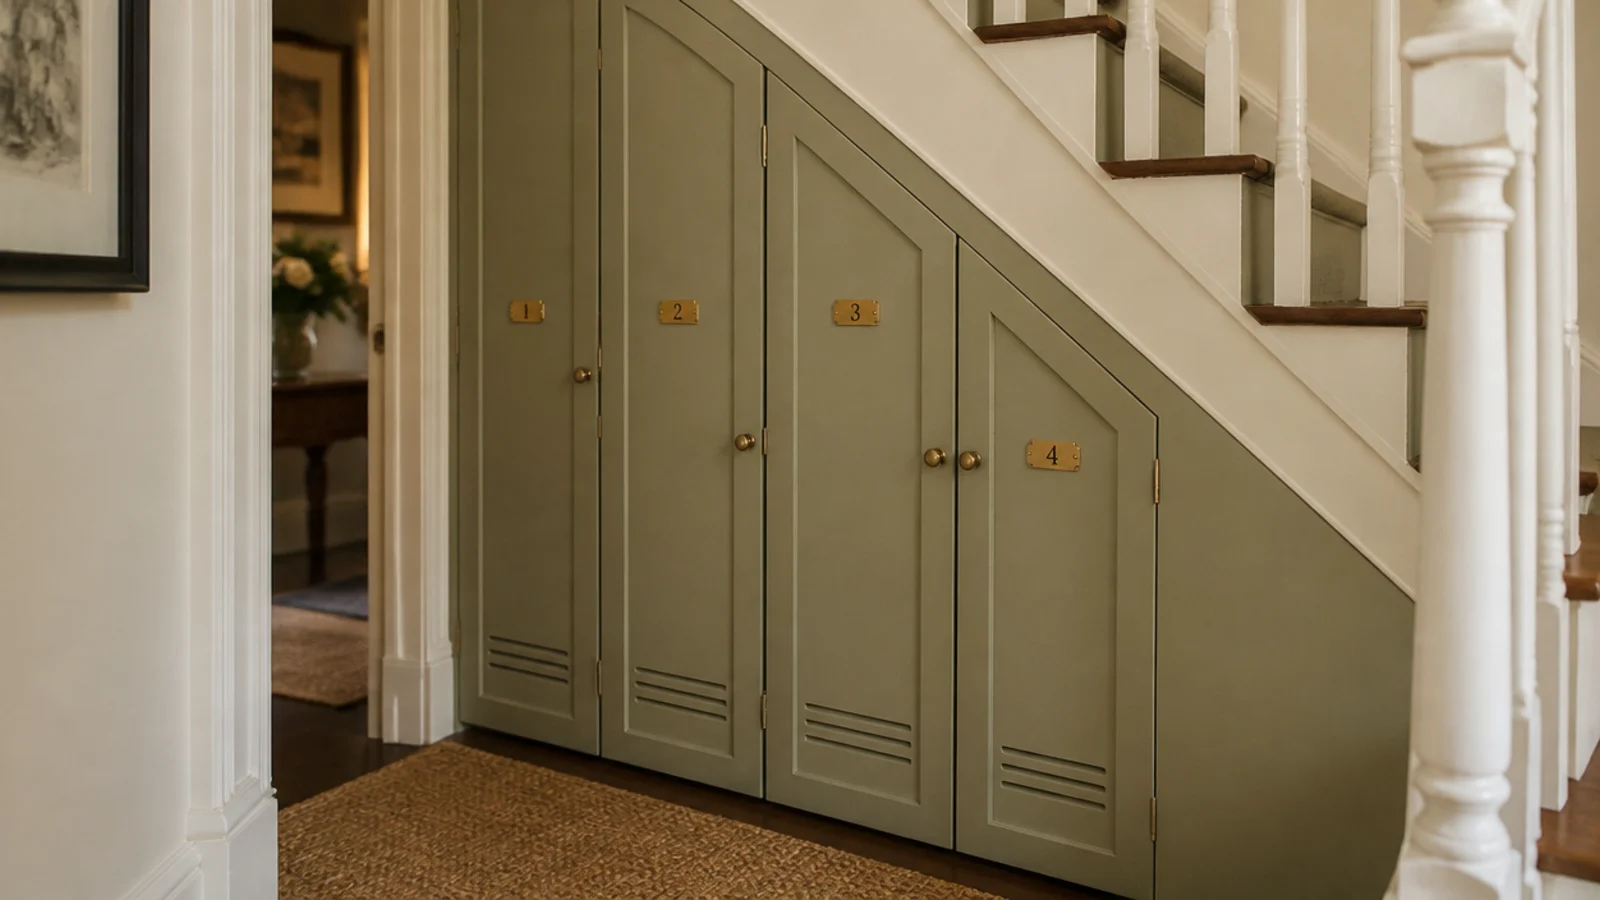
24. Numbered lockers under the run
For busy households, tall narrow lockers along the side of the staircase give everyone a full-height slot for shoes, a bag and a coat.
Build them 12 inches wide, 14 deep, with slatted vents at the base. Small brass number plates cost a few dollars and do more for morning routines than any rule. This is the mudroom shoe storage approach shrunk to hallway scale. $$$
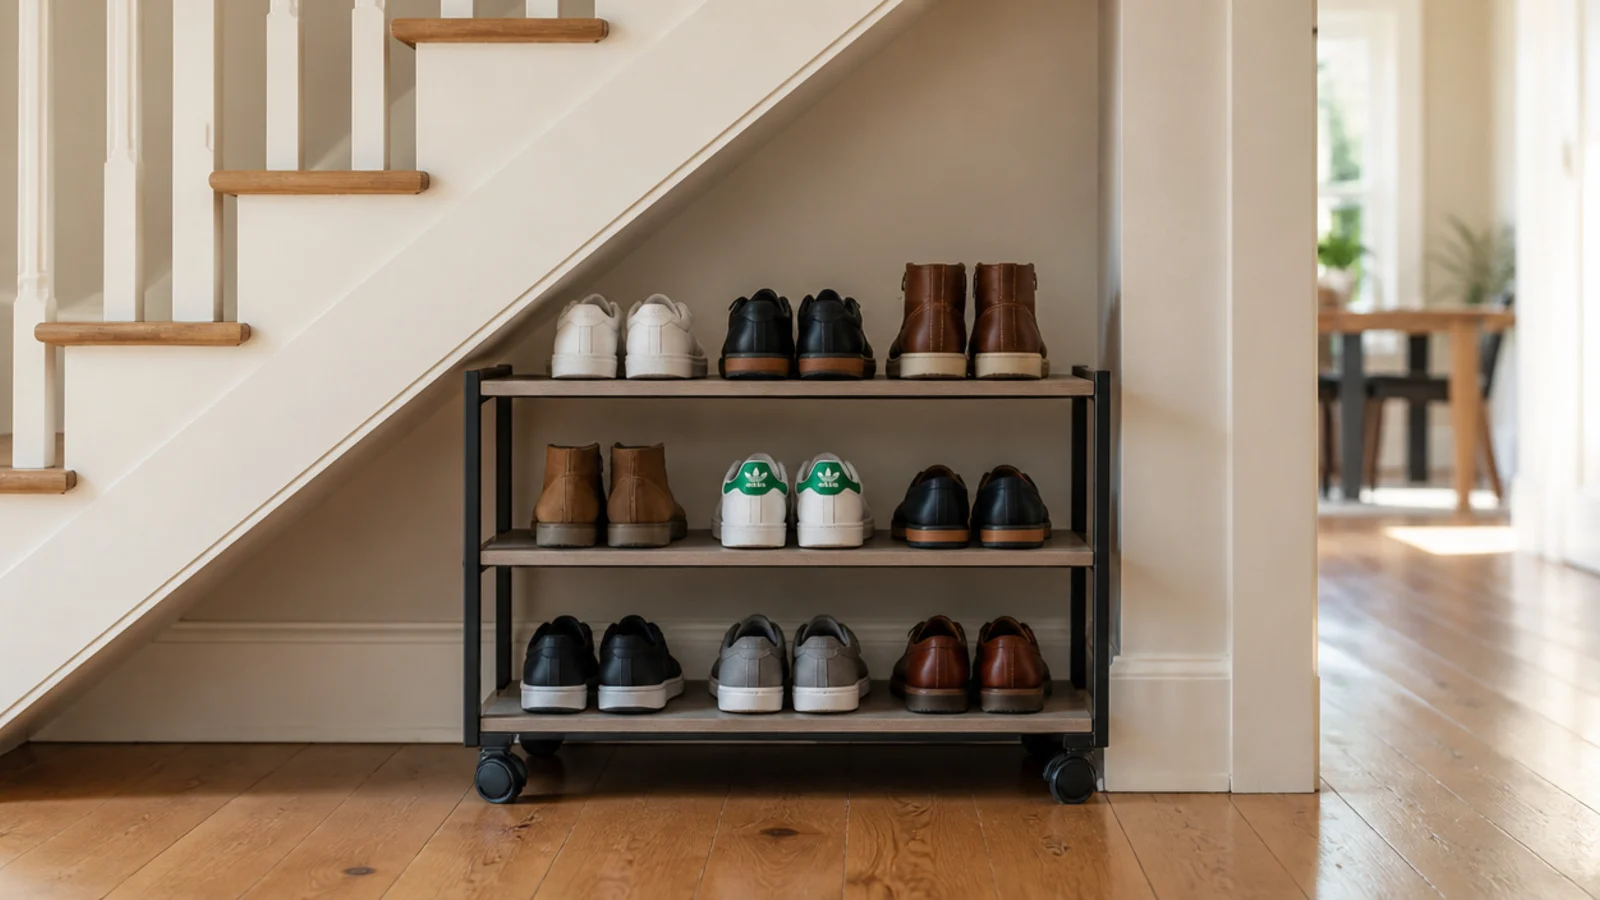
25. The no-build version on castors
If carpentry is not happening, a freestanding rack on castors rolled into the opening does 70 percent of the job for 5 percent of the cost.
Choose a three-tier unit no taller than the lowest headroom, with at least one tier set at 15 inches for boots. Powder-coated steel over chrome wire, which rusts where wet soles sit. It rolls out to sweep and rolls straight back. $
Mistakes to Skip
- Spacing every tier at six inches. Boots need 14 to 16, so evenly spaced shelves guarantee the tall pairs stay on the floor and the pile survives.
- Fitting fixed shelves into a deep triangular void. The back three feet become unreachable within a month, and you lose roughly a third of the space you just paid to build.
- Closing the whole run in with solid doors and no vents. Trapped air in a shoe cupboard smells within weeks, and no amount of cedar fixes airflow you never gave it.
Frequently asked questions
How deep does under stairs shoe storage need to be?
Thirteen inches if shoes sit flat, because a men's size 12 sneaker runs about 12.5 inches long. Tilt the shelf to 45 degrees and nine inches is plenty, which is how slim fronts fit under a low stair rake. Measure the largest shoe in the house first, then subtract nothing — that number decides the whole layout.
How many pairs will an understairs cupboard actually hold?
A typical three-bay staircase void holds 20 to 30 pairs once it is fitted properly, and around eight if you just push a rack inside. The difference is reaching the back. Pull-outs, drawers and rolling units use the deep triangle behind the opening, while fixed shelving abandons roughly a third of the space you paid for.
Do I need ventilation in a closed under stairs shoe cupboard?
Yes. Closed shoe storage without airflow smells within a few weeks, and the staircase void is usually the least ventilated cupboard in the house. Drill a row of one-inch holes near the top and bottom of each door, or choose cane, fluted or slatted fronts. A small cedar block helps, but airflow is the actual fix.
Can renters use the space under the stairs for shoes?
Easily, and without a single hole. A rolling crate unit, a leaning rack or a set of stacked baskets sized to the lowest headroom all work, and a curtain on a tension rod hides the whole thing. Keep everything freestanding so it comes out on moving day in one trip rather than one afternoon.
What height should the tiers be under a staircase?
Six inches of clear height takes flats and sneakers, boots need 14 to 16 inches, and knee-high boots want 20. Put the tall bay at the full-height end of the run and step the tiers down as the ceiling drops. Evenly spaced six-inch shelves are why most understairs racks leave boots on the floor.
Measure the three headroom heights first, decide flat or tilted second, and only then choose which of these to build — that order prevents nearly every understairs regret. For the tight-hallway version see shoe storage for small spaces, for tucking it all out of sight see hidden shoe storage, and if a closed unit suits you better, shoe cabinet ideas covers those properly. Save the pin before the first cut.
Want more like this? Browse all 15 shoe storage ideas guides — they all use the same measurements and budget tiers.
Pin it for later
Save this to your Shoe Storage Ideas board
Pin it now so it is waiting for you when the tape measure comes out — and so the next person hunting for this idea can find it too.
Save this pinKeep going
More ideas worth saving while you have the tape measure out.