Corner Shelf Ideas · Listicle
30 Simple Corner Shelf Ideas on a Budget

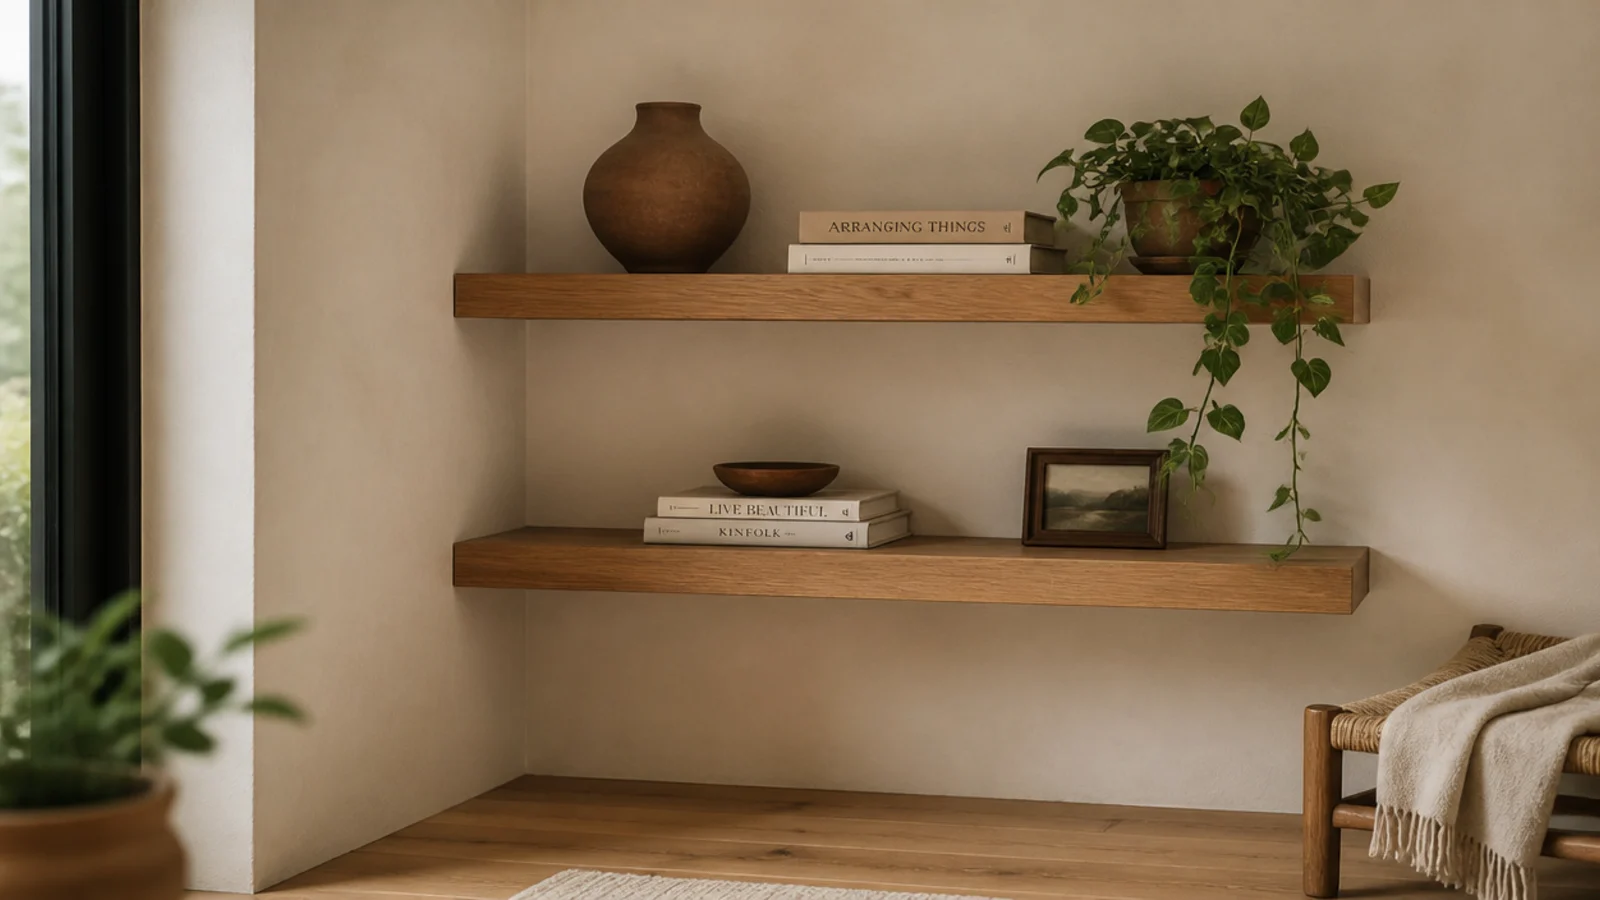
Floating corner shelves are the look almost everyone wants and the build most likely to end up on the floor, because the thing that makes them look good — no visible support — is also the thing that makes them weak. These 30 ideas are all budget builds, most under $40, and every one of them names the depth, the fixing and the honest weight limit.
In this guide32 sections — tap to openHide
- 1.How floating corner shelves actually stay up
- 2.One floating shelf above the sofa corner
- 3.A tight two-tier pair for paperbacks
- 4.Offset the heights instead of stacking them
- 5.One long shelf spanning both walls
- 6.Deep at the bottom, shallow at the top
- 7.Use a concealed rod bracket
- 8.An L-shaped shelf with a mitered joint
- 9.A floating shelf as a desk return
- 10.A low shelf under a corner window
- 11.Painted MDF for a seamless look
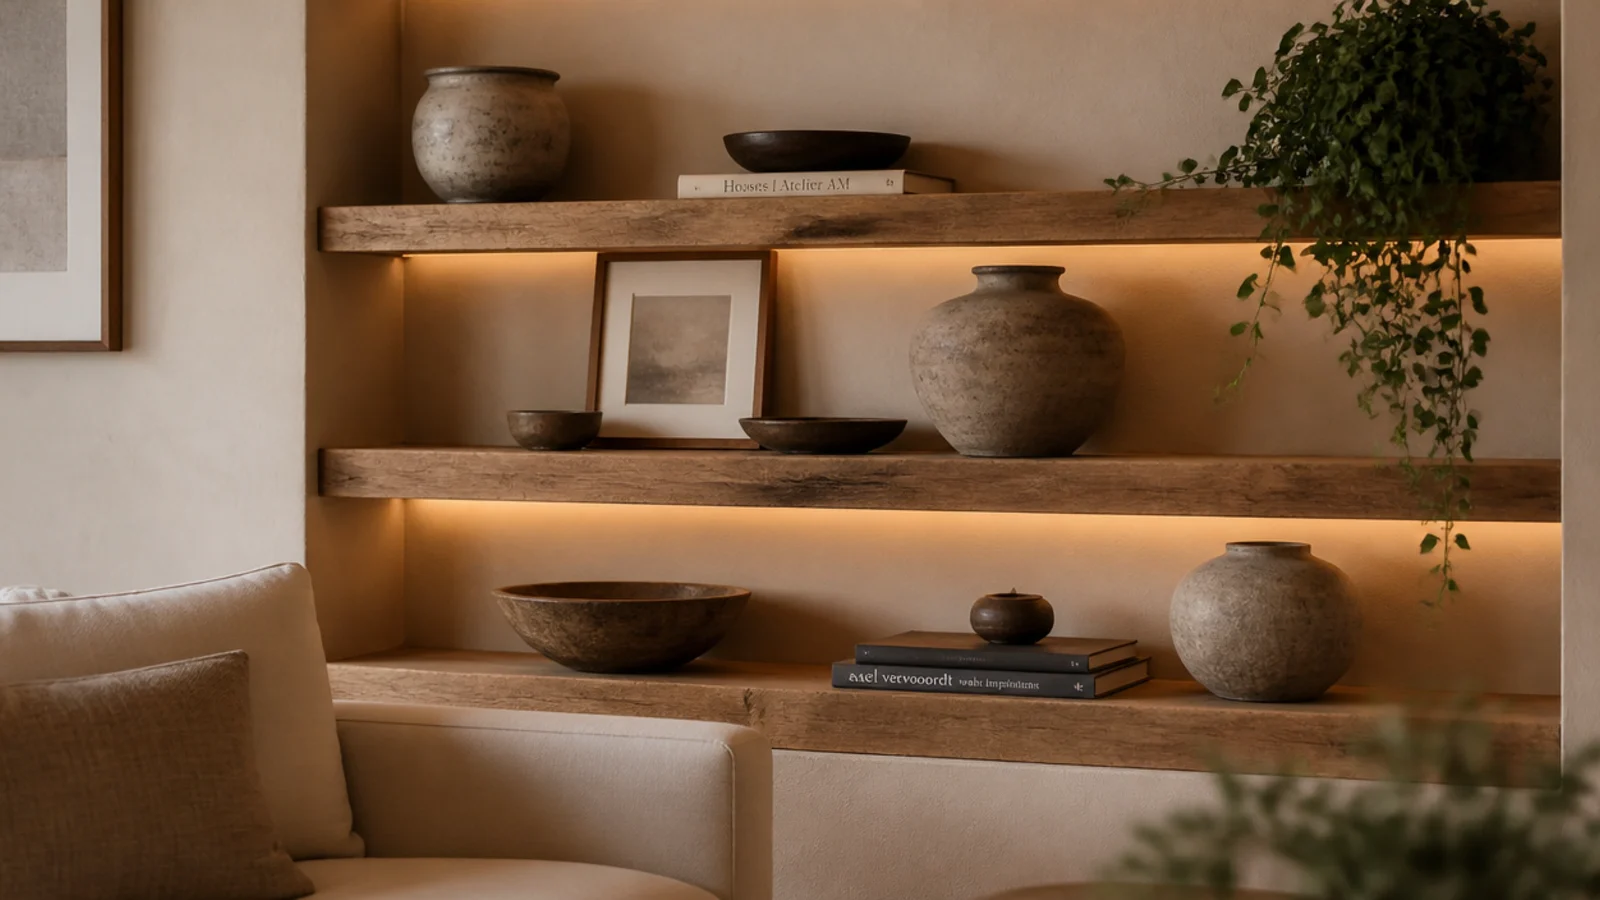
- 12.Add a lip and use it as a ledge
- 13.A reclaimed scaffold board shelf
- 14.A floating shelf above a radiator
- 15.A butcher block offcut as a chunky shelf
- 16.Route a channel and hide an LED strip
- 17.Three tight shelves for a paperback wall
- 18.A floating shelf at bedside height
- 19.A sealed floating shelf in the shower corner
- 20.One shelf for one plant, nothing else
- 21.A shelf that bridges a doorway corner
- 22.Halve the depth on the top shelf only
- 23.Toggle bolts when there is no stud at all
- 24.Sleeve anchors for a masonry corner
- 25.Drill a cable pass-through for a router
- 26.Continue the line into a nearby alcove
- 27.Leave a gap between two shelves for art
- 28.Mount a hook rail under the shelf
- 29.A floating shelf over a bench seat
- 30.Stair-step the shelves up the corner
- 31.A rounded-edge shelf at toddler height
- 32.Mistakes to Skip
How floating corner shelves actually stay up
There are three ways to get the floating look, and they cost wildly different amounts.
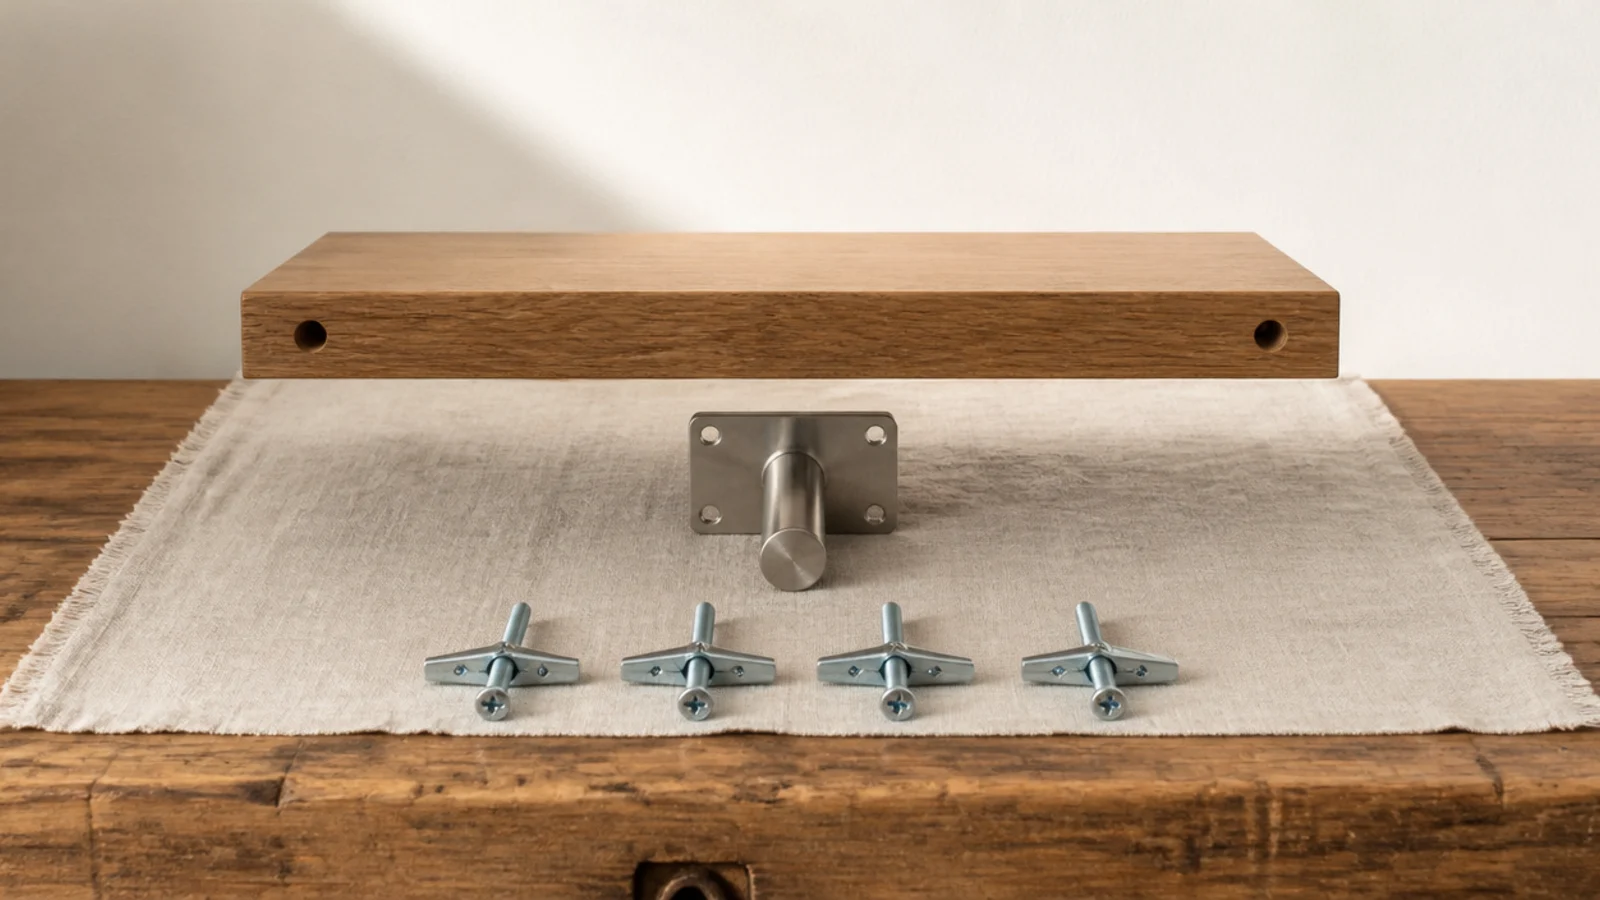
Concealed rod brackets are steel rods that mount to the wall and slide into holes drilled into the back of the board. They are the real thing, they carry 30 to 40 pounds into a stud, and they cost $20 to $35 a pair.
Painted-out L brackets are the budget version and honestly the one I use most. Two plain brackets painted the wall color read as floating from every normal viewing angle, because nobody crouches to look at the underside of a shelf. Total cost around $18 including the board.
Adhesive mounting is the no-drill option and the one with the hardest limit: about 15 pounds per pair of heavy-duty strips. That is a light six-inch shelf with ceramics on it, not books.
Depth matters more here than on a bracketed shelf. Leverage increases with depth, so a 12-inch floating shelf puts roughly twice the pull-out force on its anchors as a 6-inch one holding the same weight. Six inches where you walk past, eight where you do not, and be suspicious of anything deeper.
1. One floating shelf above the sofa corner
Mount a single shelf 12 inches above the sofa back, 24 inches long, eight deep. It fills the dead wall above a sofa arm without the visual weight of a full stack.
Keep it to three objects. This spot is seen constantly from seated height, so restraint matters more than usual.
2. A tight two-tier pair for paperbacks
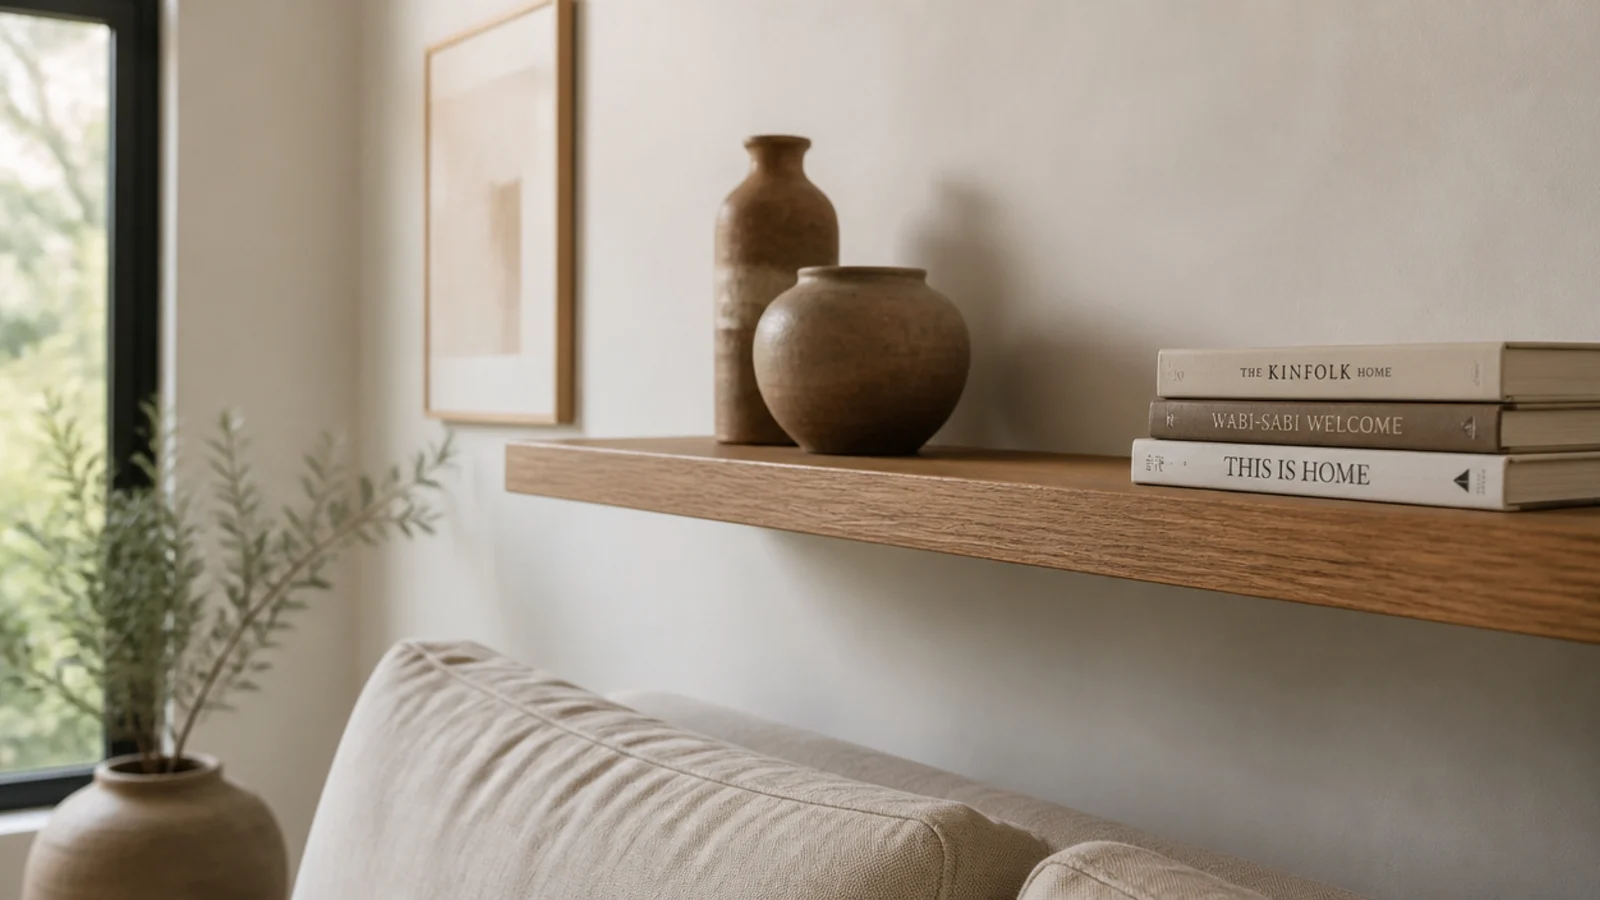
Paperbacks are only about seven inches tall, so two shelves at ten-inch spacing store far more than the usual 13-inch gap.
Use this only where the shelves genuinely hold books. Ten inches with decorative objects looks cramped immediately.
3. Offset the heights instead of stacking them
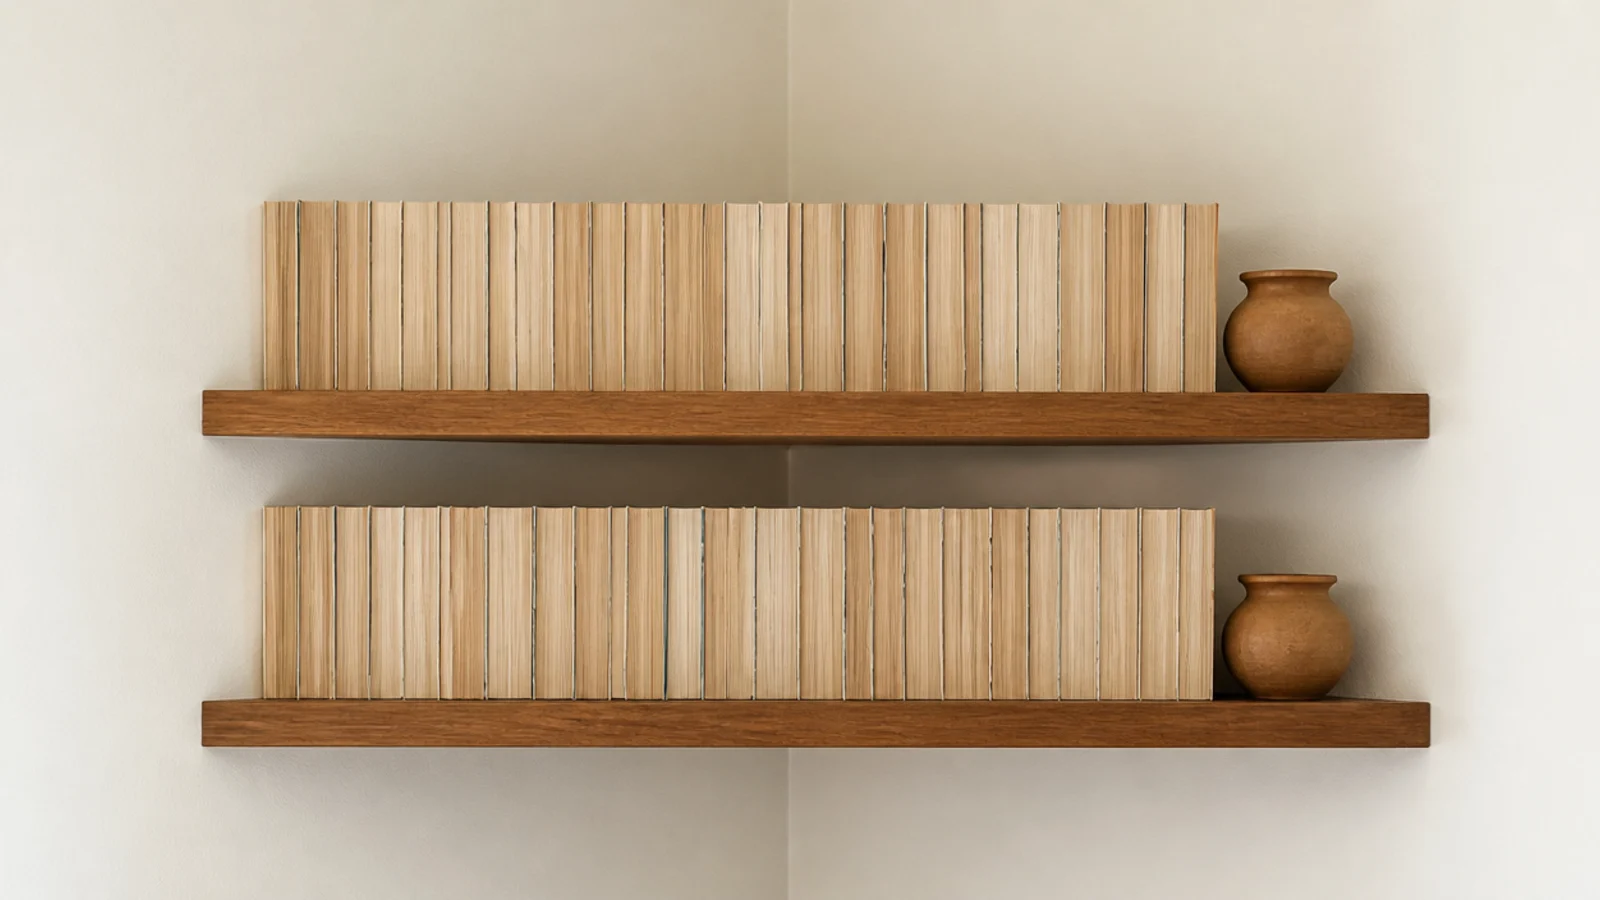
Put one shelf on each wall at deliberately different heights rather than aligning them into a stack.
Offsetting reads as a design decision; stacking reads as storage. It also means each shelf gets its own pool of wall space, which makes small objects look considered rather than crowded.
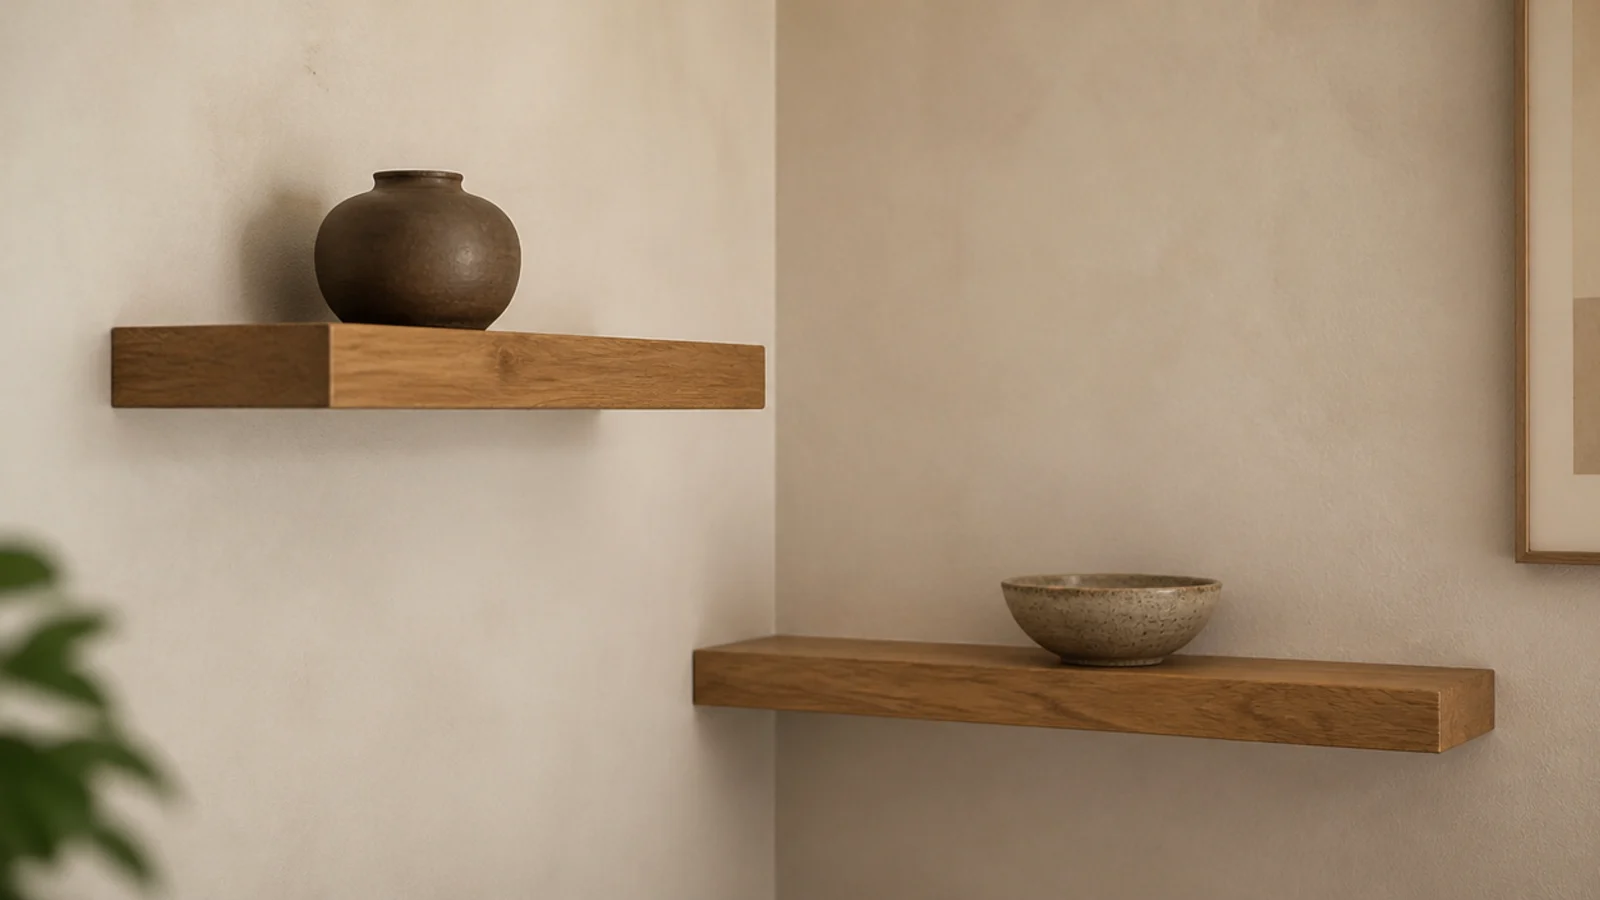
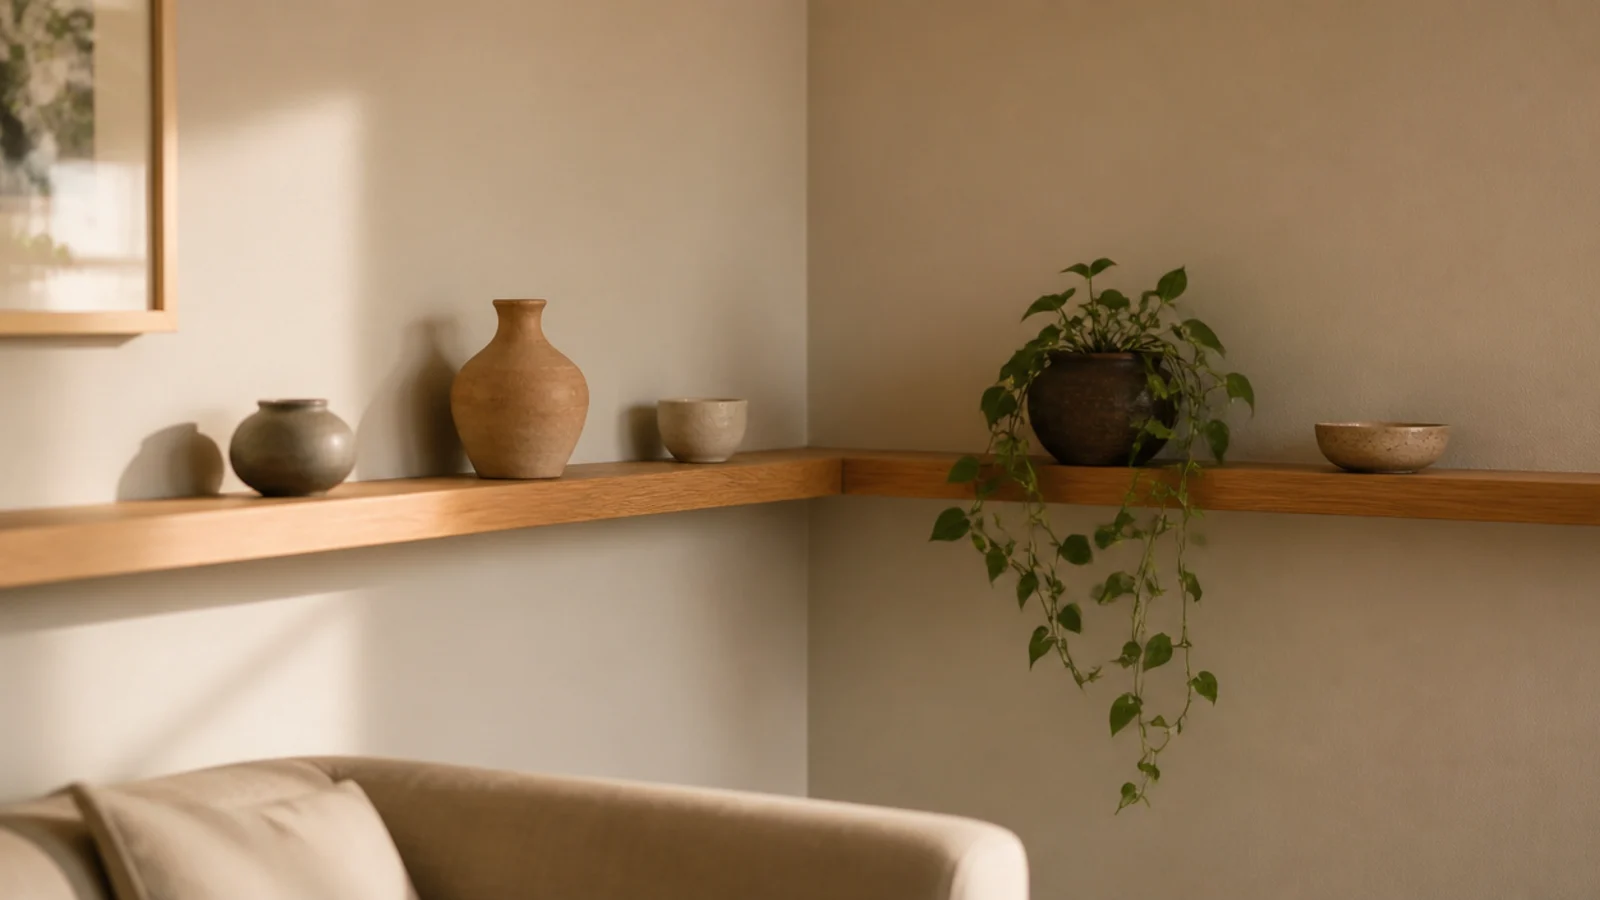
4. One long shelf spanning both walls
A single continuous shelf running around both walls of the corner, uninterrupted, reads as built-in rather than added.
It needs a mitered joint at the corner and at least three fixings. Space objects widely along it — the whole effect depends on the unbroken line being visible.
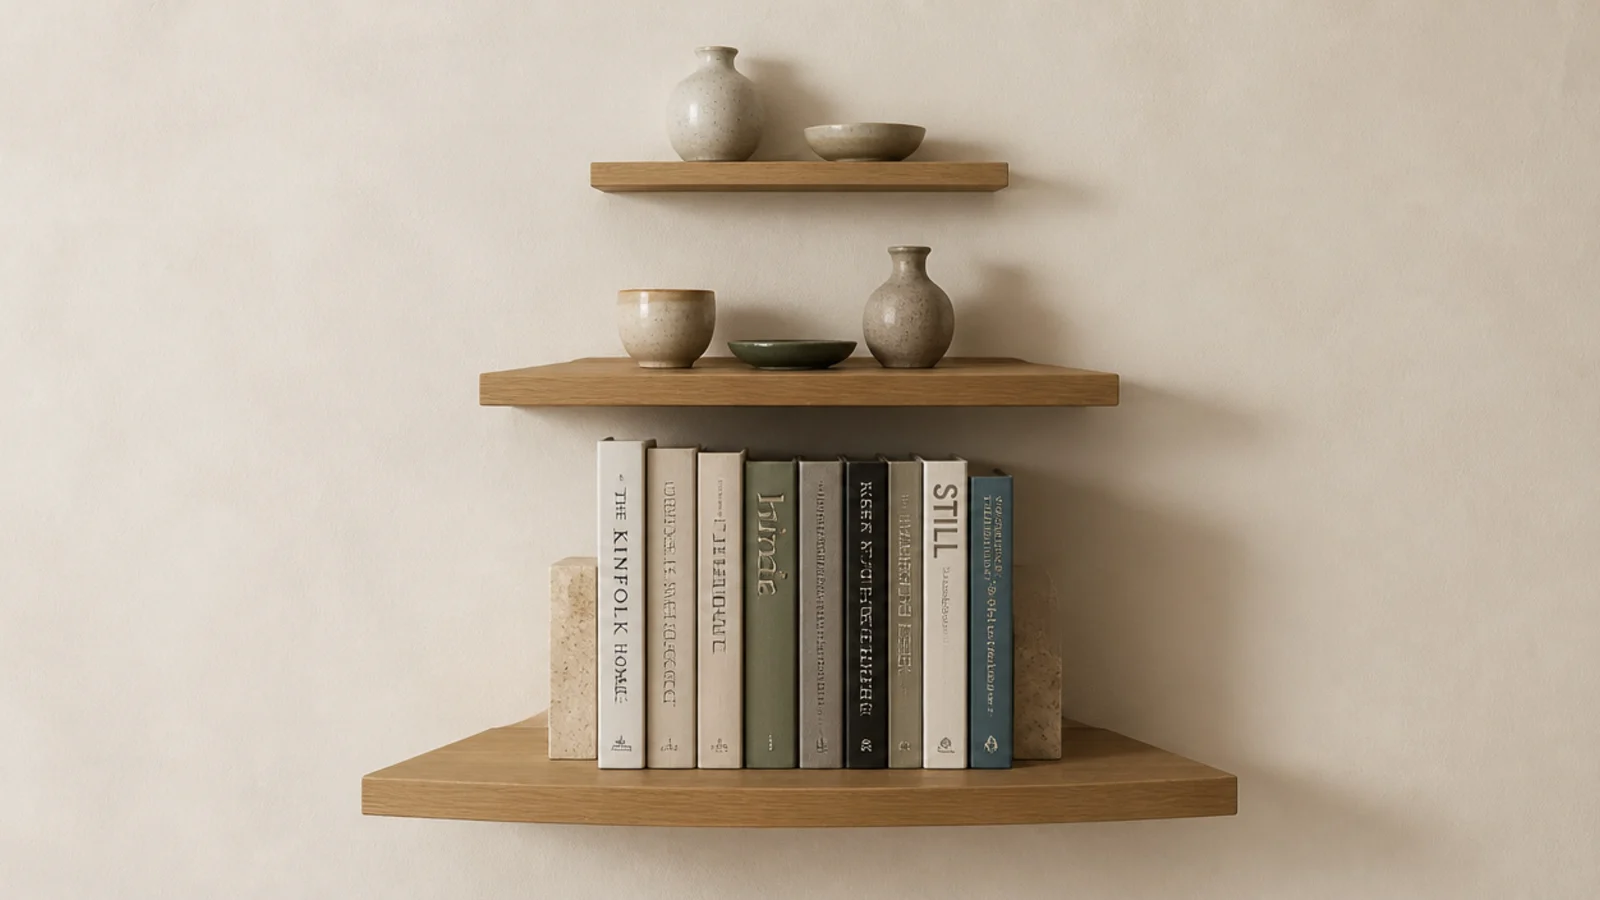
5. Deep at the bottom, shallow at the top
Ten inches at the bottom, eight in the middle, six on top. The taper stops the stack looming over you and puts depth where the heavy objects sit.
This costs nothing extra if you buy one wide board and rip it to three widths, or ask the store to.
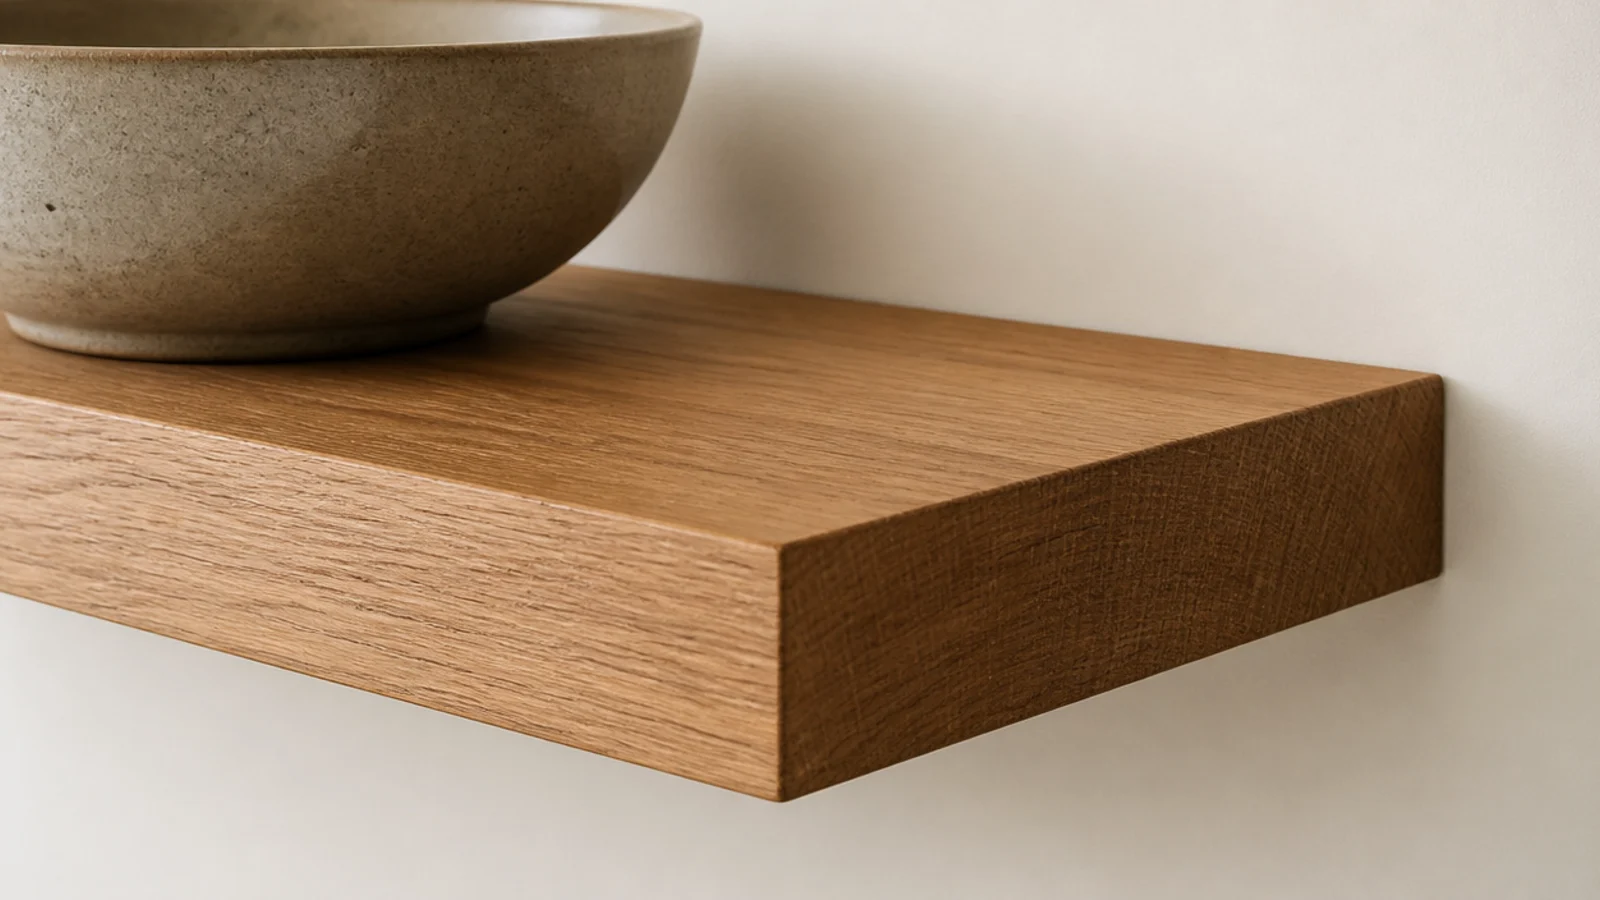
6. Use a concealed rod bracket
Worth the extra $20 when the shelf will hold 30 pounds or more, and worth it anywhere at eye level where the underside is genuinely visible.
Drill the receiving holes slightly undersized and tap the board on. A loose fit here is what causes the slight downward tilt you see on badly fitted floating shelves.
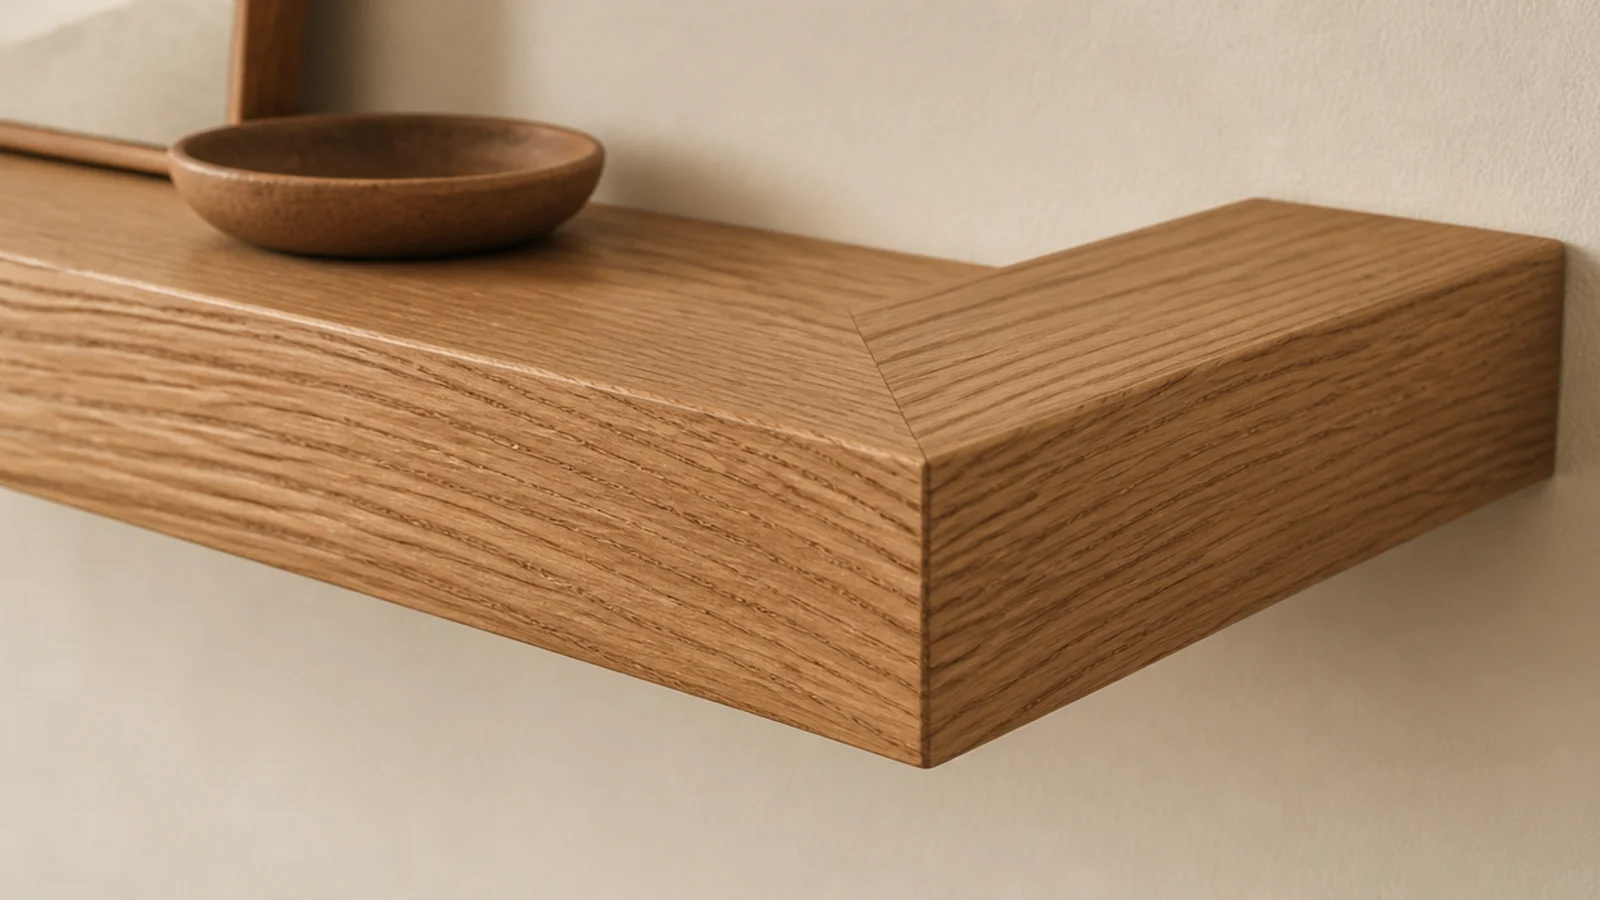
7. An L-shaped shelf with a mitered joint
Two boards meeting at a 45-degree miter, with the grain running continuously around the corner, is the detail that separates a considered build from two shelves that happen to meet.
Dry-fit in the actual corner before gluing — almost no wall corner is a true 90 degrees.
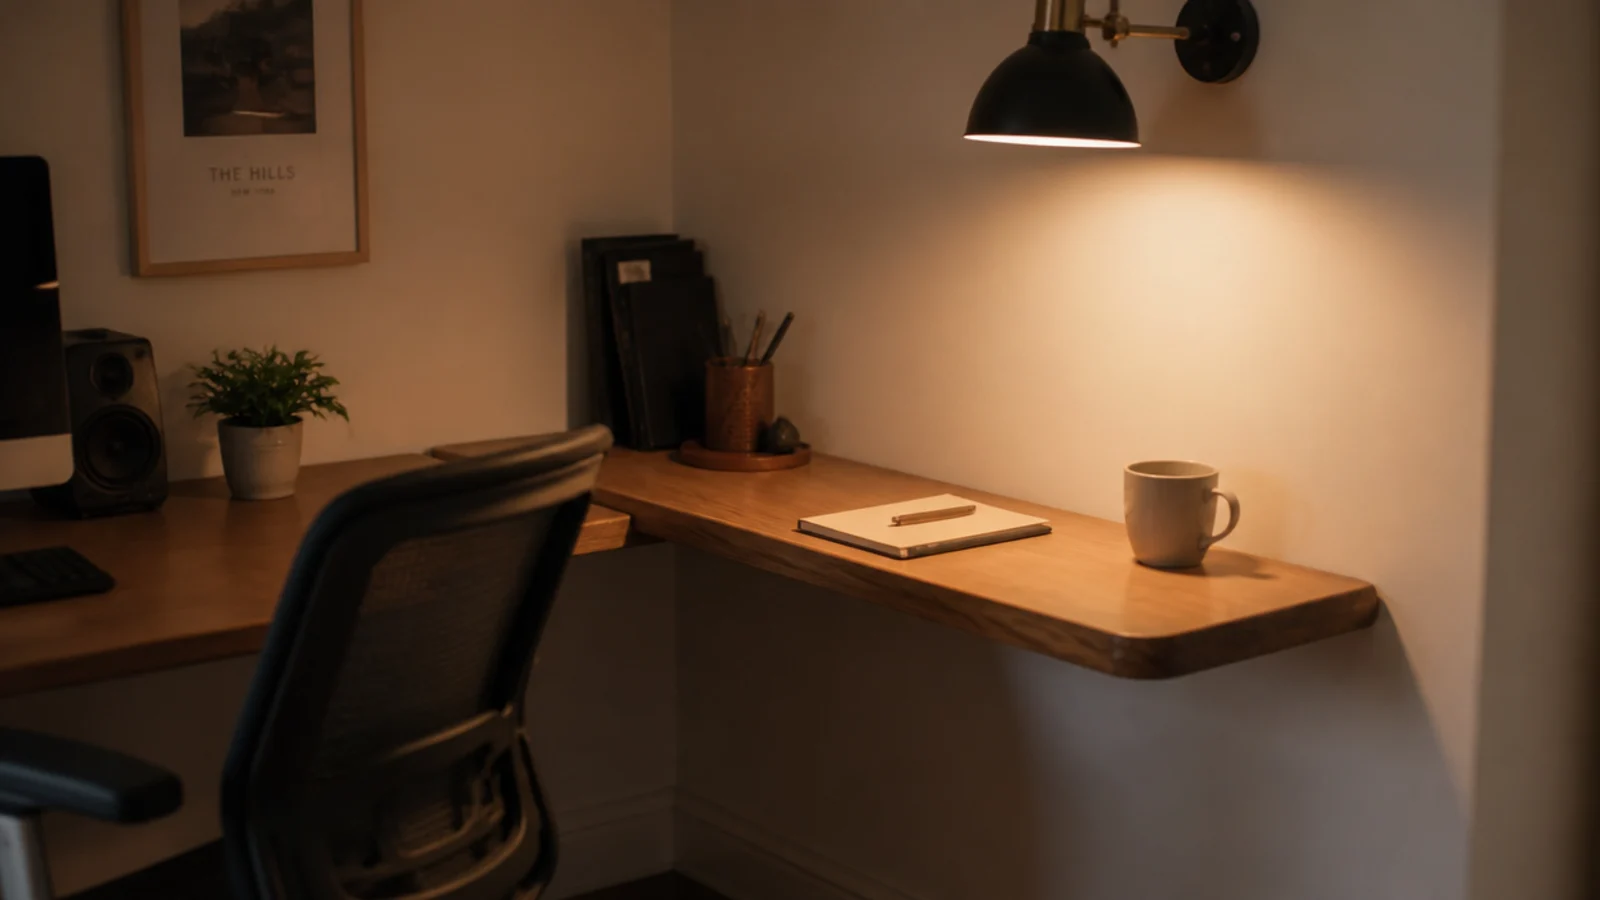
8. A floating shelf as a desk return
At standard desk height of 29 inches, a floating shelf continues the work surface around the corner without a leg in the way of your chair.
Make this one 12 inches deep and get both fixings into studs. Desk surfaces get leaned on, which is a very different load to a vase.
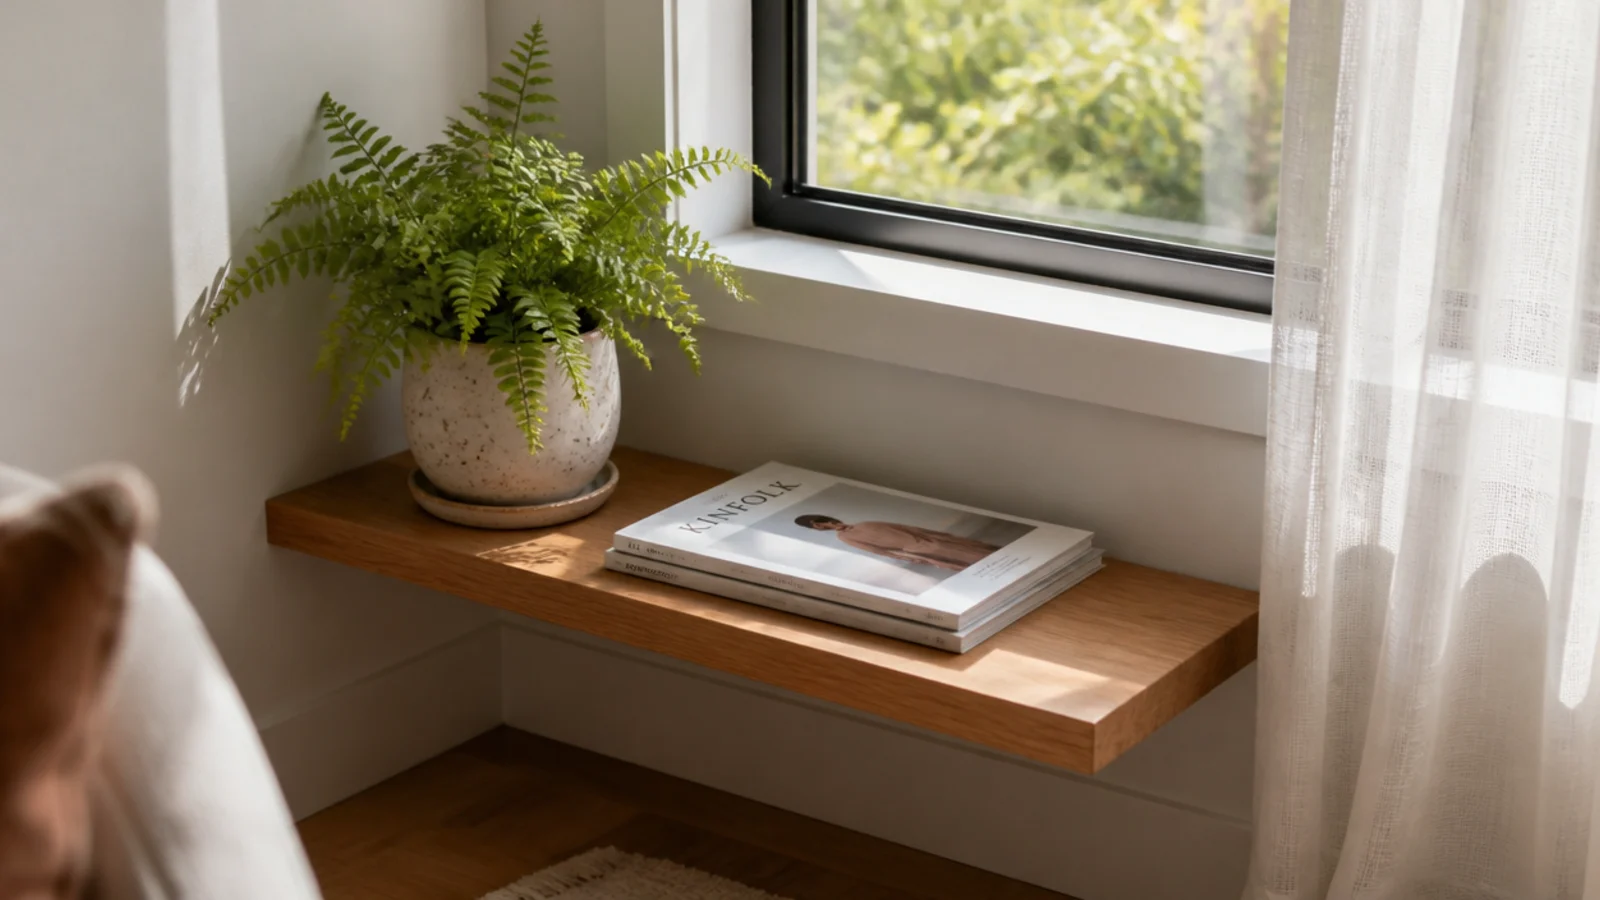
9. A low shelf under a corner window
Keep the top surface three inches below the sill so the window frame still reads as a clean rectangle.
Ten inches deep suits a plant that wants bright indirect light plus a small stack of magazines. This is the one corner where a row of small pots looks intentional at any count, because the window is doing the composing.
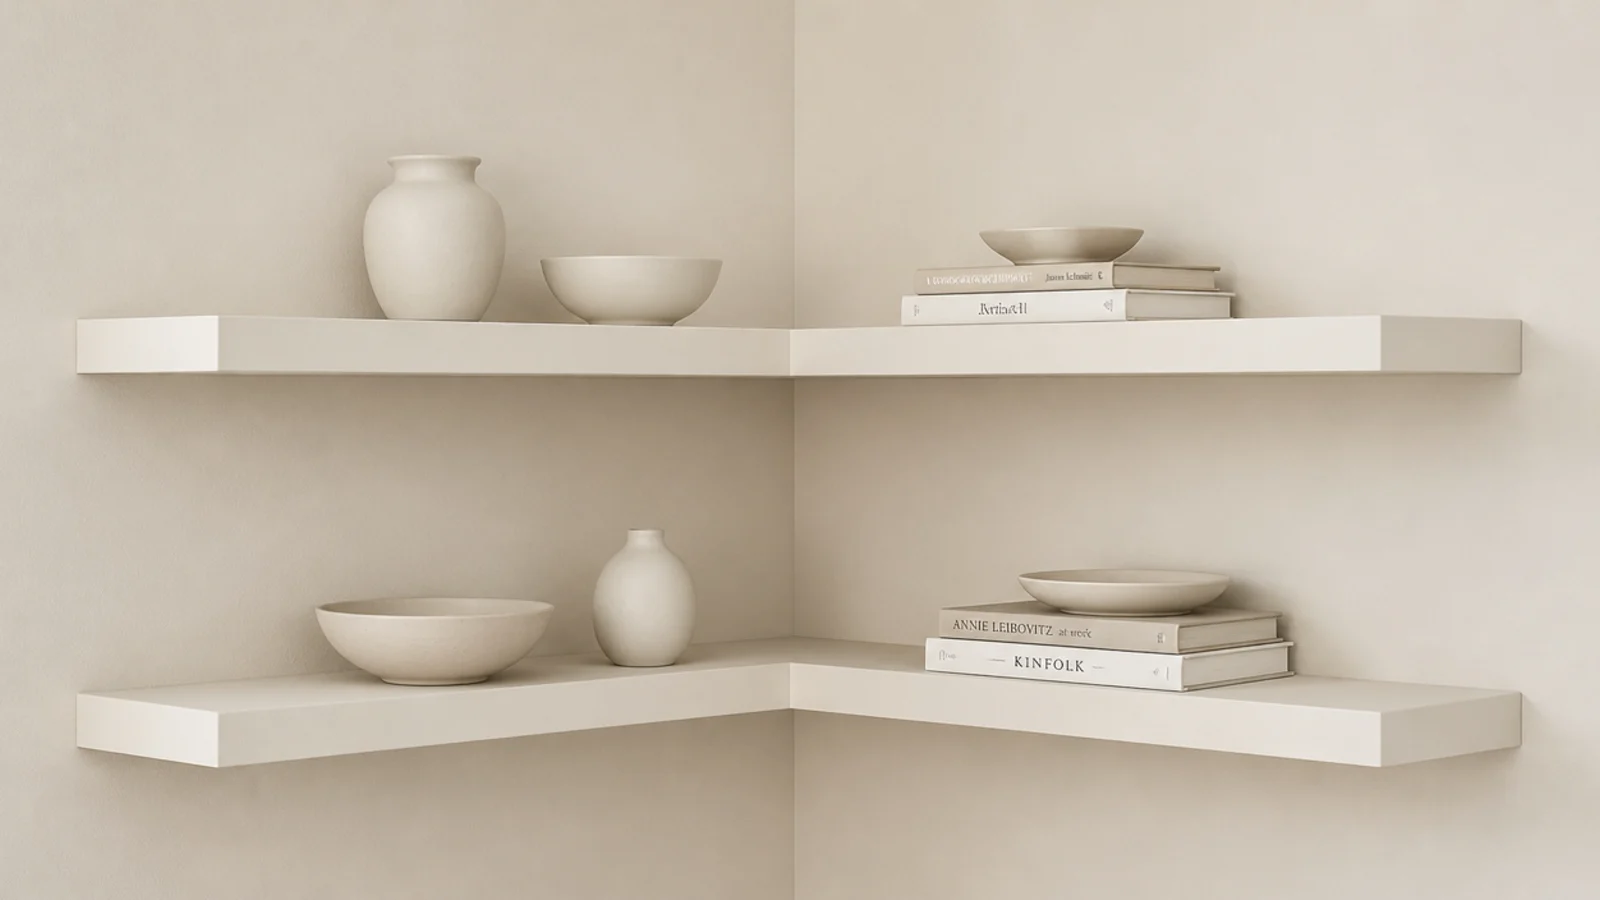
10. Painted MDF for a seamless look
MDF takes paint better than any wood — no grain, no knots, a genuinely flat surface. Painted the wall color, it disappears more completely than any timber shelf can.
Seal the cut edges with primer before painting or they drink paint and stay rough. Keep MDF out of bathrooms entirely.
11. Add a lip and use it as a ledge
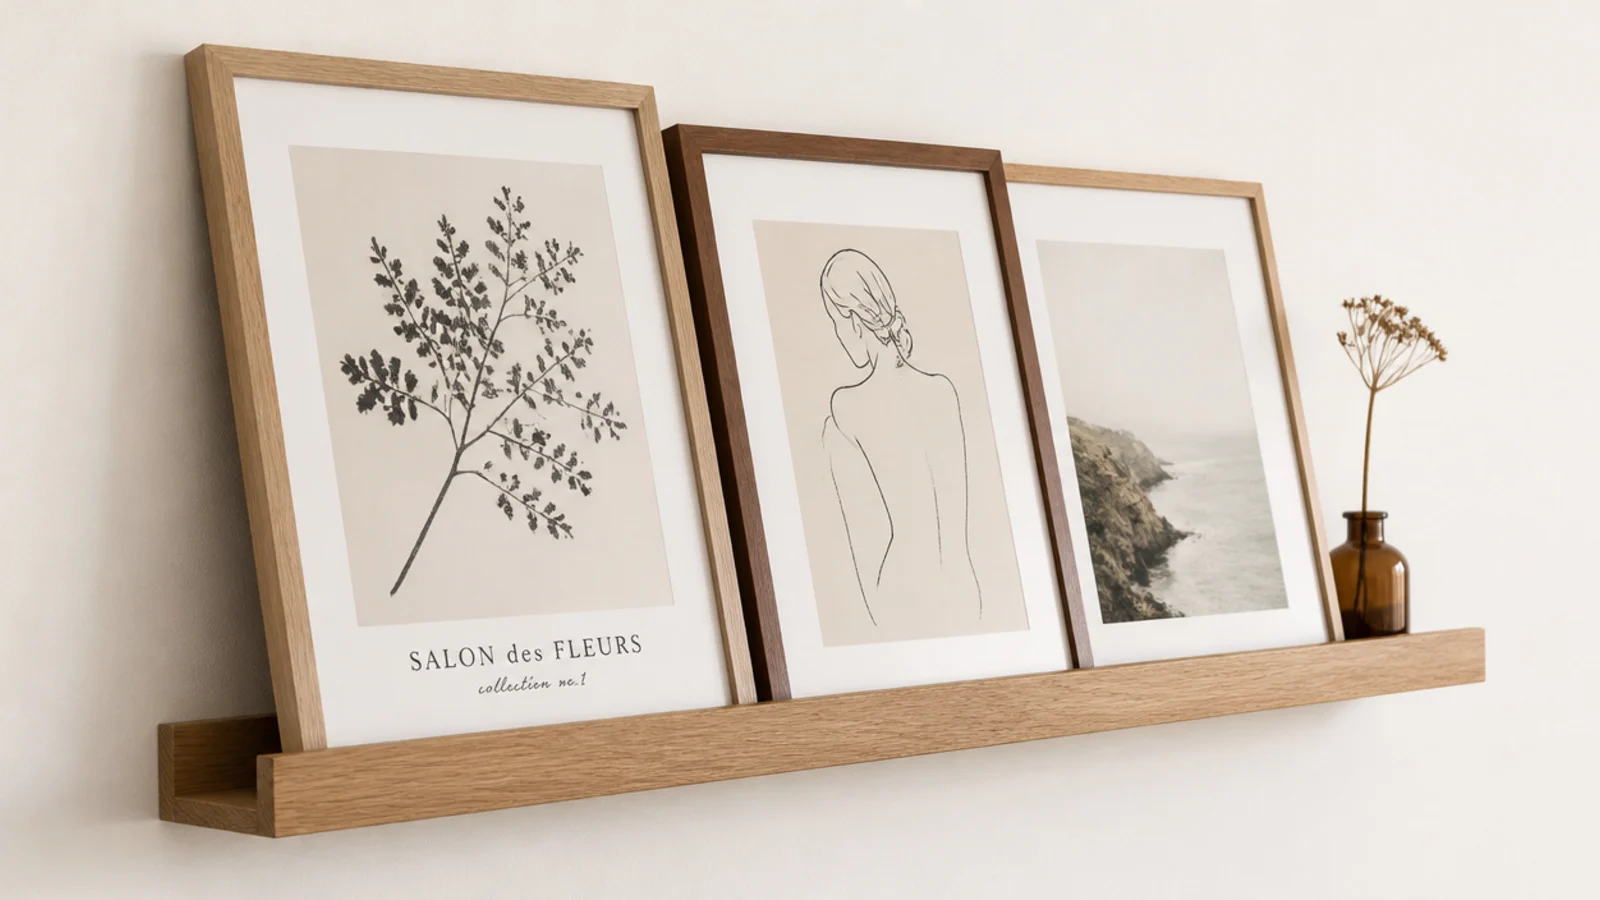
A half-inch lip along the front turns a shelf into a picture ledge. Leaned art can then change whenever you like, with no holes and no commitment.
Three inches deep is enough for frames up to about 11x14. Overlap them slightly at the corner so the two walls read as one arrangement.
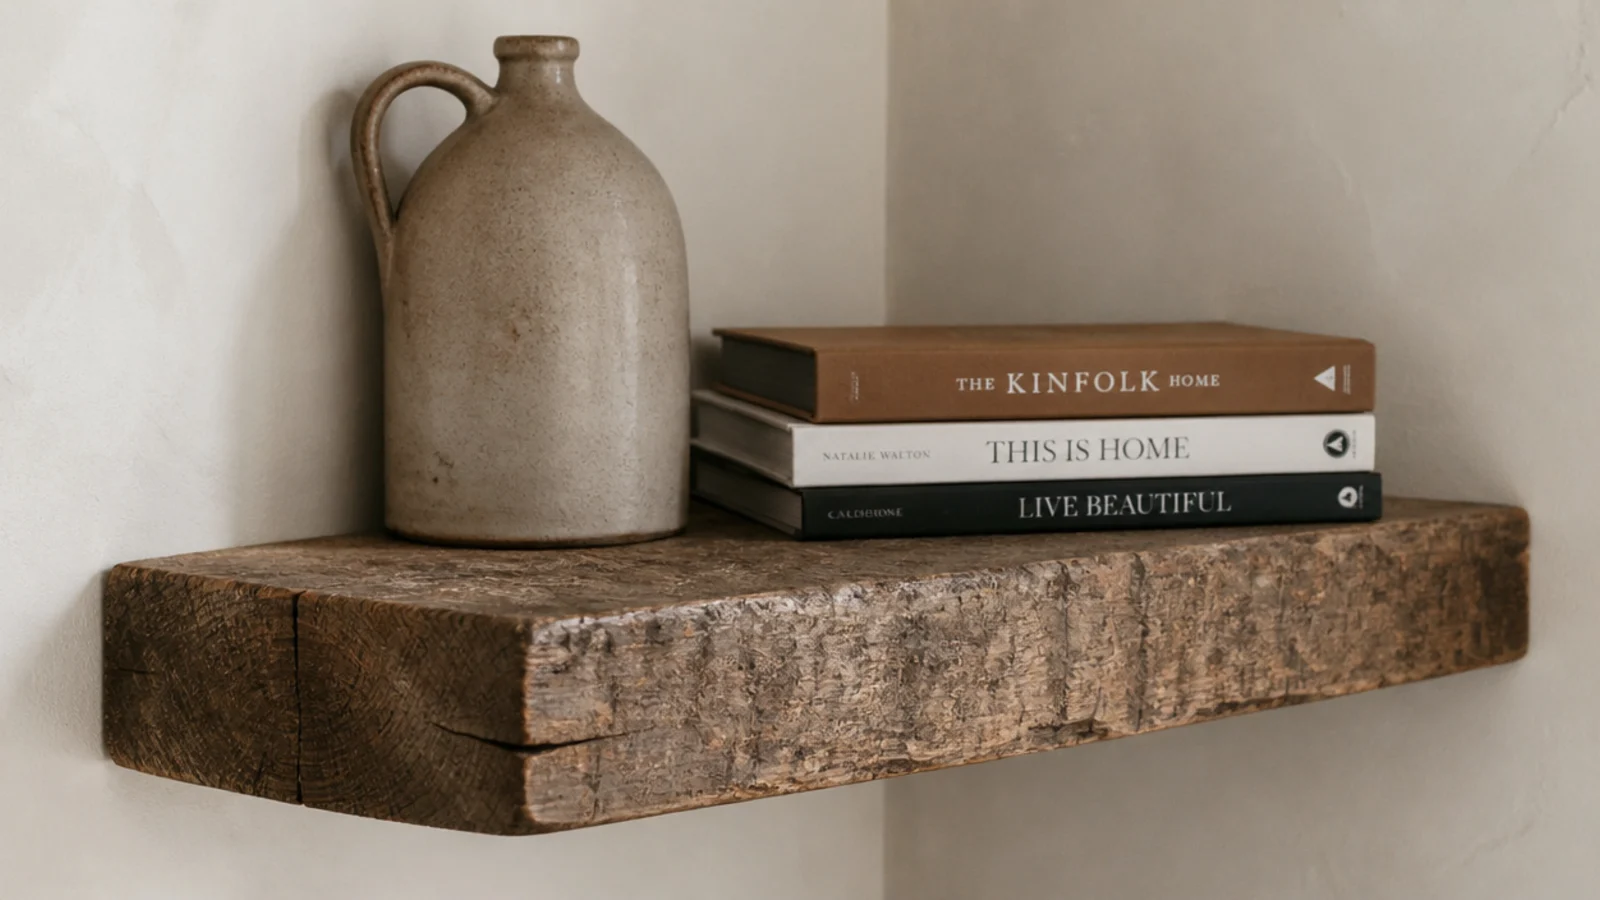
12. A reclaimed scaffold board shelf
Scaffold boards are around 1.5 inches thick and sold cheaply secondhand, which gets you the expensive-looking chunky edge for very little.
Sand hard, then seal — old boards carry grit and stains. Expect to spend an hour per board on prep, which is the actual cost of this idea.
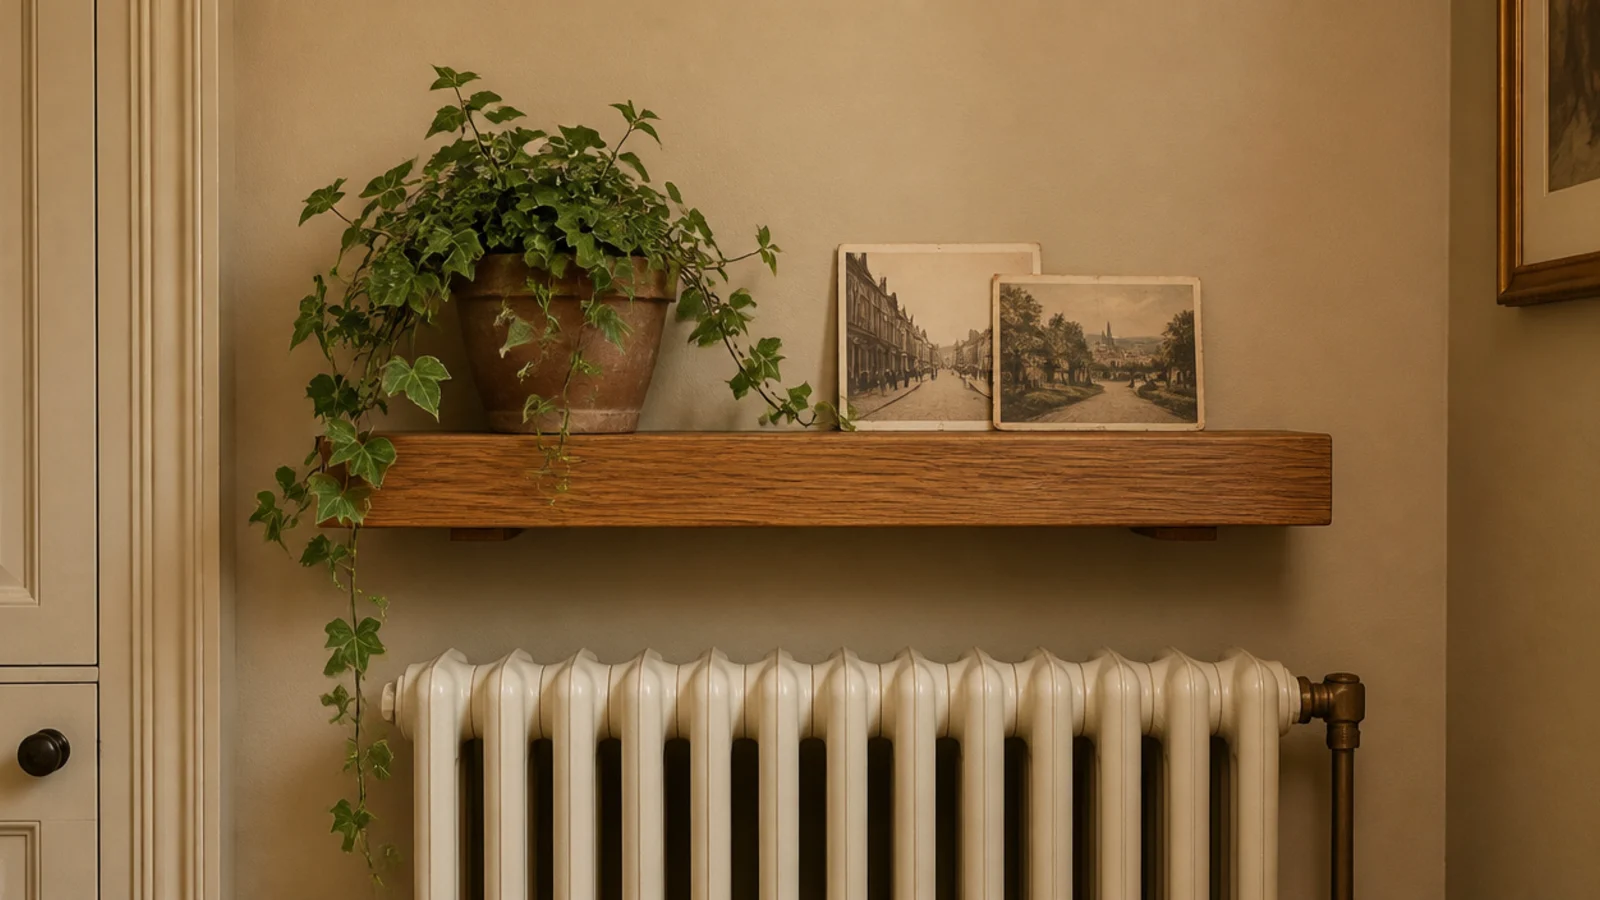
13. A floating shelf above a radiator
Leave four inches of clear air between the radiator top and the shelf underside, and use solid wood or metal only. Laminate and veneer edges lift permanently under repeated heat cycles.
Skip candles and anything wax-based up here. Trailing ivy and ceramics handle the warmth fine.
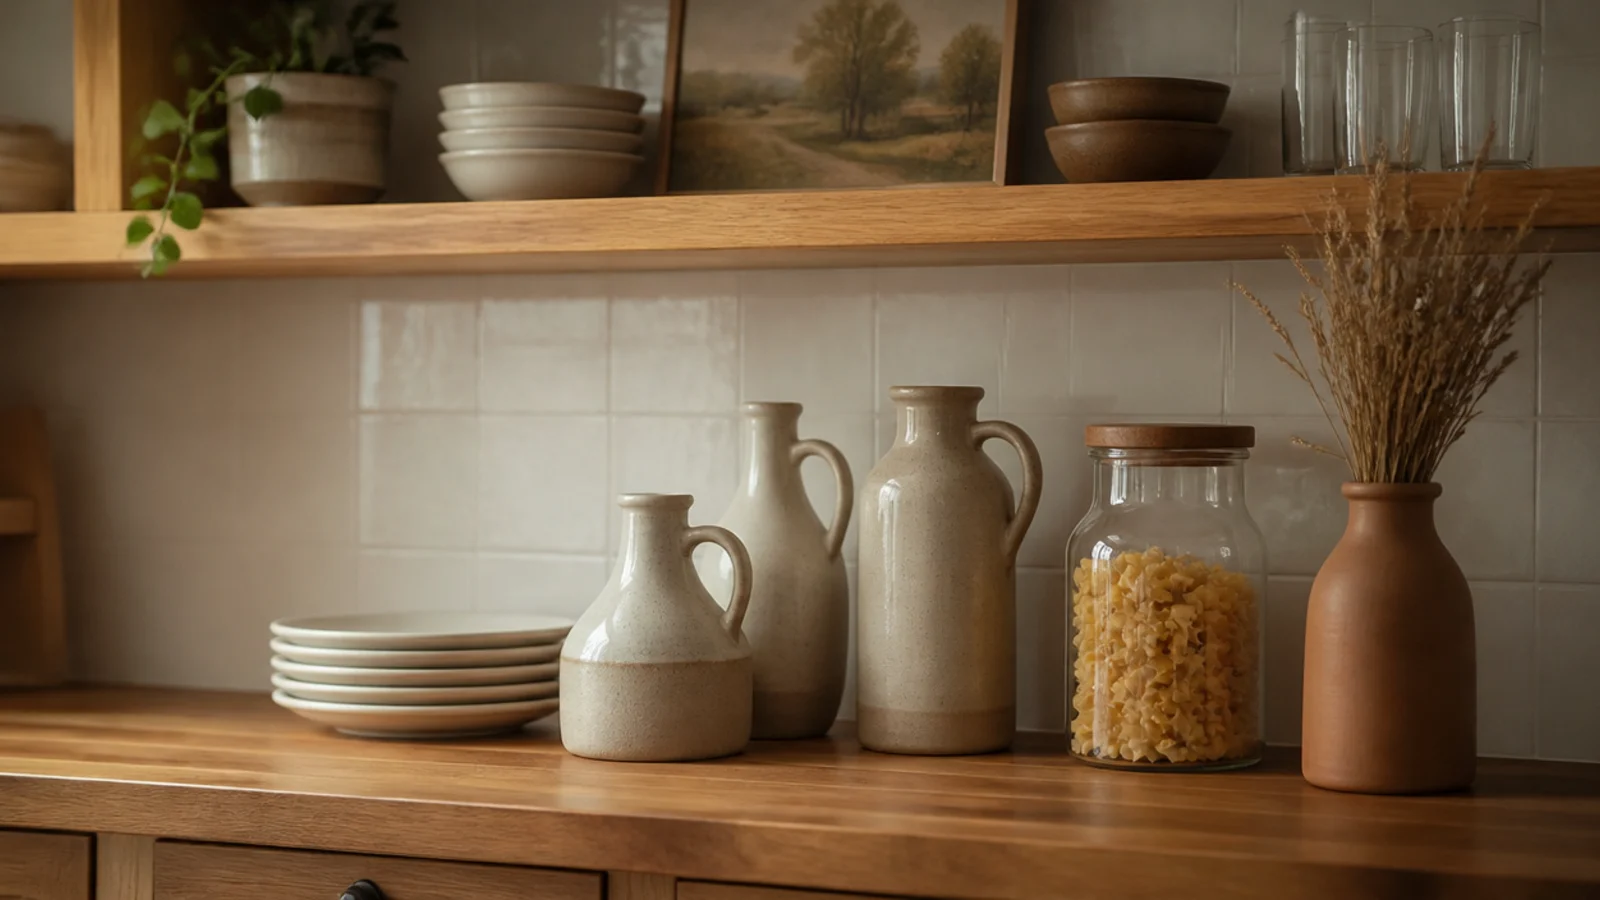
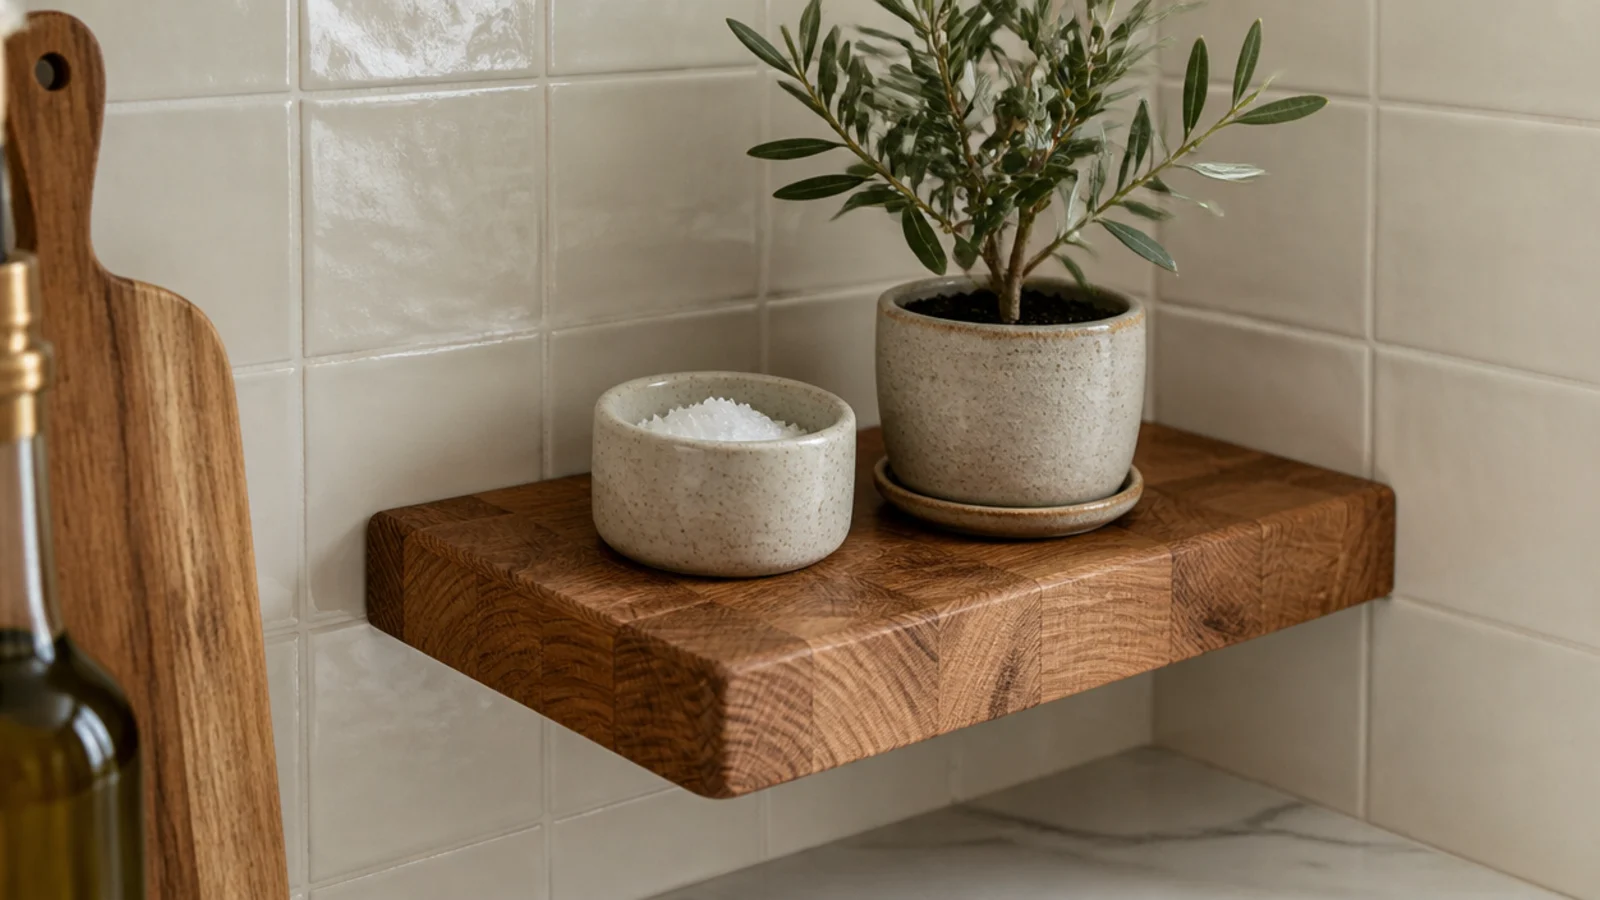
14. A butcher block offcut as a chunky shelf
Kitchen worktop offcuts are sold at a steep discount and arrive already an inch or more thick, with an end-grain edge that looks far more expensive than it costs.
Oil it before mounting, including the underside. Untreated end grain absorbs moisture unevenly and cups.
15. Route a channel and hide an LED strip
A shallow channel routed into the underside hides an LED strip completely, so you see the light and not the fitting.
Use 2700K warm white. Cool light makes terracotta and walnut look grey, which undoes every material decision above it.
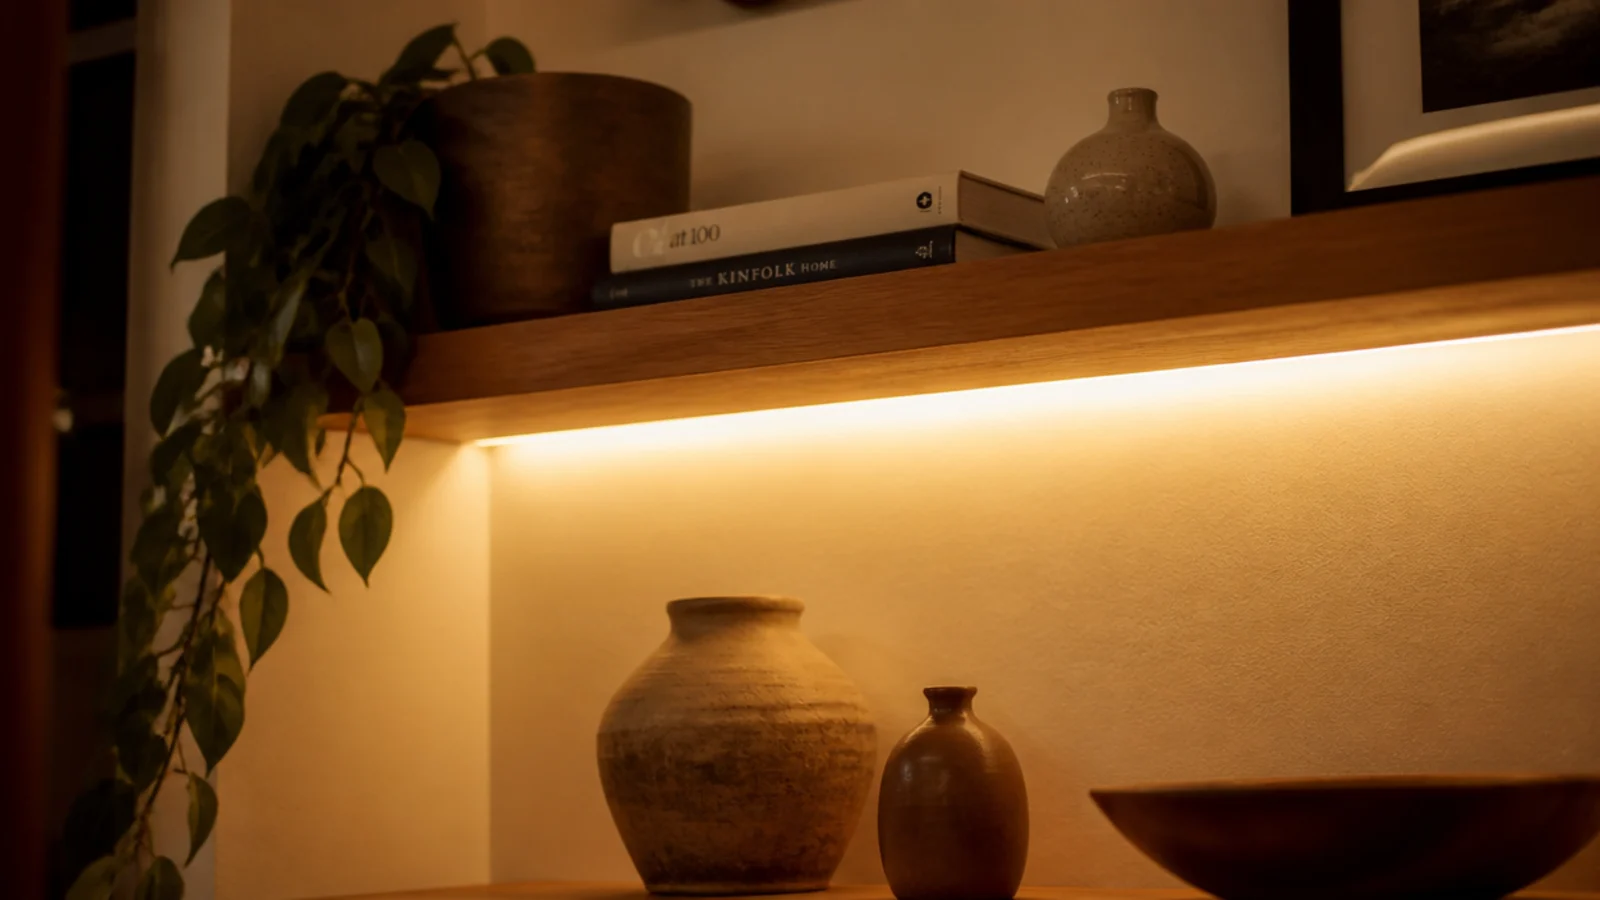
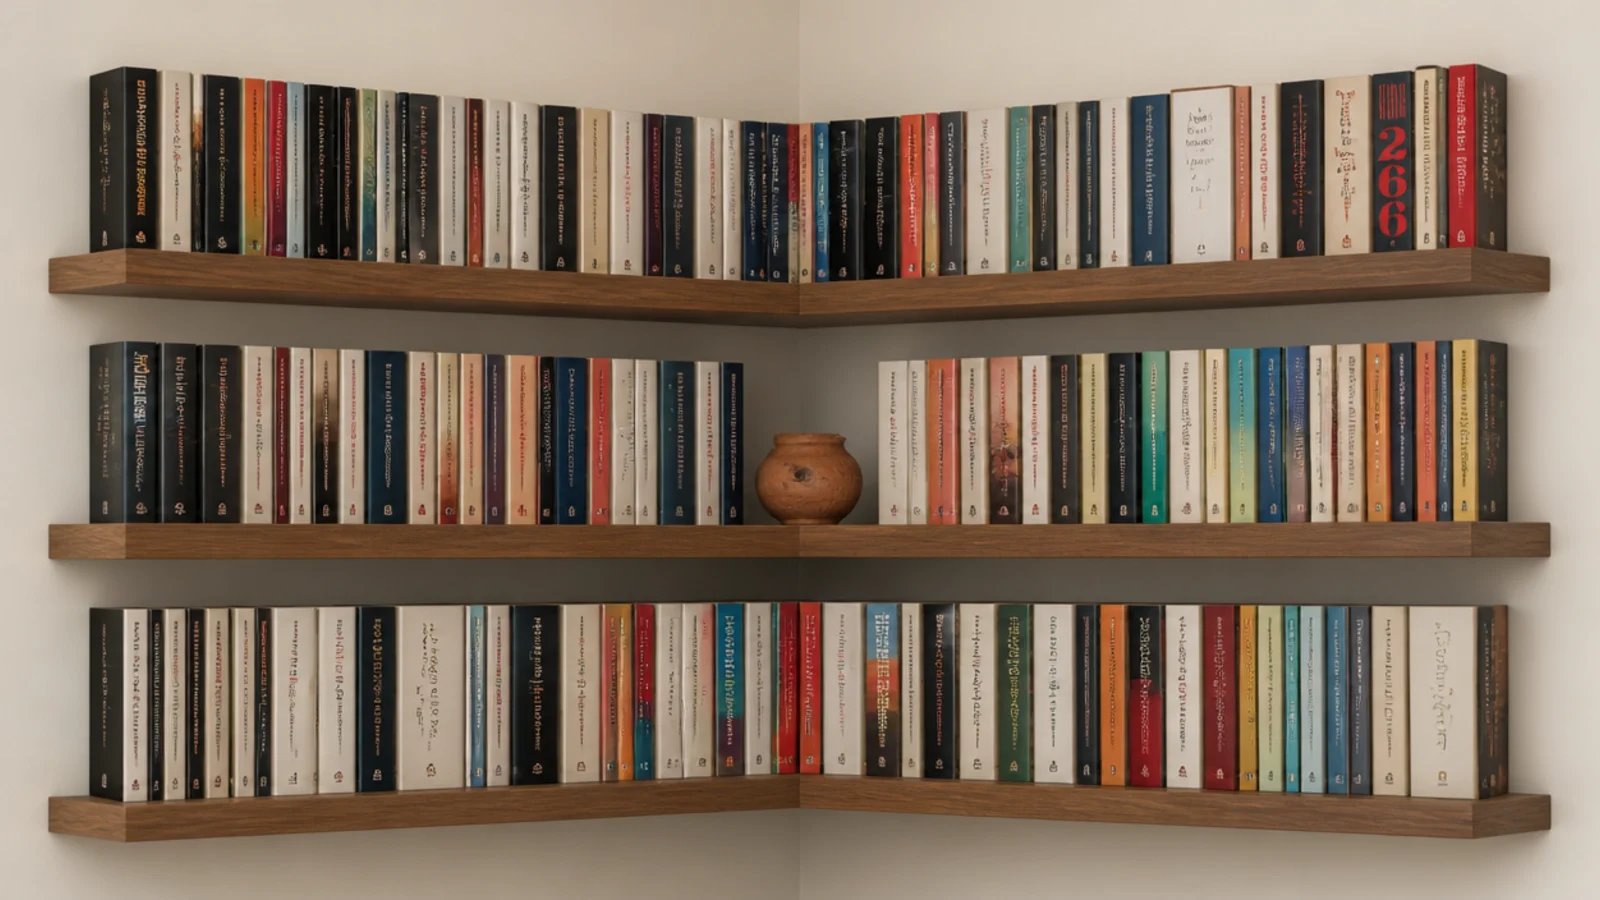
16. Three tight shelves for a paperback wall
Three shelves at ten-inch spacing turn a corner into serious book storage in a footprint the size of a side table.
Turn a few stacks page-edge out to break up the spine colors. A wall of mixed spines in a small corner reads as noise rather than as a library.
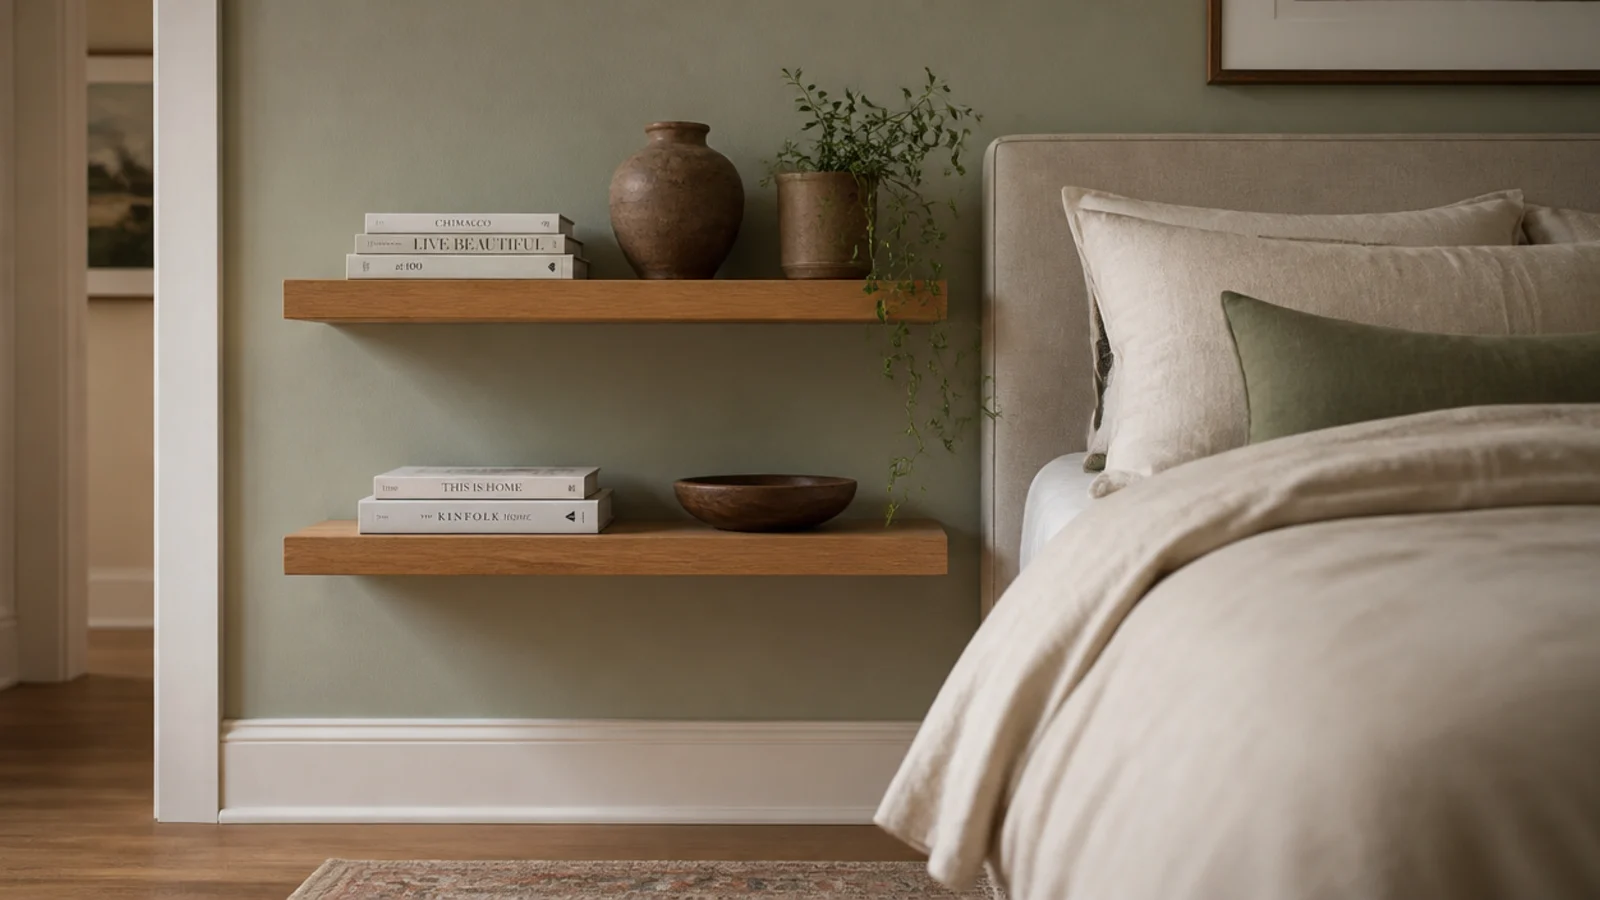
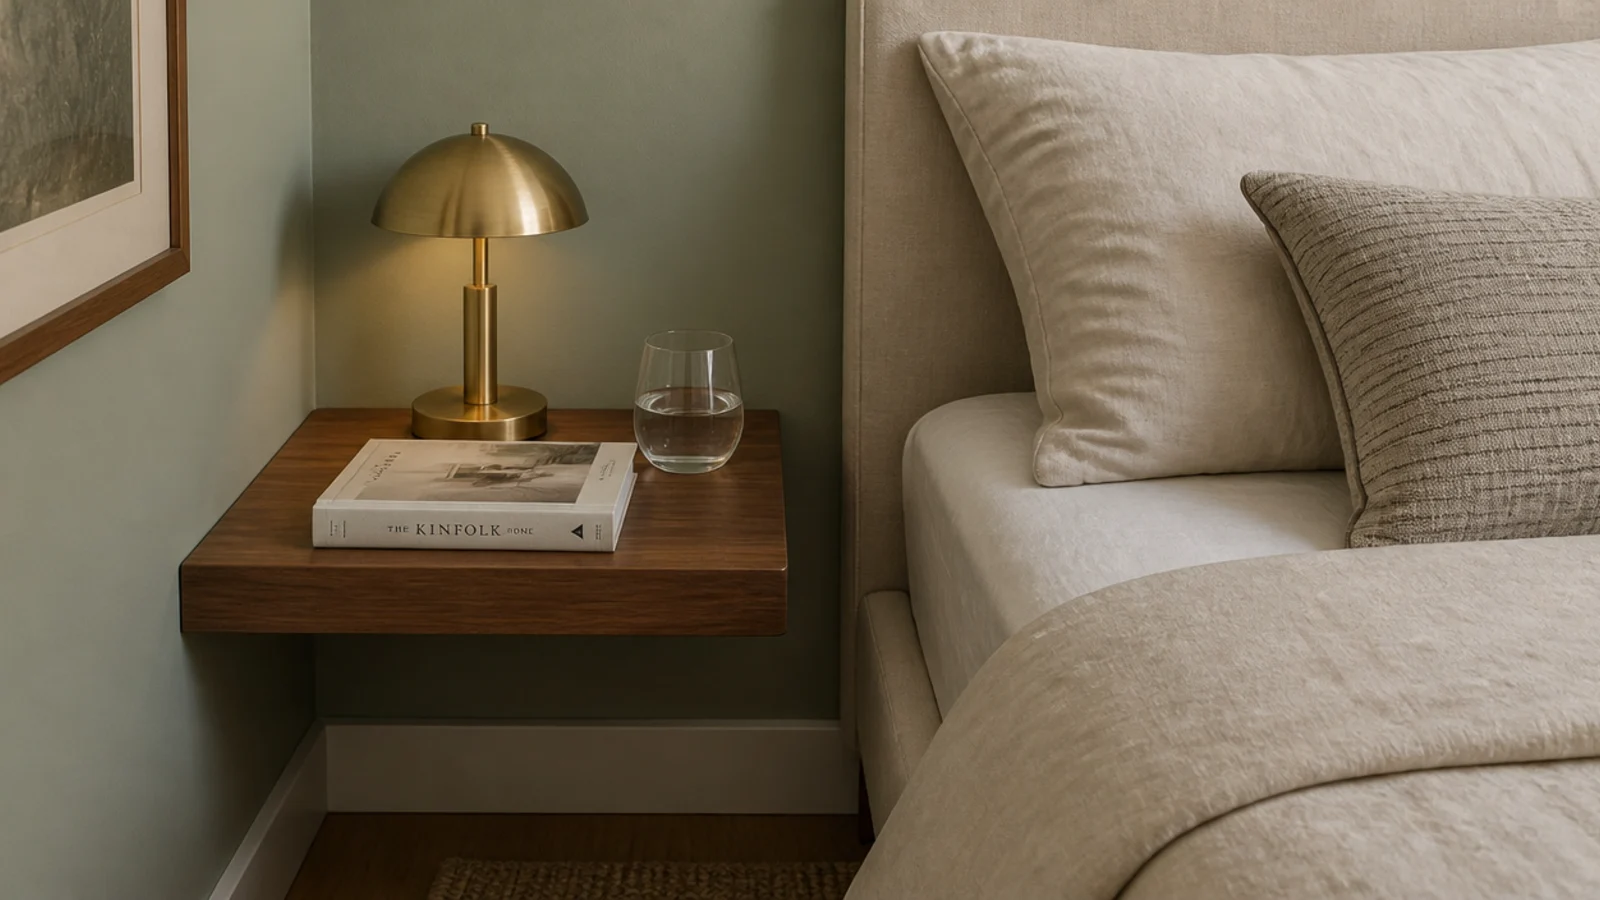
17. A floating shelf at bedside height
Mount level with the top of the mattress, not the headboard — that is where your hand lands in the dark.
Twelve inches long and seven deep holds a lamp, a book, a glass and a small dish. In a bedroom where the bed sits in a corner, this replaces a nightstand entirely.
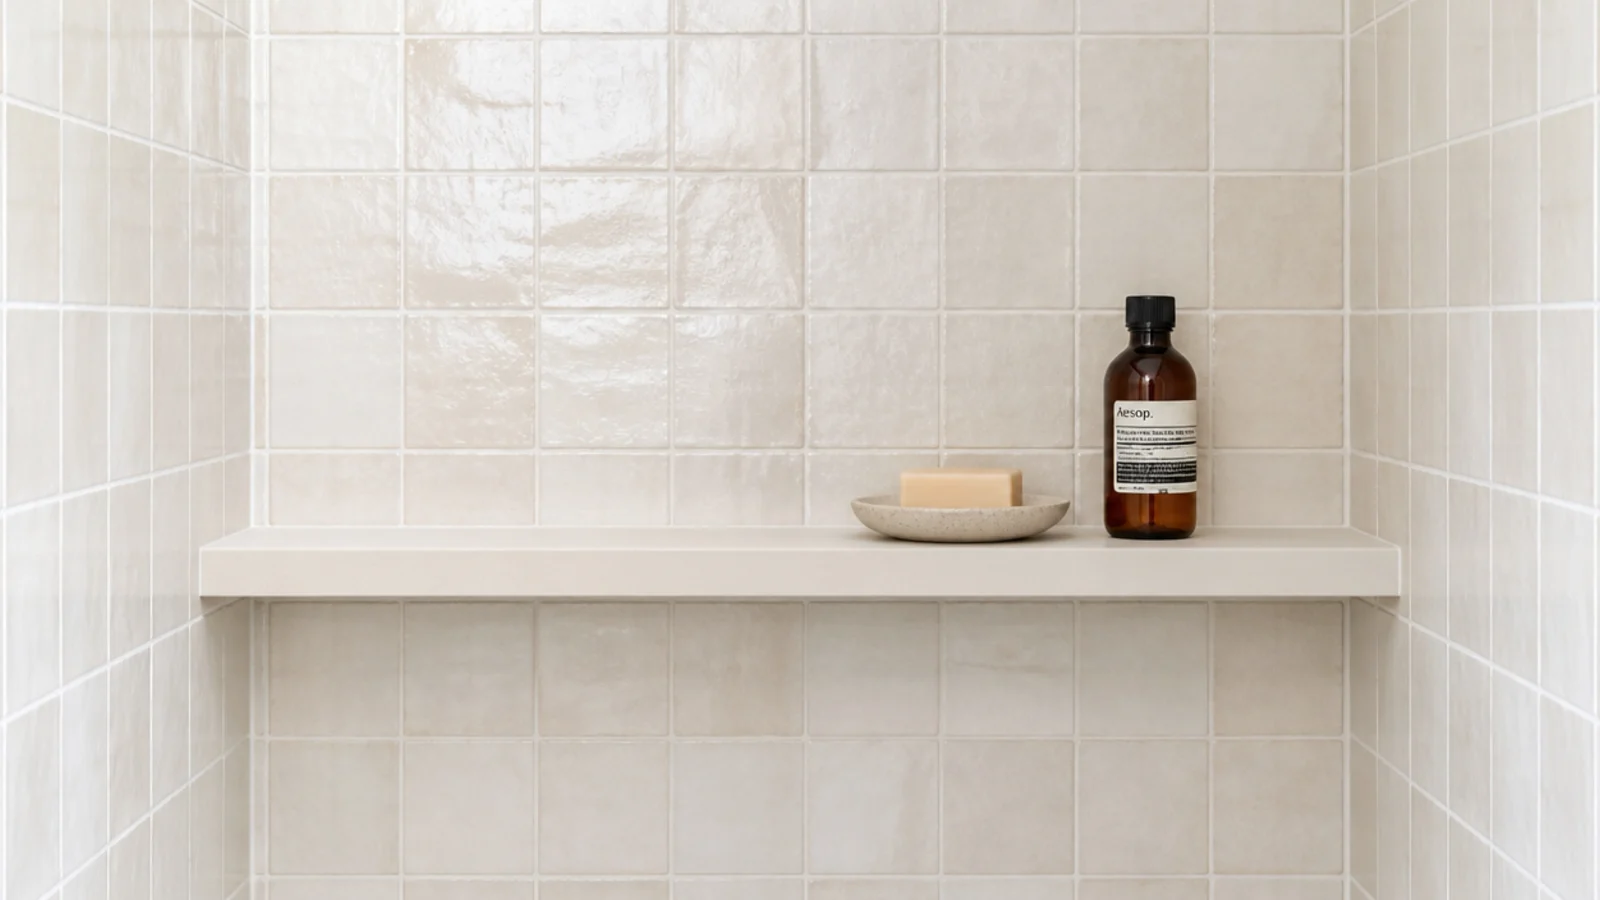
18. A sealed floating shelf in the shower corner
Solid surface, sealed teak or powder-coated metal. Nothing else lasts, and MDF disintegrates.
Five inches deep so it clears the door swing, mounted at 48 inches. Silicone the wall joint so water cannot track behind the fixings.
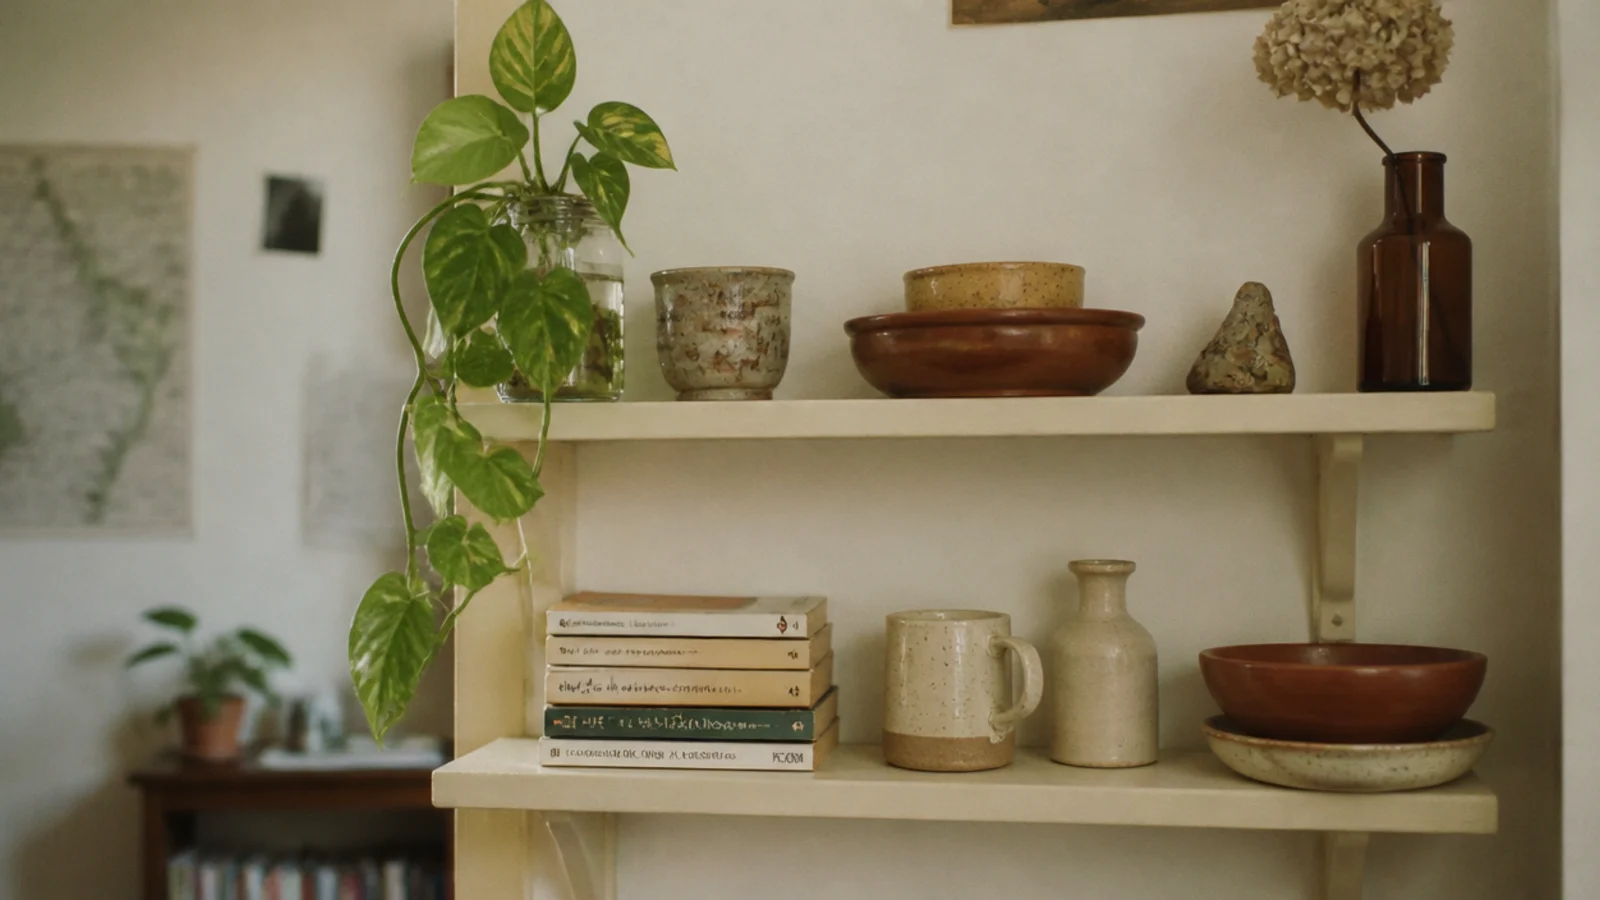
19. One shelf for one plant, nothing else
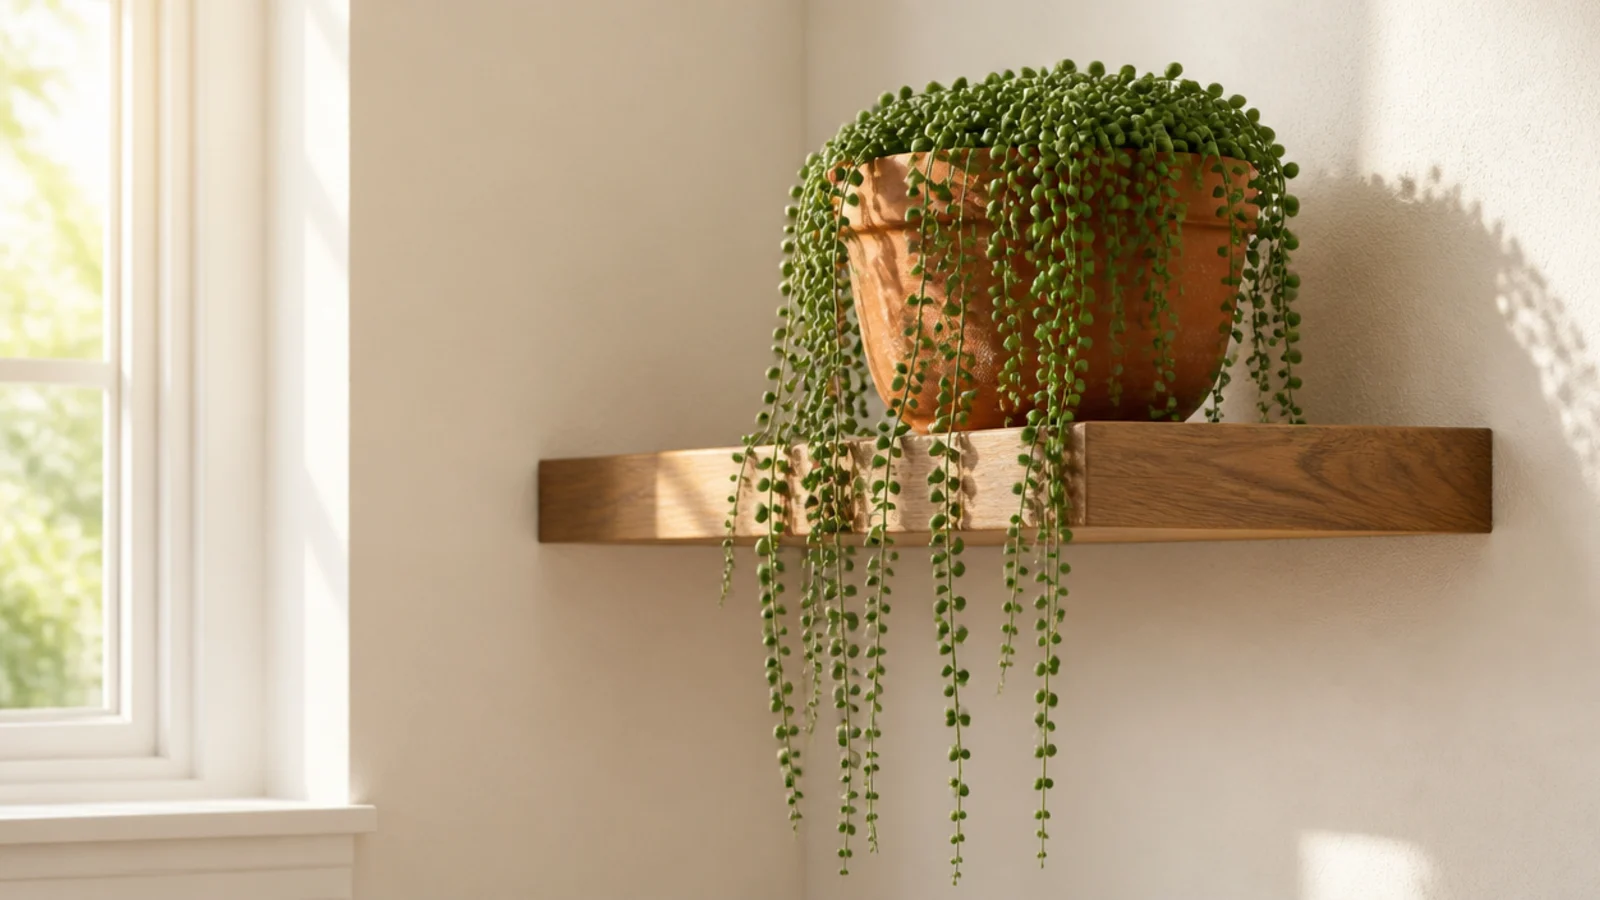
A single shelf holding one large trailing plant, with nothing else on it, is one of the most effective corners you can make and among the cheapest.
Choose something that cascades well below the shelf — string of pearls, ivy, or a mature pothos. The trailing length is what makes it read as deliberate.
20. A shelf that bridges a doorway corner
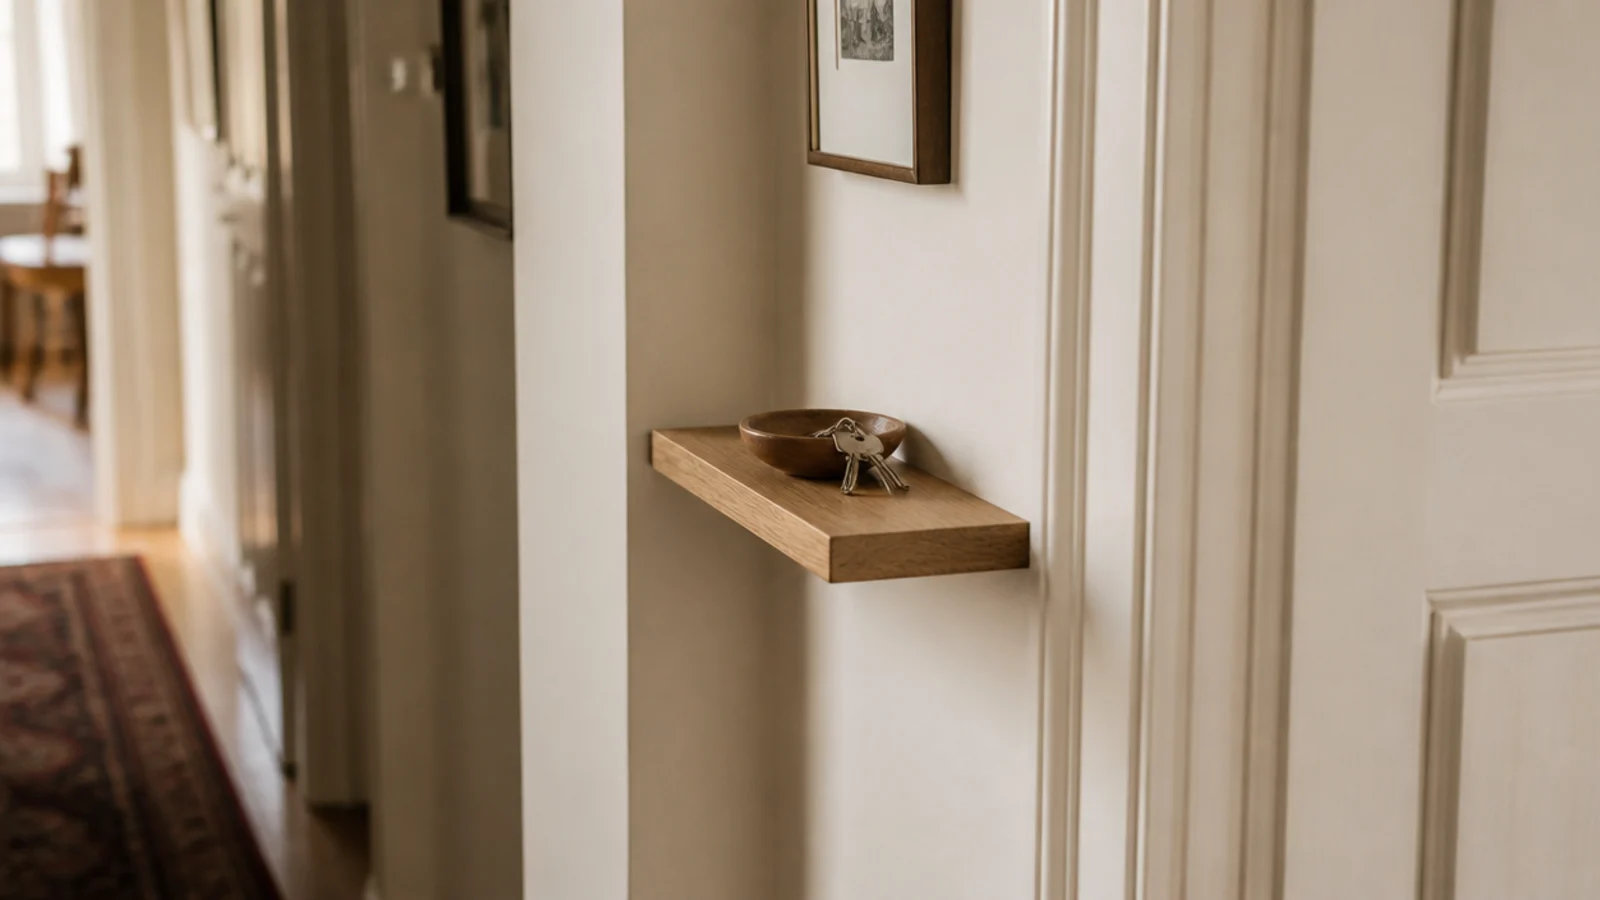
The narrow strip of wall between a corner and a doorframe is free real estate almost nobody uses.
Keep it shallow — four to five inches — and use it for keys and a small dish. Mount at 52 inches so it clears heads and stays out of the door swing. The same logic applies to a whole entryway drop zone.
21. Halve the depth on the top shelf only
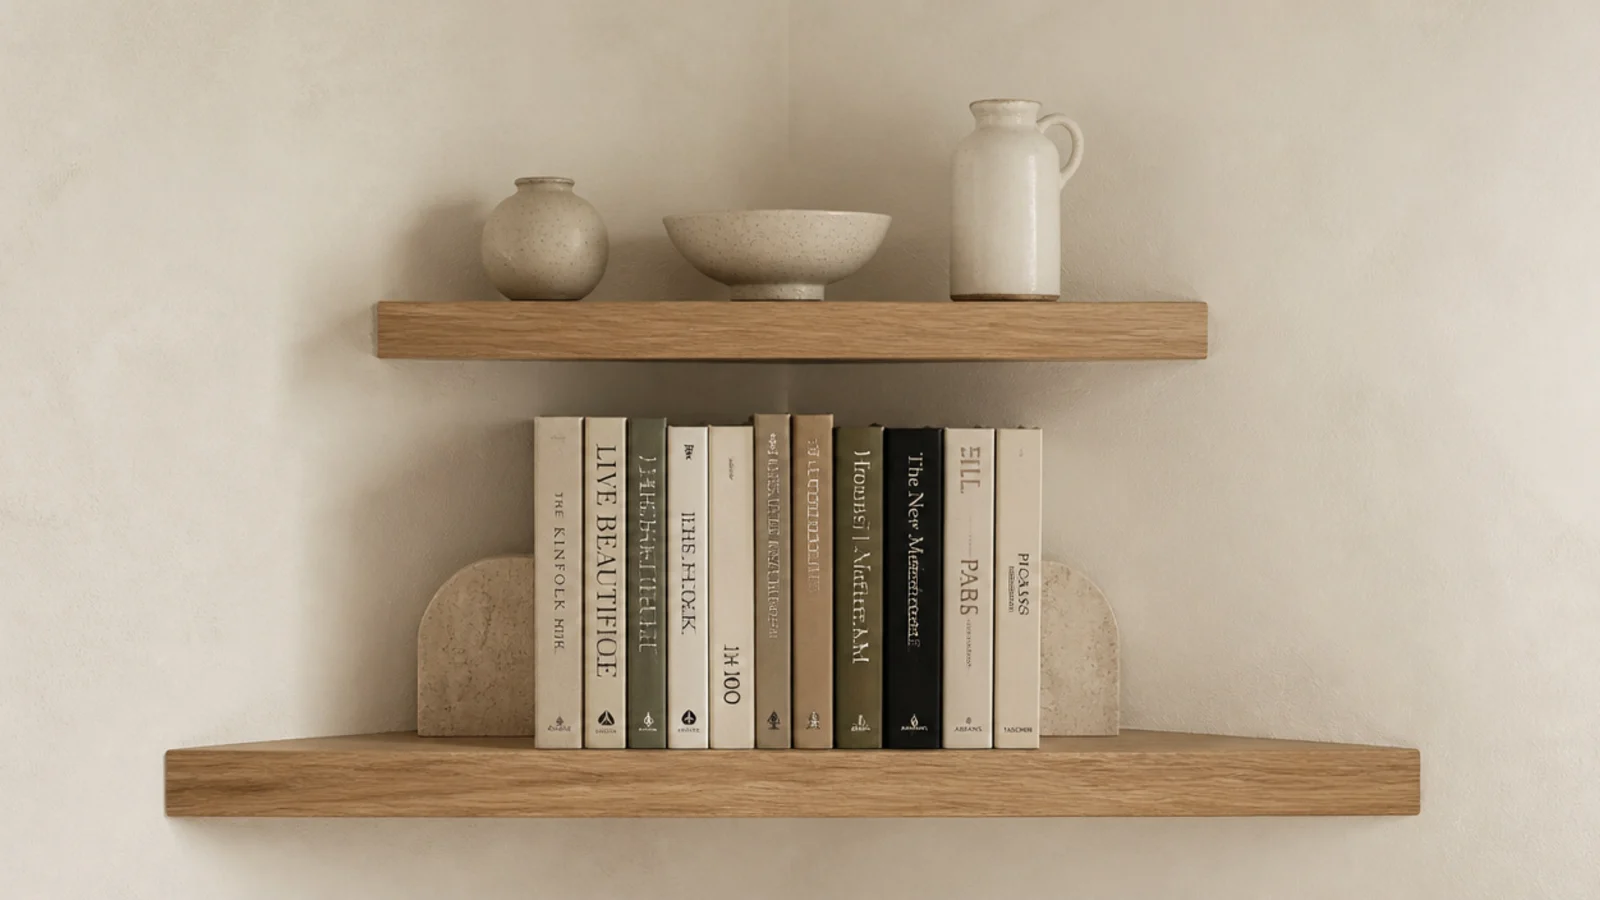
A full-depth top shelf feels heavy overhead. Halving it keeps the headroom open while still giving you a surface.
This is especially useful under 8-foot ceilings, where a stack of three full-depth shelves closes a corner in noticeably.
22. Toggle bolts when there is no stud at all
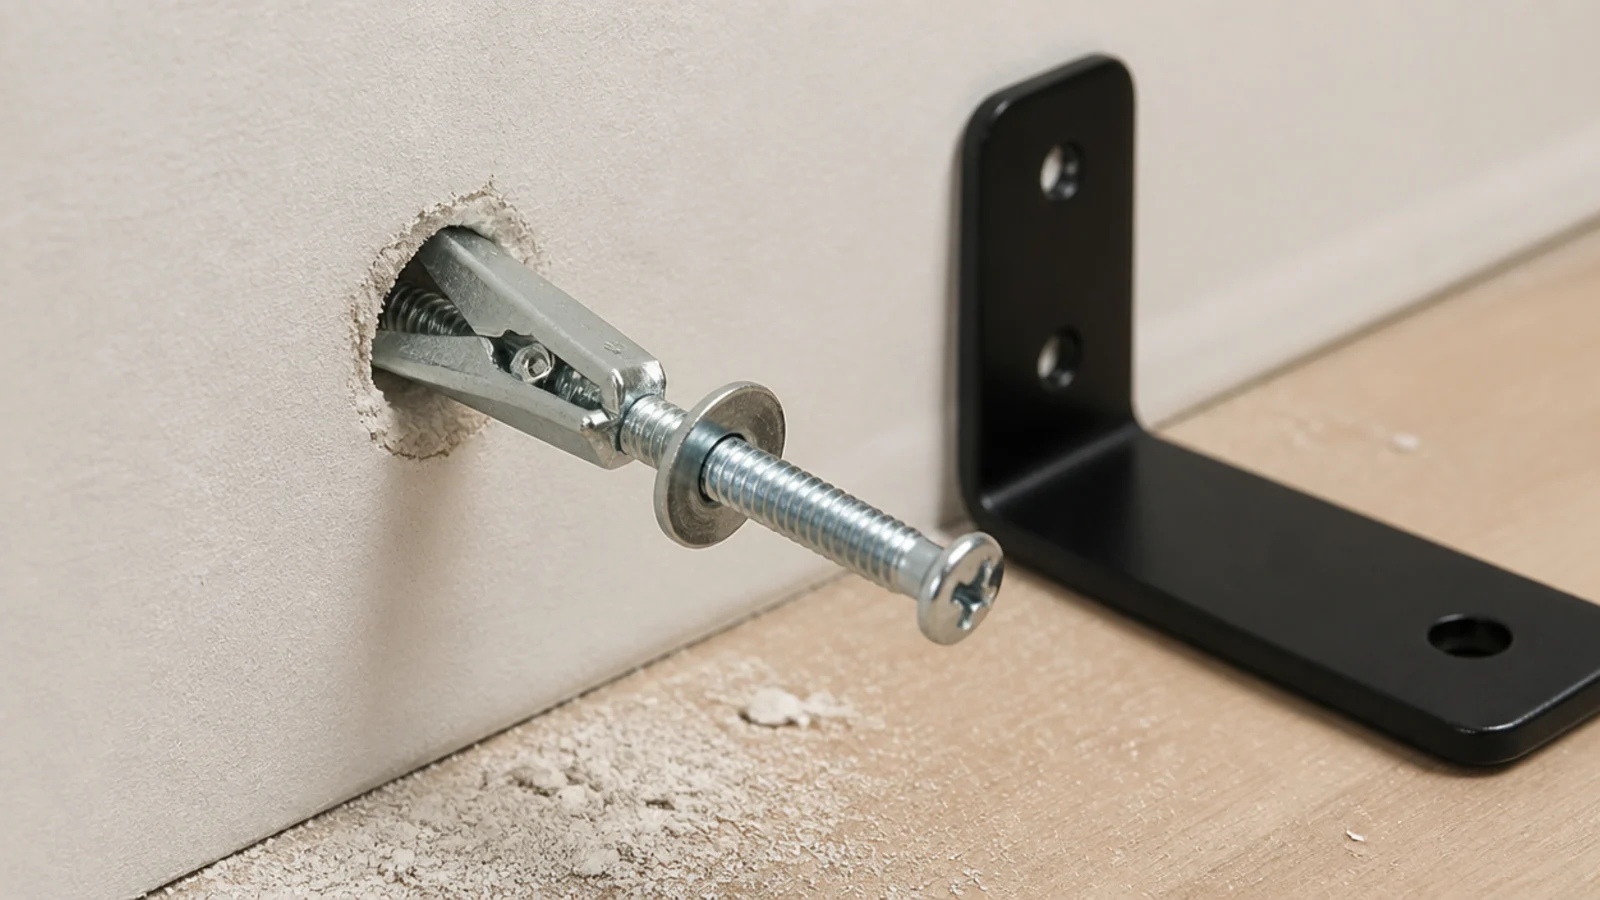
Toggle bolts carry 25 to 35 pounds each in half-inch drywall — roughly triple the plastic plugs in the box.
Drill the hole the size the packet says, not smaller. An undersized hole means forcing the toggle through, which crushes the drywall face and loses most of the grip.
23. Sleeve anchors for a masonry corner
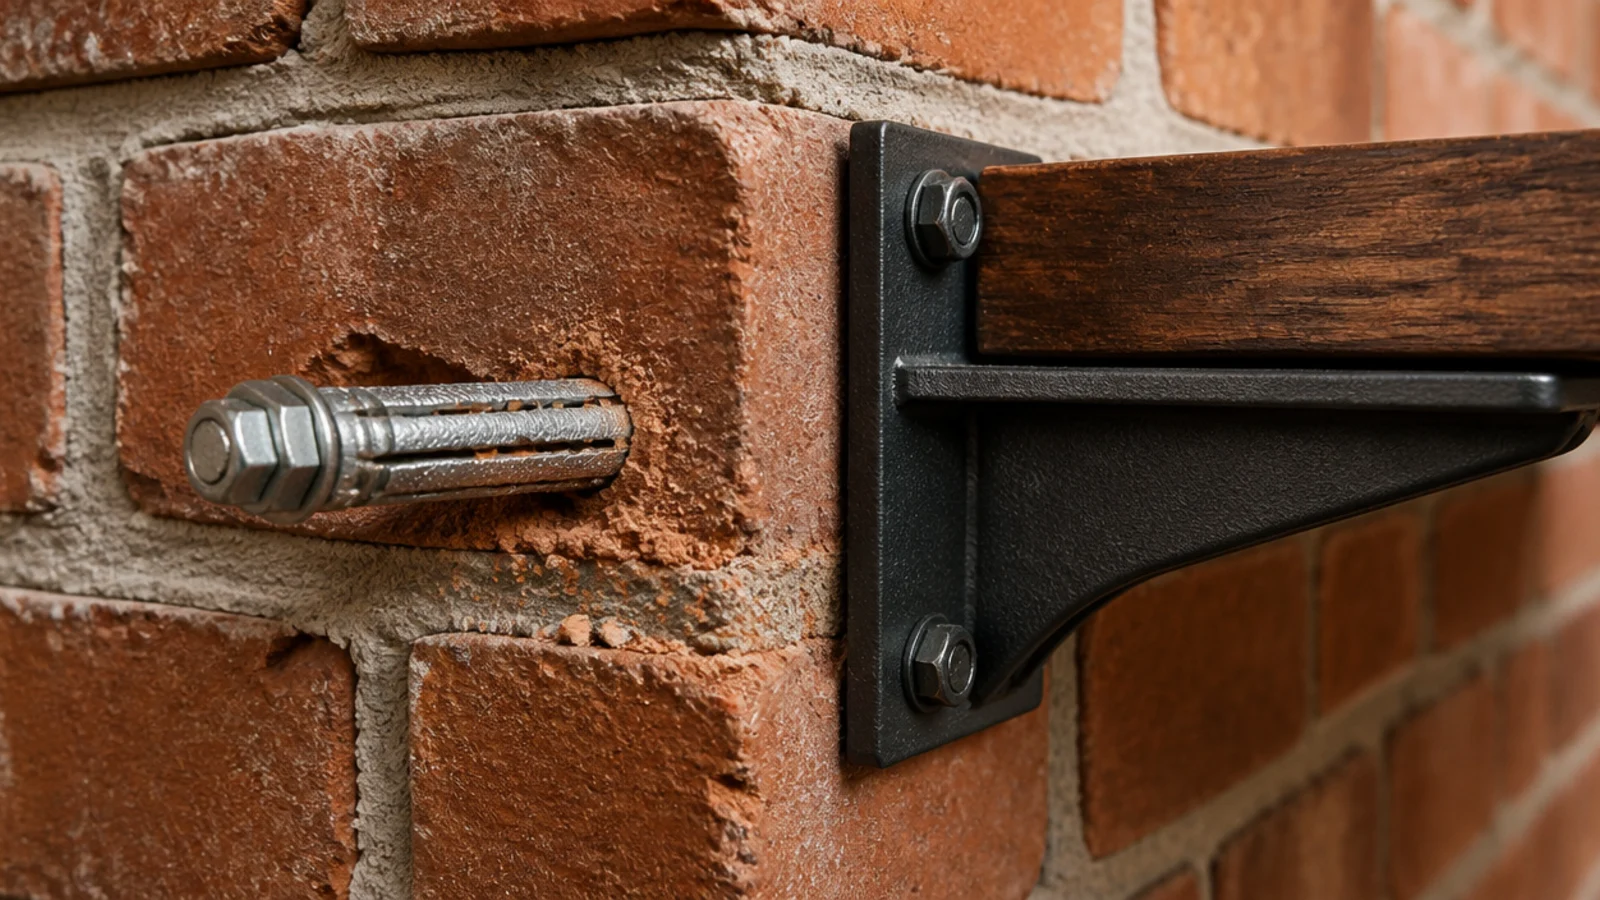
Brick and block need a masonry bit and a sleeve anchor, not a drywall fixing. The good news is that a properly set sleeve anchor in solid brick carries more than almost any shelf will ever ask of it.
Drill on hammer setting, blow the dust out of the hole, then set the anchor. Dust left in the hole is the usual reason a masonry fixing feels loose.
24. Drill a cable pass-through for a router
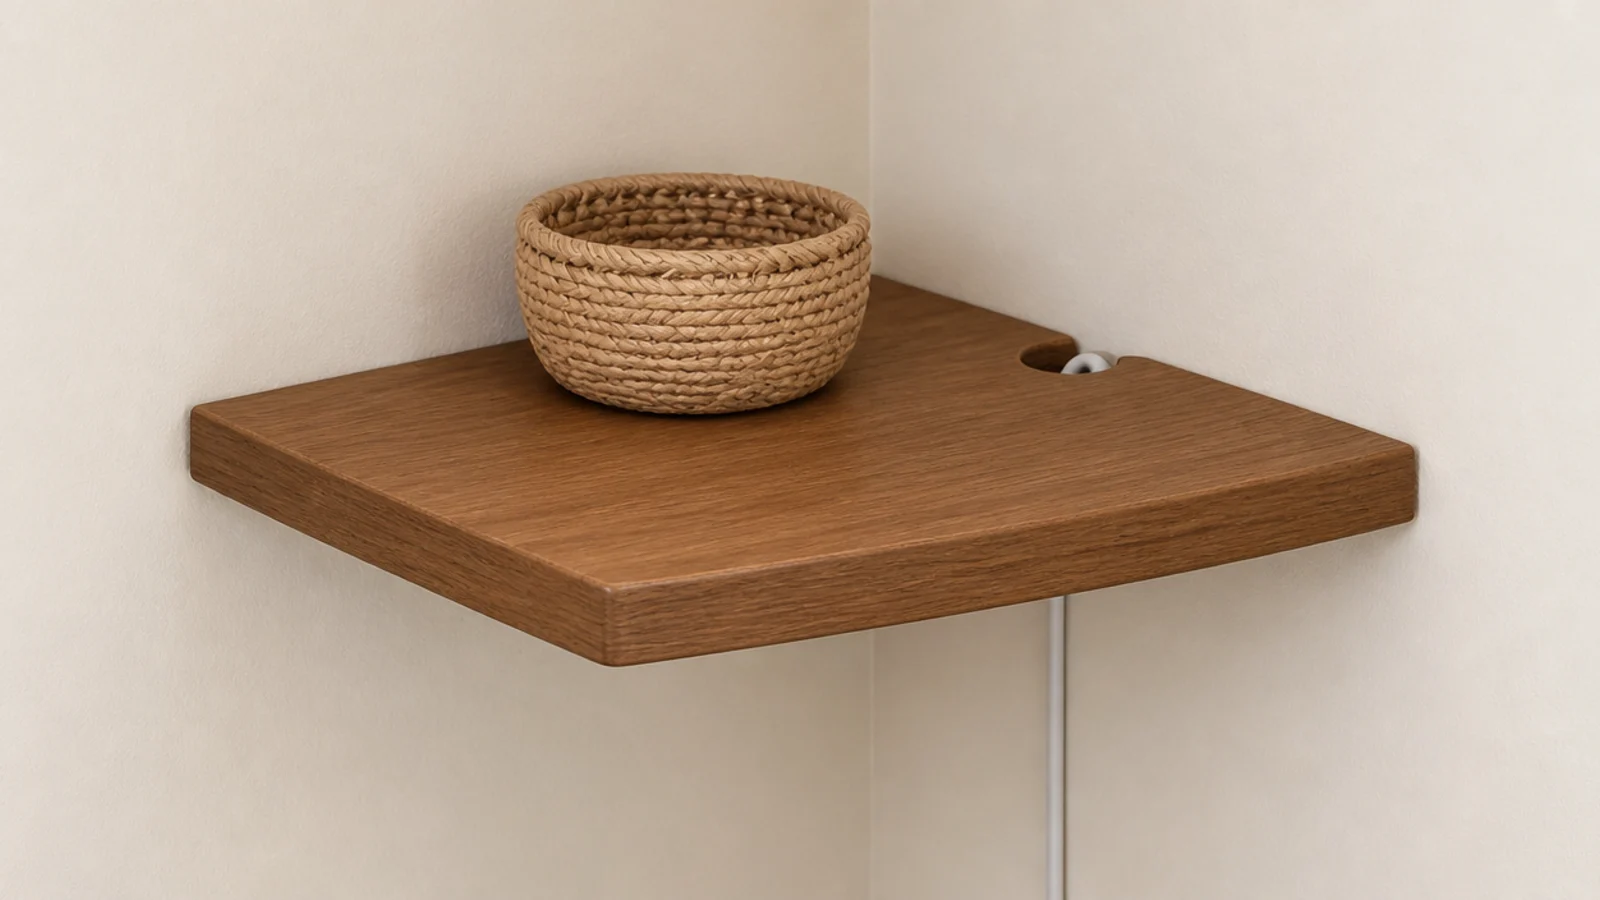
One clean one-inch hole near the back edge takes a router or speaker cable down the wall behind the shelf instead of across the front of it.
Drill from the top face into scrap wood so the underside does not tear out. Sand the hole edge smooth or it will scuff the cable over time.
25. Continue the line into a nearby alcove
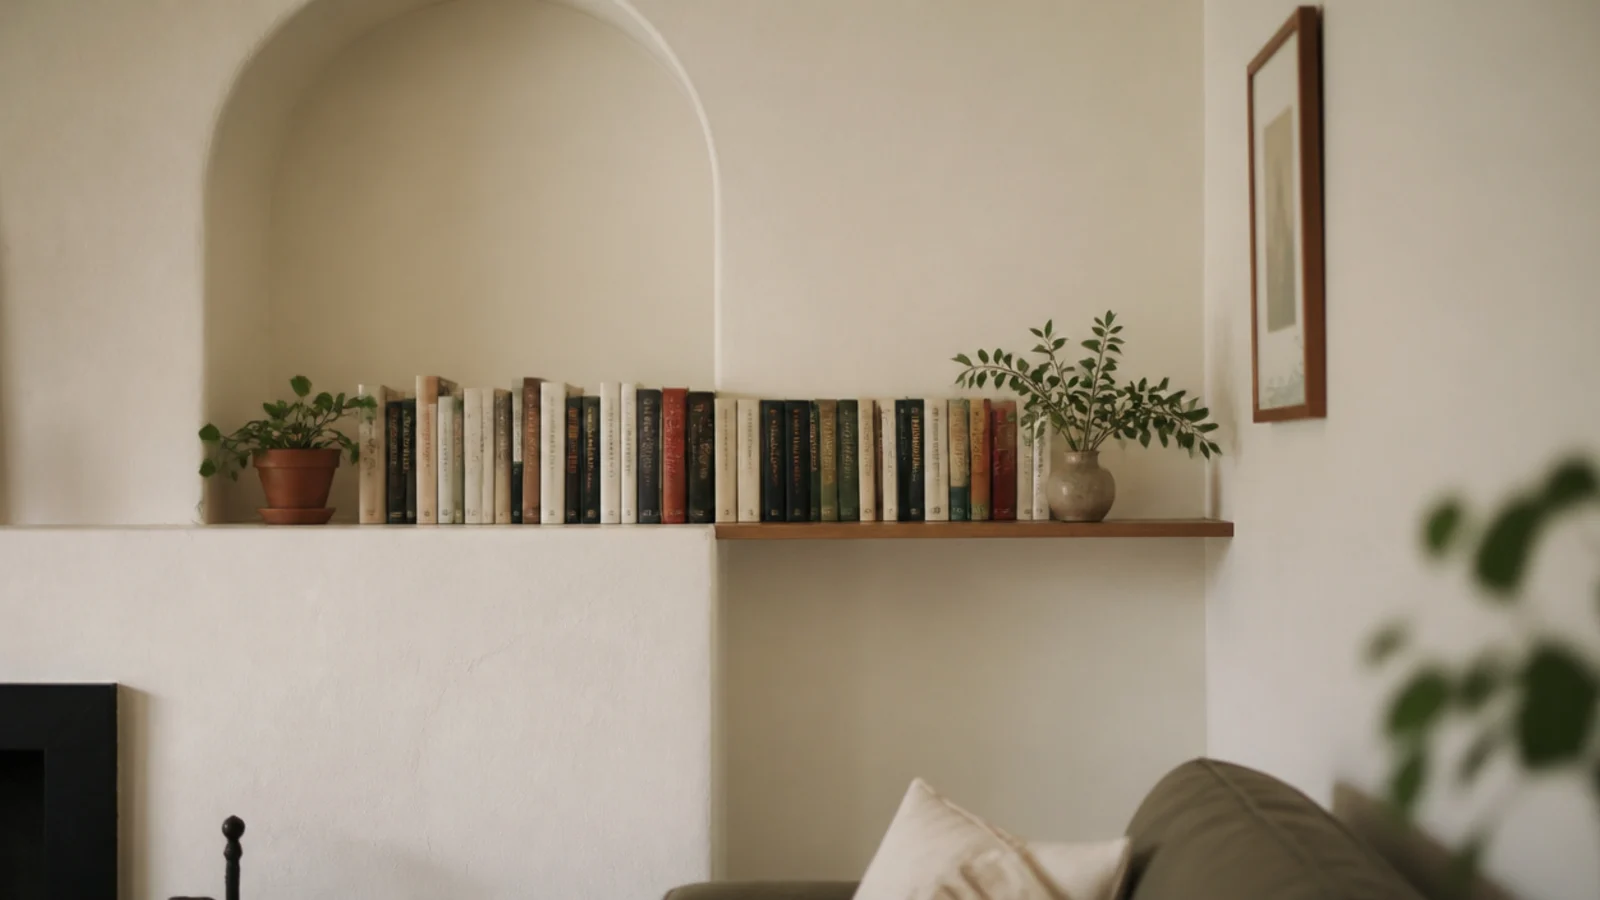
If there is an existing shelf, alcove or window sill nearby, set your floating shelf at exactly the same height.
Aligning with something already in the room makes a new shelf look planned rather than added. It costs nothing and it is the difference most people cannot name but always notice.
26. Leave a gap between two shelves for art
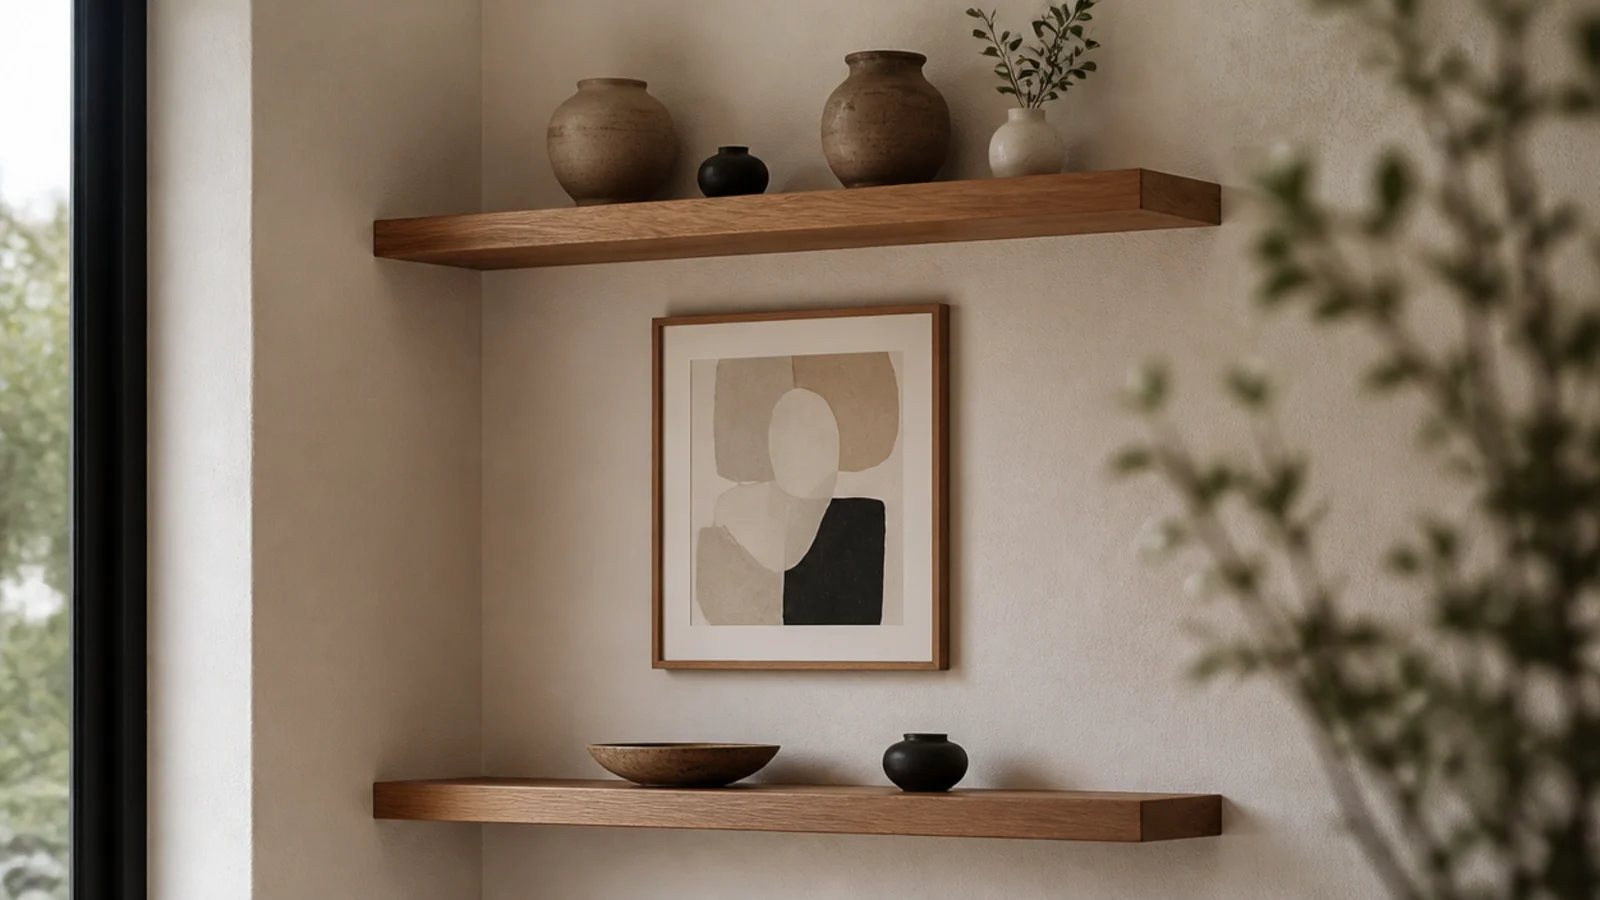
Instead of even spacing, leave one generous gap — 20 inches or so — and hang a framed print in it.
The shelves frame the artwork and the artwork justifies the gap. It is a simple way to get a small corner to hold both storage and something to look at without either feeling squeezed.
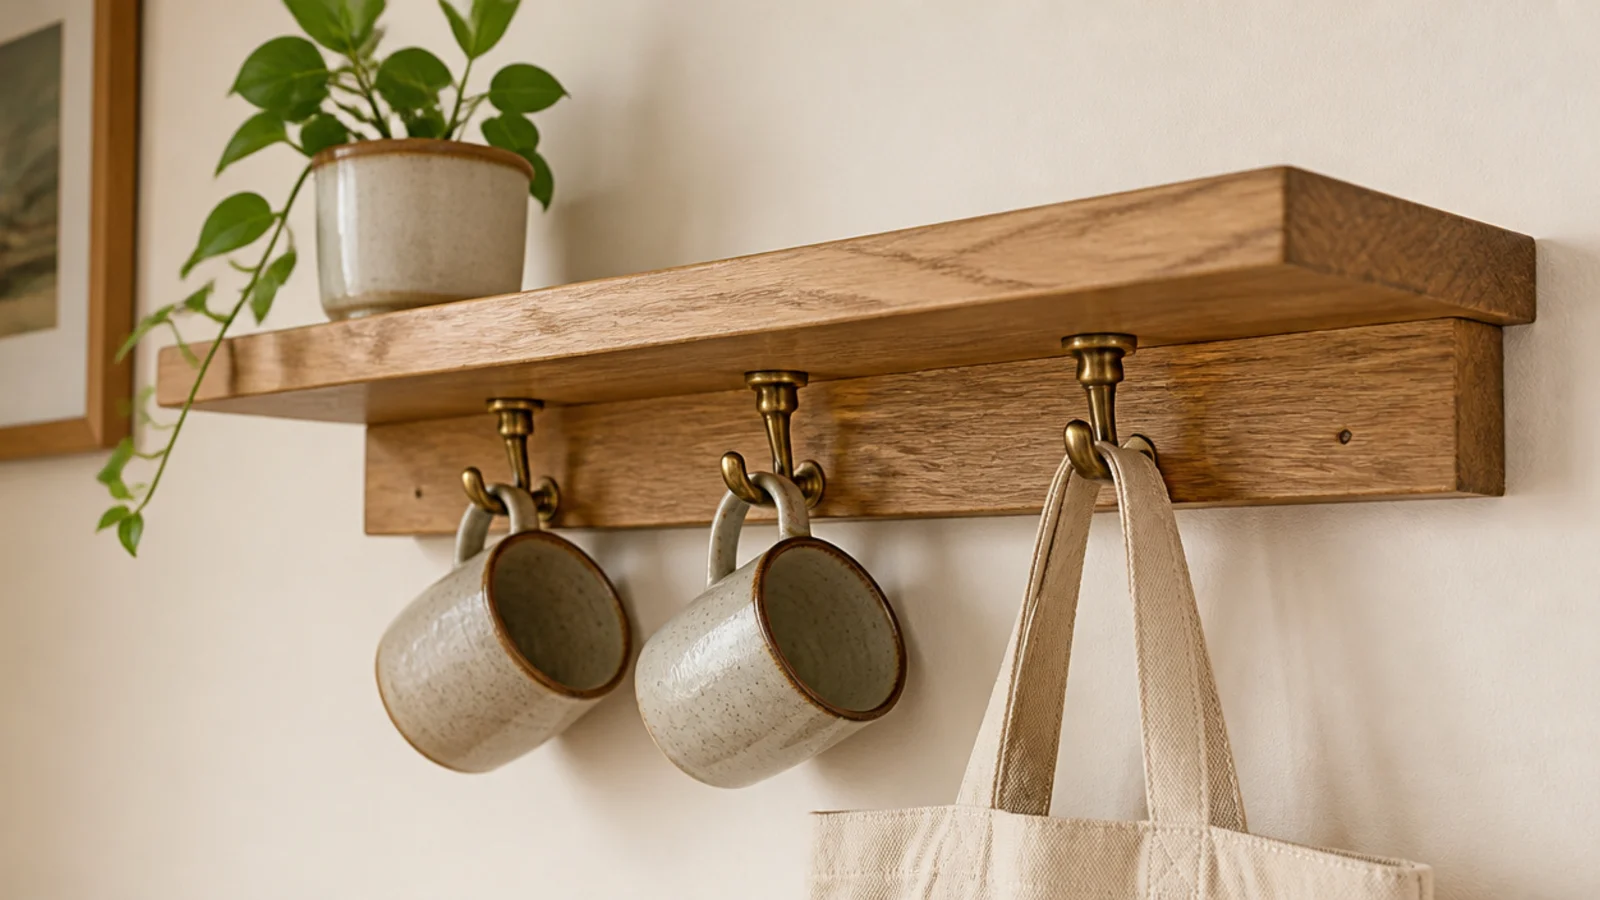
27. Mount a hook rail under the shelf
The underside of a shelf is storage you have already paid for. Three hooks under a kitchen shelf hold six mugs in the space one mug takes on a counter.
Use short screws — three-quarters of an inch — or they come through the top face. Ask me how I know.
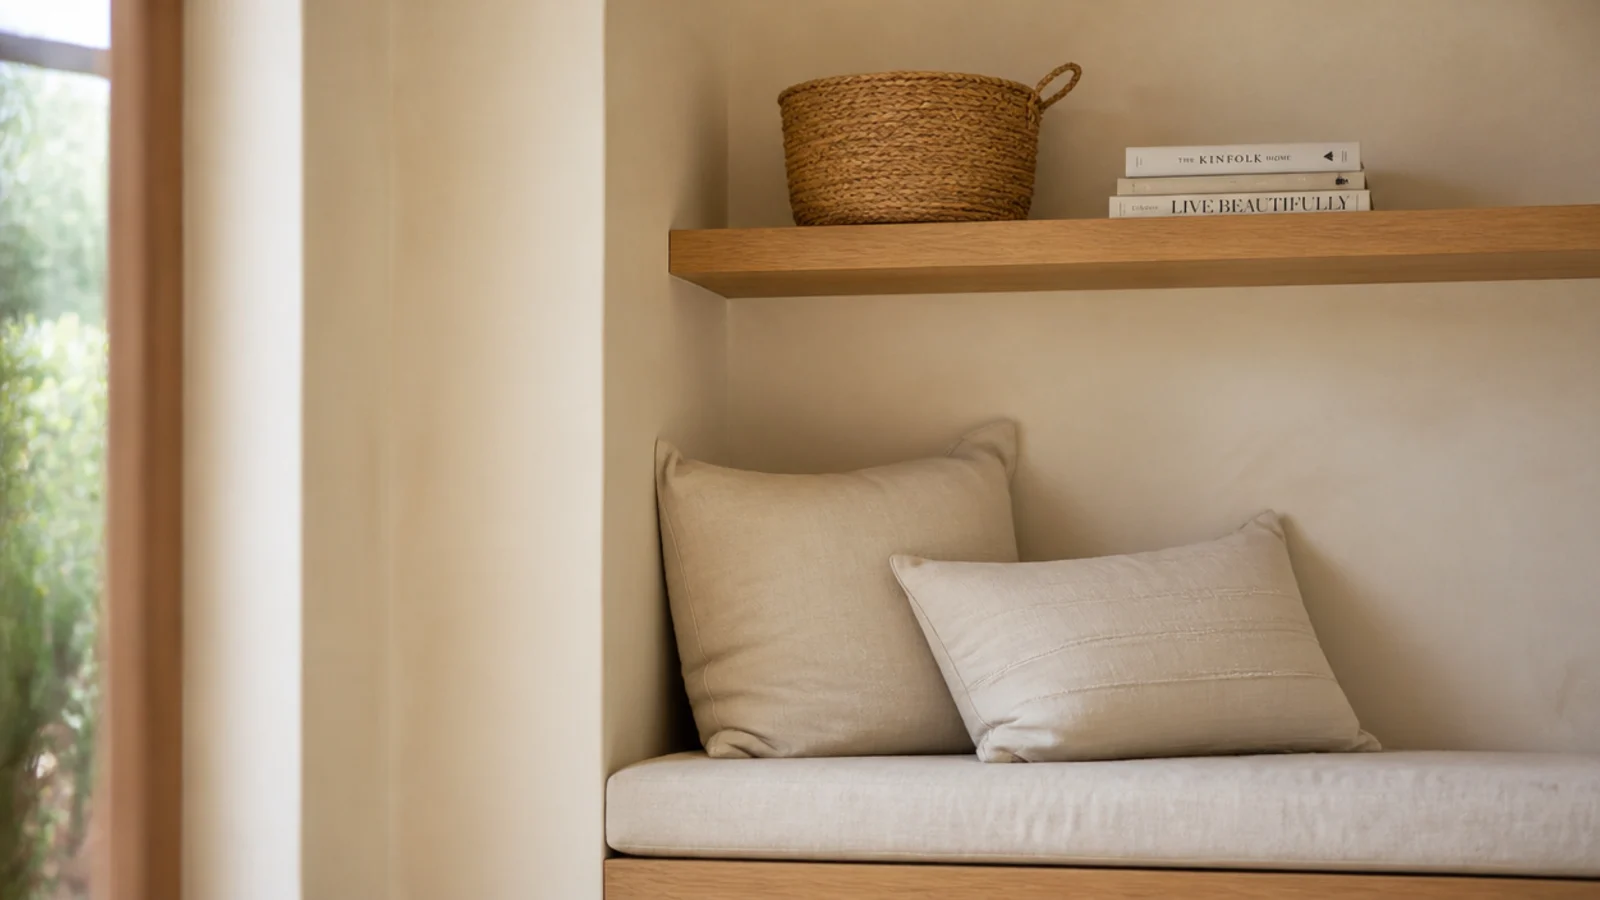
28. A floating shelf over a bench seat
Above a window seat or built-in bench, keep at least 20 inches of clear height above the seat back so nobody catches their head sitting up.
Shallow is better here, six inches maximum. Anything deeper hangs into the space where a person's shoulders go.
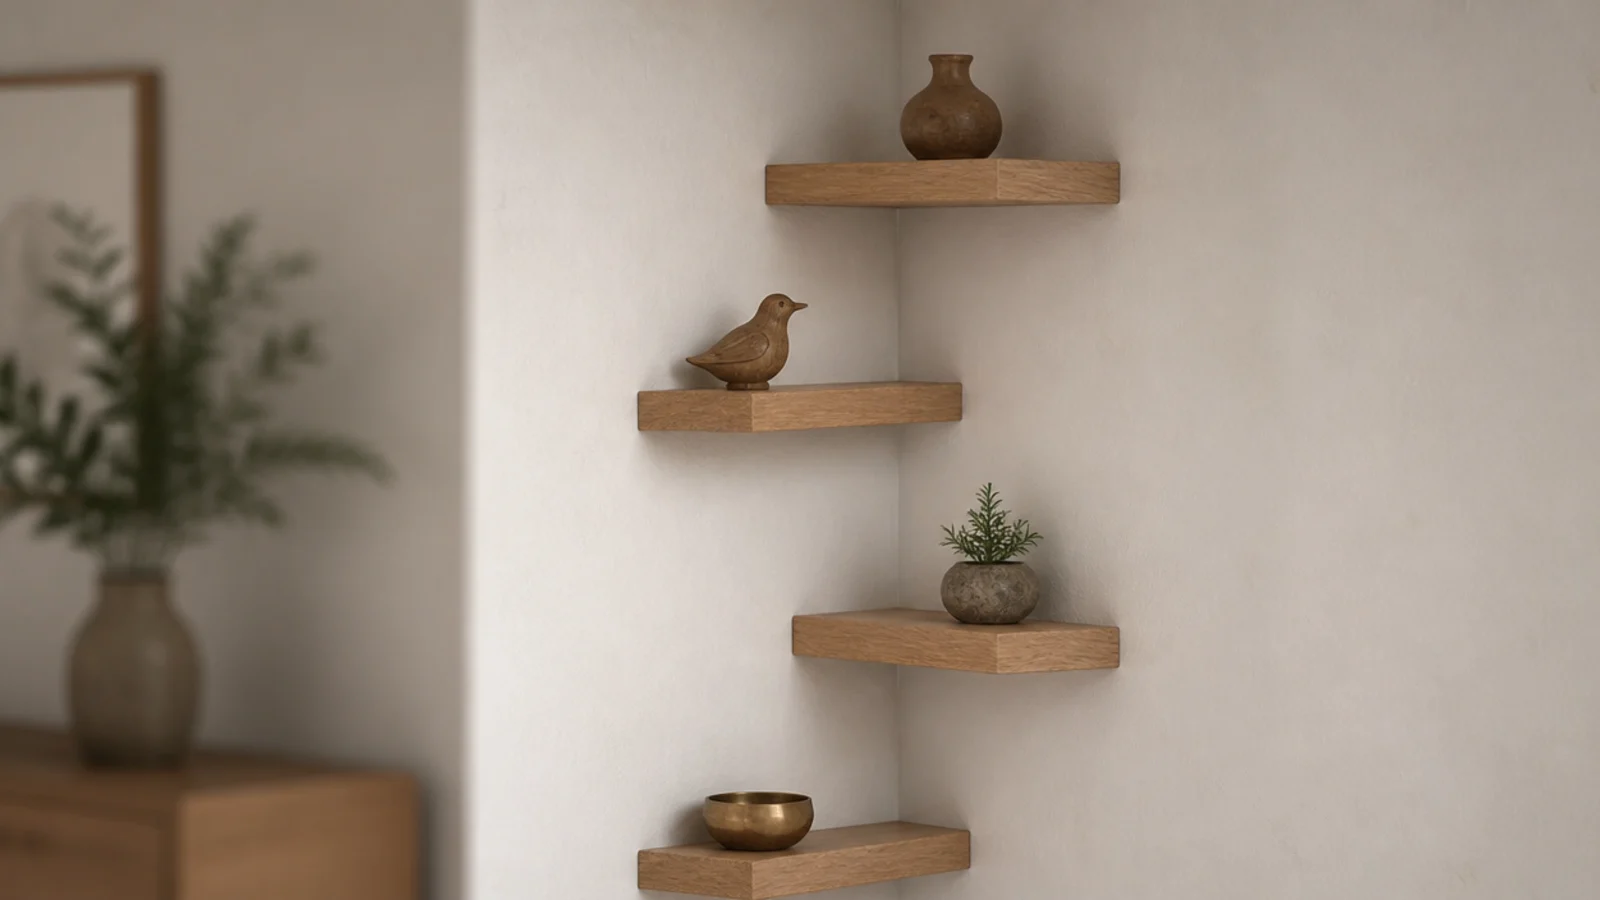
29. Stair-step the shelves up the corner
Four short shelves climbing alternately up the two walls draws the eye upward and makes a low ceiling feel taller.
Keep each shelf small — 12 to 16 inches — and put one object on each. The pattern is the point; loading them up destroys it.
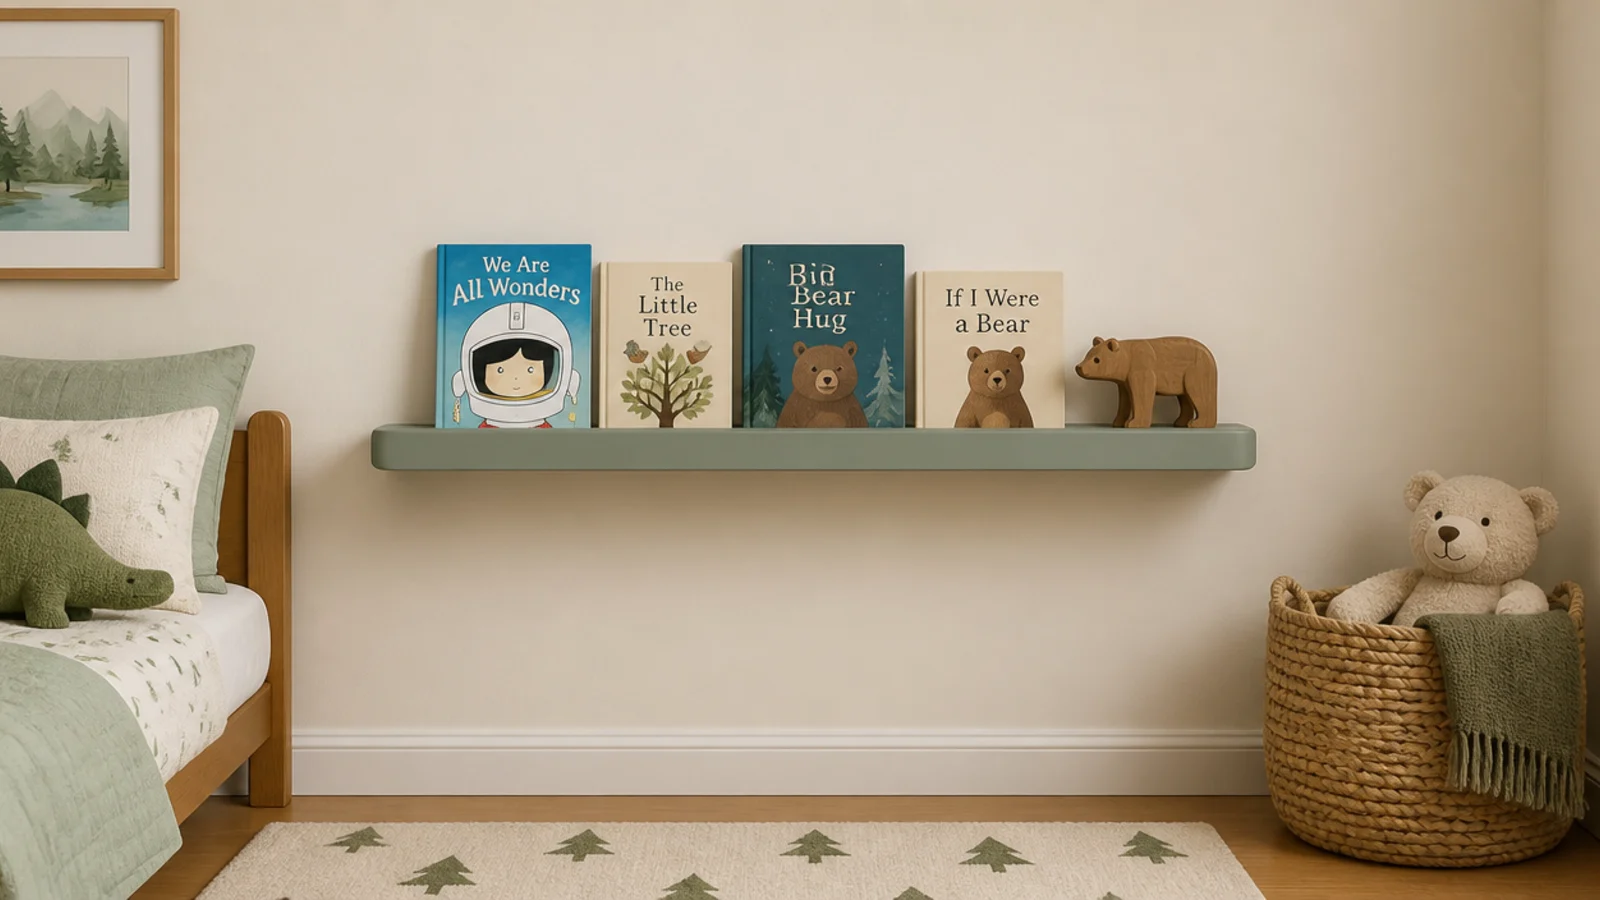
30. A rounded-edge shelf at toddler height
Any shelf below 40 inches in a home with small children needs every edge and corner rounded, sanded to a radius you can comfortably run your palm along.
Cap the height at 36 inches so a child can reach it without climbing, and use forward-facing picture book storage rather than spine-out.
Mistakes to Skip
- Using a hidden-bracket system with the supplied plastic plugs. It is the weakest common configuration on any wall and the one most likely to fail slowly.
- Going 12 inches deep because the board came that wide. Depth multiplies the pull-out force on every fixing, and nobody notices the missing two inches.
- Mounting into MDF or hollow-core wall panels without checking what is behind them. Neither holds a fixing under load, however good the anchor is.
Frequently asked questions
How much weight can floating corner shelves hold?
With a concealed rod bracket into a stud, 30 to 40 pounds on a 24-inch shelf. Into drywall alone with toggle bolts, 20 to 25 pounds. Hidden-bracket systems relying only on plastic plugs manage about 10 pounds and are the configuration most likely to sag. If the shelf will hold hardbacks, get at least one fixing into framing.
Do floating corner shelves need studs?
For anything above about 20 pounds, yes. Corners usually have framing within an inch and a half of the inside corner on both walls, which is often exactly where a bracket wants to sit. Scan outward in six-inch sweeps and mark hits with tape. If you genuinely find nothing, use toggle bolts and keep the load light.
What is the cheapest way to get a floating corner shelf?
A plain pine board and two L brackets painted the wall color, at around $18 total. Painted-out brackets read as floating from every normal viewing angle, and nobody looks at the underside of a shelf. True concealed-rod systems cost three times as much for a difference you only see lying on the floor.
How deep should a floating corner shelf be?
Six inches where you walk past, eight where you do not. Depth matters more on a floating shelf than a bracketed one because the leverage on the fixings increases with depth — a 12-inch floating shelf puts roughly twice the pull-out force on its anchors as a 6-inch one carrying the same weight.
Can floating corner shelves work in a rental?
Yes, with two small holes per bracket that fill in seconds with lightweight spackle. If you cannot drill at all, heavy-duty adhesive strips rated to 15 pounds per pair hold a light 6-inch shelf, but be honest about the limit — books are heavier than they look and a failed adhesive shelf costs more in damage than four filled holes.
Why does my floating shelf sag in the middle?
The board is too thin for the span. Three-quarter-inch stock holds 24 inches without visible deflection; half-inch stock bows at about 18. Adding a third bracket in the middle helps, but the real fix is a thicker board or a built-up front edge that stiffens the whole span.
Pick the fixing before you pick the shelf — that decision sets your realistic weight limit and everything else follows from it. For placement room by room see fifteen corner shelf ideas, for the full cut-and-mount walkthrough see the DIY corner shelf build, and if you are working a straight wall instead, floating shelf ideas covers the same ground. Save the pin for the hardware aisle.
Want more like this? Browse all 15 corner shelf ideas guides — they all use the same measurements and budget tiers.
Pin it for later
Save this to your Corner Shelf Ideas board
Pin it now so it is waiting for you when the tape measure comes out — and so the next person hunting for this idea can find it too.
Save this pinKeep going
More ideas worth saving while you have the tape measure out.