Bedside Table Ideas · How-To
15 Steps To Nail Bedside Table Styling Ideas

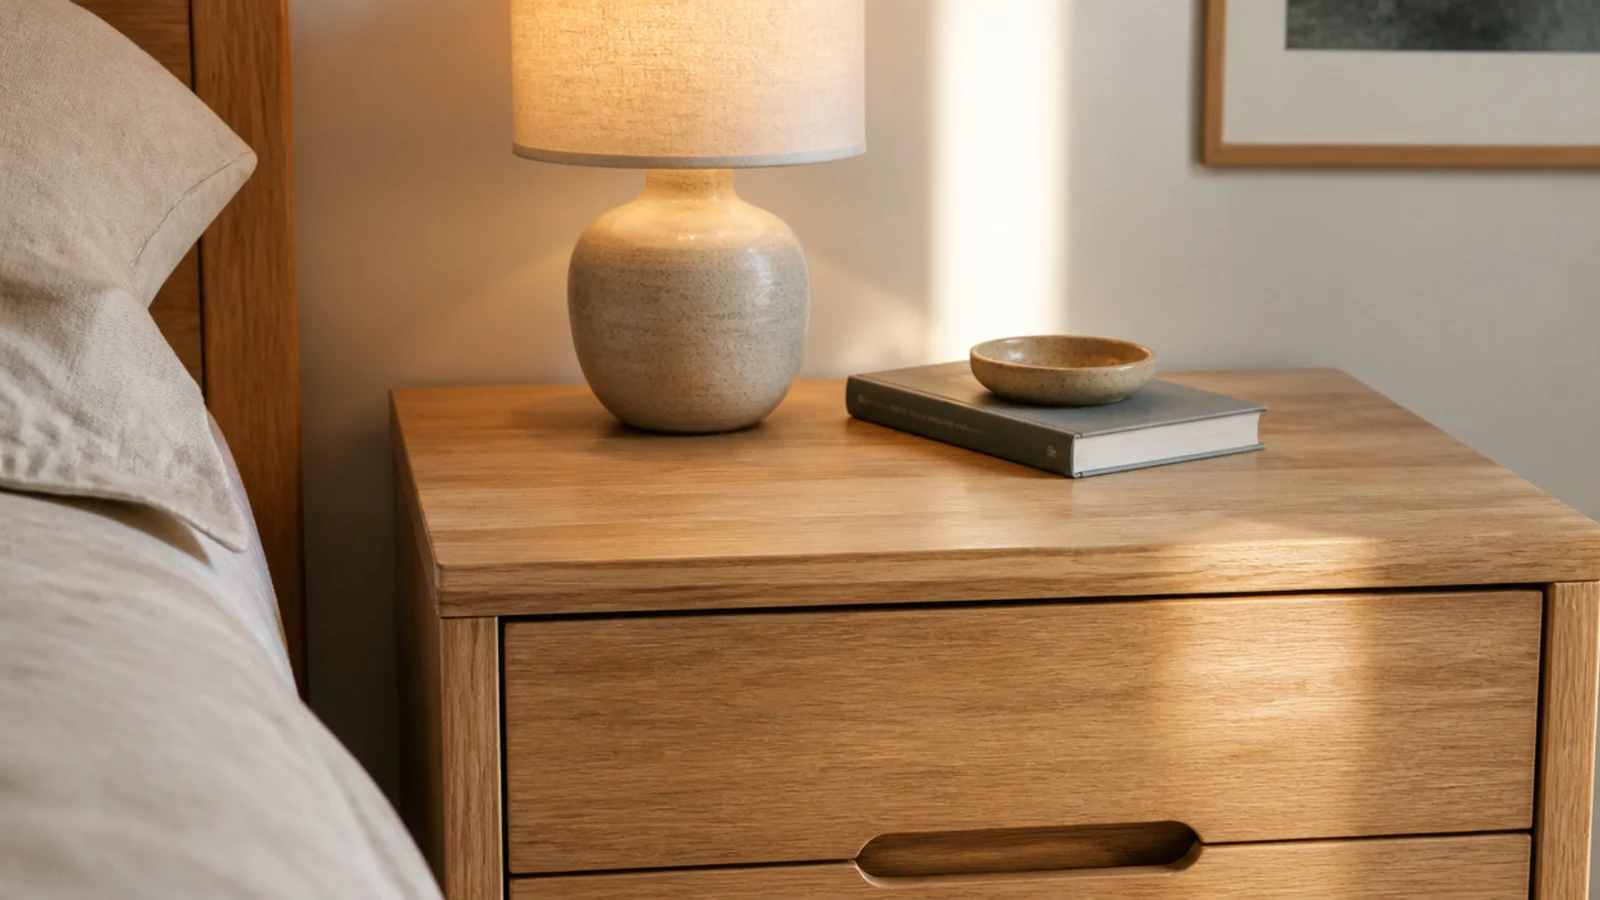
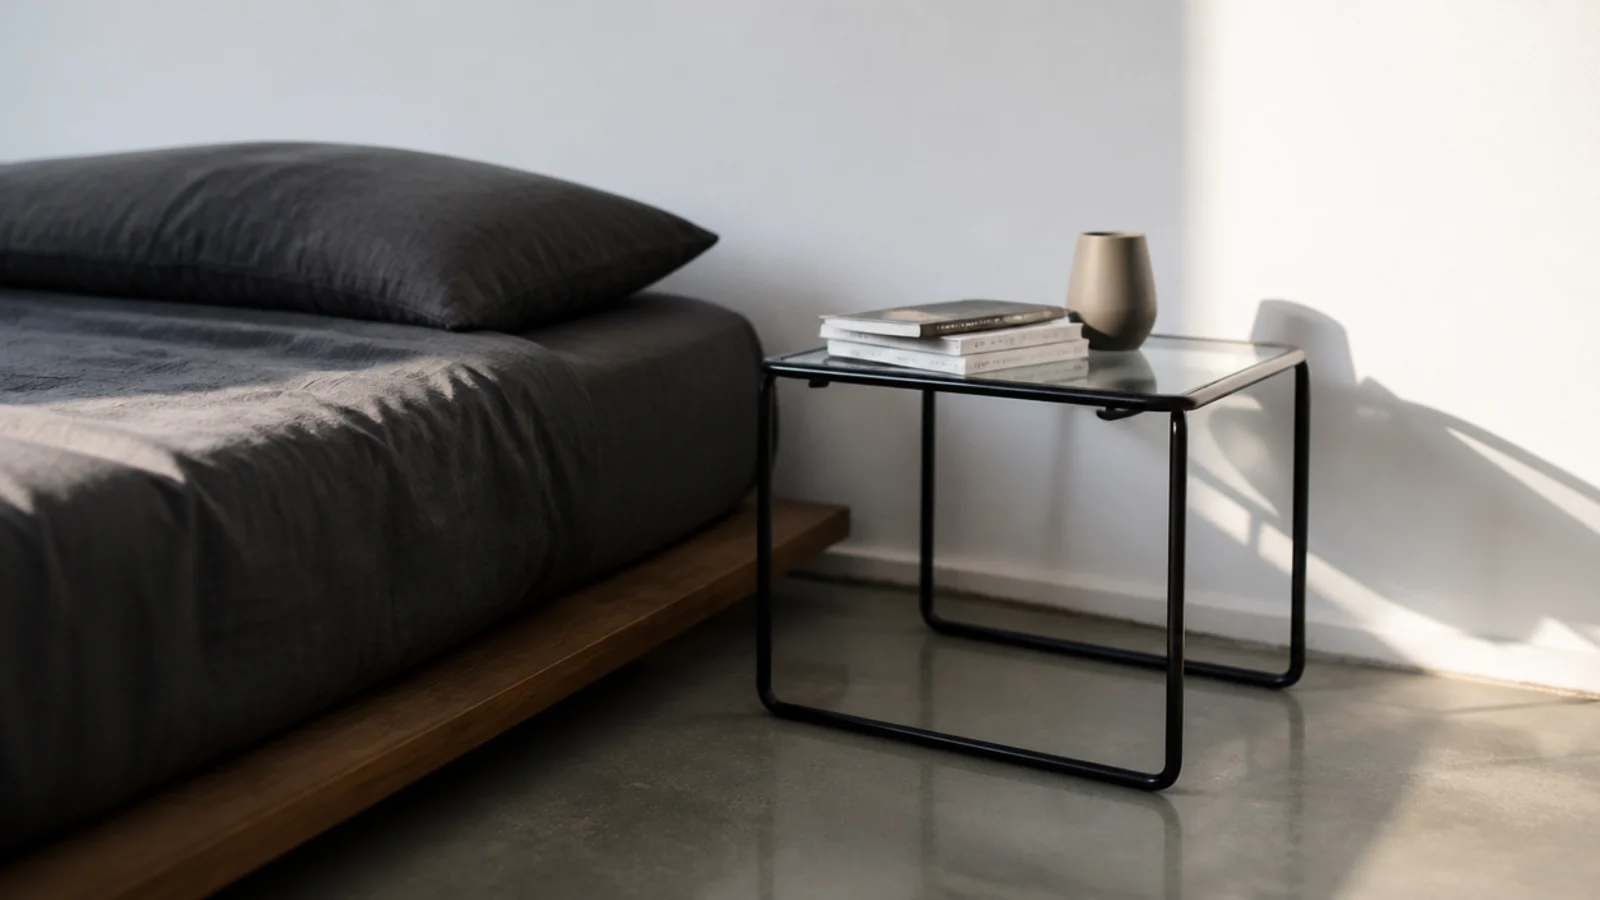
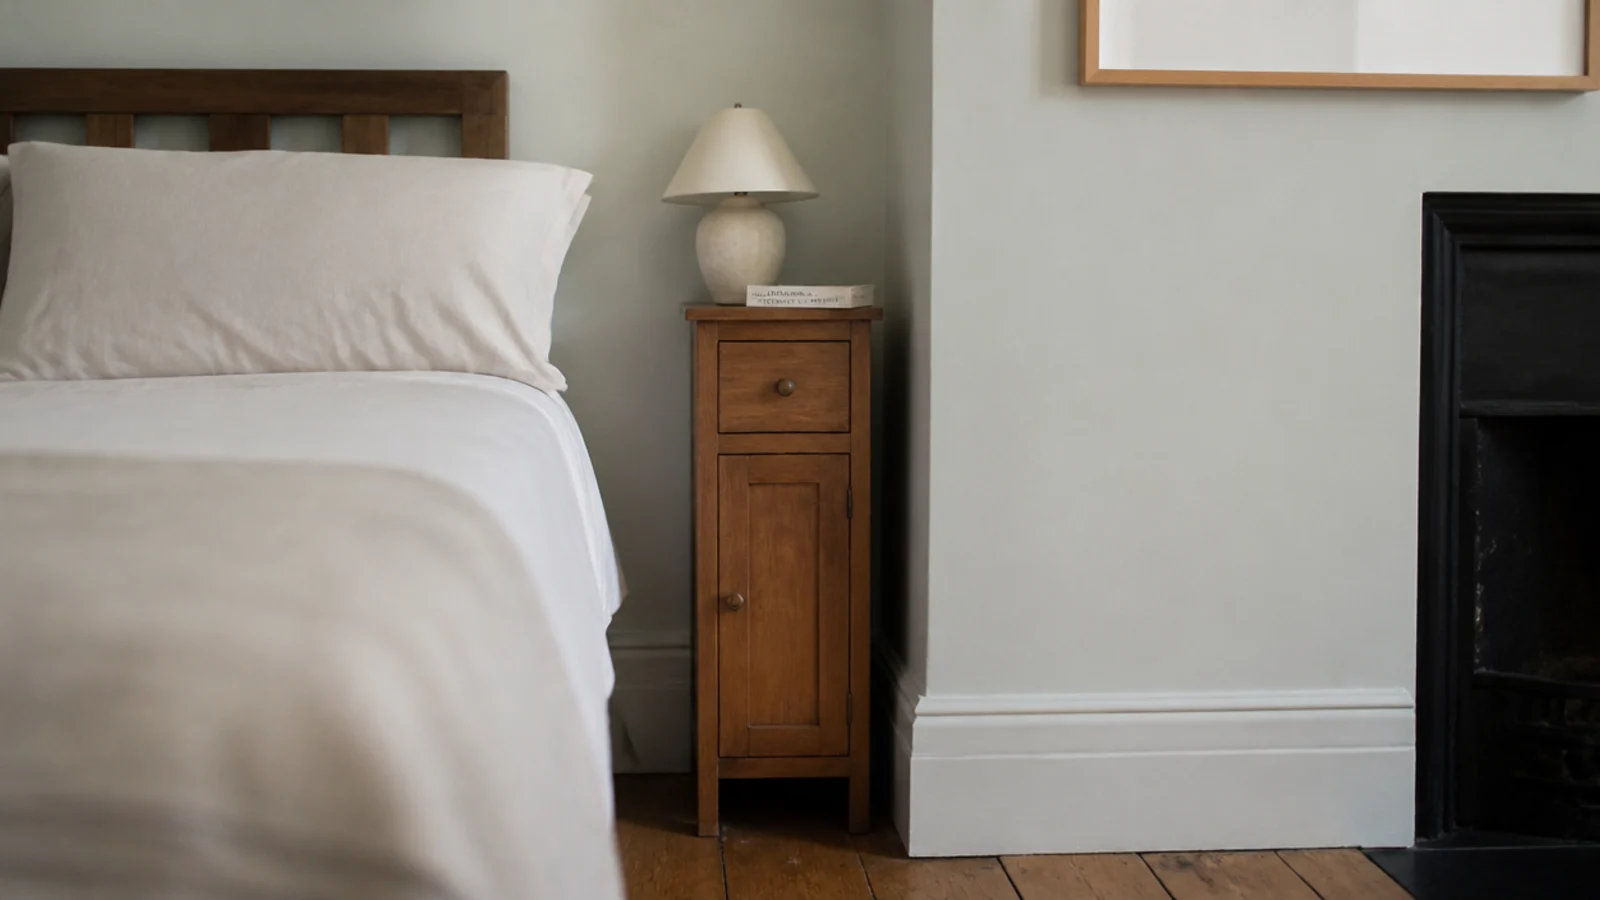
Most bedside tables are not badly styled so much as never styled at all — things simply accumulated there. Good bedside table styling ideas work as a sequence rather than a mood board, because the order you place objects in decides how much room is left for the ones that actually matter. This is the fifteen-step process I use on a client bedroom and on my own, and it takes about half an hour with nothing bought. Two of the steps are checks rather than actions, and they are the two that catch most of the errors.
In this guide18 sections — tap to openHide
- 1.What You'll Need for These Bedside Table Styling Ideas
- 2.Step 1: Clear the top completely and wipe it down
- 3.Step 2: Sort what came off into daily, weekly and never
- 4.Step 3: Measure the usable surface in square inches
- 5.Step 4: Place the lamp before anything else
- 6.Step 5: Reserve a landing zone the size of your hand
- 7.Step 6: Set the tallest object diagonally opposite
- 8.Step 7: Lay something flat to break the verticals
- 9.Step 8: Add exactly one soft or living element
- 10.Step 9: Give the small things a container with sides
- 11.Step 10: Solve the cable before you add another object
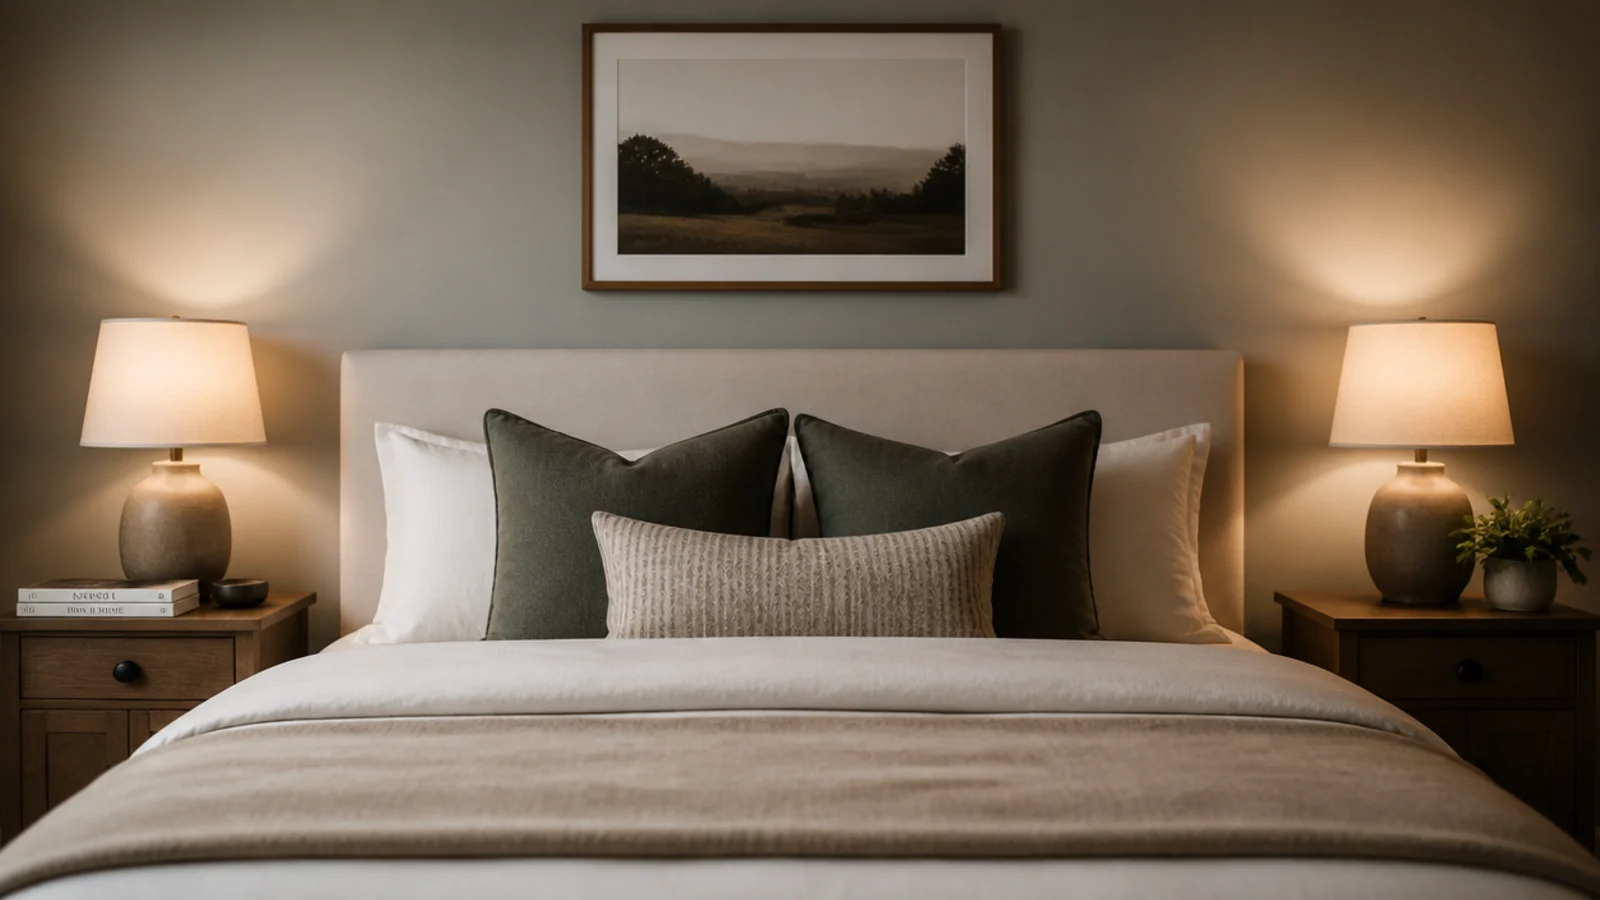
- 12.Step 11: Balance the second table without matching it
- 13.Step 12: Check the arrangement from the doorway
- 14.Step 13: Check it again lying down with the lamp on
- 15.Step 14: Take one object away
- 16.Step 15: Set a two-minute weekly reset
- 17.Pro Styling Rules
- 18.Mistakes to Skip
What You'll Need for These Bedside Table Styling Ideas
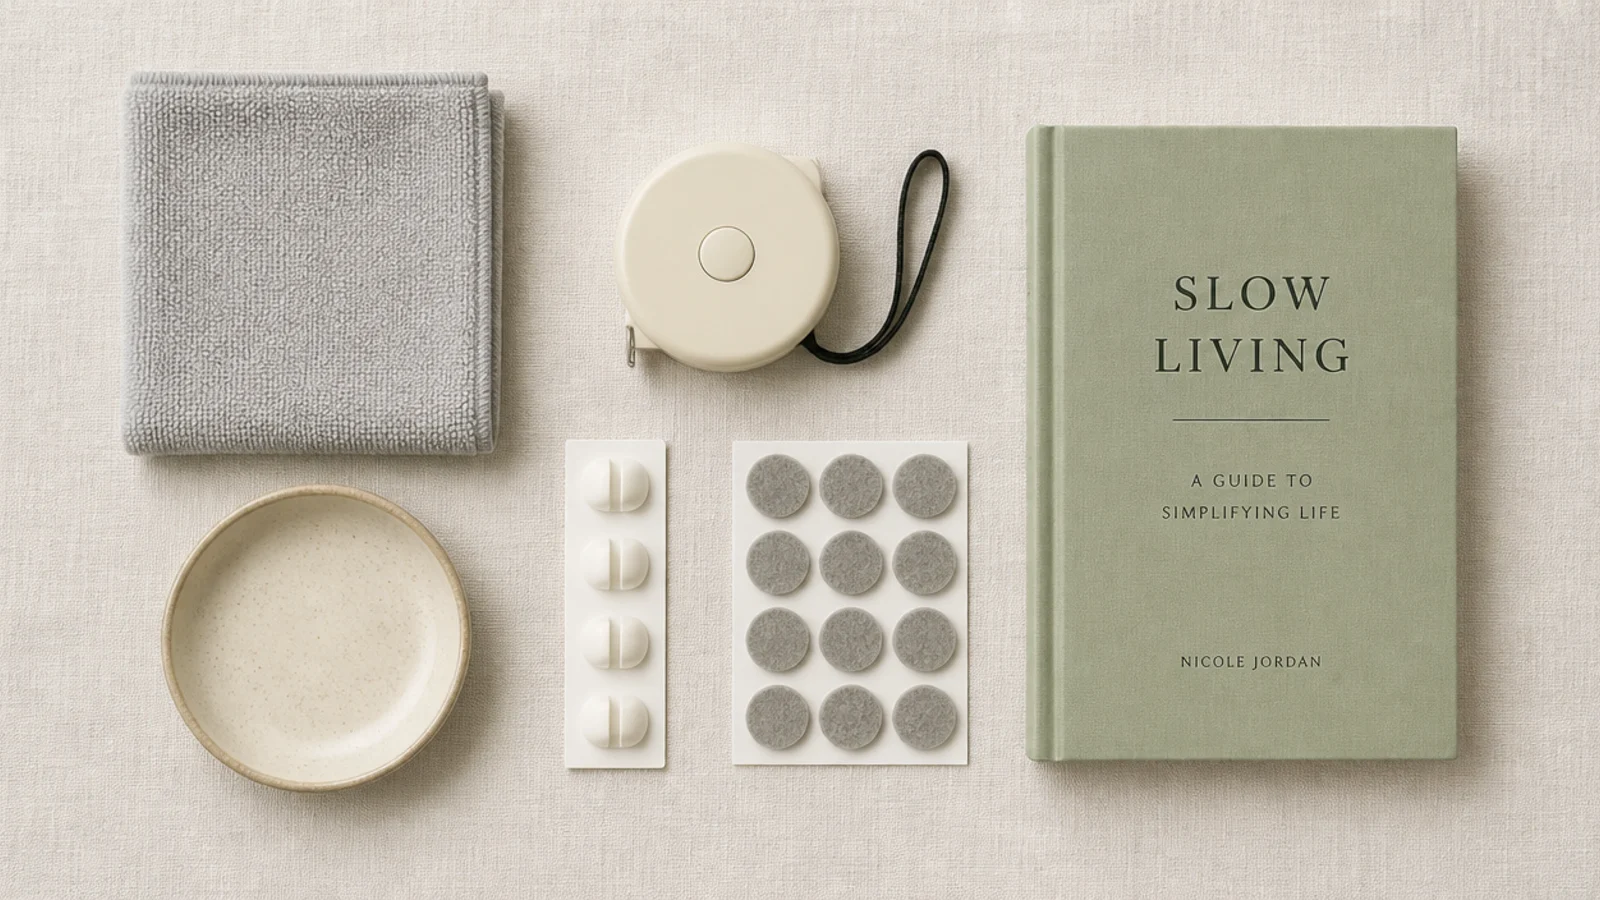
Almost nothing, and most of it is already in the house.
- A tape measure. You are working to square inches, and guessing is what leads to a lamp that eats half the top.
- A microfibre cloth. The surface gets wiped once, properly, before anything goes back on it.
- A small dish or tray with raised sides, eight to ten inches across. Sides, not a flat board — a lip is what stops loose objects migrating.
- One lamp, ideally with a base under six inches across and a shade that hides the bulb from pillow height.
- One book you are genuinely reading, in hardback if you have the choice, because it lies flat and holds a horizontal line.
- One soft or living element — a low-light plant, a dried stem, a folded cloth.
- Three adhesive cable clips or a small cable weight, two to six dollars.
- Felt pads for anything with a hard base, so nothing scratches or clicks at night.
- Your phone camera. A photograph flattens a scene and shows you what your eye is smoothing over.
Budget for the whole exercise is zero to about thirty dollars, and the dish is usually the only purchase. If the surface underneath is the actual problem, the table choices come first.
Step 1: Clear the top completely and wipe it down
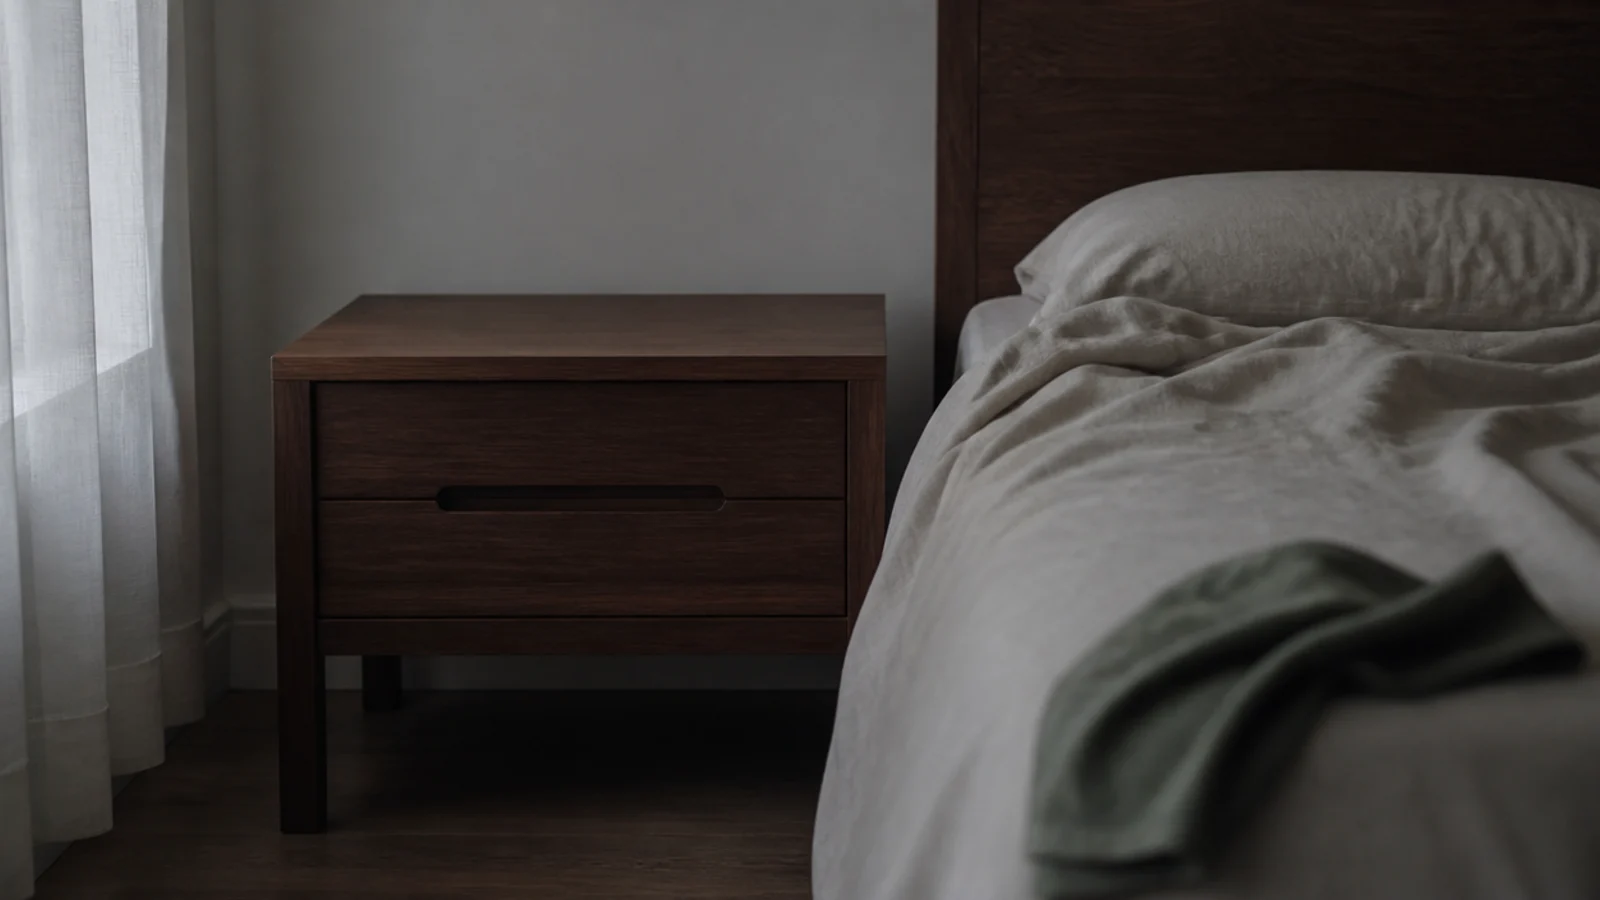
Take everything off, including the lamp, and put it on the floor. Wipe the surface, then look at the empty table for a moment. Half of what was on it will not go back, and the fastest way to see that is to make each object argue its way back onto a clean surface rather than editing around things that are already there. This step takes four minutes and does most of the work.
Step 2: Sort what came off into daily, weekly and never
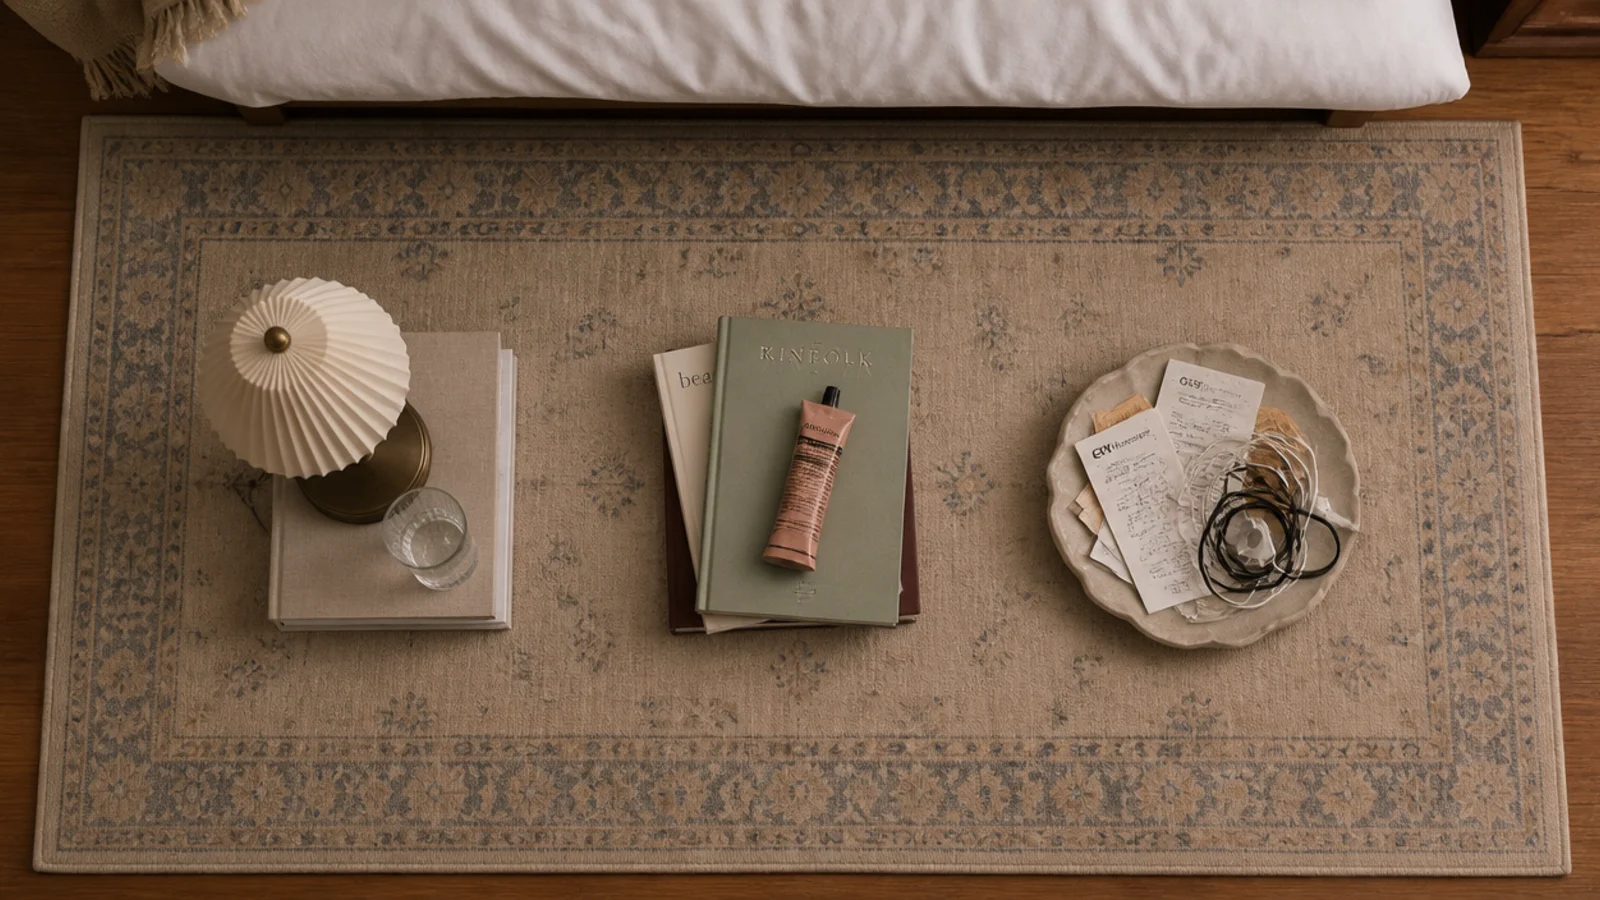
Three piles on the floor. Daily is the glass, the phone, the book, the lamp, the glasses. Weekly is hand cream, a spare charger, medication. Never is everything else — old receipts, a second phone cable, a candle you have not lit since last winter. Daily goes on the table, weekly goes in the drawer or basket, and never leaves the room entirely rather than moving to another surface.
Step 3: Measure the usable surface in square inches
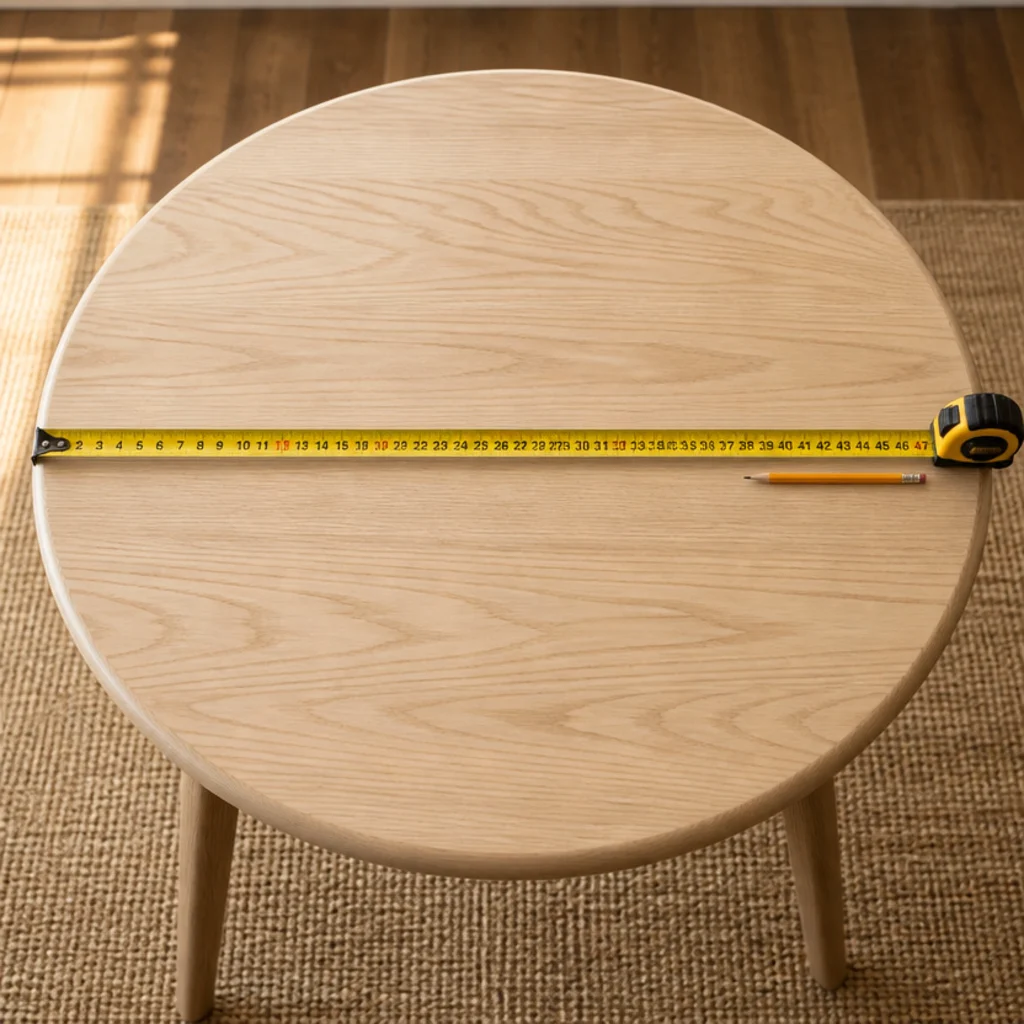
A 16-inch round top gives roughly 200 square inches. An 18-inch square gives 324. A 10-inch shelf 24 inches long gives 240 but in a shape that behaves differently. Now subtract: a lamp base takes 30 to 50, a book 40, a dish 60, a glass 12. Aim to leave about thirty percent of the surface visibly empty, and you will find that number caps you at four or five objects.
Step 4: Place the lamp before anything else
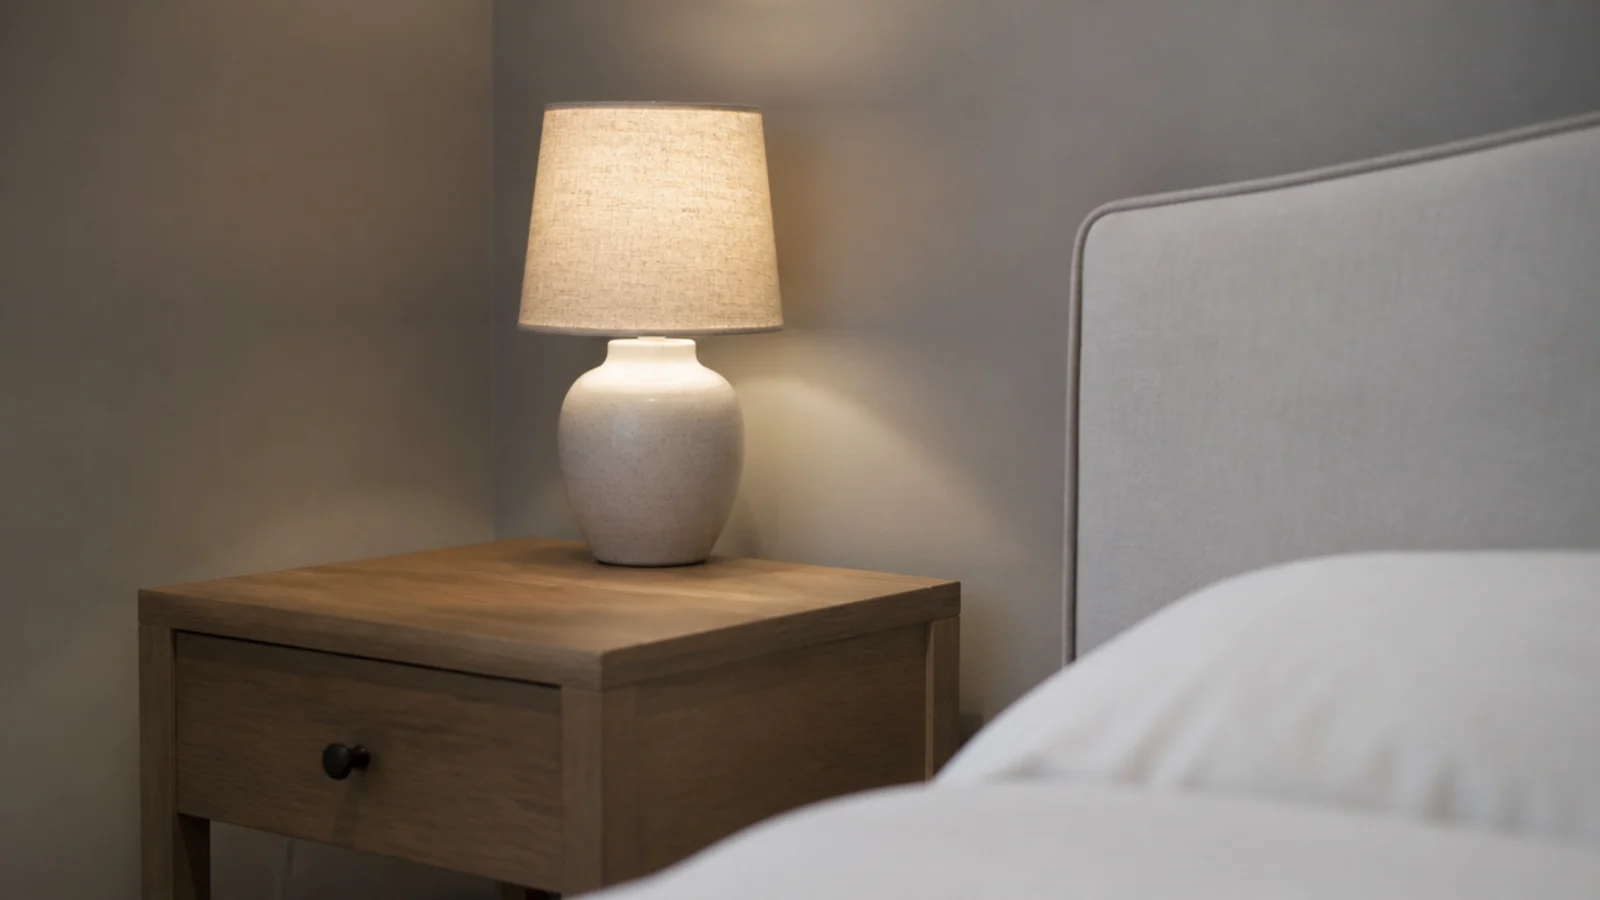
The lamp is the largest object, the only one with a cable and the only one whose position is dictated by function. It goes at the back corner on the side furthest from where you get out of bed, so the flex runs down the far leg and your sleeve never catches the shade. Set the bottom edge of the shade roughly at eye level when you are sitting up — usually 24 to 26 inches above the mattress.
Step 5: Reserve a landing zone the size of your hand
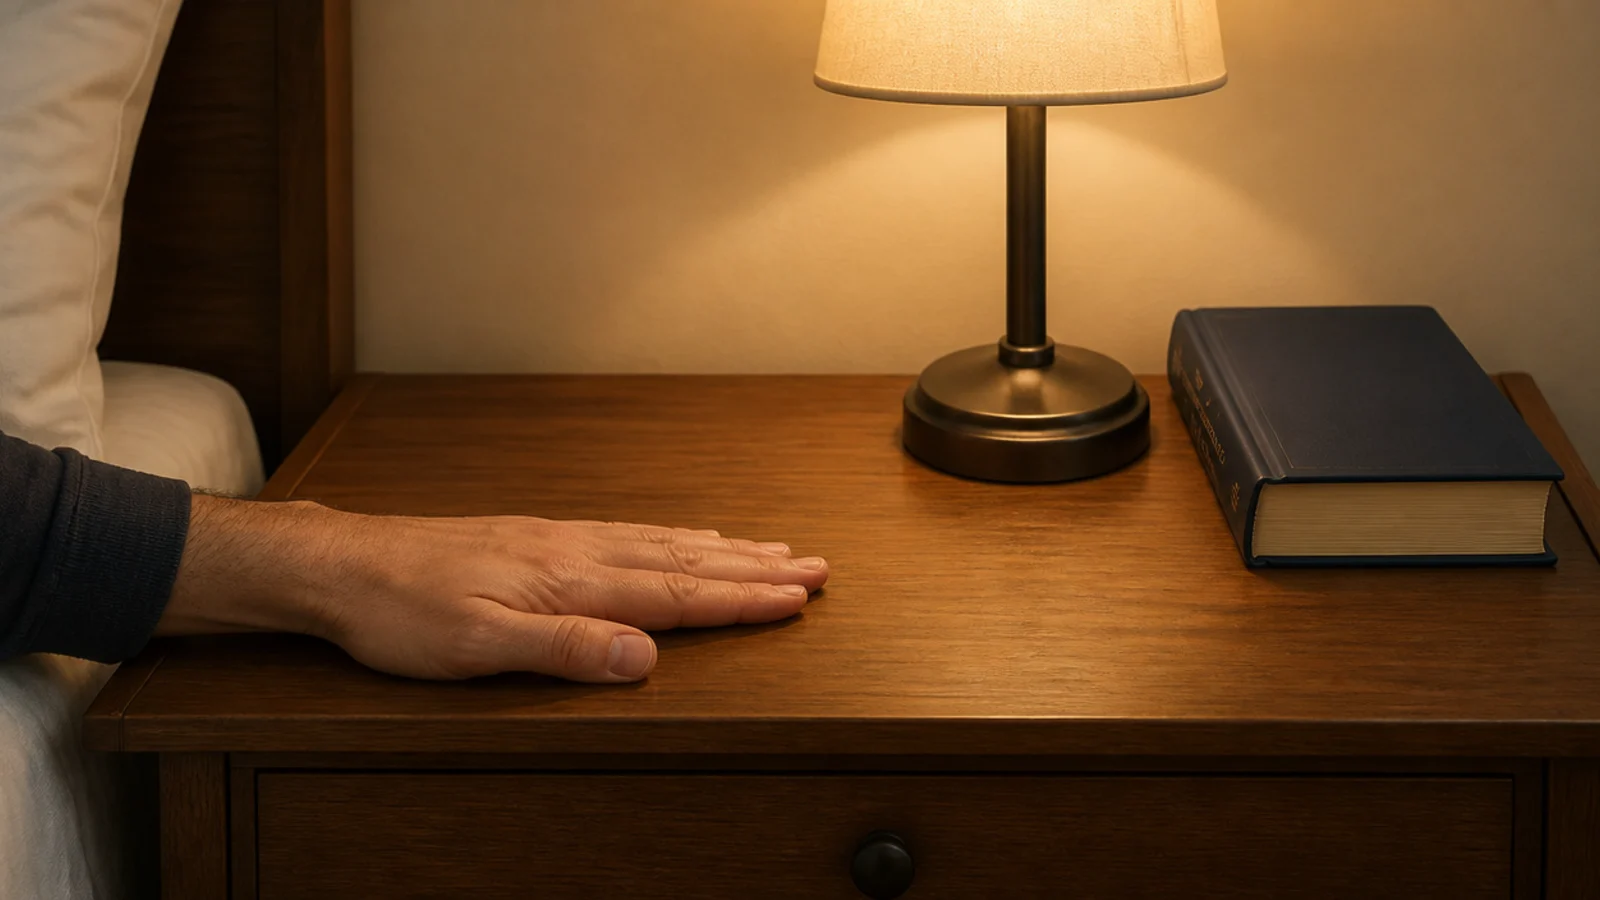
Put your open hand flat on the front of the table, nearest the pillow. That rectangle, about four by seven inches, is where the glass, the phone and your glasses land every night, and it stays empty permanently. Every styled bedside table that collapses within a week collapses because this zone was filled with something decorative and the real objects had nowhere to go.
Step 6: Set the tallest object diagonally opposite
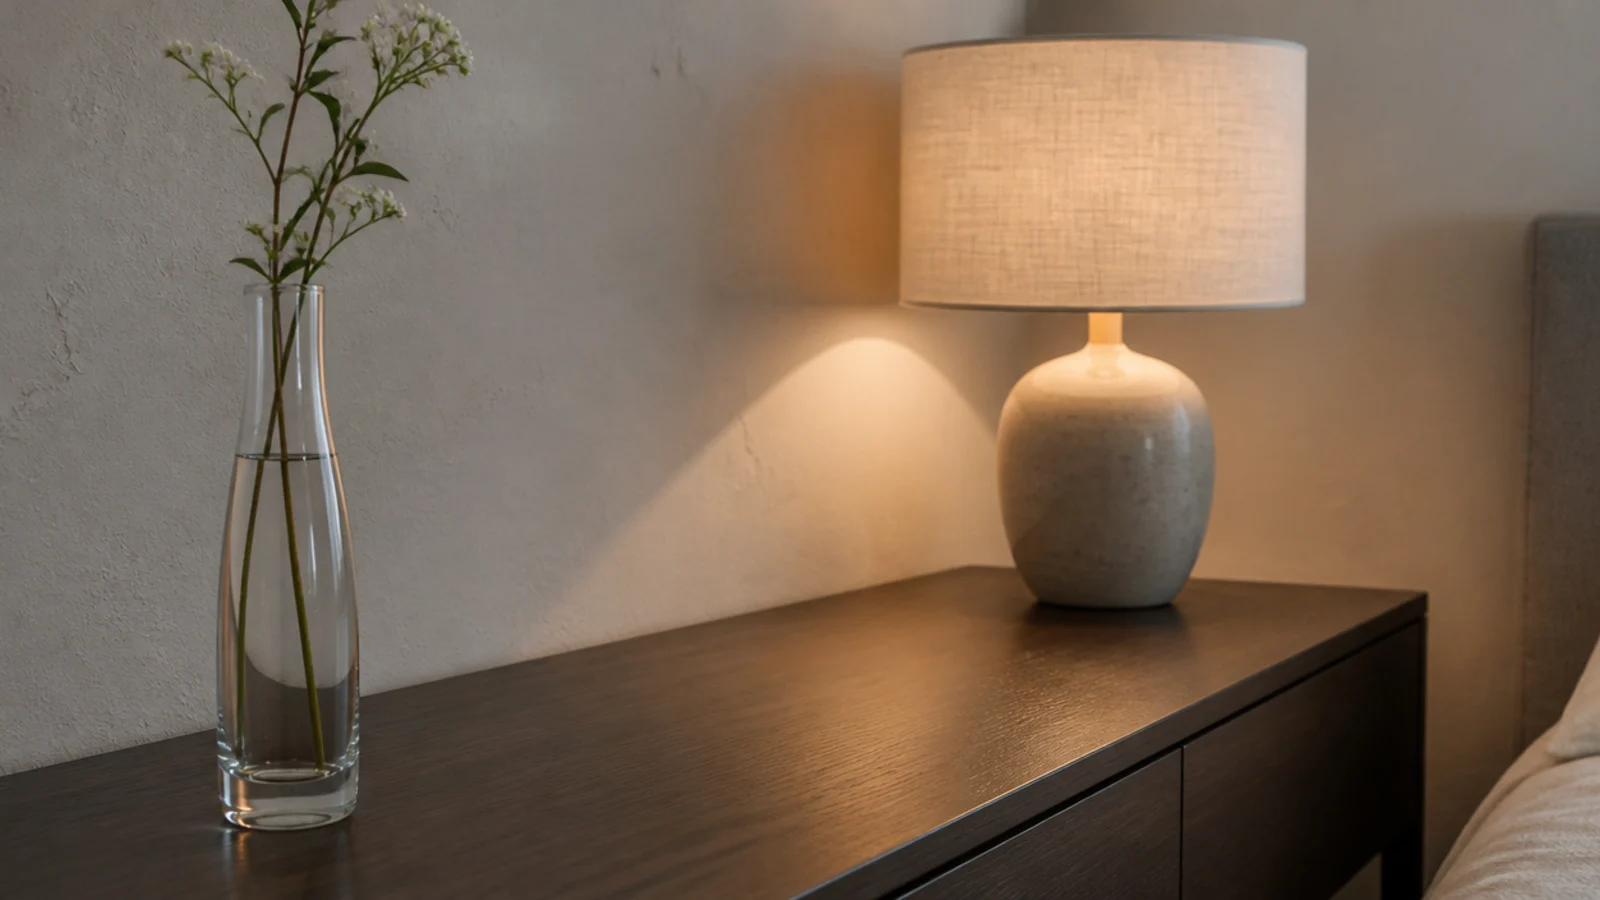
With the lamp at one back corner, put your next tallest piece — a stem vase, a candlestick, a stack of two books — toward the opposite front corner. The diagonal is what stops the group reading as a row lined up against the wall. Keep the second object no more than two-thirds the lamp height, or the two start competing rather than stepping down.
Step 7: Lay something flat to break the verticals
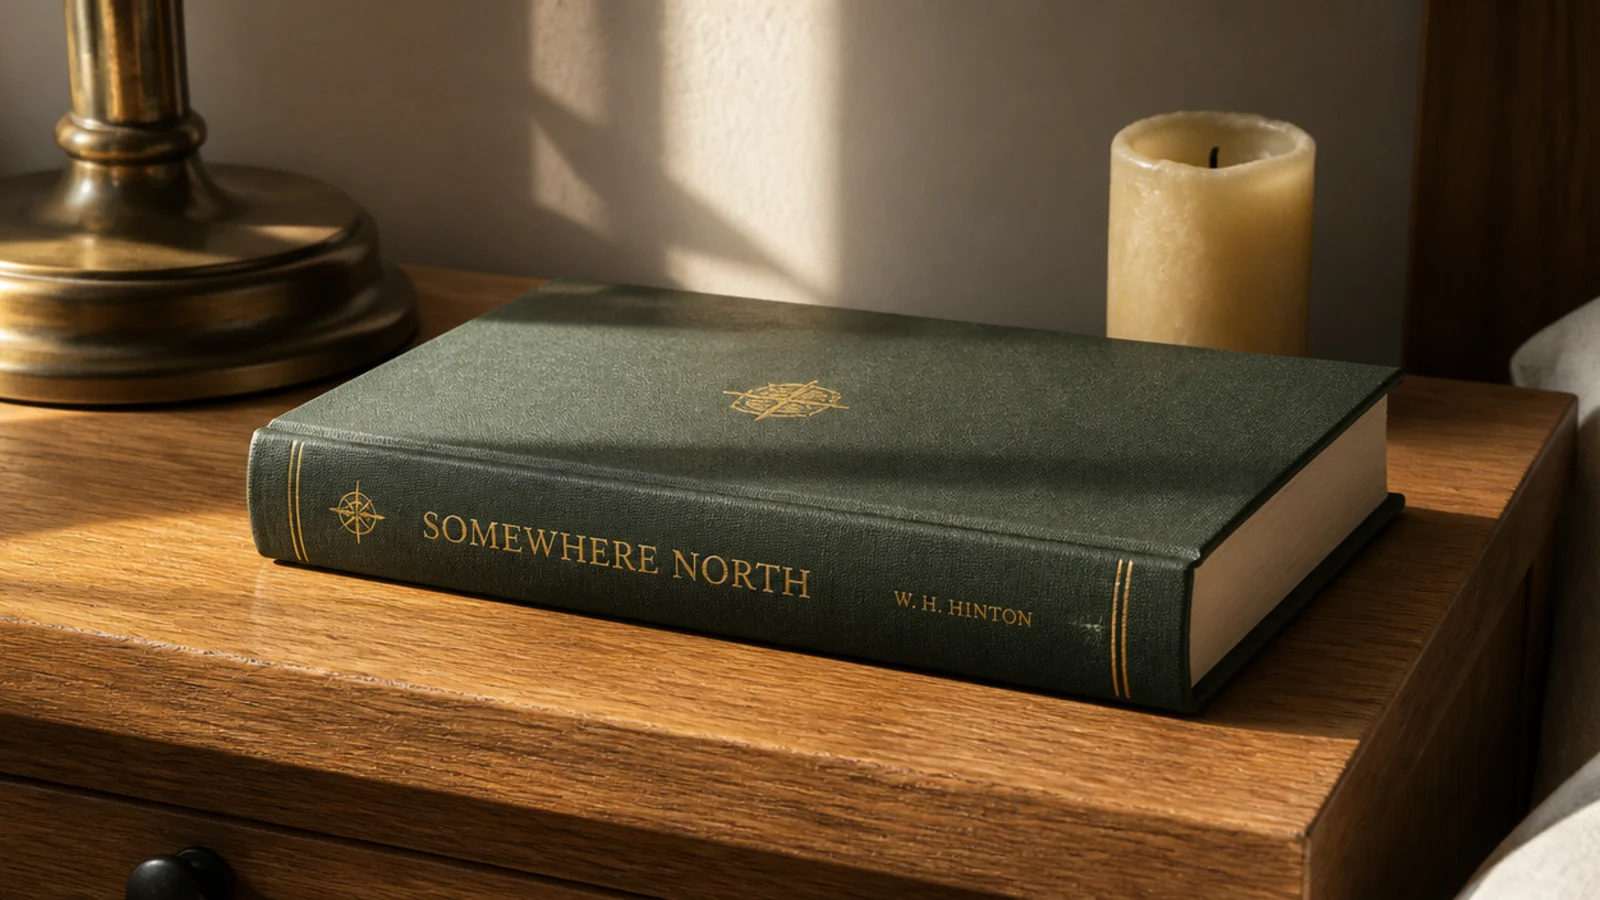
Two upright objects and nothing else looks like a shelf in a shop. One horizontal element — a hardback lying flat, a folded cloth, a shallow dish — gives the eye somewhere to rest between the verticals and visually holds the group to the table. A hardback is ideal because it is about an inch and a half thick, which is enough to register as a shape rather than a sheet.
Step 8: Add exactly one soft or living element
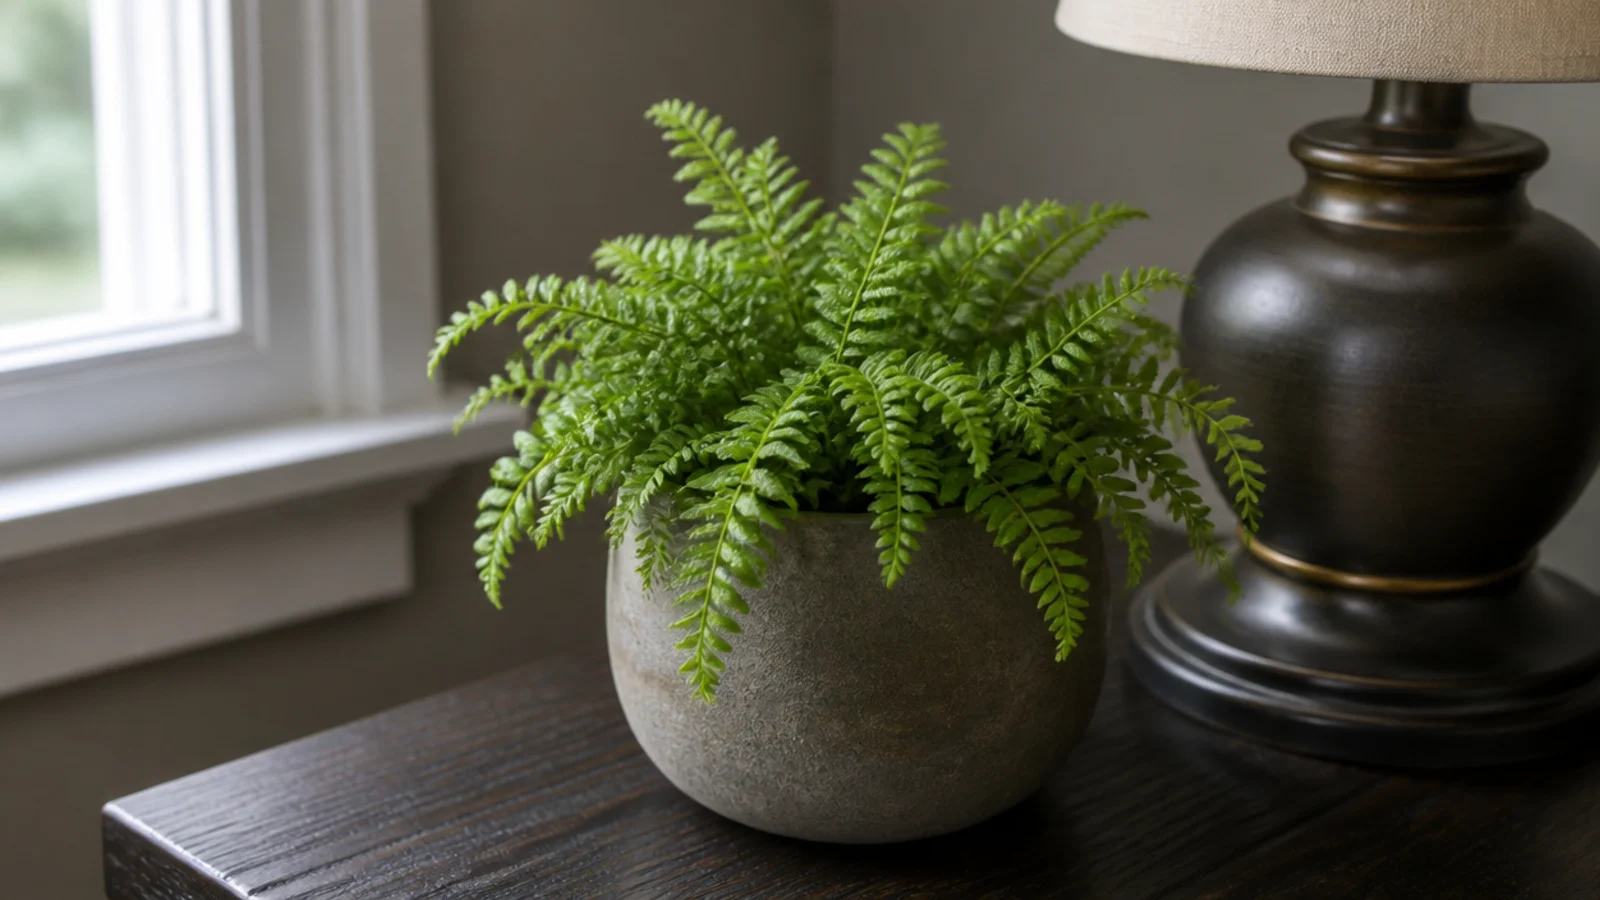
Everything so far is hard: ceramic, timber, paper, metal. One element with a different behaviour — a low-light plant, a dried grass stem, a small piece of folded linen — is what stops the arrangement feeling staged. One, not three. In a bedroom that faces north or has a single small window, choose a plant rated for low light, and accept that most flowering plants will not survive there.
Step 9: Give the small things a container with sides
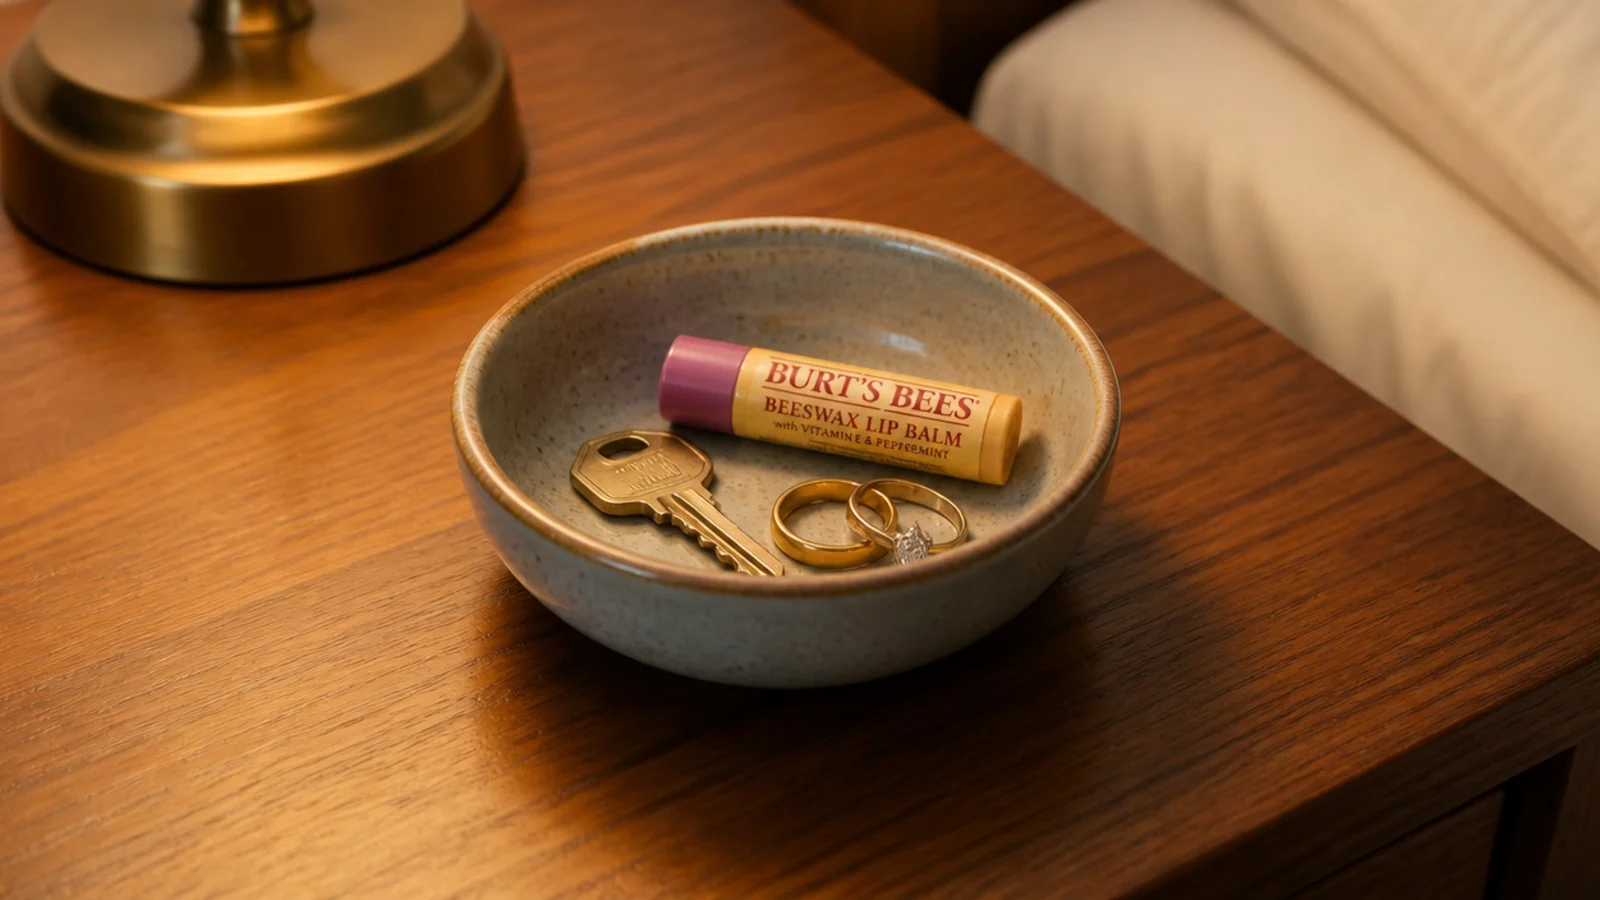
A dish with a raised edge, eight to ten inches across, absorbs rings, keys, earplugs, lip balm and hair ties without any of them touching the table. The sides matter more than the material: a flat board lets things creep outward until they are back on the surface. Put it on the side you sleep on, within the same reach as the landing zone.
Step 10: Solve the cable before you add another object
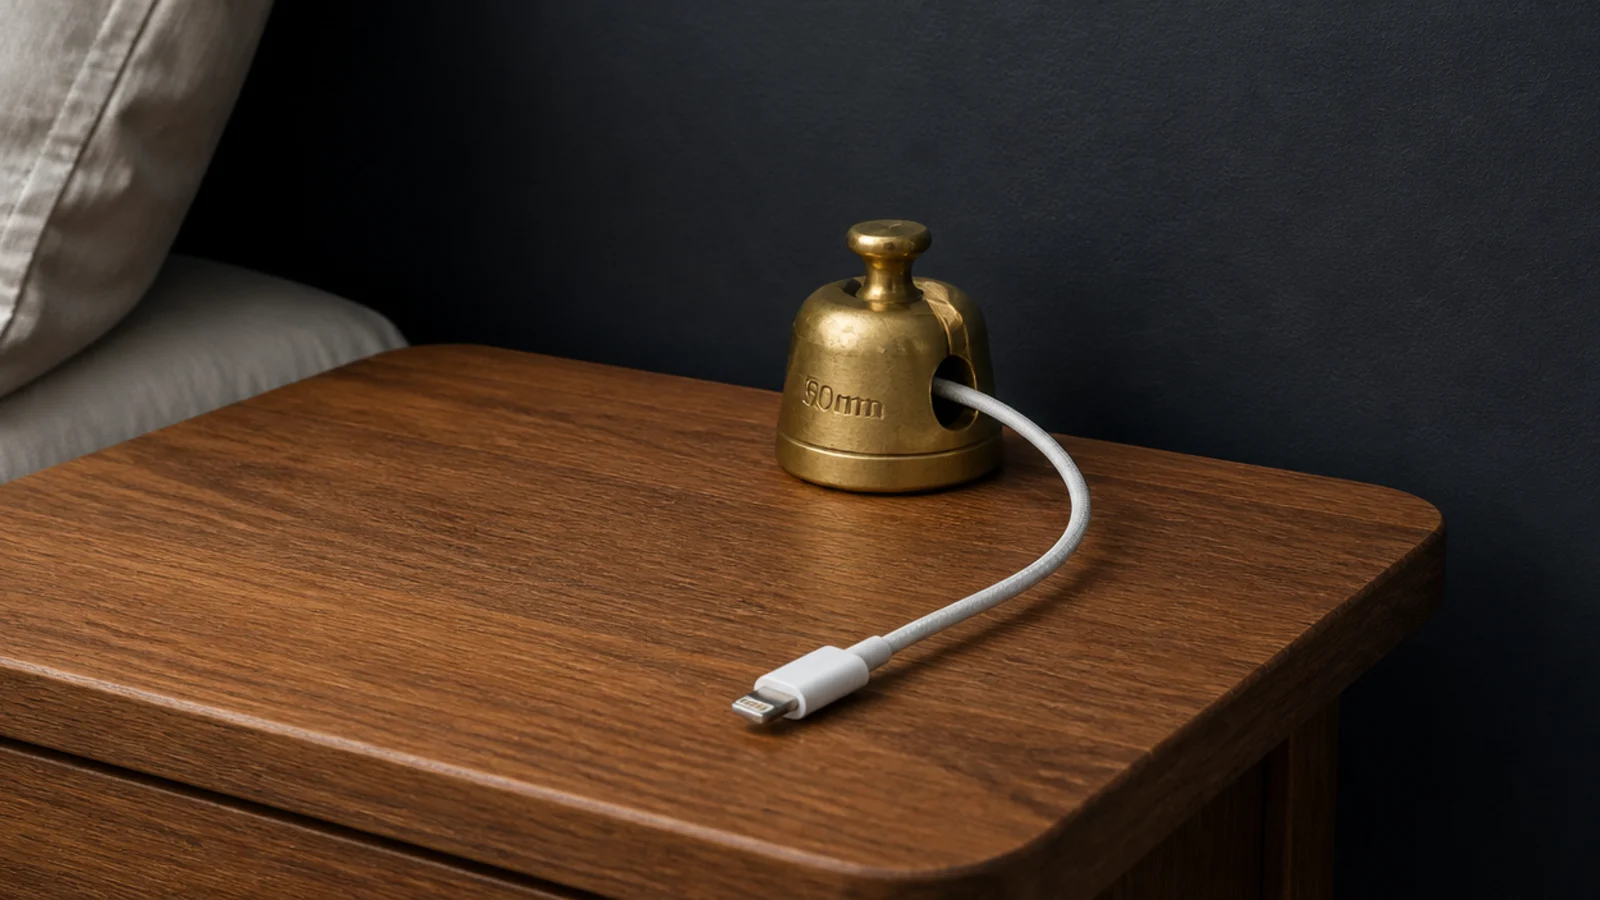
A visible cable undoes everything else. Three options, cheapest first: a small weighted cable holder at the back edge for two to eight dollars, adhesive clips down the rear leg for about four, or a socket relocated into a drawer if you are willing to do the work. Do not run the lead across the front of the table, and never leave the plug block sitting on the surface.
Step 11: Balance the second table without matching it
If there are two tables, style the second to the same visual weight rather than the same contents. Same lamp height, similar overall mass, one shared material — then different books and a different small object. Stand at the foot of the bed and squint: you are checking that neither side pulls the eye more than the other. The aesthetic principles go further into tone and repetition.
Step 12: Check the arrangement from the doorway
Walk to the door and look back. From ten feet you see silhouettes and gaps, not objects, and problems that are invisible up close become obvious: two items the same height, a lamp shade crooked by five degrees, a group crowded to one edge. Adjust from there, not from beside the bed. This is the check that separates a styled table from a tidy one.
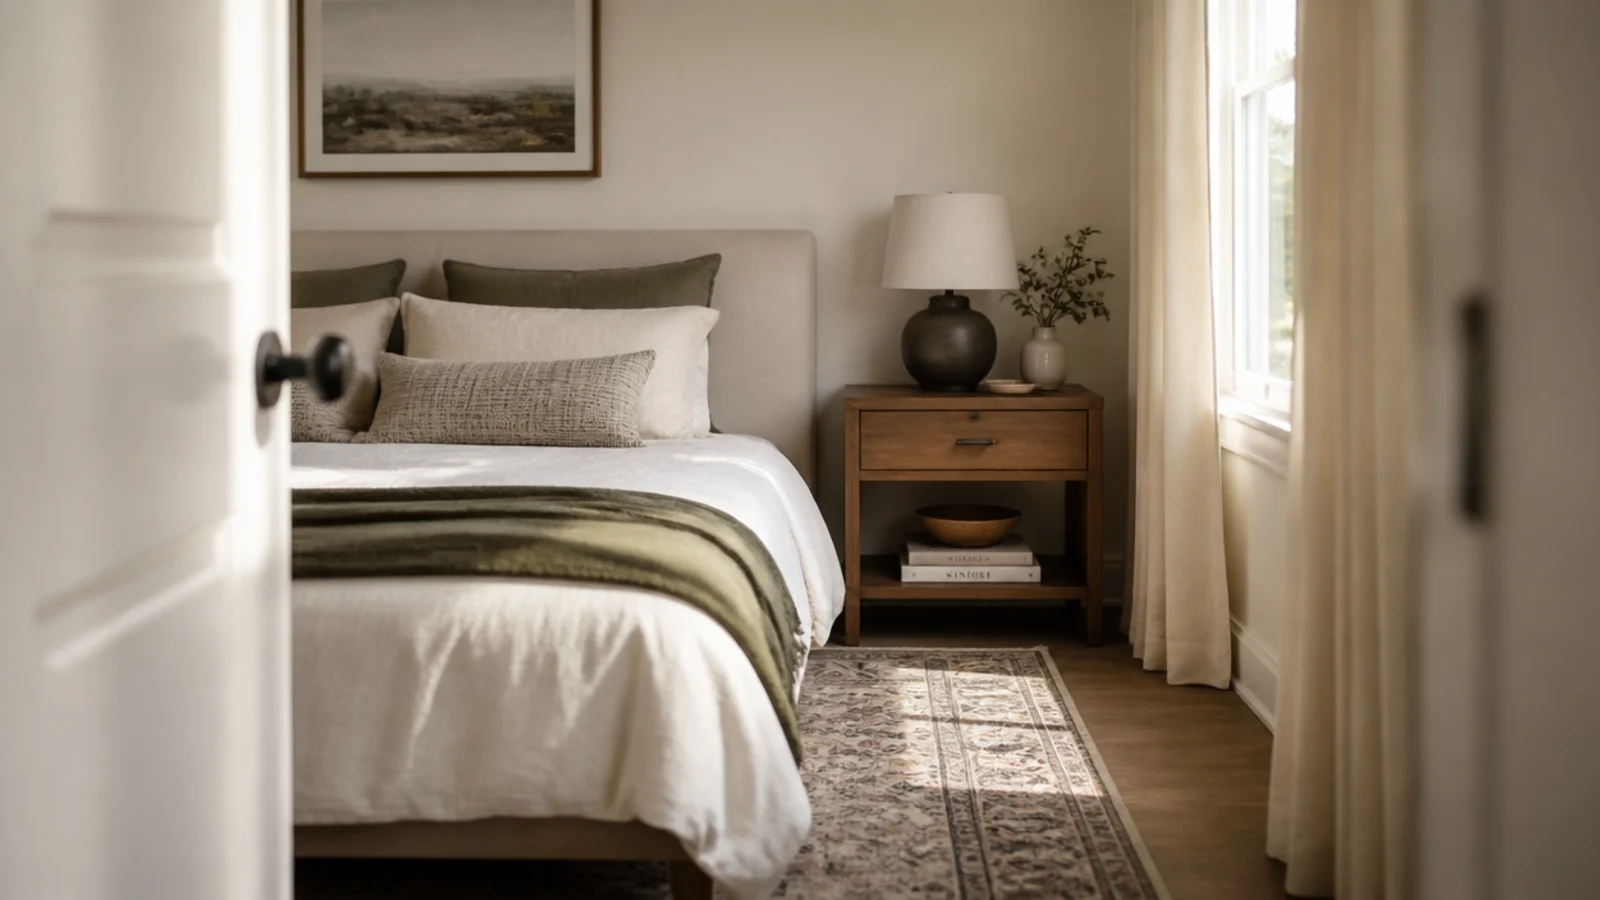
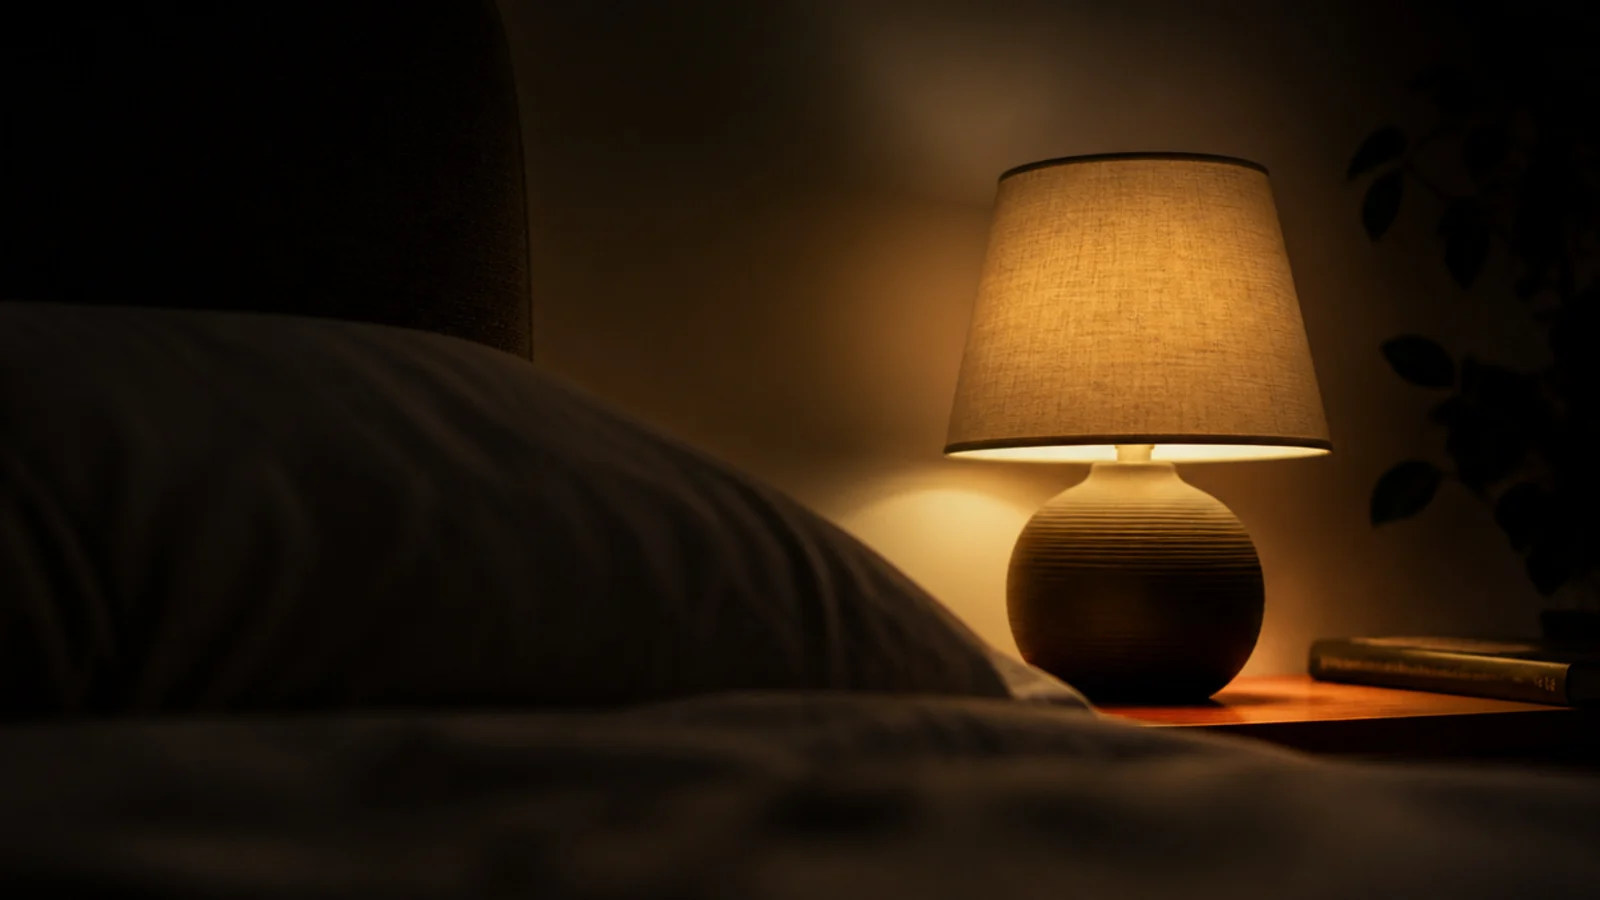
Step 13: Check it again lying down with the lamp on
Turn the lamp on, turn the room light off, and lie down. You should see a pool of light on the surface and no bare bulb. If the bulb is visible from pillow height the shade is too short or the base too tall, and no amount of styling fixes the glare. Check you can reach the glass without lifting your head, too.
Step 14: Take one object away
Once it looks finished, remove one thing and leave it removed for a day. In my experience the arrangement improves about four times out of five, because the impulse while styling is always to add. If you genuinely miss the object, put it back — but the version with one fewer piece is usually the one that still looks good in three weeks.
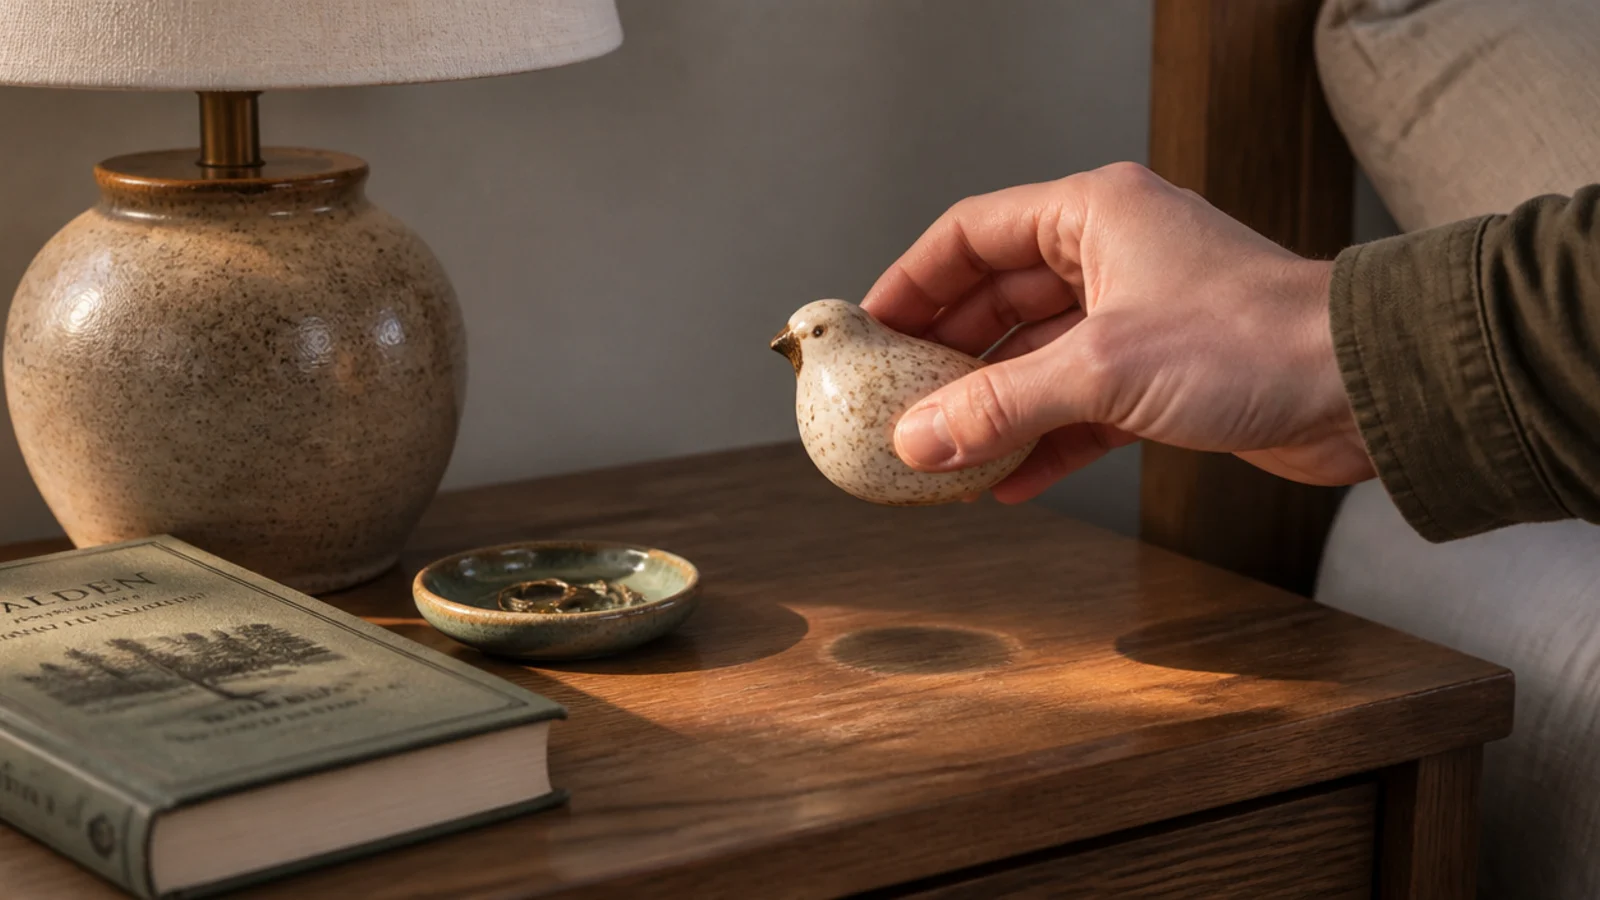
Step 15: Set a two-minute weekly reset
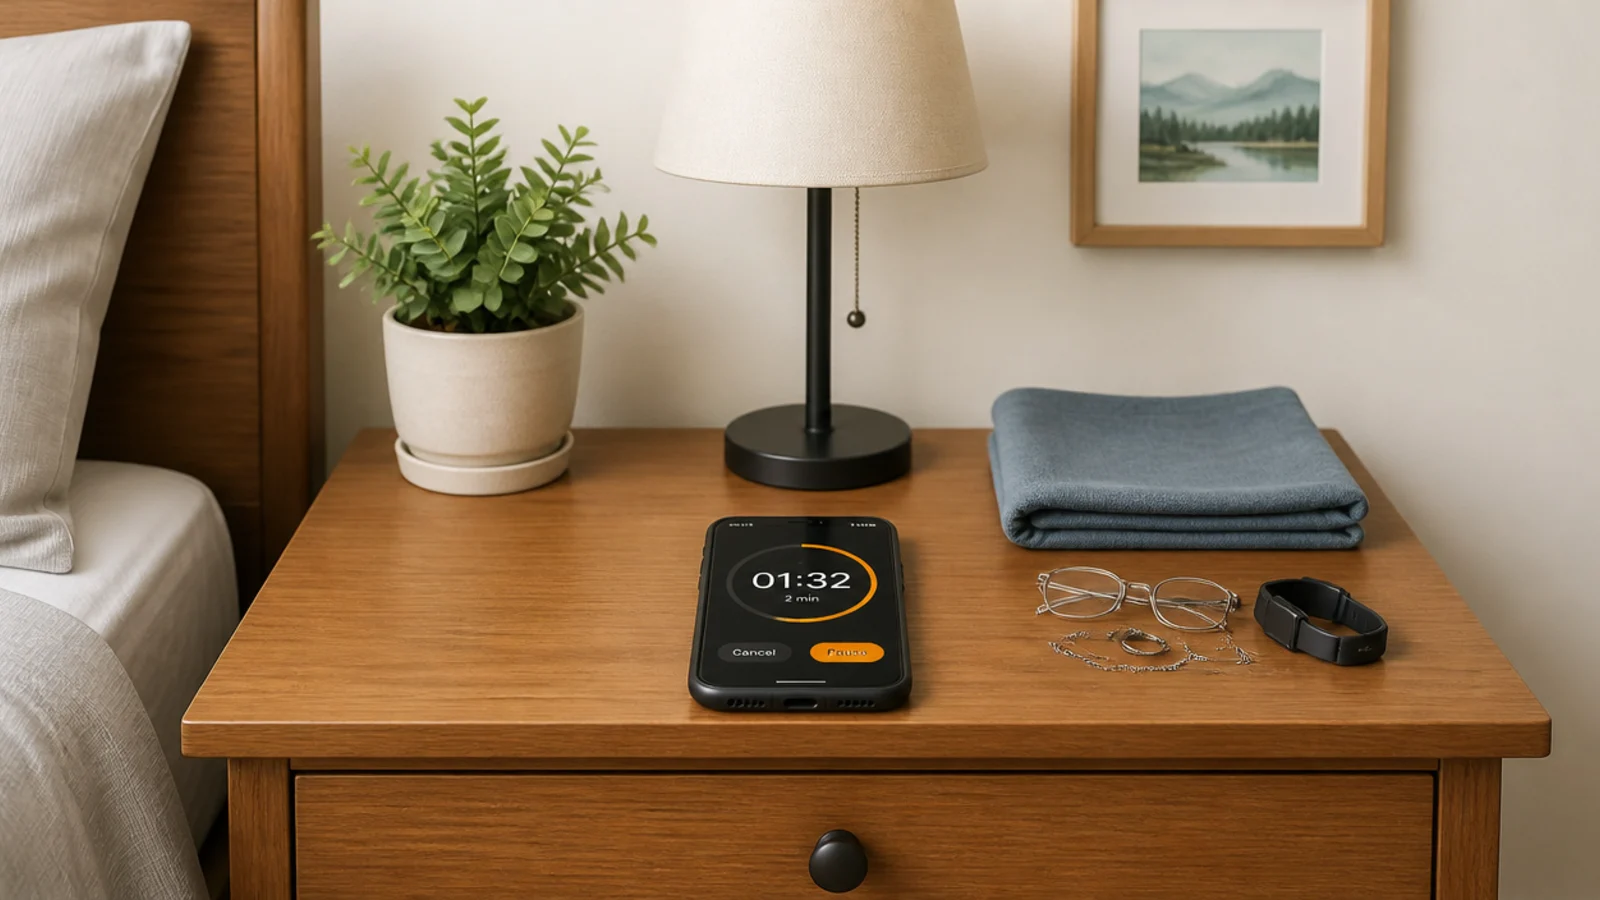
Pick a fixed moment — the morning you change the sheets works well — and spend two minutes returning the table to this state. Everything that arrived during the week goes back to its home or leaves. Without a reset, any styled surface drifts back to a pile inside a month, and the reset is far shorter than the restyle.
Pro Styling Rules
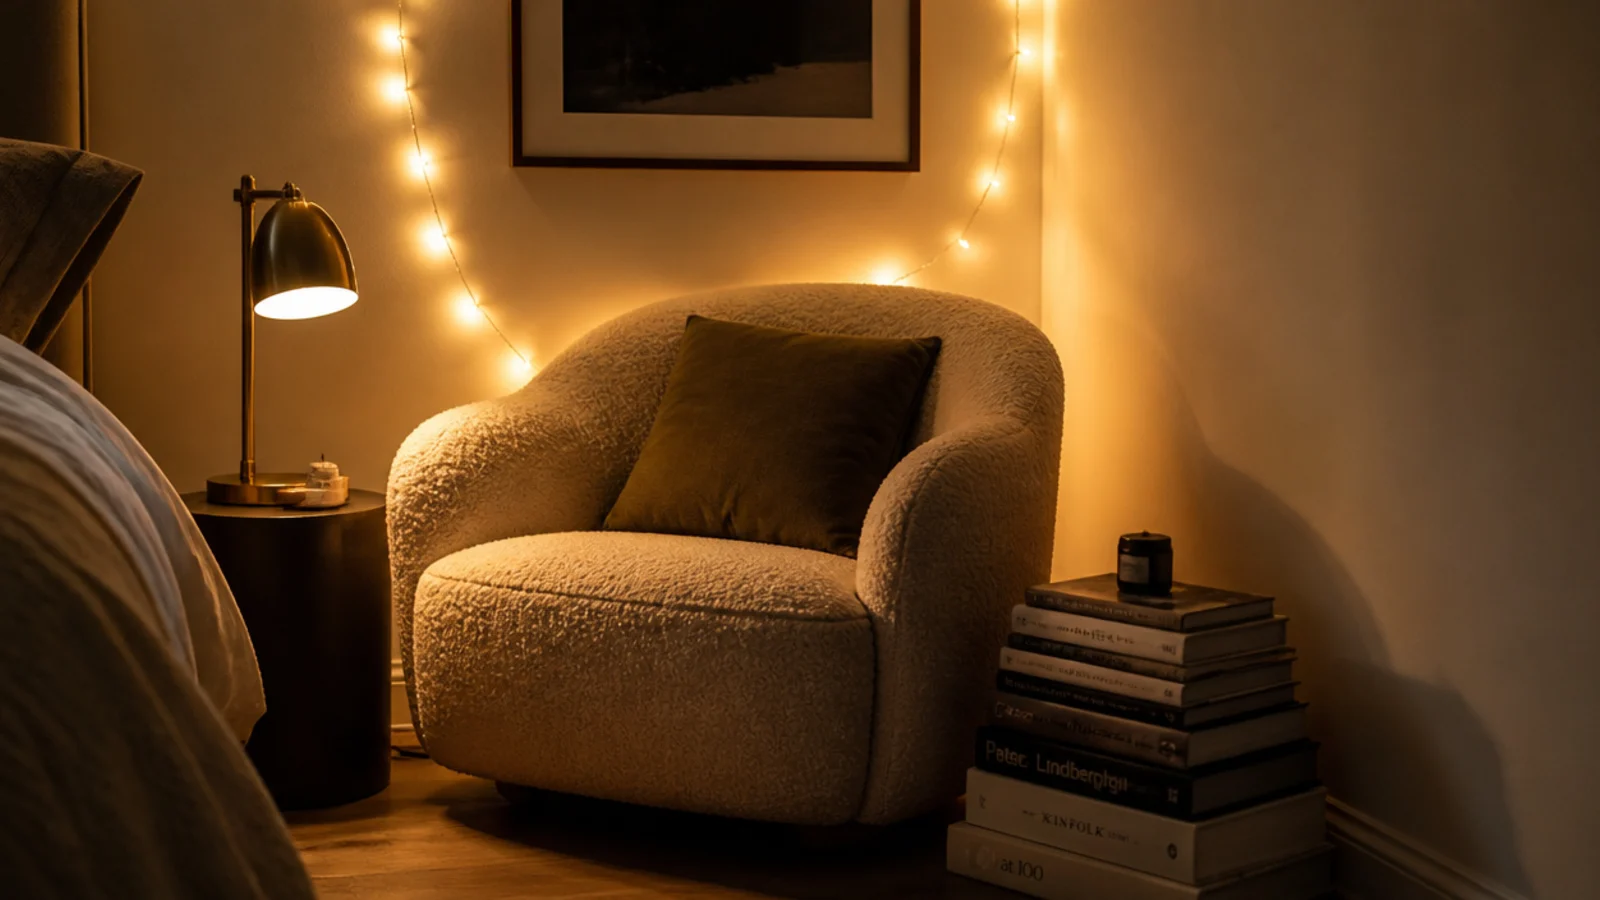
For decorating on a tight budget, the budget decor list covers what to buy secondhand. The same grouping logic scales up in this bookshelf styling guide, and if the light itself is the thing you want to soften, cozy fairy light layouts work well above a headboard.
Mistakes to Skip
- Styling around objects already on the table. If you never clear it completely, you are decorating a pile rather than composing a surface.
- Filling the landing zone. A candle in the spot where the glass goes means the glass ends up on the floor by the second night.
- Placing the lamp last. Everything else has to move once the lamp arrives, because it is the biggest object and its cable position is fixed.
- Judging the result only from beside the bed. Most of the time you see a bedside table from the doorway, at ten feet, in a wider view of the room.
- Adding a second plant, a second frame or a third candle. Each duplicate halves the impact of the first and doubles the dusting.
Frequently asked questions
How many things should be on a bedside table?
Three to five objects on a sixteen-inch top, and no more than about seventy percent of the surface covered. That leaves a genuine gap for the glass, the phone and the glasses you put down at night. Anything past five items reads as storage rather than styling, however carefully the pieces are chosen.
Where should the lamp go on a bedside table?
Back corner, on the side furthest from where you get in and out of the bed. That keeps the cable running down the far leg out of sight and stops your sleeve catching the shade every time you reach across. Set the bottom of the shade roughly level with your eyes when sitting up in bed.
Should both bedside tables be styled identically?
Match the structure, vary the objects. Same lamp height, same visual weight, same one repeated material on each side, but different books and different small pieces. Identical styling reads as a hotel, which is fine if that is the effect you want, and slightly lifeless if it is not.
How do I stop the bedside table getting cluttered again?
Give every object a fixed home and add a weekly reset that takes two minutes. Put a dish with sides on the surface so loose items land inside a boundary rather than spreading, and keep one drawer or basket half empty specifically to absorb whatever arrives during the week.
What should you not put on a bedside table?
Anything with a lid you never open, work papers, more than one framed photo, and any candle you will actually light near bedding. Charging bricks belong in a drawer or behind the leg. If a piece has sat untouched for a fortnight, it is stored on the table rather than styled on it.
Want more like this? Browse all 15 bedside table ideas guides — they all use the same measurements and budget tiers.

Pin it for later
Save this to your Bedside Table Ideas board
Pin it now so it is waiting for you when the tape measure comes out — and so the next person hunting for this idea can find it too.
Save this pinKeep going
More ideas worth saving while you have the tape measure out.