Wooden Flooring · Listicle
20 Gorgeous Wooden Flooring Design Ideas To Steal

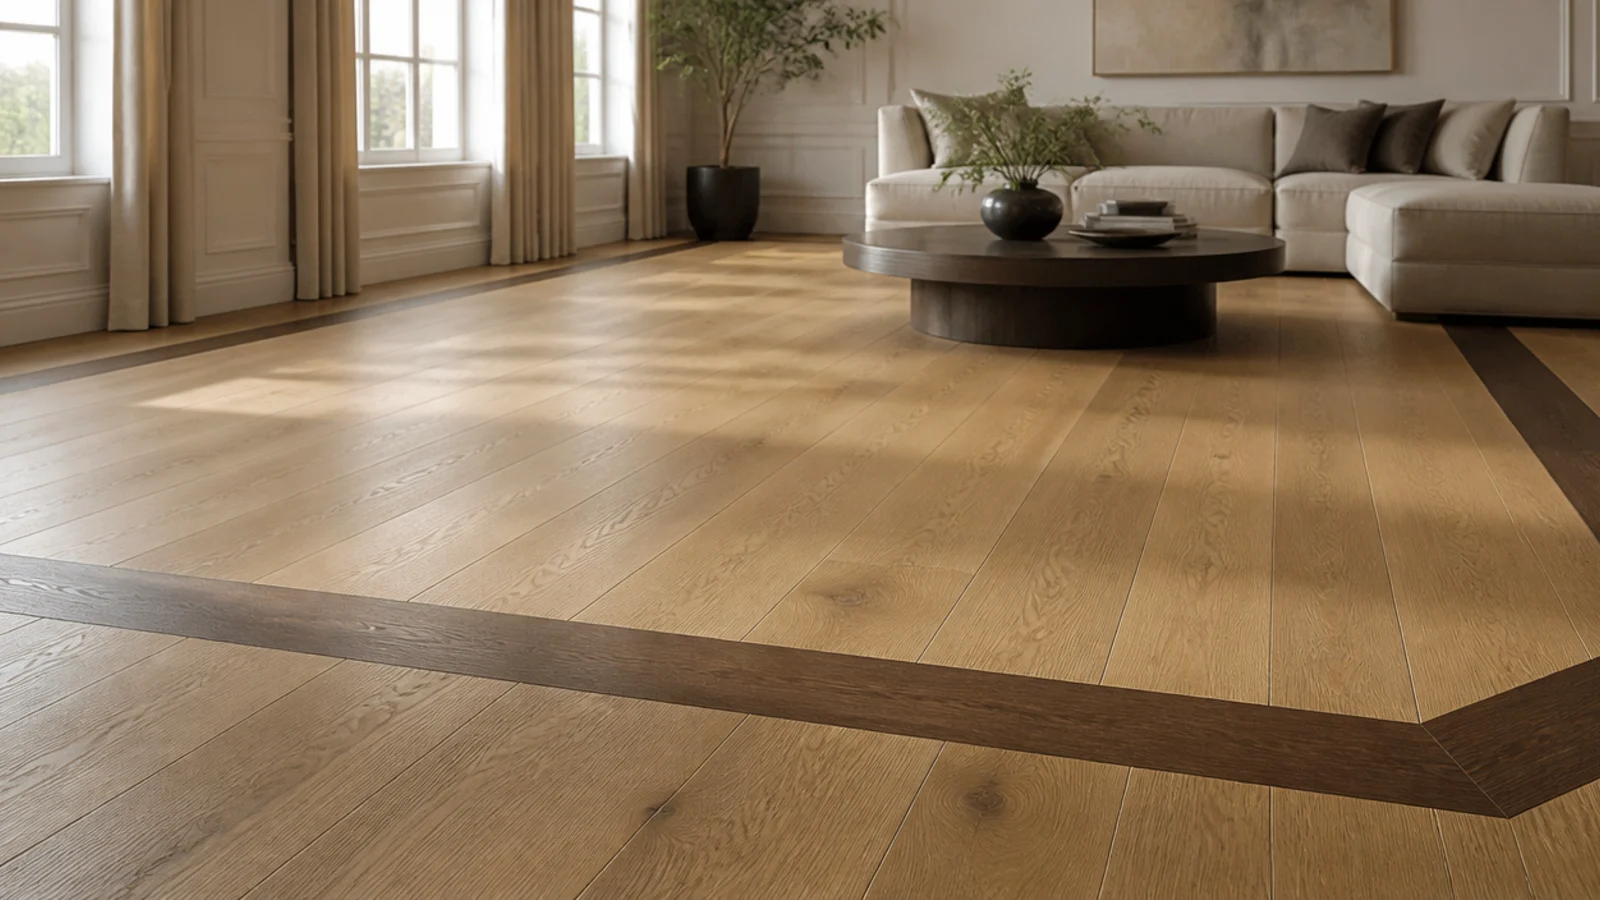
Most floors are chosen, not designed. Someone picks a colour, orders enough of it, and the fitter decides everything else on the day. Wooden flooring design is the opposite: deciding, before delivery, where the boards run, where they stop, what happens at every threshold, and whether the floor gets an edge. None of it costs much — a border adds perhaps eight percent to a room, a brass strip forty pounds — and all of it is the difference between a floor that reads as architecture and one that reads as a product. Twenty details worth drawing first.
In this guide22 sections — tap to openHide
- 1.What a wooden flooring design decides before the boards arrive
- 2.A perimeter border in a contrasting species
- 3.Mixed plank widths in a random run
- 4.A brass inlay strip marking a zone change
- 5.Two tones split on an architectural line
- 6.A forty-five degree lay in a square room
- 7.Painted boards with a natural timber border
- 8.A herringbone panel inset in a straight field
- 9.A ladder pattern with cross battens
- 10.Turn the boards ninety degrees at a doorway
- 11.Frame the hearth in the same timber
- 12.A double border with a fine stringer line
- 13.Design the treads and risers as one piece
- 14.A painted rug shape on bare boards
- 15.Use board direction to zone an open plan
- 16.Run boards to the longest sight line in an awkward room
- 17.A dark entry zone laid into a paler floor
- 18.One wide feature plank down the centre
- 19.Mitre the border corners properly
- 20.Detail the threshold flush, not as a ramp
- 21.One tone, wall to wall, as the design decision
- 22.Mistakes to Skip
What a wooden flooring design decides before the boards arrive
Get four decisions down on paper before a pack is ordered.
Direction and origin. Which way the boards run, and which wall the first row is set against. Set out from the most visible sight line, not from the wall nearest the door. In a room with a bay, that usually means starting from the bay.
Where the floor ends. Every threshold, hearth, island and step needs a detail. A flush metal strip, a hardwood threshold piece, a border. Undetailed edges are where floors look cheap.
Whether there is an edge. A border of 70 to 120mm changes a room more than any species swap. In a hall, take it to 150 to 200mm. Anything under 60mm reads as an error.
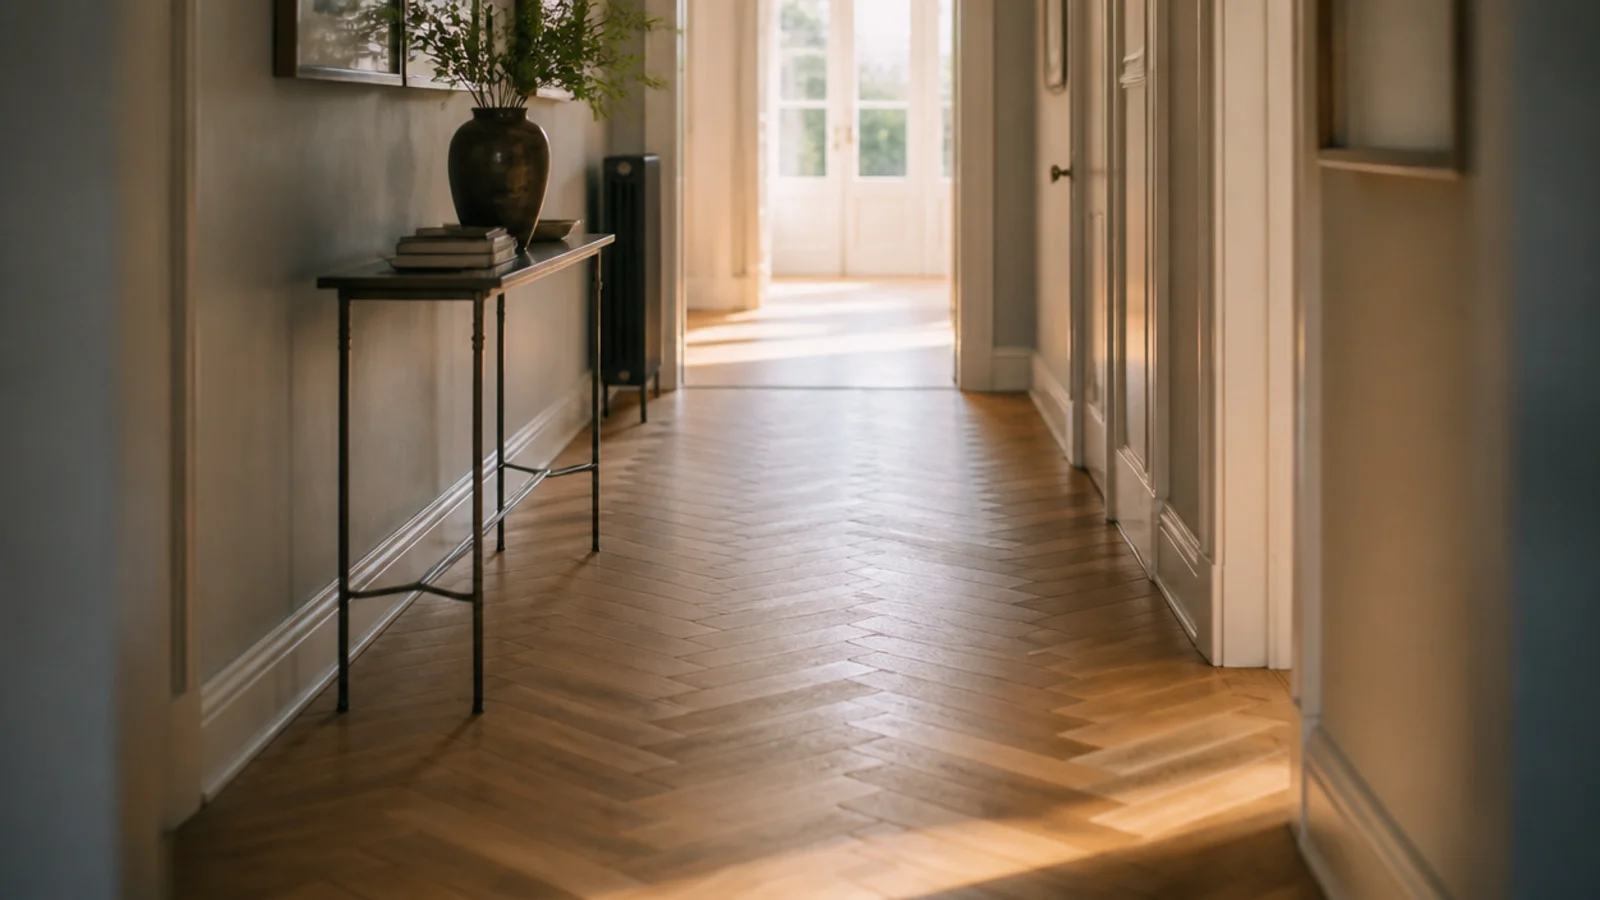
Waste allowance. Straight lay 5 percent, diagonal 10, herringbone 15, and a border adds another 3 to 5. Labour rises roughly 25 percent for a diagonal and doubles for herringbone. If pattern rather than layout is the goal, the wooden flooring pattern layouts go deeper on geometry.
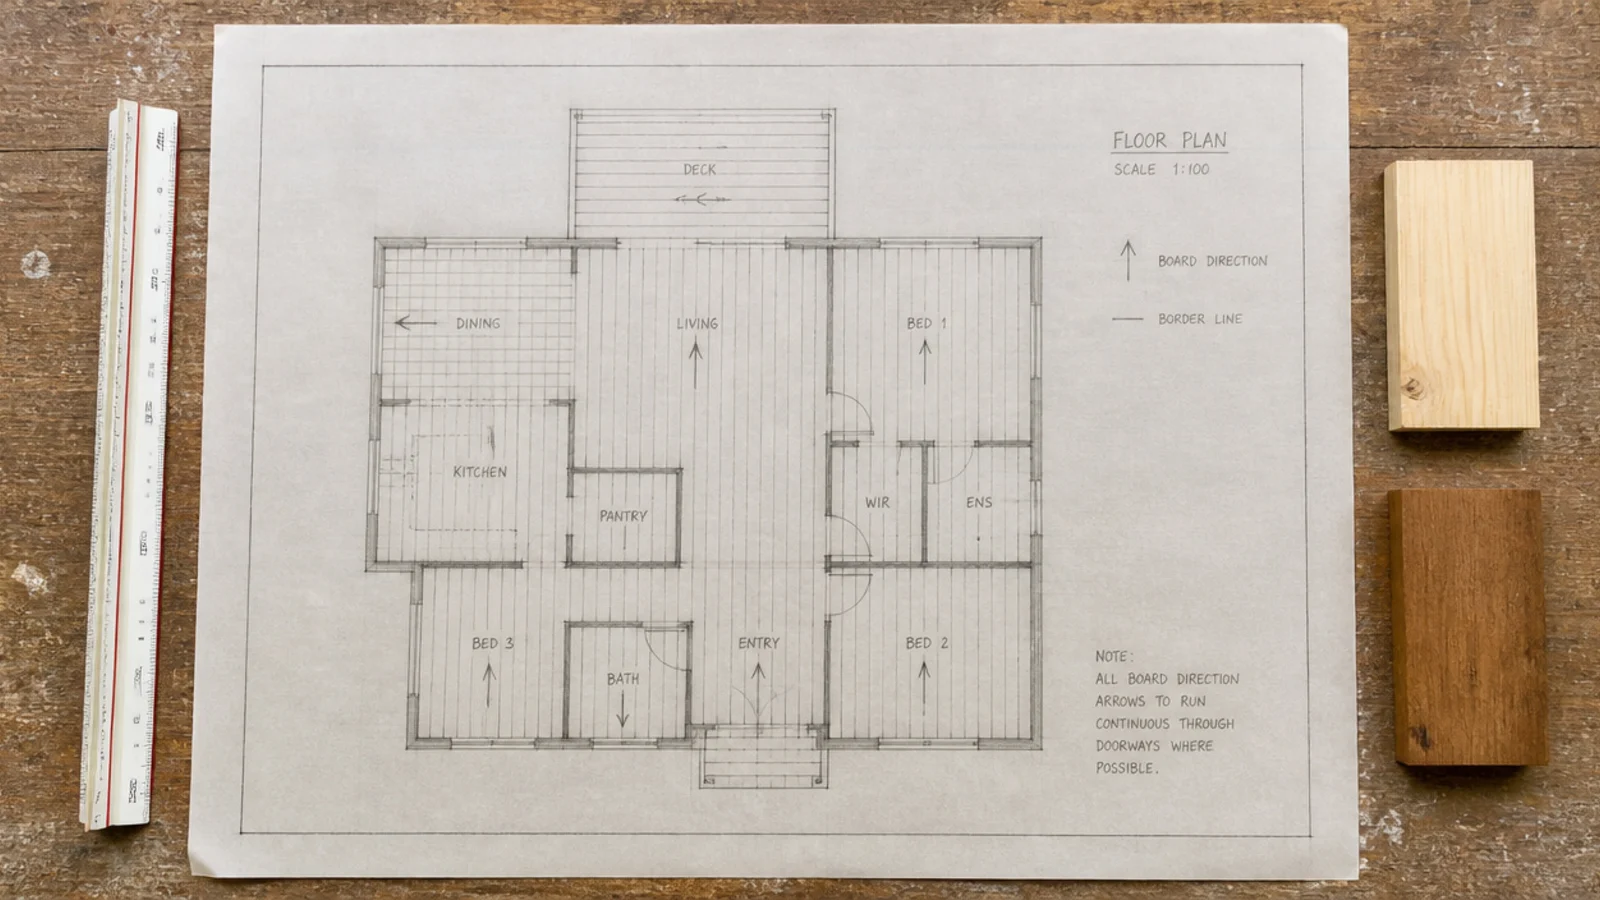
1. A perimeter border in a contrasting species
The oldest move in floor design and still the most effective. A band of walnut, wenge or smoked oak running 70 to 120mm around a pale field gives the room a drawn edge and neatly absorbs the awkward last rip against a wall that is never quite straight. Keep the expansion gap outside the border, and mitre the corners rather than butting them.
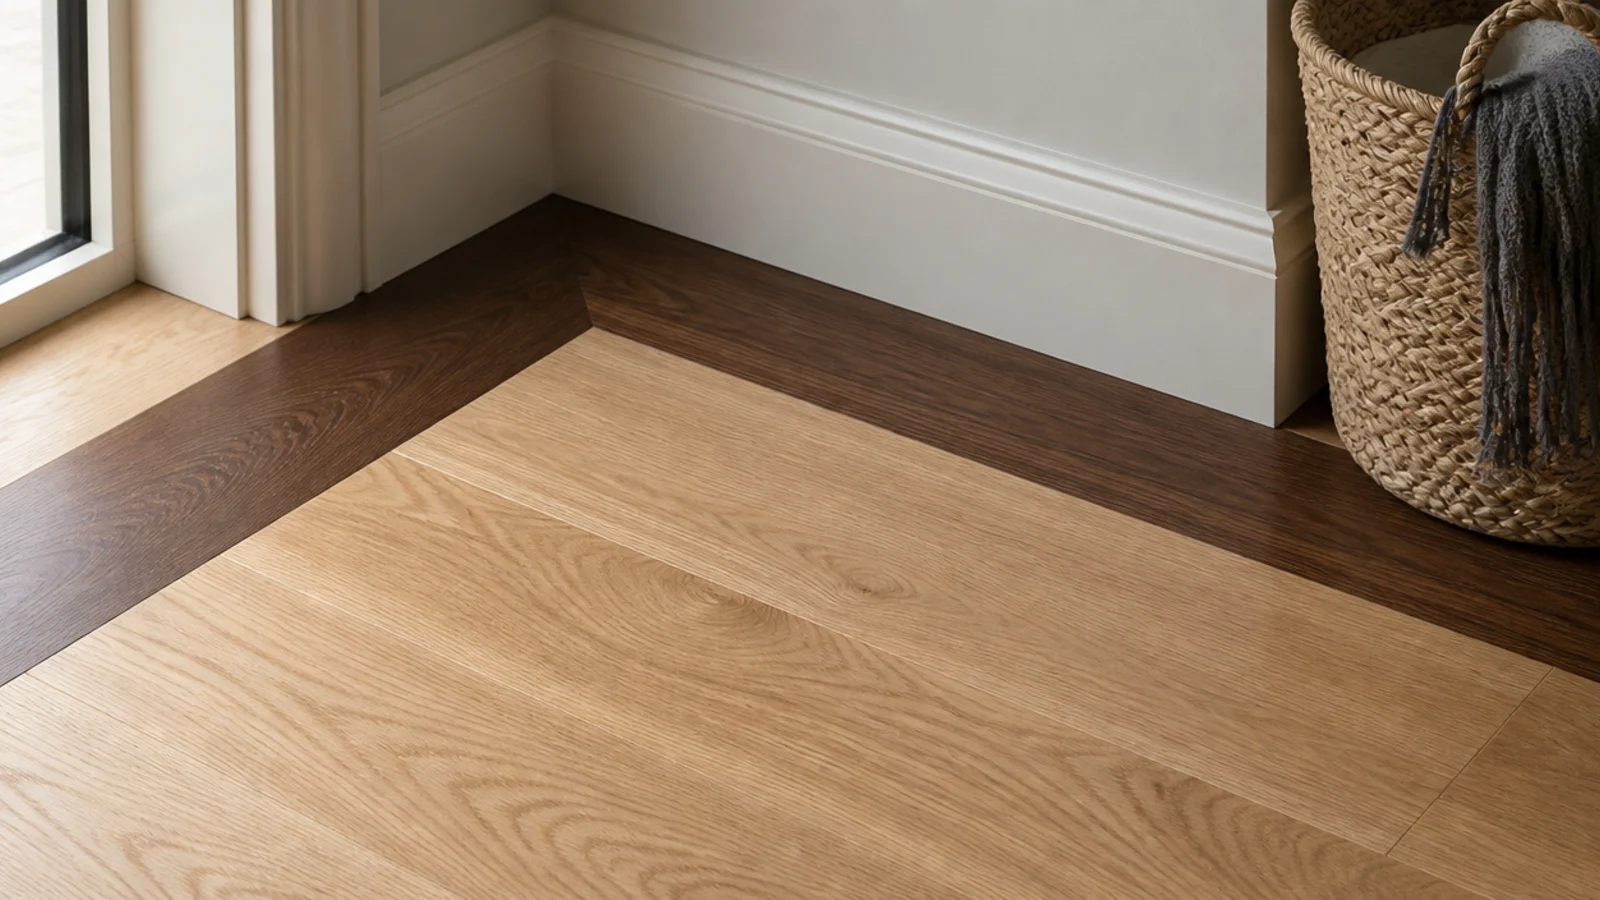
2. Mixed plank widths in a random run
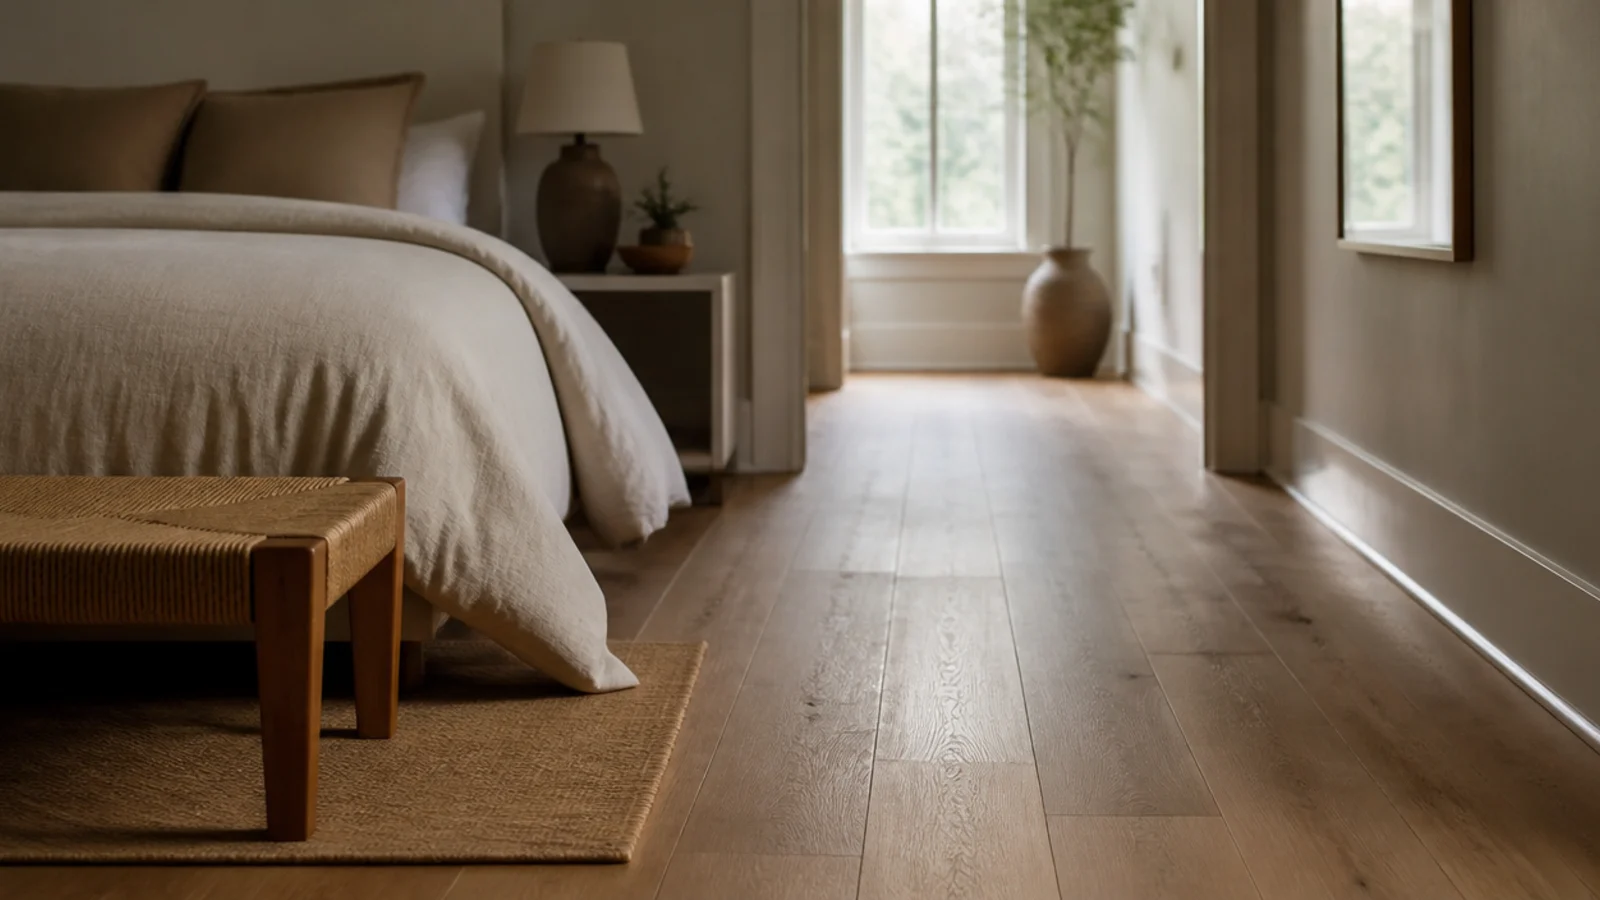
Three widths — say 120, 160 and 200mm — laid in no repeating order gives a floor the look of boards cut from whatever the log offered. It is how floors were made before machines standardised everything. Order the mix as a set from one supplier so thickness and profile match exactly, and lay from three stacks at once so no width clusters.
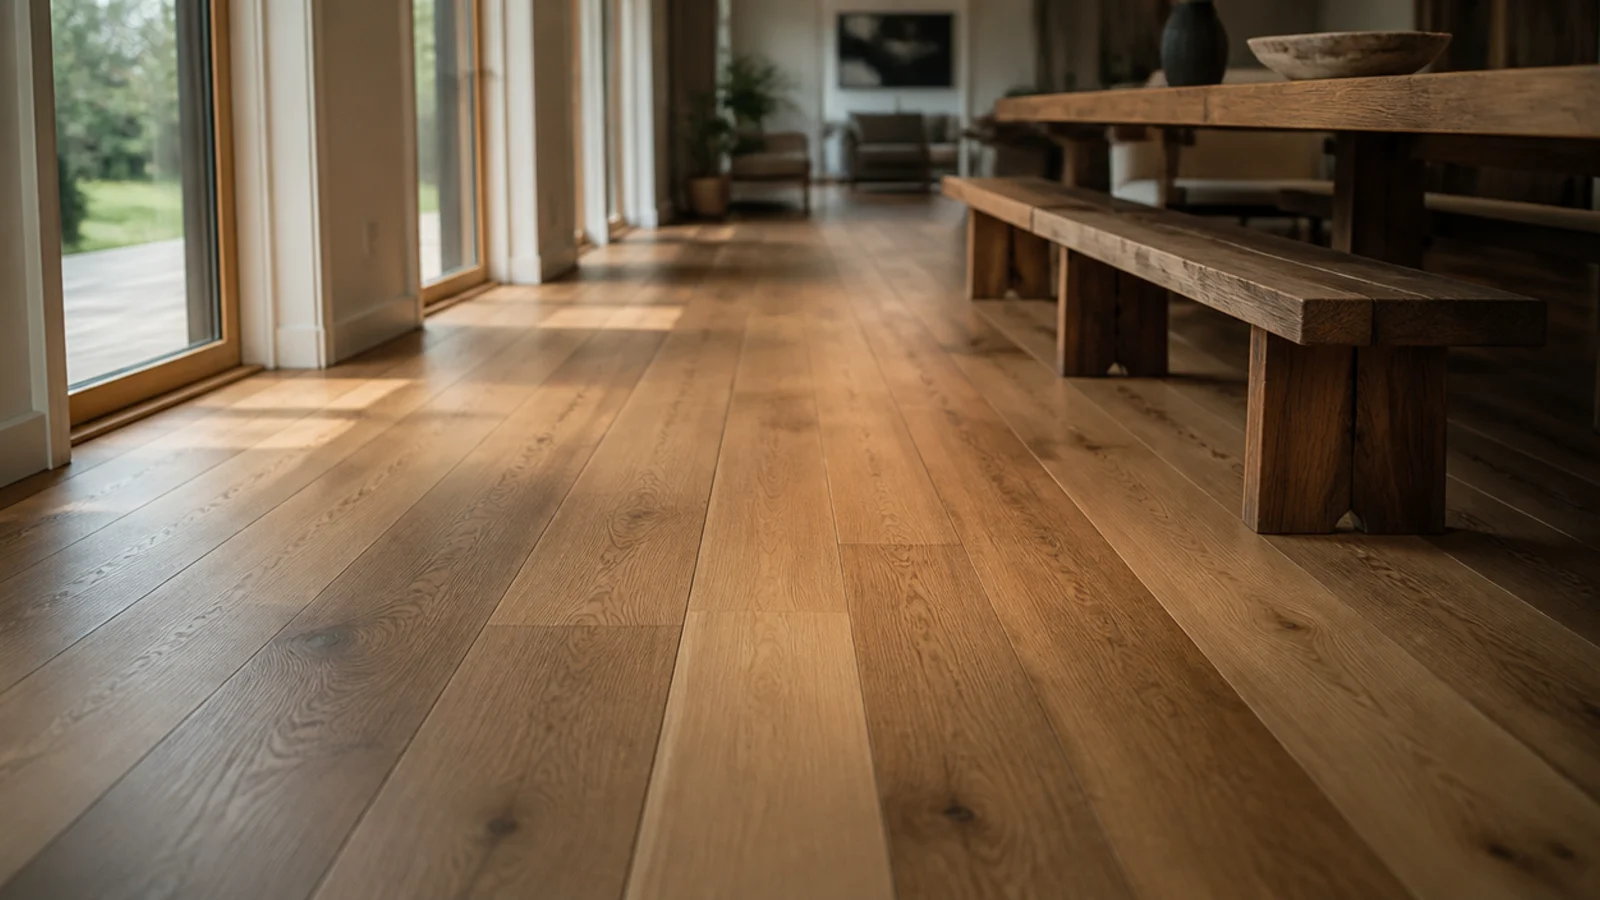
3. A brass inlay strip marking a zone change
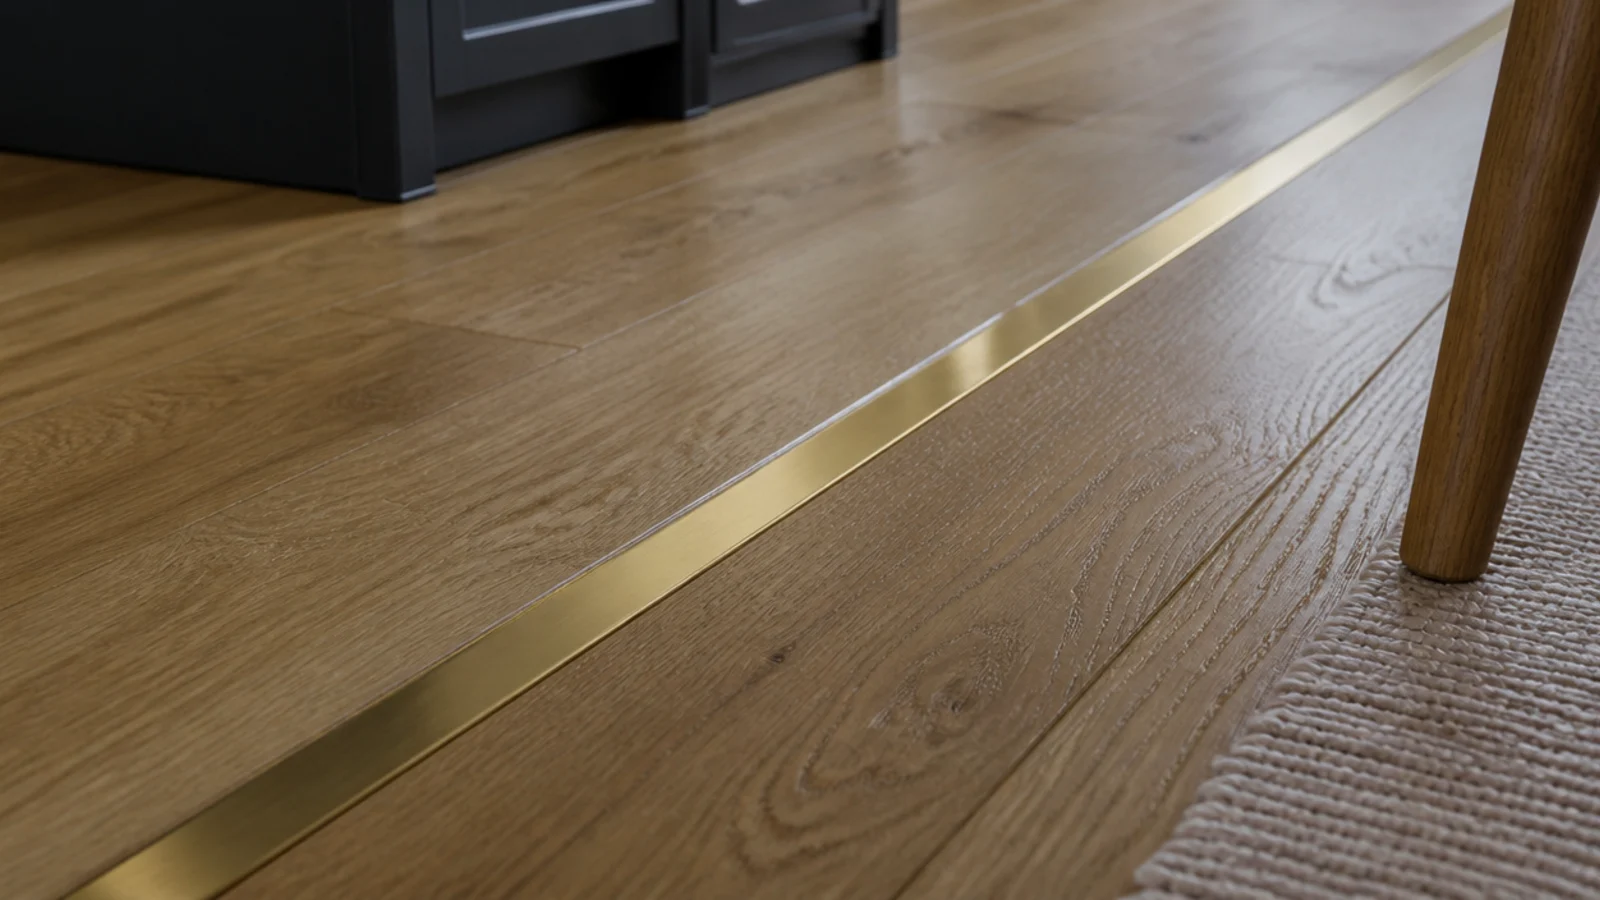
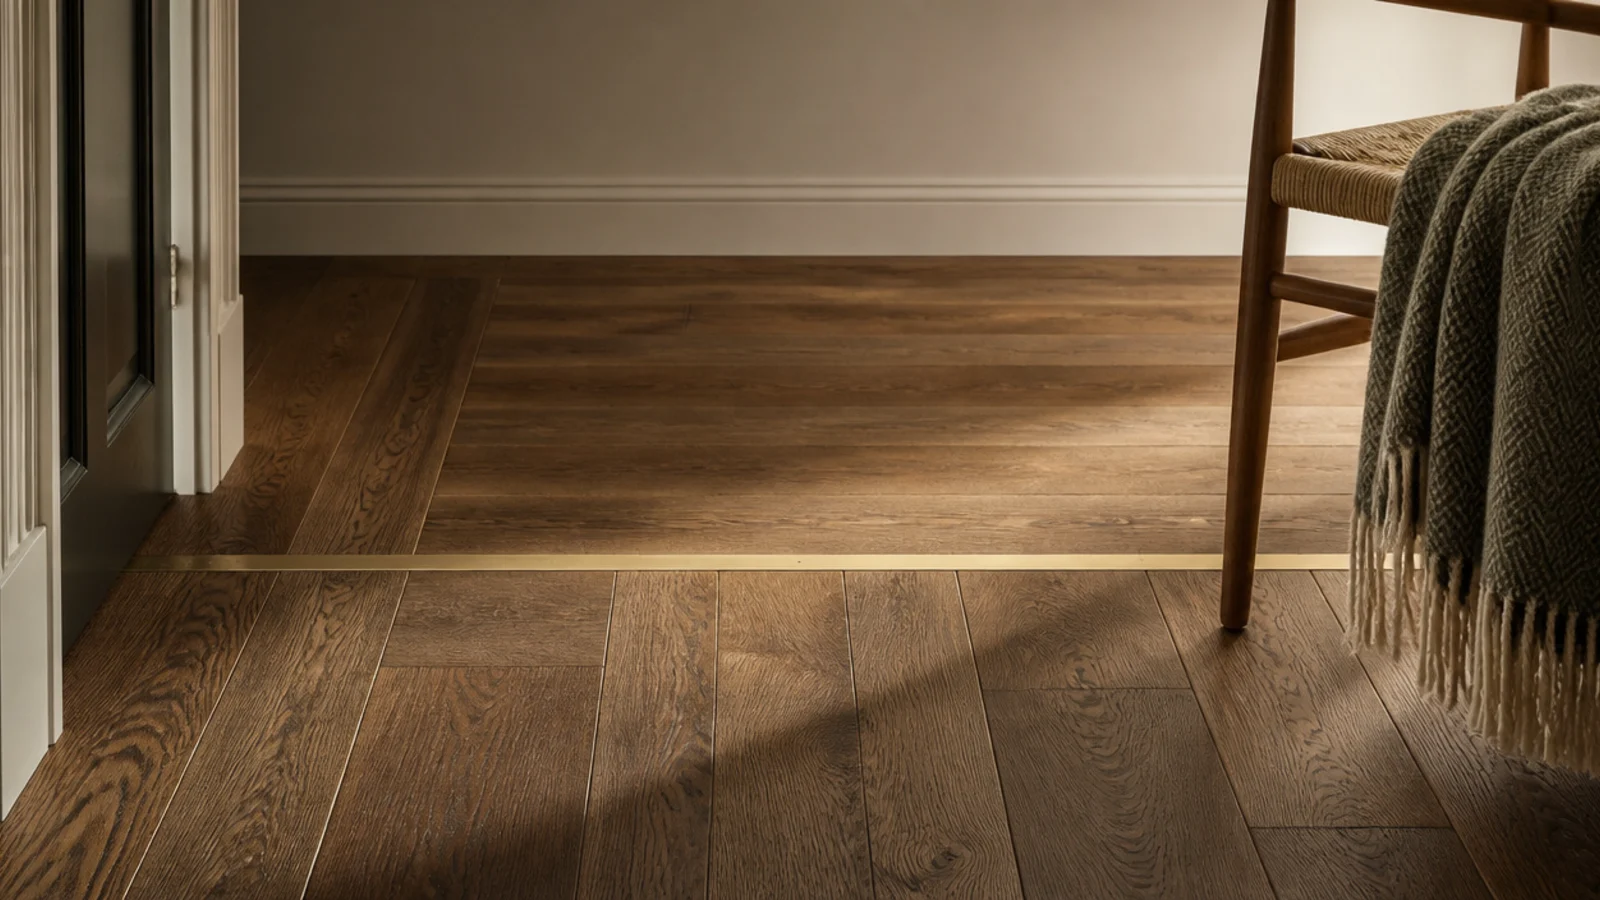
A 6 to 12mm brass or blackened steel strip, routed in flush, draws a line across an open floor without a step or a change of material. Use it to mark where a kitchen ends, to follow an island, or to run across a wide opening. Set it slightly proud and sand flush after fitting, and expect around £30 to £60 per metre.
4. Two tones split on an architectural line
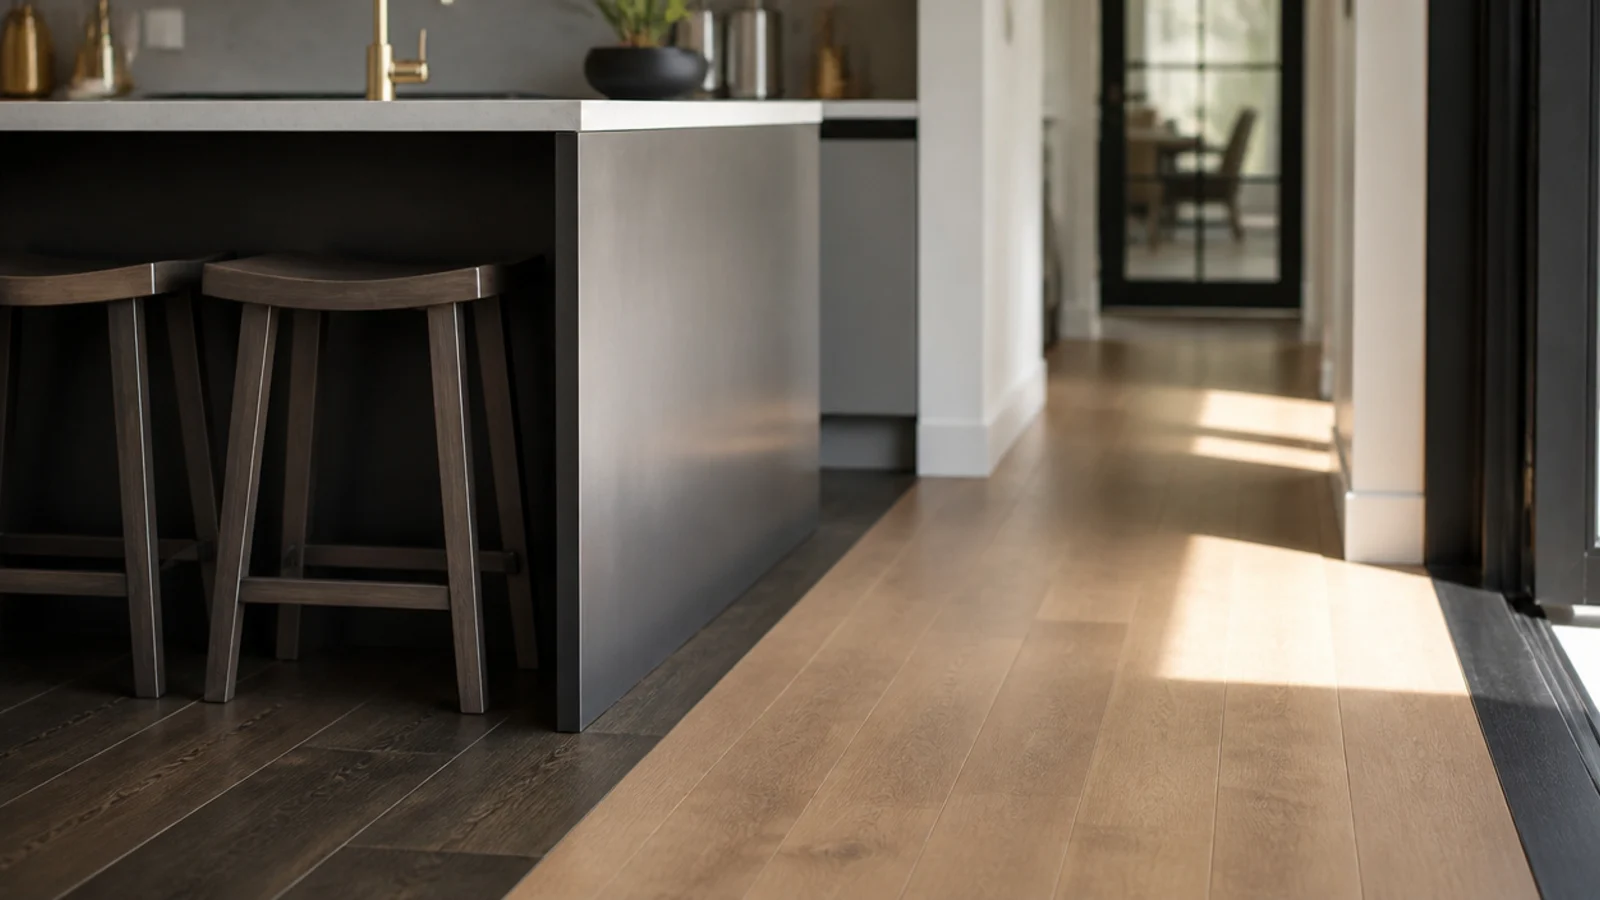
Two floor tones can work, provided the change happens where the building already changes — under an island overhang, at a step, in a doorway. Both tones need the same undertone so they read as a pair rather than as an accident, and the join wants a flush strip or a shared border. Change tone in open floor and it looks like a repair.
5. A forty-five degree lay in a square room
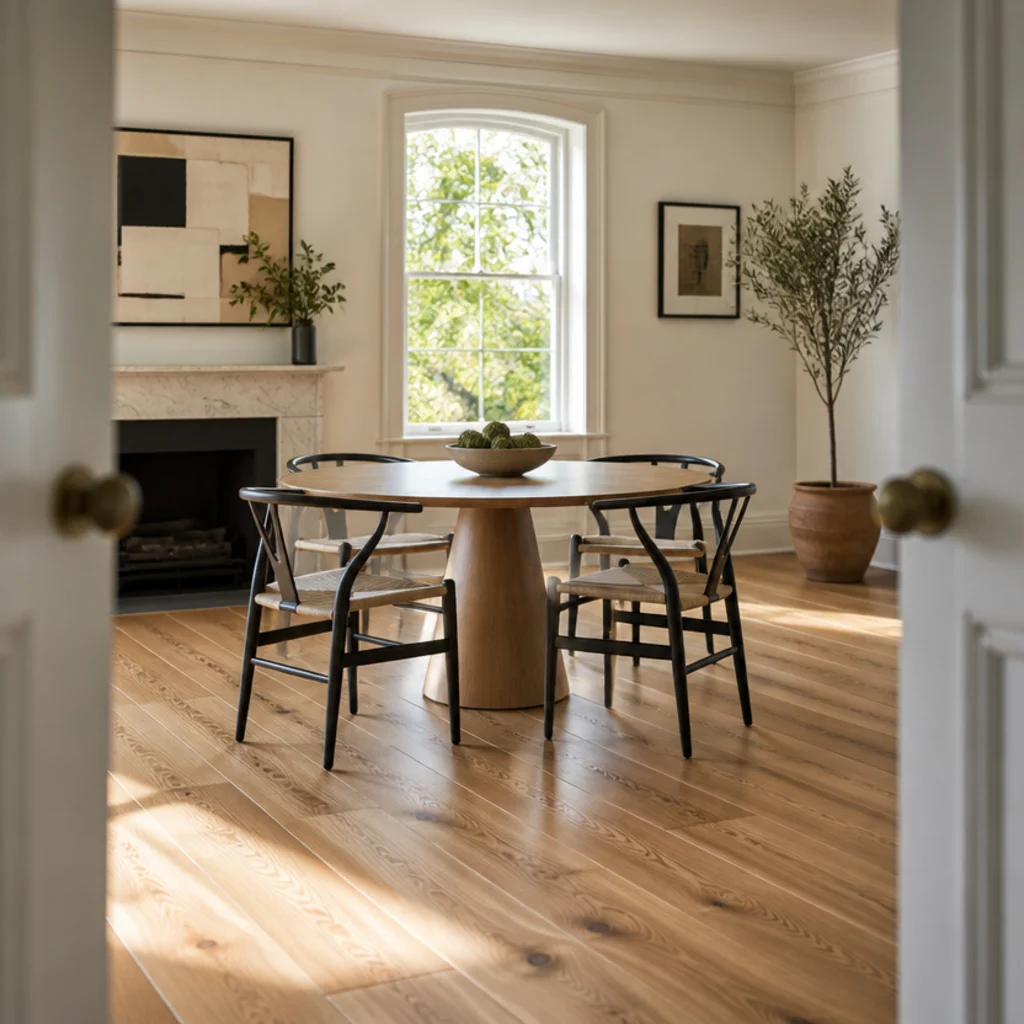
Turning the boards 45 degrees makes the longest run in the room the diagonal, which stretches a square plan and quietly disguises walls that are not parallel. Allow 10 percent extra material and expect fitting to take about a quarter longer. It works best in a room you enter from a corner, so the diagonal leads the eye in.
6. Painted boards with a natural timber border
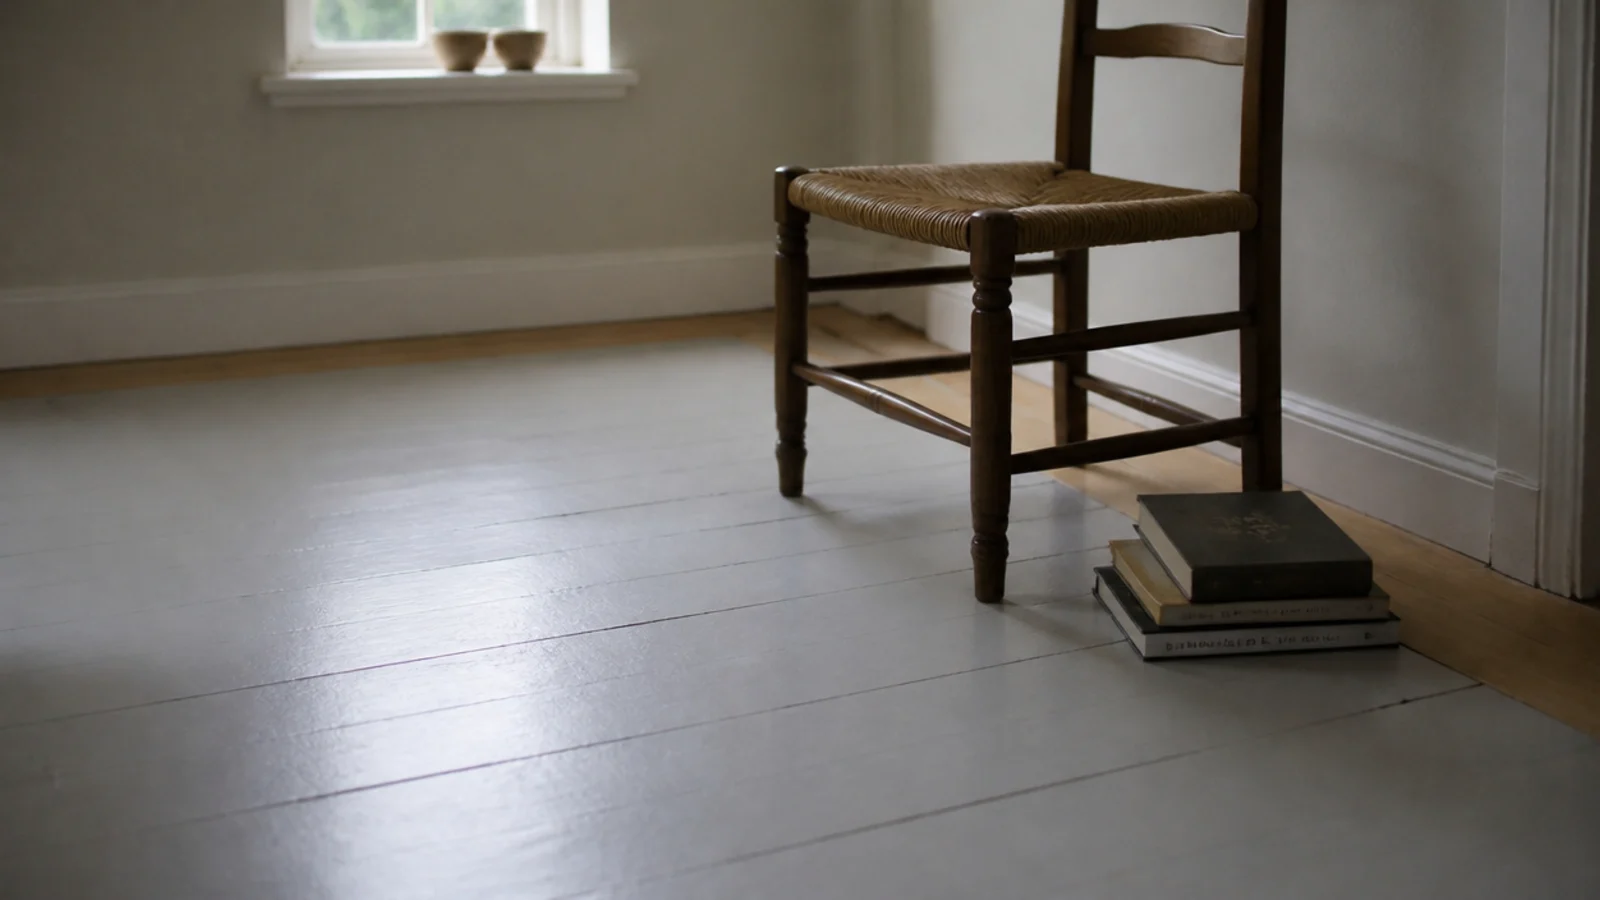
Paint the field in a chalky floor paint — two coats of primer, two of floor paint, and a week to cure — and leave a 100 to 150mm border of bare oiled timber around the perimeter. The contrast makes the paint look intentional instead of like a covered-up floor, and the timber edge takes the scuffing where chairs move.
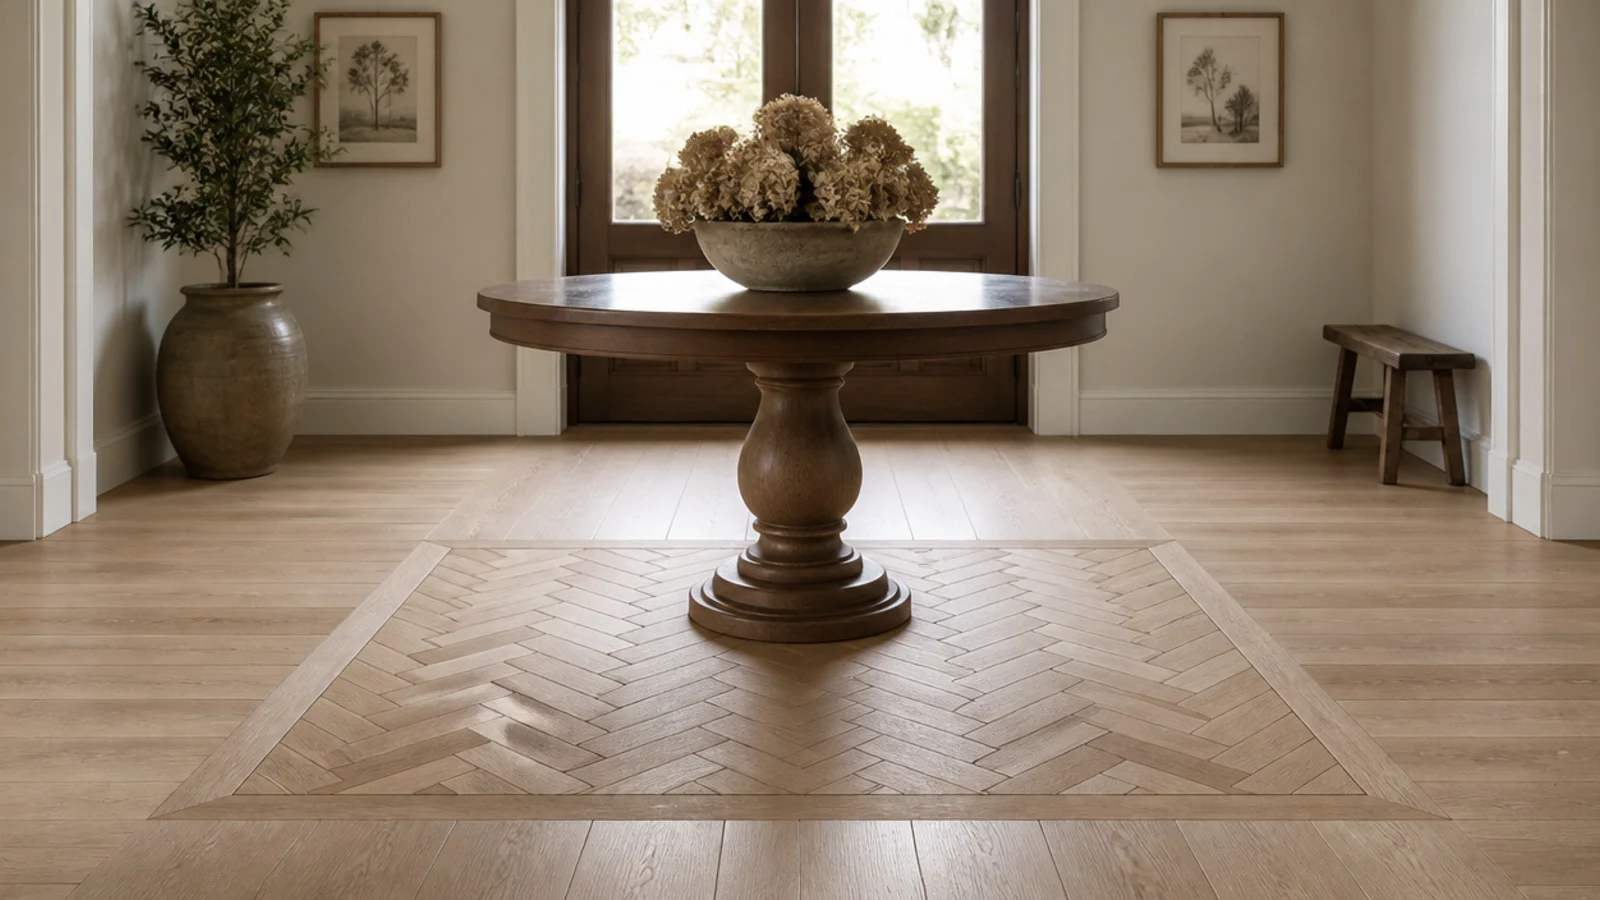
7. A herringbone panel inset in a straight field
Rather than laying an entire room in herringbone, inset a single panel — typically 1.2 to 1.8 metres square — under a hall table, in a bay, or at the centre of a landing. You get the pattern where people stand and look down, at maybe a fifth of the cost. Frame the panel with a two-piece border so the field boards meet something square, and see the wooden parquet flooring patterns for block sizing.
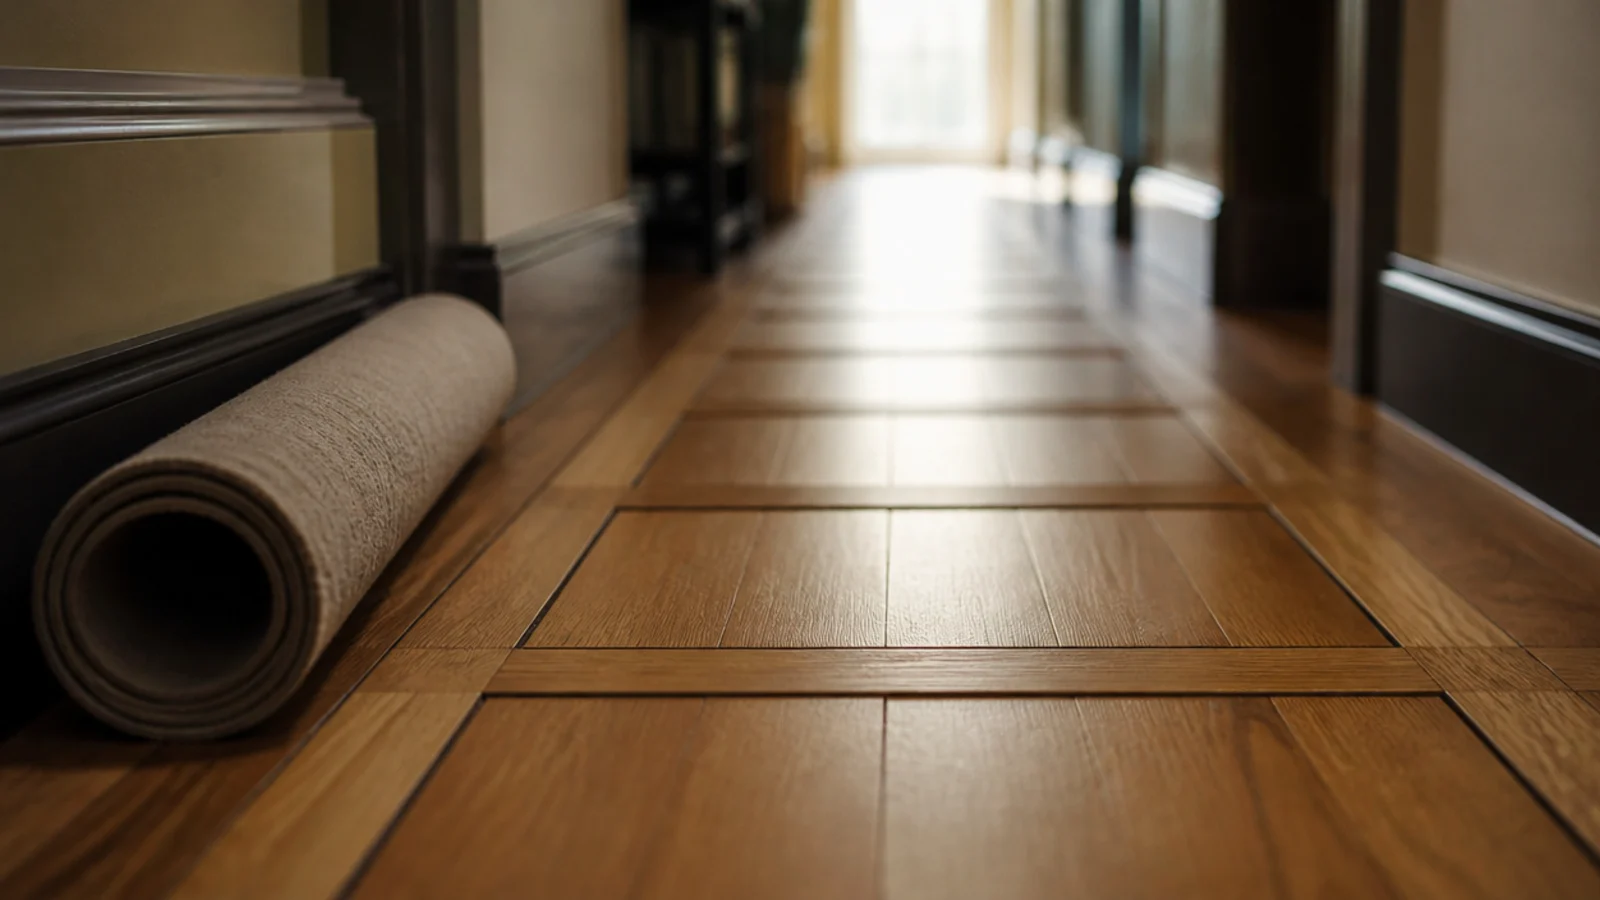
8. A ladder pattern with cross battens
Long boards interrupted at regular intervals by cross pieces of the same width give a corridor a rhythm and stop it reading as a runway. Set the rungs at 900mm to 1.2 metre centres, matched to the door positions if you can. It uses shorter boards efficiently, which makes it a good use of a cheaper mixed-length pack.
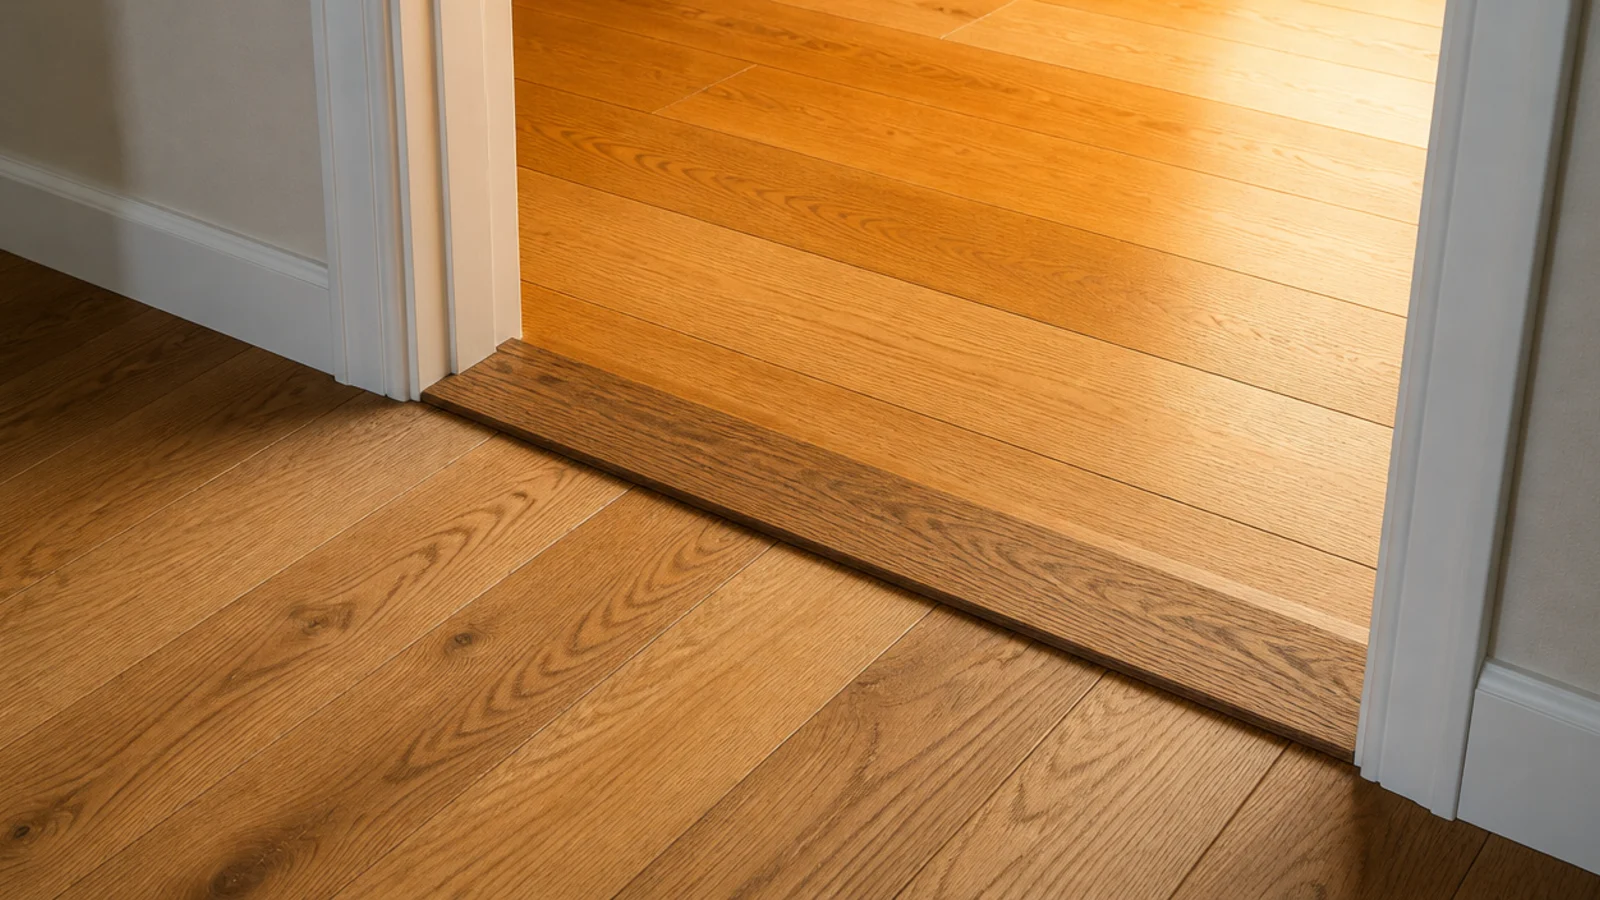
9. Turn the boards ninety degrees at a doorway
In a period house with separate rooms, changing board direction in the door threshold gives each room its own identity and reflects how the floors were originally built over joists running different ways. The change must land inside the door lining, bridged with a hardwood threshold piece. Do it anywhere else and it looks like two jobs.
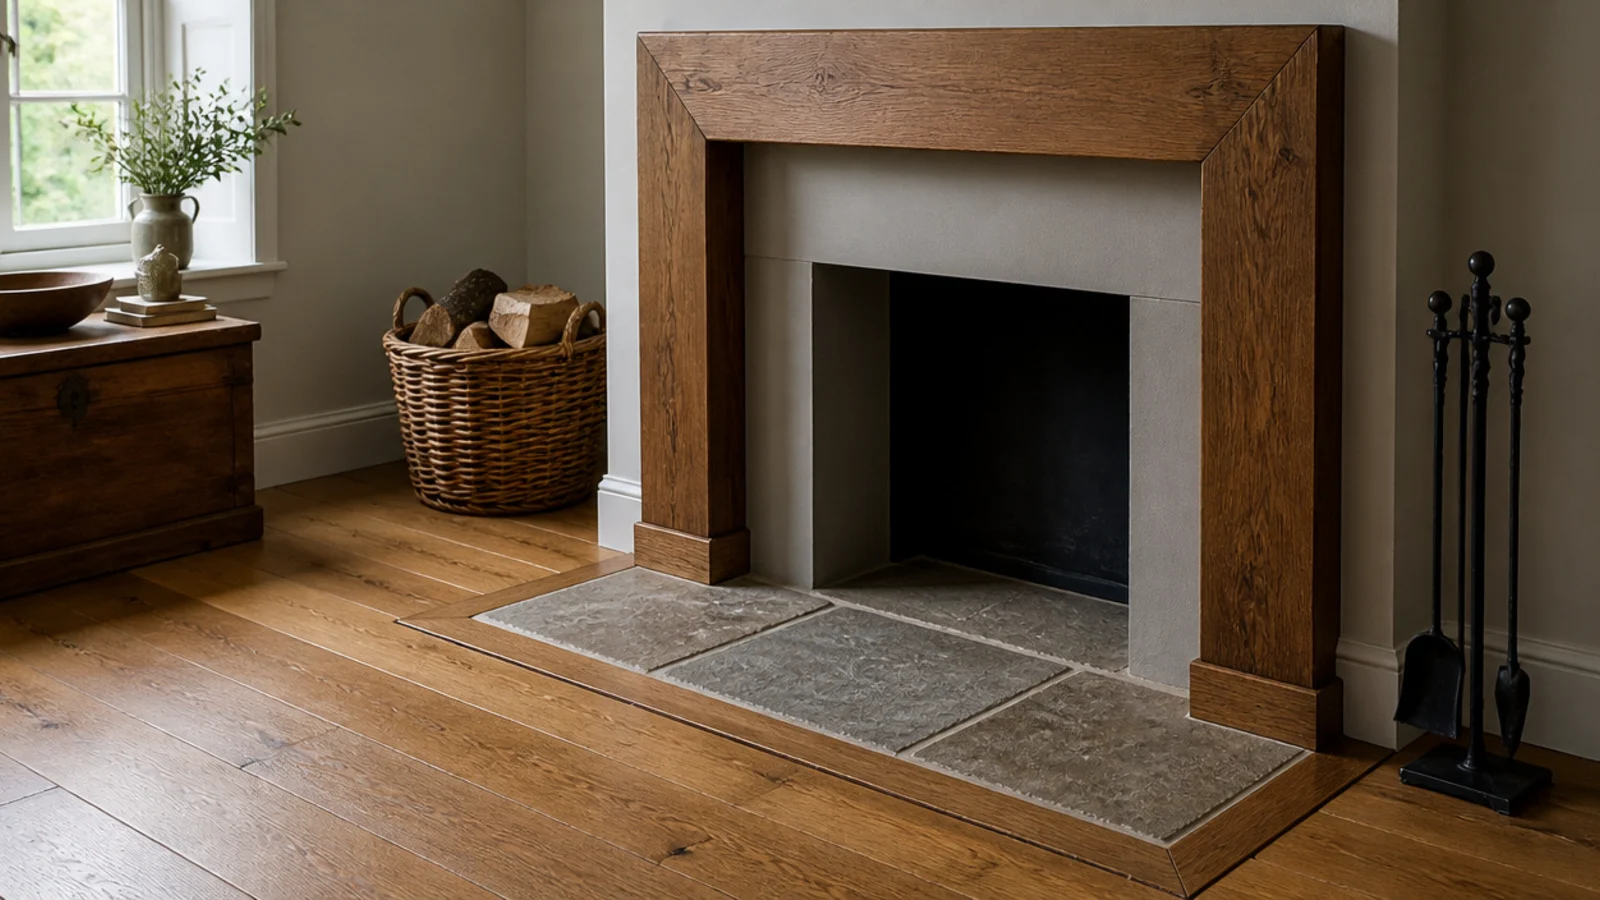
10. Frame the hearth in the same timber
Boards dying into a stone hearth at random lengths is one of the ugliest details in flooring. A timber frame around the hearth, 70 to 100mm wide and mitred at the corners, gives every board something square to meet. Keep the timber at least 300mm clear of a live firebox opening, and check the appliance clearances before you set the frame out.
11. A double border with a fine stringer line
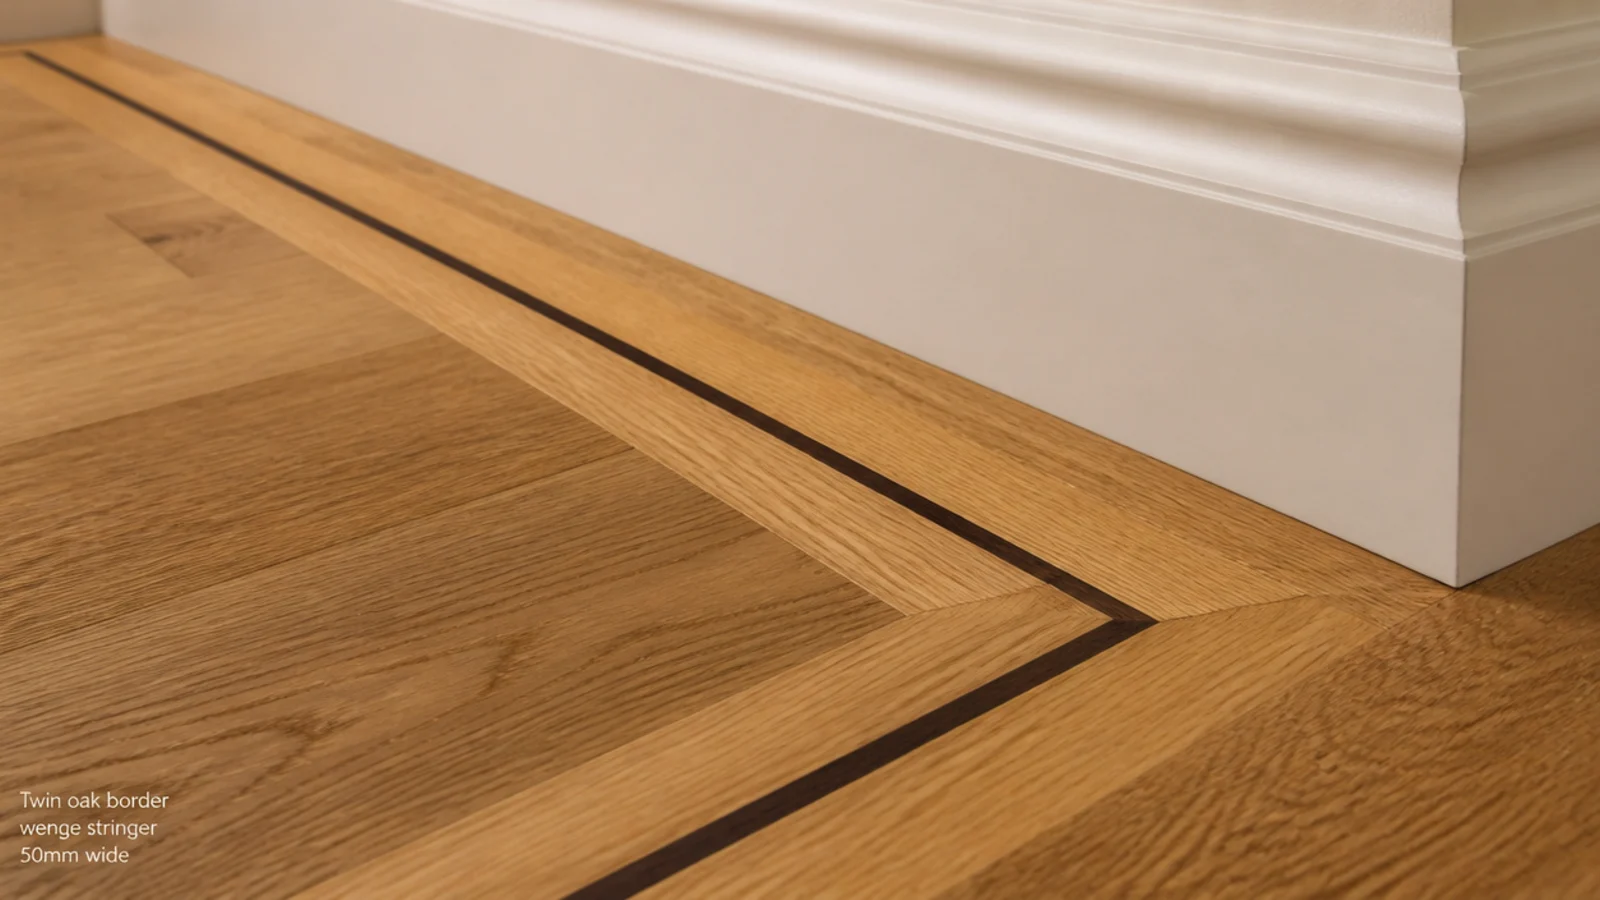
Two border bands with a 10 to 20mm dark stringer between them is a classic parquetry detail and it costs very little, because the stringer is offcut material. The fine dark line reads as drawn rather than laid. It suits a hall or a formal sitting room, and it gives the eye a reason to travel around the room's edge.
12. Design the treads and risers as one piece
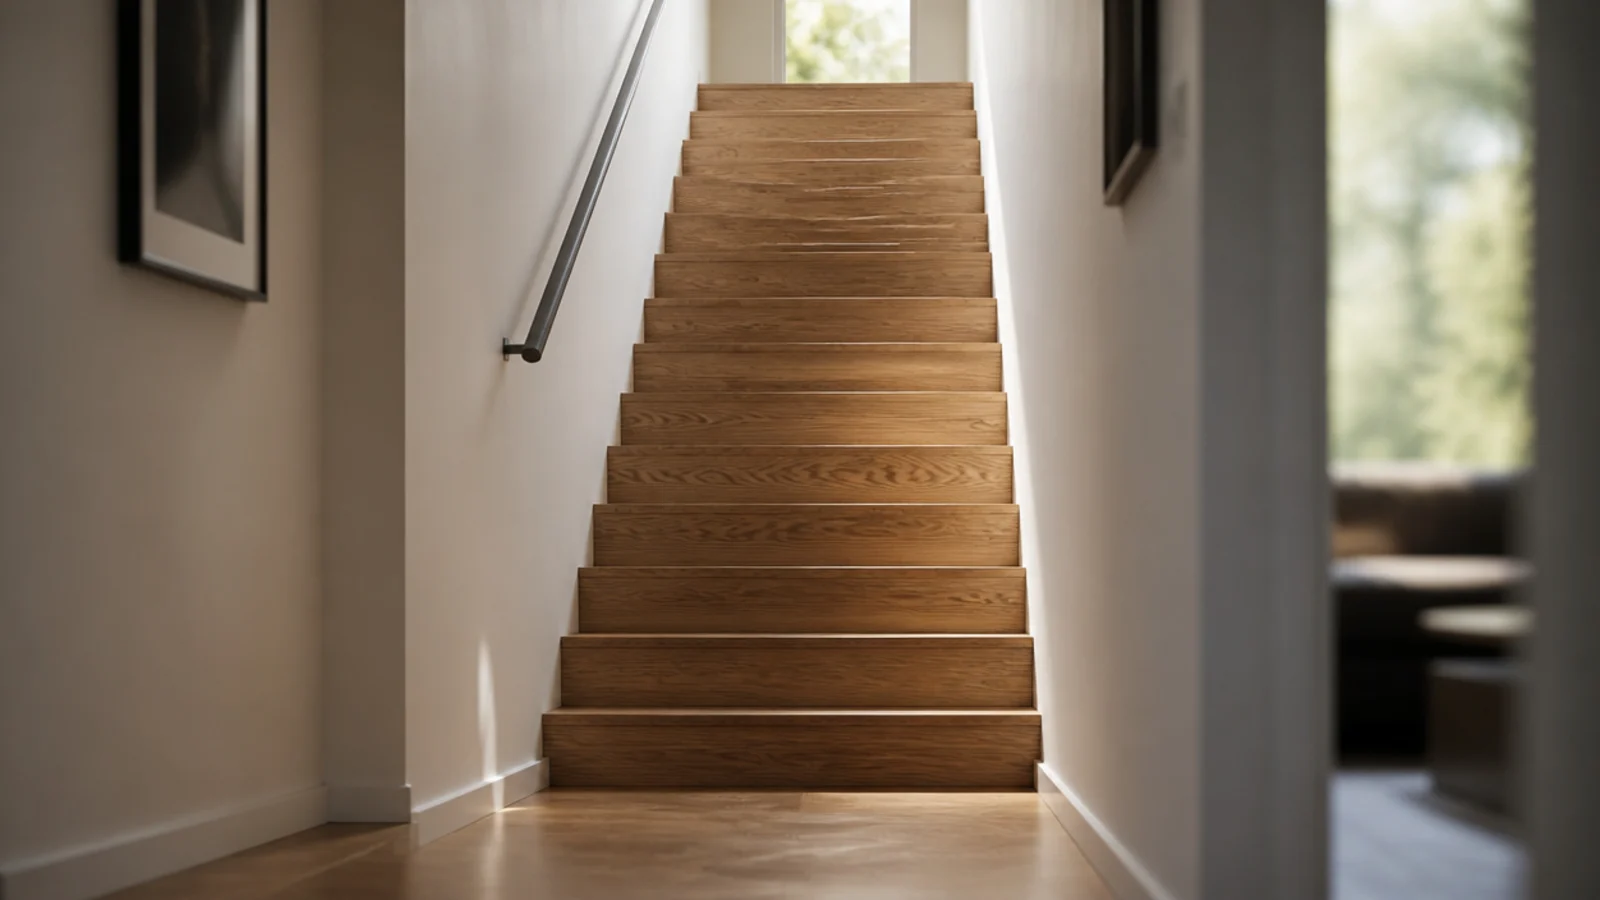
Stairs finished in the same species and sheen as the floor, treads and risers together, read as a continuous folded surface. Treads need 25 to 32mm of solid timber and a nosing overhang of around 20 to 25mm. Match the finish exactly — a satin tread above a matte floor is visible from the bottom step.
13. A painted rug shape on bare boards
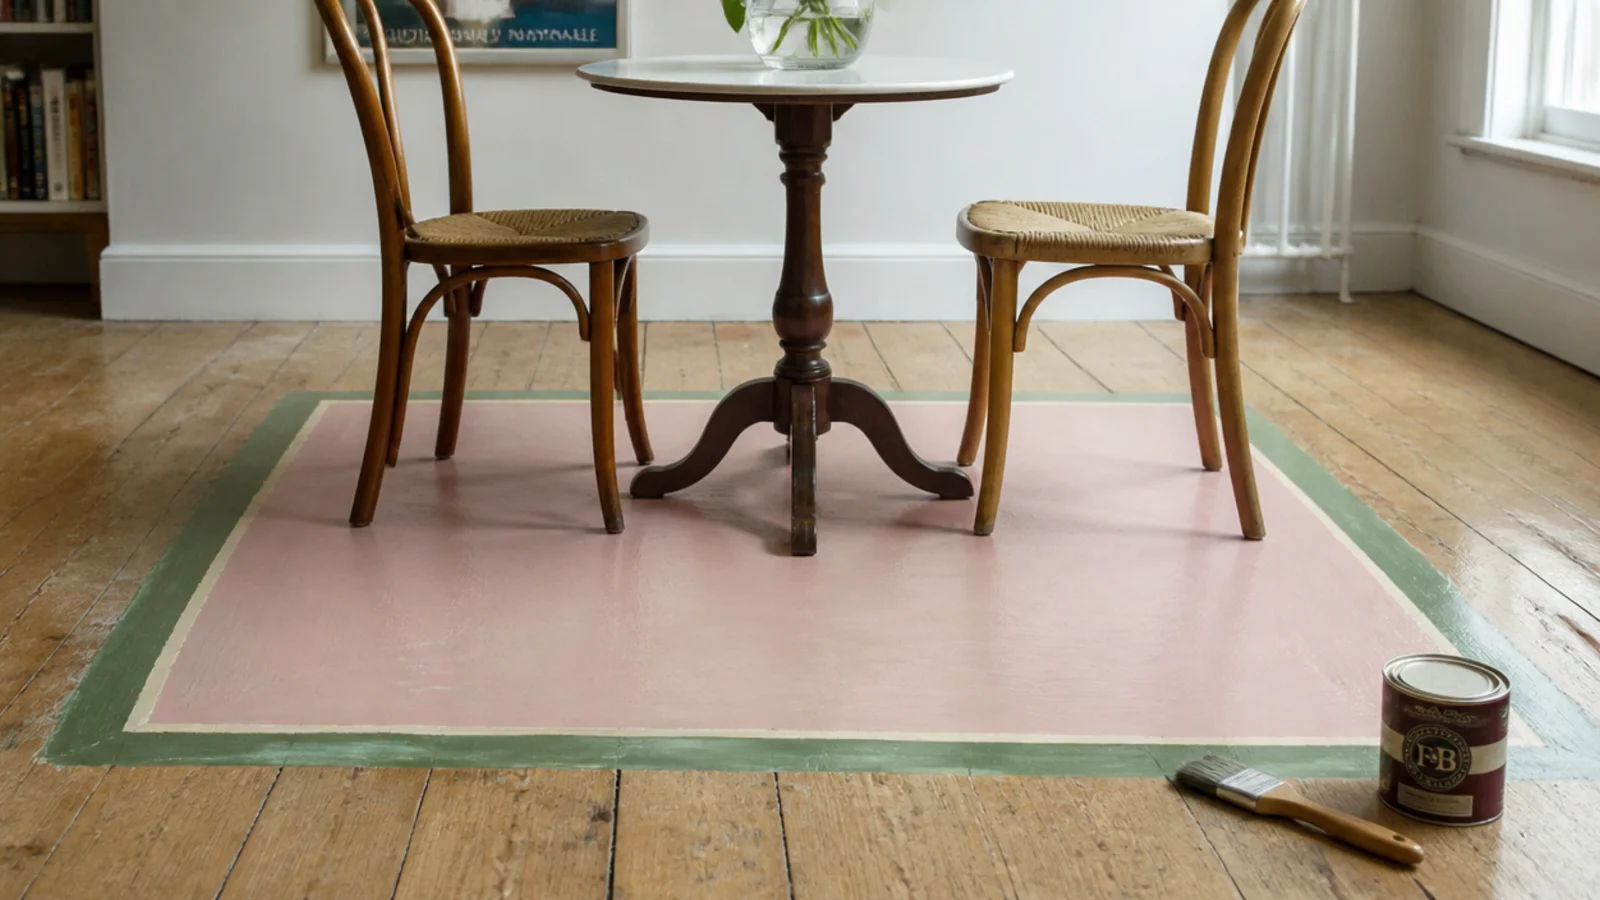
Mask a rectangle on sanded boards, paint it in a floor paint with a simple 60 to 100mm border, and clear-coat over the top. It gives a room a rug that never curls, never needs vacuuming and costs perhaps £40. It suits a hallway, a playroom or a summer house, and it is genuinely reversible with a sander.
14. Use board direction to zone an open plan
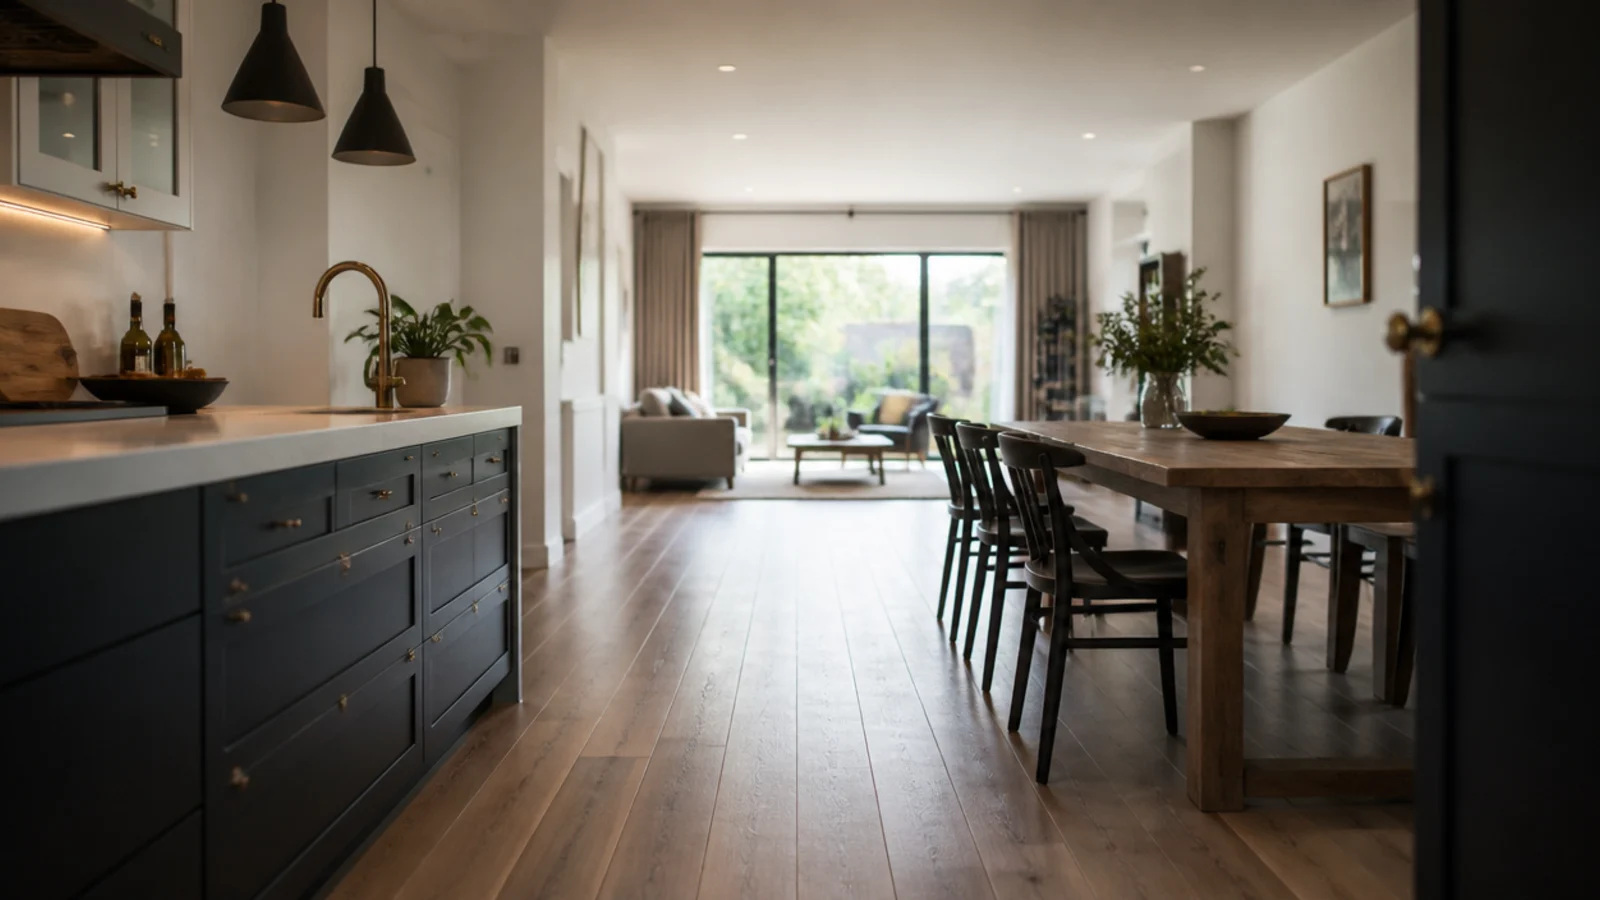
One direction, wall to wall, is nearly always the right answer in open plan. It makes the level read as a single volume and removes half a dozen awkward joins. Where you want zoning, do it with a strip, a border or a rug rather than by rotating the boards, because a change of angle in open floor cuts the space in half visually.
15. Run boards to the longest sight line in an awkward room
In a room with a chimney breast, a bay and an off-centre door, aligning to a wall rarely helps. Stand where you enter, find the longest uninterrupted view, and run the boards along it. Everything else — alcoves, returns, the bay — becomes a cut, and cuts are easier to hide than a floor fighting the geometry.
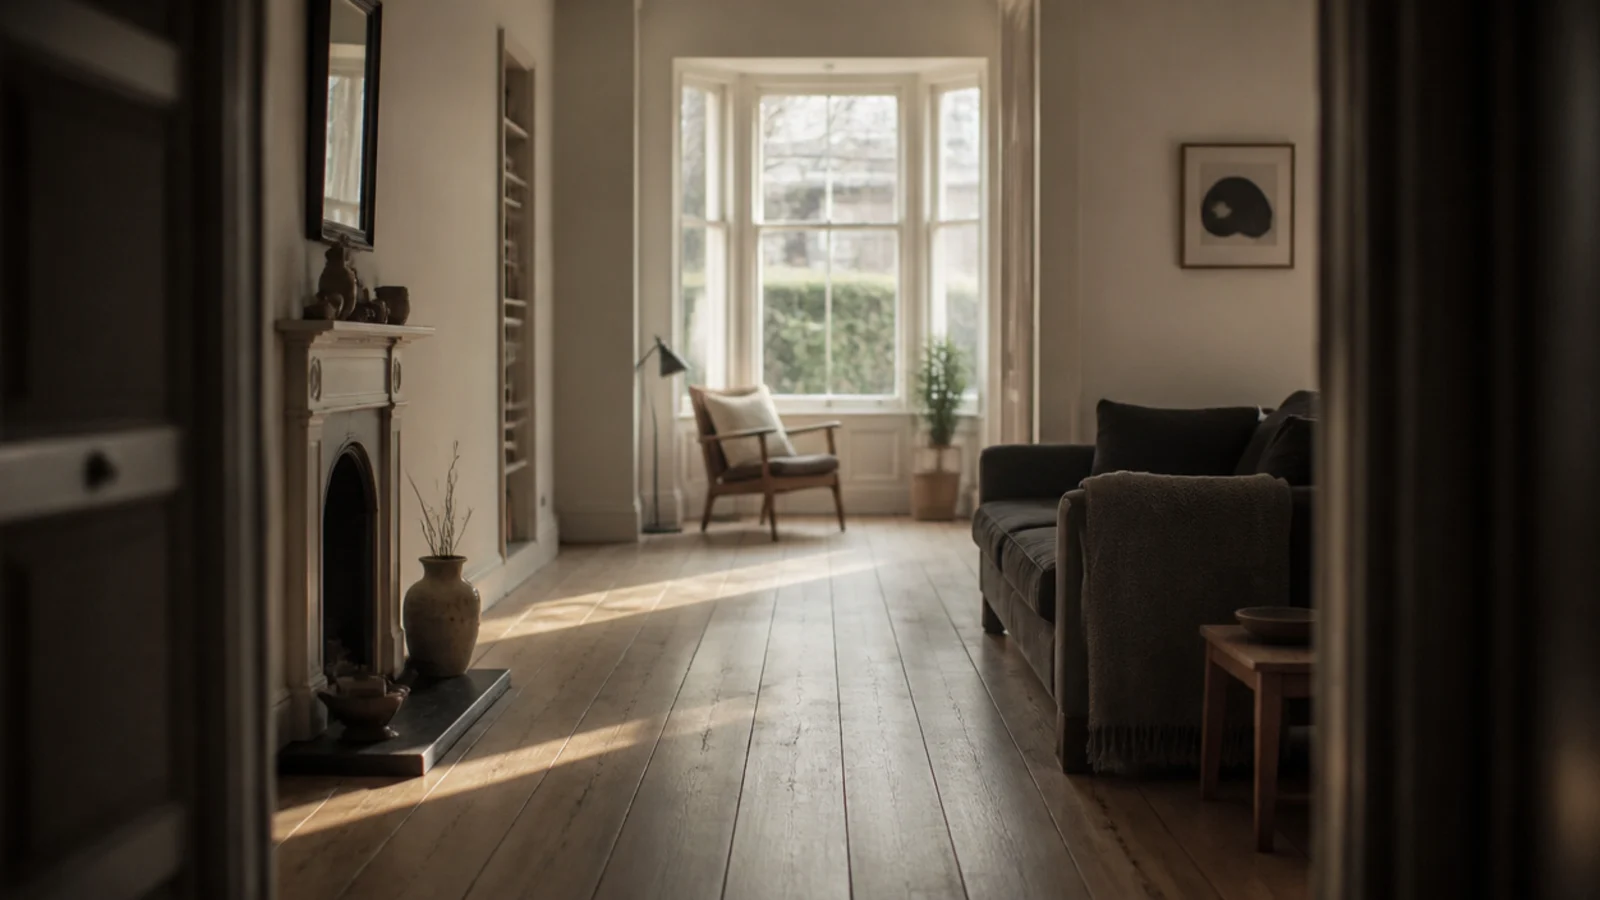
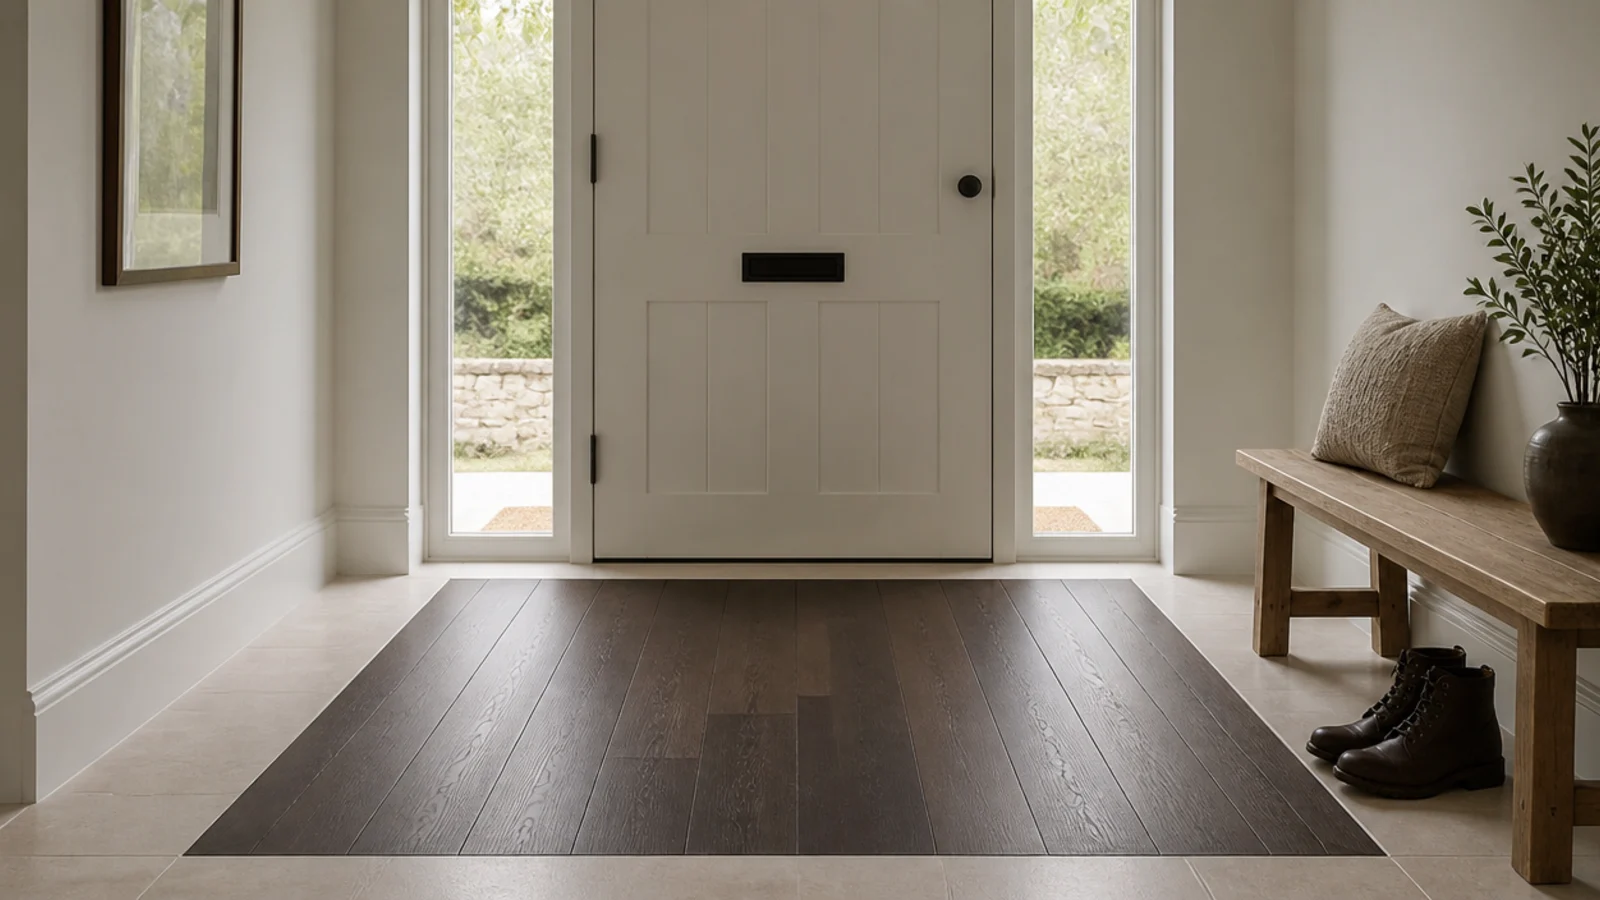
16. A dark entry zone laid into a paler floor
Set a rectangle of darker timber into the floor immediately inside a front door, roughly 900mm deep by the width of the opening. It takes the grit and wet that arrives on shoes, disguises the wear that always happens there, and gives the entry a defined place to stand. The entryway ideas guide covers what should sit on it.
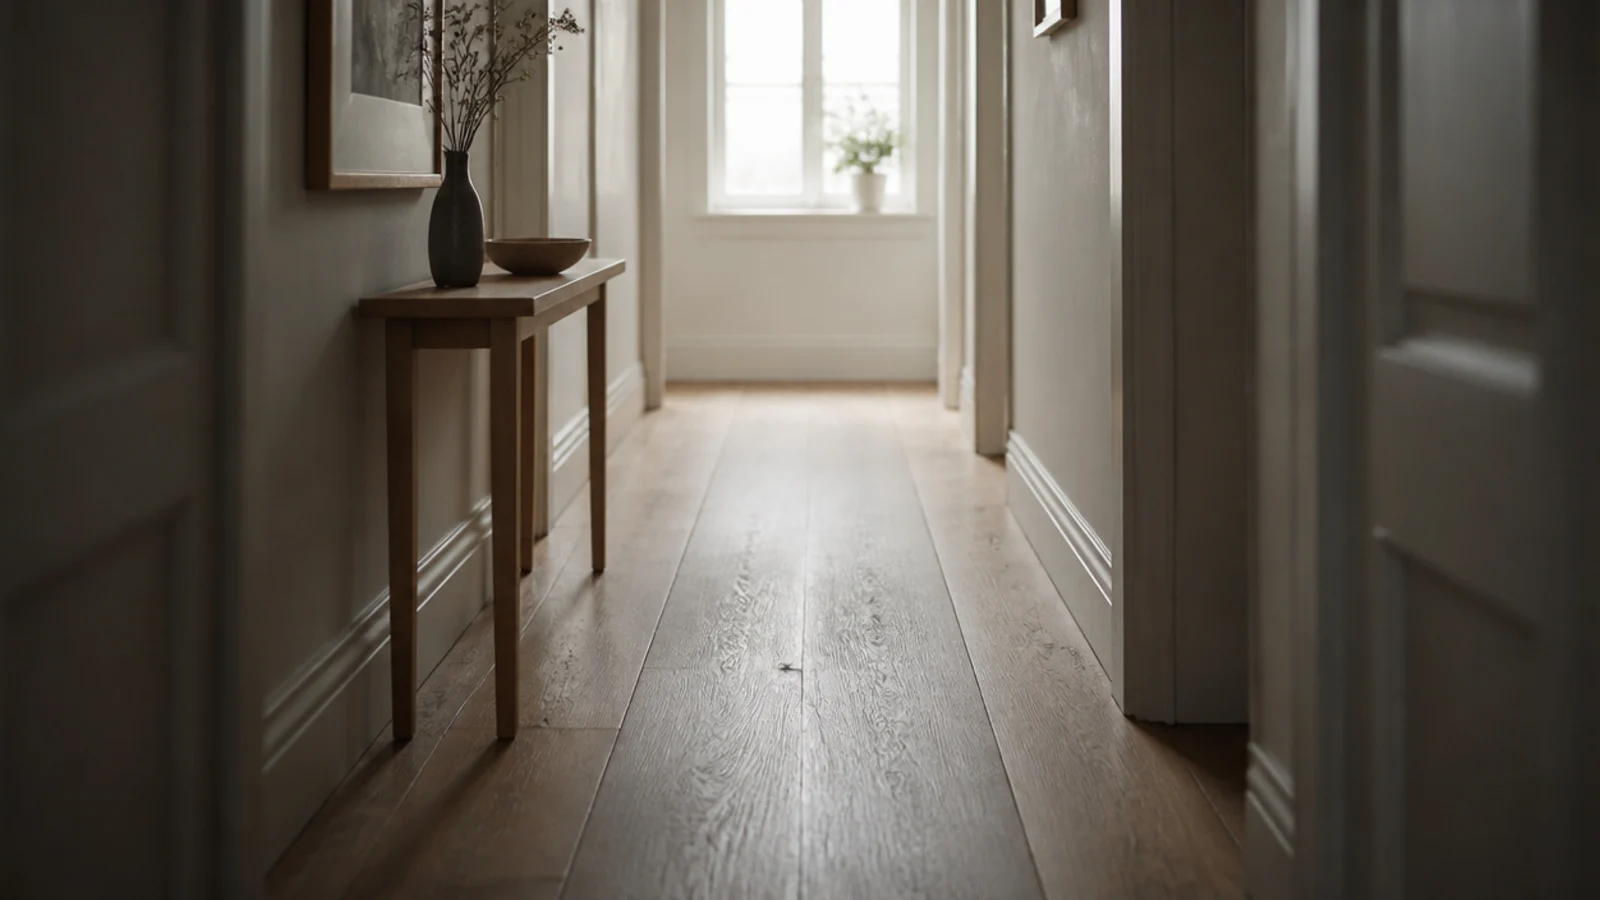
17. One wide feature plank down the centre
Run a single board of 250 to 300mm down the middle of a narrow room, with standard 150mm boards either side. It sets a clear centre line, makes a corridor feel deliberate, and uses one expensive board rather than a floor of them. Set it out from the centre of the door opening rather than the centre of the room.
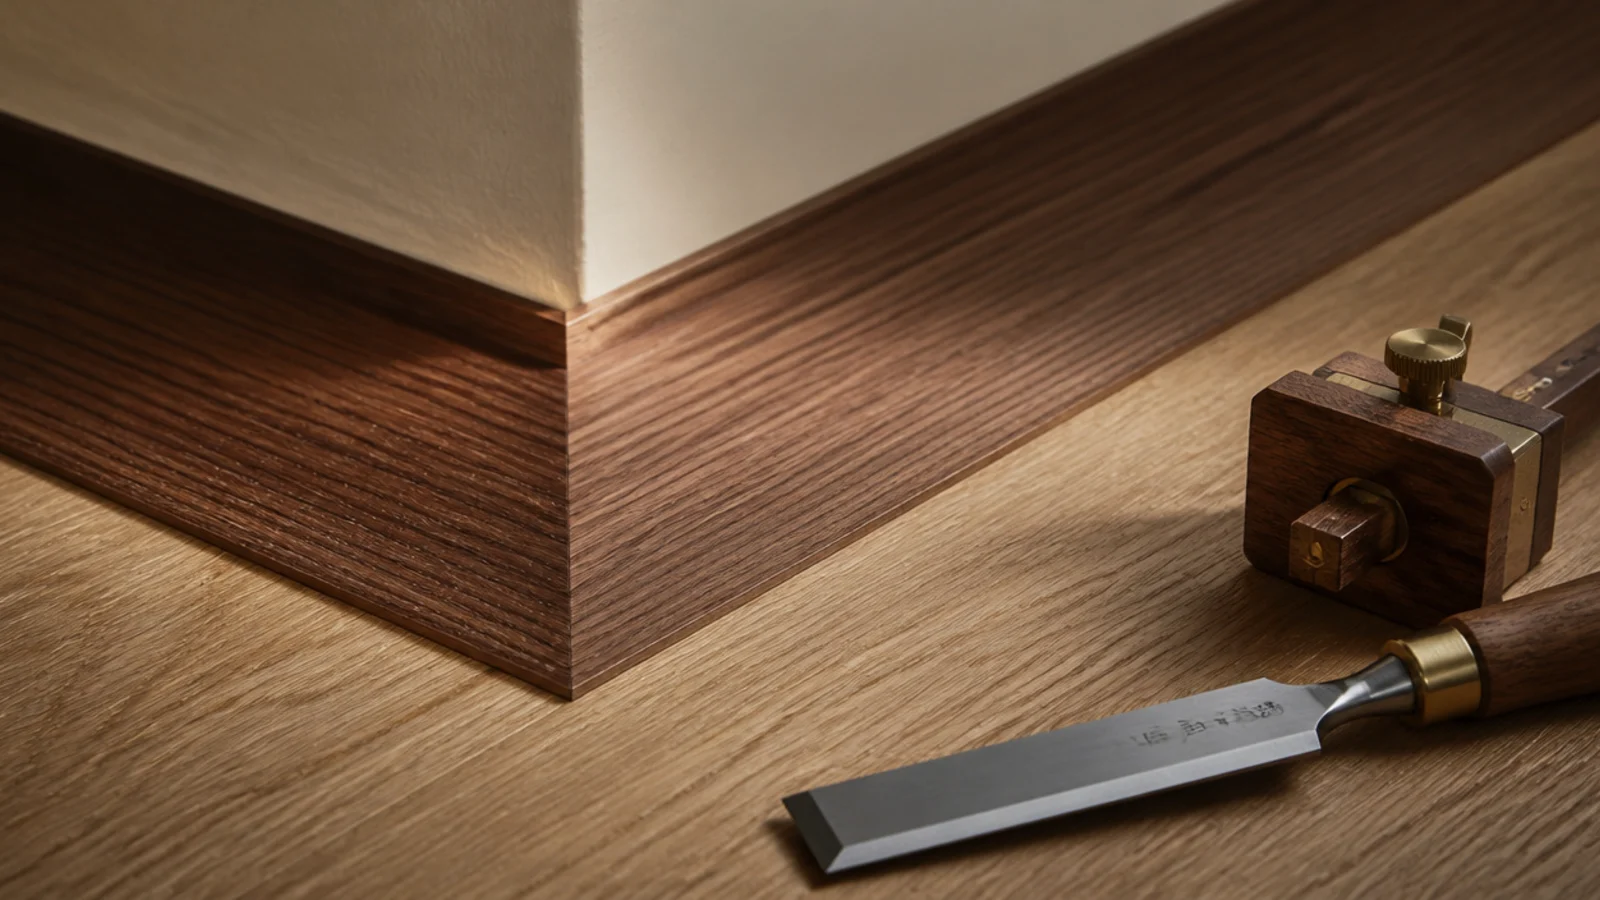
18. Mitre the border corners properly
A border butted at the corners looks like trim. The same border mitred at 45 degrees looks like joinery. It takes an extra ten minutes per corner and a sharp blade, and it is the single detail that tells you whether a floor was fitted by someone who cared. Mark, cut proud, and pare back with a chisel to the line.
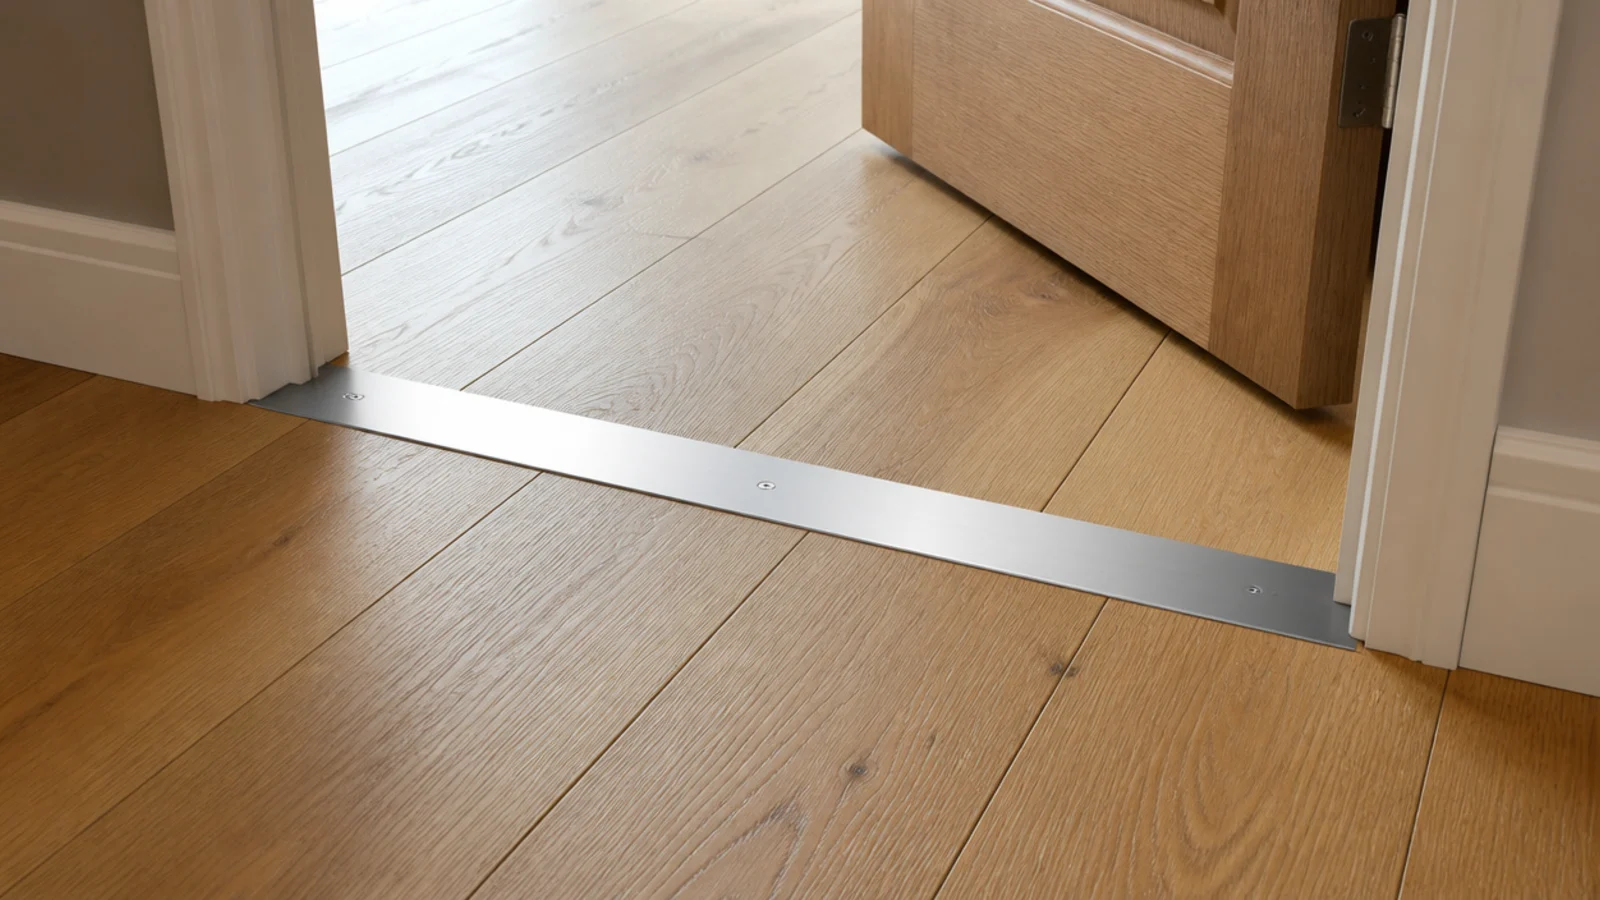
19. Detail the threshold flush, not as a ramp
Where two floors of the same height meet, use a flush strip set dead level rather than a domed ramp profile screwed over the top. Flush strips cost a little more and need the two floors finished at exactly the same height, which is a set-out decision rather than a fitting one. Ramps trip people and collect dirt along both edges.
20. One tone, wall to wall, as the design decision
Sometimes the strongest design is refusing all of the above. A single species, one tone, one direction, running unbroken through every room on a level, with no borders and no thresholds, makes a modest flat read considerably larger. Choose it deliberately and spend the saved budget on longer boards and a better finish instead.
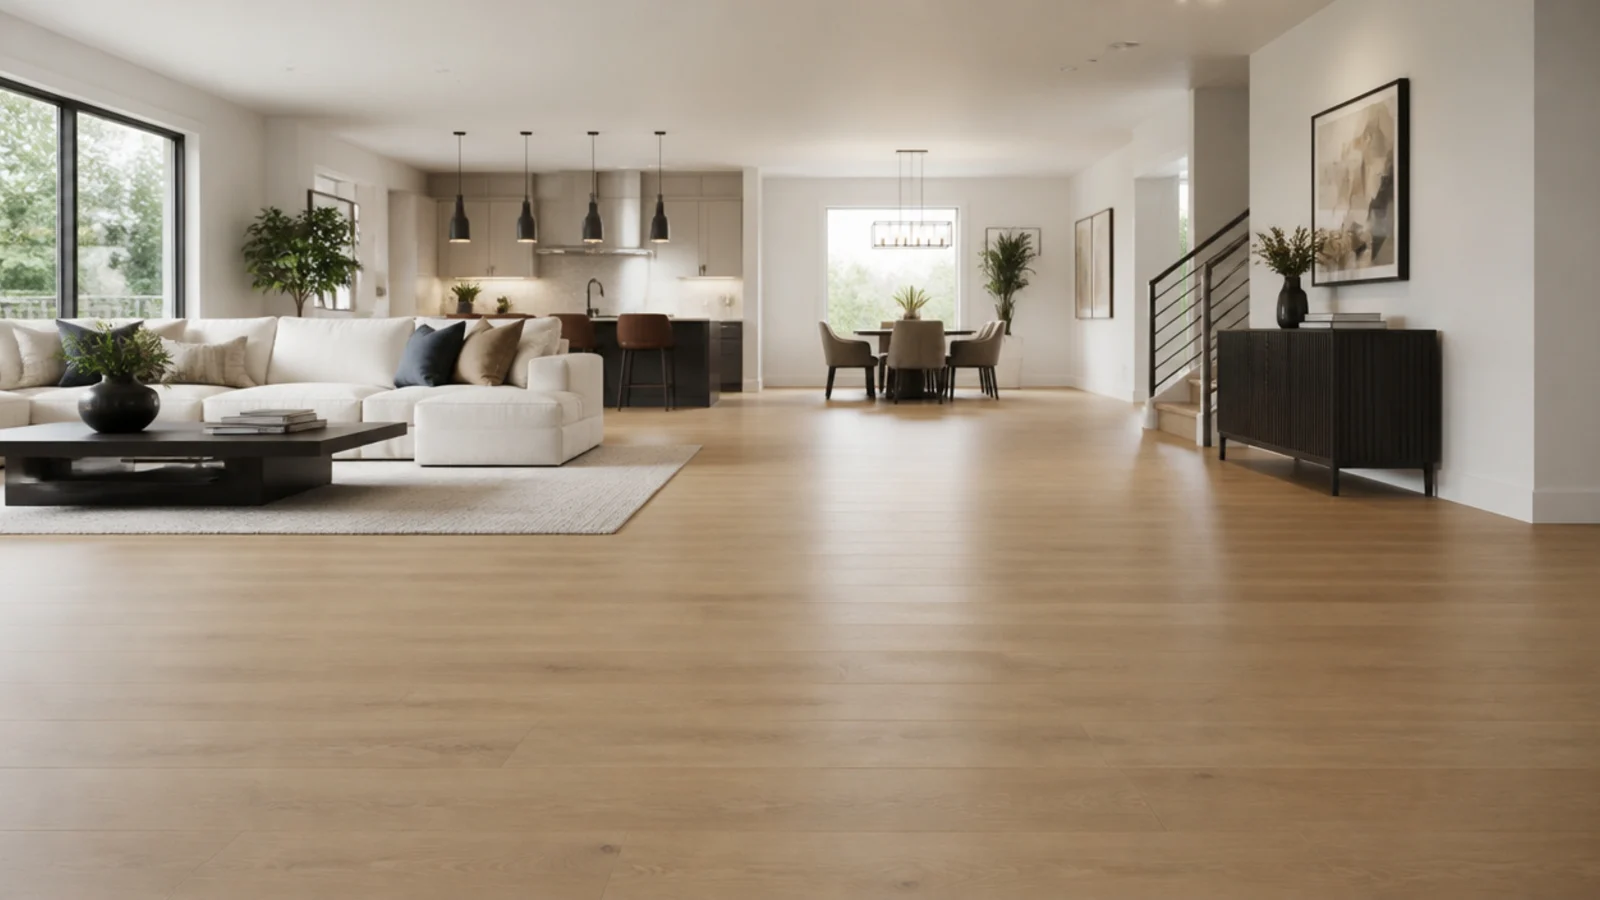
A designed floor wants furniture that respects the lines it draws — a low table centred on a border, seating set square to the boards. Modern centre table proportions covers the sizing, and mirror placement is worth planning at the same time, because a mirror opposite a window doubles the raking light that shows off a border.
Mistakes to Skip
- Adding a border that is too narrow. Under 60mm it reads as a fitting error rather than a decision, and there is no room left for a mitred corner to look convincing.
- Changing board direction in the middle of open floor. It cuts the space in two visually and makes both halves feel smaller than a single continuous run would.
- Ordering only five percent extra for a diagonal or bordered floor. Both eat offcuts, and running short of a batch mid-job means a visible tone change across the room.
- Fitting a domed threshold ramp between two floors of equal height. It is a trip hazard, it collects grit along both edges, and it undoes a set-out that was otherwise perfect.
Frequently asked questions
How wide should a wood floor border be?
Seventy to one hundred and twenty millimetres for a single border in a normal room, scaled up toward two hundred in a large hall. A border narrower than about sixty millimetres reads as a mistake rather than a decision, and it leaves no room for a mitred corner to look convincing.
Does a diagonal floor waste more material?
Yes. Allow ten percent extra for a forty-five degree lay against five percent for a straight run, and fifteen percent for herringbone. Diagonal cuts also take longer to fit, so labour typically rises by a quarter compared with laying the same room square to the walls.
Can you mix two wood tones in one open plan?
You can, if the change lands on an architectural line — a doorway, a step, the edge of an island — rather than in open floor. Keep both tones in the same undertone family and separate them with a flush metal strip or a border, never with a raw butt joint.
What is an inlay strip and where does it go?
A narrow line of brass, steel or contrasting timber set flush into the floor, usually six to twelve millimetres wide. It marks a zone change in open plan, follows the line of an island or a threshold, and gives an open floor an edge without adding a physical trip step.
Should floorboards change direction between rooms?
Only deliberately, and only at a door. Turning the boards ninety degrees in a doorway makes each room read as its own space, which suits period houses. In an open plan it fractures the floor and makes both zones look smaller, so run one direction throughout instead.
Want more like this? Browse all 15 wooden flooring guides — they all use the same measurements and budget tiers.
Pin it for later
Save this to your Wooden Flooring board
Pin it now so it is waiting for you when the tape measure comes out — and so the next person hunting for this idea can find it too.
Save this pinKeep going
More ideas worth saving while you have the tape measure out.