Utility Room Ideas · Listicle
25 Small Utility Room Ideas Layout Plans That Work

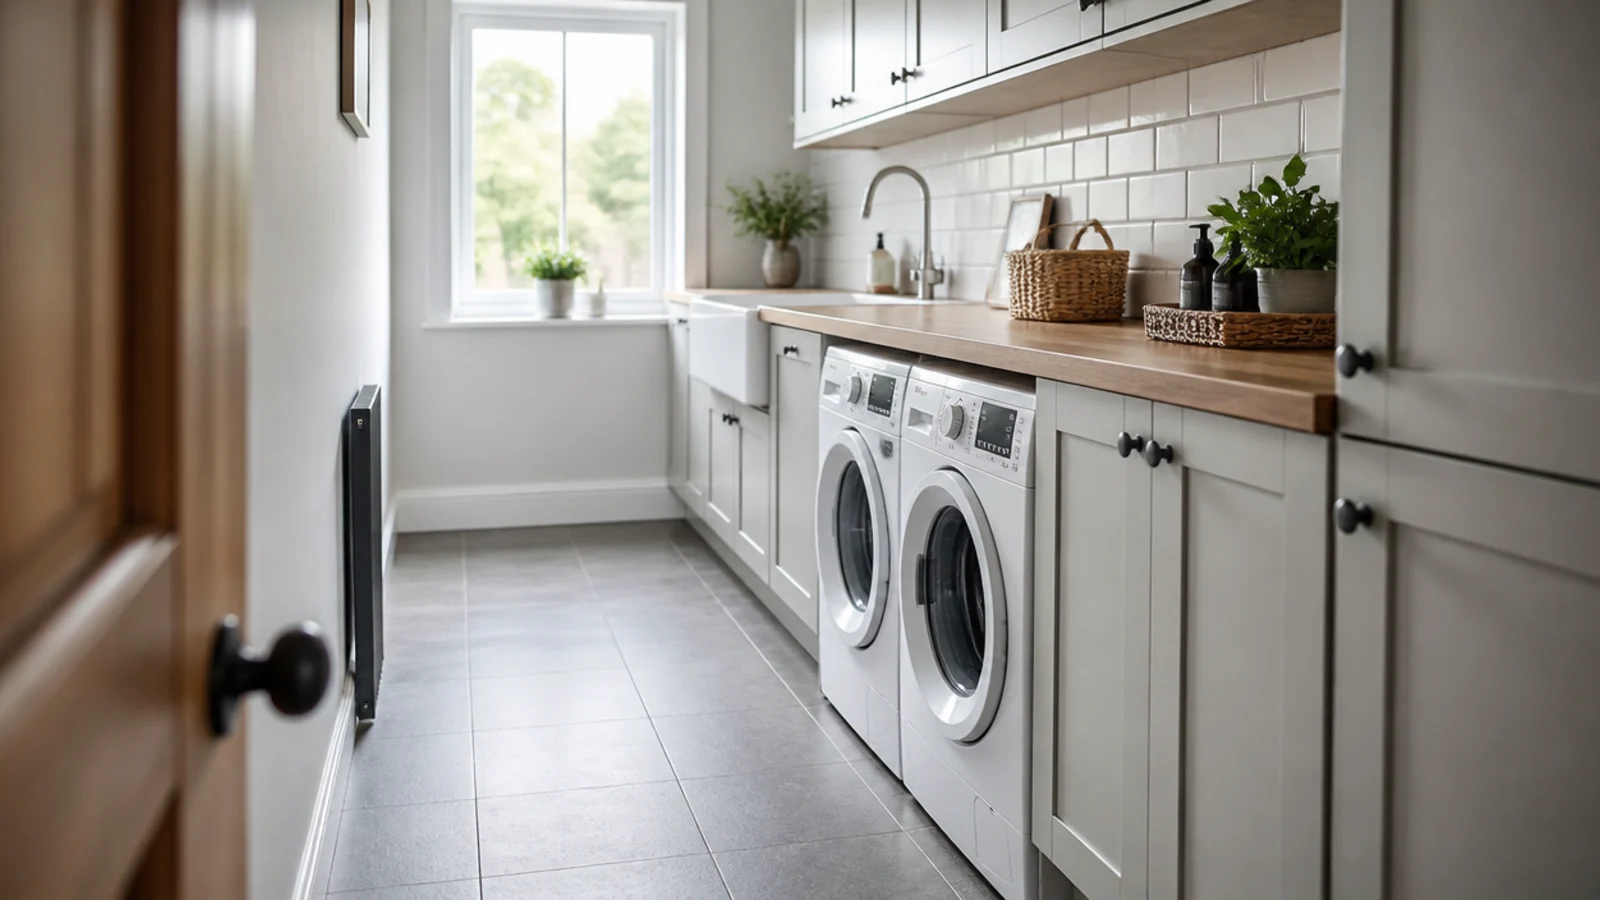
A plan is just four numbers repeated around a room: how much wall each thing needs, how much floor you have to walk on, how far every door swings, and how high the worktop finishes. Get those right and almost any shape works. The small utility room ideas layout plans below are drawn from rooms between 30 and 60 square feet, and each one names the wall run it needs so you can test it against your own space with a tape measure before you commit to a single cabinet.
In this guide27 sections — tap to openHide
- 1.What small utility room ideas layout plans must clear
- 2.The single run along one wall
- 3.The galley with two facing runs
- 4.The L-shape that turns one corner
- 5.The U-shape in a genuinely square room
- 6.Machines on the short wall, storage on the long
- 7.Stack in the corner, worktop across the rest
- 8.The door-behind-door plan
- 9.Put the sink at the end of the run
- 10.Split the room into a wet end and a dry end
- 11.The pass-through between kitchen and back door
- 12.The corridor plan you walk through daily
- 13.Run the worktop unbroken over both machines
- 14.Stacked pair plus one full-height cupboard
- 15.Hold sixty inches for a side-by-side pair
- 16.Put the tall cupboard at the door end
- 17.Keep the window wall for the worktop
- 18.Angle a corner sink into a dead corner
- 19.Stop a peninsula at forty-two inches
- 20.Fold the second surface down in a galley
- 21.Rehang the door to open outward
- 22.Choose a pocket door under forty square feet
- 23.Place the drying zone under the extract
- 24.Boots at the door, laundry at the far end
- 25.Route the services along one wall only
- 26.Leave the boiler wall out of the plan
- 27.Mistakes to Skip
What small utility room ideas layout plans must clear
Four figures decide every arrangement here.
Wall run. A side-by-side pair of full-size machines needs 54 to 60 inches, because each 27-inch machine wants a 29-inch opening with an inch of air per side. Slim 23.5-inch machines bring the same pair down to around 50 inches. Stacking reduces that to a single 29-inch opening and is the biggest single gain available in a small plan.
Depth. Allow 36 to 40 inches from the finished wall: 30 to 34 inches of machine plus four to six behind for hoses, valves and the vent. Base cabinets and a worktop run 24 to 25 inches, so an appliance run always projects further than a cabinet run and needs planning as its own depth.
Walkway. Thirty-six inches of clear aisle is the minimum, 42 if two people use the room or if an appliance door opens across it. A front-loader door alone swings 20 to 24 inches.
Height. The worktop finishes at 36 inches and takes an inch and a half itself, so machines going underneath must measure under 34 inches. Wall cabinets start 18 inches above the counter.
Test each plan below against those four before you fall for it. For the mistakes that follow from getting them wrong, the layout mistakes guide is worth reading alongside this one.
1. The single run along one wall
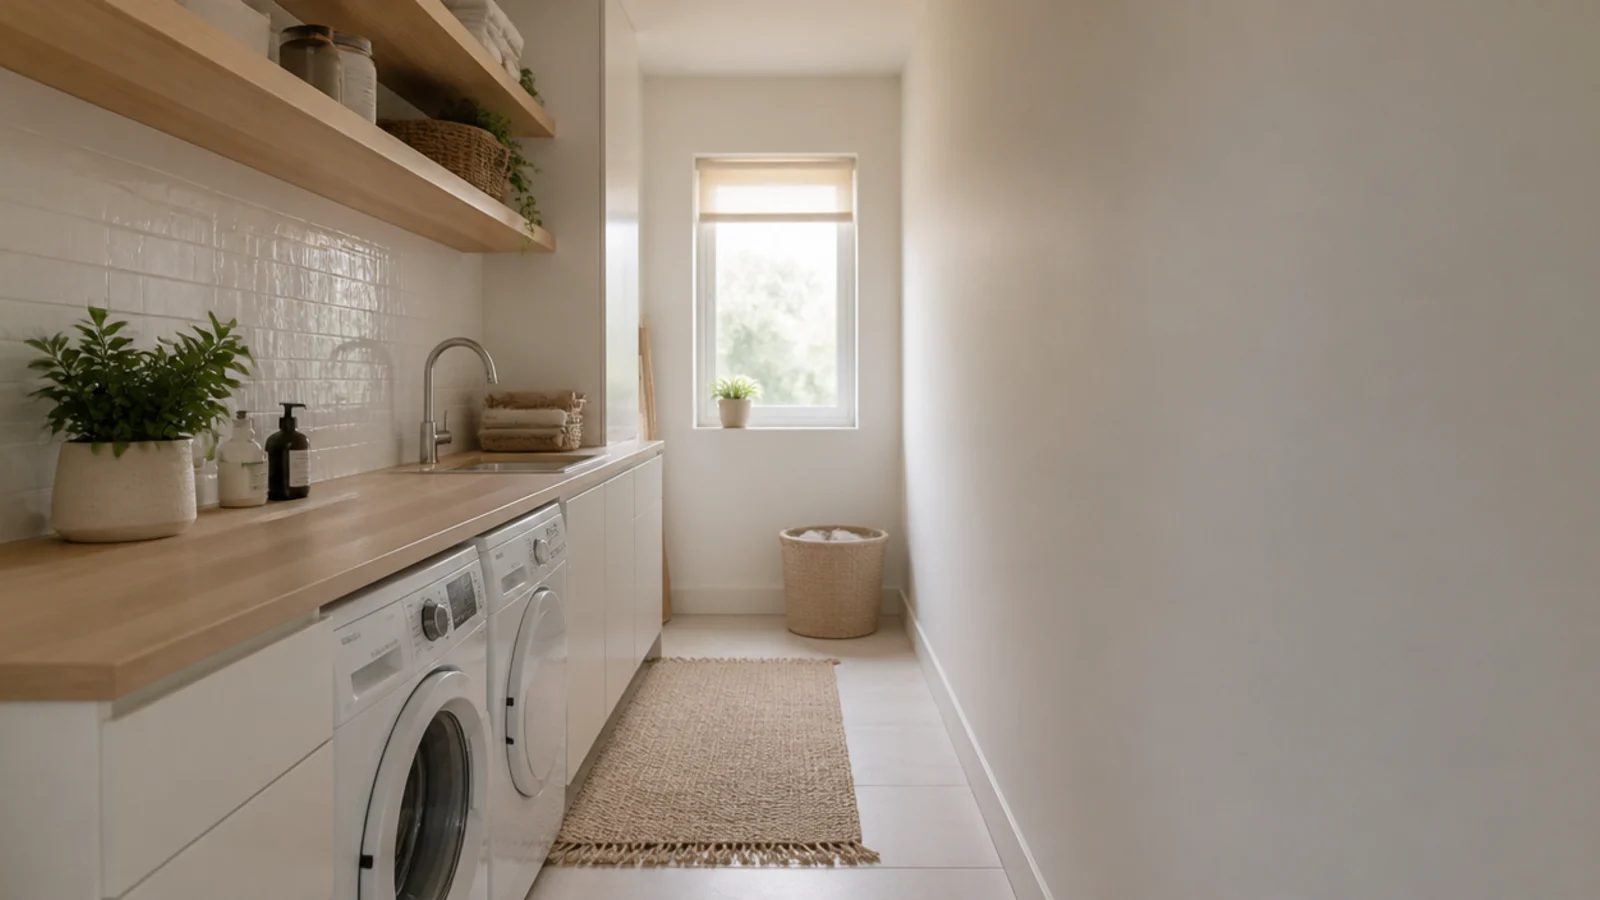
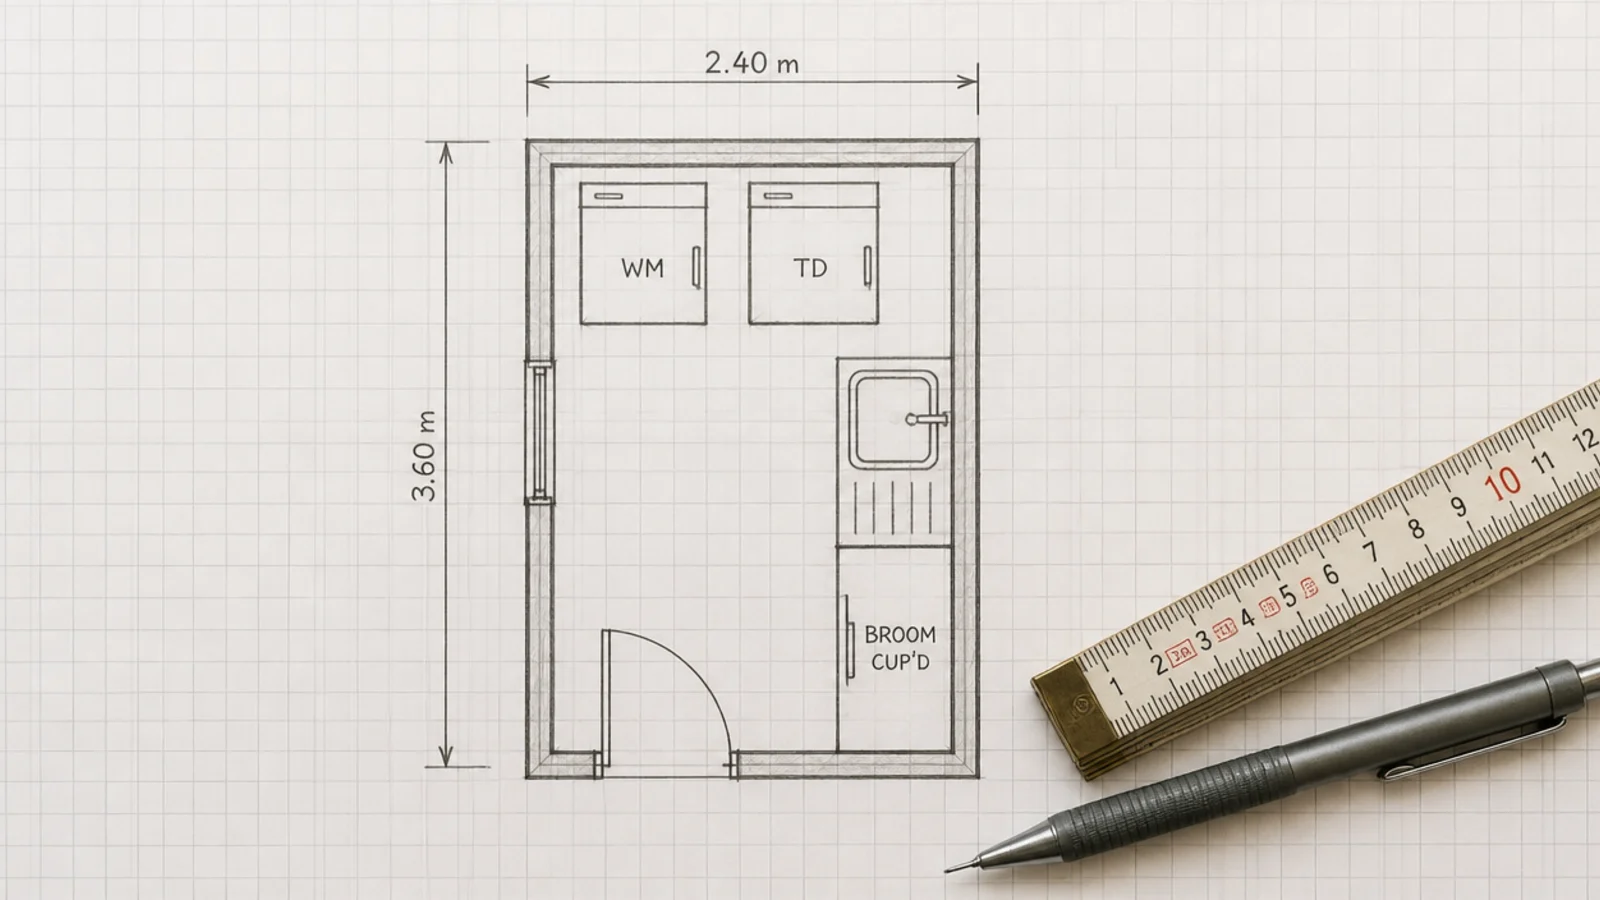
Everything on one wall, nothing on the other. It is the cheapest plan to build because all the plumbing, waste and power sit in one stud bay, and it leaves a full clear floor for a basket, an airer and a door. In a room under 40 square feet it is usually the correct answer rather than a compromise.
2. The galley with two facing runs
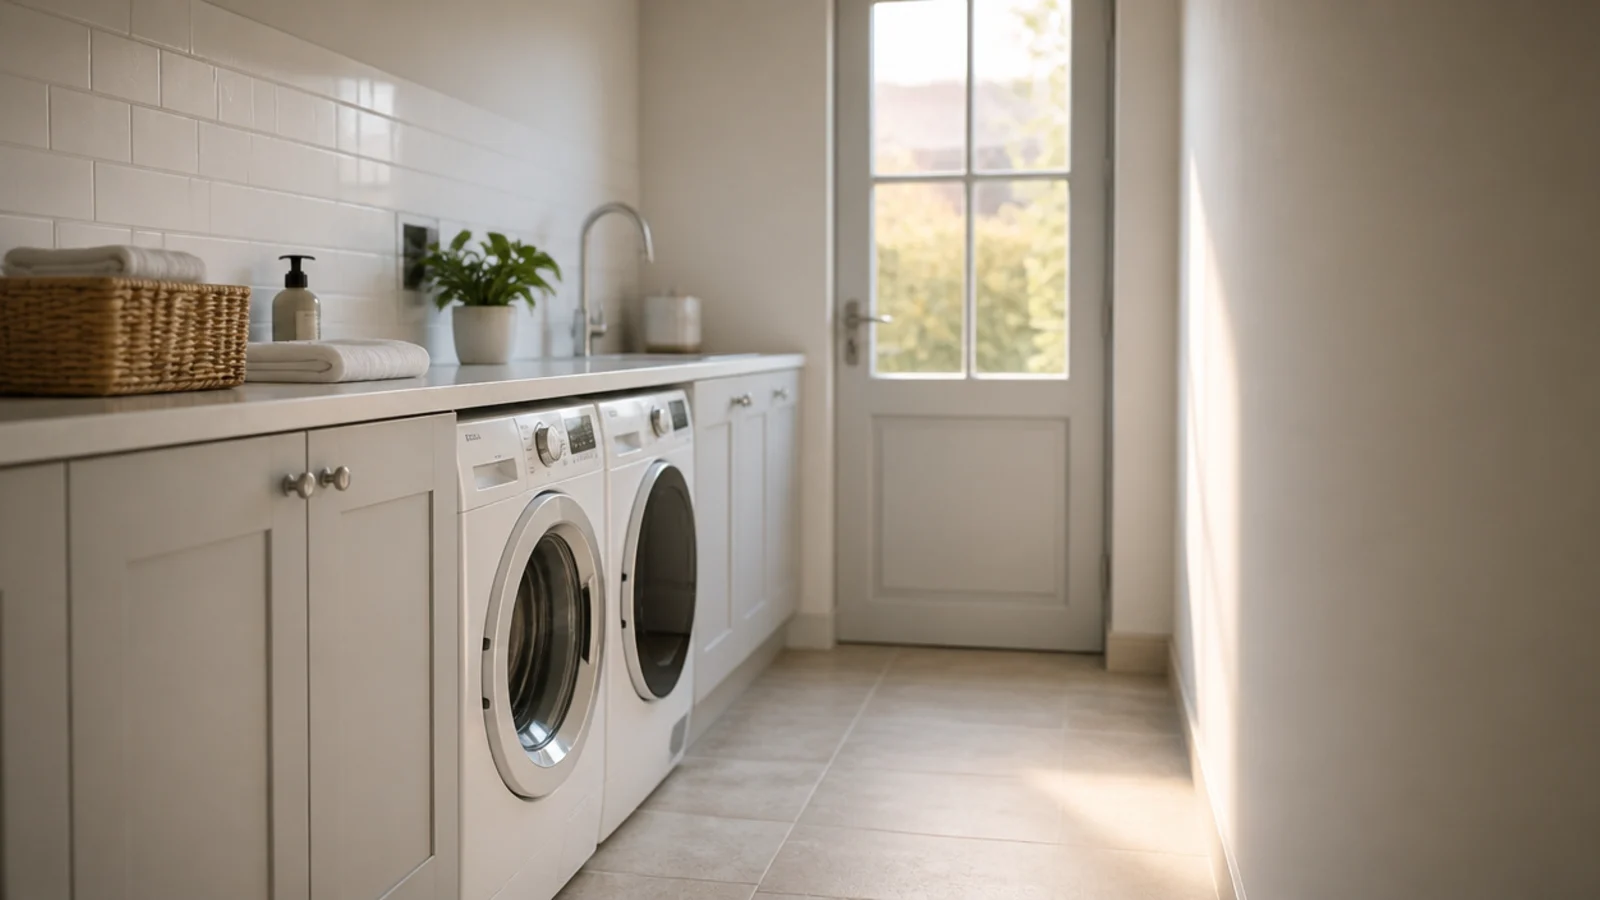
Two runs facing each other doubles the storage and demands the aisle. Thirty-six inches minimum between the cabinet faces, 42 if the washer door opens into it. Put the appliances on one side and shallow 12-inch storage on the other so the deep run only exists once.
3. The L-shape that turns one corner
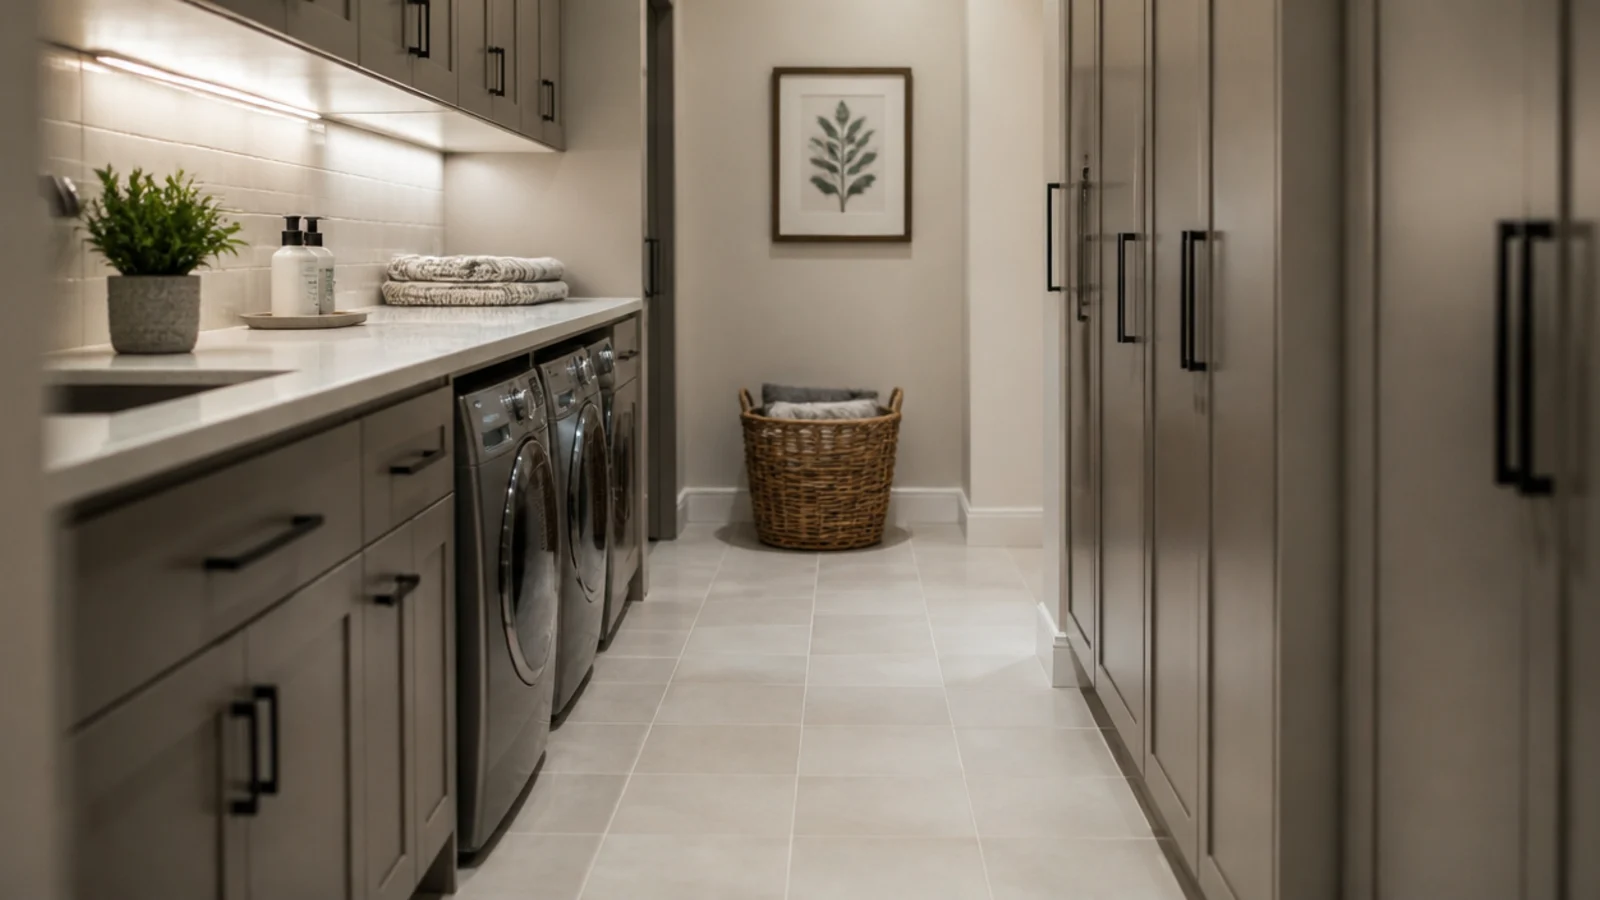
An L keeps two walls working and leaves the third free for the door or a window. The corner itself is the weak point — a standard base cabinet wastes about nine inches on the diagonal — so put the machines along the longer leg and use the corner for a sink or a fixed shelf rather than a drawer.
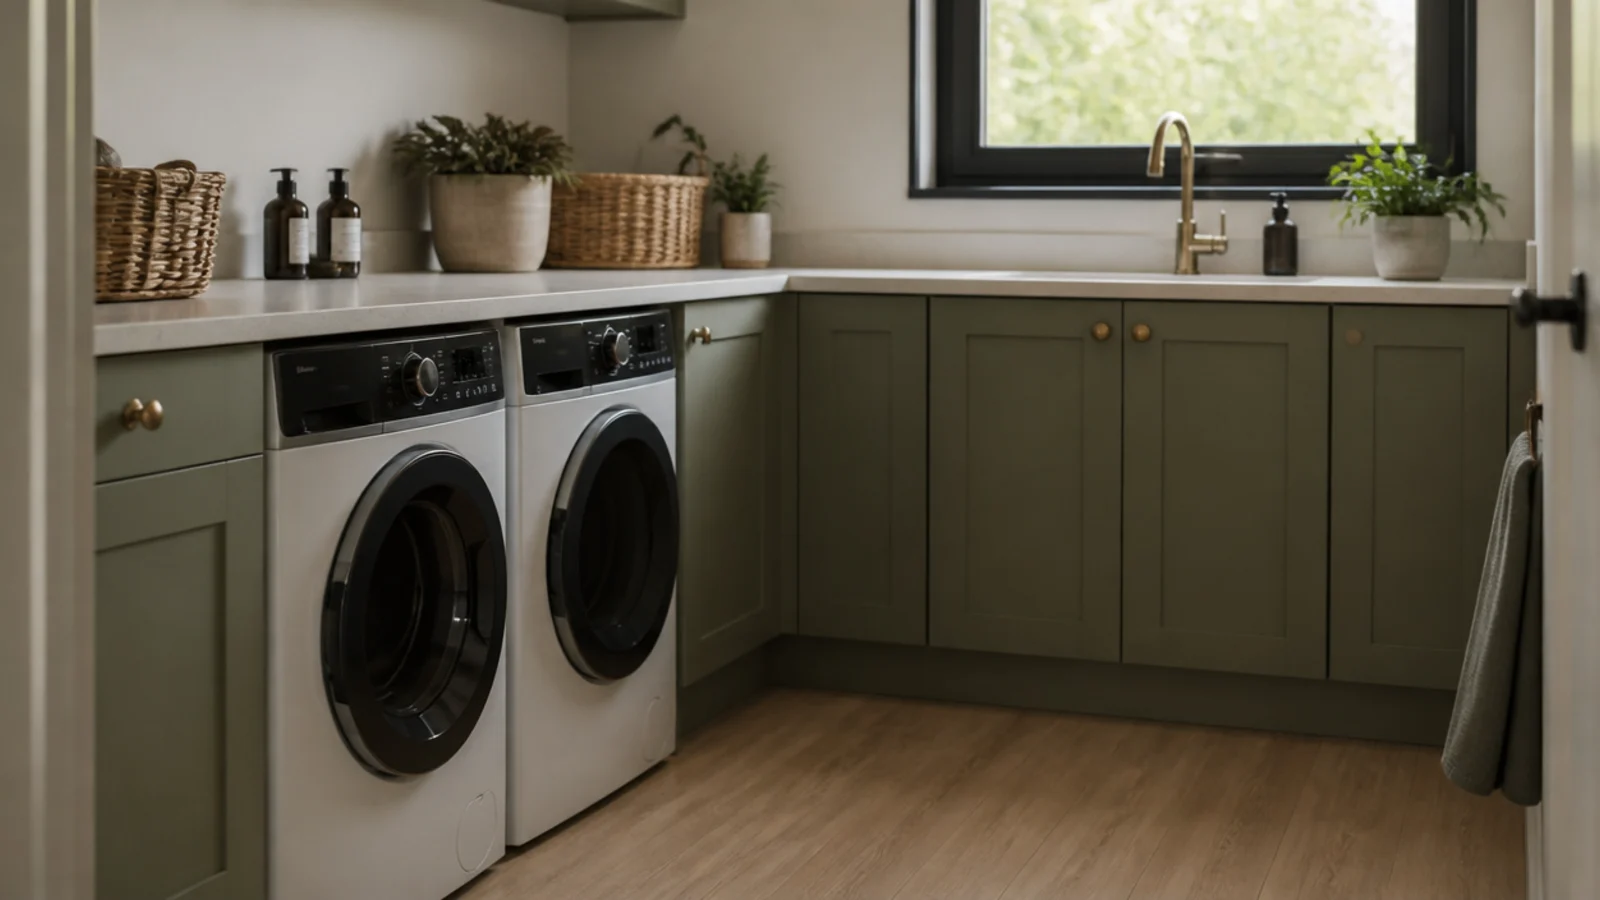
4. The U-shape in a genuinely square room
Three walls of storage only works if the room is close to square and at least 7 by 7 feet, because two facing runs plus a third at the end still need 36 inches of clear floor in the middle. Below that, the U turns into a room you can stand in but not turn around in.
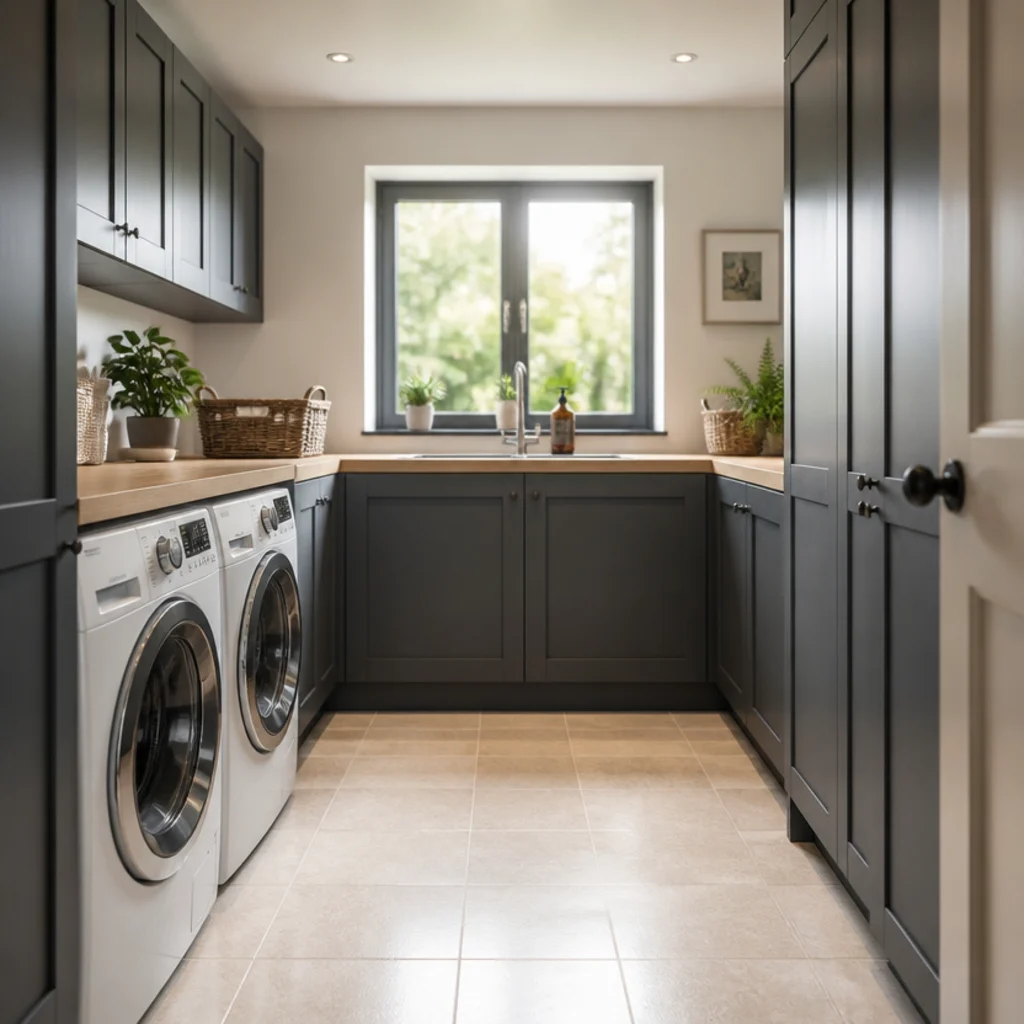
5. Machines on the short wall, storage on the long
In a rectangle, a side-by-side pair eats 54 to 60 inches wherever it goes. Putting it on the short end wall keeps the long wall available for shelving, hooks and a folding surface. The long wall is your best asset in a narrow room, and appliances are the worst possible use of it.
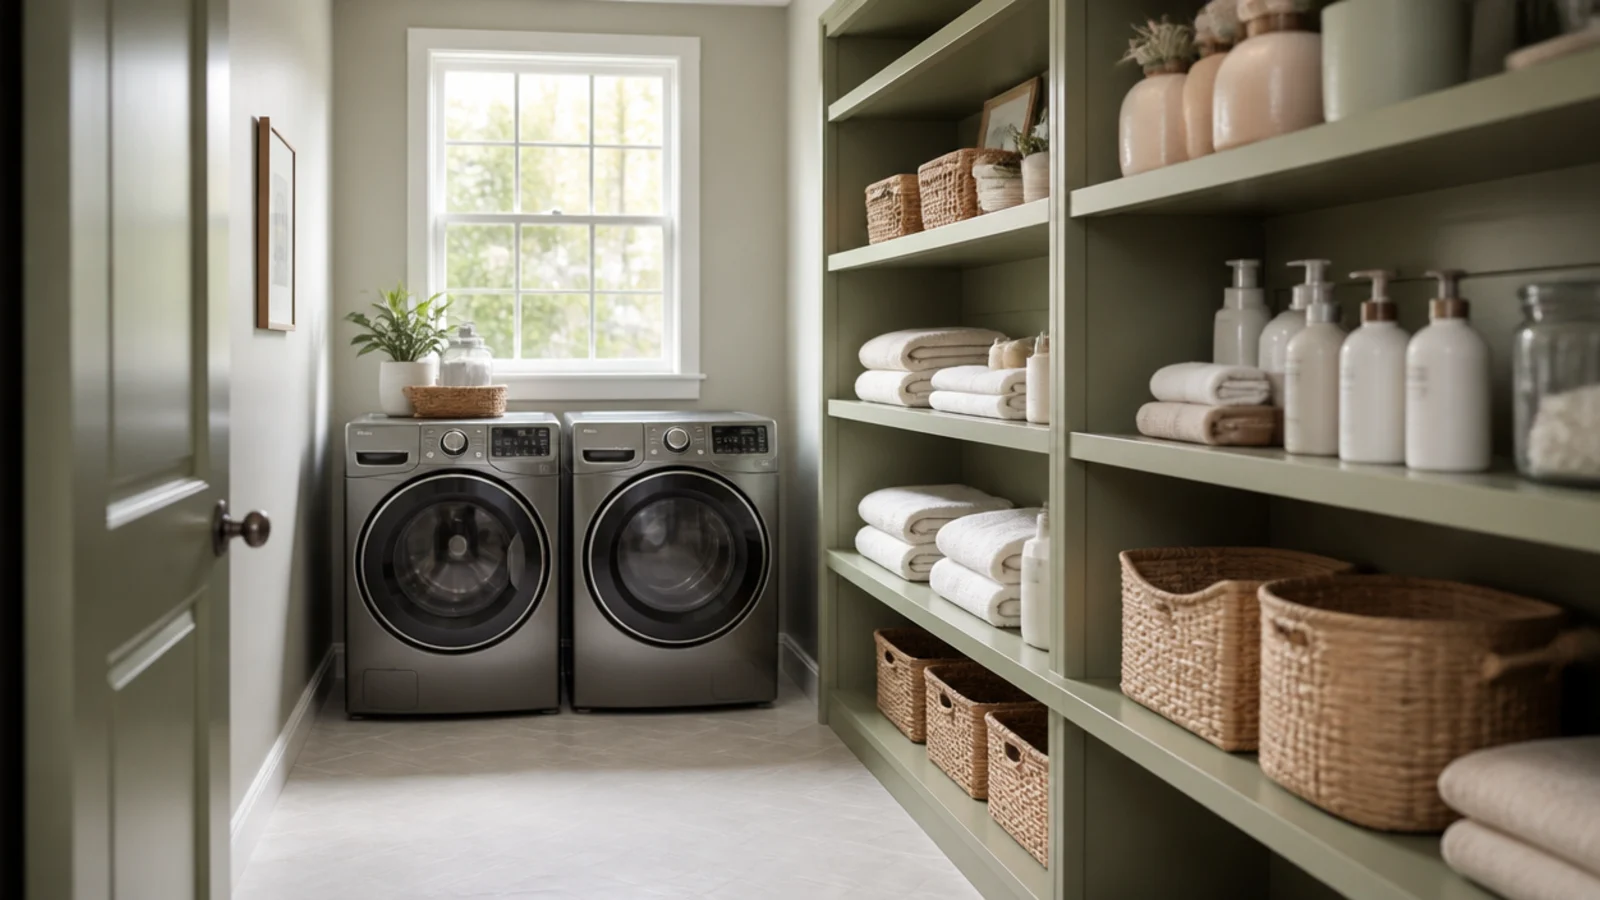
6. Stack in the corner, worktop across the rest
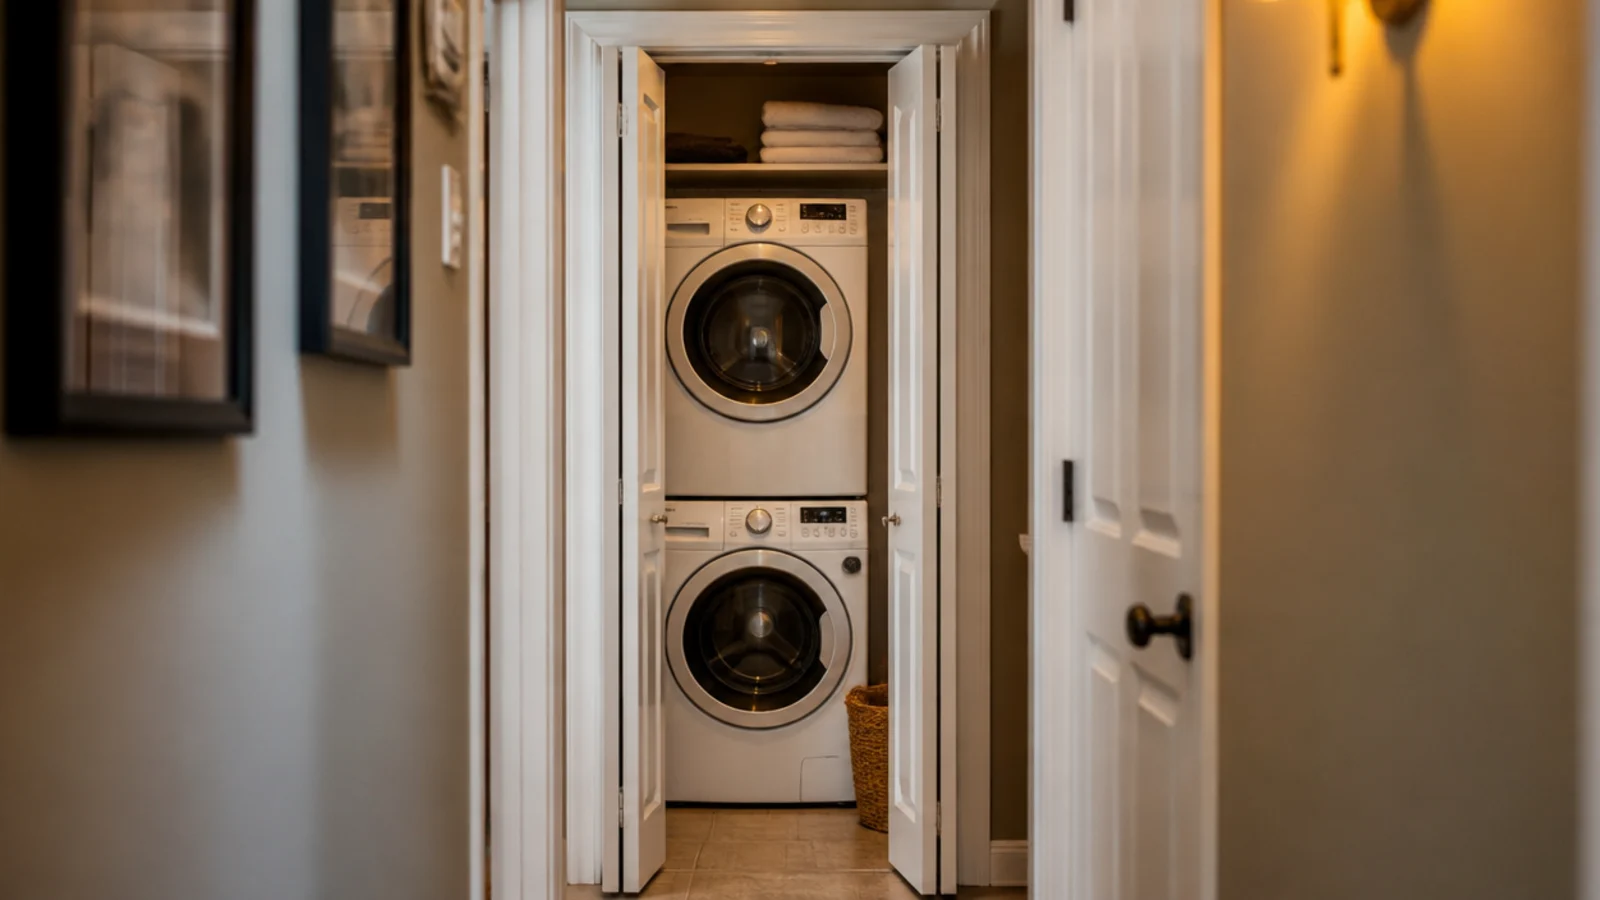
Stacking releases roughly 27 inches of wall, which is enough for two base cabinets and a real stretch of worktop. Put the stack in the corner furthest from the door, keep the manufacturer's bracket kit on it, and run the counter away towards the window. It is the highest-value move in a small plan.
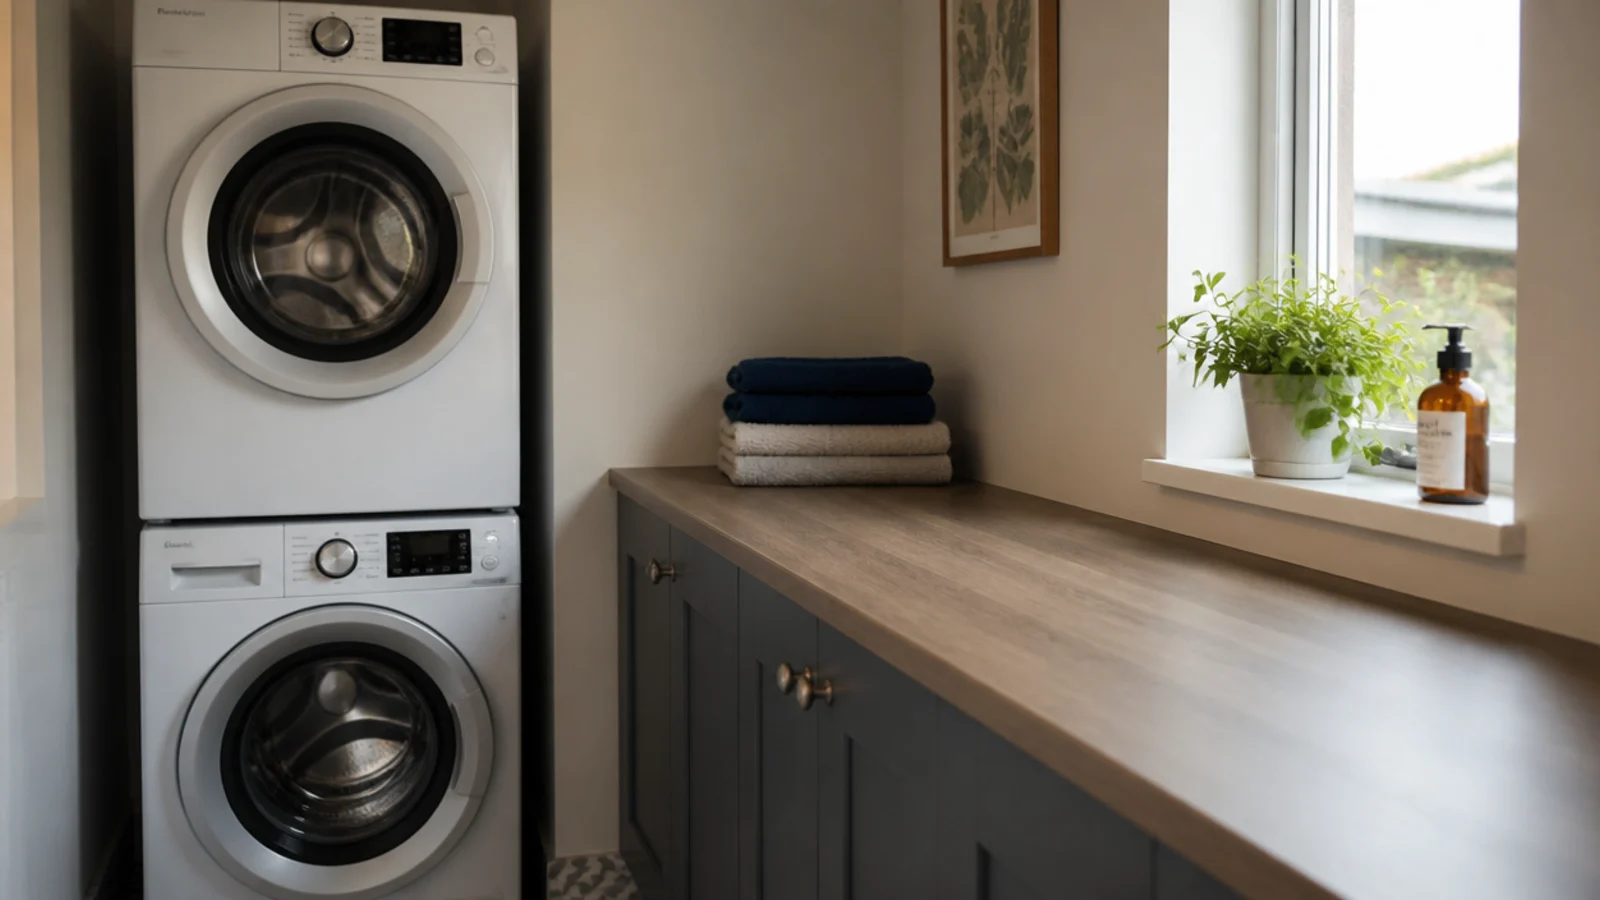
7. The door-behind-door plan
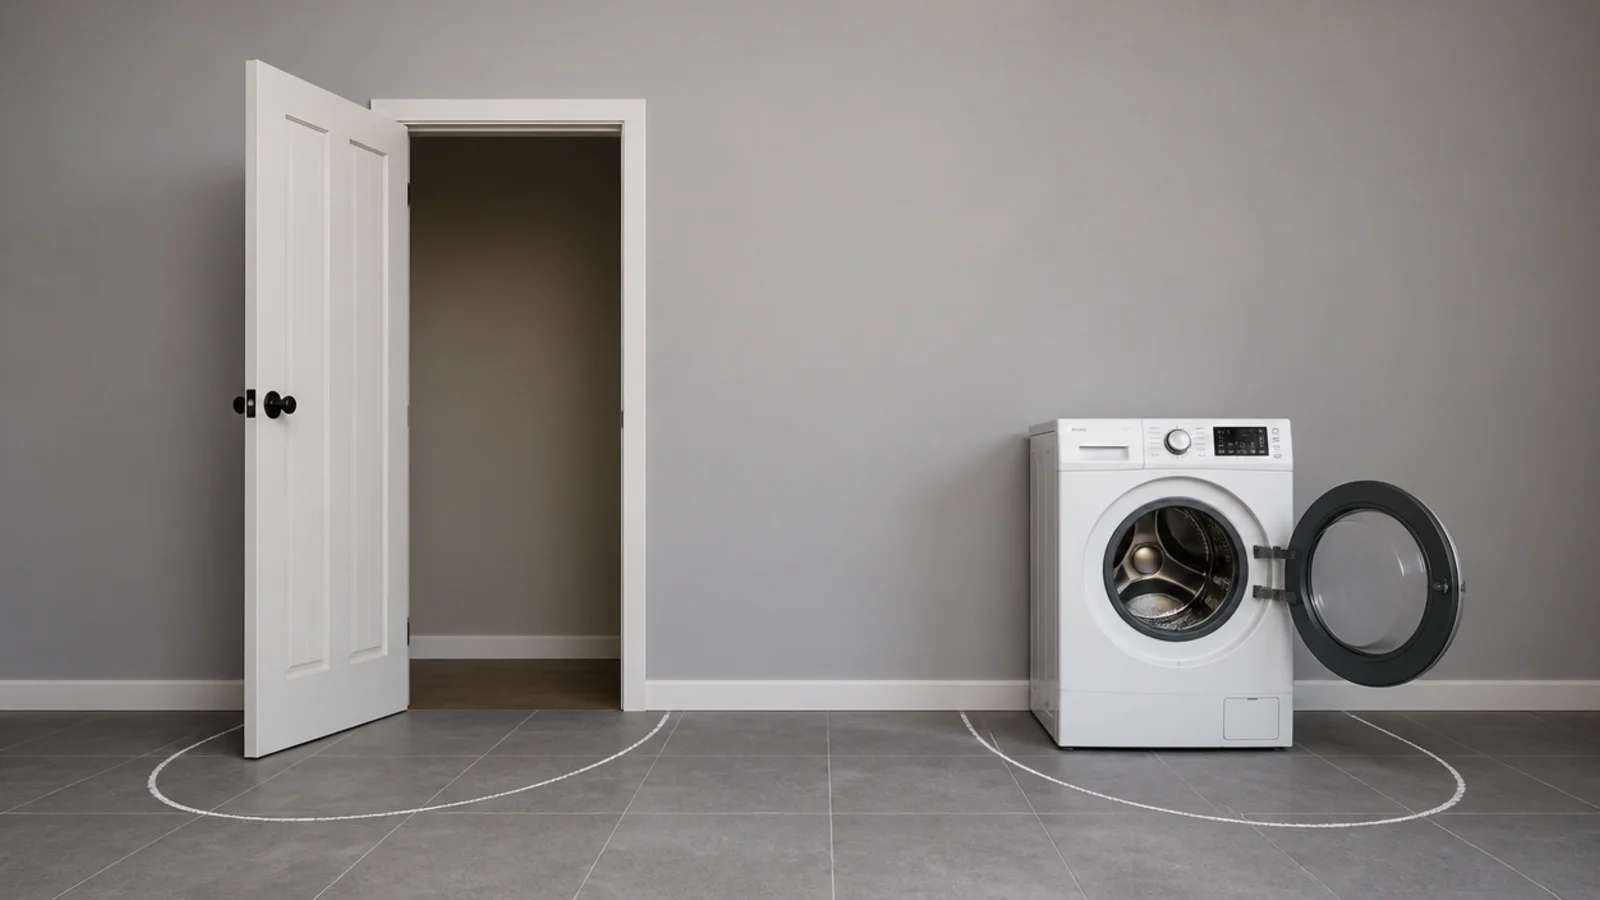
Draw both doors before you fix anything: the room door and the appliance door. Chalk the arcs on the floor and make them open away from each other. A 30 to 32 inch room door needs 30 to 34 inches of sweep, and the number of small utilities where those two arcs overlap is remarkable.
8. Put the sink at the end of the run
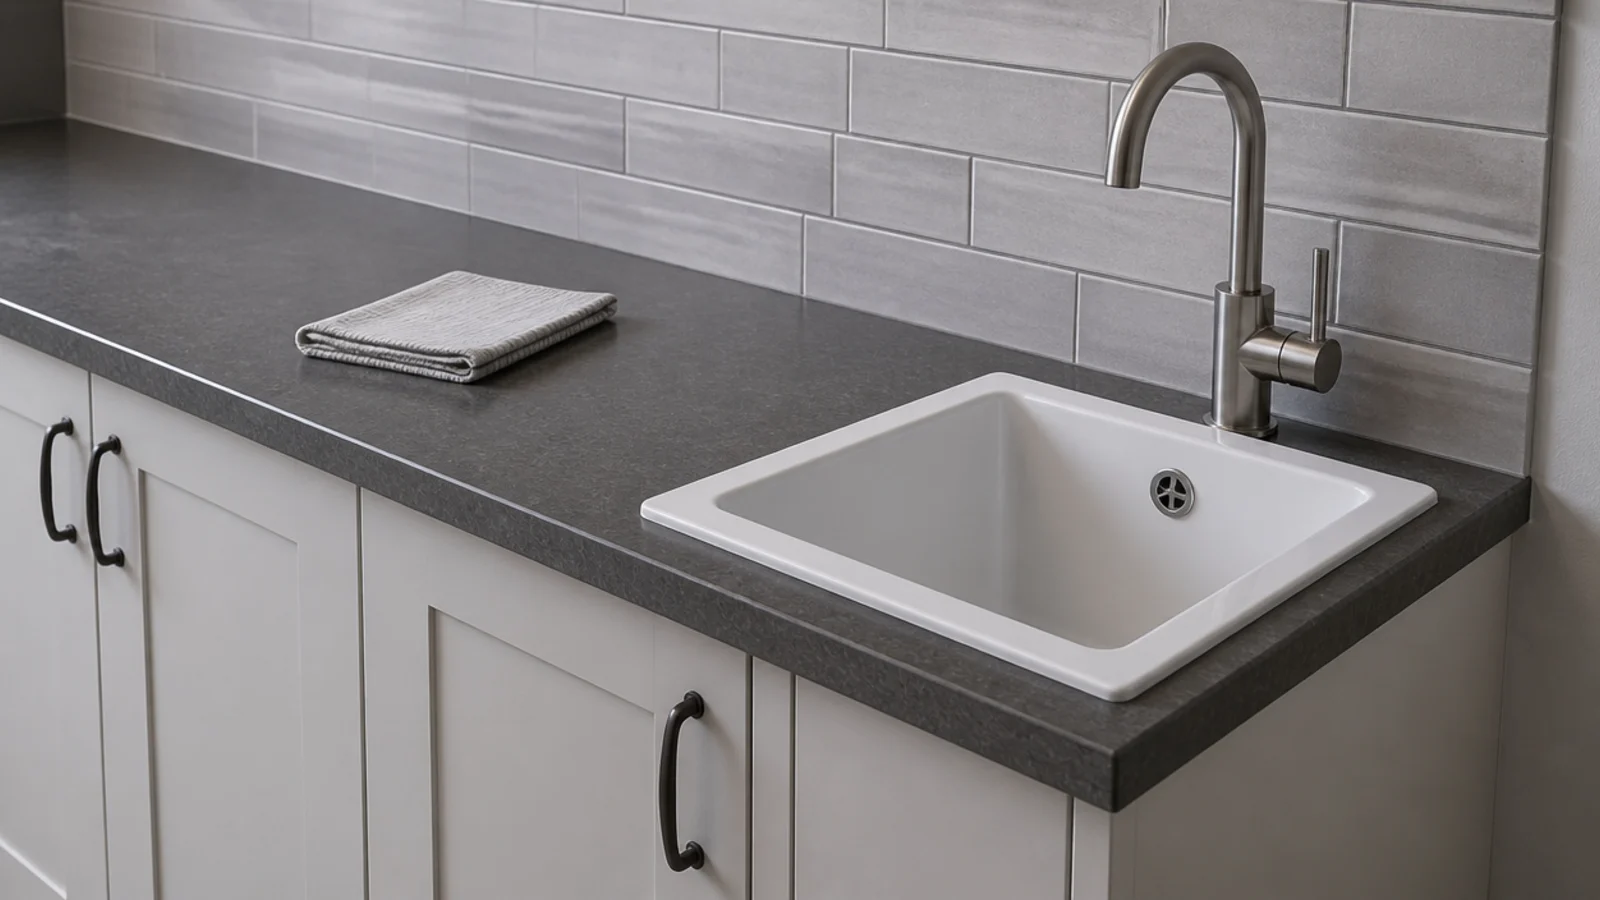
A 22 to 25 inch bowl needs 24 inches of clear counter beside it to drain onto. At the end of a run you get that in one piece; in the middle you get two stretches too short to fold on. End placement also groups the plumbing with the machines, which keeps the wet wall to one.
9. Split the room into a wet end and a dry end
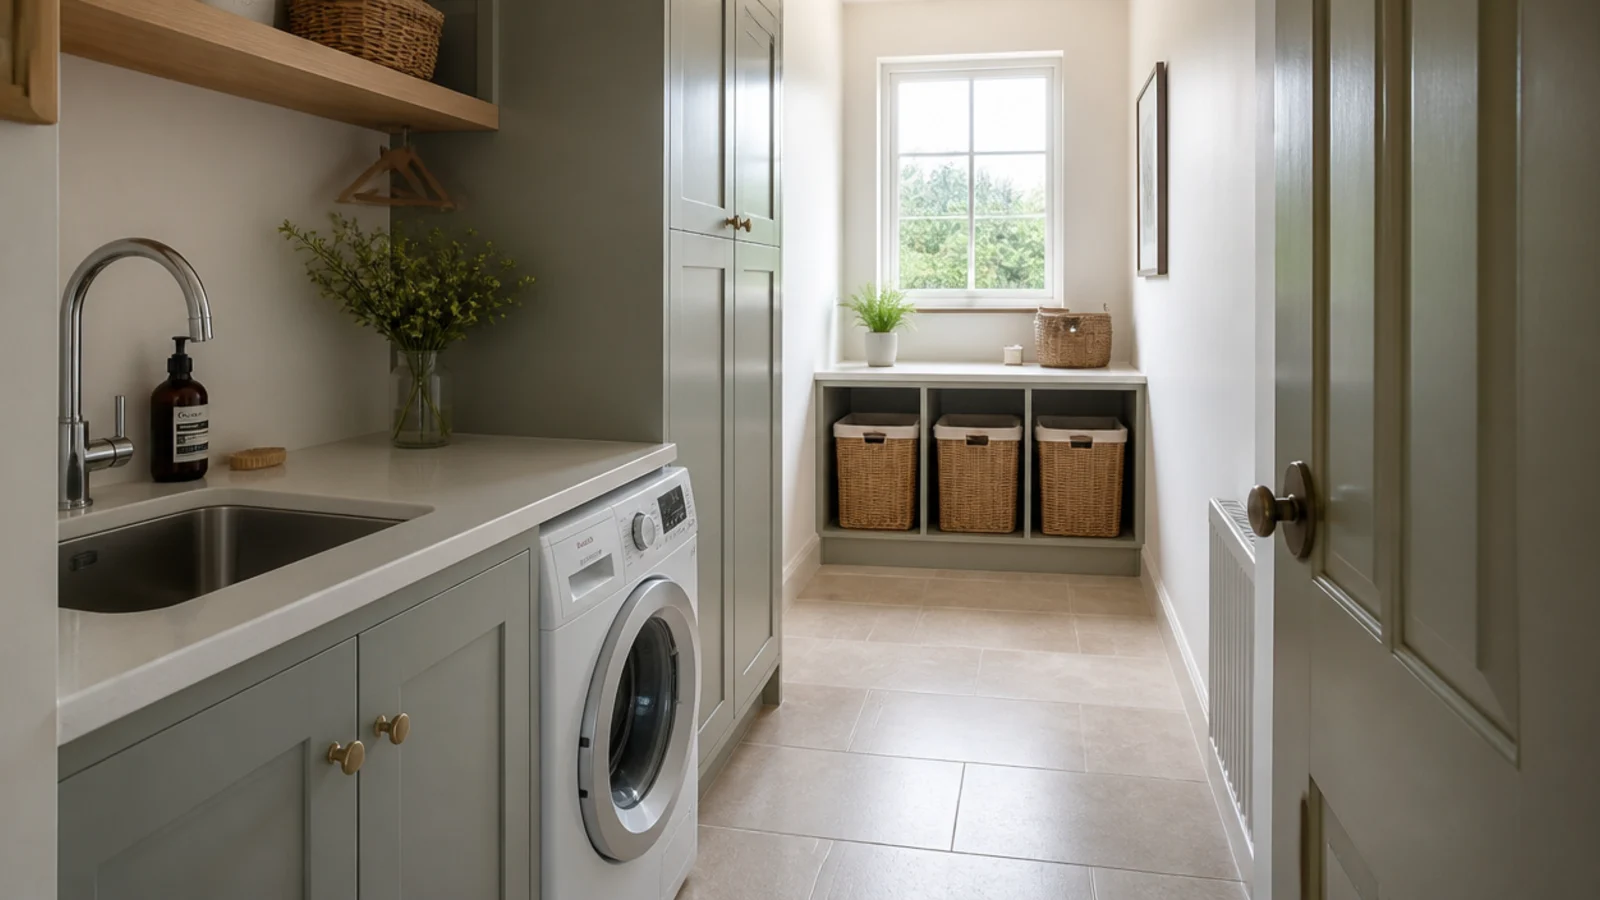
Machines, sink and waste at one end; folding, airing and storage at the other. It reads as a plan rather than a row of objects, and it keeps damp things away from the surfaces you fold clean laundry on. It also concentrates the plumbing, which is where the money goes.
10. The pass-through between kitchen and back door
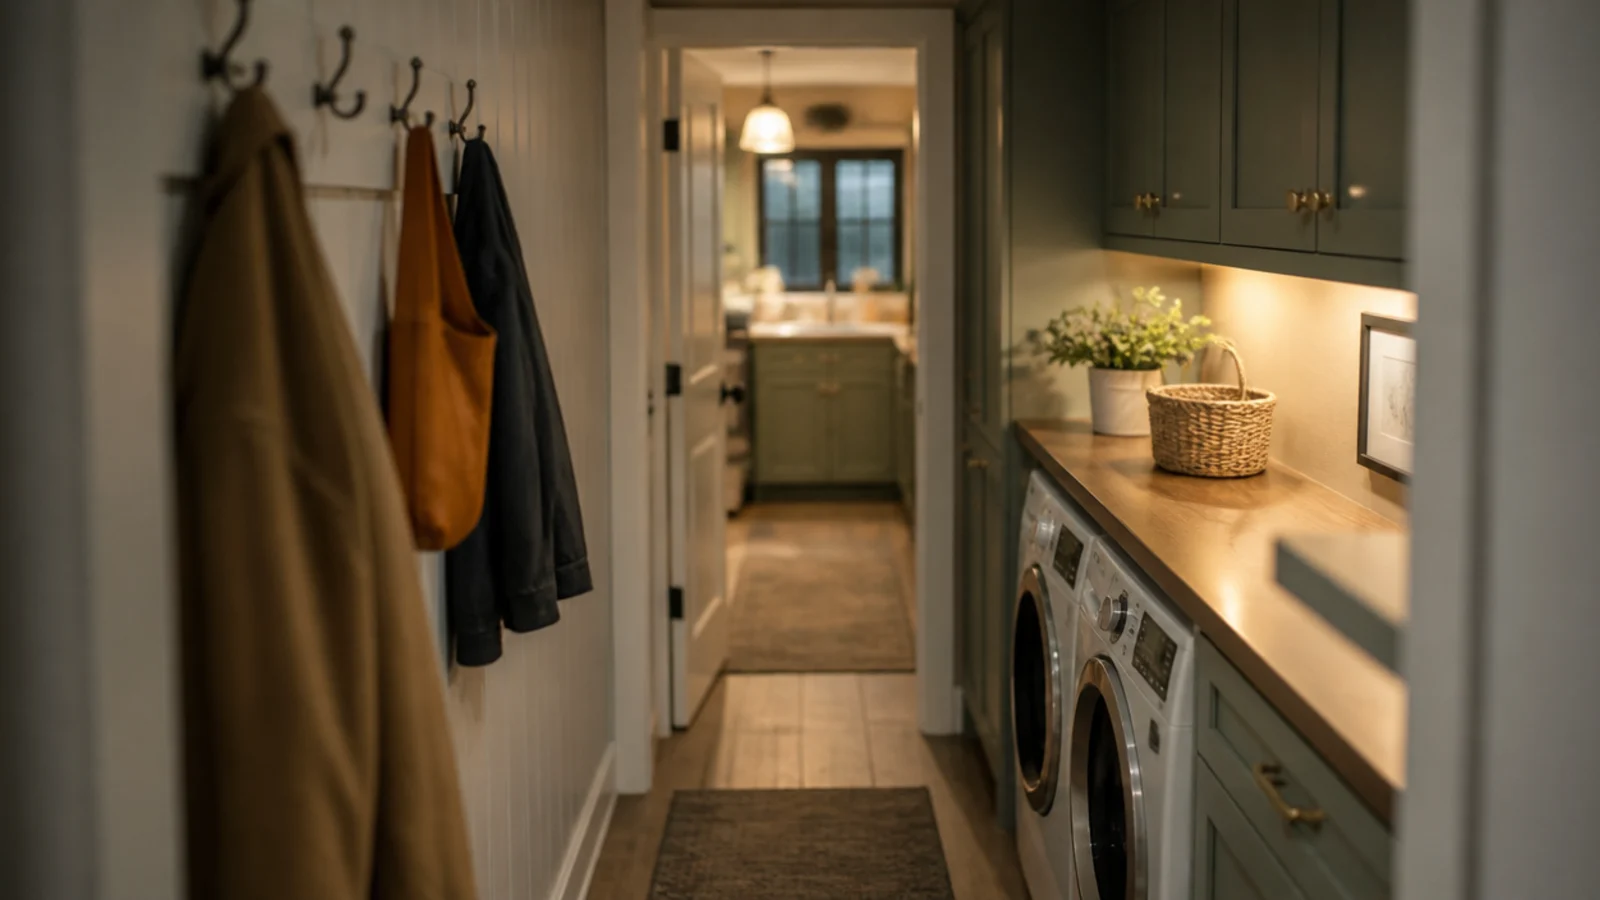
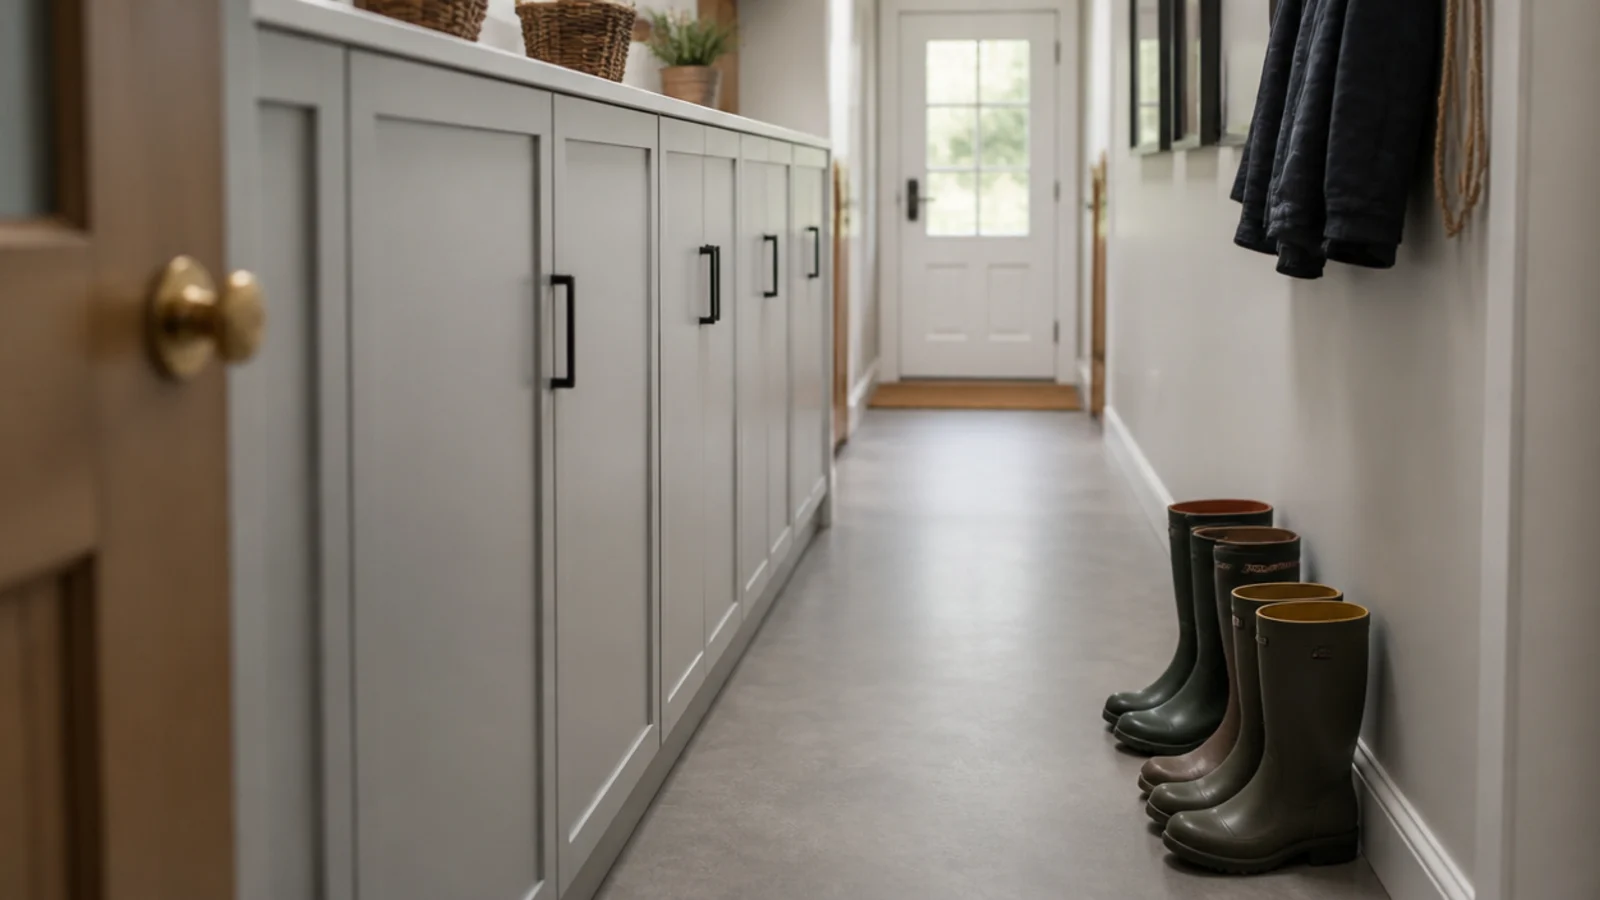
Where the utility is also the route in from the garden, treat it as a corridor first. Cabinetry on one wall only, 36 inches of clear passage, and hooks rather than furniture on the opposite side. Trying to make a thoroughfare into a two-sided room is how boot rooms end up unusable.
11. The corridor plan you walk through daily
If people pass through several times a day, cap the cabinet depth at 12 inches on at least one side. Shallow storage plus a full-width route beats deep storage plus a squeeze, and 12 inches is genuinely enough for detergent, cloths and everything in a bottle.
12. Run the worktop unbroken over both machines
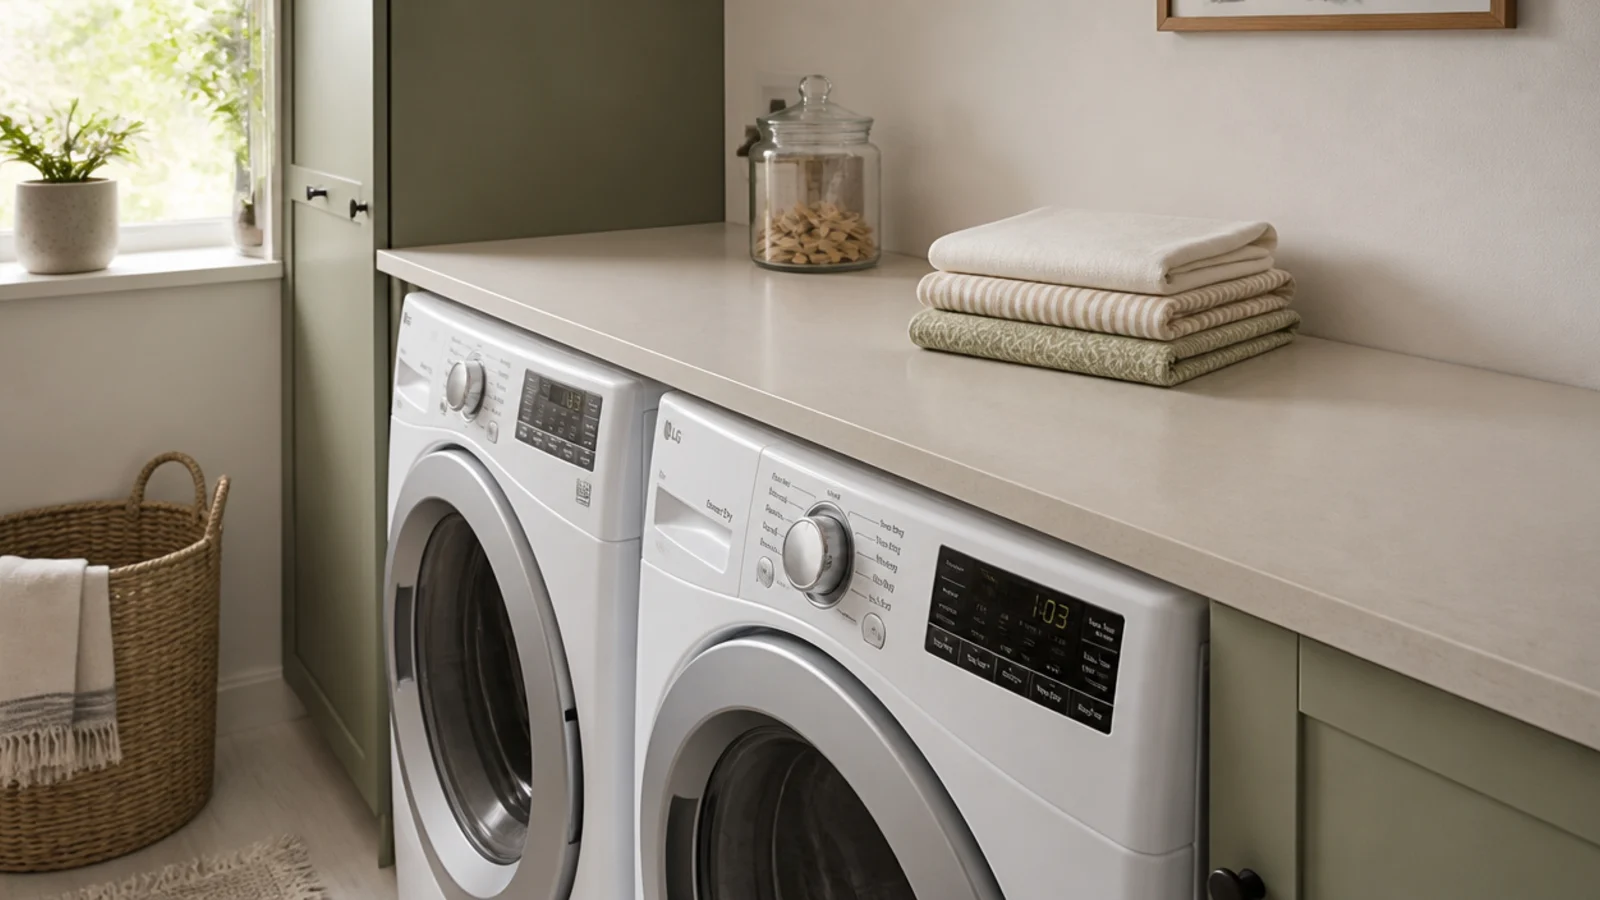
One continuous surface across a pair is what makes a laundry wall read as furniture. Confirm both machines measure under 34 inches tall before ordering, allow 24 to 25 inches of counter depth, and seal every cut edge. Laminate runs $30 to $60 a linear foot, timber $80 to $150.
13. Stacked pair plus one full-height cupboard
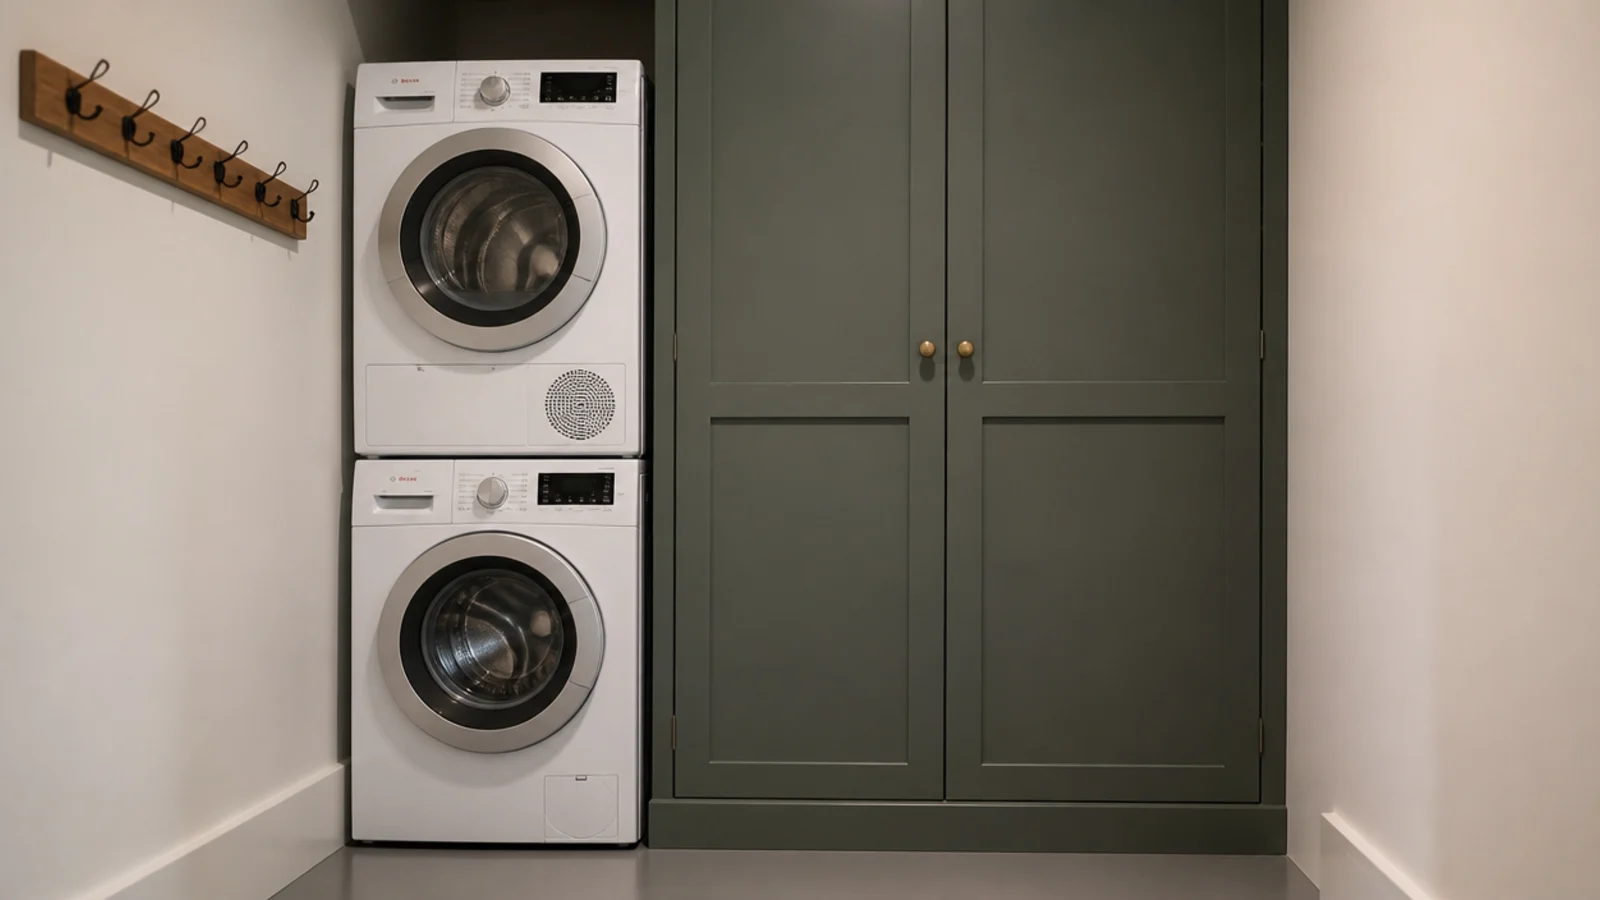
The most efficient two-item plan there is. The stack takes one 29-inch bay, the cupboard takes another 12 to 24 inches and swallows the vacuum, mop, broom and ironing board. Together they fit a wall of about 48 inches and leave the rest of the room genuinely empty.
14. Hold sixty inches for a side-by-side pair
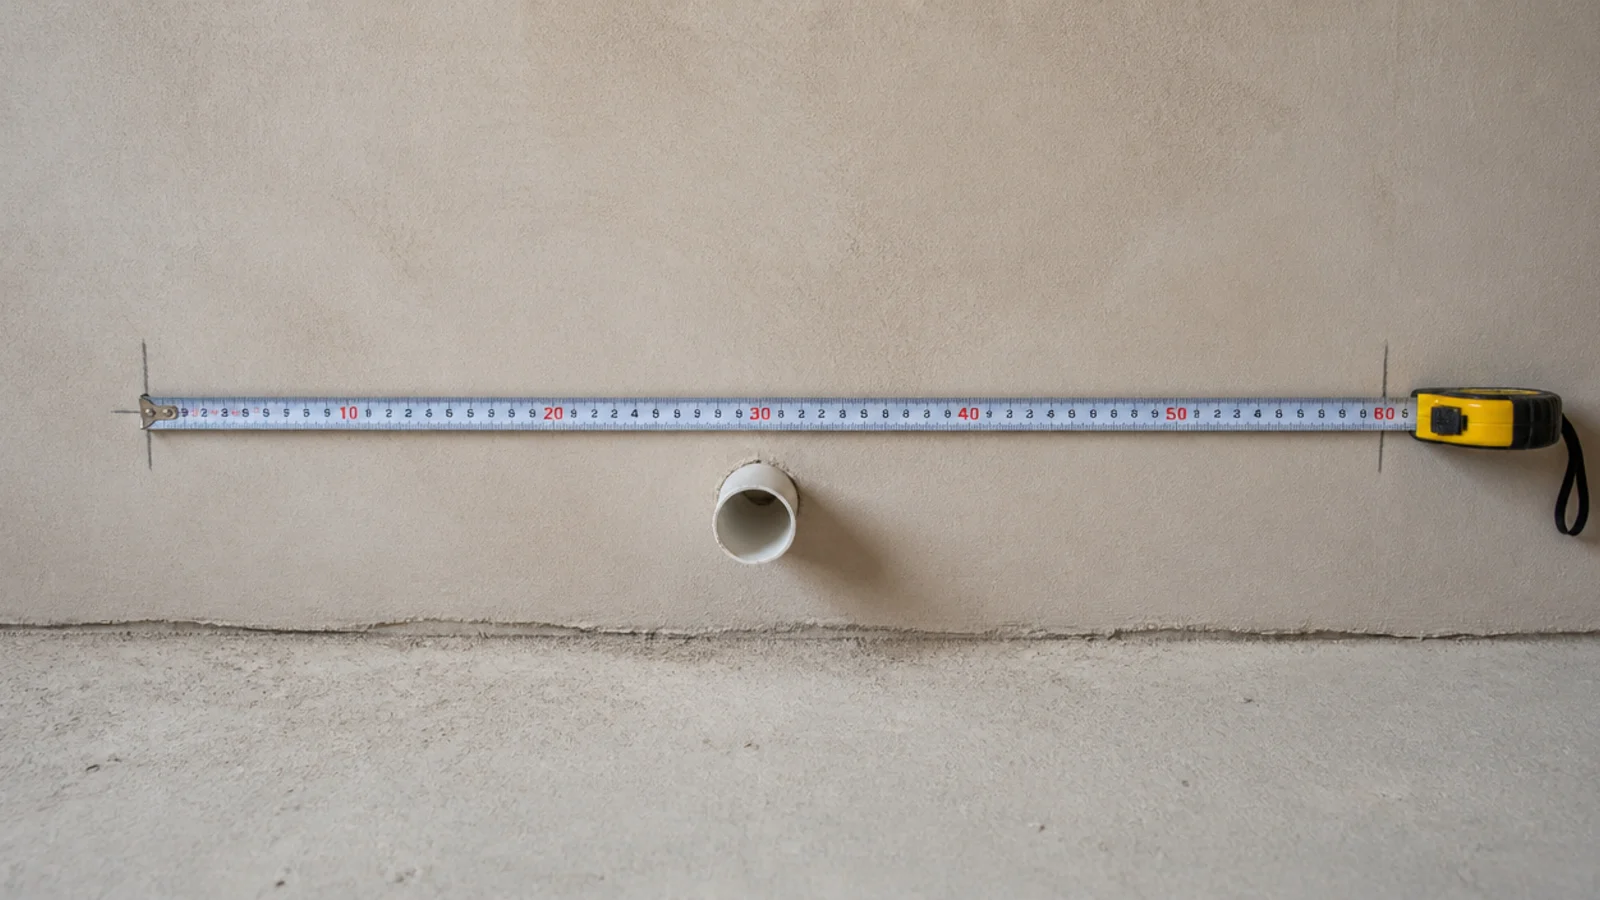
Mark 60 inches on the wall in pencil before you plan anything else and see what is left. Two 29-inch openings plus a little tolerance for a scribe or filler is the honest figure. Planning to 54 works only if the wall is dead square, and very few are.
15. Put the tall cupboard at the door end
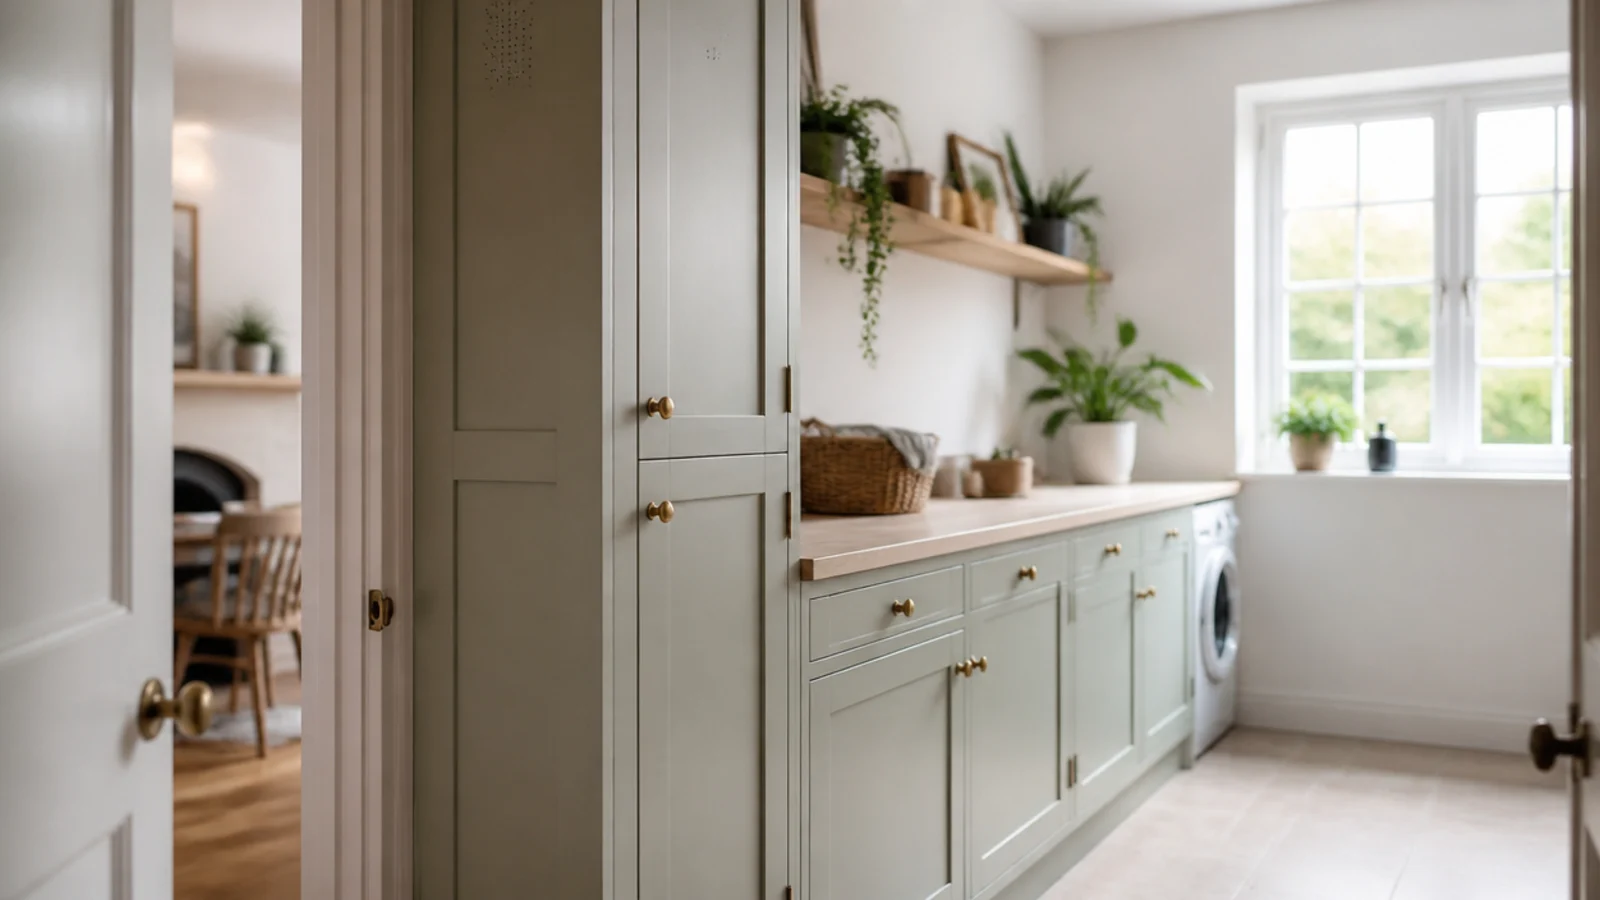
Full-height storage beside the doorway keeps the bulk where you enter and leaves the far end of the room lower and lighter. Tall units in the middle of a small run cut the space in half visually and block whatever daylight there is from reaching the worktop.
16. Keep the window wall for the worktop
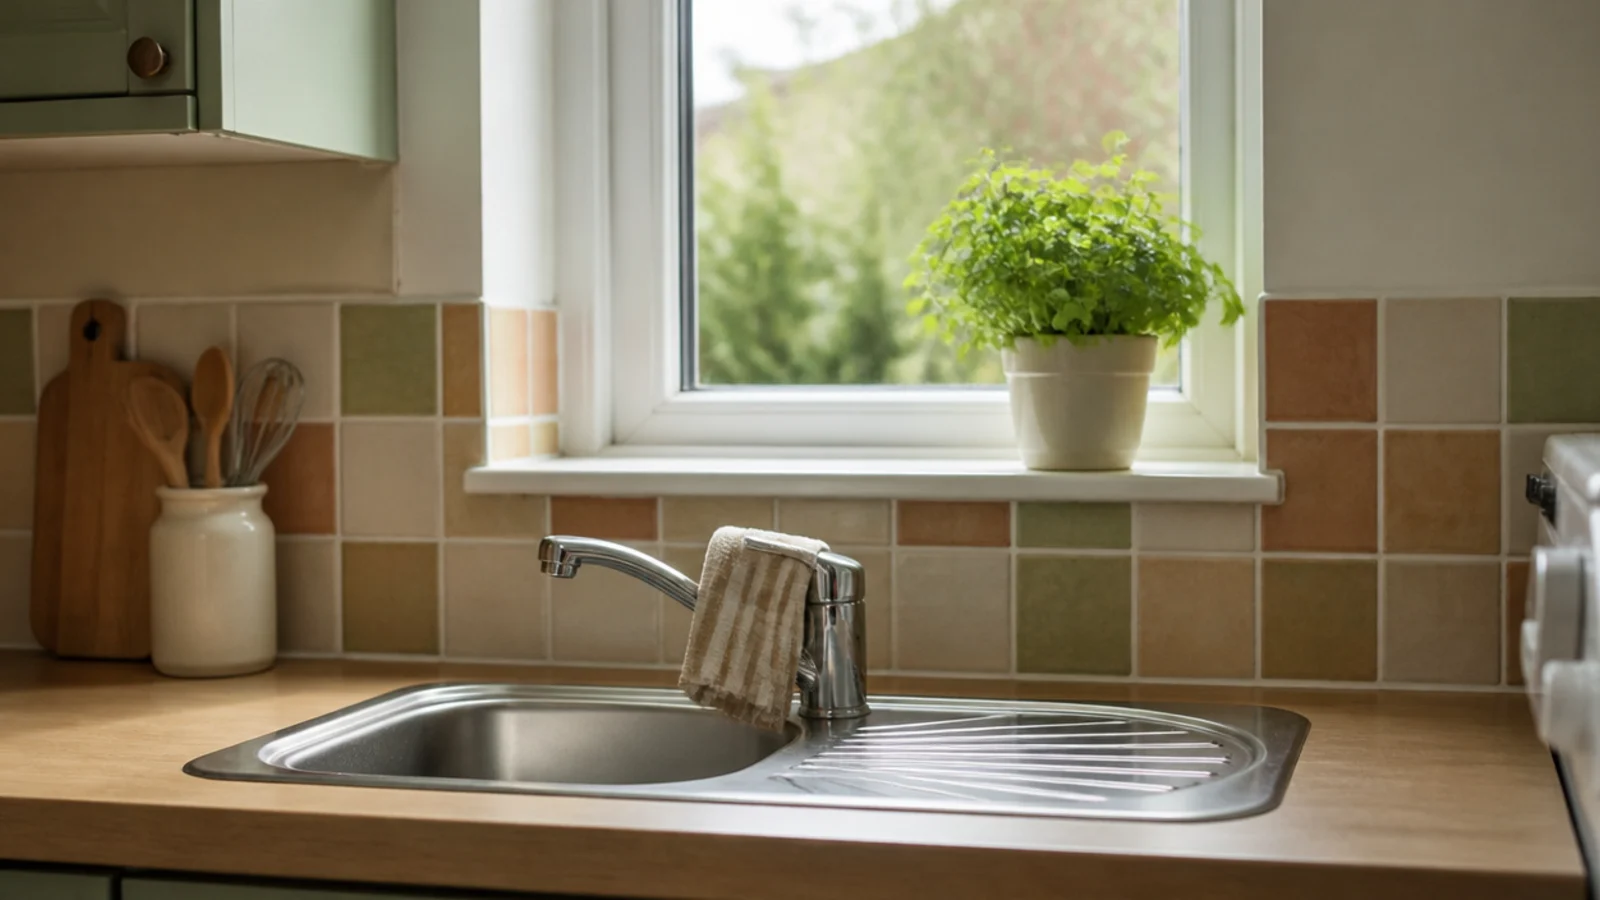
Whatever daylight the room has belongs where your hands are. Put the worktop and sink under the window and the machines on a blind wall. It also keeps the appliance vent and waste runs away from a window opening, which simplifies the plumbing.
17. Angle a corner sink into a dead corner
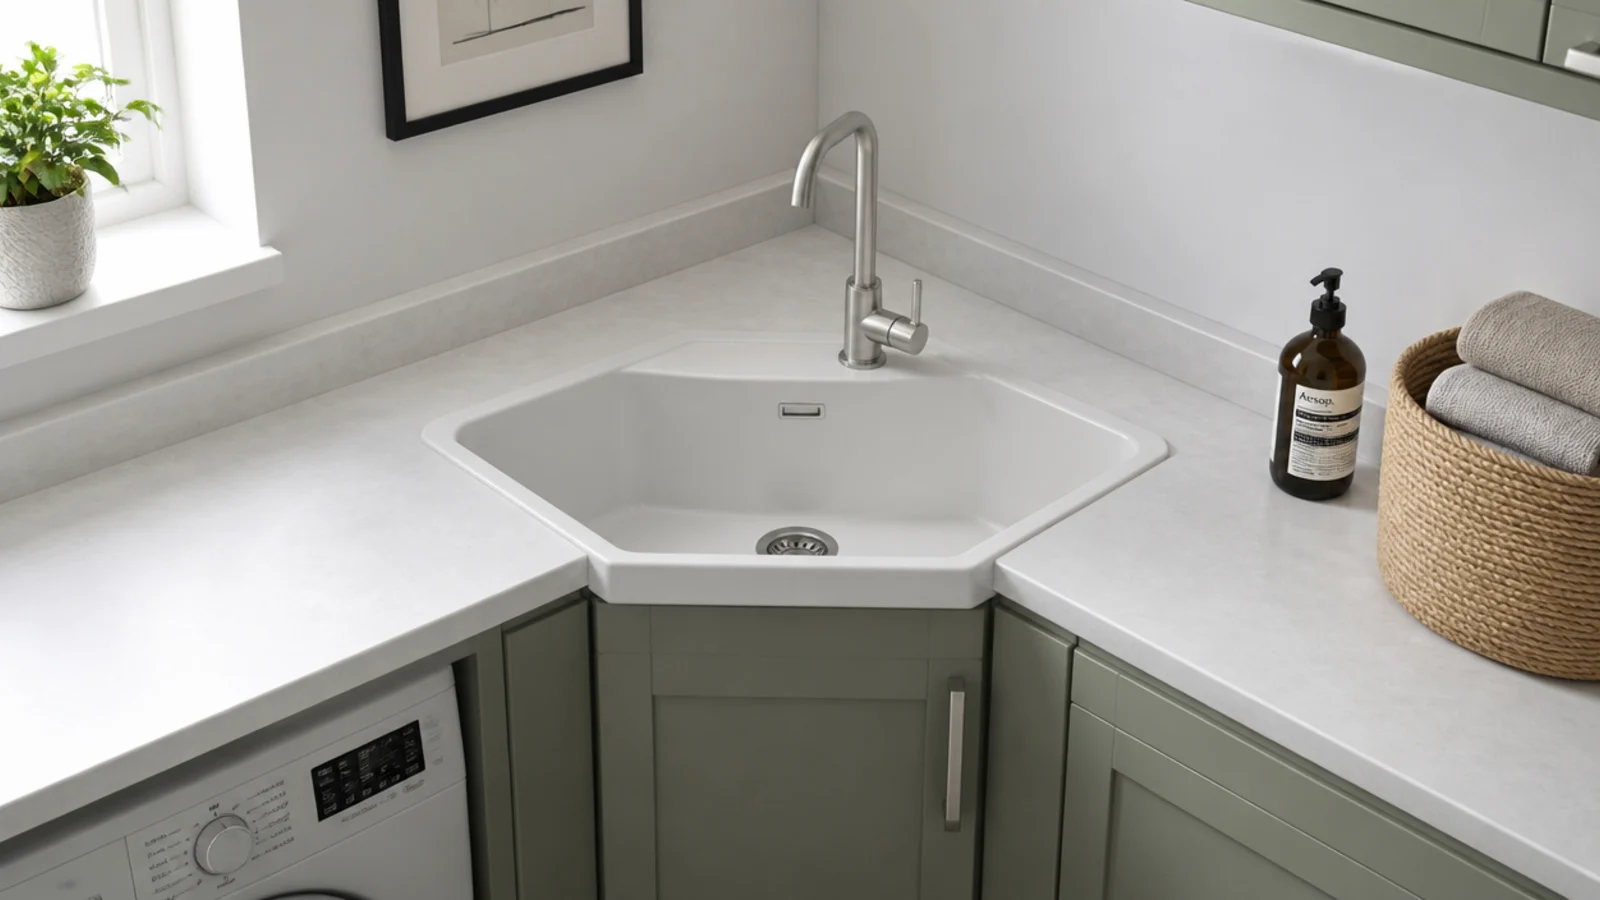
A diagonal sink unit turns the least useful nine inches in an L-shaped plan into the most used fixture in the room. It needs a 36-inch corner cabinet and a shorter tap reach, and it frees both straight runs for machines and worktop.
18. Stop a peninsula at forty-two inches
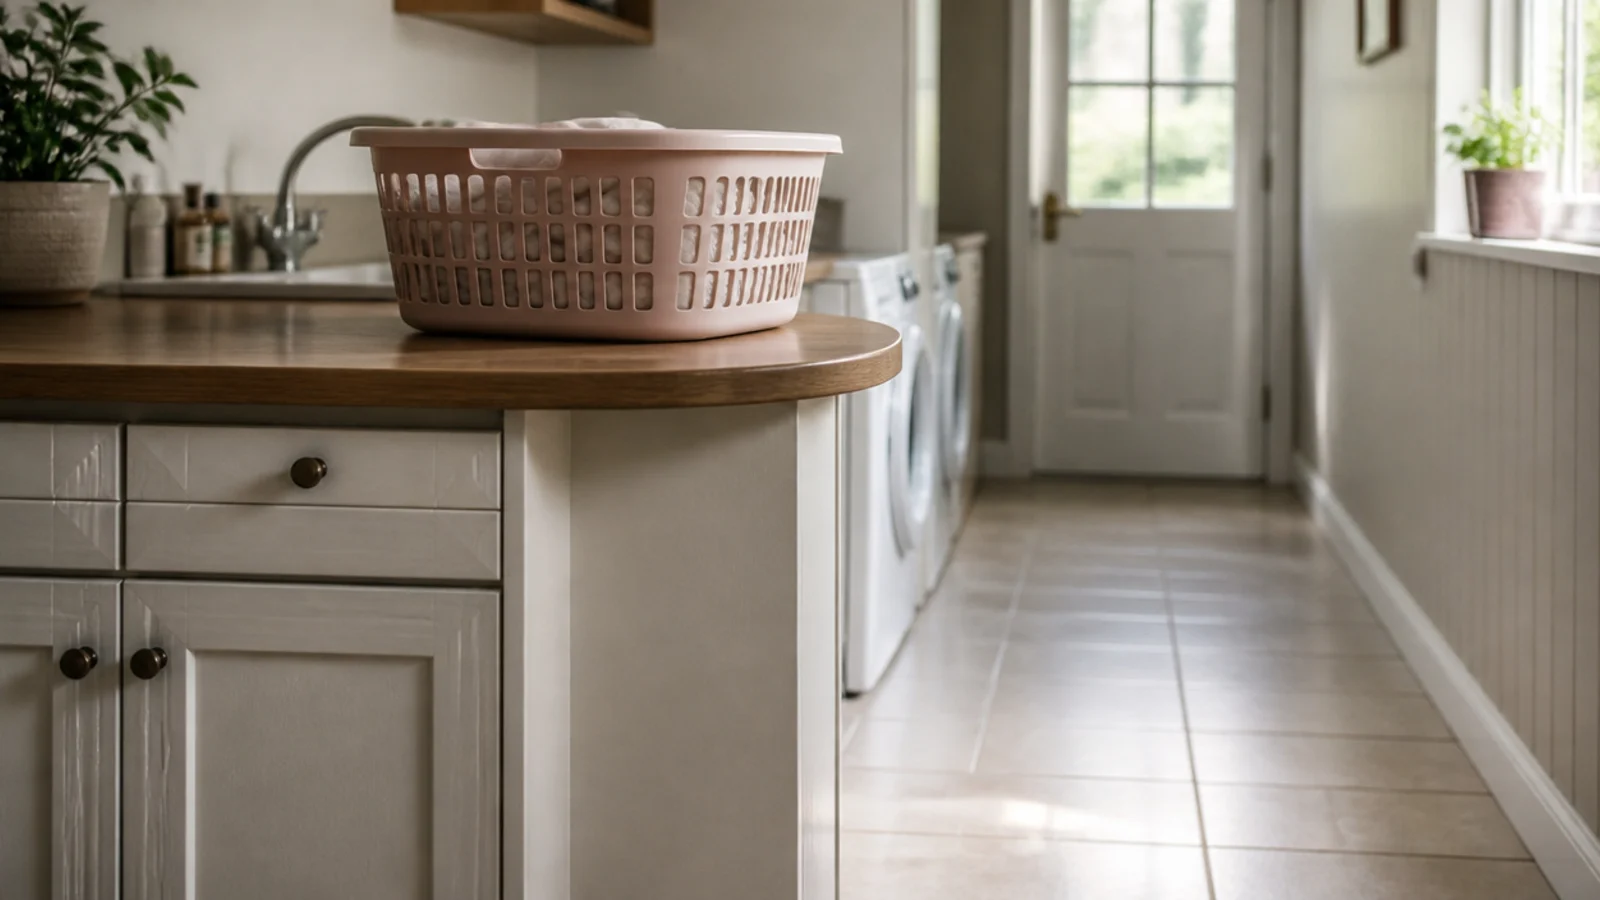
A short projecting run gives you a folding surface and a bit of separation, but only where the remaining aisle still measures 36 inches. Measure from the peninsula end to the opposite face before you draw it. In most small utilities the answer is a 24-inch stub rather than a proper peninsula.
19. Fold the second surface down in a galley
Where the aisle cannot spare a second run of cabinets, a fold-down shelf on the facing wall gives you a 36-inch surface for ten minutes and two inches of projection the rest of the time. Sixteen inches deep, brackets into studs, $60 to $130.
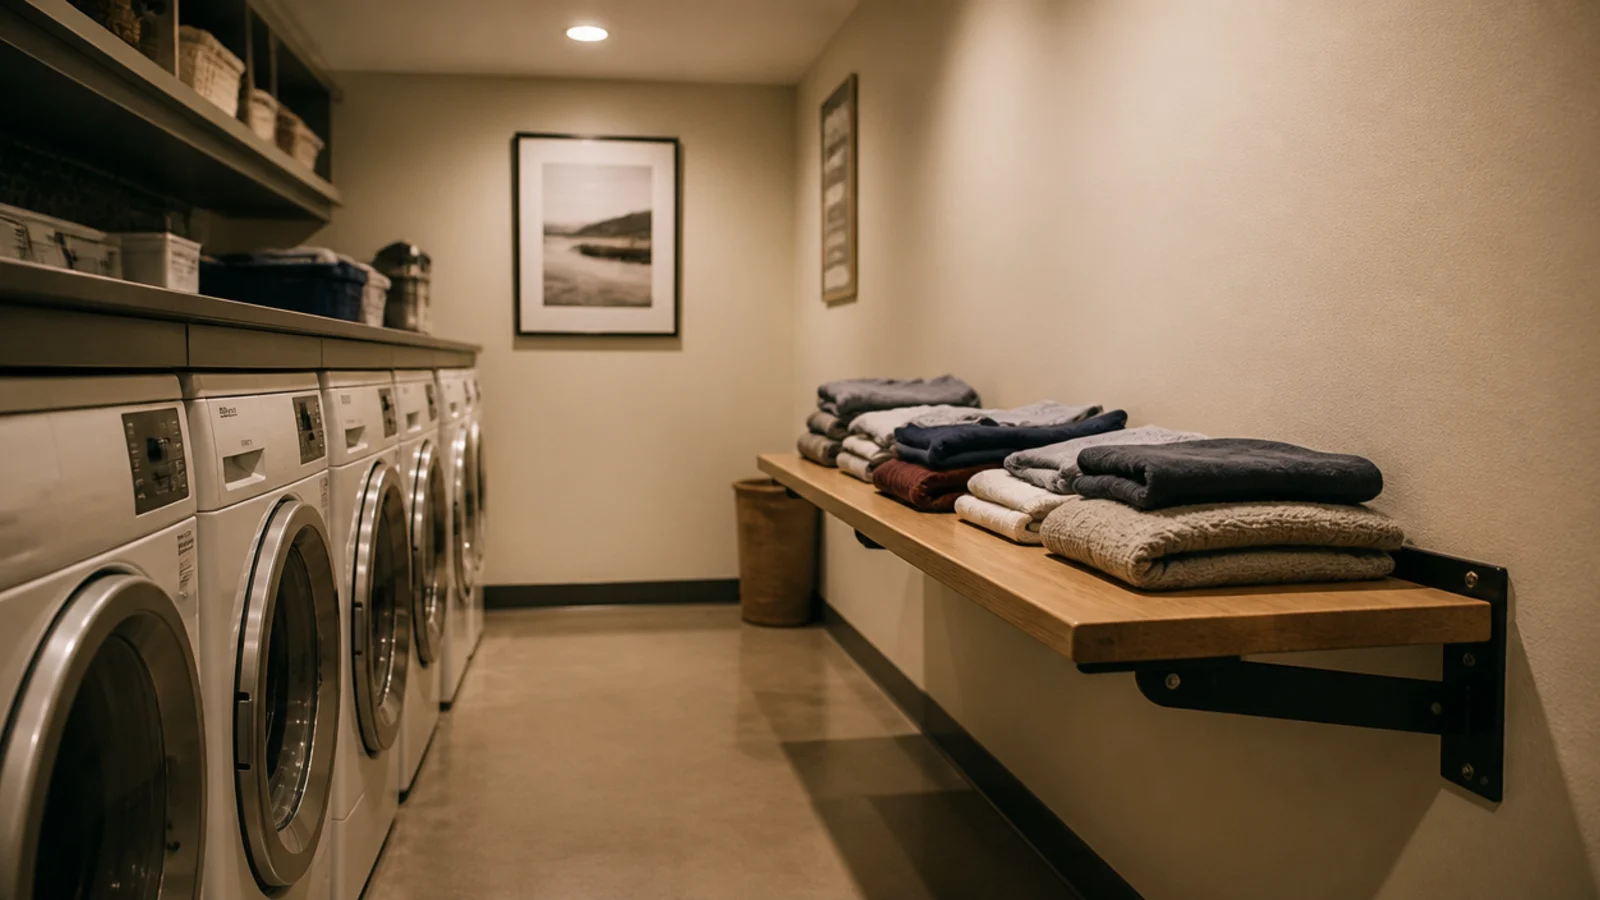
20. Rehang the door to open outward
Reversing the swing into the hall costs a joiner an hour and gives back 30-odd inches of floor inside the room. Check the door does not then block a hallway route or a light switch, and that the new hinge side clears whatever is on the corridor wall.
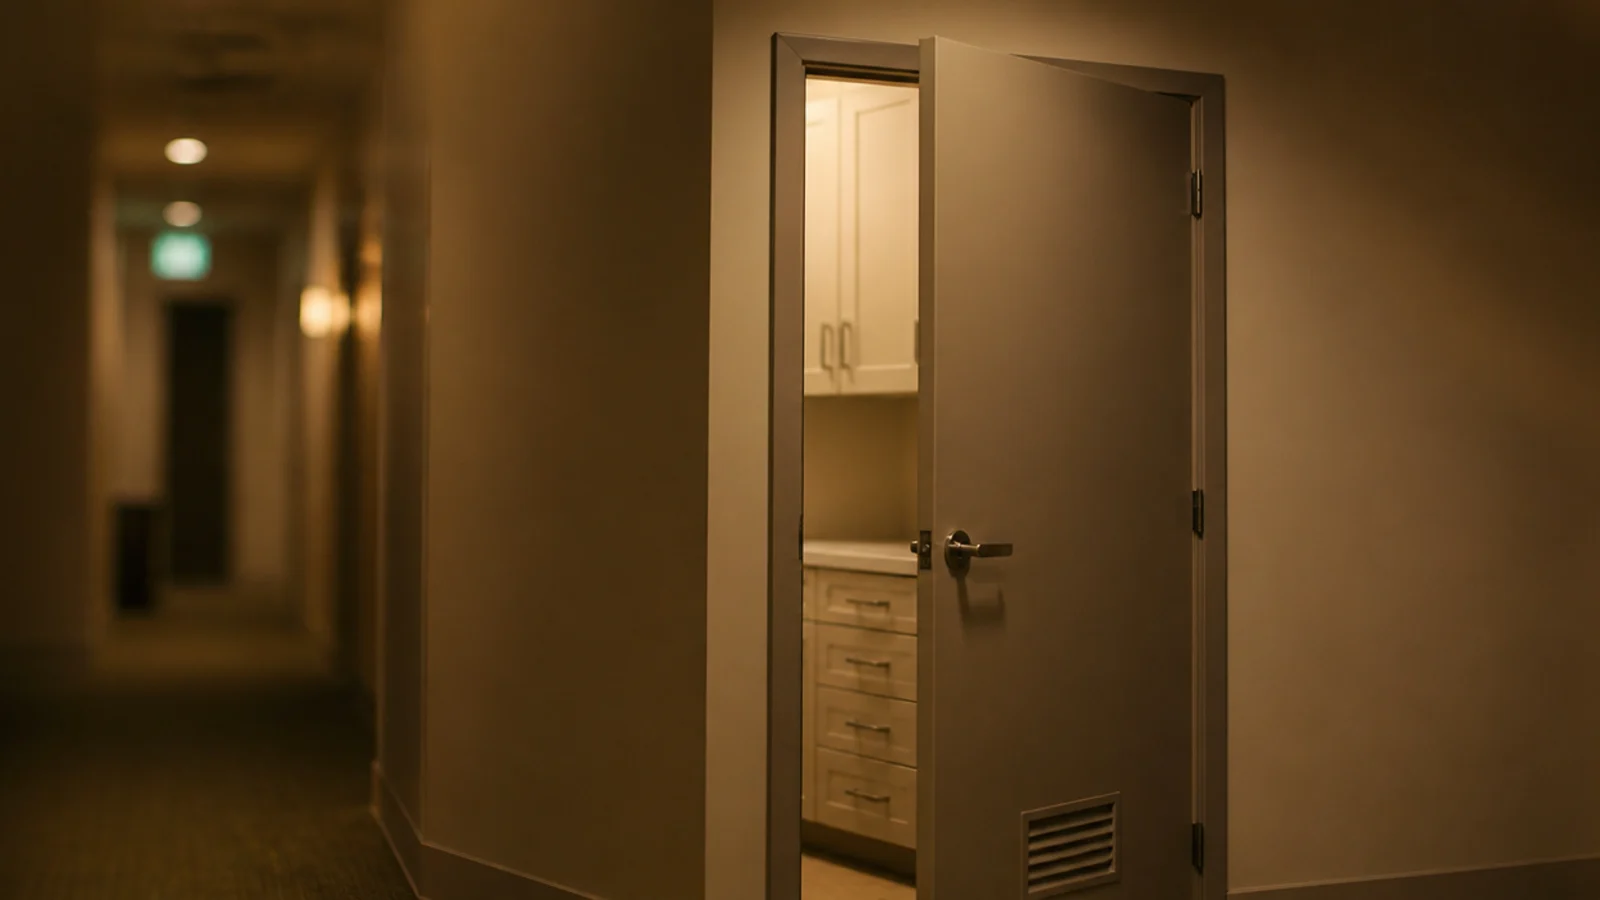
21. Choose a pocket door under forty square feet
Below 40 square feet the swing arc is a real percentage of the room. A pocket or sliding door removes it entirely for $200 to $400, provided the stud cavity on one side is clear of pipework and cabling. Check that before you promise yourself the plan.
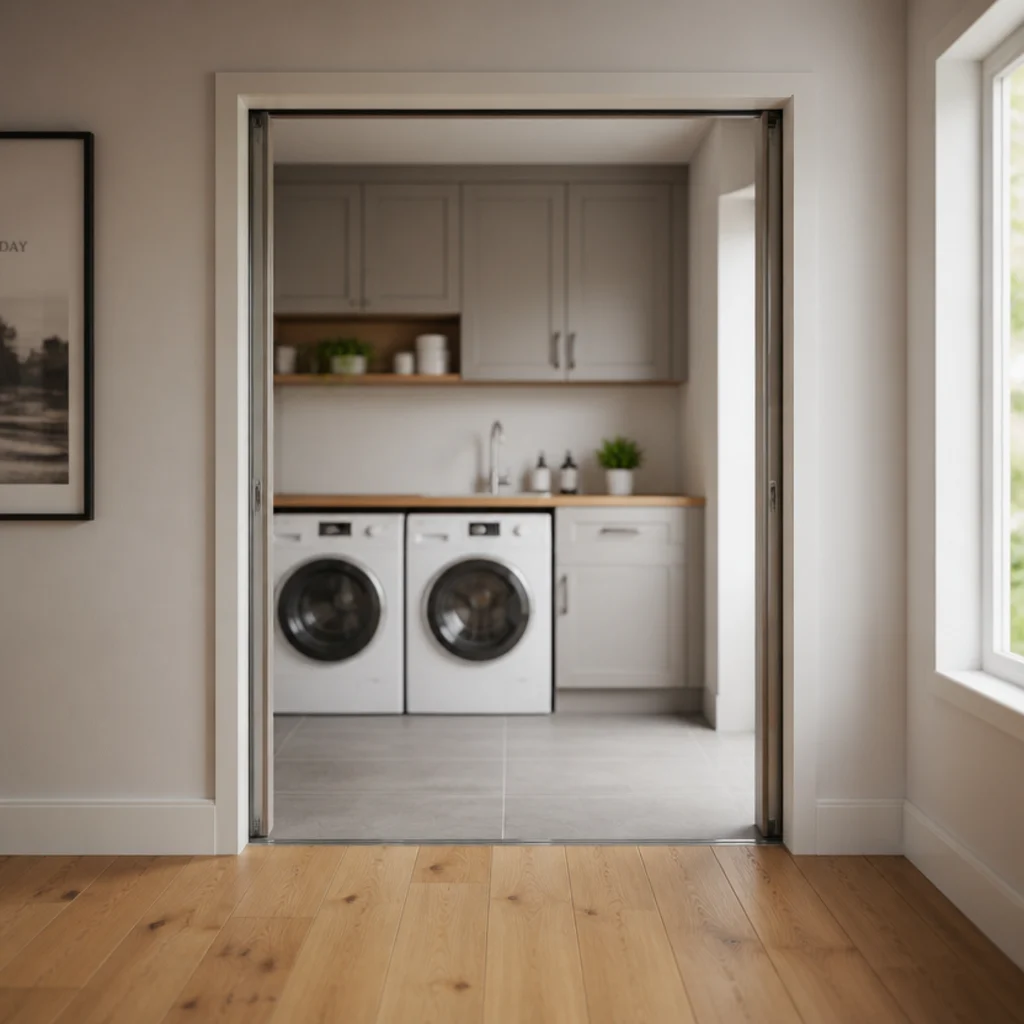
22. Place the drying zone under the extract
Hang wet washing directly beneath the extract grille, not in the far corner. One load releases about two litres of water, and the fan can only remove what reaches it. Thirty cubic feet a minute is the minimum, 50 to 80 if this is the main drying spot, on a 15-minute run-on timer.
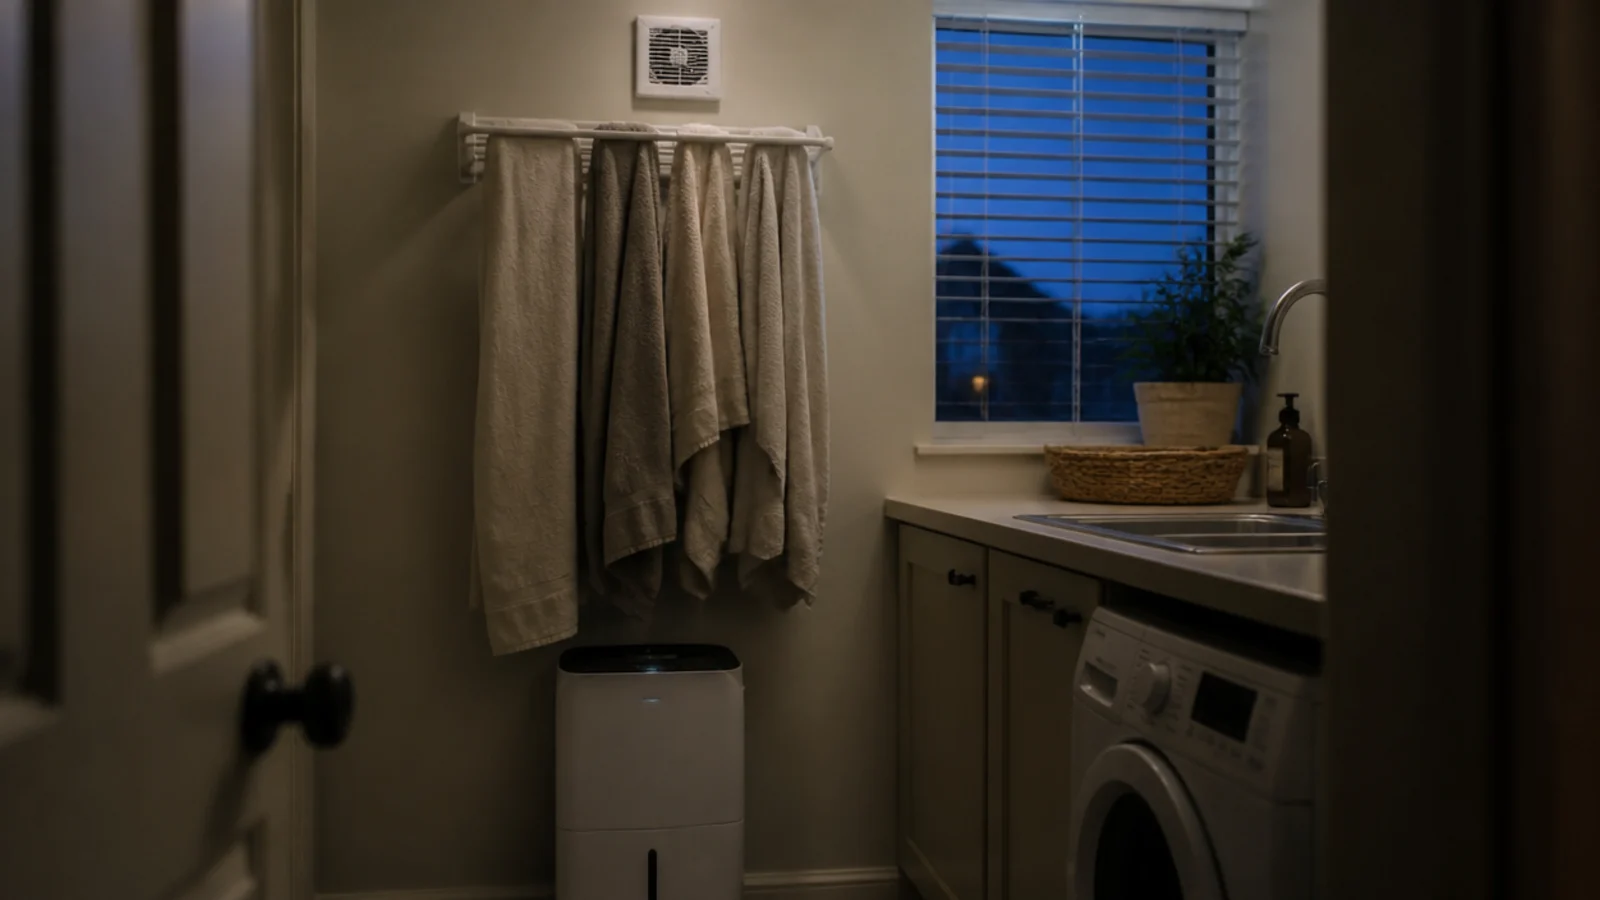
23. Boots at the door, laundry at the far end
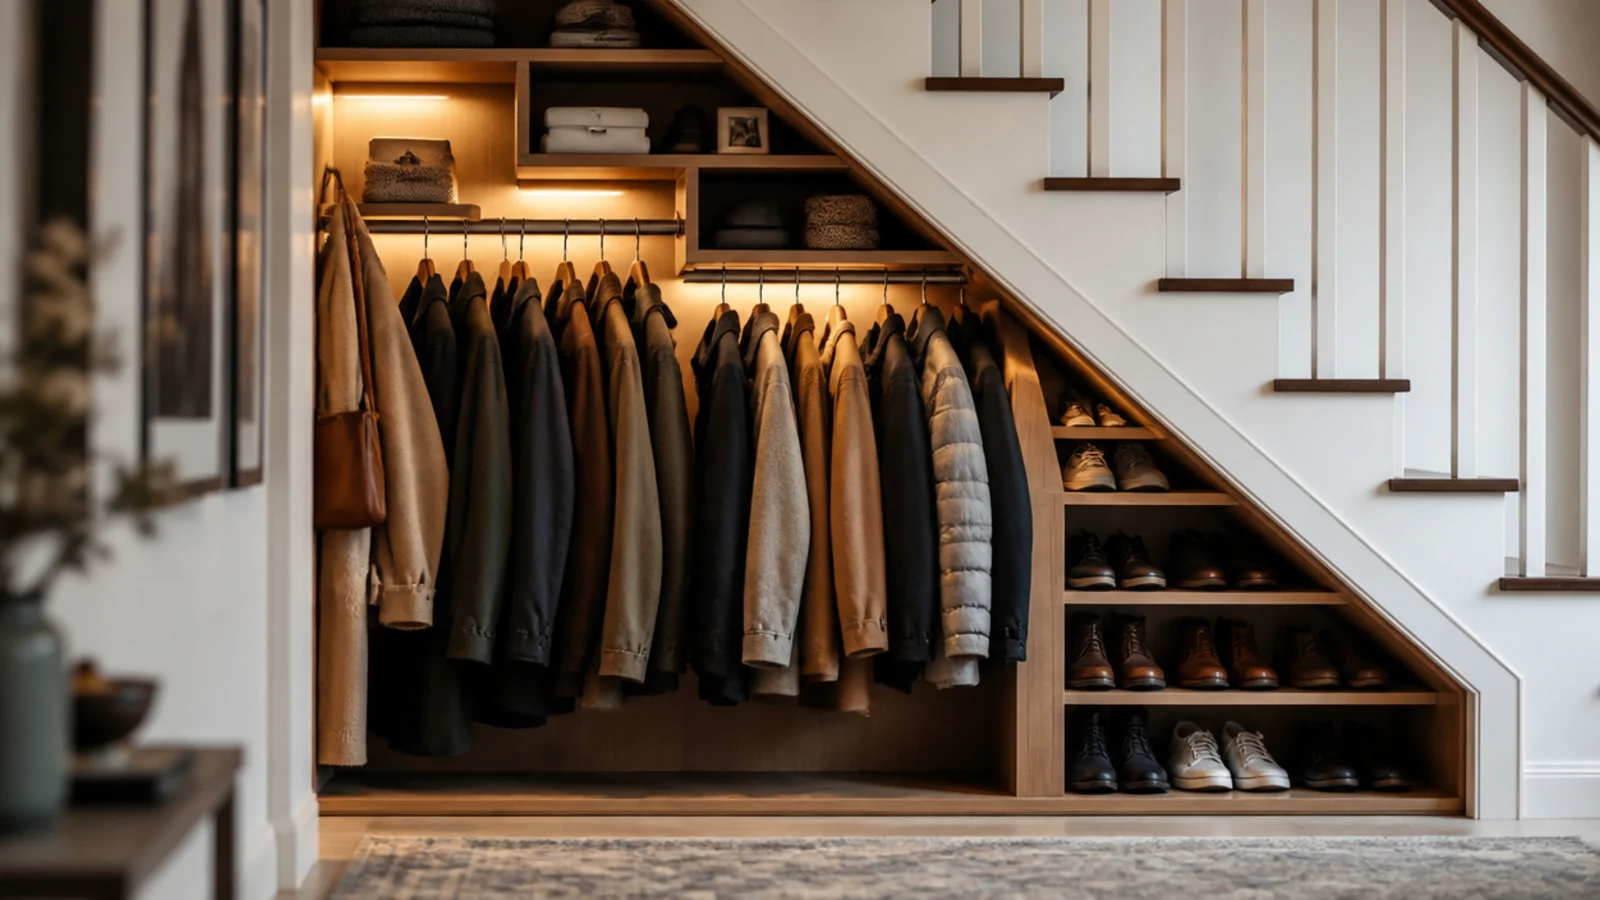
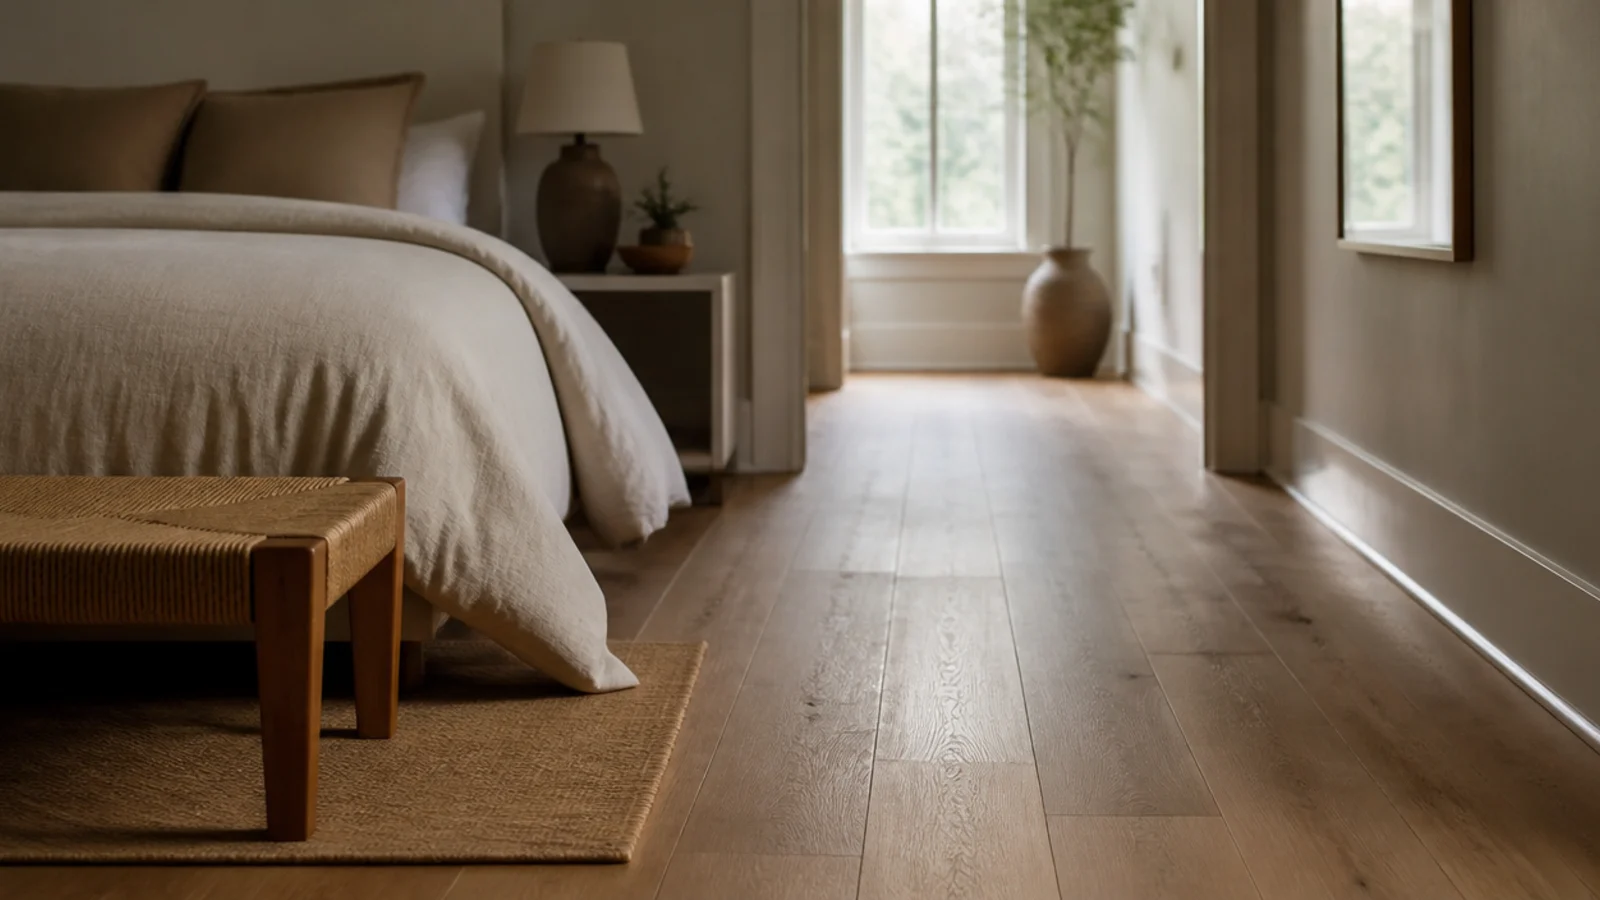
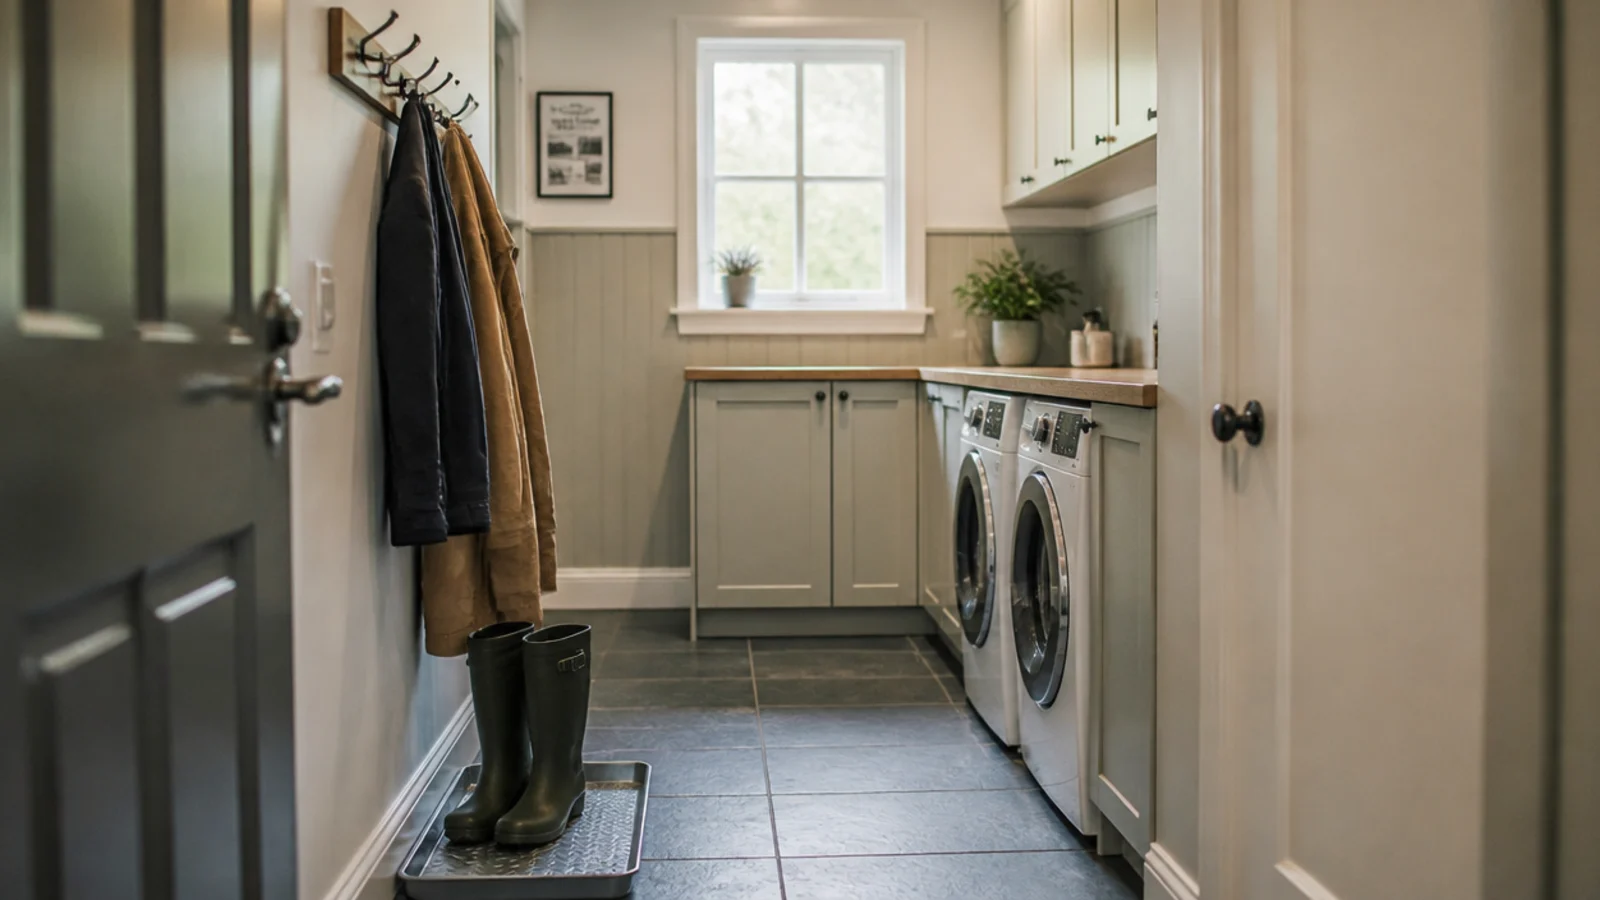
Where the utility carries the back door, put a boot tray and hooks in the first three feet and everything clean beyond them. Mud that stops at the threshold never reaches the folding surface. The wooden tile flooring guide covers finishes that cope with a wet entrance.
24. Route the services along one wall only
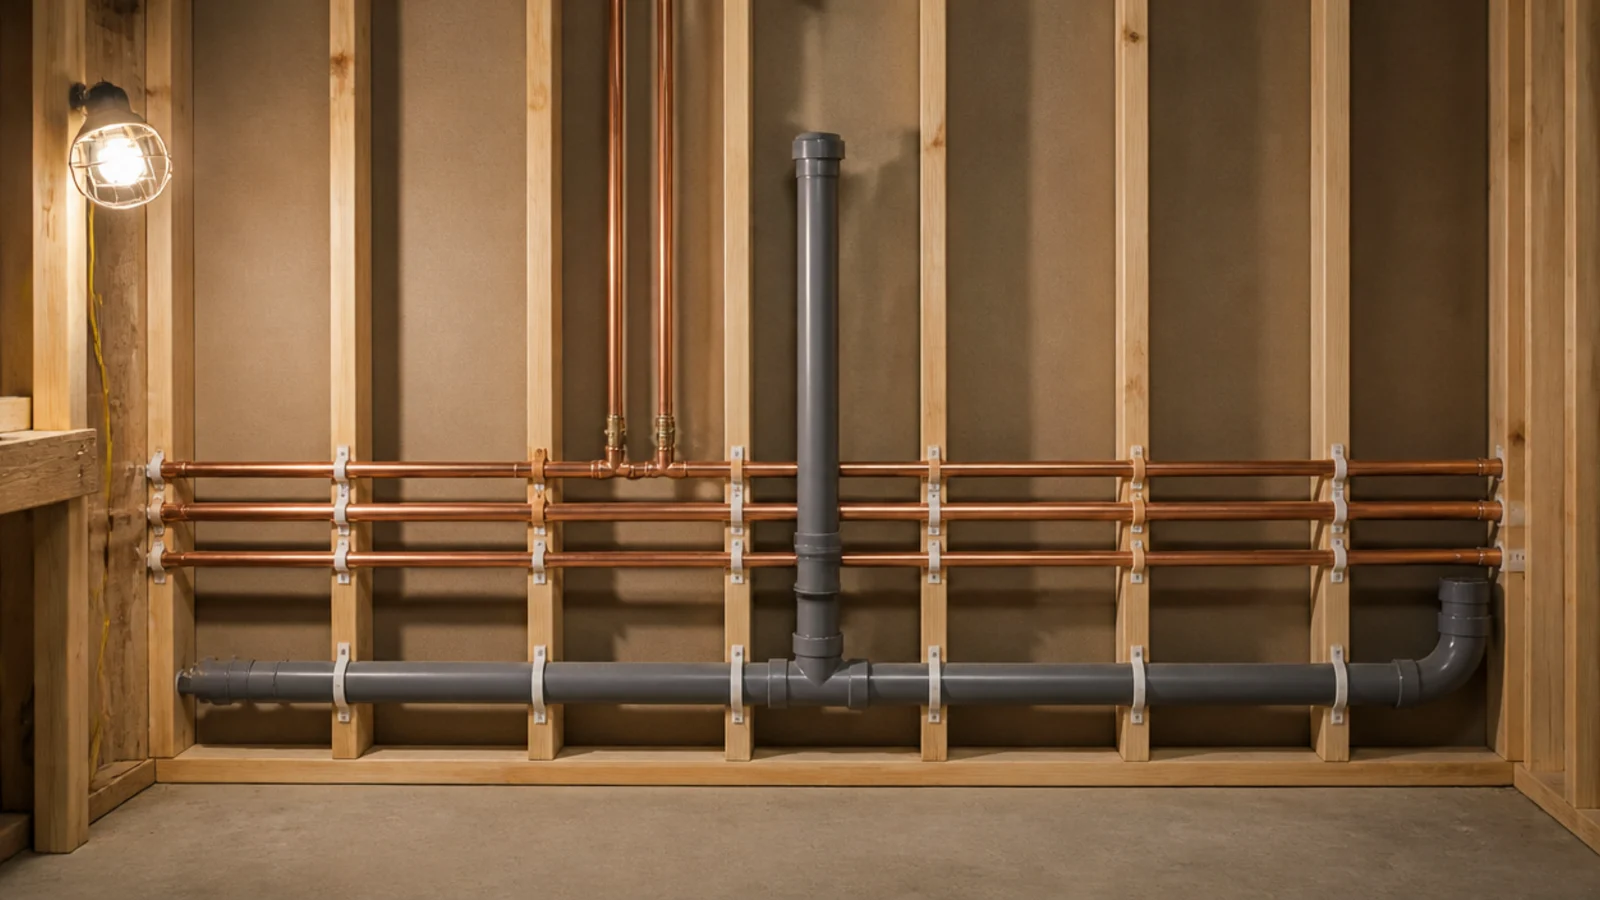
Every plan on this page is cheaper if the waste, supply and vent all live in one stud bay. Grouping them means one standpipe, one short vent run and one wet wall to tile. Splitting services across two walls can add $400 to $900 to a small job for no functional gain.
25. Leave the boiler wall out of the plan
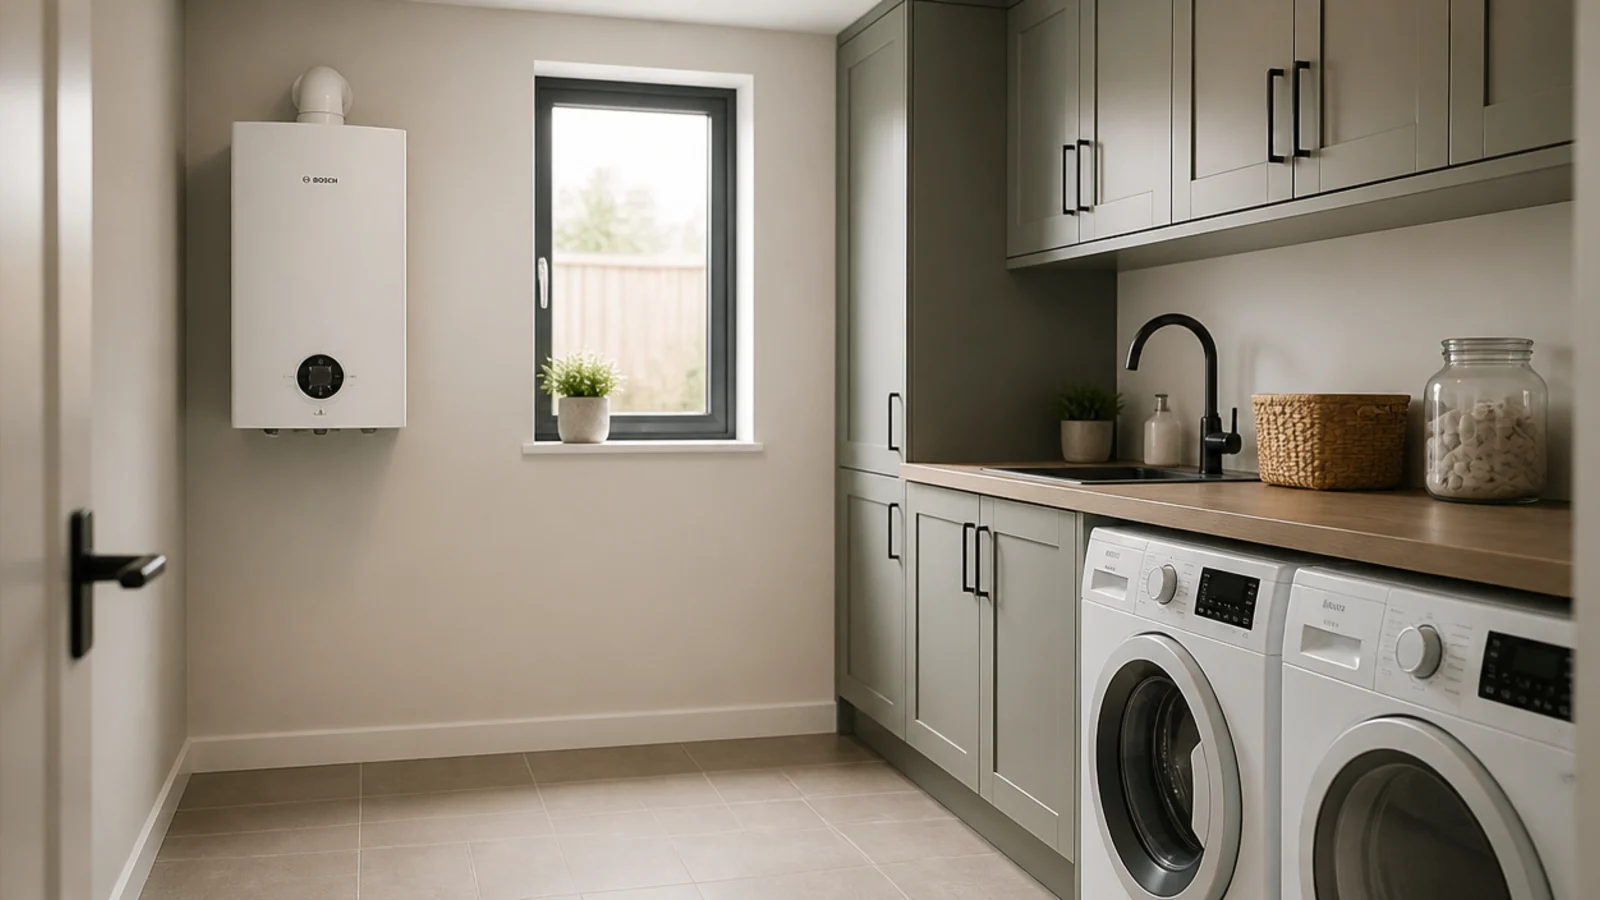
Treat the boiler wall as fixed and put the run elsewhere. A boiler keeps its manufacturer clearances — commonly two inches at the sides, eight to twelve below for pipework and twelve inches of clear working space at the front — and a gas meter is never enclosed or built over at all. Planning around them is far cheaper than moving them.
If your room is under about five feet wide, the narrow utility room guide covers single-run planning in more detail than any general layout can. For the wall above the worktop, the floating shelf guide has the bracket and anchor figures that decide what a shelf over a machine can safely carry.
Mistakes to Skip
- Planning cabinet depth and appliance depth as the same number. A machine plus its hoses needs 36 to 40 inches from the wall while a base cabinet needs 24, and the run has to allow for both.
- Drawing the plan without the door arcs. The room door and the appliance door both swing 20 to 34 inches, and in a small utility they collide far more often than they miss.
- Squeezing the aisle to 30 inches to gain a second run. Thirty-six is the point at which you can pass a full basket, and a galley you cannot walk through is worse than a single run.
- Putting the sink in the middle of the counter. It leaves two stretches of worktop too short to fold on and doubles the plumbing runs at the same time.
- Assuming a boiler or gas meter can be moved cheaply to suit a nicer plan. Both bring clearance and access requirements with them, and both are far easier to design around than to relocate.
Frequently asked questions
What is the minimum size for a small utility room?
About 5 by 7 feet works for a single run with a stacked or side-by-side pair, a short worktop and a 36-inch walkway. Below that you are planning a laundry closet rather than a room, and the door type becomes the decision that makes or breaks the plan.
How much wall do a washer and dryer need side by side?
Between 54 and 60 inches. Two 27-inch machines each want a 29-inch opening with an inch of air per side, and you want a little tolerance at the ends for a scribe or a filler panel. Slim 23.5-inch machines bring the same pair down to about 50 inches.
Should a utility room be a galley or an L-shape?
A galley suits a long narrow room because both walls earn their keep, but it needs 36 inches of clear aisle and 42 if appliance doors open across it. An L-shape suits a squarer room and keeps one wall free for a door, a window or a full-height cupboard.
Where should the sink go in a small utility room?
At the end of a run, never in the middle. A 22 to 25 inch bowl needs 24 inches of clear worktop beside it to drain onto, and putting it centrally splits the counter into two pieces too short to fold on. End placement also keeps the plumbing on one wall.
Can you plan a utility layout around an existing boiler?
Yes, by treating that wall as fixed. Keep the manufacturer service clearances — commonly two inches at the sides, eight to twelve below and twelve inches of clear working space at the front — and put the run on another wall. A gas meter is never enclosed or built over.
Want more like this? Browse all 15 utility room ideas guides — they all use the same measurements and budget tiers.
Pin it for later
Save this to your Utility Room Ideas board
Pin it now so it is waiting for you when the tape measure comes out — and so the next person hunting for this idea can find it too.
Save this pinKeep going
More ideas worth saving while you have the tape measure out.