Utility Room Ideas · Listicle
20 Tiny Utility Room Ideas For Awkward Spaces

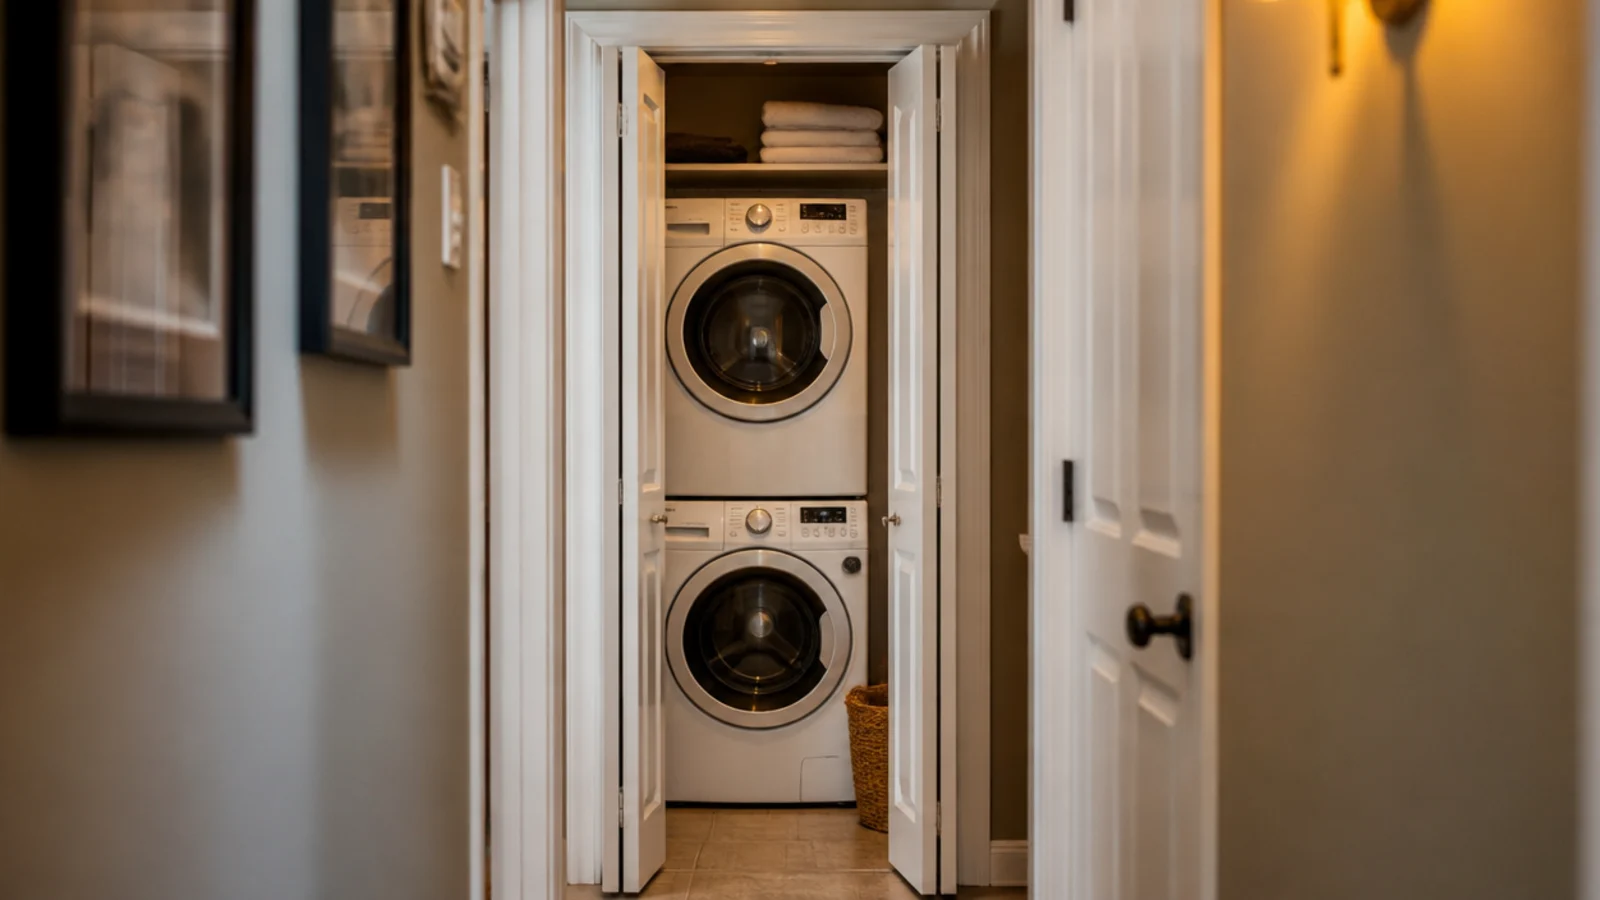
Most laundry closets are not small rooms — they are cupboards with plumbing, and the rules change completely at that scale. Floor area stops being the constraint and three other numbers take over: the ceiling height above a stacked pair, the arc the door needs, and whether air can get in low and out high. The tiny utility room ideas below all come from spaces under 30 square feet — hallway closets, understair nooks, sloped corners — where the difference between working and unusable is usually an inch or two, and where getting it wrong means a machine you cannot open.
In this guide22 sections — tap to openHide
- 1.What tiny utility room ideas have to solve first
- 2.Measure the cupboard before you shop for a machine
- 3.Stack the pair with the maker bracket kit
- 4.Check the ceiling clears seventy-nine inches
- 5.Choose a slim twenty-three inch machine
- 6.Swap the hinged door for a bifold
- 7.Or lose the swing entirely to a pocket door
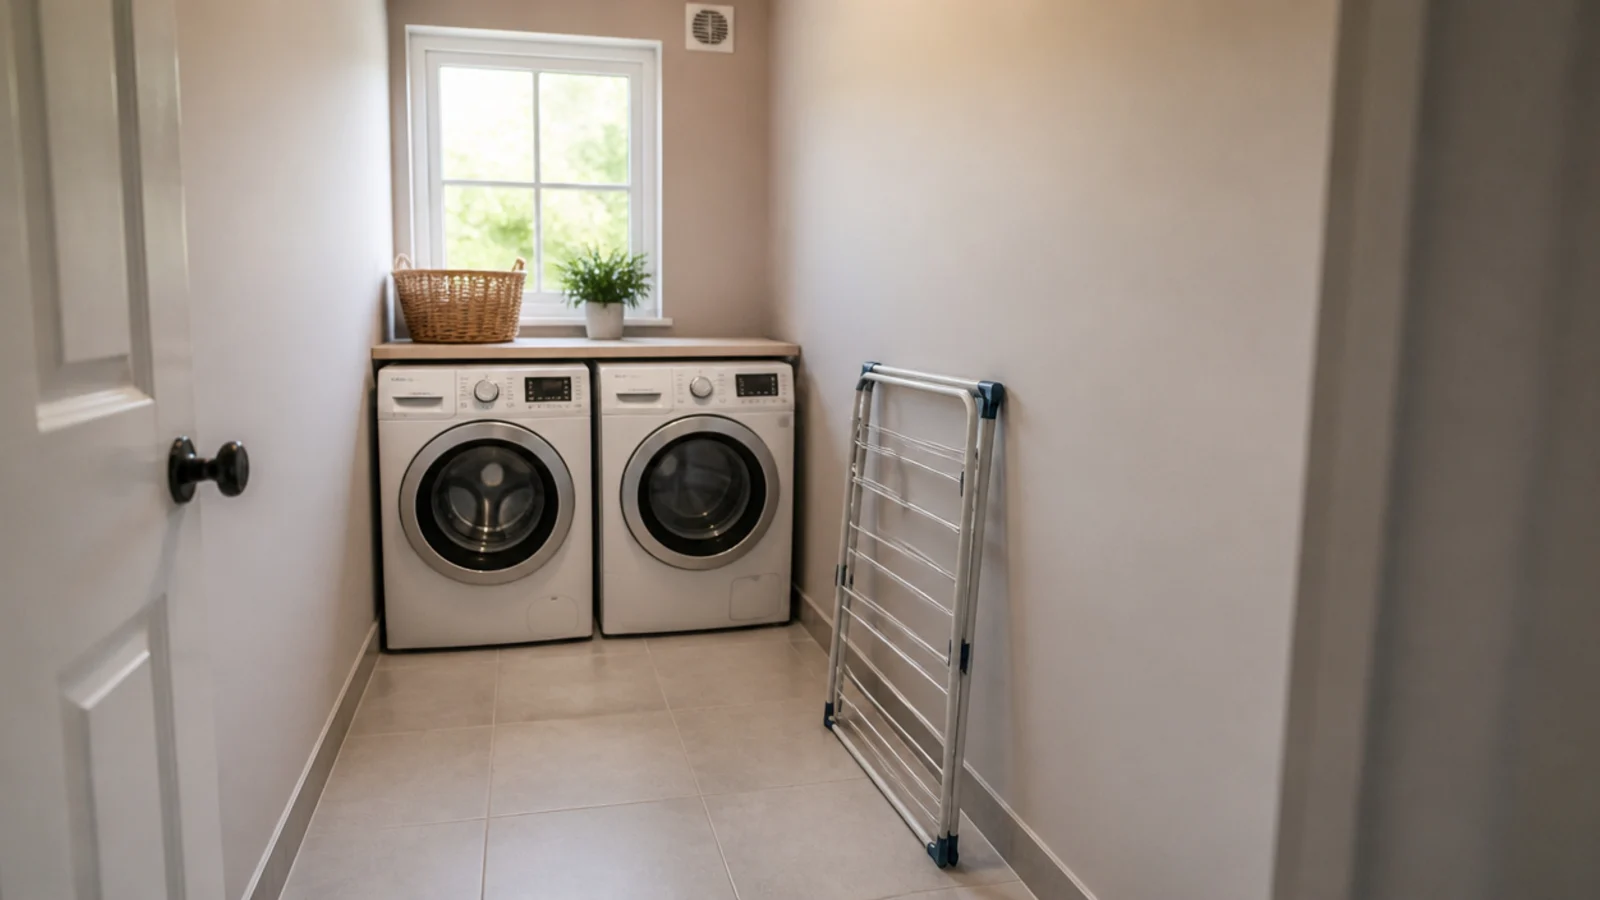
- 8.Put the machines on the short wall
- 9.Use a combo when there is only one slot
- 10.Undercut the door three-quarters of an inch
- 11.Add the high grille that makes it work
- 12.Fit a slimline inline extractor
- 13.Take the shelves right to the ceiling
- 14.Slot a nine-inch pull-out into dead space
- 15.Use the back of the door
- 16.Hang the drying rack above the machines
- 17.Fold the worktop down when you need it
- 18.Mind the head height under the stairs
- 19.Work with a sloped ceiling, not against it
- 20.Never seal in a boiler or a gas meter
- 21.Light it from the front, not from above
- 22.Mistakes to Skip
What tiny utility room ideas have to solve first
Take the vertical measurement before anything else. A stacked front-loading pair is 74 to 80 inches tall, and you need 79 to 84 inches of ceiling for the upper door to swing open properly rather than catching the frame. That single figure rules more cupboards out than width ever does.
Then the plan. A full-size 27-inch machine still wants a 29-inch opening with an inch of air each side, and four to six inches behind for hoses, valves and the vent — so a closet 30 inches wide and 34 inches deep is close to the floor of what works. Slim European machines at 23.5 inches wide and 33.5 inches tall shift every one of those numbers, and in a genuinely tiny space they are usually the right call.
Then the door. A hinged door needs a 30 to 34 inch clear swing arc, which in a cupboard-sized room is often more floor than the machines use. A bifold halves it; a pocket or sliding door removes it entirely for $200 to $400.
Last, the air. One wash load releases roughly two litres of water as it dries, and a sealed cupboard has nowhere to send it. If your space is a room rather than a cupboard, the small utility room guide works from a 6 by 7 foot footprint instead.
1. Measure the cupboard before you shop for a machine
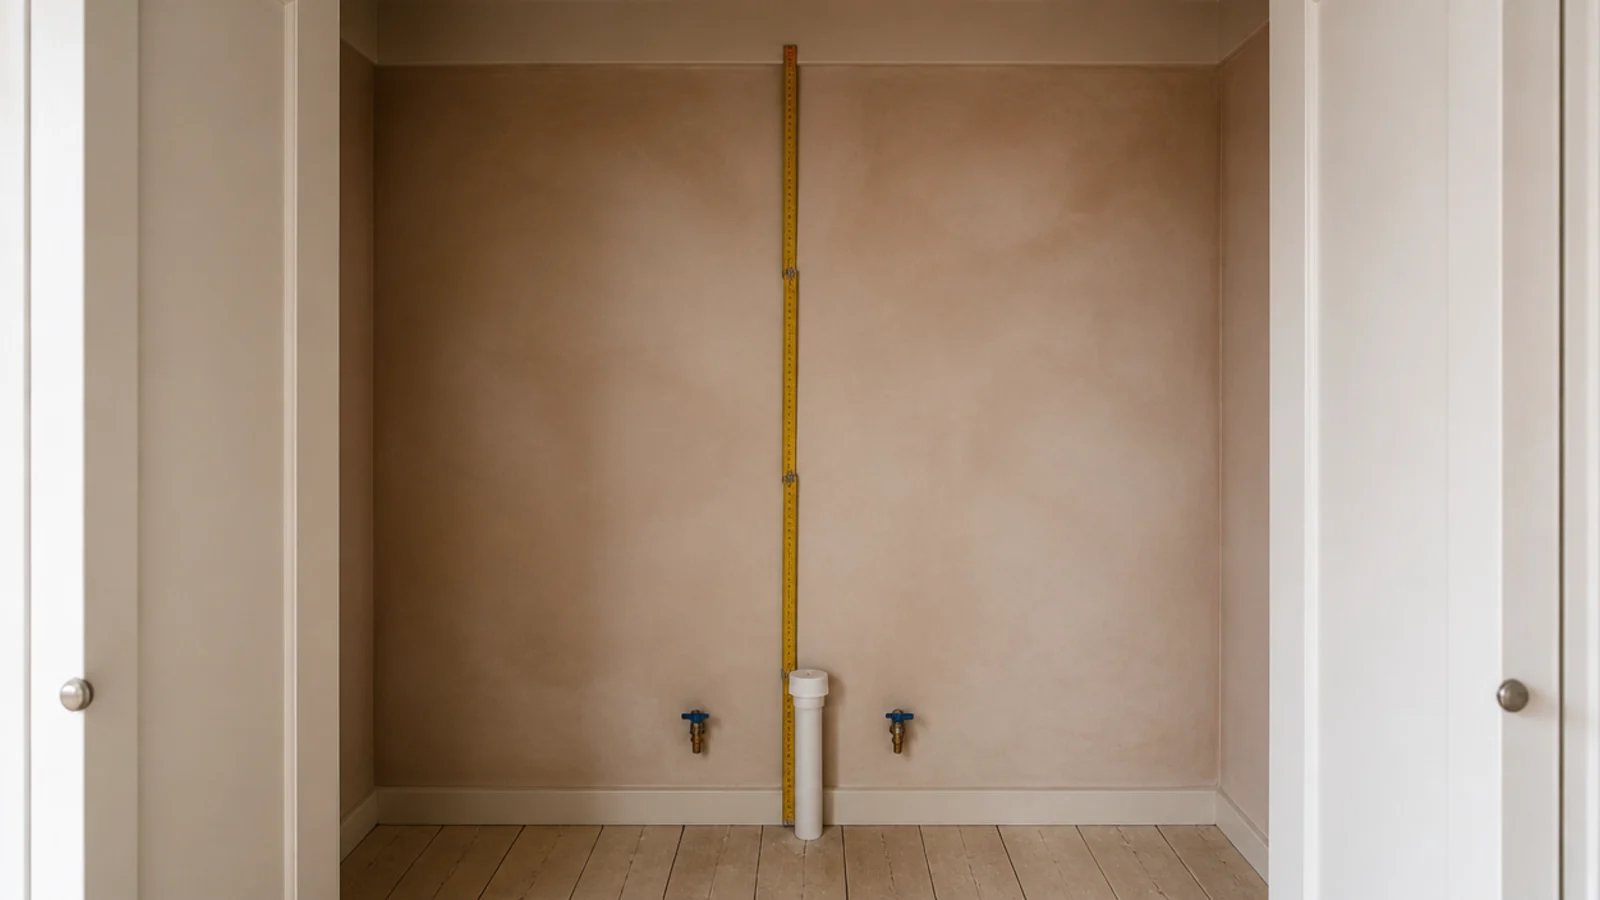
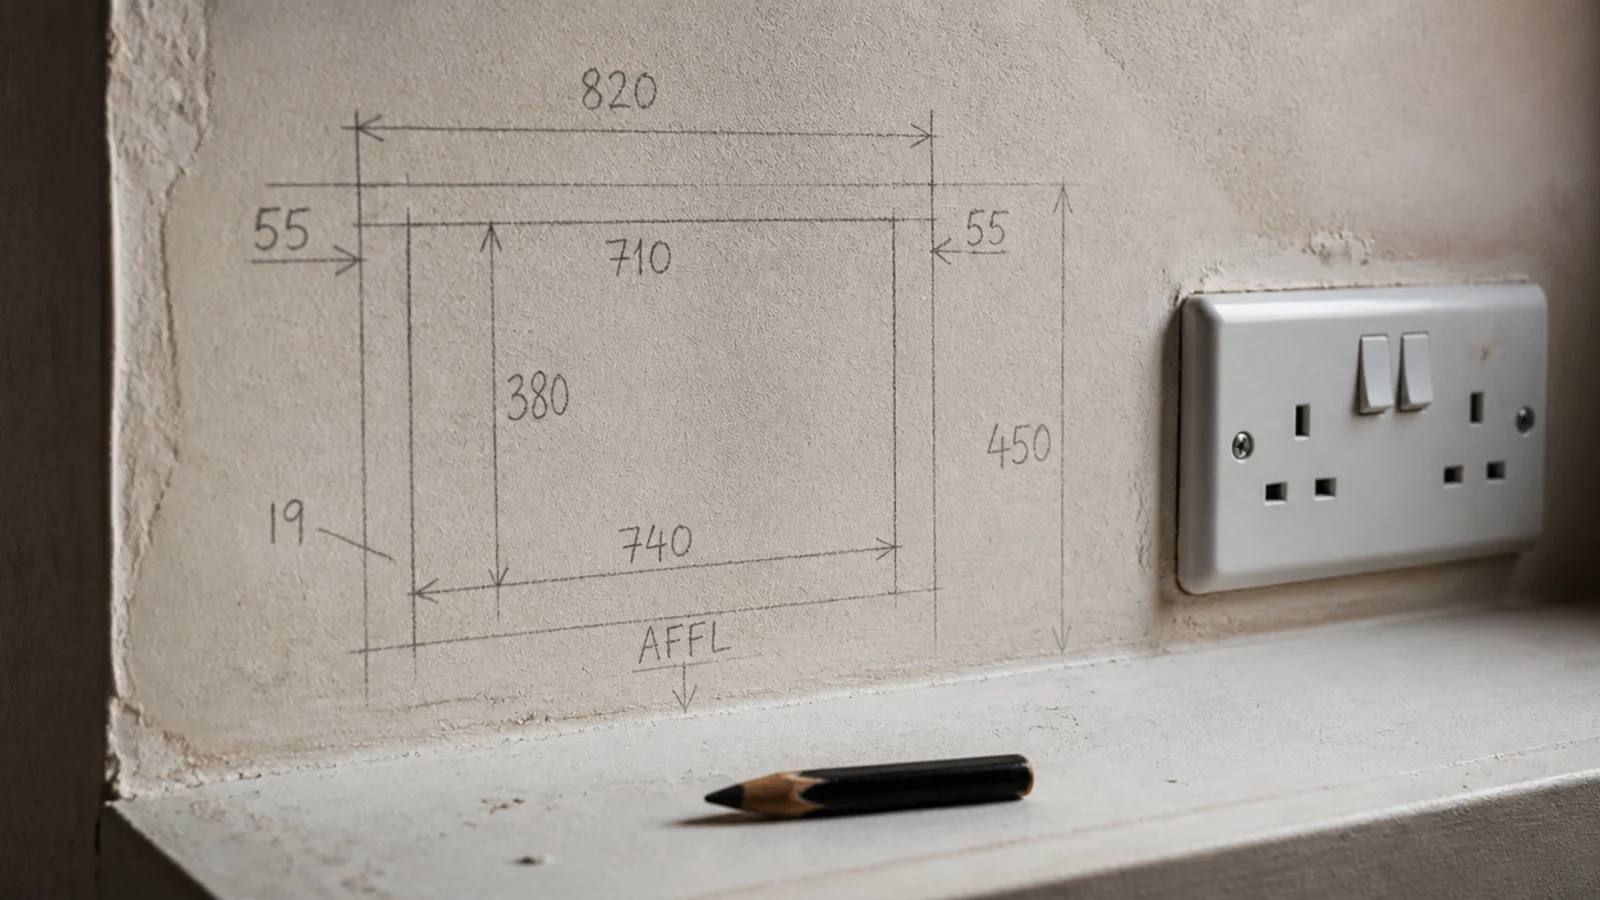
Write three numbers on the bare wall in pencil: clear width, clear depth from the finished back wall, and ceiling height. Everything else follows from those. In a tiny space the sequence matters more than in a room, because the machine is the only item with no flexibility at all — you can change a shelf depth or a door type afterwards, but not an appliance that does not physically enter the opening.
2. Stack the pair with the maker bracket kit
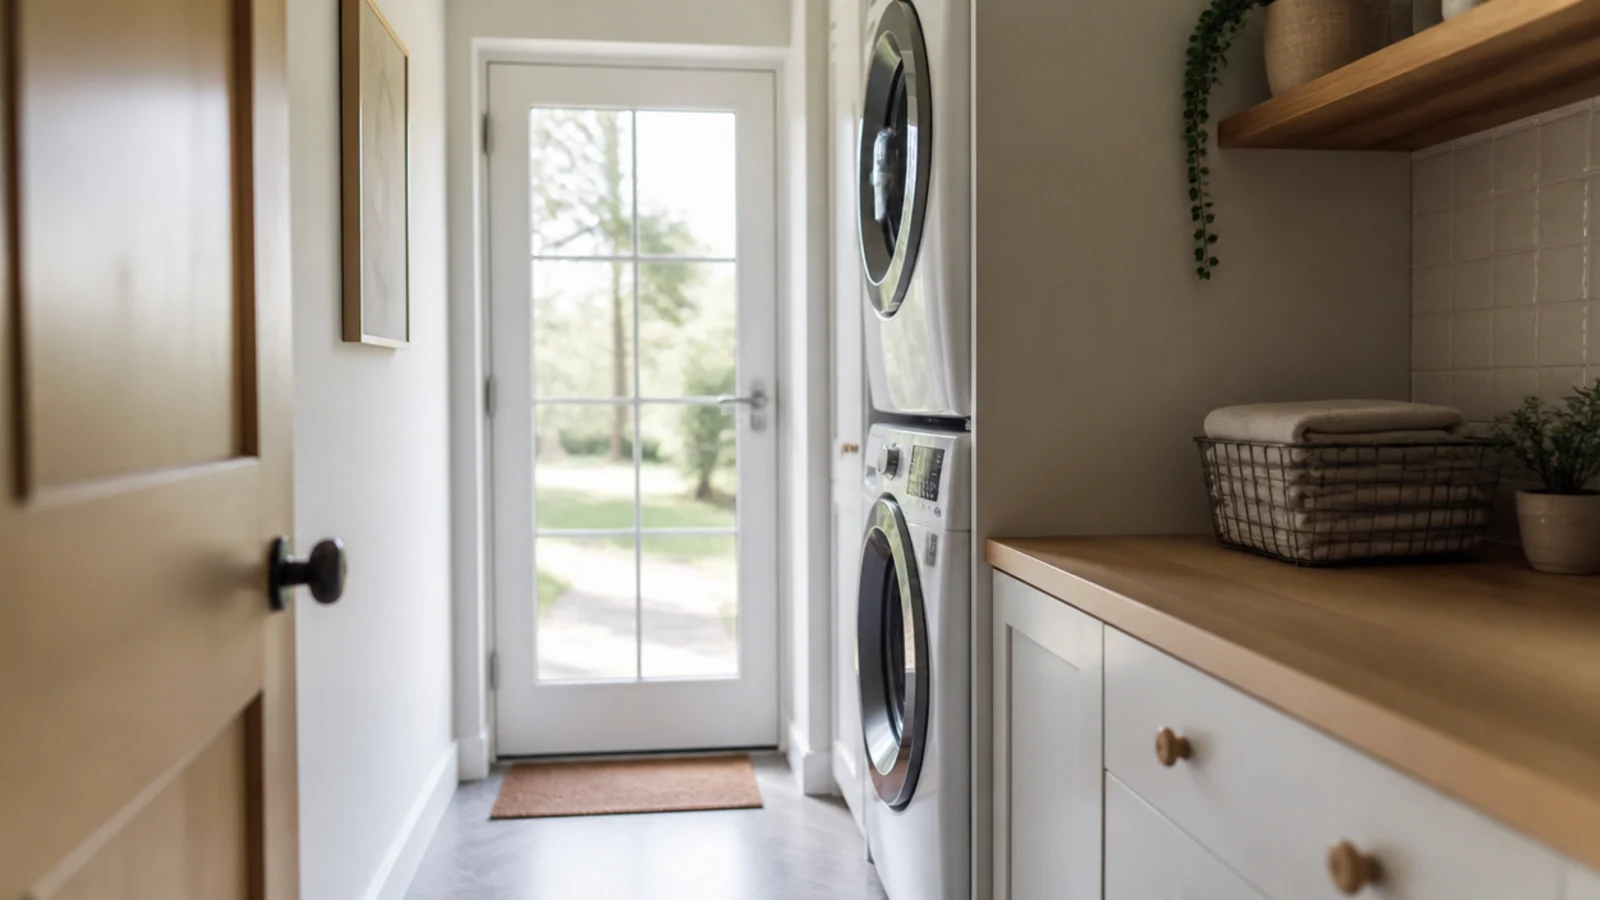
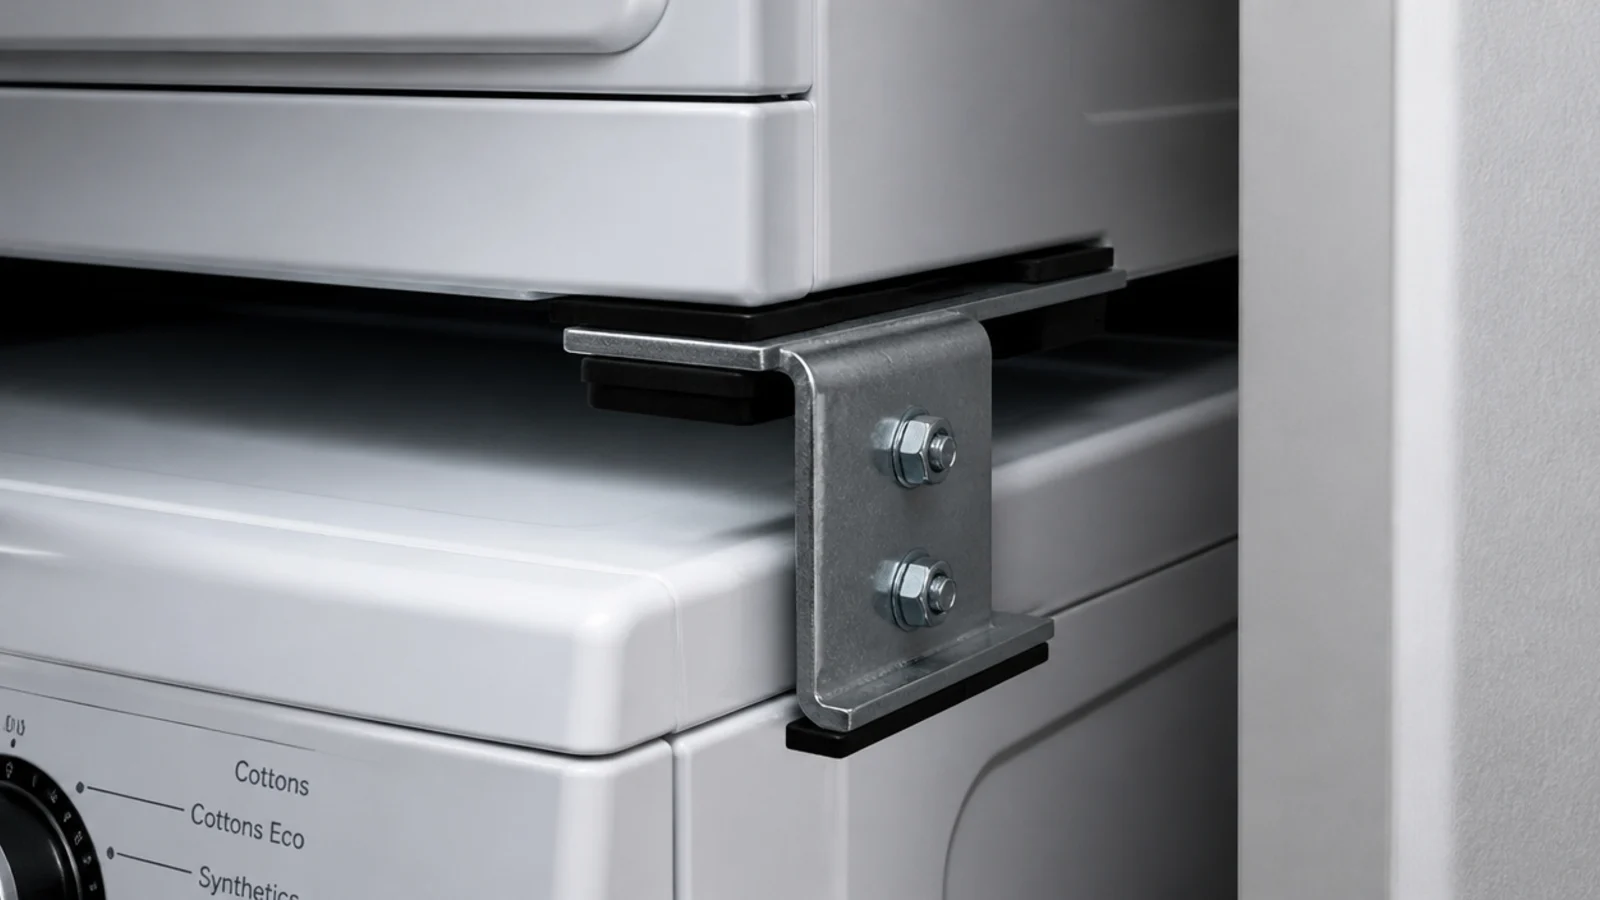
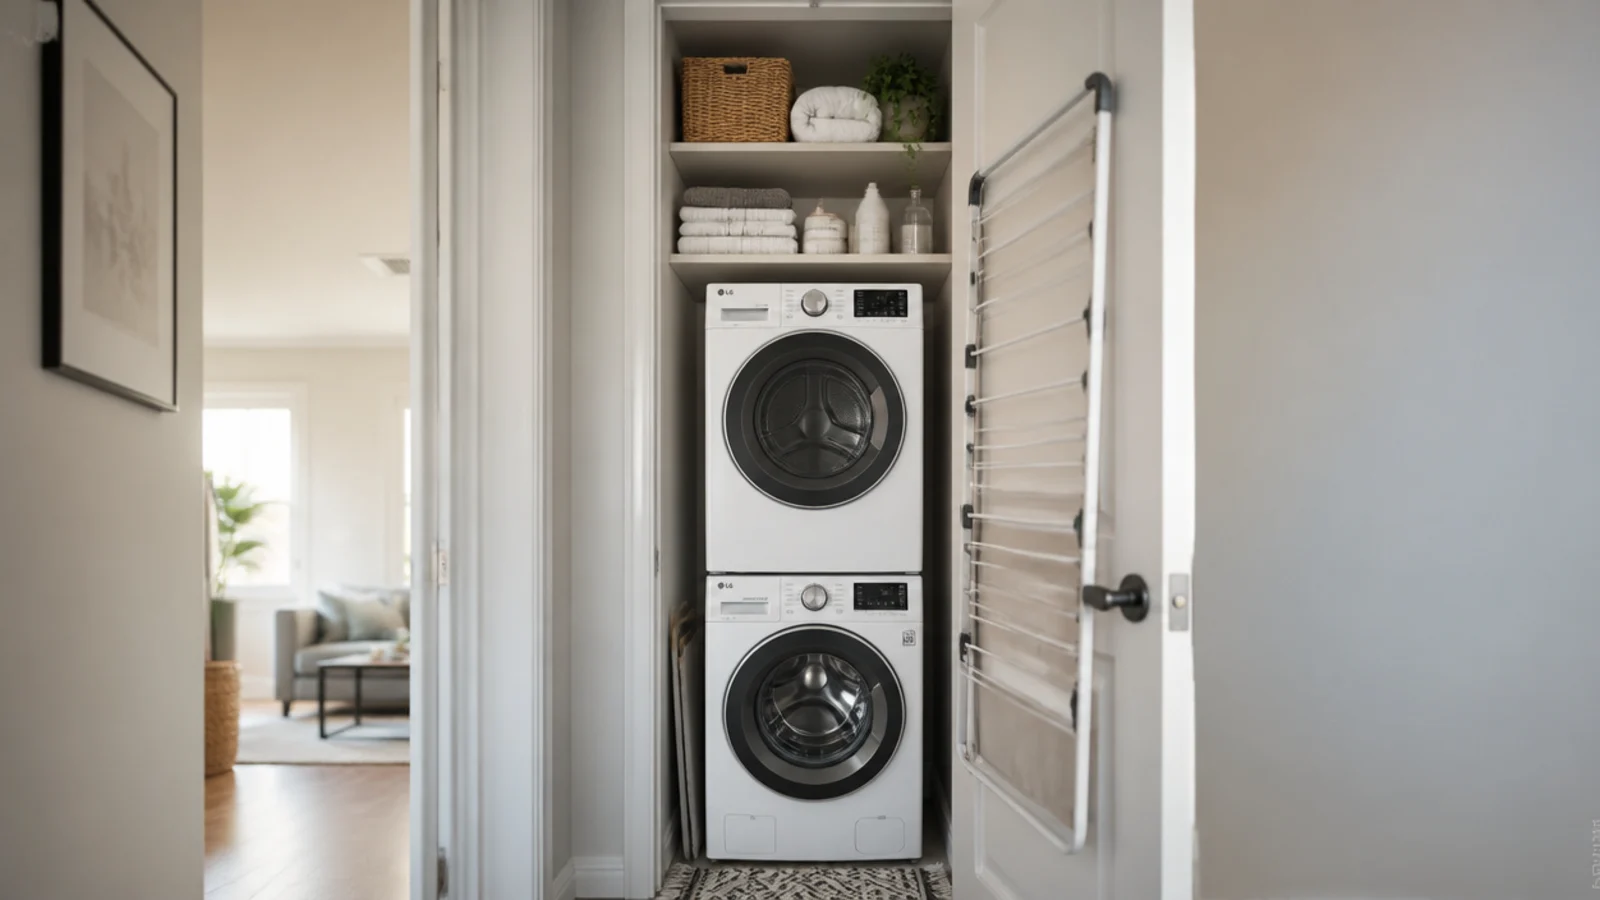
Stacking buys back the entire footprint of one machine, and it is completely safe done properly: front-loaders only, using the manufacturer's own bracket kit for that pair, which runs $30 to $60. Never a strap, never nothing, and never a top-loader. The bracket stops the upper machine walking off during a 1,400 rpm spin, which is the whole reason it exists.
3. Check the ceiling clears seventy-nine inches
The pair itself is 74 to 80 inches, but the number that matters is the swing of the upper door. Allow 79 to 84 inches of ceiling and check where any bulkhead, pipe boxing or light fitting sits inside that zone. A closet that takes the stack but not the open door is the most frustrating version of this mistake, and it only shows up on delivery day.
4. Choose a slim twenty-three inch machine
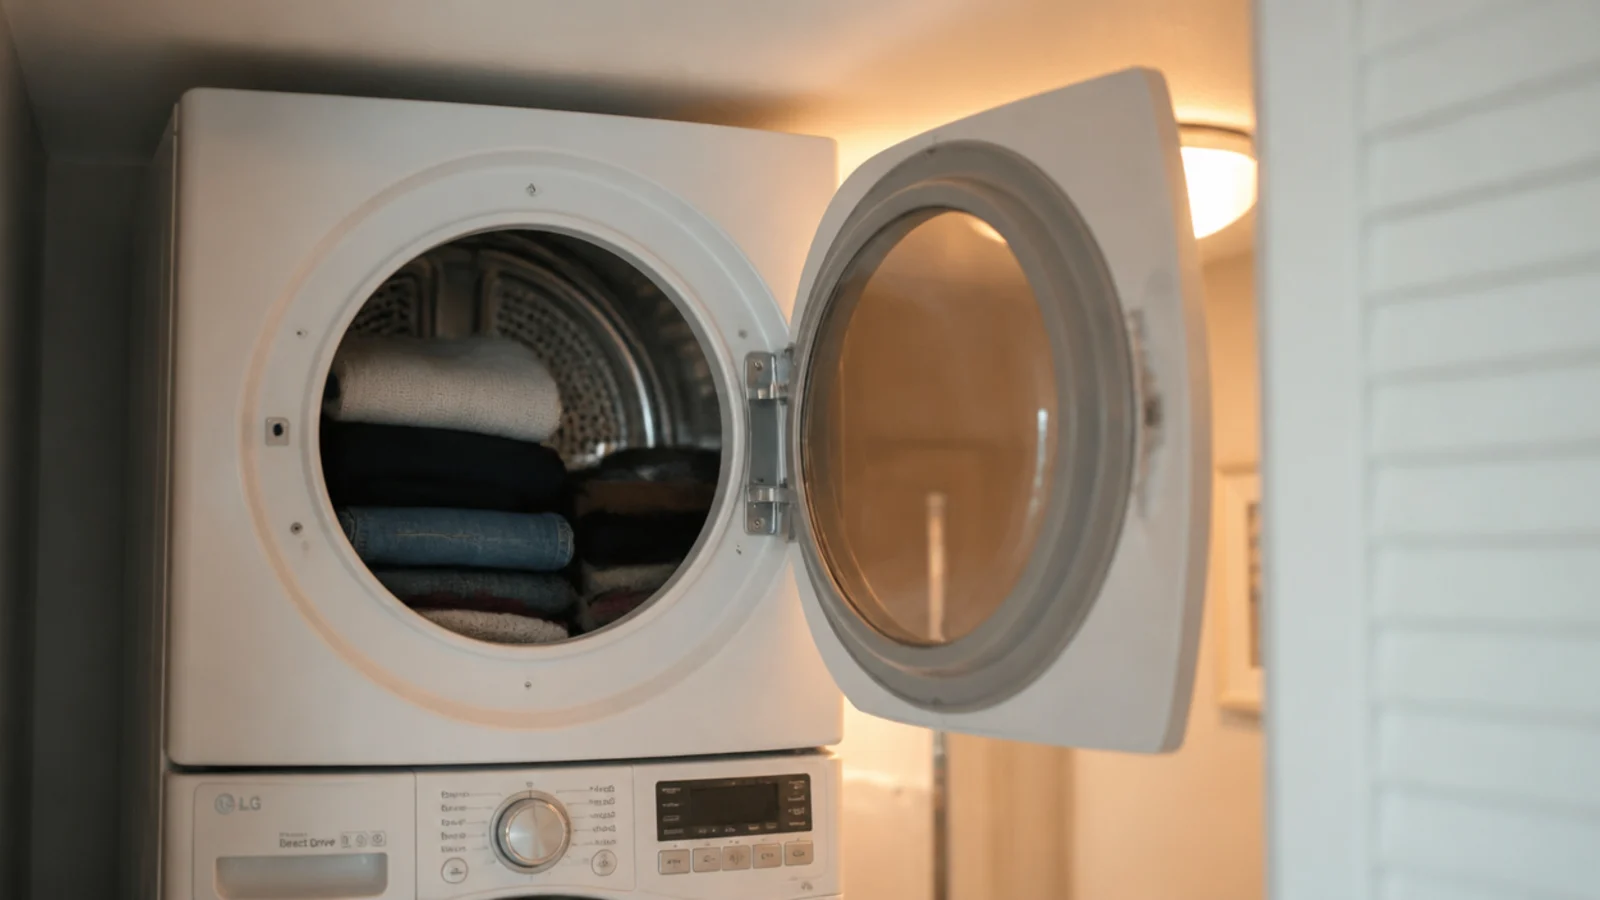
A 23.5-inch European machine against a 27-inch full-size one is nearly four inches of width, which in a cupboard is the difference between a stack and a stack plus a bottle shelf. The trade is drum capacity — usually 7 to 9 kilos against 10 or more. In a household of two that difference is one extra wash a fortnight.
5. Swap the hinged door for a bifold
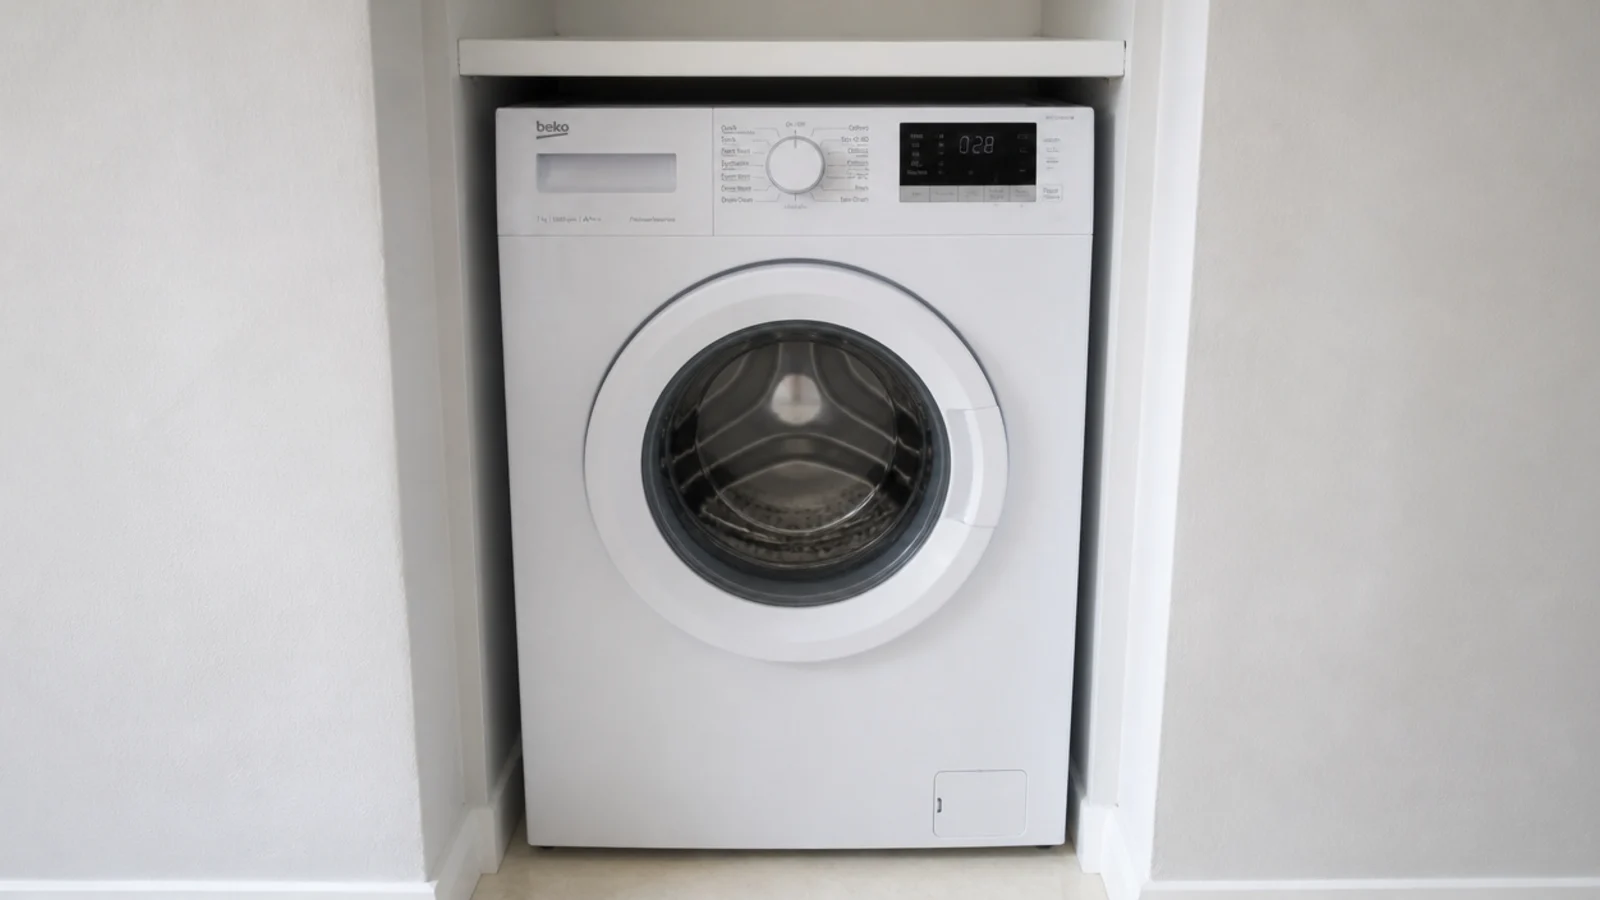
A pair of bifolds folds back into roughly half the arc a hinged door needs, and they open the full width of the opening rather than a leaf at a time. Fitted, expect $150 to $350 for a painted pair. Check the track clears the top of a stacked dryer before ordering, because the head detail is where these usually fail.
6. Or lose the swing entirely to a pocket door
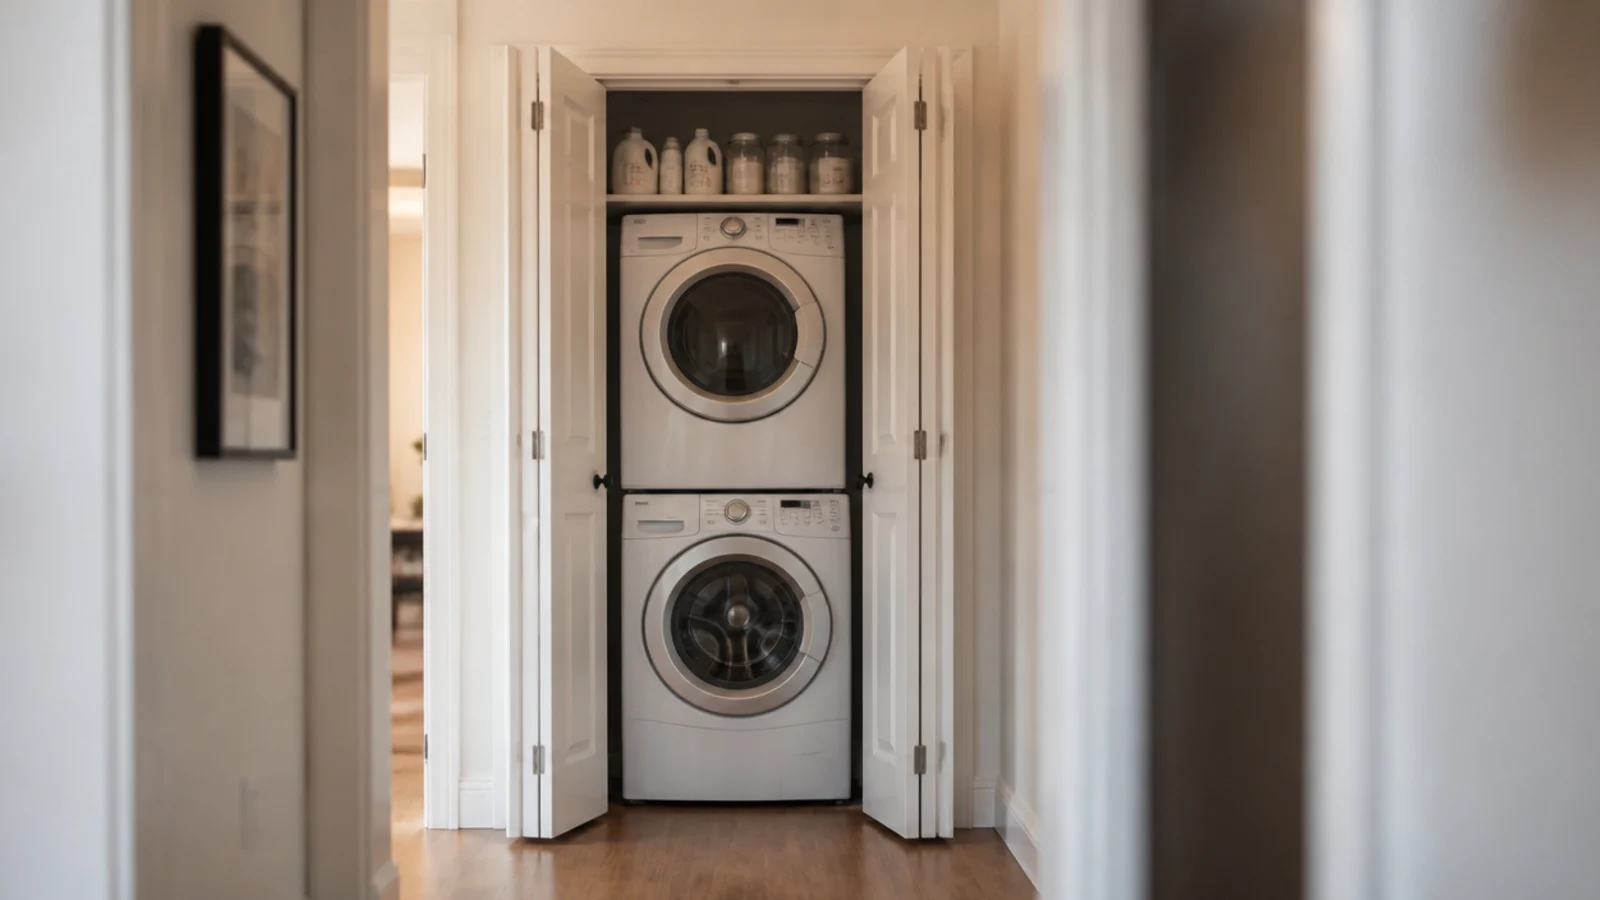
A pocket door slides into the wall cavity and takes no floor at all, which in a room this size is the single most generous thing you can do. Budget $200 to $400 fitted into a stud wall. It needs a clear cavity the width of the door on one side, so check for pipework and cabling before committing.
7. Put the machines on the short wall
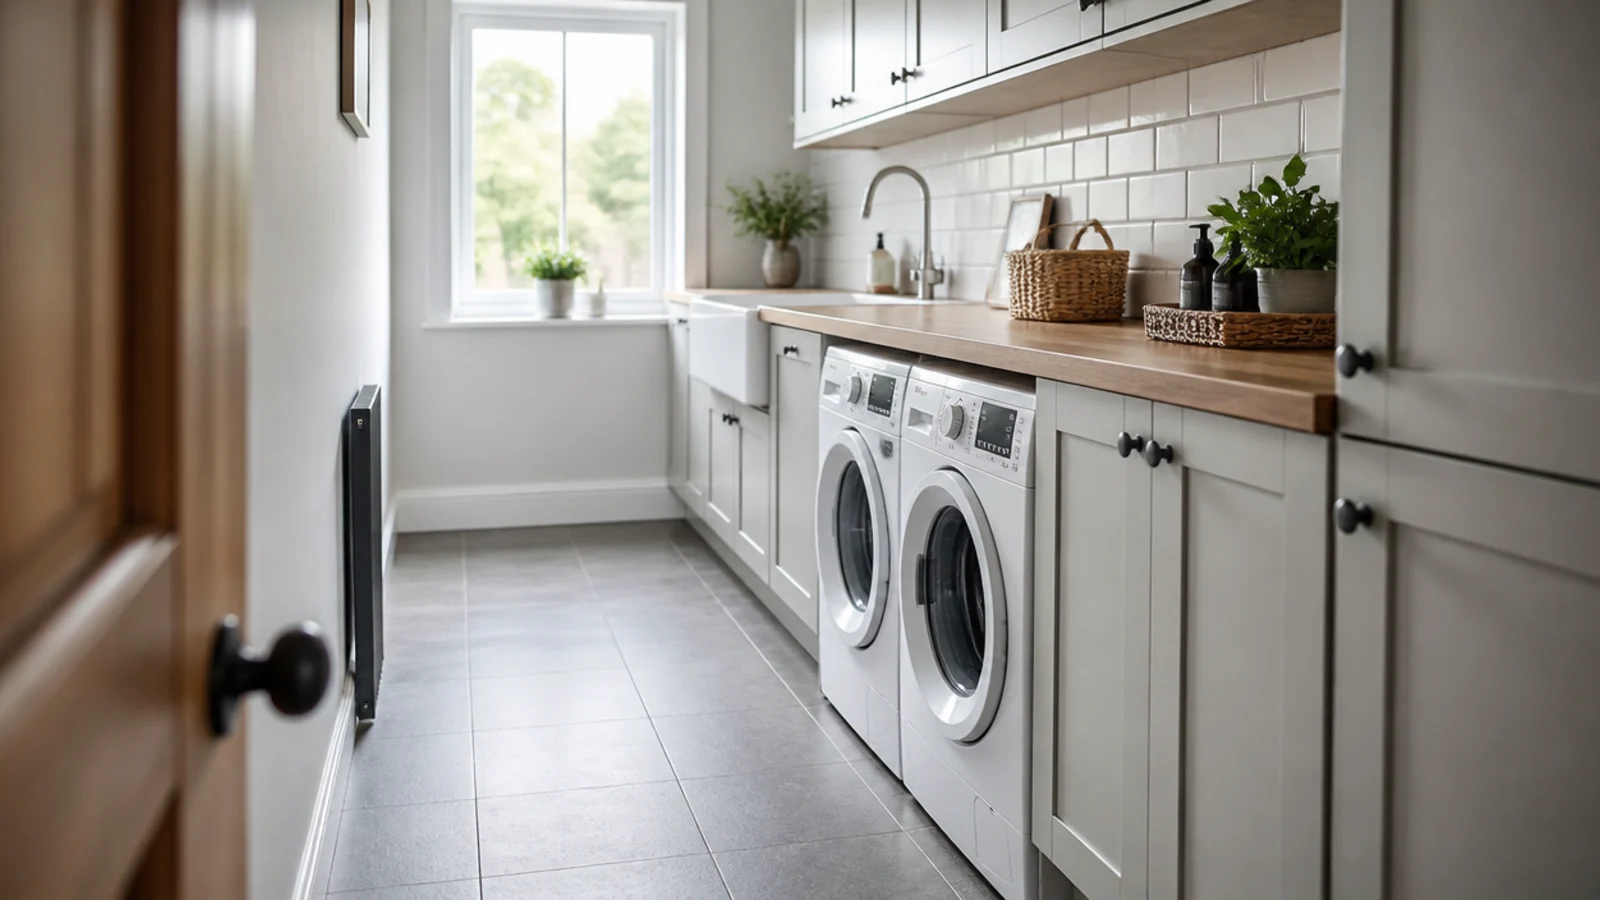
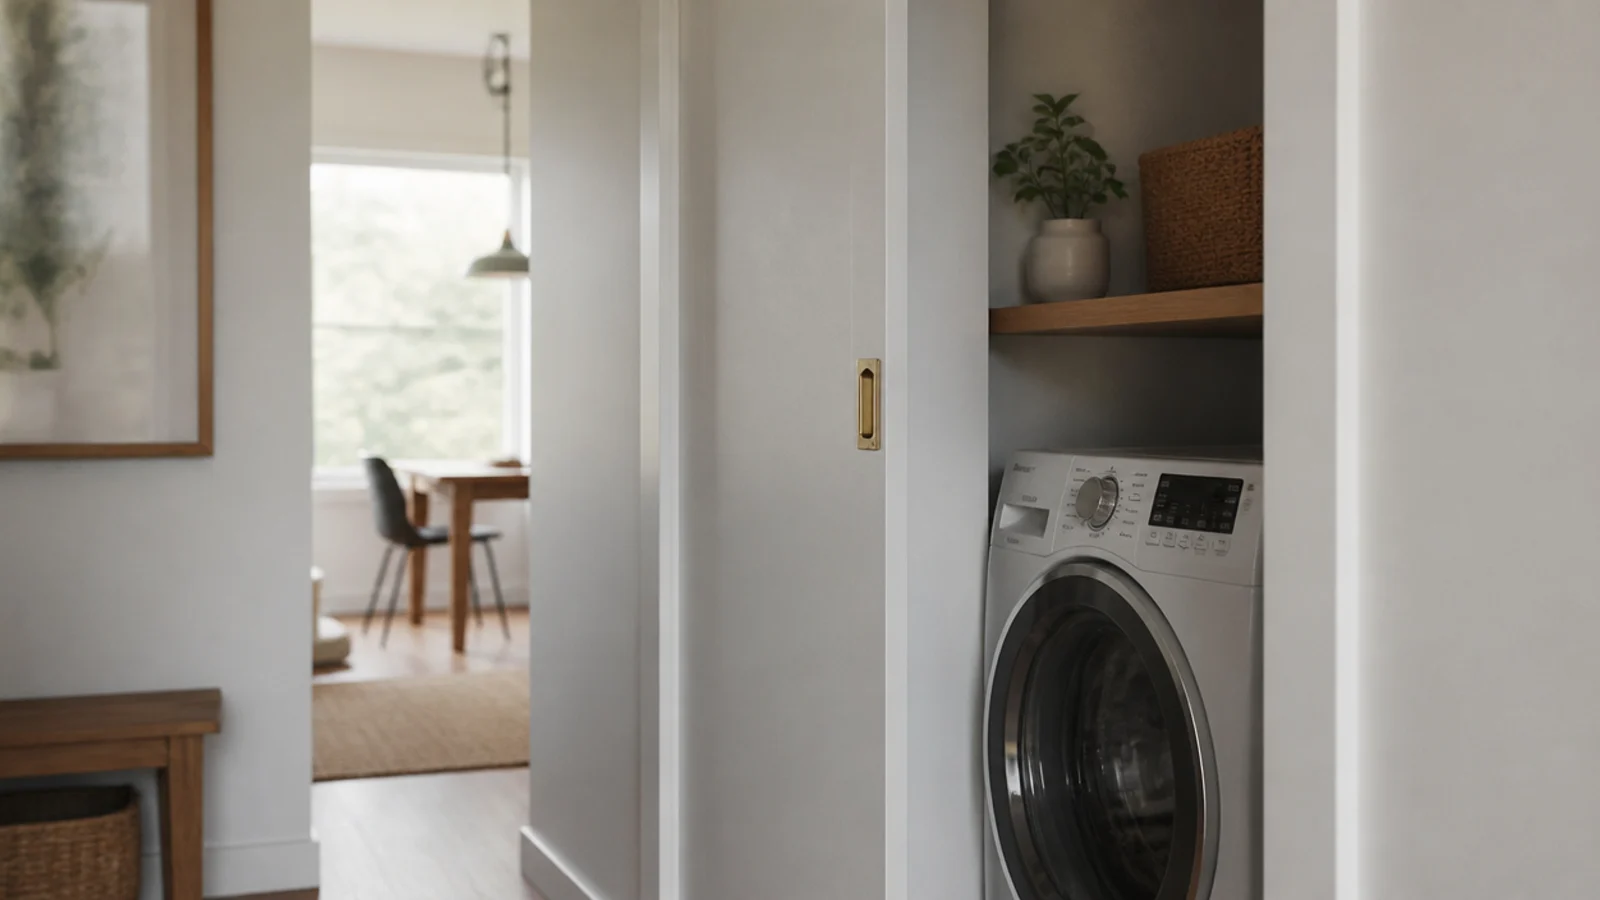
In an awkward rectangle, machines on the short end wall keep the long wall free for shelving, a rail and a folded airer. The alternative — spreading a pair along the longest wall — uses 54 to 60 inches of your best run and leaves nothing but a corridor. Plan the short wall first and everything else has somewhere to go.
8. Use a combo when there is only one slot
A washer dryer combination unit washes and dries in one drum, so it needs a single 29-inch opening rather than two. In a one-slot closet it is often the only workable answer. Expect a smaller dry load than wash load, and a full wash-and-dry cycle of three to four hours, which suits an overnight run rather than a same-hour turnaround.
9. Undercut the door three-quarters of an inch
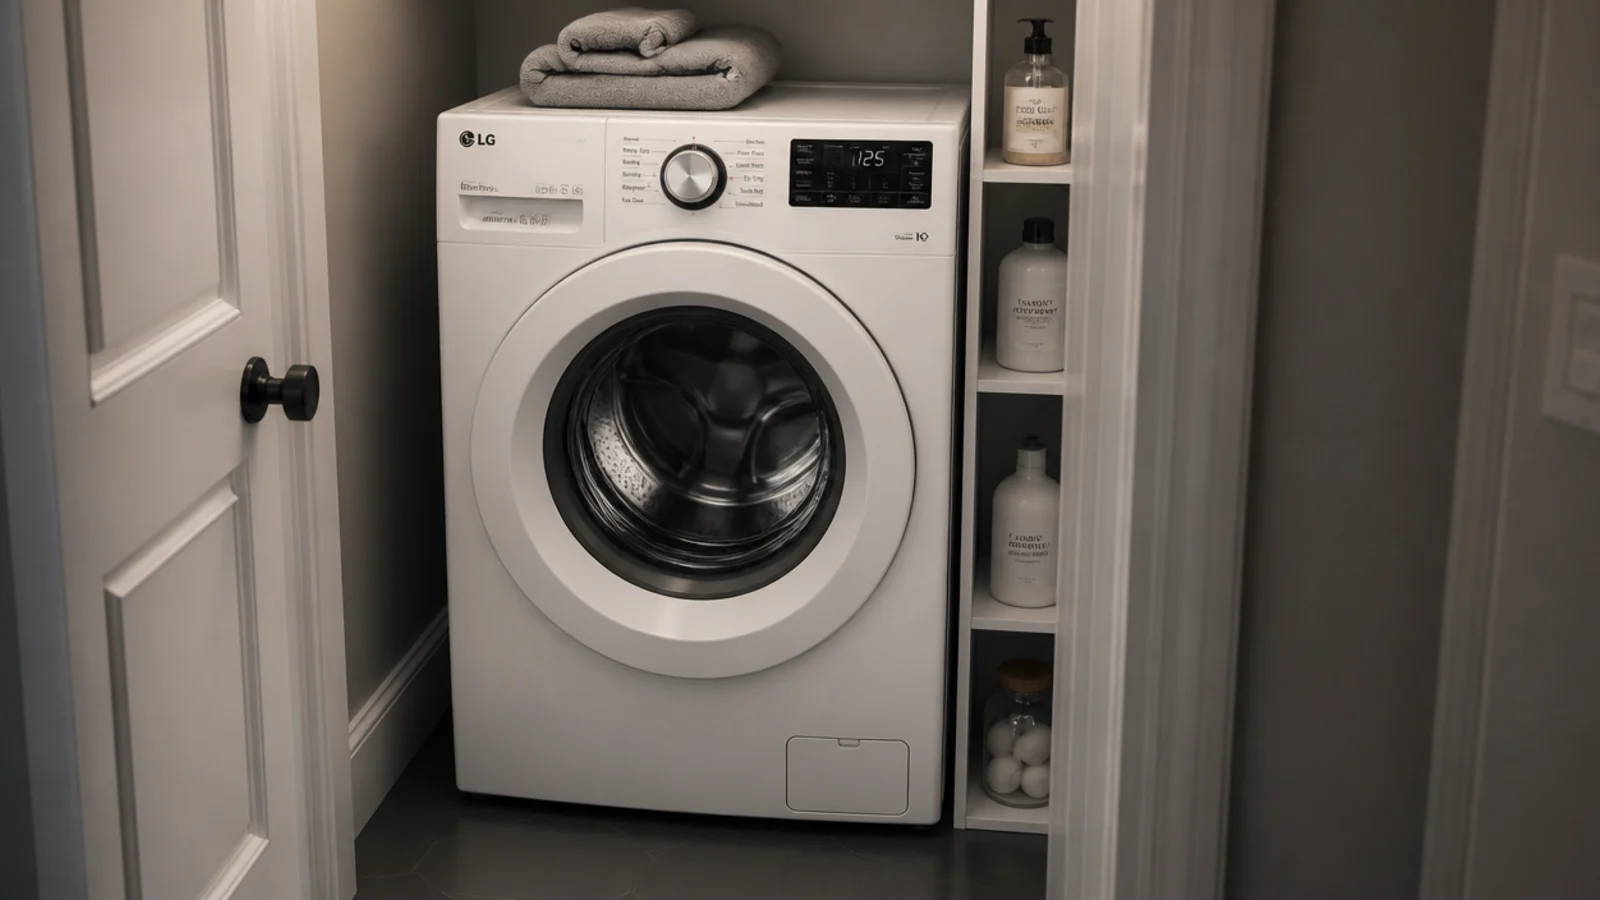
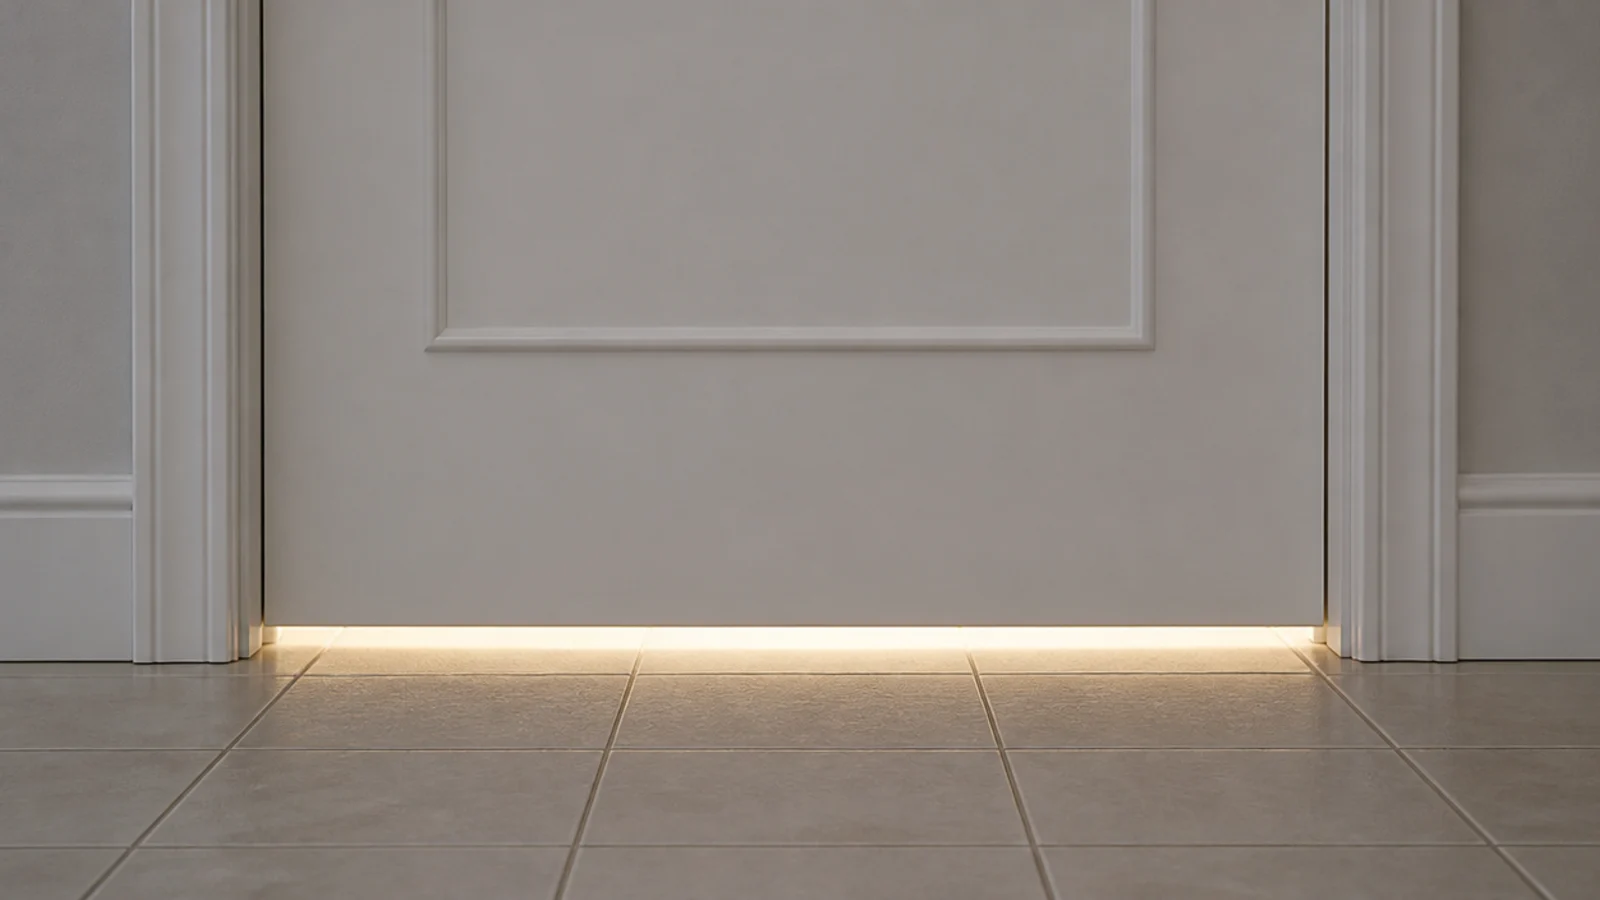
A closed cupboard needs an inlet at the bottom, and the cheapest one is a deliberate gap under the door. Three-quarters of an inch is the working figure — enough free area to feed a high extract, small enough to look intentional. It costs one pass with a hand saw and it is half of the rule that stops the space smelling.
10. Add the high grille that makes it work
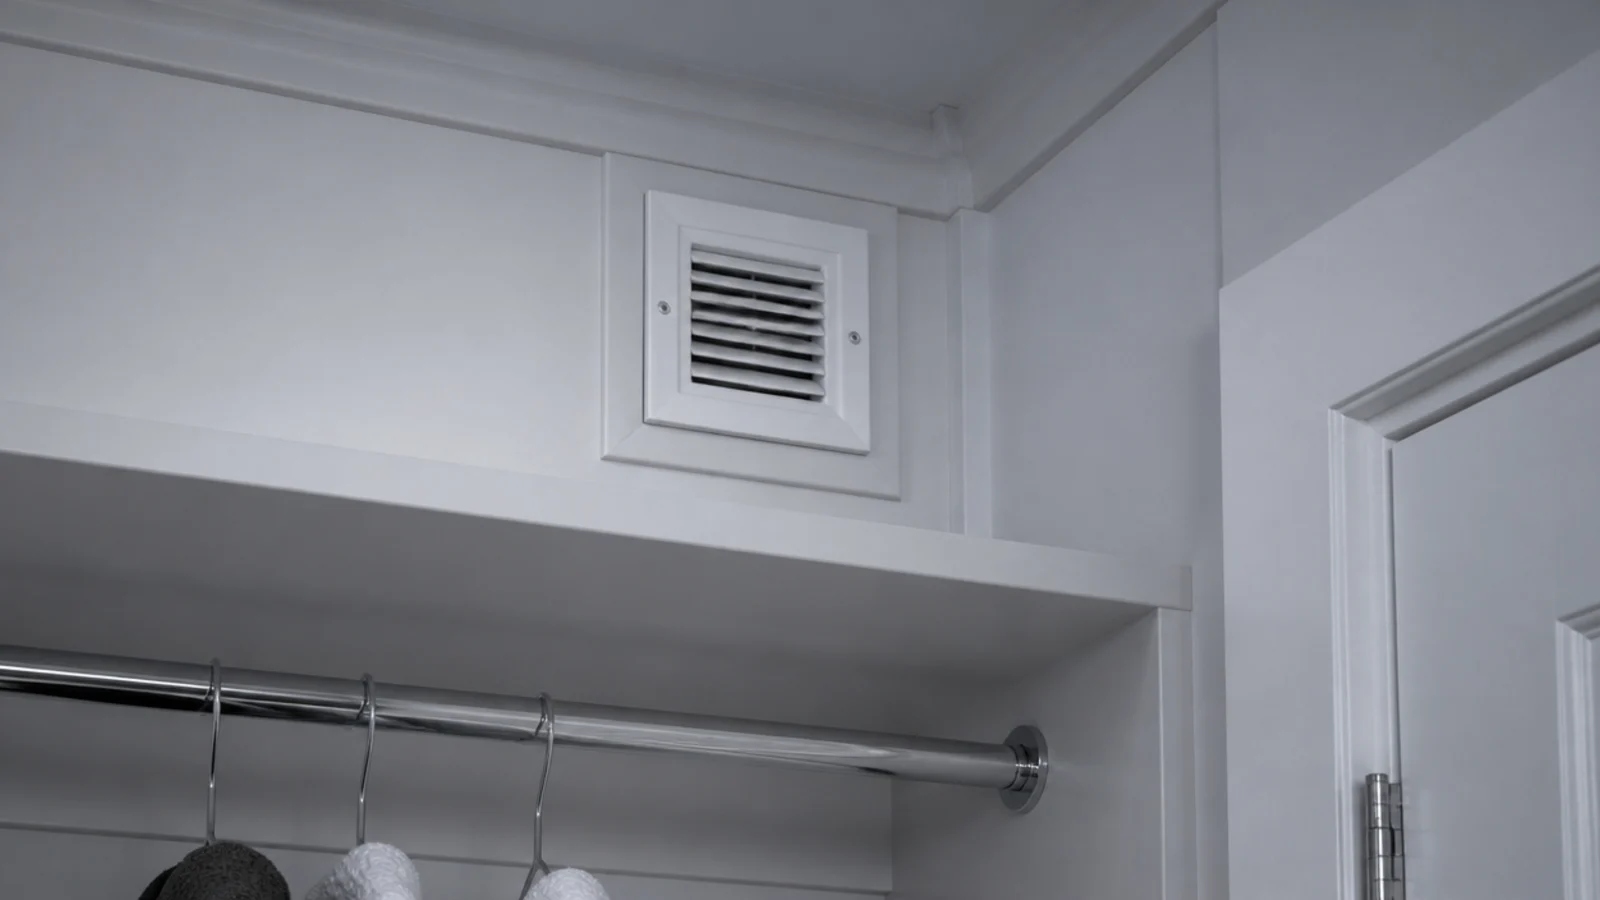
The undercut alone does nothing. Air only moves when there is an opening low and another high, so fit a grille of at least 40 square inches free area near the ceiling on the same wall or in the door head. Air in low, air out high — one opening on its own just recirculates the same damp air and the cupboard sours within a week.
11. Fit a slimline inline extractor
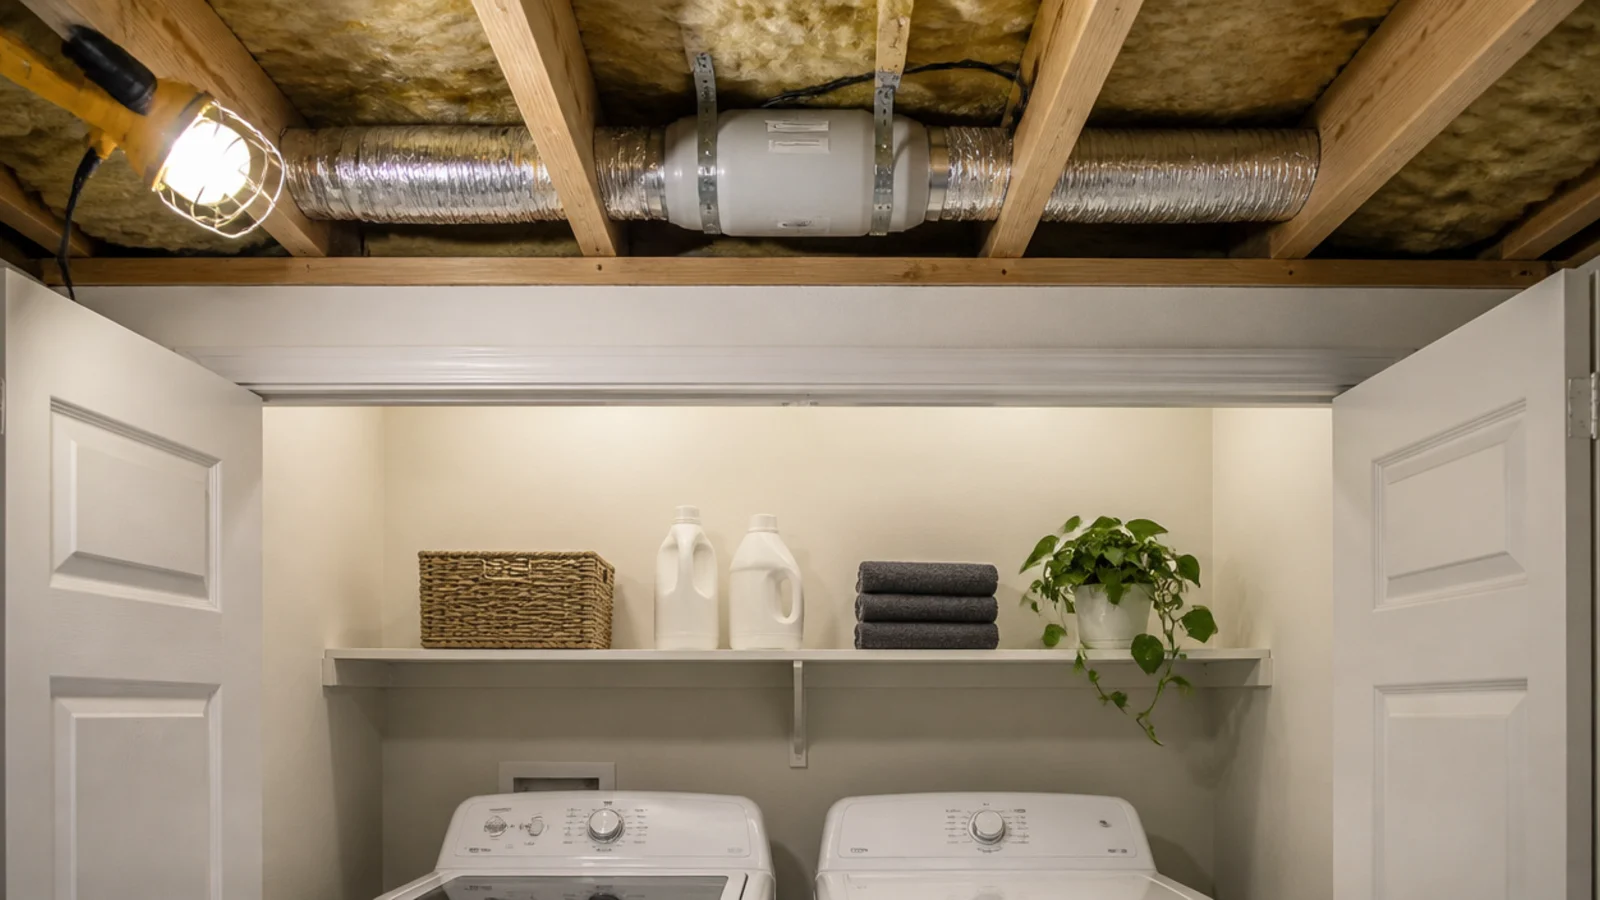
Where there is no external wall behind the closet, a slimline inline fan sitting in the ceiling void and ducted to the nearest outside face does the job for $80 to $200. Size it at 30 cubic feet a minute minimum, more like 50 to 80 if wet laundry hangs in there, and wire it with a 15-minute run-on timer.
12. Take the shelves right to the ceiling
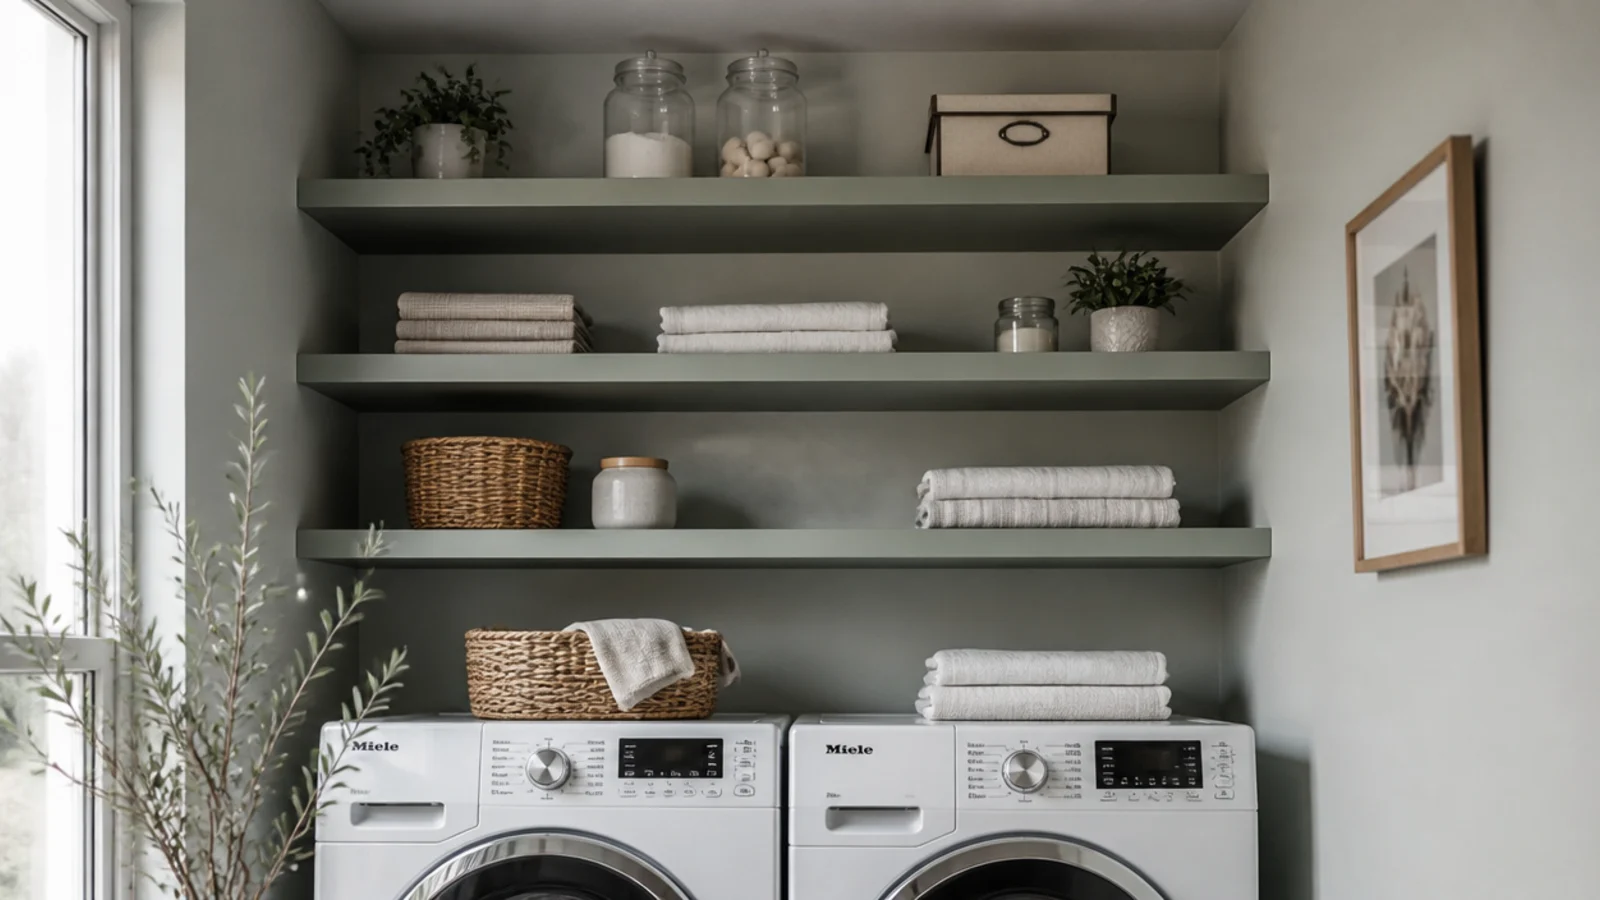
Above a stacked pair there is usually 10 to 20 inches of wall doing nothing. Two shelves at 12 inches deep, spaced about 14 inches apart, take detergent, spare bulbs and the things you touch twice a year. Fix into studs or use toggle bolts rated 25 to 35 pounds each, because a shelf over a machine must never be the weak point.
13. Slot a nine-inch pull-out into dead space
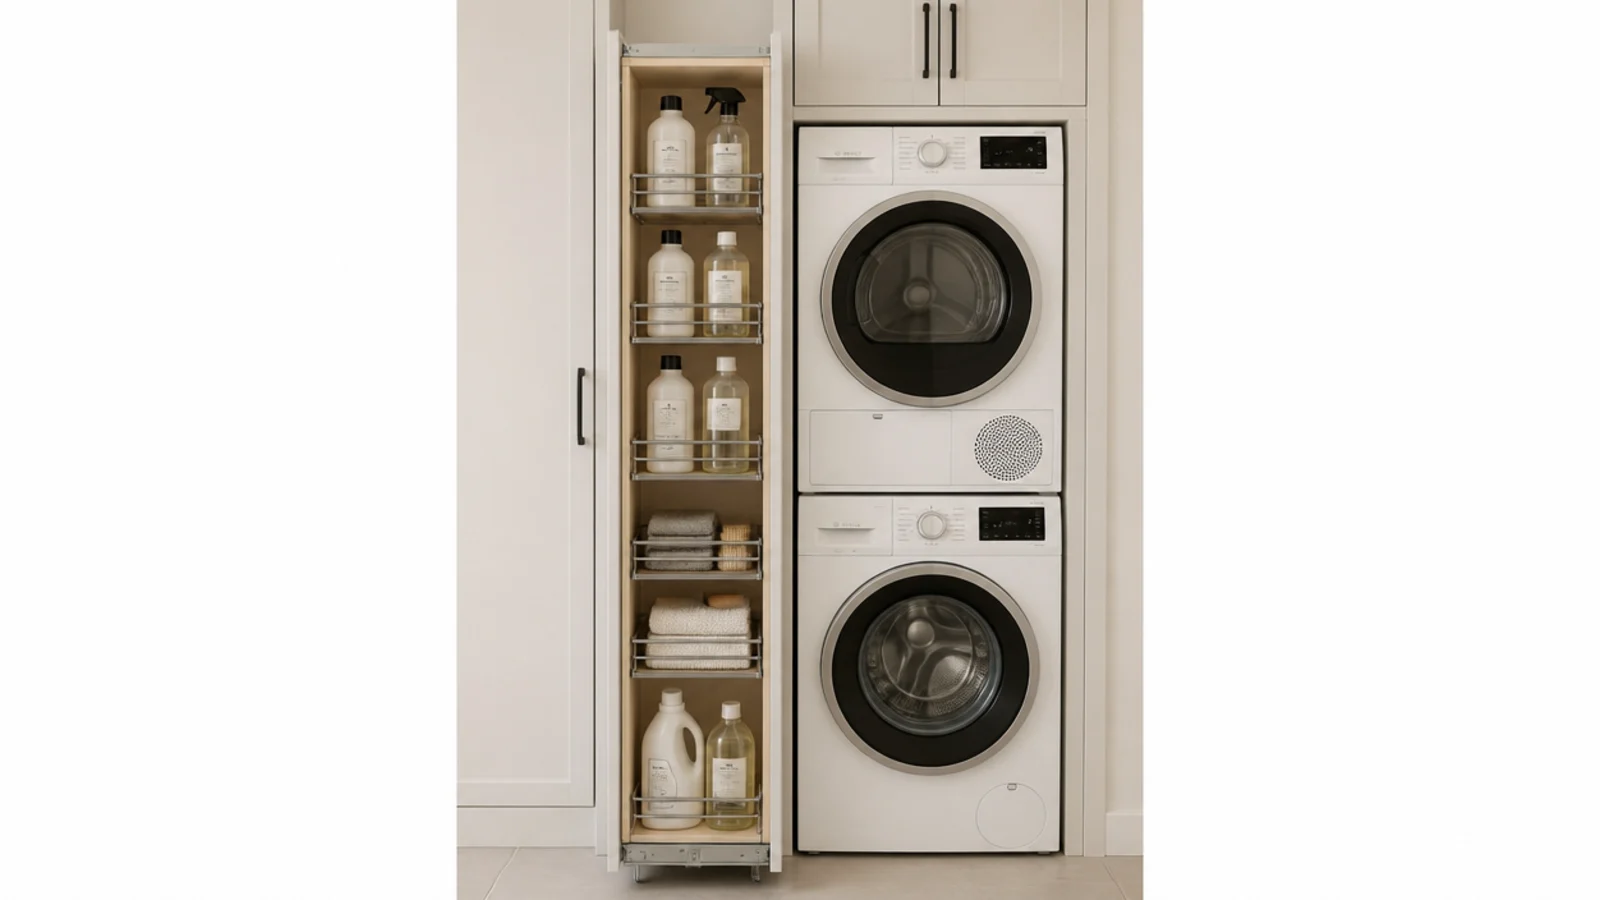
The gap left over beside a stack is rarely enough for a cabinet and always enough for a narrow pull-out. Nine to twelve inches wide, full height, on tiered racks, it swallows every cleaning bottle in the house upright and visible. Expect $150 to $300, and measure the handle projection so it clears the door when closed.
14. Use the back of the door
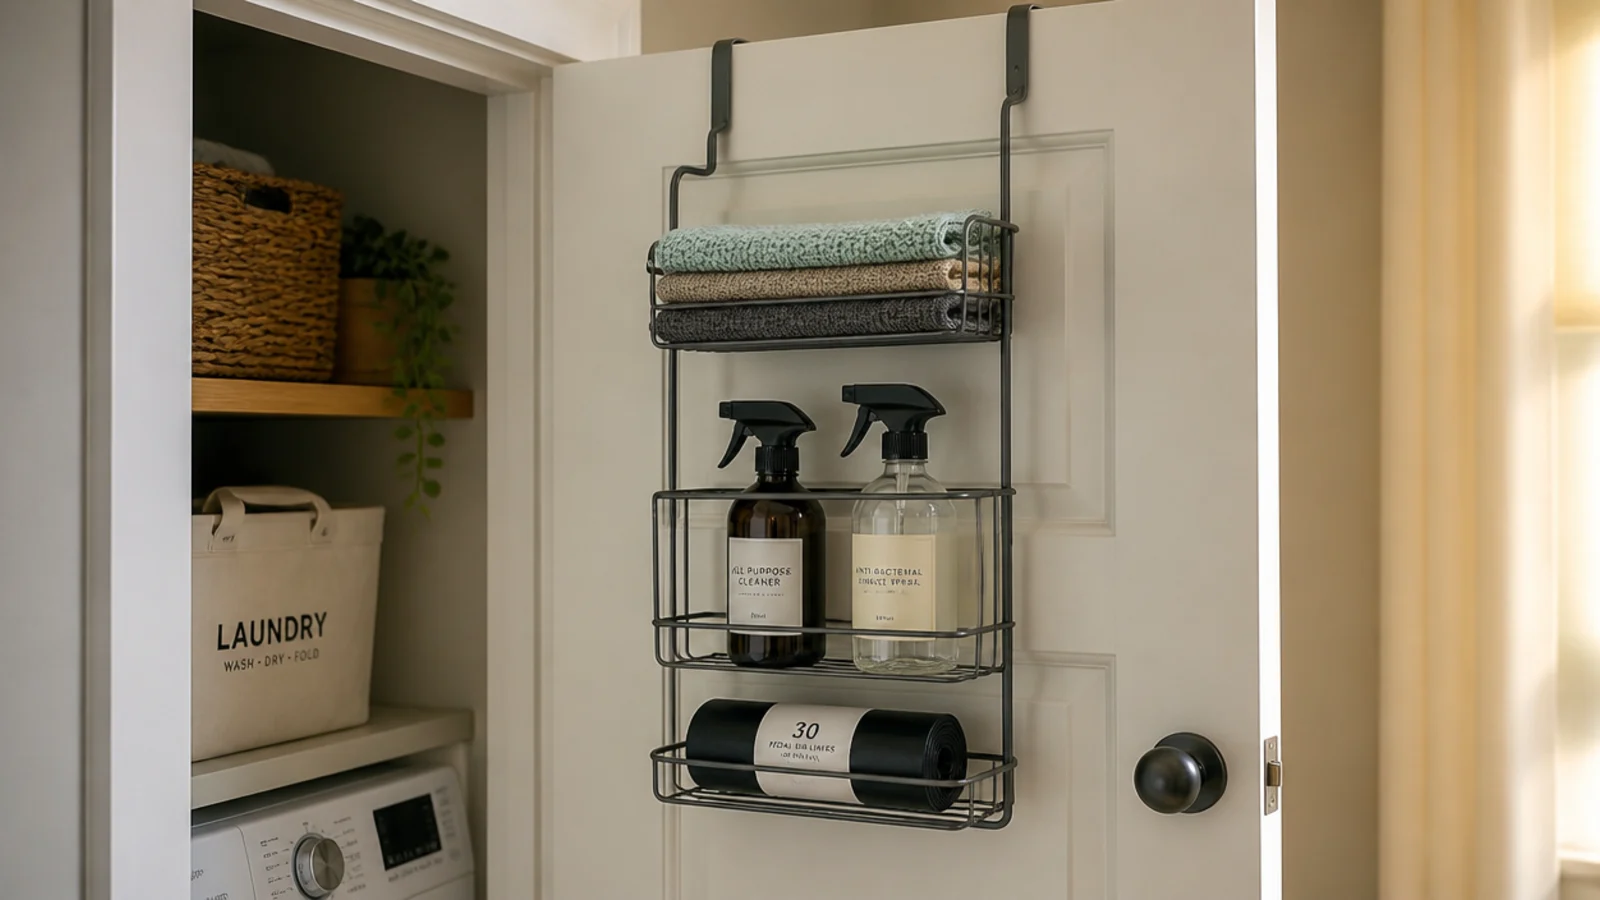
An over-door rack adds two or three inches of usable depth on a surface that was doing nothing but swinging. Cloths, sprays, bin liners, pegs — anything flat and light. Keep it under about 10 pounds so the hinges do not drop, and check it clears the machine fronts before you shut the door on it.
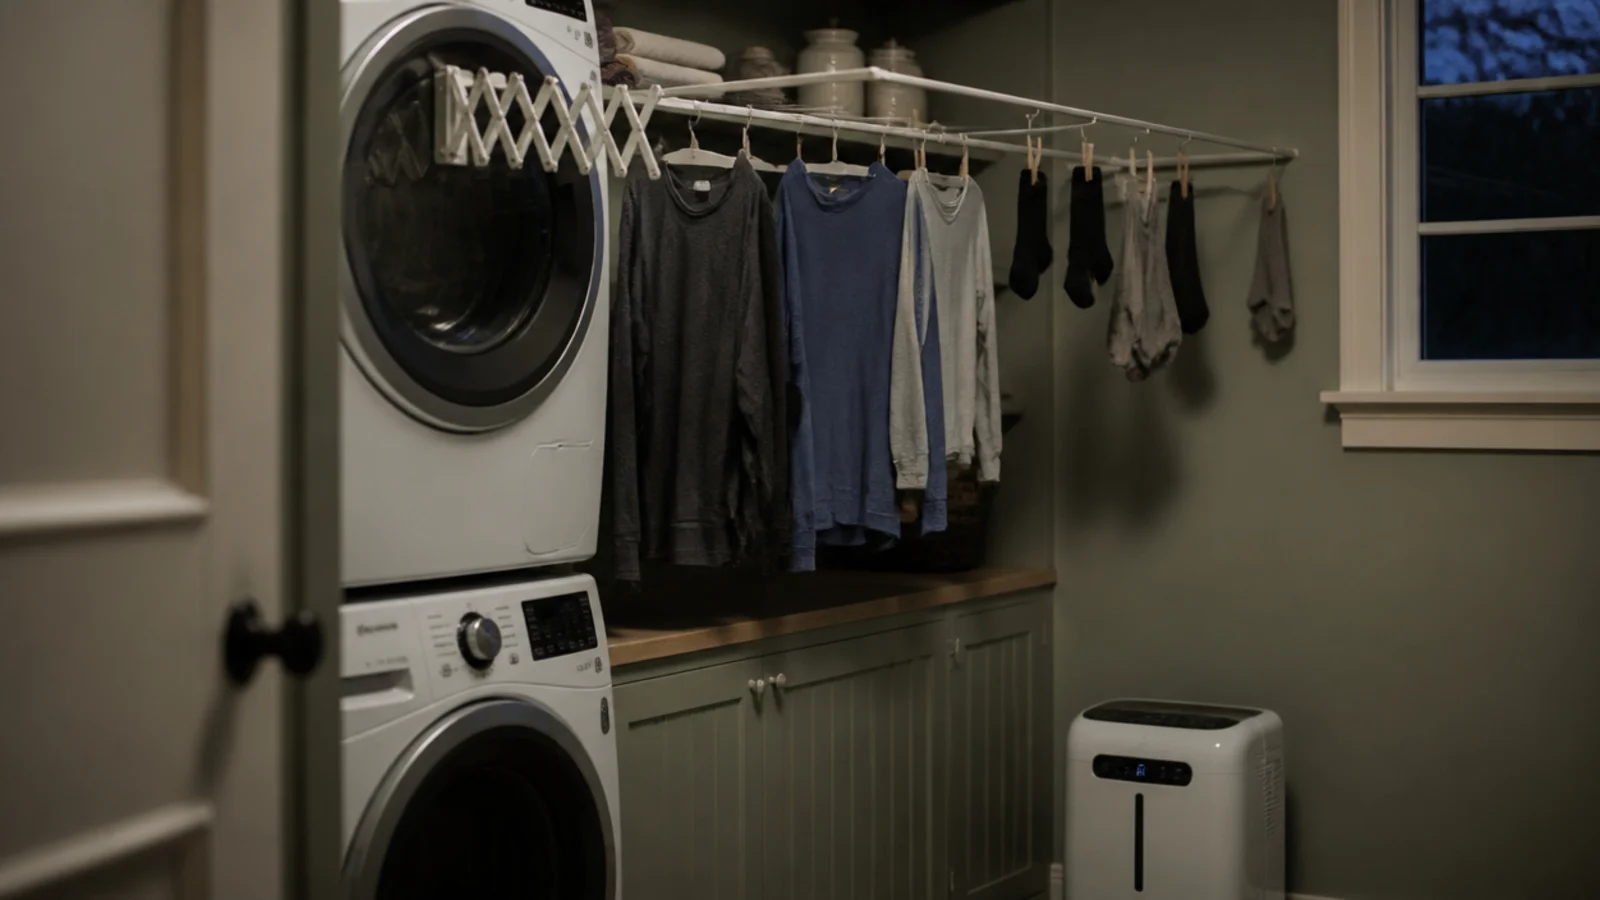
15. Hang the drying rack above the machines
Warm air collects at the top of a closed space, so that is exactly where damp laundry should hang. A concertina rack mounted above a stack gives 20 to 25 feet of line — about one load — and folds to two inches when it is not working. Pair it with a dehumidifier rather than heat and the load is dry by morning.
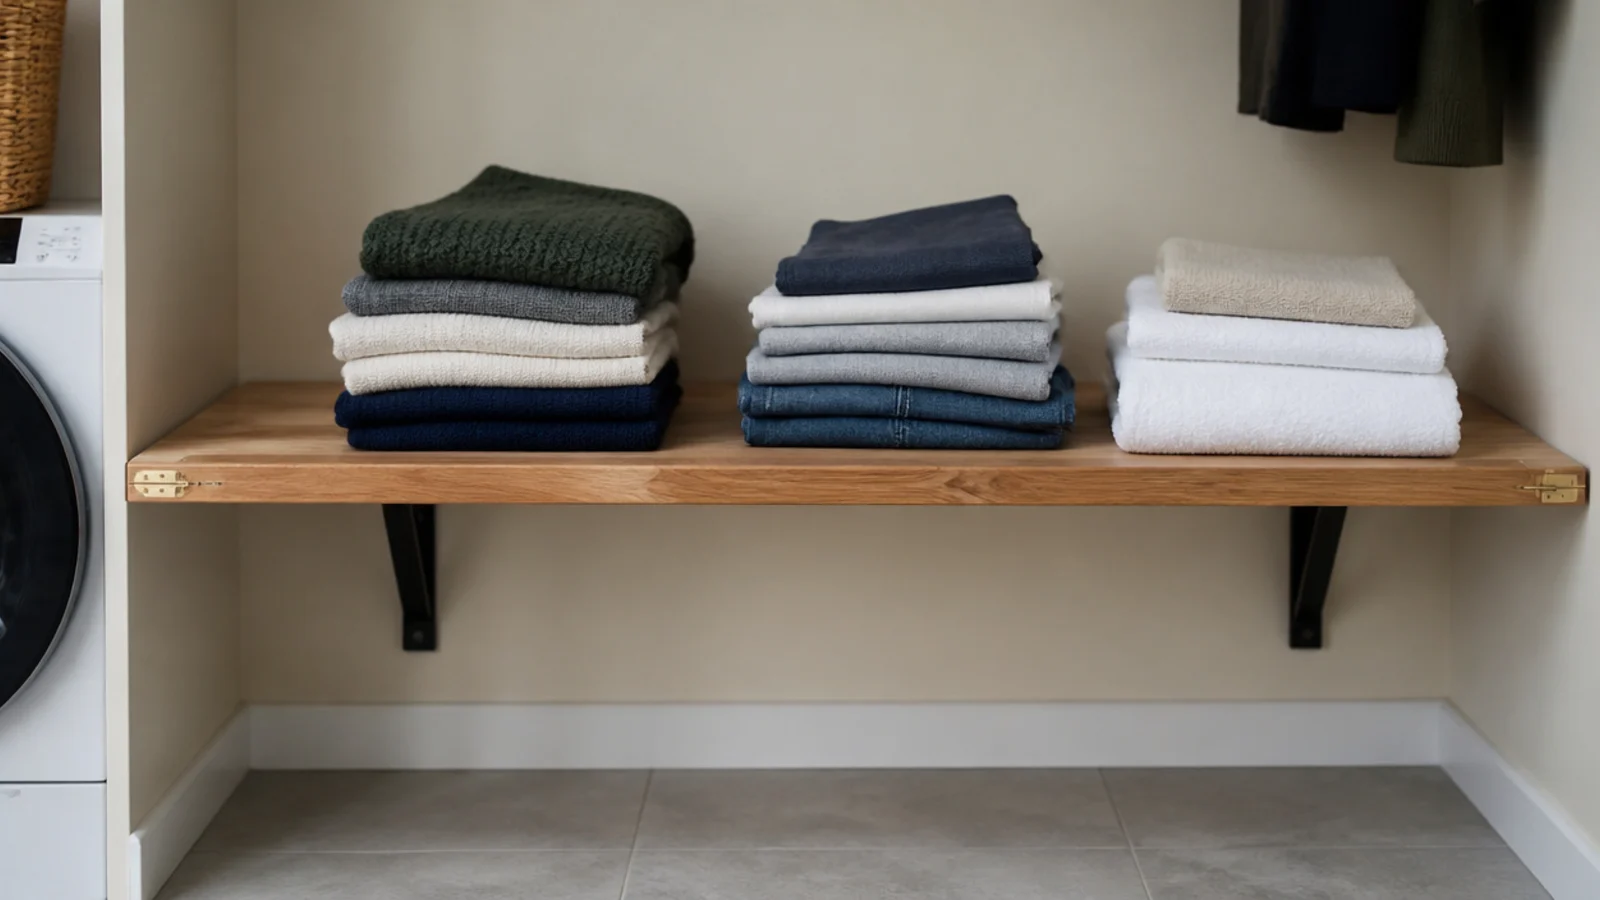
16. Fold the worktop down when you need it
There is no room for a fixed 36-inch worktop in a cupboard, but a hinged shelf on drop-down brackets gives you one for ten minutes and then vanishes. Sixteen inches deep takes a folded bath towel. Brackets into studs, $60 to $130 in timber and hardware, and it doubles as the surface you sort on.
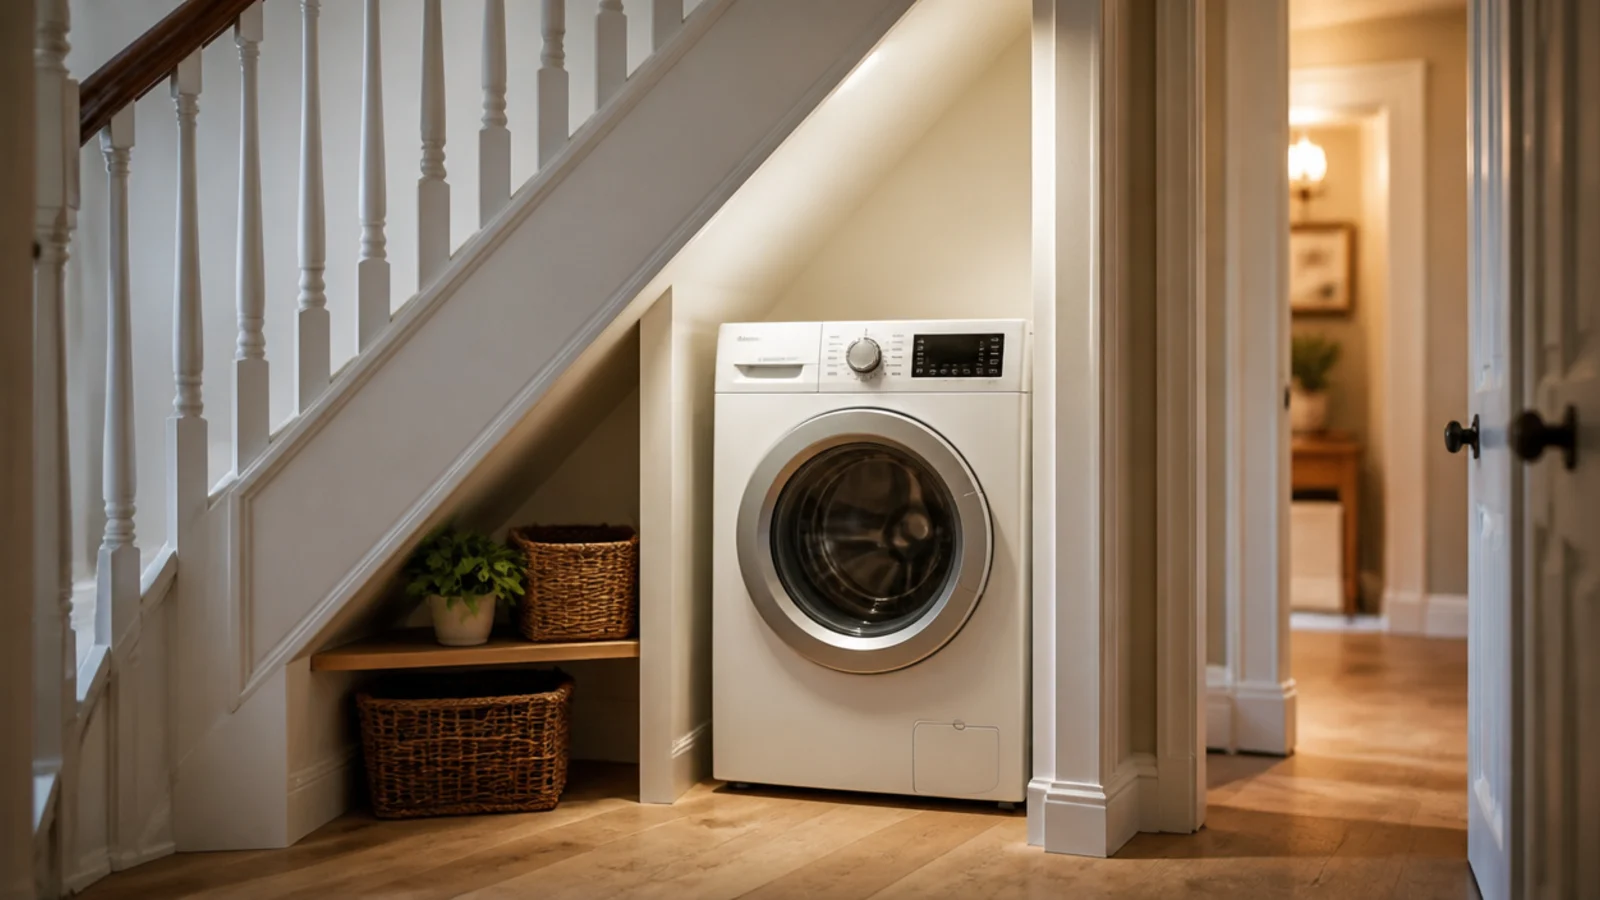
17. Mind the head height under the stairs
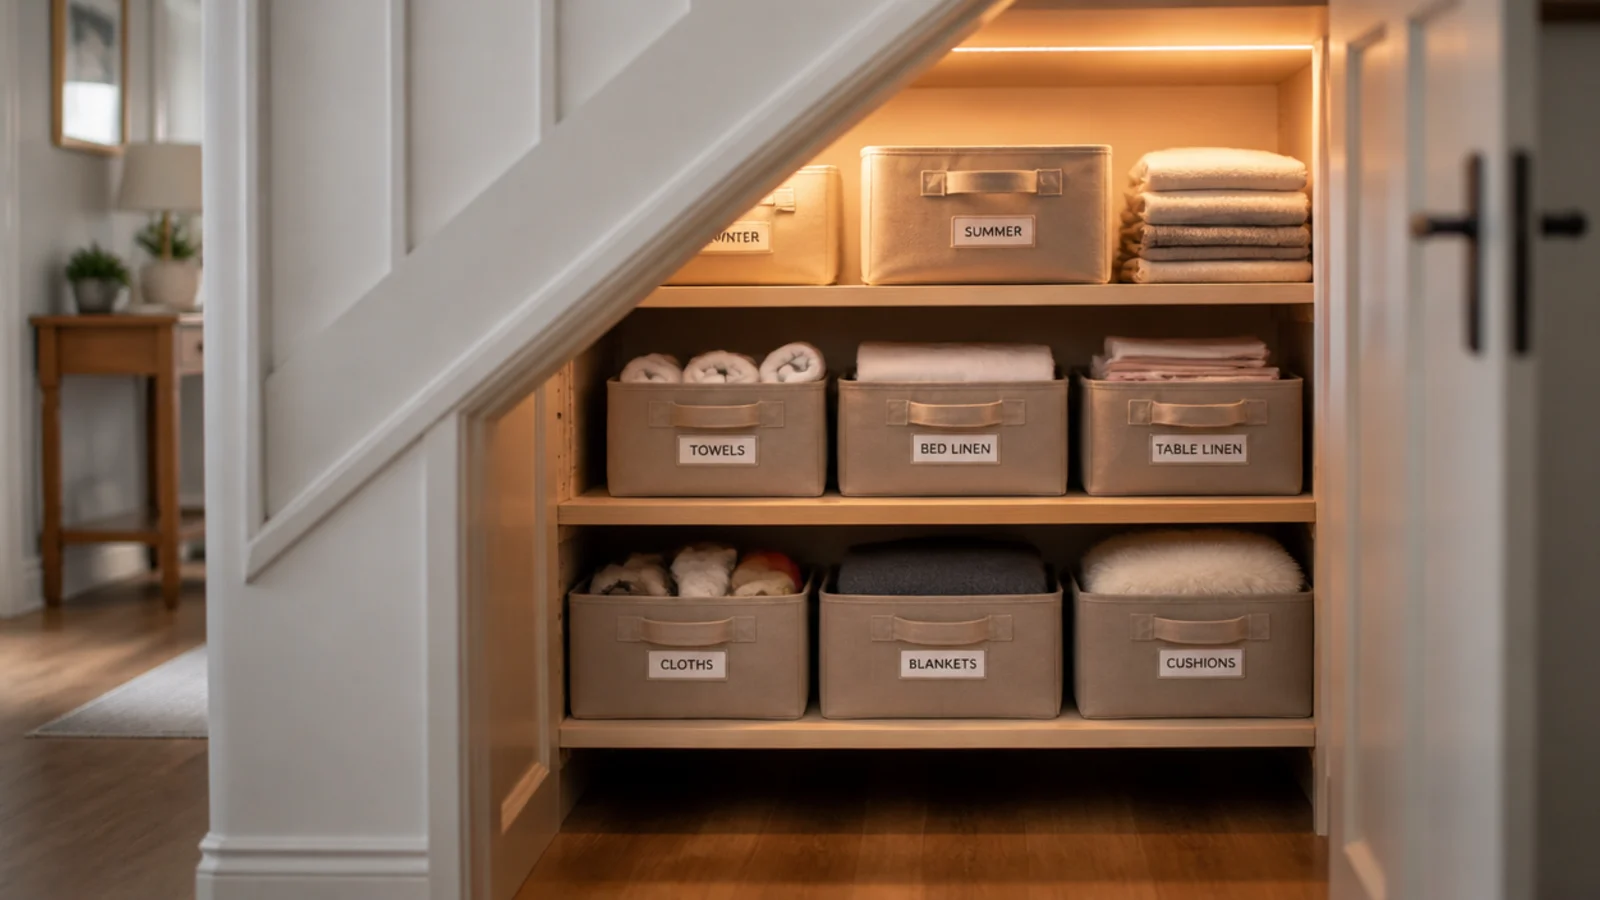
An understair recess almost always has the depth and almost never has the height. Site the machine at the tall end where you can stand to load it — about 40 inches of clear head height at the door — and put low baskets under the rake. The under-stairs storage guide covers how to line and light one properly.
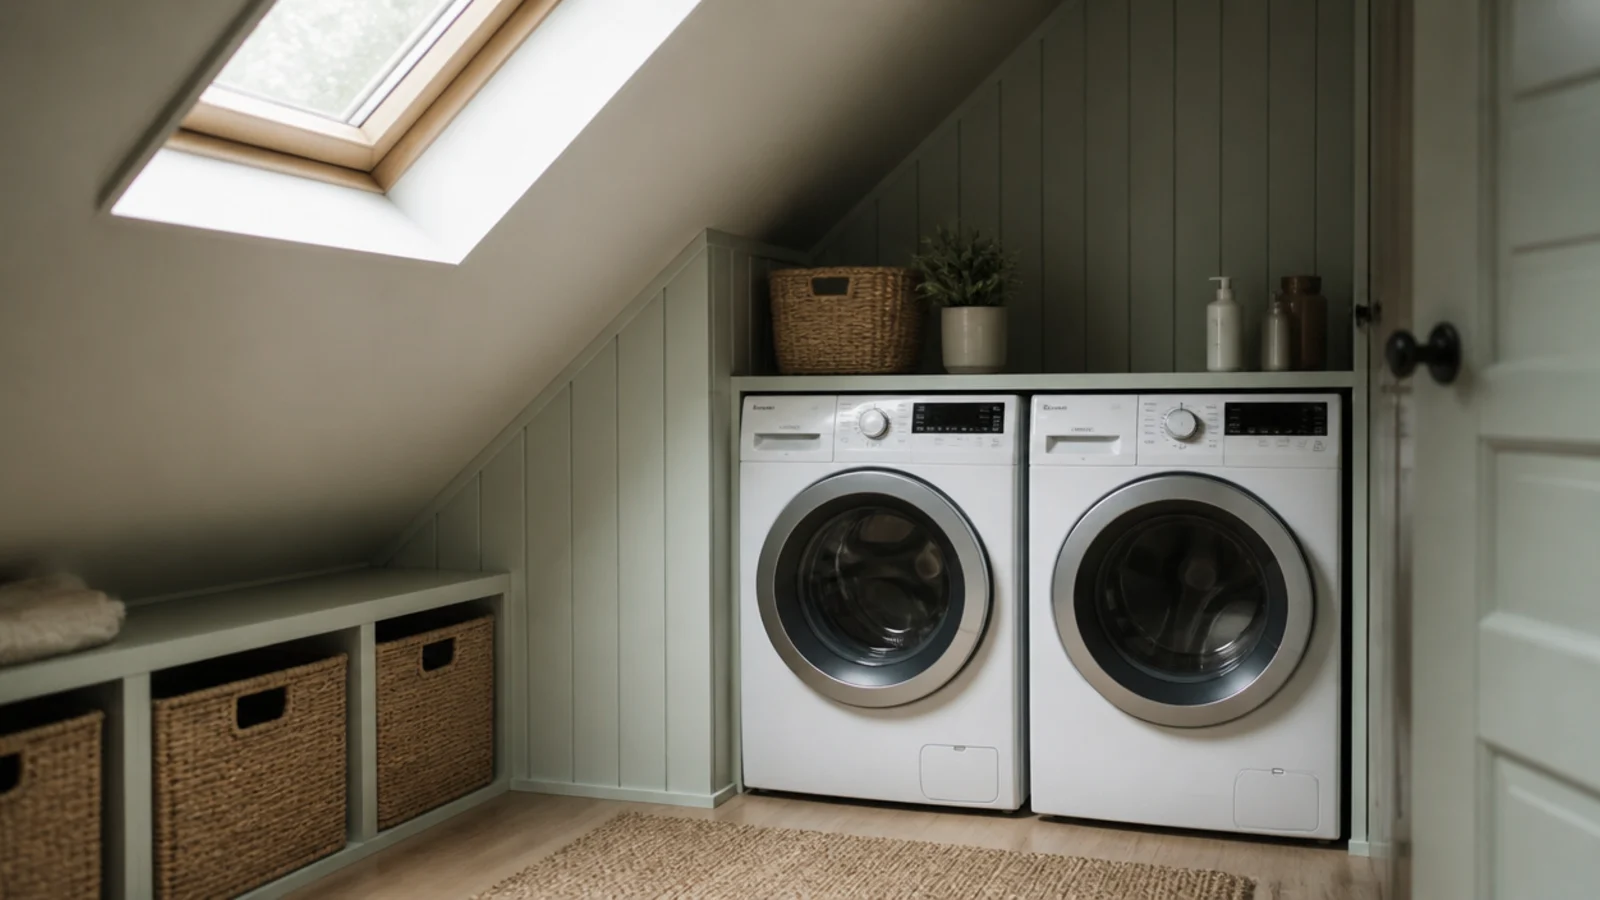
18. Work with a sloped ceiling, not against it
In an attic corner, machines go along the full-height wall and everything low and shallow goes under the rake. Measure the height at the point where the appliance door opens, not at the ridge. A stacked pair usually will not work here at all, which pushes you back towards a side-by-side or a single combo.
19. Never seal in a boiler or a gas meter
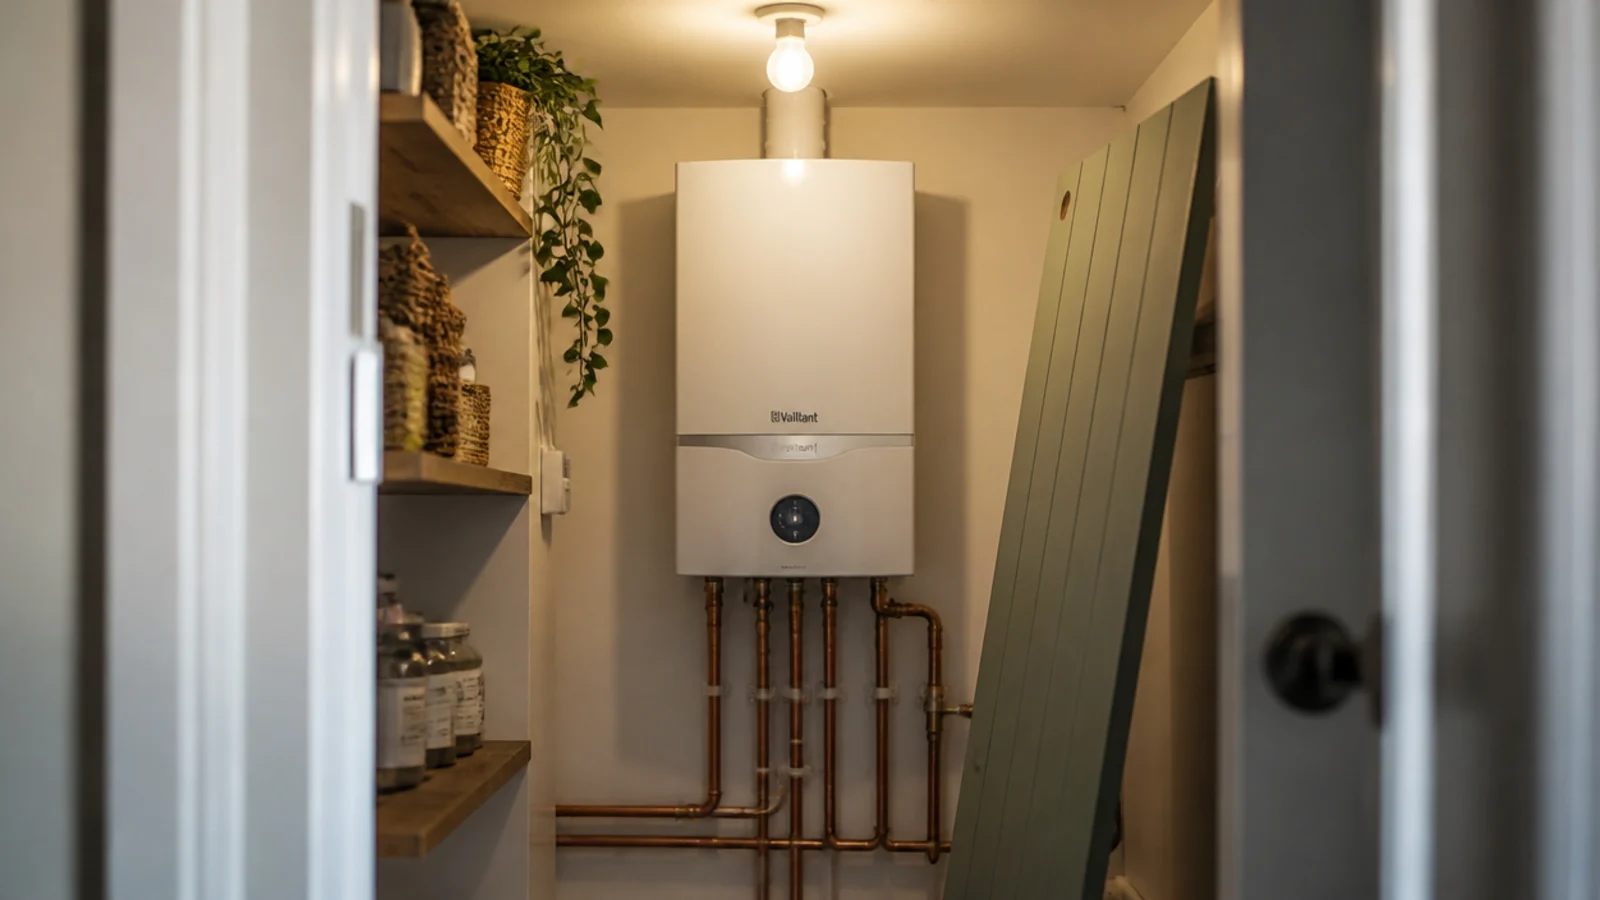
Tiny utilities are often the cupboard that already holds the services, and that changes what you can build. A boiler keeps its manufacturer clearances — commonly two inches at the sides, eight to twelve below for pipework and twelve inches of clear working space at the front — behind a genuinely removable panel. A gas meter is never boxed in: it needs ventilation and its emergency control valve reachable without tools.
20. Light it from the front, not from above
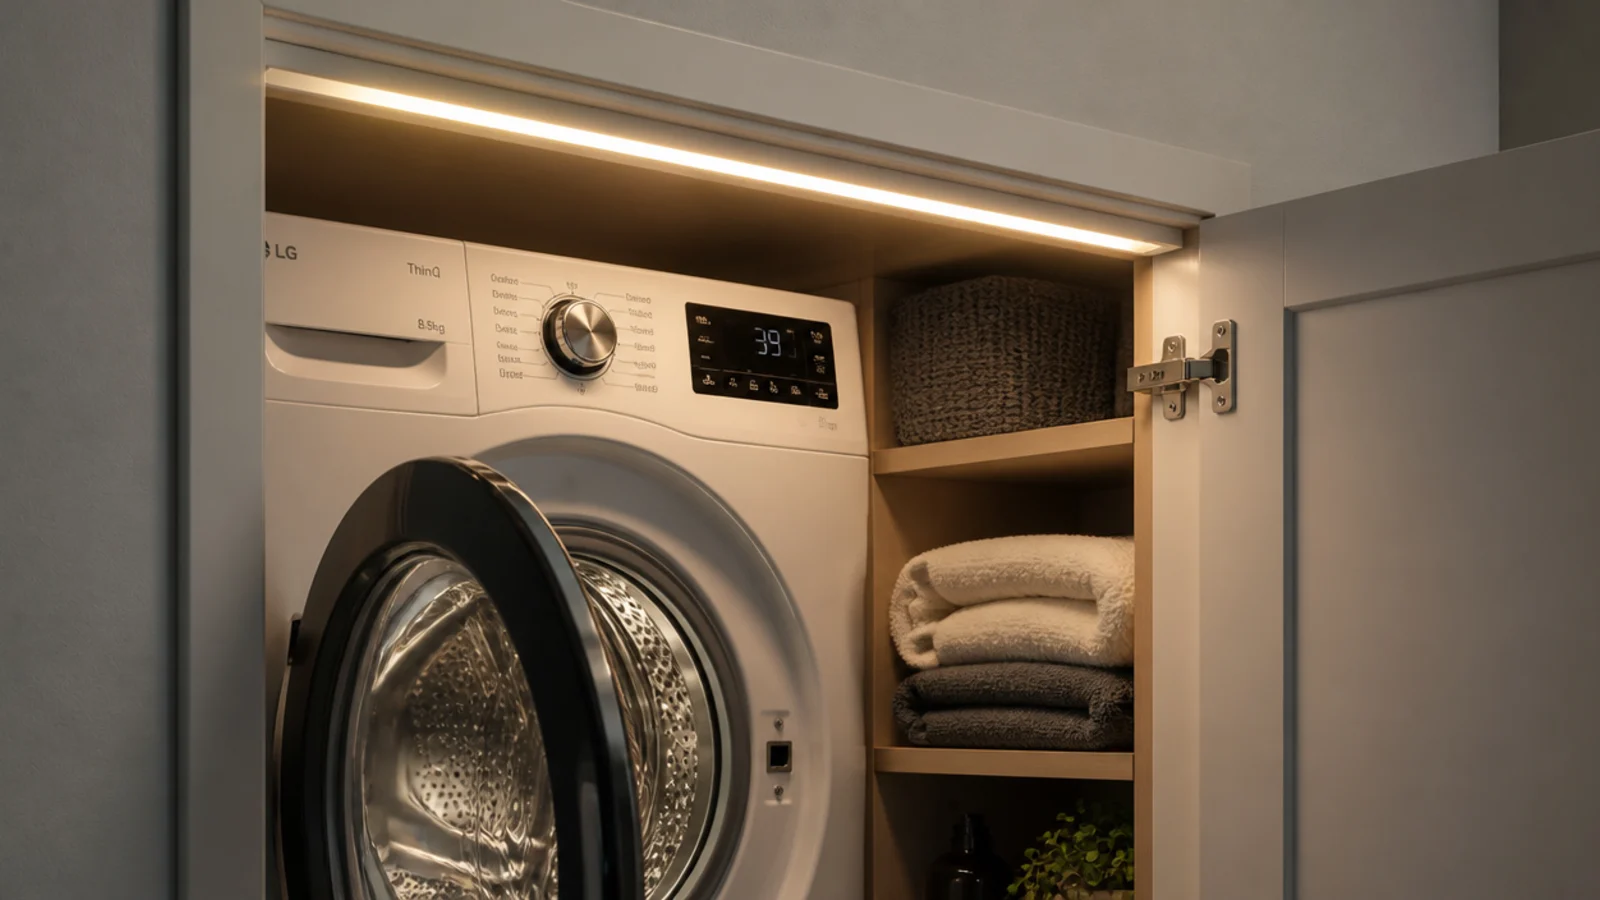
A ceiling fitting behind you puts your own shadow into the drum, which in a cupboard is most of the space. A slim strip fixed under the door head throws light forward onto the machine fronts and the shelf edges. Twenty-five to sixty dollars, warm white, and it makes a windowless nook feel like a fitted space rather than a hole.
If your awkward space is long and thin rather than cupboard-shaped, the narrow utility room guide works through single-run layouts in detail. For the shelving side, the corner shelf ideas guide has bracket and anchor advice that applies directly to the wall above a machine.
Mistakes to Skip
- Measuring the closet width and stopping there. Ceiling height above a stacked pair, and the swing of the upper door within it, is what actually decides whether the plan works.
- Stacking with a strap, a block of timber or nothing at all. The manufacturer bracket kit costs $30 to $60 and it is the only thing keeping the upper machine in place during a spin.
- Cutting one vent and calling it ventilated. A single grille recirculates; you need an opening low and another high or the cupboard smells within a week.
- Pushing the machine hard against the back wall to gain two inches. Four to six inches behind is what stops a fill hose kinking, and a kinked hose fails somewhere you cannot see it.
- Boarding over the boiler or the gas meter to get a flush cupboard front. Service access is a requirement, and a sealed gas meter enclosure is genuinely dangerous.
Frequently asked questions
What is the smallest space a washer and dryer can fit into?
A stacked front-loading pair fits a closet roughly 30 inches wide and 34 inches deep, allowing an inch of air each side and four to six inches behind for hoses. You also need 79 to 84 inches of ceiling height so the upper door opens fully without catching the frame.
Do you need ventilation in a laundry closet?
Always. A single wash load puts about two litres of water into the air as it dries, and a sealed cupboard has nowhere to put it. Give the space a low inlet and a high outlet, or fit a slimline inline extractor moving at least 30 cubic feet a minute on a run-on timer.
Can you put a washing machine under the stairs?
Often, provided the head height at the machine position clears about 40 inches so you can load it, and the waste can reach a standpipe terminating 18 to 42 inches above the trap weir. Check for a gas meter or consumer unit first, because neither can be enclosed or built over.
What size door suits a tiny utility room?
A hinged door needs 30 to 34 inches of clear swing arc, which is usually the single biggest waste of floor in a tiny room. A bifold folds into roughly half that, and a pocket or sliding door uses none at all for around $200 to $400 fitted.
Is a washer dryer combo worth it in a tiny space?
In a single-slot closet it is often the only workable answer. One machine washes and dries in the same drum, taking a 29-inch opening instead of two. The trade is a smaller dry load and a longer cycle, typically three to four hours for a full wash and dry.
Want more like this? Browse all 15 utility room ideas guides — they all use the same measurements and budget tiers.
Pin it for later
Save this to your Utility Room Ideas board
Pin it now so it is waiting for you when the tape measure comes out — and so the next person hunting for this idea can find it too.
Save this pinKeep going
More ideas worth saving while you have the tape measure out.