Under Stairs Storage · Listicle
25 Under Stairs Cupboard Storage Ideas On A Budget

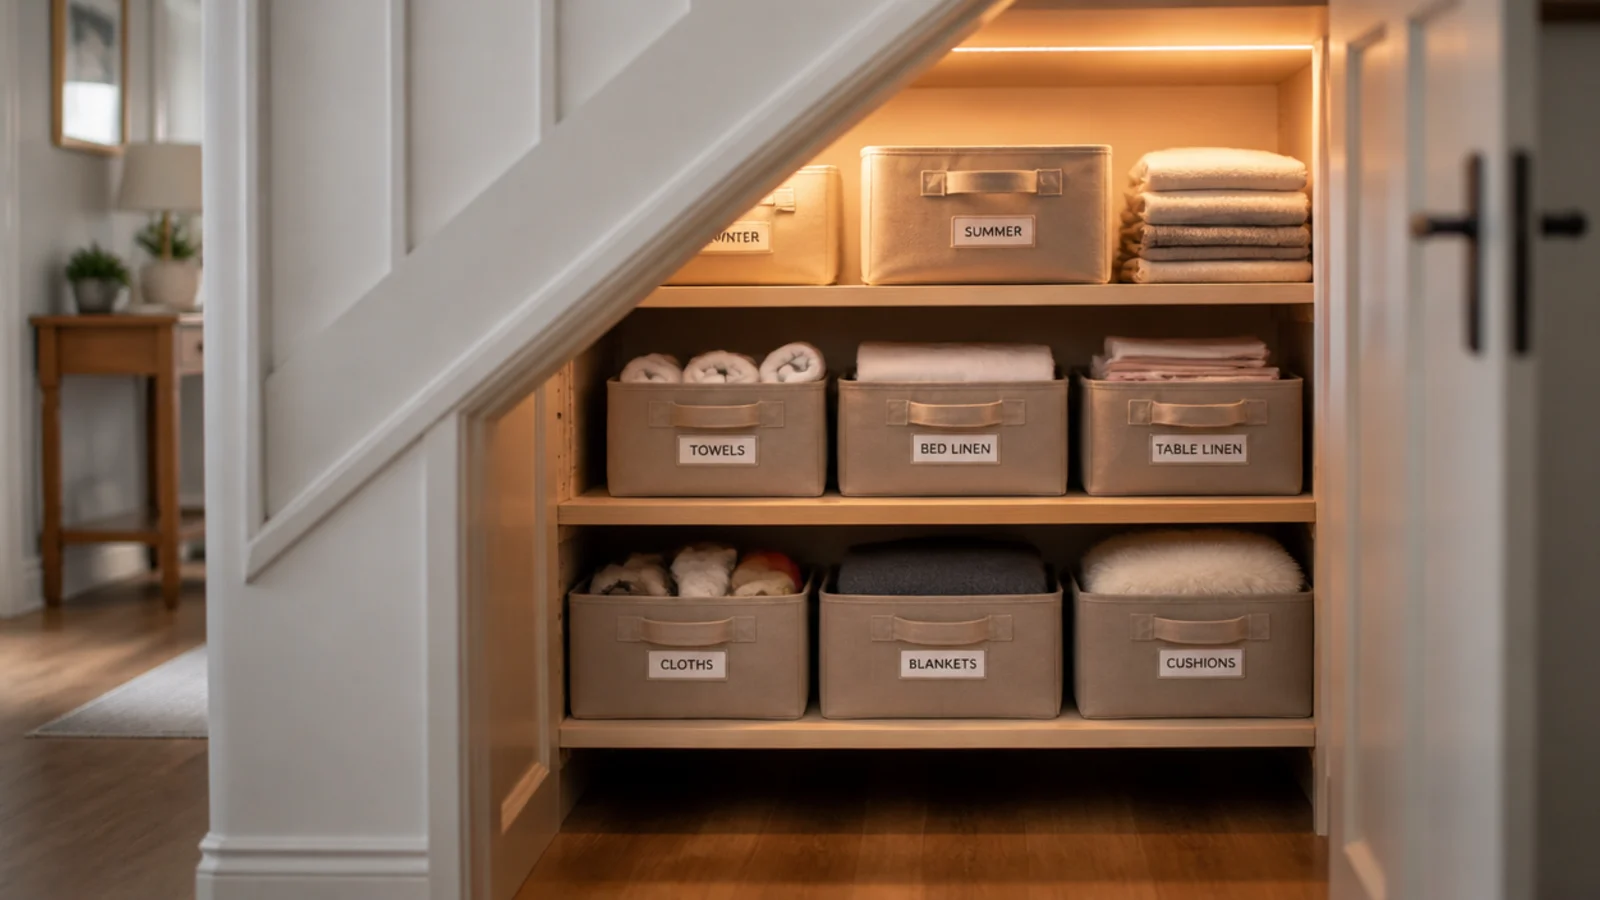
Fitting out the cupboard under a staircase is the cheapest square footage you will ever buy, provided you resist the urge to have it made. Under stairs cupboard storage done by a joiner runs £1,800 upward because every panel is cut to the rake. Done with battens, a sheet of plywood and a Saturday, the same cupboard comes in between £120 and £250 and works just as hard. I have fitted two this way and the second took four hours. Here are twenty-five ideas for the inside of the door.
In this guide27 sections — tap to openHide
- 1.What under stairs cupboard storage really costs to fit out
- 2.Line the carcass in white melamine board
- 3.Hang the door before you fit a single shelf
- 4.Use battens instead of shelf brackets
- 5.Keep full depth for the tallest shelf only
- 6.Fit twin-slot uprights if the contents keep changing
- 7.Run one rail across the widest point
- 8.Rack the back of the door
- 9.Divide one shelf vertically for flat things
- 10.Hang sprays from a tension rod
- 11.Turn shoe boxes on their sides
- 12.Add a light that comes on with the door
- 13.Vent the door with a slim grille
- 14.Paint the interior something pale and washable
- 15.Hook bags to the sloping soffit
- 16.Build one pull-out for the crawl zone
- 17.Fit a peg rail for boards and ladders
- 18.Bracket the ironing board off the floor
- 19.Label fabric boxes on the front face
- 20.Mount the tools on the tall back wall
- 21.Nest the suitcases into each other
- 22.Put a wipeable floor down first
- 23.Leave a ten millimetre gap under the door
- 24.Combine a half-height door with a low hatch
- 25.Stick a magnetic strip inside the door frame
- 26.Photograph the empty cupboard before you load it
- 27.Mistakes to Skip
What under stairs cupboard storage really costs to fit out
Price the two routes before you decide. A sheet of 18mm birch ply is £60 to £90 and yields four or five shelves. Two by one inch batten is about £2 a metre. A box of screws, a tin of eggshell and a light bring a full fit-out to roughly £150. Bespoke joinery for the same cupboard starts near £1,800 and rises steeply if there are pull-outs.
The geometry sets the layout. Measure floor to soffit at the door, in the middle, and where the slope meets the floor. A standard flight loses nine to ten inches of height per foot travelled toward the bottom step. Above 60 inches you can stand and hang; between 30 and 60 you shelve; below 30 nothing works unless it slides out to you.
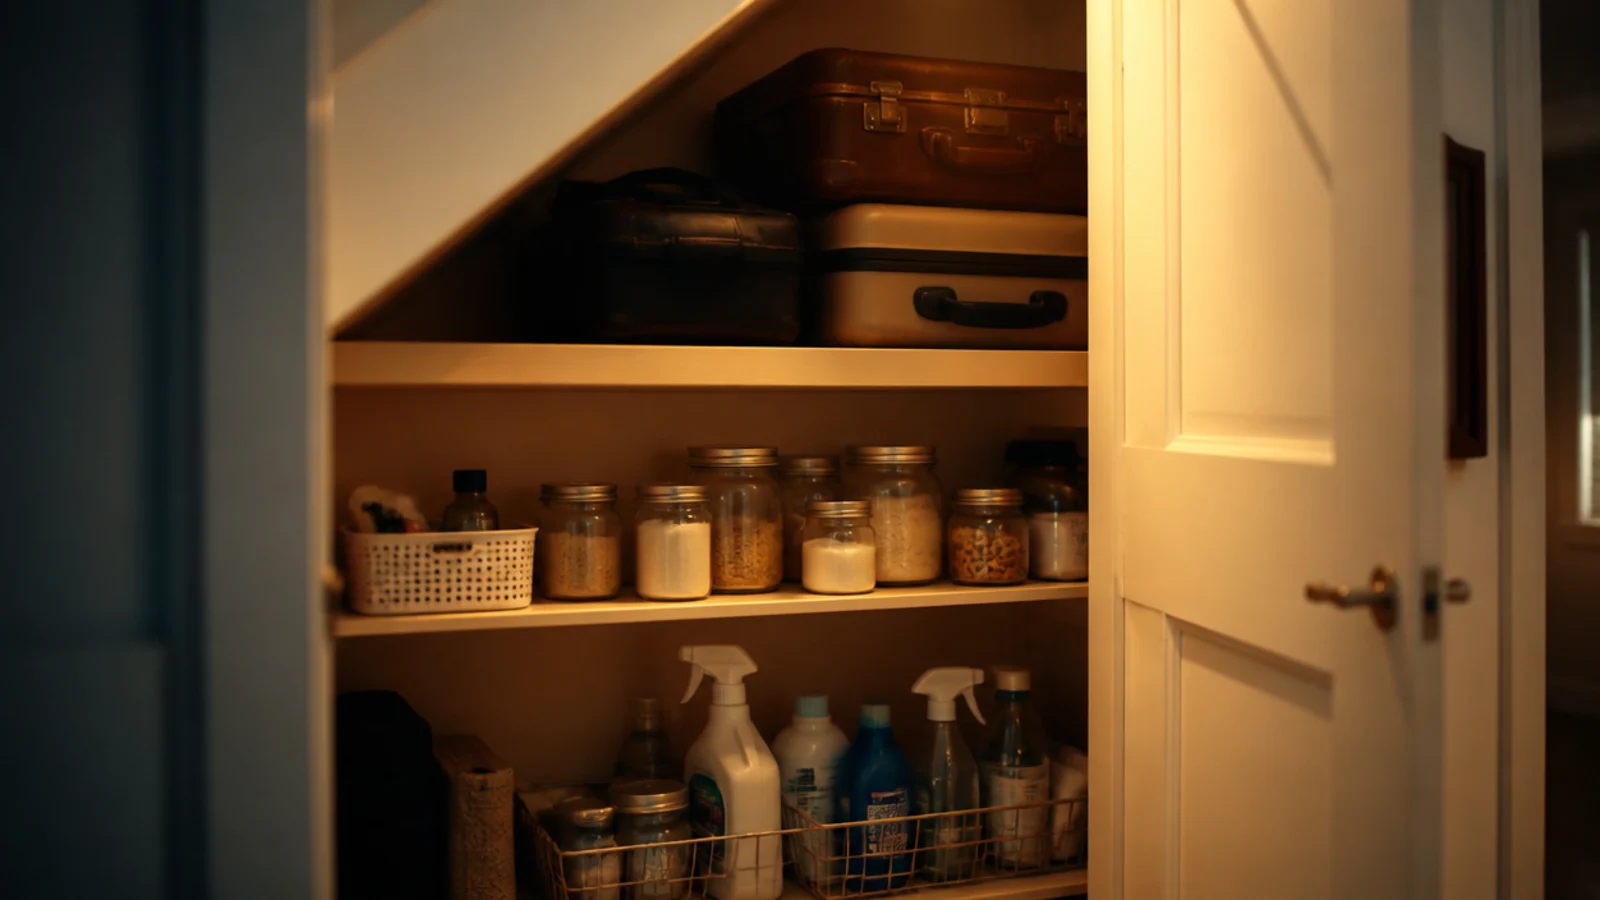
Depth is the other decision. Shelves 8 to 12 inches deep keep everything visible. Full-depth shelves become caves — the back third fills with things nobody has seen since the day they went in. Reserve real depth for the top shelf, where your arm can reach across.
Before any of it, find the services. Boilers, gas meters and consumer units routinely sit in these cupboards and none of them may be enclosed: the boiler keeps its service clearances, the meter stays readable and isolatable, and the consumer unit stays accessible in a non-combustible enclosure. In a house of three storeys or more the cupboard door onto the stairway is usually required to be FD30 fire rated. There is a longer walk-through in the DIY under stairs storage guide.
1. Line the carcass in white melamine board
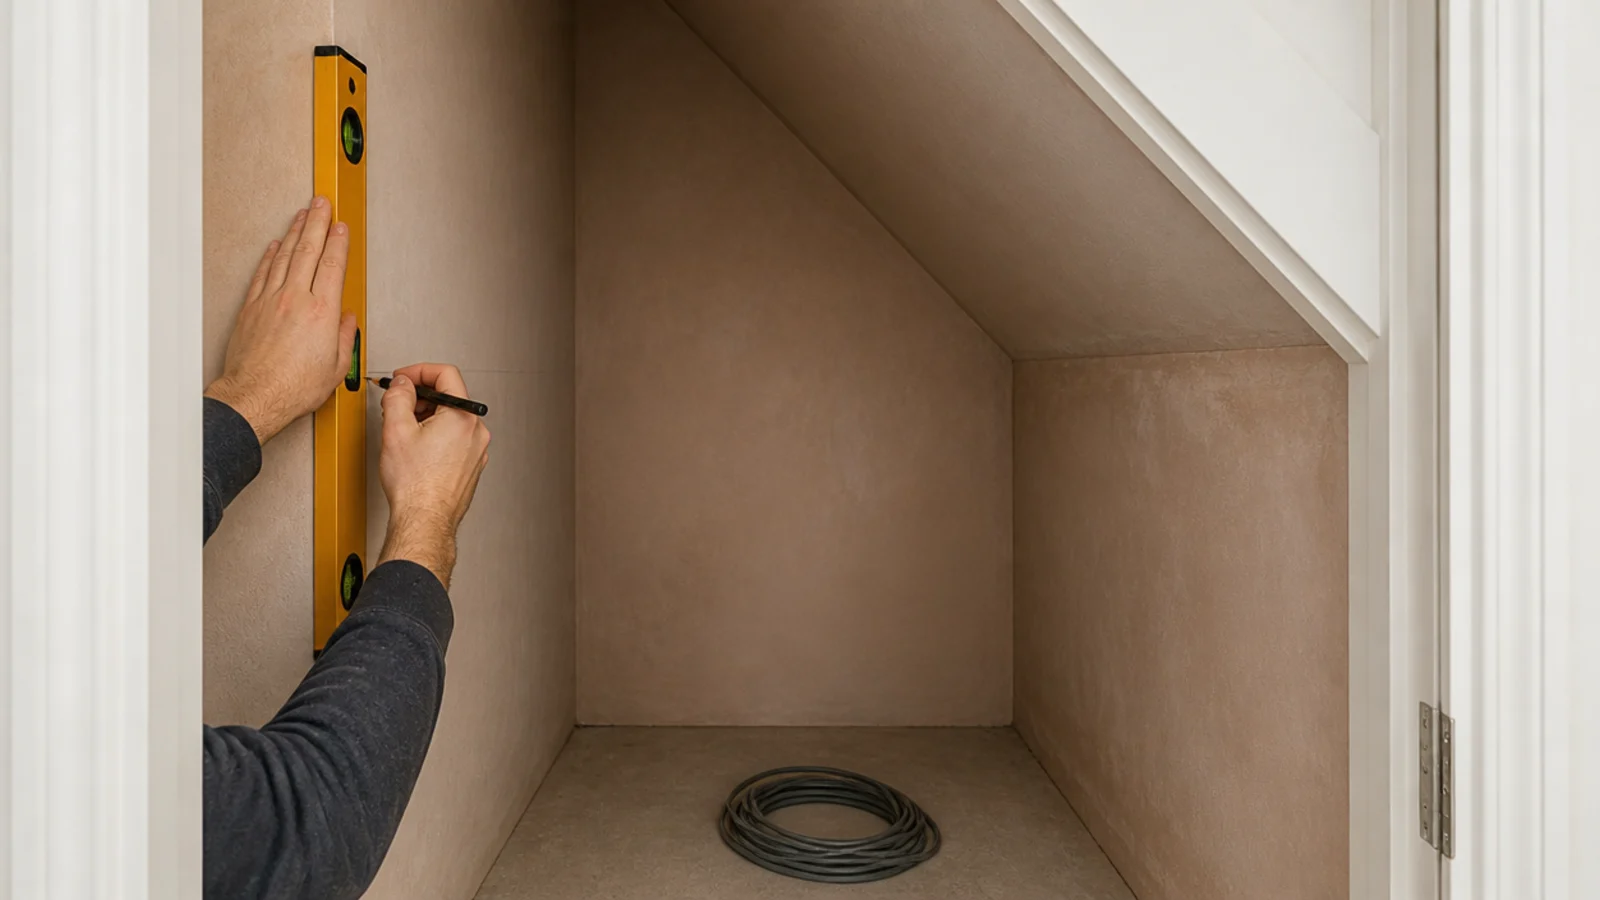
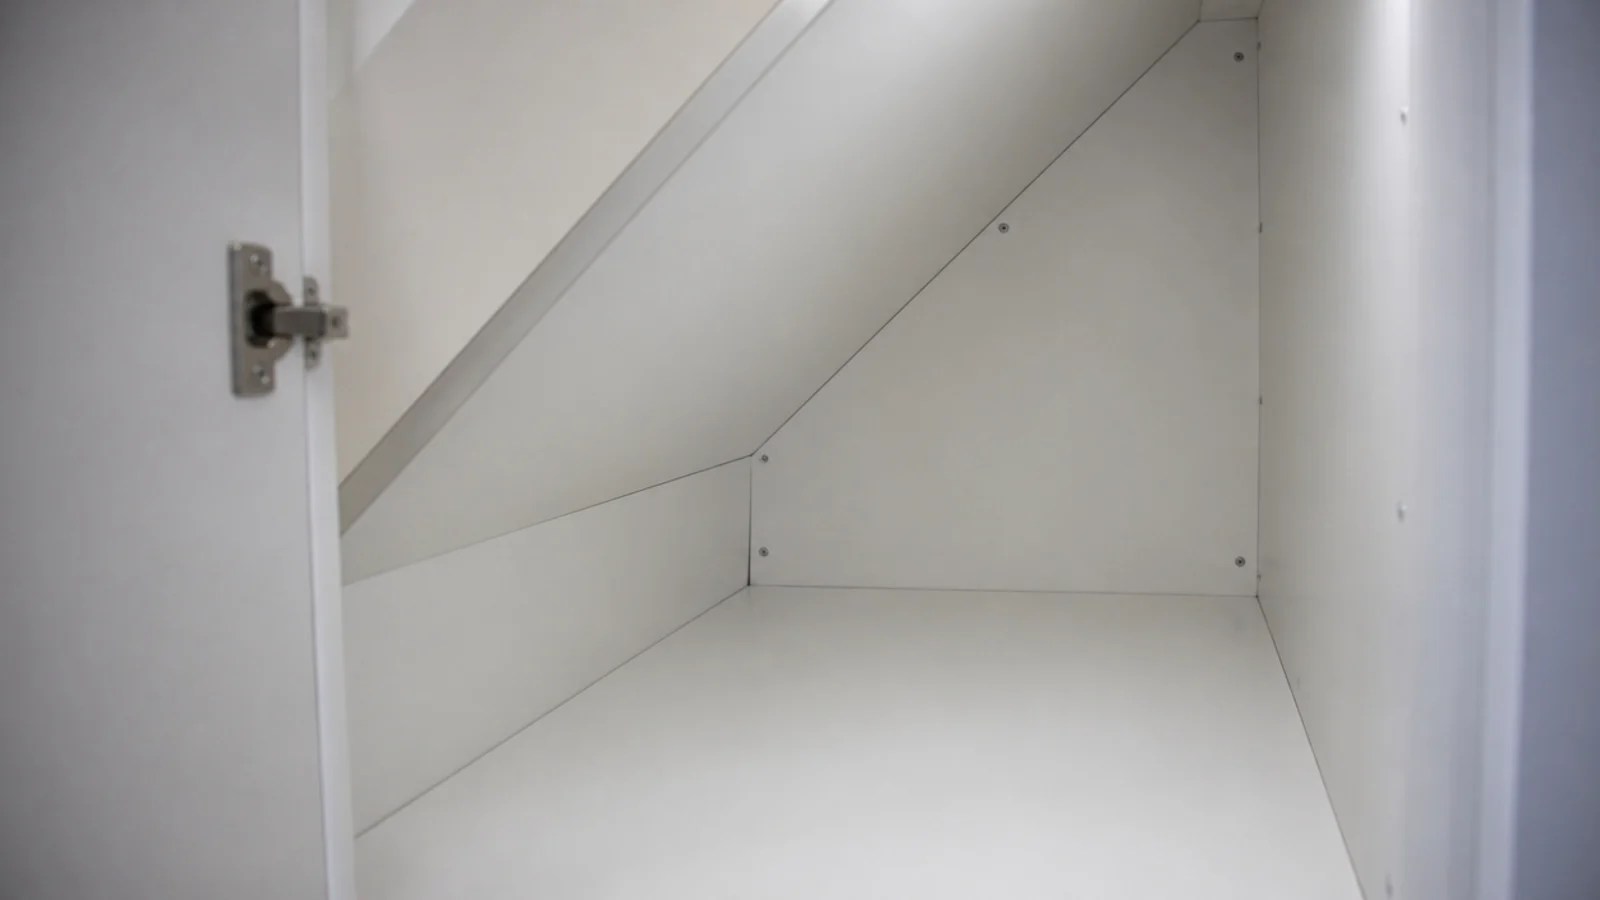
Faced melamine at 15 to 18mm costs about the same as plain MDF, wipes clean and reflects light instead of drinking it. Line the soffit and both side walls before anything else goes in. A pale interior roughly doubles what a single 150-lumen puck light achieves, which is the difference between seeing the back shelf and guessing.
2. Hang the door before you fit a single shelf
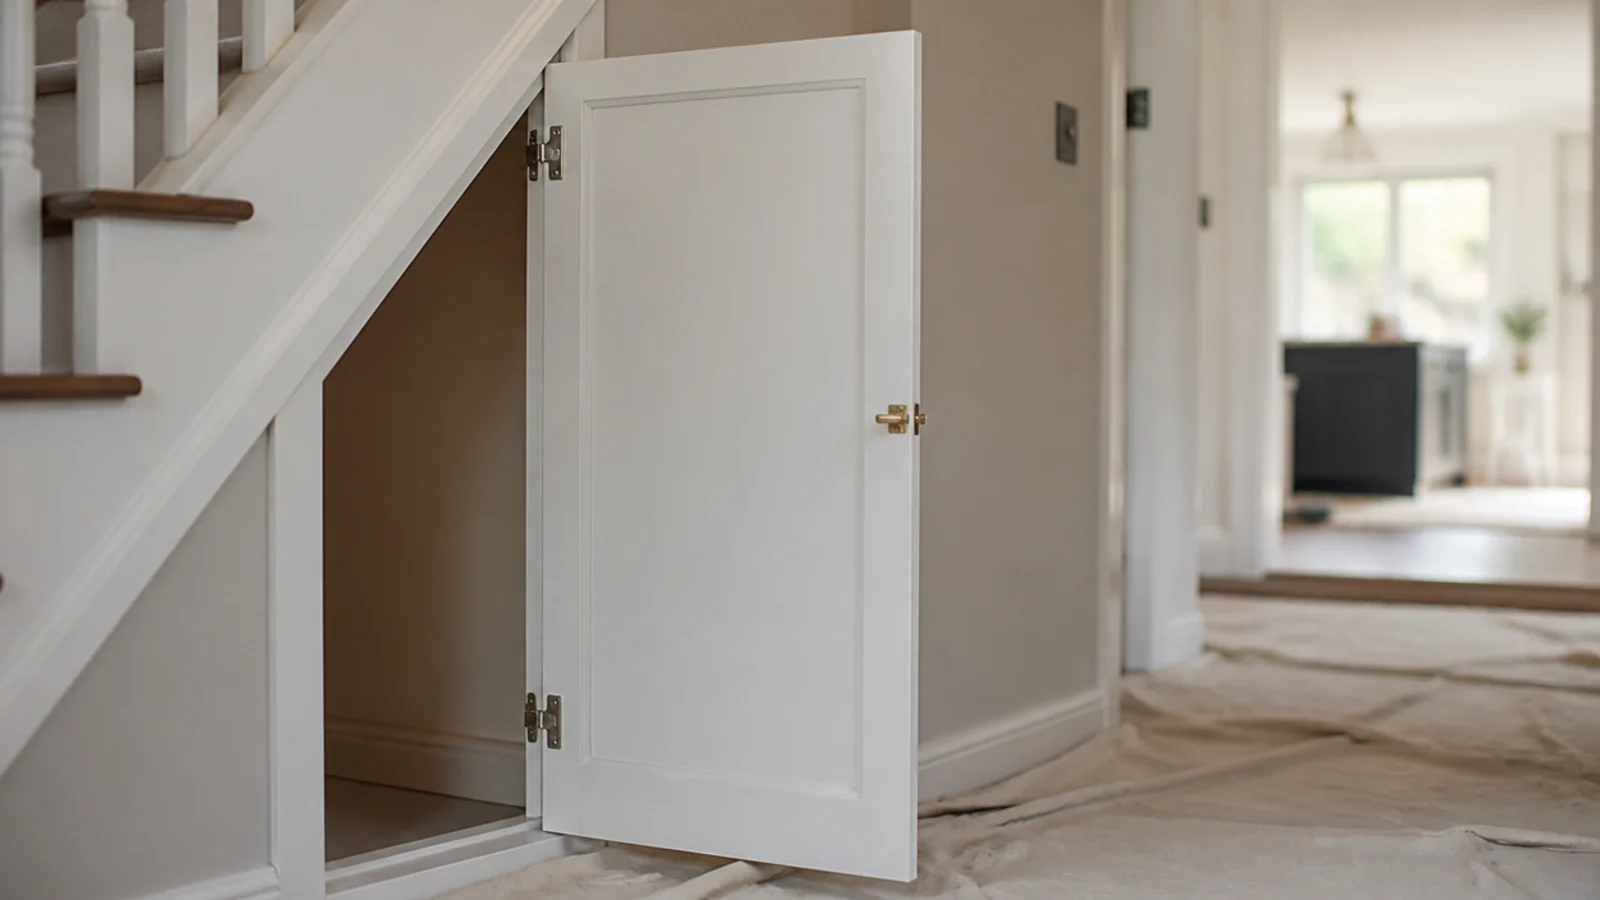
The door position sets your reach, and the reach sets your shelf depth. Hang it first, stand in the opening and note where your arm stops. Anything beyond that line has to be a pull-out or a box with a handle. Fitting shelves first and discovering the door blocks the last 8 inches is the classic order-of-work mistake.
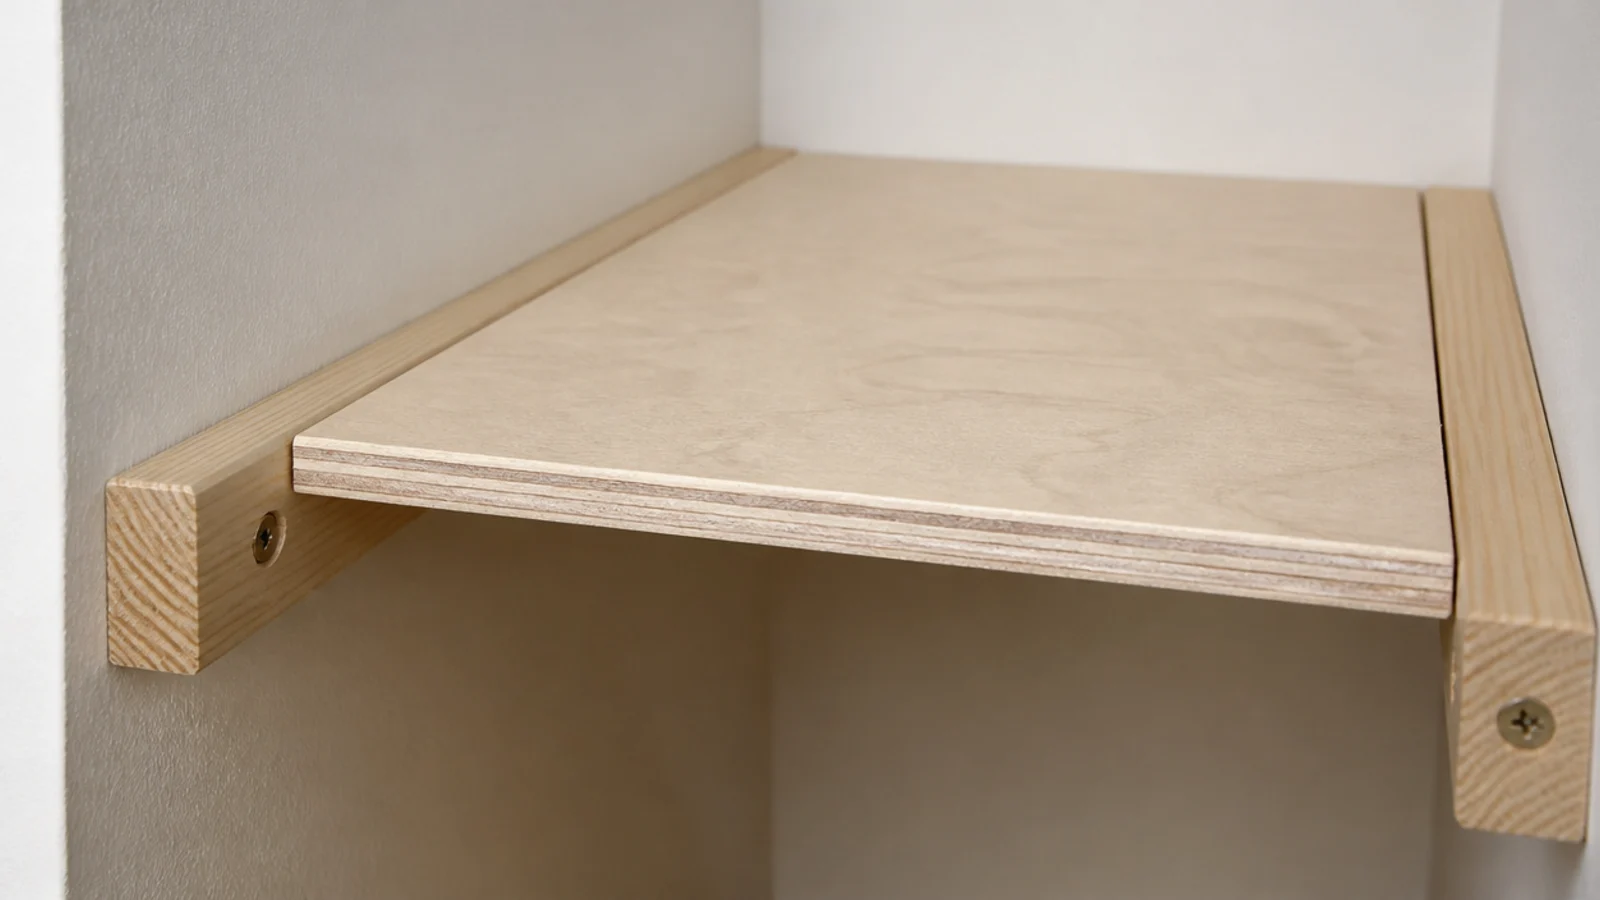
3. Use battens instead of shelf brackets
Two by one inch pine screwed level to each side wall carries a shelf across its whole length rather than at two points. It costs about £2 a metre, needs no brackets, and a battened 18mm ply shelf spanning 30 inches holds a full box of books without visible deflection. Add a third batten at the back on longer runs.
4. Keep full depth for the tallest shelf only
At the tall end you can step in and reach across 24 inches comfortably, so that shelf takes suitcases and bulk. Every shelf below it should be 8 to 12 inches. Depth low down is not storage, it is a place things go to be lost, and no amount of labelling fixes an arm that will not reach.
5. Fit twin-slot uprights if the contents keep changing
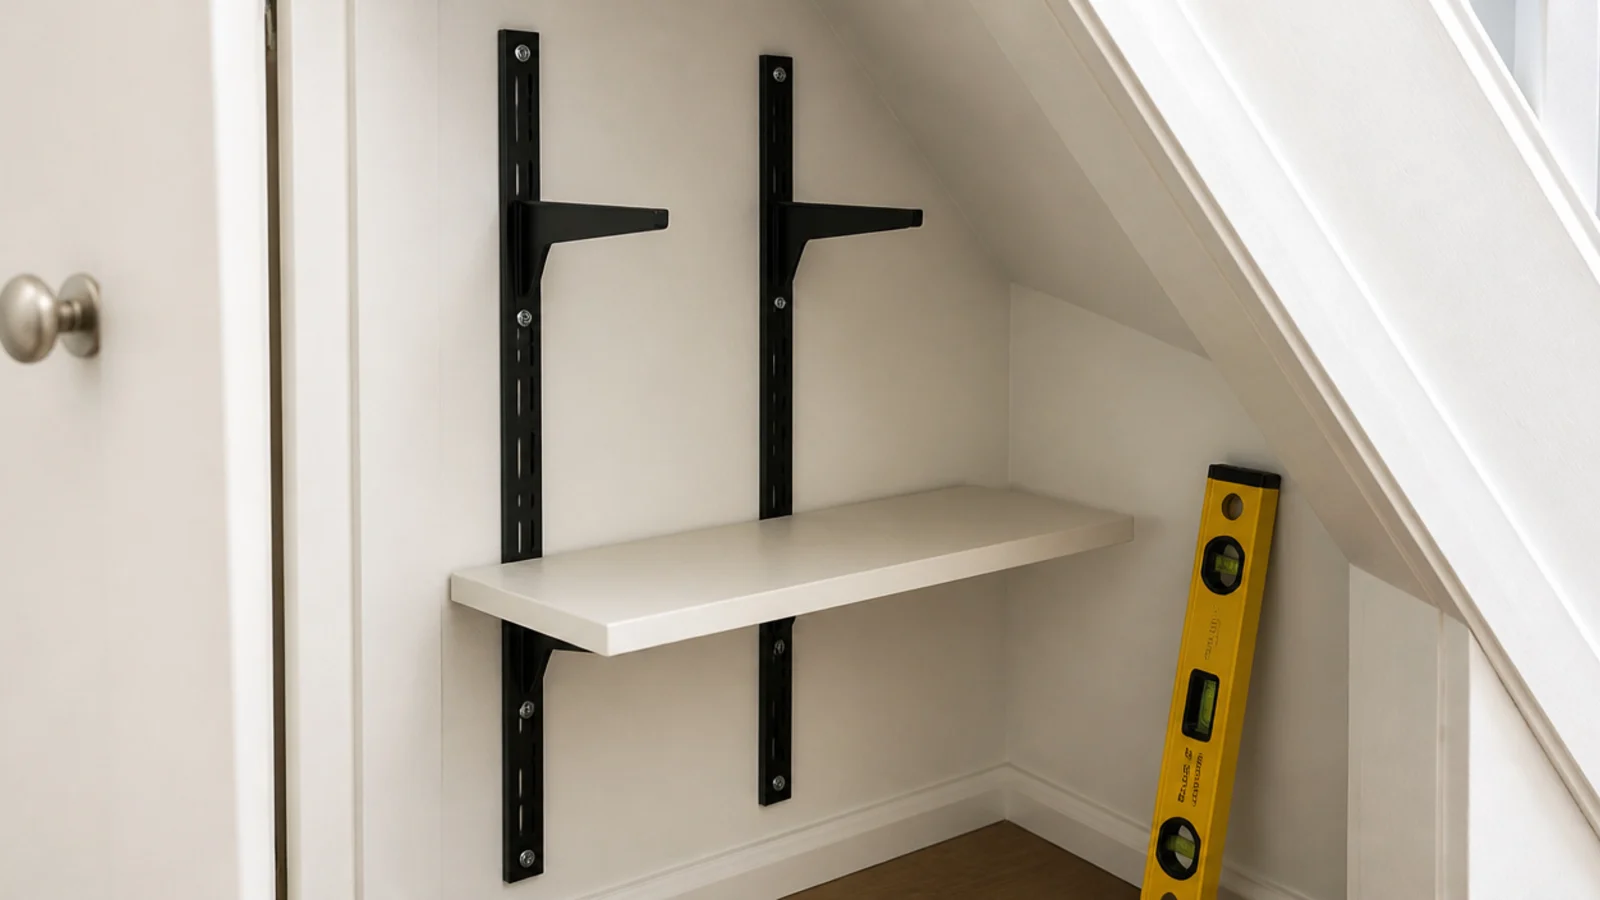
Two black twin-slot uprights and four brackets cost £25 to £40 and let you move a shelf in thirty seconds. It suits a cupboard whose job changes — laundry one year, sports kit the next. Space the uprights no more than 30 inches apart and check the bracket rating, which is usually 20 to 40 pounds per pair.
6. Run one rail across the widest point
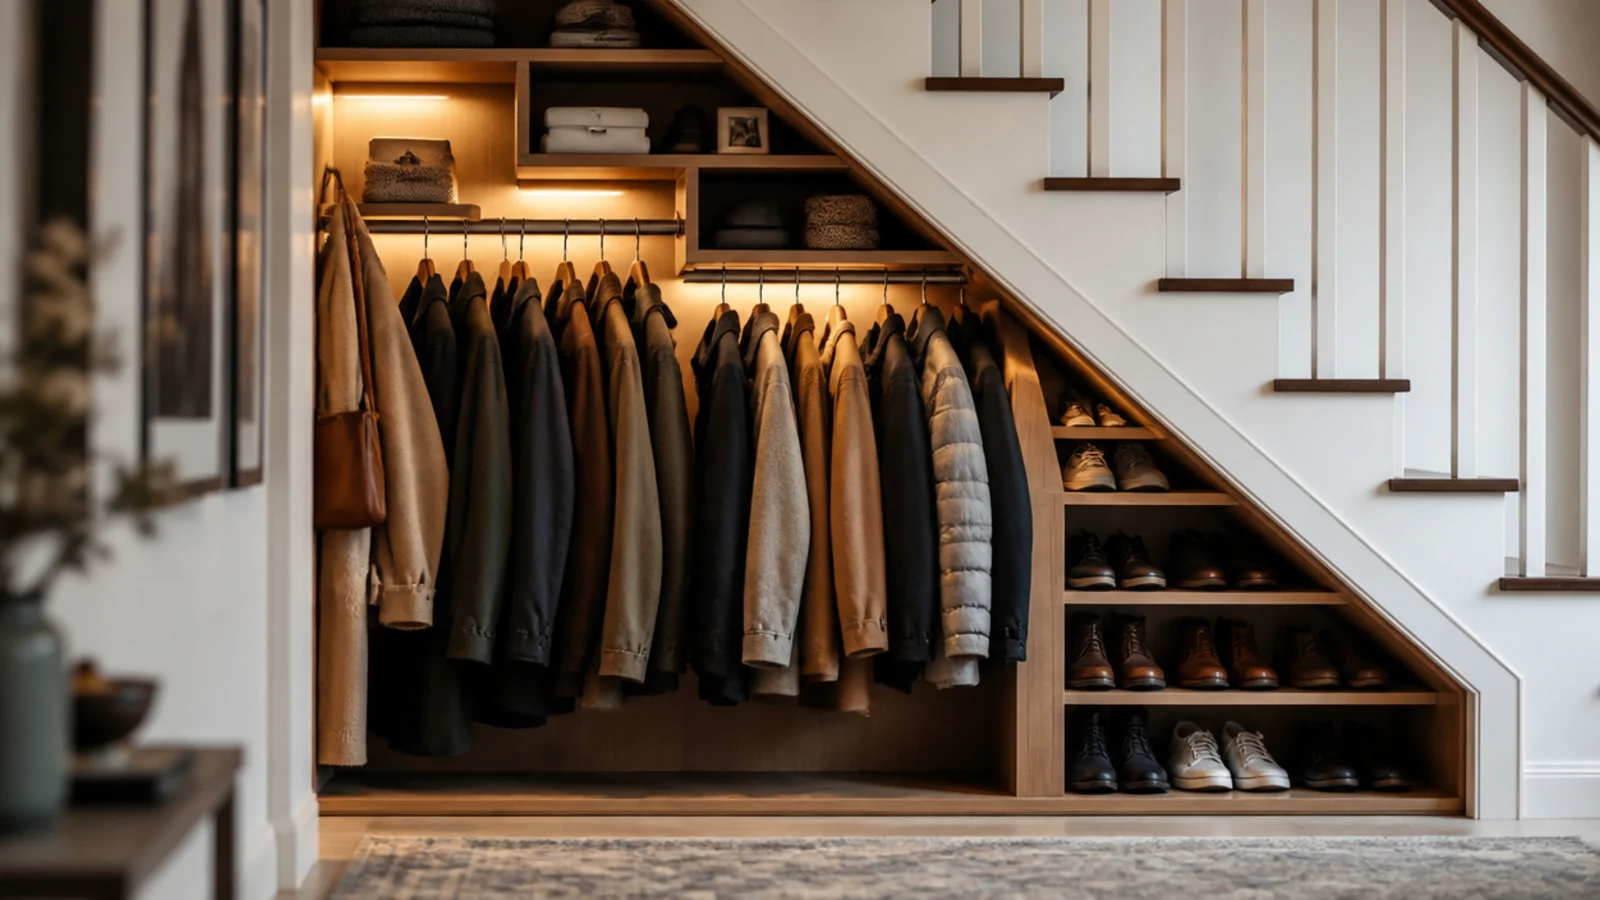
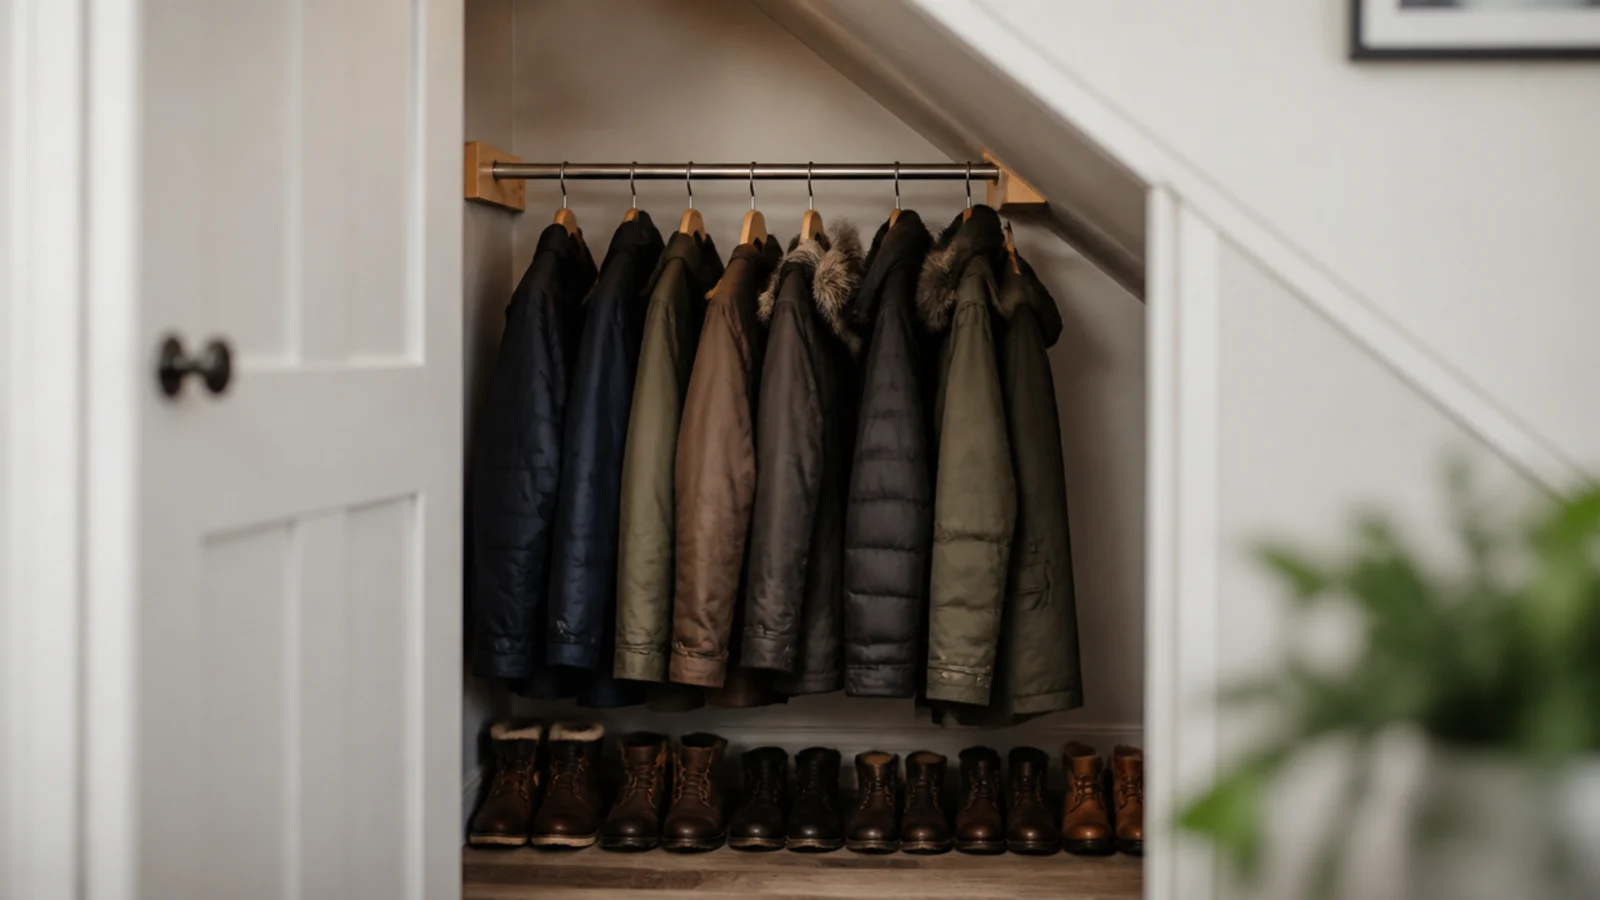
A single 25mm rail spanning the widest part of the cupboard does more than three shelves, because coats are the bulkiest thing most halls store. Set it 22 inches off the back wall and allow 39 inches of clear drop below for jackets. Fix it to battens screwed into the strings, never to plasterboard.
7. Rack the back of the door
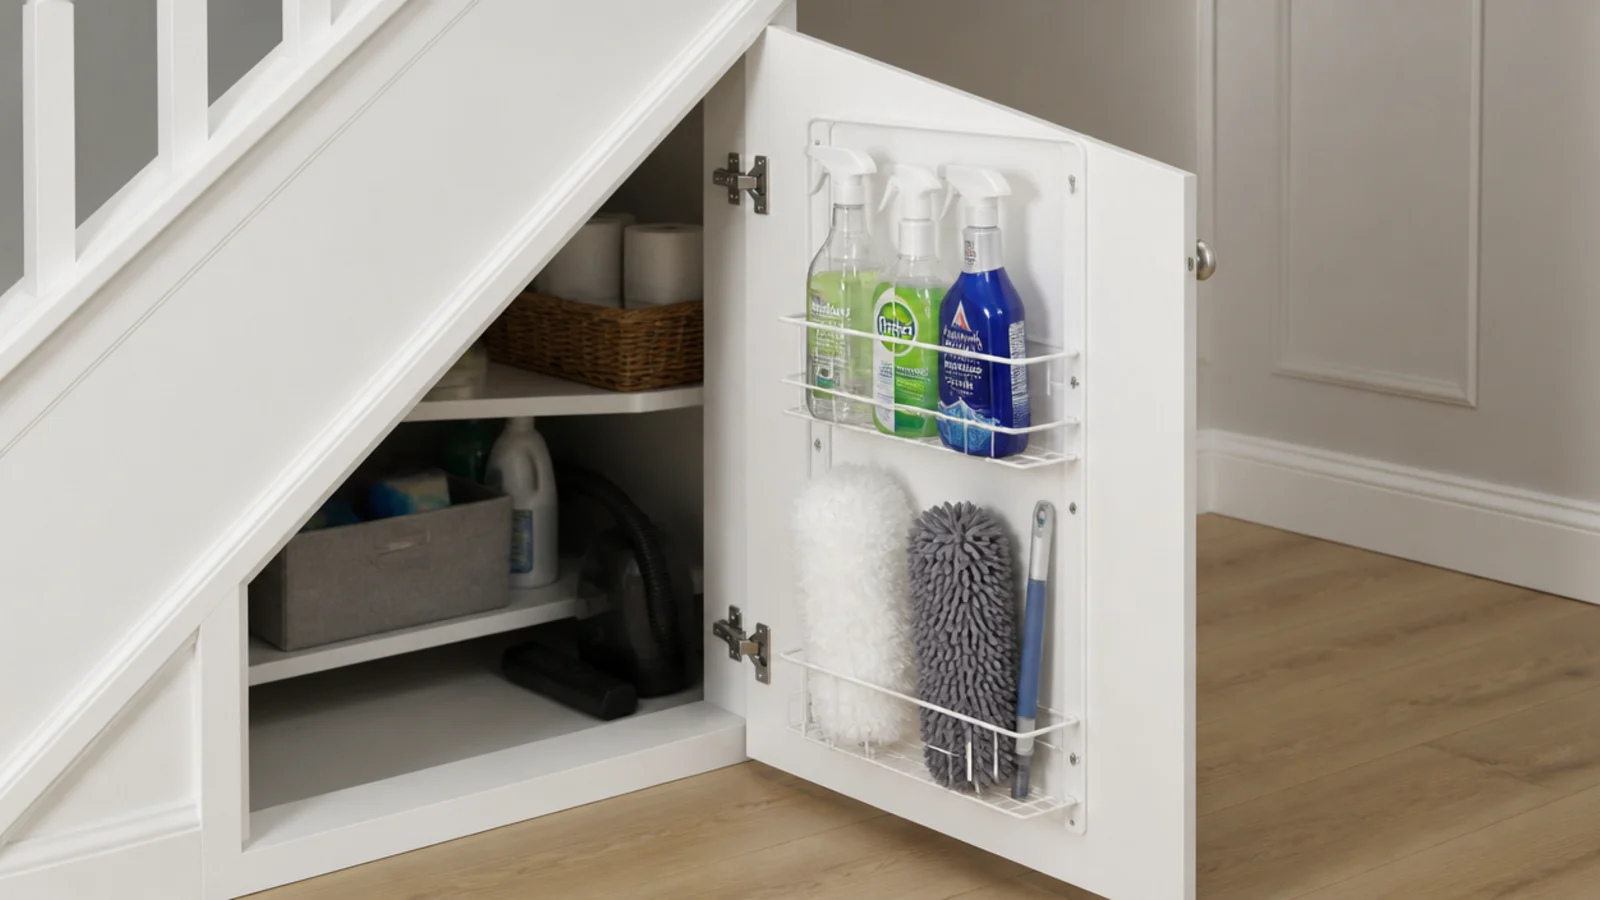
The inside face of the door is 4 inches of storage nobody uses. A slim wire rack takes sprays, dusters and shoe brushes and costs £12 to £25. Keep the rack under 4 inches deep or it will foul the front shelf edge, and screw into the door rails rather than the thin centre panel.
8. Divide one shelf vertically for flat things
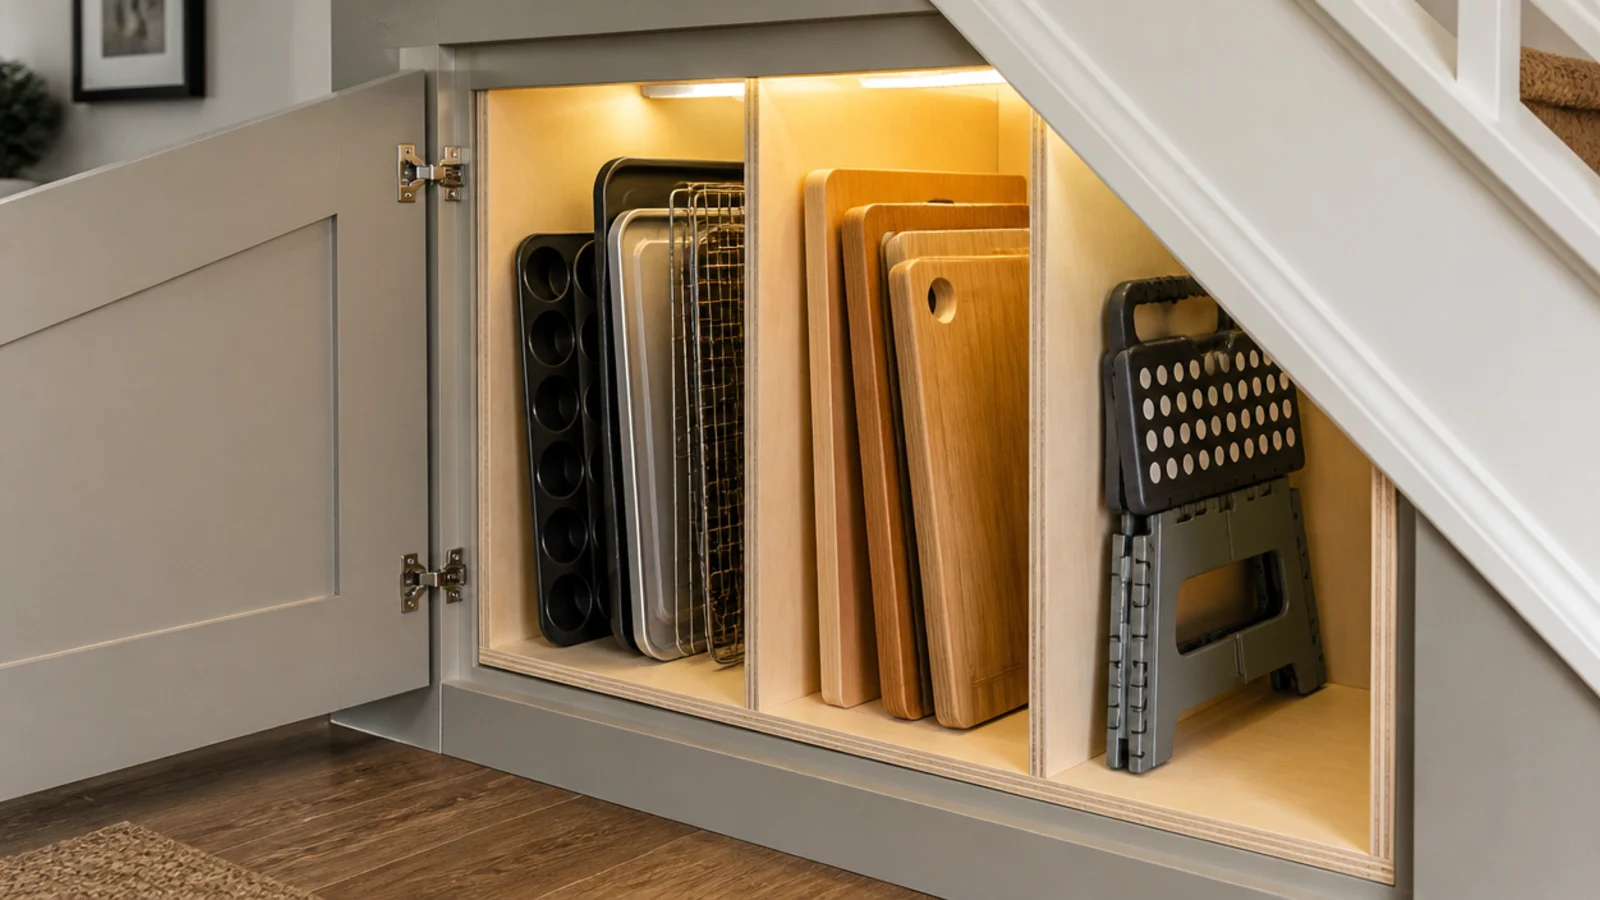
Baking trays, chopping boards, the folding step stool and the spare bath panel all store on edge. Three plywood fins 10 inches tall, glued and screwed into a shelf, turn a stack that always collapses into four slots. Space them at 2, 3 and 4 inches so different thicknesses each get a home.
9. Hang sprays from a tension rod
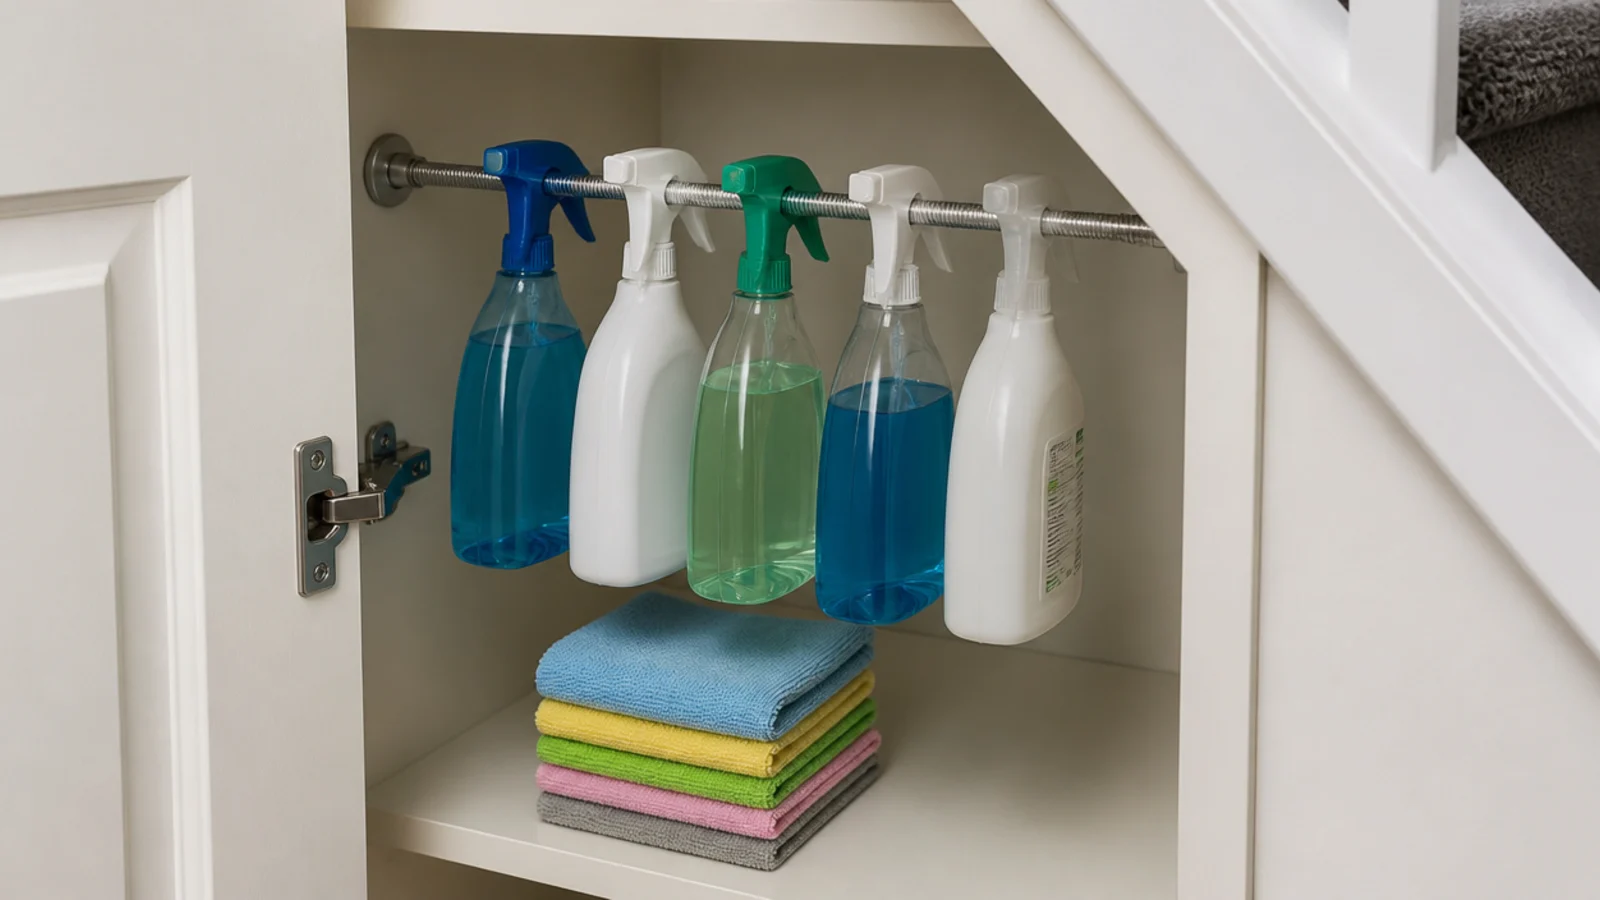
A spring tension rod wedged between the side walls holds five or six spray bottles by their triggers, which frees the whole shelf beneath for cloths and refills. Rods rated for shower curtains carry about 20 pounds spread across the span. Set it 14 inches above the shelf so the bottles hang clear.
10. Turn shoe boxes on their sides
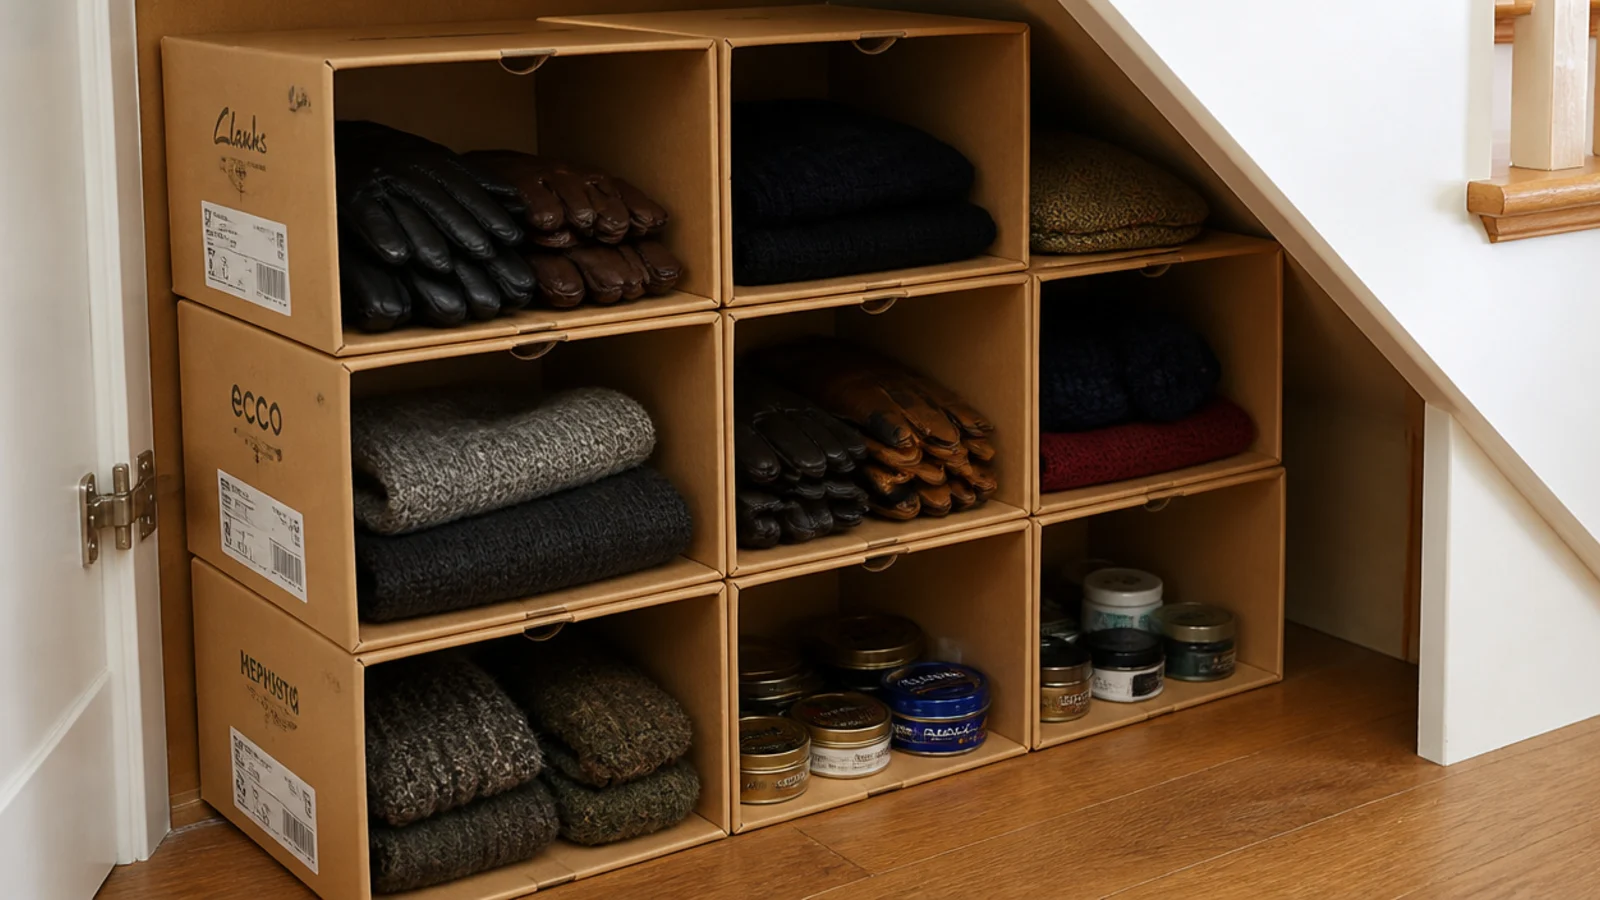
Sturdy shoe boxes laid on their sides make free cubbies roughly 12 by 7 inches — the right size for gloves, hats, polish tins and cables. Tape the stack together at the back so it stays square. It is a genuinely temporary solution, which is exactly right while you work out what the cupboard is actually for.
11. Add a light that comes on with the door
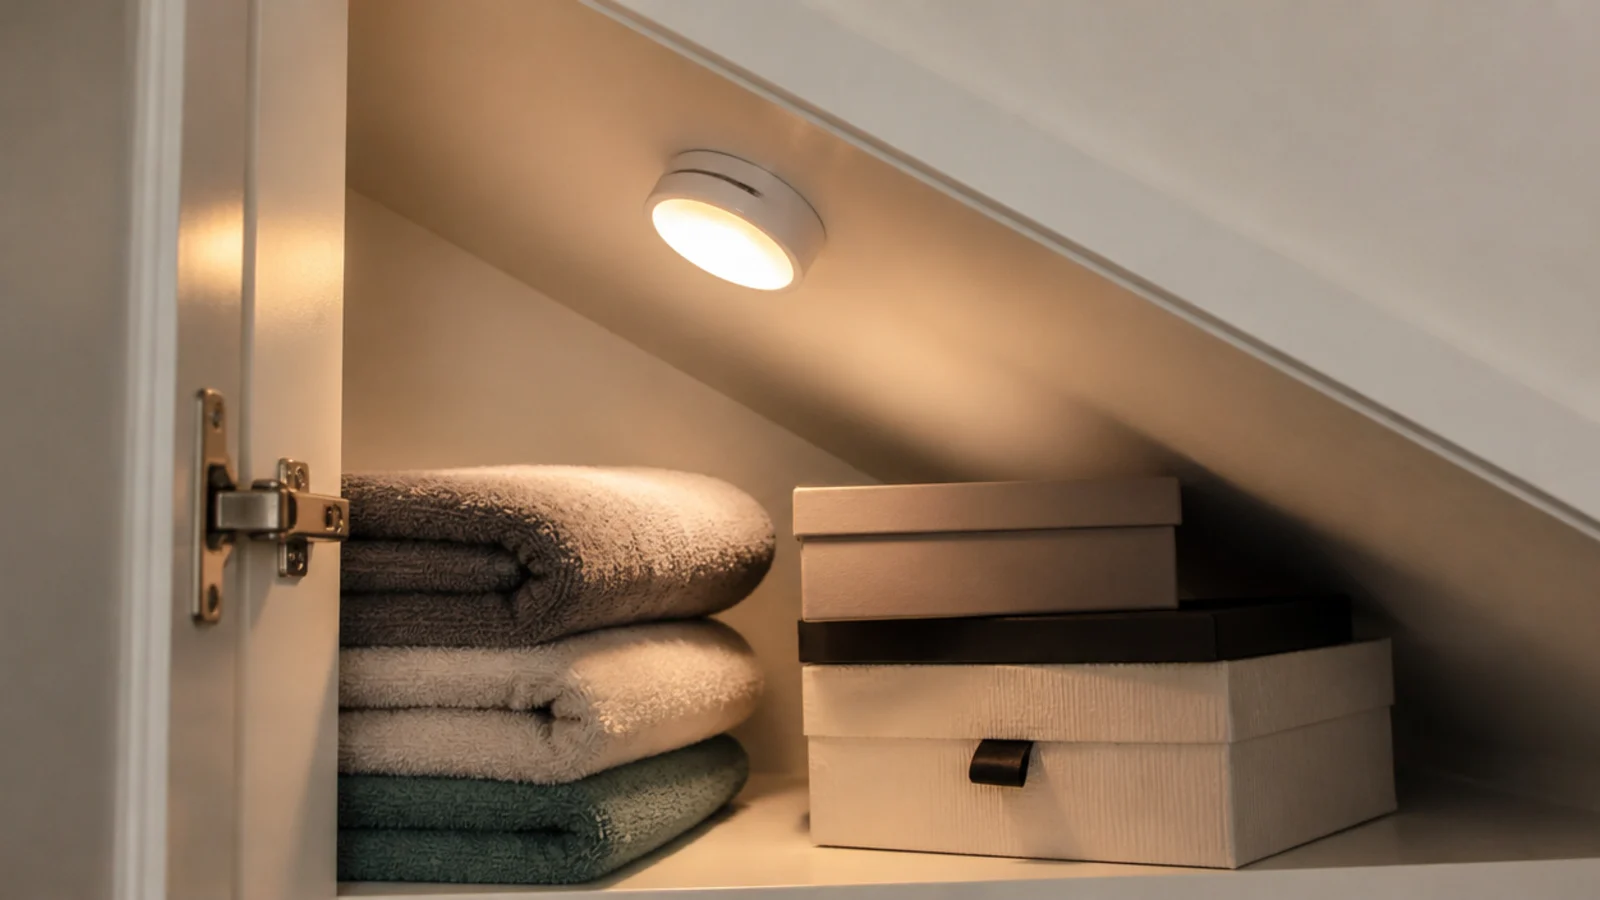
A battery motion puck at 100 to 200 lumens costs under £15, sticks to the soffit and switches itself off after a couple of minutes. Fit it high and toward the front so it lights the slope rather than shining into your eyes. A cupboard without light quietly stops being used within a month.
12. Vent the door with a slim grille
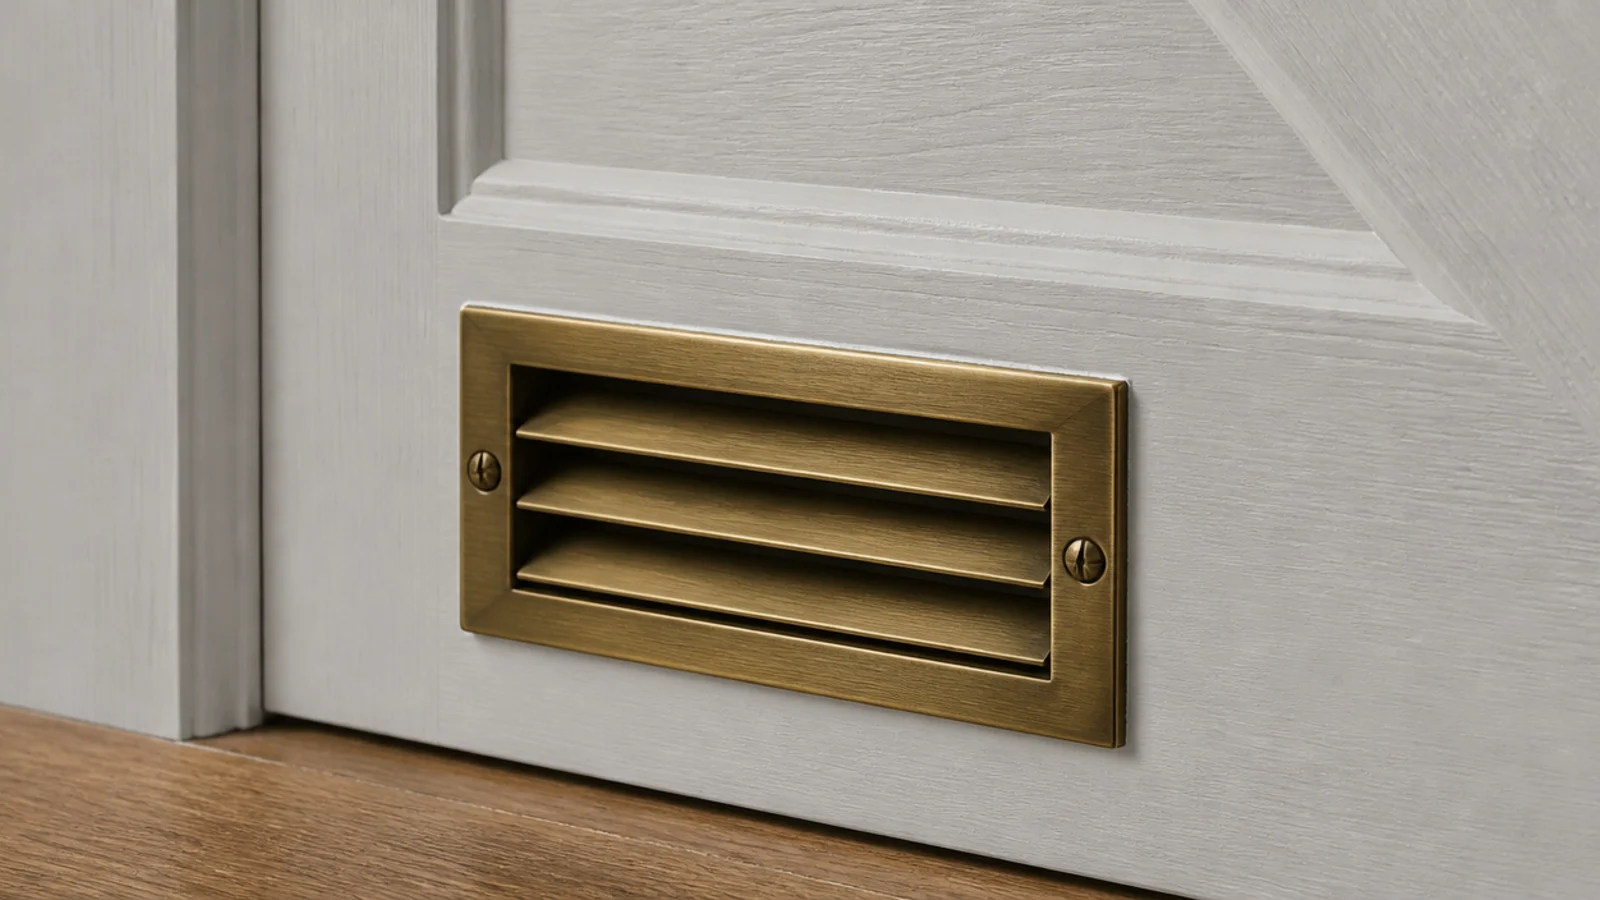
If the cupboard shares a wall with the outside, warm hallway air meets a cold surface inside it and condenses. A louvred grille of about 30 square inches of free area in the lower door panel gives that air somewhere to go. Grilles cost £6 to £12 and are far cheaper than replastering a mouldy wall.
13. Paint the interior something pale and washable
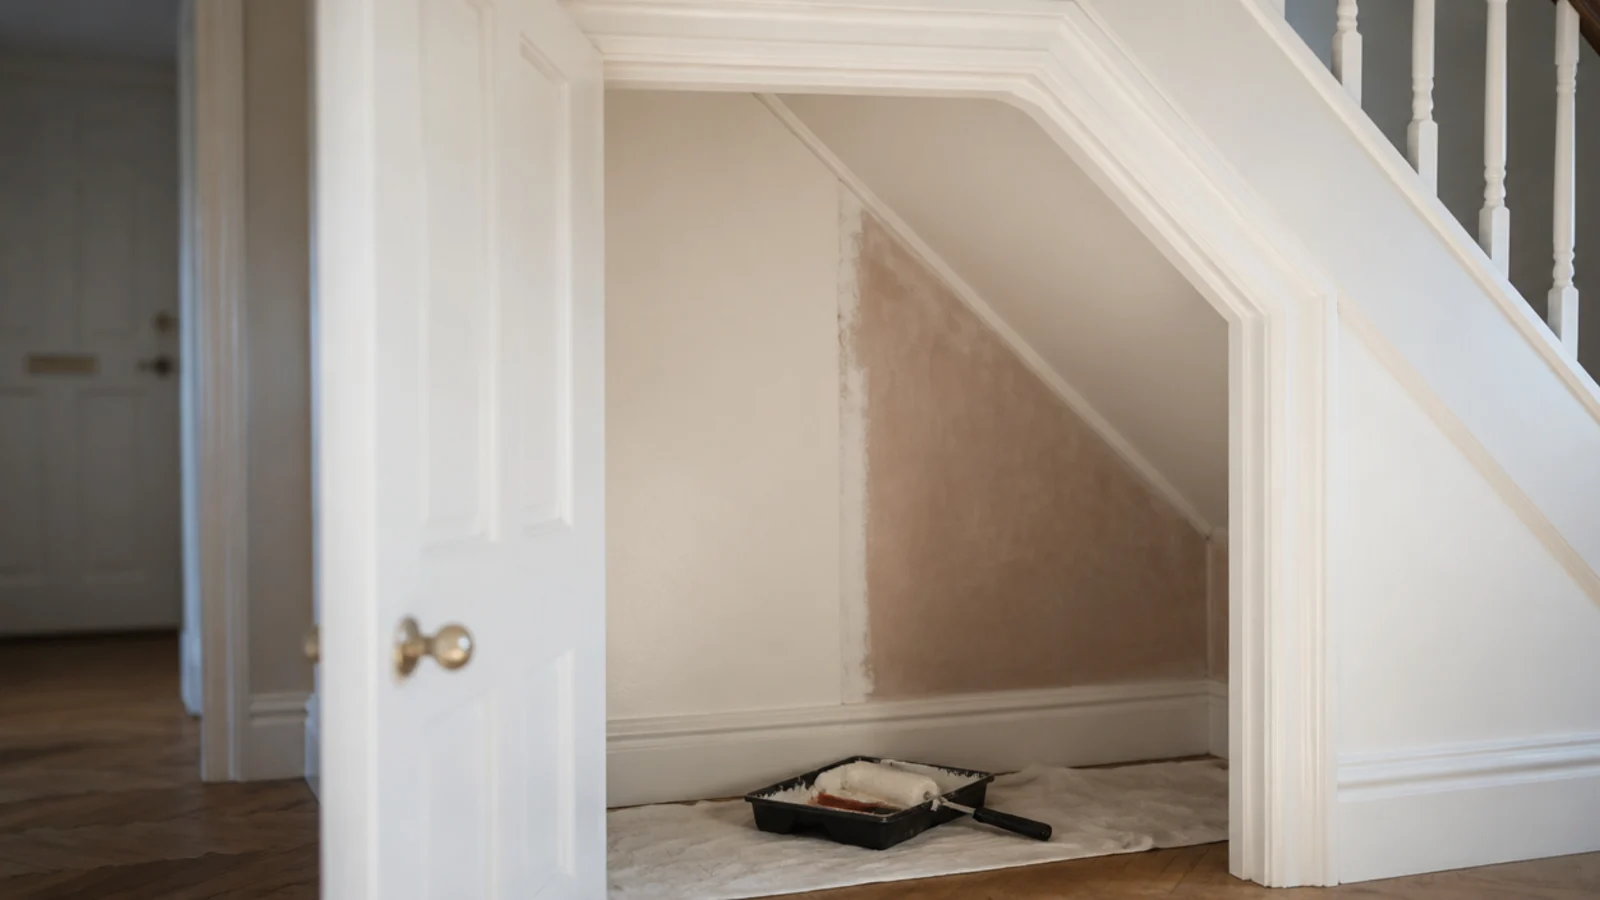
Use eggshell or satin, not matt emulsion. Matt marks the first time a boot brushes it and cannot be wiped. One litre covers a typical cupboard twice with change from £25. Take the paint right up over the soffit — the underside of the treads is the surface that shows every scuff from things being pushed in.
14. Hook bags to the sloping soffit
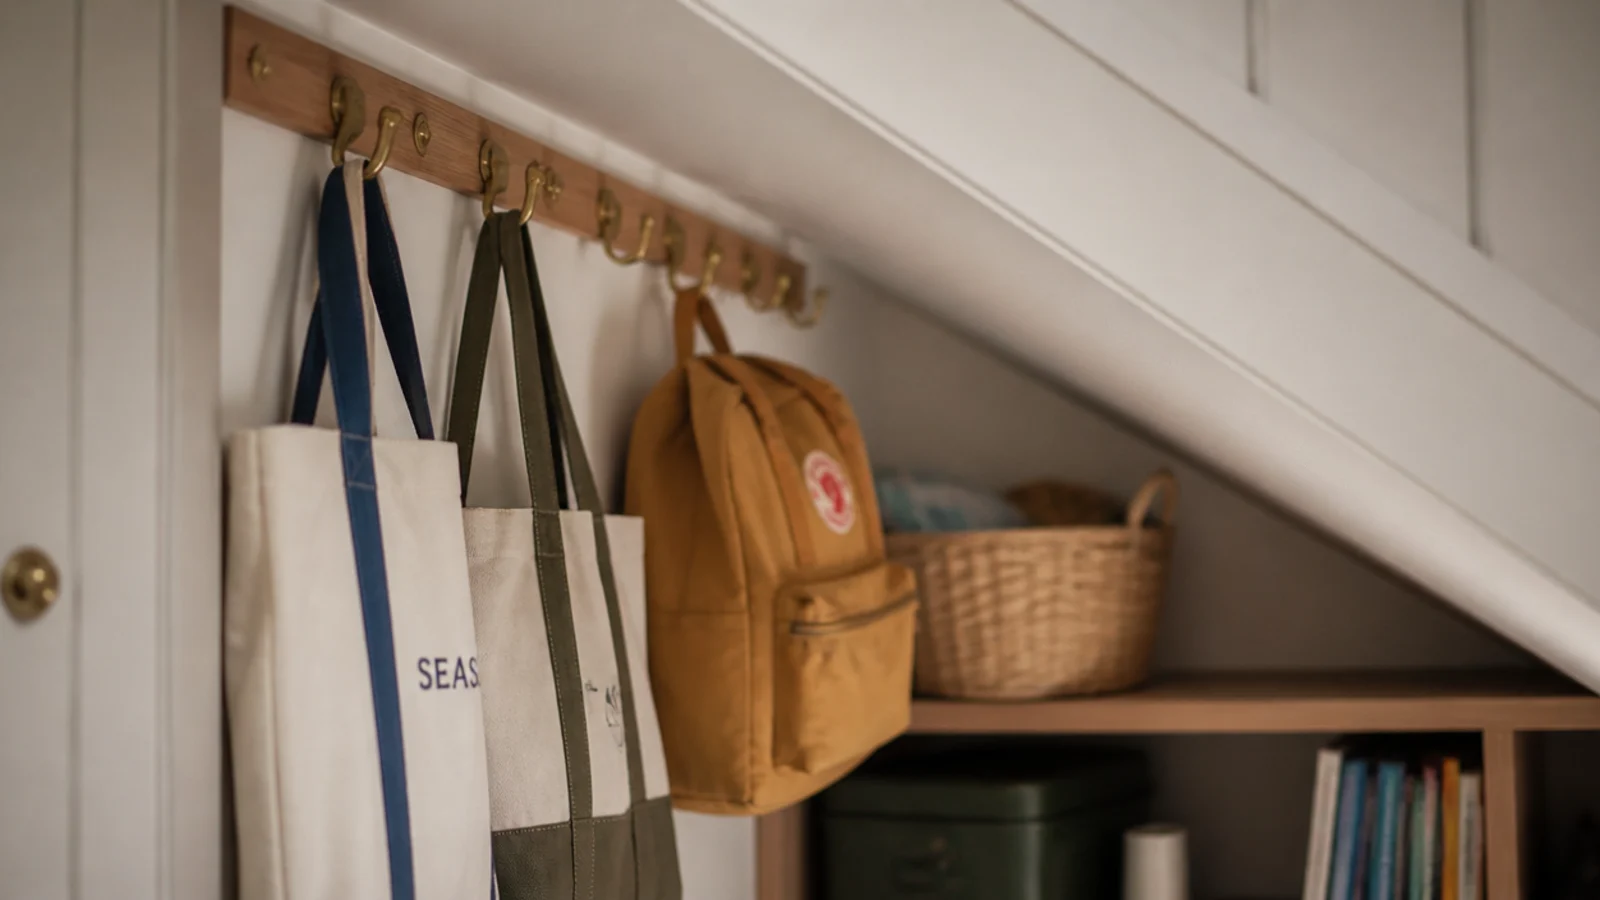
Screw a batten along the rake and put six hooks in it. Totes, rucksacks and the picnic bag all hang flat against the slope in space that is otherwise unusable because nothing stands up in it. Keep the hooks at least 16 inches apart so bags do not tangle, and load the tall end with the heaviest.
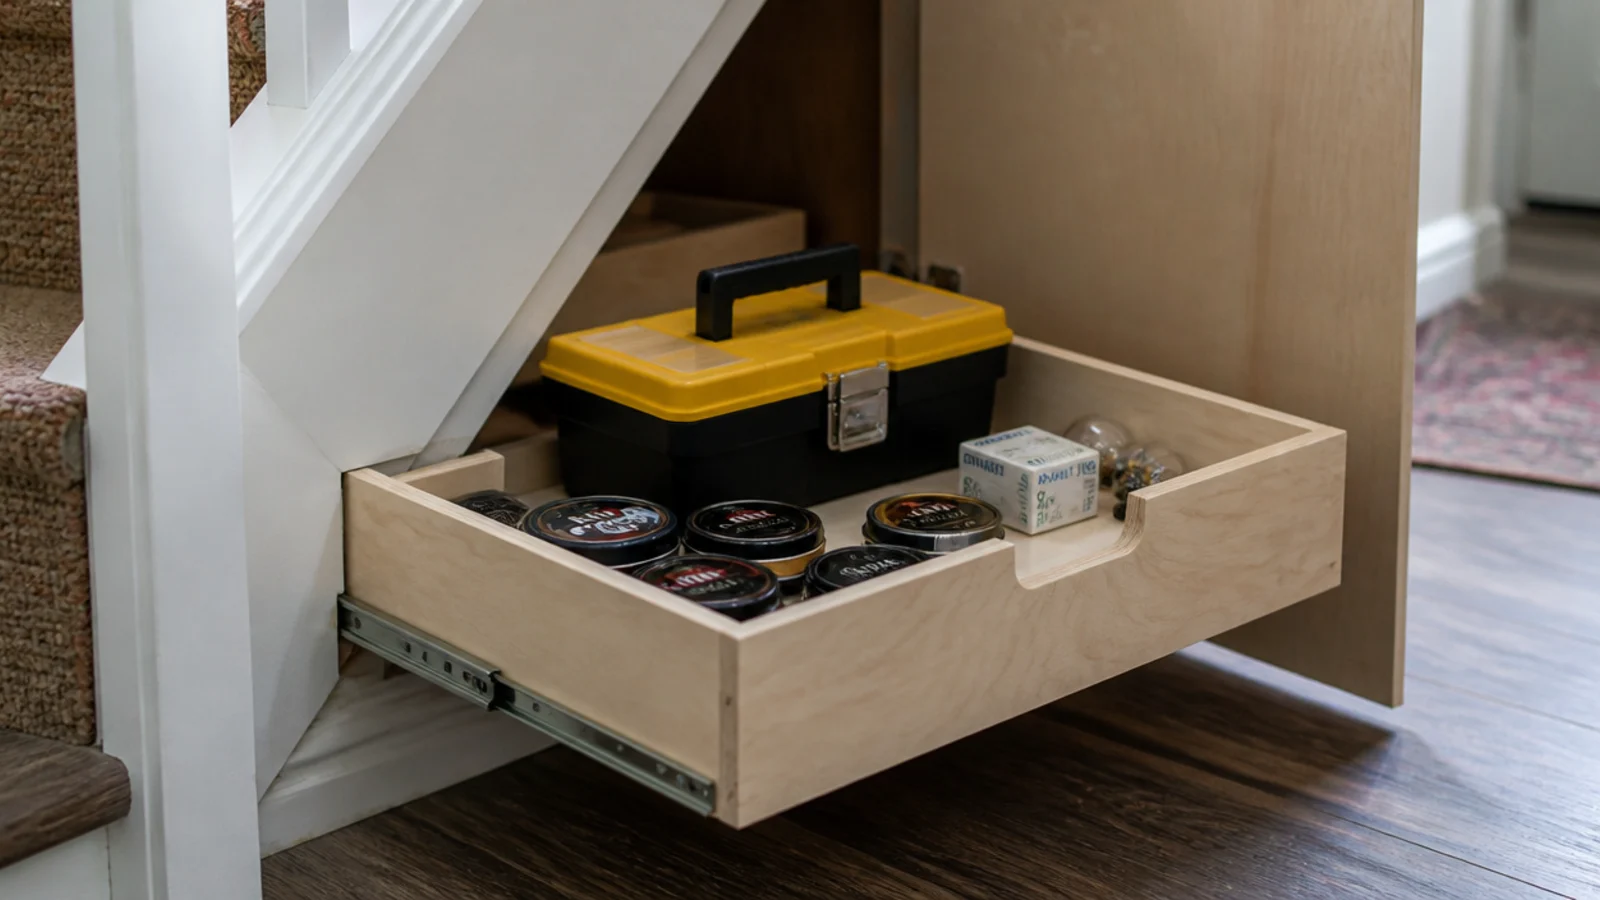
15. Build one pull-out for the crawl zone
Below 30 inches of headroom, build a plywood box on side-mounted runners and let the low end come out to you. A 22 inch pair of full-extension runners rated to 100 pounds costs £25 to £45 and turns the worst part of the cupboard into the easiest. Keep the box 4 inches shorter than the runner travel.
16. Fit a peg rail for boards and ladders
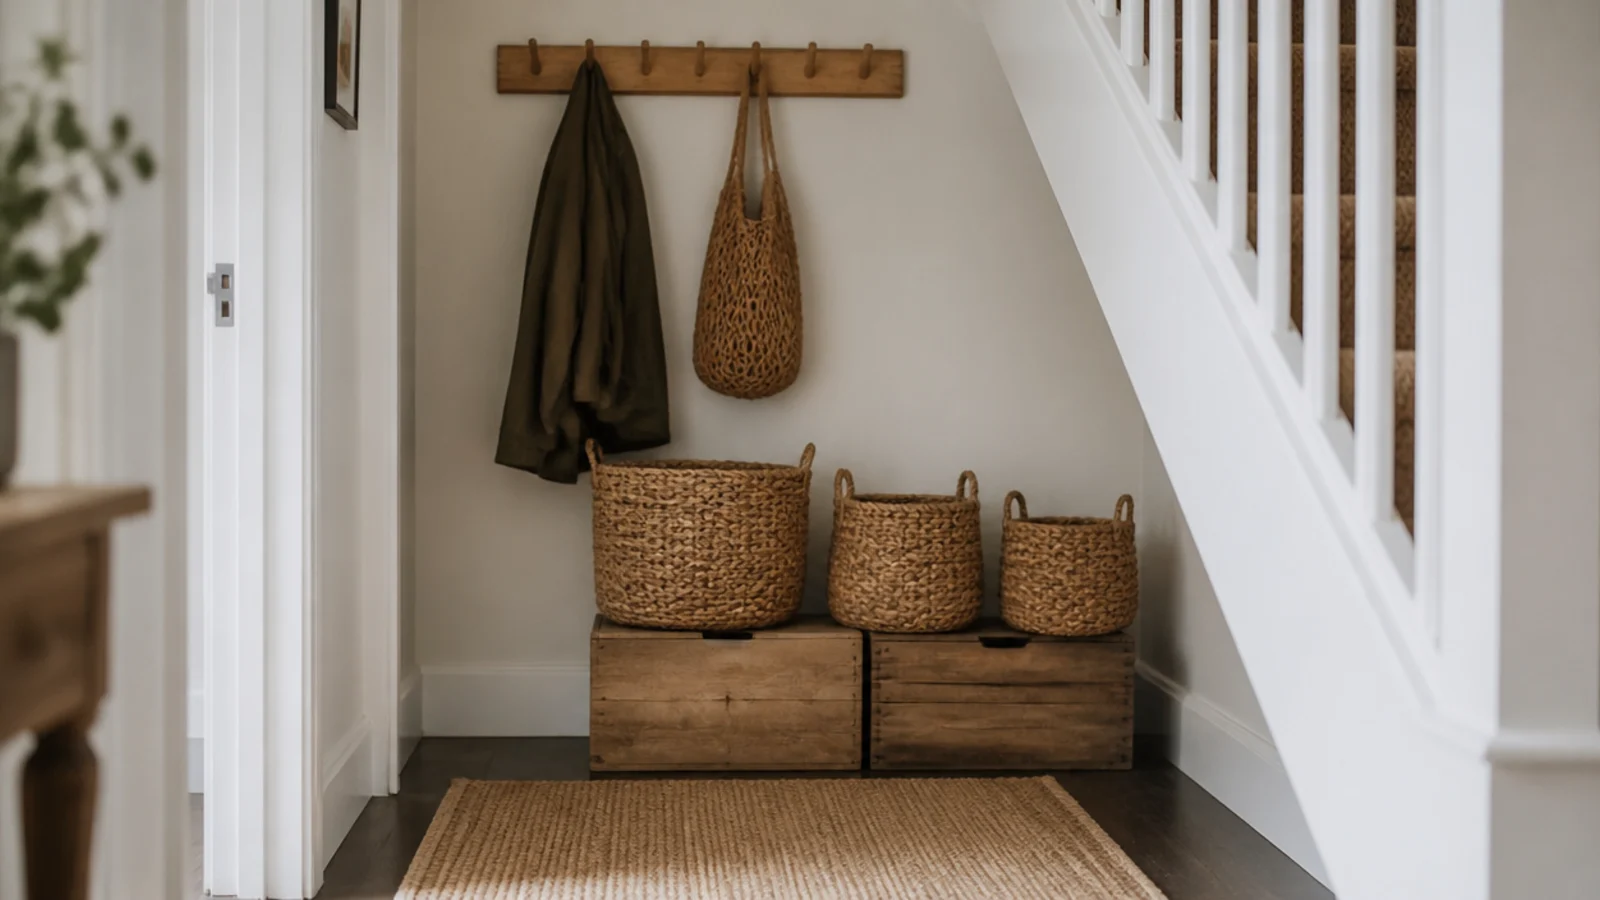
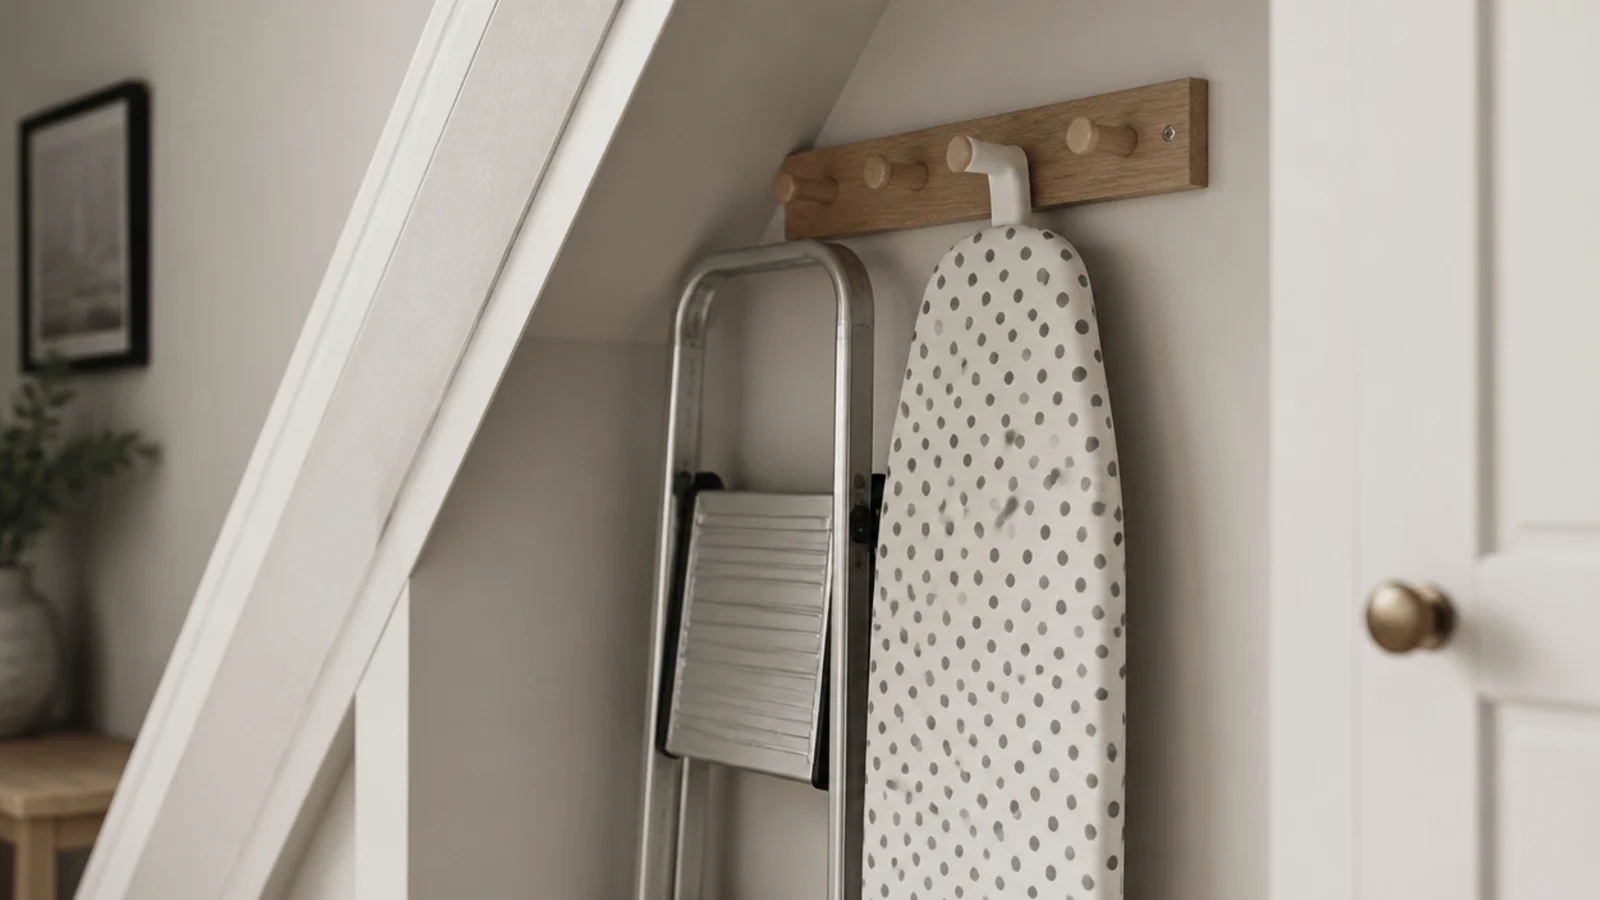
A shaker peg rail on the side wall holds a folded step ladder and an ironing board upright and off the floor. Both are the things that fall out when the door opens. Fix the rail into two studs or strings, at about 40 inches, and use pegs at least 4 inches long so nothing slips off.
17. Bracket the ironing board off the floor
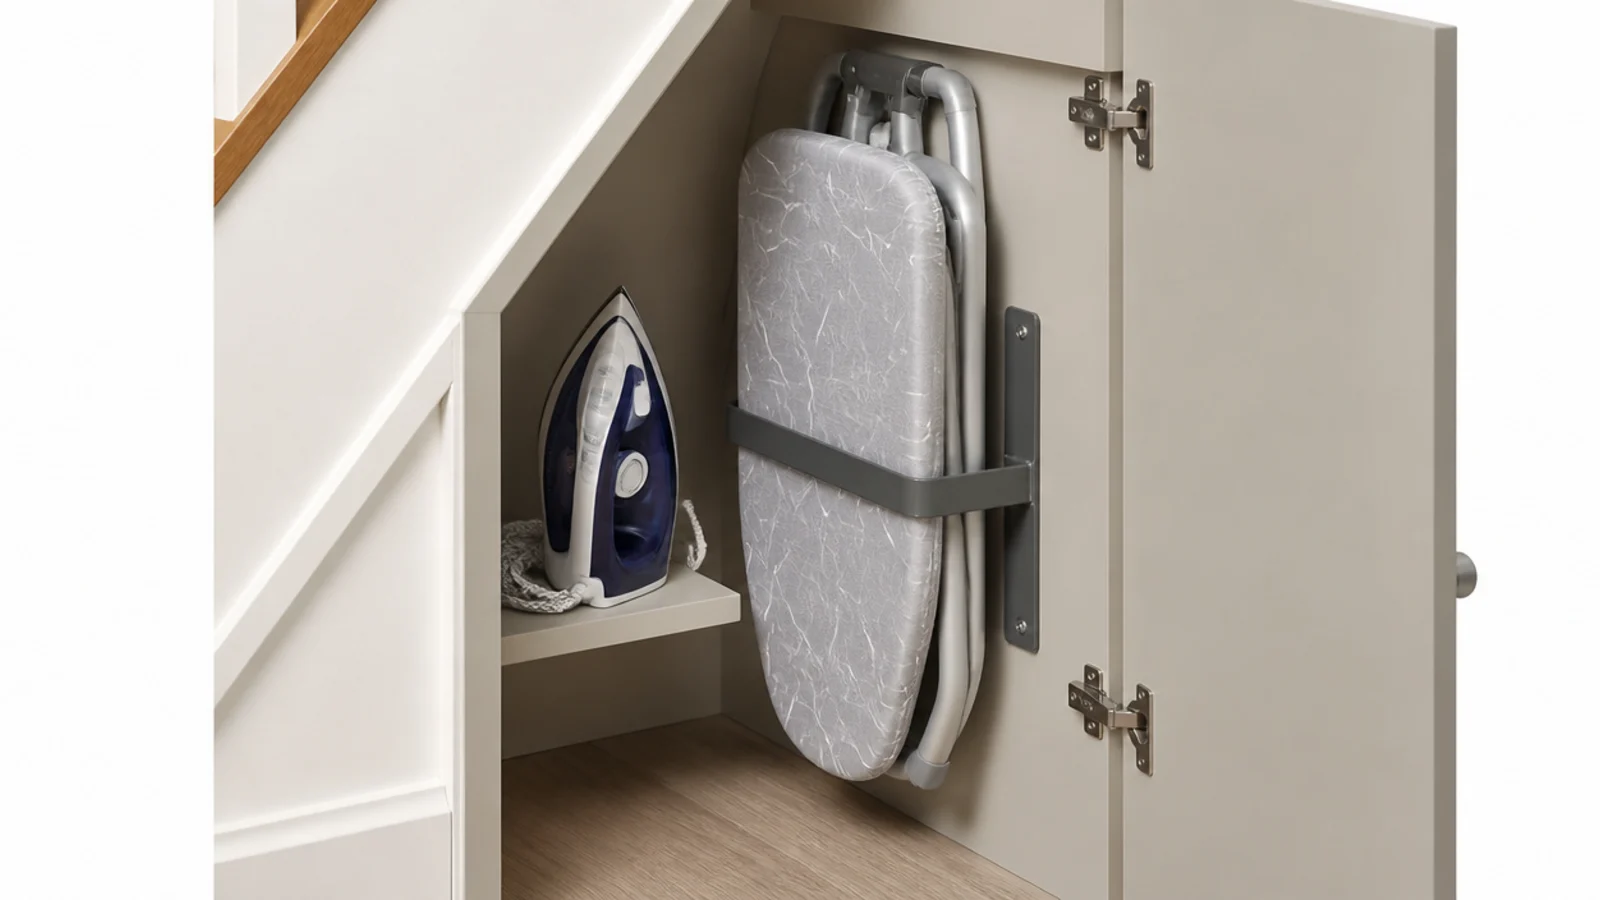
A dedicated wall bracket costs about £10 and holds the board vertically against the side wall with the iron on a small shelf beside it. It clears roughly 18 by 6 inches of floor, which in an under-stair cupboard is a meaningful percentage. Let the iron cool fully before it goes back in an enclosed space.
18. Label fabric boxes on the front face
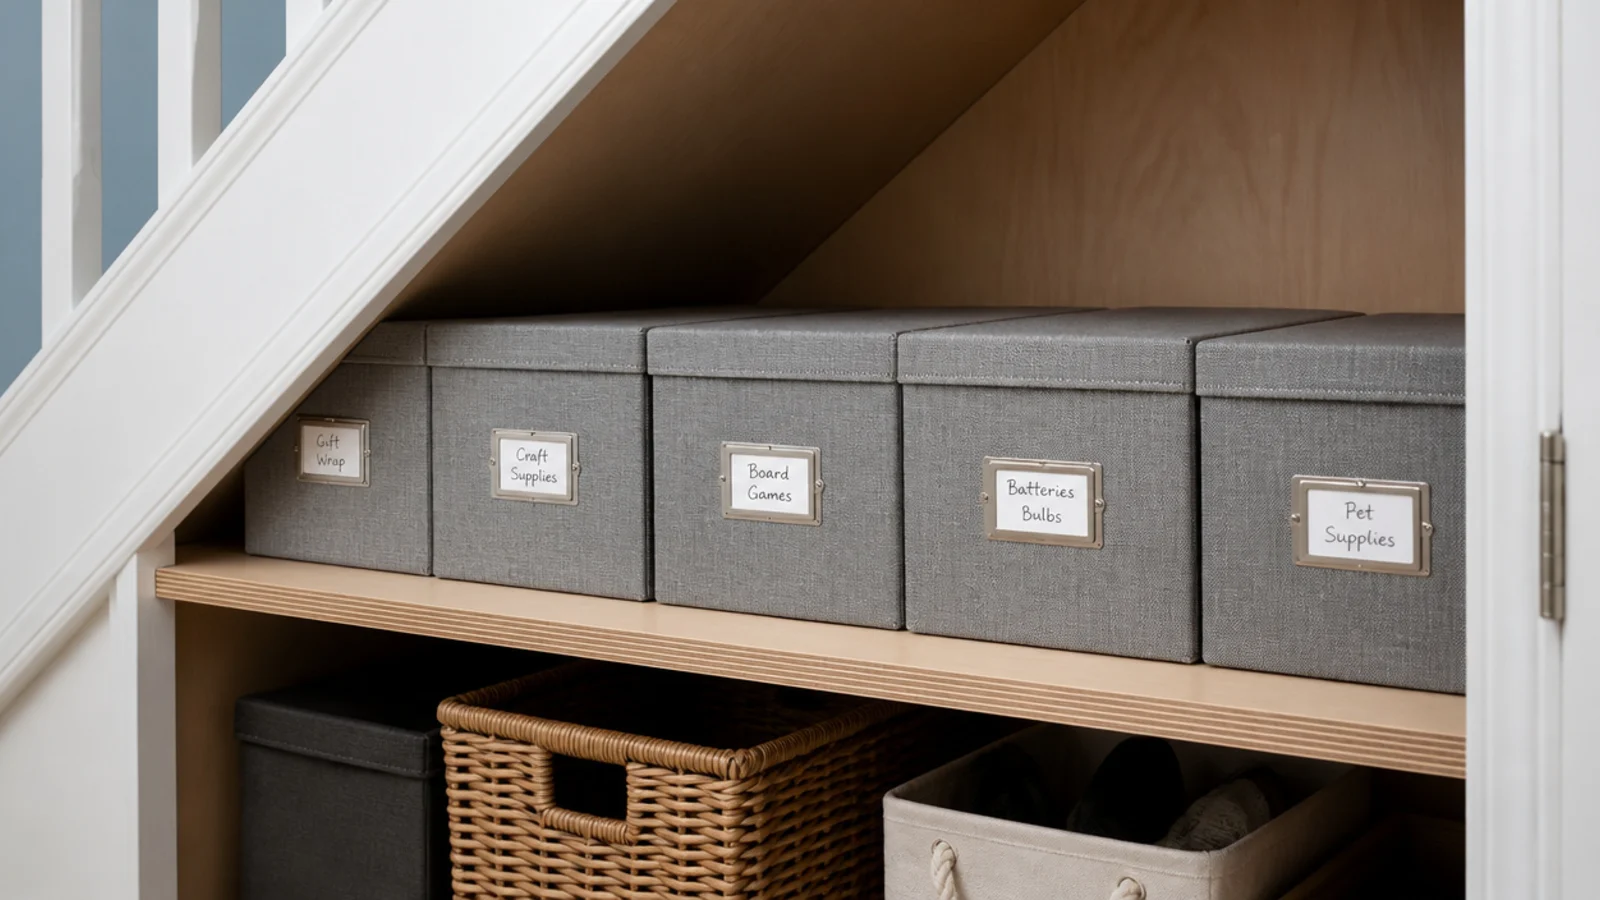
Collapsible fabric boxes at around 12 by 12 by 12 inches cost £4 to £8 each and stack two high on a shelf. Label the front, not the lid — under a rake you are looking at the box side-on, never down at it. Card labels in small metal frames outlast anything handwritten straight onto fabric.
19. Mount the tools on the tall back wall
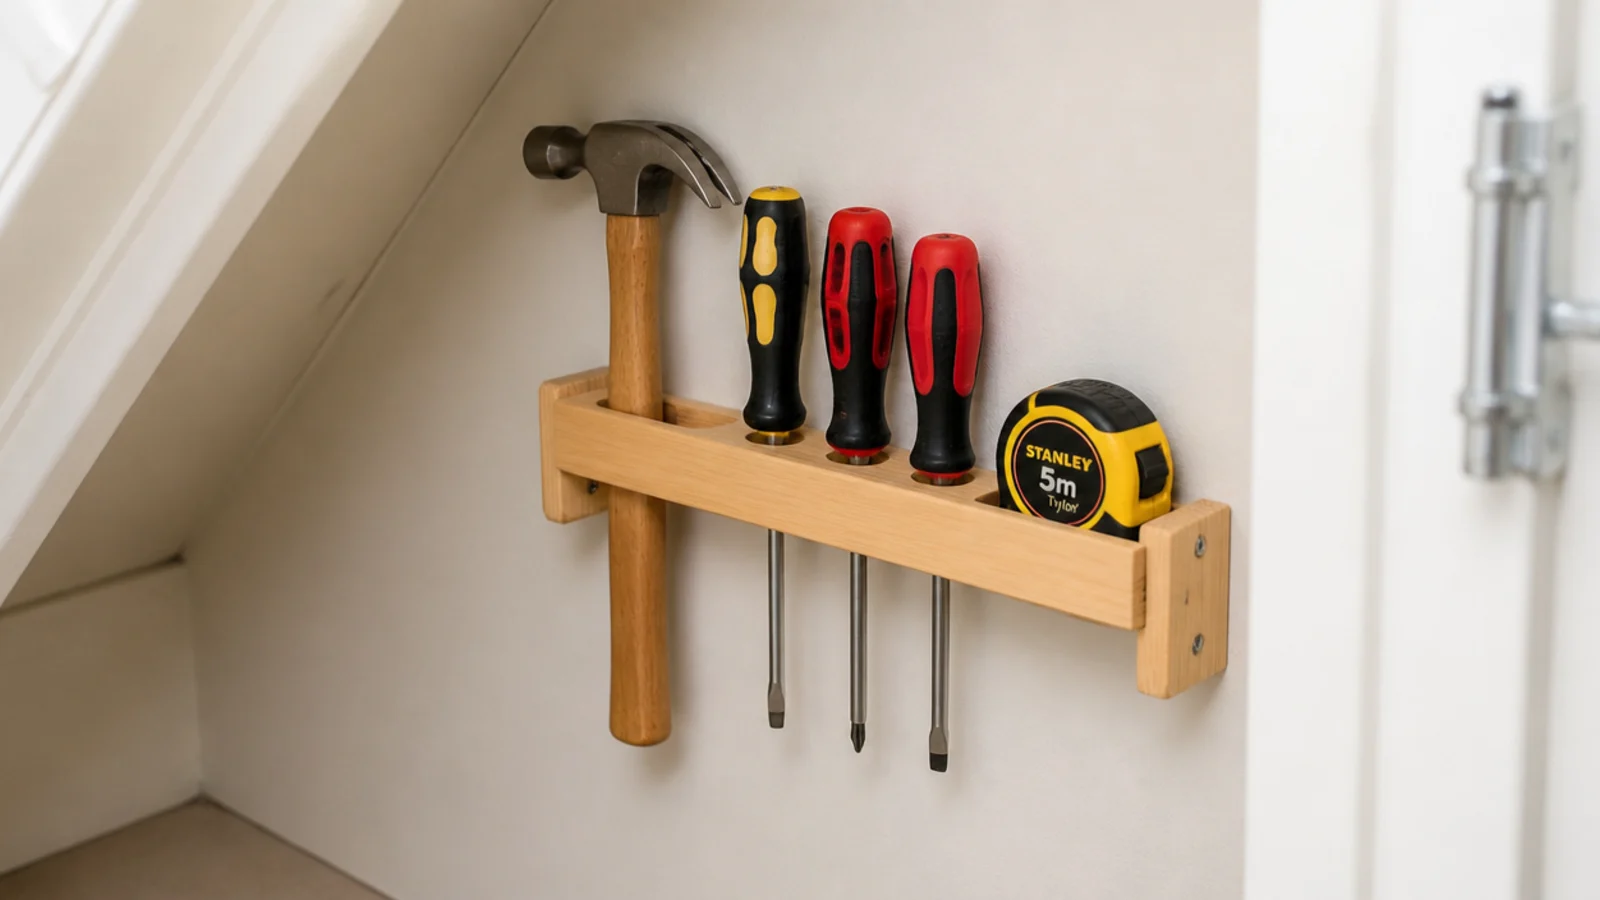
The full-height back wall is the only place in the cupboard where a tool rack fits without fouling the slope. A 24 inch timber rack with drilled holes holds screwdrivers, a hammer and a tape for about £12 in offcuts. Tools in a tub always end up as a tangle you tip onto the floor.
20. Nest the suitcases into each other
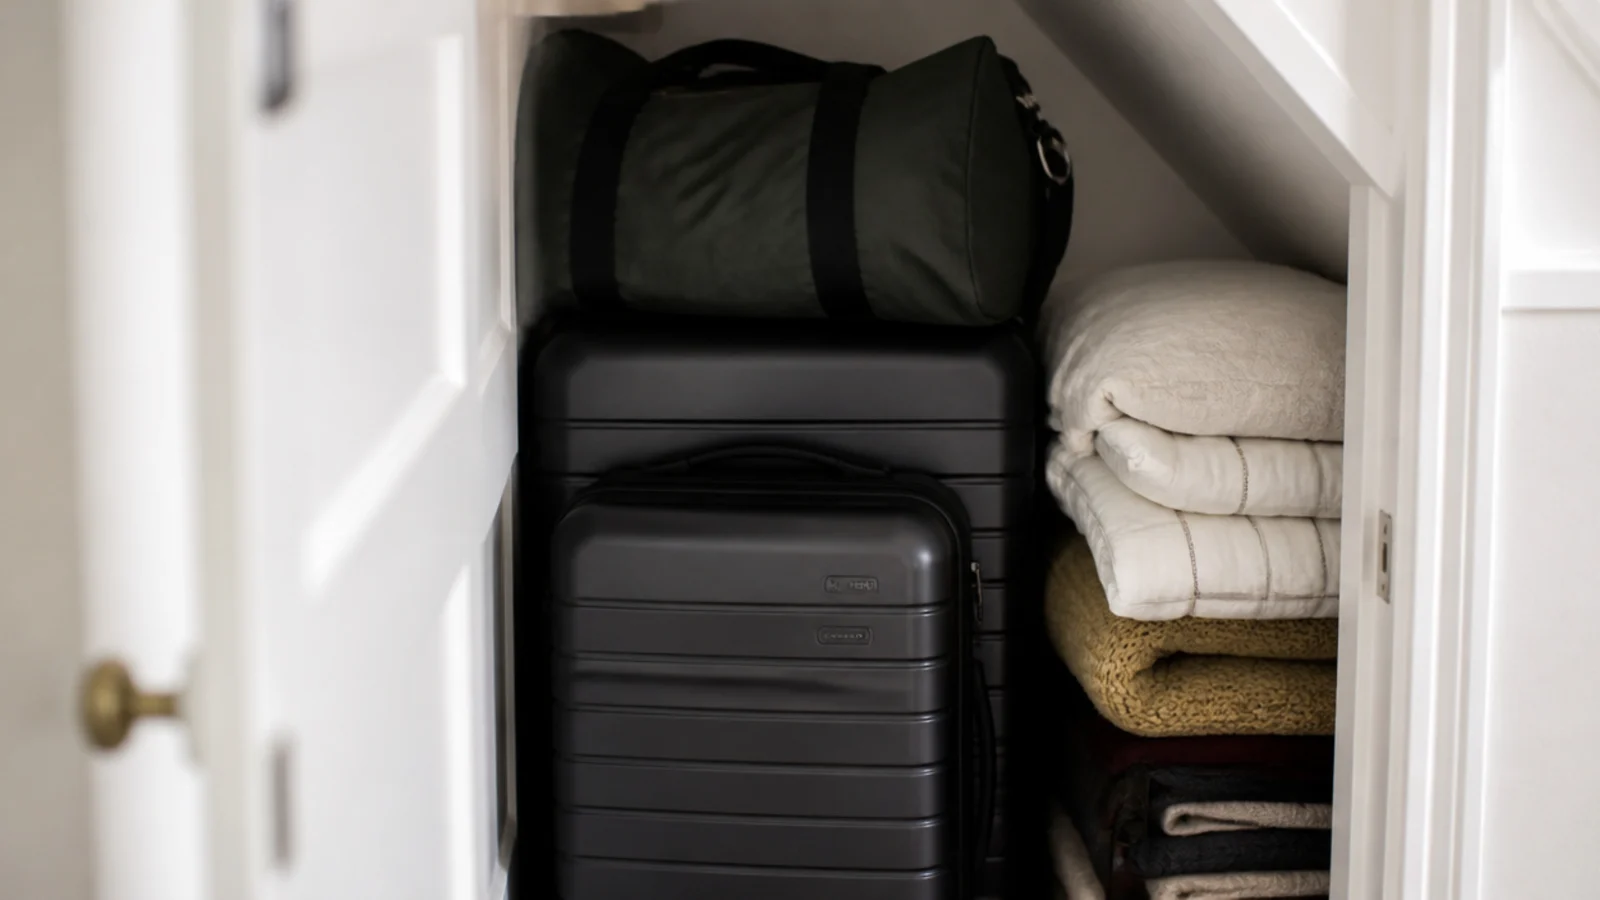
A large case, a medium inside it and a holdall on top reduce three footprints to one, and the inside of a suitcase is dry storage for spare bedding. Store them in the deep corner where nothing else fits. Leave the zips slightly open so nothing inside goes musty over a winter.
21. Put a wipeable floor down first
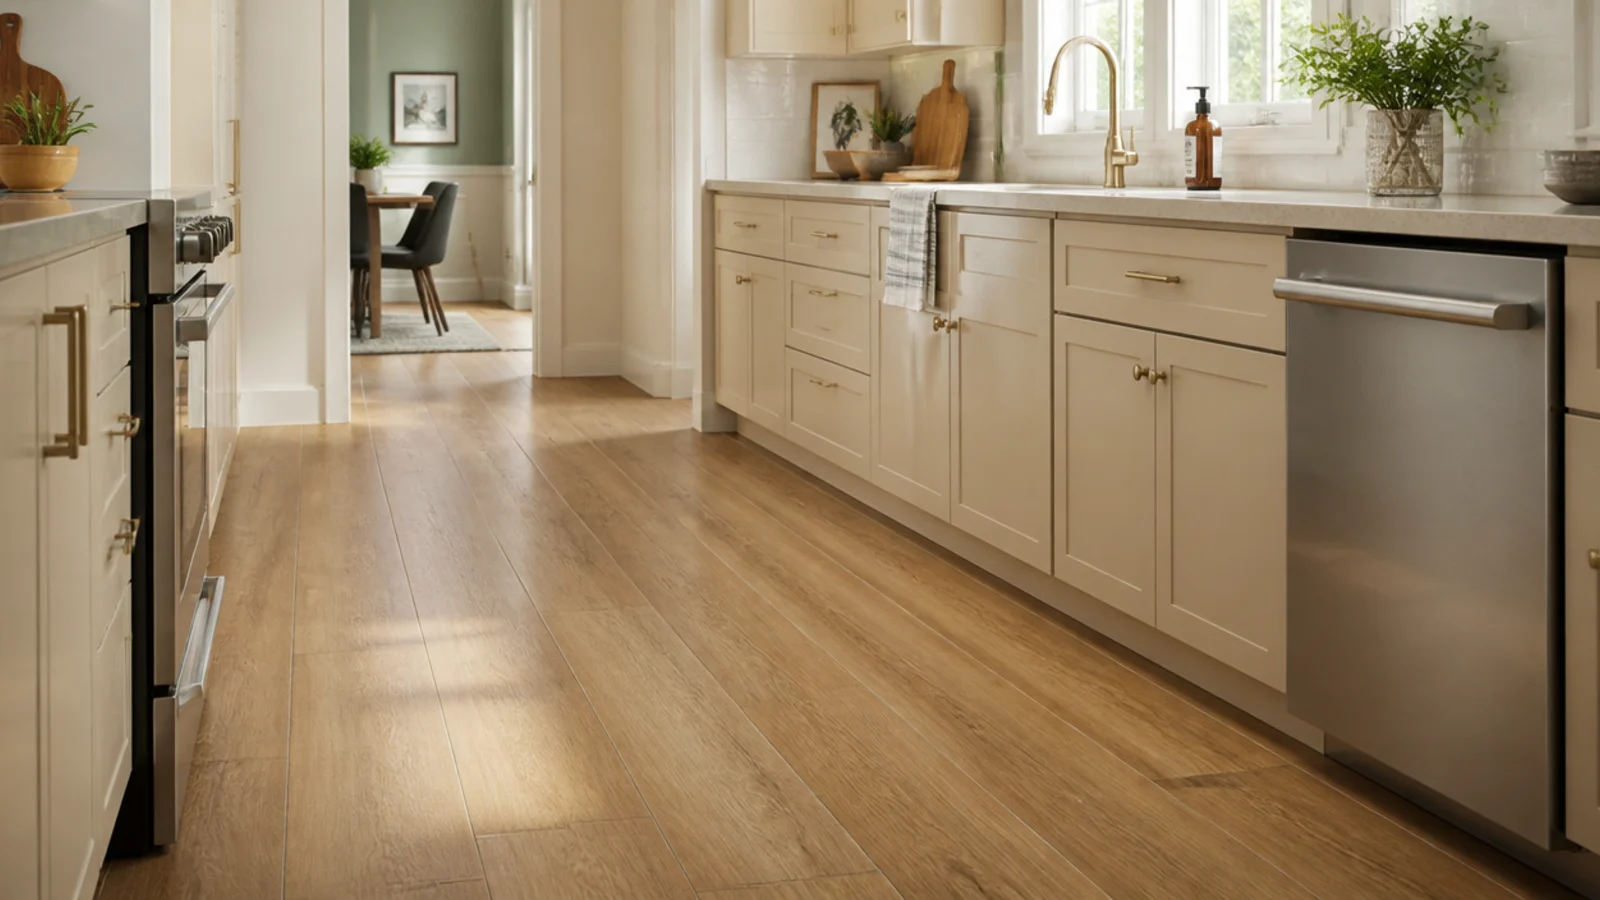
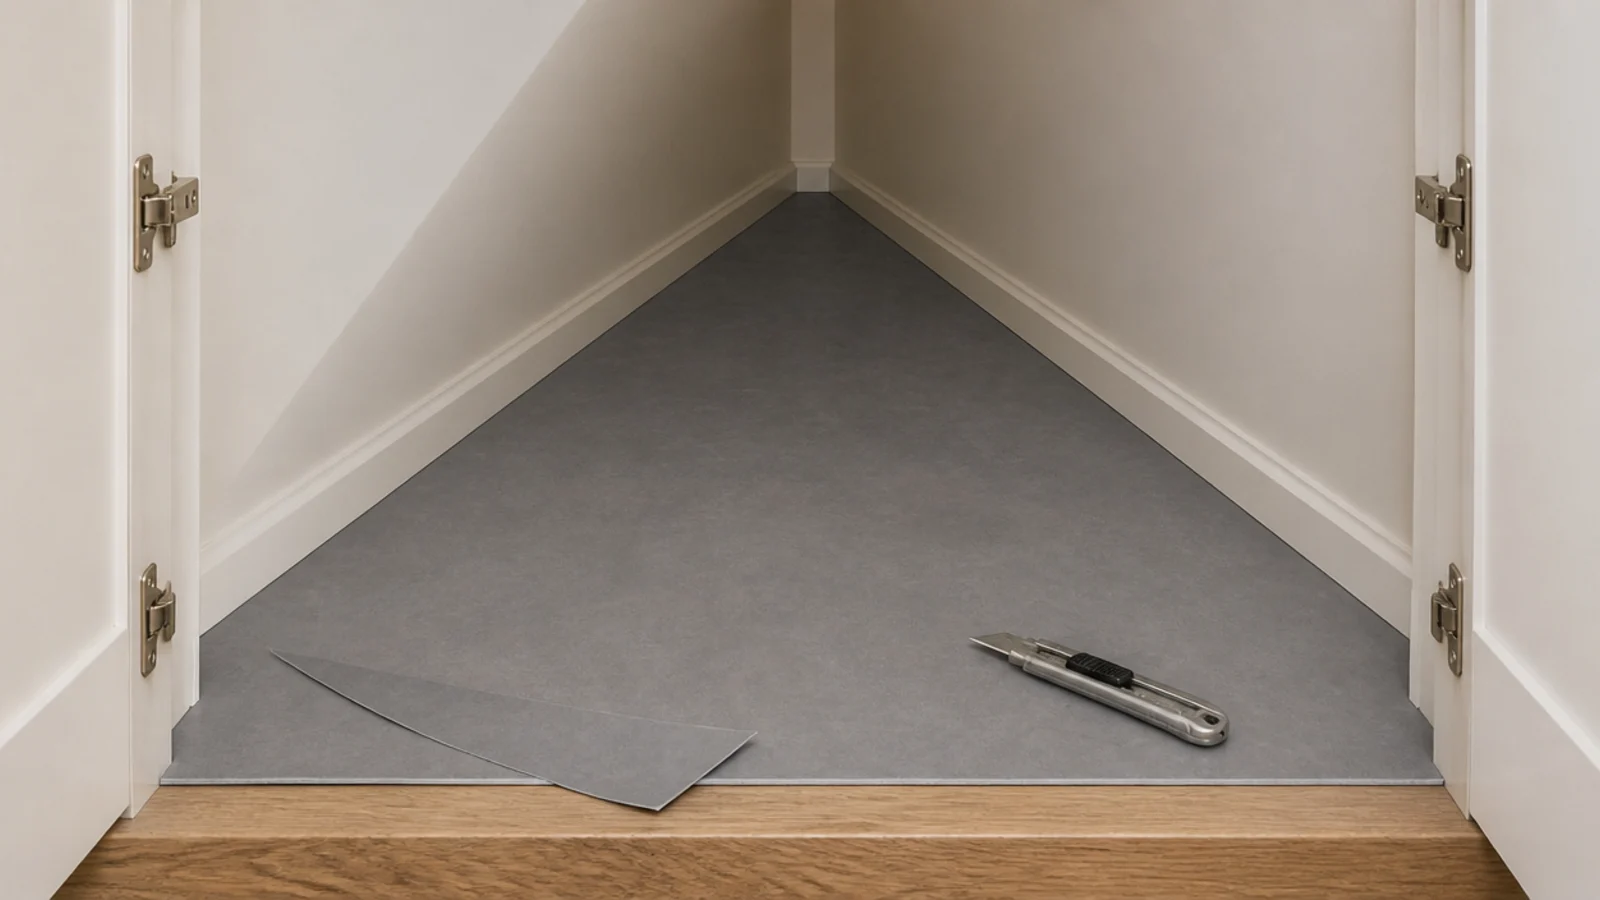
Old boards under a stair are dusty, uneven and unsealed. A vinyl offcut cut to the triangle costs £15 to £30, seals the dust in and gives crates something smooth to slide on. Do it before the shelves go in, while you can still get a knife into the corners.
22. Leave a ten millimetre gap under the door
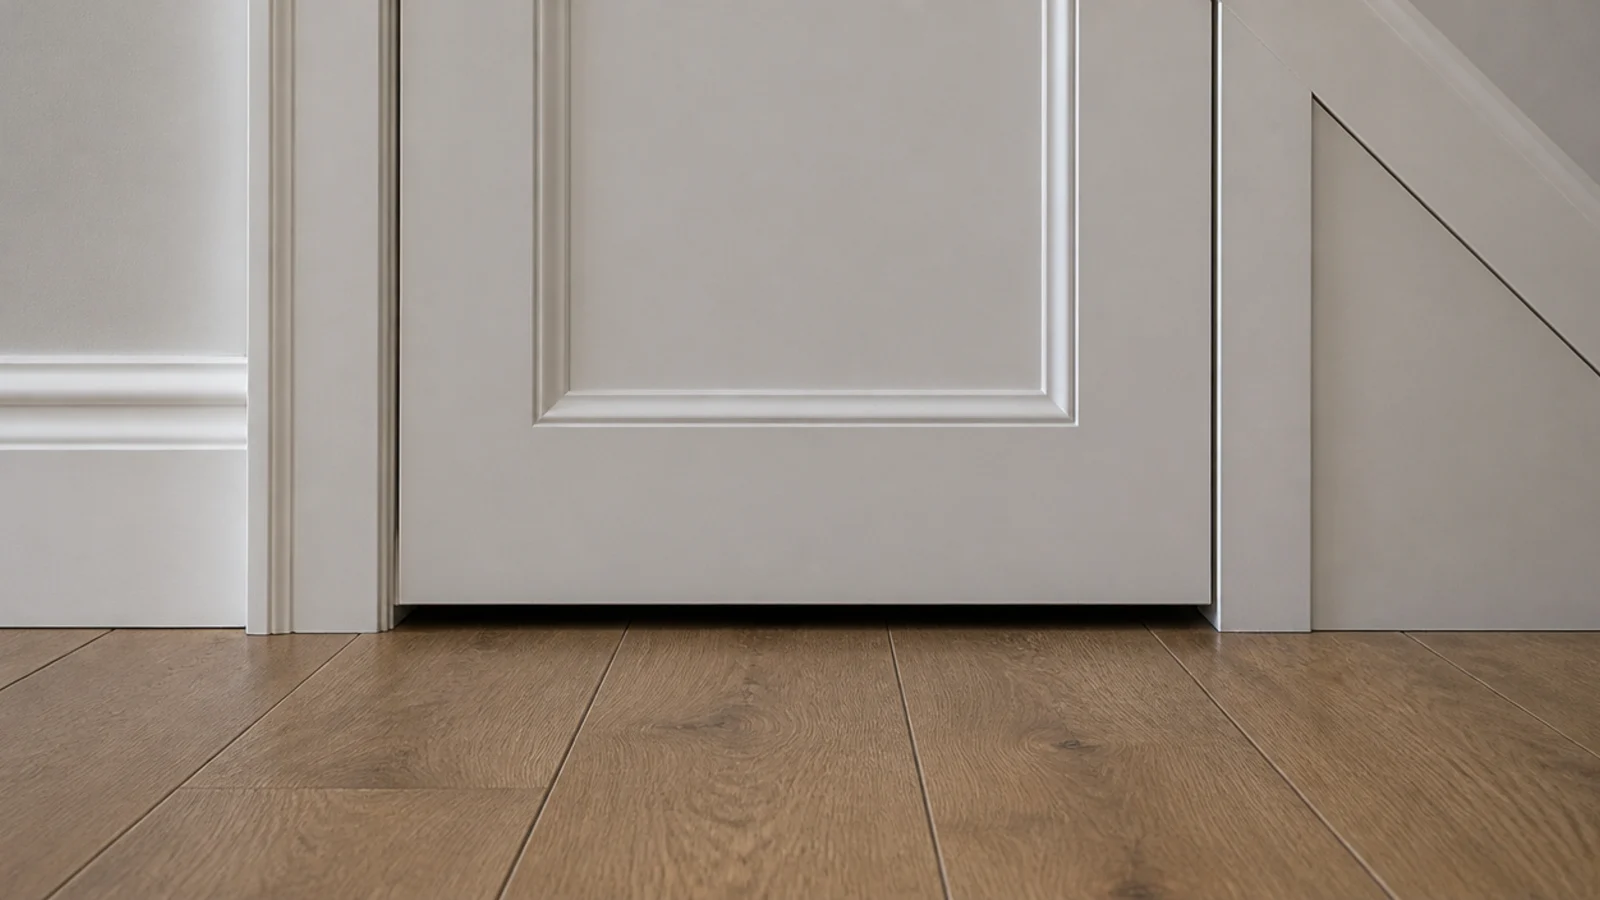
A cupboard with no air movement holds whatever moisture goes into it. A 10mm undercut gives passive ventilation, costs nothing and is standard practice on internal doors anyway. If you have fitted a fire door for a three-storey house, keep the gap within the door's own rated tolerance and never remove its seals.
23. Combine a half-height door with a low hatch
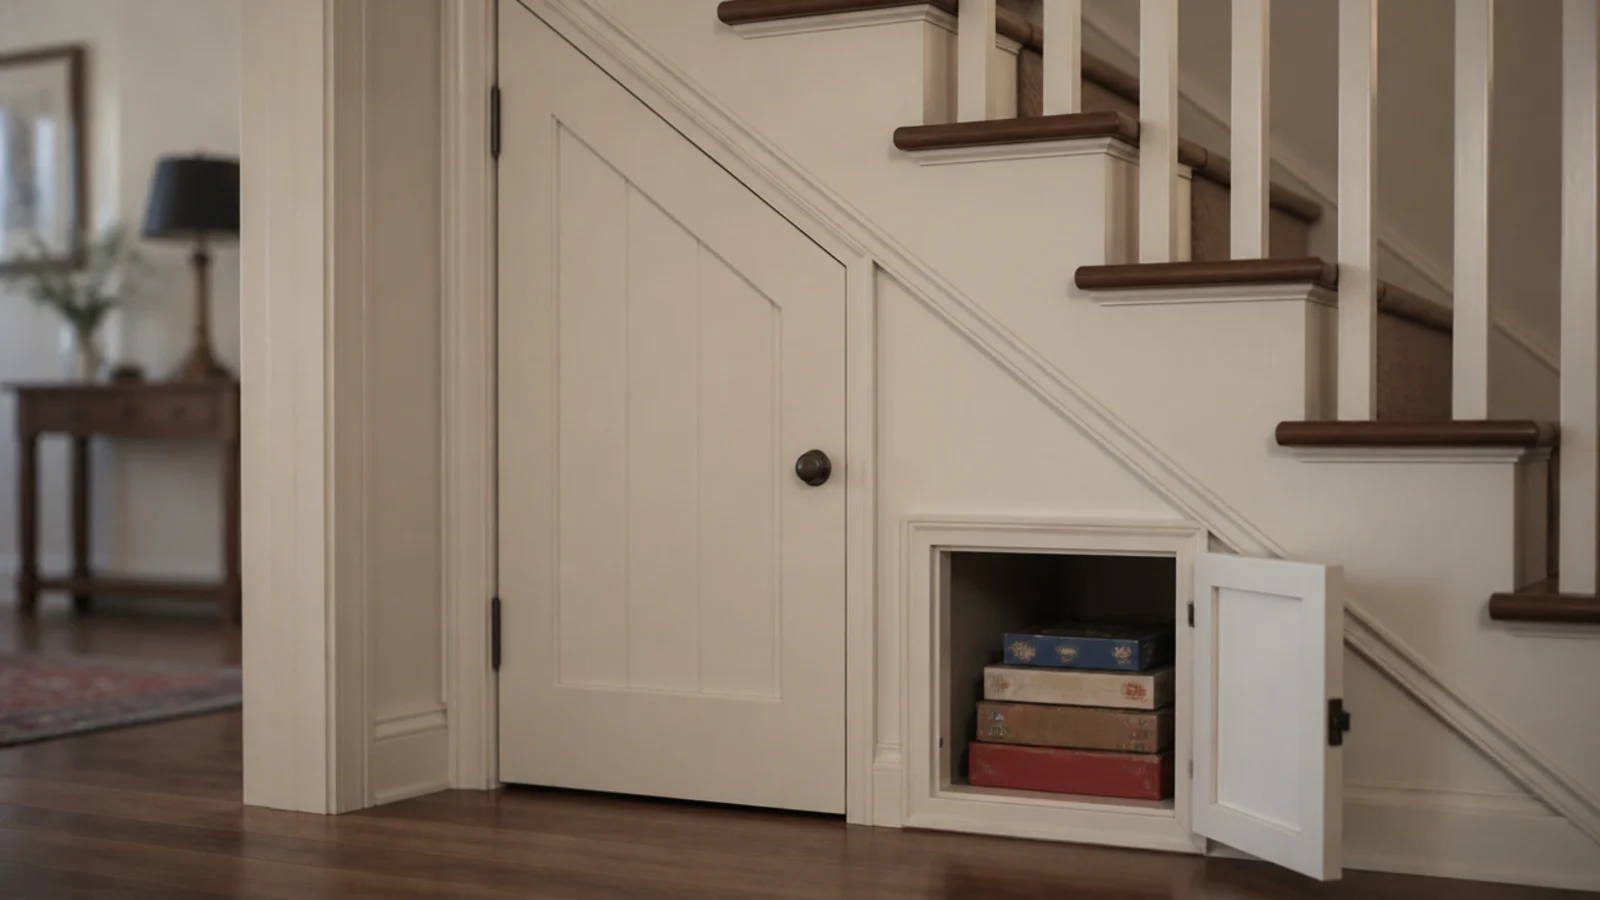
Where the run is long, one door at the tall end plus a small hatch at the low end reaches both extremes without a single huge leaf. Keep the hatch at least 21 inches wide so an arm and shoulder get in. Hinge it at the side rather than the bottom, so it does not need a stay.
24. Stick a magnetic strip inside the door frame
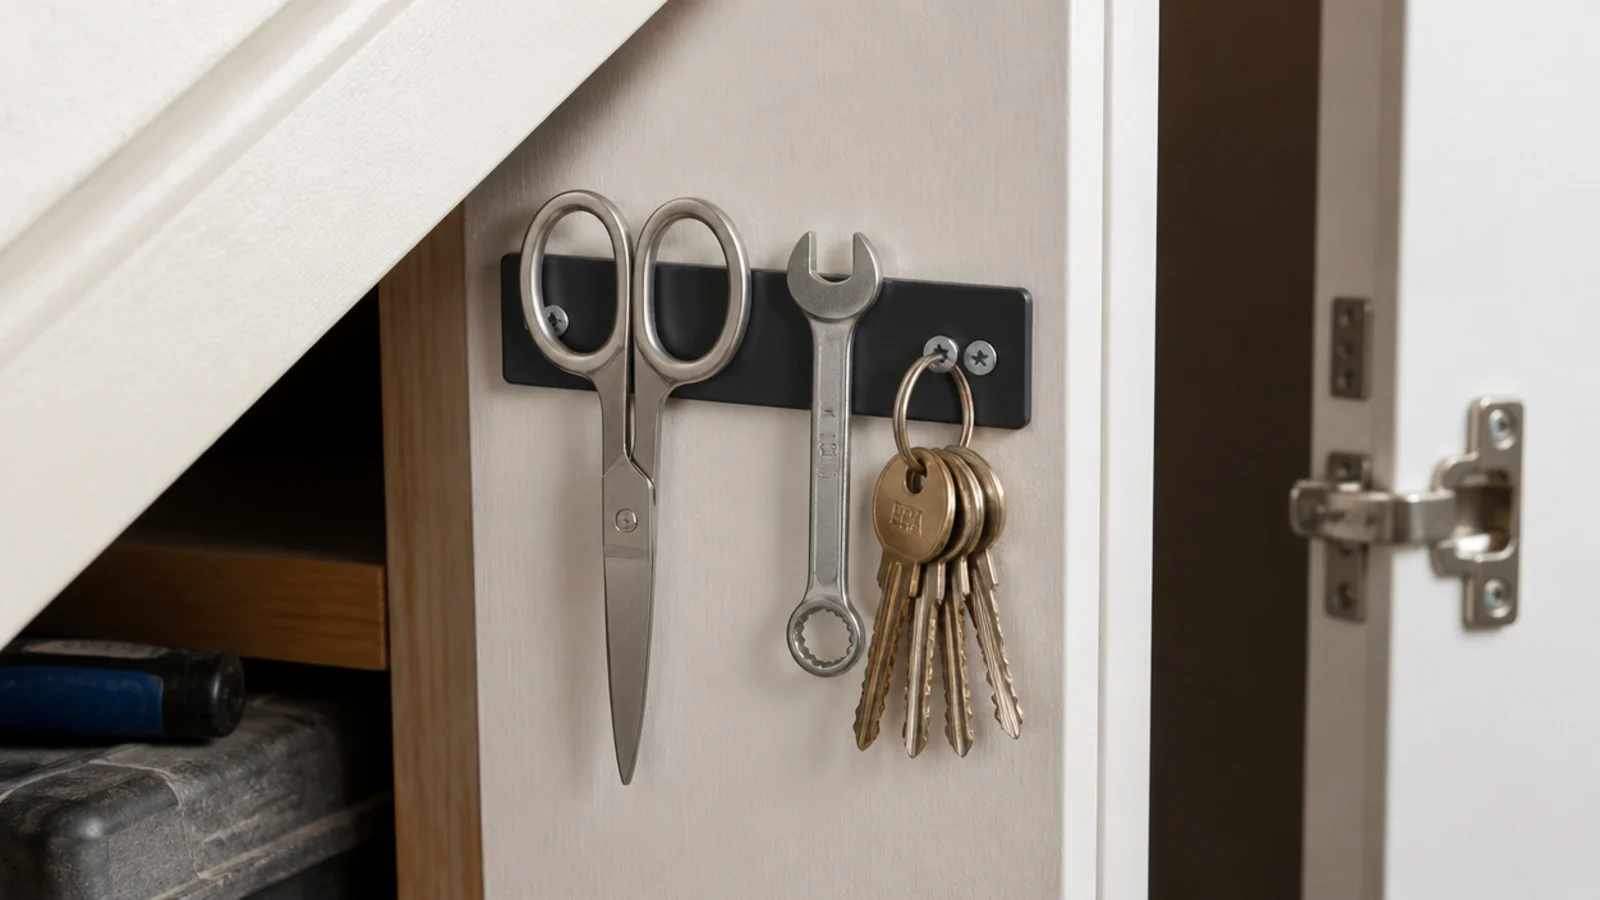
A short magnetic knife strip screwed to the inside edge of the frame holds scissors, spare keys, a small spanner and the picture hooks. It costs £8 to £15 and stops small metal objects disappearing into the bottom of a box. Keep it away from anything you would rather not magnetise, including old bank cards.
25. Photograph the empty cupboard before you load it
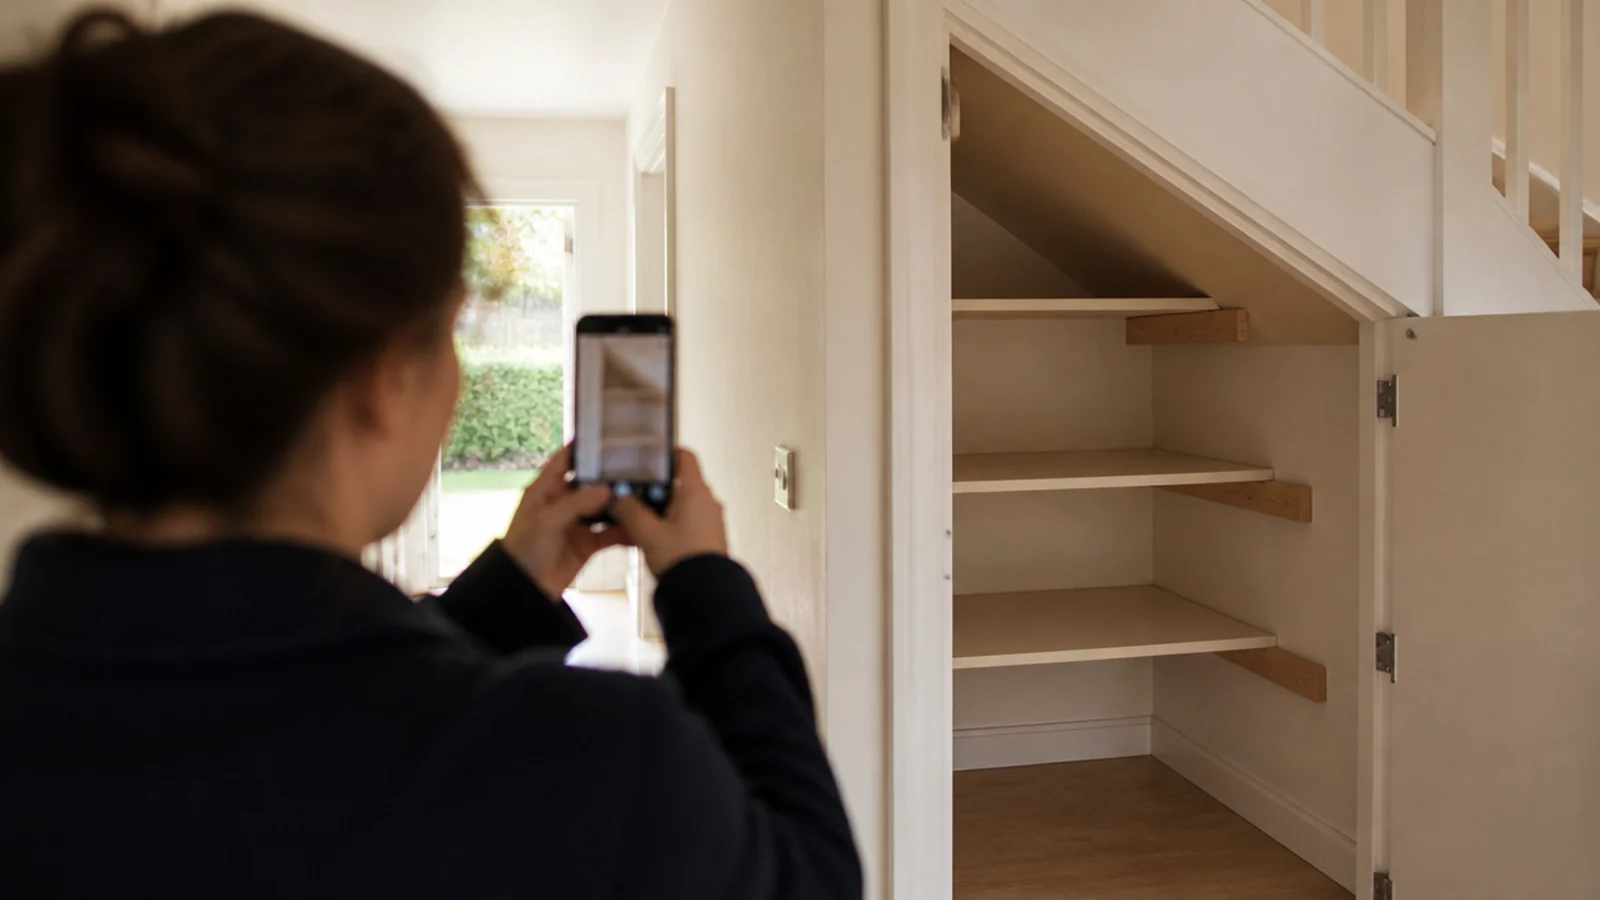
Take three photos of the finished shell — the shelf heights, the batten fixings and where any cable or pipe runs. It takes a minute and is the only record you will have when somebody drills into that wall in five years. Store it somewhere you will find it, not in a camera roll.
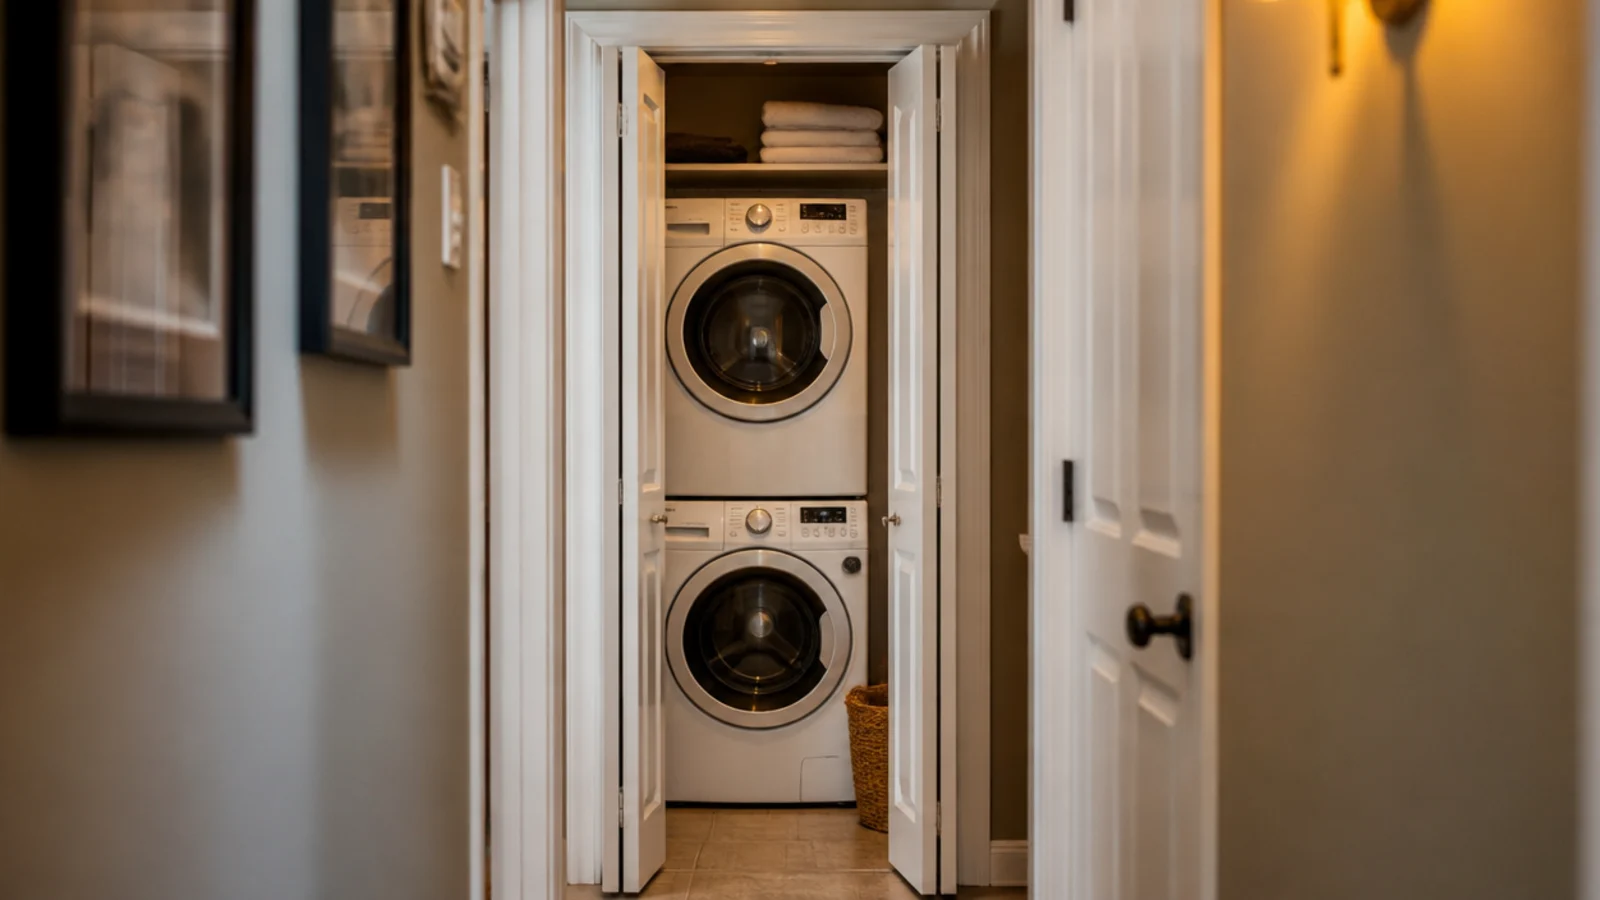
For a walk-in sized recess that deserves proper hanging space, the under stairs storage closet guide covers rails, shelf ladders and lighting. If the cupboard is doing laundry duty, the tiny utility room ideas guide has the machine clearances, and shoe cabinet ideas covers what to stand against the flank when the cupboard is full.
Mistakes to Skip
- Screwing shelves across a boiler, meter or consumer unit. Every one of them must stay accessible, and the first service visit will have your new shelving out on the hall floor.
- Making every shelf full depth. The back third of a deep shelf under a rake is unreachable, and within a year it holds only things you have forgotten you own.
- Sealing the cupboard completely. No undercut, no grille and an external wall behind it is the exact recipe for black mould on the plaster by the end of the first winter.
- Fitting a standard door in a three-storey house. A cupboard opening onto a protected stairway normally needs FD30 rating with intumescent strips, and swapping it afterwards costs more than getting it right first.
Frequently asked questions
How do I build shelves in an under stairs cupboard cheaply?
Screw two by one inch battens to the side walls at your shelf heights, then drop cut plywood or melamine boards onto them. There are no brackets to buy and the shelf carries far more than a bracket system does. A whole cupboard of shelving comes to roughly thirty to sixty pounds in timber and screws.
What shelf depth works best under a staircase?
Eight to twelve inches for anything you want to see, and full depth only on the tallest shelf where you can reach in properly. Deep shelves in a sloping cupboard become caves; everything migrates to the back and stays there. If you need depth, put it on runners so it comes out to you instead.
Does an under stairs cupboard need ventilation?
Yes, especially if it backs onto an outside wall or holds anything damp. Leave a ten millimetre gap under the door or fit a small vent grille, and keep stored boxes an inch off the back wall. A sealed cupboard on a cold external wall grows mould on the plaster within a single winter.
Can I store the boiler and shelving in the same cupboard?
Only if the boiler keeps its manufacturer service clearances and nothing blocks the controls, the flue or any isolation valve. The same applies to a gas meter and a consumer unit, which must stay accessible and non-combustibly enclosed. Build your shelving on the far side of the cupboard and leave that zone completely empty.
What lighting should go in an under stairs cupboard?
A battery motion puck at a hundred to two hundred lumens is enough for a small cupboard and costs under fifteen pounds. For a walk-in size, a hardwired warm strip at three hundred to five hundred lumens per metre along the top of the opening lights the whole slope without shadowing the shelves.
Want more like this? Browse all 14 under stairs storage guides — they all use the same measurements and budget tiers.

Pin it for later
Save this to your Under Stairs Storage board
Pin it now so it is waiting for you when the tape measure comes out — and so the next person hunting for this idea can find it too.
Save this pinKeep going
More ideas worth saving while you have the tape measure out.