Teen Boy Bedroom · How-To
15 Steps To Build A Teen Boy Gaming Bedroom Cheap

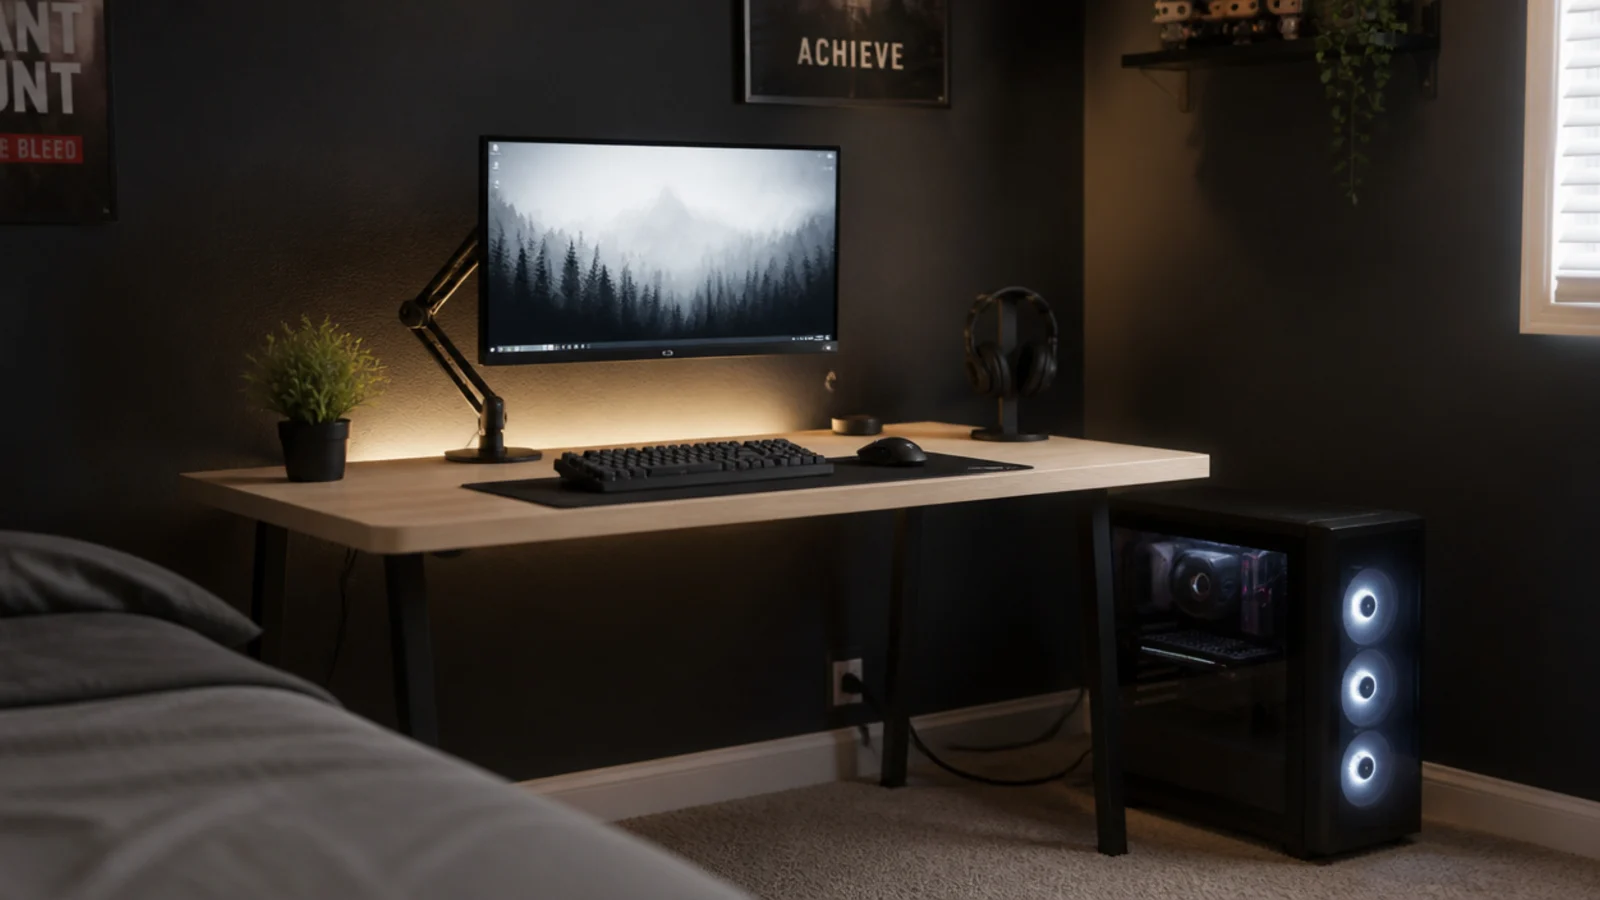
The cheapest way to build one of these is to do it in the right order. Almost every setup I have been asked to fix was assembled backwards — lighting before cabling, screen before chair, everything bought before anything measured. A teen boy gaming bedroom done in sequence costs about $300 to $400 for everything around the hardware, and it takes a weekend. The order below is the one I use, and each step ends where the next one starts so nothing has to come apart twice. Every measurement here is the one that actually decides whether the finished thing works.
In this guide18 sections — tap to openHide
- 1.What You'll Need For A Teen Boy Gaming Bedroom
- 2.Step 1: Measure the wall and total the wattage
- 3.Step 2: Choose the desk position from the daylight
- 4.Step 3: Cut and finish one board as the top
- 5.Step 4: Fix the legs and level the top
- 6.Step 5: Set the chair before the screen
- 7.Step 6: Set the monitor height and distance
- 8.Step 7: Fit the monitor arm and reclaim the depth
- 9.Step 8: Route everything onto one rated lead
- 10.Step 9: Bundle and tray the cables
- 11.Step 10: Give the tower and console their air
- 12.Step 11: Paint the wall behind the screen
- 13.Step 12: Add the hidden bias light
- 14.Step 13: Hang the shelf for console and headset
- 15.Step 14: Treat the sound and seal the door
- 16.Step 15: Run it under load and check the heat
- 17.Pro Styling Rules
- 18.Mistakes to Skip
What You'll Need For A Teen Boy Gaming Bedroom
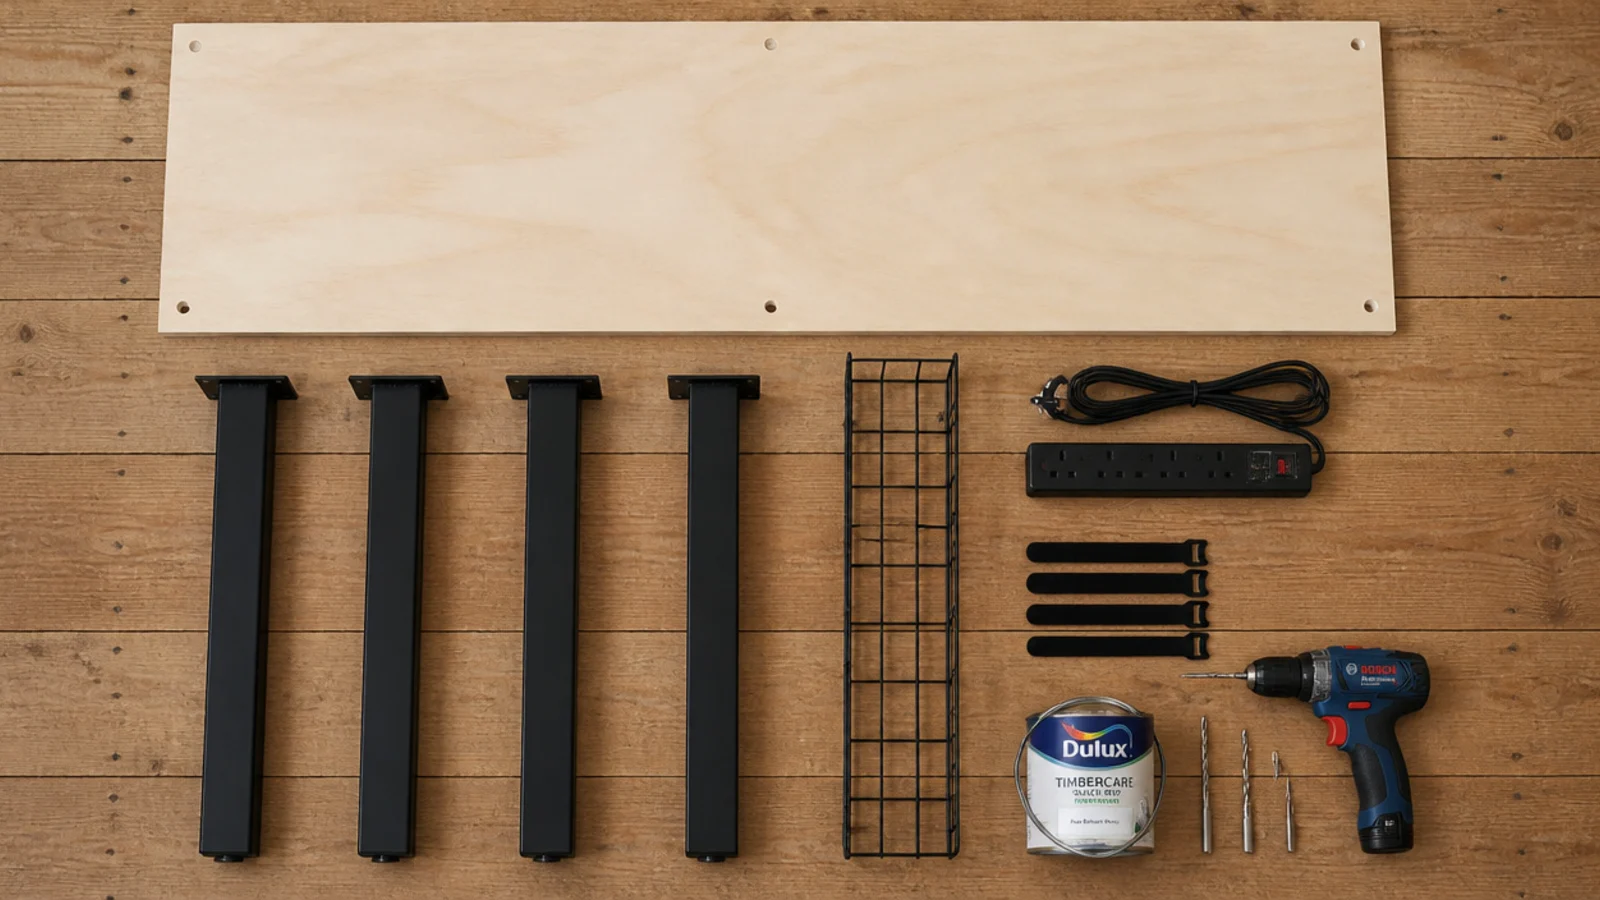
The materials list, with realistic prices: one solid board 47 to 55 inches long at $60 to $120, four square-section steel legs at $35 to $70, a clamp monitor arm at $40 to $80, a surge-protected extension lead rated over 1,000 joules at $25 to $40, a mesh under-desk cable tray at $10 to $20, a pack of velcro ties at $8, half a gallon of scrubbable matte paint at $25, a hidden light strip at $20 to $35, a floating shelf and brackets at $30 to $60, and a brush door seal at $15 to $30.
Tools: a cordless drill, a stud finder, a long spirit level, a tape, a sanding block and a cloth. Borrow what you do not own.
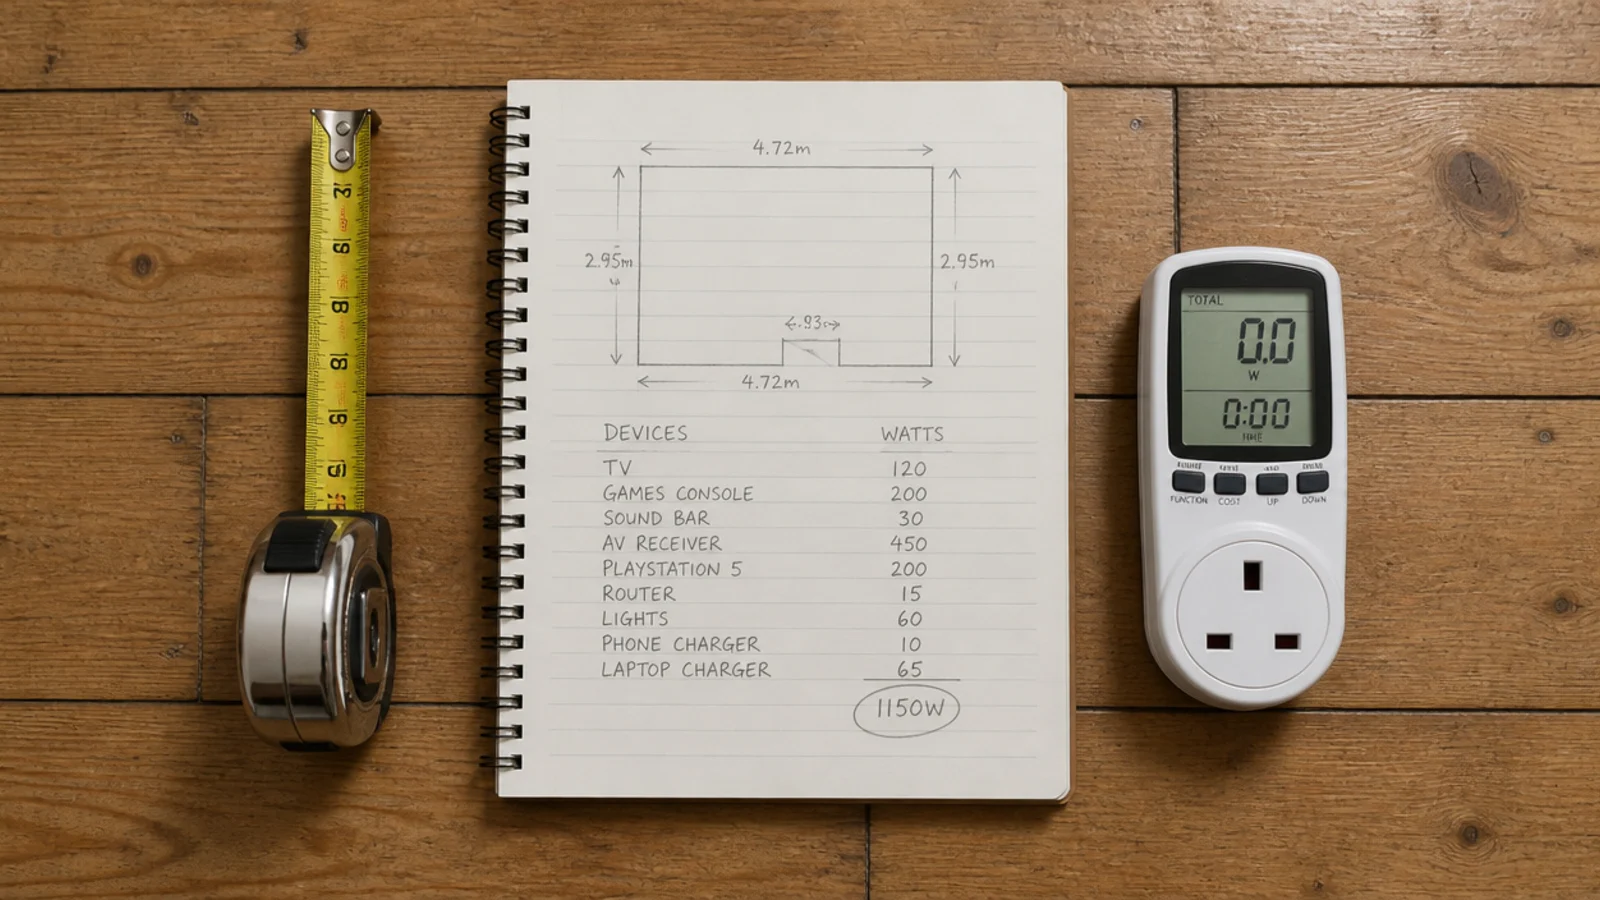
Two numbers to establish before you buy anything. The desk wall length, because a 55-inch top needs 55 inches plus a hand at each end. And the total wattage: a gaming PC is 400 to 650 watts under load, a monitor 25 to 45, a console 150 to 210, plus a router and chargers. Most bedroom setups land between 500 and 800 watts, well within a 15-amp, 1,800-watt strip — but only one strip. For the wider picture on power and airflow, teen boy gamer bedroom covers it in detail.
Step 1: Measure the wall and total the wattage
Write down the desk wall length, the ceiling height, the socket position and the total wattage on one piece of paper. A plug-in power meter at $10 to $20 gives you the real figure under load rather than the label figure. These four numbers govern every purchase that follows, and getting them on paper takes fifteen minutes.
Step 2: Choose the desk position from the daylight
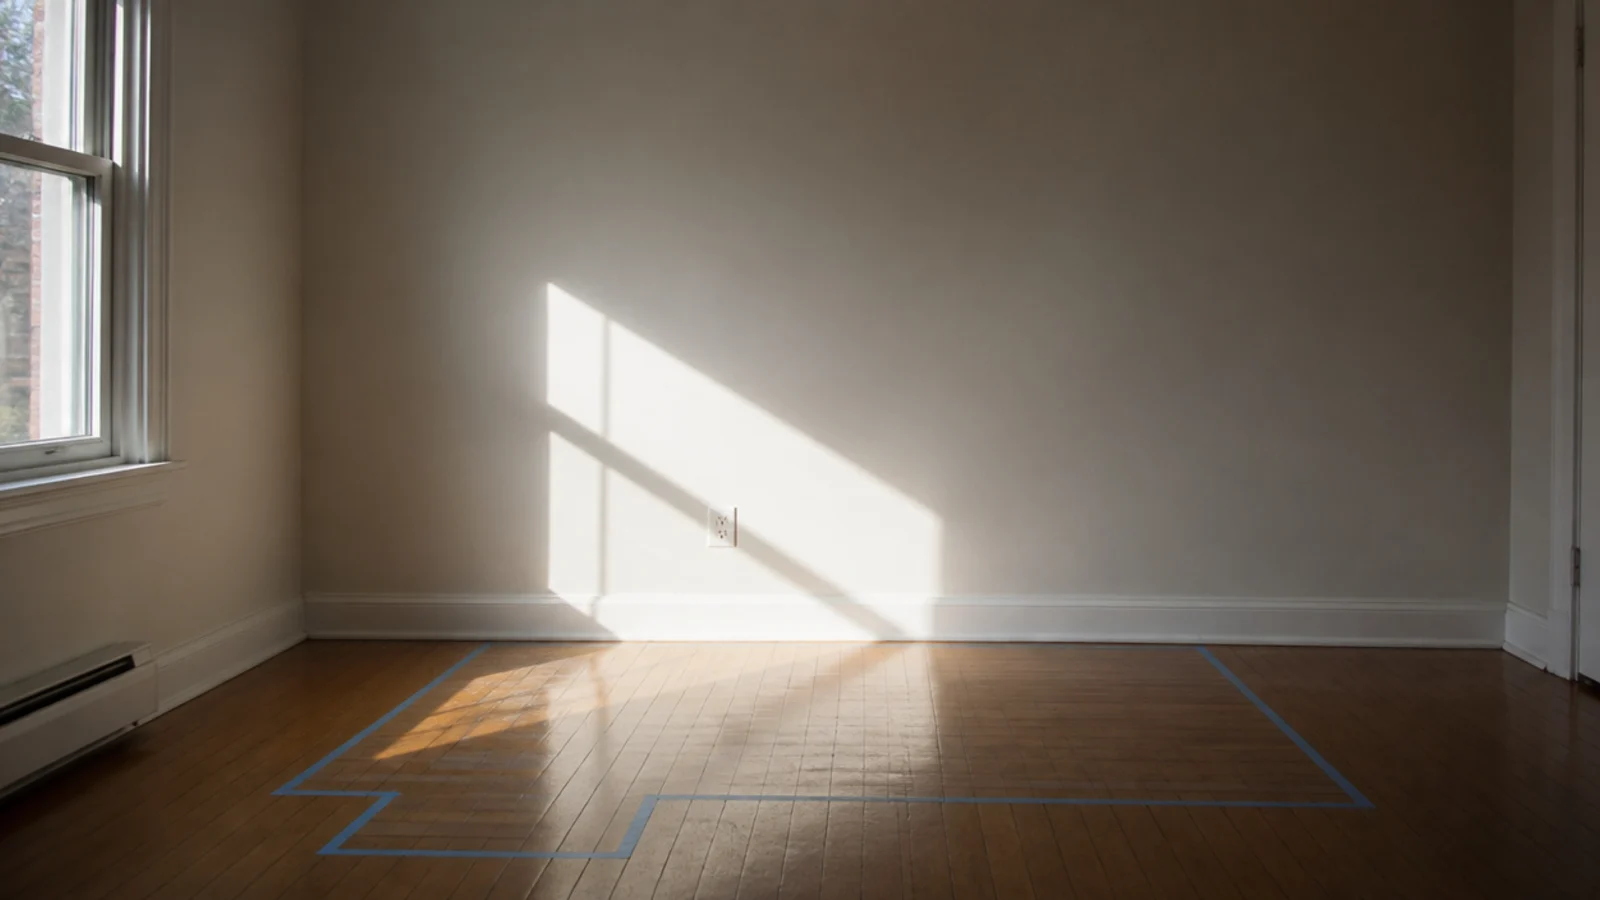
Daylight should arrive from the left or right, with a blank wall in front of the screen. A window behind the monitor makes it unreadable from mid-afternoon; a window in front puts a rectangle of glare across the panel. Tape the desk footprint onto the floor and live with it for a day before drilling anything.
Step 3: Cut and finish one board as the top
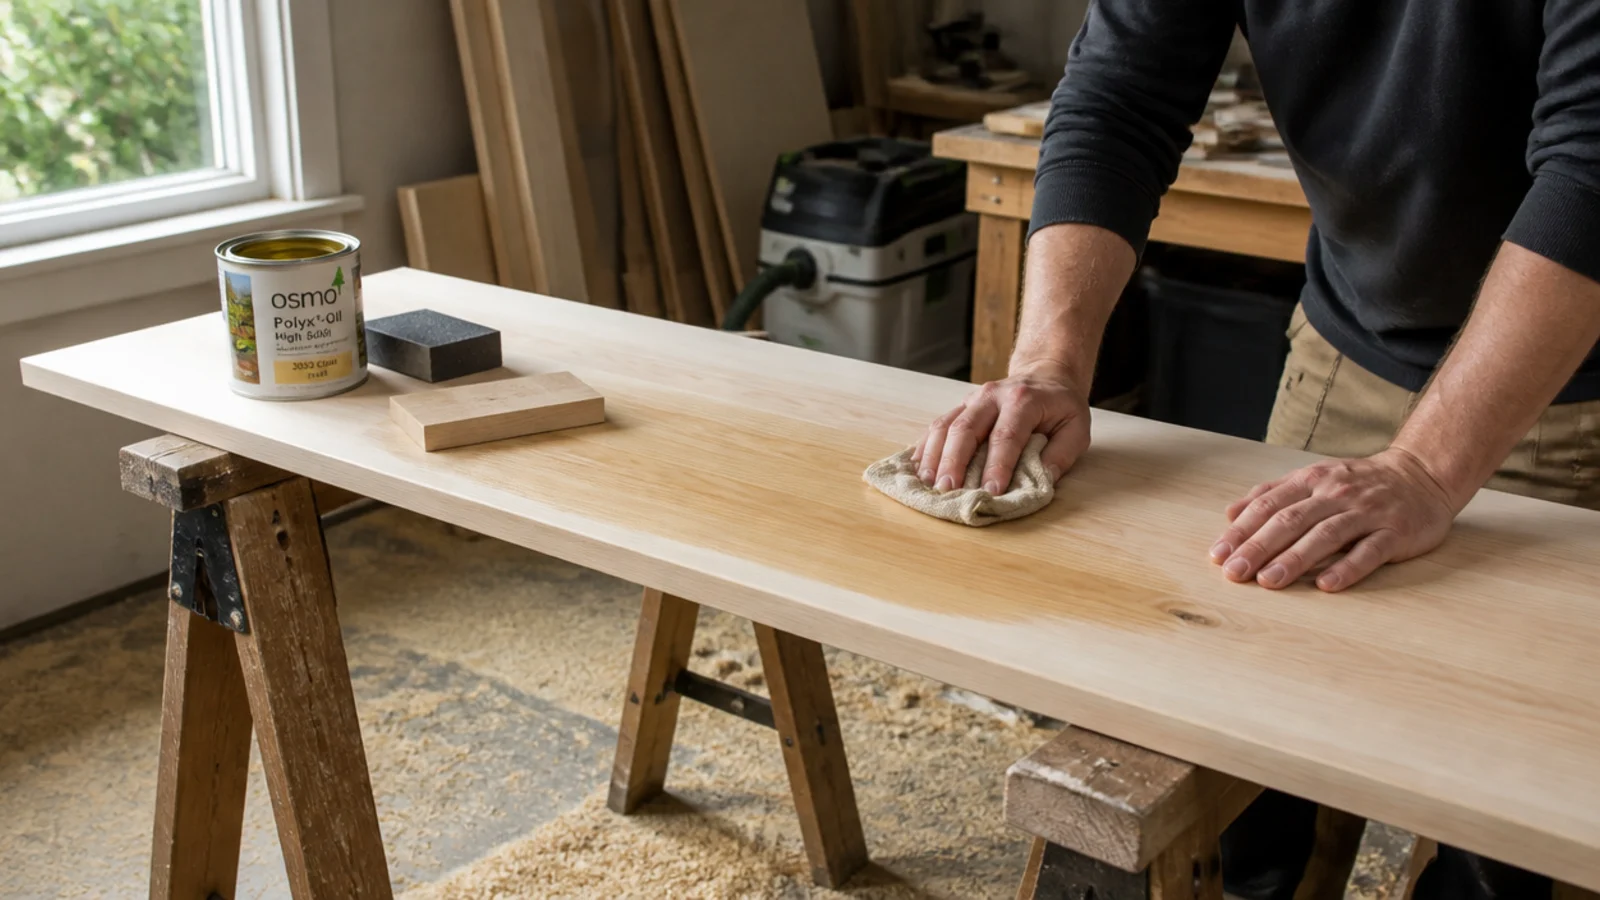
One solid board beats two joined, because a seam across the middle shows forever. Sand to 120 grit, soften the front edge slightly with 220, and finish with two coats of hardwax oil rather than varnish — oil repairs invisibly when a mug ring appears, and varnish does not. Let it cure overnight.
Step 4: Fix the legs and level the top
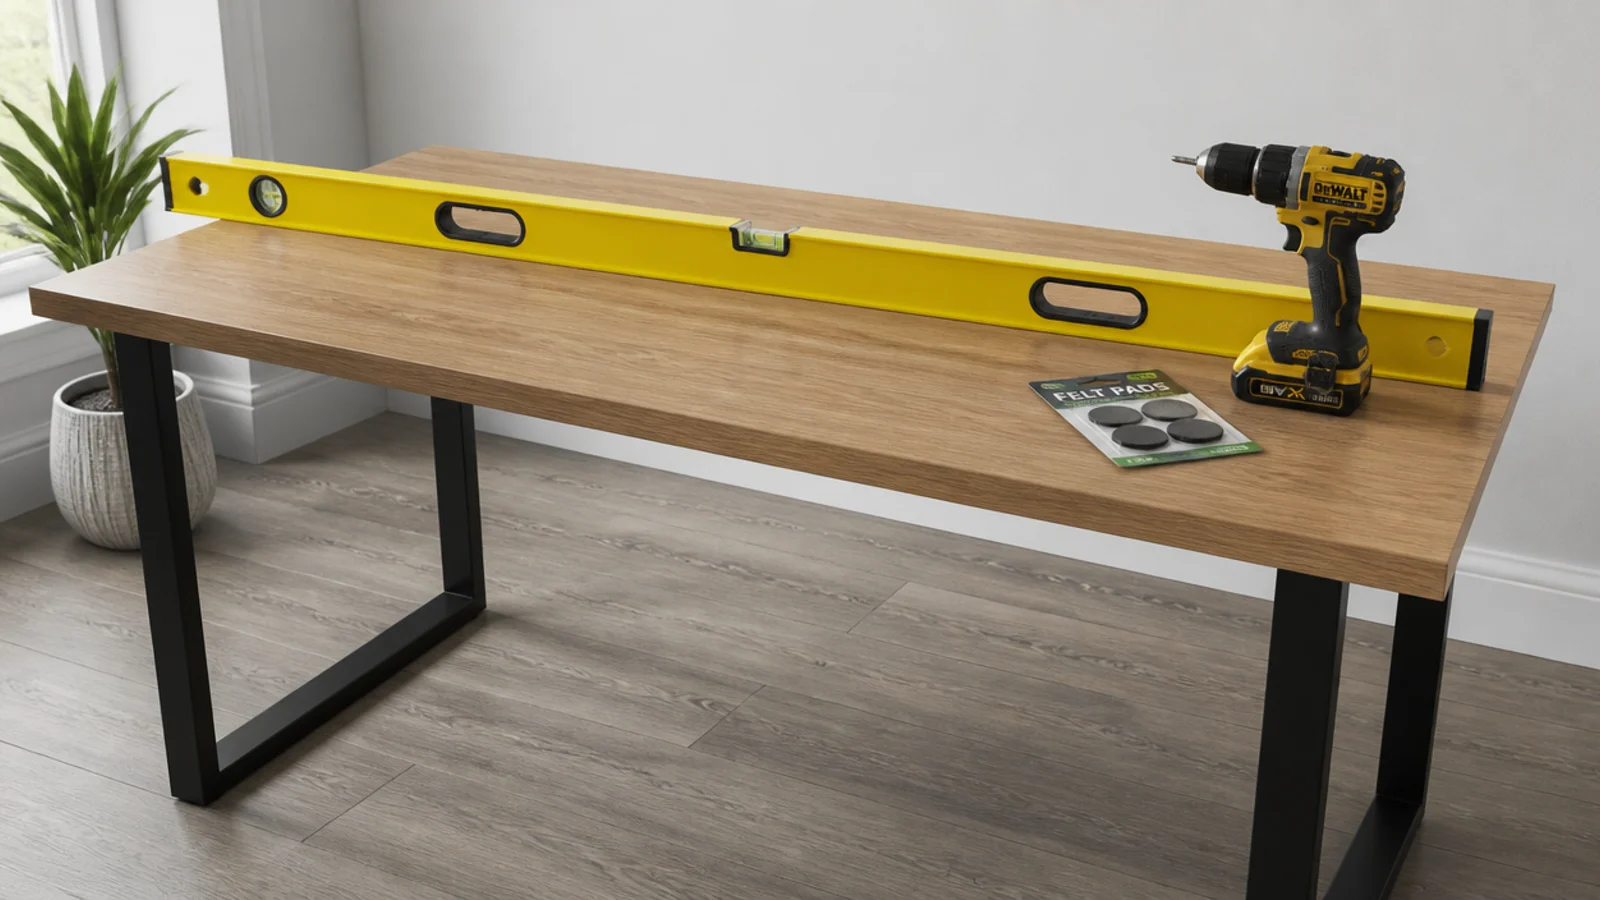
Set the height at 29 to 30 inches for a teen over five foot six, or 27 to 28 below that. Bolt the legs on with the board face down, stand it up, then check with a long level in both directions and shim with felt pads. Add a rear rail if the board is over 50 inches, or it will flex.
Step 5: Set the chair before the screen
Sit him down at the bare desk. Feet flat on the floor, knees at a right angle, forearms resting level on the top with shoulders down. Adjust the seat height — a decent chair travels 16 to 21 inches — and lock the tilt. Everything after this is set relative to where his eyes end up.

Step 6: Set the monitor height and distance
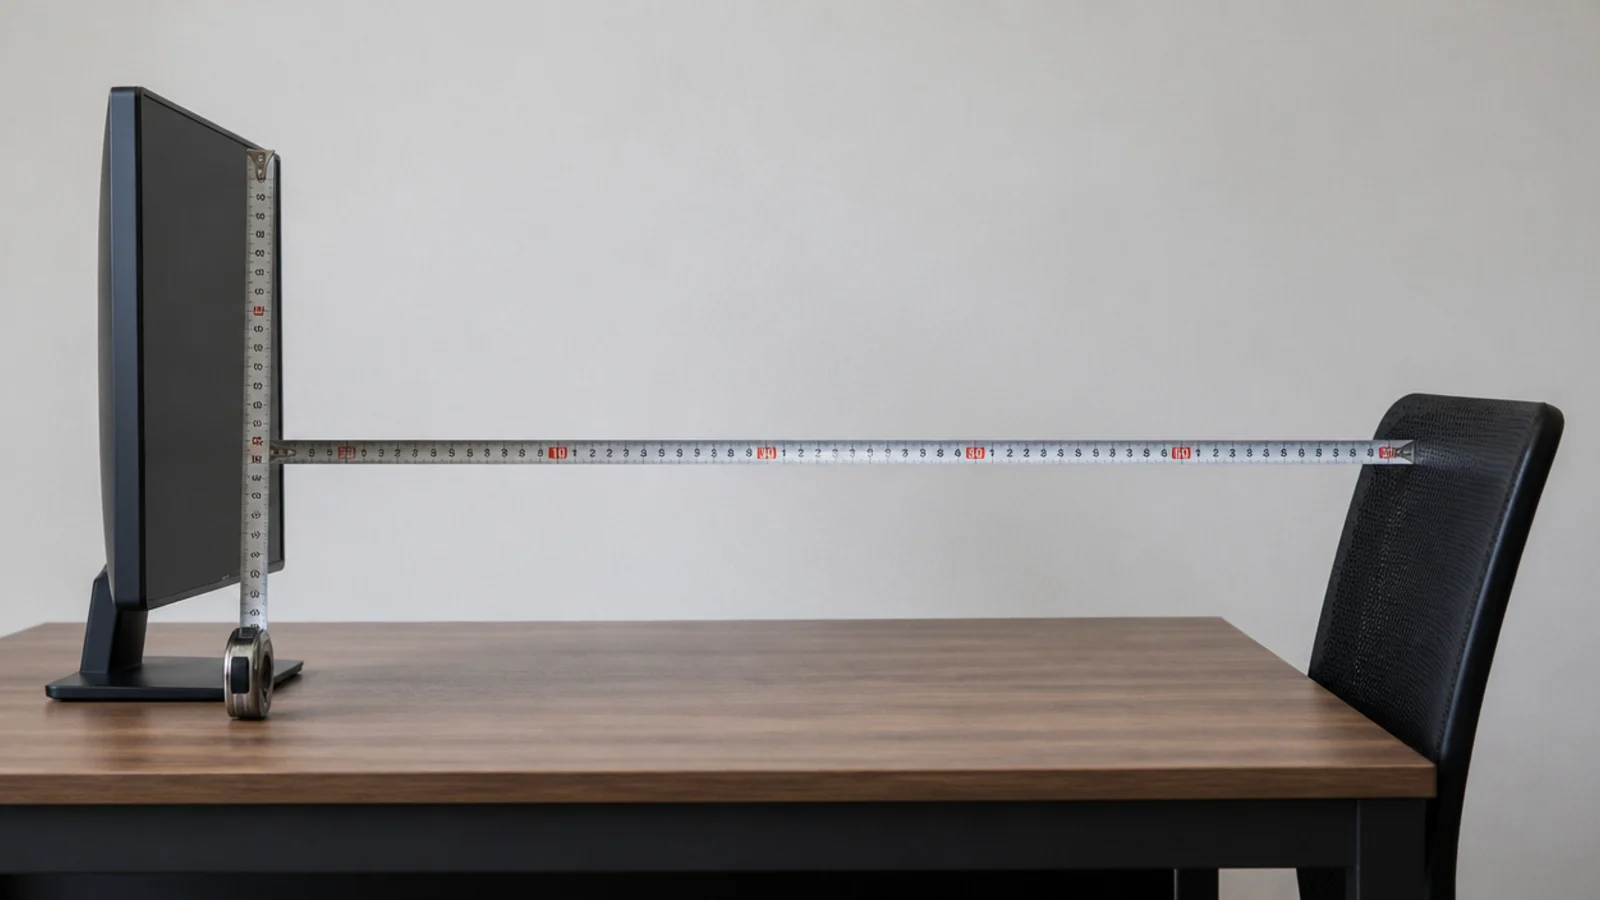
Top edge just below eye level, which at a 30-inch desk usually lands 42 to 46 inches from the floor. Twenty to thirty inches back from a 24-inch panel, 25 to 35 from a 27-inch. Tilt the screen back about ten degrees. Measure it rather than eyeballing it, because the eye adapts to a wrong position within days.
Step 7: Fit the monitor arm and reclaim the depth
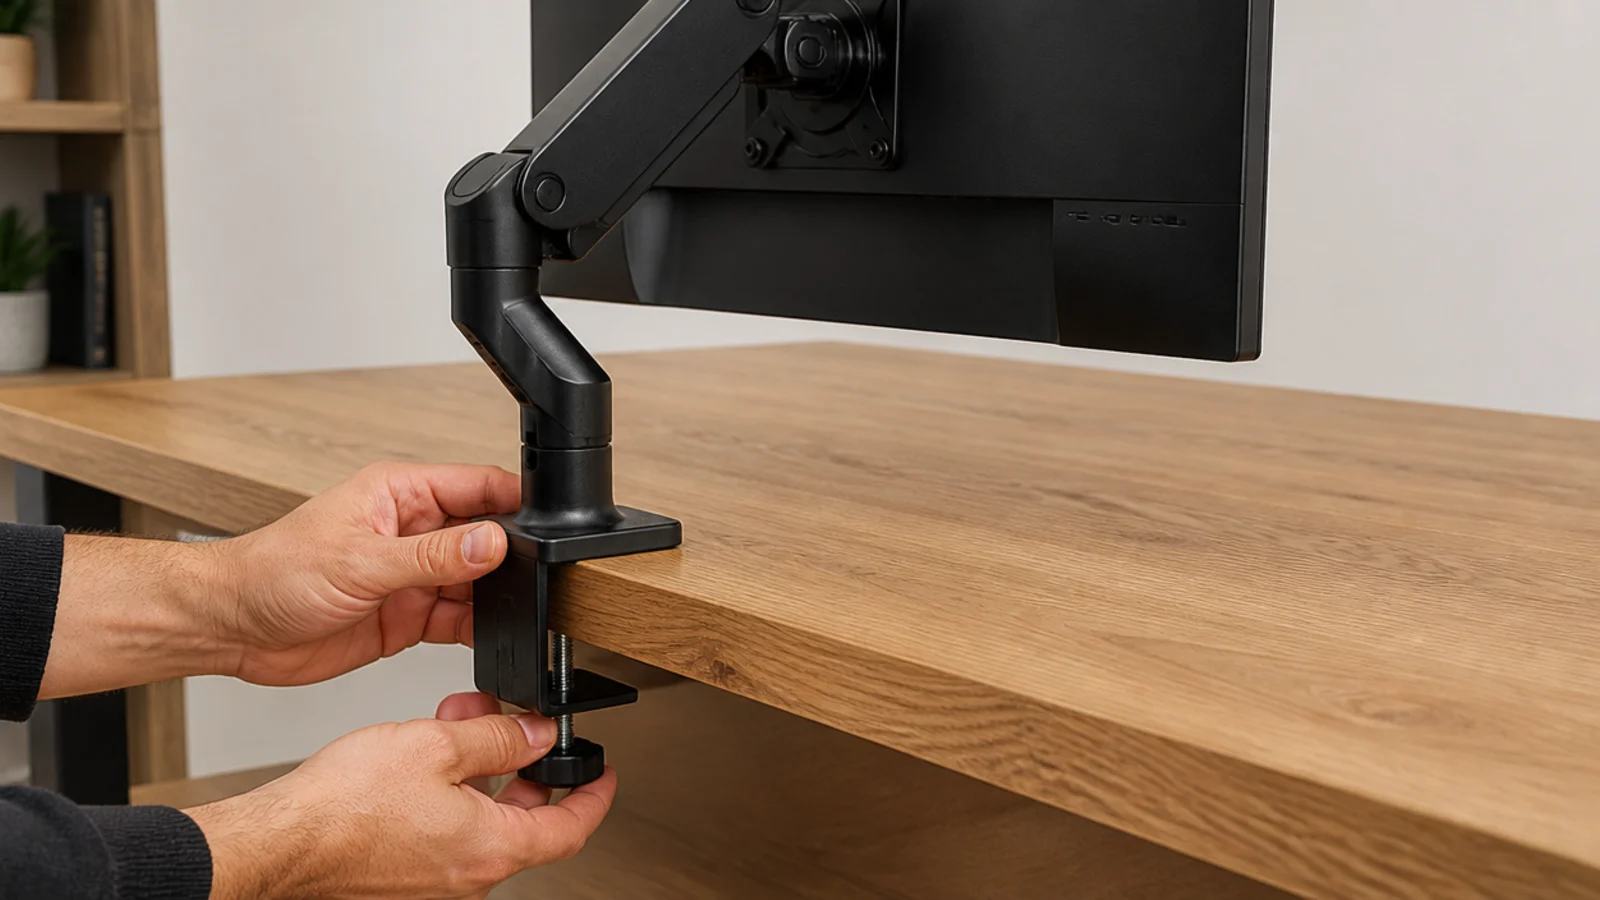
The arm goes on after the height is known, so you can set it exactly rather than approximately. Clamping it removes the stand base and returns 8 to 10 inches of desk depth. Check the clamp suits your board thickness, usually up to about 2 inches, and tighten against a scrap of card to protect the finish.
Step 8: Route everything onto one rated lead
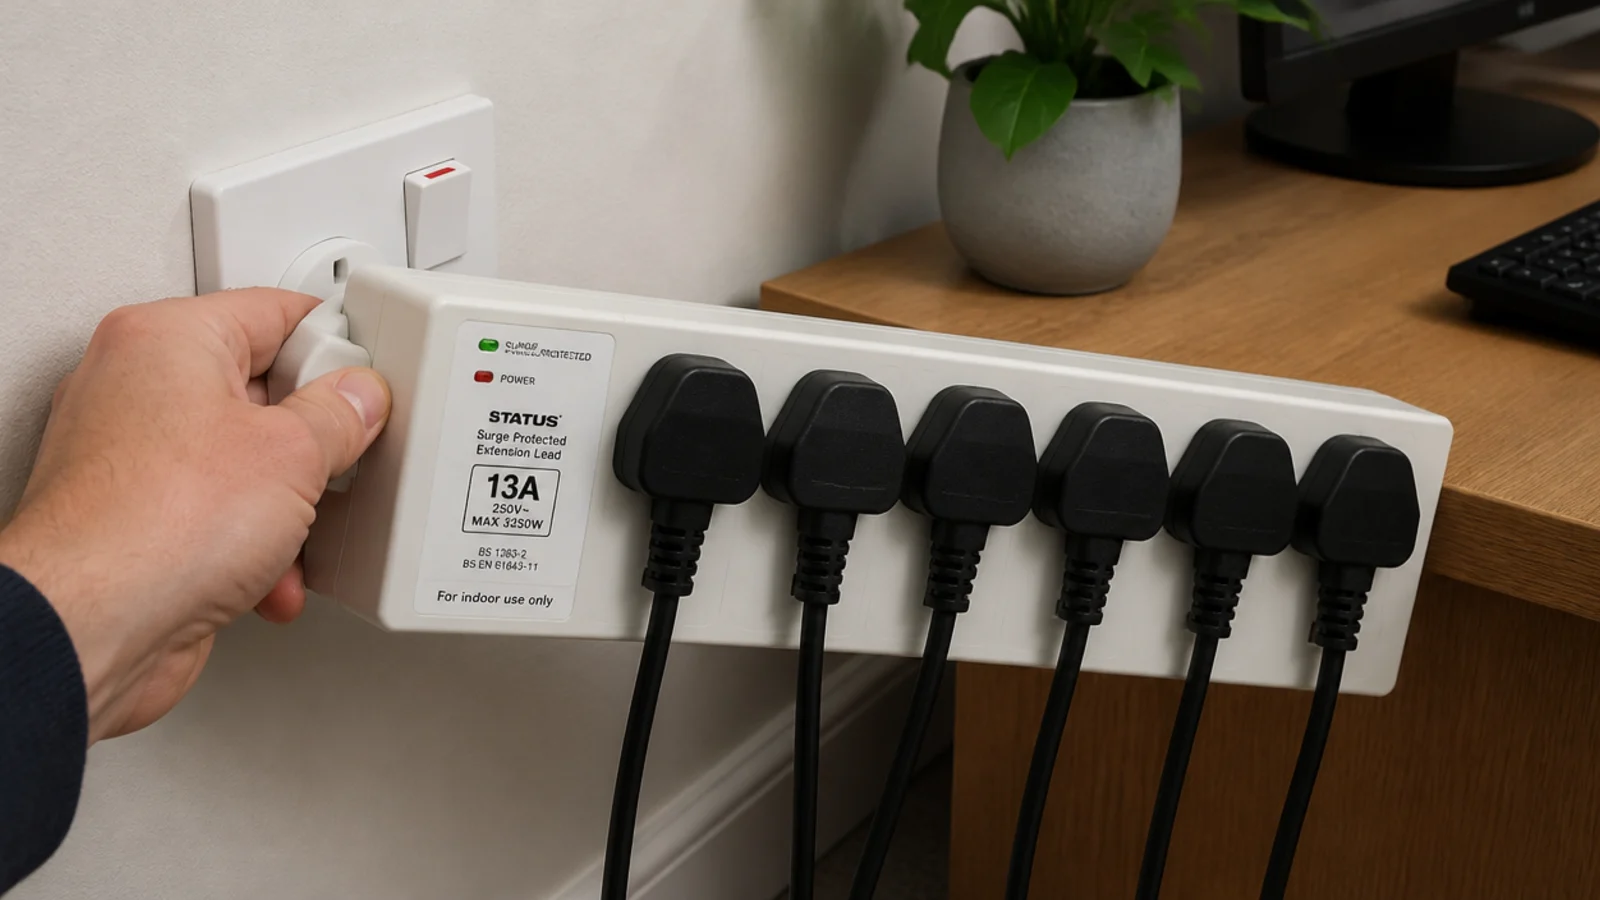
Plug the lead directly into the wall socket, never into another strip. Read the amperage and joule rating printed on it — 15 amps or 1,800 watts on a typical US strip, 13 amps or 3,000 on a UK one, and over 1,000 joules of surge protection for anything with a PC on it. Then plug the devices in one at a time.
Step 9: Bundle and tray the cables
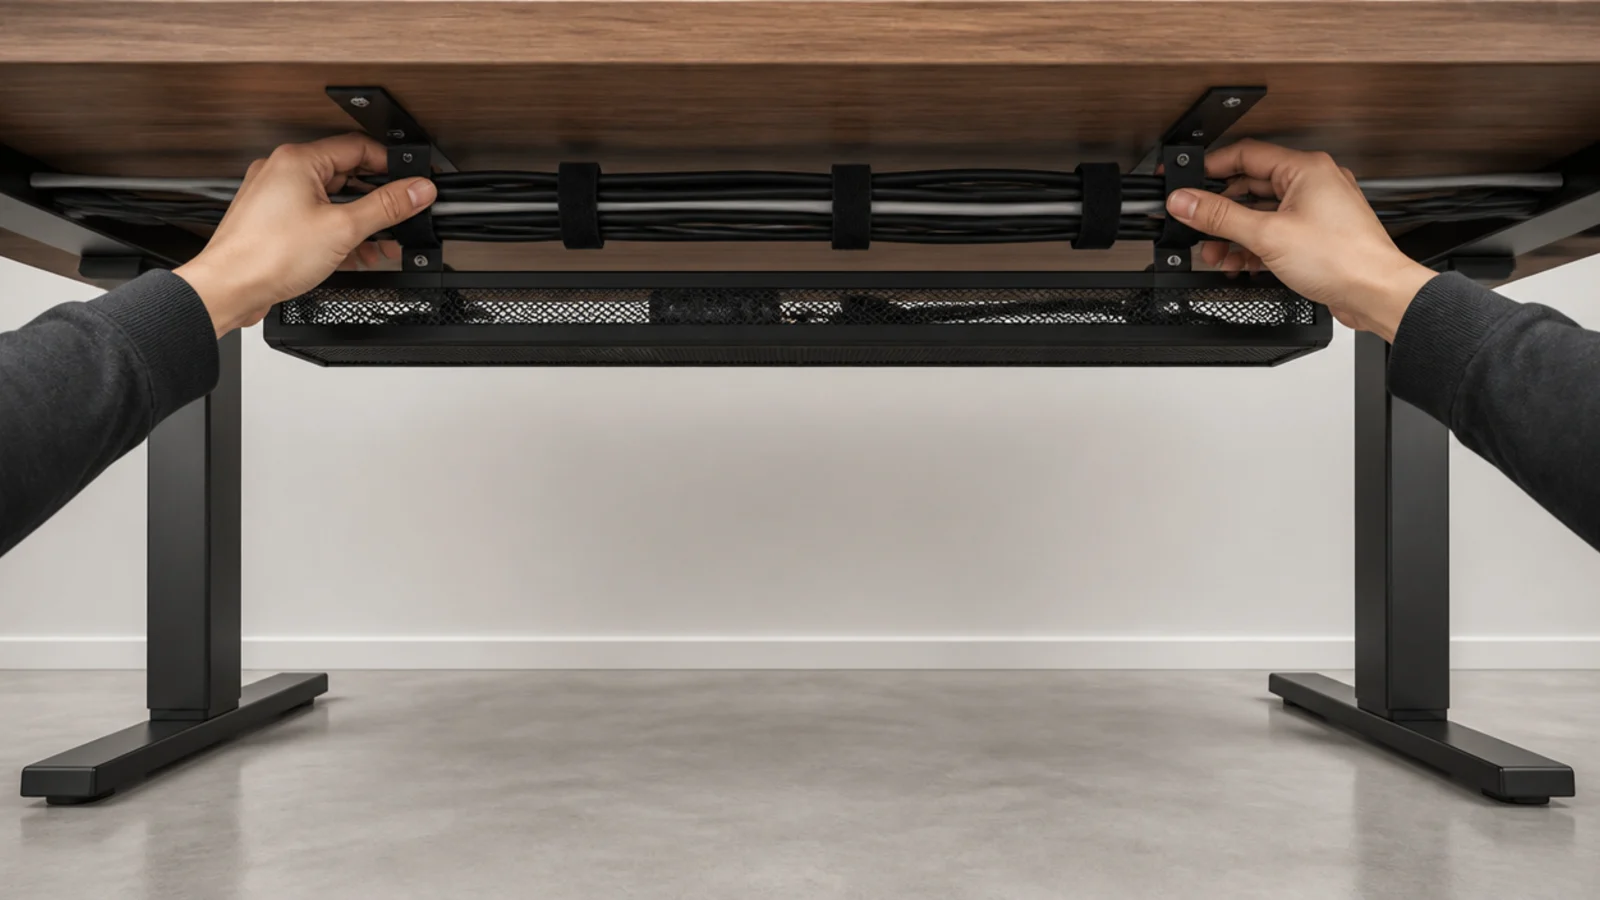
Gather each run with velcro ties every 6 to 8 inches, label both ends with masking tape and a pen, then drop the power block and slack into a mesh tray screwed under the desk. Keep cable lengths under 10 feet where you can, since passive HDMI gets unreliable past that at high refresh rates.
Step 10: Give the tower and console their air
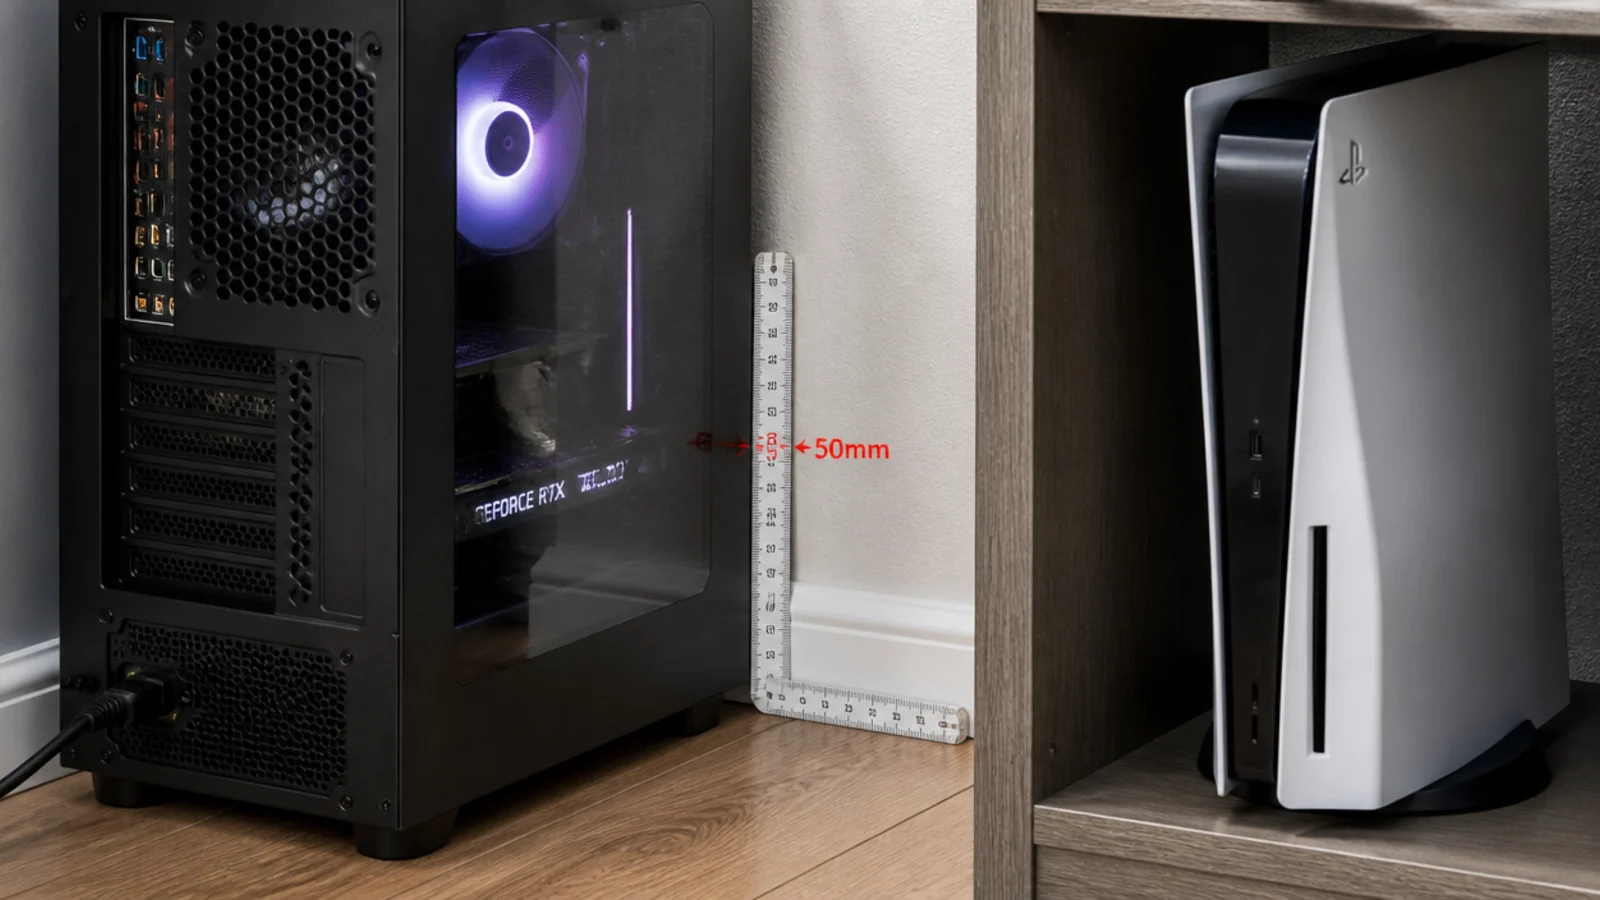
Four inches behind the tower's intake side, 2 inches at each flank, and never inside a closed cabinet without vents of at least 30 square inches top and bottom. Stand the console upright on an open shelf with 16 inches of clear height above it. Both machines exhaust into the room, which is the next problem.
Step 11: Paint the wall behind the screen
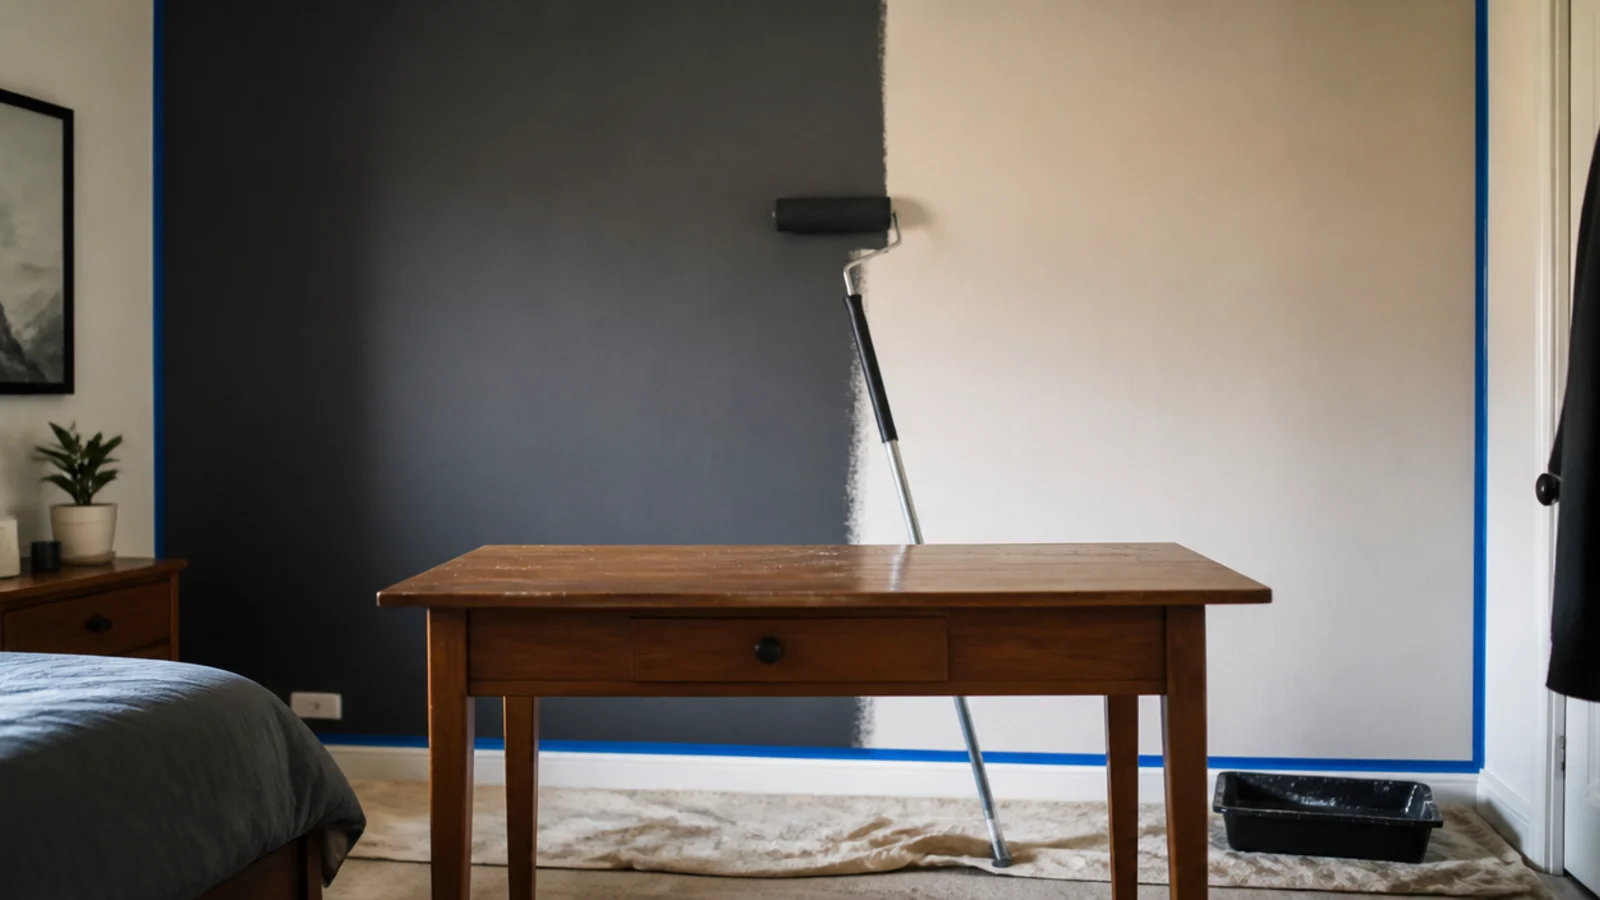
Now, while the desk can still be pulled forward. A wall below an LRV of about 25 behind the monitor cuts reflected contrast and makes long sessions easier on the eyes. Half a gallon covers one wall in two coats. Use a scrubbable matte, recoat after four hours, and give it a day before pushing furniture back.
Step 12: Add the hidden bias light
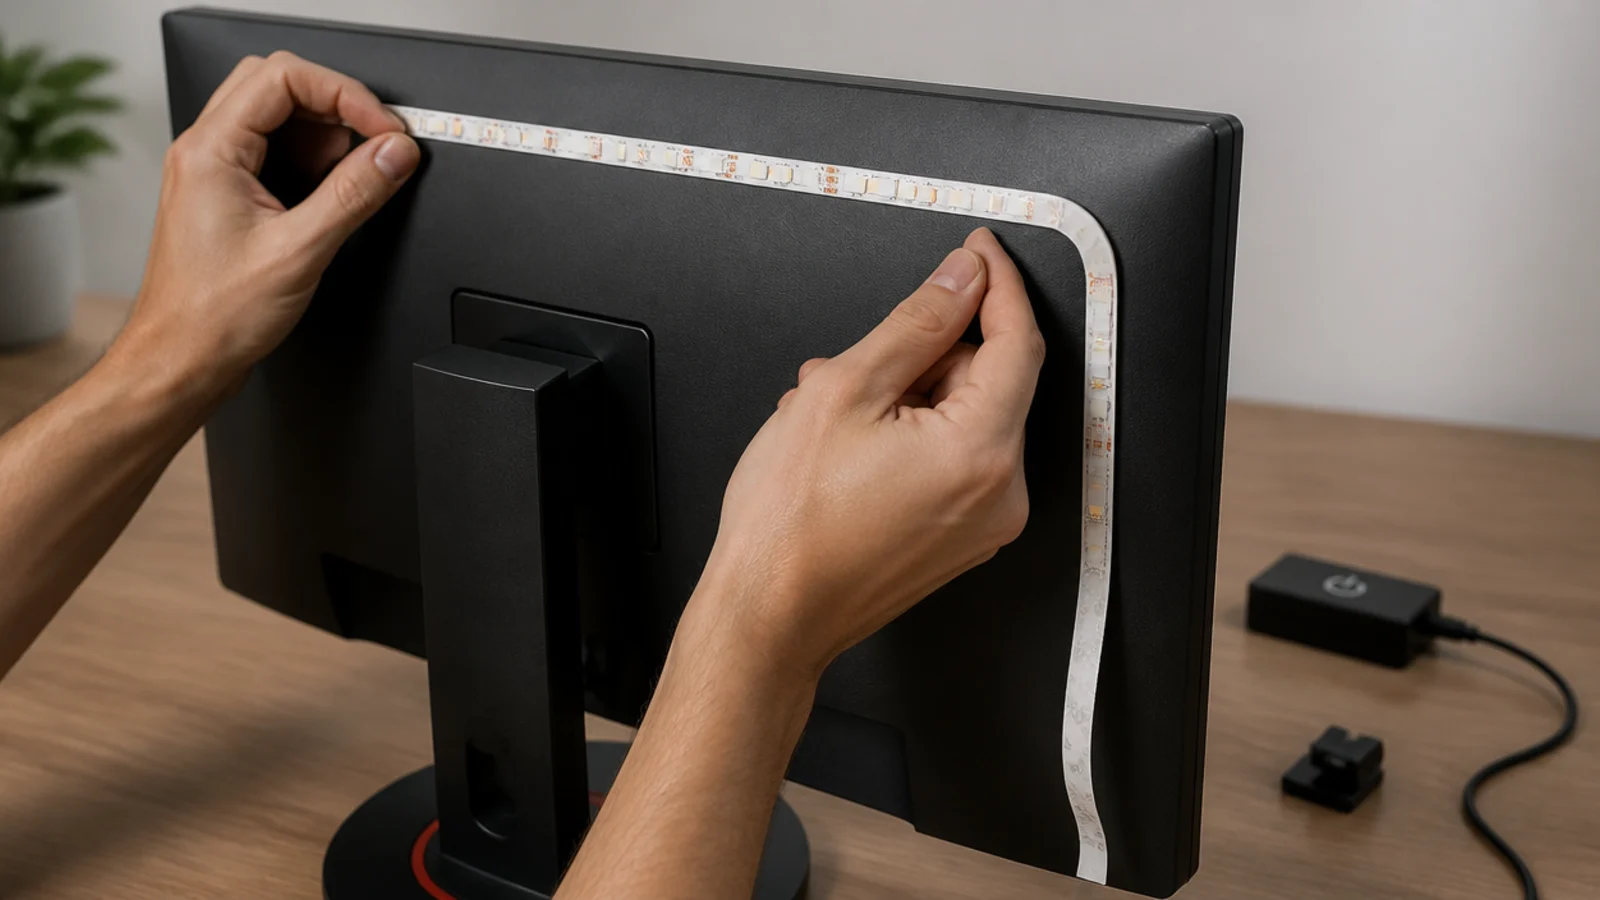
A neutral 6500K strip stuck to the back of the monitor at roughly ten percent of screen brightness. Hidden source, visible glow. A five-metre 12-volt roll at 14.4 watts per metre draws about 72 watts, so check the supplied block is rated above that. Clip the cable rather than letting it hang.
Step 13: Hang the shelf for console and headset
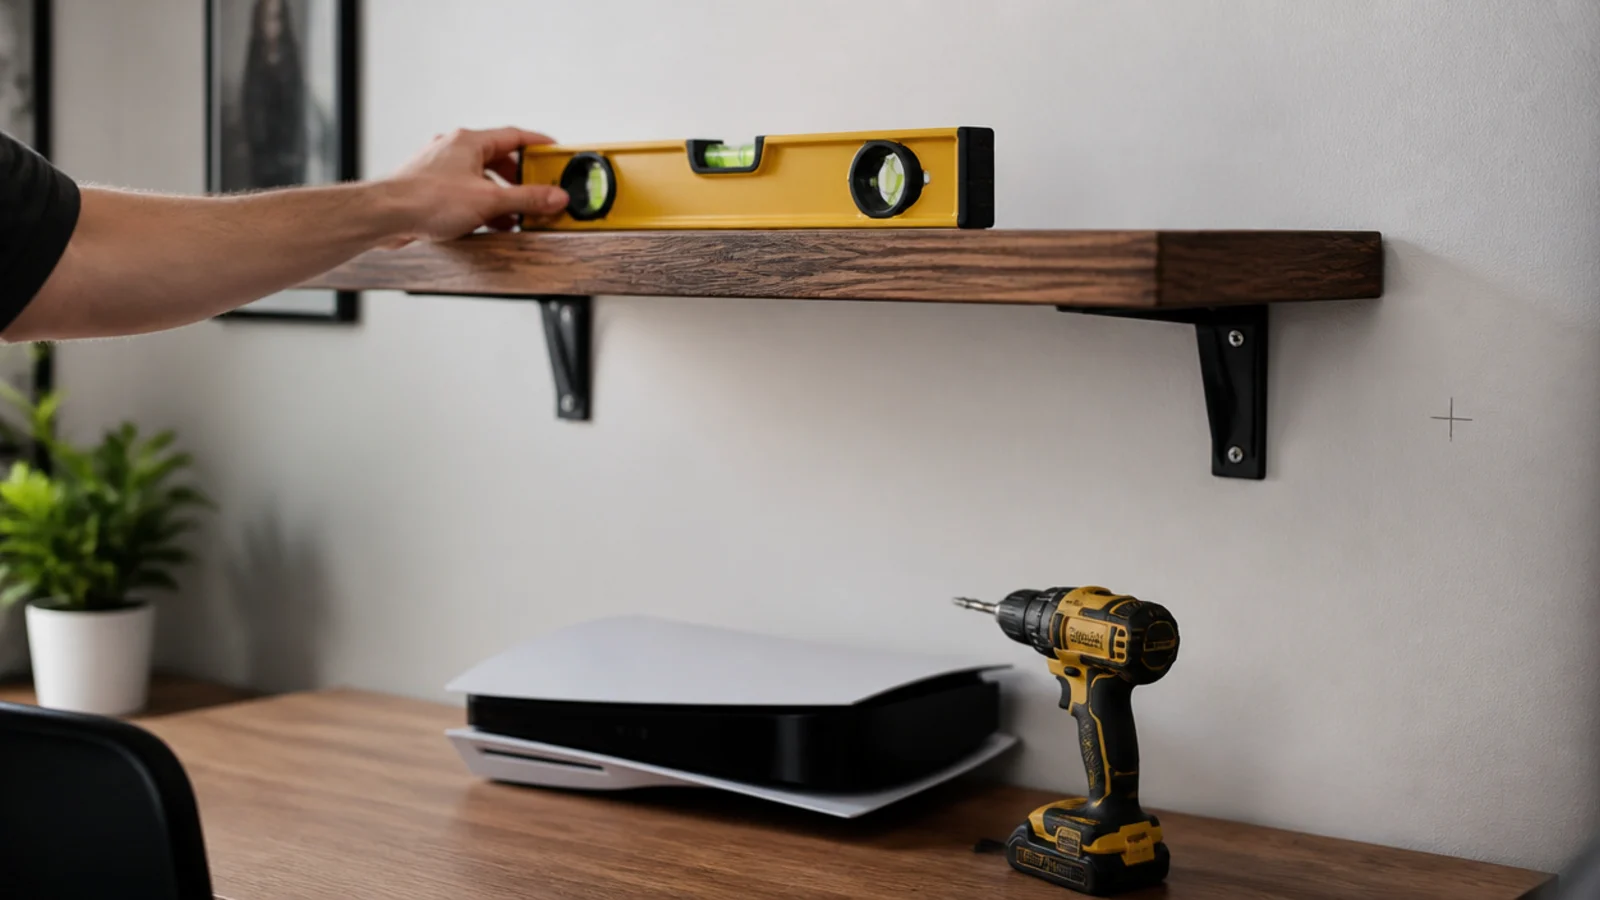
Sixteen to twenty inches above the desk clears the monitor and stays reachable. Keep the span at or under 32 inches in three-quarter-inch stock, allow 16 inches of clear height for a standing console, and fix every bracket into a stud. Add a $6 under-desk hook for the headset. Floating shelf ideas has the bracket detail.
Step 14: Treat the sound and seal the door
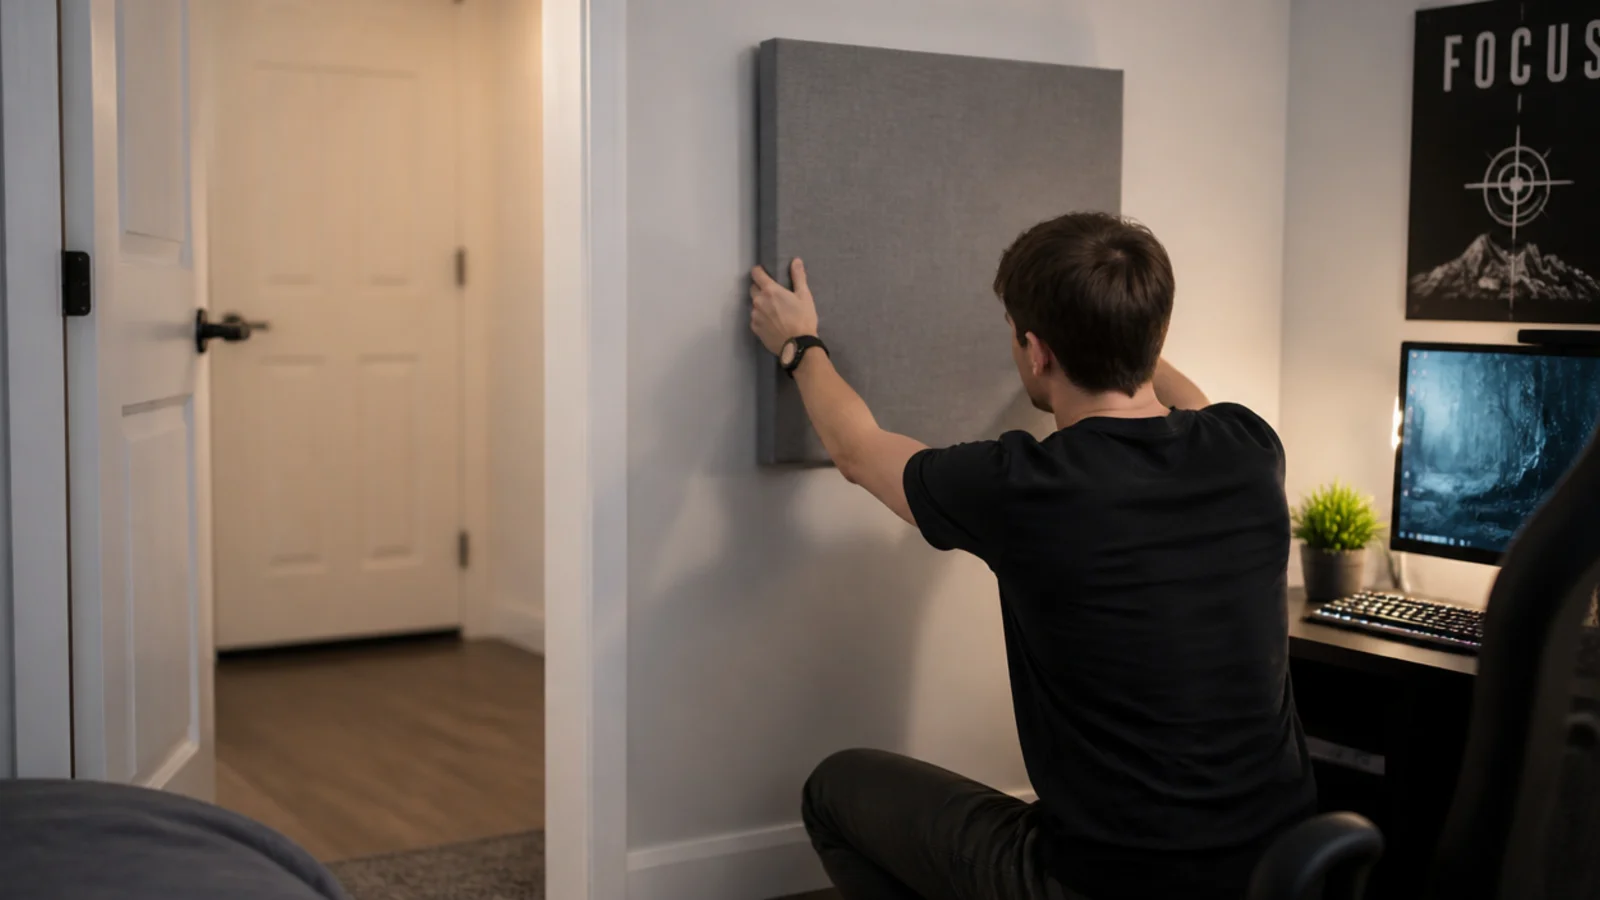
Two 24 by 24 inch fabric panels at the side reflection points take the hollow ring out of voice chat, and a screw-fit brush seal under the door is worth 3 to 5 decibels in both directions. Together they are about $60 and they make more difference to how the room is used than anything decorative.
Step 15: Run it under load and check the heat
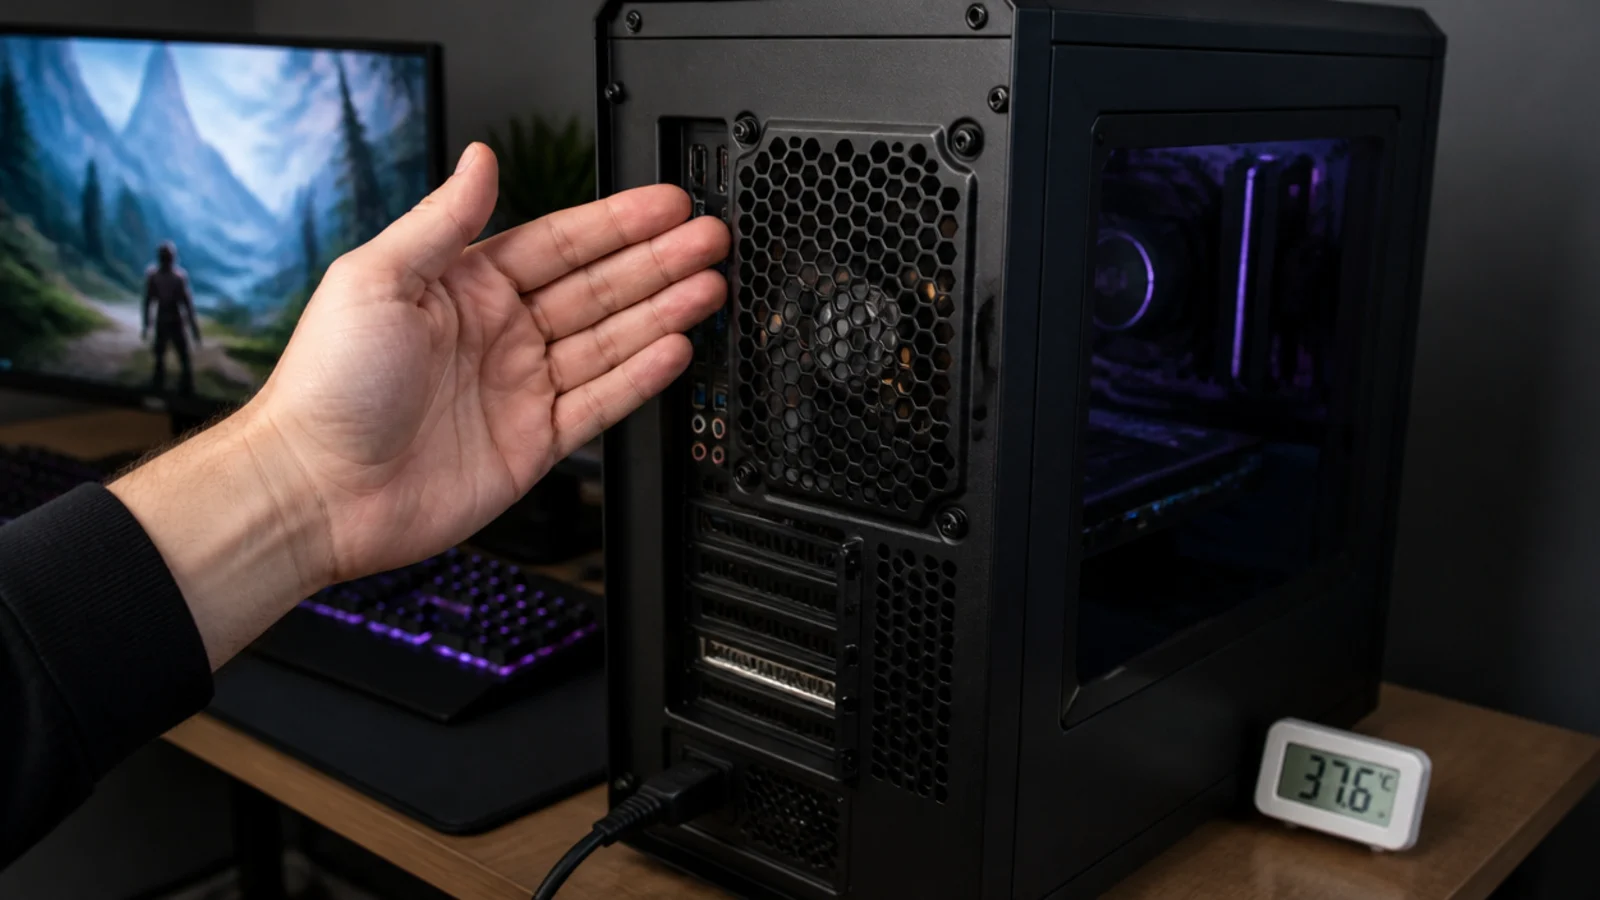
Play something demanding for an hour with the door shut, then feel the air behind the tower and compare the room temperature to the landing. Five hundred watts is roughly 1,700 BTU an hour going into maybe 960 cubic feet. If it is noticeably warm, that is your ventilation answer, not a hardware fault.
Pro Styling Rules
If the room is under about 90 square feet and the desk will not fit as drawn, small teen boy bedroom has the wall-mounted versions. For the display and storage above the desk, study table wall decor desk ideas covers the arrangement.
Mistakes to Skip
- Doing the lighting before the cable routing. The strip and its block end up buried in the bundle and the whole thing comes apart the first time a device changes.
- Chaining a second extension lead off the first. The rating does not add up, and the entire load still runs through one socket and one length of flex.
- Setting the monitor height before the chair height. The screen position is relative to his eyes, and his eyes move when the seat is finally adjusted.
- Pushing the desk back against fresh paint the same evening. Latex cures over fourteen to thirty days and anything pressed against it leaves a permanent mark.
Frequently asked questions
How much does a decent bedroom gaming setup cost to build?
Three hundred to four hundred dollars covers the room around the hardware — a board and steel legs at about a hundred and eighty, a monitor arm at fifty, a rated surge lead at thirty, cable tray and ties at twenty, half a gallon of paint at twenty-five, and a hidden light strip at twenty-five.
What order should I build a gaming setup in?
Measure and total the wattage, position the desk by the daylight, build and level the top, set the chair, then the screen, then power, then cables, then paint and lighting last. Doing lighting before cable routing is the commonest mistake and it means pulling everything apart again.
How wide does a gaming desk need to be?
Forty-seven inches takes a single monitor, a full keyboard and a mouse with room to write beside them. Fifty-five inches is comfortable for two screens. Depth matters more than width though: twenty-four inches minimum for a twenty-four inch panel and thirty inches if a twenty-seven inch screen sits on a stand.
Do I need a special socket for a gaming PC?
No, a normal socket handles it. A full setup usually draws five hundred to eight hundred watts and a standard US strip is rated fifteen amps or eighteen hundred watts, a UK lead thirteen amps or three thousand. Use one lead with over a thousand joules of surge protection and never chain a second one.
How do I know if the room is getting too hot?
Run everything under load for an hour with the door shut and feel the air behind the tower and above the monitor. If the room is noticeably warmer than the landing, the heat has nowhere to go — five hundred watts is about seventeen hundred BTU an hour. Open the window and leave the door ajar.
Want more like this? Browse all 15 teen boy bedroom guides — they all use the same measurements and budget tiers.
Pin it for later
Save this to your Teen Boy Bedroom board
Pin it now so it is waiting for you when the tape measure comes out — and so the next person hunting for this idea can find it too.
Save this pinKeep going
More ideas worth saving while you have the tape measure out.