Study Desk Decor · How-To
15 Steps To Build Cute Study Desk Decor Corners

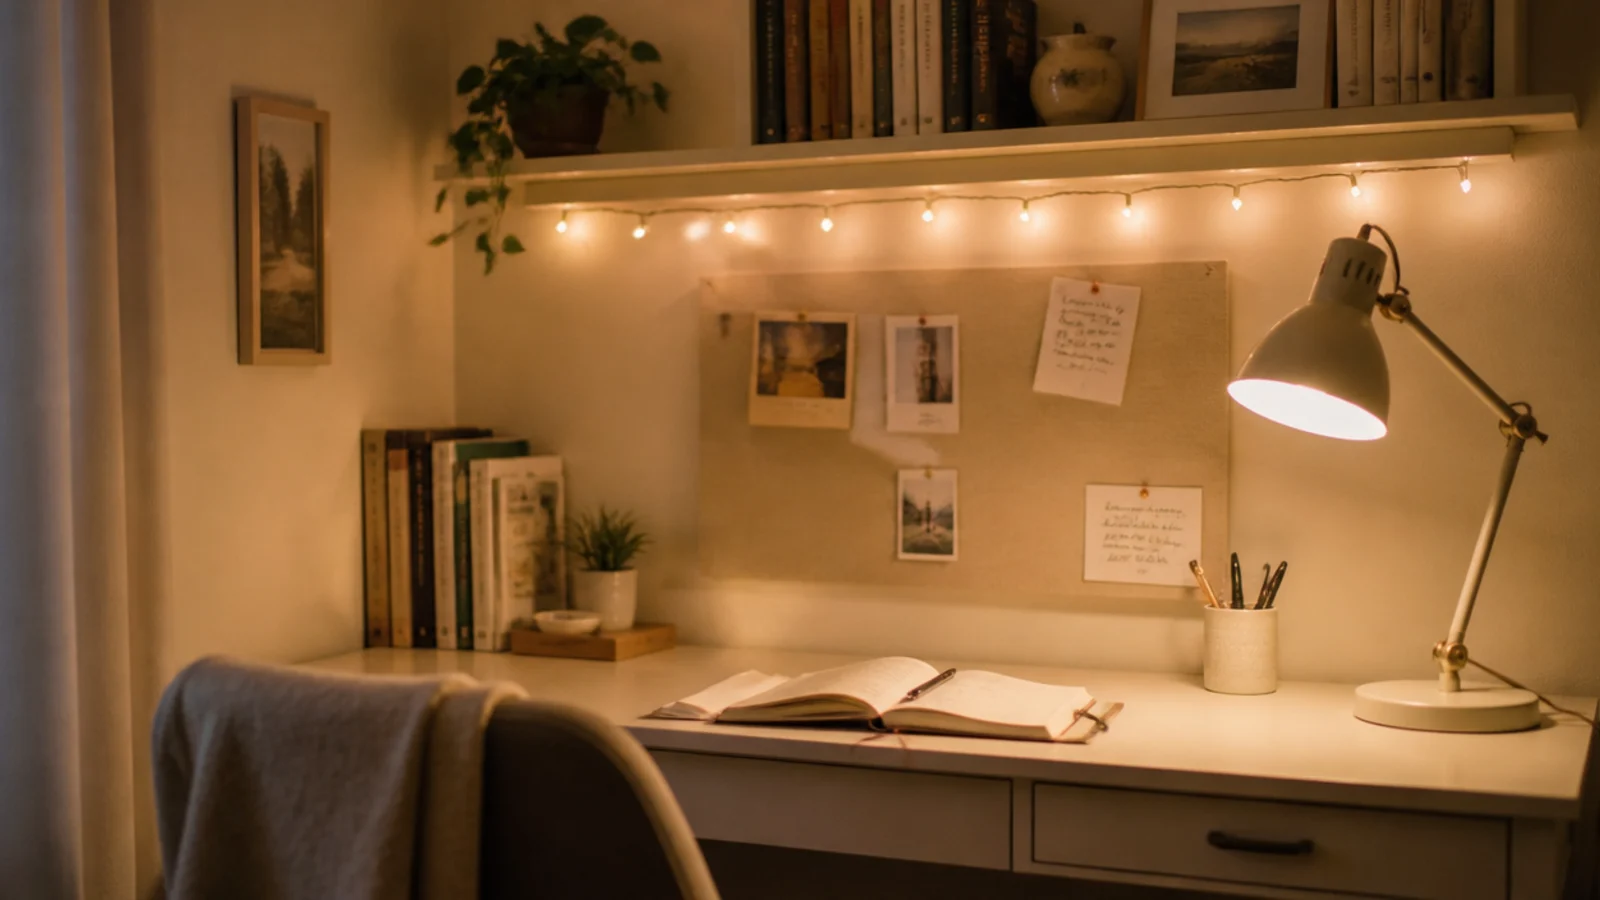
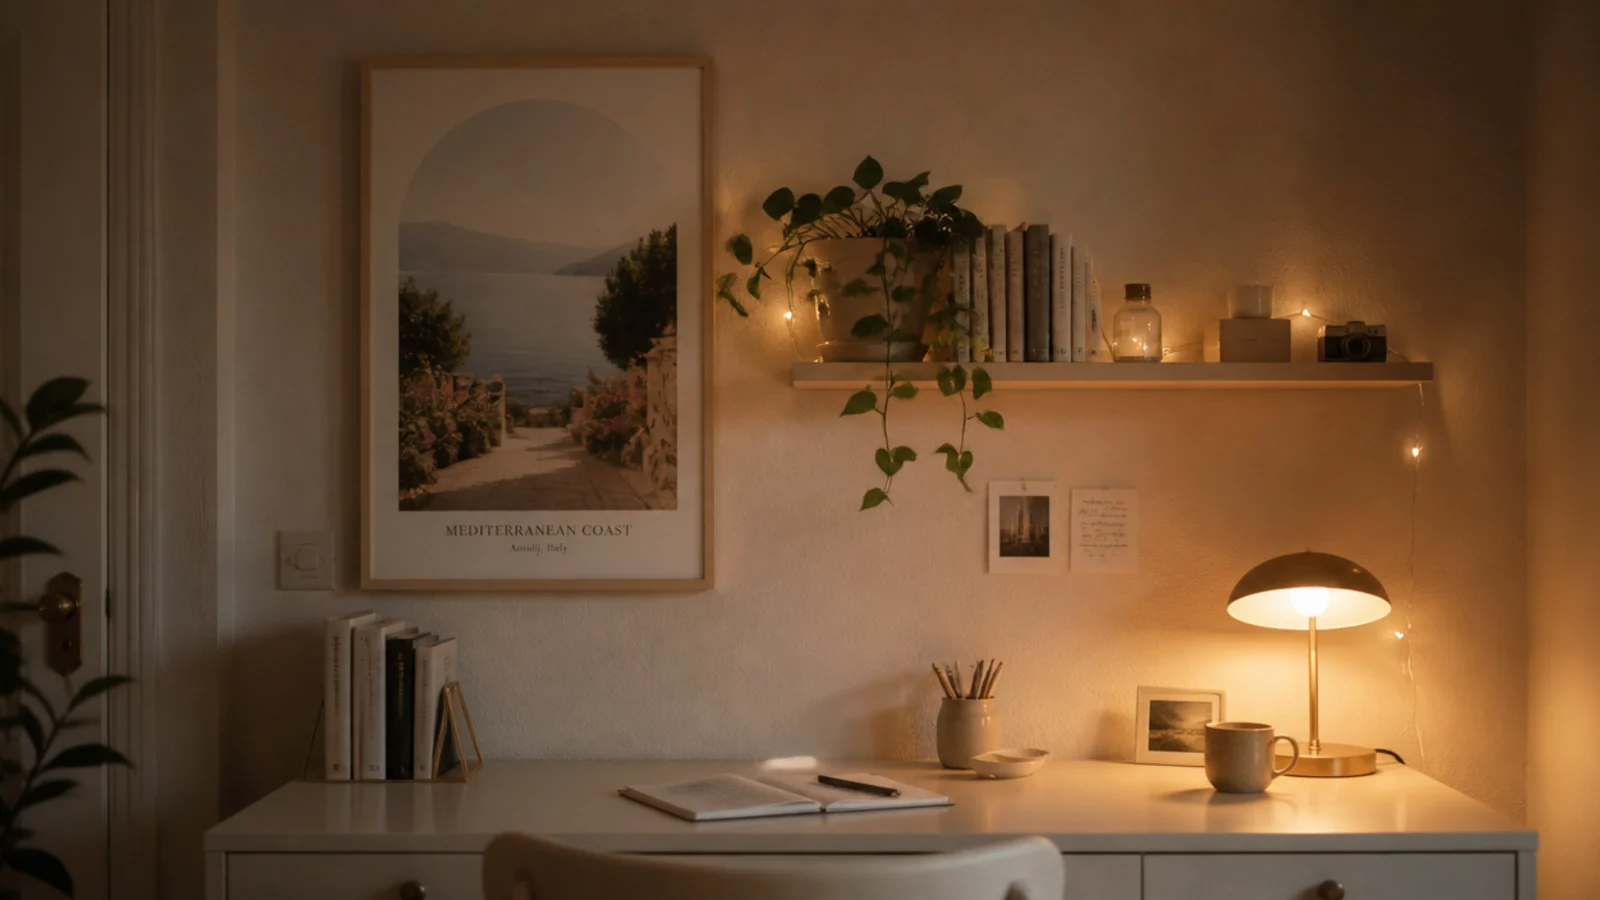
Cute study desk decor usually gets built in the wrong order. The lights and the prints go up first because those are the fun part, and the desk height, the shelf clearance and the lamp position get worked around afterwards — which is how you end up with a corner that photographs beautifully and gives you a sore neck by nine. This is the sequence I use: get the working parts right, then layer the soft things on top of them. Fifteen steps, one evening, and a corner that is still usable in March.
In this guide18 sections — tap to openHide
- 1.What You'll Need For Cute Study Desk Decor
- 2.Step 1: Set the desk height and the chair first
- 3.Step 2: Choose three colours and one metal
- 4.Step 3: Paint the panel behind the desk
- 5.Step 4: Fix the shelf twenty inches above the desk
- 6.Step 5: Add a fabric pinboard sized to the desk
- 7.Step 6: Run LED string lights along the shelf
- 8.Step 7: Place the task lamp on the non-writing side
- 9.Step 8: Add a warm strip behind the screen
- 10.Step 9: Lean prints on a picture ledge
- 11.Step 10: Bring in one soft texture
- 12.Step 11: Put a trailing plant on the shelf
- 13.Step 12: Corral the small things in one tray
- 14.Step 13: Hide the cables in a painted channel
- 15.Step 14: Add one seasonal object and no more
- 16.Step 15: Photograph the corner and cut one thing
- 17.Pro Styling Rules
- 18.Mistakes to Skip
What You'll Need For Cute Study Desk Decor
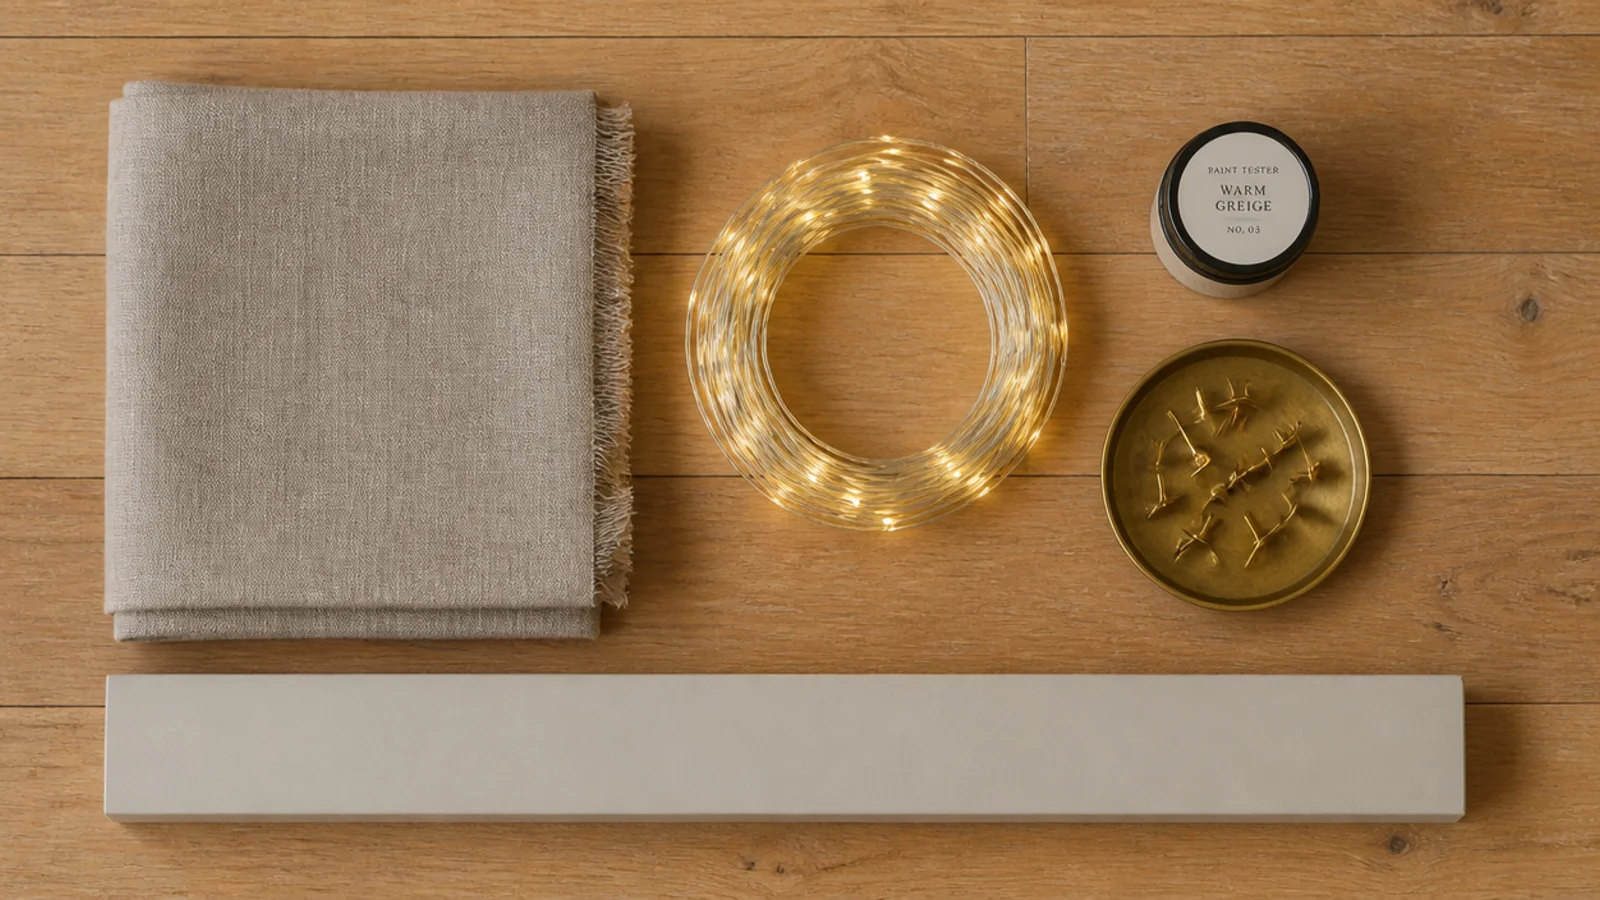
Almost all of this is small spend. The shelf and the fixings are the only parts where the quality matters.
| Item | Spec that matters | Rough cost |
|---|---|---|
| Paint tester pot | Matt or dead flat, covers ~15 sq ft | $6–$10 |
| Shelf and brackets | 3/4 in stock, span under 32 in | $15–$40 |
| Toggle bolts | Rated 25–35 lb each in 1/2 in drywall | $6 |
| Linen or cotton | Half a metre for the pinboard | $8–$15 |
| Cork tile or board | Sized to the desk width | $6–$12 |
| String lights | Low voltage LED, warm 2700K | $10–$20 |
| Task lamp | 450–800 lumens, switchable temperature | $18–$45 |
| LED strip | 2700K, USB powered, dimmable | $10–$20 |
| Picture ledge | 4 in deep with a front lip | $12–$25 |
| Small tray and pot | Ceramic or clay, under 10 in | $8–$20 |
Budget tiers used below: $ keeps a step under $15, $$ is $15 to $45, $$$ is anything over $45. The whole corner comes in around $100 to $180 if the desk already exists.
Step 1: Set the desk height and the chair first
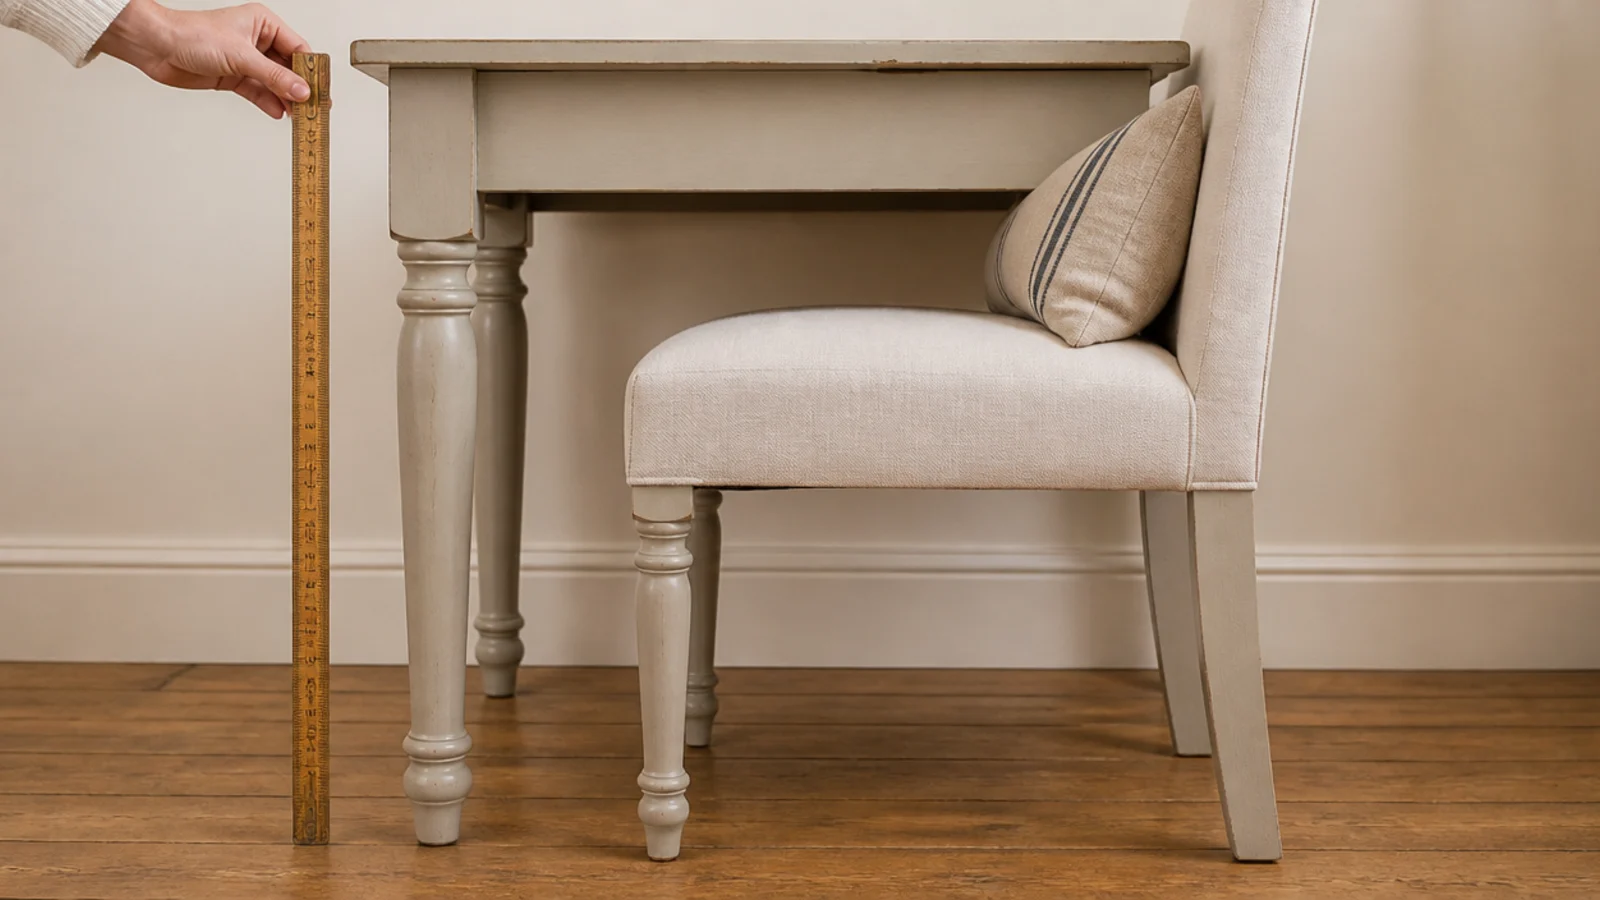
Sit down before you buy anything. Drop your shoulders, let your forearms fall level, and check where the desk top lands — 28 to 30 inches is right for most adults, closer to 26 for a smaller teenager.
If the desk is fixed and too tall, raise the chair until the elbows are at ninety degrees and put a footrest underneath. If it is too low, furniture risers lift a desk one to three inches for about $15.
No amount of styling survives a corner that hurts to sit at. $
Step 2: Choose three colours and one metal
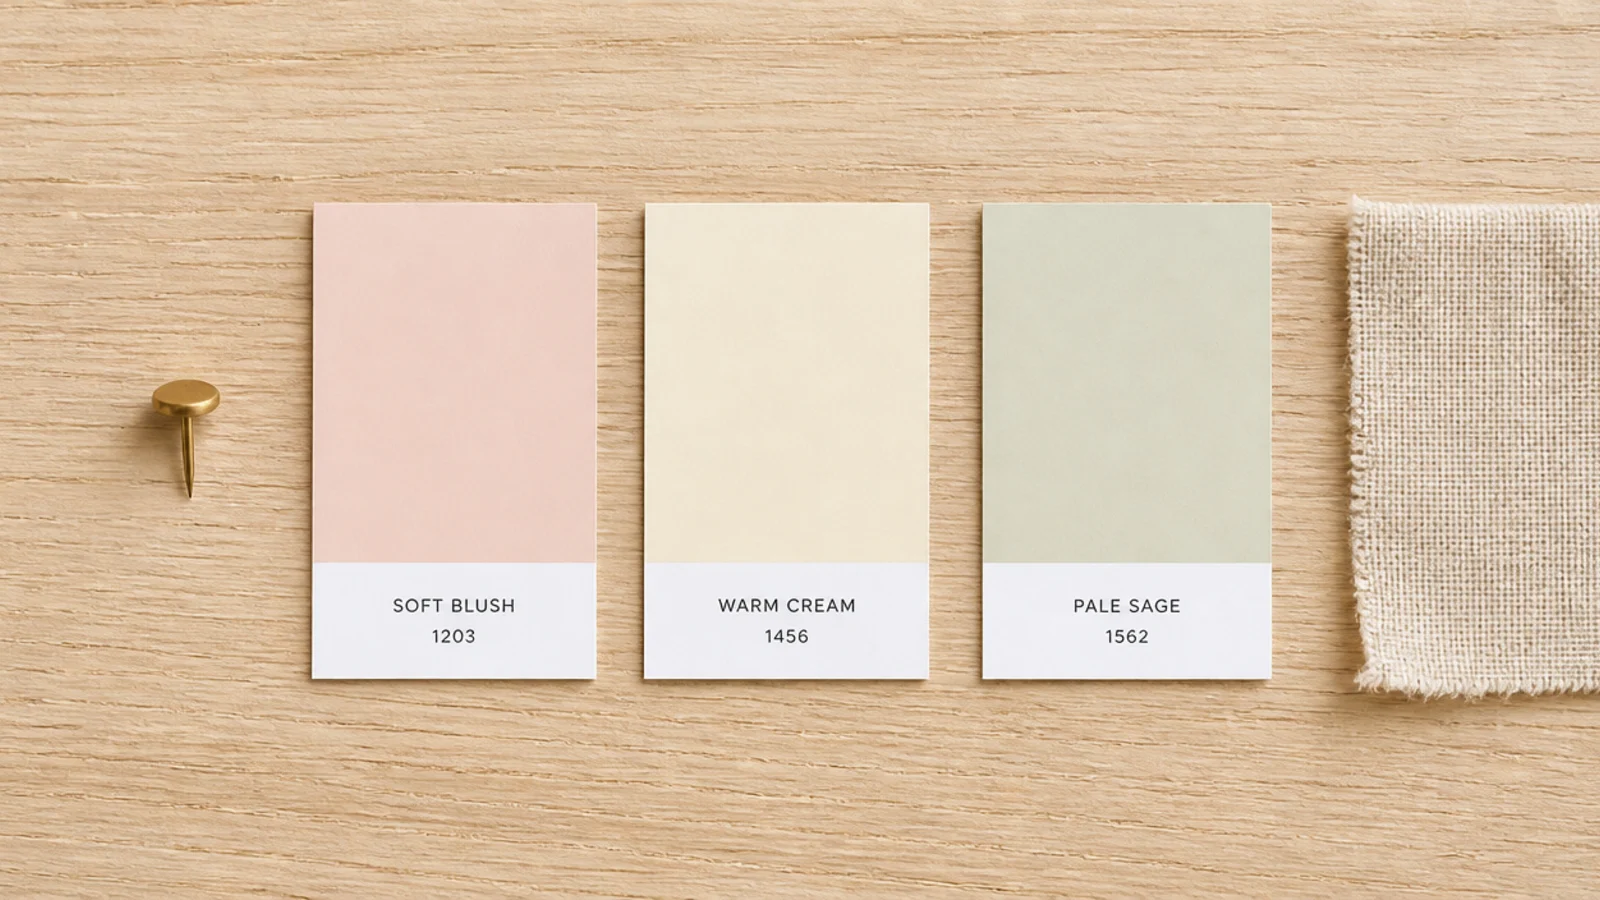
Pick the wall tone, the furniture tone and one accent, then choose brass or black and commit to using it exactly three times.
Three plus one is the limit that keeps a small corner calm. The fourth colour is almost always the one that tips it from styled into busy, and it is far harder to remove later than it was to add.
Hold the swatches against the desk in the actual room light, morning and evening, before you buy the paint.
Step 3: Paint the panel behind the desk
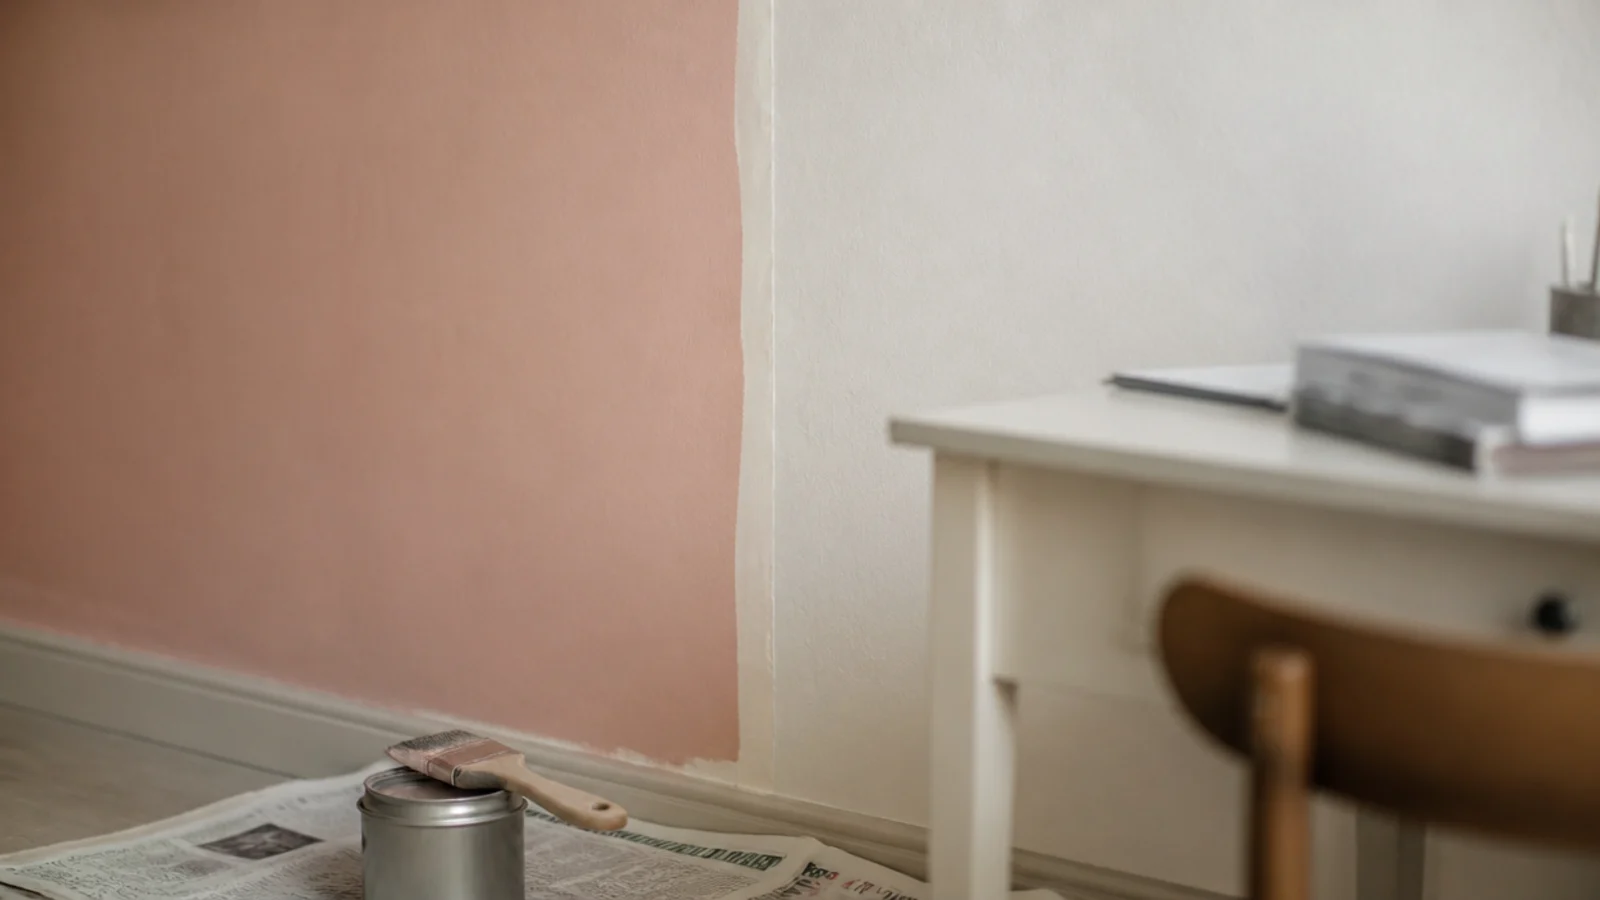
One tester pot covers about 15 square feet, which is enough for a desk-width panel with two coats.
Tape a clean edge, take the colour from the skirting to the shelf line, and stop there rather than partway up the wall. Matt or dead flat only — any sheen bounces the lamp straight back at you the moment you sit down.
Let it cure properly, at least a day, before mounting anything with adhesive strips onto it. $
Step 4: Fix the shelf twenty inches above the desk
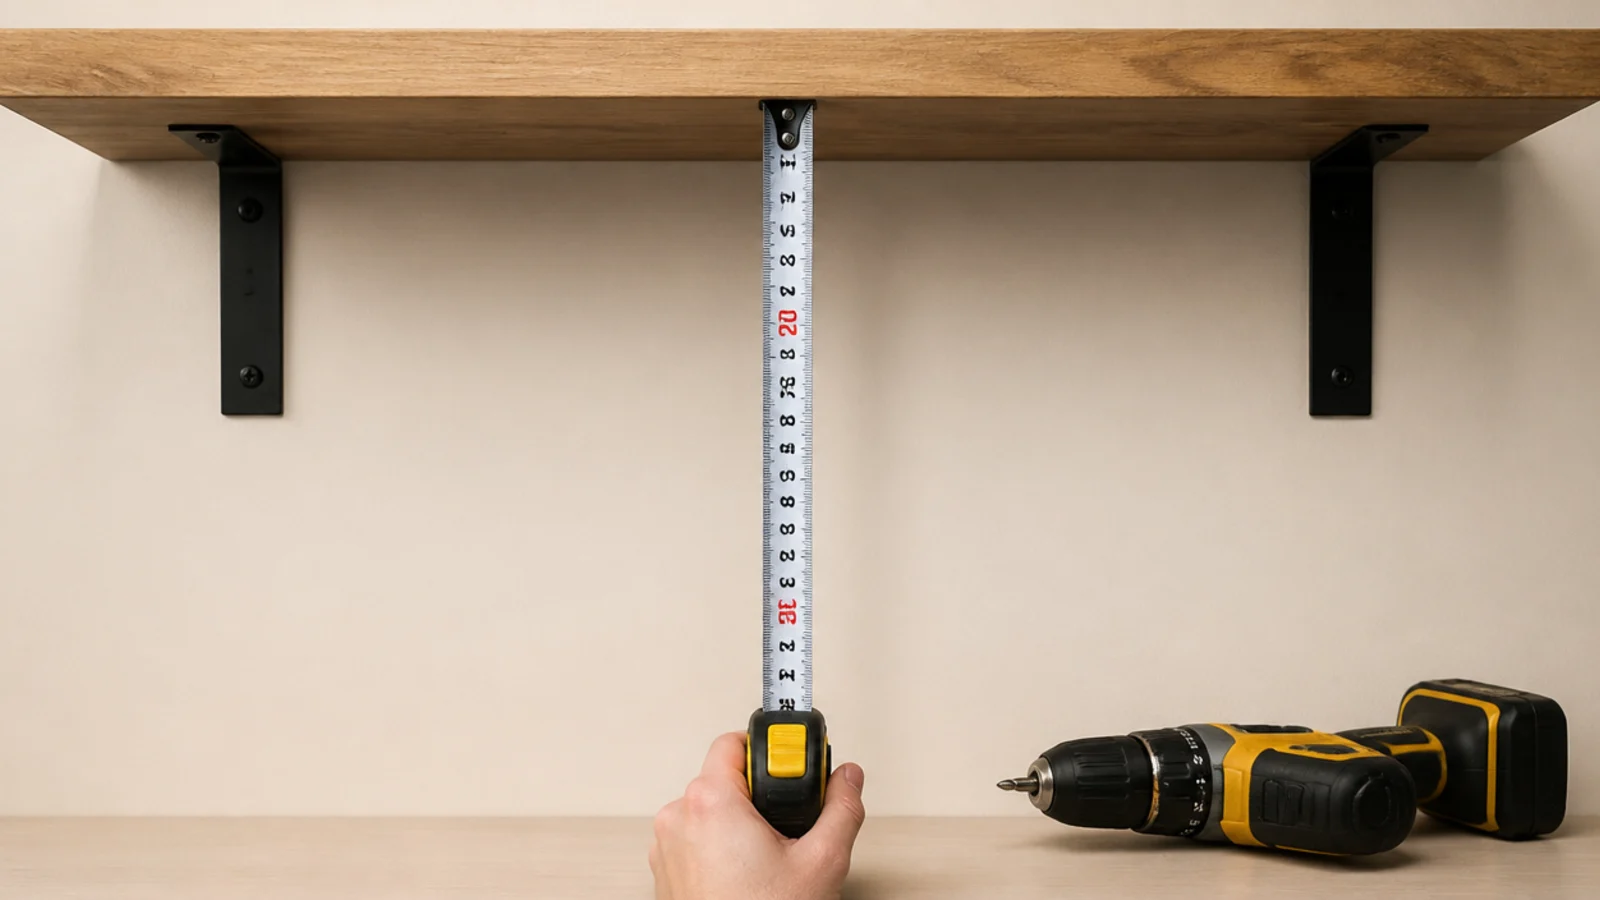
Measure 20 inches up from the desk top to the underside of the shelf. That clears a monitor on a riser and still lets you reach the shelf without standing.
Keep the board 8 to 10 inches deep, and the unsupported span under 32 inches or it will bow under books. Fix into studs where you can, and use toggle bolts rated 25 to 35 pounds each in half inch drywall where you cannot.
This is the one step where the hardware matters more than the look. $$
Step 5: Add a fabric pinboard sized to the desk
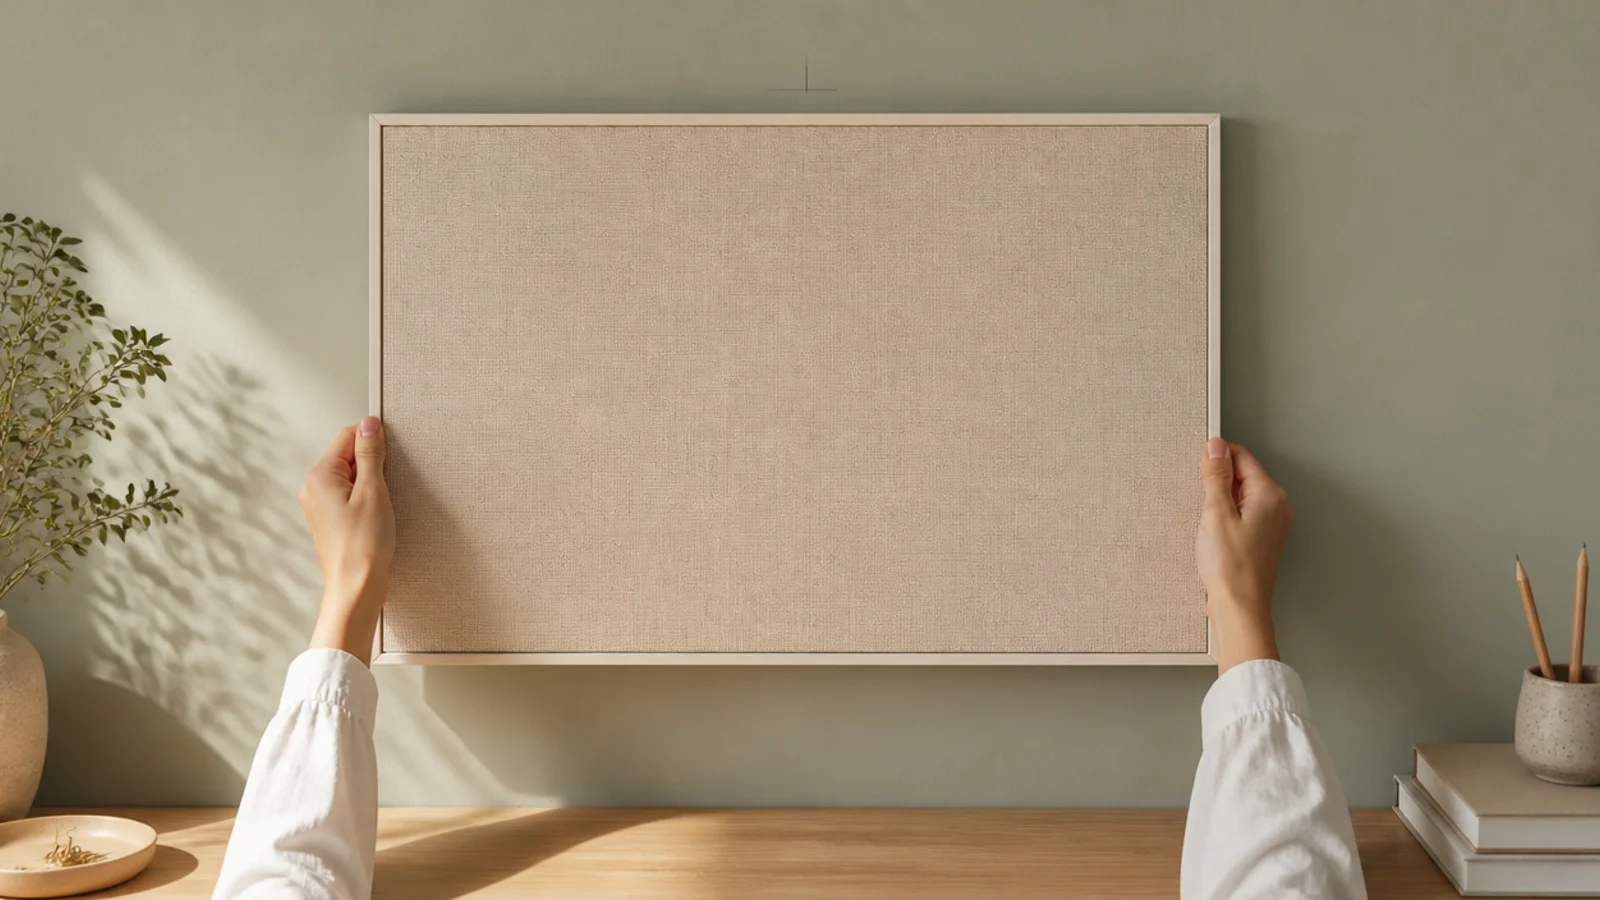
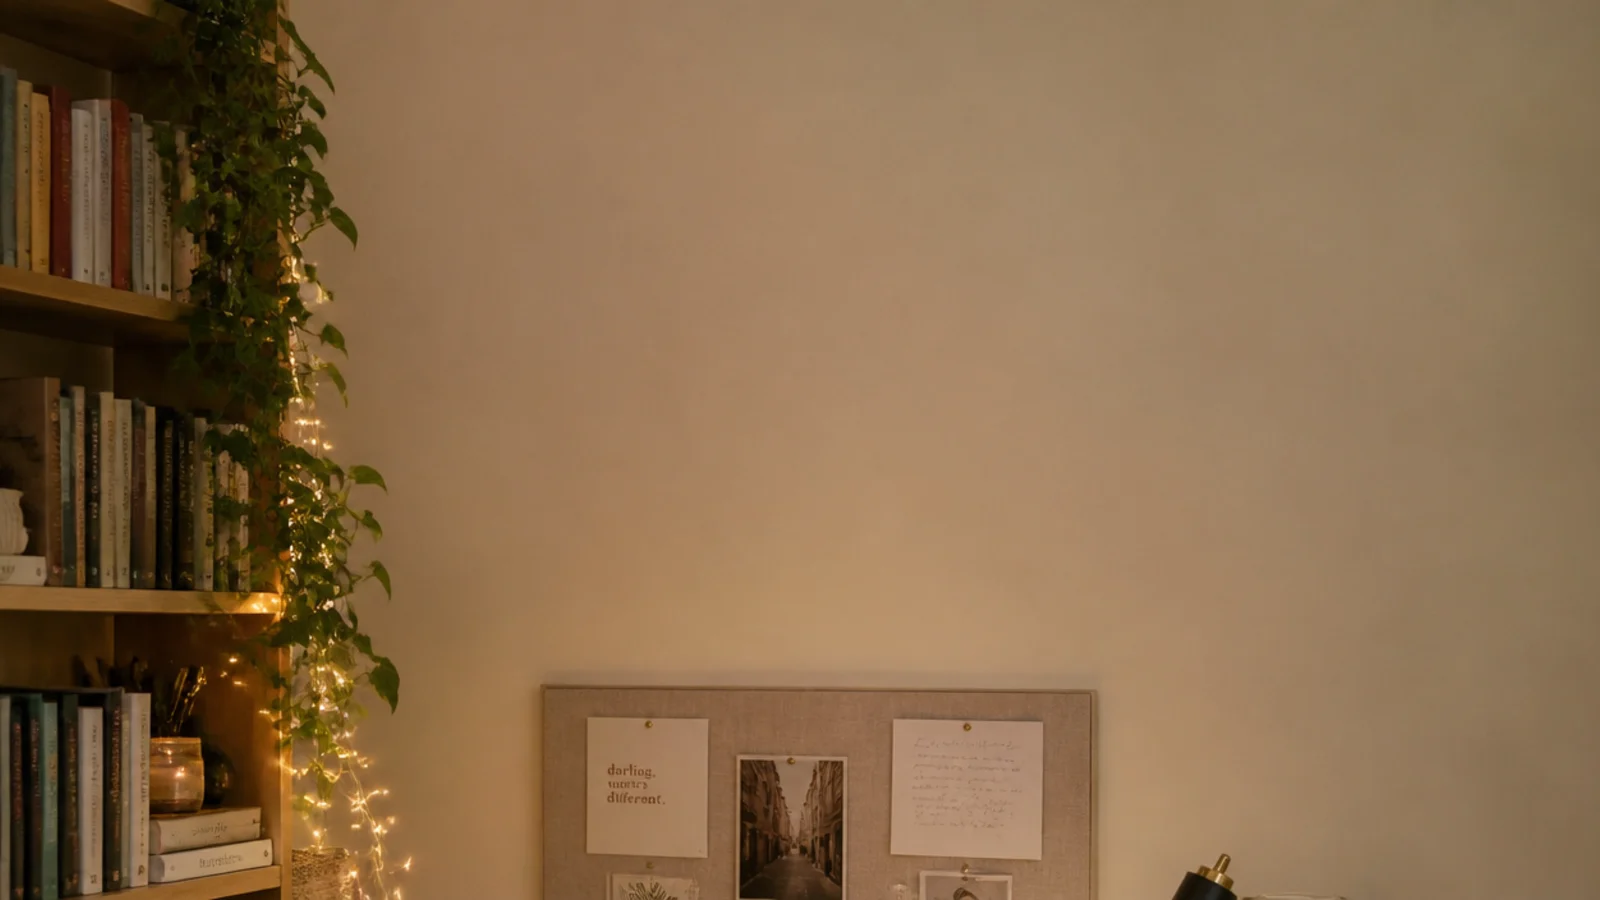
Stretch linen or cotton over a cork tile, staple it on the back, and drop it into a plain frame. About $15 in materials and twenty minutes.
Size the finished board to the desk width rather than to the wall, and centre it on the desk. Hang the bottom edge 10 to 12 inches above the surface so a lamp head or a standing book does not overlap it.
Fabric photographs far softer than bare cork and takes pins just as well.
Step 6: Run LED string lights along the shelf
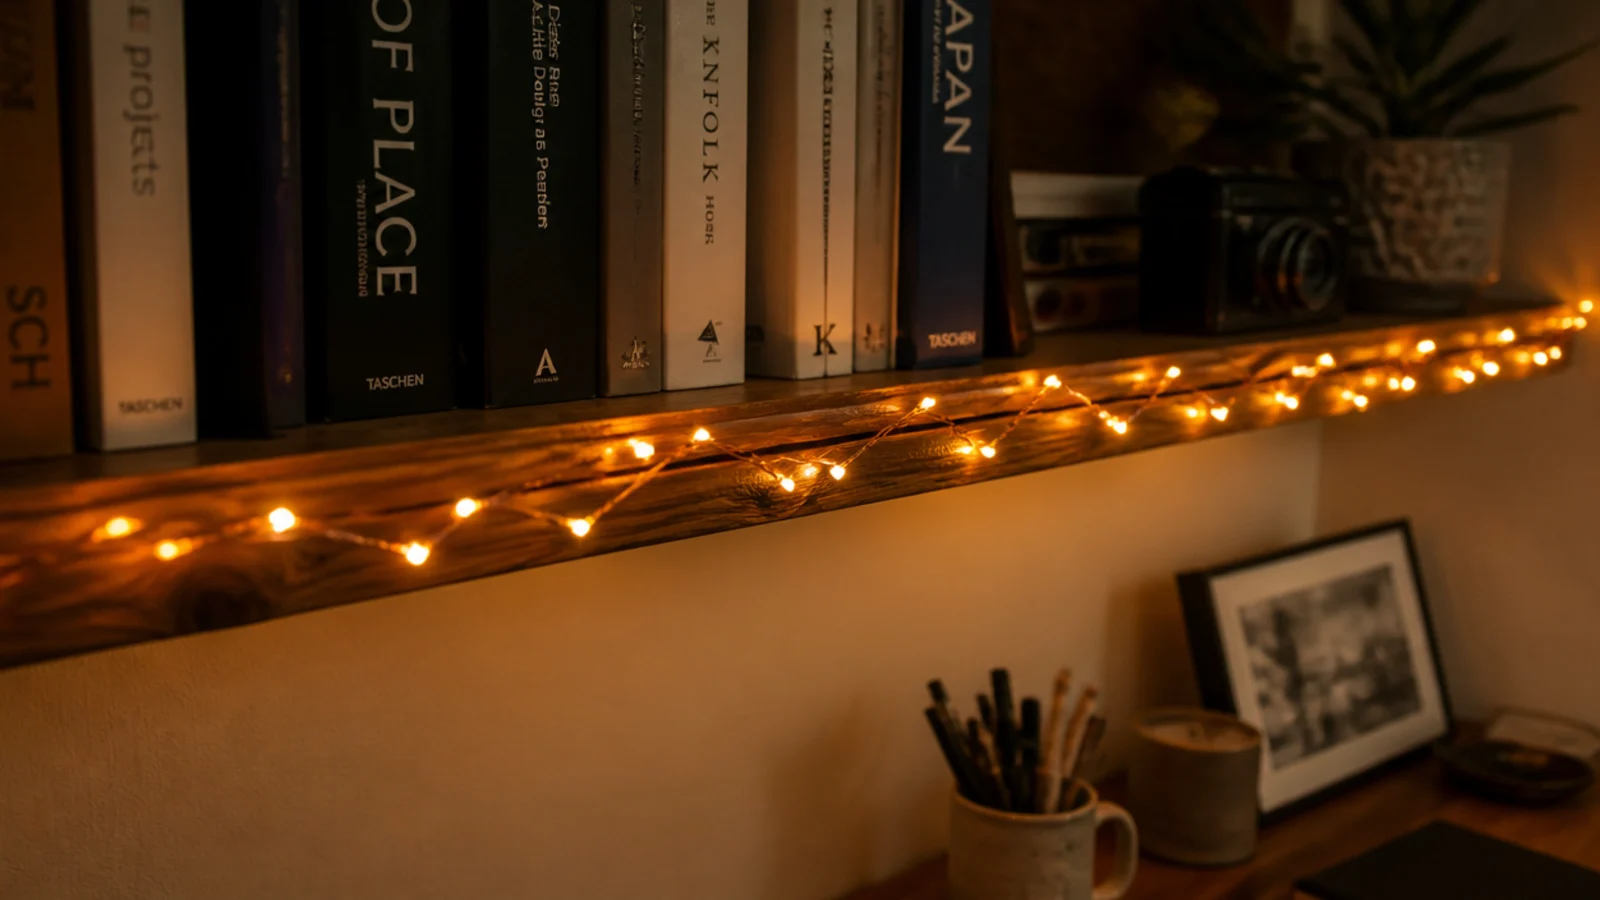
Drape a fine warm string along the front lip of the shelf so the light glows outward rather than into your eyes.
Use low voltage LED strings only — they run cool enough to sit near paper and fabric, which nothing with a flame ever is above a desk covered in notes. Keep the transformer off carpet and out of a closed box so heat can escape, and keep the plug reachable rather than taped behind the shelf.
Around $10 to $20 for a two metre run. $
Step 7: Place the task lamp on the non-writing side
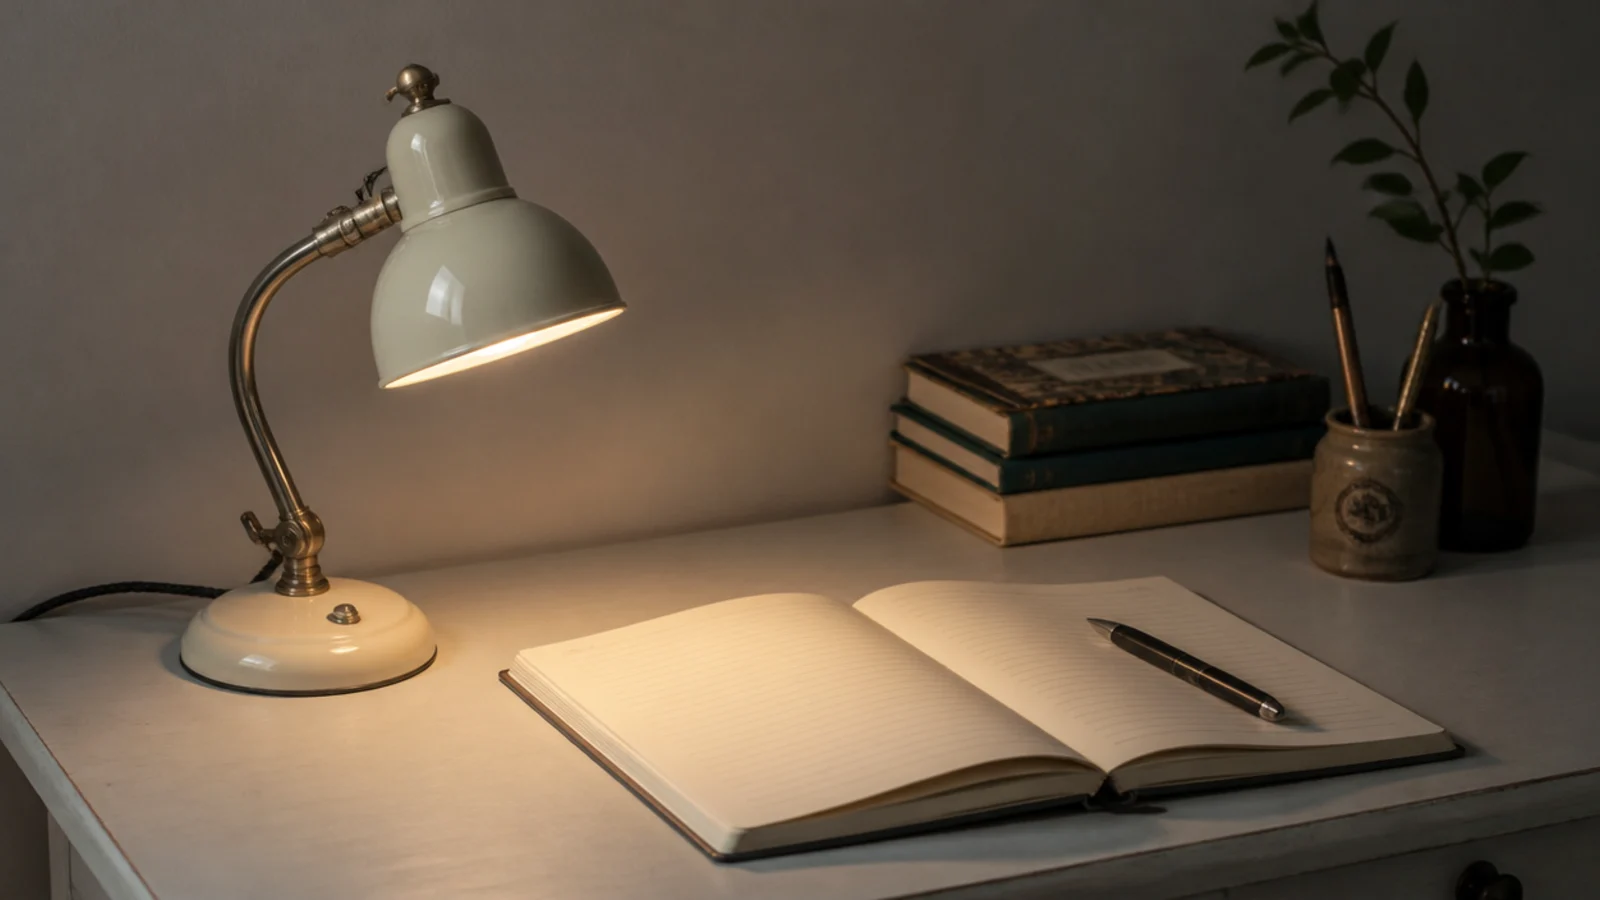
The lamp goes on the side opposite your writing hand, so your own hand never casts a shadow across the page.
Set the head 15 to 18 inches above the desk surface and 12 to 16 inches to the side of the working area. Aim for 450 to 800 lumens, at 4000K for daytime work and 2700K in the evening — a lamp with switchable temperature at $25 to $45 covers both.
Check from the chair that you cannot see the bulb itself. $$
Step 8: Add a warm strip behind the screen
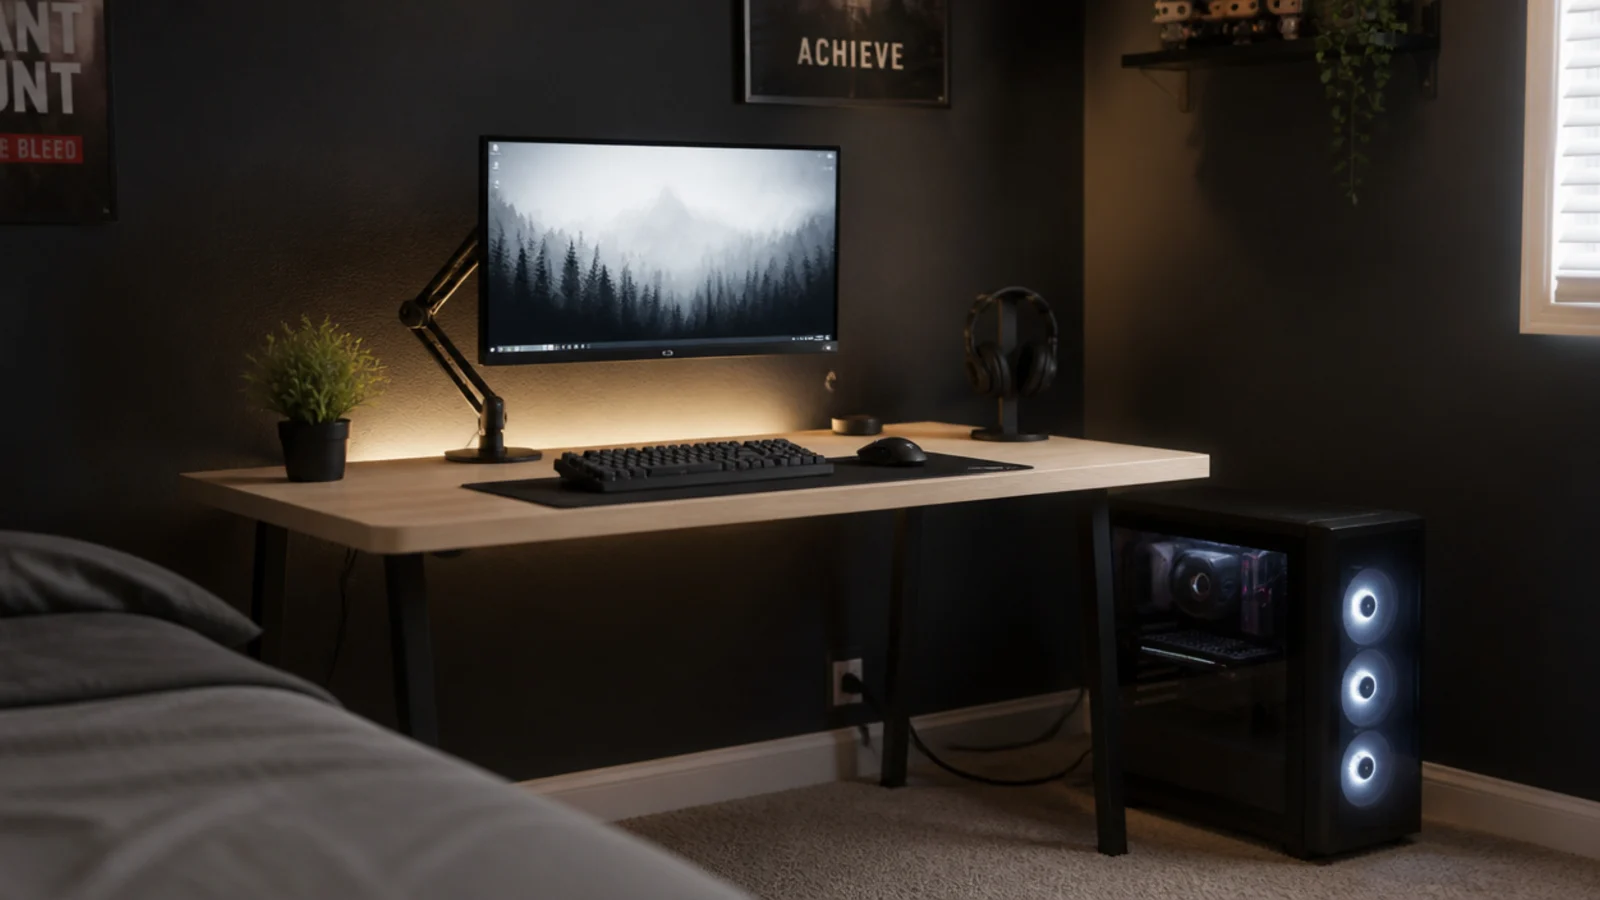
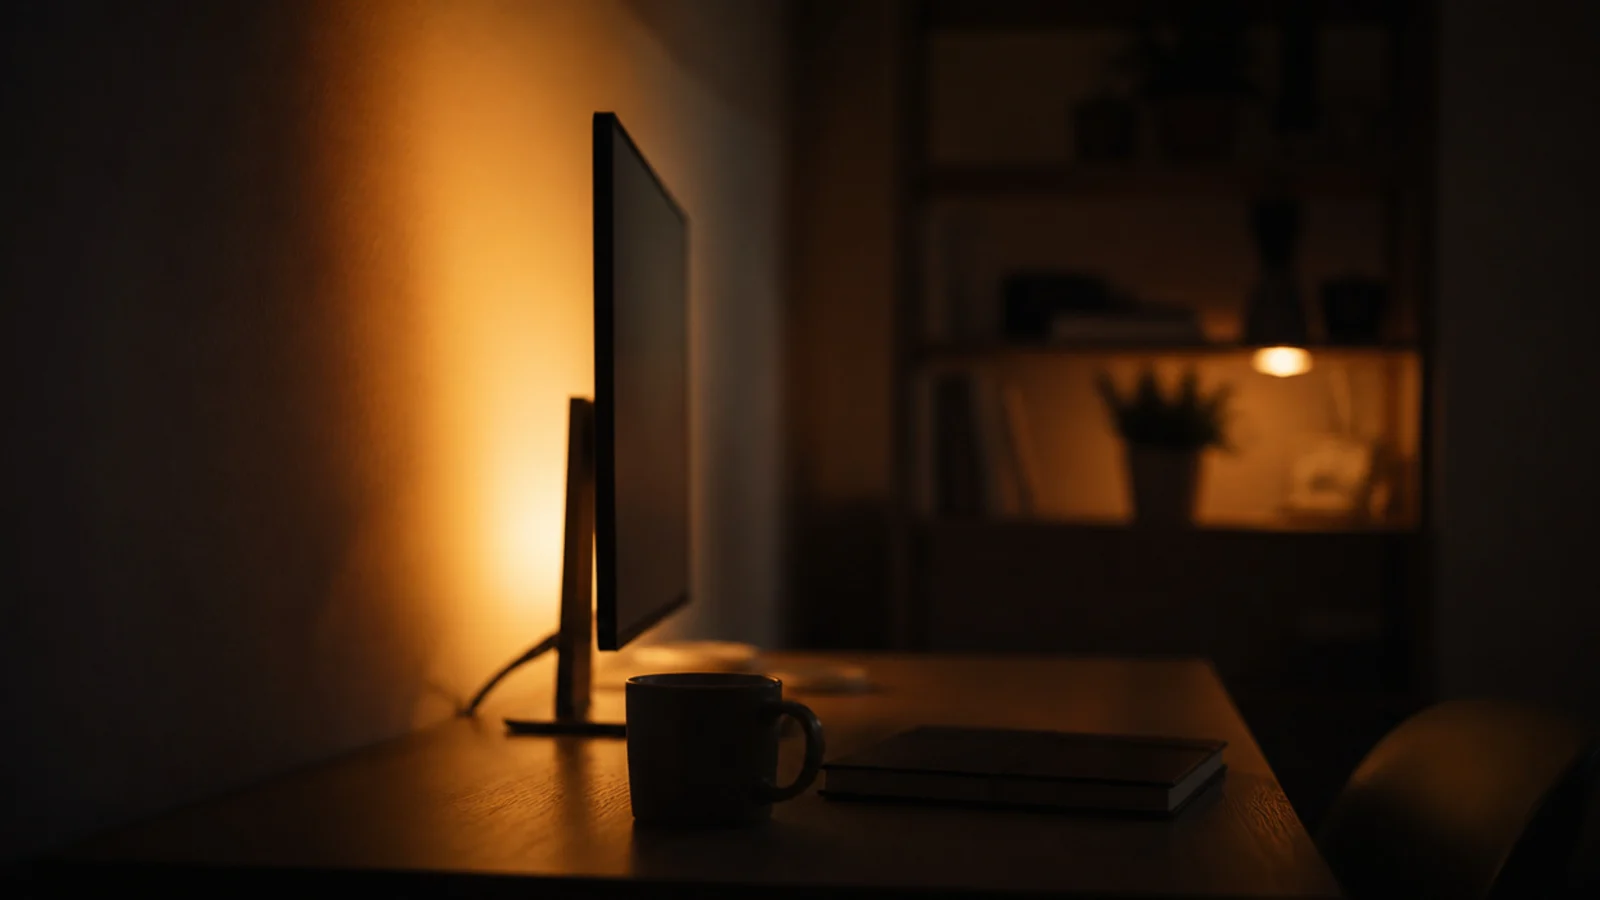
An LED strip on the back of the monitor lifts the wall behind it and cuts the contrast between a bright panel and a dark room, which is what makes eyes ache after a couple of hours at night.
Keep it warm and dim, roughly a tenth of the screen brightness. Ten to twenty dollars, powered from a spare USB port.
This is the step that makes the corner feel cosy rather than merely lit.
Step 9: Lean prints on a picture ledge
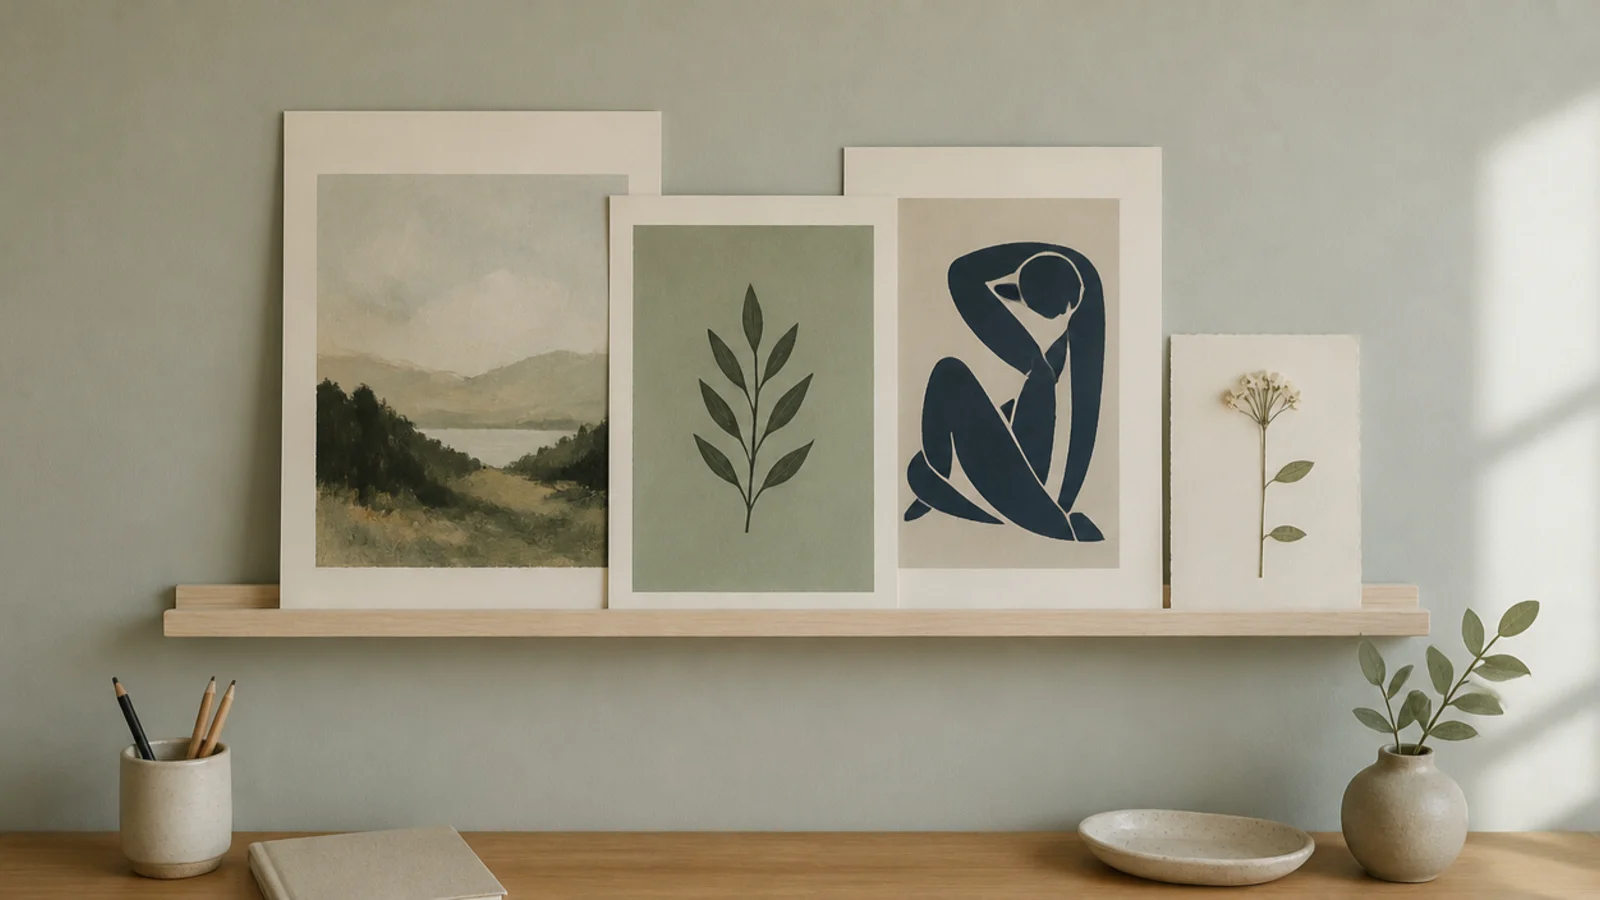
A ledge 4 inches deep with a small front lip lets you overlap unframed prints, postcards and photographs, and change them in under a minute without a single new hole.
Fix it above the pinboard or beside the shelf, and keep the bottom edge clear of anything standing on the desk.
Leaning is what keeps this layer changeable, which matters more than framing when the corner belongs to someone whose taste is still moving. $$
Step 10: Bring in one soft texture
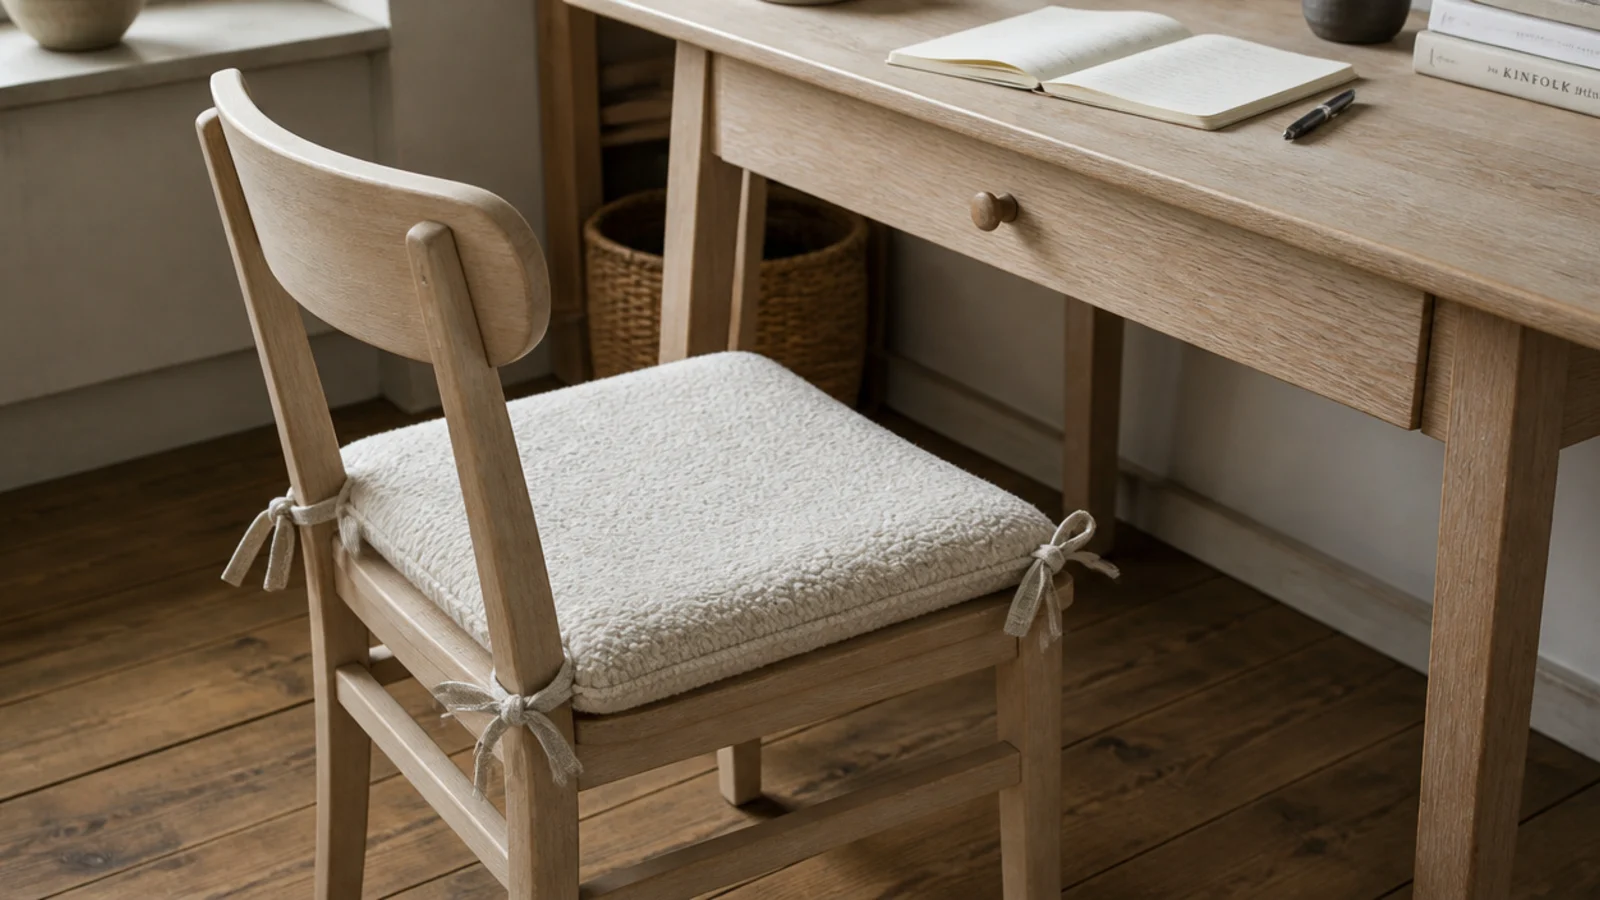
A wool cushion tied to the chair, a linen runner, or a small flat weave rug under the chair. One is enough.
A corner made entirely of timber, metal and glass photographs cold no matter how good the colours are, and a single soft element fixes it. It also quietens a hard room, which matters if the desk is used for calls.
Keep the rug pile under half an inch so a chair still moves freely across it.
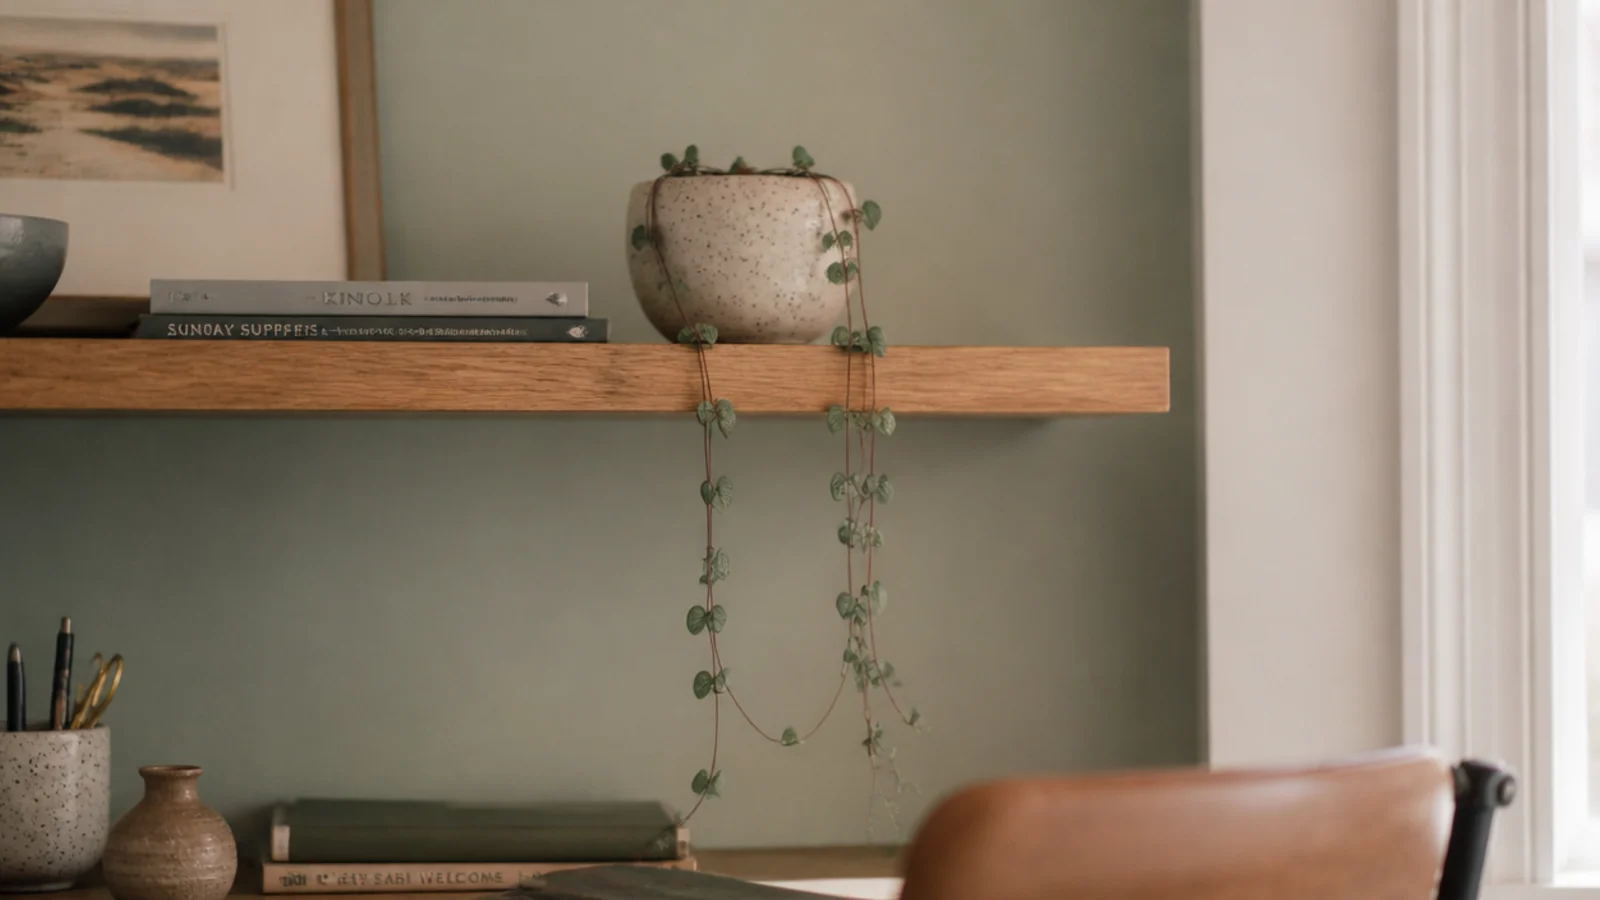
Step 11: Put a trailing plant on the shelf
Trailing stems on a desk end up under a book. On the shelf they hang into the empty wall space and soften the hard line underneath it.
Pothos, string of hearts and heartleaf philodendron all trail happily in a corner with no direct sun, and all want water roughly every ten days.
One pot, not three. A row of small plants is a watering chore that becomes a row of dead plants by February.
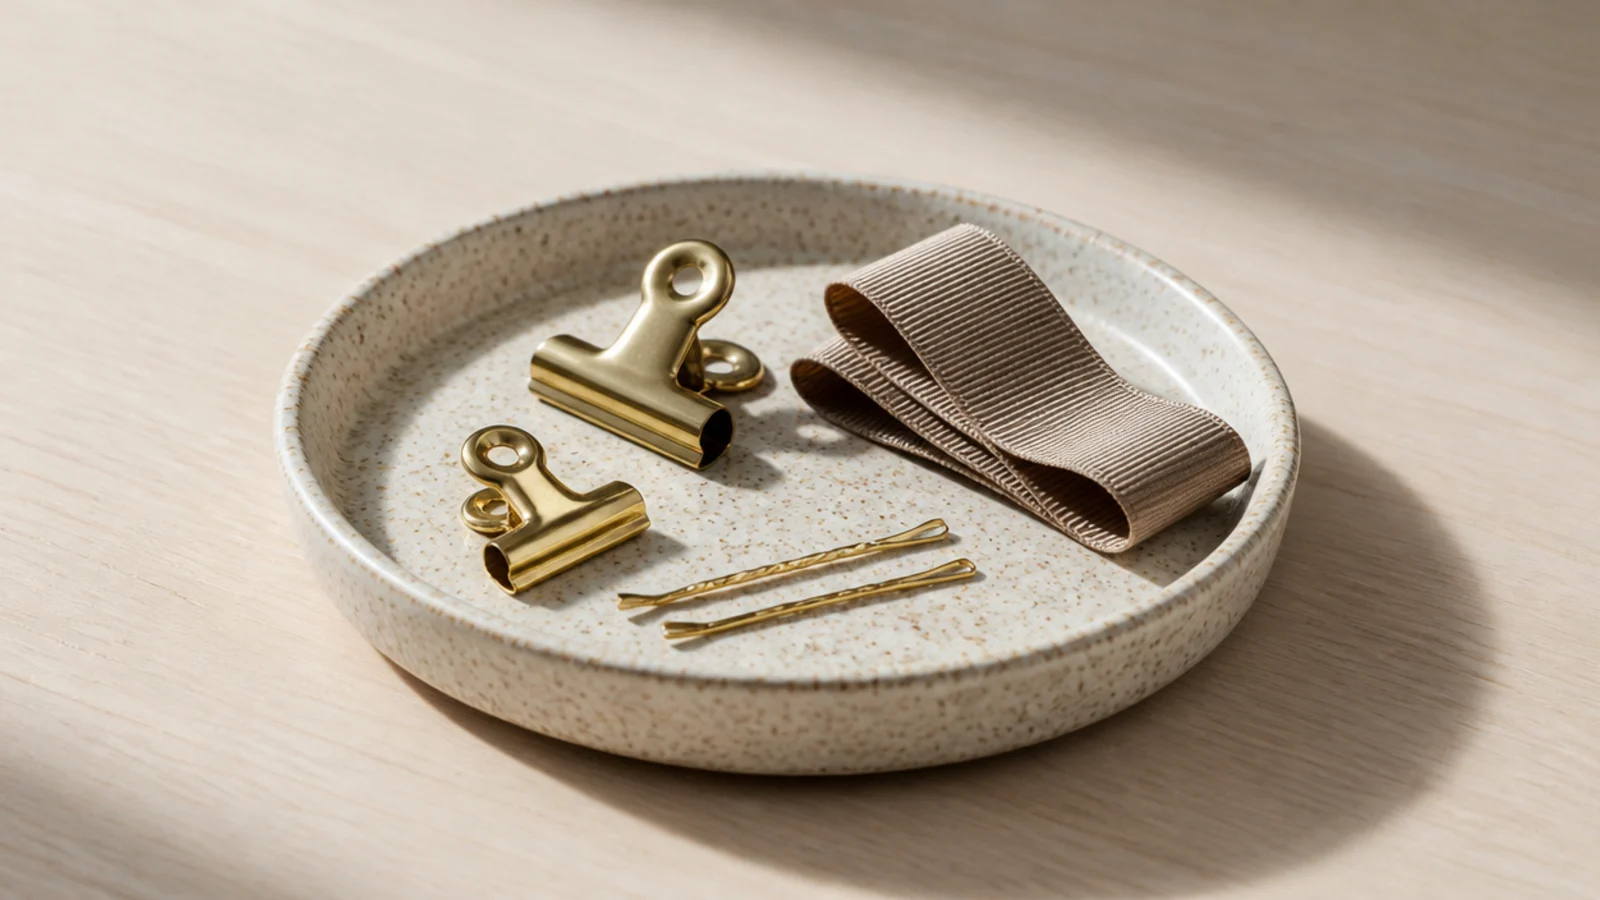
Step 12: Corral the small things in one tray
Clips, pins, a ribbon, a spare charger — one shallow tray 8 to 10 inches across gives all of it a single home.
Inside the tray it reads as arranged; outside it reads as mess. That is the entire mechanism, and it holds better than any set of small pots.
Choose the tray in one of your three colours or in the repeated metal, so it joins the scheme instead of sitting outside it. $
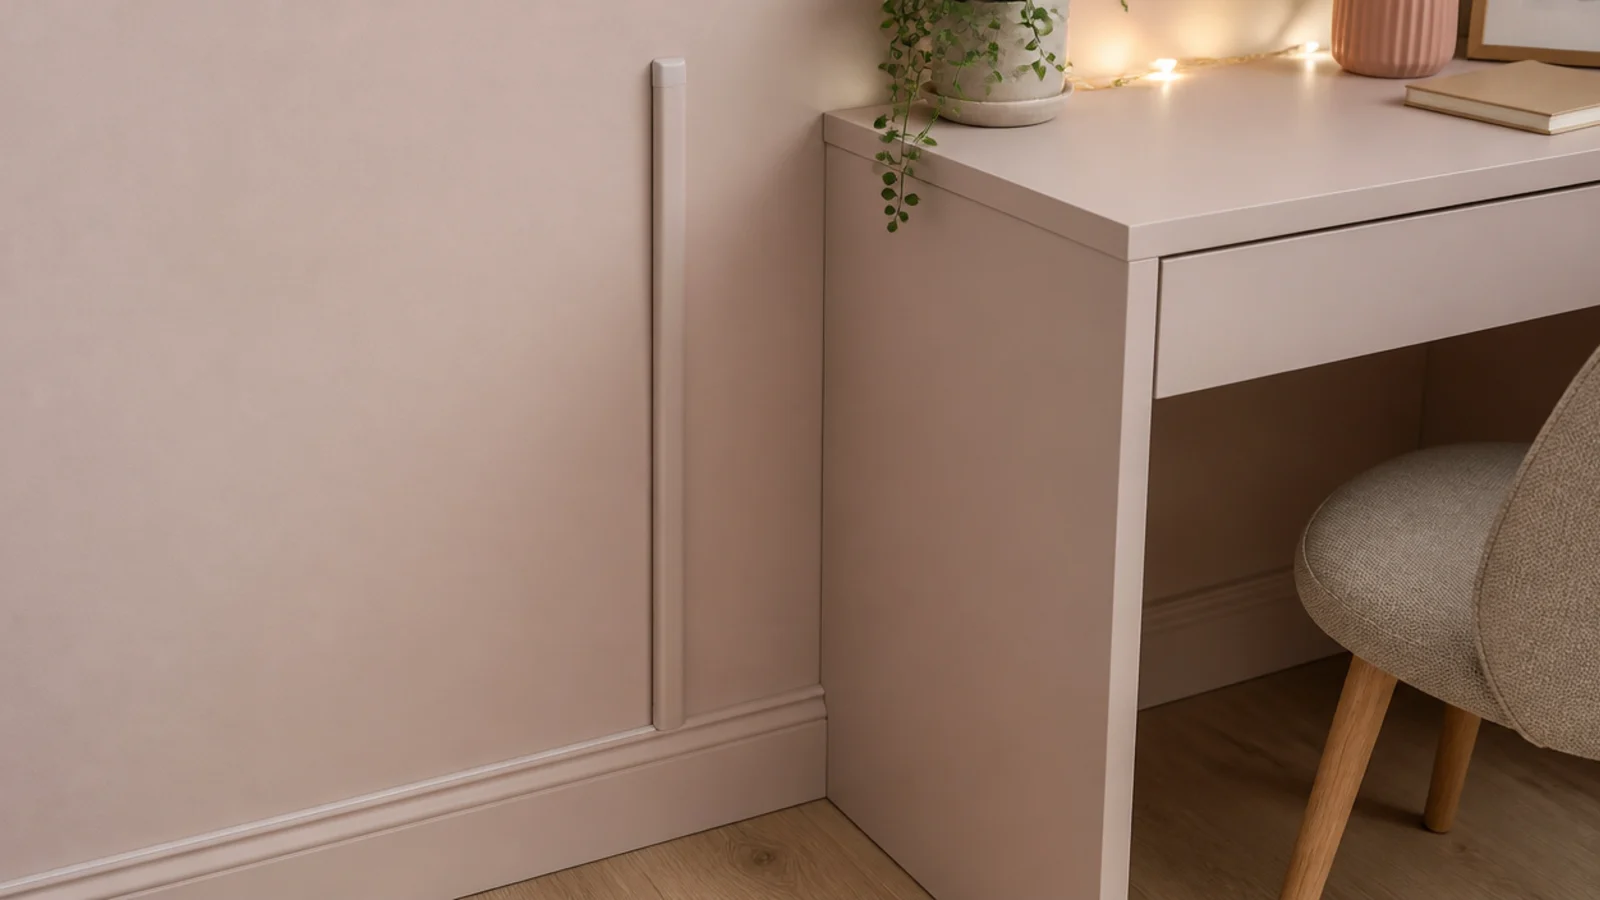
Step 13: Hide the cables in a painted channel
Take the lamp lead and the string light cable up or down the wall inside one surface channel, then paint it the exact wall colour and sheen.
From two feet away it disappears, and it is fully reversible in a rental with a little filler. Far tidier than a run of clips, and it stops cords looping across the desk.
Never run a lead under a rug where you cannot see it fray.
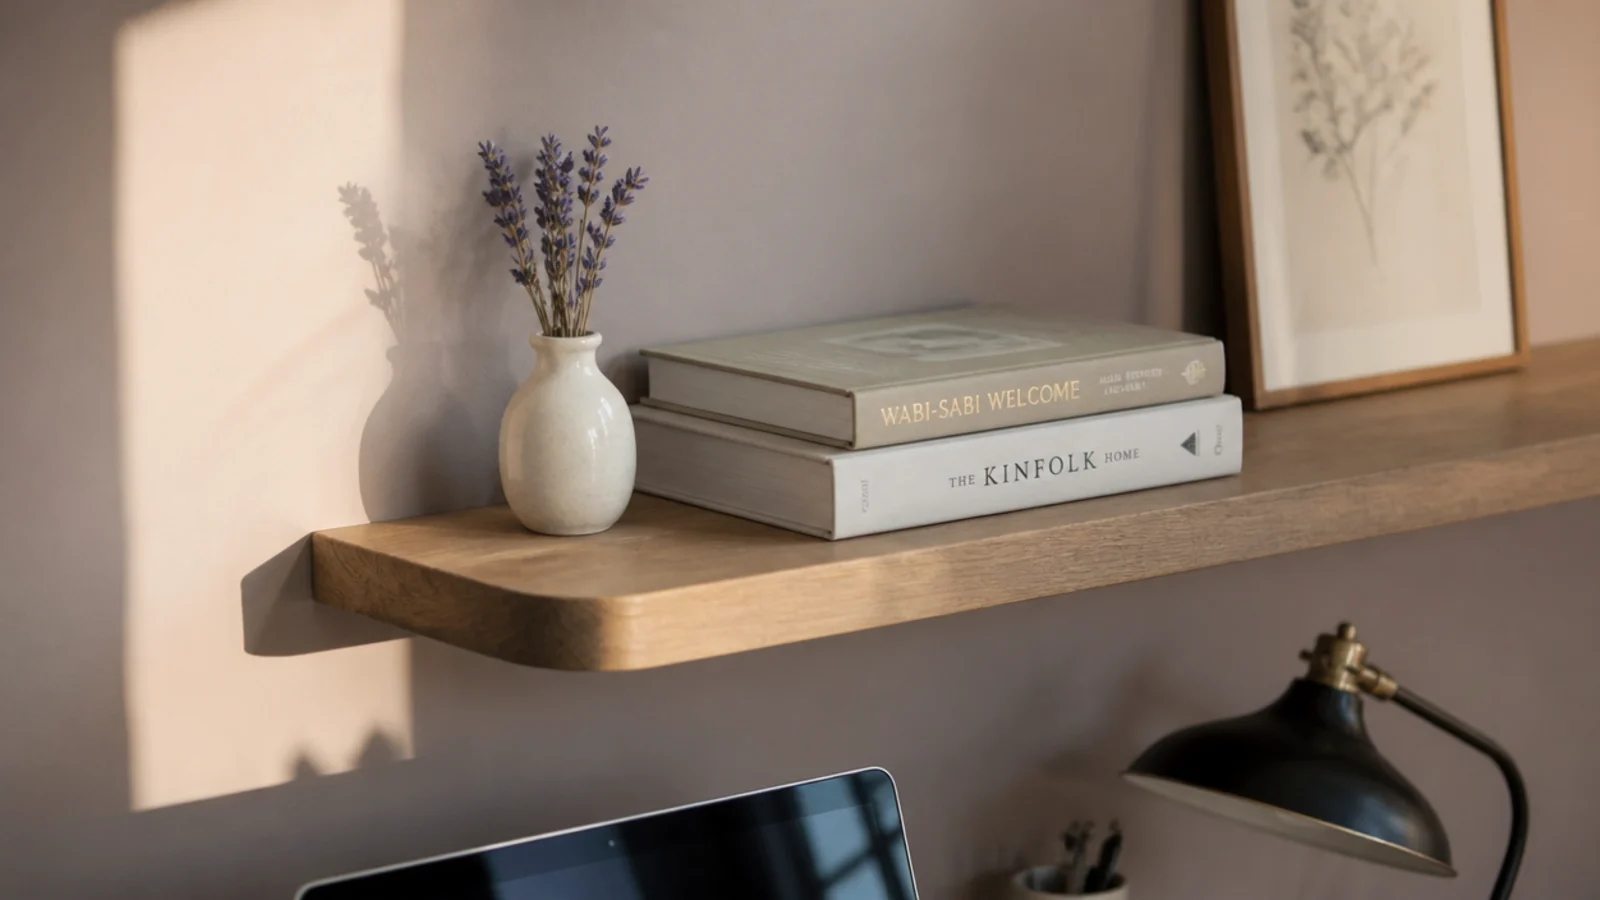
Step 14: Add one seasonal object and no more
A dried bunch in a bud vase, a card, a small branch. One thing that changes with the term, swapped rather than added to.
This is what keeps the corner feeling current without a rebuild, and it is also the discipline that stops slow accumulation. Take one thing away for every new thing that arrives.
Keep it on the shelf rather than the desk, where it will not be moved every time a book opens.
Step 15: Photograph the corner and cut one thing
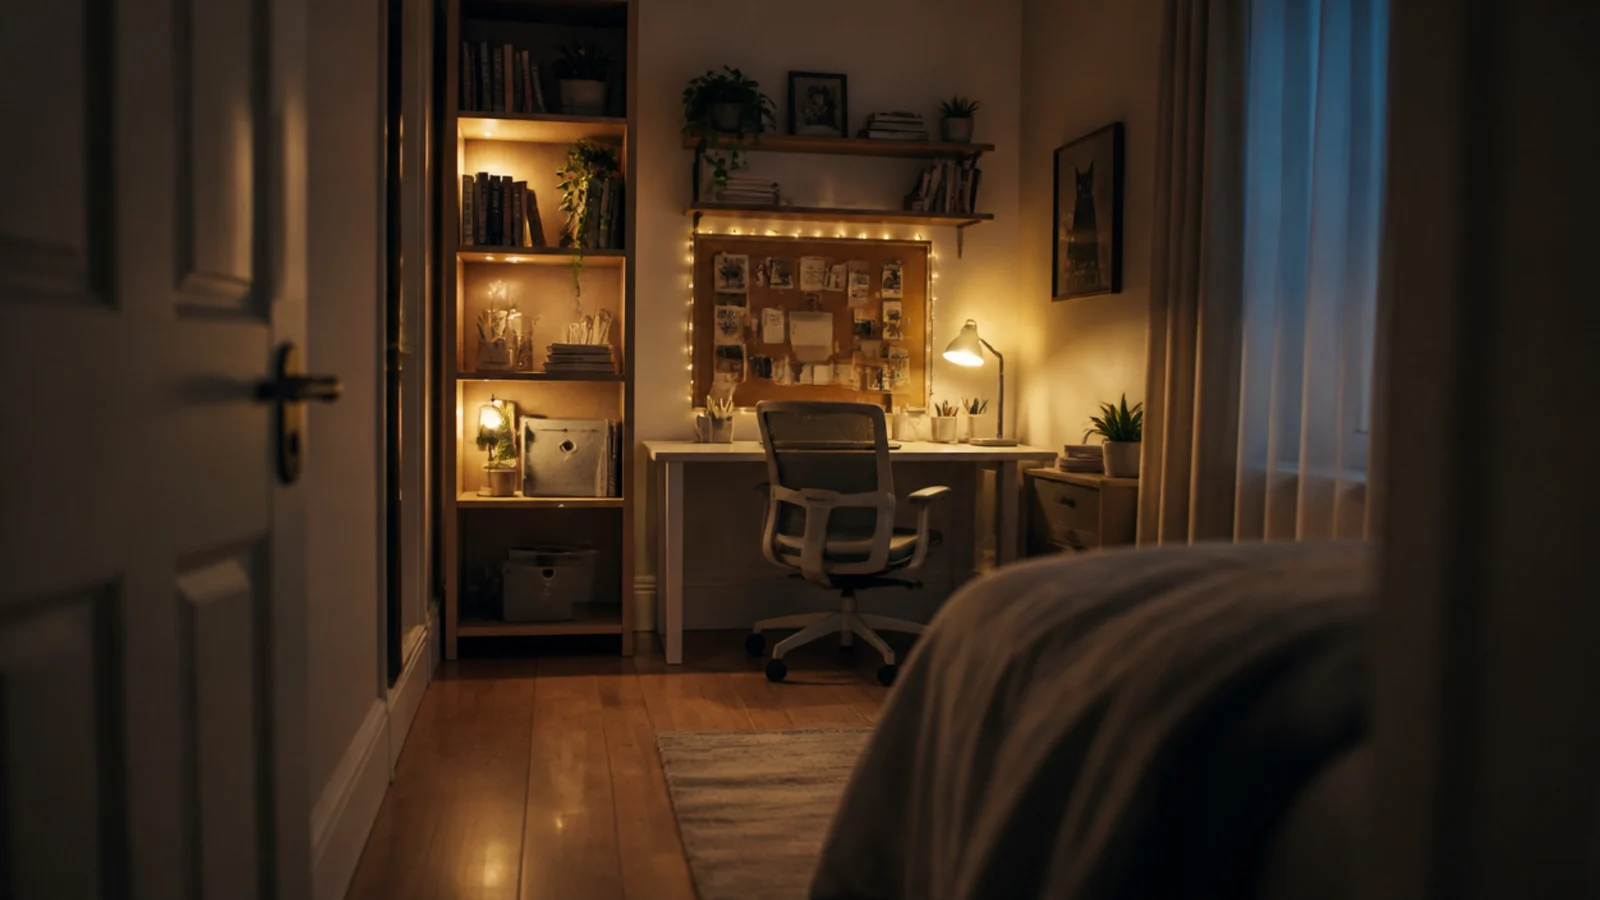
Stand in the doorway with your phone and take one picture. The camera flattens the corner the way a visitor sees it, and the one object too many becomes obvious immediately.
Remove it. There is nearly always one — a second plant, a third frame, a stack of books that is really storage.
Then sit down, turn off the room light, and check that nothing is reflected in the dark screen. Anything you can see there is in the wrong place.
Pro Styling Rules
For thirty more layouts built on the same palette logic, the aesthetic study desk setups go wider, and the study desk wall decor aesthetic layouts focus purely on the wall. Aesthetic candle decor covers warm light safely elsewhere in a bedroom, and the bedroom hanging lights guide handles the ceiling fixture this corner works underneath.
Mistakes to Skip
- Hanging the lights and the prints before fixing the shelf. The shelf position is decided by studs and by your head, and everything soft will have to move around it.
- Using anything with a flame above a desk. A study desk is covered in loose paper, and low voltage LED gives the same warm glow with none of the risk.
- Adding a fourth colour late in the process. It is always the one that tips a small corner into busy, and removing it usually means repainting something.
- Styling the desk surface instead of the wall. Every object on the top is one you will move before you can work, and within a fortnight they live on the floor.
Frequently asked questions
Are string lights safe above a study desk?
Low voltage LED strings are, because they run cool enough to sit near paper and fabric. Keep any transformer off carpet and out of a closed box so heat can escape, keep the plug reachable rather than taped behind a shelf, and never use a flame of any kind above a desk covered in loose notes.
How do I make a desk cute without making it unusable?
Move the decorative layer onto the wall and the shelf, and keep the desk surface to three objects. A shelf 20 inches above the desk, a fabric pinboard and a picture ledge give you all the personality with none of the surface cost, so the top stays clear for an open book.
How many colours should a cute study corner use?
Three plus one metal. A wall tone, a wood or furniture tone and one accent, then brass or black repeated three times across the lamp, the frames and the pen cup. A fourth colour is almost always the one that tips a small corner from styled into busy.
What is the best light for a cute desk that is used at night?
A task lamp at 450 to 800 lumens on the side opposite your writing hand for the actual work, plus something soft and warm at 2700K behind the screen or under the shelf for atmosphere. The soft layer is what makes it feel cosy; the task lamp is what makes homework possible.
How high should the shelf go above a cute desk setup?
Twenty inches from the desk top to the underside, which clears a monitor on a riser and still lets you reach it seated. Keep it 8 to 10 inches deep so it never crowds your head, and fix into studs or use toggle bolts rated 25 to 35 pounds each in half inch drywall.
Want more like this? Browse all 15 study desk decor guides — they all use the same measurements and budget tiers.
Pin it for later
Save this to your Study Desk Decor board
Pin it now so it is waiting for you when the tape measure comes out — and so the next person hunting for this idea can find it too.
Save this pinKeep going
More ideas worth saving while you have the tape measure out.