Study Desk Decor · Listicle
25 Stylish Study Desk Decor Minimalist Setups

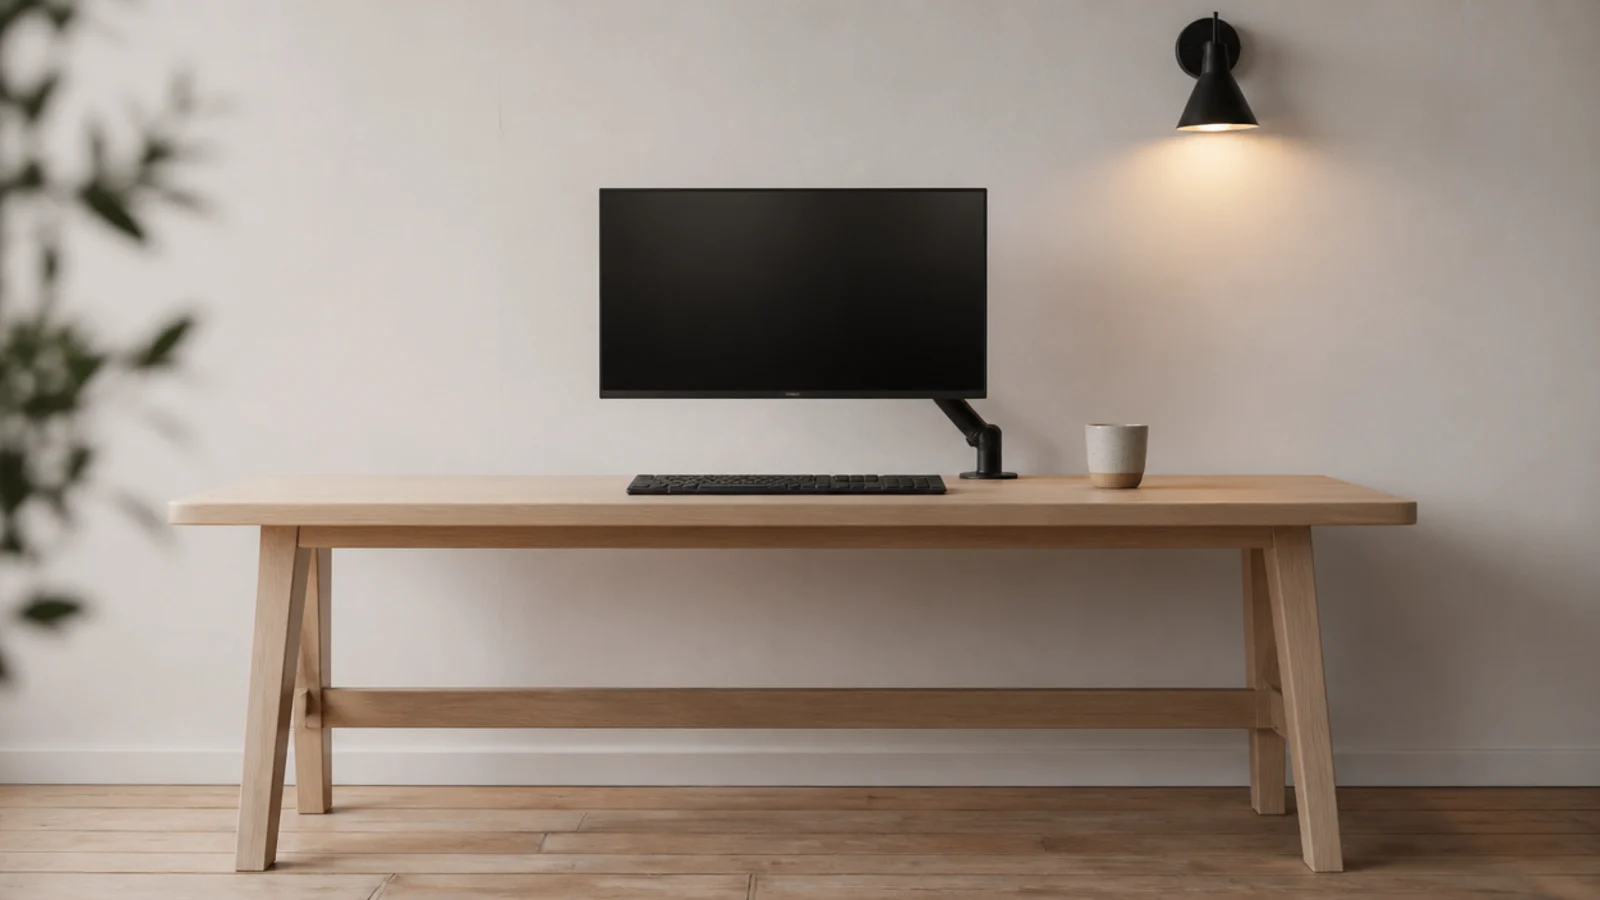
Study desk decor minimalist setups fail for the same reason maximalist ones do: nothing has a home, so everything ends up on the surface. Restraint is not achieved by buying fewer things, it is achieved by giving each category exactly one closed place to live. I have run a desk this way for two years and the only rule that has actually held is that the top is not storage. Twenty-five setups below, each with the size, clearance or lighting number that makes the empty surface possible rather than aspirational.
In this guide27 sections — tap to openHide
- 1.What study desk decor minimalist setups actually require
- 2.Start from one surface, one screen, one lamp
- 3.Choose a 47 by 24 inch top and leave two thirds bare
- 4.Put every cable in one channel and one tray
- 5.Float the screen on an arm
- 6.Give the desk exactly one drawer
- 7.Paint desk, wall and shelf the same tone
- 8.Hold the palette to two tones and one metal
- 9.Mount the lamp on the wall, not the desk
- 10.Replace the desktop organiser with a drawer insert
- 11.Match the keyboard and mouse to the desk tone
- 12.Style the single shelf at two heights
- 13.Choose closed storage over open shelving
- 14.Lean frameless prints on a four-inch ledge
- 15.Allow exactly one plant, in one pot
- 16.Take the charging lead through a single grommet
- 17.Conceal the light source under the shelf
- 18.Buy storage boxes in one size, one colour
- 19.Move the printer out of the room entirely
- 20.Choose a low-back chair with no logo
- 21.Leave the floor bare or use one plain rug
- 22.Keep the walls matt and near-white
- 23.Scan anything not live this week
- 24.Keep one notebook and one pen out at a time
- 25.Empty the desk completely every Friday
- 26.Wait thirty days before buying anything else
- 27.Mistakes to Skip
What study desk decor minimalist setups actually require
Three conditions, and none of them are about taste.
Enough surface to leave empty. A 47 by 24 inch top gives roughly 1,100 square inches. A screen on an arm, a compact keyboard and a notebook use about 350. Leaving two thirds visibly bare is only possible if the desk was large enough in the first place — a crowded small desk reads as cluttered no matter how few objects are on it.
Somewhere closed for everything else. One drawer, one wall cabinet or box, one wall pouch for live paper. Open shelving in a minimalist scheme just moves the visual noise upward.
One light that does two jobs. A wall lamp or clamp lamp at 450 to 800 lumens on your non-writing side, plus a concealed strip under the shelf so the room is not a dark box around a bright screen.
The measurements do not change because the scheme is pared back: desk at 28 to 30 inches, screen top at eye level and arm length away, shelf underside 18 to 24 inches above the desk. For picks that fit this brief cheaply, the simple study desk decor list keeps everything under twenty dollars.
1. Start from one surface, one screen, one lamp
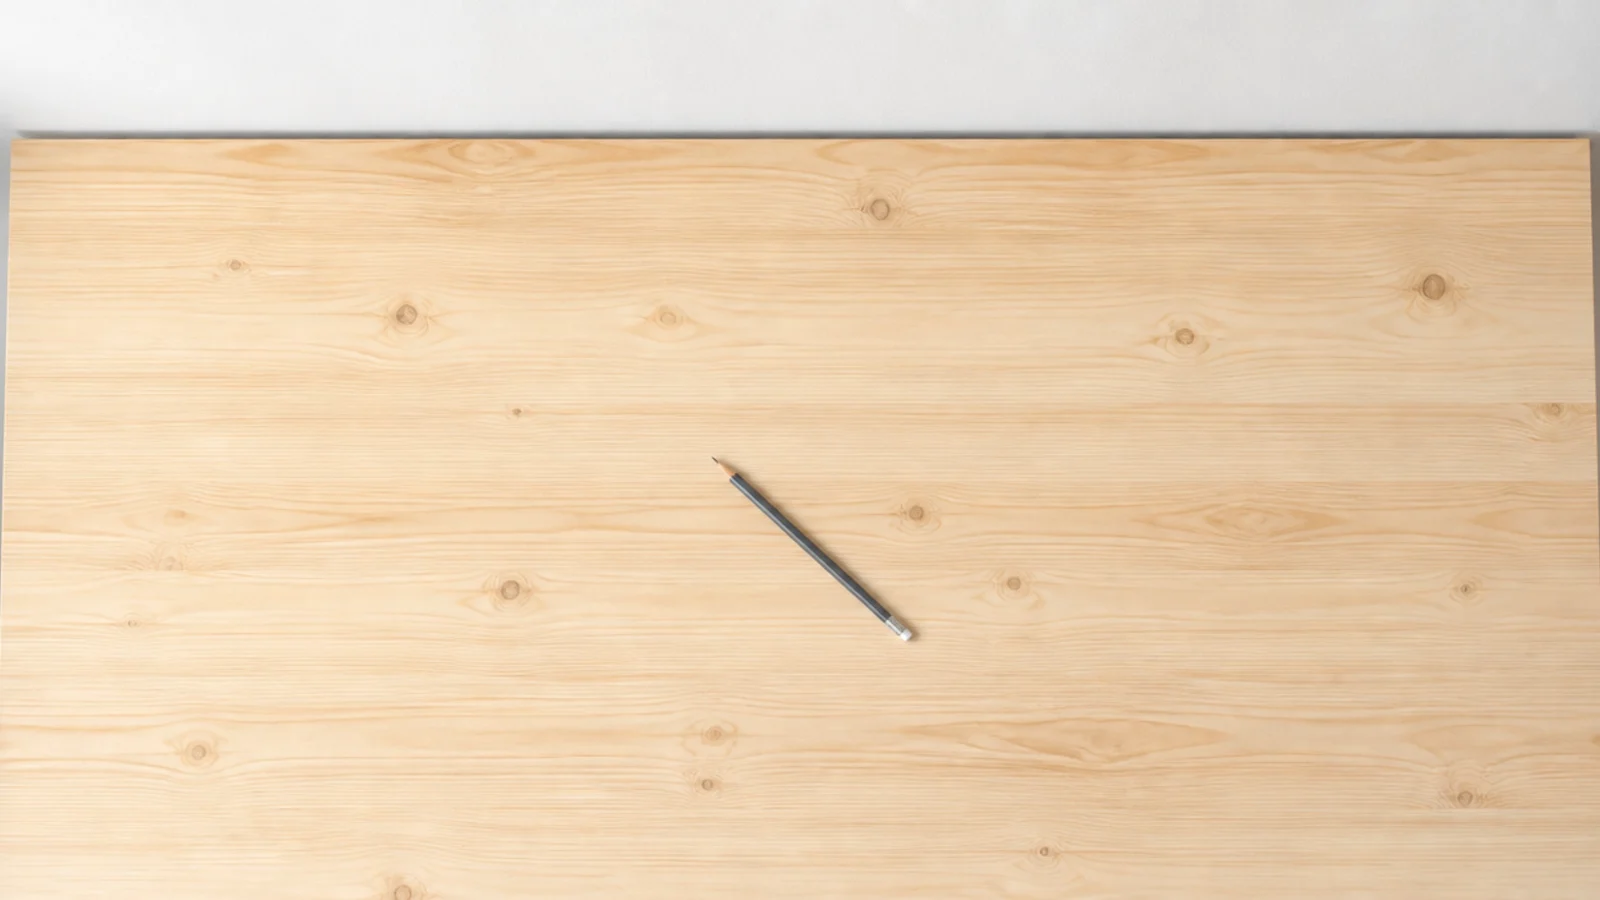
Clear the desk completely, then put back only the three things you cannot work without. Live with that for a week and add items back one at a time, only when their absence has actually cost you something. Most of what was on the desk never earns its way back.
2. Choose a 47 by 24 inch top and leave two thirds bare
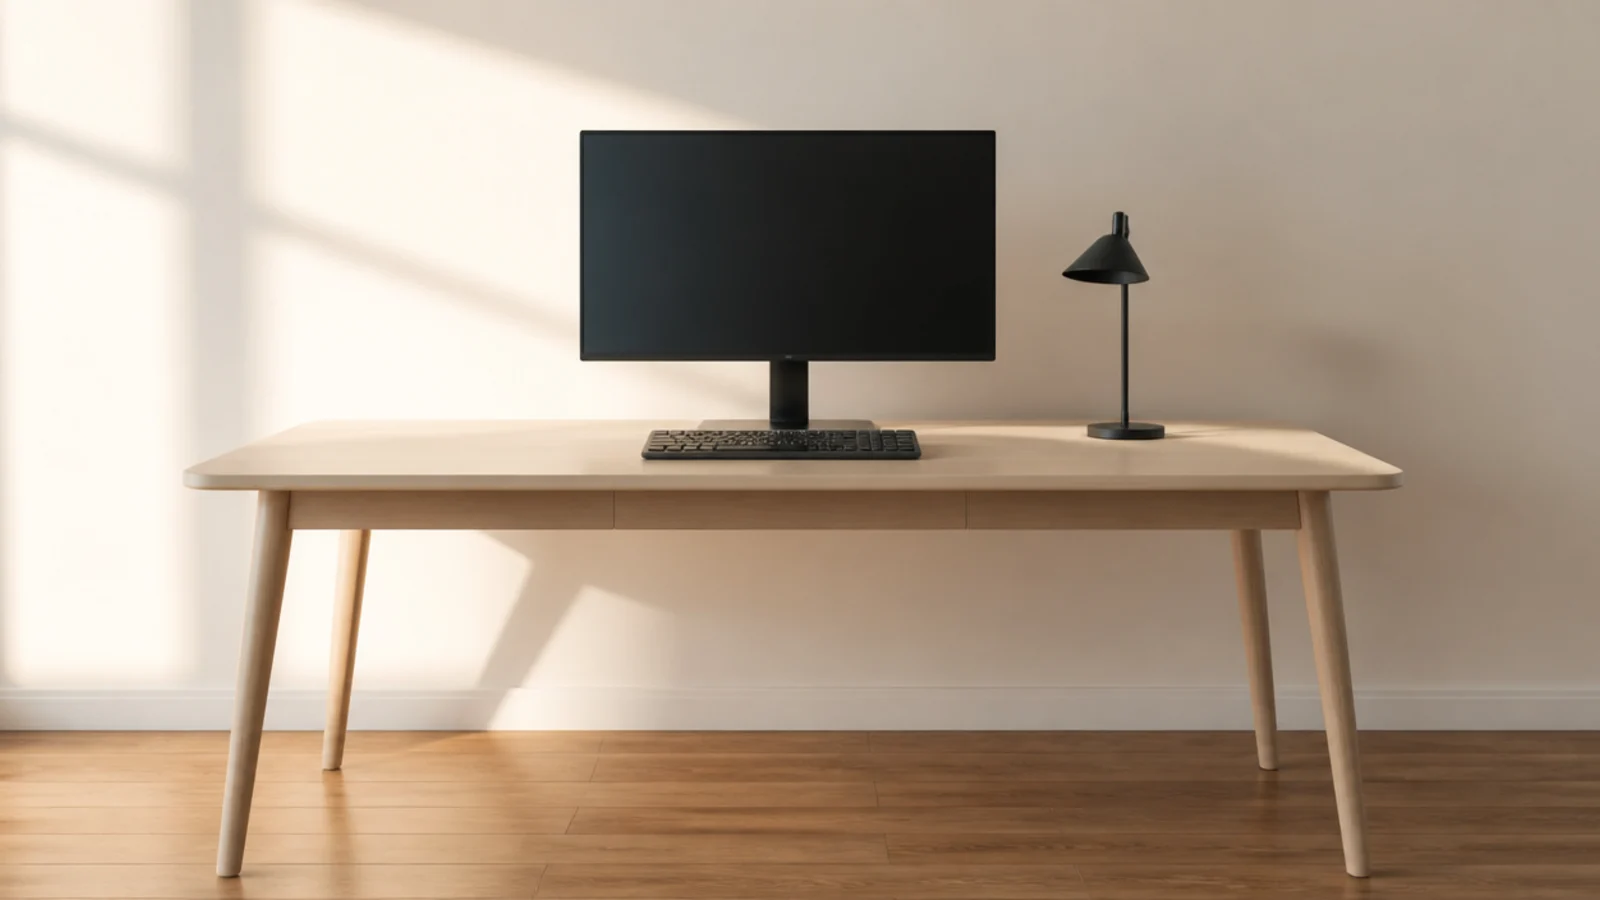
Minimalism needs room to be visible. A wide, deep top with a small group of things in the middle reads as calm; the same objects on a 36 inch desk read as full. Twenty-four inches of depth is also what lets the screen sit at arm length, 20 to 30 inches from your eyes.
3. Put every cable in one channel and one tray
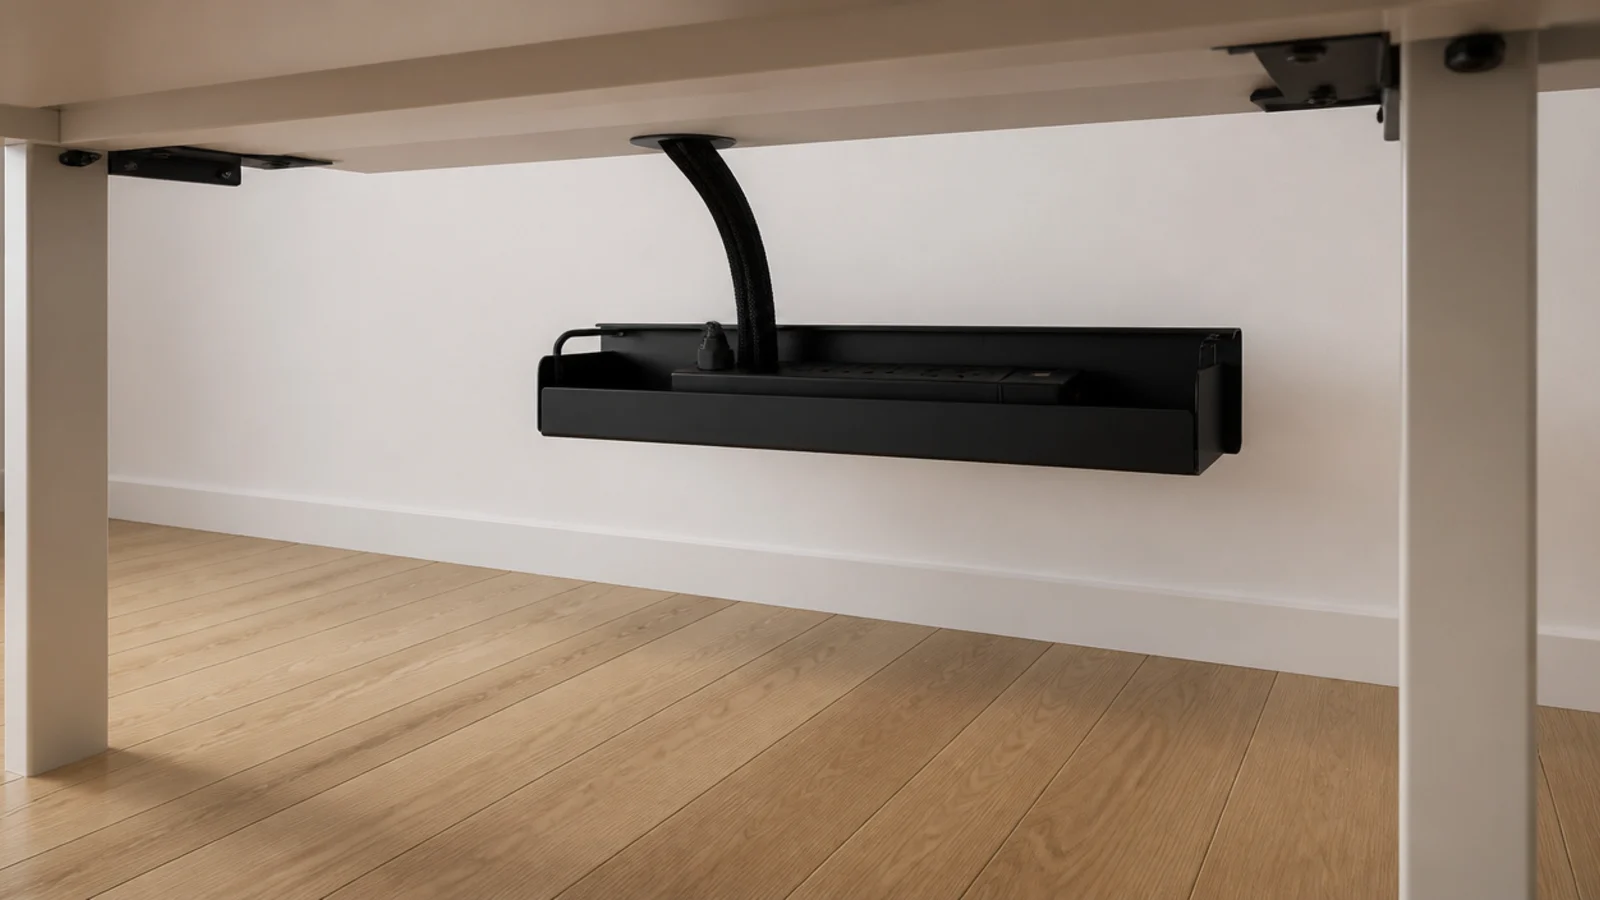
One grommet through the top, one tray under the back rail for the power strip, and one painted channel for anything climbing the wall. The aim is a single visible run rather than five. Keep the strip switch reachable, and never run a lead under a rug where you cannot inspect it.
4. Float the screen on an arm
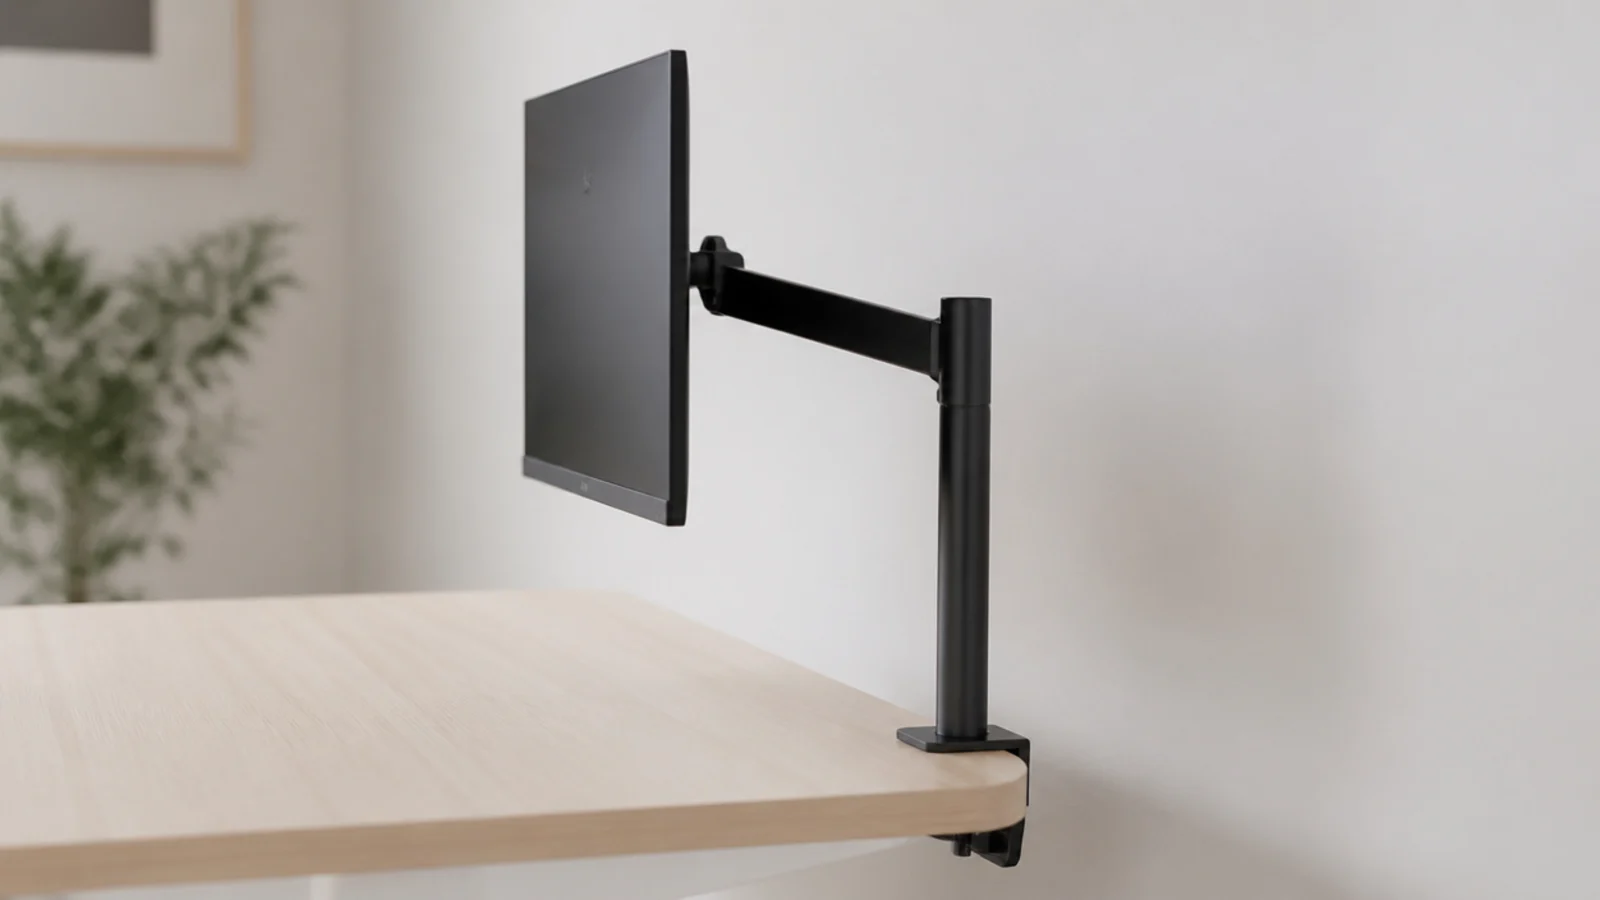
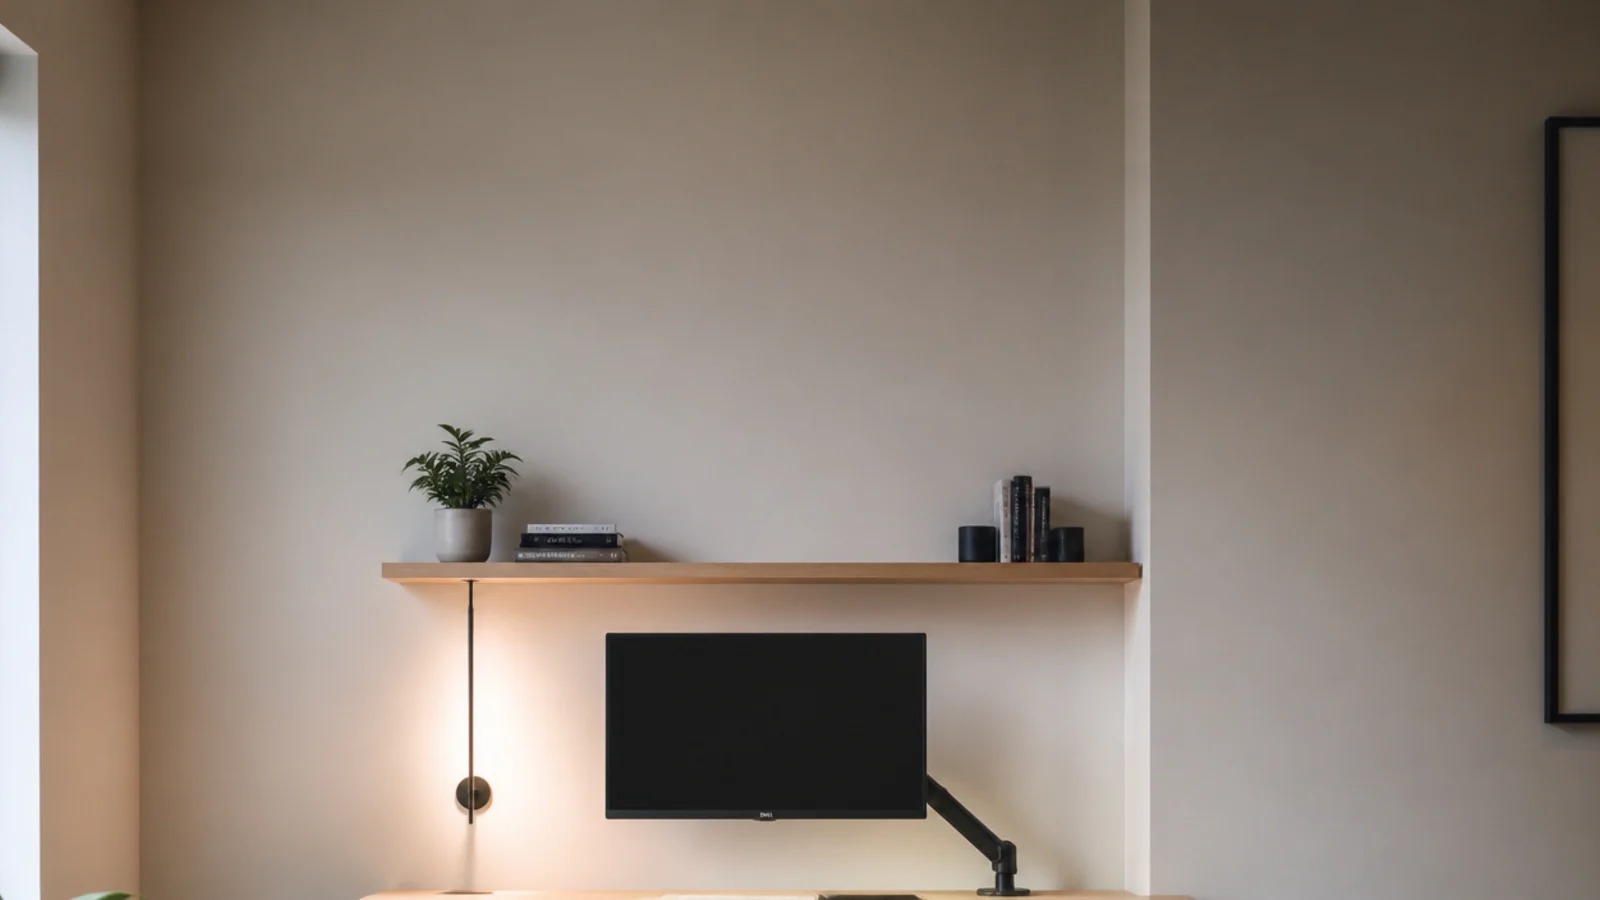
A clamp arm removes the last large object standing on the desk and lets the panel sit back over the rear edge. Check the clamp range against your top thickness, usually 0.4 to 3.4 inches, and route the cables inside the post so the run behind the desk stays clean.
5. Give the desk exactly one drawer
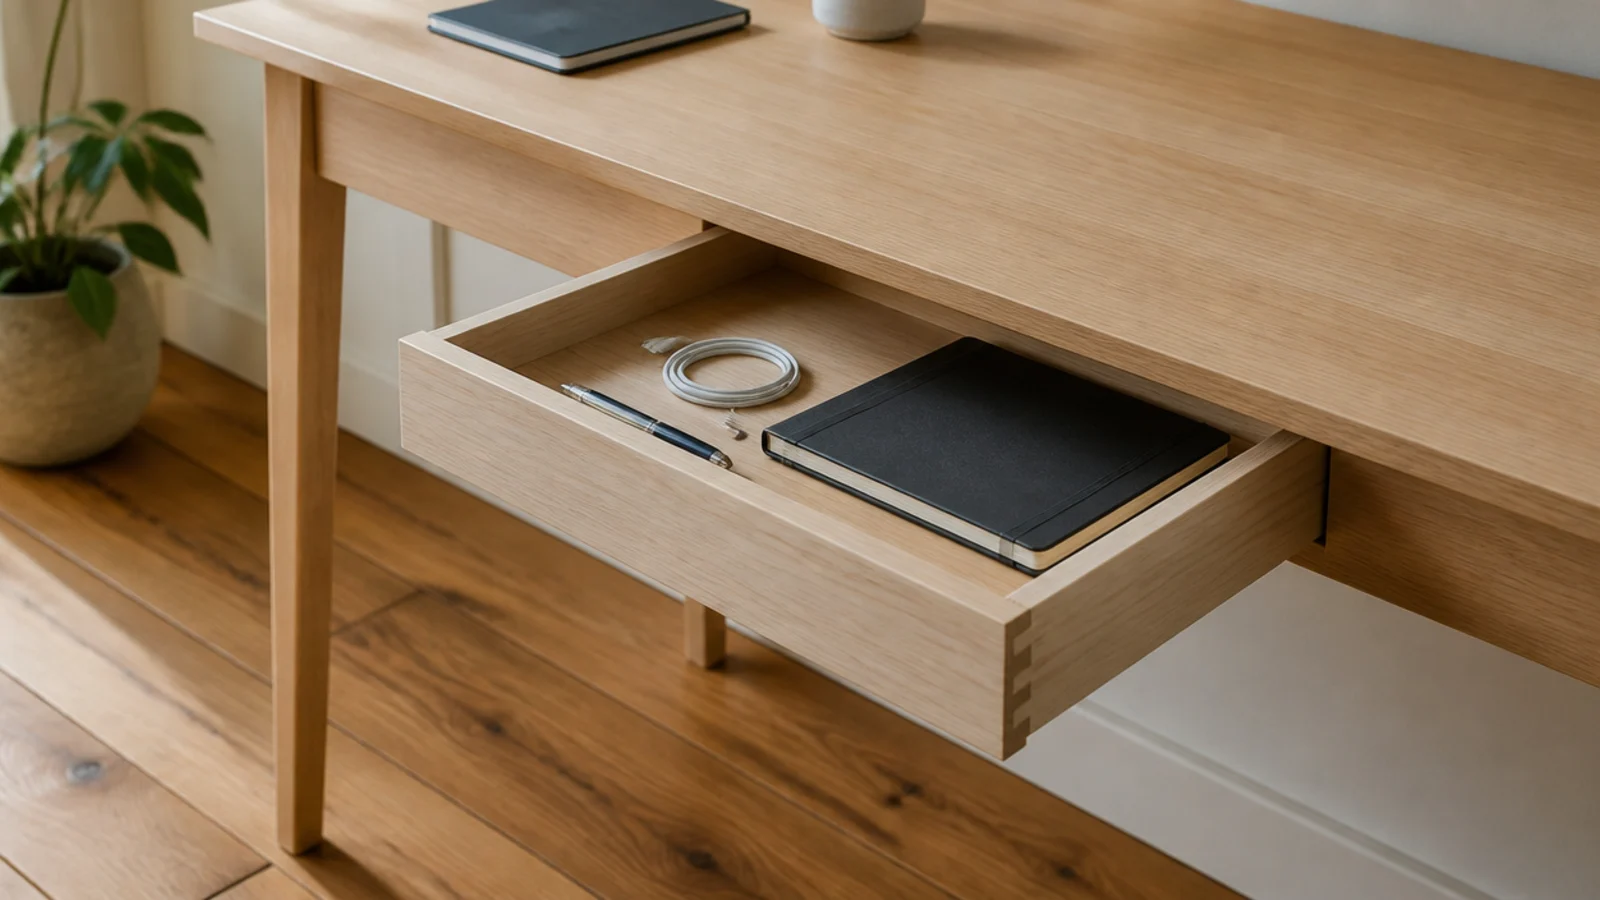
One shallow drawer, 3 to 4 inches deep, holds pens, cables and a notebook laid flat. Keep it half empty on purpose — a drawer that starts full stops absorbing what would otherwise live on the surface. Keep 25 inches of floor clearance beneath it for your knees.
6. Paint desk, wall and shelf the same tone
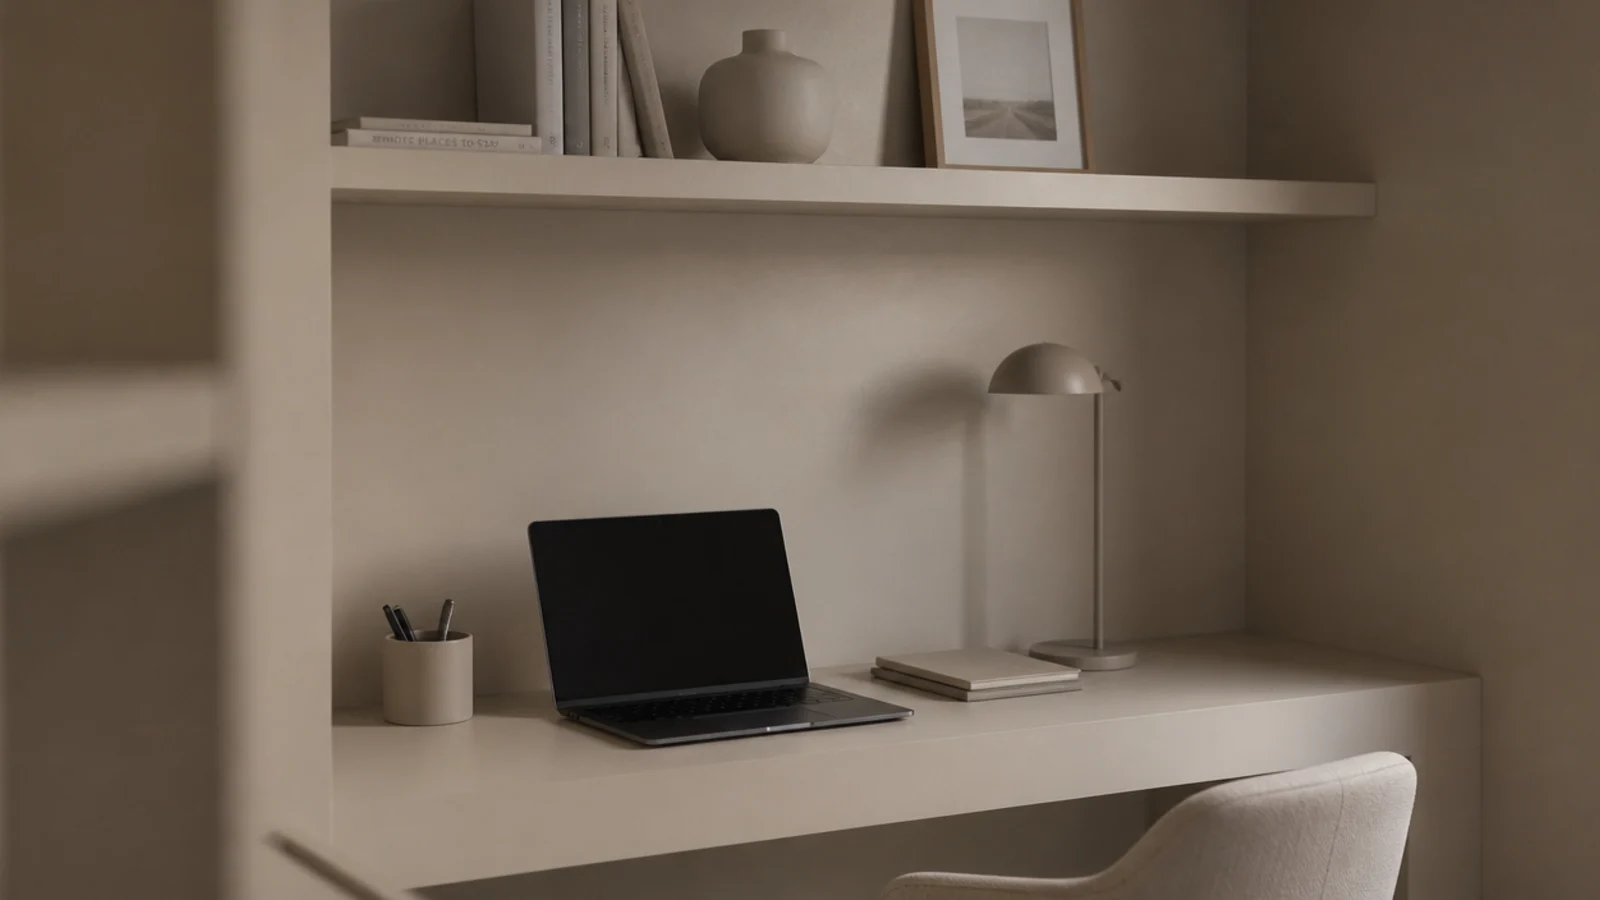
When three pieces share a colour the eye reads them as one plane rather than three objects. It is the cheapest way to make a corner look built rather than assembled. Use the same sheen as well as the same colour, or the difference shows in raking light.
7. Hold the palette to two tones and one metal
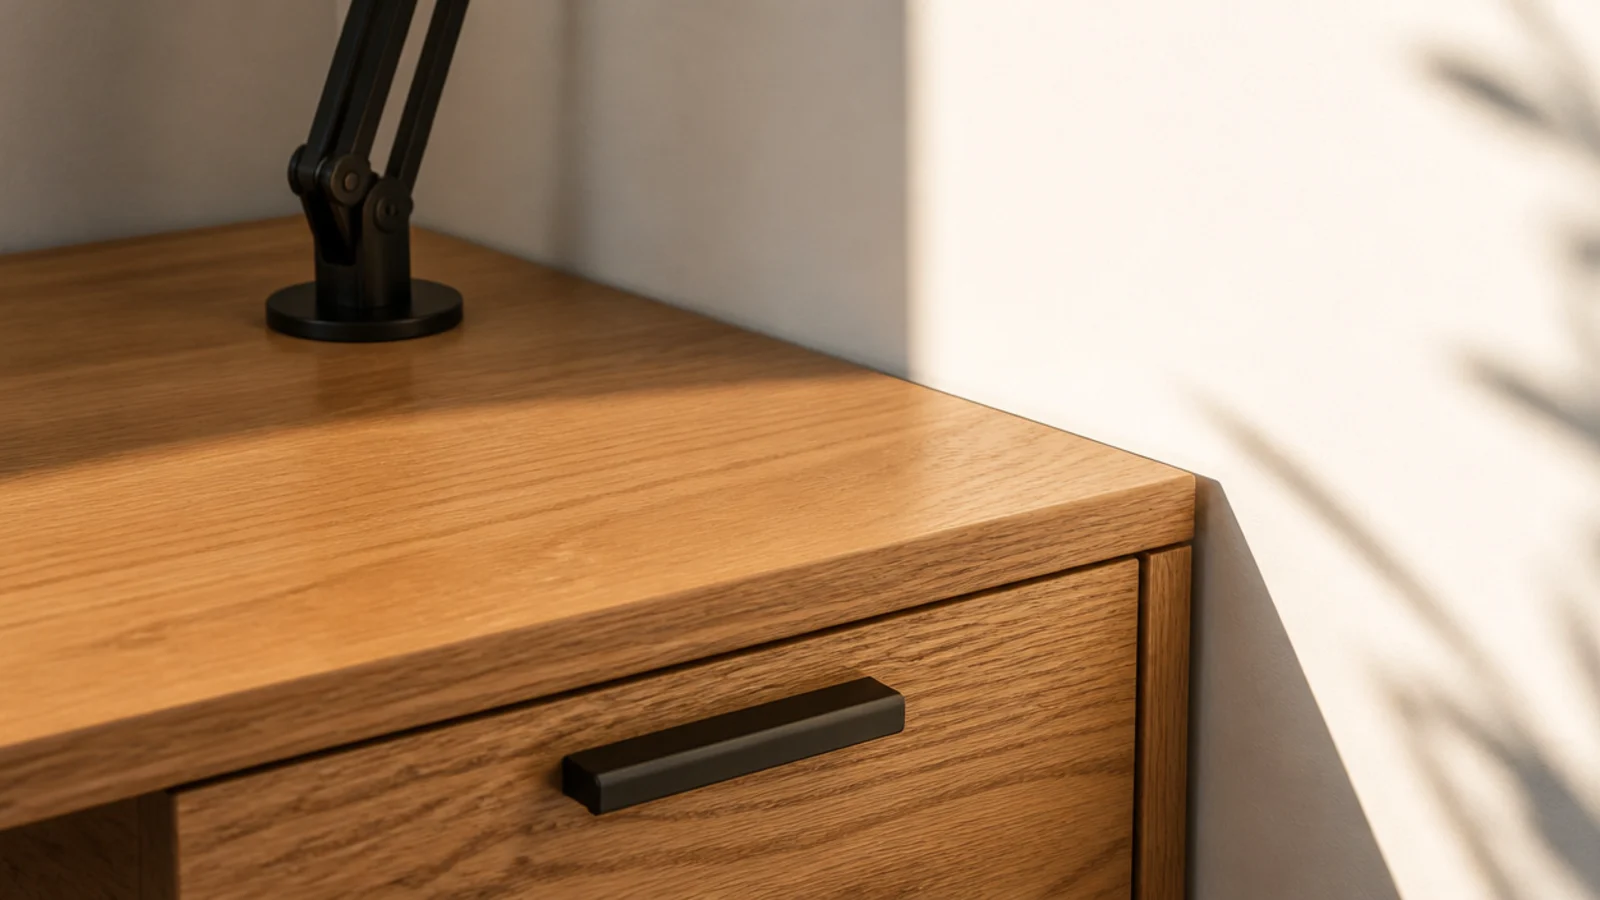
Two tones and one metal is the whole scheme. A warm timber top, a near white matt wall, and black or brass on the lamp arm and the drawer pull. All white reads clinical and shows every mark; two warm tones stay calm and forgive daily use.
8. Mount the lamp on the wall, not the desk
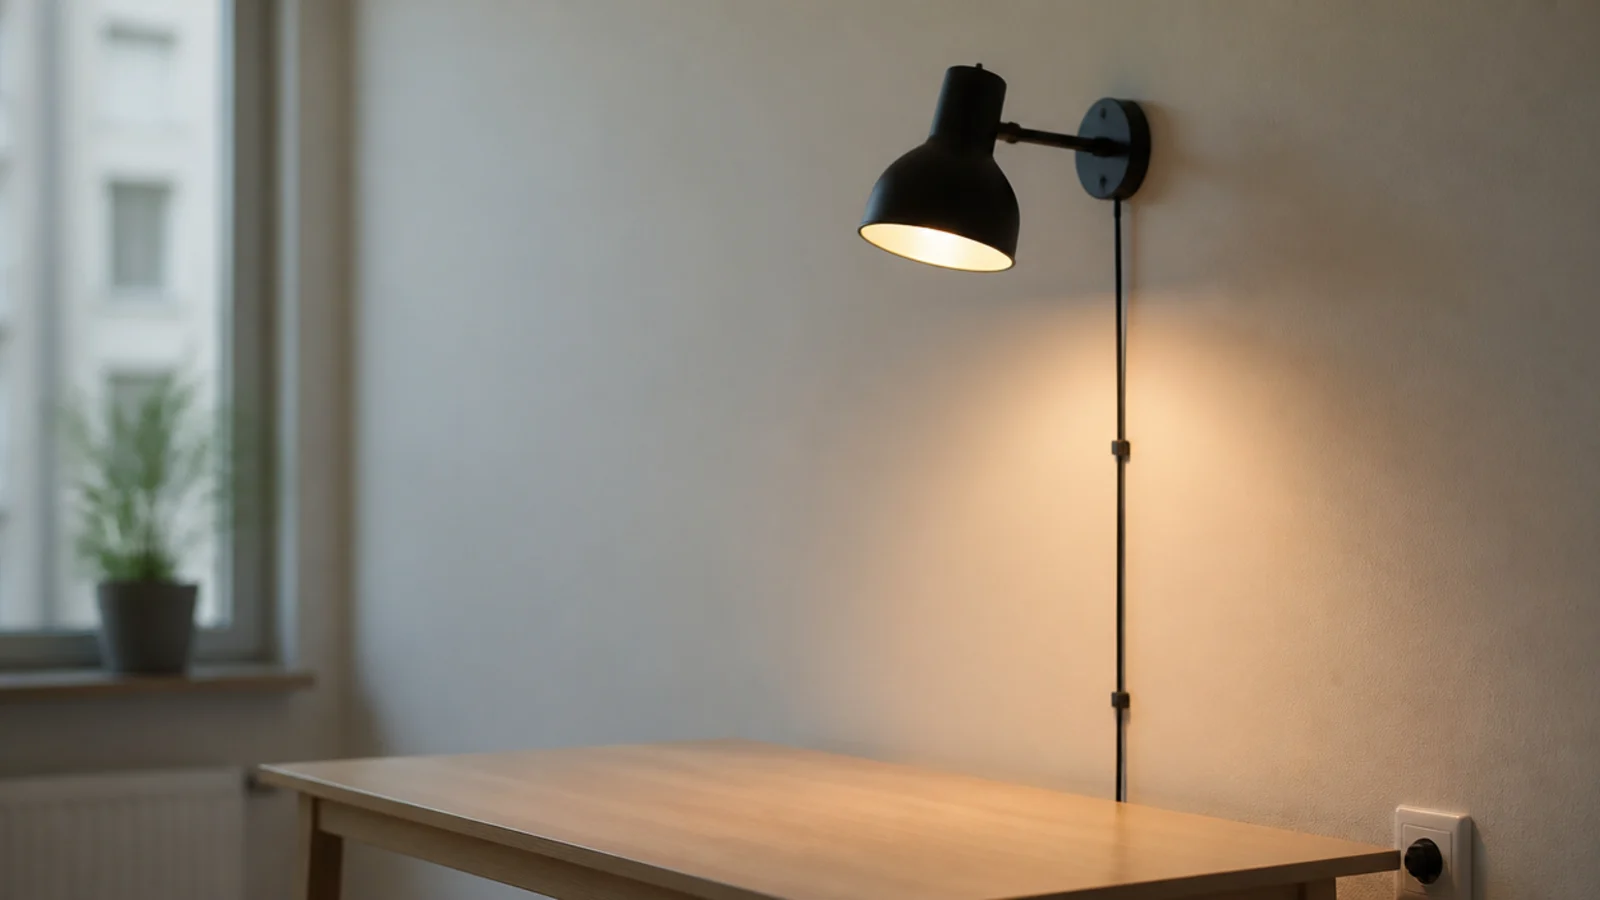
A lamp base takes 25 to 40 square inches and a cable across the surface. A wall lamp 15 to 20 inches above the desk does the same job with neither. Plug-in versions suit a rental if you clip the cord down the wall in one straight run.
9. Replace the desktop organiser with a drawer insert
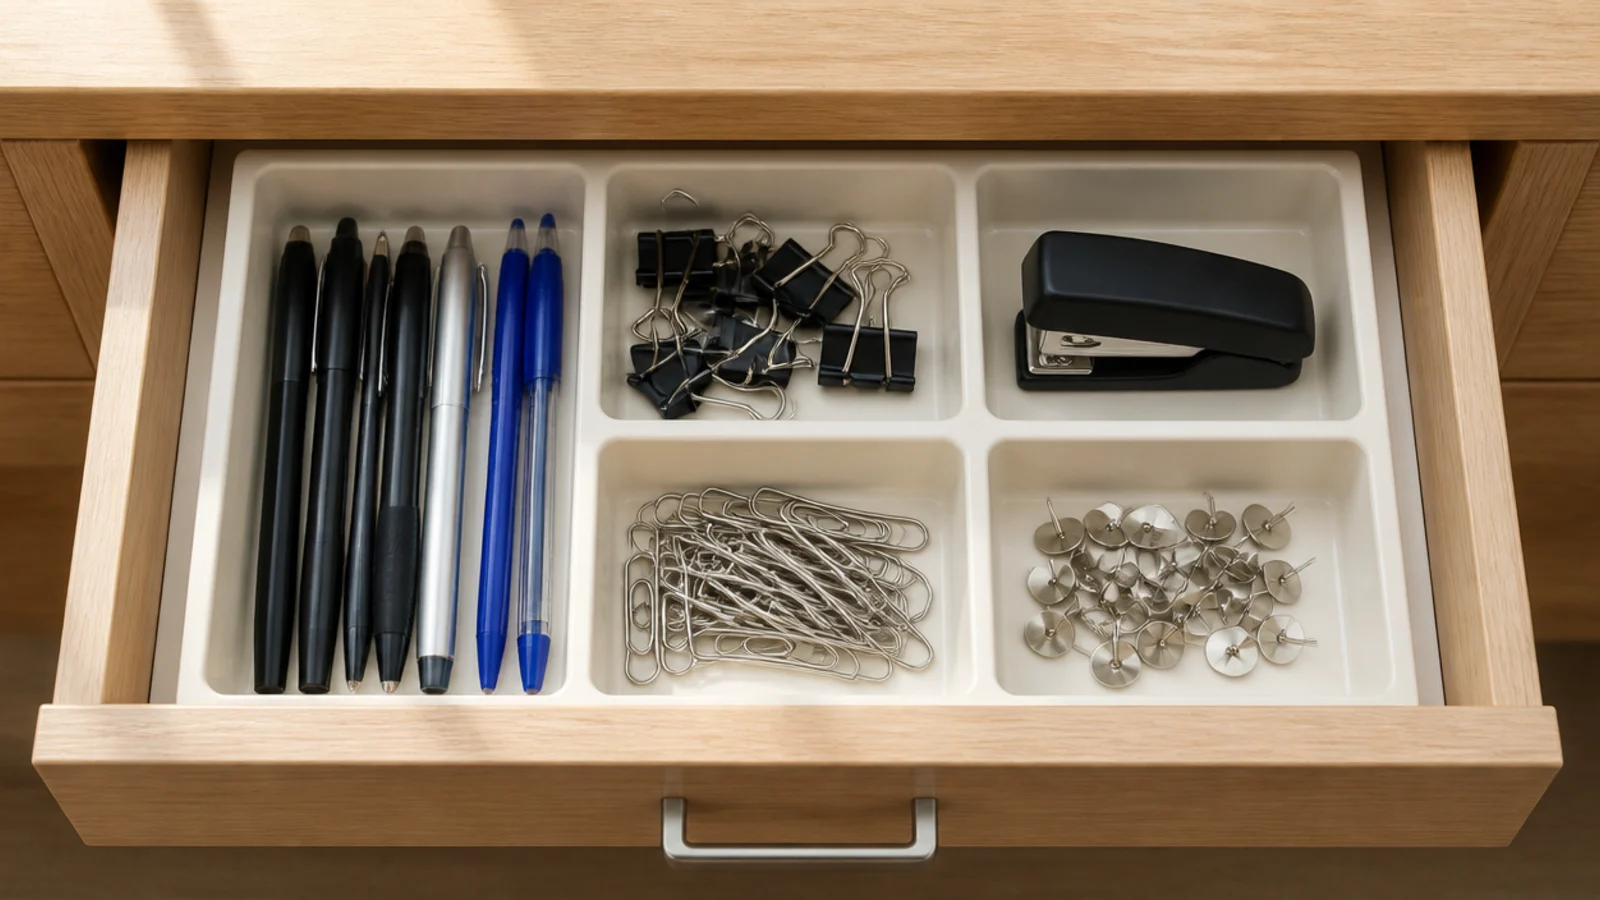
A divided insert inside the drawer does everything a desktop caddy does and none of it in view. Measure the internal drawer width before buying, since inserts are sold to fit standard 12 and 15 inch boxes and a forced fit stops the drawer closing.
10. Match the keyboard and mouse to the desk tone
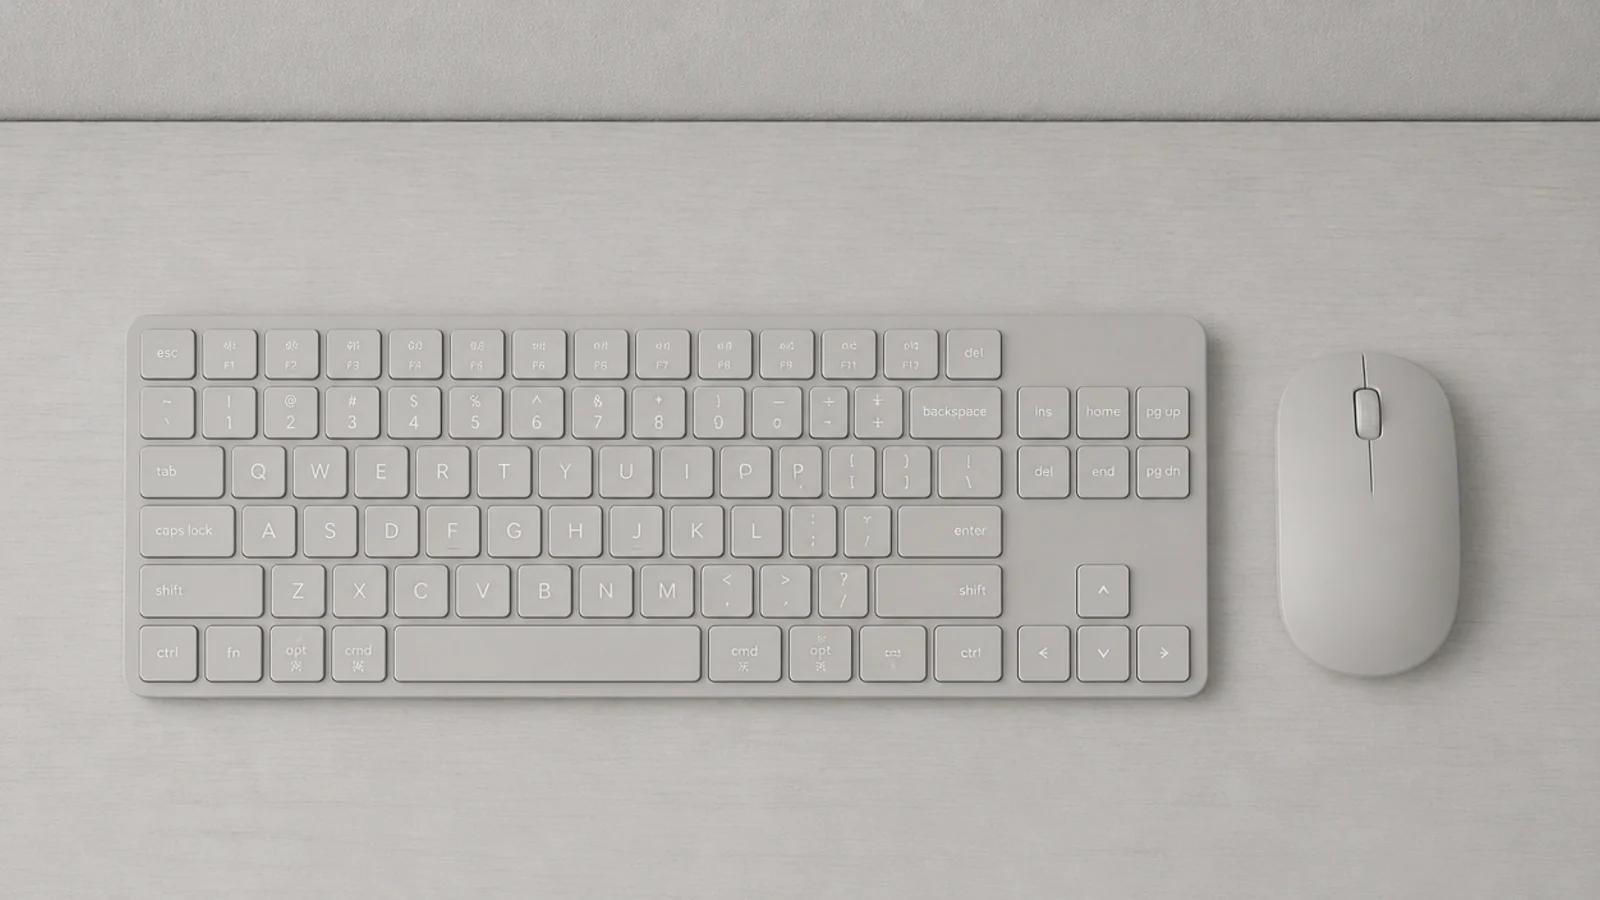
Black peripherals on a pale desk are two high-contrast objects sitting in the middle of your empty surface. A pale grey or off-white set in the desk tone recedes instead. It is the single easiest way to make a working desk photograph as calm as an empty one.
11. Style the single shelf at two heights
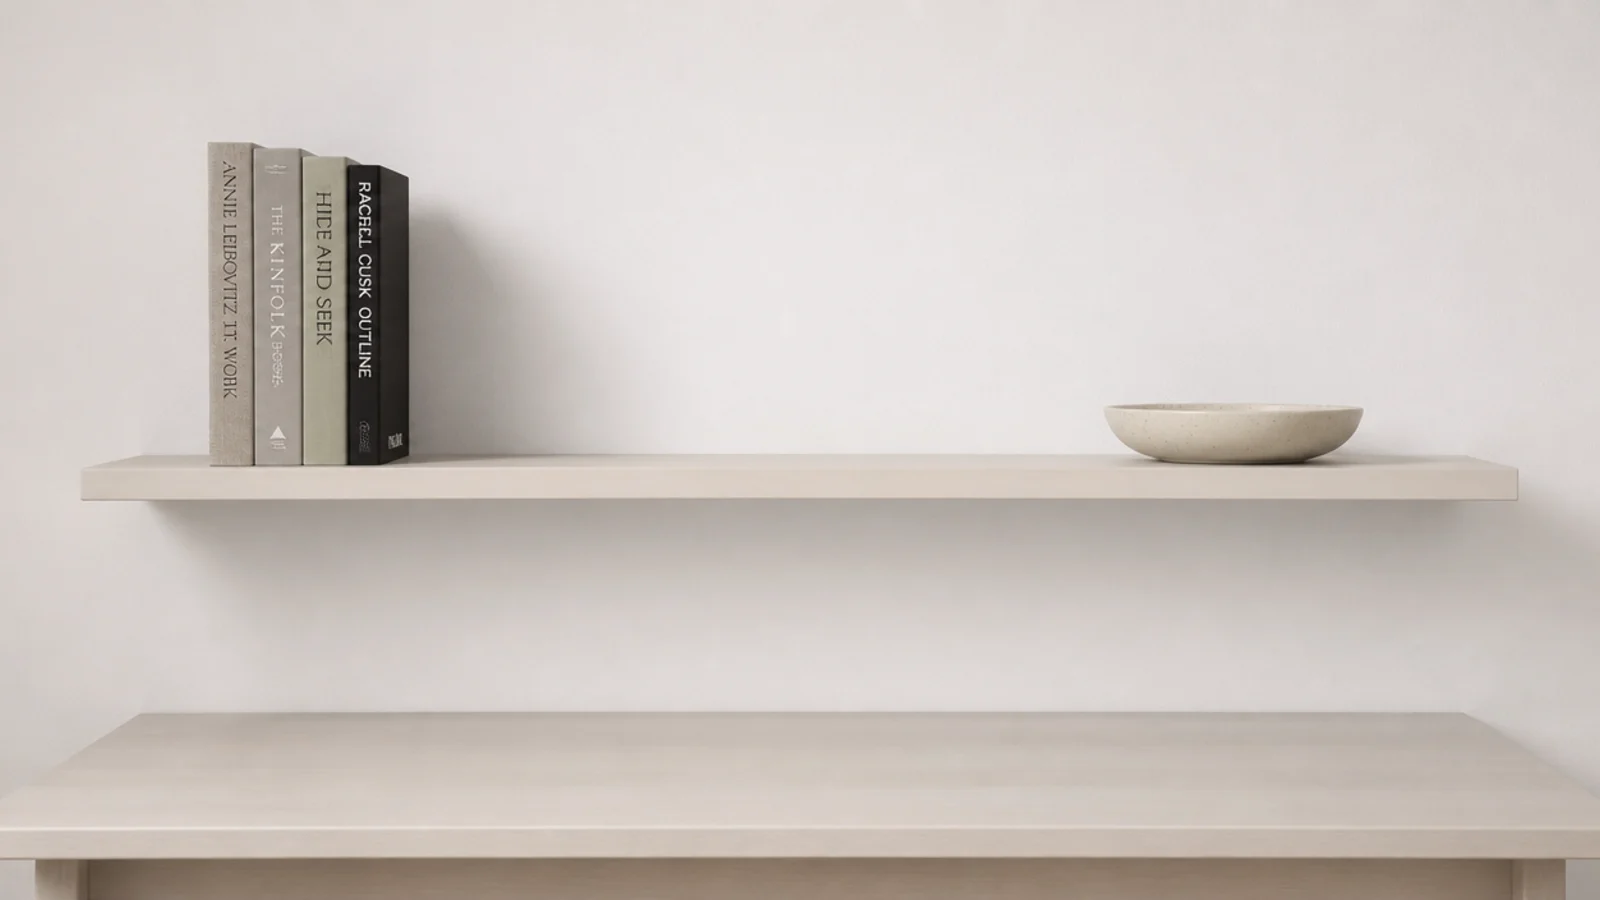
Books upright at one end, one flat object at the other, and a third of the length empty. Two heights on a 9 inch deep shelf reads as composed from the chair. Three heights, and you are back to a display rather than a study corner.
12. Choose closed storage over open shelving
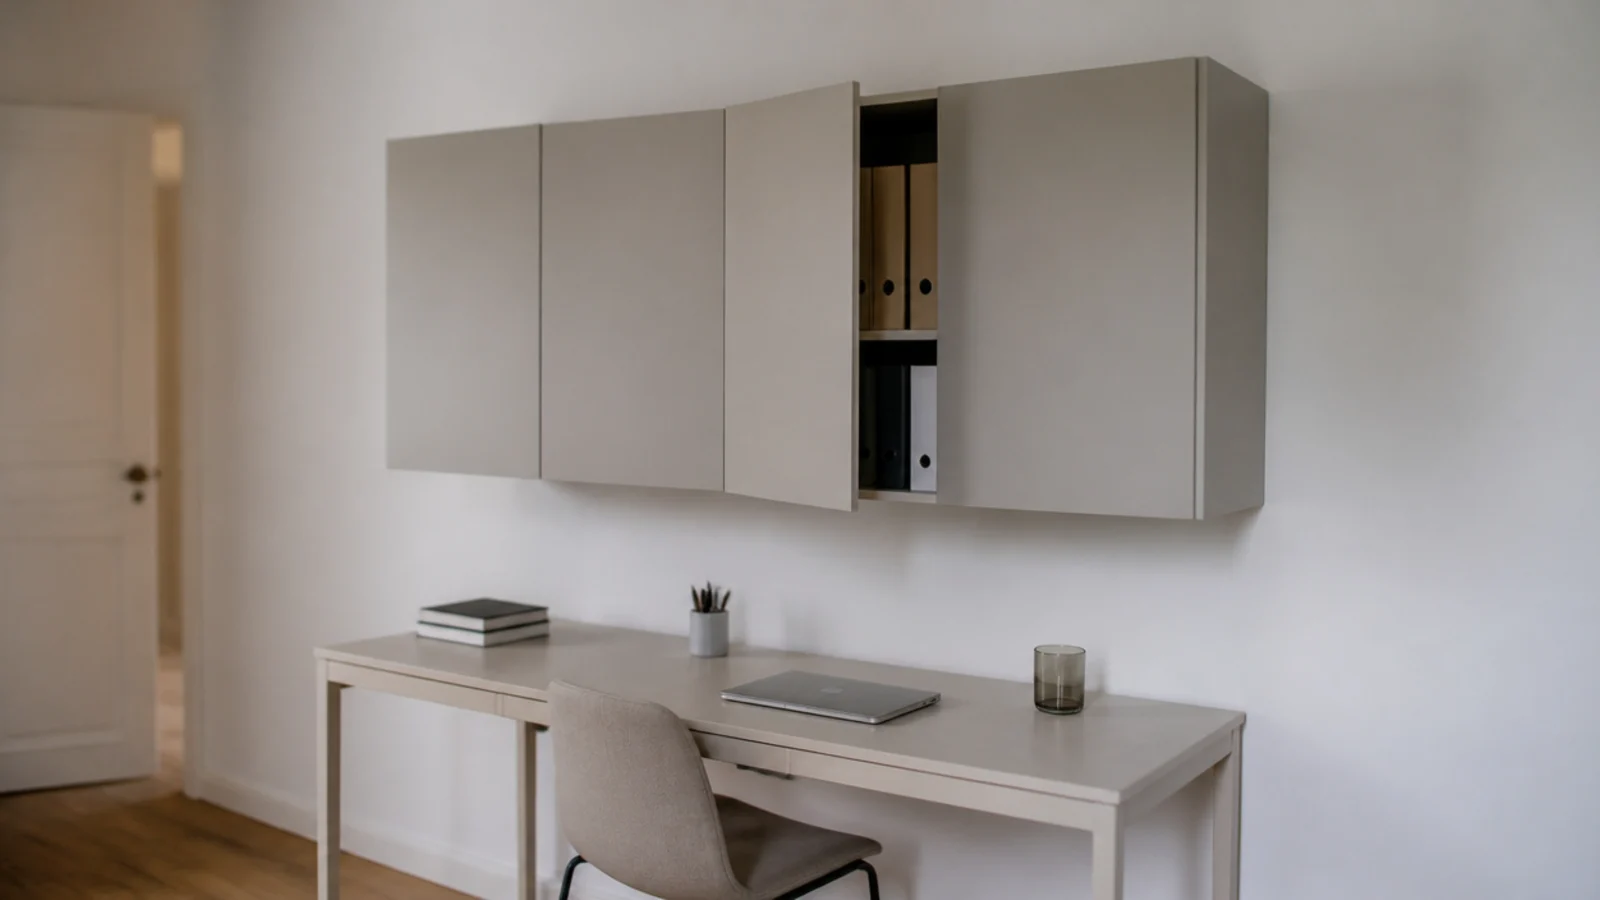
A flat-fronted wall cabinet 10 inches deep hides the chargers, the folders and the spare cables entirely. Open shelves in a pared-back scheme force you to curate every object on them, which is a task you will lose by week three.
13. Lean frameless prints on a four-inch ledge
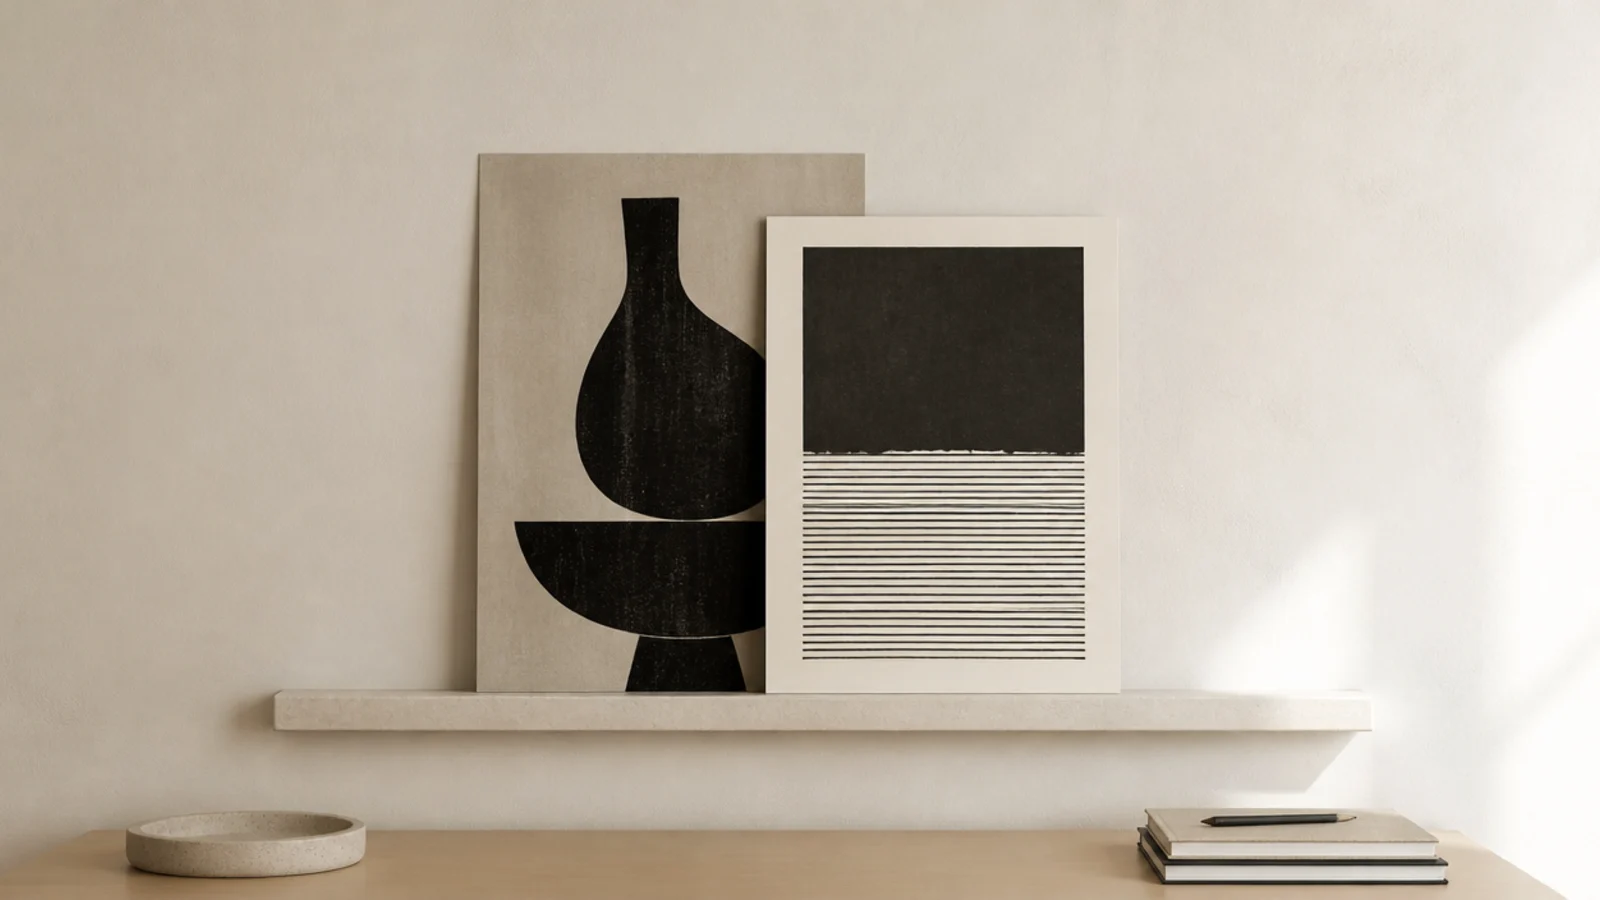
No frames, no glass, no fixings beyond the ledge itself. Prints can be swapped in seconds and overlapped without measuring. A shallow front lip keeps everything in place, and 4 inches of depth takes an A4 sheet leaning safely.
14. Allow exactly one plant, in one pot
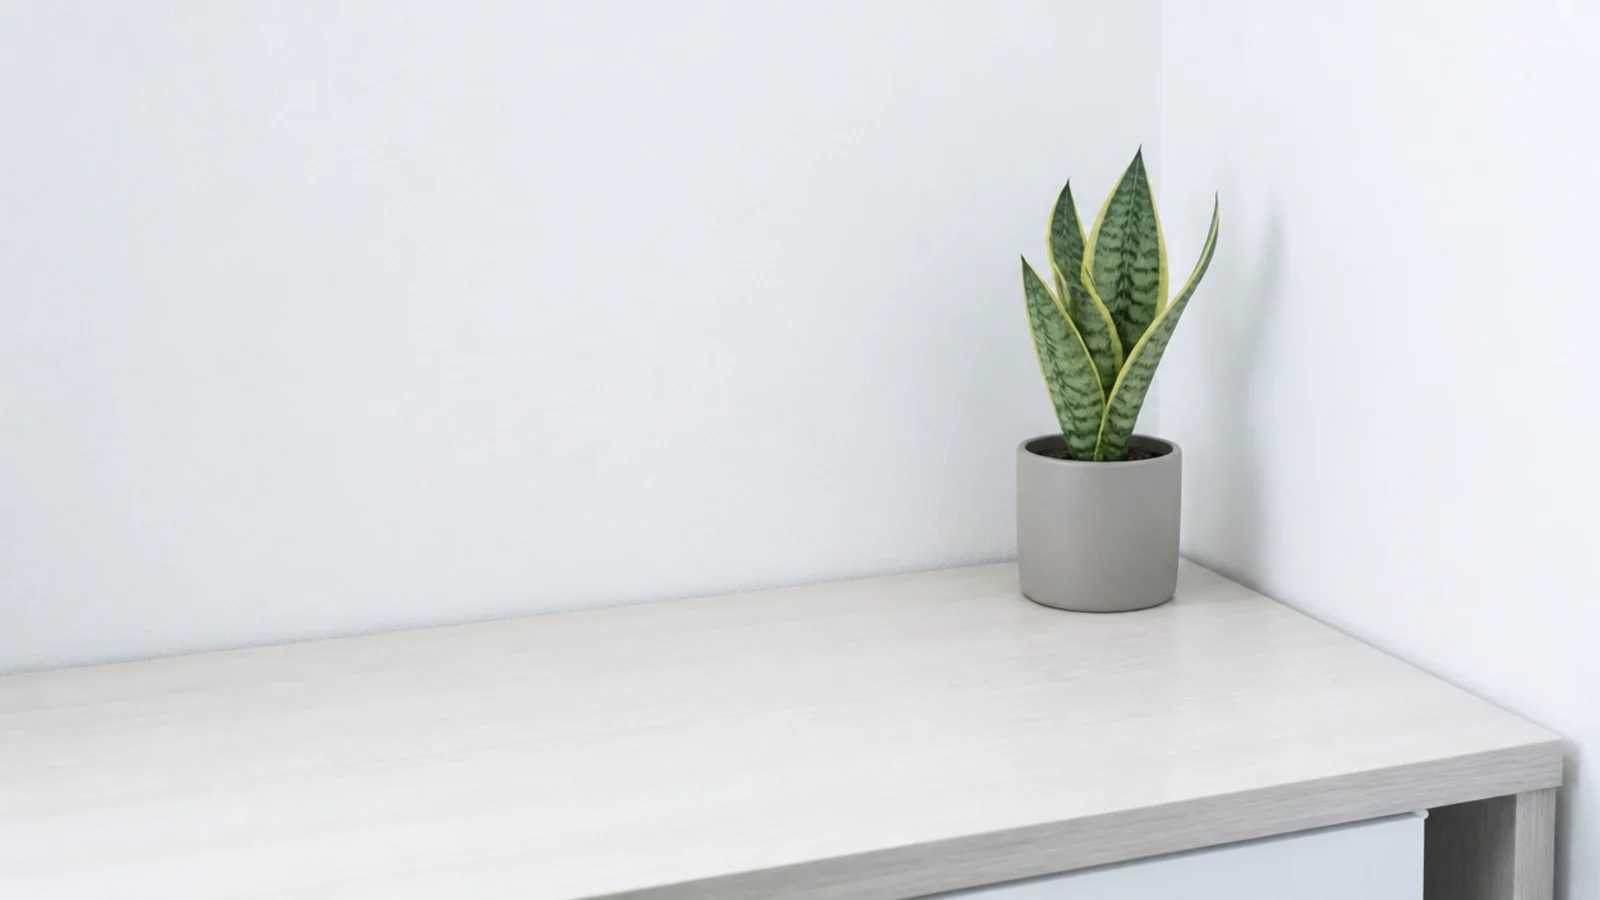
One pot under 4 inches across, in a plain matt finish, at the far corner or on the shelf. A snake plant or a pothos both tolerate low light. Two plants become a collection, and a collection is the opposite of what this scheme is for.
15. Take the charging lead through a single grommet
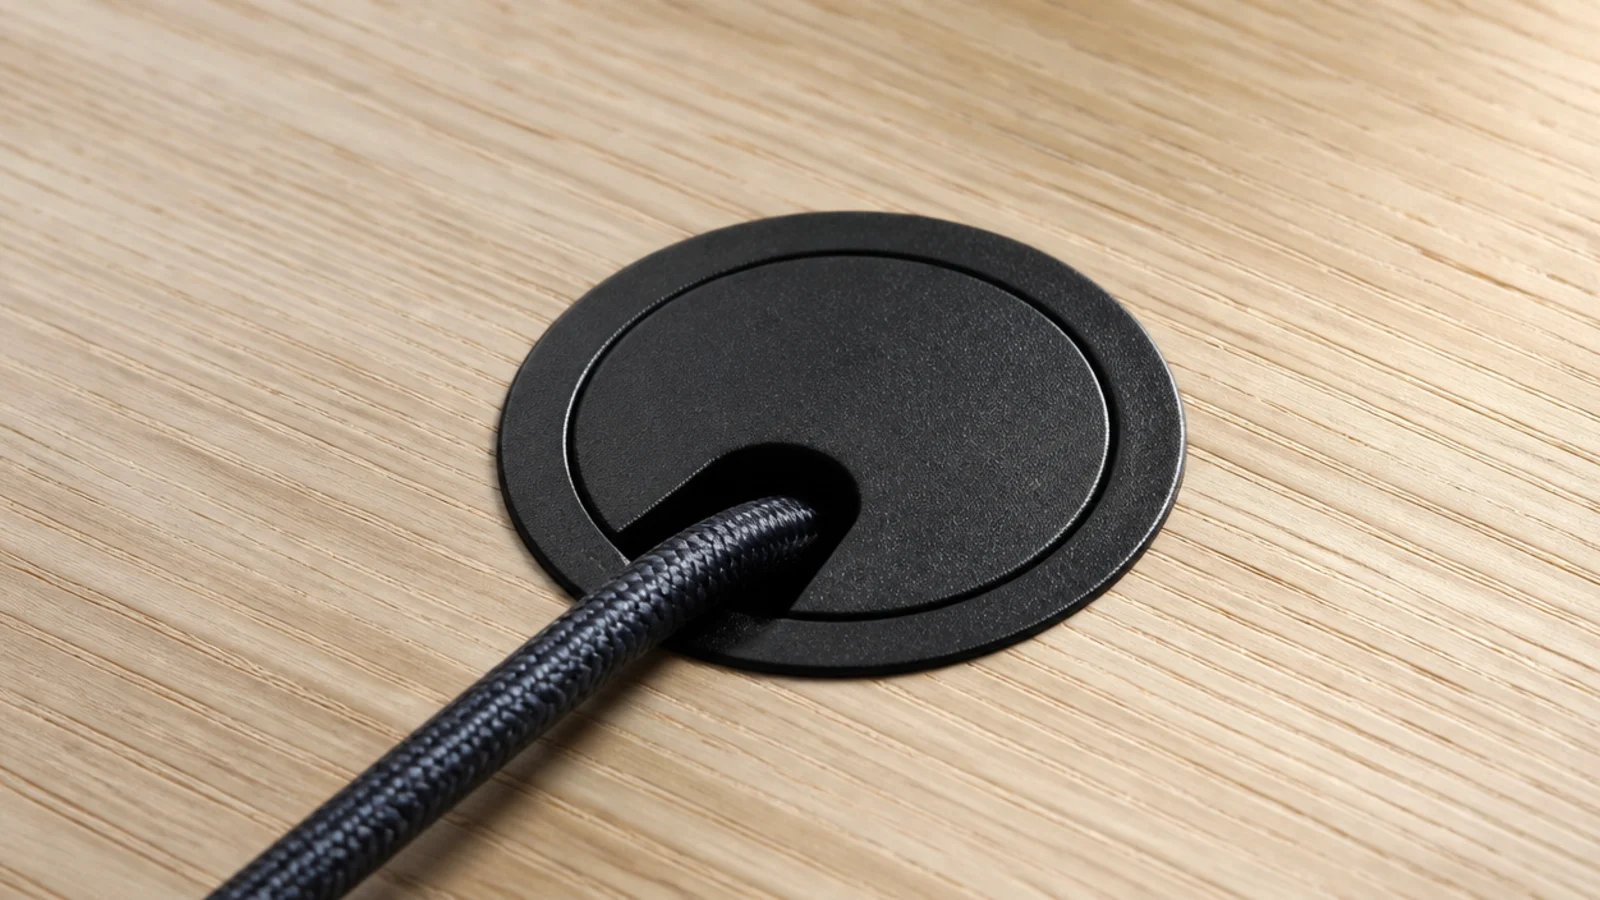
If one cable has to be visible, make it one and make it deliberate. A 60mm grommet through the back corner, a braided lead in the desk tone, and the rest of the run below the top. Everything else plugs into the strip in the tray.
16. Conceal the light source under the shelf
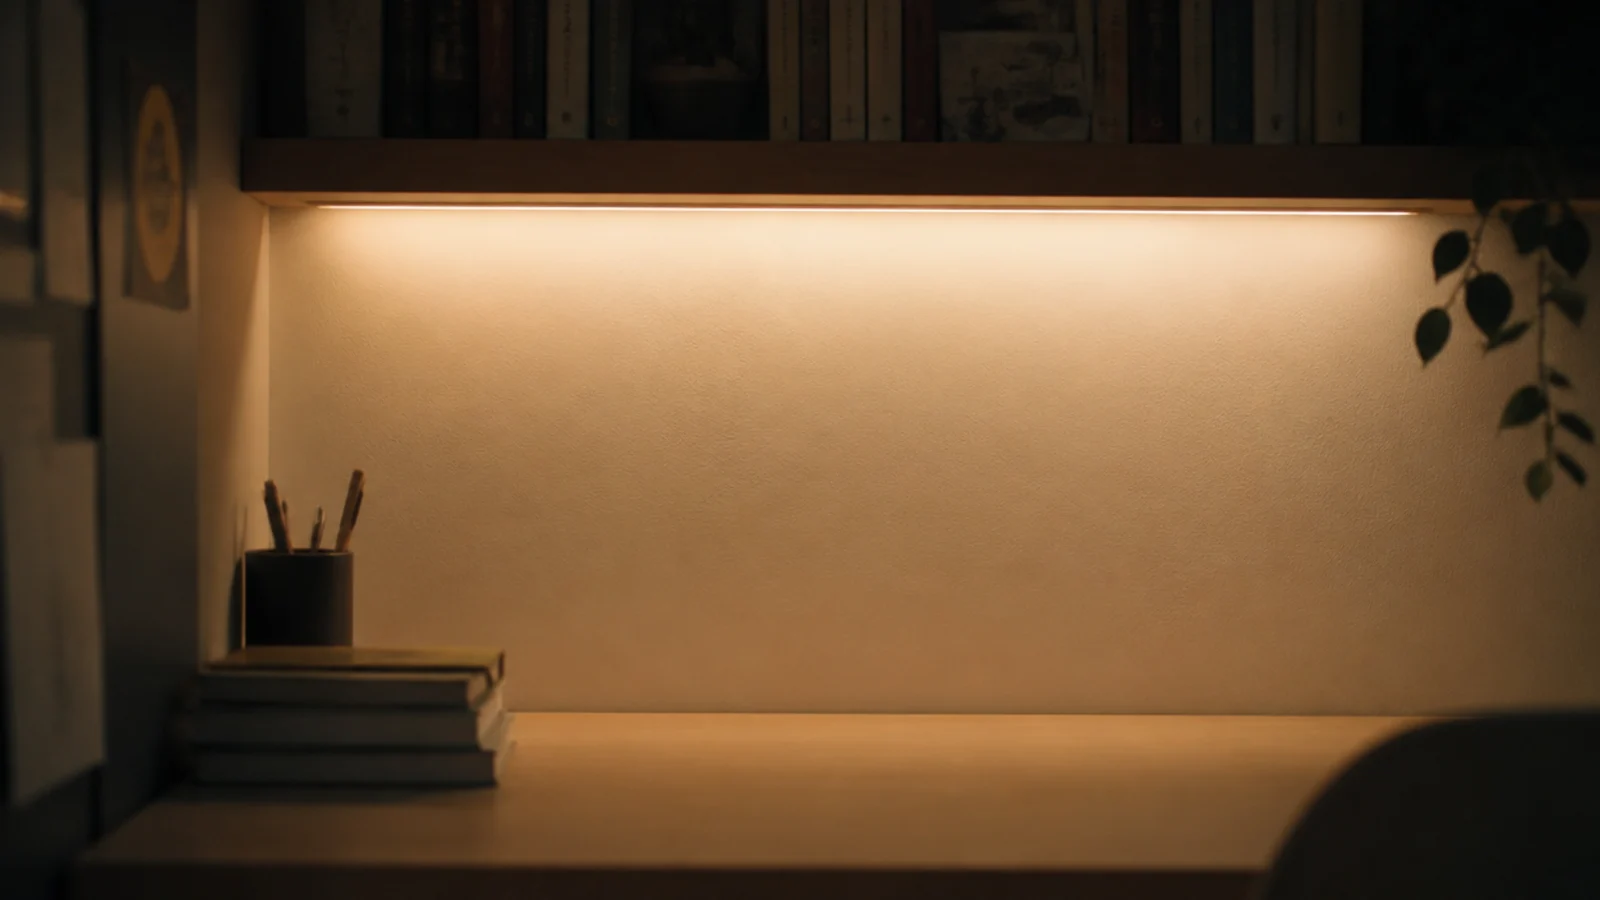
An LED strip pressed behind the shelf front lip washes the wall downward with the fitting itself invisible. Around $10 to $20 from a USB port, dimmed to roughly a tenth of screen brightness. It stops the dark-room contrast that makes a bright monitor tiring at night.
17. Buy storage boxes in one size, one colour
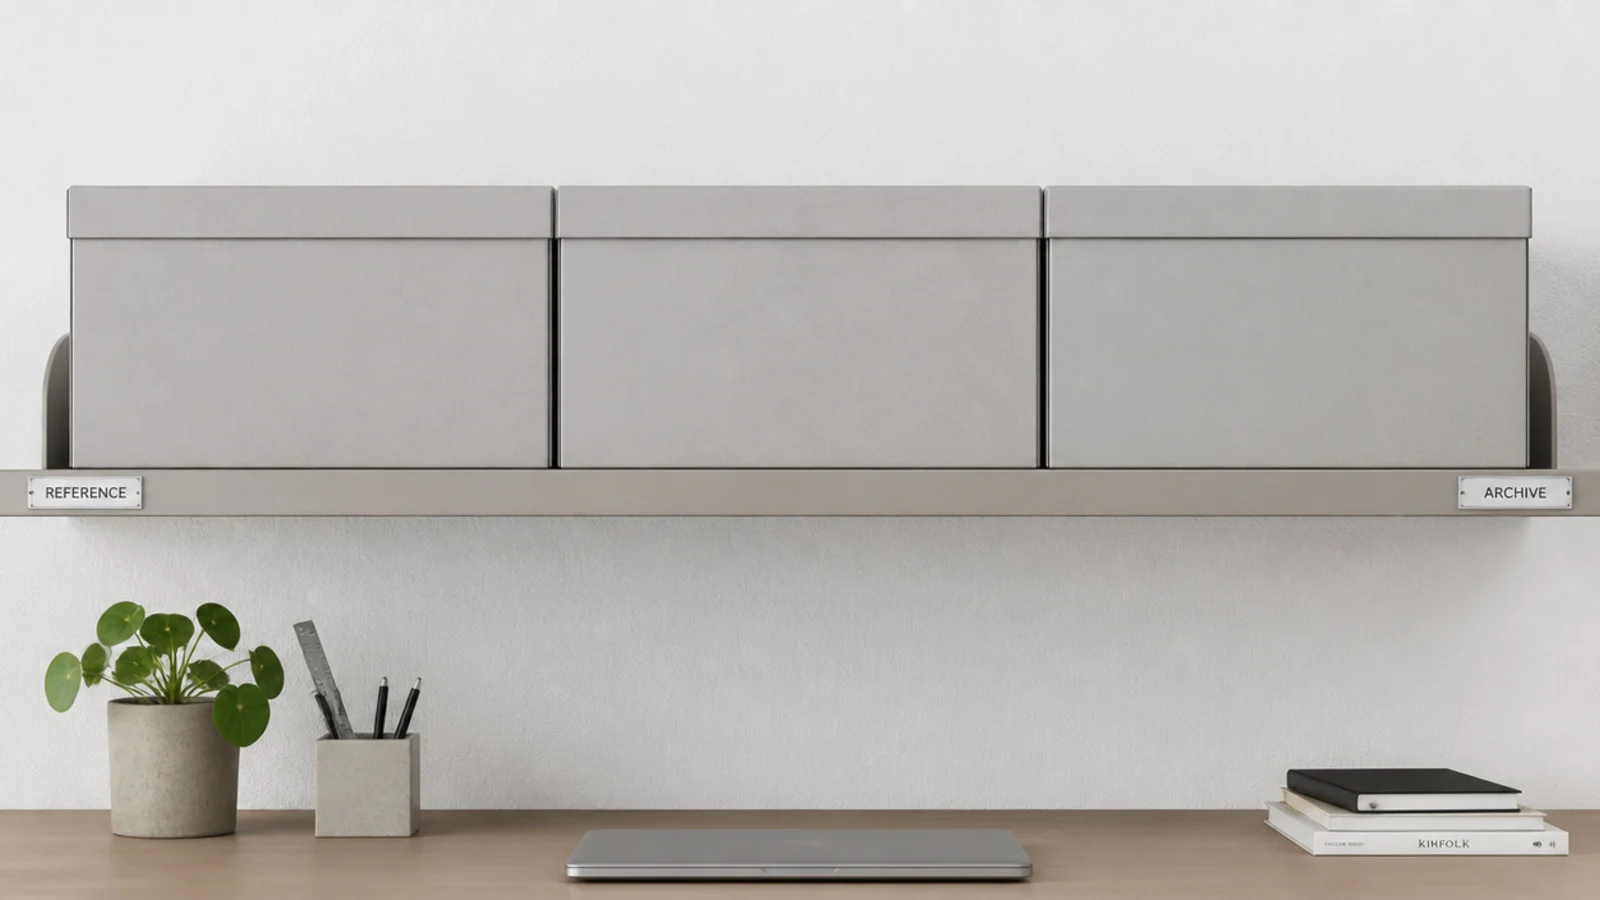
Three identical boxes on a shelf read as a single object; three different ones read as three problems. Label the short end so the row can be read from the chair. Match the box tone to the wall rather than the desk and the shelf almost disappears.
18. Move the printer out of the room entirely
A printer is the least minimal object most people own, and it usually lives on the floor under the desk with a fat cable and a paper tray sticking out. Put it in a cupboard elsewhere and print in batches. The floor under the desk stays bare, which is what makes the corner read as calm.
19. Choose a low-back chair with no logo
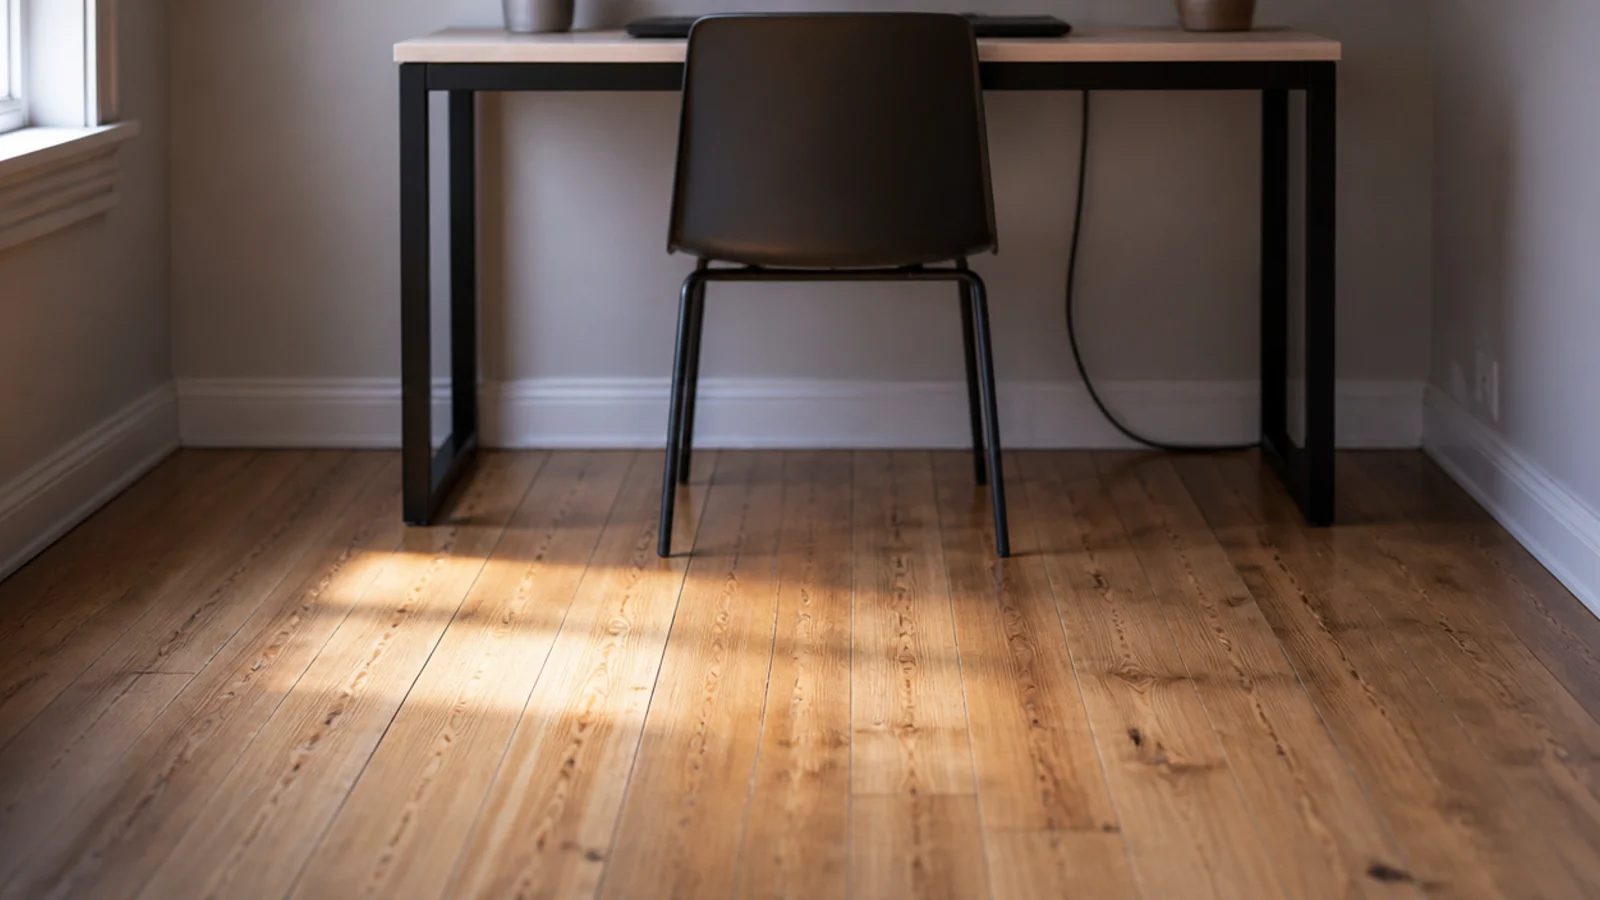
A tall mesh chair with a branded headrest is the largest and busiest object in most study corners. A low-back timber or upholstered chair sits below the desk line, tucks fully under and disappears when you stand up. Make sure it still sets your elbows at ninety degrees.
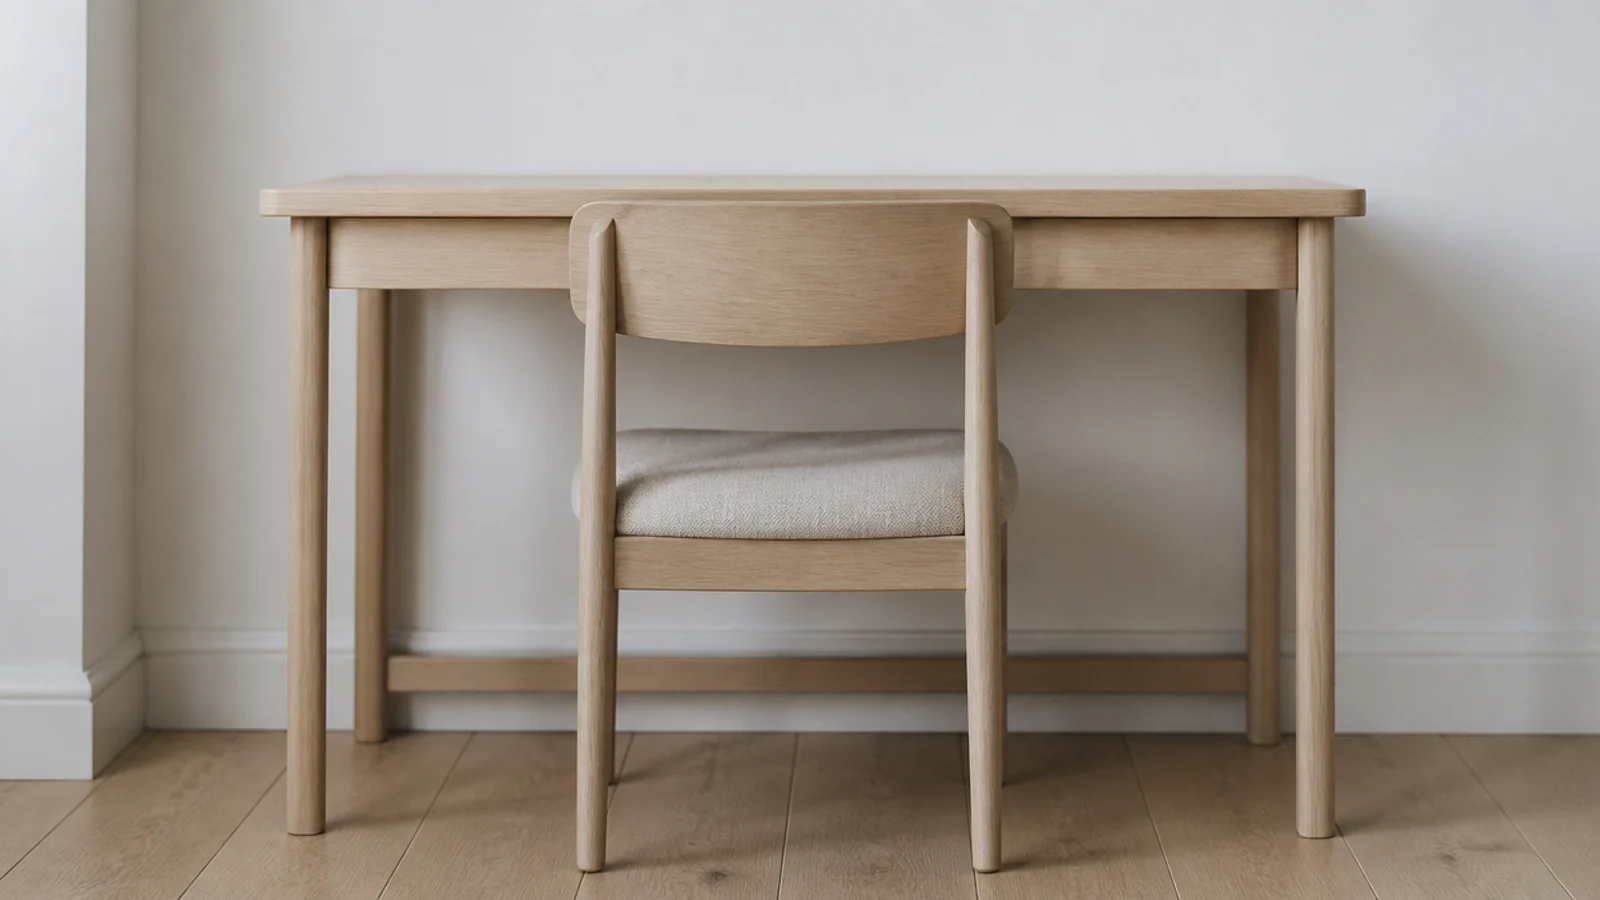
20. Leave the floor bare or use one plain rug
Bare boards under a pared-back desk are a choice rather than an omission, and they keep the corner reading as open. If the floor is cold or loud, one plain flat weave, 2 by 3 feet, with no pattern, does the job without adding a second visual element.
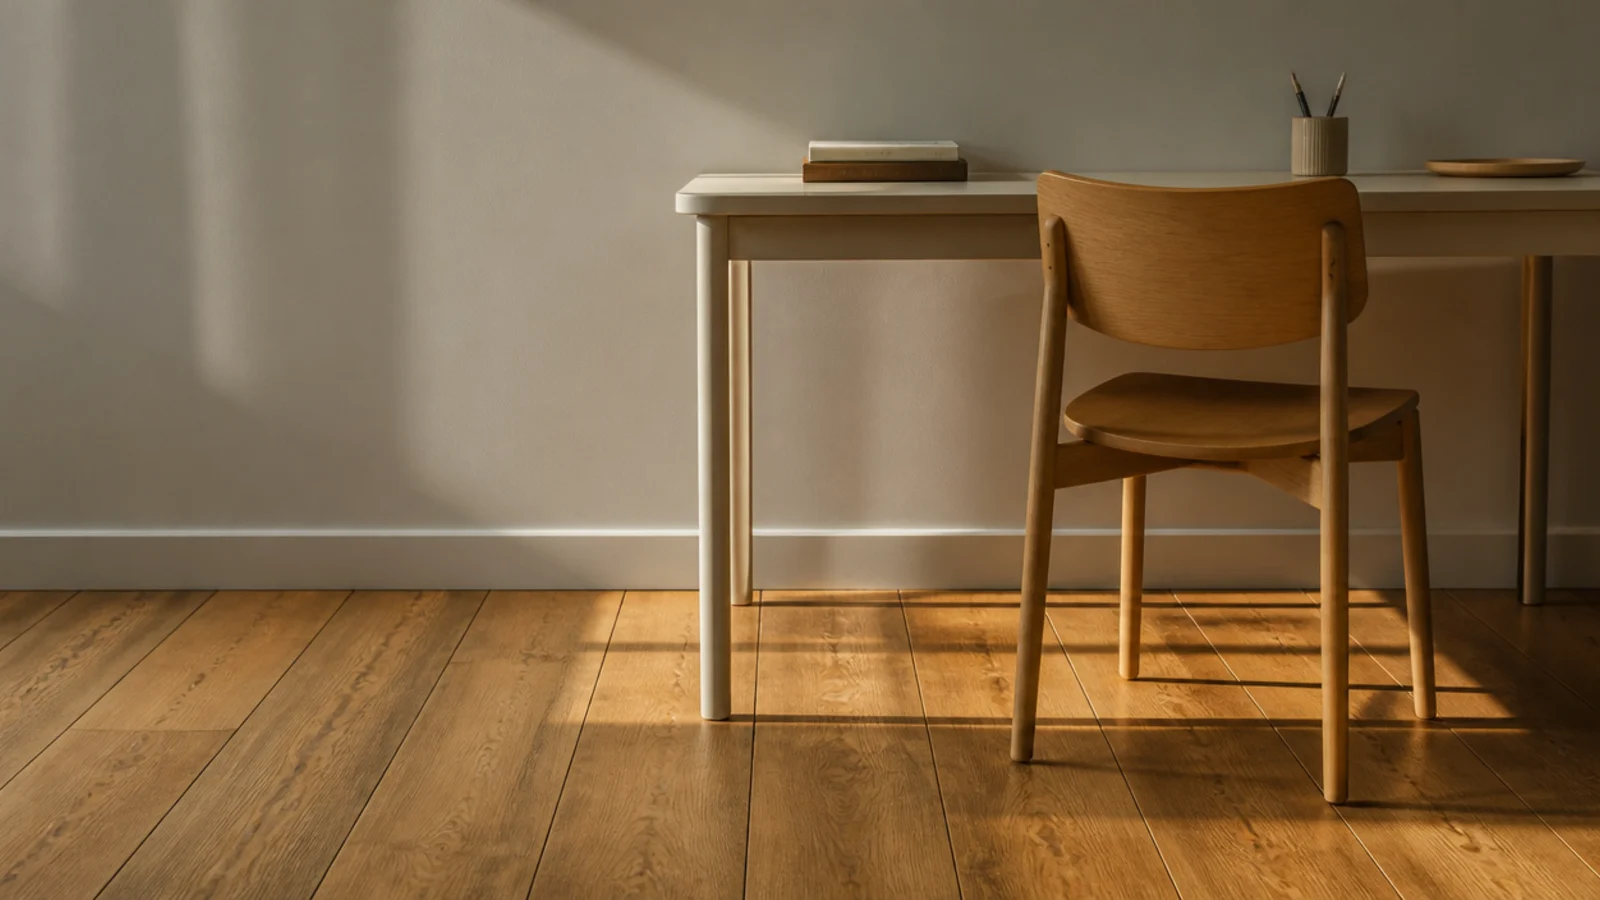
21. Keep the walls matt and near-white
Matt or dead flat paint in a soft near-white shows the light gradient across a wall rather than reflecting the lamp back at you. Sheen is behind most of the glare people blame on their monitor, and it is the first thing to fix in a corner that feels harsh.
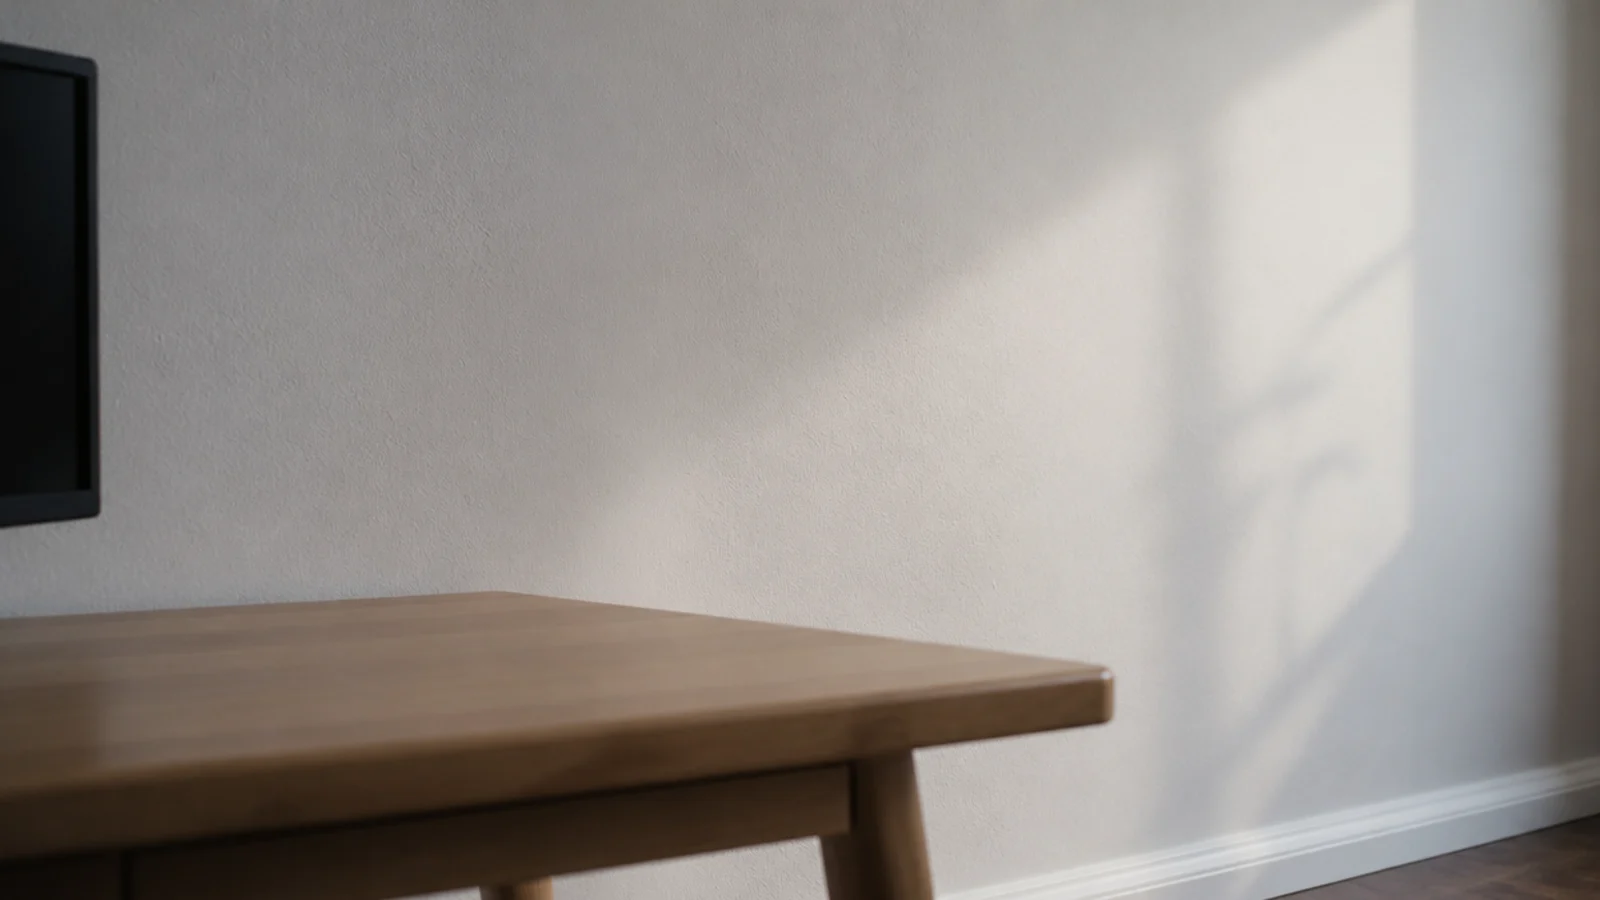
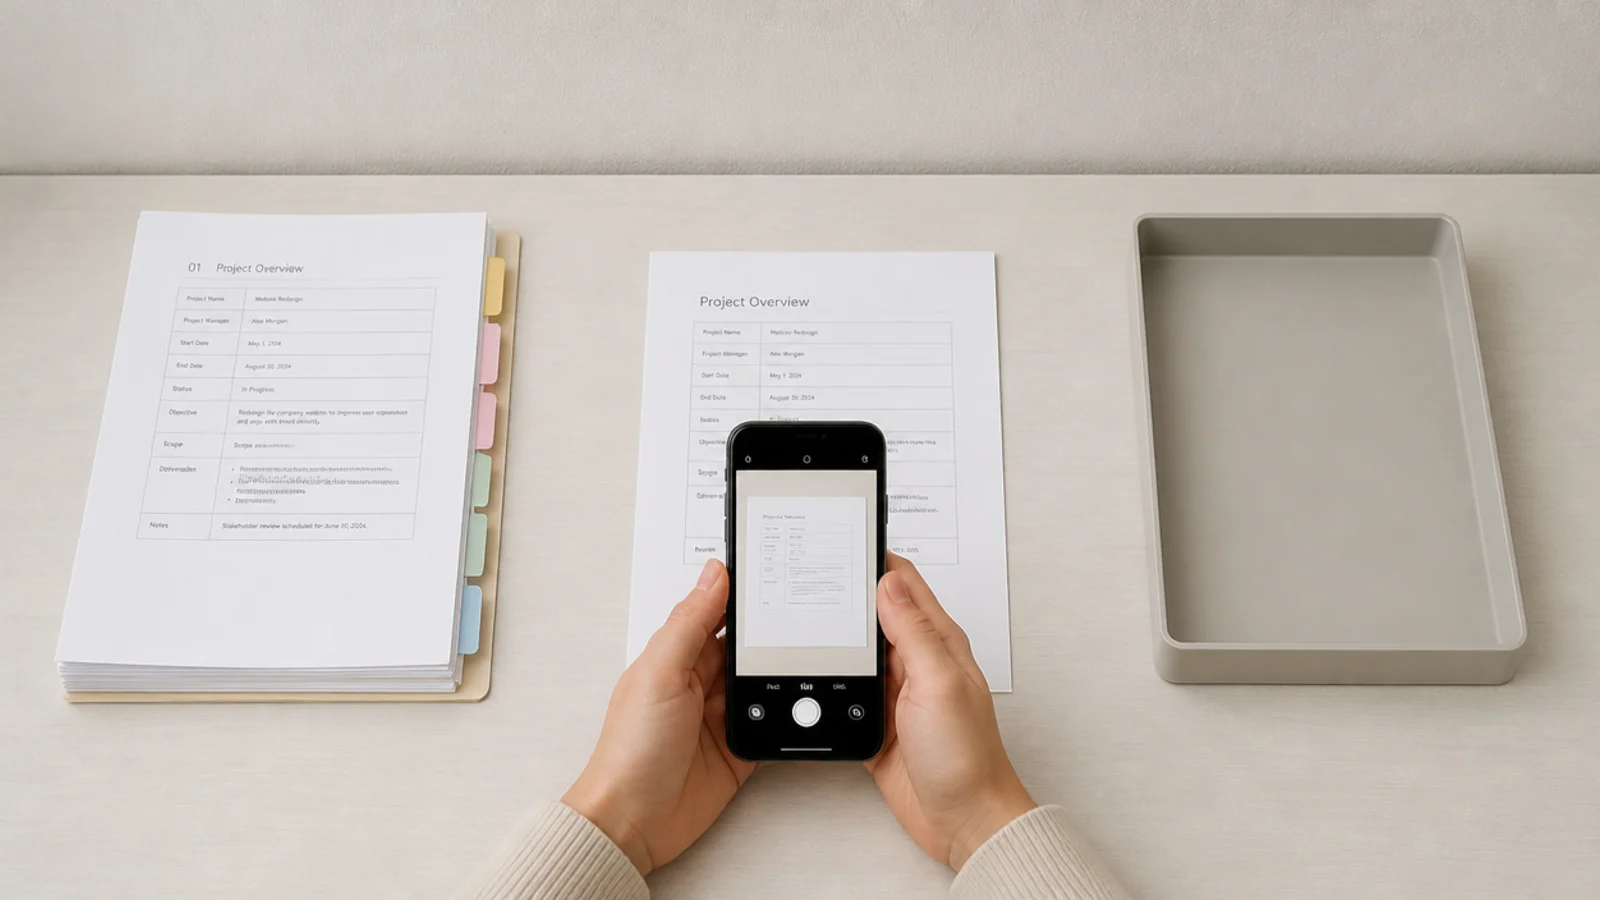
22. Scan anything not live this week
Paper is what defeats most pared-back desks. Capture it with a phone, file it, recycle the sheet. Only this week of paper stays in the room, in one wall pouch. Anything older goes into the single box on the shelf or leaves entirely.
23. Keep one notebook and one pen out at a time
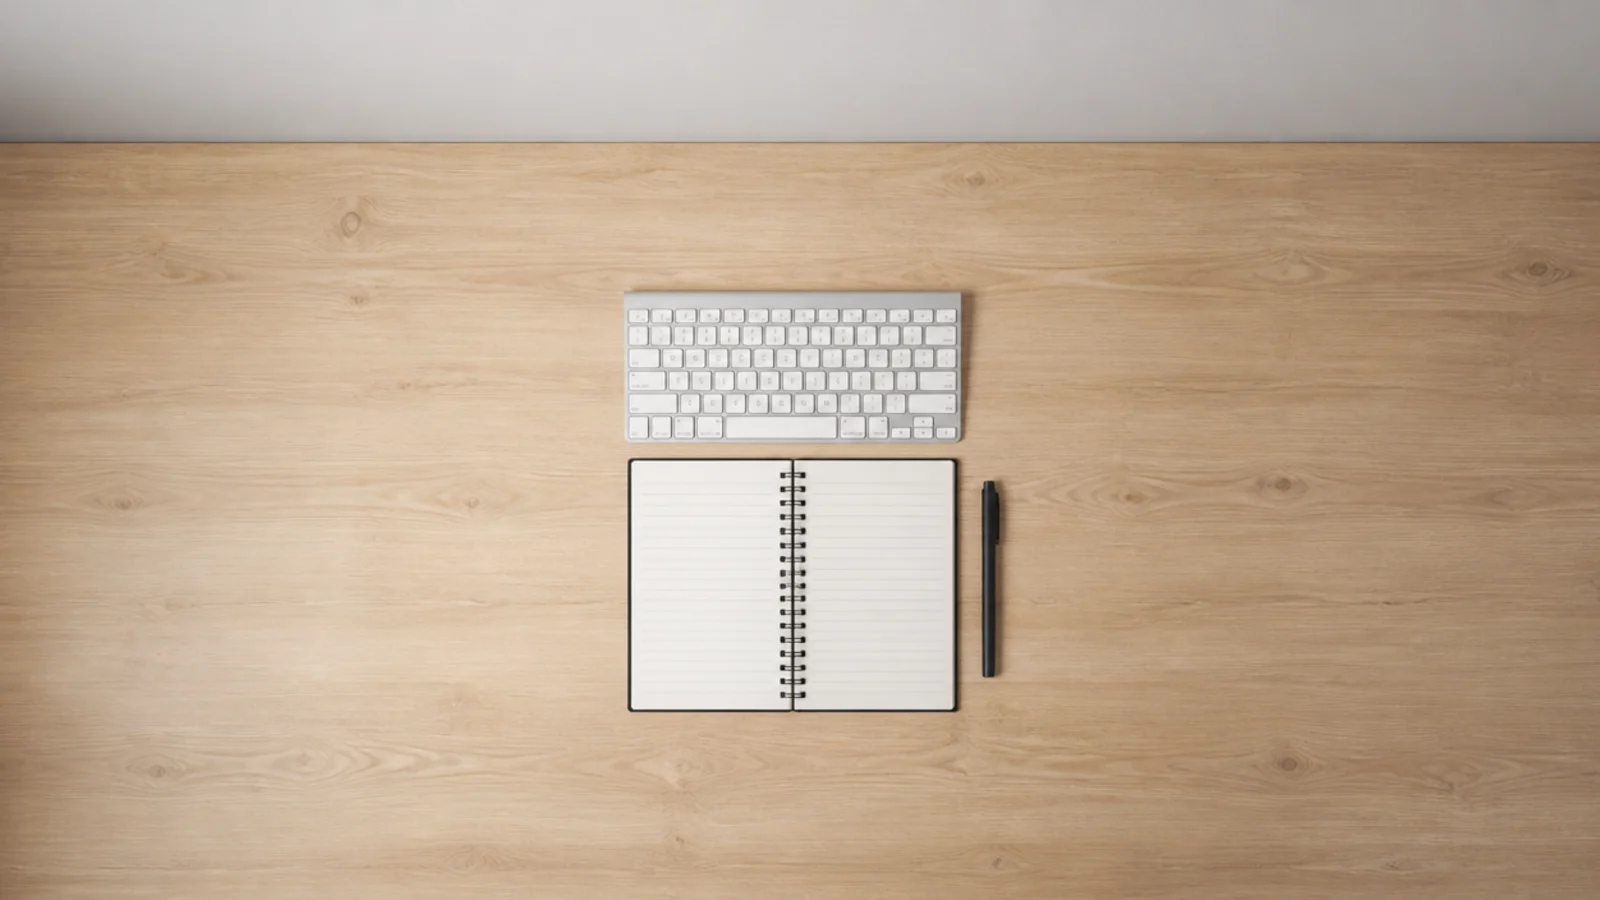
Five pads become five piles. One notebook and one pen on the surface, everything else in the drawer, and the desk stays legible. It is a habit rather than a purchase, and it holds better than any organiser sold to solve the same problem.
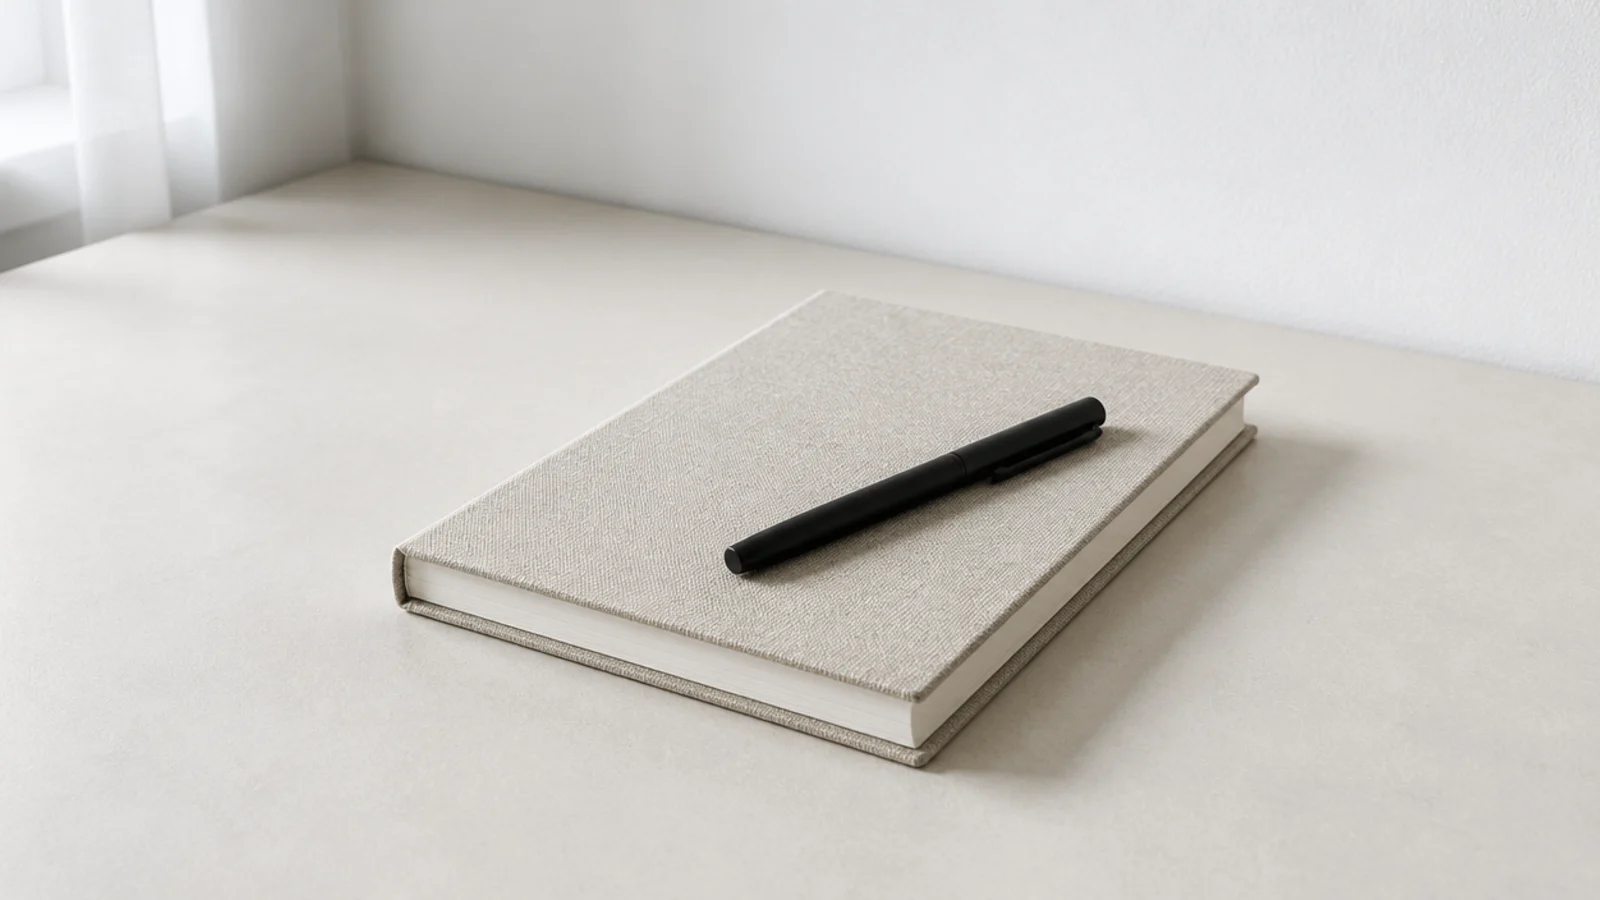
24. Empty the desk completely every Friday
Ten minutes: everything off, wipe the top, put back only the three things that belong. Drift on a minimalist desk happens in inches and you stop noticing it around week three. A weekly reset catches it before it becomes the new normal.
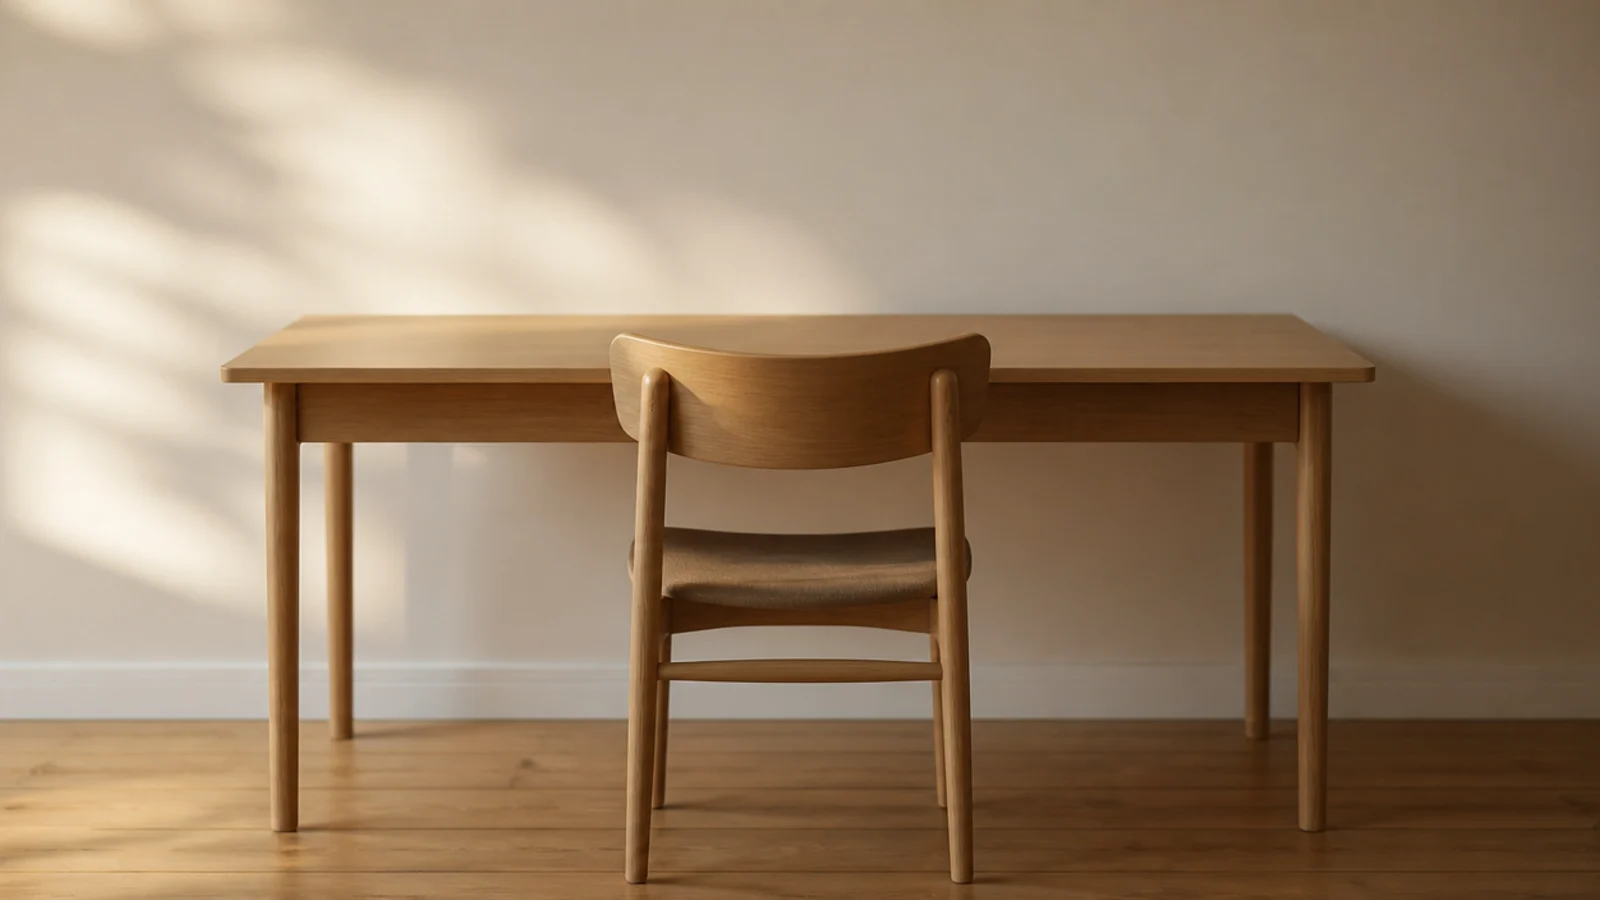
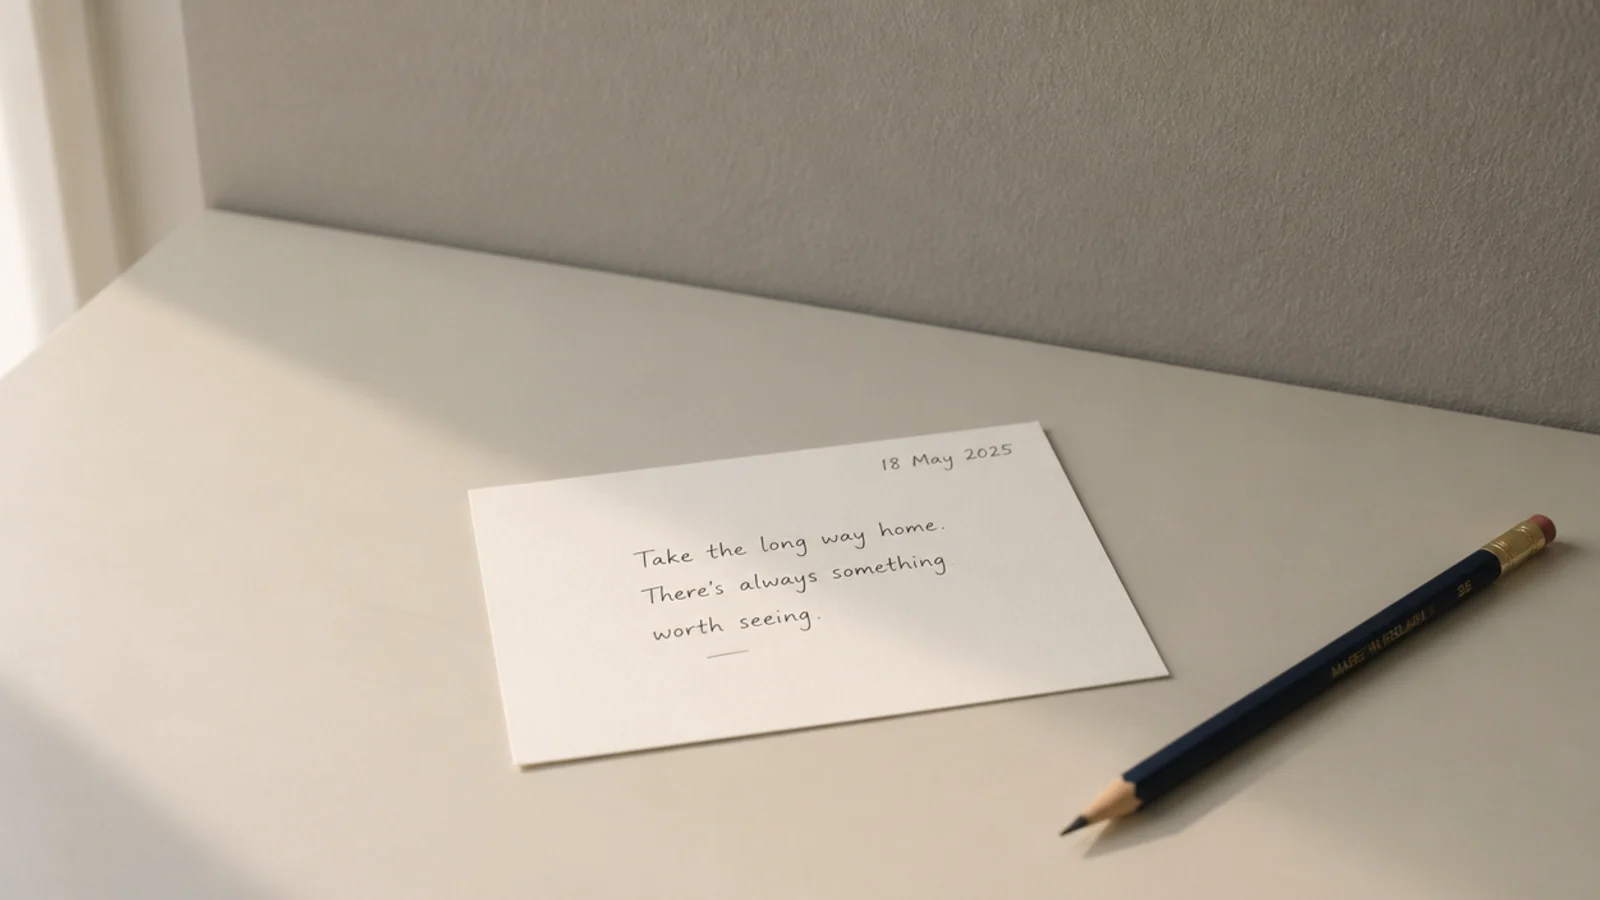
25. Wait thirty days before buying anything else
Write the item and the date on a card, put it in the drawer, and revisit in a month. Most wants do not survive that. The ones that do are usually solving a real problem, and they arrive into a corner that still has room for them.
For a warmer, more decorated take on the same restraint, the aesthetic study desk setups cover palette and texture. Bookshelf styling ideas handle the one shelf above the desk, and the modern teen boy bedroom guide applies the same pared-back logic to a whole room.
Mistakes to Skip
- Buying storage to achieve minimalism. Containers make it much harder to notice that half of what you are storing could simply leave the room.
- Choosing all white for everything. It reads clinical rather than calm, shows every mark, and gives the eye nothing warm to settle on during a long session.
- Keeping open shelves and expecting them to stay curated. Open storage in a pared-back scheme is a daily task, and it is the first one to slip.
- Leaving the desk large but the room dark. A bright screen in an unlit corner is tiring within two hours, and a concealed strip costs fifteen dollars to fix.
Frequently asked questions
How do I keep a minimalist desk from filling up again?
Give every category exactly one home and make it closed. One drawer, one wall pouch, one lidded box. The surface then has no default landing spot, which is what actually keeps it clear. Emptying the desk completely once a week takes ten minutes and resets the drift before it sets.
Is one lamp enough for a study desk?
One task lamp at 450 to 800 lumens is enough for the page, but a completely dark room around a bright screen causes eye strain. Add a concealed strip under the shelf, dimmed to about a tenth of your screen brightness, and the room reads as lit without a second visible fitting.
What should stay on a minimalist desk surface?
The screen, the keyboard, one light source and one small object. On a 47 by 24 inch top that leaves roughly two thirds of the surface visibly empty, which is the whole point. Everything else lives in a drawer, on the wall or on the single shelf above.
Does minimalist mean everything has to be white?
No, and an all white desk corner tends to read as clinical rather than calm. Two tones and one metal is a better rule. A warm wood top, a near white matt wall and black or brass hardware gives you restraint with warmth, and it hides marks far better than white does.
How do I hide cables completely?
One grommet through the desk top, one tray under the back rail for the power strip, and one painted channel taking anything that has to climb the wall. Leave 6 to 8 inches of slack at the monitor end if the screen sits on an arm, and keep the strip switch reachable rather than buried.
Want more like this? Browse all 15 study desk decor guides — they all use the same measurements and budget tiers.
Pin it for later
Save this to your Study Desk Decor board
Pin it now so it is waiting for you when the tape measure comes out — and so the next person hunting for this idea can find it too.
Save this pinKeep going
More ideas worth saving while you have the tape measure out.