Hanging Lights · How-To
15 Steps To Fit Hanging Lights In Bathroom Safely

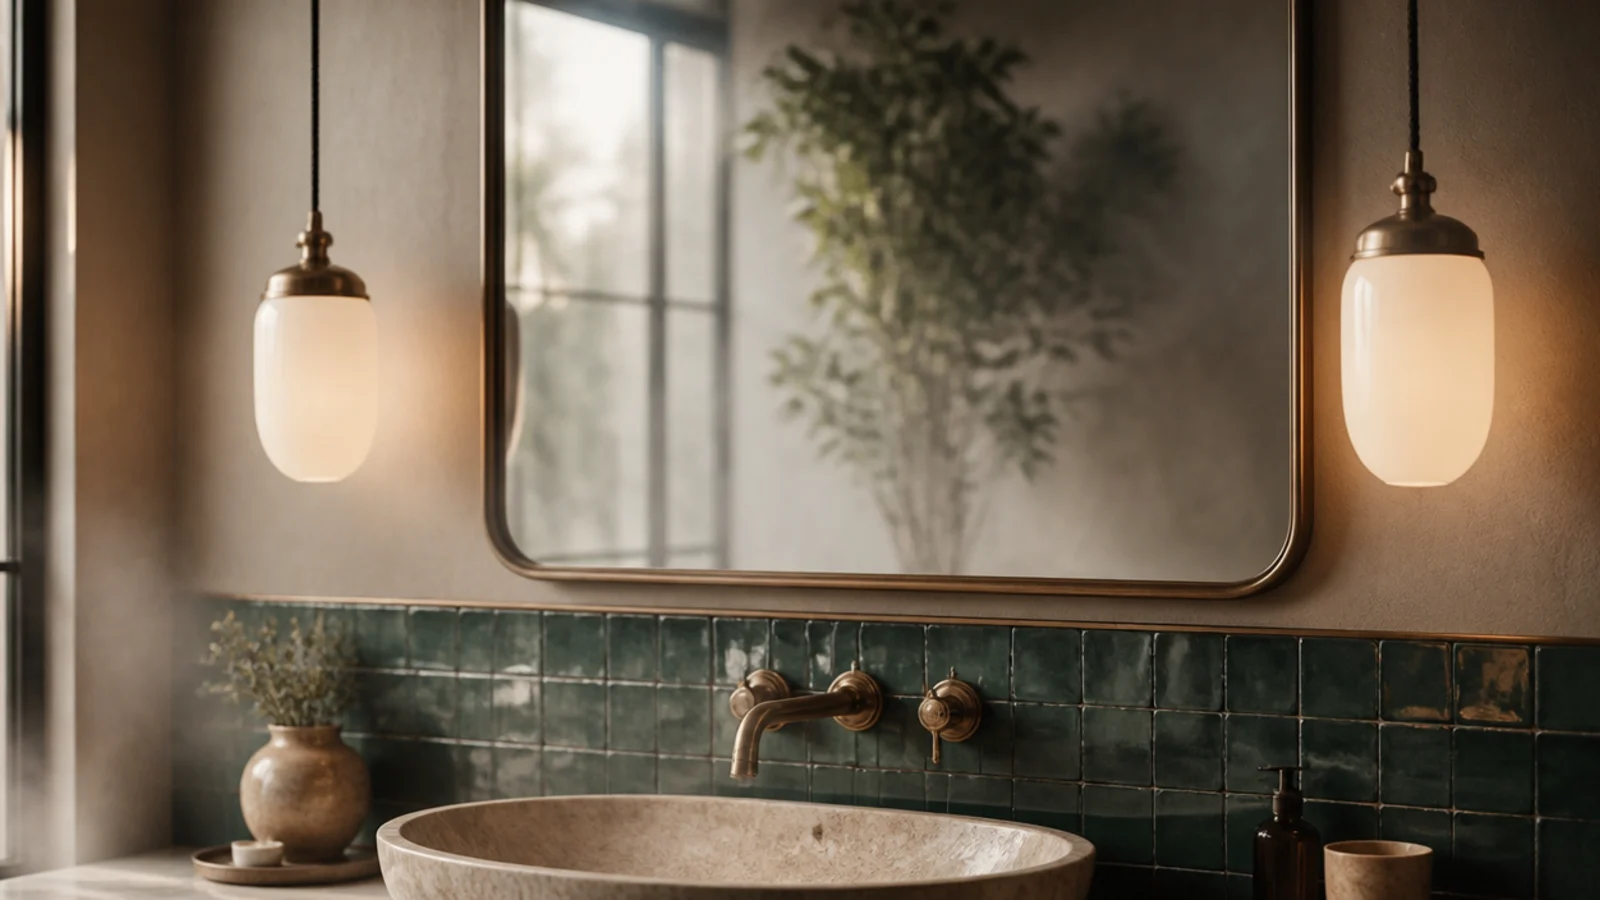
A bathroom is the one room where a lighting decision can be genuinely dangerous, and also the room where the rules are clearest. Hanging lights in bathroom ceilings are perfectly normal once you know which zone you are working in, what rating belongs there and which parts of the job are not yours. The measurements come first and the shopping comes last, because a beautiful fixture with the wrong rating cannot be made safe afterwards. This is the sequence I follow, including the point where the work goes to an electrician.
In this guide18 sections — tap to openHide
- 1.What You'll Need For Hanging Lights In A Bathroom
- 2.Map the zones outward from the water
- 3.Learn what each zone actually requires
- 4.Check the rule for fixtures above a tub
- 5.Decide between damp listed and wet listed
- 6.Measure the ceiling height and set the drop
- 7.Choose a fixture with a real gasket
- 8.Pick materials that survive humidity
- 9.Plan the lumens for the whole room
- 10.Choose 3000 kelvin with high colour rendering
- 11.Check the extraction before adding steam
- 12.Confirm the ceiling box rating and position
- 13.Have the circuit protection checked
- 14.Set the drop and hang the fitting
- 15.Seal, close up and test
- 16.Check reflections in the mirror last
- 17.Pro Styling Rules
- 18.Mistakes to Skip
What You'll Need For Hanging Lights In A Bathroom
Very little of this is specialist, and most of the cost sits in the electrical work rather than the fitting.
| Item | Spec that matters | Rough cost |
|---|---|---|
| Fixture | Damp or wet listed, correct IP rating for the zone | $50–$250 |
| Gasket | Moulded rubber seal, not a foam ring | included |
| Bulb | 3000K, CRI 90+, dimmable, enclosed-rated | $8–$18 |
| Ceiling box | Listed for the fixture weight, fixed to a joist | $6–$30 |
| Extractor | Sized to the room, roughly 1 CFM per square foot | $60–$180 |
| Measuring | Tape measure, folding rule, painters tape | borrowed |
| Access | Step ladder that stands level clear of the bath | borrowed |
| Electrician | Zone check, circuit protection, connection and sign-off | $100–$300 |
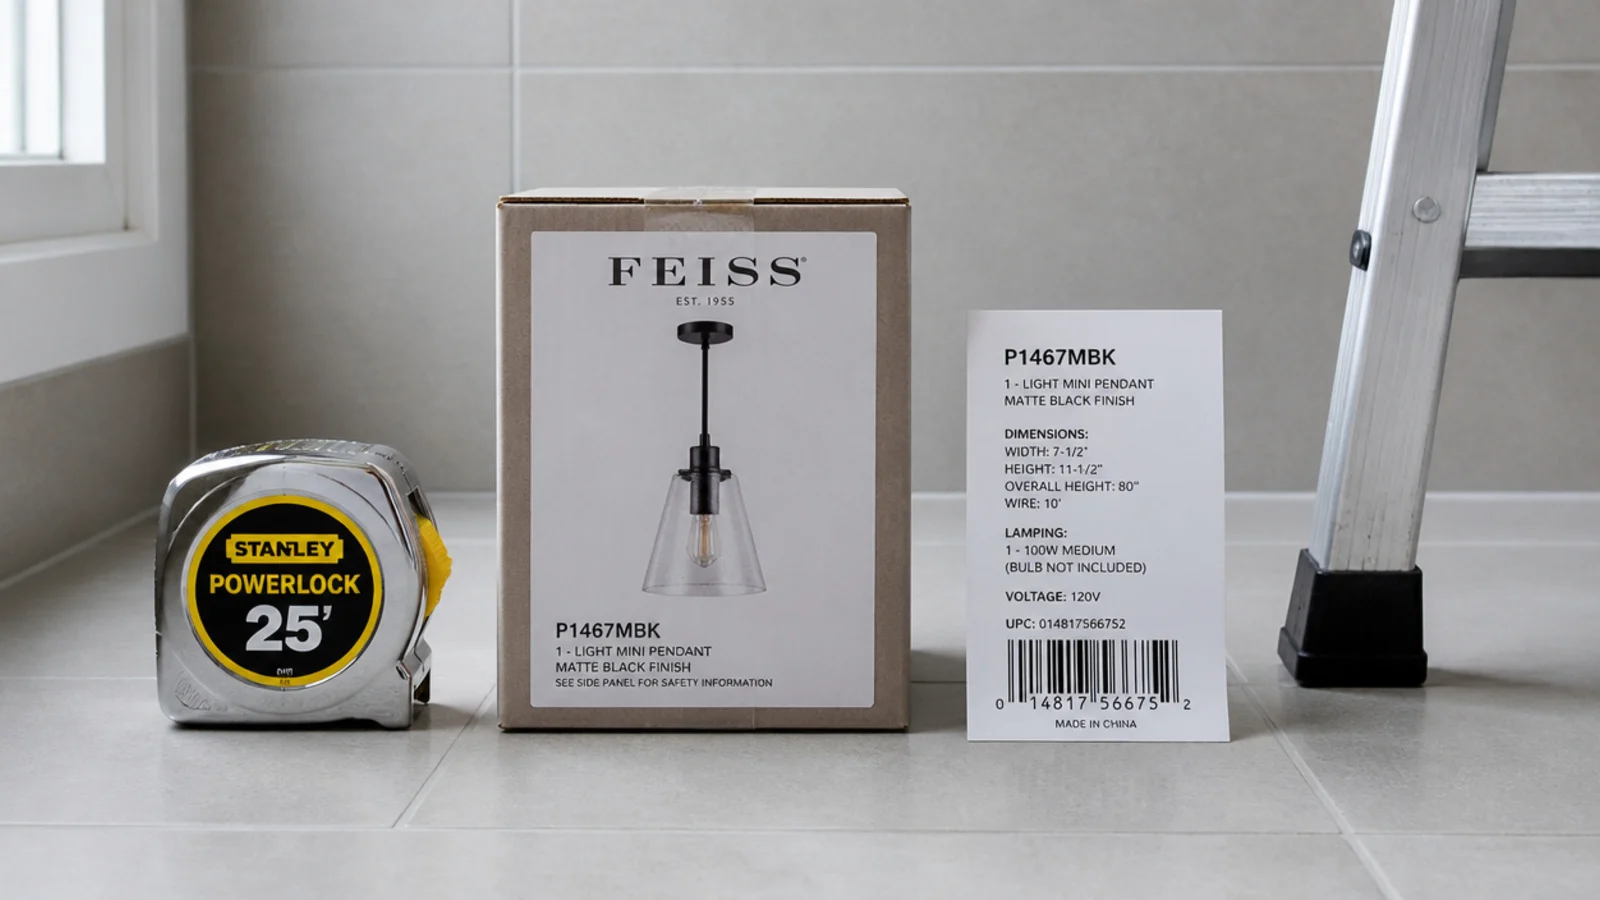
1. Map the zones outward from the water
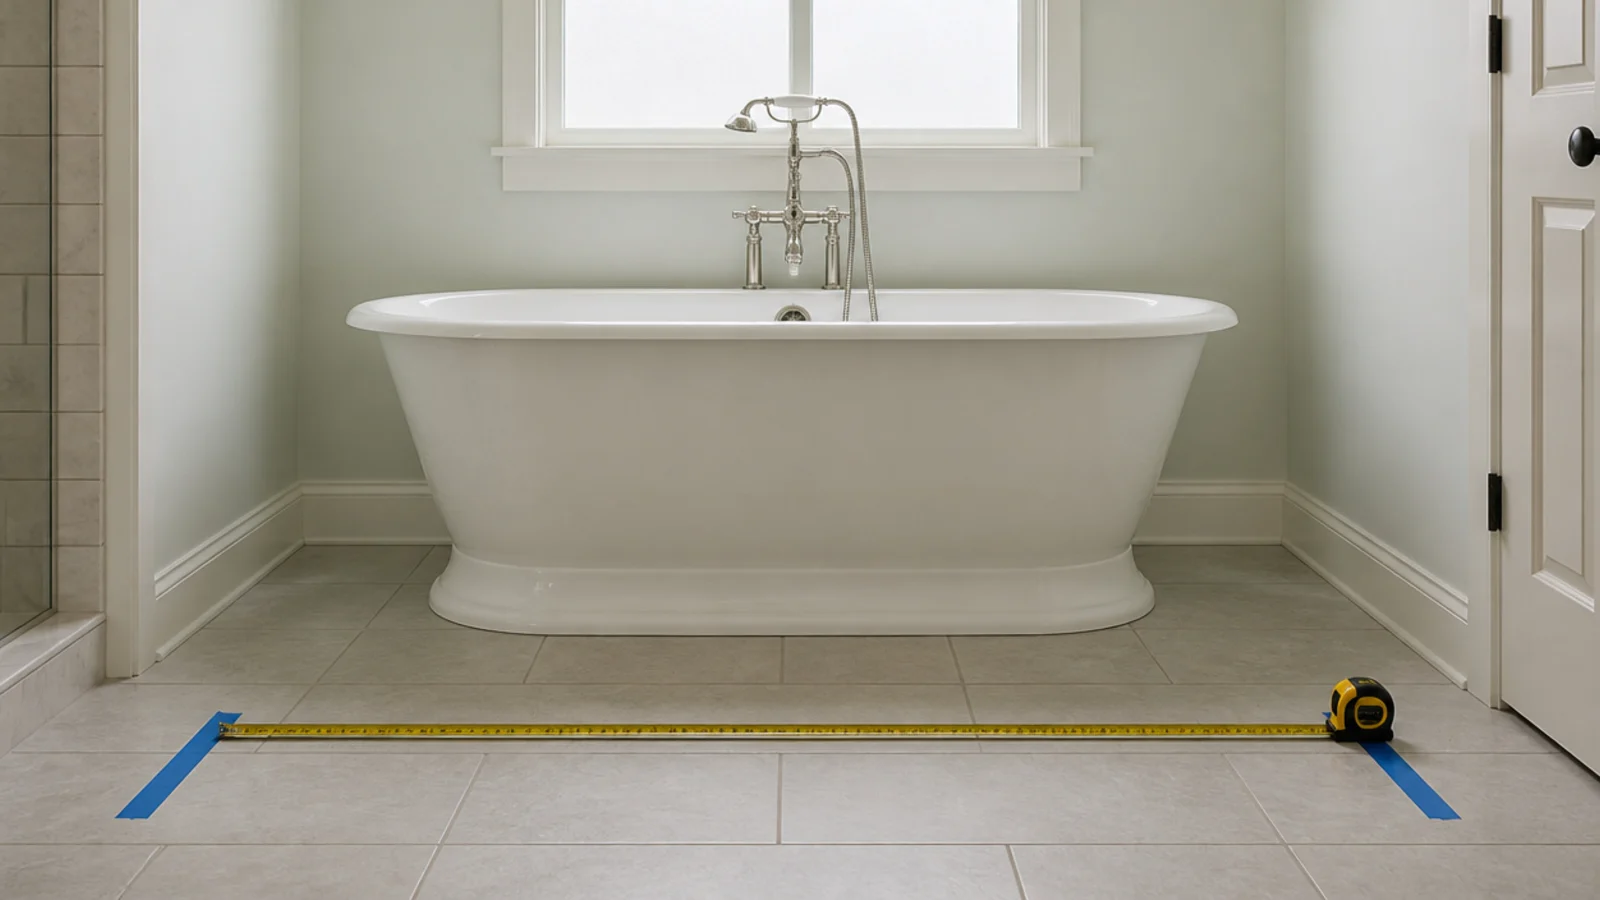
Everything starts at the water, not the wall. Measure horizontally from the rim of the bath and from the shower threshold, and mark the floor with tape. Bathroom fixtures must match the IP zone for their distance from water, and that distance is measured from the edge of the water, so a freestanding bath in the middle of a room creates a zone on all four sides. Do the same for the shower door at full swing, because the threshold moves outward with it and the zone follows.
2. Learn what each zone actually requires
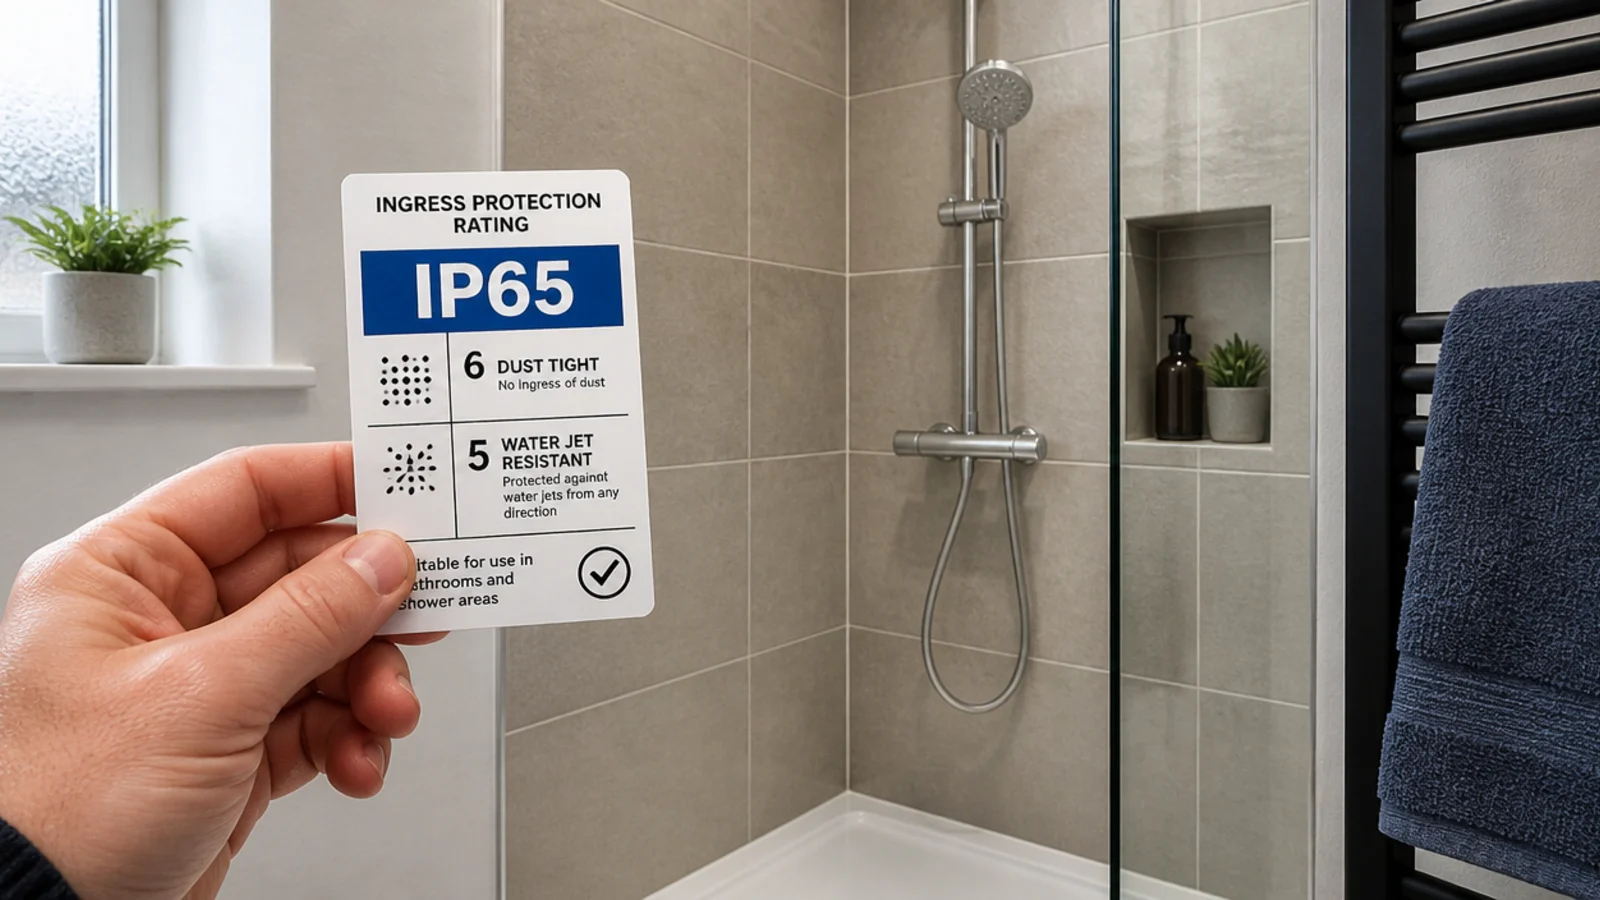
Inside a bath or shower enclosure, the requirement is IP67. Directly above one, IP65 is the usual specification. Within roughly 24 inches of a bath, shower or basin, IP44 is the minimum. Outside those bounds an ordinary fitting is acceptable in most jurisdictions, though a damp listing is still the sensible choice in a room full of steam.
3. Check the rule for fixtures above a tub
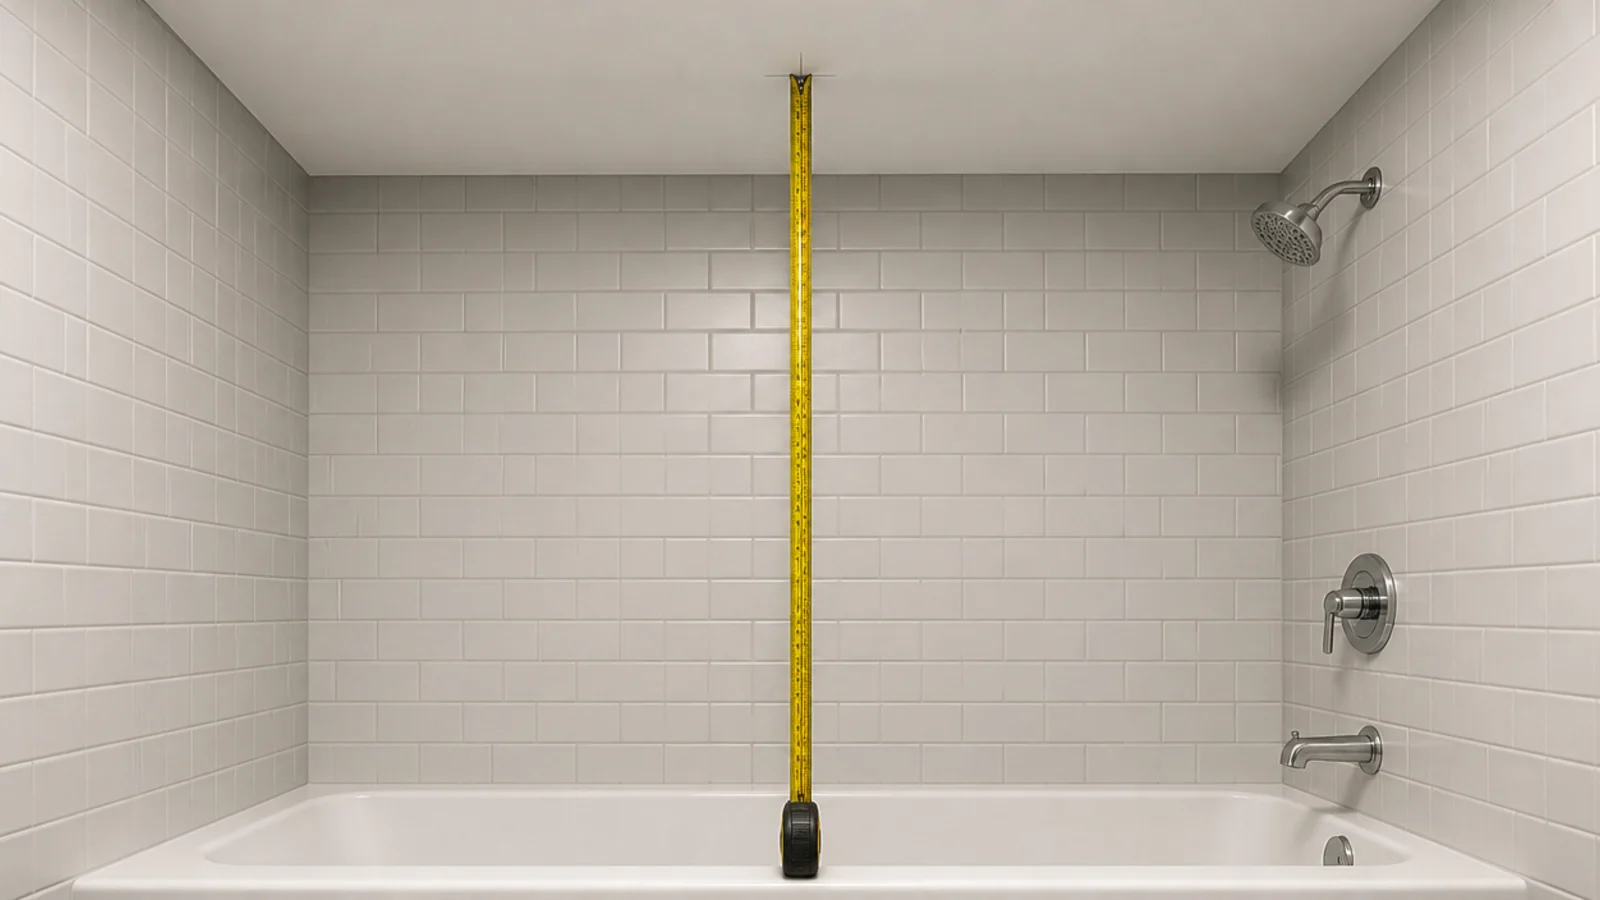
In the US the National Electrical Code prohibits cord-, chain- or cable-suspended fixtures within a zone 3 feet horizontally and 8 feet vertically from the top of a bathtub rim or a shower threshold. That single rule rules out most pendants directly over a bath, and it is the first thing to check before falling for a fixture. Where the position is inside the zone, a flush surface-mounted fitting with the right listing is the legitimate alternative to a pendant.
4. Decide between damp listed and wet listed
Damp-listed fittings tolerate humidity and condensation but not direct water. Wet-listed fittings tolerate direct spray. Most of a bathroom ceiling needs damp; a position above a shower or in an open wet room needs wet. The marking is on the fixture label rather than the box, so check the fitting itself.
5. Measure the ceiling height and set the drop
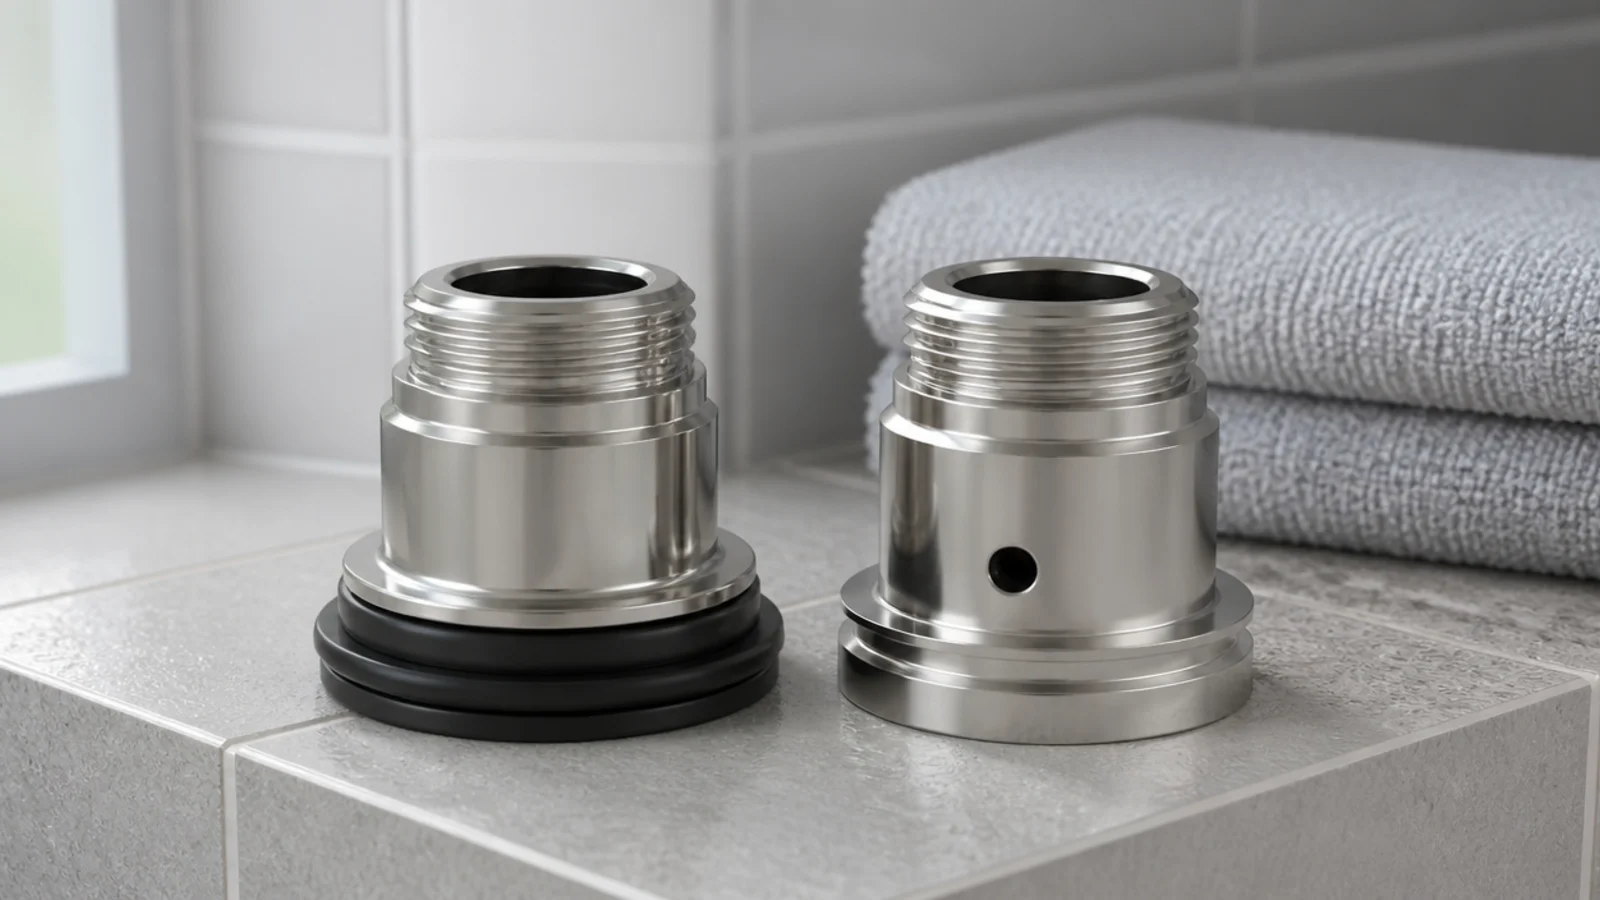
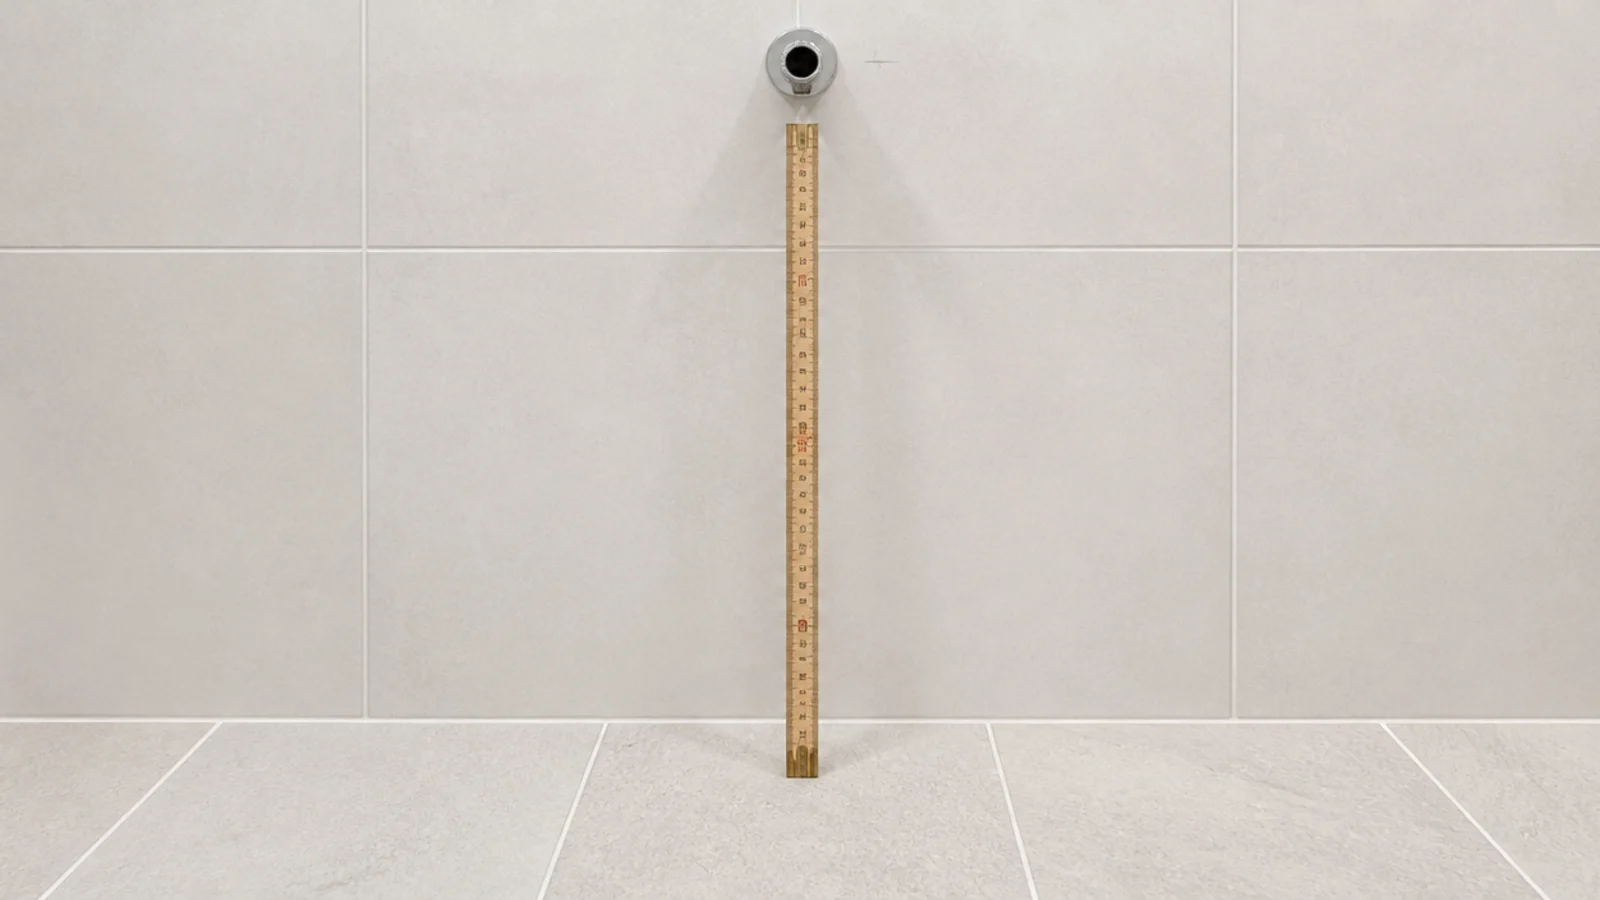
Anywhere people walk, keep the bottom of the shade at least 7 feet above the finished floor. Beside a mirror, aim for roughly 60 to 66 inches so light reaches a face from the side rather than from directly overhead. Write both numbers down before you look at any cord lengths.
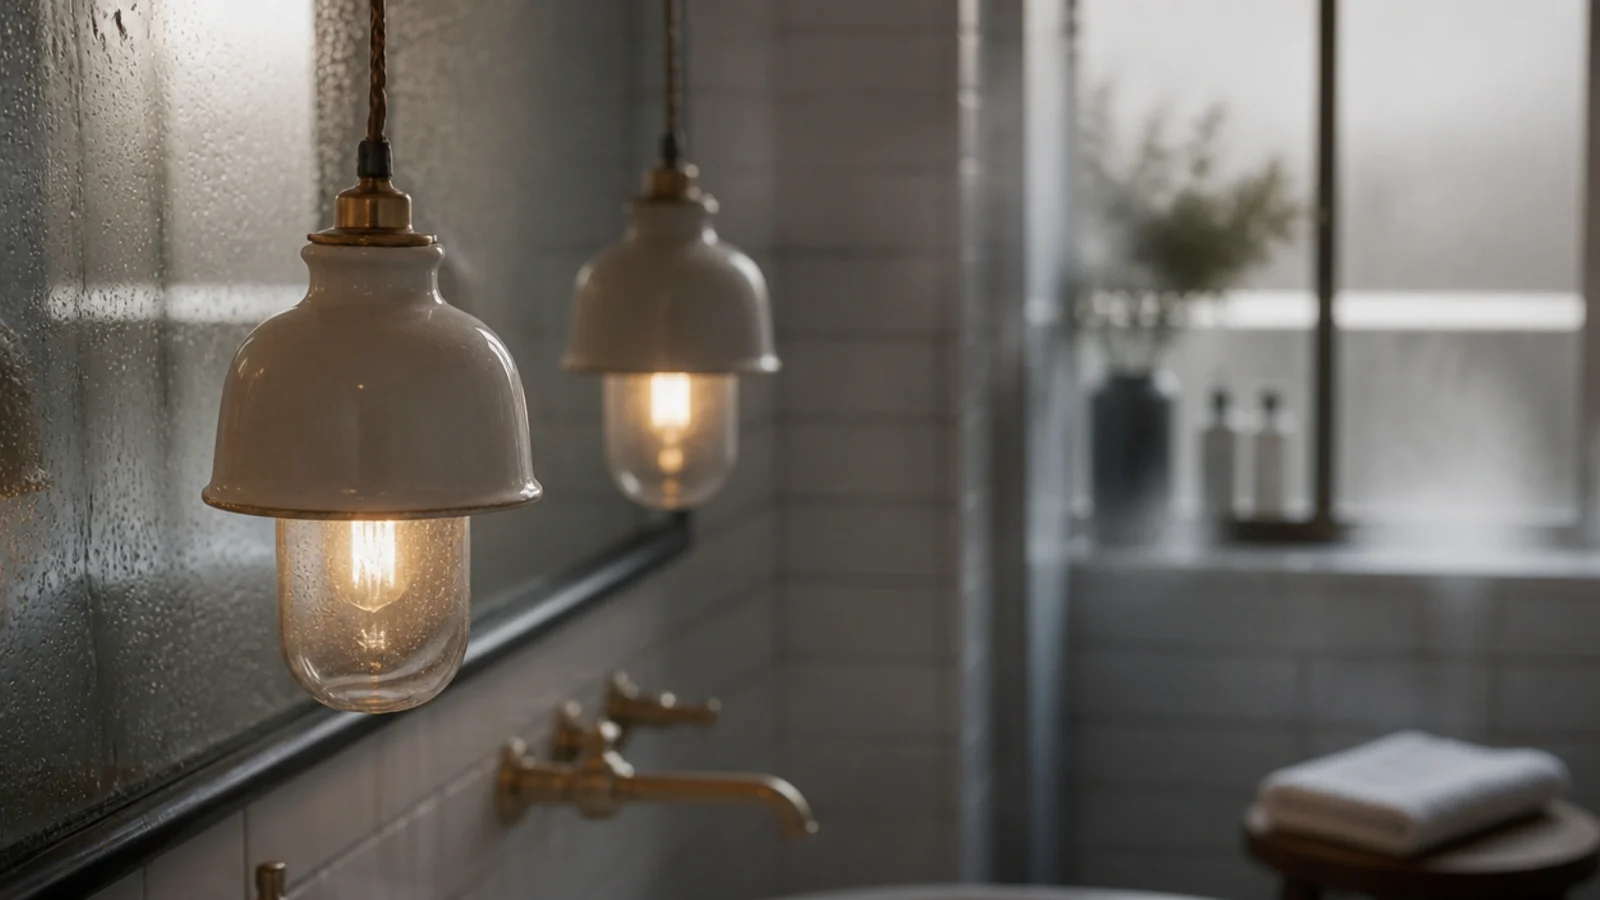
6. Choose a fixture with a real gasket
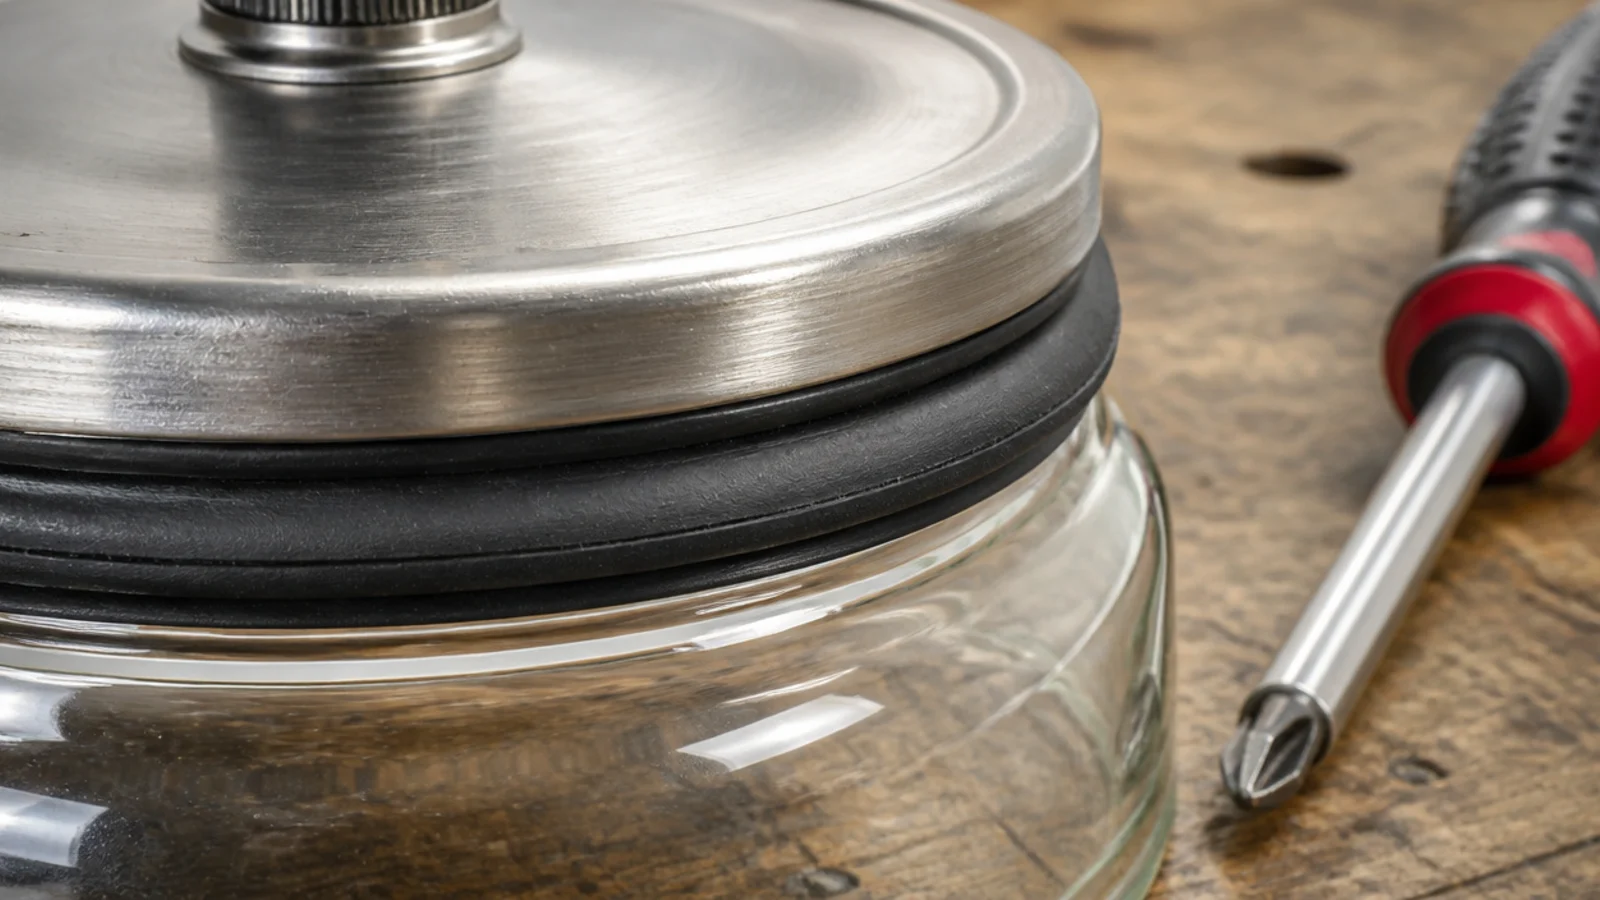
The seal is the product. Look for a moulded rubber gasket compressed between the shade and the cap, with screws that clamp it evenly. A foam ring or a loose washer is not a seal, and a fitting sold as bathroom-suitable without a visible gasket usually is not. Squeeze the seal between finger and thumb before fitting: a good one springs back, and a hardened one will not compress evenly against the glass.
7. Pick materials that survive humidity
Glass, glazed ceramic, powder-coated steel, sealed brass and solid surface all cope. Untreated timber, paper, rattan and fabric absorb moisture, swell and grow mould within a season or two in a room without good extraction. Keep porous materials out of a bathroom entirely rather than trying to seal them. Varnish and oil slow moisture down but do not stop it, and the damage always starts on the top face where nobody looks.
8. Plan the lumens for the whole room
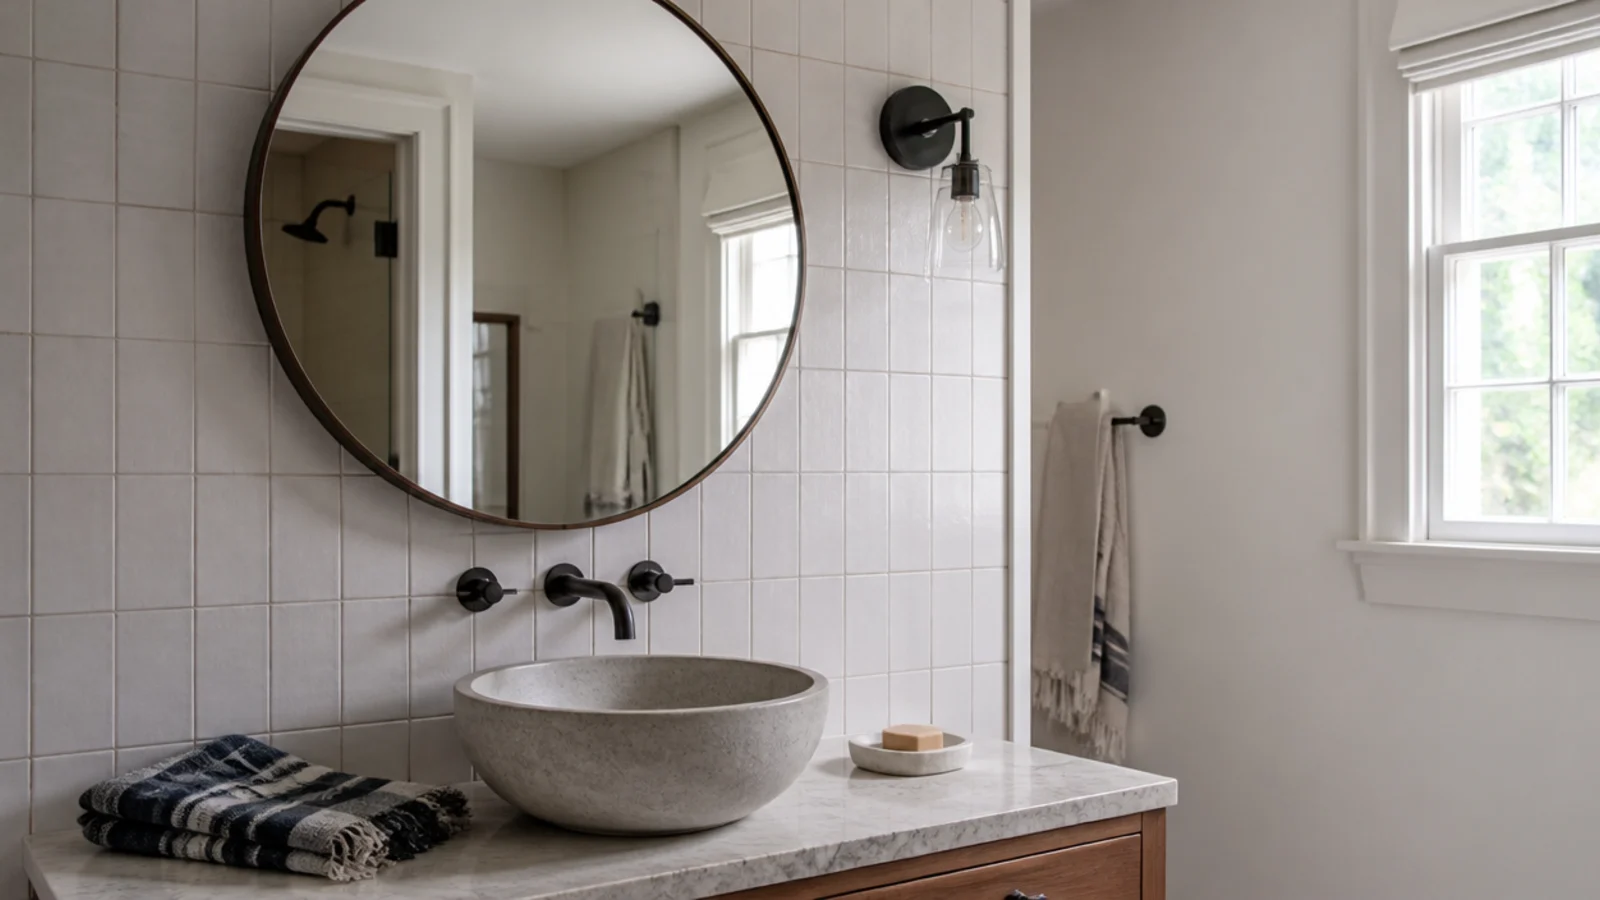
A typical bathroom wants 1,000 to 2,000 lumens in total for a small room, with roughly 1,600 lumens concentrated at the mirror where you actually need to see. Split it between a ceiling fixture and mirror lighting rather than asking one pendant to do everything. The main guide covers the room-by-room lumen figures. In a five by eight foot bathroom that usually means one 800 lumen ceiling fitting and two 400 lumen fittings at the mirror.
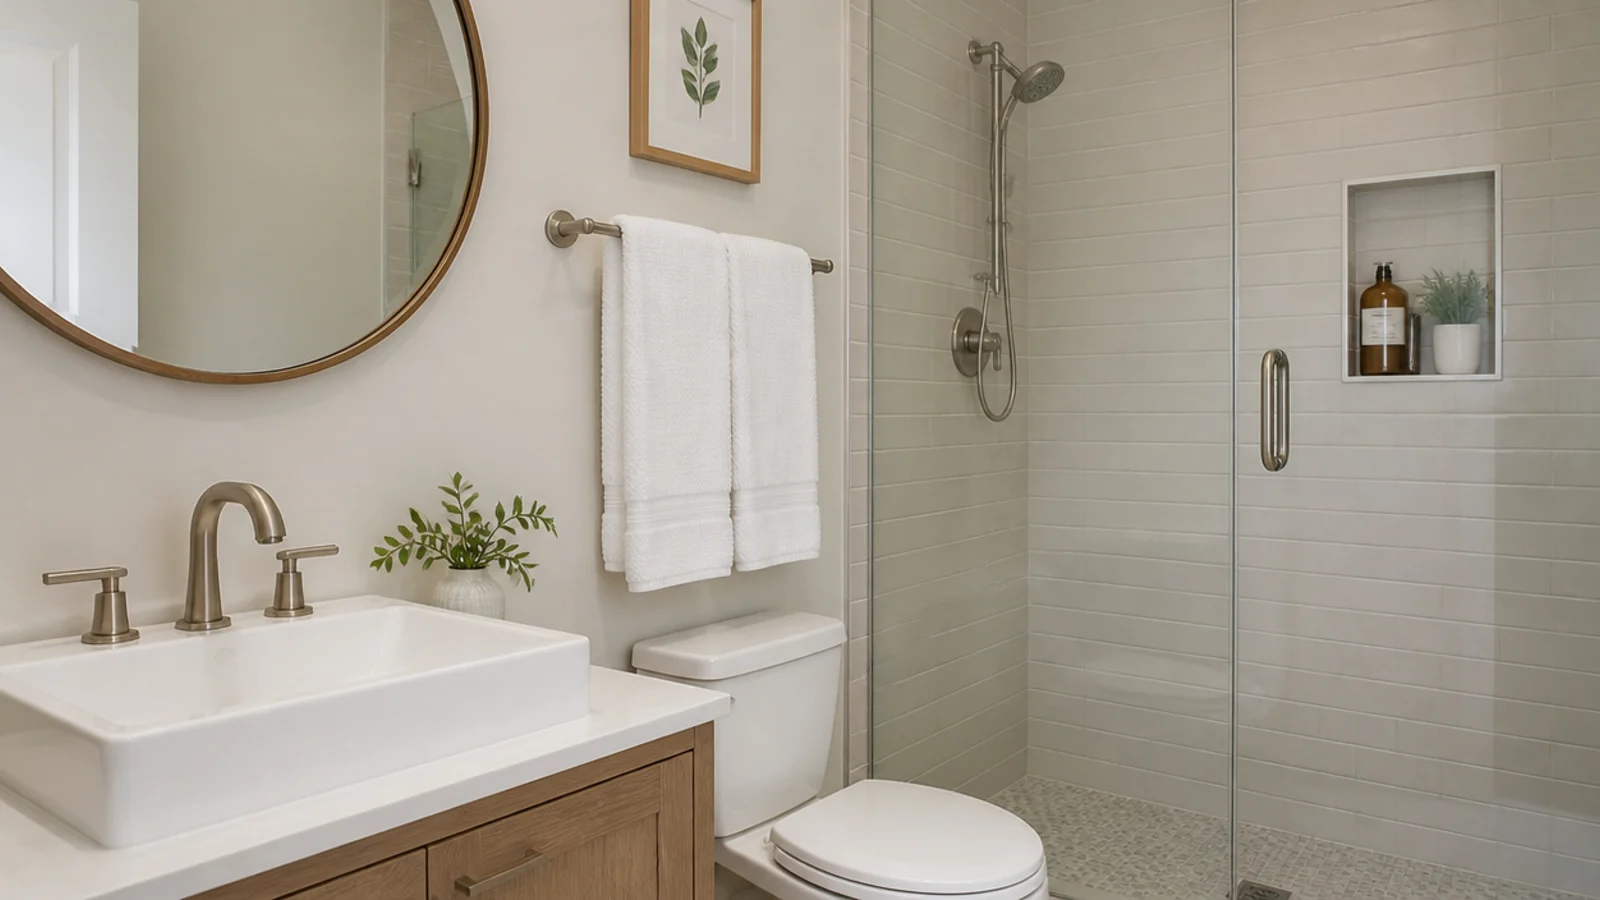
9. Choose 3000 kelvin with high colour rendering
3000K with a CRI of 90 or above renders skin properly, which matters more here than in any other room. Below CRI 80 everyone looks tired in their own mirror. Check the bulb is rated for use in an enclosed fitting, because a sealed shade runs hotter than an open one.
10. Check the extraction before adding steam
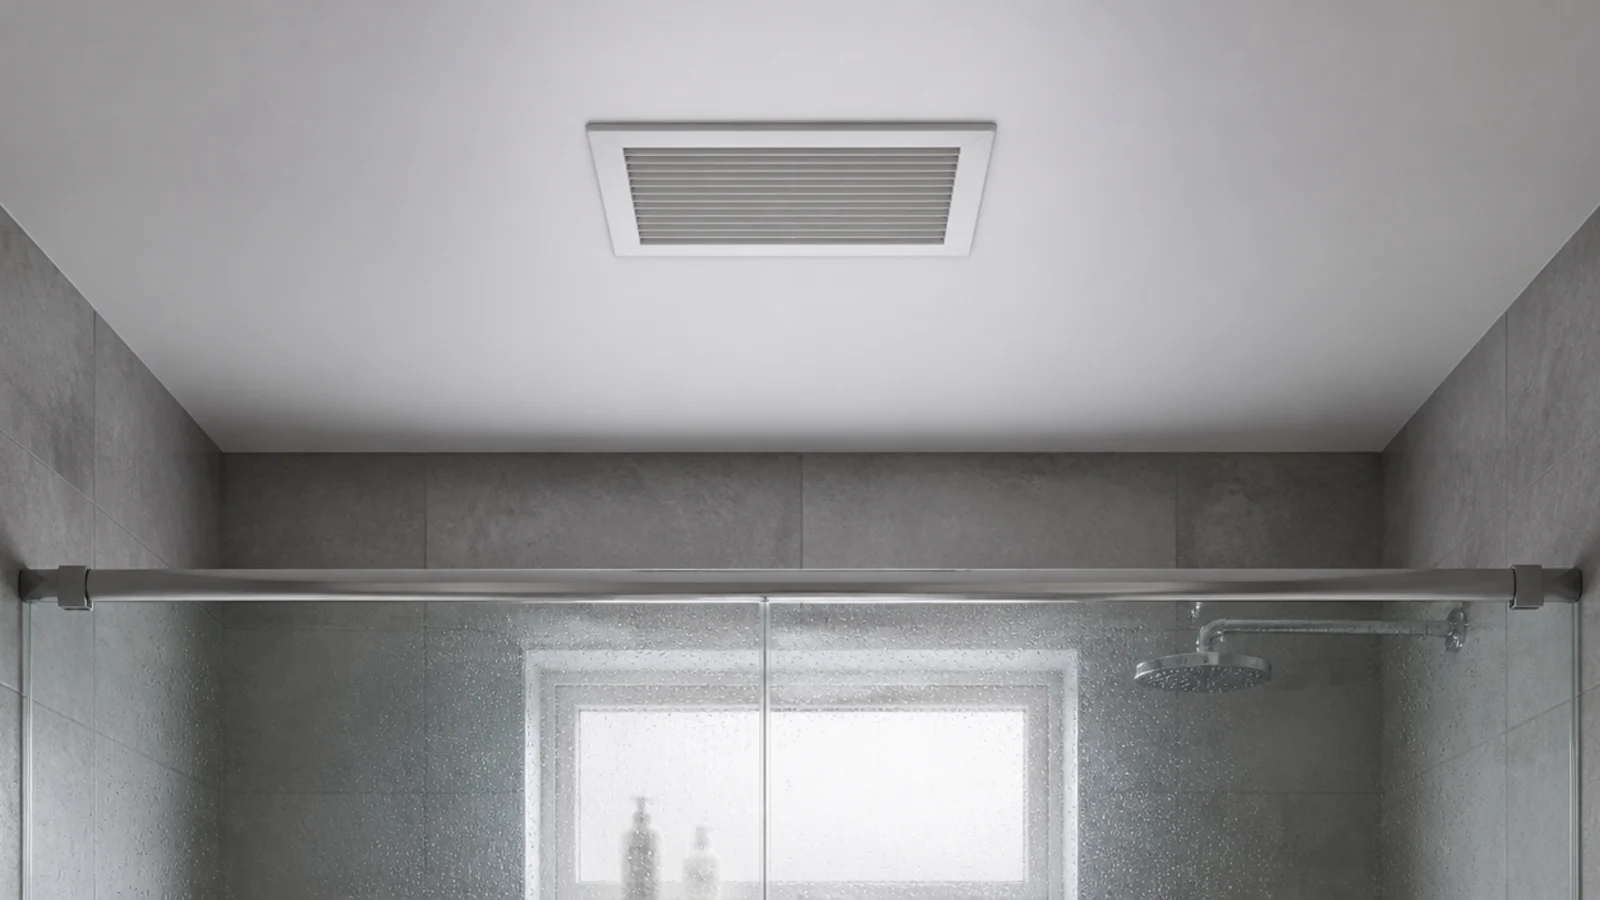
Extraction protects the fixture as much as the paintwork. Size the fan at roughly 1 CFM per square foot of floor, with a minimum around 50 CFM, and run it for 15 to 20 minutes after a shower. A bathroom that clears its steam is far kinder to any fitting in it.
11. Confirm the ceiling box rating and position
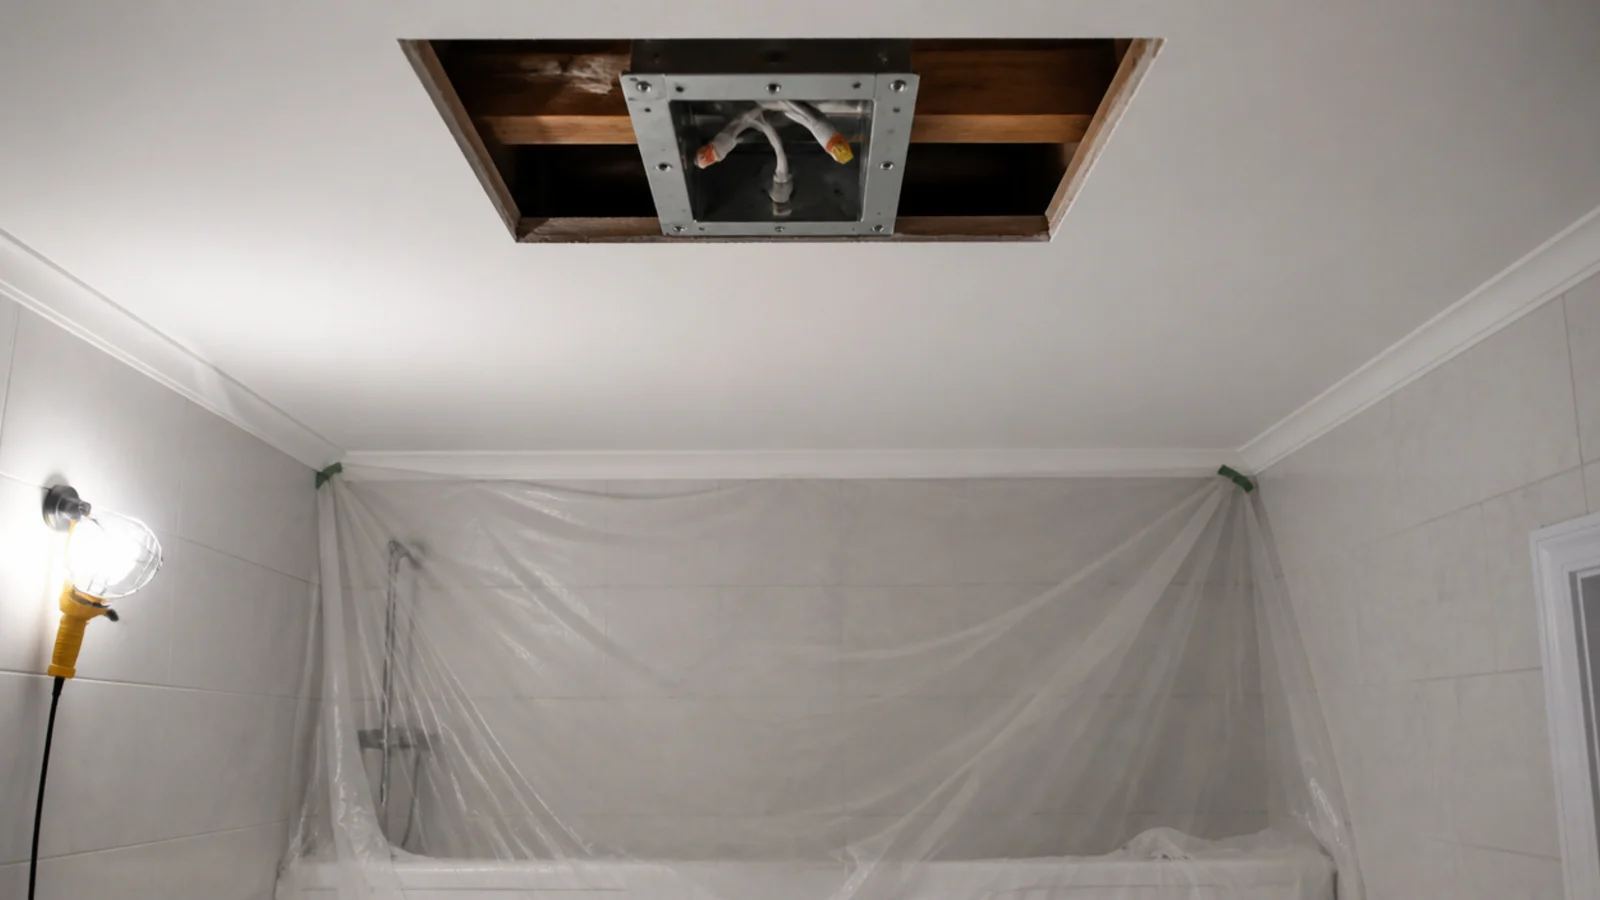
Take the existing fitting down and look for a stamped weight rating. A rated ceiling box carries the fixture weight, not the plasterboard around it, and standard lighting boxes are listed for 50 pounds. Bathroom ceilings often hide pipework, so confirm the joist position before choosing where the fixture lands. If the joist runs the wrong way, an adjustable brace bar between joists costs 15 to 30 dollars and solves it without moving the fixture.
12. Have the circuit protection checked
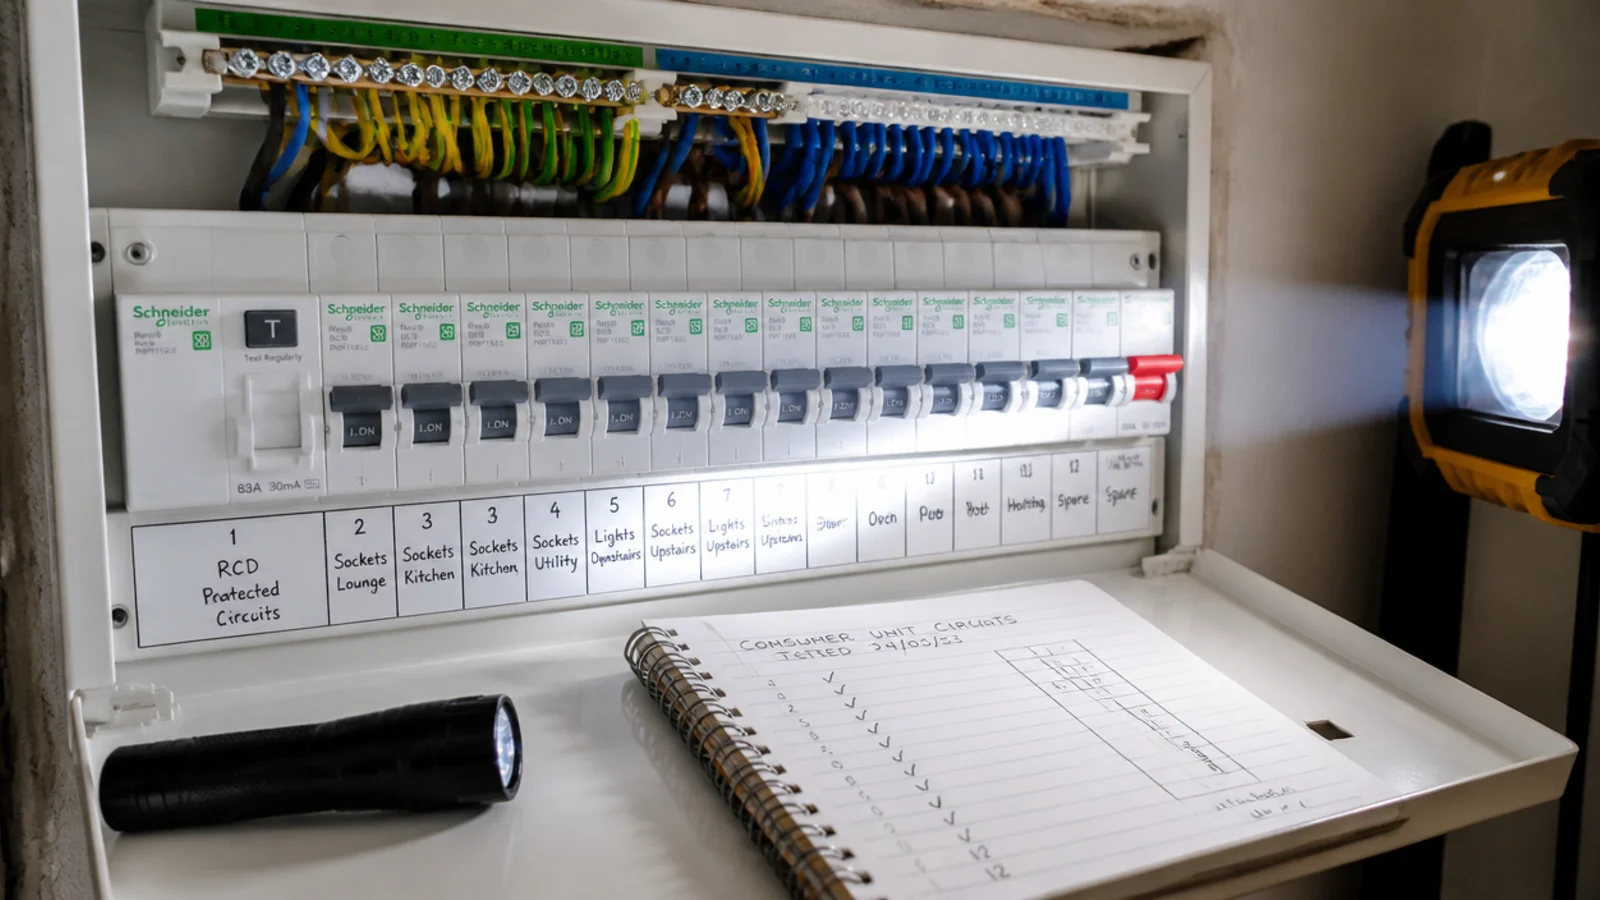
Bathroom circuits carry additional protection requirements in most jurisdictions, and hard-wiring here is an electrician's job rather than a weekend project. Ask them to confirm the zone, the required rating, the protection on the circuit and the box rating in one visit, and to sign the work off.
13. Set the drop and hang the fitting
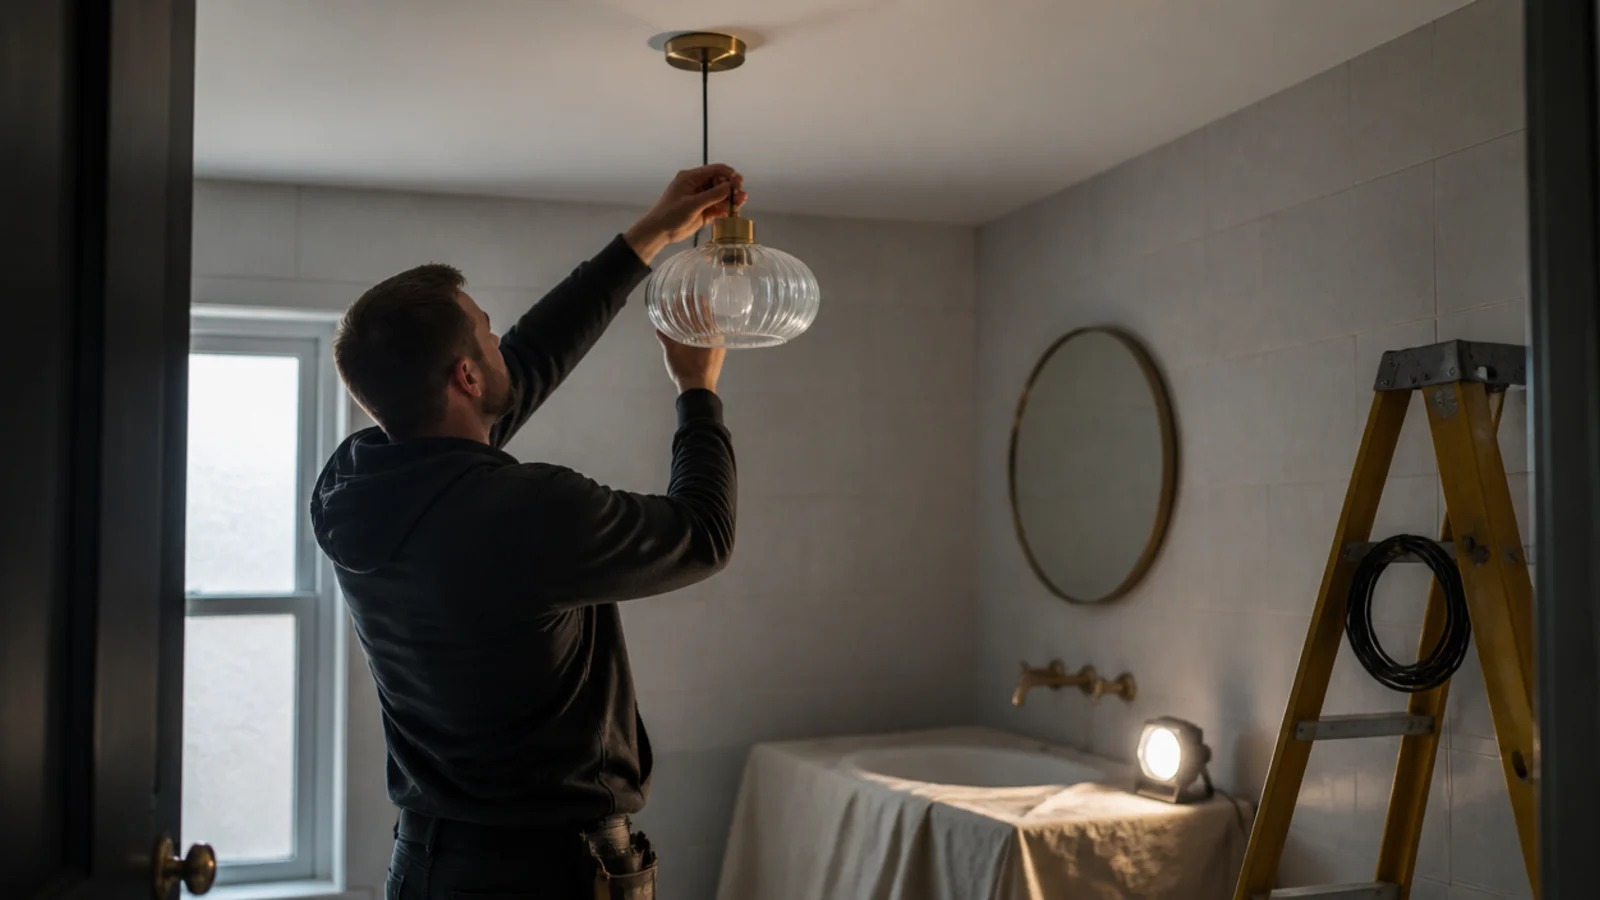
Work out the exact cord or rod length on the bench with a tape measure, not on a ladder in a tiled room. Set the ladder on a level dry floor clear of the bath, and have somebody hold the shade while the canopy is fixed. Sealed fittings are heavier than they look.
14. Seal, close up and test
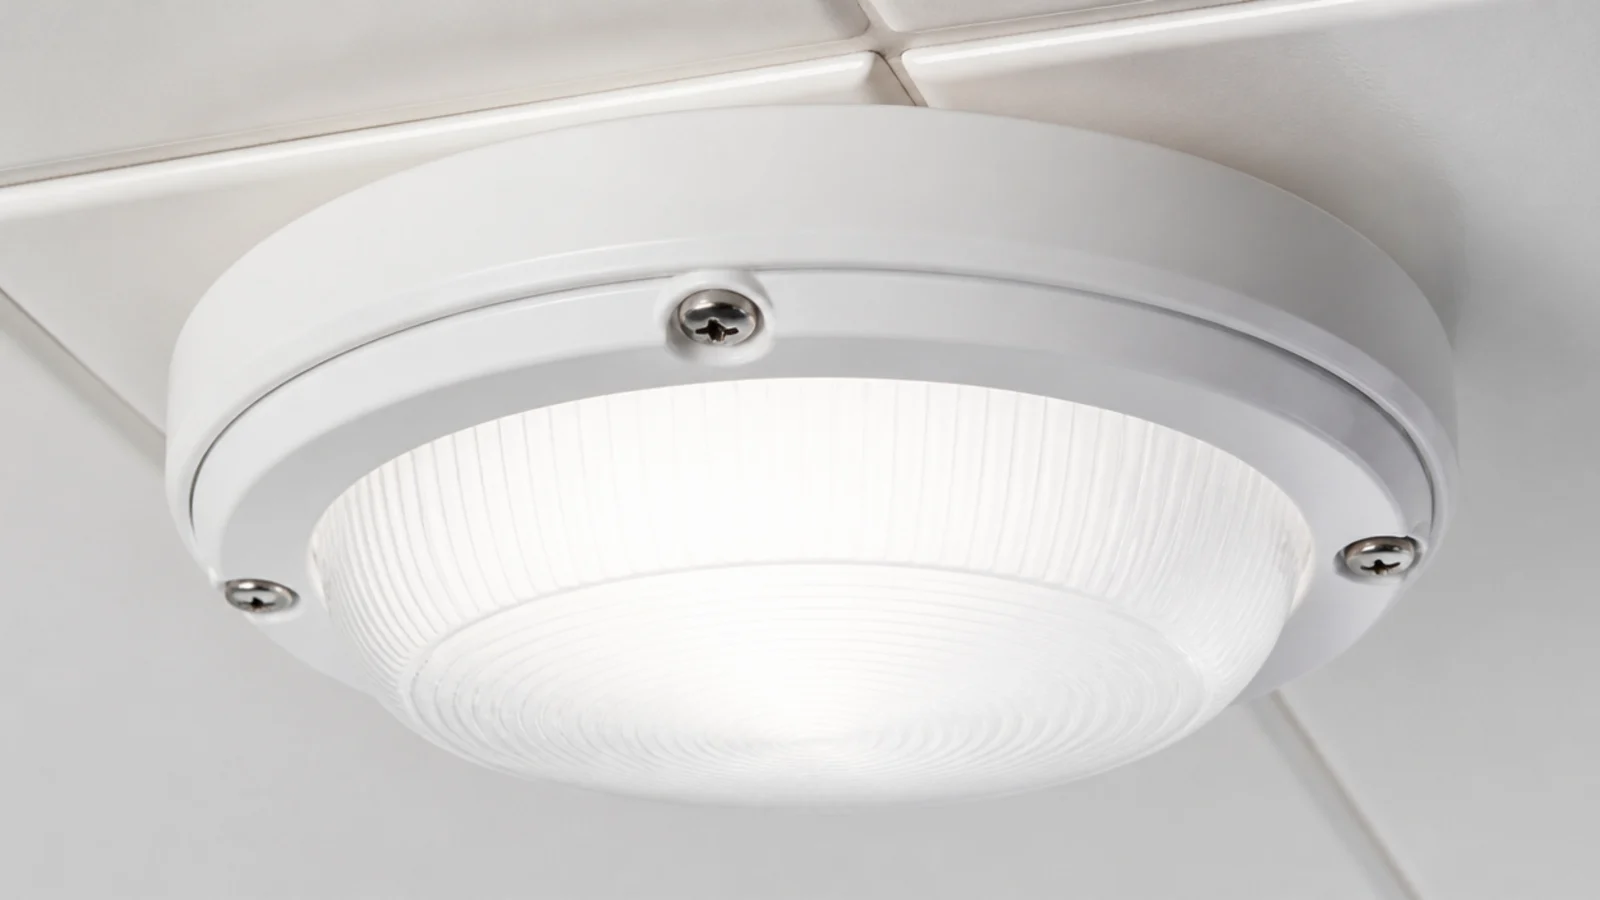
Seat the gasket evenly all the way round before tightening, and tighten the cap screws in an alternating pattern so the seal compresses evenly rather than pinching on one side. Then test the fitting cold, and again after a hot shower, looking for any condensation inside the glass. Any misting inside a sealed shade means the gasket is not seated, and it is far easier to fix on the day than a year later.
15. Check reflections in the mirror last
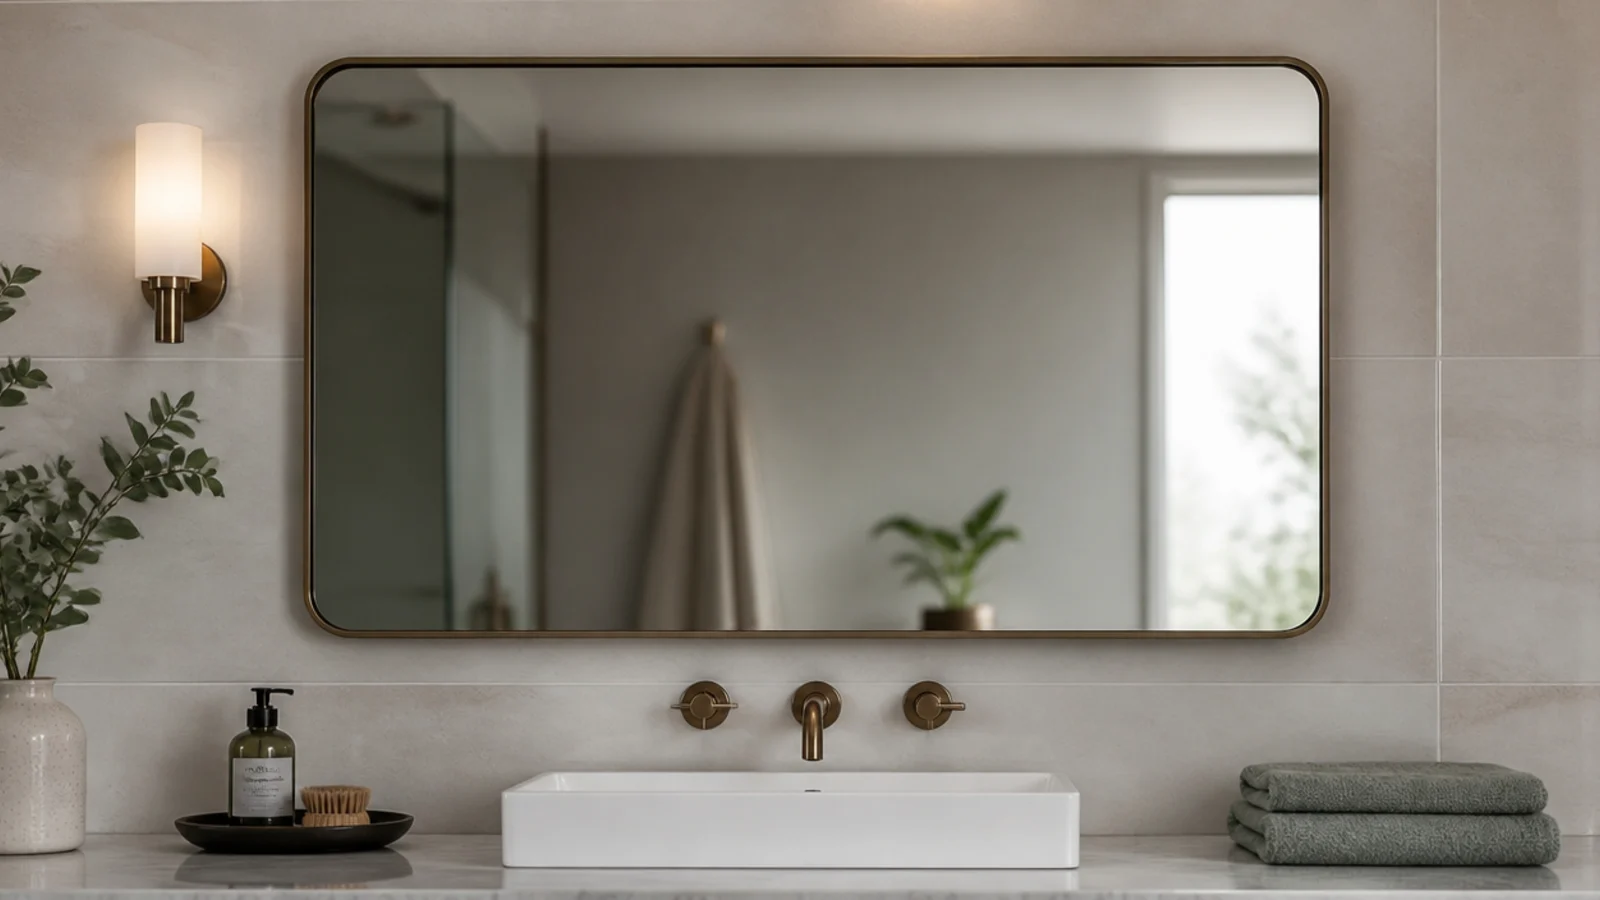
Stand where you actually shave or put on make-up and look at the mirror. A ceiling fixture reflected as a hard bright spot in the glass is the most common bathroom lighting complaint, and it is usually solved by moving light to the sides of the mirror rather than above it. The vanity organisation guide covers how the surface below should be arranged around that light.
Pro Styling Rules
For the rest of the house on the same fittings, small room pendants covers cloakrooms and tight ceilings, and clock wall decor covers the eye-level pieces that suit a hard-surfaced room.
Mistakes to Skip
- Hanging a pendant over the bath because it looks beautiful. The zone measured 3 feet horizontally and 8 feet vertically from the rim exists precisely because that position is the dangerous one.
- Trusting a product description instead of the fixture label. Damp and wet listings are printed on the fitting, and plenty of pretty fixtures sold as bathroom-suitable carry neither.
- Using a timber or rattan shade in a room without extraction. It will swell, stain and grow mould, usually just out of reach above the bath.
- Treating the wiring as a weekend job. Bathroom circuits have extra protection requirements and notifiable work in most jurisdictions, and this is the one room where guessing is not an option.
Frequently asked questions
Can you hang a pendant in a bathroom?
Yes, outside the zone around the water. In the US, no cord or chain suspended fixture may sit within 3 feet horizontally and 8 feet vertically of a bathtub rim or shower threshold. Outside that zone a damp-listed fixture is fine, and in wetter positions the fitting needs a matching IP rating.
What IP rating does a bathroom light need?
It depends on distance from water. Inside a bath or shower enclosure the rating is IP67; directly above one, IP65 is the usual specification; within roughly 24 inches of a bath, shower or basin, IP44 is the minimum. Beyond that, an ordinary fitting is acceptable in most jurisdictions but a damp listing is still wise.
What is the difference between damp rated and wet rated?
A damp-listed fixture tolerates humidity and condensation but not direct water contact, which suits most of a bathroom ceiling. A wet-listed fixture tolerates direct spray and is what you need above a shower or in an open wet room. Both markings appear on the fixture label rather than the packaging.
How high should a bathroom pendant hang?
Keep the bottom of the shade at least 7 feet above the floor anywhere people walk, and beside a mirror aim for roughly 60 to 66 inches so the light reaches a face from the side. Over a freestanding bath, the zone rules decide the position before any styling preference does.
Do I need an electrician for a bathroom light?
In most jurisdictions yes, because bathroom circuits carry additional protection requirements and the work is notifiable. An electrician will confirm the zone, the required rating, the circuit protection and the ceiling box rating in one visit, which is money well spent in the wettest room in the house.
Want more like this? Browse all 15 hanging lights guides — they all use the same measurements and budget tiers.

Pin it for later
Save this to your Hanging Lights board
Pin it now so it is waiting for you when the tape measure comes out — and so the next person hunting for this idea can find it too.
Save this pinKeep going
More ideas worth saving while you have the tape measure out.