Study Desk Decor · Listicle
20 Dreamy Study Desk Wall Decor Aesthetic Layouts

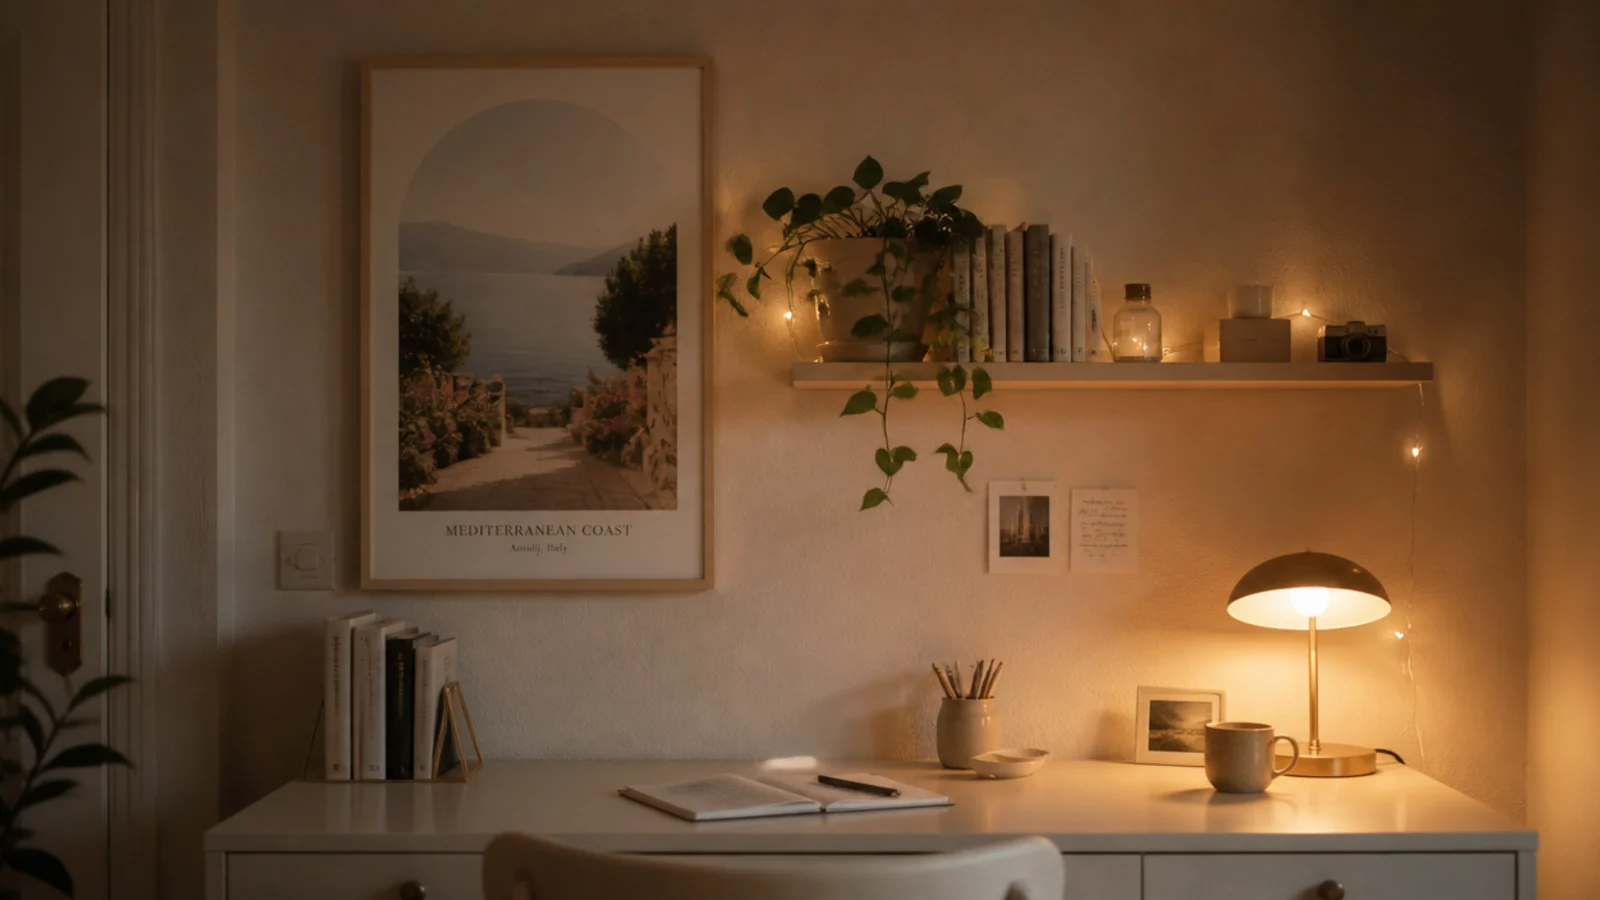
Study desk wall decor aesthetic layouts are the part of a desk setup people plan first and measure last, which is why so many of them look right in a photograph and wrong from the chair. A gallery hung at standing height floats above the desk. A shelf hung by eye ends up at forehead level. Every layout below is a composition first and a set of measurements second, with both written down. I have hung and rehung two of these walls, so the heights here are the ones I ended up with. Twenty arrangements that photograph beautifully and still let you work.
In this guide22 sections — tap to openHide
- 1.What study desk wall decor aesthetic layouts get right
- 2.One arch above the desk, nothing else
- 3.Weight the cluster to one side
- 4.Run one shelf full width with a single line
- 5.Build a tonal grid in one palette
- 6.Arc trailing plants across the wall
- 7.Tape a postcard grid with washi
- 8.Layer two ledges with overlapping prints
- 9.Pair a round mirror with the shelf
- 10.Paint an arch straight onto the wall
- 11.Use a scalloped or fluted shelf edge
- 12.Hang fabric from a dowel as a backdrop
- 13.Anchor with one oversized piece and satellites
- 14.Line pressed flowers in a vertical column
- 15.Glow a paper lantern above the shelf
- 16.Treat the wall planner as a graphic piece
- 17.Hang shelves on leather straps
- 18.Line up wall vases of dried stems
- 19.Wash the wall from behind a ledge
- 20.Keep it monochrome with one accent
- 21.Let negative space be the layout
- 22.Mistakes to Skip
What study desk wall decor aesthetic layouts get right
Three things separate a wall that looks composed from one that merely looks full.
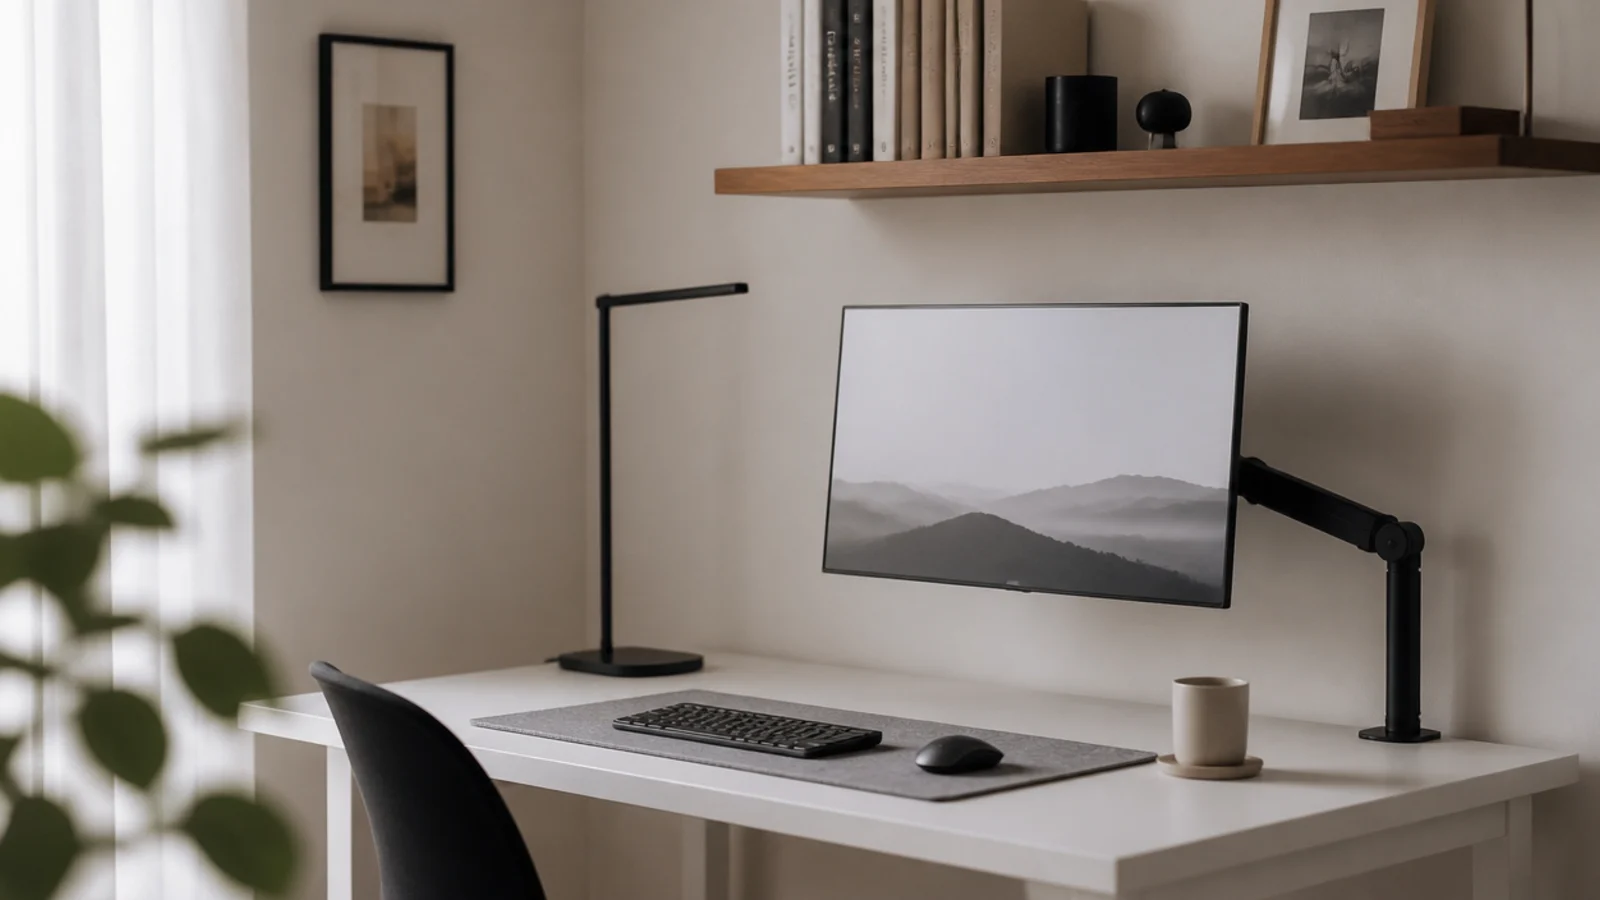
Everything is measured from the desk. Frames and boards start 10 to 12 inches above the surface. A shelf underside goes 18 to 24 inches up, 8 to 10 inches deep. The desk is the visual base of the whole arrangement, so it sets the centre line as well — mark it in pencil before anything else.
The gaps are identical. Two inches between frames for a tight grid, three for a looser cluster, the same on every side. Even spacing is what makes separate pieces read as one shape, and uneven spacing is what people notice without being able to say why.
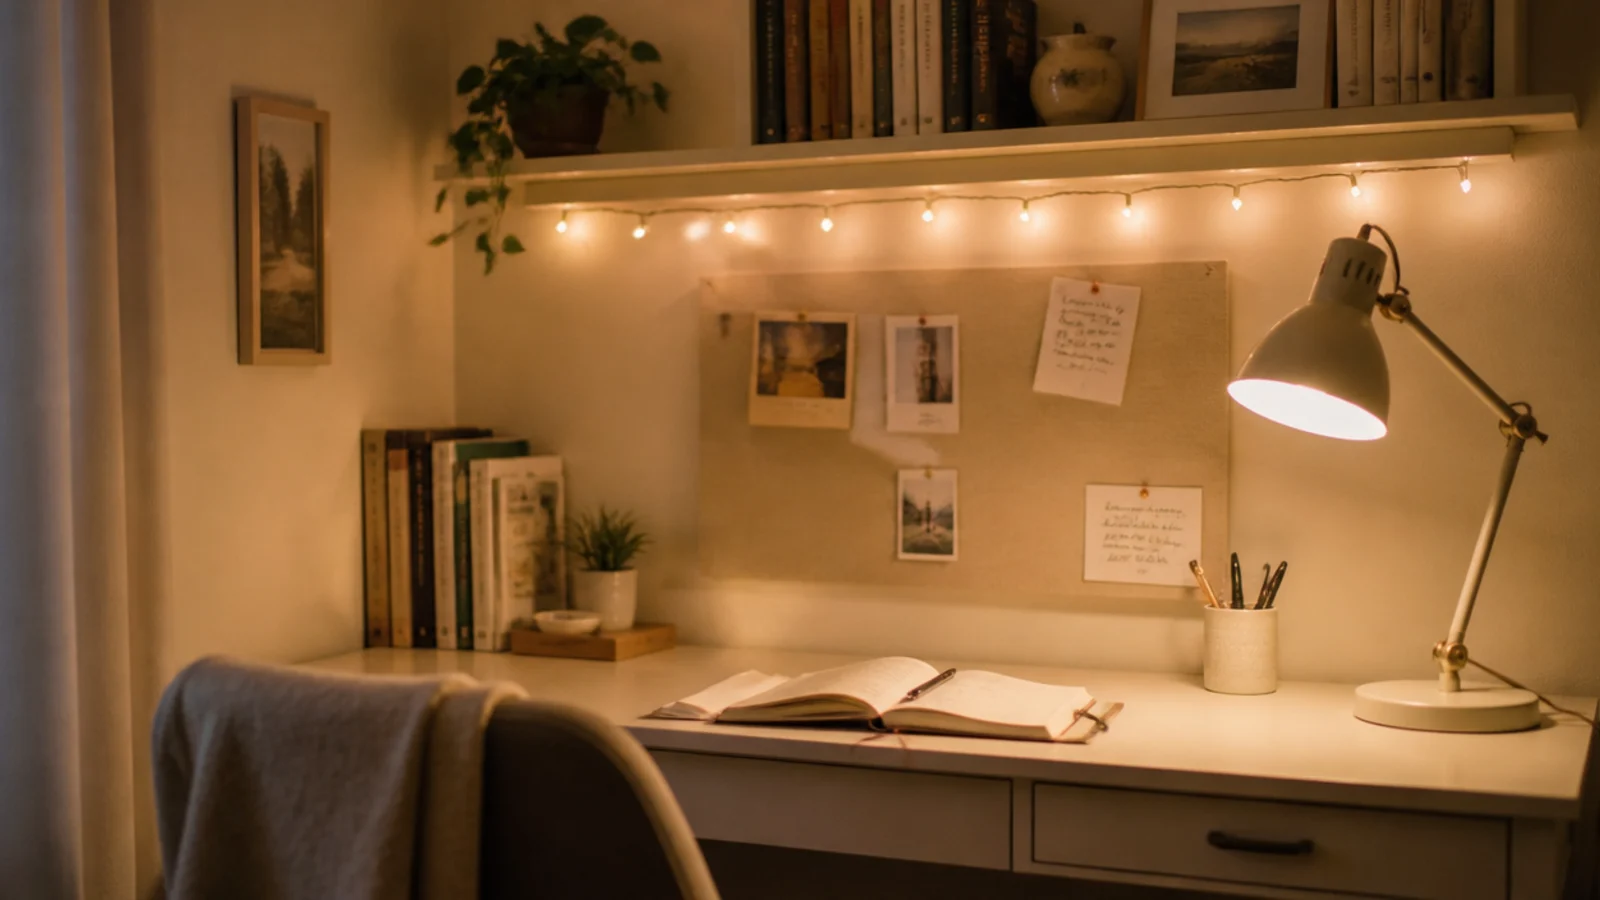
The light source is hidden. A strip behind a shelf lip or behind the monitor washes downward and never reflects. Any visible fitting has to sit outside a thirty degree cone from your eyes to the screen.
Budget is modest — prints $6 to $20 each, a ledge $12 to $25, a shelf and brackets $15 to $40, a strip light $10 to $20. For the same wall built in sequence rather than picked from, the study table wall decor ideas go through it layout by layout.
1. One arch above the desk, nothing else
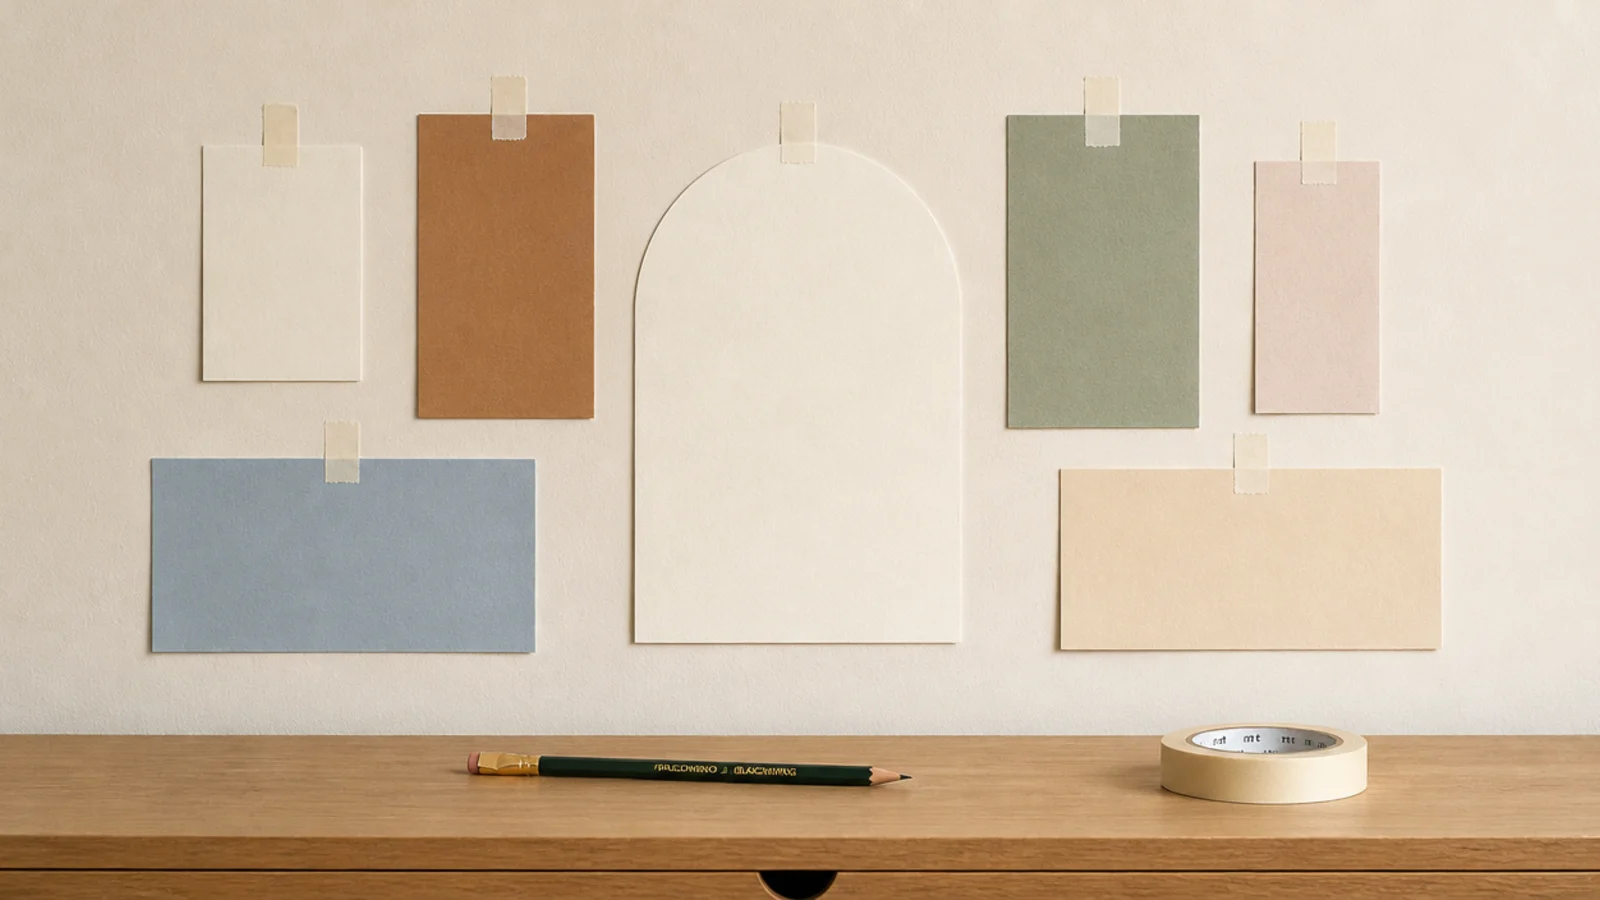
A single arch-topped print or mirror centred over the desk does more than six small frames and takes twenty minutes. The curve reads soft against a rectangular desk and a rectangular room, which is most of why the shape has become so common. Hang the bottom edge 10 to 12 inches above the surface, centred on the desk rather than the wall, and leave the plaster either side of it completely bare.
2. Weight the cluster to one side
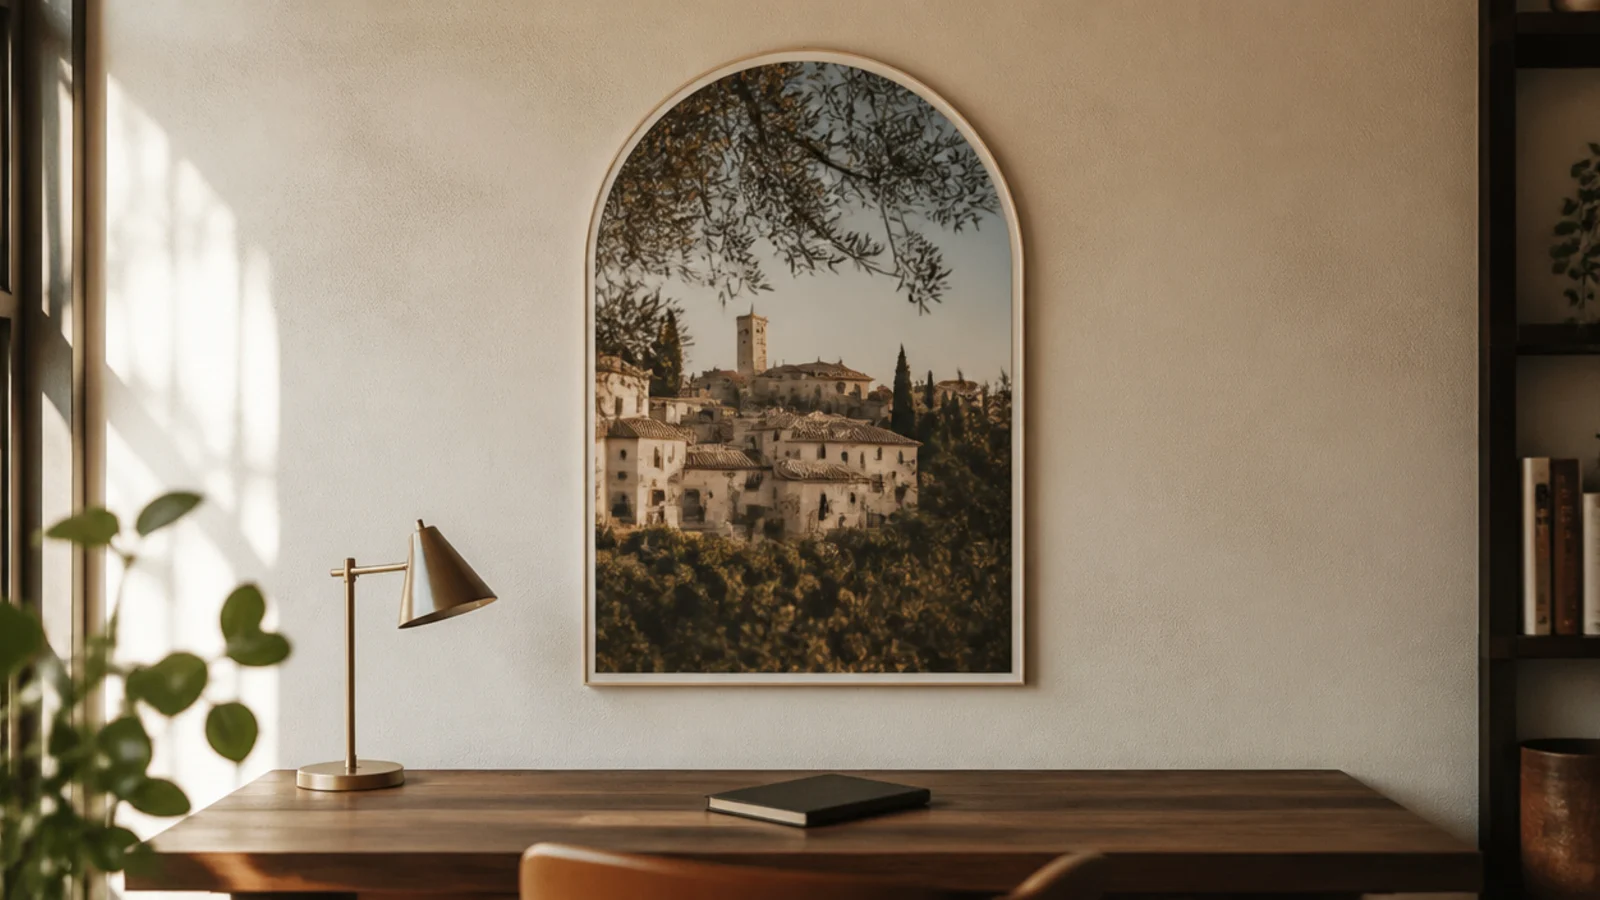
An asymmetric group works when the imbalance is obvious enough to read as a choice. Gather five frames toward one end of the desk, keep the gaps identical at two inches, and leave a clear run of wall on the other side — usually the side the lamp or the monitor occupies. Sketch it on paper first, because asymmetry that is nearly balanced just looks like a mistake.
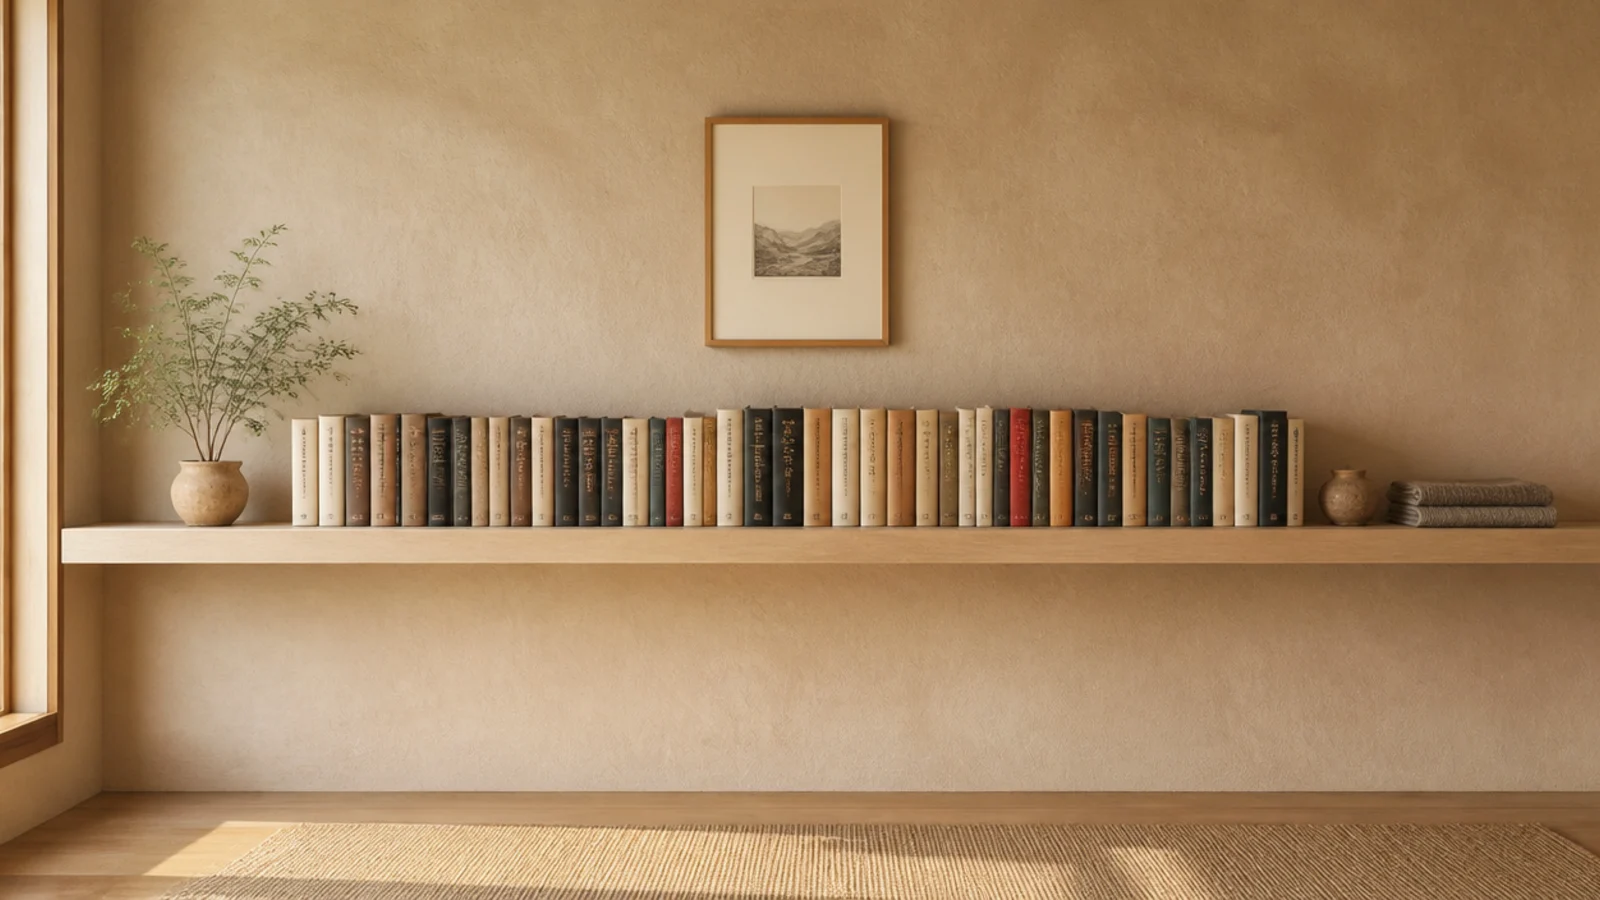
3. Run one shelf full width with a single line
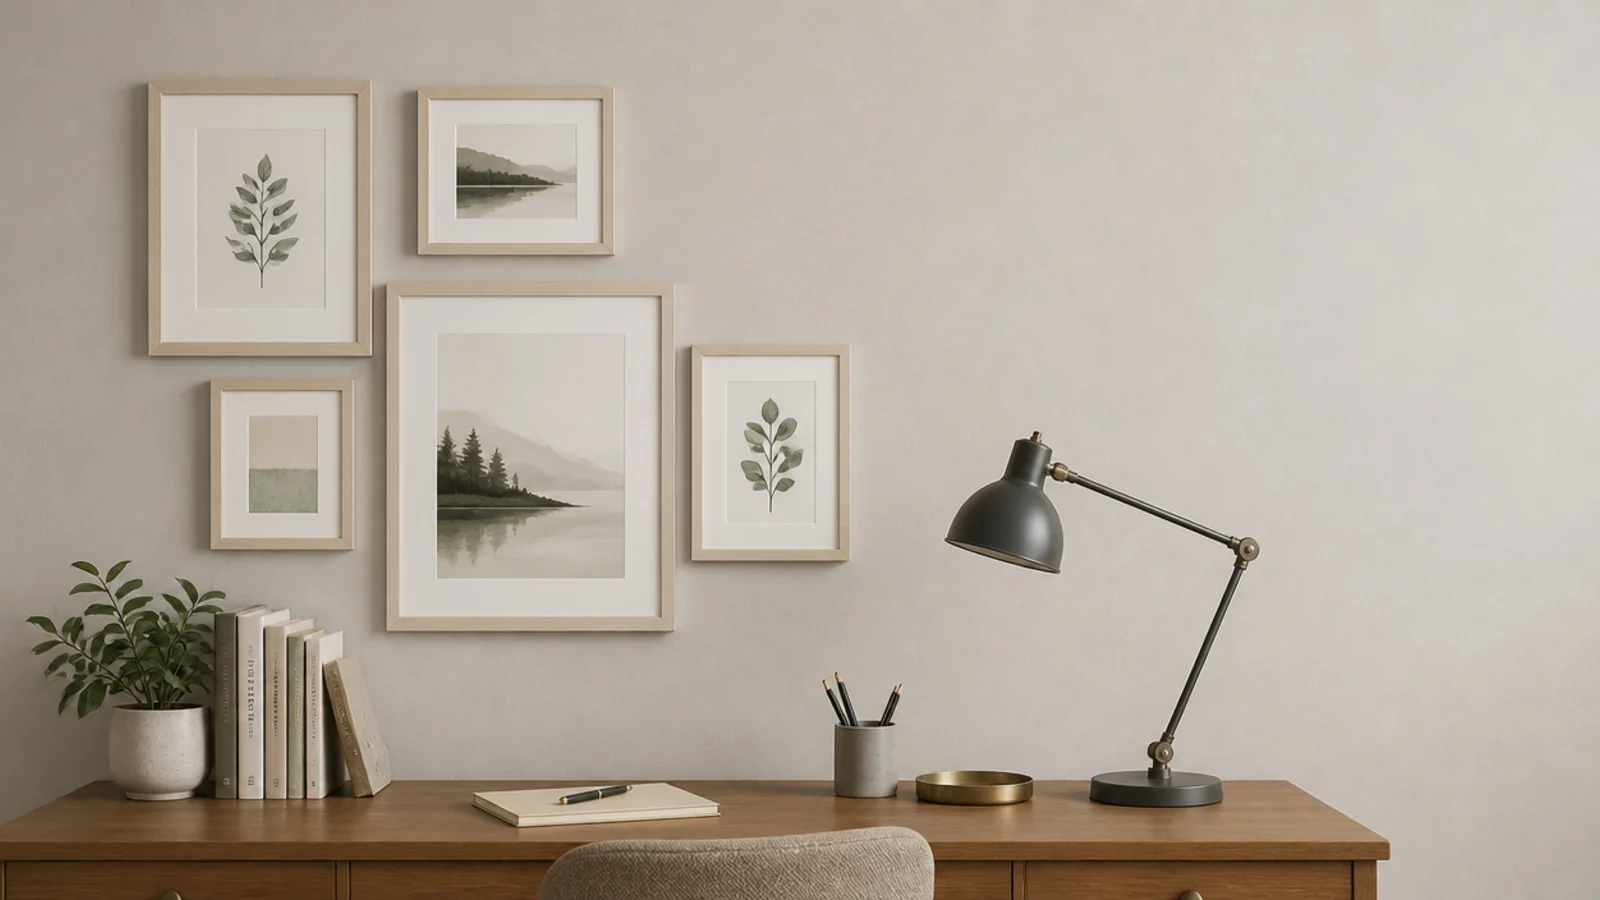
A single unbroken shelf carrying one continuous row of objects is the calmest wall treatment there is, and it suits a narrow room because the eye follows one long horizontal. Support it every 30 inches into studs, glue a front lip on to stiffen it, and resist adding a second shelf. The restraint is what makes the line work.
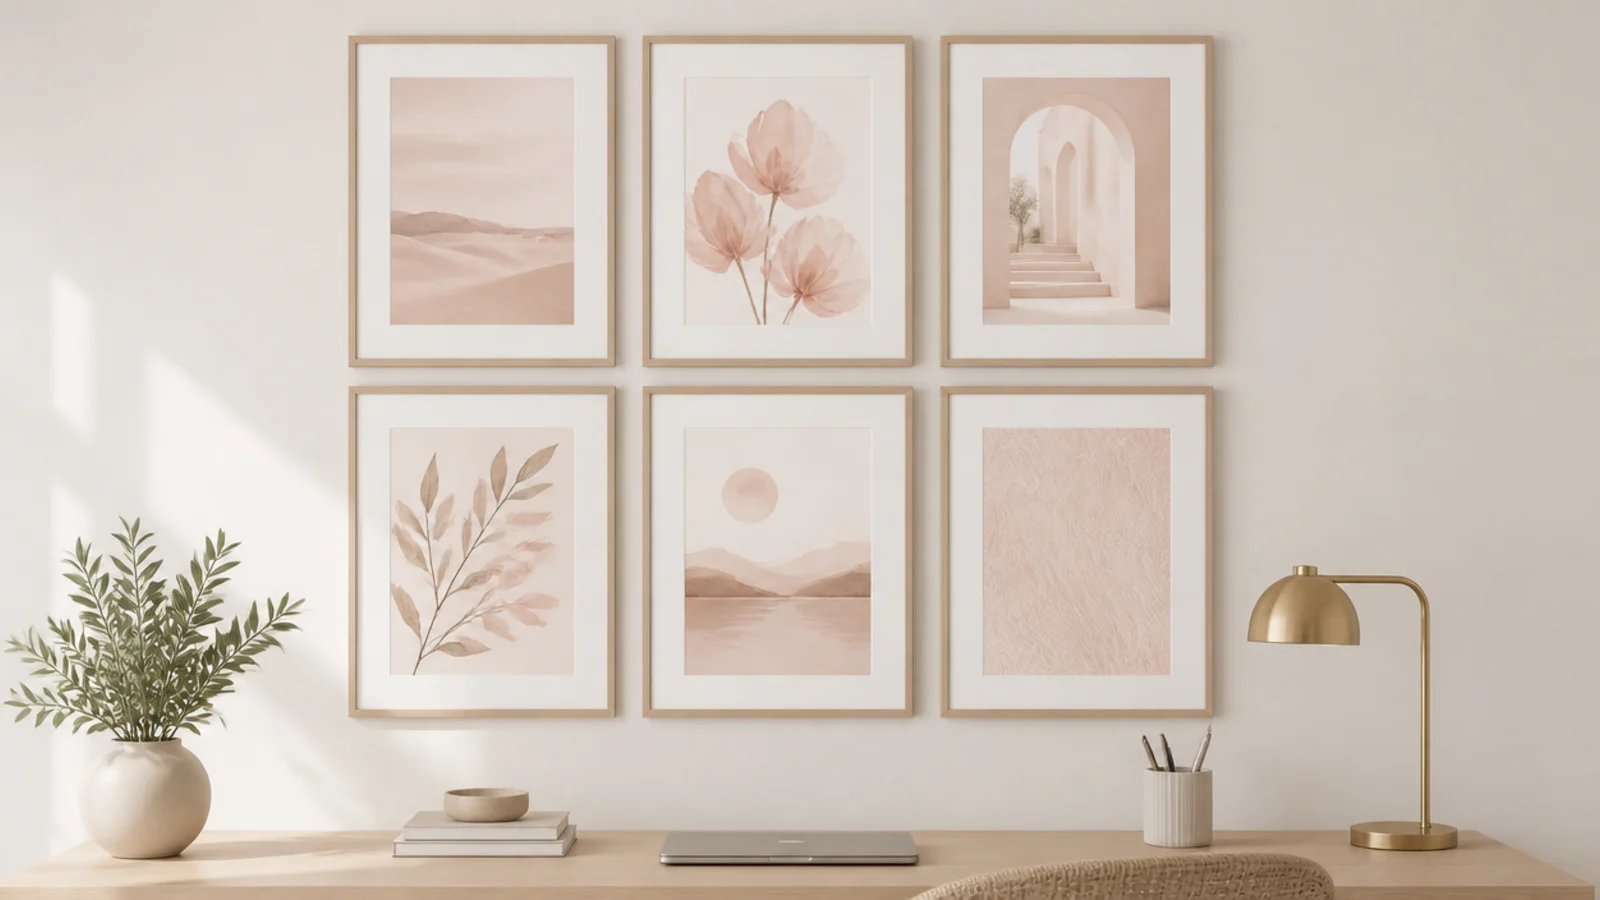
4. Build a tonal grid in one palette
Six identical frames holding prints that share two or three colours read as a single textile rather than six separate pictures. It is the most forgiving gallery format for anyone who hates measuring, because identical frames and identical gaps do all the work. Keep the whole block centred on the desk and its lowest edge 10 inches above the surface.
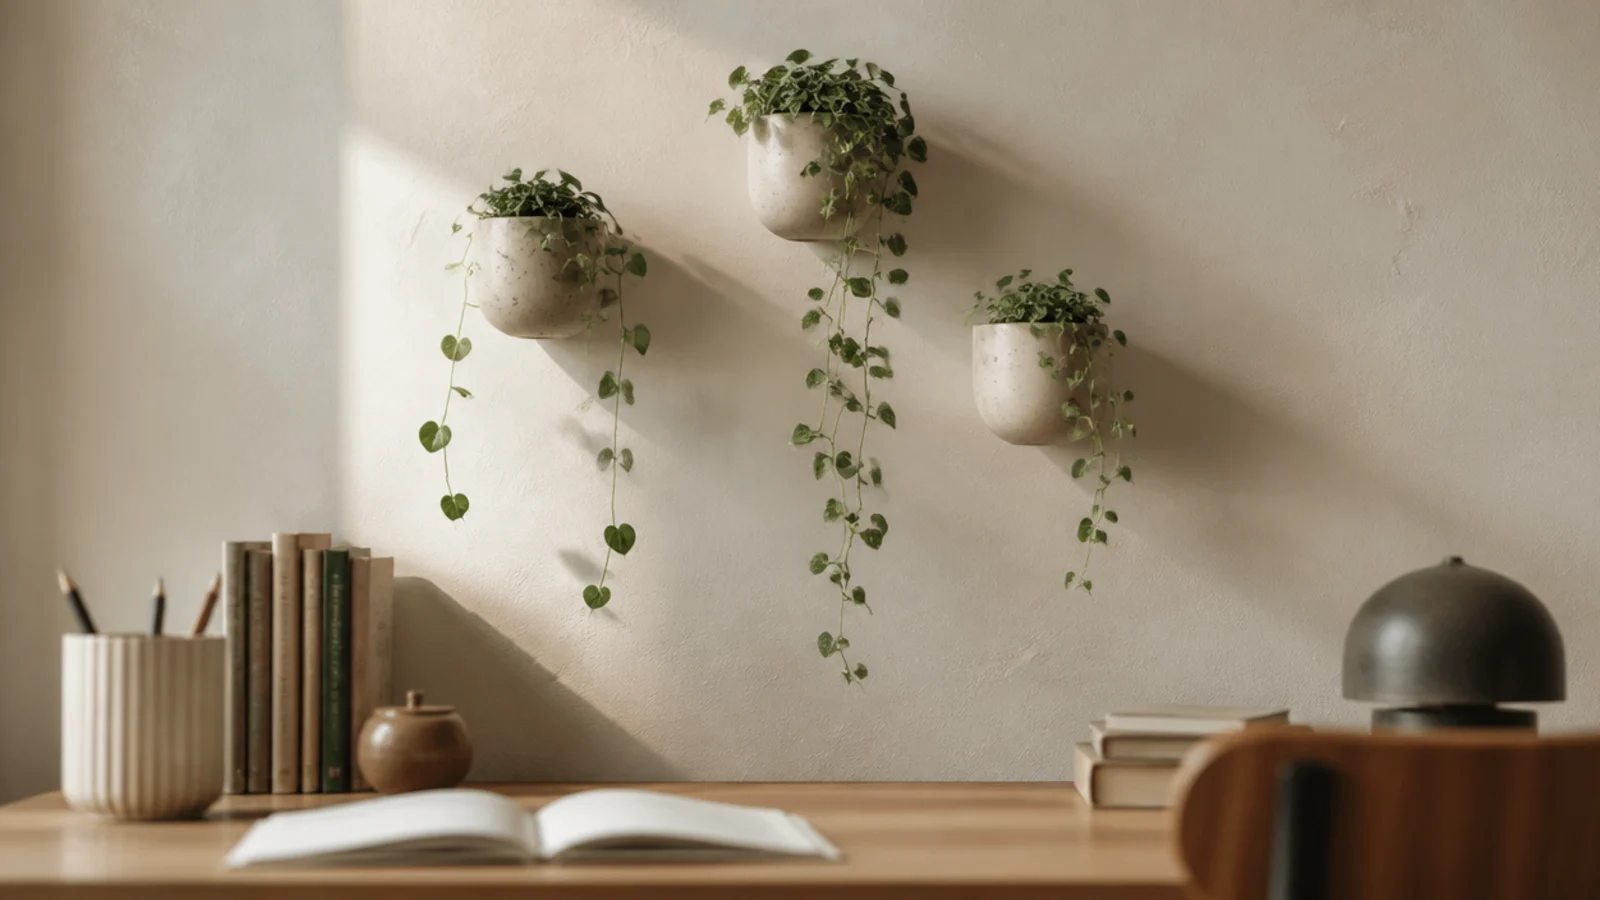
5. Arc trailing plants across the wall
Three small wall pots mounted at staggered heights, with vines of different lengths, draw a soft curve across the plaster and put greenery above the desk instead of on it. Fix into studs or proper anchors — a watered pot weighs three or four times its empty weight. Choose pothos or string of hearts, both of which trail happily in low light.
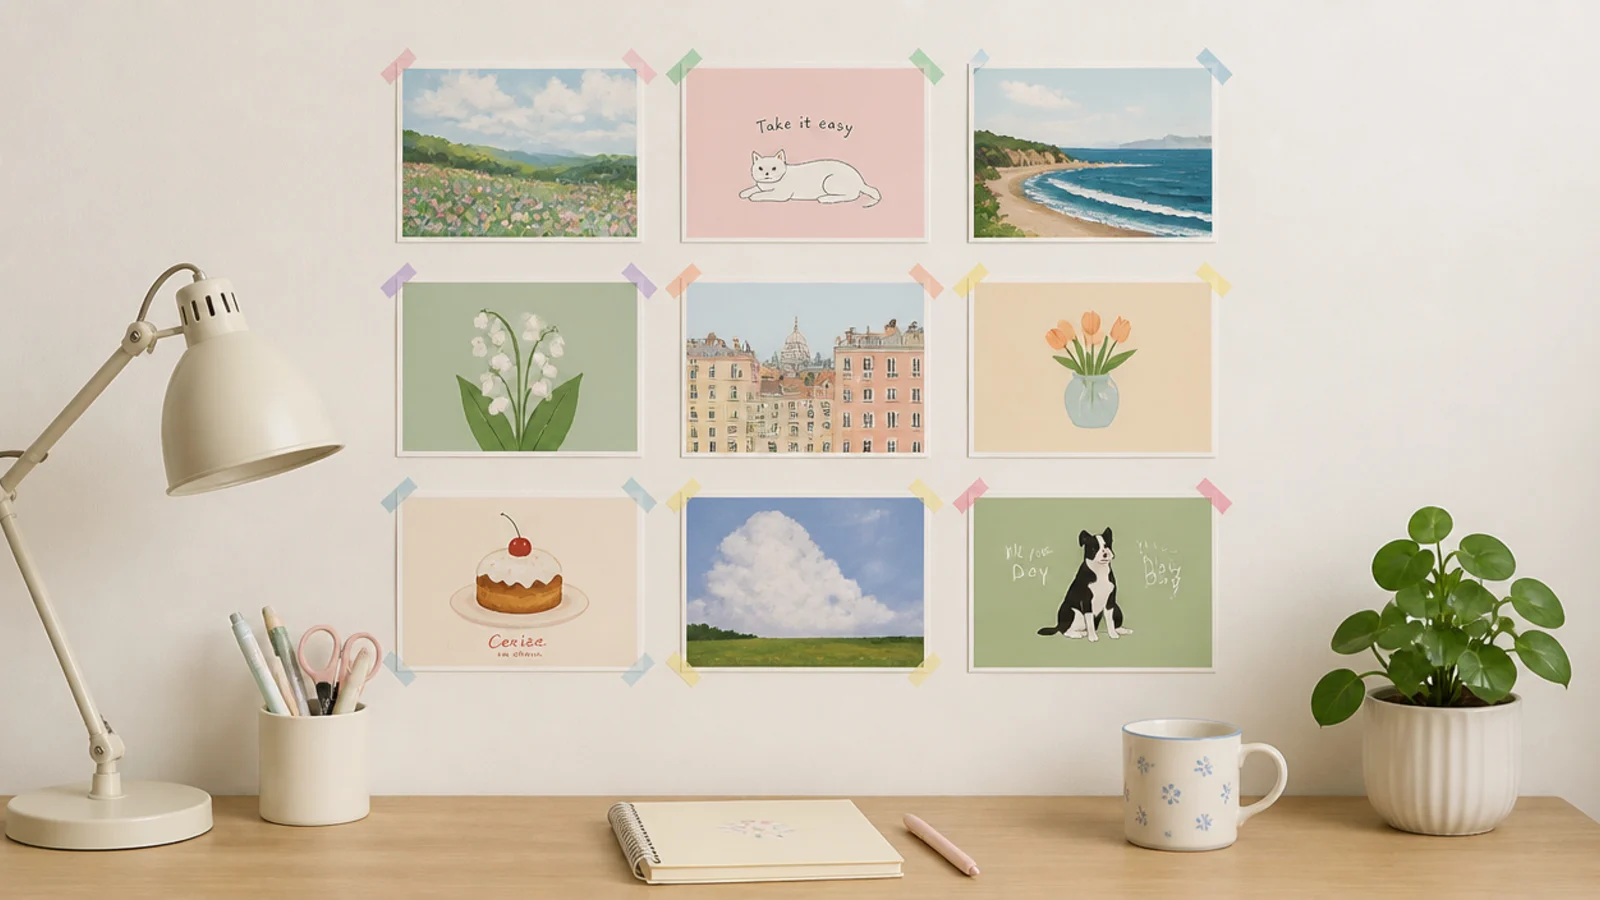
6. Tape a postcard grid with washi
For a wall you expect to change every term, tape beats frames. Nine postcards in a three by three grid, taped at the corners, costs almost nothing and comes down cleanly from fully cured emulsion. Give freshly painted walls two weeks before taping and test one corner first, since new paint lifts easily.
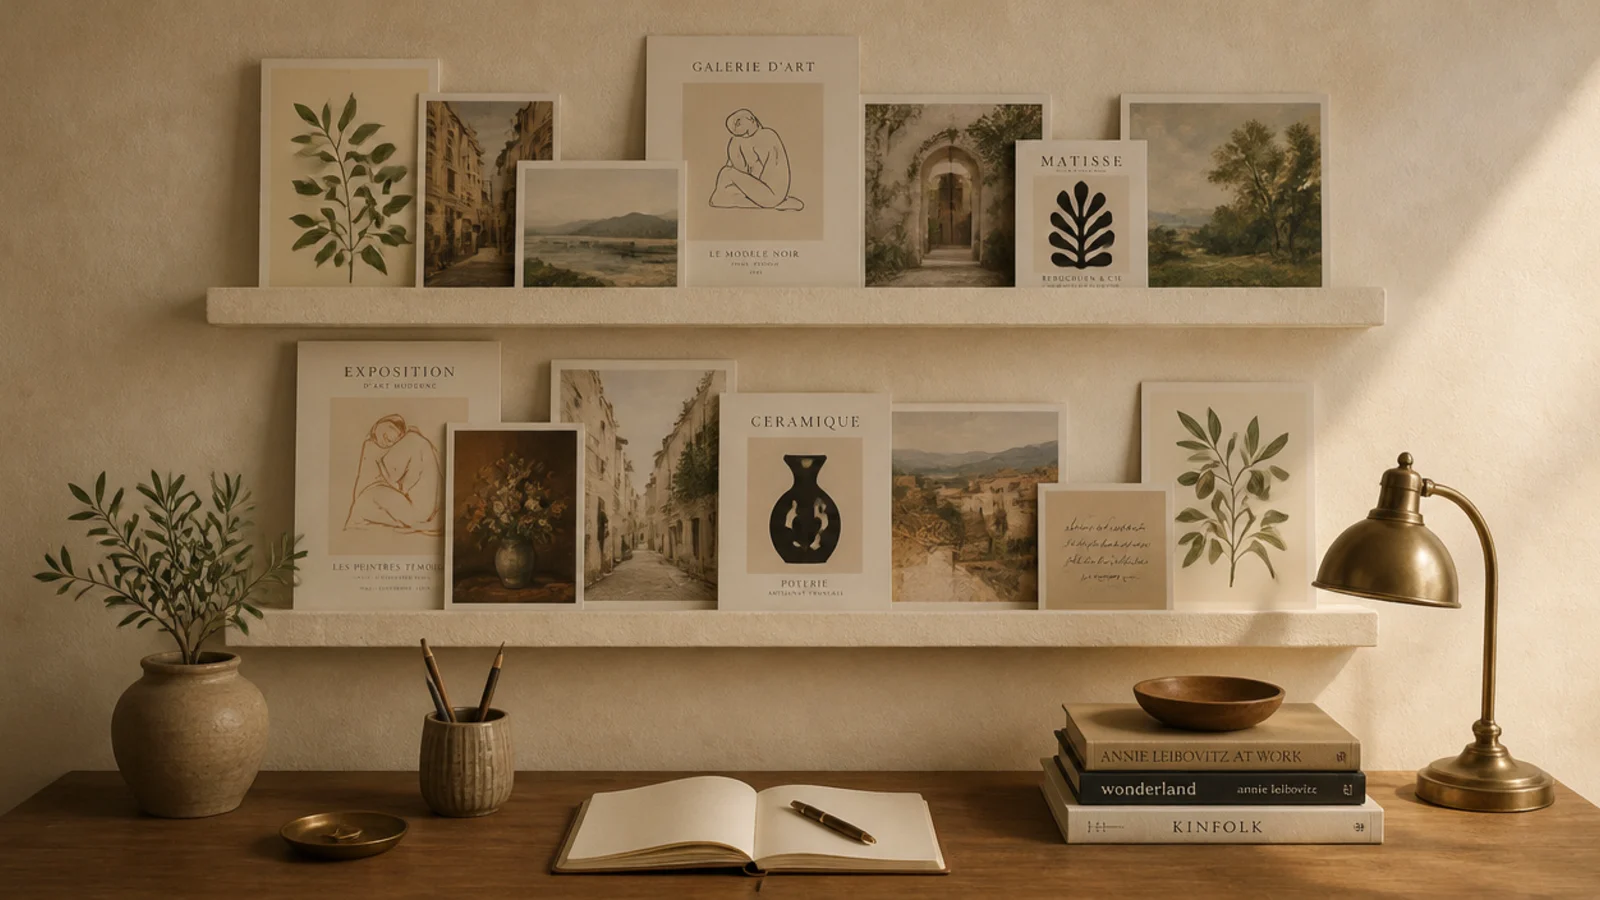
7. Layer two ledges with overlapping prints
Two shallow ledges 13 to 16 inches apart, each holding prints that overlap by about a third, give depth without a single extra fixing. Four inches of depth takes an A4 print leaning safely, and a small front lip stops anything sliding when a door slams. This is the most changeable arrangement on the list.
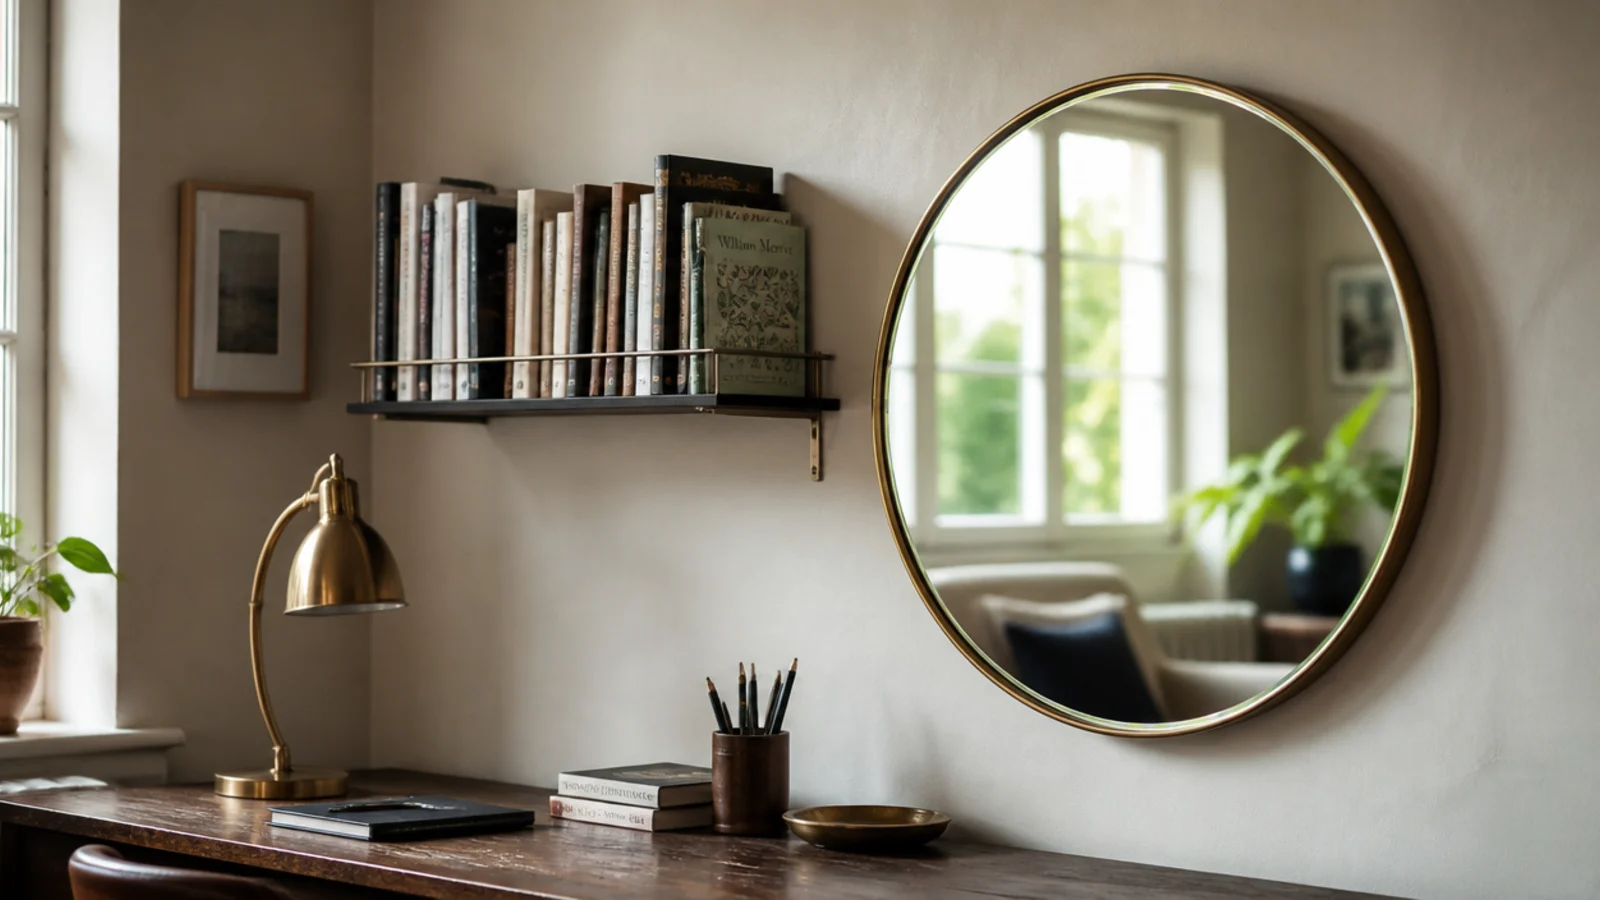
8. Pair a round mirror with the shelf
A circle beside a straight line settles a wall that is otherwise all rectangles, and a mirror puts light back into a corner short of it. Keep it 12 to 18 inches across and above the shelf line, and check from the chair that it is not throwing the window into your monitor.
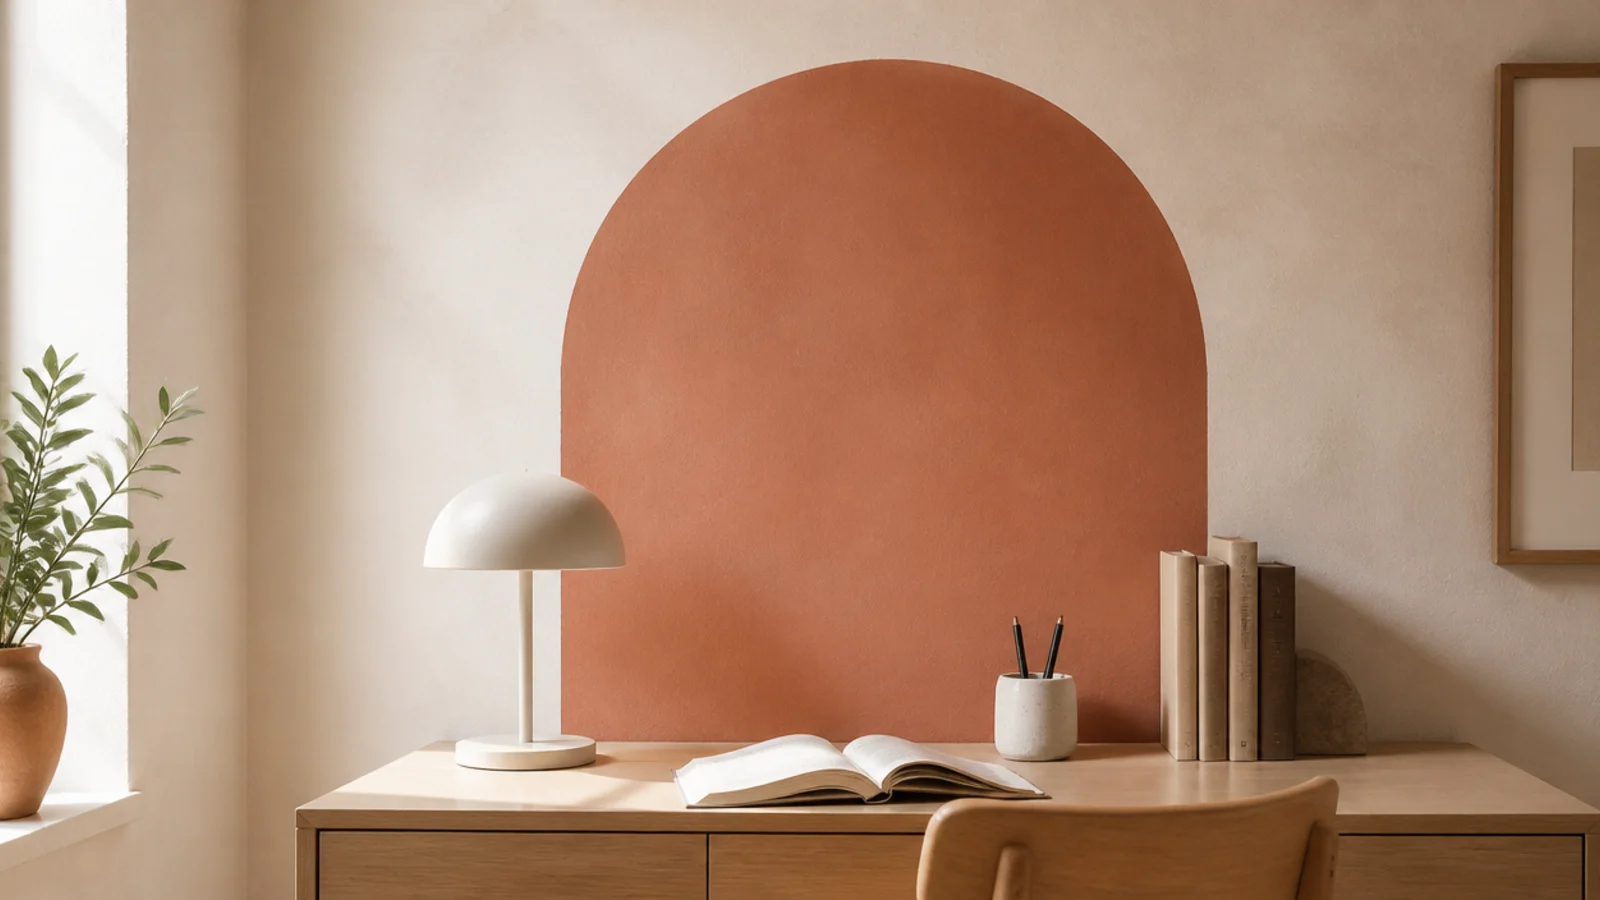
9. Paint an arch straight onto the wall
One tester pot, a pencil, a length of string and a drawing pin. A painted arch behind the desk gives the corner a defined backdrop for about $8 and no fixings at all. Keep the paint matt so the lamp does not bounce off it, and take the arch wide enough to sit behind the whole desk rather than floating above it.
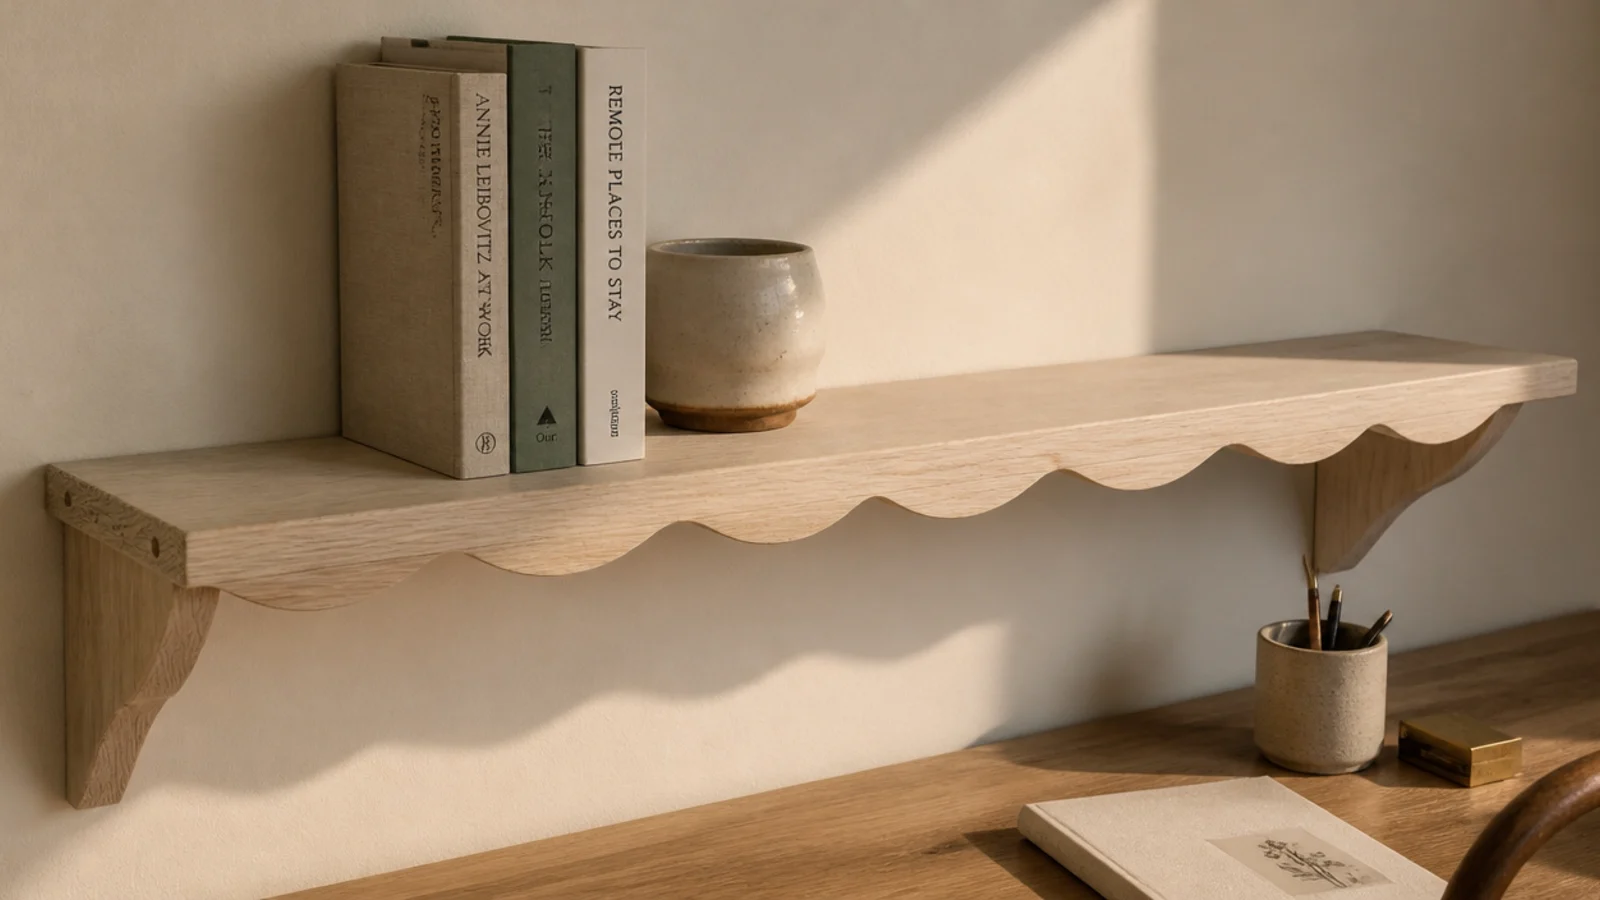
10. Use a scalloped or fluted shelf edge
A shaped front edge turns a plain board into the decorative element, so the objects on it can stay simple. A jigsaw and a template make scallops in an hour; half-round beading glued to the front gives a fluted effect for about $10. Sand the shaping to 220 grit before finishing or it will read as unfinished rather than soft.
11. Hang fabric from a dowel as a backdrop
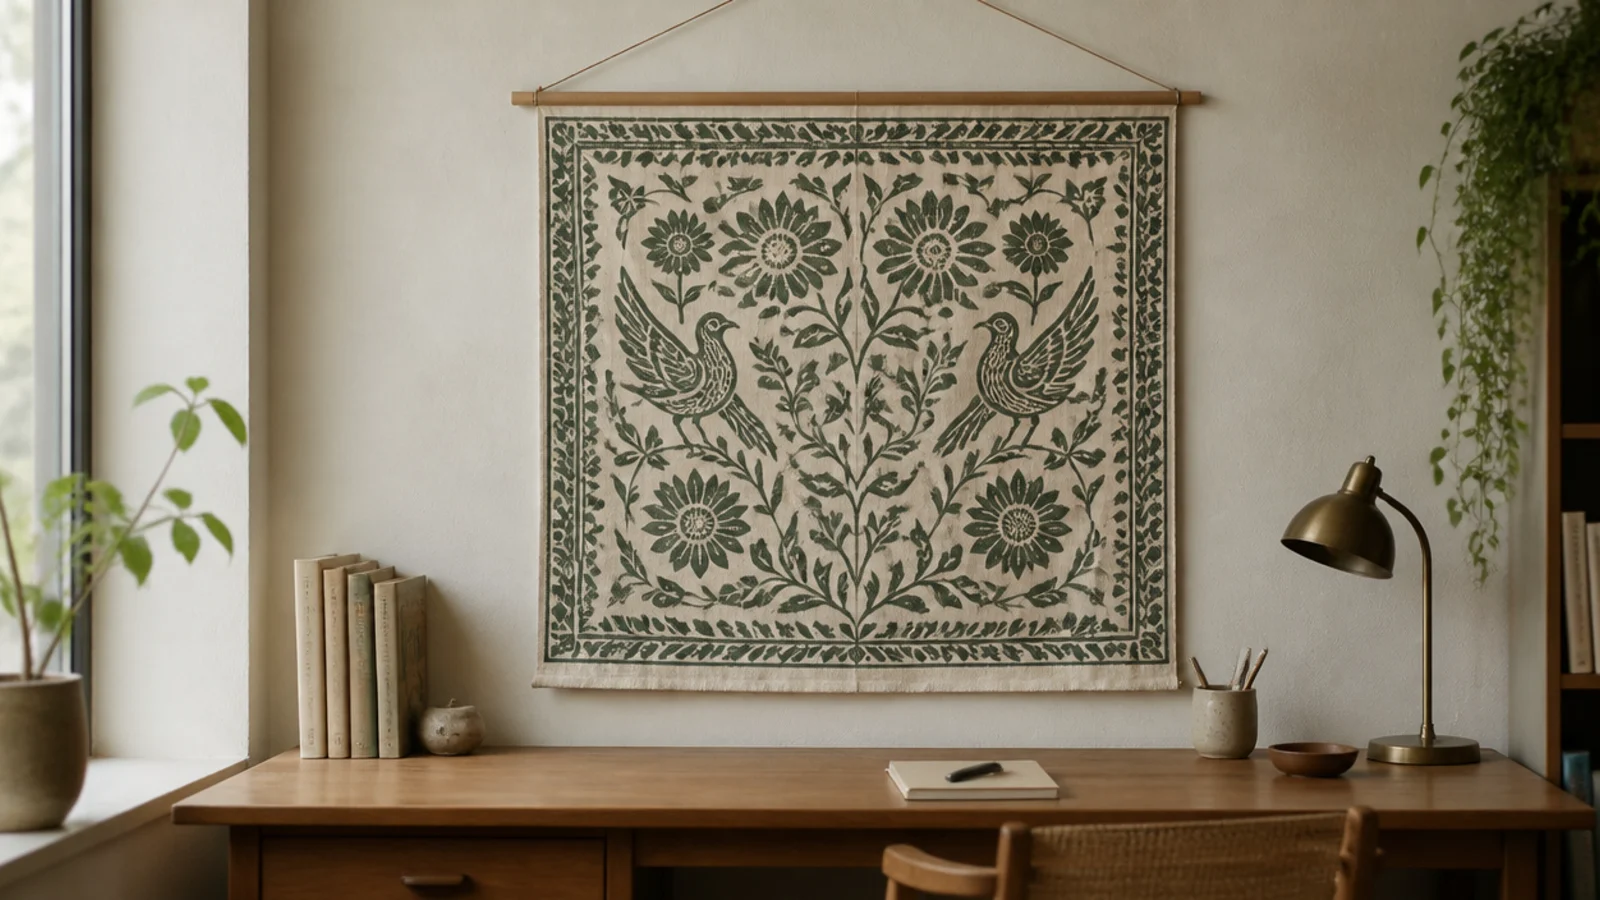
A printed cotton panel hung from a slim dowel softens the plaster and takes some of the echo out of a hard room, which matters if the desk is used for calls. Hang it so the hem finishes just above the desk surface rather than resting on it, and keep it clear of the lamp head.
12. Anchor with one oversized piece and satellites
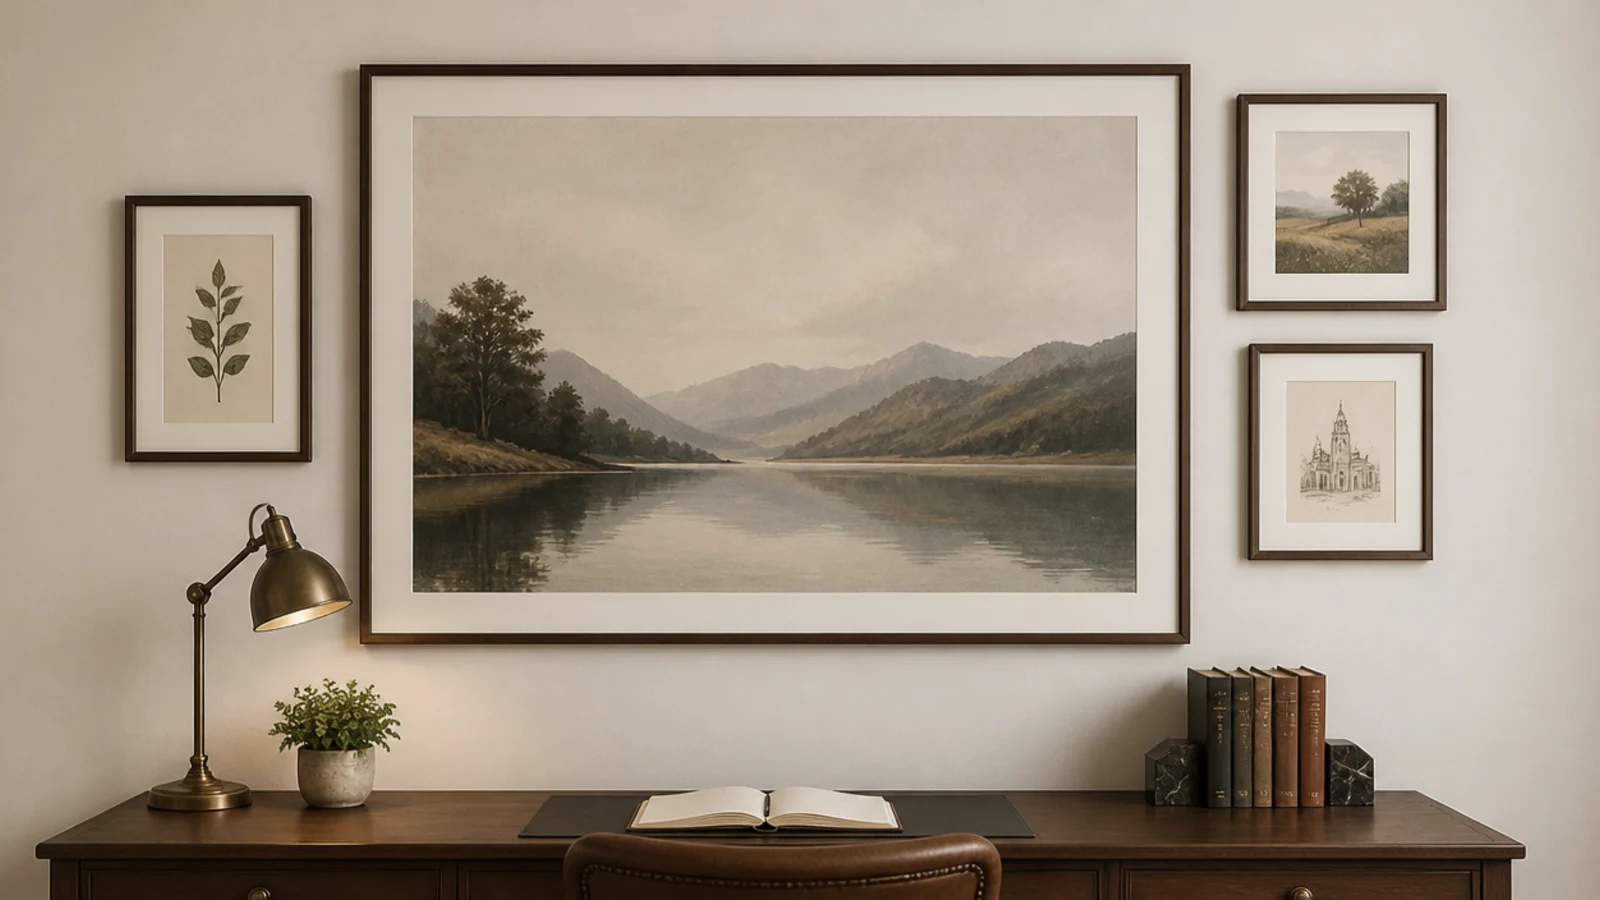
One large print with three much smaller frames around it gives a gallery wall a clear hierarchy, which a wall of equally sized pieces never has. Hang the large one first, centred on the desk, then place the satellites at a consistent gap. It is also cheaper than filling the same area with matched frames.
13. Line pressed flowers in a vertical column
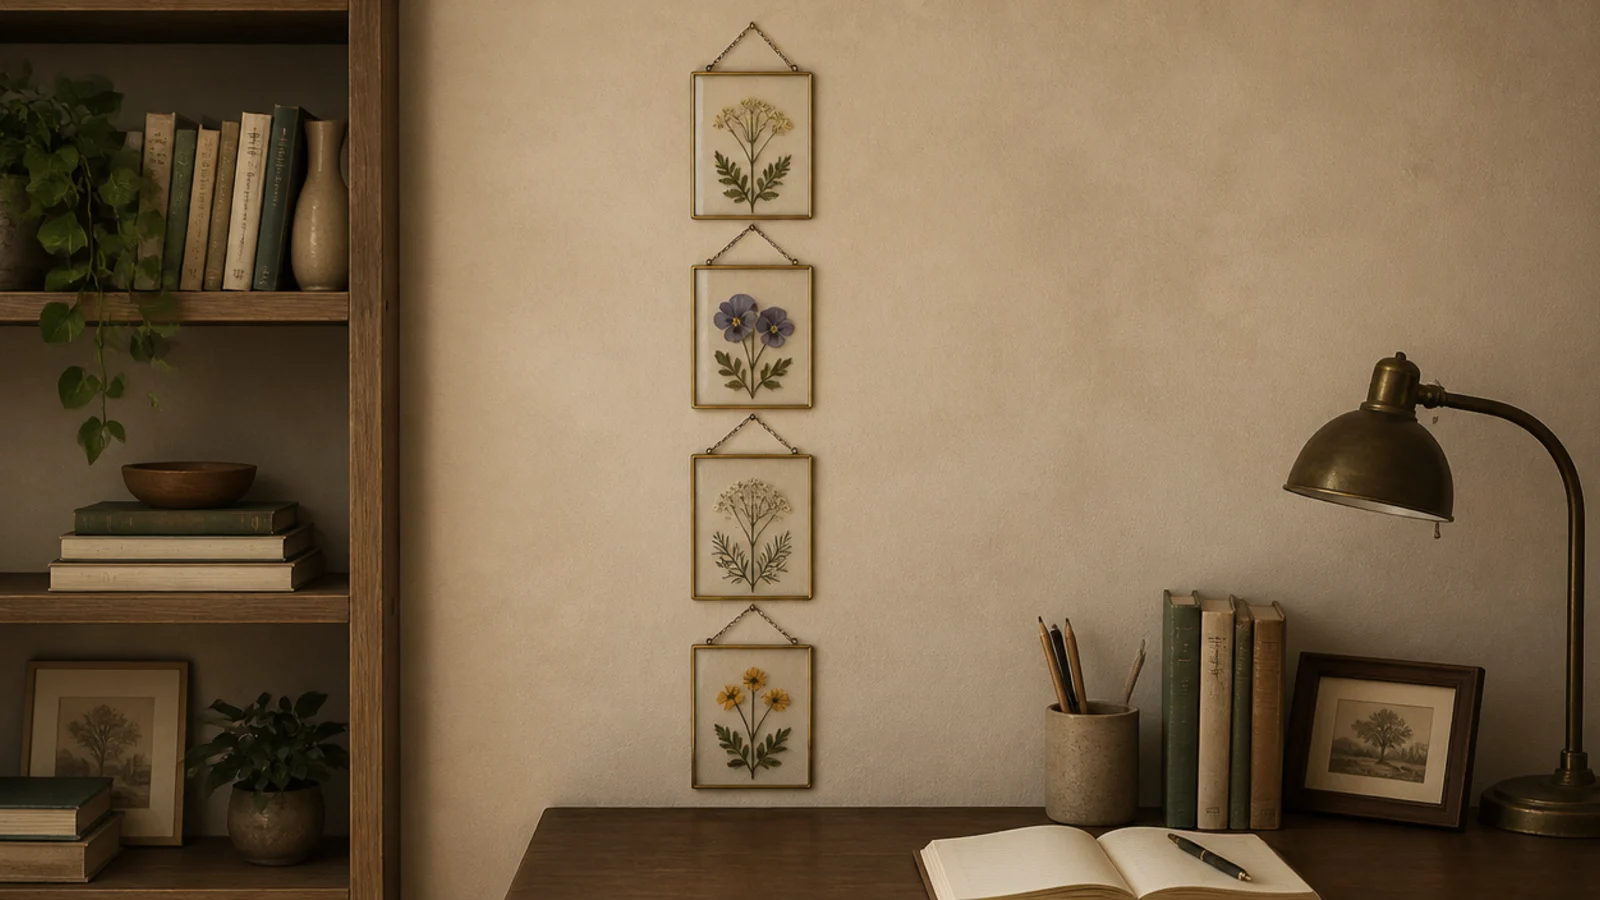
Four small glass frames in a single column draw the eye upward, which is worth doing in a room with a low ceiling. Keep the column beside the desk rather than behind the screen, use the same gap between each, and hang the lowest frame at seated eye level so the detail is actually visible.
14. Glow a paper lantern above the shelf
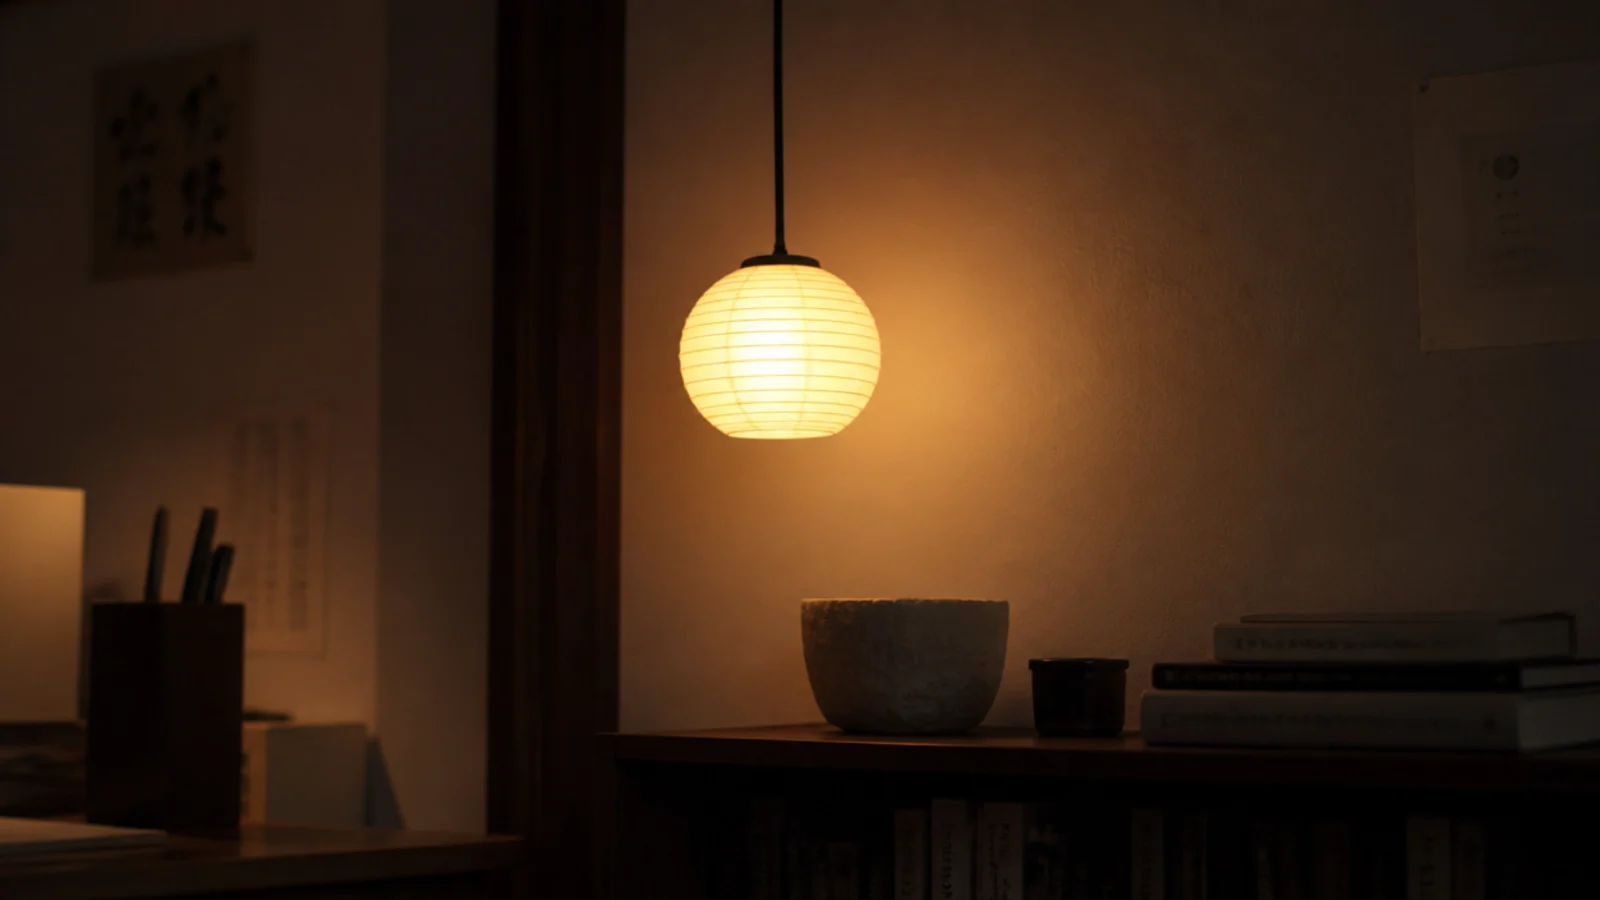
A small ribbed paper lantern on a cord gives a soft, diffused point of warmth that a bare bulb never will. Use an LED bulb only — paper shades and heat are a poor combination — and hang it to the side of the desk rather than directly over it, so nothing casts a shadow across your work.
15. Treat the wall planner as a graphic piece
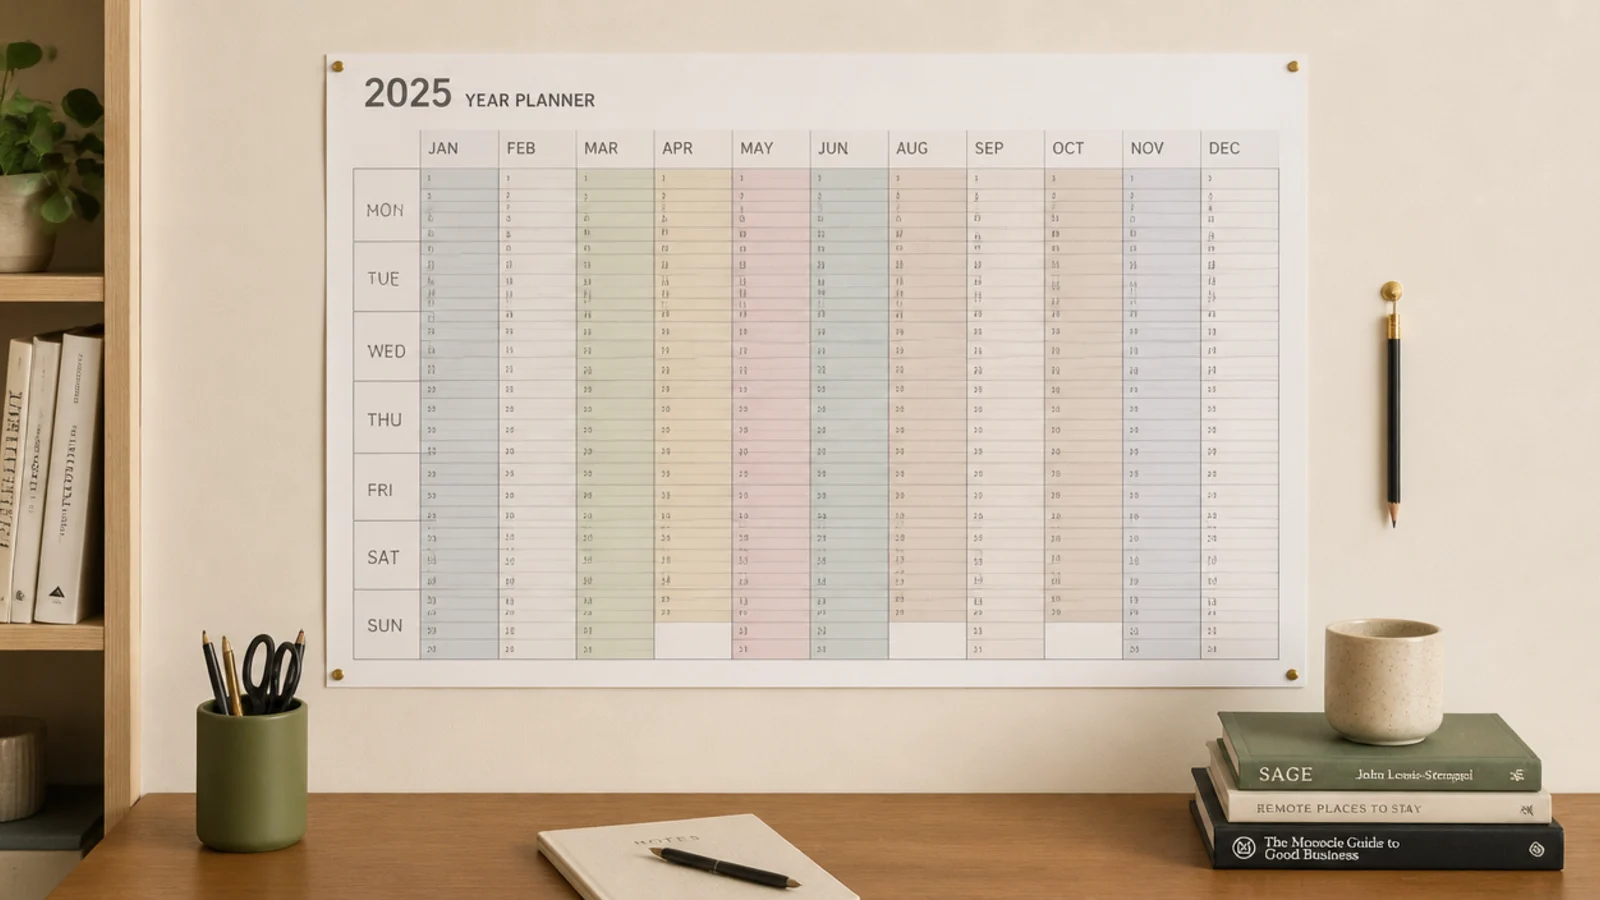
A large printed year planner with a muted colour grid is a genuinely good-looking object, and unlike most wall art it earns its place by being used. Hang it beside the desk at seated arm height, roughly 40 to 50 inches from the floor, with a pen on a cord next to it.
16. Hang shelves on leather straps
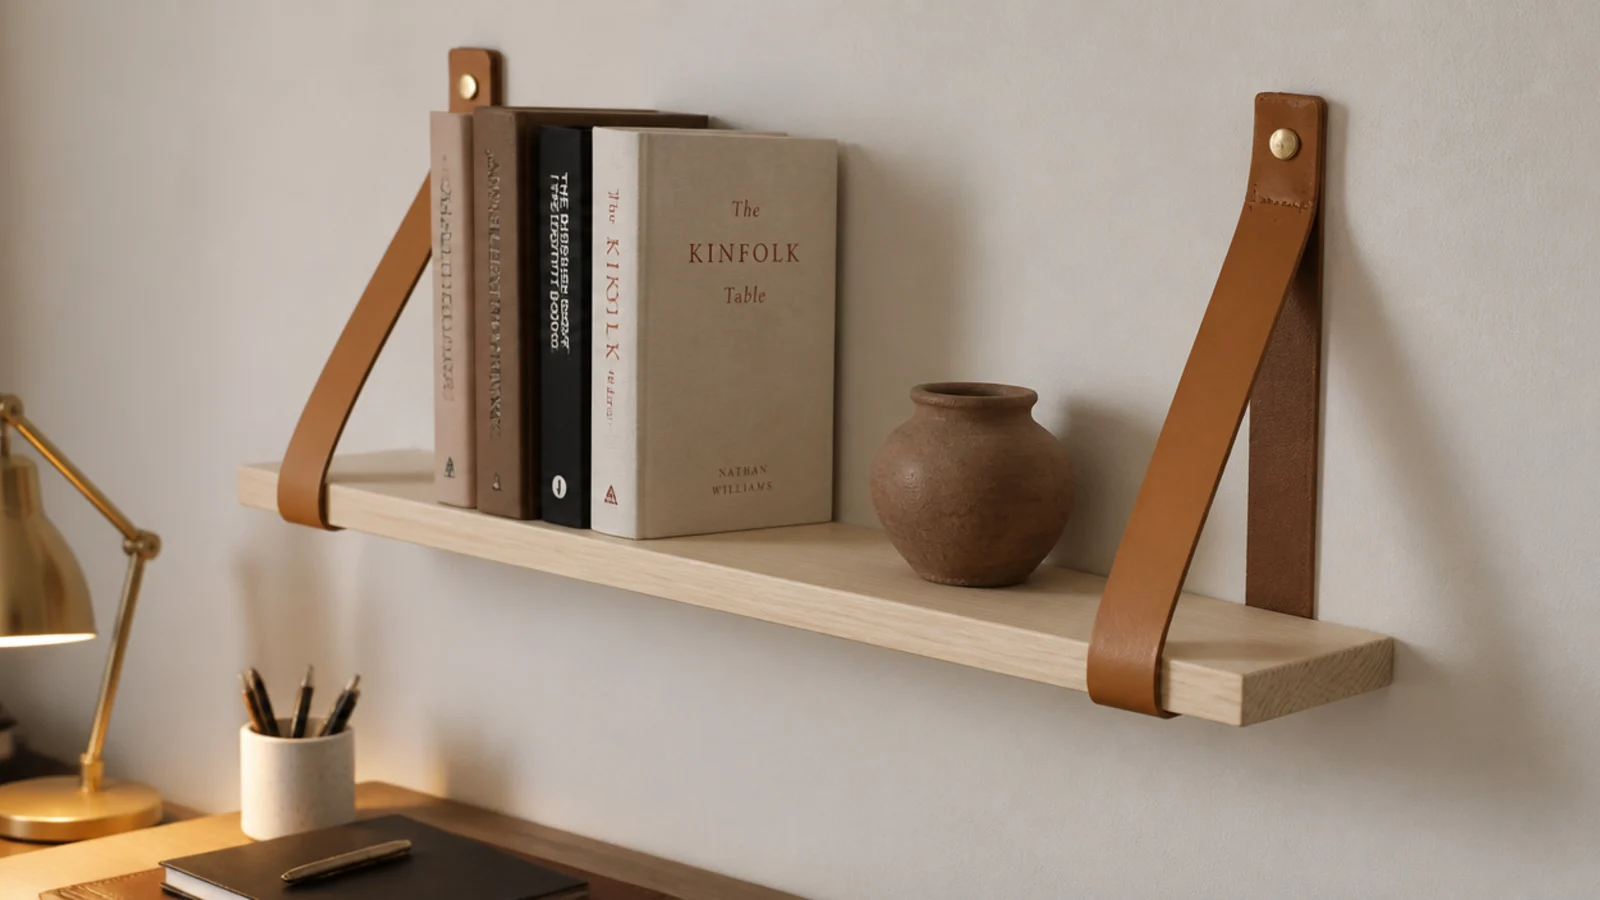
Leather or webbing straps read softer than metal brackets and suit a warm, textured scheme. Fix the strap tops into studs, keep the span under 30 inches, and treat the load limit conservatively — straps are best for a few books and small objects rather than a full run of textbooks.
17. Line up wall vases of dried stems
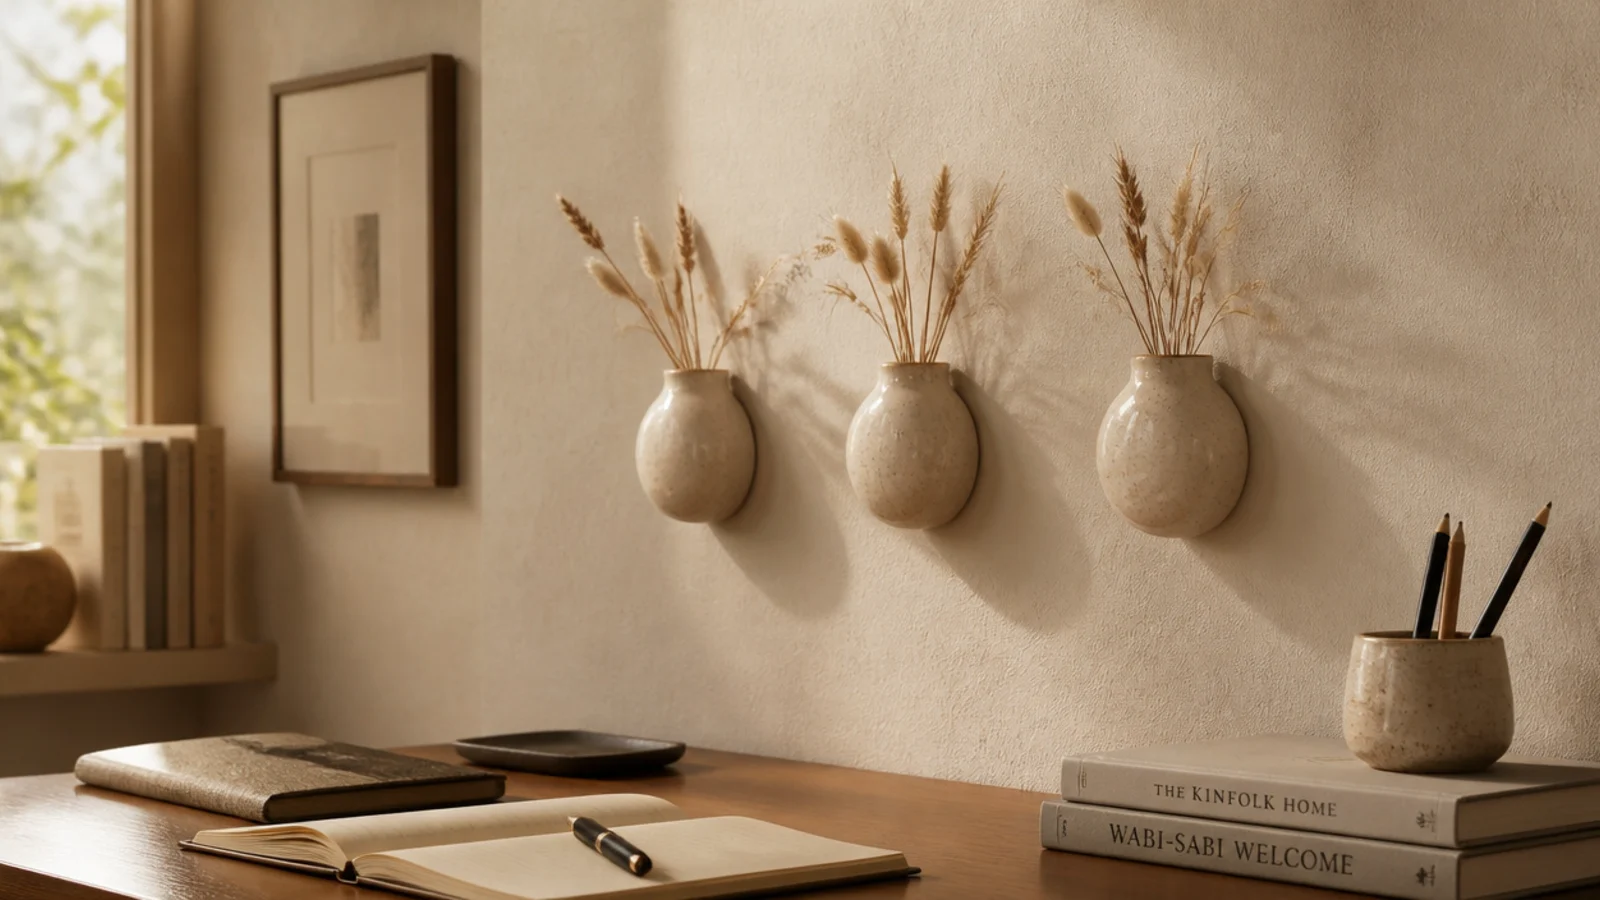
Three small wall-mounted vases at equal spacing hold dried grasses that need no water, no light and no attention. They add height and texture on a wall where a shelf would be too heavy, and they cost $8 to $15 each. Shake the stems outside once a term to keep the dust down.
18. Wash the wall from behind a ledge
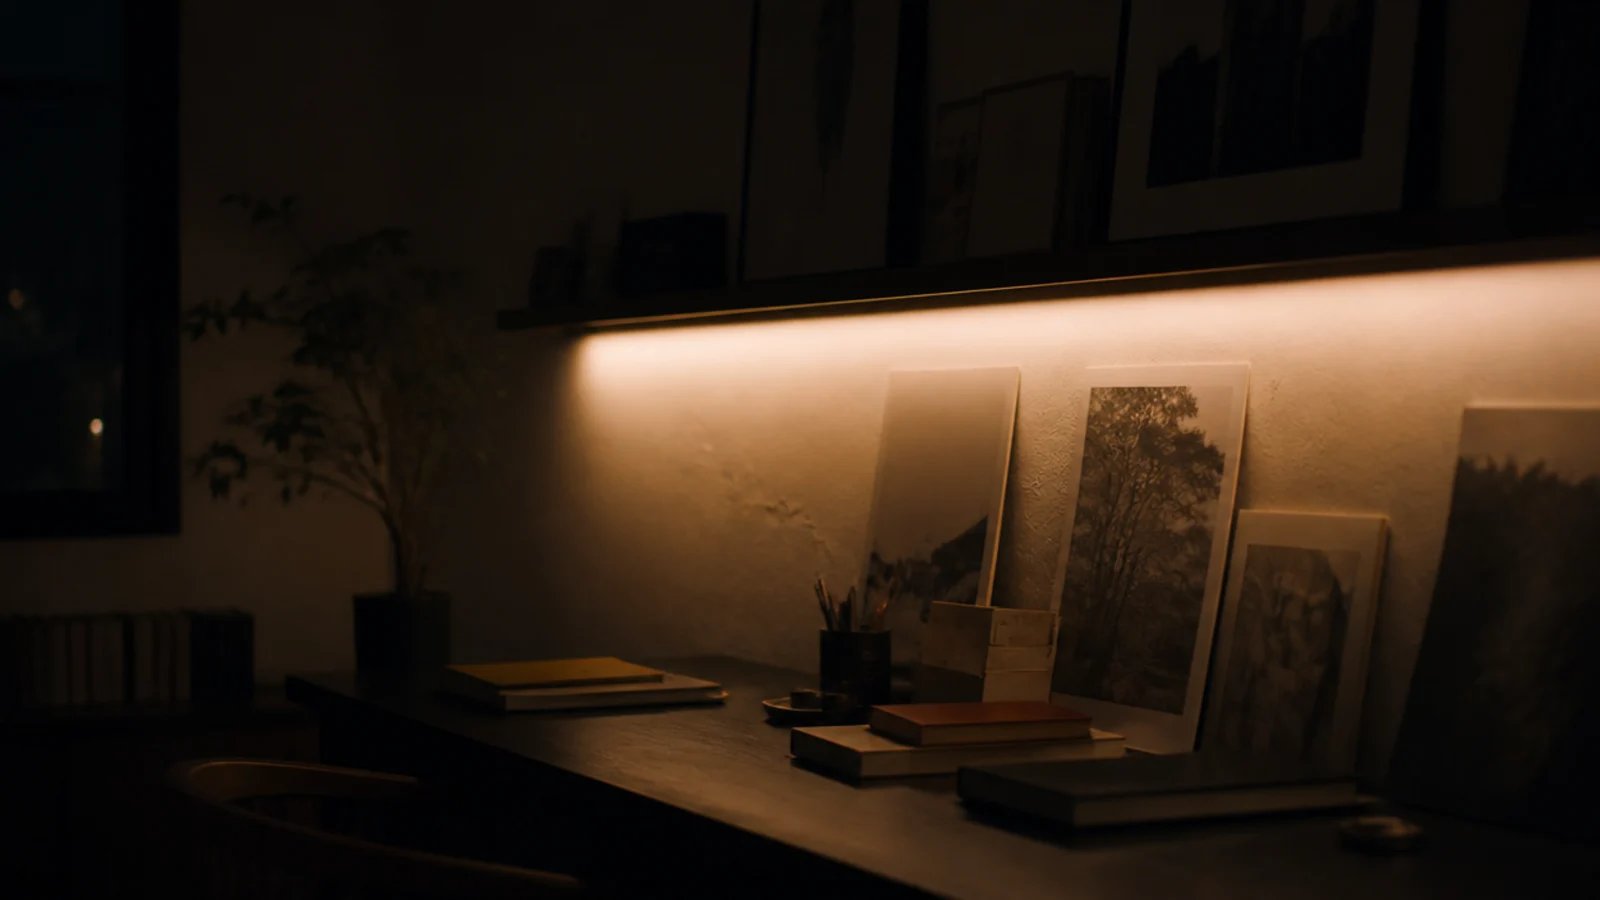
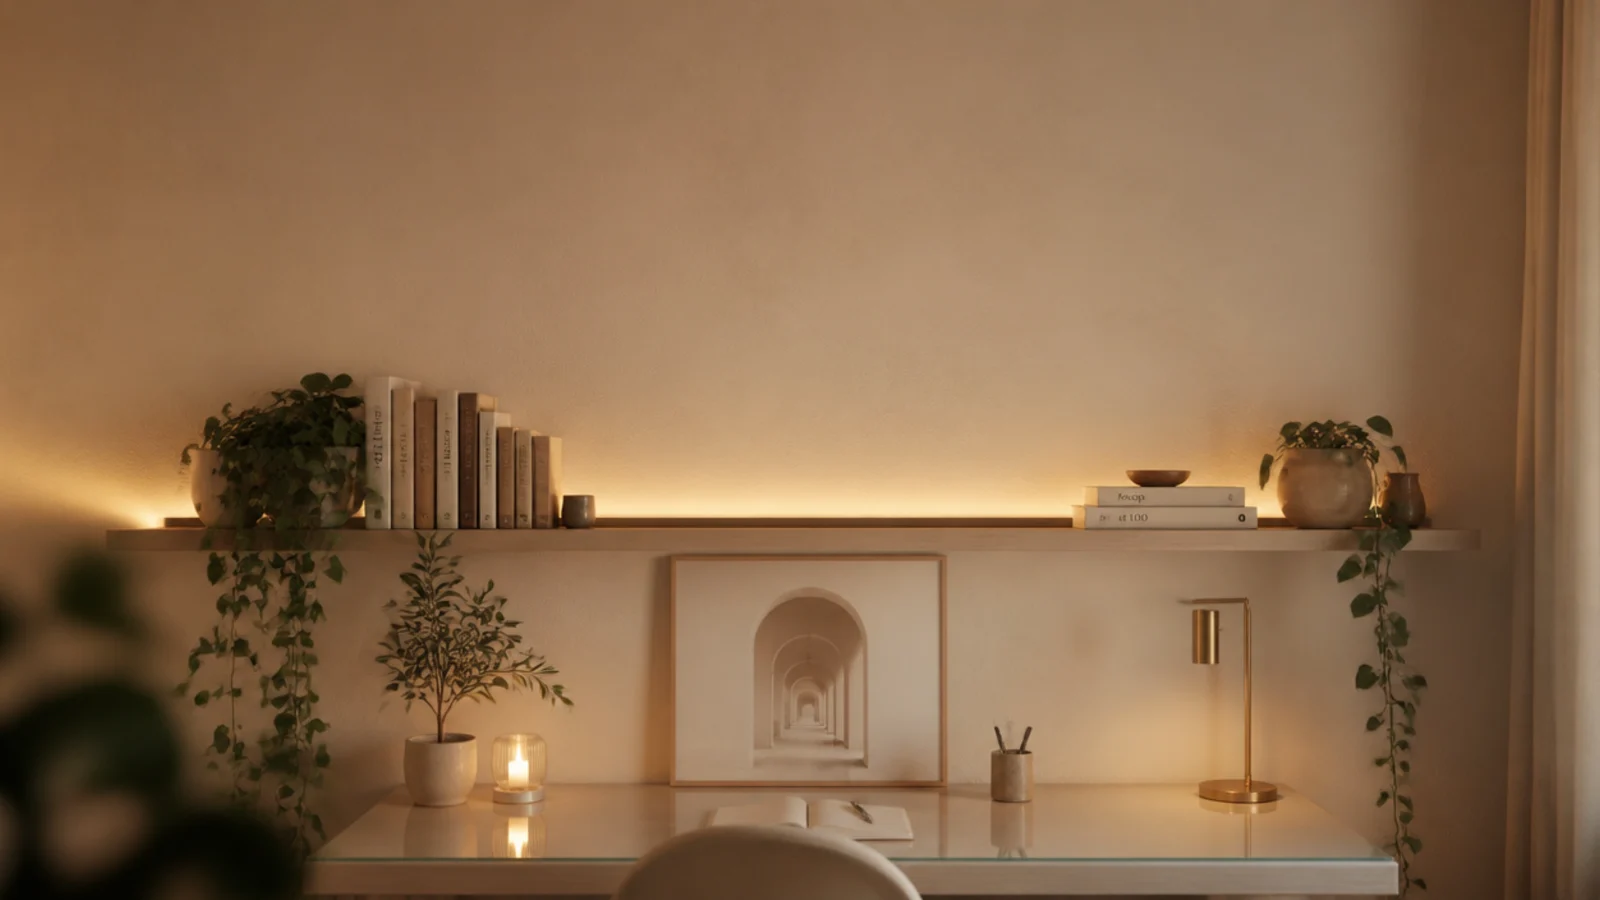
Press a warm LED strip into the inside face of a ledge or shelf lip so the light falls down the plaster with the fitting completely out of sight. Dim it to about a tenth of your screen brightness. It is the single detail that makes an aesthetic wall look considered at night rather than merely decorated.
19. Keep it monochrome with one accent
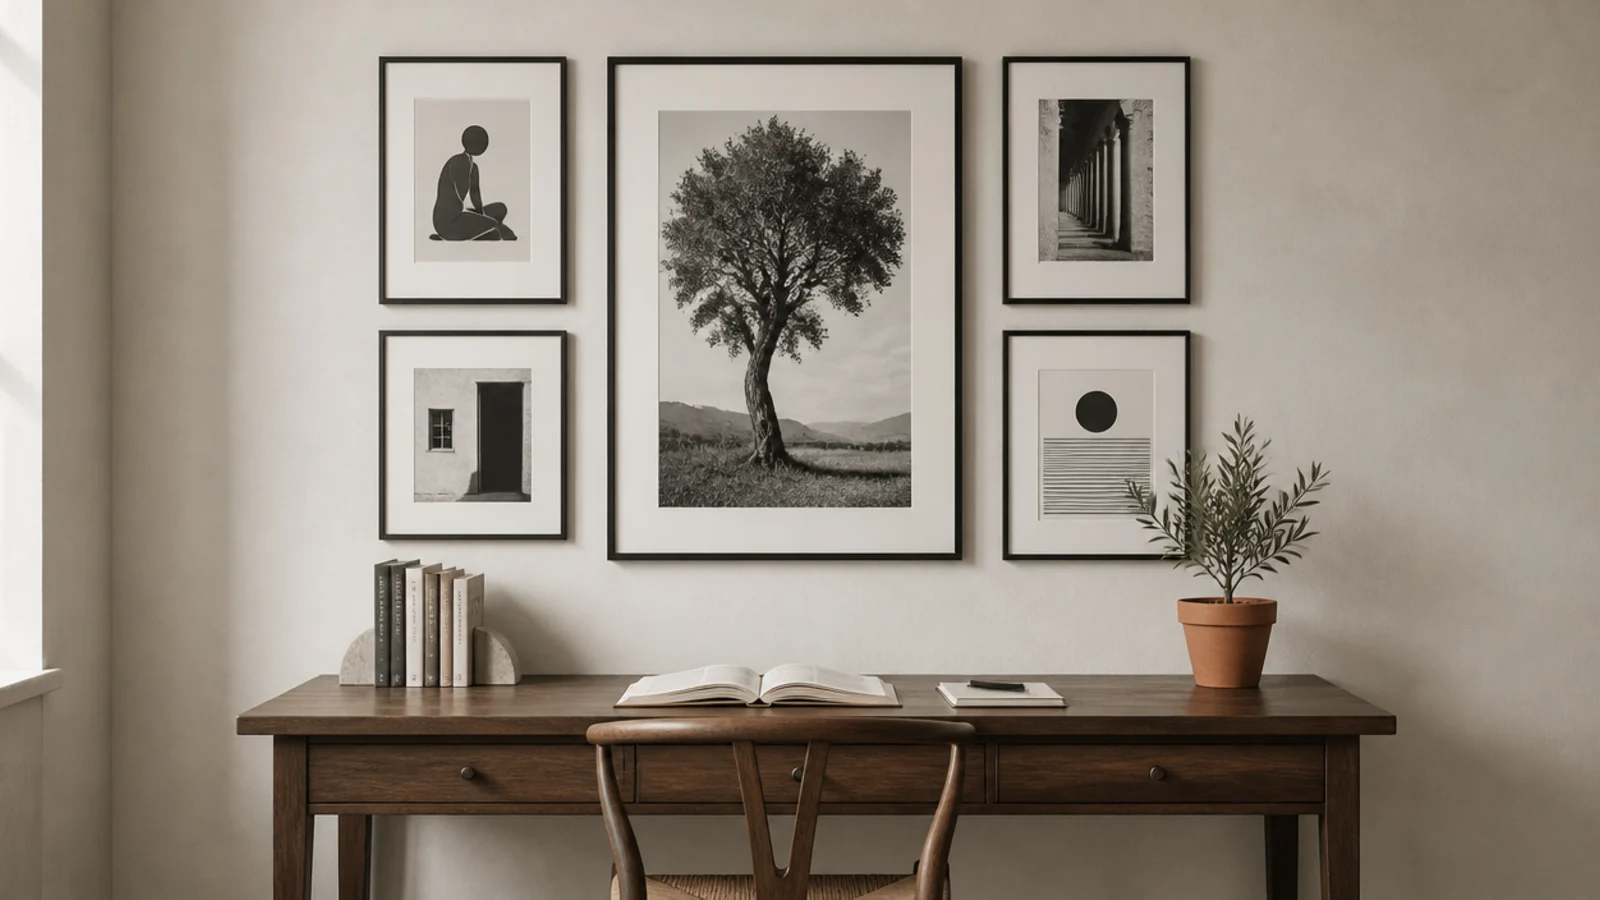
Black and white prints in slim dark frames, with exactly one warm object — a terracotta pot, a tan leather strap — carrying all the colour. A restrained scheme like this photographs extremely well and is far easier to add to later, because almost any new piece in the same two tones will fit.
20. Let negative space be the layout
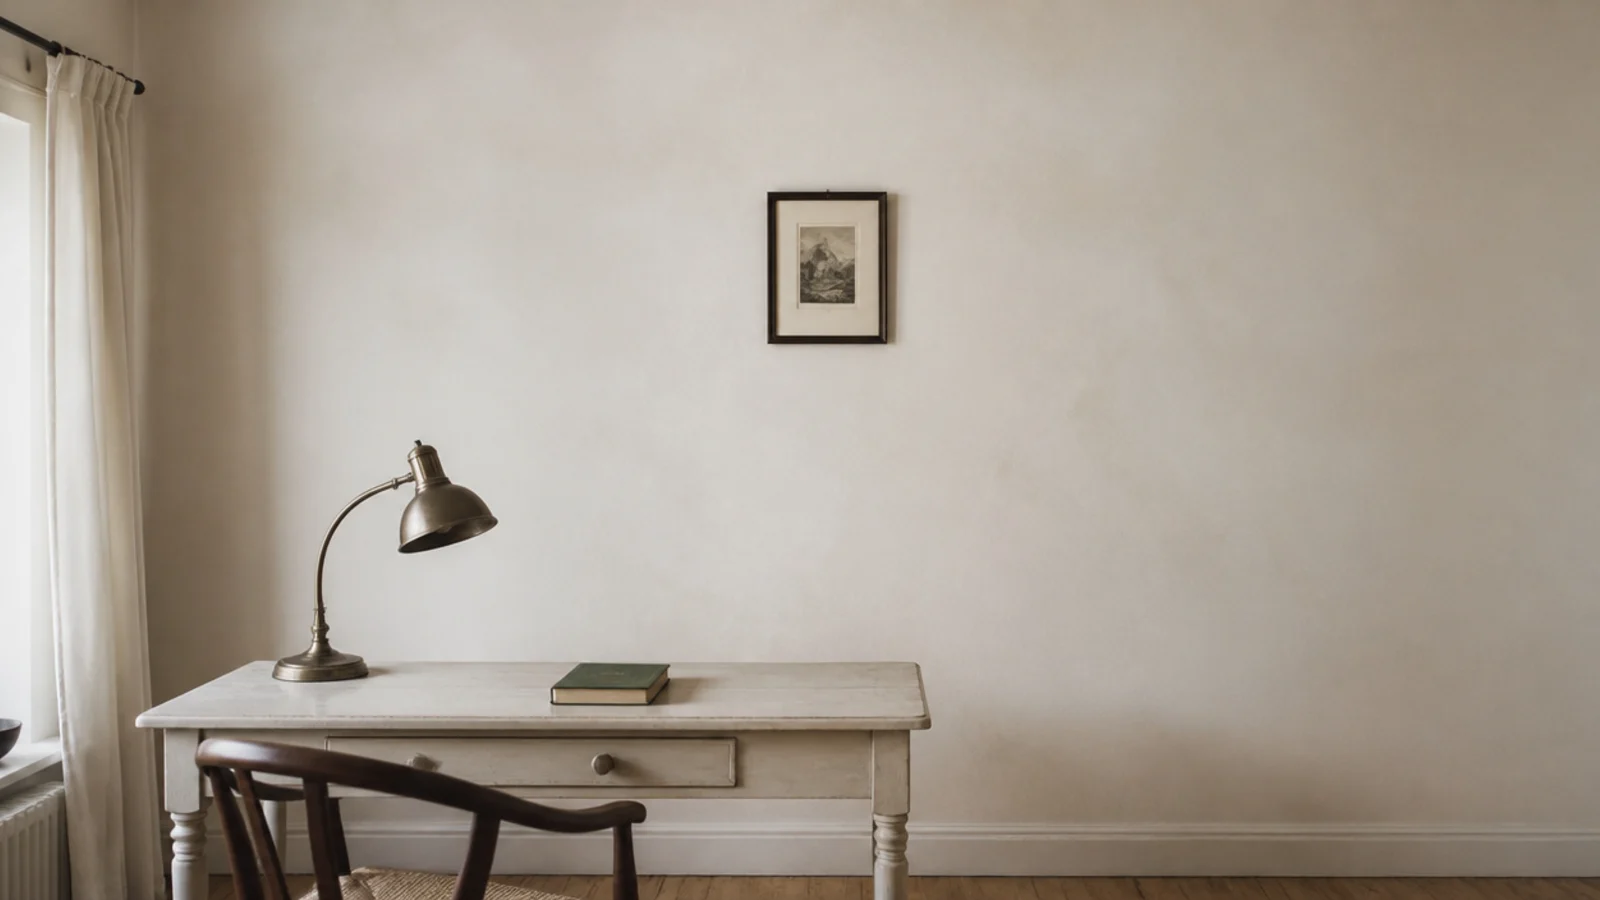
One small framed piece alone on a wide bare wall is a decision, and it reads as confidence rather than as an unfinished project. It also leaves the desk as the busiest thing in view, which is honest for a corner that exists to be worked at. Keep the plaster matt and the frame simple.
For the corner built step by step rather than chosen as a layout, the cute study desk decor steps run through it in order. Mirror wall decor ideas cover reflective pieces and their placement properly, and the hanging lights guide has fixtures that suit the room this wall sits in.
Mistakes to Skip
- Hanging the arrangement at standing gallery height. Above a desk the reference point is the desk top, and 57 inches leaves the whole group floating away from it.
- Mixing gap sizes across one arrangement. It is the difference people notice instantly without being able to name, and it is free to get right.
- Putting a visible light fitting above the desk for atmosphere. It reflects off the screen from almost every seated position, and hiding the source costs the same money.
- Filling the wall in one weekend. Leave a third empty and add slowly, or there will be nowhere to pin the thing you actually need to see this week.
Frequently asked questions
How high should an aesthetic wall arrangement sit above a desk?
Bottom edge 10 to 12 inches above the desk top for frames and boards, and 18 to 24 inches for the underside of a shelf. Below that a lamp head, a standing book or a monitor will overlap the arrangement from the seated view, which is the only view that actually matters here.
What makes a gallery wall look intentional rather than random?
Identical gaps and one shared alignment. Two inches between frames for a tight grid, three for a looser cluster, and either a common baseline or a common centre line but never both. Treat the whole group as one rectangle and centre that rectangle on the desk, not on the wall.
How do I light an aesthetic desk wall without ruining the screen?
Hide the source. A warm strip behind the front lip of a shelf or behind the monitor washes light downward and never appears in your sightline. Any visible fitting needs to sit outside a thirty degree cone from your eyes to the screen, which rules out most spotlights above a desk.
Can I use washi tape instead of frames above a desk?
Yes, and it suits a wall you expect to change every term. Tape holds a postcard or a light print easily and comes off fully cured emulsion cleanly, though it can lift fresh paint. Give a newly painted wall two weeks before taping, and test one corner first.
How much of an aesthetic desk wall should stay empty?
Around a third, and the patch directly behind the monitor should be plain. Empty wall is what gives an arrangement its shape, and pattern behind a screen competes with everything on it. A wall filled edge to edge reads as loud from the chair however good the individual pieces are.
Want more like this? Browse all 15 study desk decor guides — they all use the same measurements and budget tiers.
Pin it for later
Save this to your Study Desk Decor board
Pin it now so it is waiting for you when the tape measure comes out — and so the next person hunting for this idea can find it too.
Save this pinKeep going
More ideas worth saving while you have the tape measure out.