Study Desk Decor · Listicle
25 Study Table Wall Decor Desk Ideas That Look Cozy

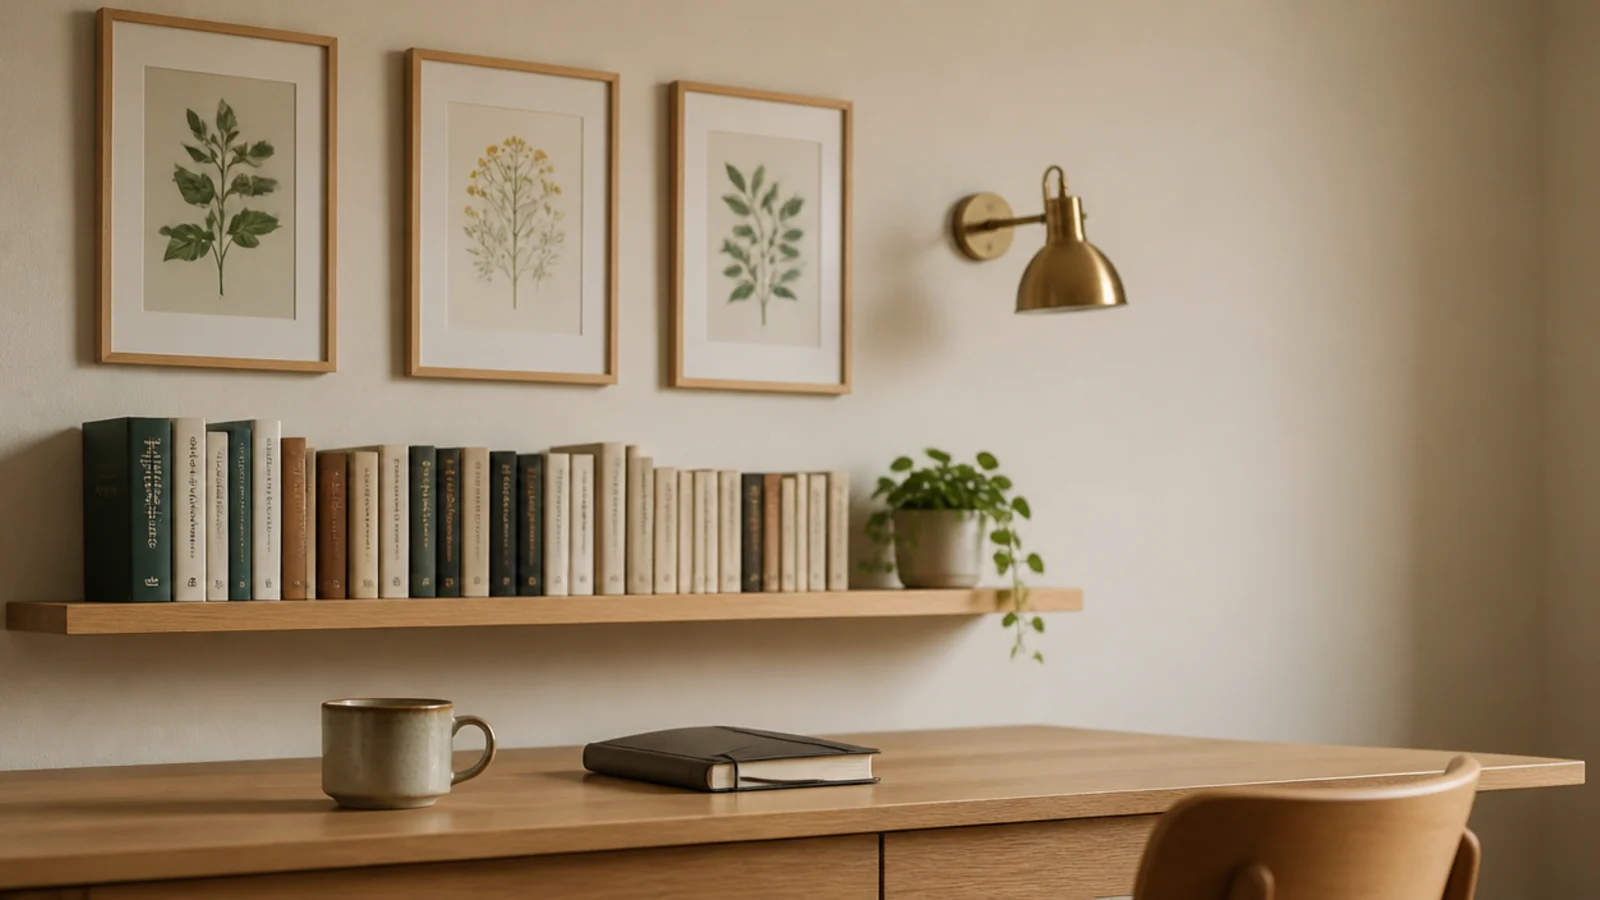
Study table wall decor desk ideas nearly always get hung for a standing body. You mark the wall while you are on your feet, step back, and it looks balanced — then you sit down and the shelf is at forehead height and the frames disappear behind the monitor. Every layout below is set from the seated position and carries the height it hangs at. I have redone two of these walls after getting exactly that wrong, so the numbers here are the ones I ended up with rather than the ones I started with. Twenty-five arrangements, all measured from the table top.
In this guide27 sections — tap to openHide
- 1.What study table wall decor desk ideas need to clear first
- 2.Start the wall 18 inches above the table top
- 3.Centre everything on the table, not the wall
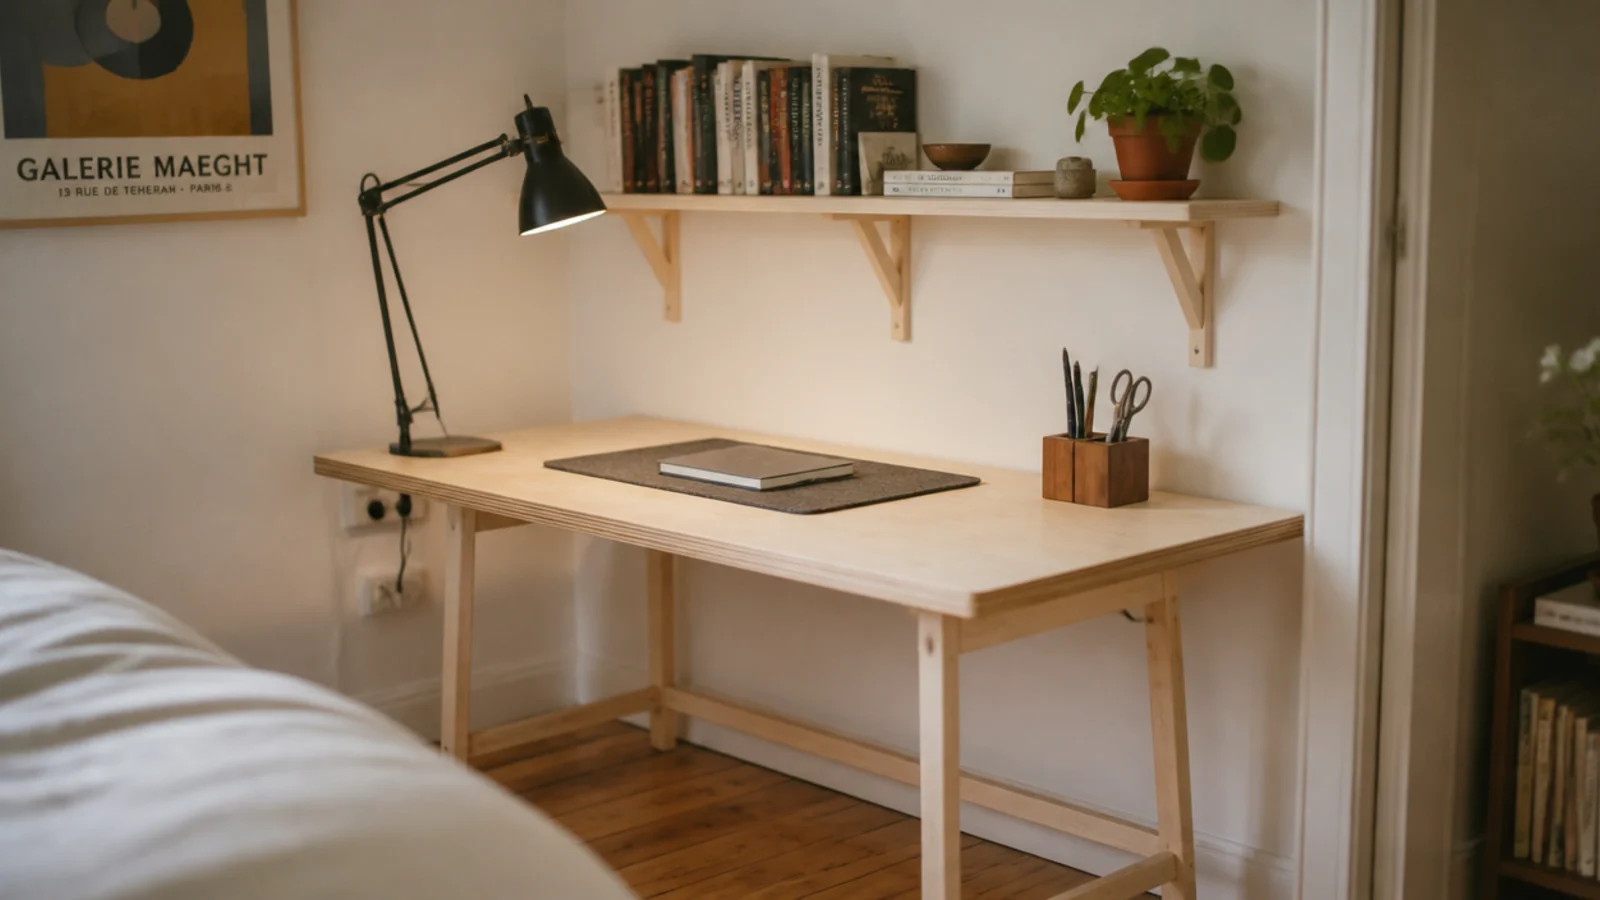
- 4.Hang the first shelf at 20 inches with a front lip
- 5.Grid three frames with two-inch gaps
- 6.Stop the pegboard 16 inches above the surface
- 7.Keep the cork strip to eight inches tall
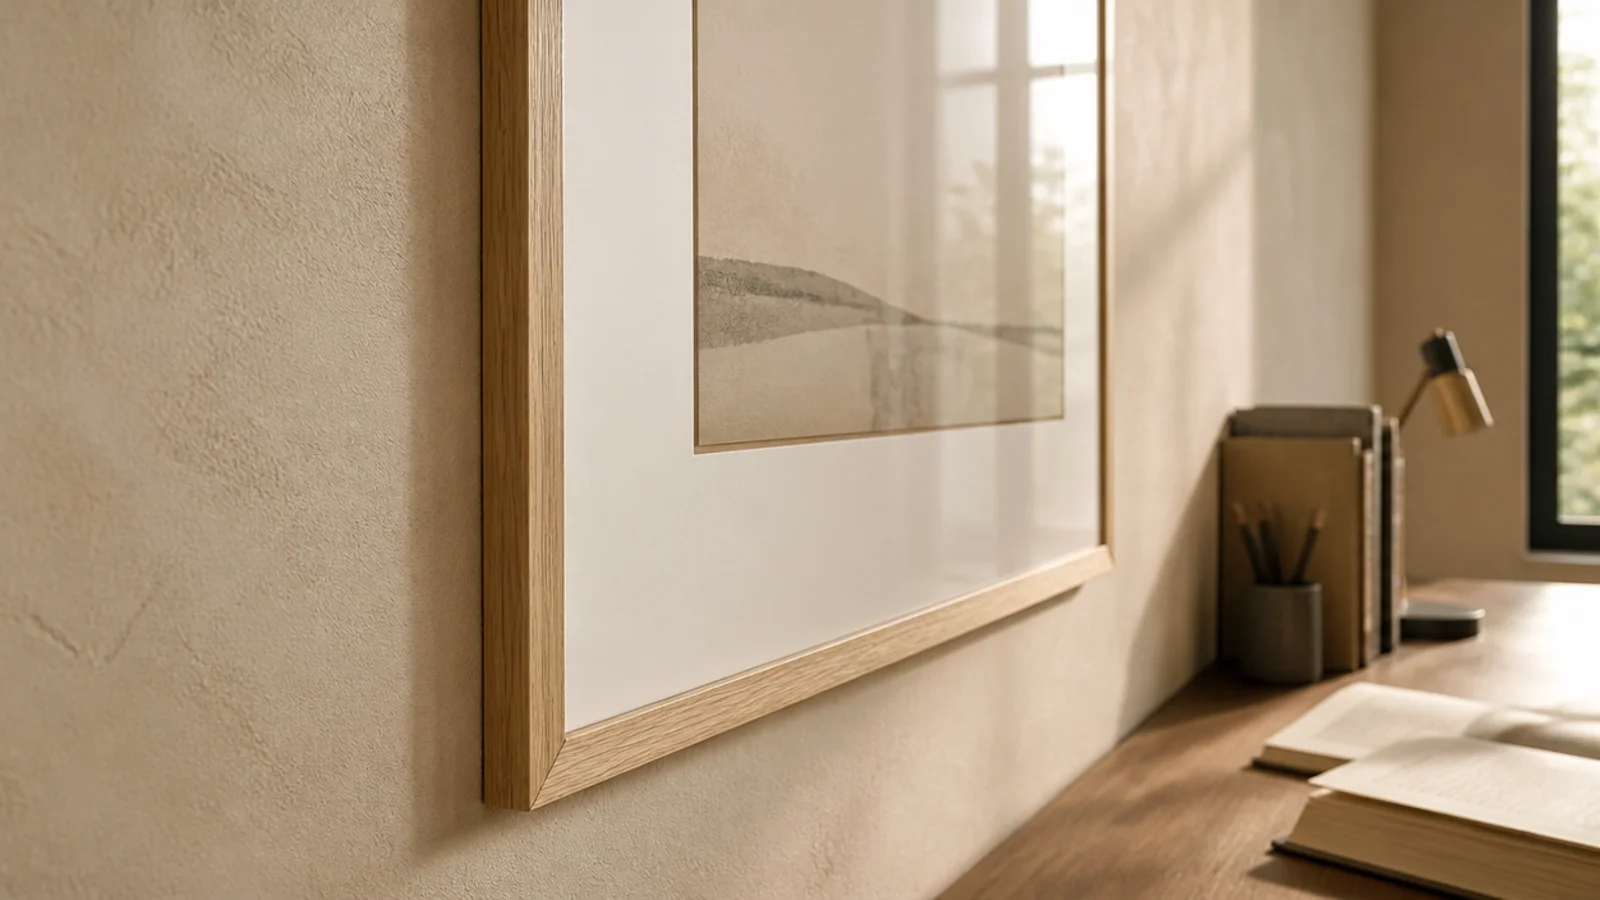
- 8.Choose frames under an inch and a half deep
- 9.Add a fabric panel to kill the echo
- 10.Fit a four-inch picture ledge for rotation
- 11.Mount the wall lamp 15 to 20 inches up
- 12.Hide a warm strip under the shelf
- 13.Paper a single panel the width of the desk
- 14.Hang an A2 wall planner within reach
- 15.Fix a peg rail with six-inch spacing
- 16.Put a wall pot above the shelf line
- 17.Screw a magnetic strip for metal tools
- 18.Set a mirror high to bounce daylight
- 19.Hang one woven piece for texture
- 20.Place the clock at 57 to 60 inches
- 21.Know the limit of adhesive strips
- 22.Paint the cable channel the wall colour
- 23.Add a wall cabinet with a ten-inch depth
- 24.Use a wall pocket for live paper
- 25.Leave the wall behind the screen plain
- 26.Take the paint to the shelf line, matt only
- 27.Mistakes to Skip
What study table wall decor desk ideas need to clear first
Sit down at the table before you pick up a pencil, and take three measurements from the surface upward.
The head zone. From seated, lean forward as if reading something flat. The point your forehead reaches is the lowest a shelf can go, and it is usually 18 inches above the table. Twenty is comfortable, 24 is the limit before you have to stand to reach the shelf.
The overlap zone. A monitor on a riser takes 16 to 20 inches of wall. A lamp head takes another 6. Anything hung under 12 inches above the surface will be partly hidden by one of them, which is why frames start at 10 to 12 inches and only in the gaps.
The light zone. Any lamp, strip or sconce needs to sit outside a thirty degree cone from your eyes to the screen, or you will see it reflected all evening.
Costs are small: a shelf and brackets $15 to $40, a pegboard $12 to $25, a cork strip about $10, a plug-in wall lamp $25 to $60. If you want the whole wall built in order rather than picked from, the study desk wall decor steps run through it sequentially.
1. Start the wall 18 inches above the table top
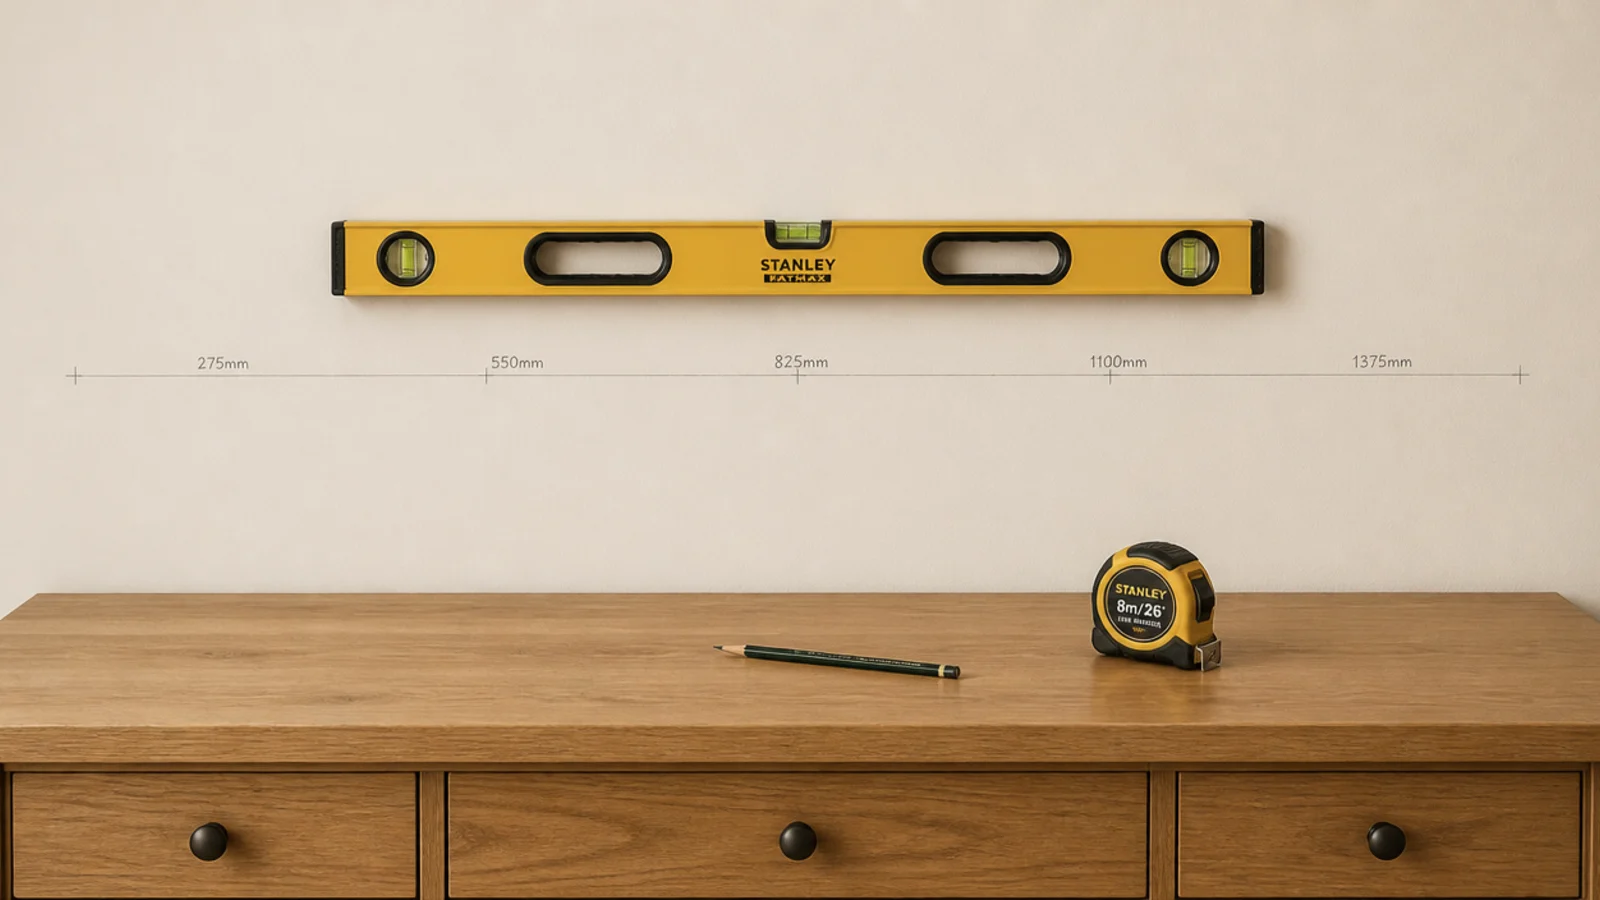
The bare band between the table and the first thing on the wall is not wasted space, it is the reason the desk feels open. Eighteen inches minimum, and treat it as a rule rather than a suggestion — the wall looks calmer and your head stays out of the shelf.
2. Centre everything on the table, not the wall
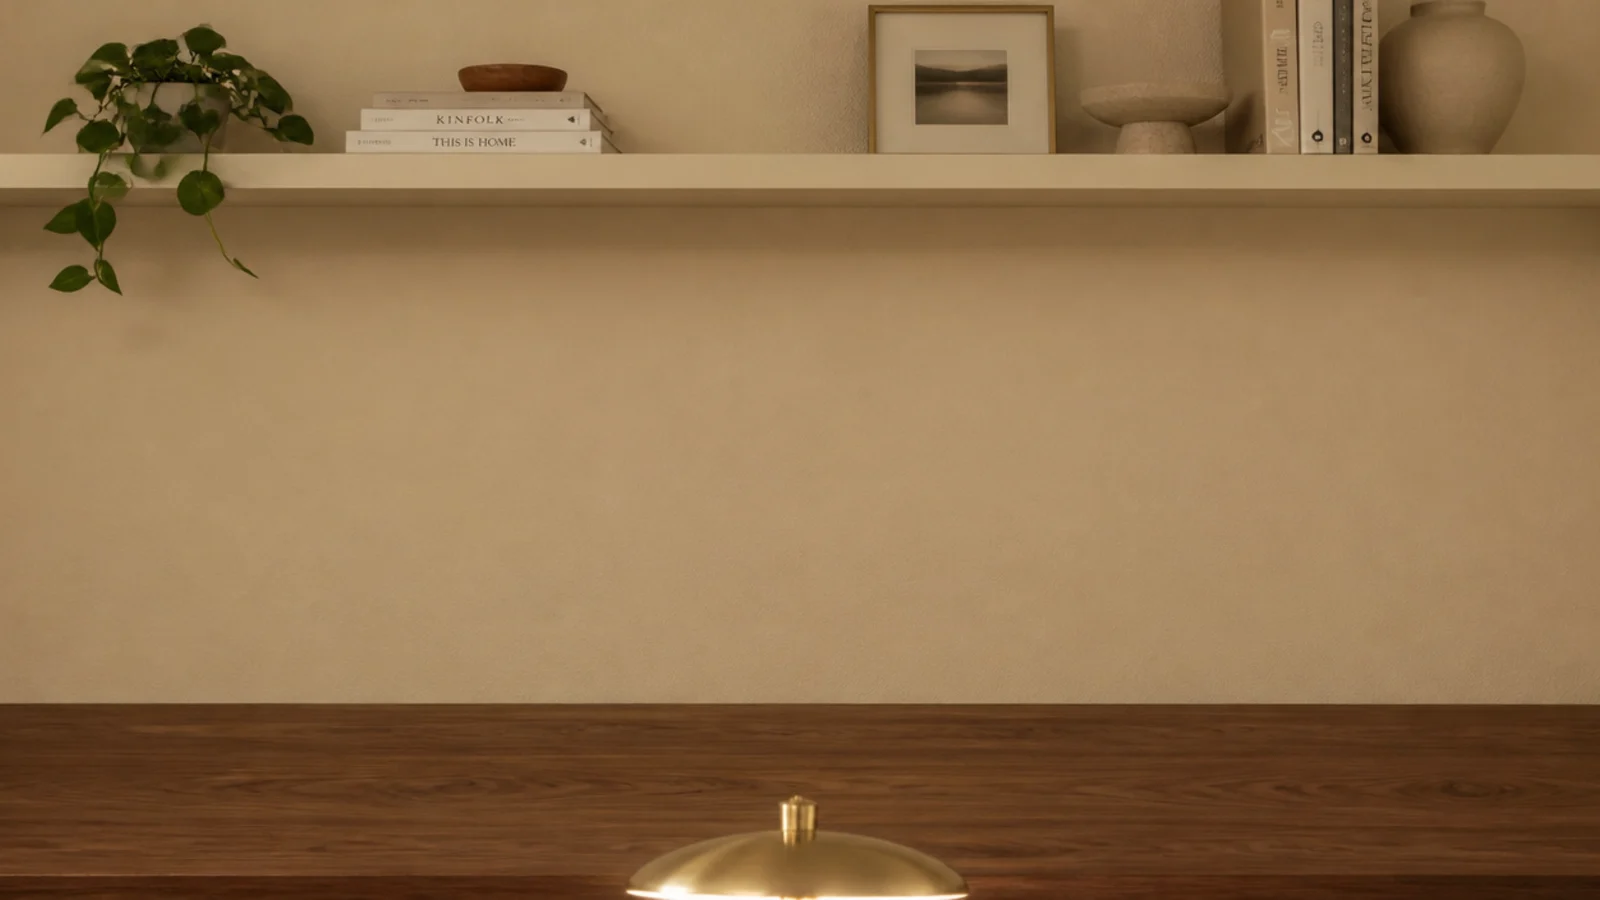
Mark the centre of the desk in pencil and build the arrangement around that line. A group centred on the wall but sitting 8 inches off the desk reads as a mistake even when every gap is perfect, because the eye reads desk and wall as one object.
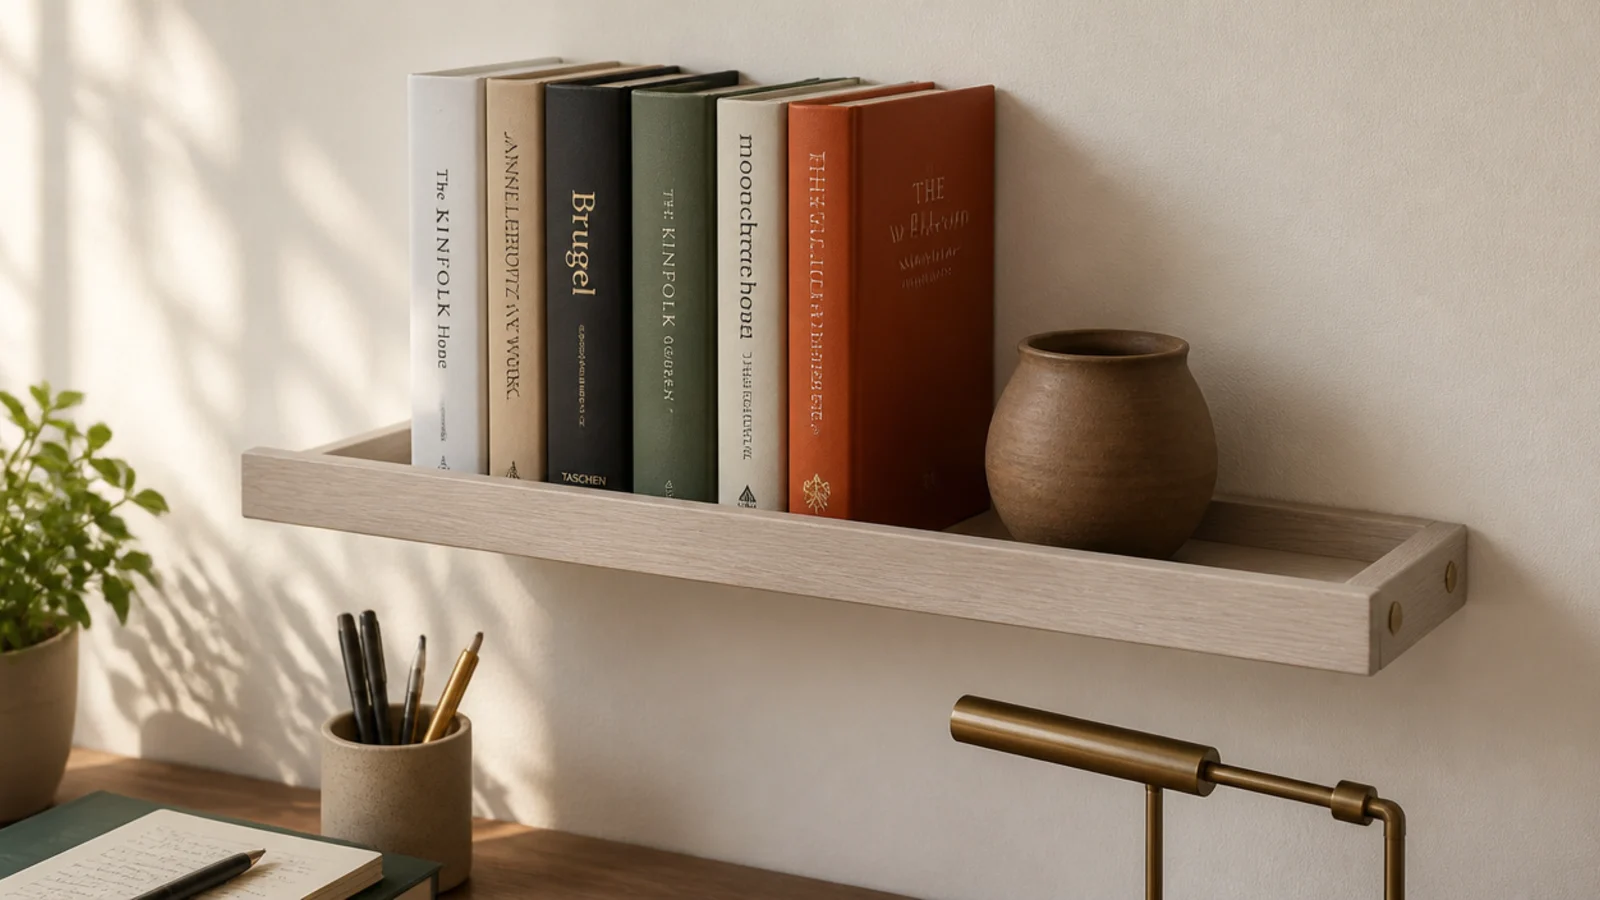
3. Hang the first shelf at 20 inches with a front lip
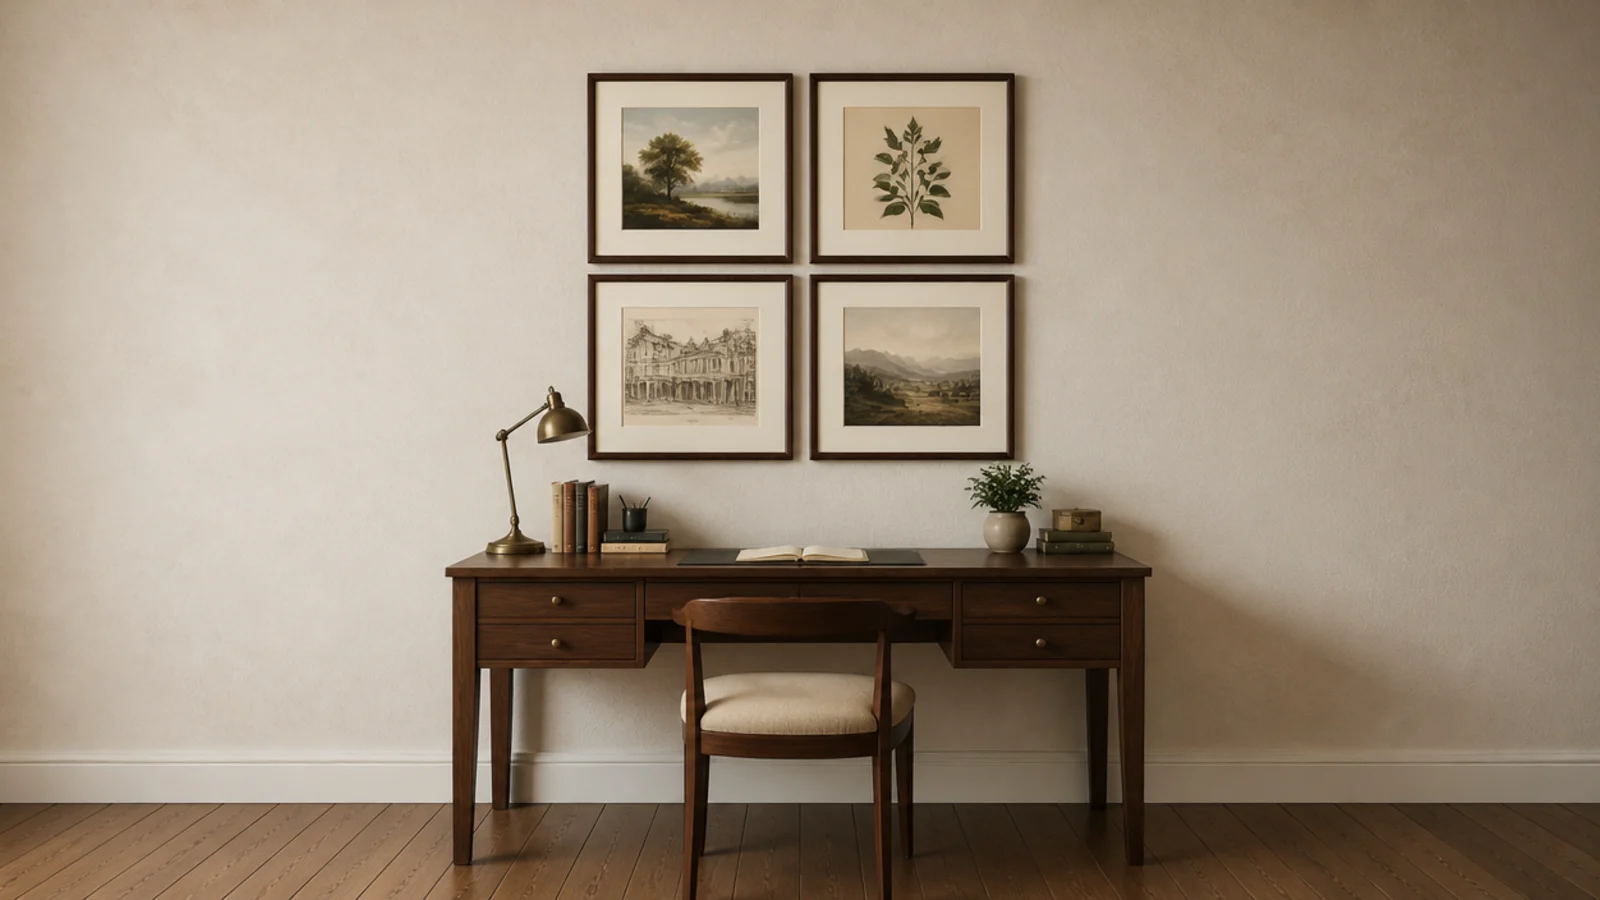
Twenty inches clears a screen on a riser and still lets you reach the shelf seated. A 1/2 inch lip along the front edge stops paperbacks walking off when a door slams, and it stiffens a 3/4 inch board enough to add a few inches of safe span.
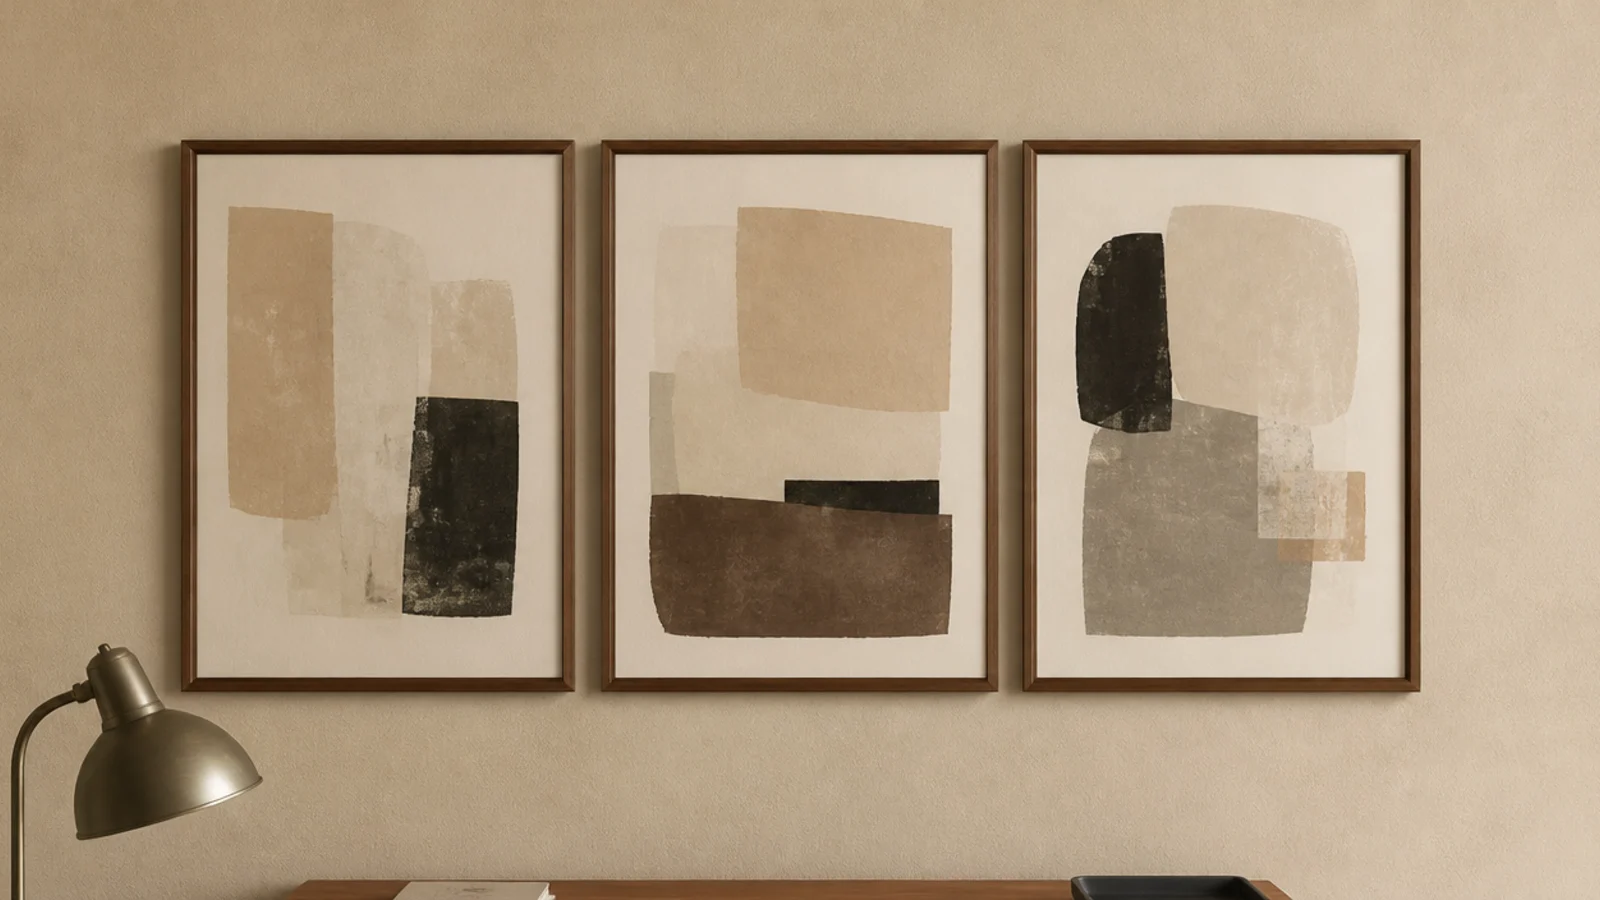
4. Grid three frames with two-inch gaps
Three identical frames, level, with two inches between them, look deliberate in a way a scattered cluster never manages. Keep the gap the same on every side and treat the trio as one rectangle when you centre it on the desk.
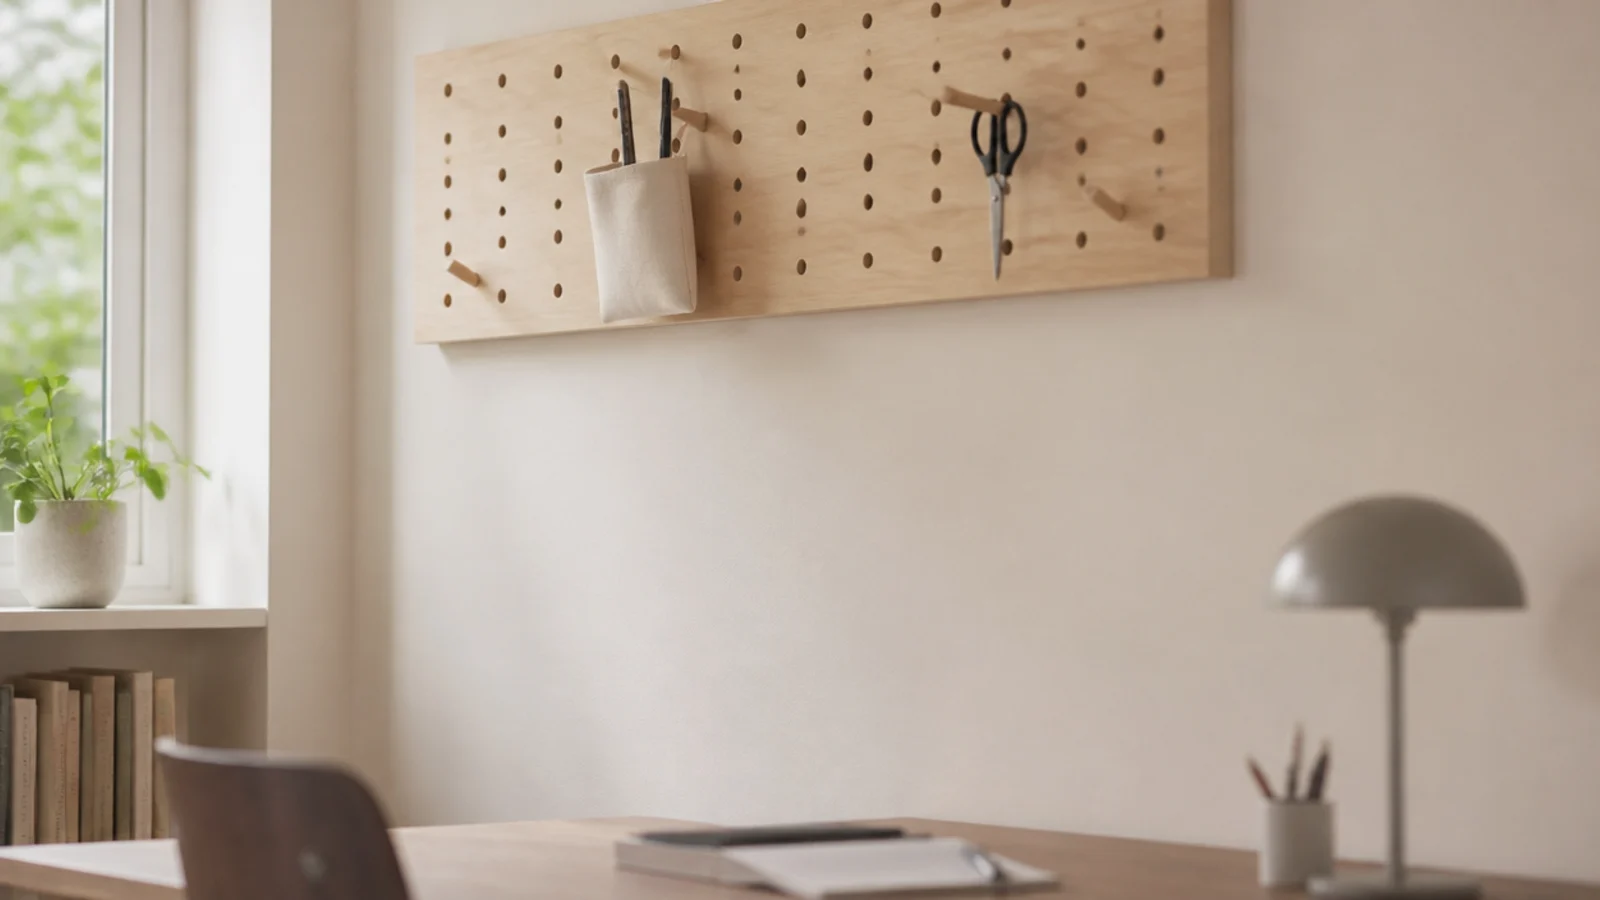
5. Stop the pegboard 16 inches above the surface
Pegboard is the most useful thing on a study wall and the easiest to hang too low. Leave 12 to 16 inches of clear wall beneath it so hooks and hanging pouches stay out of your elbow path. Pack it out on half inch battens or the hooks will not seat.
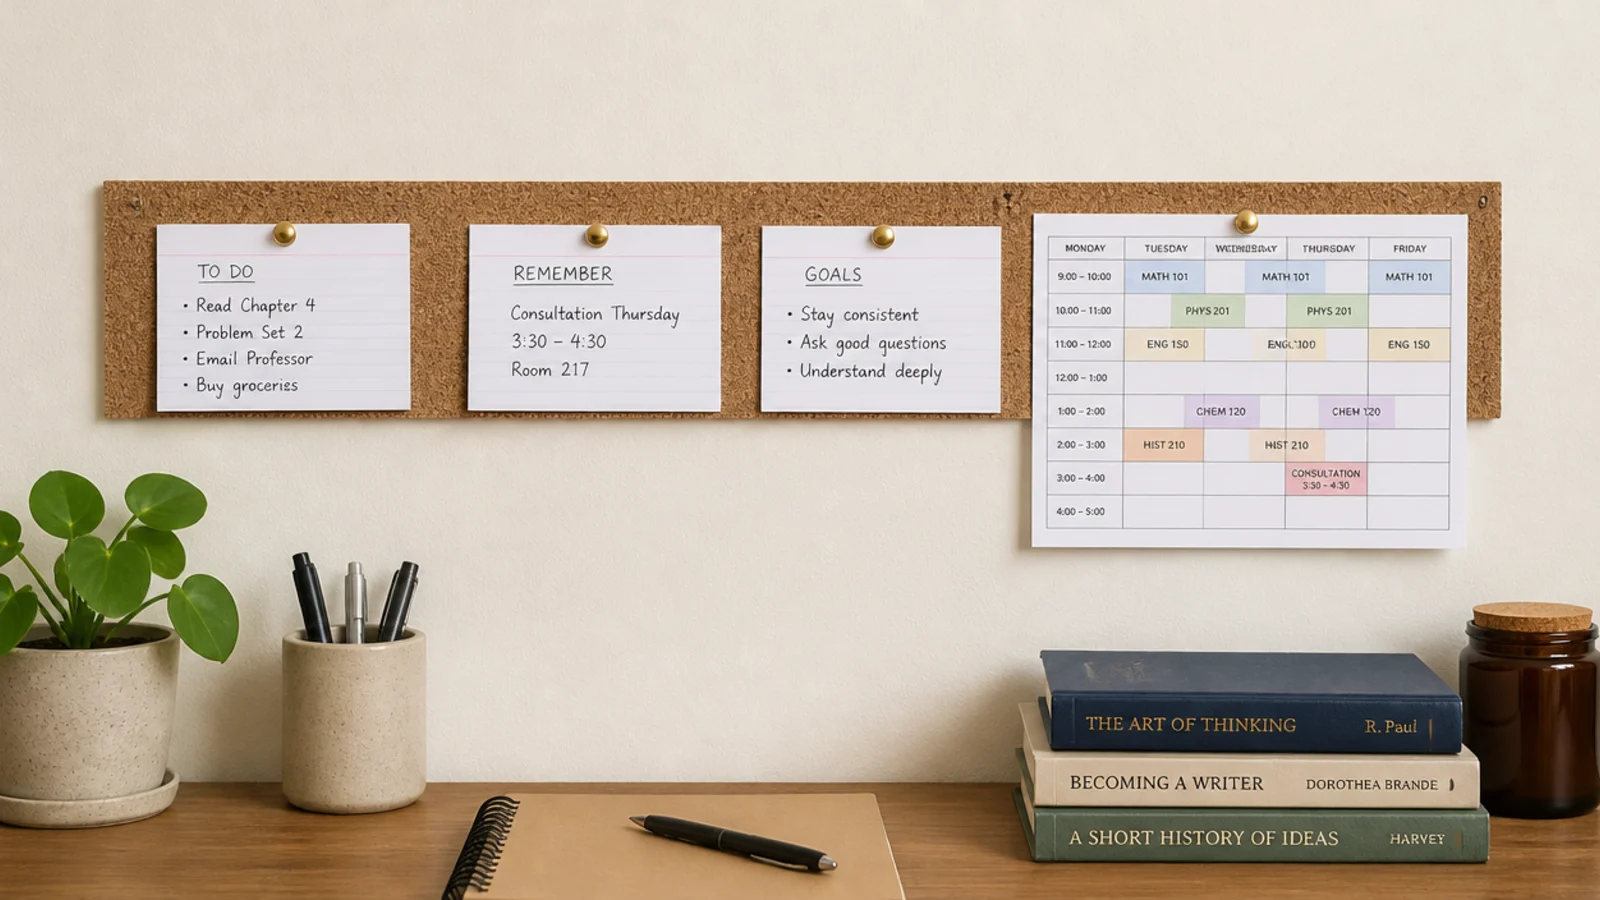
6. Keep the cork strip to eight inches tall
A cork strip 6 to 8 inches tall holds the deadlines and the timetable, and nothing else fits. That restriction is the whole point. A full-size board is a birthday card gallery within a month, and it stops carrying any information you actually need.
7. Choose frames under an inch and a half deep
Frames above a desk are at head height when you stand up from the chair. A shallow profile under 1 1/2 inches keeps the wall flat and forgiving, and it stops a box frame corner catching you as you push back and stand.
8. Add a fabric panel to kill the echo
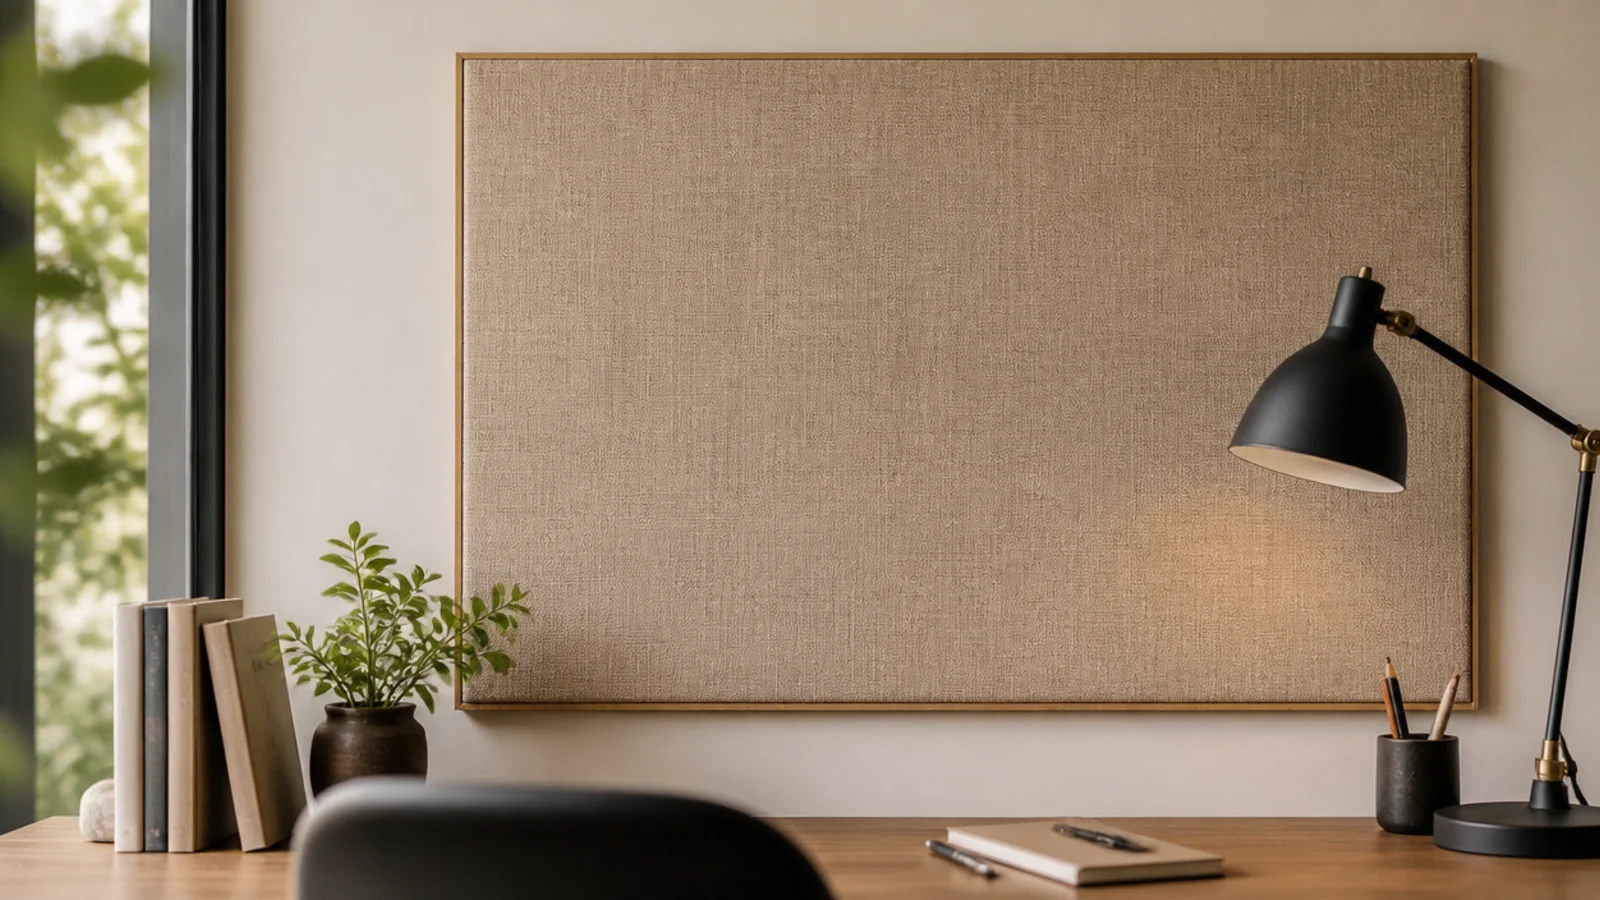
Hard walls, a hard desk and a hard floor make a small study corner ring. A stretched linen panel 24 by 36 inches absorbs enough of that to take the edge off a video call, and it costs about $20 in fabric over a board you already own.
9. Fit a four-inch picture ledge for rotation
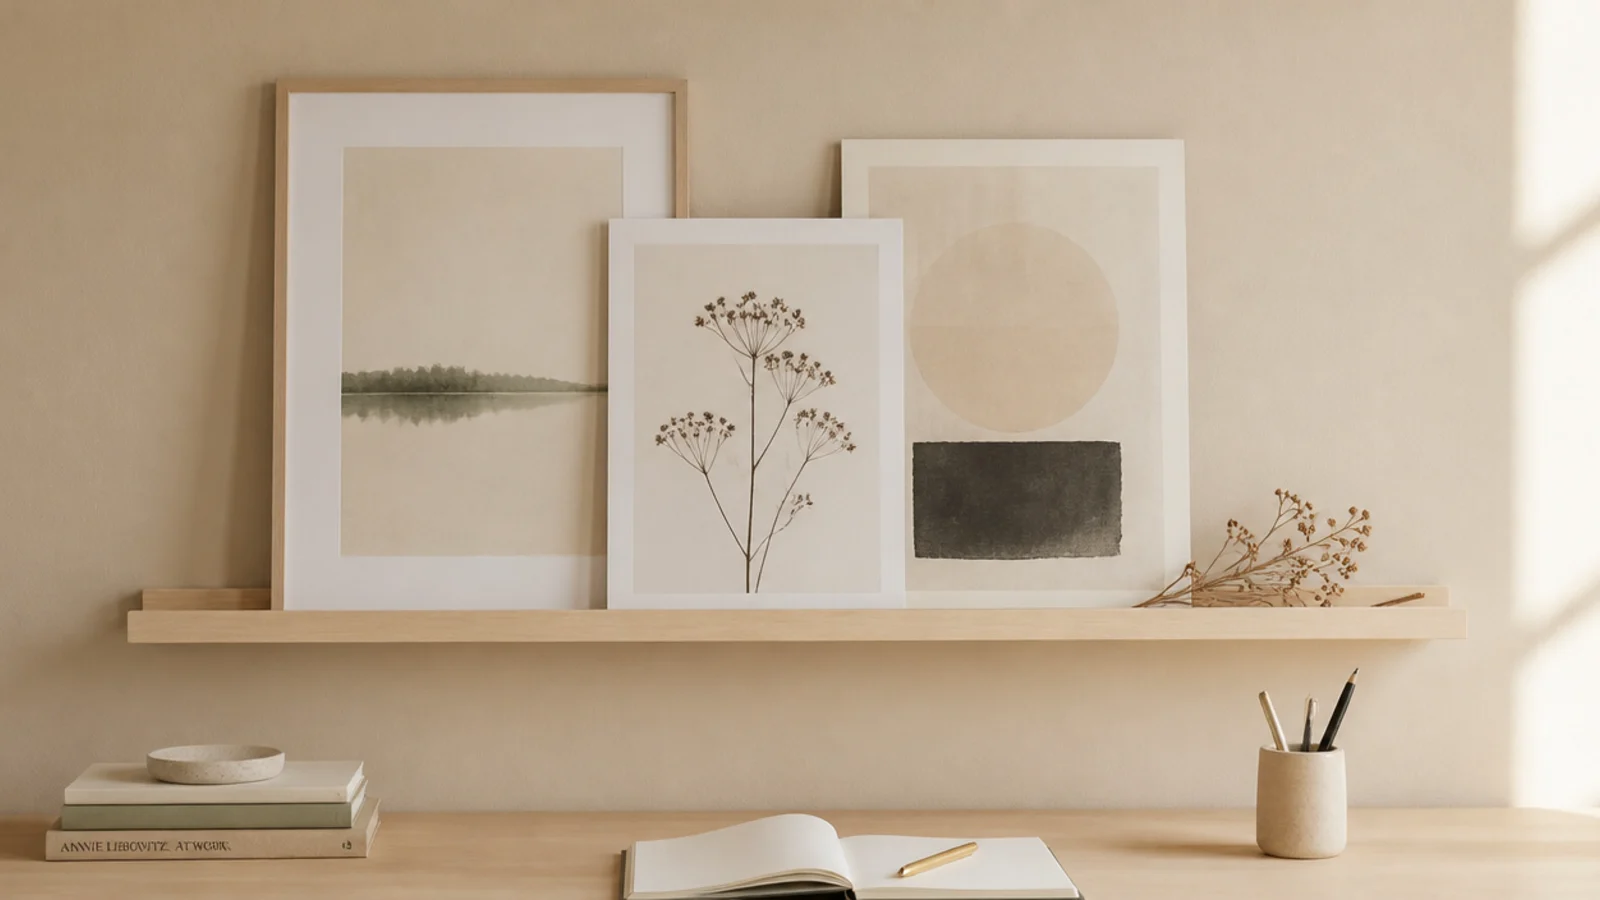
Leaning prints on a shallow ledge lets you change the wall in under a minute and overlap pieces without measuring anything. Four inches deep takes an A4 print safely; add a small front lip and nothing slides when the wall gets knocked.
10. Mount the wall lamp 15 to 20 inches up
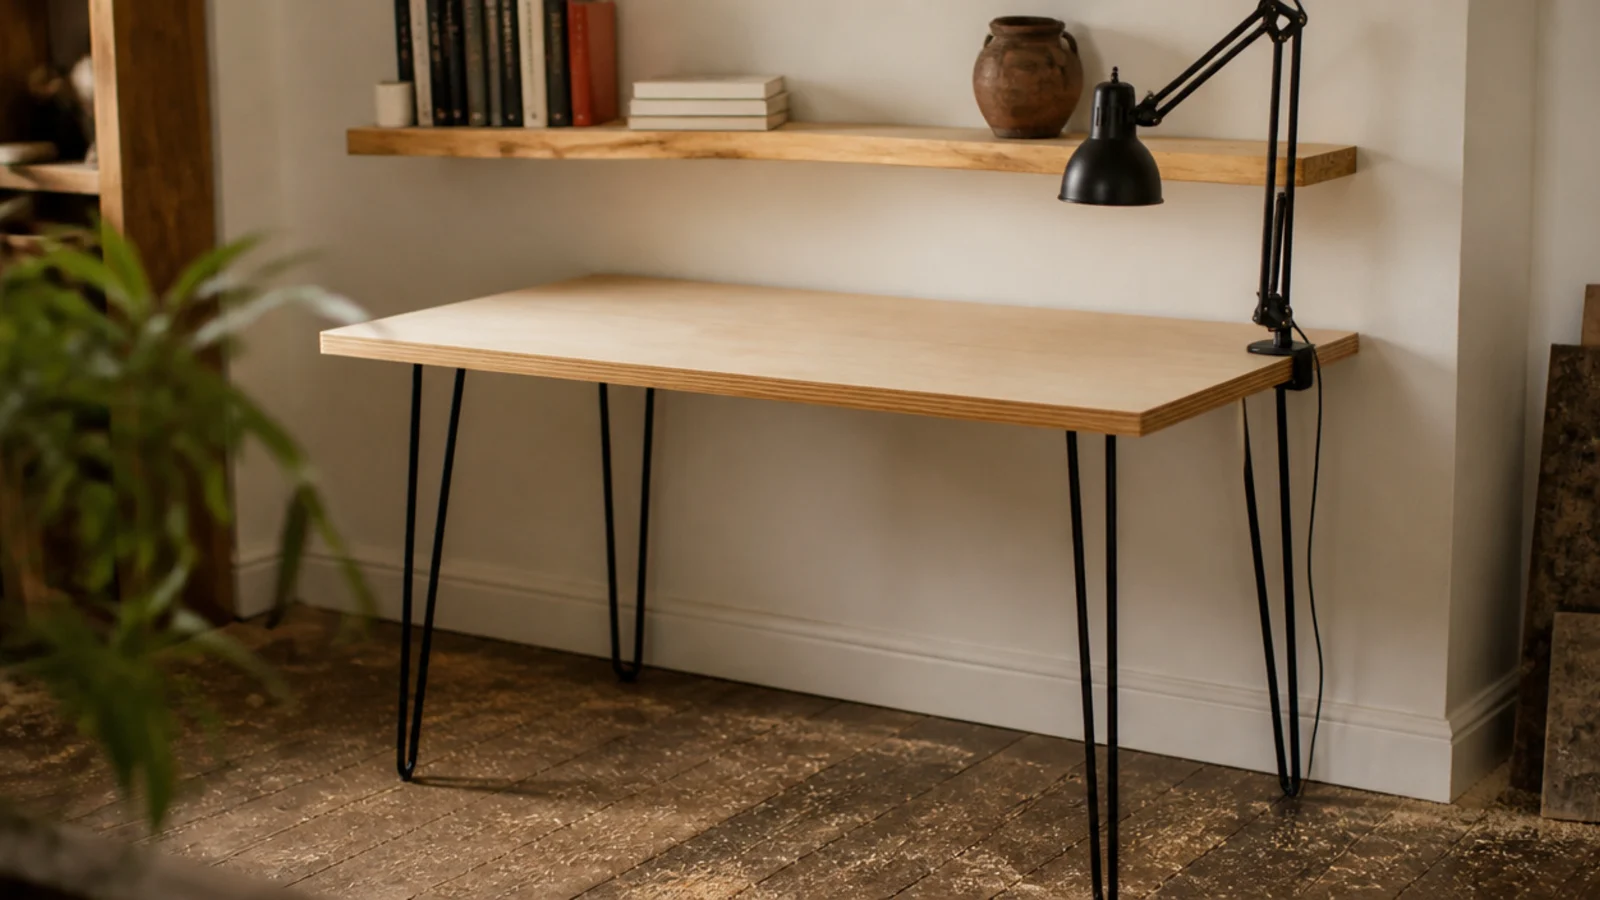
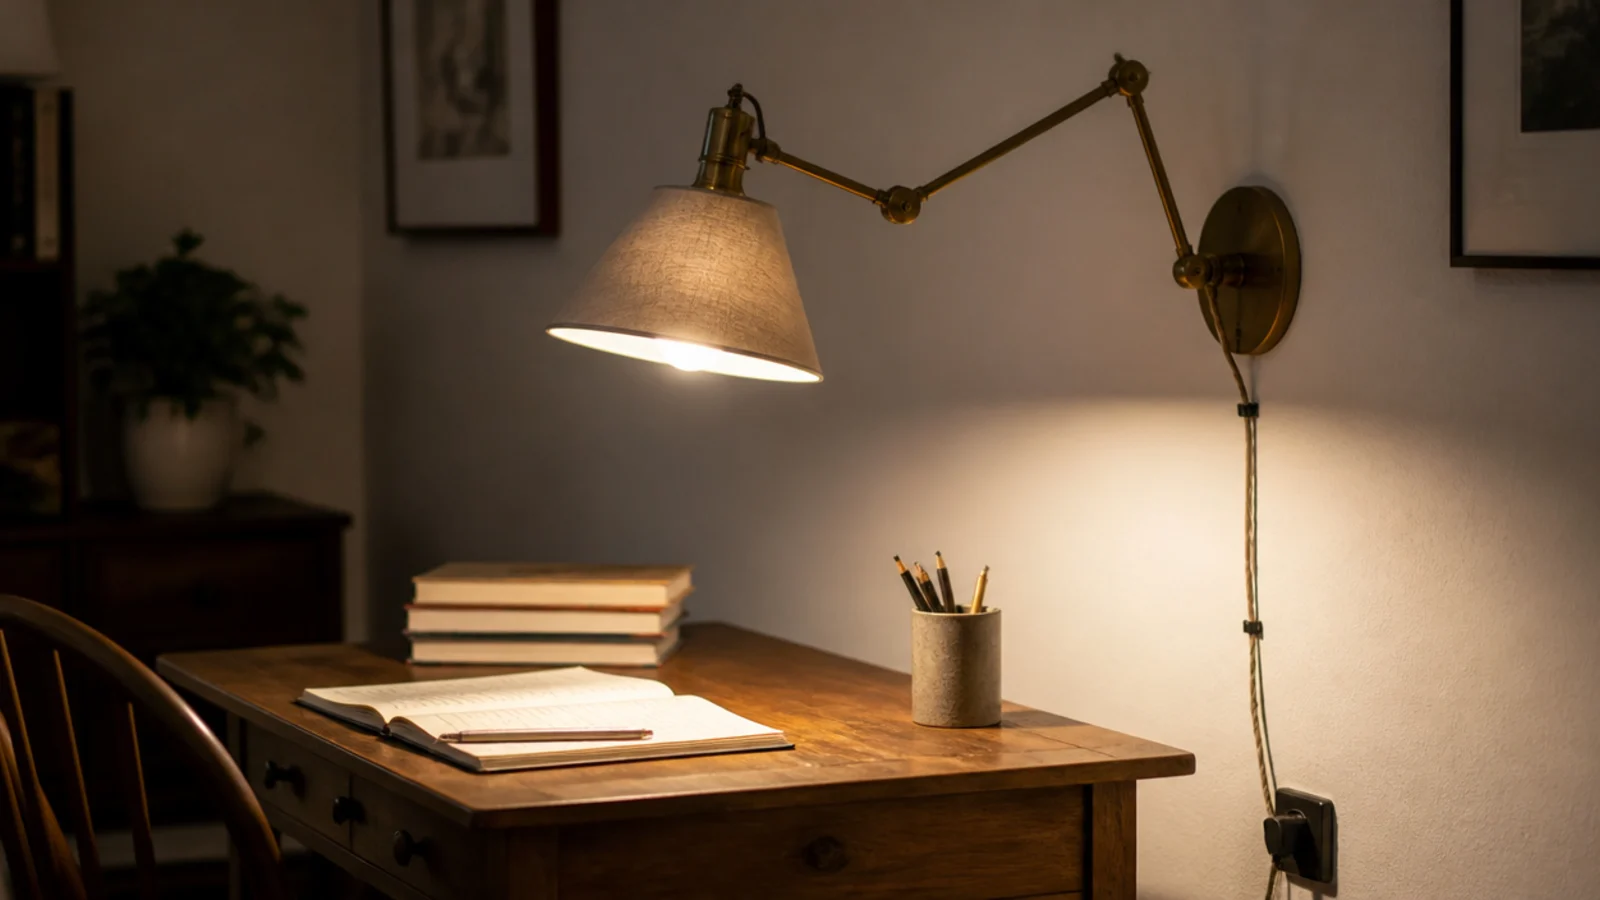
A wall lamp puts light on the page and gives the whole table surface back. Fifteen to twenty inches above the desk suits a swing arm; higher and it lights the wall rather than the work. Clip the cord down the wall rather than letting it loop across the surface.
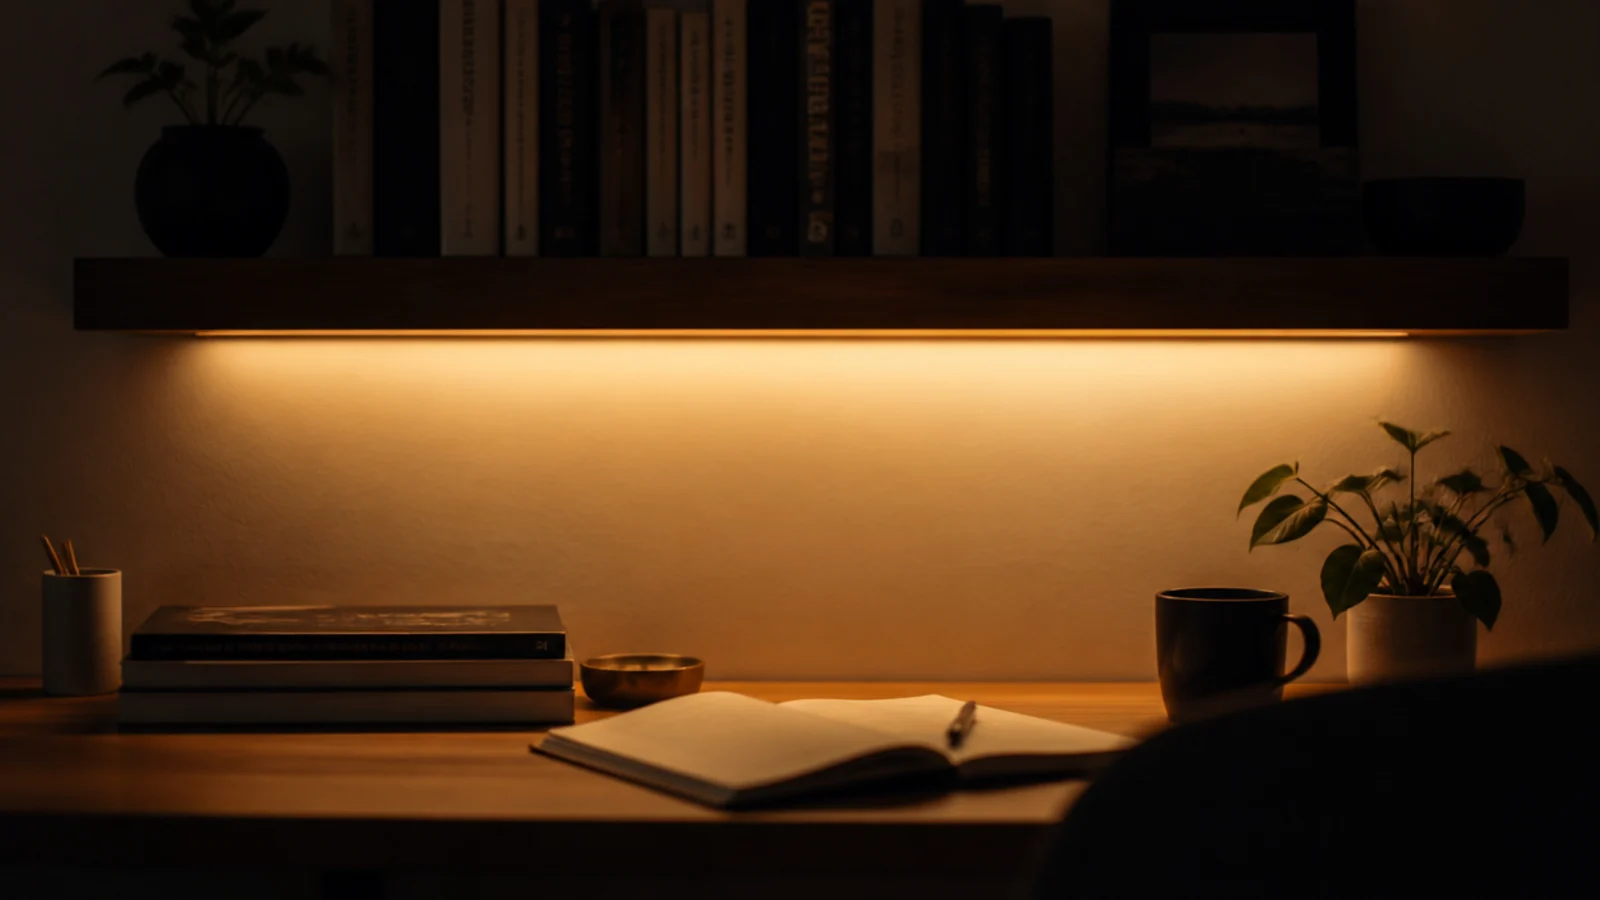
11. Hide a warm strip under the shelf
An LED strip taped behind the front lip washes light downward onto the wall and desk without ever appearing in your sightline. It costs $10 to $20, runs from a USB port, and is the softest evening light a study corner can have.
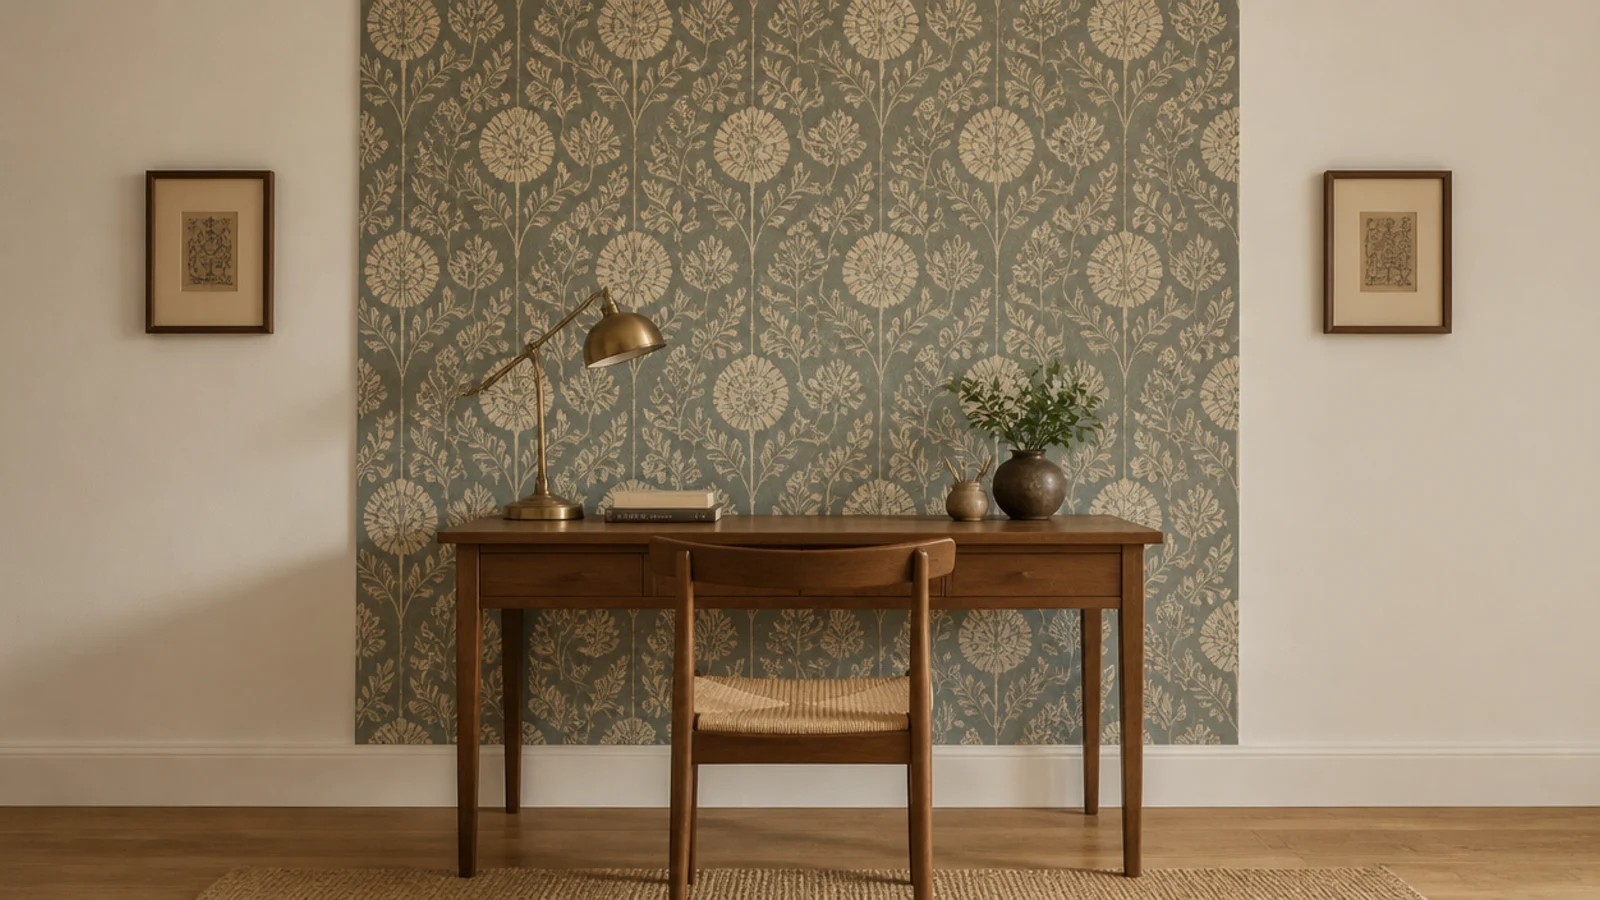
12. Paper a single panel the width of the desk
One papered panel matched to the desk width frames the corner and costs a single roll. Take it floor to ceiling rather than stopping halfway, keep the pattern small in scale, and avoid anything reflective that will bounce lamp light back at you.
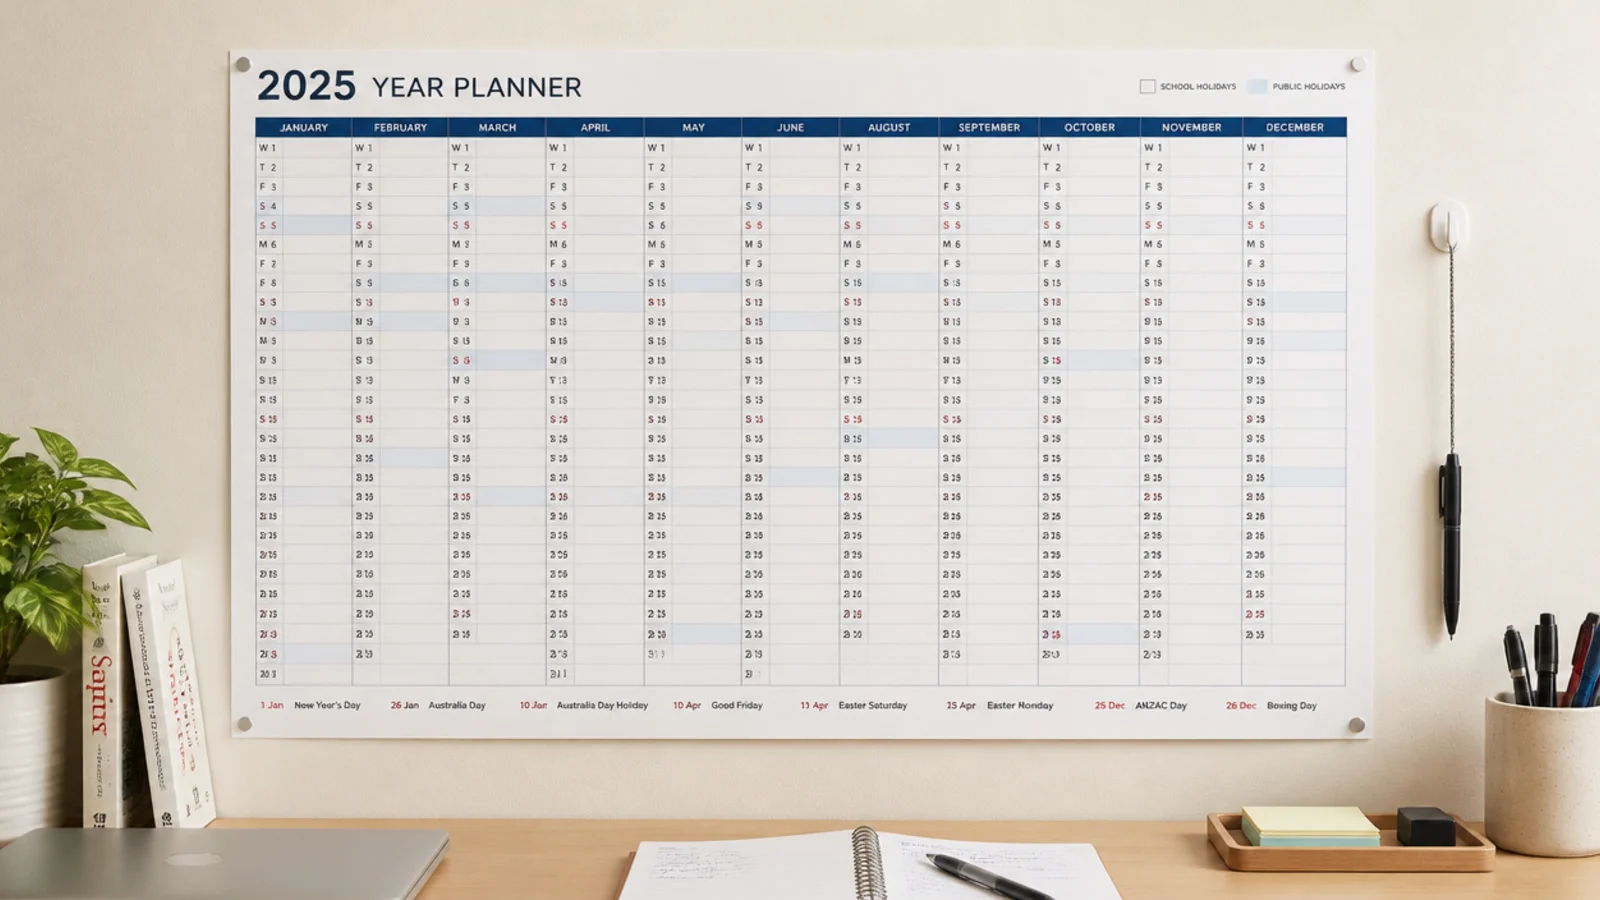
13. Hang an A2 wall planner within reach
A planner you have to stand up to write on stays blank. Hang it beside the desk at seated arm height, roughly 40 to 50 inches from the floor, and keep a pen on a cord next to it. Paper planners get used; app reminders get dismissed.
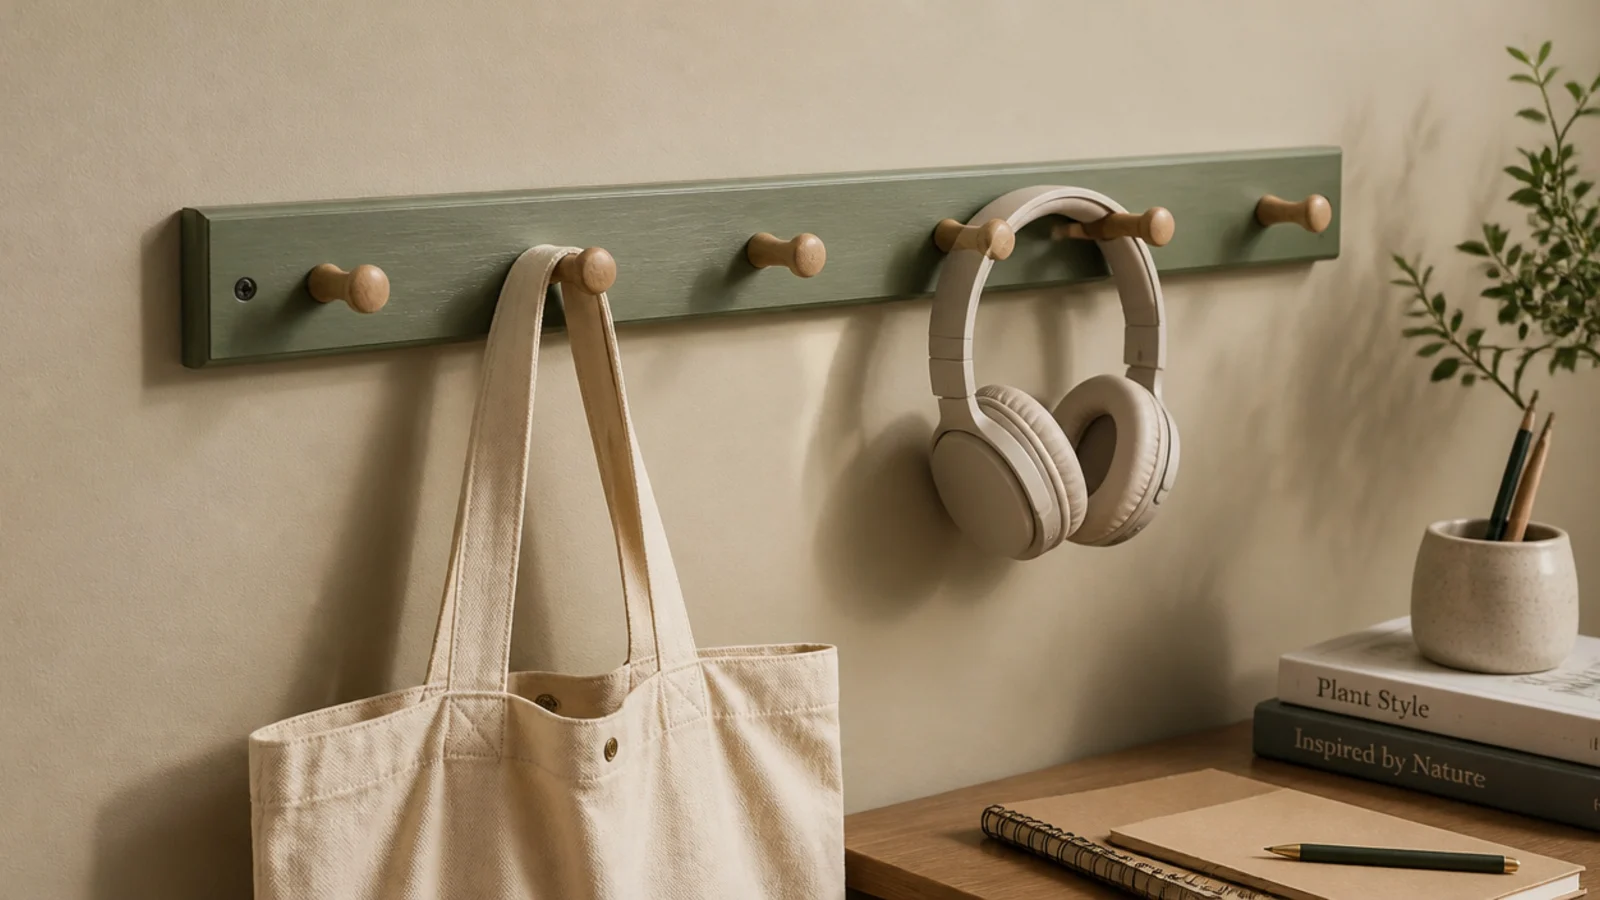
14. Fix a peg rail with six-inch spacing
A painted peg rail takes the bag, the headphones and the jumper off the chair back. Six inches between pegs keeps things from tangling, and mounting it above the shelf line rather than below keeps hanging items out of your seated sightline.
15. Put a wall pot above the shelf line
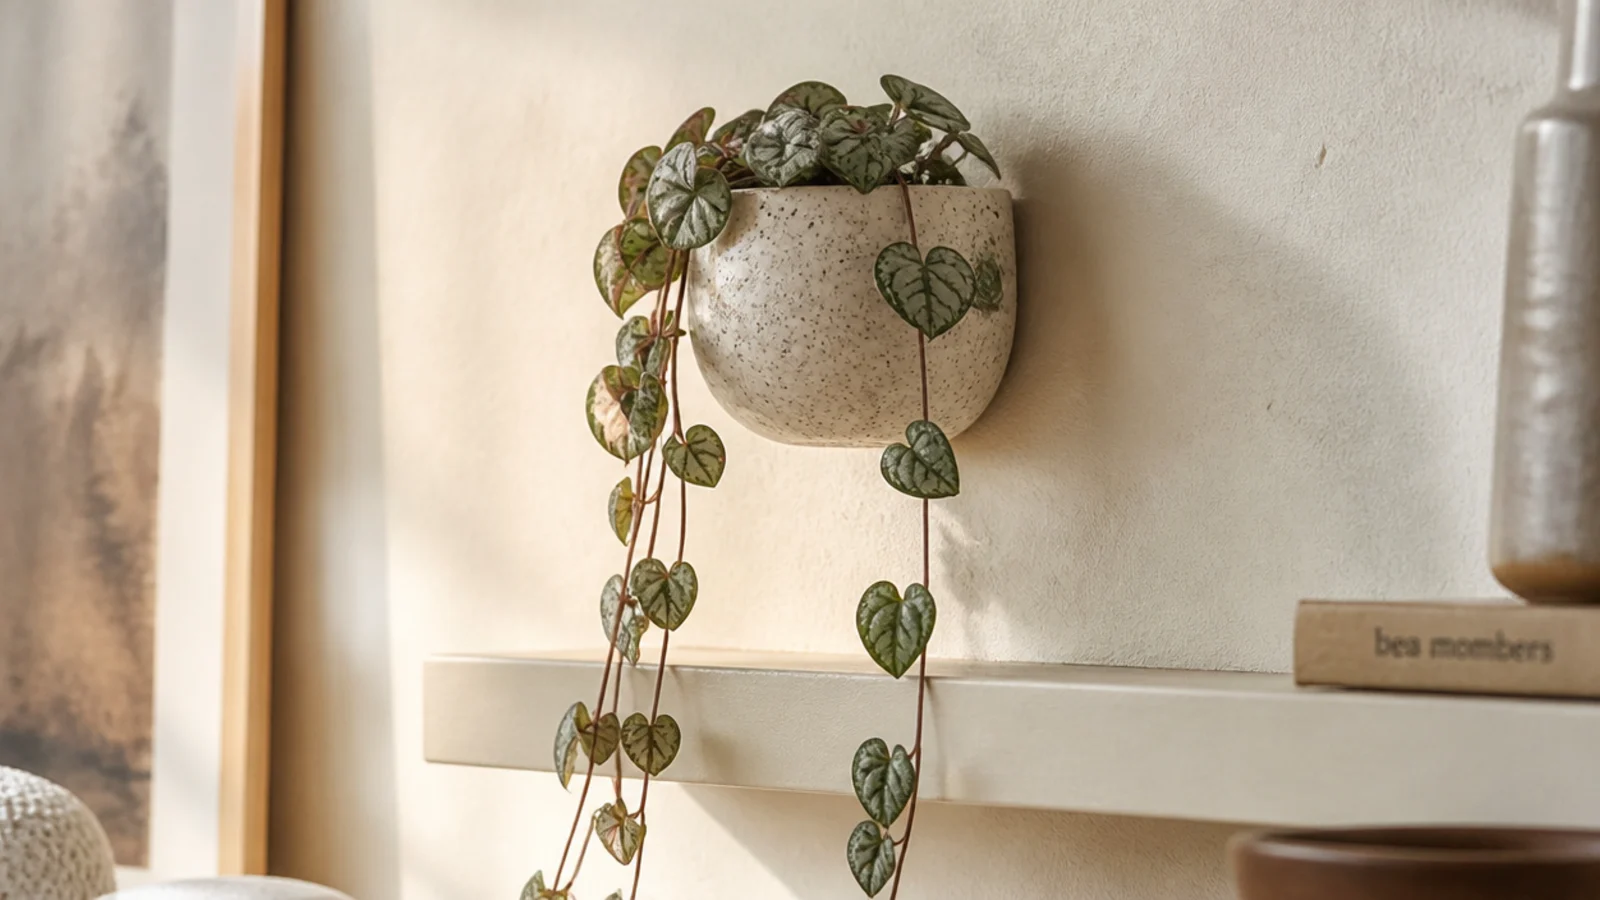
A wall-mounted pot puts something living into the corner without giving up a single square inch of table. Trailing plants suit it best. Fix into a stud or a proper anchor — a watered pot weighs three or four times what the empty one did.
16. Screw a magnetic strip for metal tools
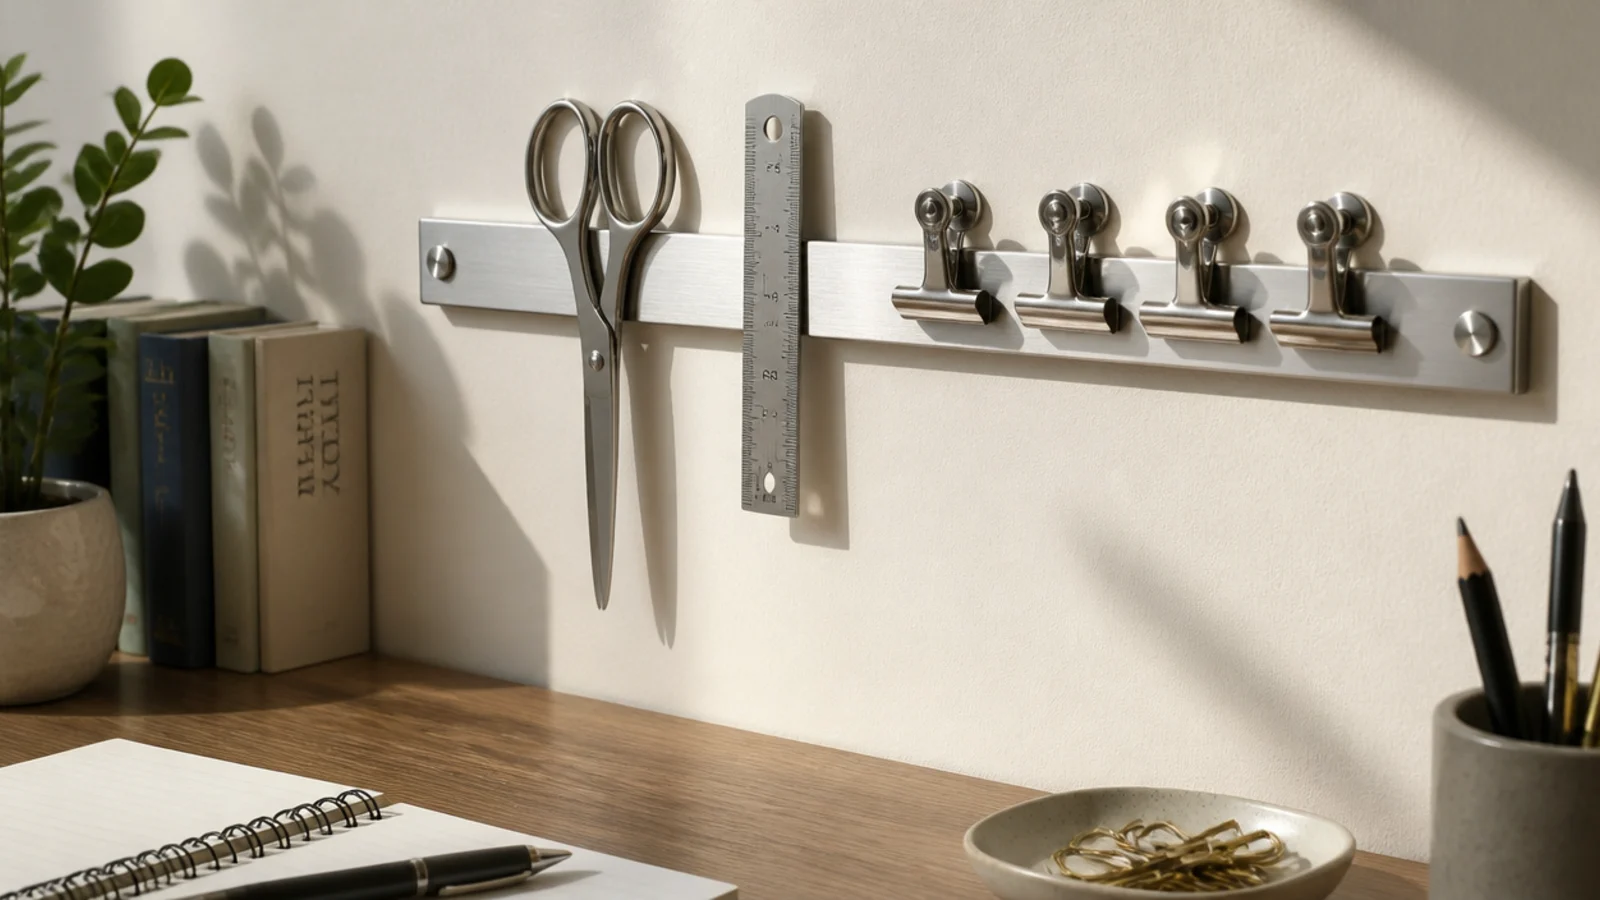
Scissors, a steel rule, clips and blades all park themselves on a magnetic strip and stay visible. Mount it 14 to 18 inches above the surface and keep it well away from anything with a screen or a hard drive.
17. Set a mirror high to bounce daylight
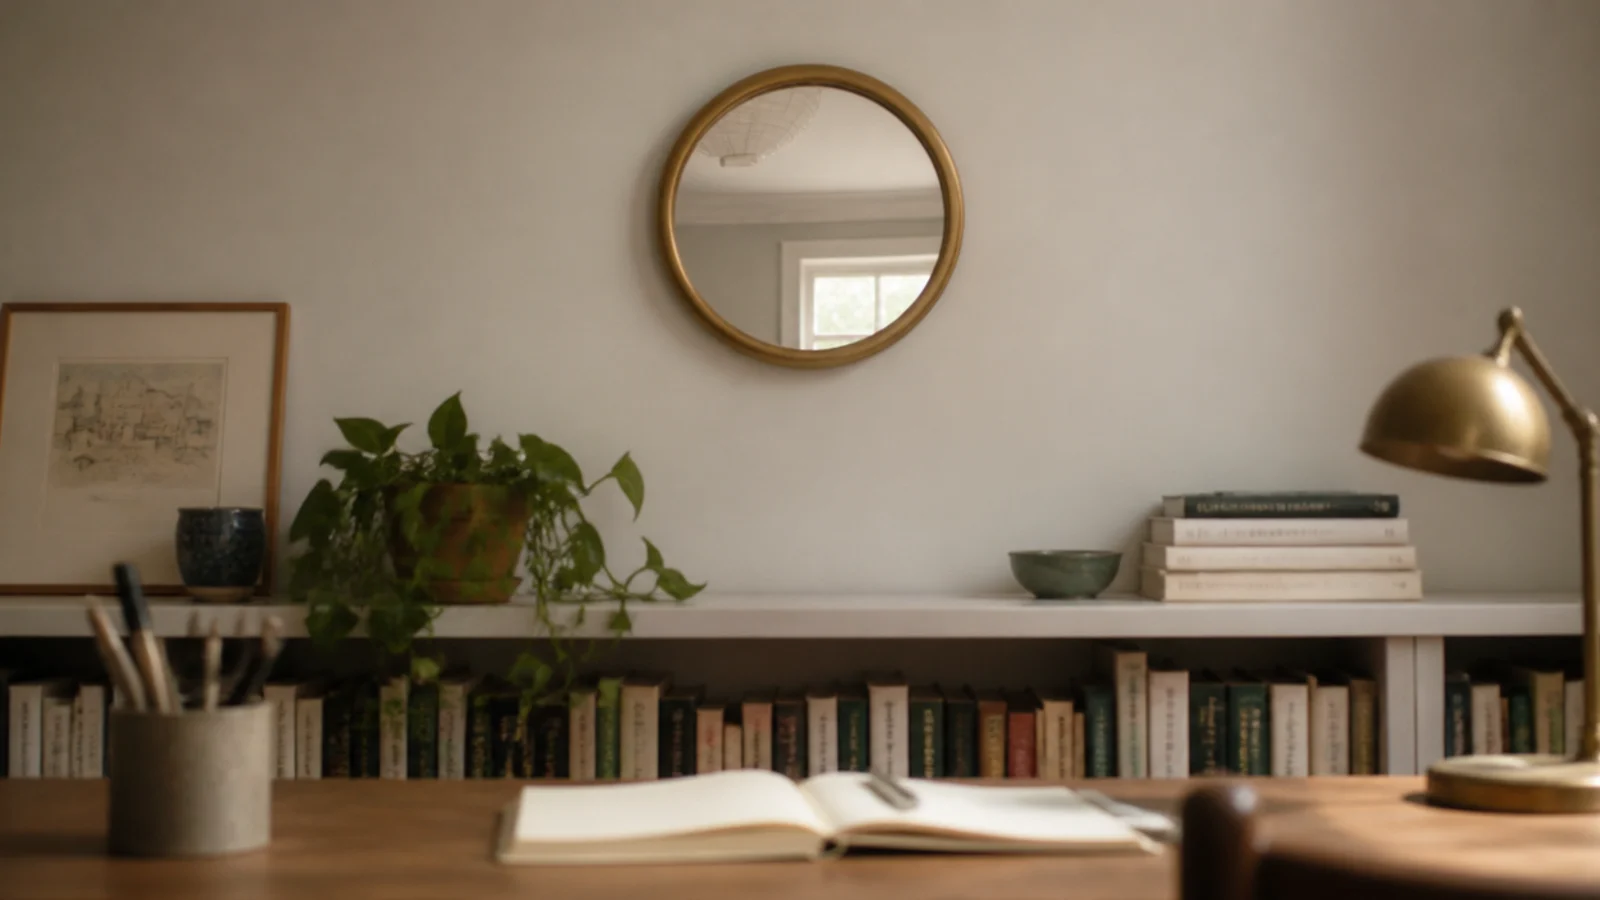
A mirror hung above the shelf line reflects ceiling and window light down into a dim corner. Keep it high and small — 12 to 18 inches across — so it never catches your monitor. Check the reflection from the chair before you commit to a fixing.
18. Hang one woven piece for texture
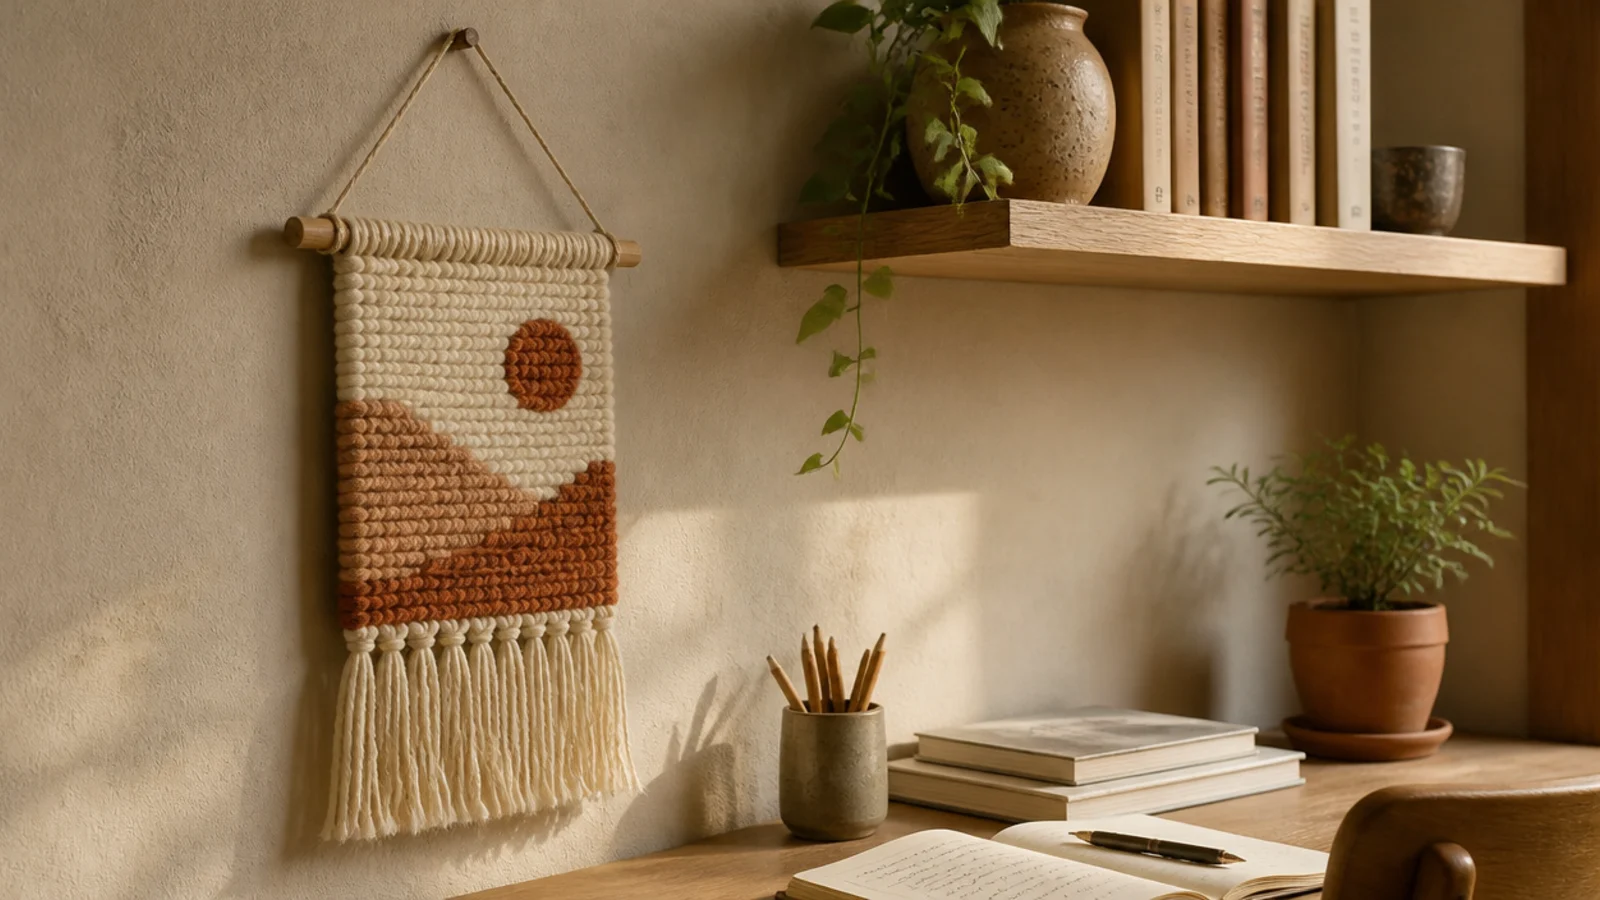
A single woven or macrame piece stops a wall of frames and boards reading as an office. One is enough. Two textiles in a corner this size starts to feel like a display rather than a room you work in.
19. Place the clock at 57 to 60 inches
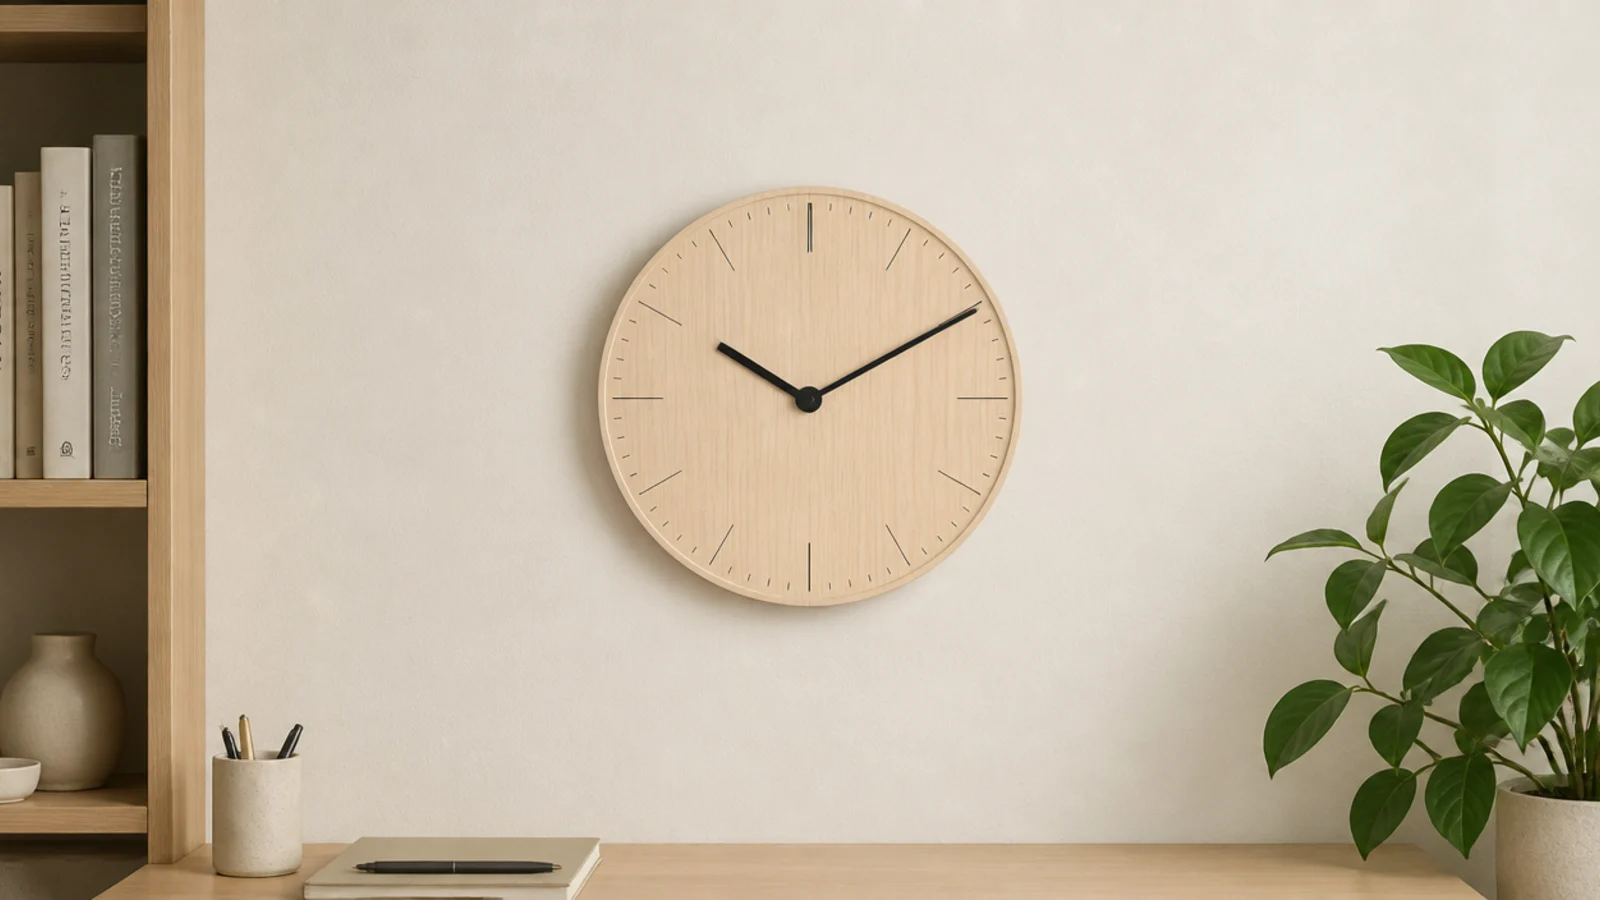
Standing eye level is the standard gallery height and it works for a clock, hung to the side of the desk rather than above the screen. Insist on a silent sweep movement — a ticking hand two feet from your head ruins any task that needs quiet.
20. Know the limit of adhesive strips
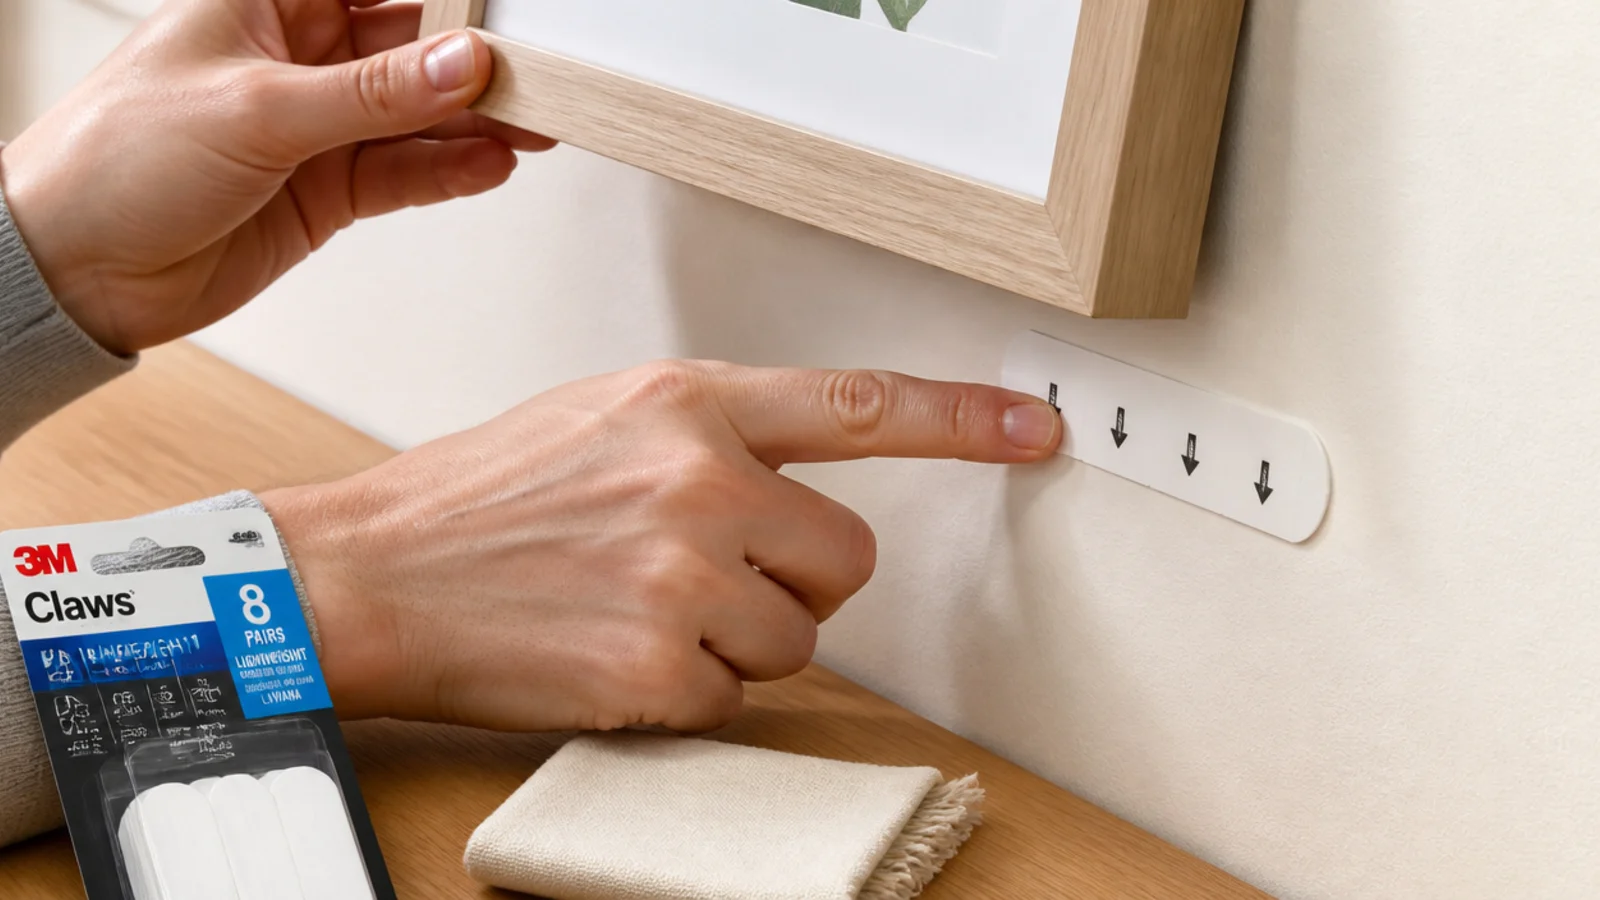
Adhesive picture strips carry around five pounds per pair and need a smooth, fully cured painted surface. They are fine for a light frame or a cork tile and completely wrong for a shelf. Press for thirty seconds, wait an hour before loading, and never use them on textured plaster.
21. Paint the cable channel the wall colour
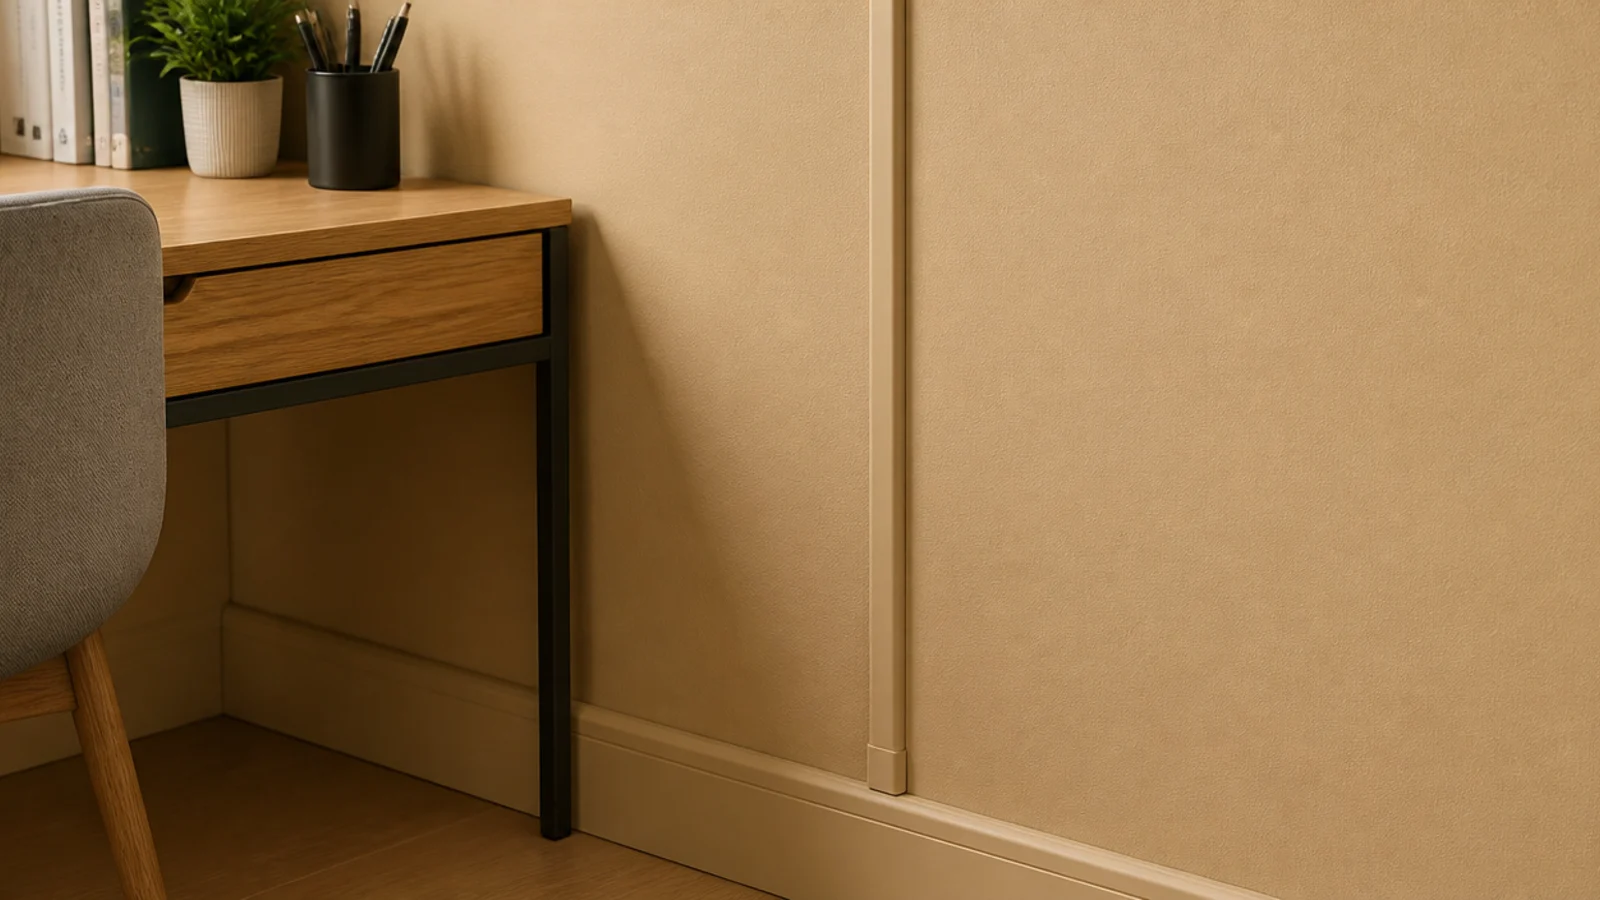
A surface-mount channel takes the lamp and monitor leads up the wall in one straight run. Painted the same tone and sheen as the plaster, it disappears from two feet away. Far tidier than clips, and completely reversible in a rental with a bit of filler.
22. Add a wall cabinet with a ten-inch depth
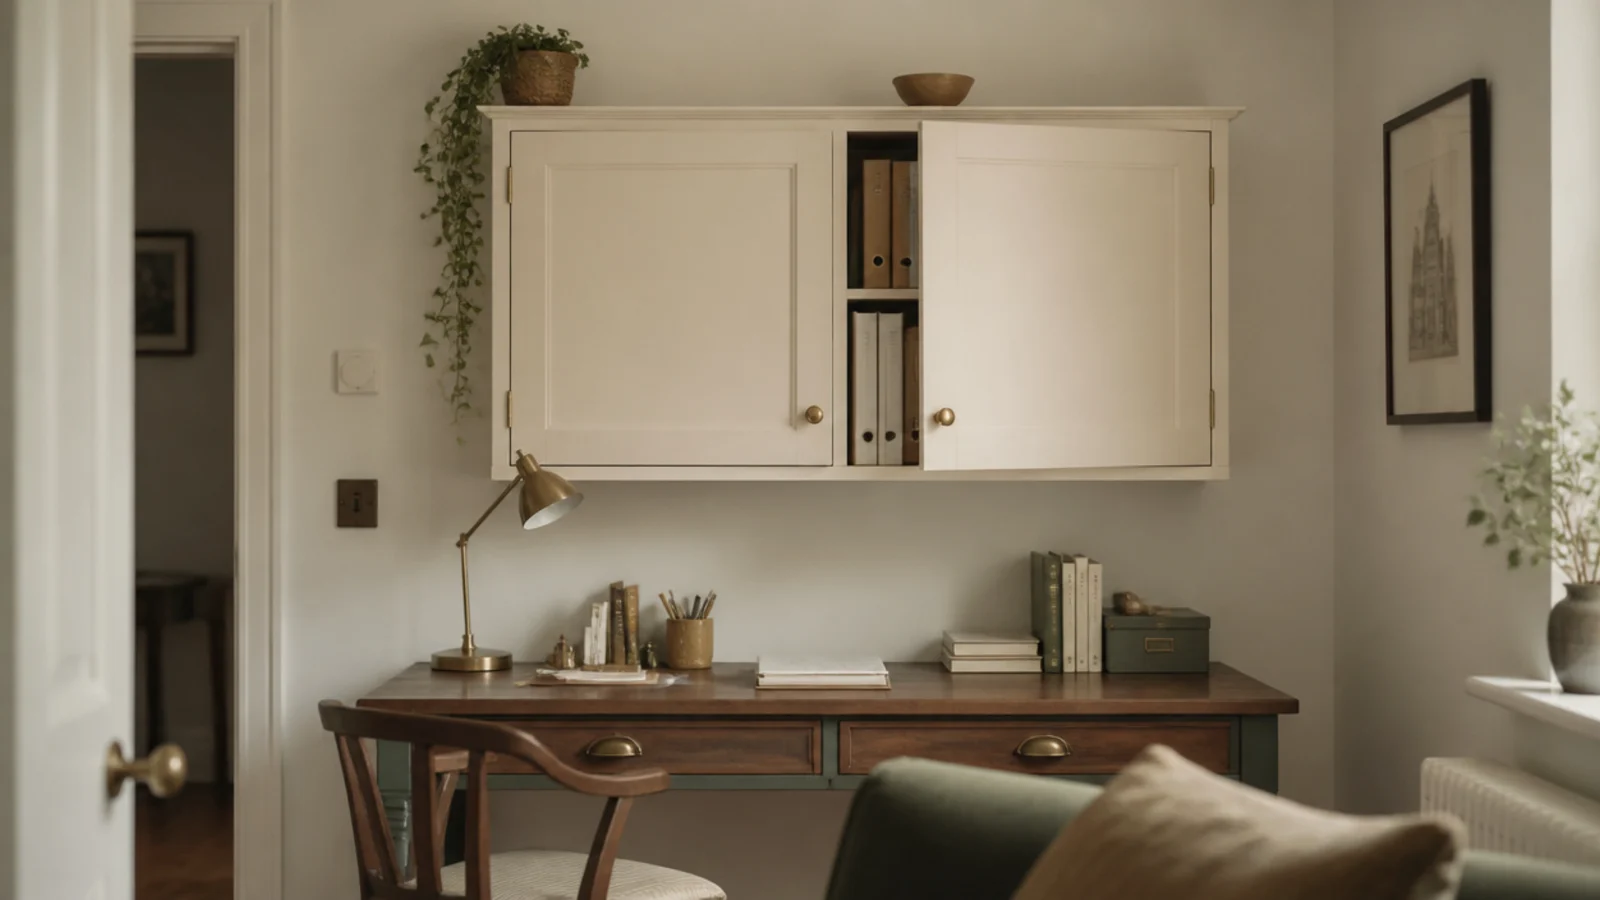
Closed storage above a desk hides the half of your stuff that will never look good. Keep the cabinet under 10 inches deep and hang the underside at 20 to 24 inches so it does not loom over the working surface. Fix into two studs minimum.
23. Use a wall pocket for live paper
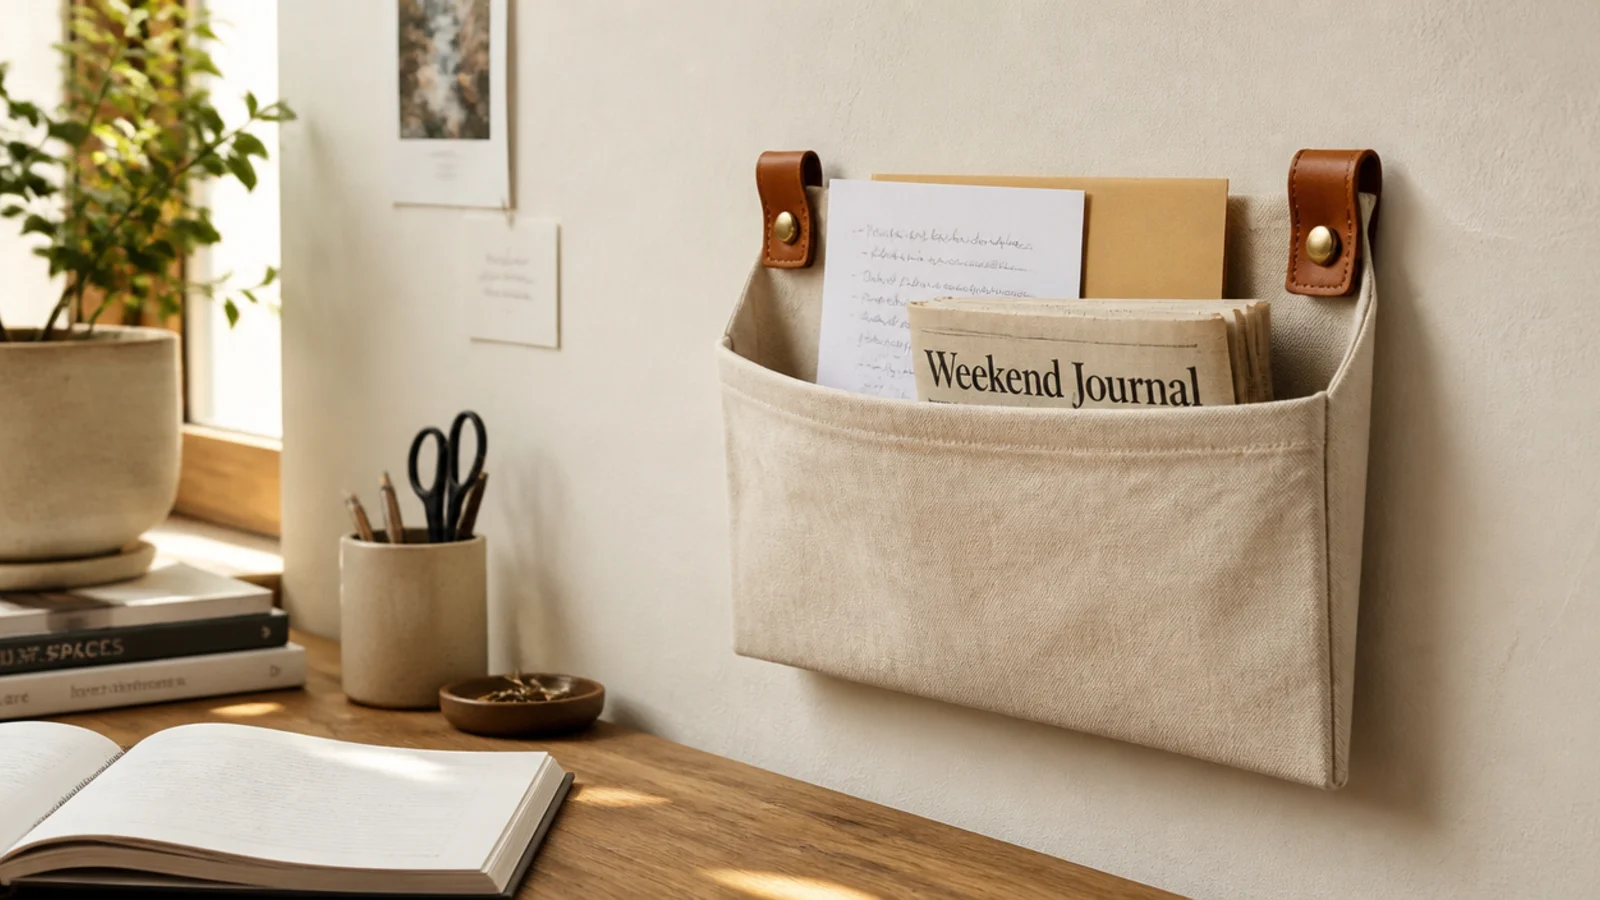
A canvas or leather wall pocket beside the desk holds only what is live this week. Everything older goes in a box on the shelf. It takes no surface, costs $12 to $30, and stops the permanent drift of paper across the table.
24. Leave the wall behind the screen plain
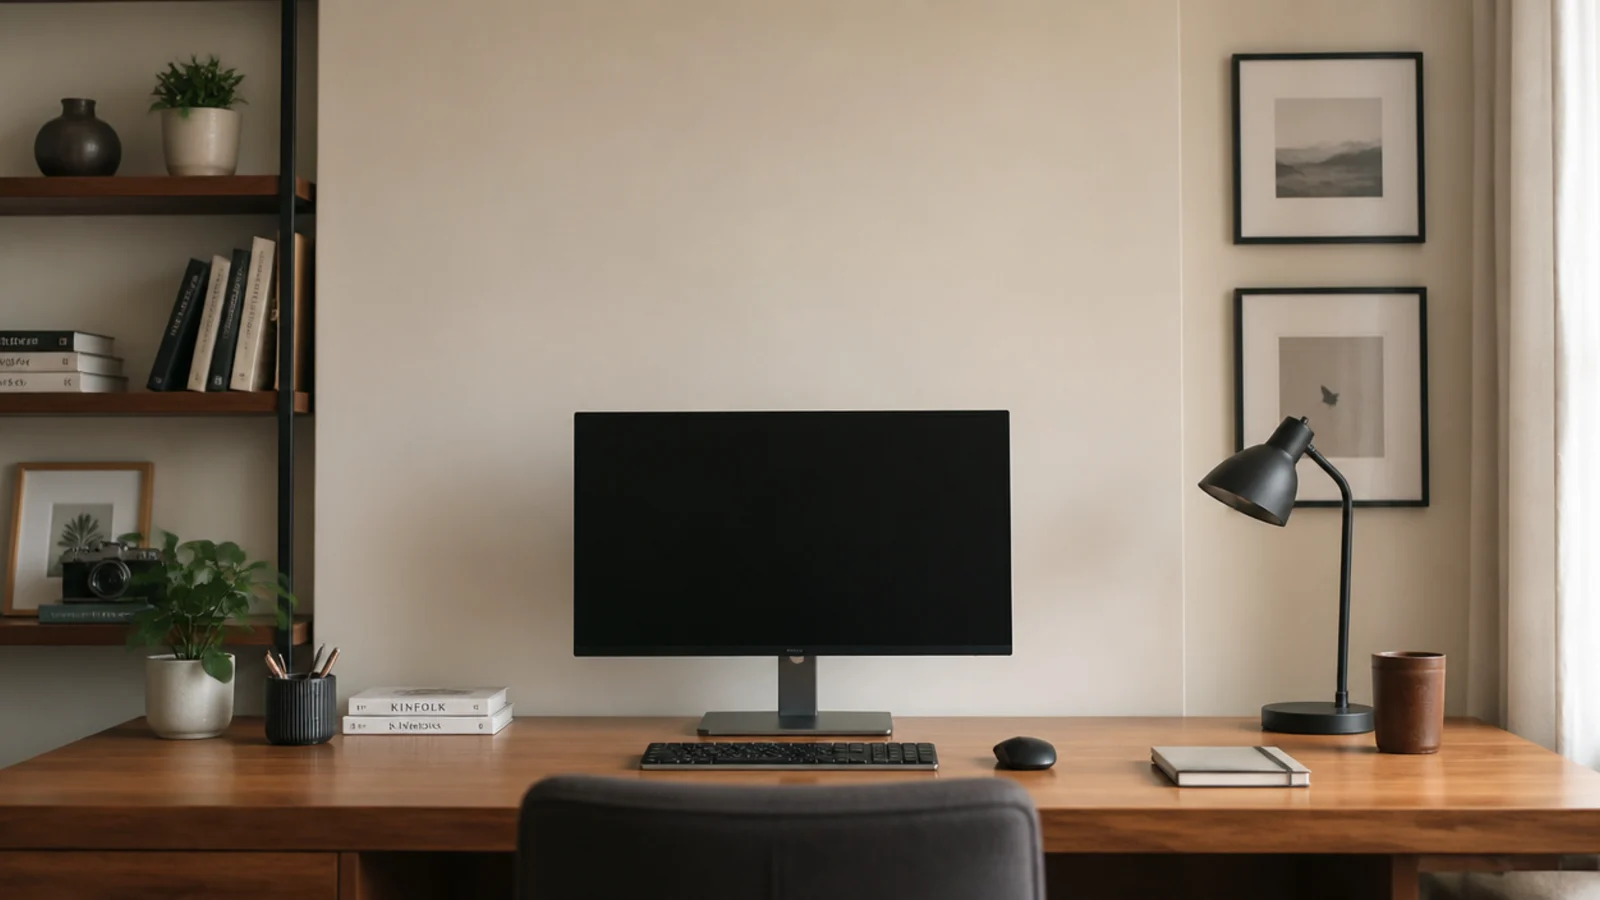
Whatever else the wall does, keep the patch directly behind the monitor bare and matt. Pattern there competes with the screen all day and makes text harder to read. Push the decoration out to either side of the panel instead.
25. Take the paint to the shelf line, matt only
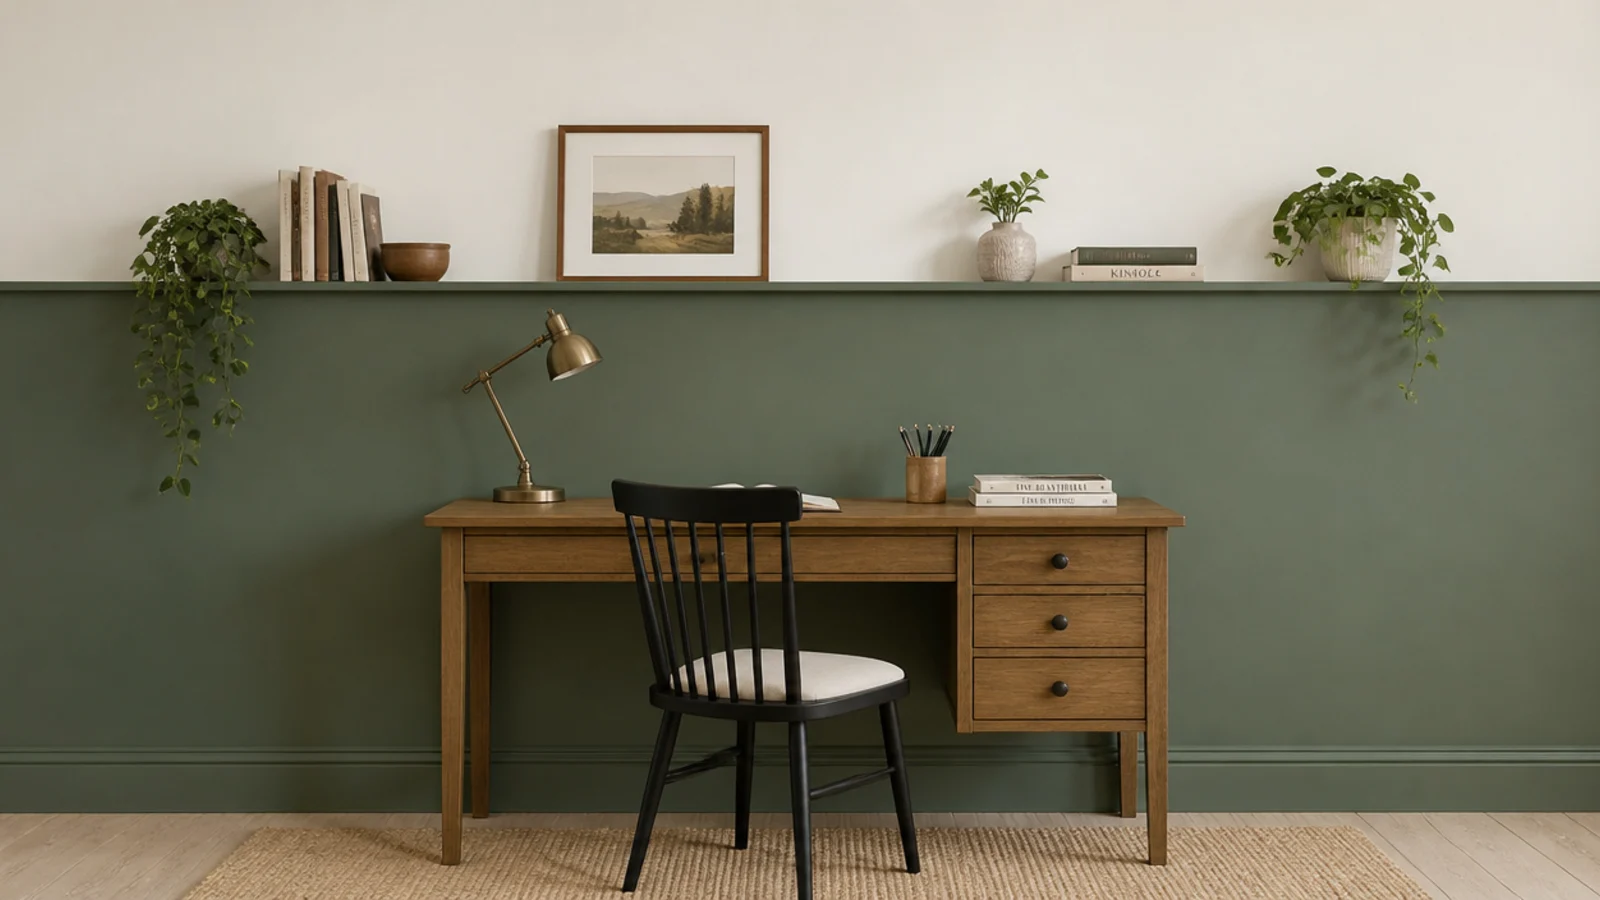
A deeper colour from skirting to shelf height, cut off in a clean horizontal line, gives the desk a defined zone inside a bedroom. Matt or dead flat only — anything with sheen will bounce the lamp straight back at you when you sit down.
For twenty more layouts arranged by room type, the wall decor study room desk ideas guide goes wider. Mirror wall decor ideas covers reflective pieces properly, and if the room needs a ceiling fixture as well, the ceiling hanging lights guide has options that keep the desk surface clear.
Mistakes to Skip
- Marking the wall while standing up. Every height on a study wall should be decided from the chair, because that is where you will spend the next two thousand hours.
- Hanging a shelf on adhesive strips. Books are heavier than they look, and the failure happens at three in the morning onto a laptop.
- Filling the wall edge to edge on the first weekend. Leave gaps and add slowly, or the corner will feel loud and there will be nowhere left for the things you actually need pinned up.
- Putting a downlight or spotlight directly above the desk. It reflects off the screen from almost every seated position, and no amount of tilting the monitor fixes it.
Frequently asked questions
How high should wall decor start above a study table?
Ten to twelve inches above the table top for frames and boards, and 18 to 24 inches for the underside of a shelf. Anything lower gets overlapped by a monitor, a lamp or a stack of books, and a shelf below 18 inches is something you will hit your head on when you lean in.
Should wall decor be centred on the wall or on the desk?
On the desk. The eye reads the desk and the wall above it as one block, so an arrangement centred on the wall but offset from the table looks like a mistake even when the measurements are perfect. Mark the desk centre line in pencil before hanging anything.
How far apart should frames hang above a desk?
Two inches between frames for a tight grid, three for a looser cluster, and keep the gap identical throughout. Even spacing is what makes a group read as one shape. Treat the whole arrangement as a single rectangle and centre that rectangle on the desk below.
How do I light a wall above a desk without glare on the screen?
Keep every light source outside a thirty degree cone from your line of sight to the monitor, and aim wall light across the surface rather than at it. A strip hidden under the front lip of a shelf washes the wall downward and never reflects, which a downlight above the desk usually does.
Can I hang shelves above a desk with adhesive strips?
Only for light items. Most adhesive picture strips top out around five pounds per pair, which covers a light frame or a cork board but nothing carrying books. A shelf needs screws into studs, or toggle bolts rated 25 to 35 pounds each in half inch drywall.
Want more like this? Browse all 15 study desk decor guides — they all use the same measurements and budget tiers.
Pin it for later
Save this to your Study Desk Decor board
Pin it now so it is waiting for you when the tape measure comes out — and so the next person hunting for this idea can find it too.
Save this pinKeep going
More ideas worth saving while you have the tape measure out.