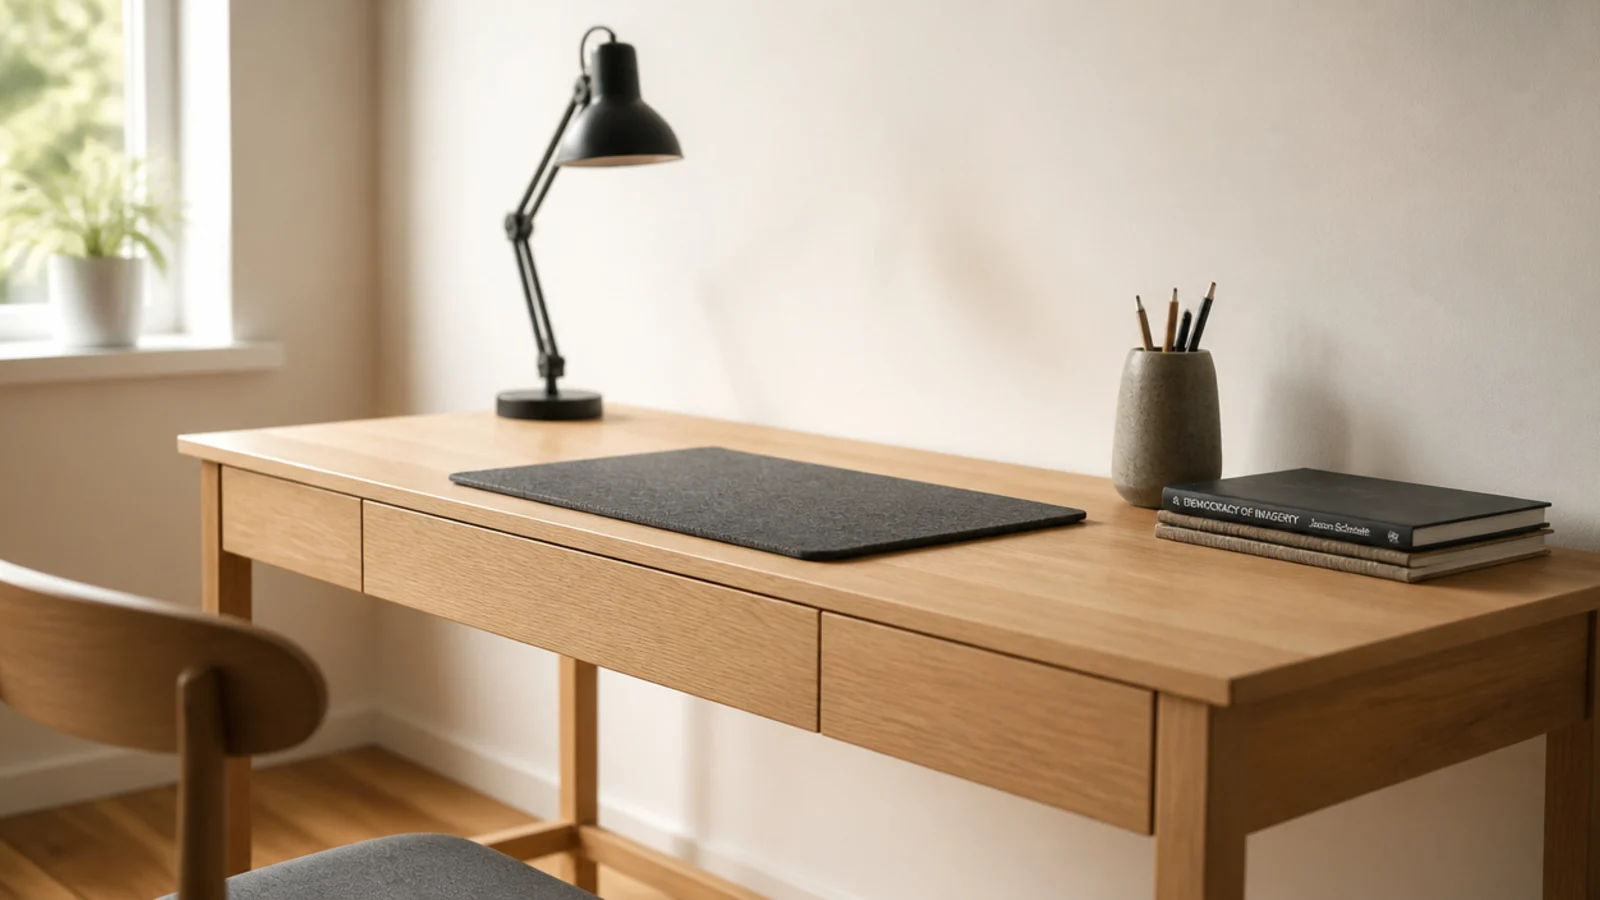
Study Desk Decor · UGC
20 Study Table DIY Decor Desk Ideas I Tested First

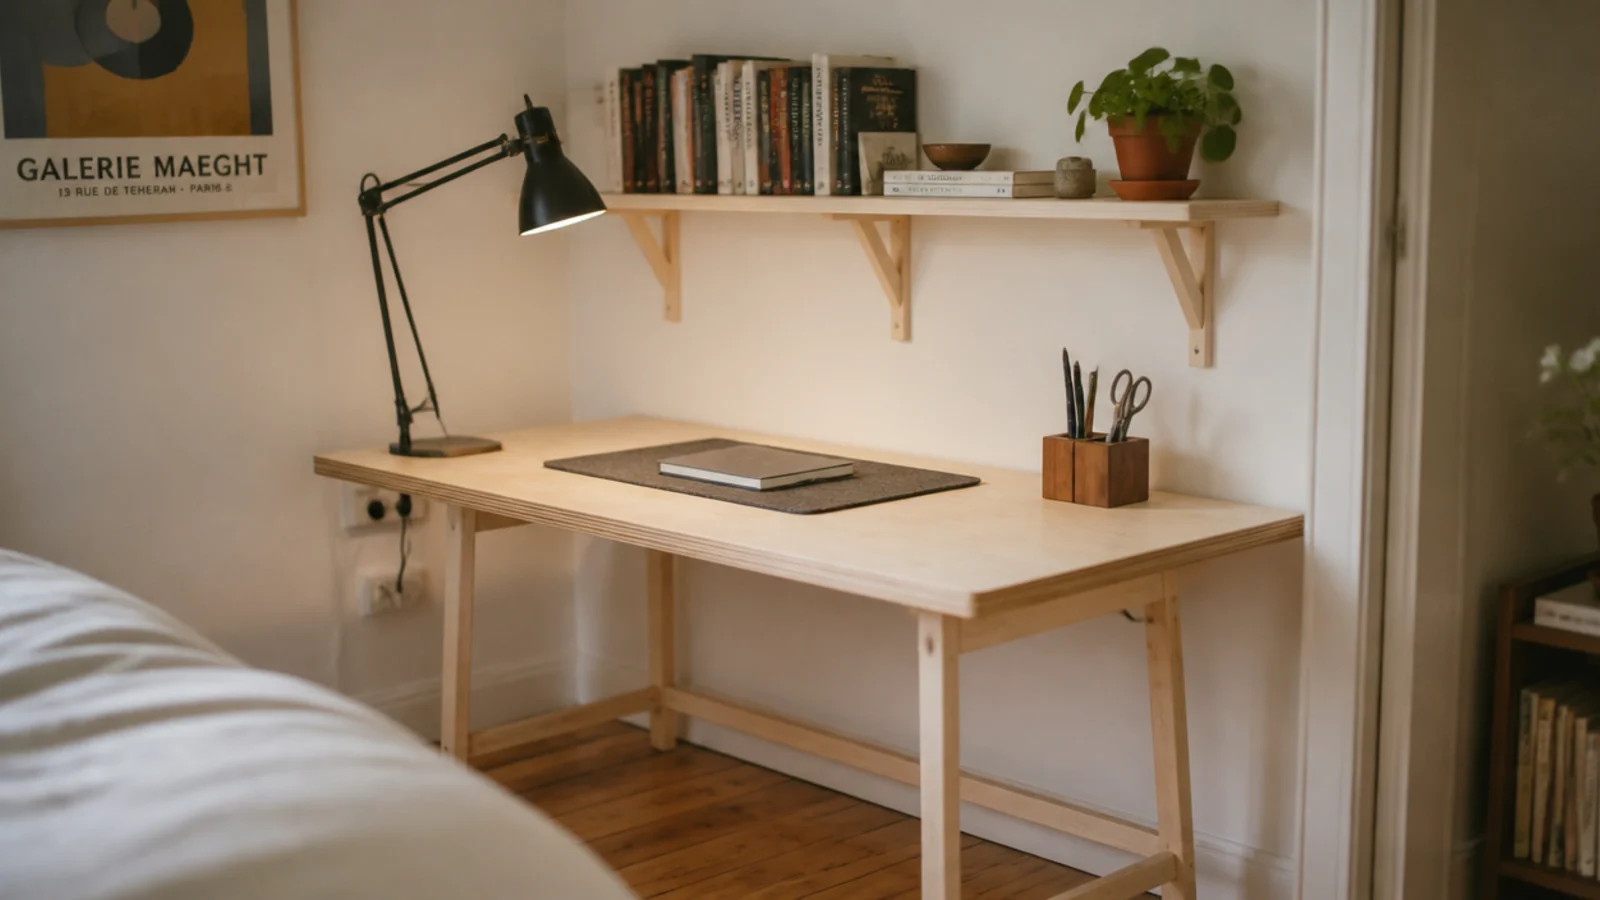
Study table DIY decor desk ideas look simple until you have lived with one for a year. I built my whole corner over three weekends — top, legs, shelf, pegboard, cable tray, and a pile of small things from the offcuts — and about a quarter of it came back down again. The shelf went up twice. The drawer came out entirely. What follows is all twenty projects with the cut sizes I used, plus an honest note on which ones I would build again and which I would not bother with.
In this guide22 sections — tap to openHide
- 1.How I judge study table DIY decor desk ideas now
- 2.The plywood top I cut too shallow
- 3.Pine legs cut to land the top at 29 inches
- 4.The shelf I hung at 15 inches and moved to 20
- 5.A peg rail that sagged inside a term
- 6.The wire basket cable tray that stayed
- 7.The grommet hole I drilled too small
- 8.A monitor riser made from an old drawer
- 9.The painted panel that made the corner read as a room
- 10.A linen pinboard from a charity shop frame
- 11.Pen blocks drilled from the leg offcuts
- 12.The fold-down leaf on the landing
- 13.The drawer that met my thighs
- 14.Bookends cut from two right-angle scraps
- 15.Binder clips as permanent cable holders
- 16.A hardwood block that fixed a cheap lamp
- 17.A dowel rail under the shelf
- 18.Felt cut to the exact working rectangle
- 19.Two coats of hardwax oil, six hours apart
- 20.A magnetic strip that took the scissors off the desk
- 21.Turning the whole desk side-on to the window
- 22.What I'd Do Differently Now
How I judge study table DIY decor desk ideas now
Three questions, asked in this order, before I cut anything.
Is it the right height? The top at 29 inches, the shelf underside at 20 inches above that, any drawer with 25 inches of floor clearance underneath. I got two of those three wrong first time and both cost me an afternoon of filling and repainting.
Is the stock thick enough? Three quarter inch for anything spanning more than a foot. I tried a half inch batten for a peg rail and watched it bow under a school bag inside a term. Books are 20 to 25 pounds per linear foot and a loaded bag is 15 on one hook.
Will I have to move it to work? Anything that lands on the surface eventually ends up on the floor. The projects that stayed were the ones that hung, clamped or fixed something out of the working rectangle.
Total spend across the whole corner was around $140, most of it in one plywood sheet and a set of legs. The DIY study desk decor builds guide has the full cut lists if you want the plans rather than the postmortem.
1. The plywood top I cut too shallow
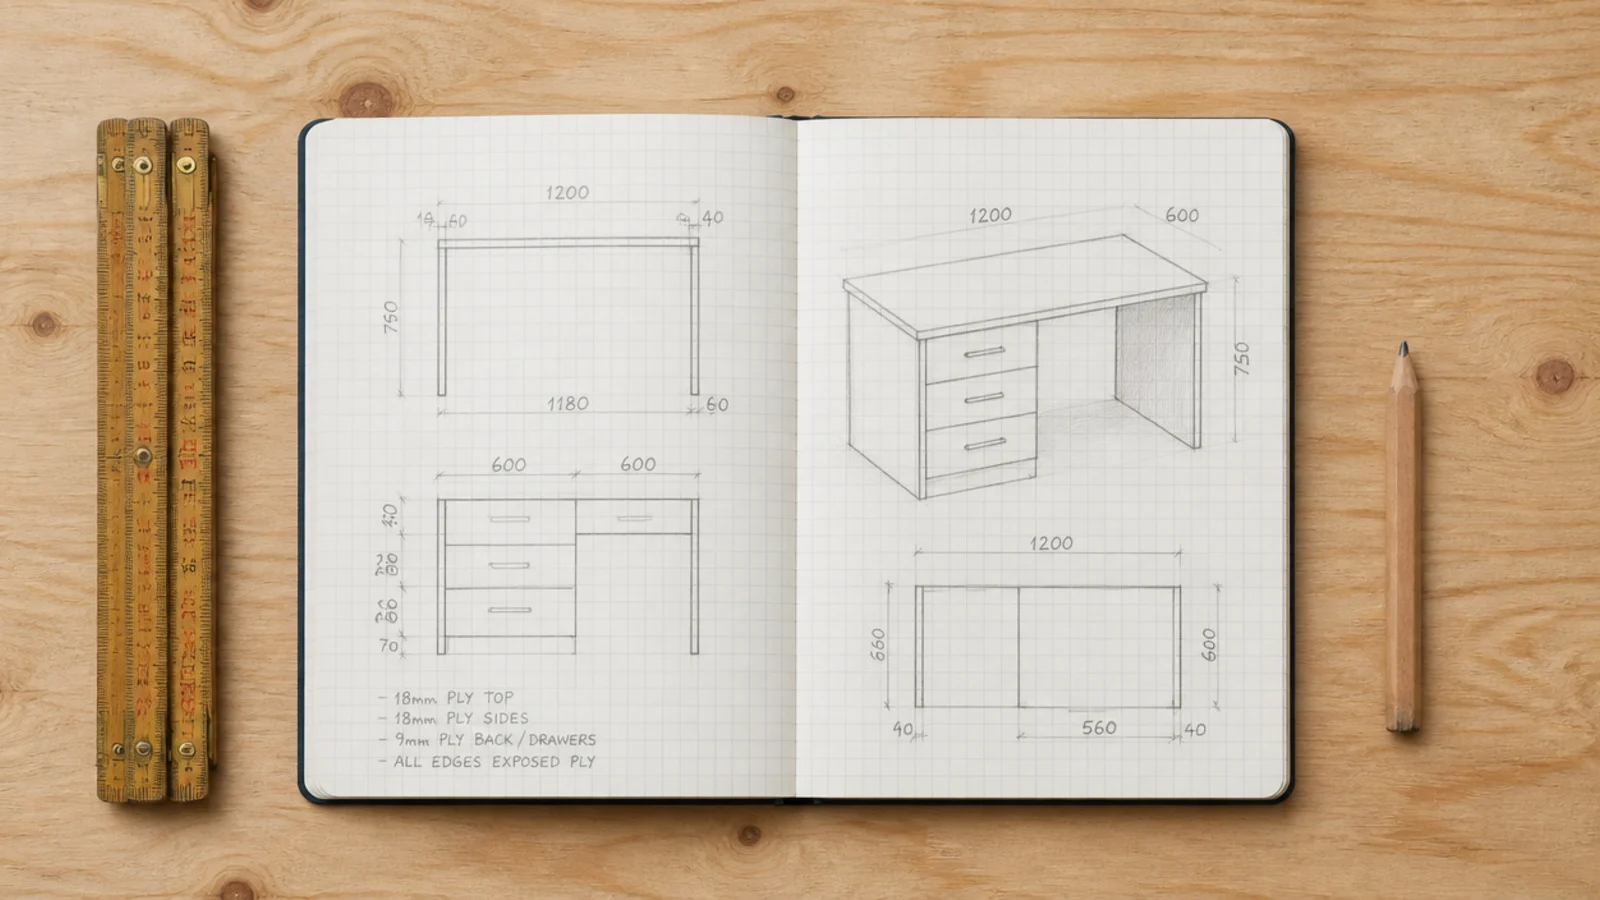
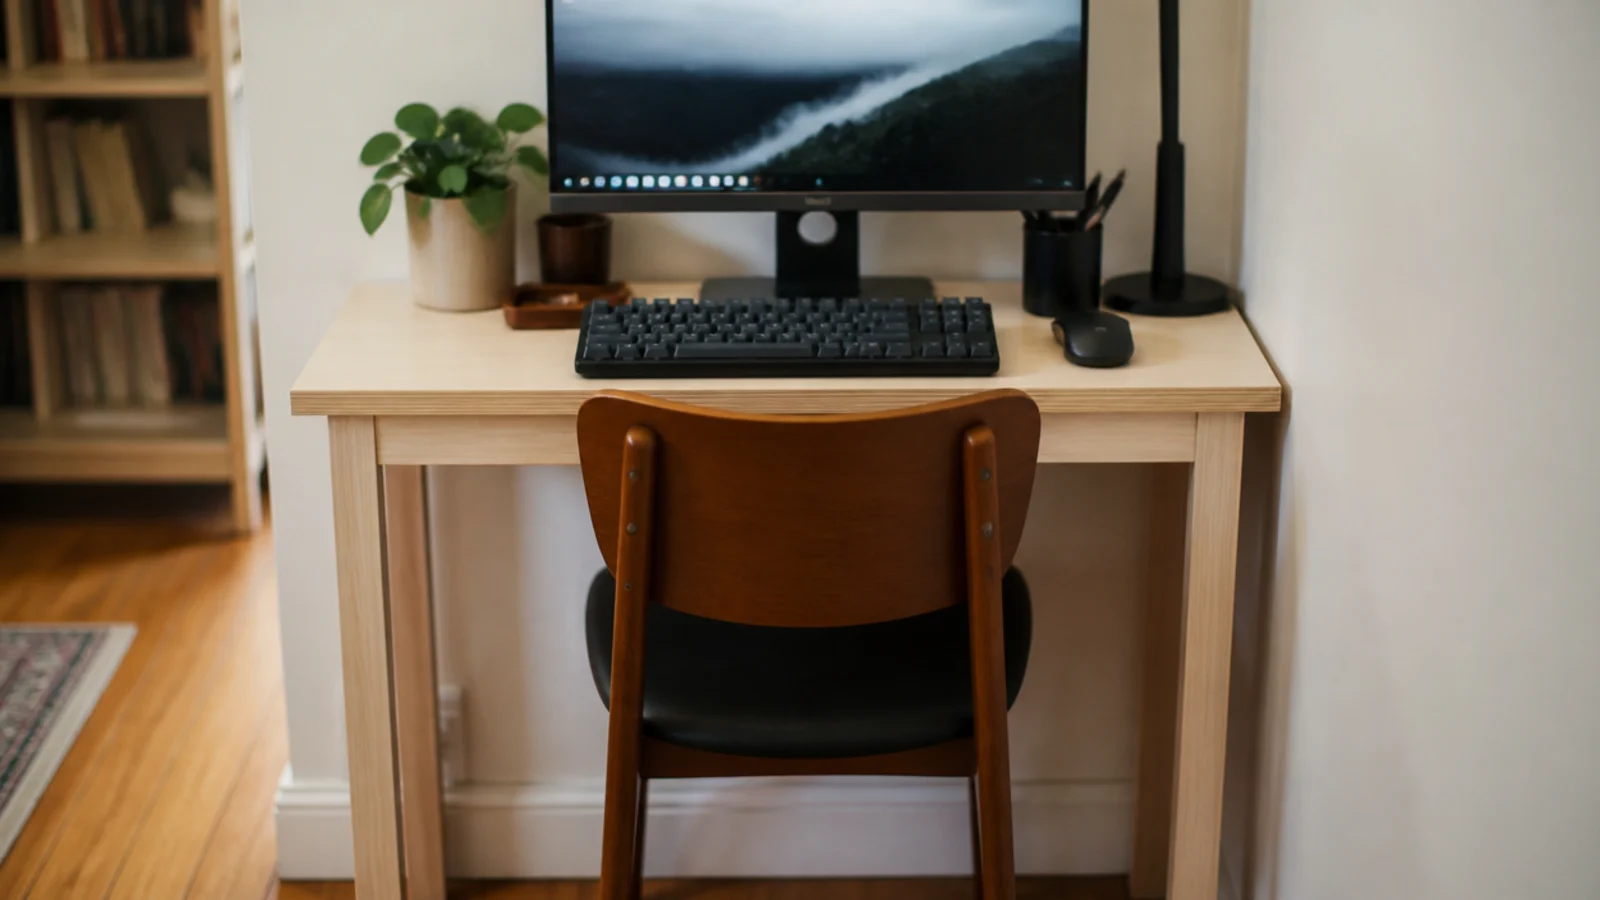
I cut mine 47 by 20 inches because that was the offcut I had, and a 24 inch monitor never sat far enough back. At 20 inches deep the screen is about 16 inches from your eyes. Twenty-four inches is the minimum I would cut now. Would not repeat.
2. Pine legs cut to land the top at 29 inches
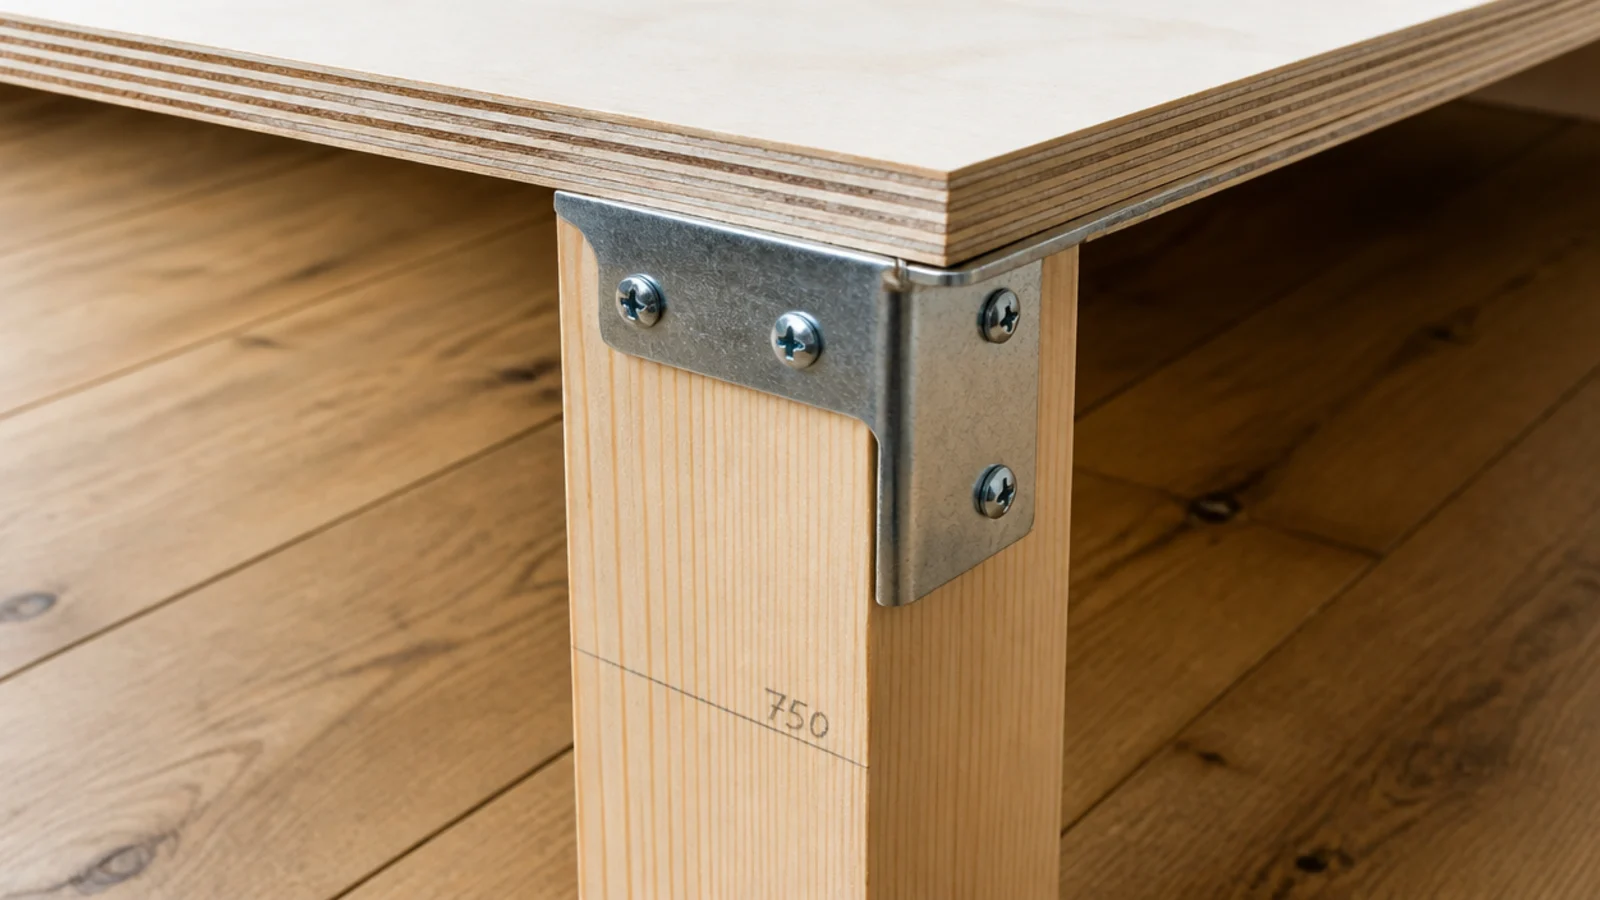
Square pine legs and steel corner brackets cost $22 against $45 for hairpins, and they let me cut to exactly the height I wanted. I measured my seated forearm height first, subtracted the 3/4 inch top, and cut. Kept, and I would do it again.
3. The shelf I hung at 15 inches and moved to 20
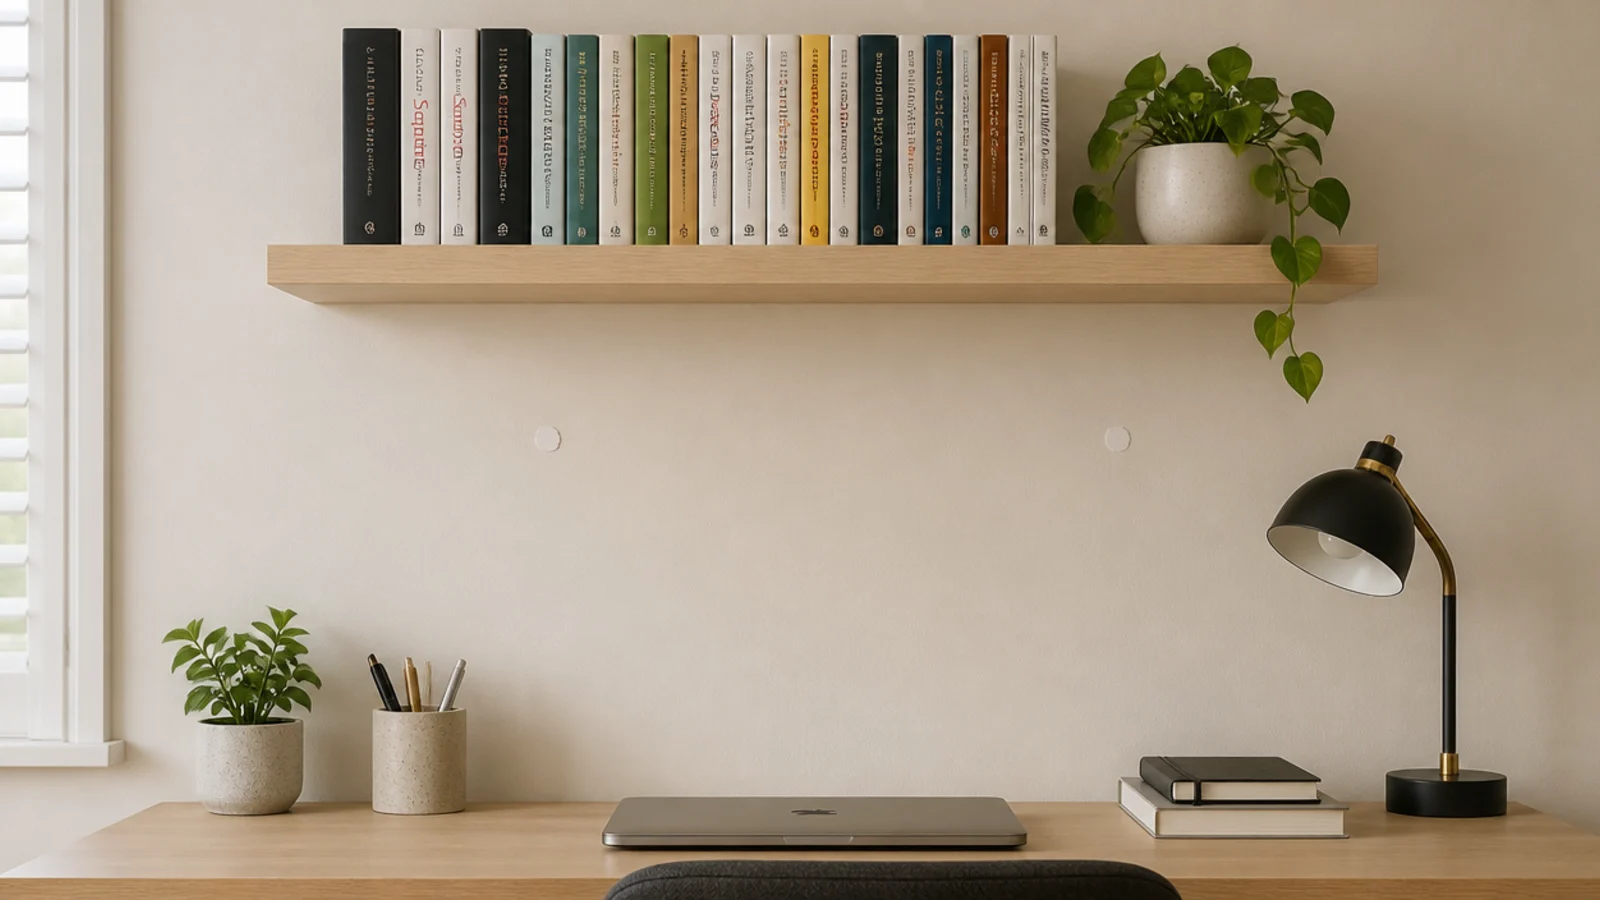
Fifteen inches looked balanced from standing. Sitting down, I clipped my head on it twice in the first week. Moving it up to 20 inches took an hour with filler and touch-up paint. Kept, on the second attempt.
4. A peg rail that sagged inside a term
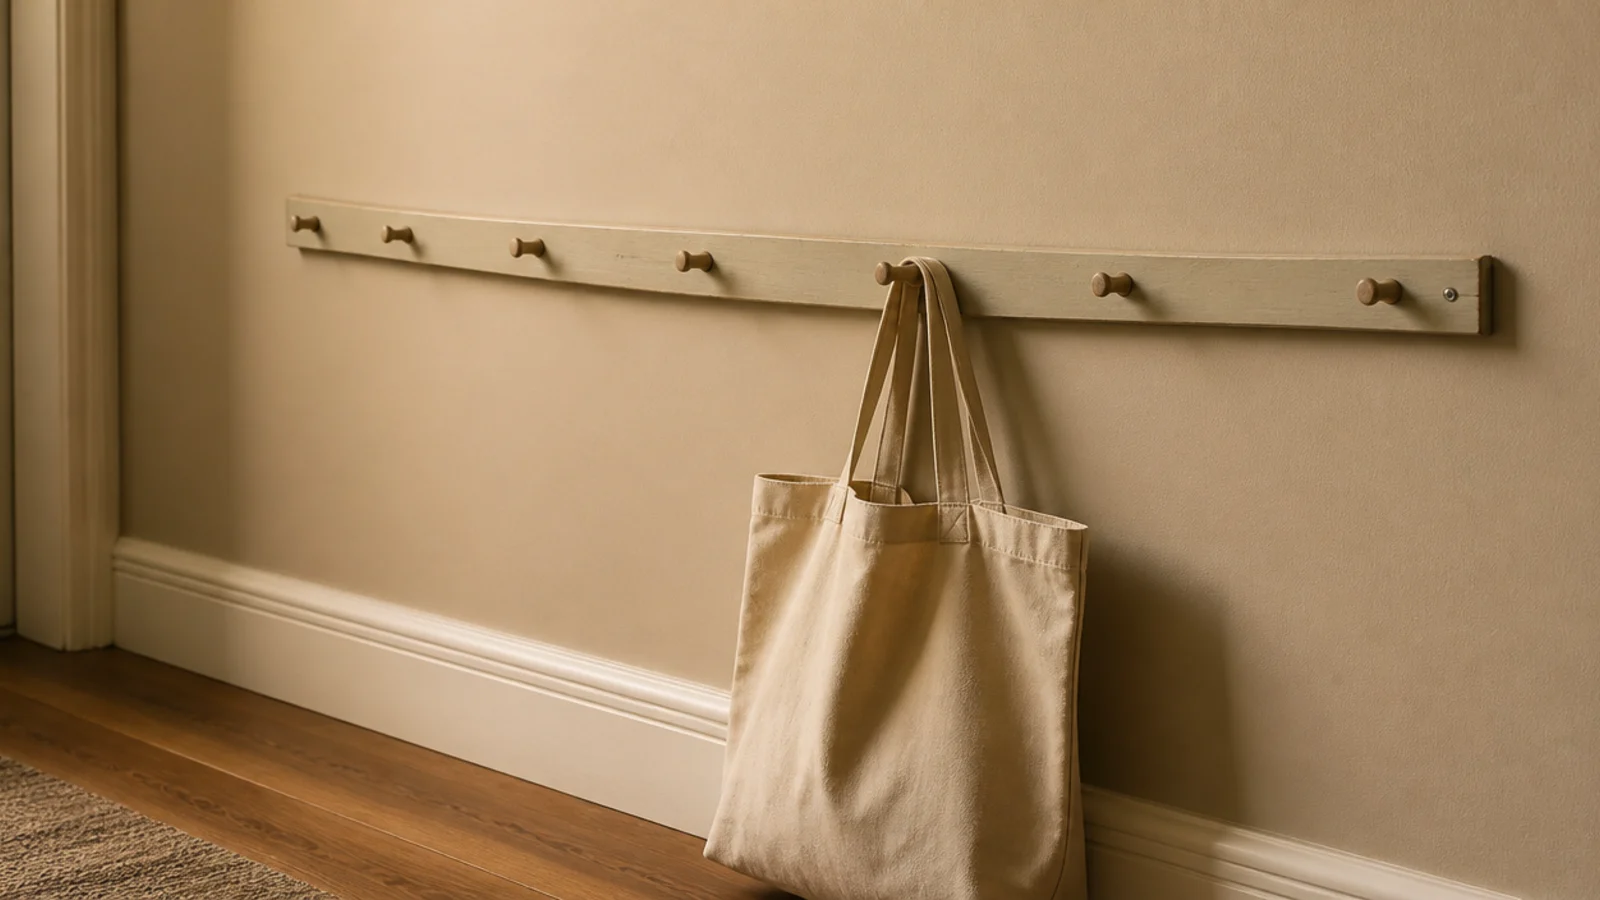
I used a 1/2 inch batten across 30 inches and hung a loaded bag on it. By November there was a visible bow. Three quarter inch stock and a fixing into a stud at each end would have solved it. Would not repeat as built.
5. The wire basket cable tray that stayed
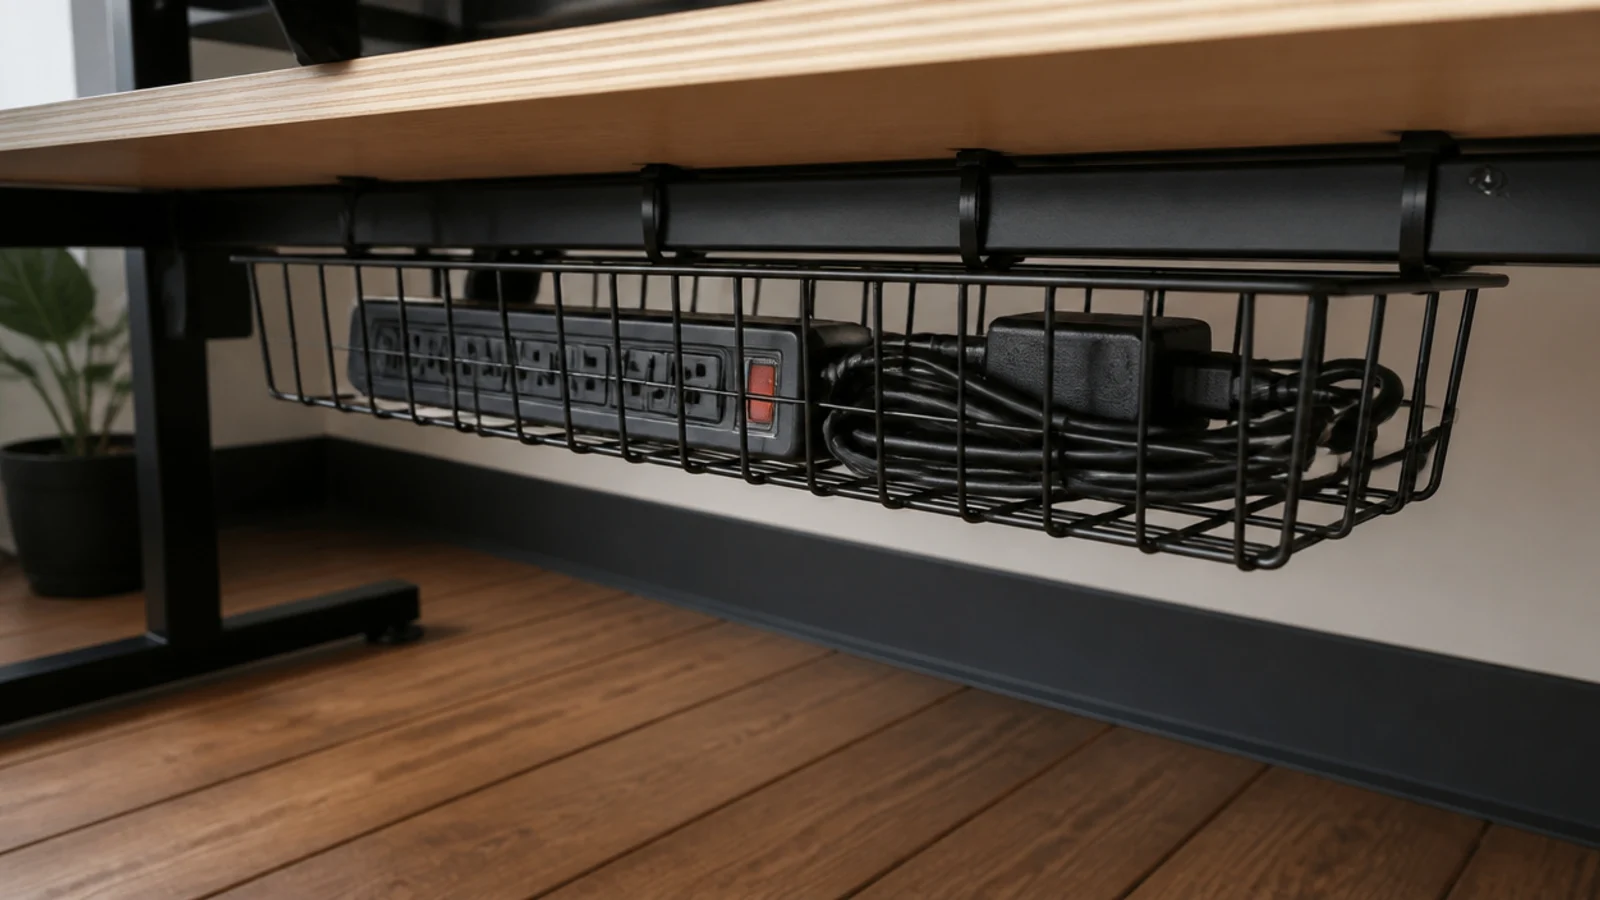
A wire kitchen basket, four zip ties, five dollars. It holds the power strip and every lead, keeps everything off the floor, and I have not touched it since. Position it toward the back so it never meets your knees. Kept, easily the best value.
6. The grommet hole I drilled too small
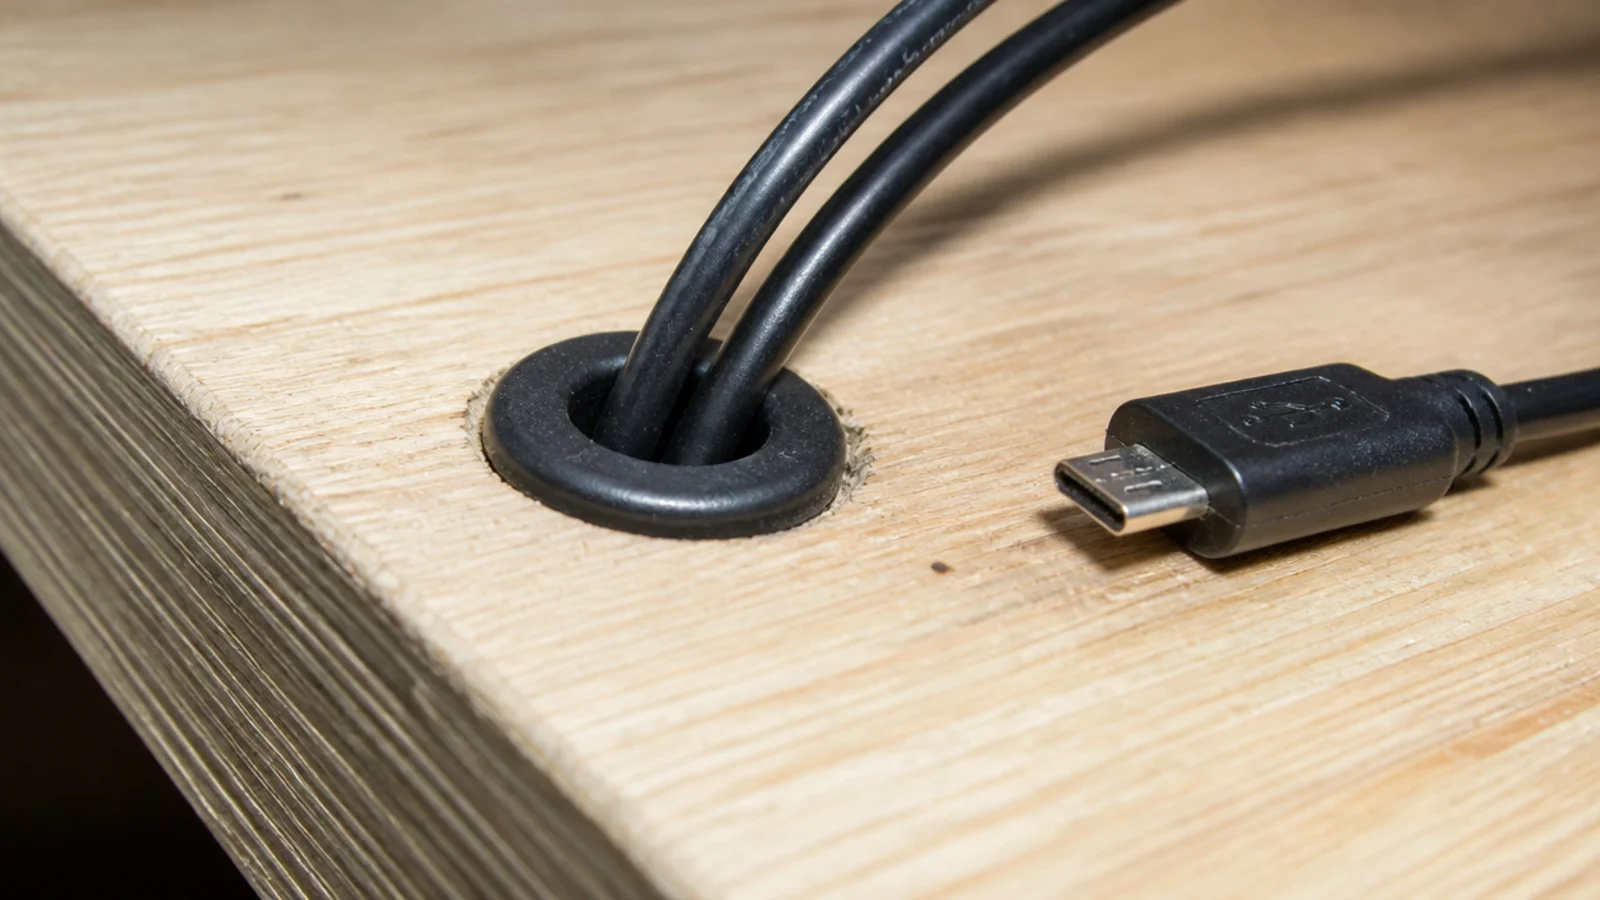
Thirty-five millimetres takes one cable comfortably and two badly. I redrilled at 60mm and it swallowed the laptop lead, the phone cable and the lamp cord together. Buy the 60mm hole saw first. Kept, after redrilling.
7. A monitor riser made from an old drawer
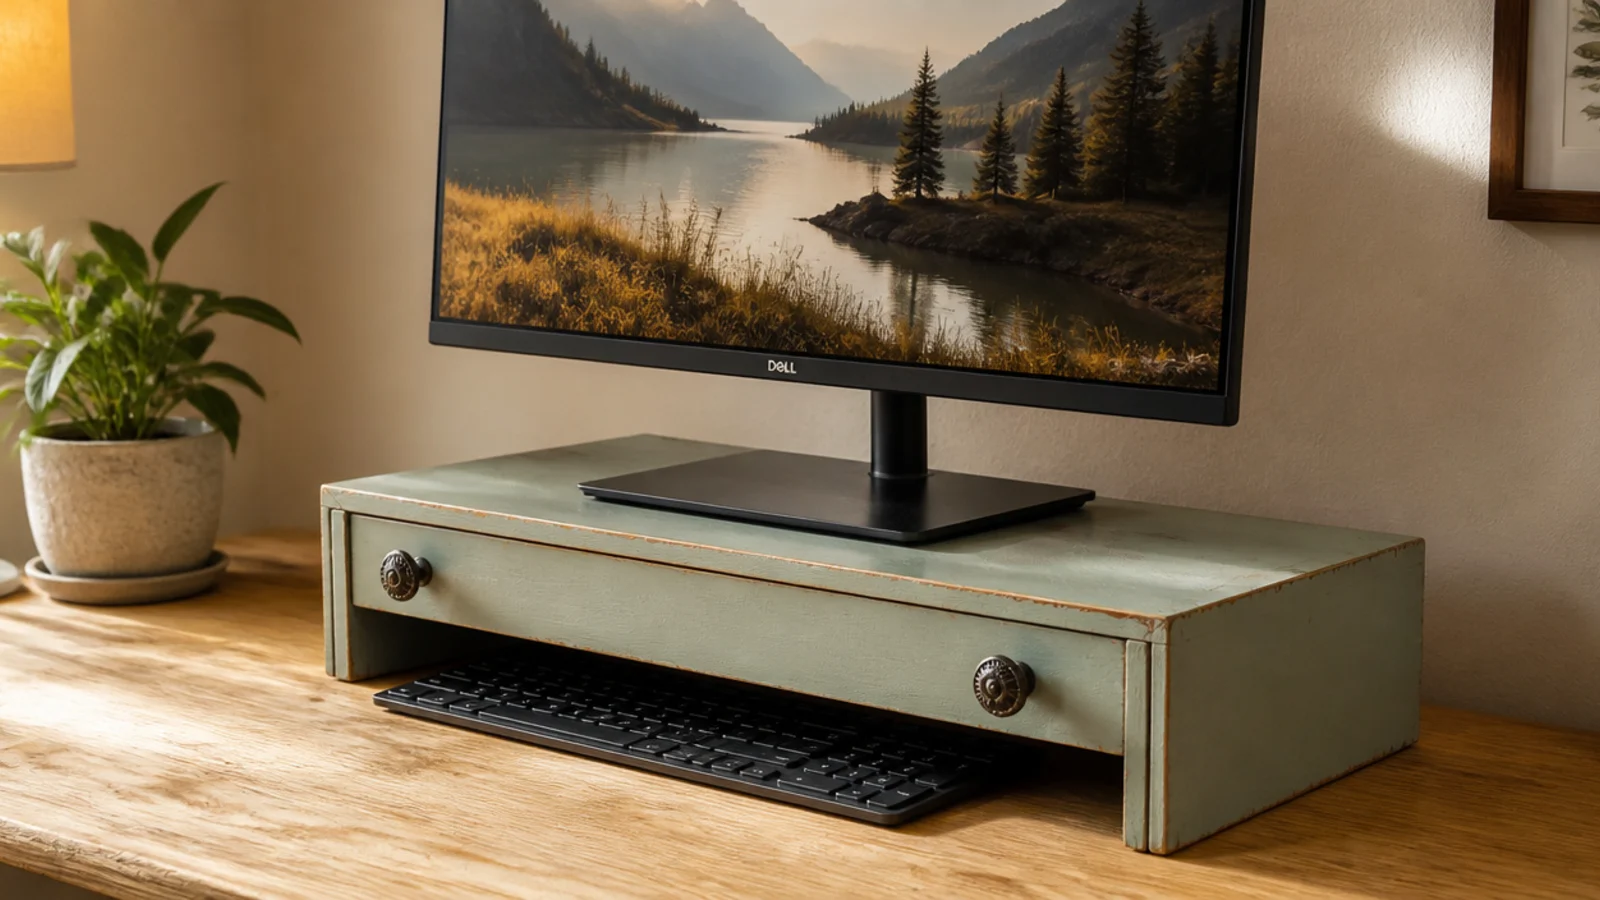
An upturned salvaged drawer gave me exactly the four inches the screen needed and a slot underneath for the keyboard. It cost nothing and looks intentional once painted. Kept, and I have made a second one since.
8. The painted panel that made the corner read as a room
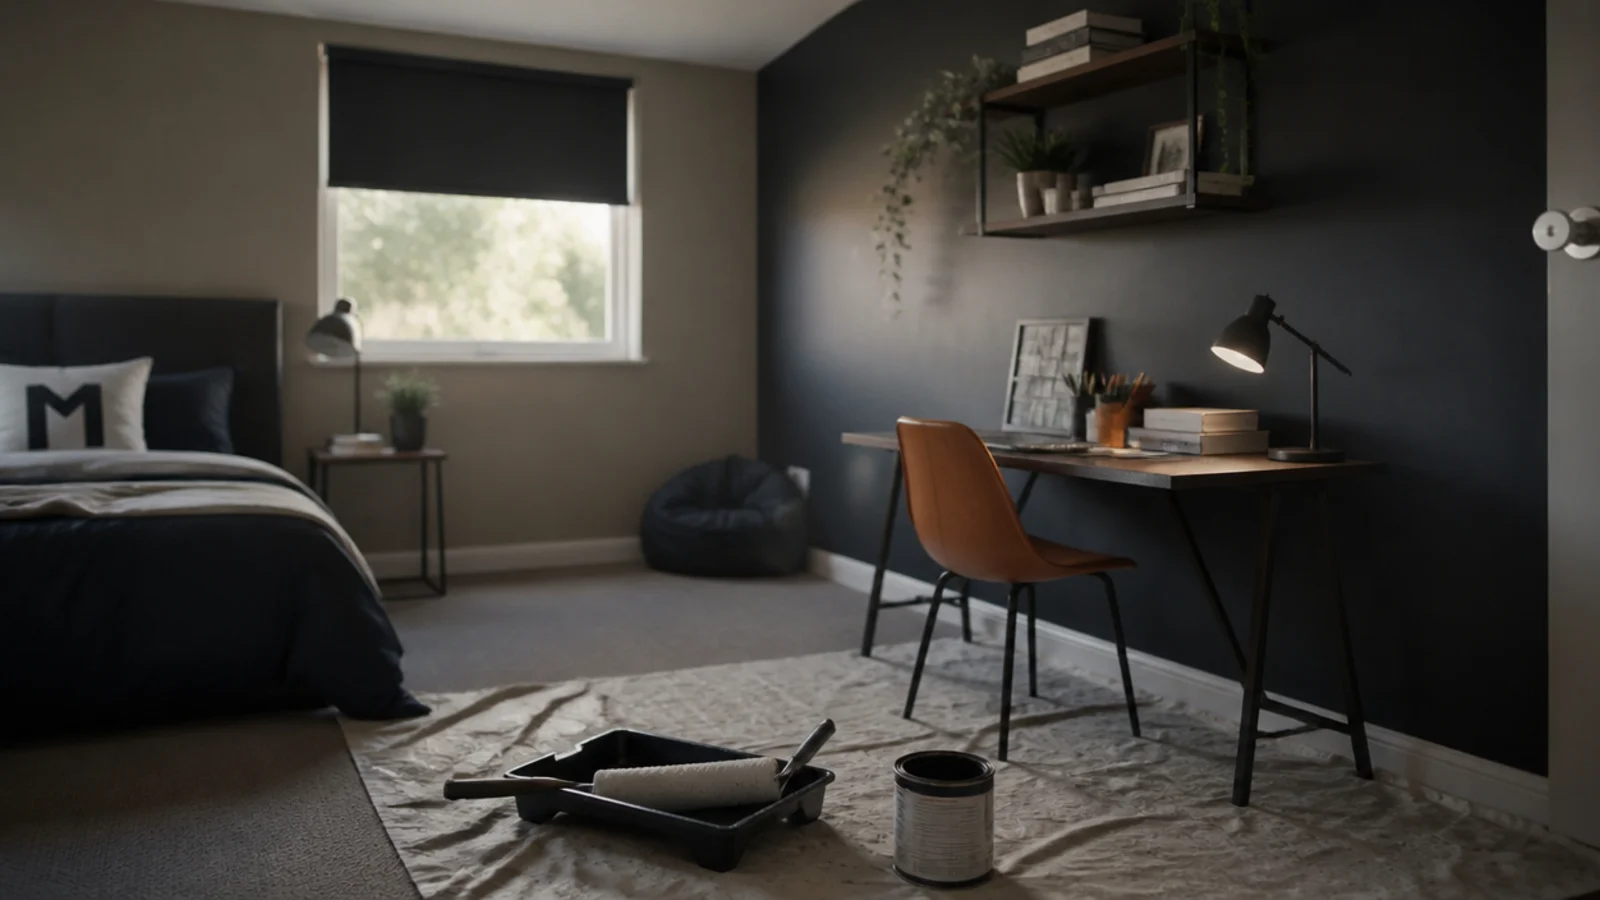
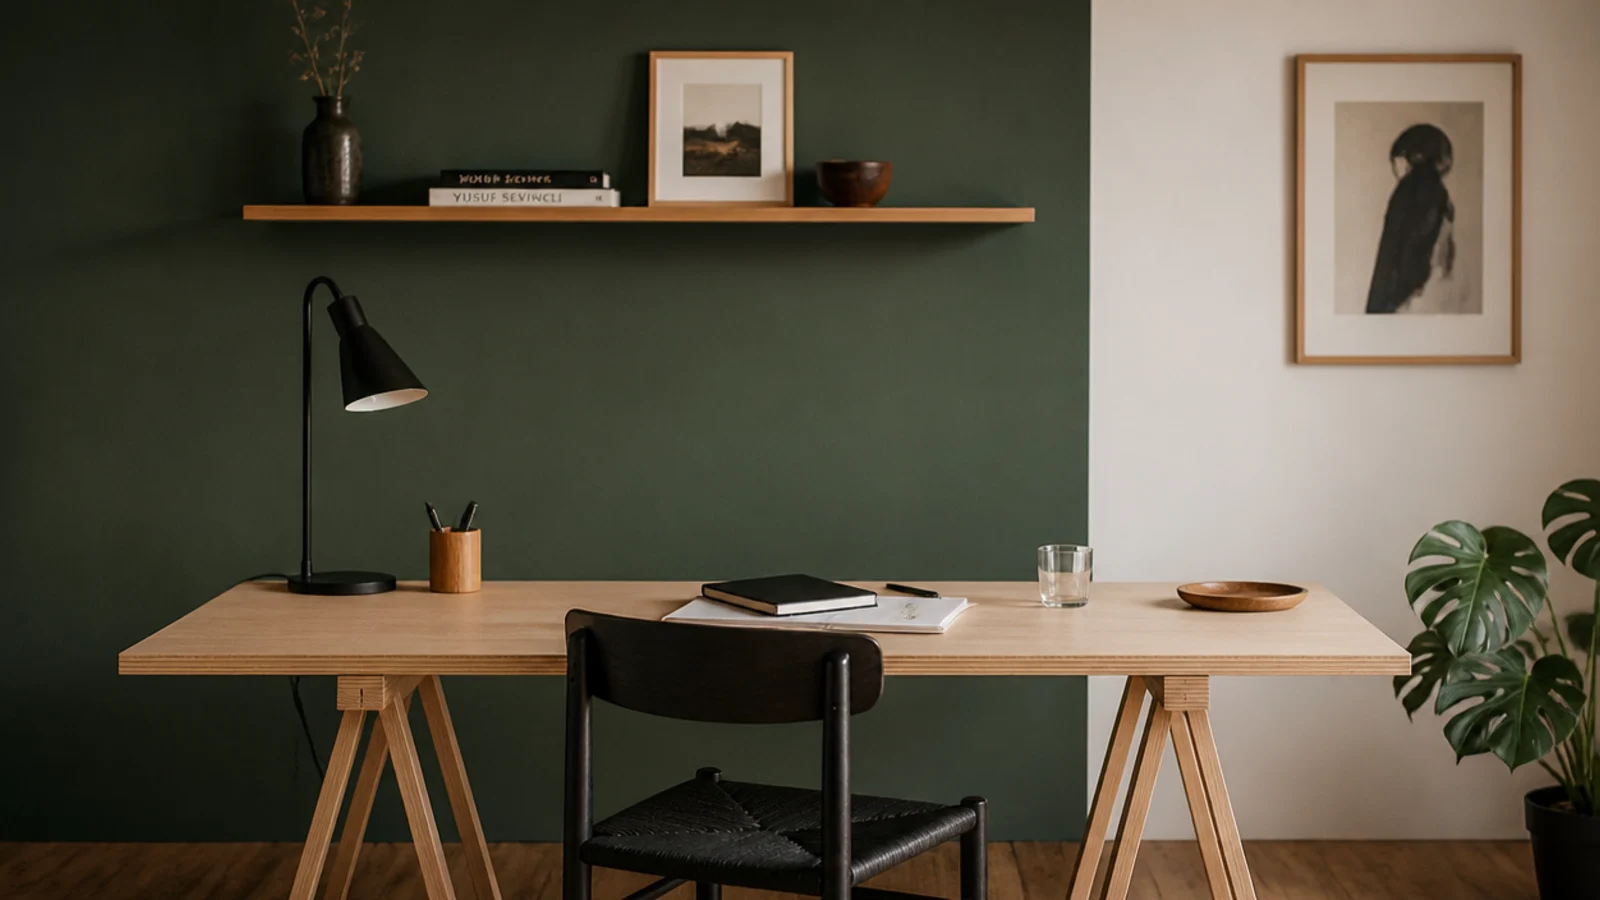
One quart of deep green matt, taped to a clean edge at the shelf line. It cost about $22 and did more for the corner than any object I put in it. Matt only — the first sample I tried had a sheen and bounced the lamp straight back. Kept.
9. A linen pinboard from a charity shop frame
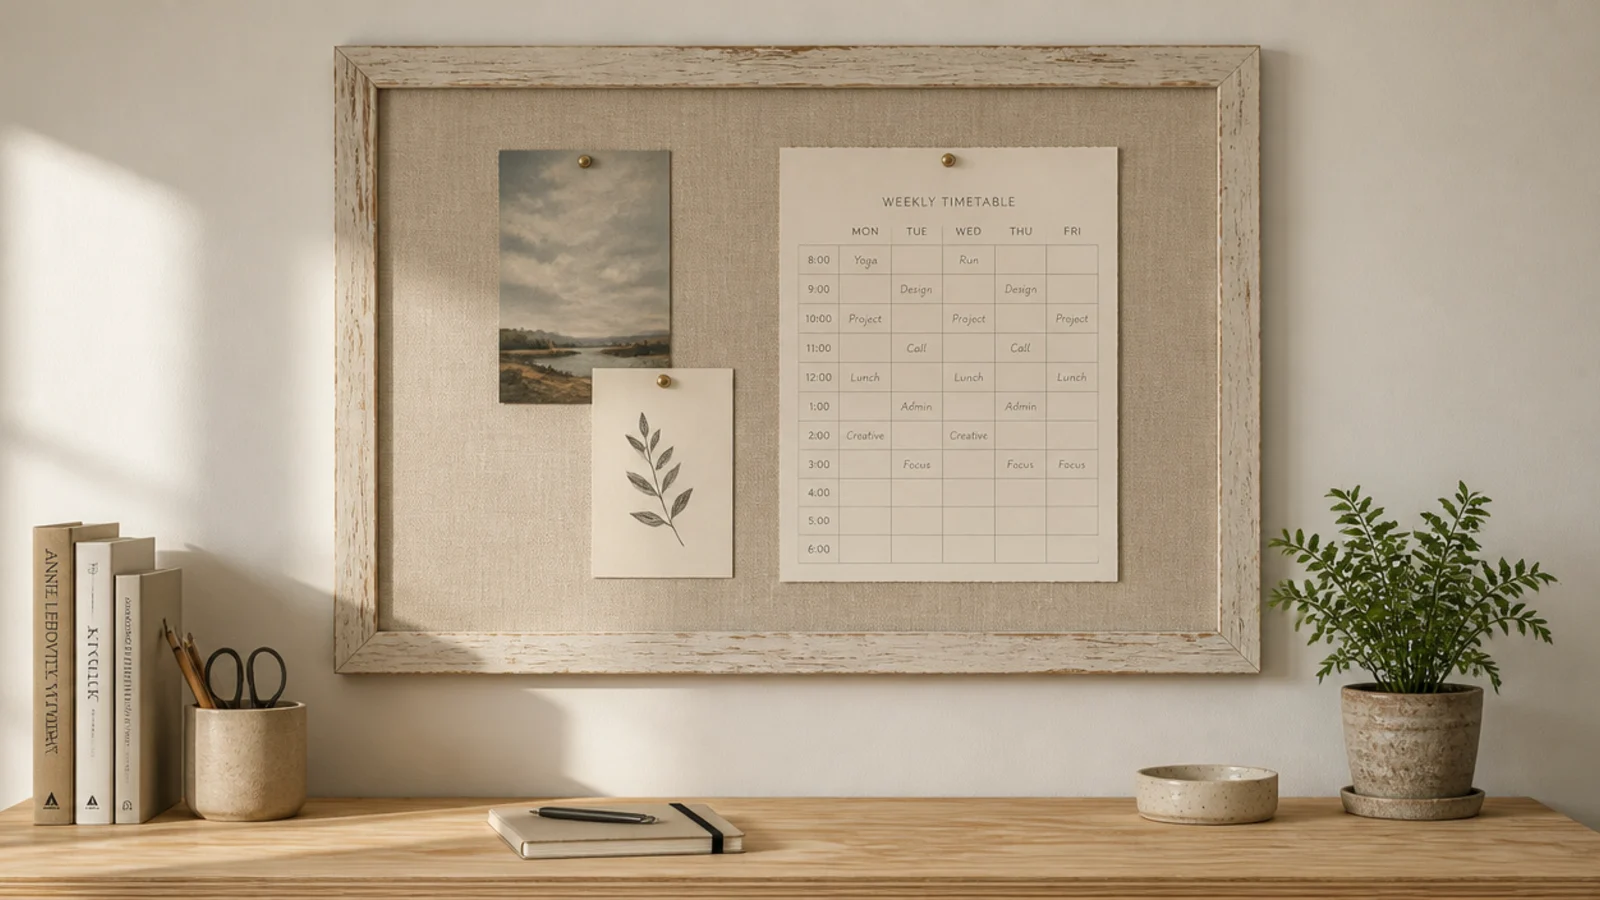
A $4 frame, a cork tile and a scrap of oatmeal linen stapled over it. Two years on it still takes pins cleanly and it photographs far better than bare cork. I sized it to the desk width, which is what makes it look deliberate. Kept.
10. Pen blocks drilled from the leg offcuts
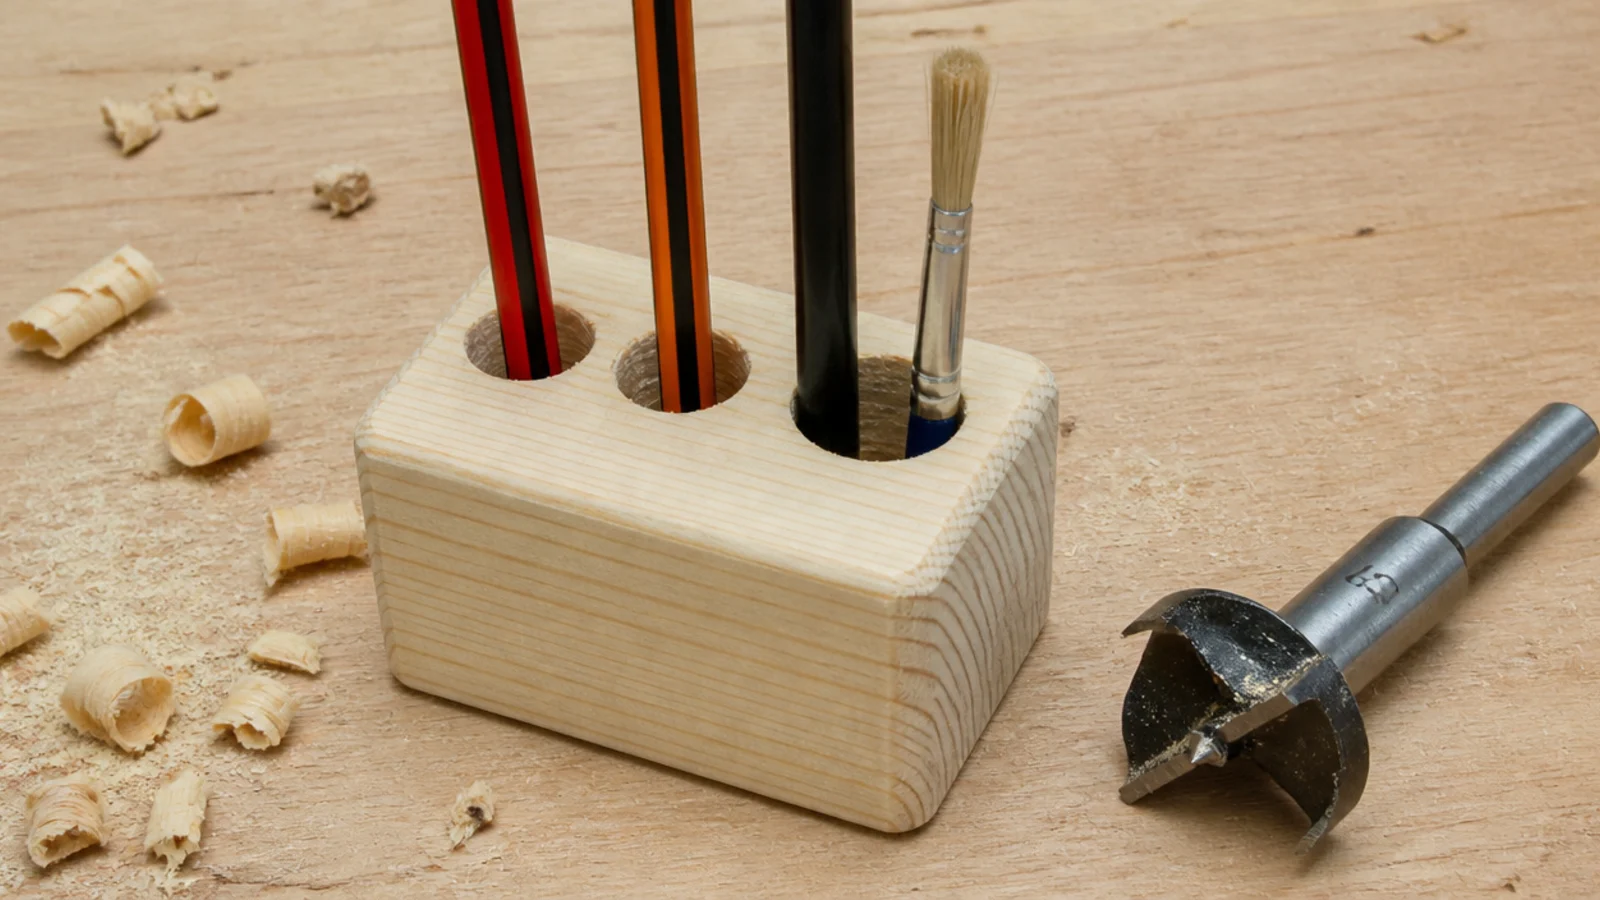
A 2 inch forstner bit, three holes, twenty minutes. Made from the same pine as the legs, so the corner reads as one build rather than a collection. Clamp the block properly — the bit grabs hard in end grain. Kept, made three more as gifts.
11. The fold-down leaf on the landing
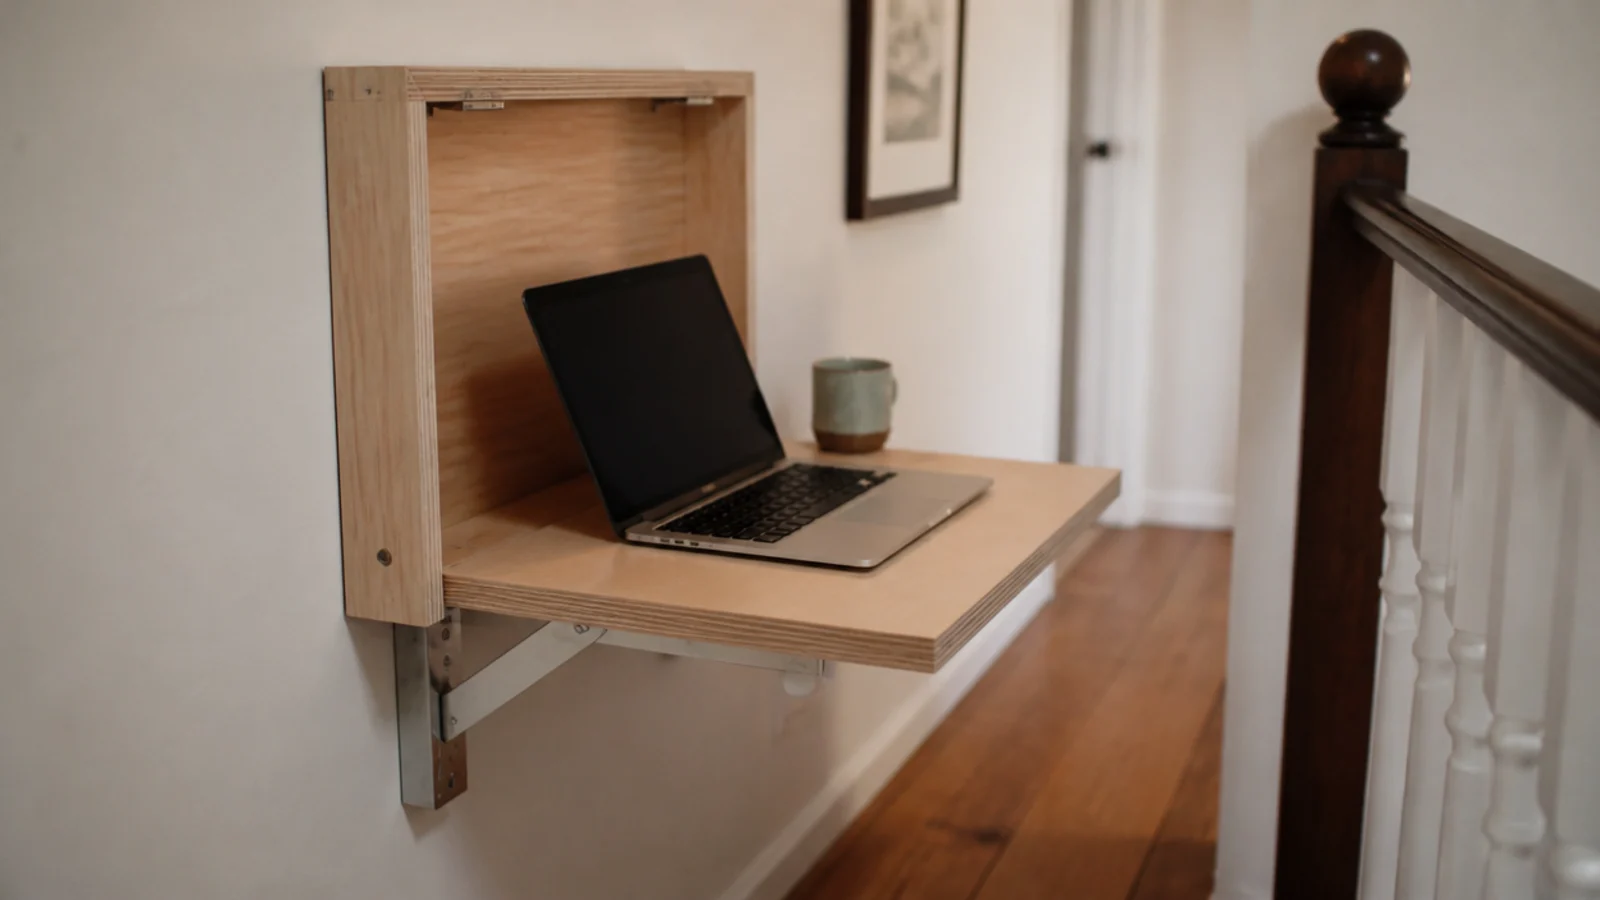
A hinged plywood leaf on a wall case, 30 by 18 inches, opening to 29 inches high and folding back to 4 inches deep. It turned a dead landing into a second working spot. Fix the case into two studs, not plugs. Kept, and used more than I expected.
12. The drawer that met my thighs
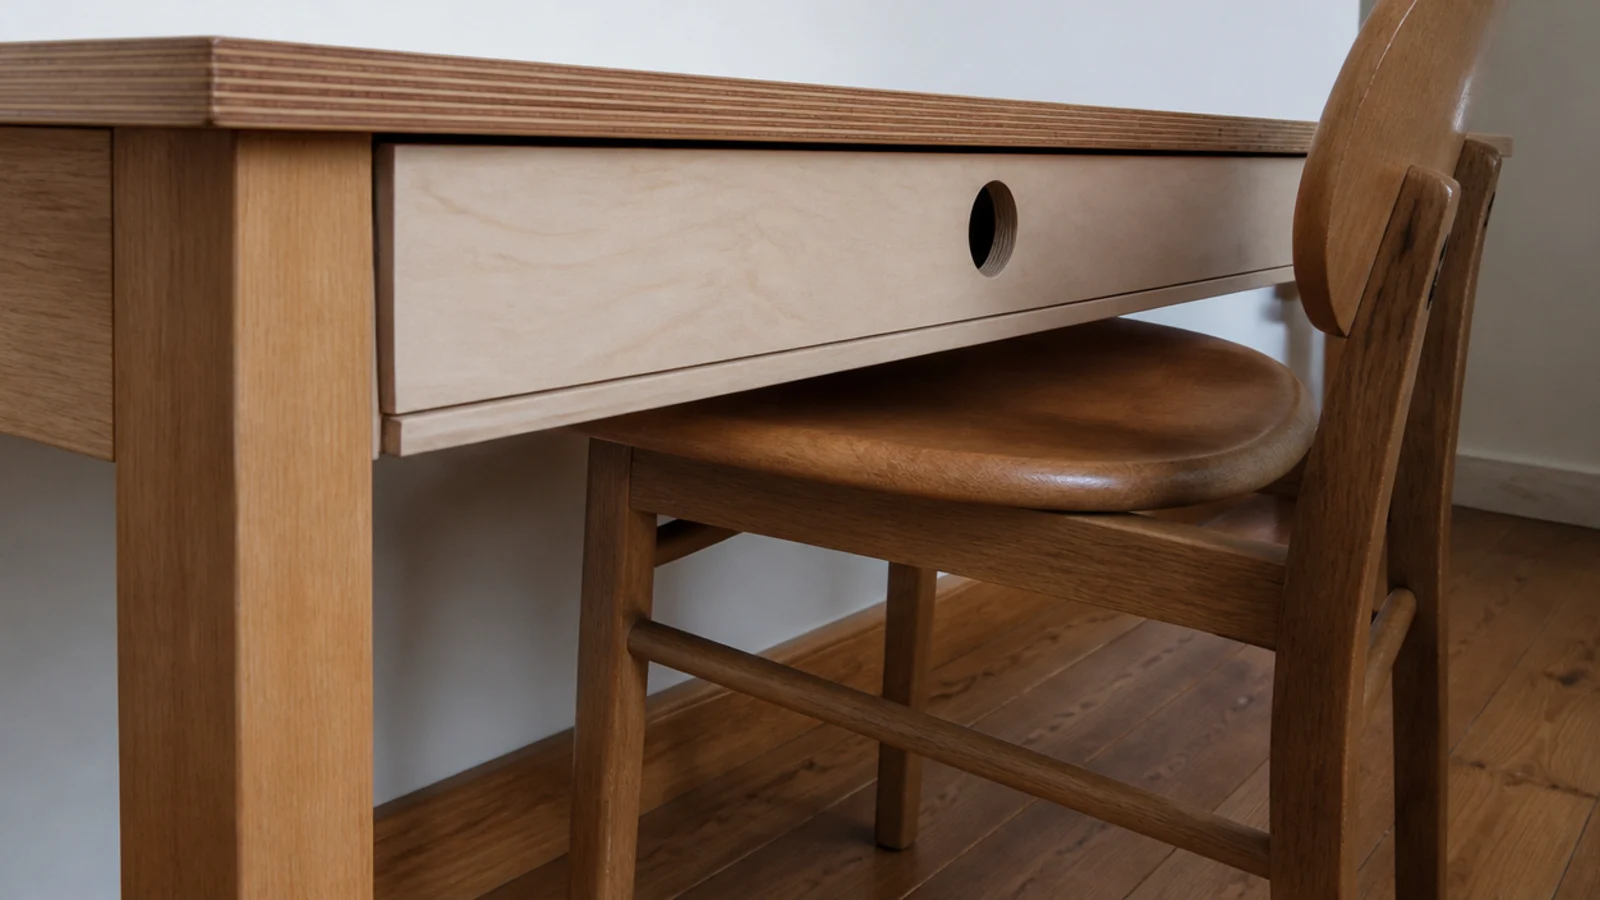
I built a 5 inch deep drawer and mounted it with 23 inches of floor clearance beneath. I met it with my legs every single time I pulled the chair in. Twenty-five inches minimum, and shallower than you think. Removed after two months.
13. Bookends cut from two right-angle scraps
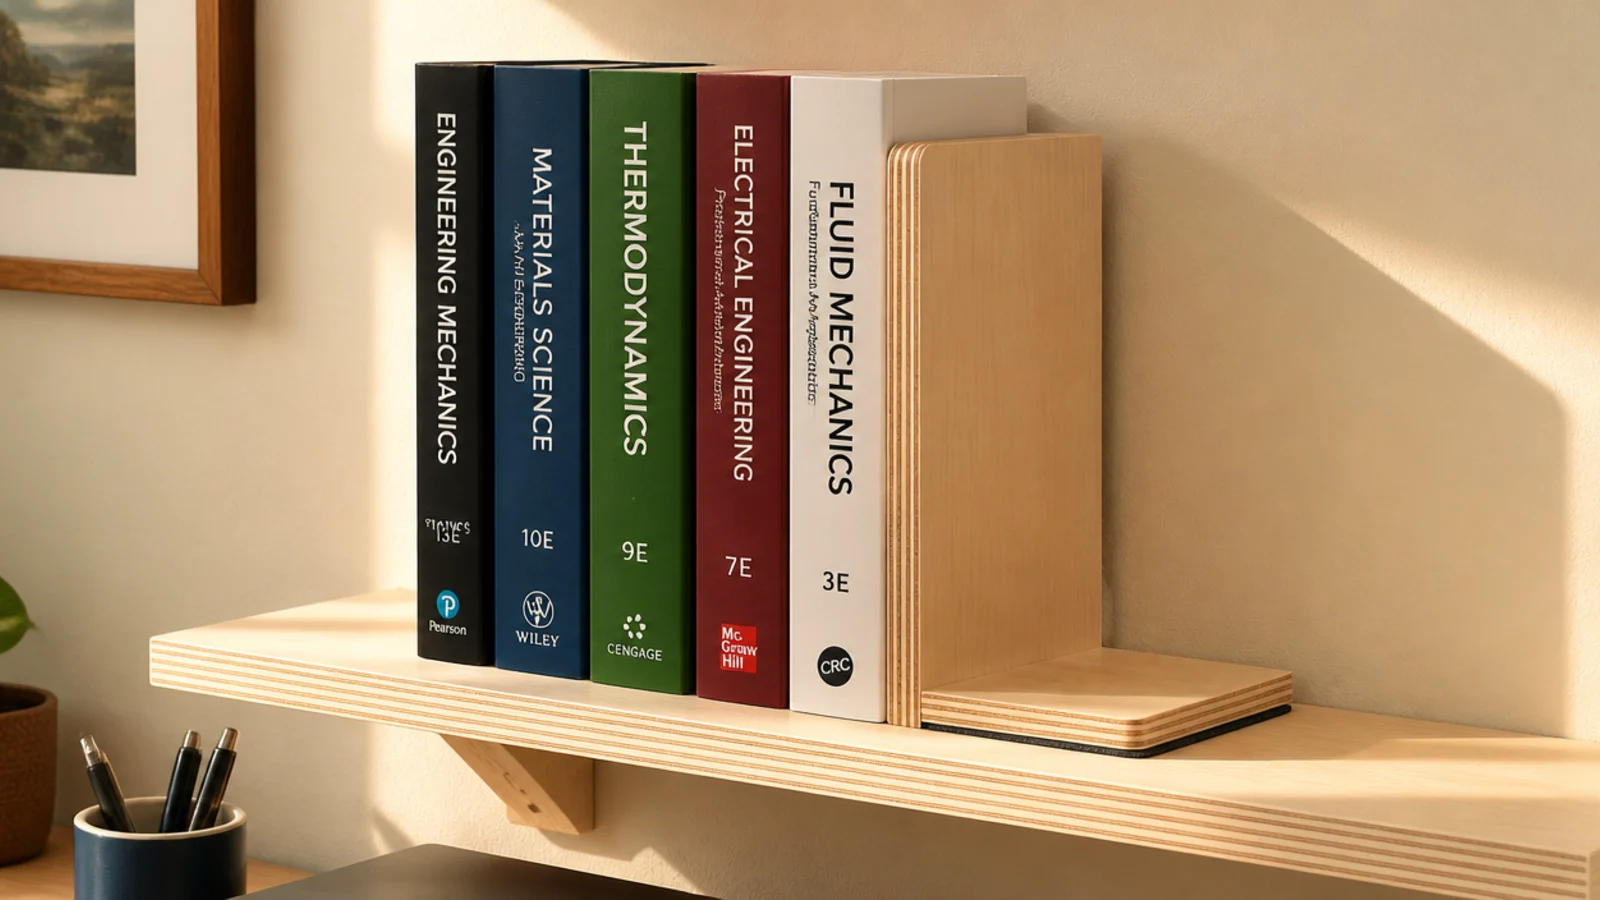
Two pieces of ply glued at ninety degrees with a felt pad underneath. Make the base leg at least 4 inches so the books hold it down instead of tipping it. Twenty minutes each while the saw was already out. Kept.
14. Binder clips as permanent cable holders
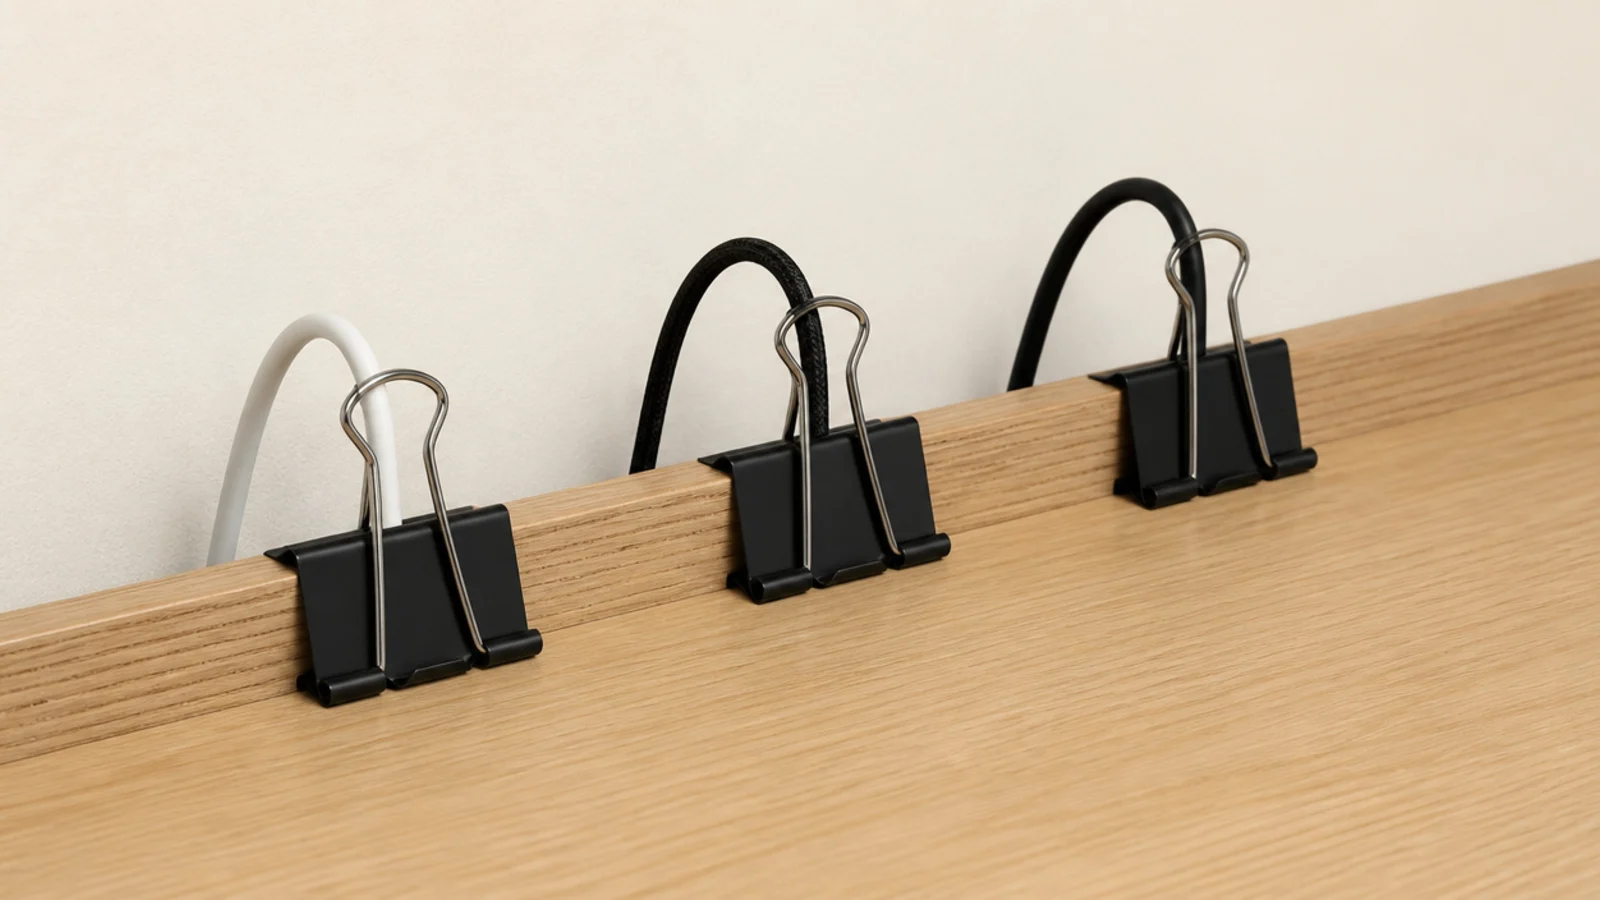
The cheapest thing on this list and still in daily use. A medium clip on the rear edge, the lead threaded through the handle loop, and the charging cable never falls behind the desk again. Space them 8 inches apart for multiple leads. Kept.
15. A hardwood block that fixed a cheap lamp
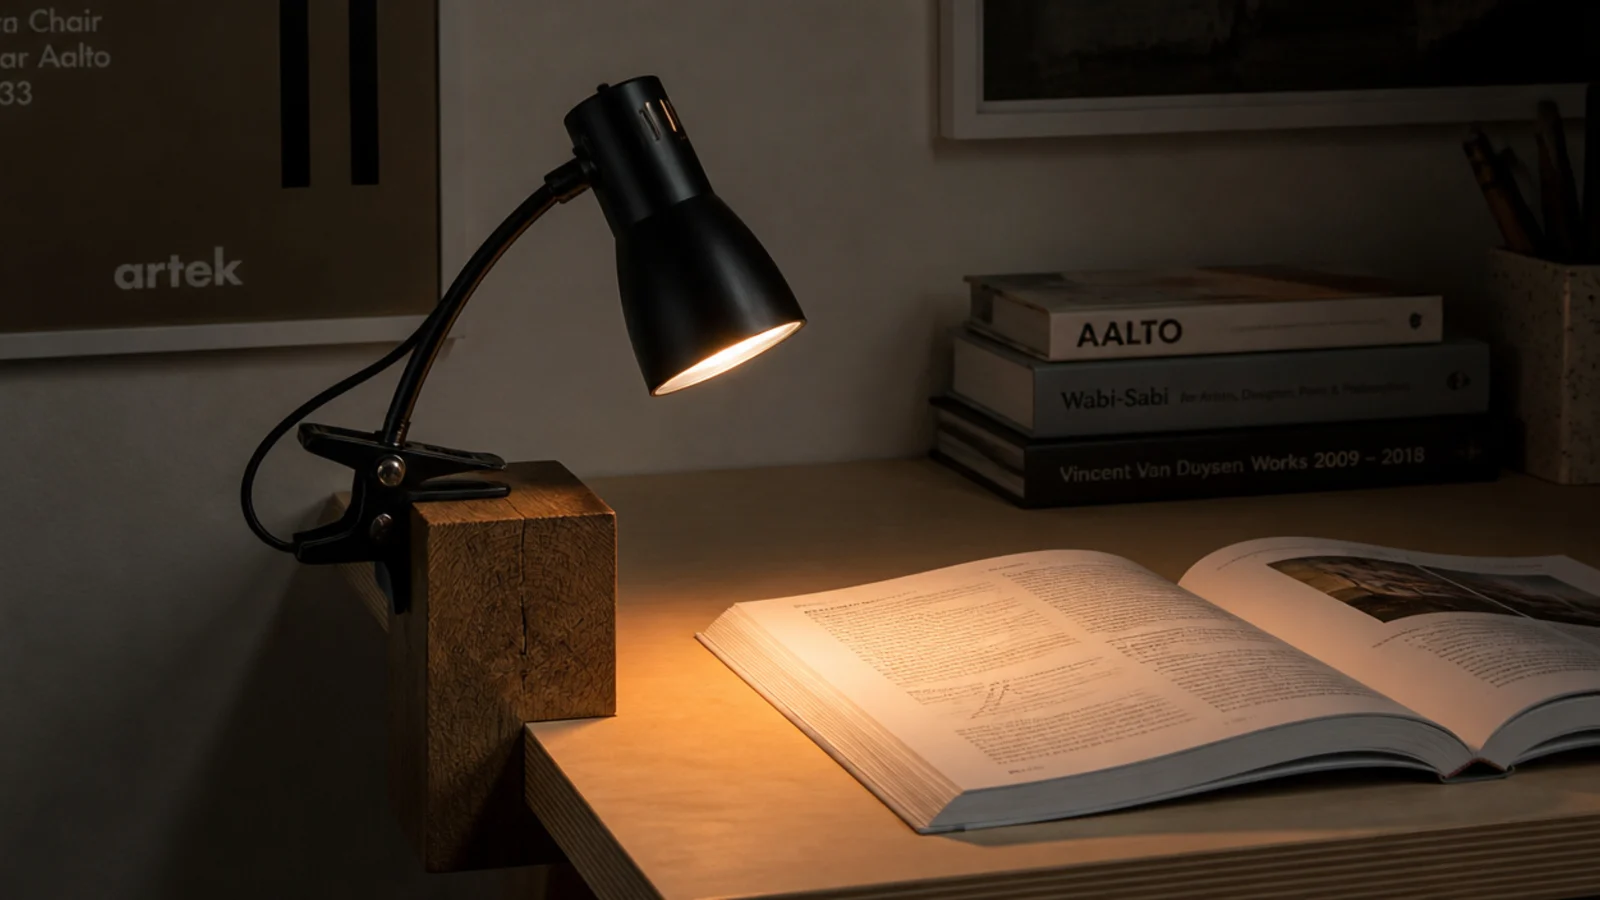
My $15 clip lamp sat too low and threw light at the screen. Clamping it to a 6 inch oak block lifted the head to around 16 inches above the surface and moved the light onto the page. Kept, and it saved buying a better lamp.
16. A dowel rail under the shelf
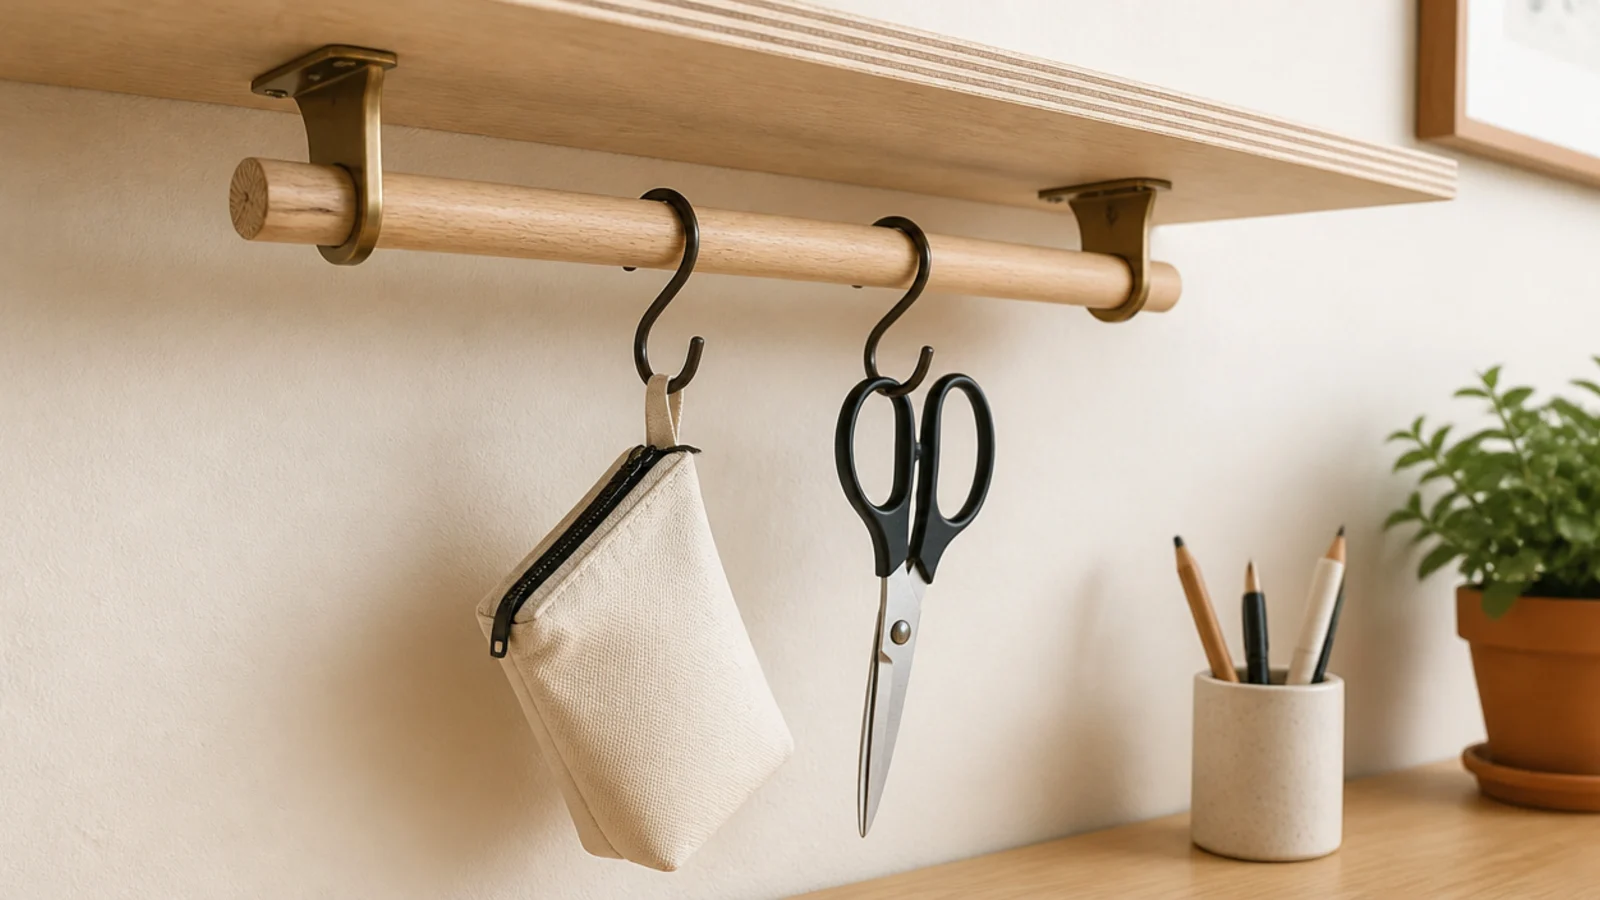
A beech dowel in two brackets under the shelf, with S hooks for scissors and a pouch. It uses the dead 3 inches nobody thinks about. Keep hanging items under 8 inches long or they drop into your sightline. Kept.
17. Felt cut to the exact working rectangle
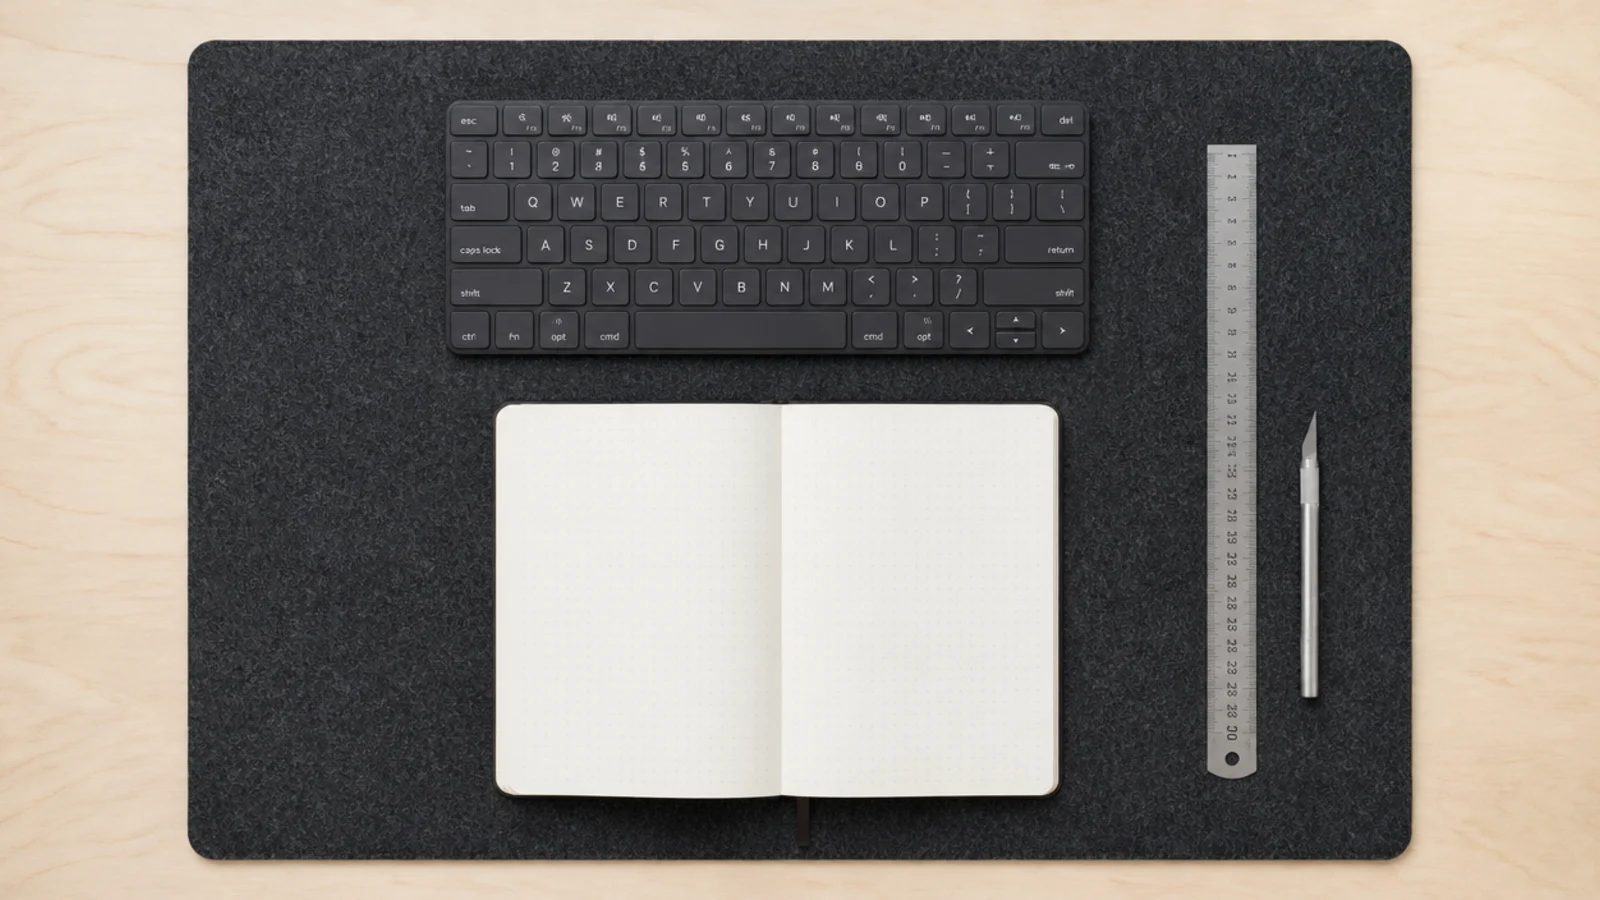
A metre of charcoal wool felt, one straight cut against a steel rule, and the plywood suddenly read as finished rather than raw. Roughly 31 by 15 inches. It quietens typing and protects the oil finish. Kept.
18. Two coats of hardwax oil, six hours apart
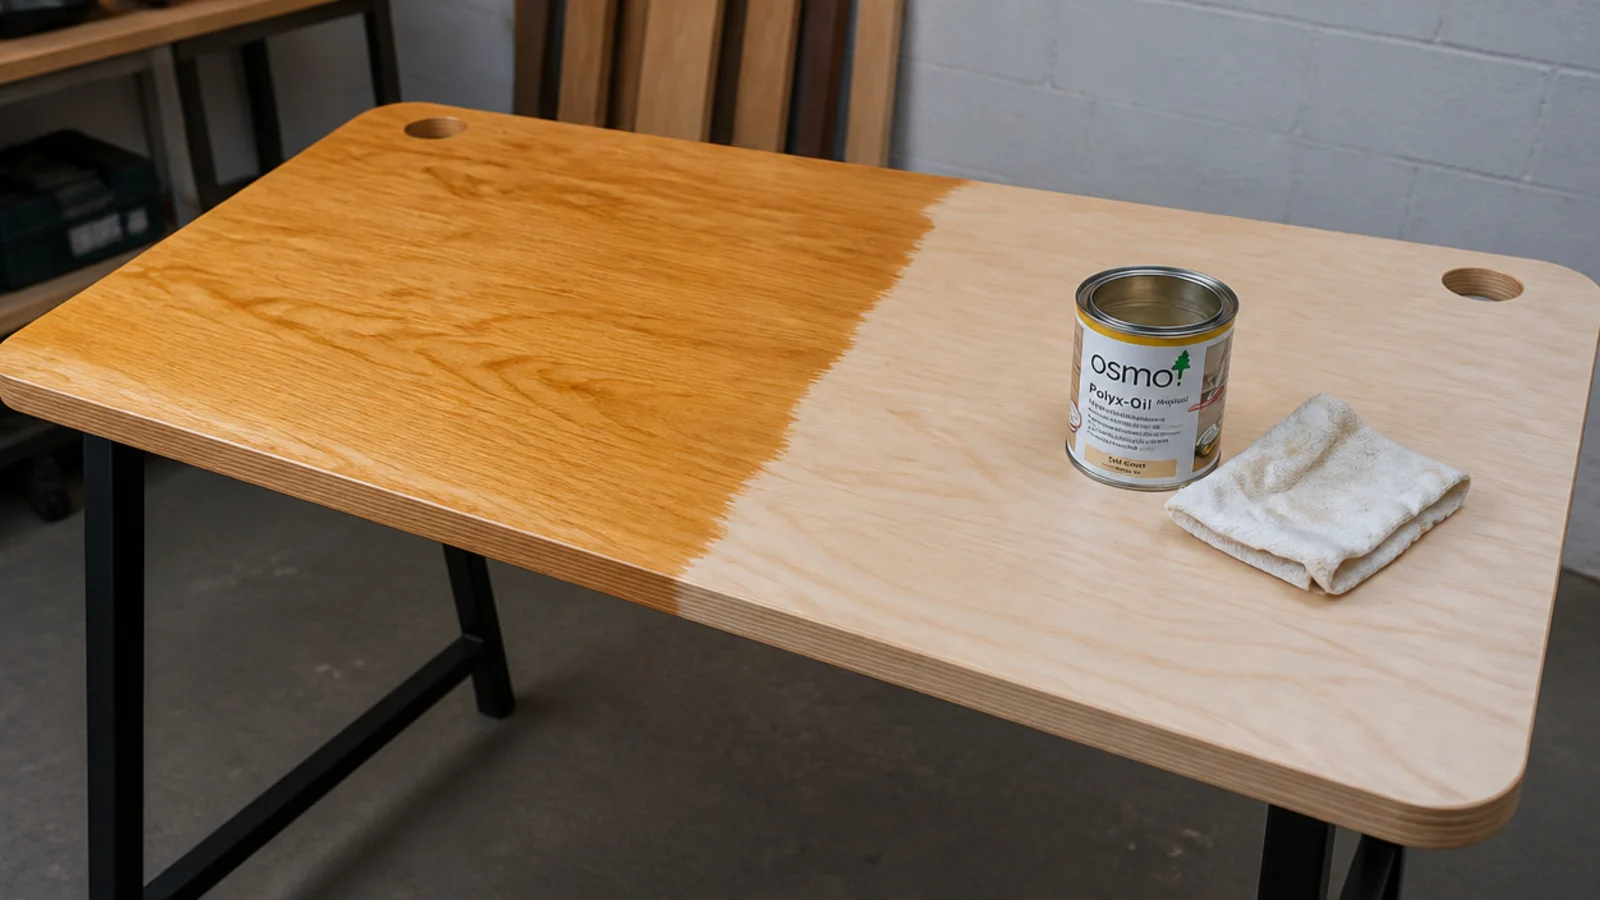
Sanded to 180, oiled, left six hours, sanded lightly at 240, oiled again. A year of mugs and it still repels water. I oiled the underside too, which is why the top has stayed flat. Kept, and it is the step I would never skip.
19. A magnetic strip that took the scissors off the desk
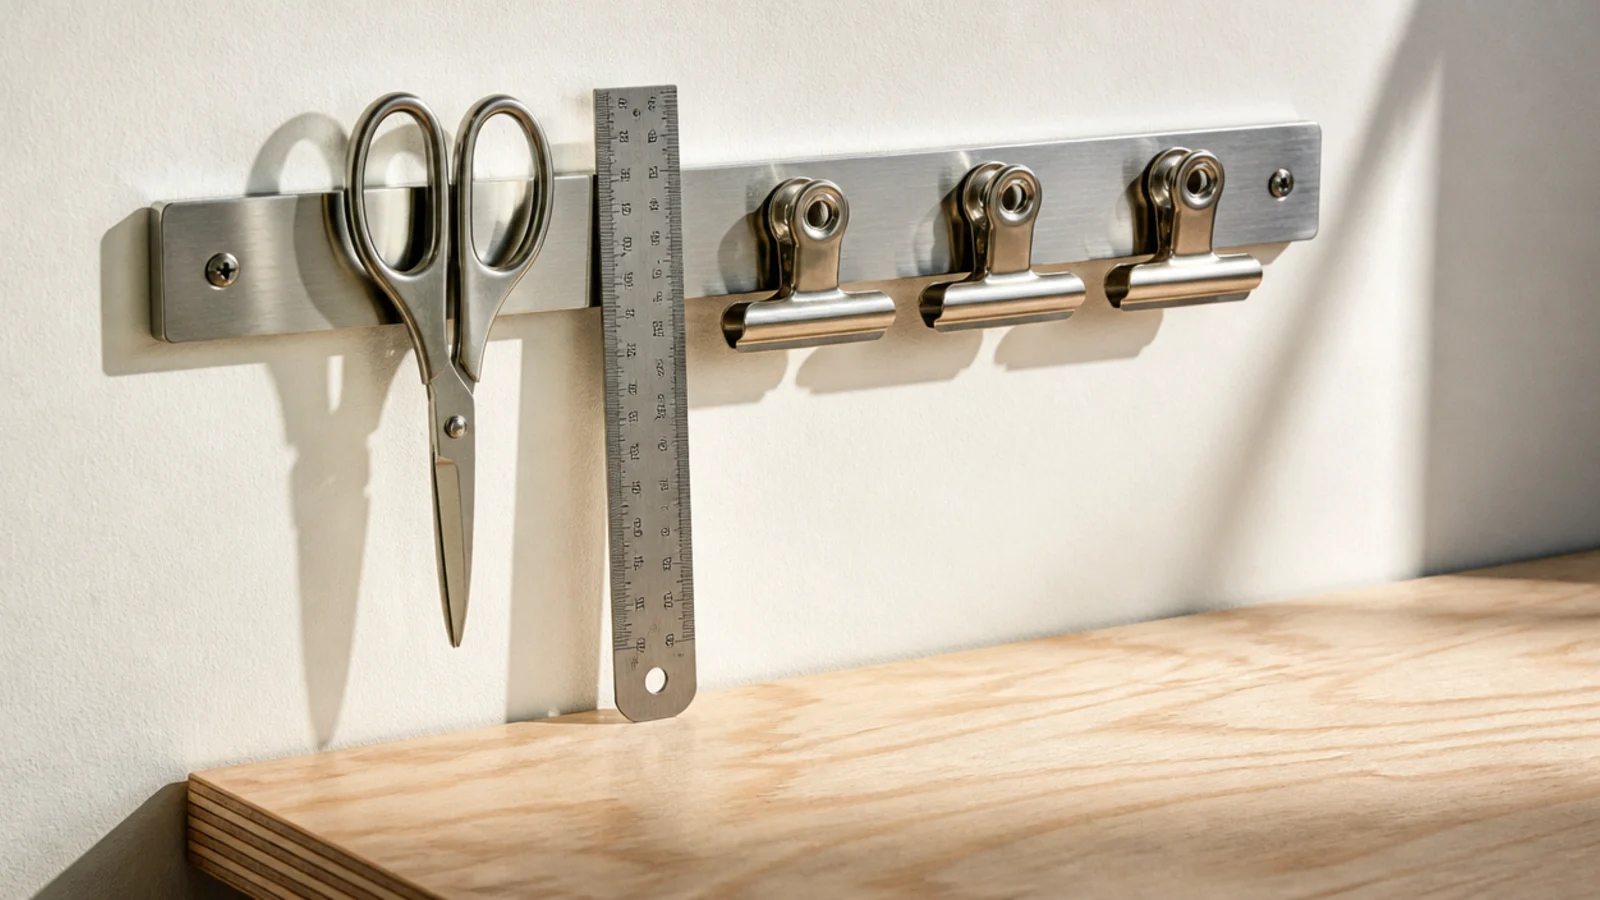
A brushed steel strip, mounted about 16 inches above the surface. Scissors, rule and clips park themselves and stay visible. Keep it well away from a laptop or a hard drive. Kept.
20. Turning the whole desk side-on to the window
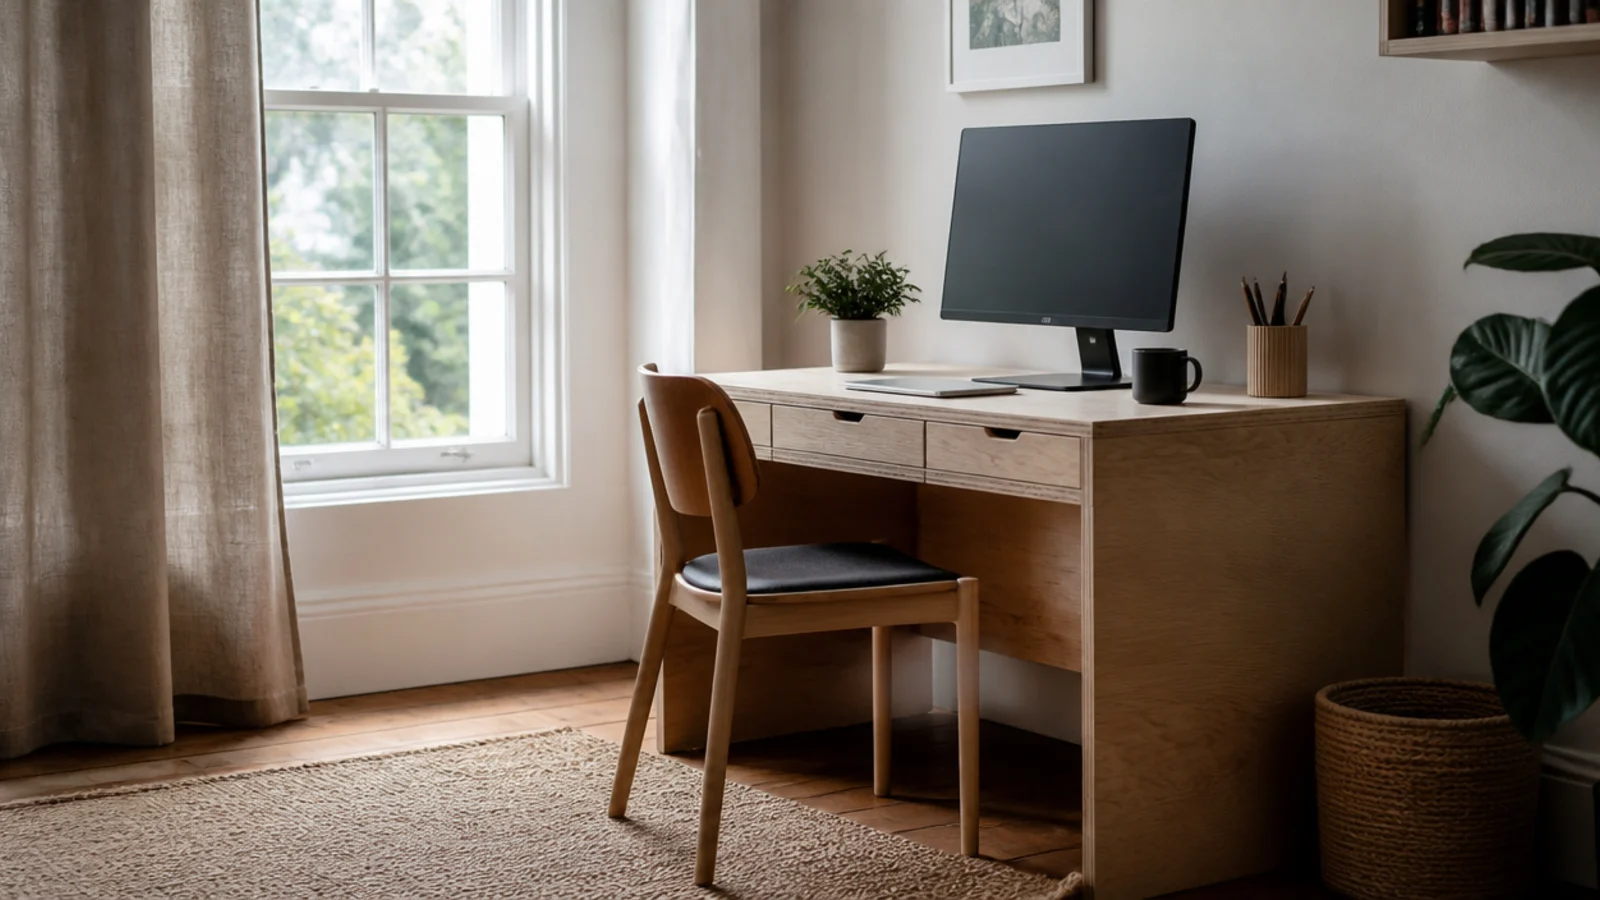
Free, took four minutes, and it was the single biggest improvement of the year. Facing the window meant squinting; backing onto it meant glare across the screen. Perpendicular fixed both at once. Kept, and I would do it first next time.
What I'd Do Differently Now
I would decide every height from the chair before I cut anything. The two projects that failed outright — the low shelf and the deep drawer — both failed on clearance, not on construction, and both were fine pieces of woodwork in the wrong place. Twenty inches above the desk for a shelf, 25 inches of floor clearance under a drawer.
I would also buy less and salvage more. The upturned drawer riser, the charity shop frame and the wire basket cost about $9 between them and all three are still in use, while the peg rail I bought new timber for came down. Offcut projects are where the real returns are.
The one thing I would change about the desk itself is depth. Twenty inches was a false economy and I lived with a monitor too close for a year before fitting an arm to fix it. Cut 24 inches minimum, even if it means buying a second half sheet.
Finally, I would finish everything before hanging any of it. Oiling a fixed shelf against a wall is miserable and it never comes out even, and the underside of a mounted board is almost impossible to reach with a cloth.
If you want the tested versions with proper cut lists, the study desk decor guide has the measurements, bookshelf styling ideas covers what goes on the shelf once it holds, and the teen boy bedroom guide has the rest of the room this desk lives in.
Frequently asked questions
Which DIY desk project made the biggest difference?
Rehanging the shelf. I first put it 15 inches above the table and hit my head on it for a fortnight before moving it to 20, which is where it should have gone. Nothing else I built changed how often I sat down at the desk as much as that four hour job did.
What did you get wrong on the desk top?
Depth. I cut the first top at 20 inches deep because that was the offcut I had, and a 24 inch monitor could never sit far enough back. Twenty-four inches is the minimum I would cut now, and a monitor arm is the only reason my old top became workable at all.
How long do these projects actually take?
The desk top and legs took one afternoon plus overnight for the oil to cure. The shelf, the pegboard and the cable tray were an hour each. The small offcut projects like pen blocks and bookends took twenty minutes apiece once the saw was already out on the bench.
What would you not build again?
The thin peg rail and the deep under-desk drawer. The rail sagged under a loaded bag within a term because I used a 1/2 inch batten, and the drawer sat at 23 inches off the floor and met my thighs every single time I pulled the chair in.
Is plywood good enough for a study table top?
Three quarter inch cabinet grade plywood is genuinely good, and mine still sits flat after a year with a monitor, a lamp and a stack of textbooks on it. Half inch bowed in a fortnight when I tried it on a shelf, so thickness is the part I would never economise on again.
Want more like this? Browse all 15 study desk decor guides — they all use the same measurements and budget tiers.

Pin it for later
Save this to your Study Desk Decor board
Pin it now so it is waiting for you when the tape measure comes out — and so the next person hunting for this idea can find it too.
Save this pinKeep going
More ideas worth saving while you have the tape measure out.