Study Desk Decor · Listicle
20 Study Desk Decor Ideas DIY On A Tiny Budget

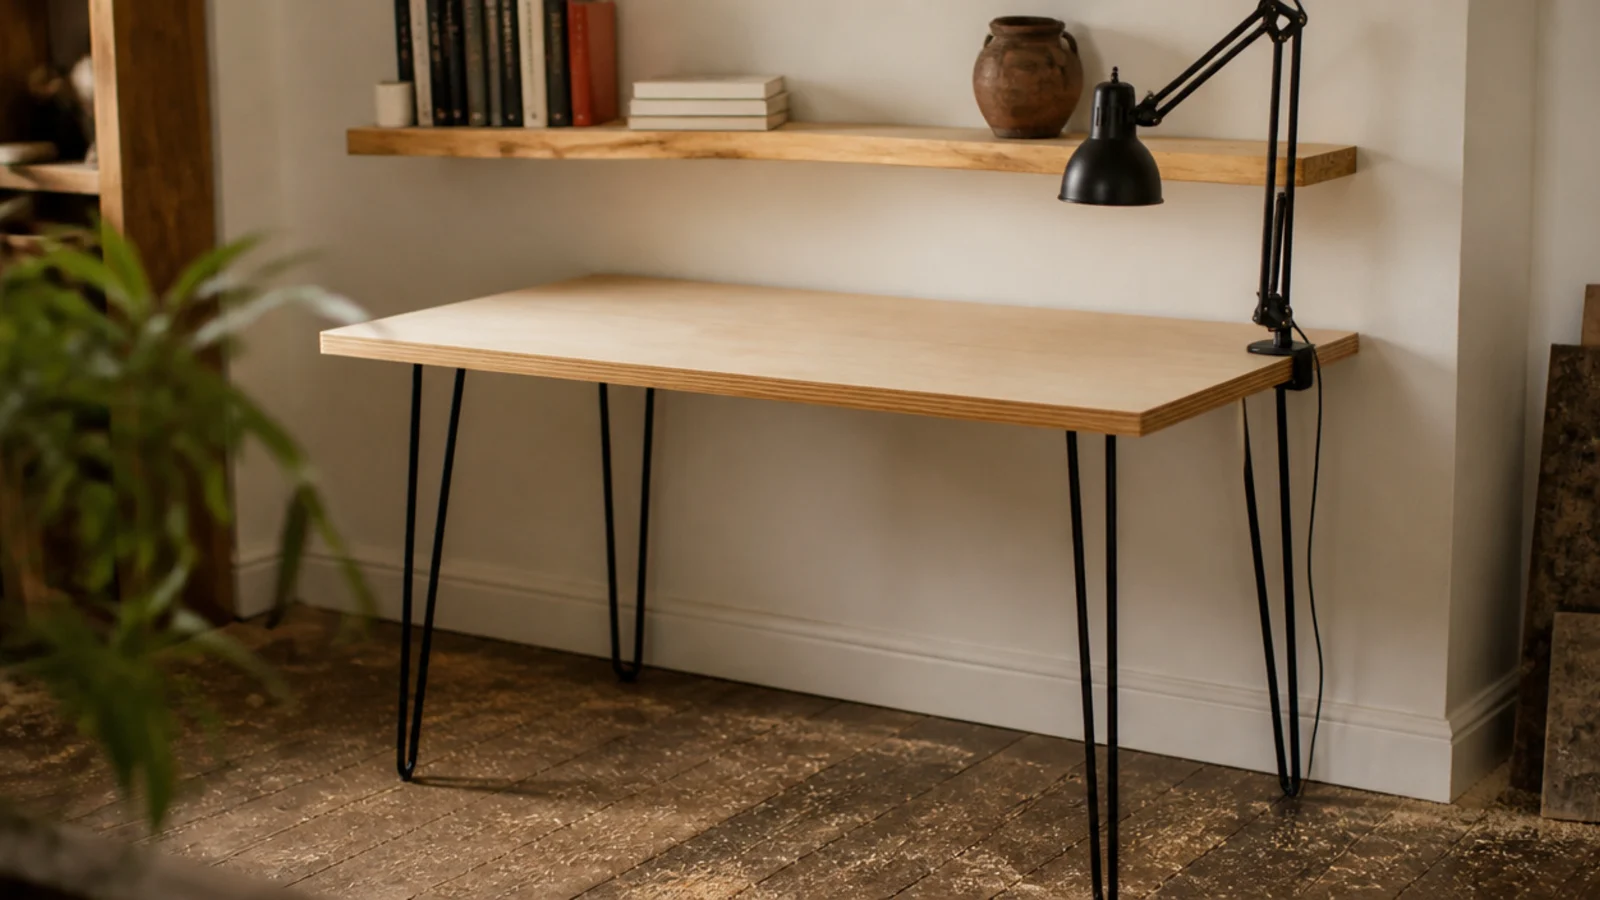
Every project here started because a shop-bought version cost four or five times what the materials do. Study desk decor ideas that you build yourself win on fit as much as on price — a shelf cut to your wall, a riser cut to your screen, a drawer cut to your knees. DIY also means you can fix the one thing bought furniture never gets right, which is height. I built most of these in a spare weekend with a drill, a hand saw and a clamped straight edge. Twenty builds, each with the cut size and the cost.
In this guide22 sections — tap to openHide
- 1.What study desk decor ideas DIY projects get wrong first
- 2.Cut a plywood top to 47 by 24 inches
- 3.Set the legs so the top lands at 29 inches
- 4.Build a floating shelf from one board and two cleats
- 5.Make a monitor riser that lifts the screen four inches
- 6.Mount a pegboard on half-inch furring strips
- 7.Turn a wire basket into a cable tray
- 8.Drill a grommet hole with a 60mm hole saw
- 9.Raise a cheap lamp on a hardwood block
- 10.Paint a colour panel behind the desk
- 11.Make a linen pinboard from a frame and a cork tile
- 12.Turn offcuts into pen cups with a forstner bit
- 13.Hinge a fold-down desk 30 by 18 inches
- 14.Fit a shallow drawer on side runners
- 15.Cut bookends from a right-angle offcut
- 16.Clip cables to the desk edge with binder clips
- 17.Slot a vertical file divider from quarter-inch ply
- 18.Screw a wooden peg under the front edge
- 19.Cut a felt desk pad to 31 by 15 inches
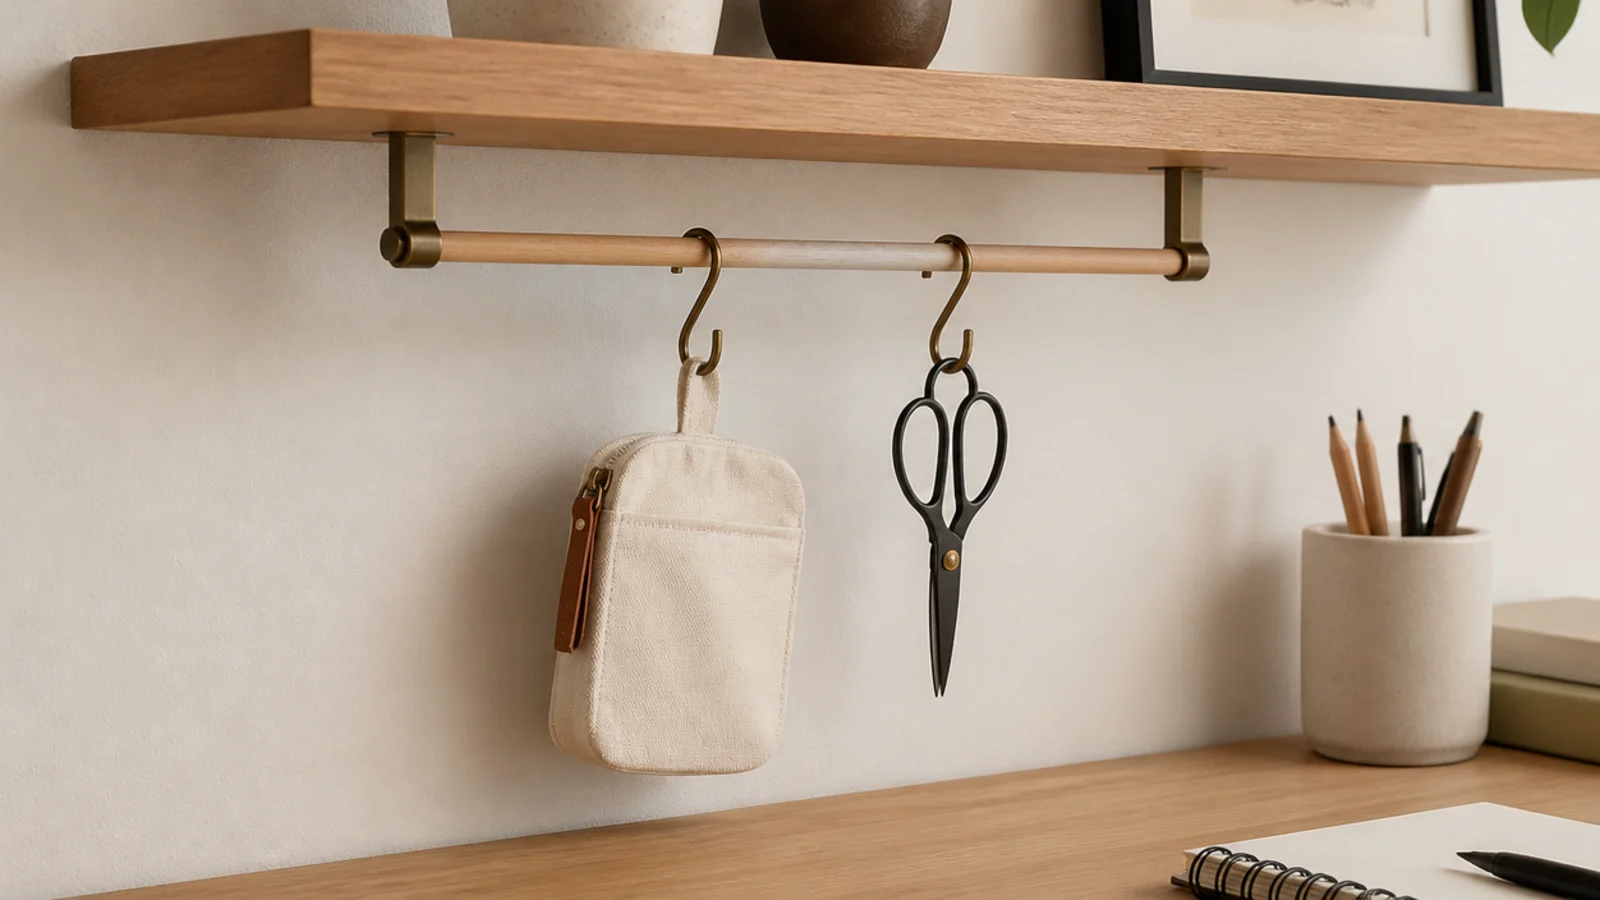
- 20.Hang a dowel rail under the shelf
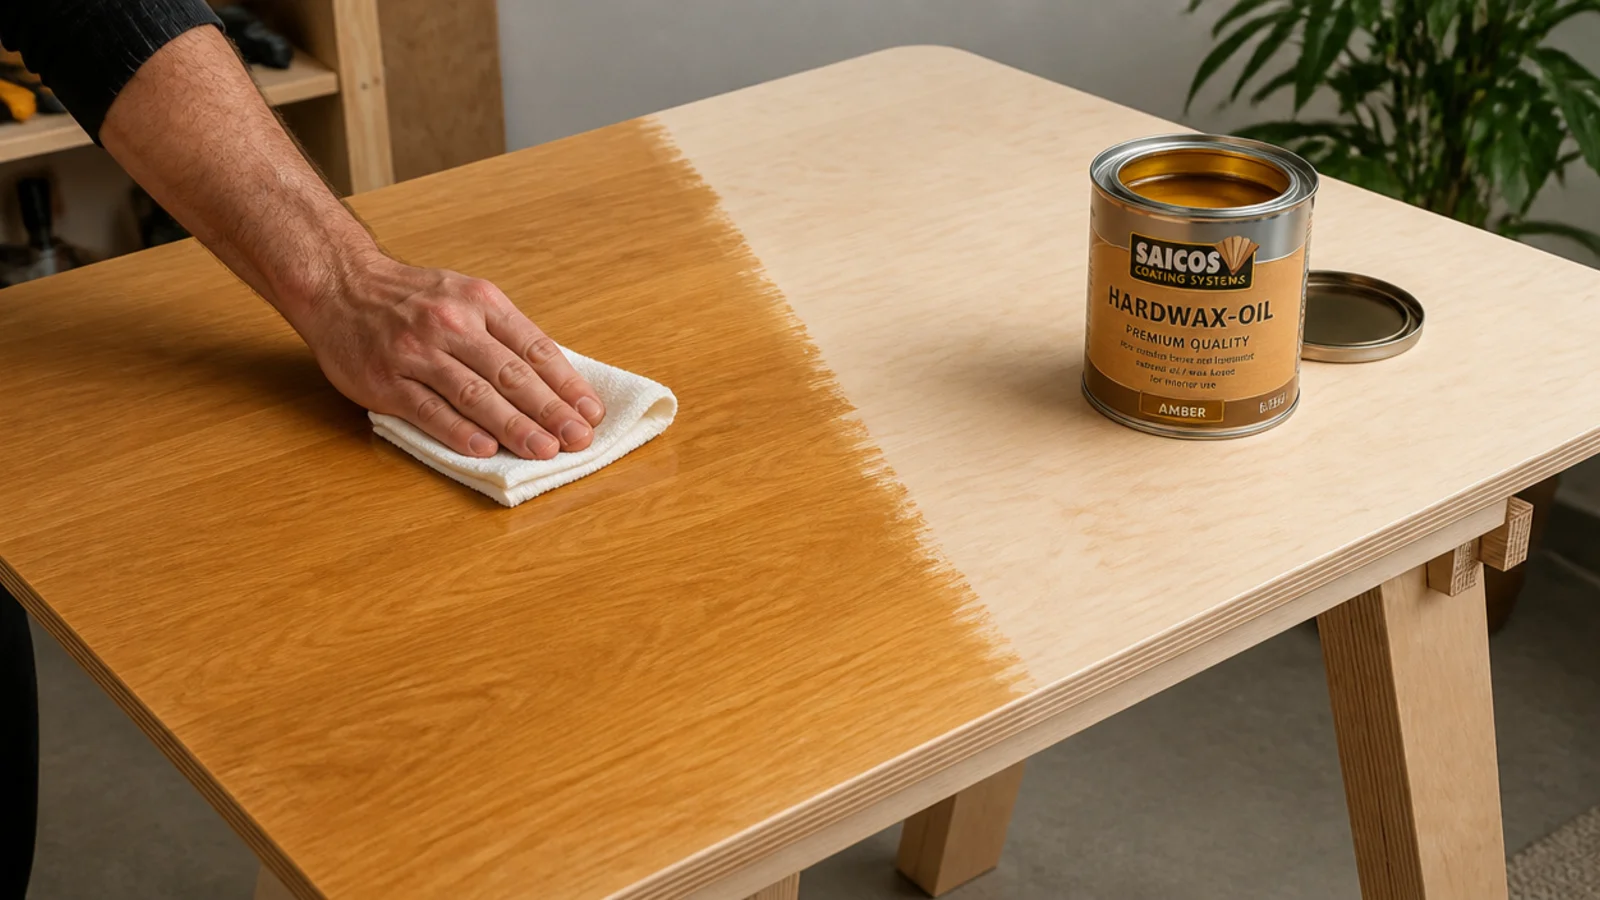
- 21.Finish with two coats of hardwax oil
- 22.Mistakes to Skip
What study desk decor ideas DIY projects get wrong first
Three numbers, written on the offcut before anything is cut.
Desk height. 28 to 30 inches from floor to top surface, 29 as the default. Build to your own forearm height, seated in the chair you own, shoulders relaxed. Hairpin legs come in 28 inch sets; timber legs get cut to whatever the top thickness leaves you.
Span and thickness. Three quarter inch plywood is the working minimum for a top or a shelf, and it wants support at least every 32 inches. A linear foot of hardbacks is 20 to 25 pounds, so a 36 inch shelf carries 60 or more. A solid lip glued to the front edge stiffens a board more than another half inch of thickness would.
Wall clearance. First shelf 18 to 24 inches above the desk, 8 to 10 inches deep, into studs where possible.
Costs run low. A sheet of 3/4 inch birch ply is $45 to $70 and makes a top plus two shelves; hairpin legs $30 to $50 a set; a pegboard panel $12 to $25; hardwax oil $18 for enough to do all of it twice. The study table DIY decor projects I actually tested cover what held up over a year.
1. Cut a plywood top to 47 by 24 inches
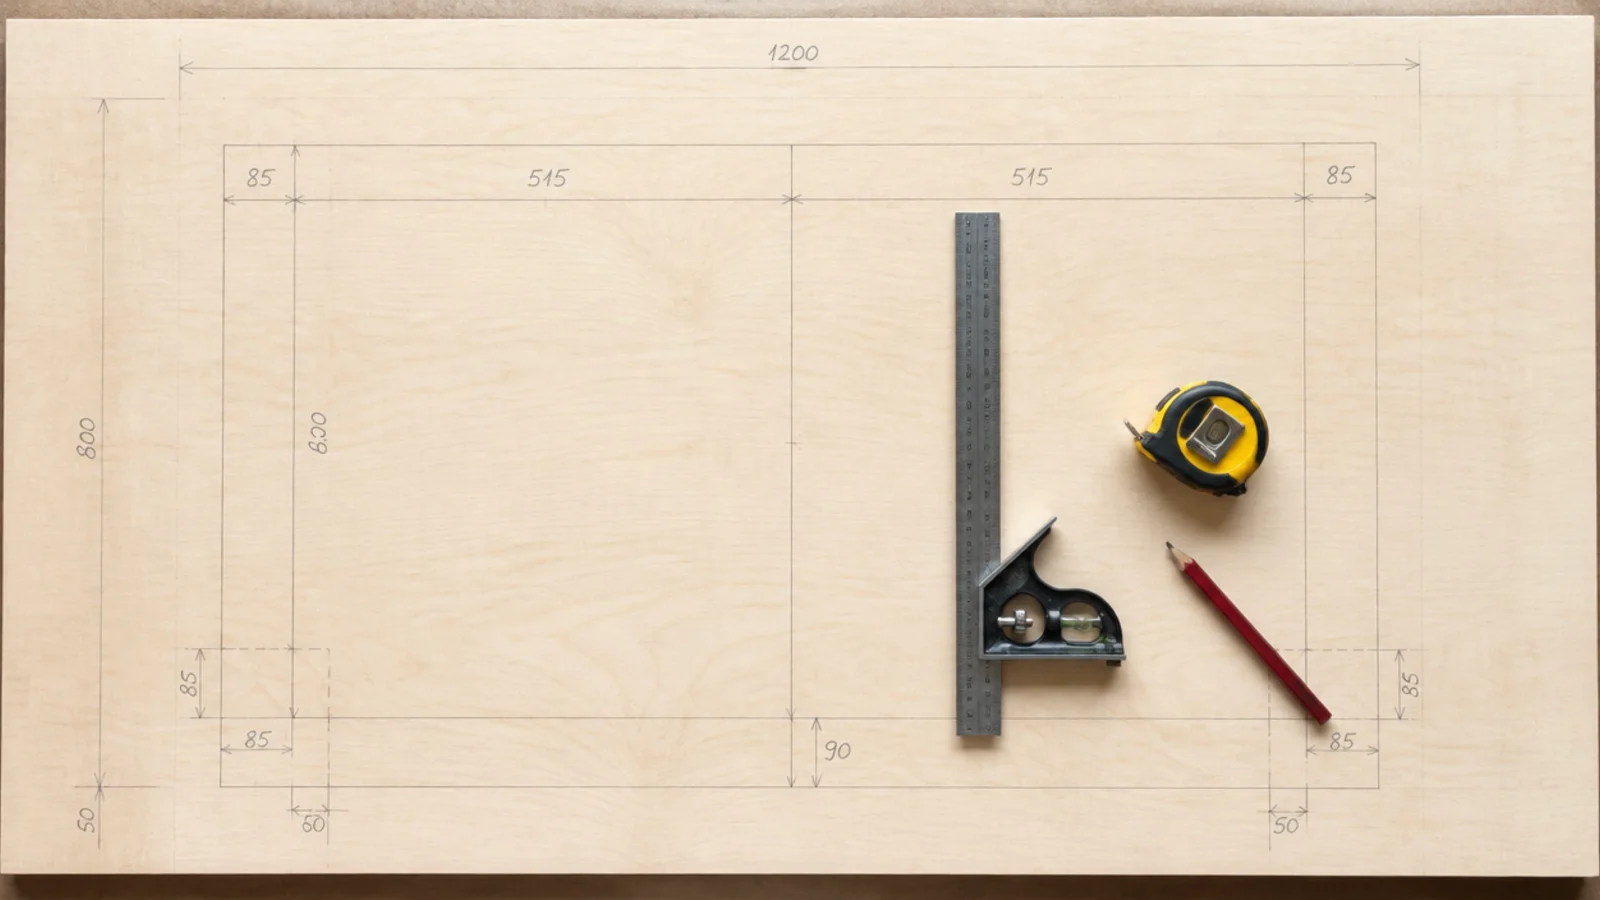
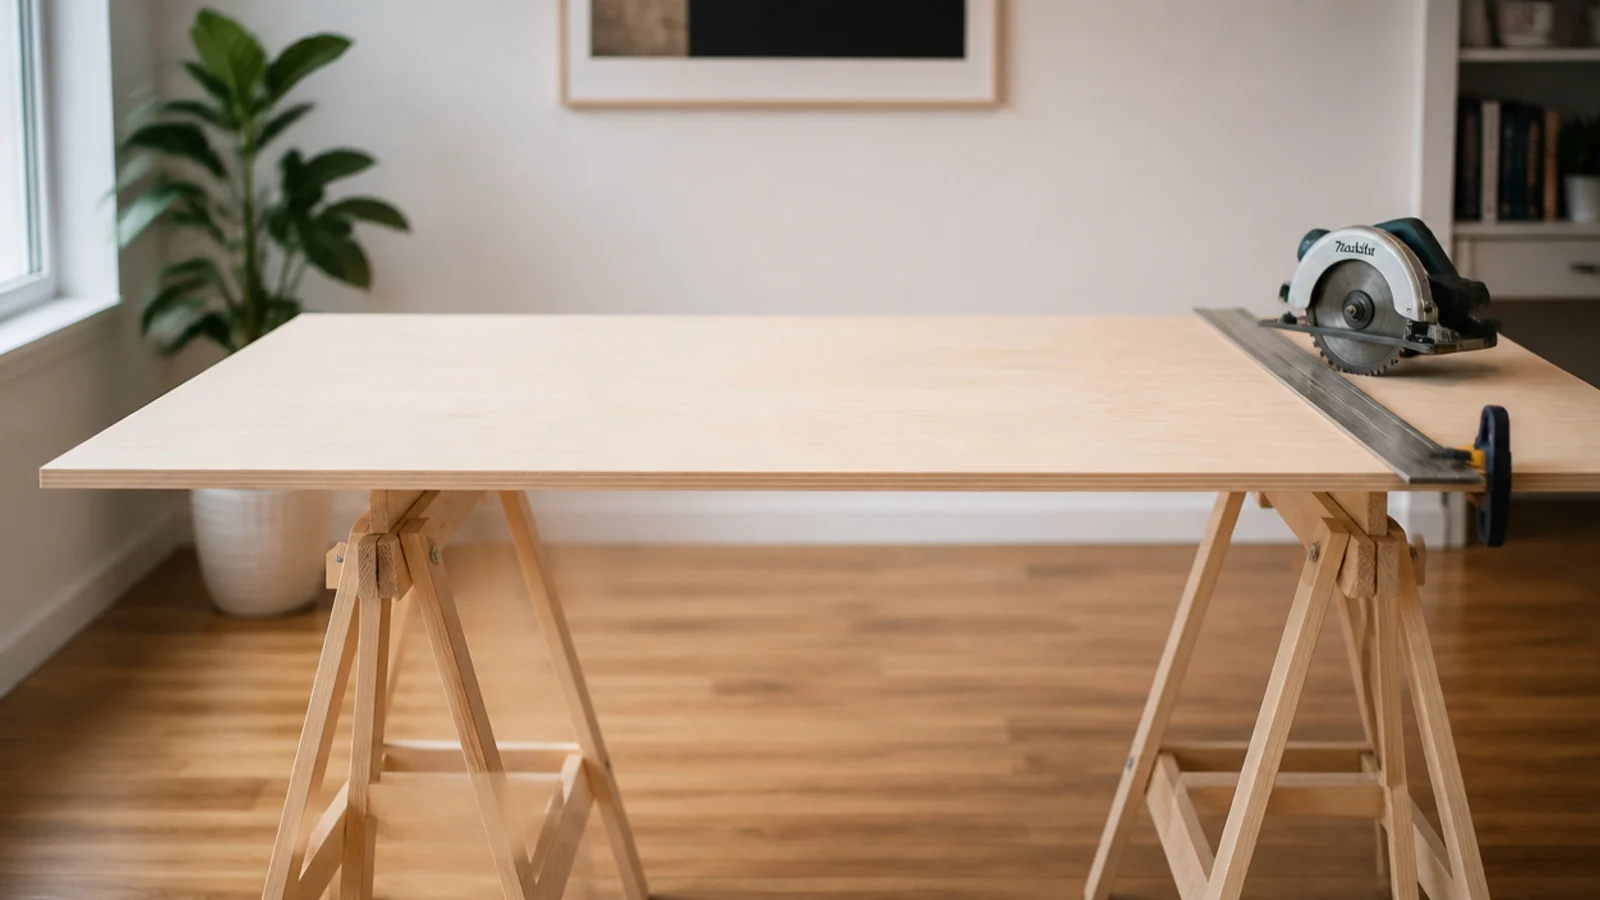
One 4 by 8 sheet gives you a 47 by 24 inch top and still leaves enough for two shelves. Twenty-four inches deep is what lets you push a monitor back to arm length. Have the store make the rips — a panel saw cuts straighter than a circular saw on trestles, and the first two cuts are usually free.
2. Set the legs so the top lands at 29 inches
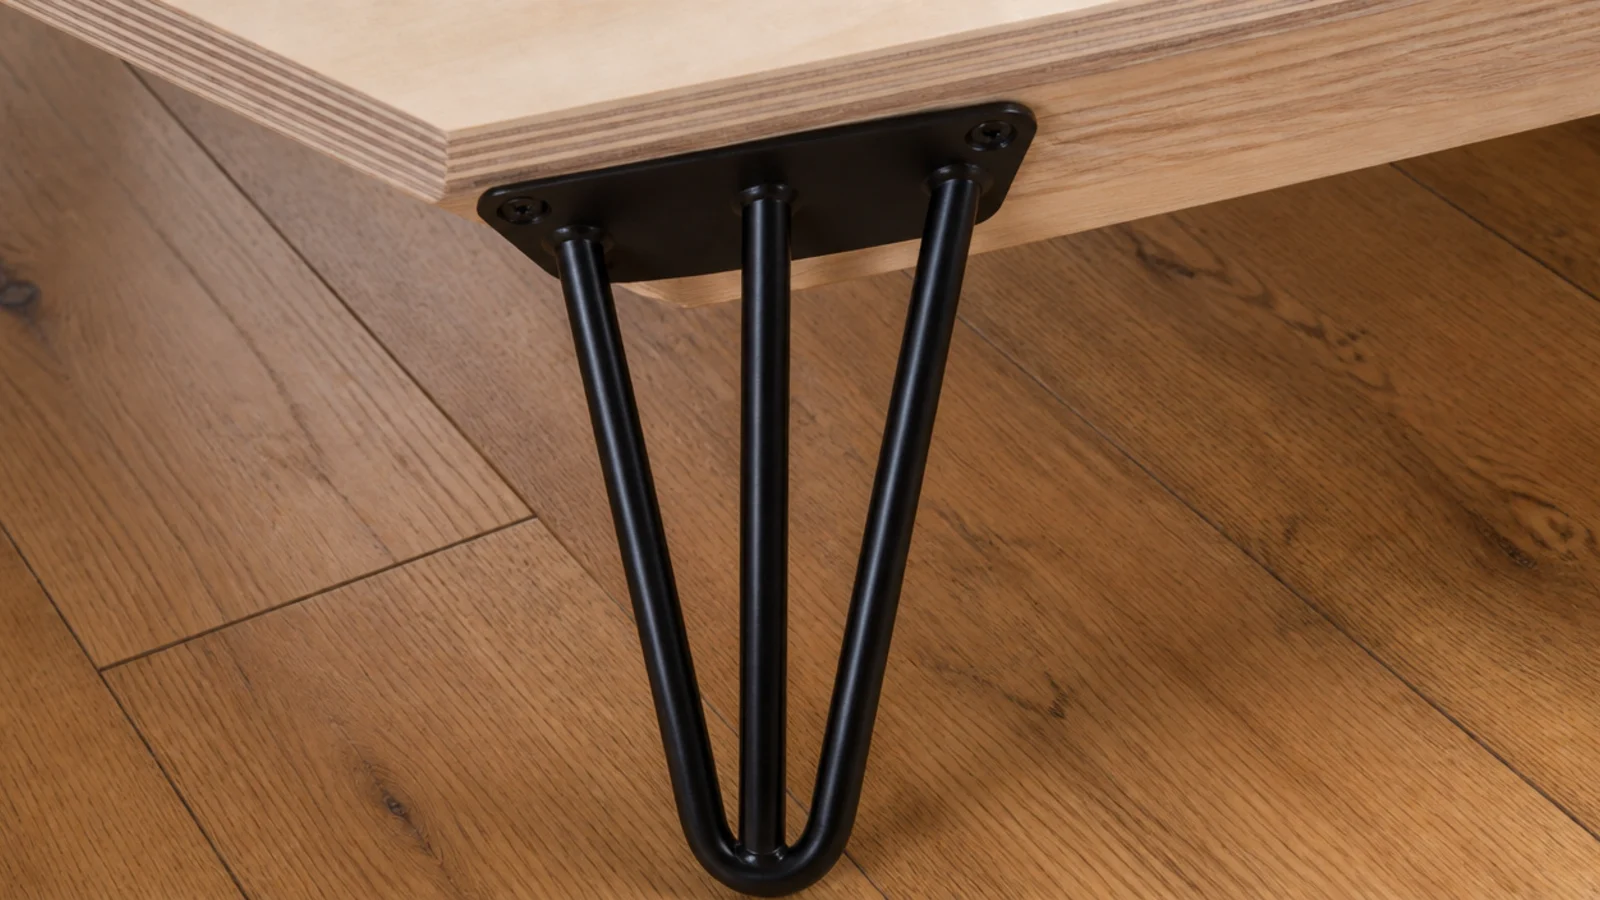
Measure the top thickness and subtract it from your target height before ordering legs. A 3/4 inch top on 28 inch hairpins gives you 28 3/4, which is right for most adults. Bolt through with four screws per plate and check the diagonal before the last one goes in.
3. Build a floating shelf from one board and two cleats
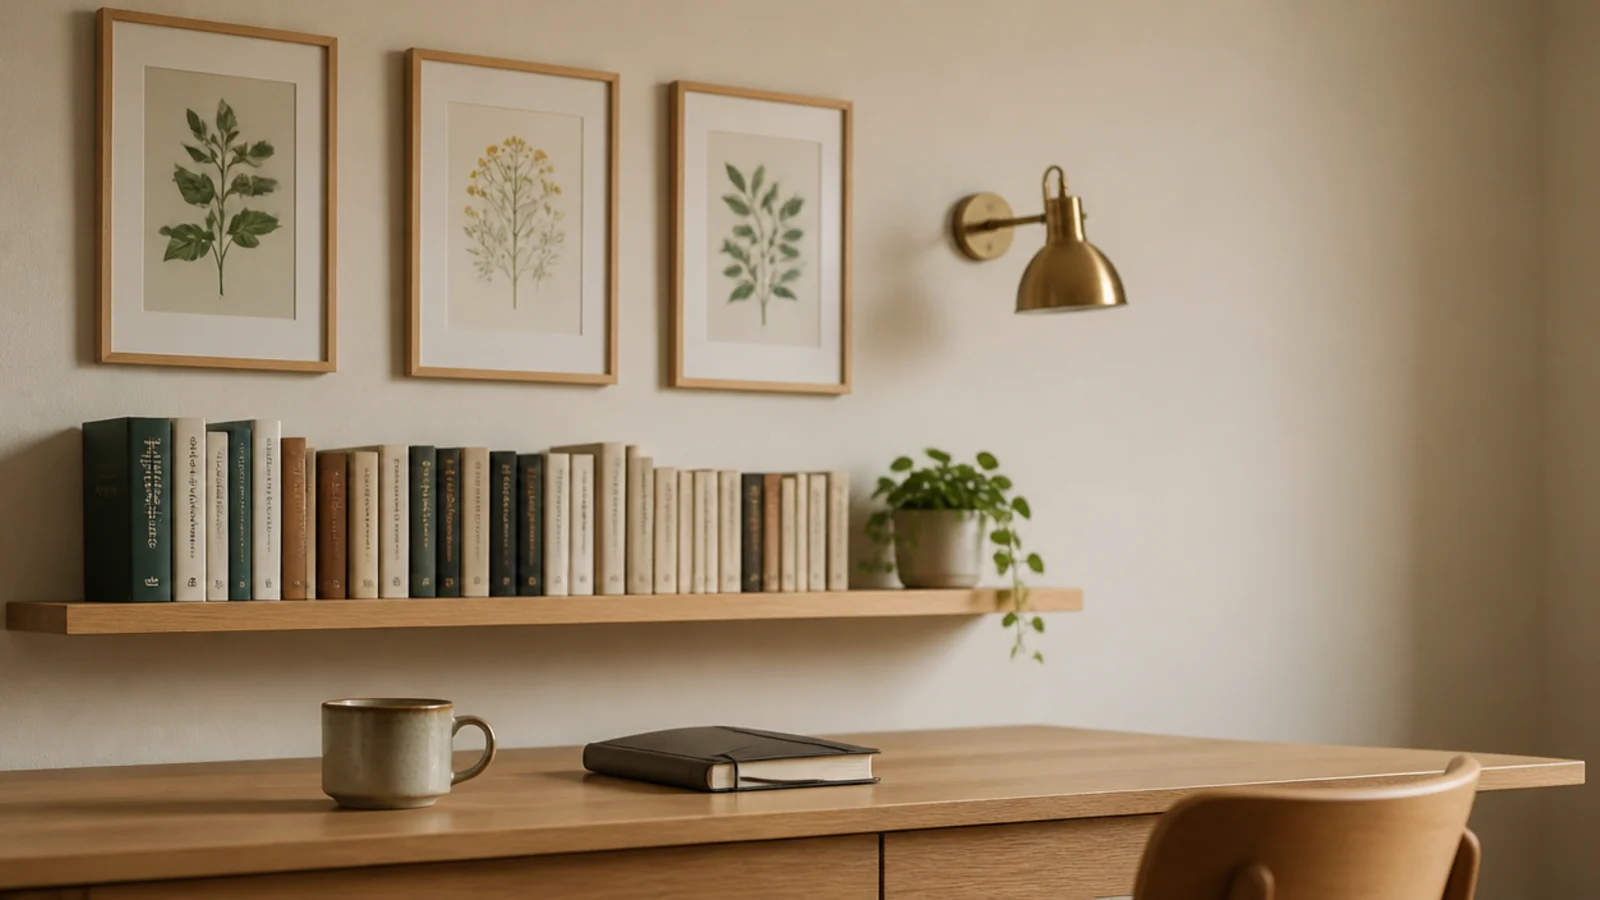
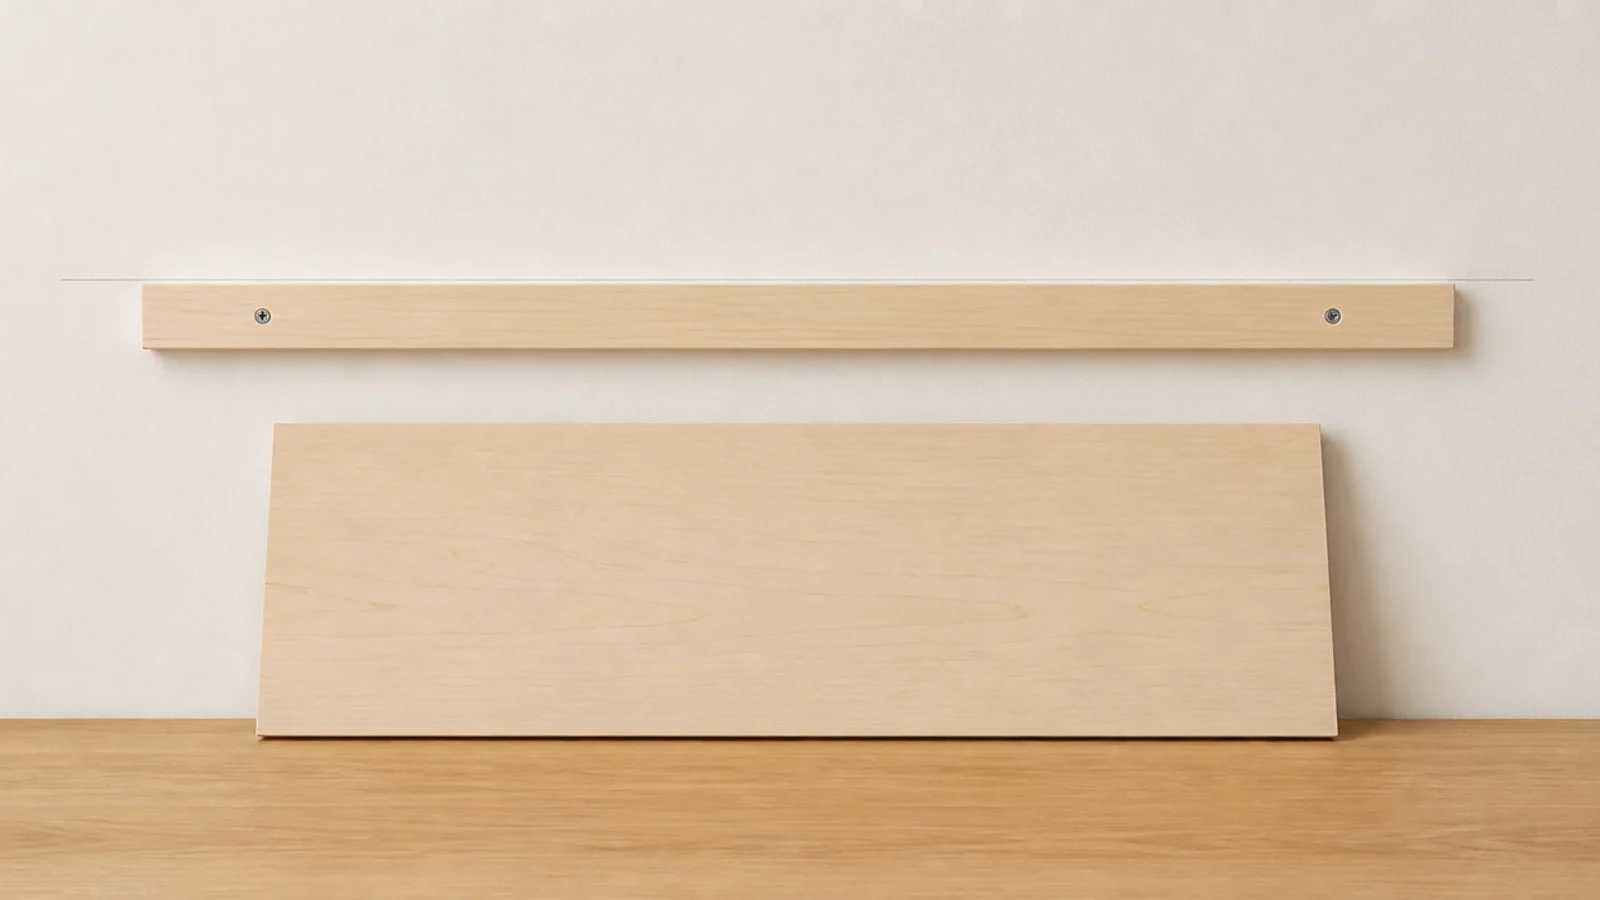
A 1x8 board on two timber cleats screwed into studs gives you a shelf with no visible brackets for about $15. Keep the run under 32 inches, level the cleat before the second screw, and rout or plane a small rebate in the board back so it sits flush against the wall.
4. Make a monitor riser that lifts the screen four inches
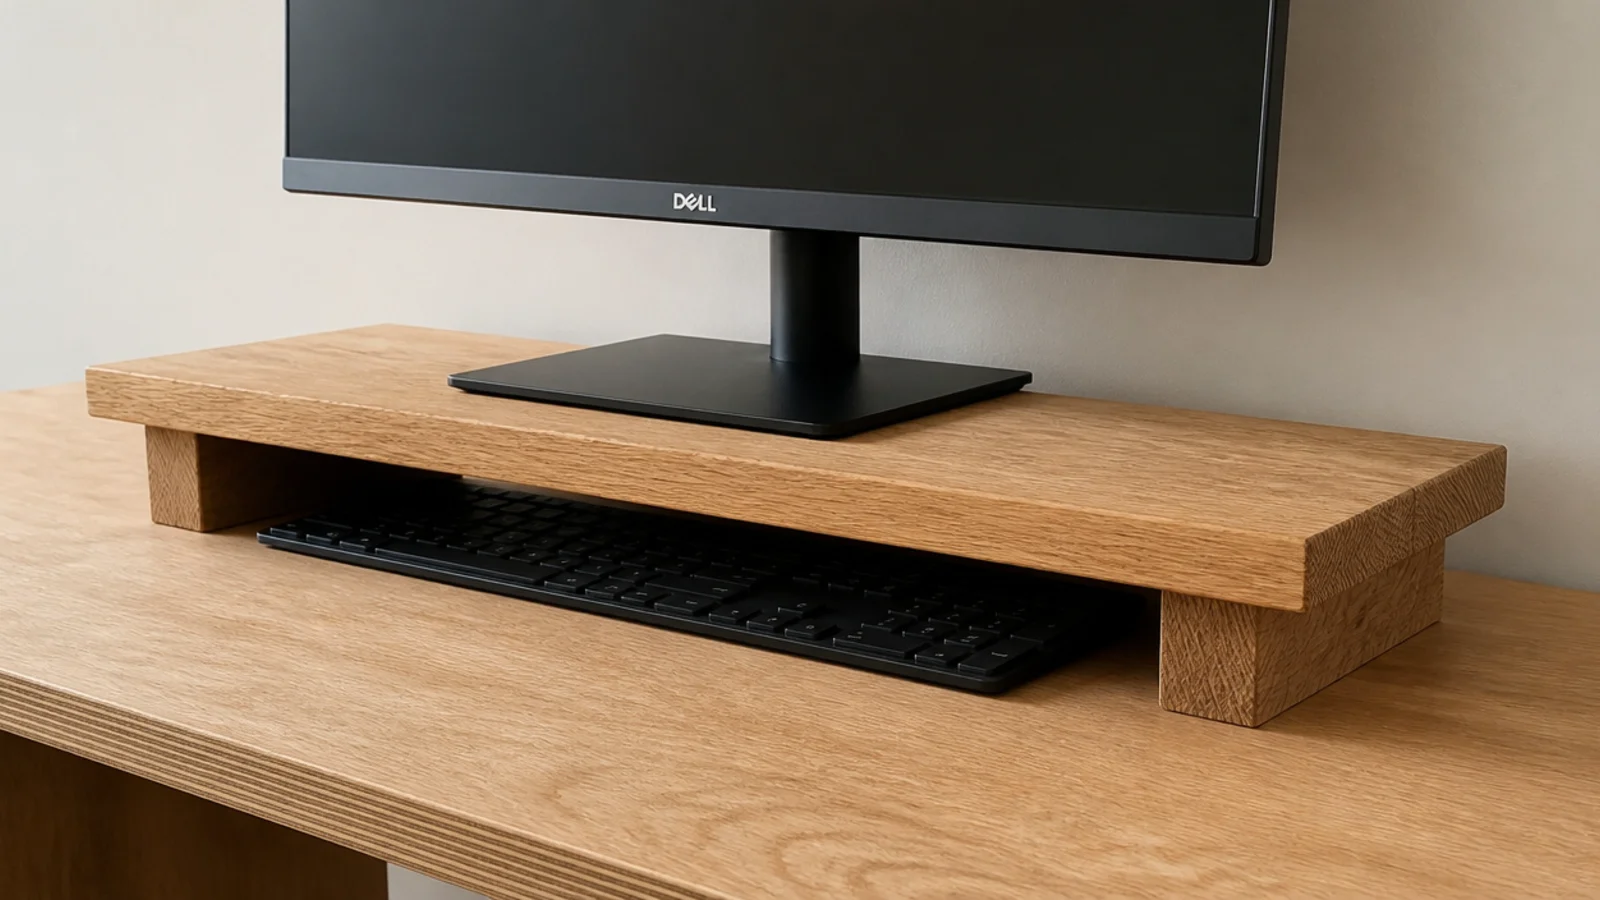
One board on two block feet, glued and screwed, costs an hour and a few offcuts. Four inches is roughly what a laptop needs to bring the top edge to eye level. Leave the underside clear at 4 inches high and a keyboard slides straight in when you are not using it.
5. Mount a pegboard on half-inch furring strips
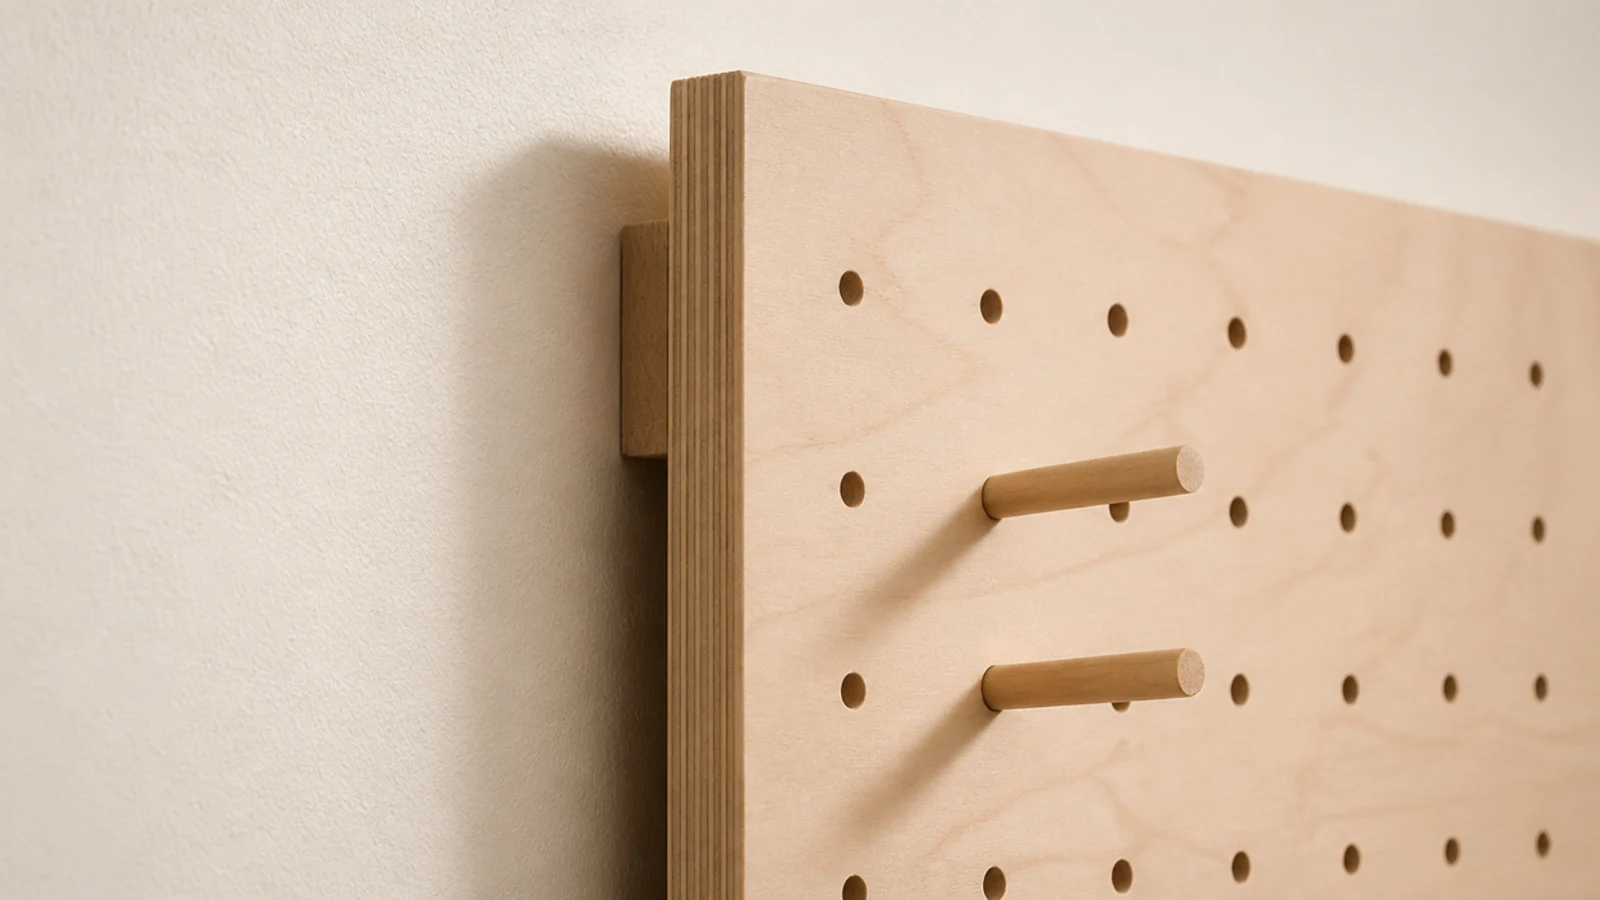
Pegboard hooks need air behind the board to seat. Screw half inch battens to the wall first, then the panel to the battens. A 2 by 4 foot sheet costs $12 to $25, and the bottom edge wants 12 to 16 inches of clear wall above the desk so hooks stay out of your working space.
6. Turn a wire basket into a cable tray
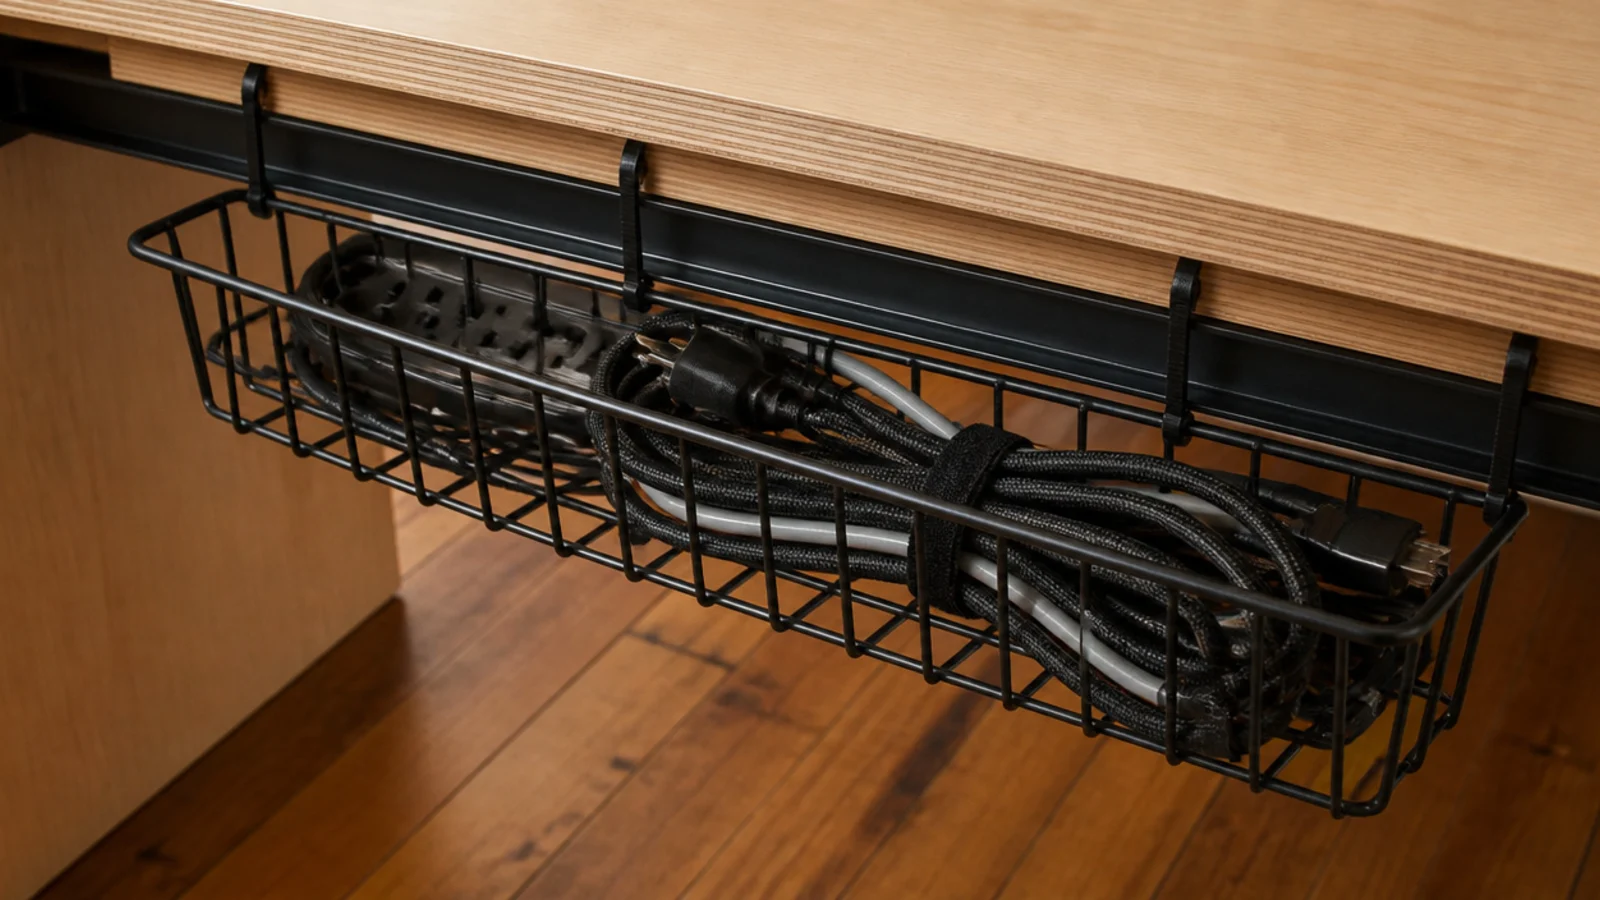
A wire kitchen basket, zip tied to the underside rails, holds a power strip and every loose lead for about $5. Position it toward the back so it never meets your knees, and leave the strip switch reachable rather than buried under coiled cable.
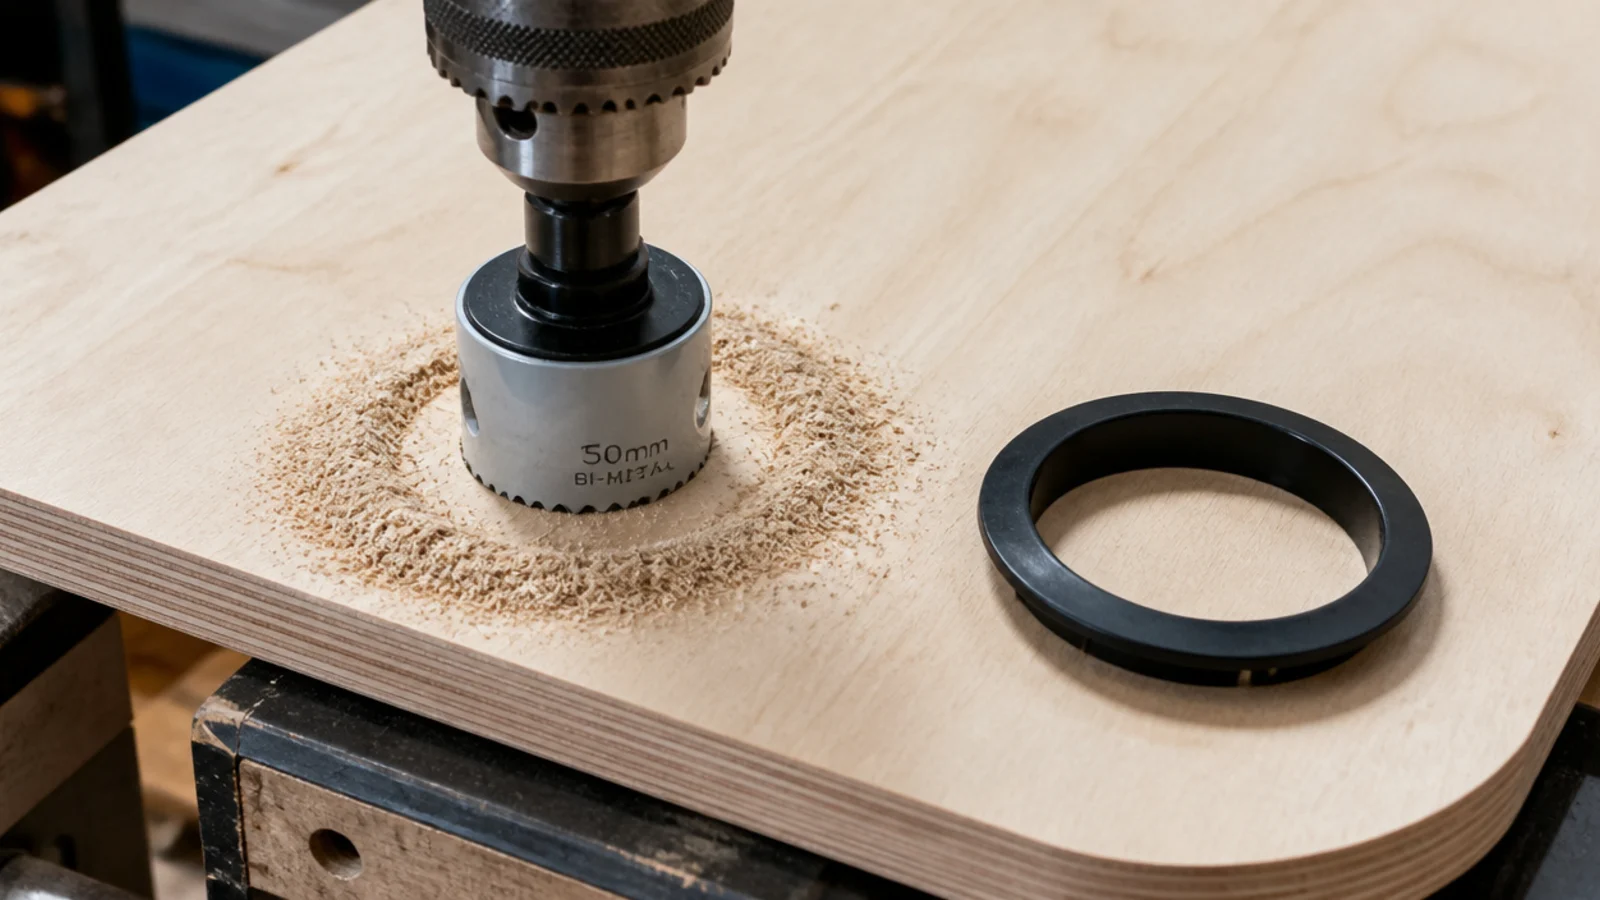
7. Drill a grommet hole with a 60mm hole saw
A 60mm opening takes a laptop lead, a phone cable and a lamp cord together. Drill from the finished face with a backing board underneath to stop tear-out, sand the edge, then press the plastic ring in. The whole job is ten minutes and about $4 for the grommet.
8. Raise a cheap lamp on a hardwood block
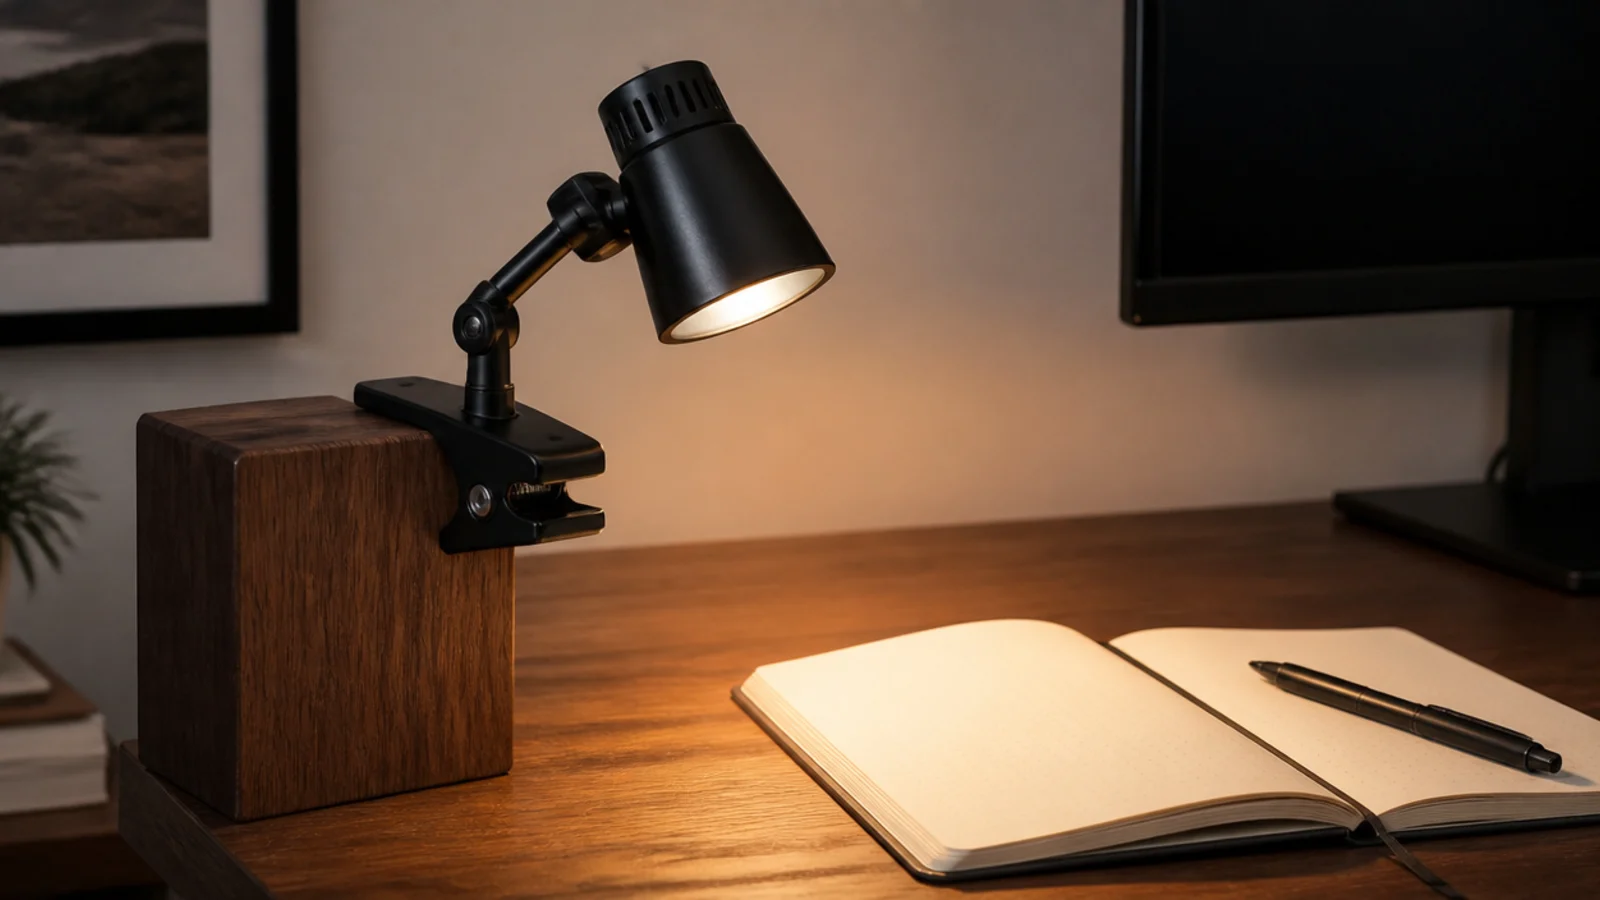
A $15 clip lamp fails because it sits too low and throws light at the screen instead of the page. A solid block 5 to 6 inches tall, clamped to the desk edge, lifts the head to roughly 16 inches above the surface where it belongs. Use offcut hardwood so it does not tip.
9. Paint a colour panel behind the desk
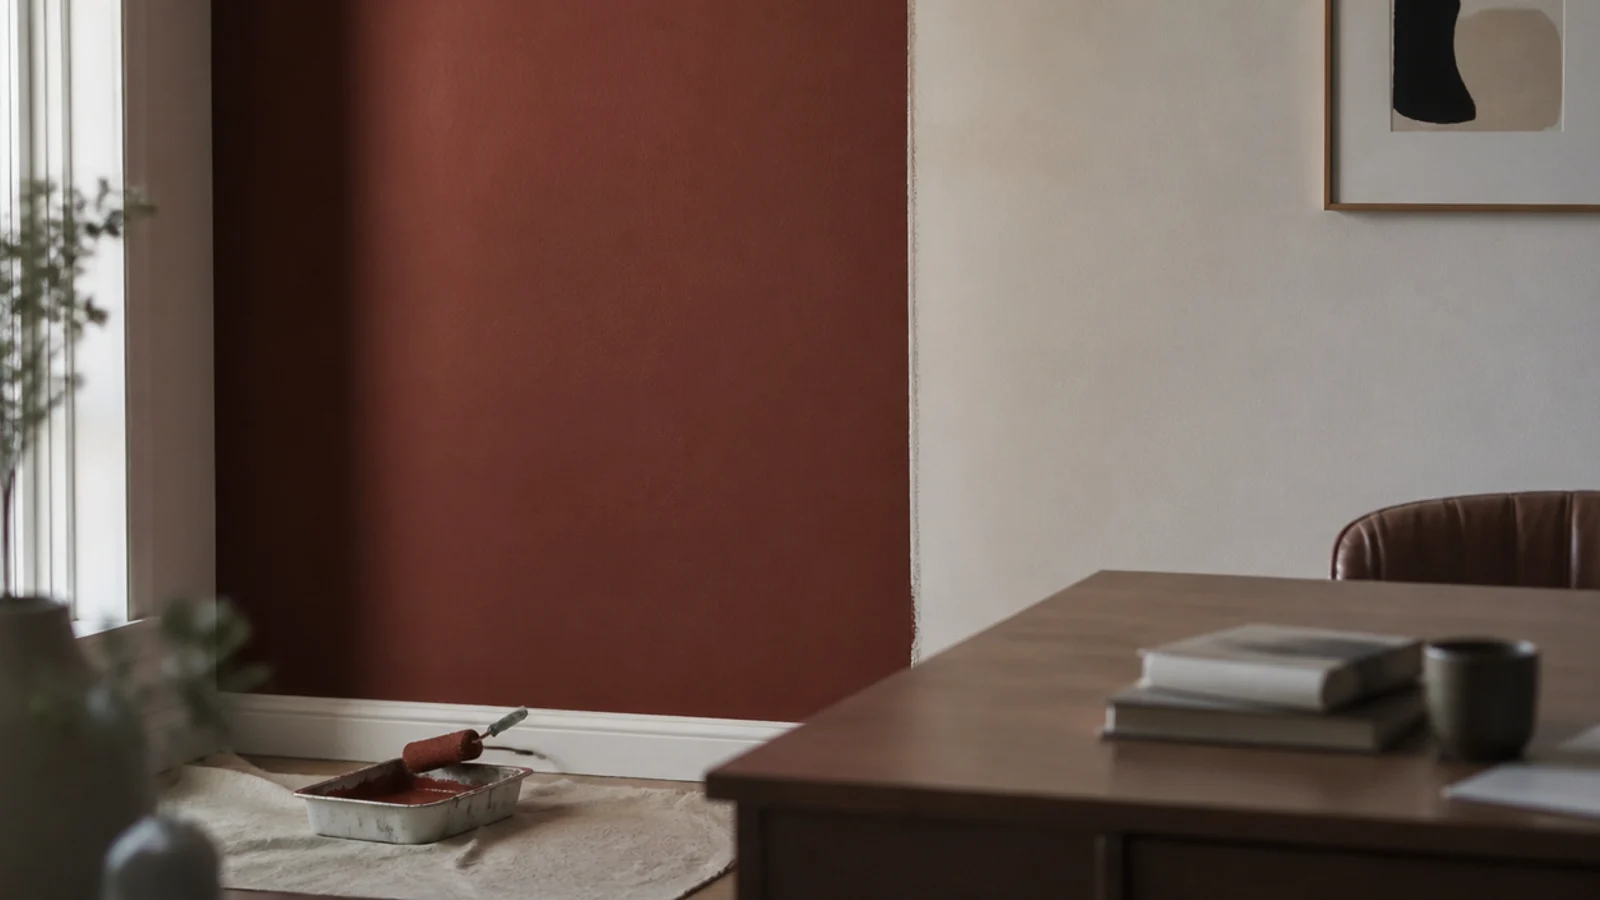
One quart covers about 100 square feet, which is more than enough for a desk-width panel. Tape a clean edge, use a matt finish so the lamp does not bounce off it, and take the colour to the shelf line rather than partway up the wall where it looks unfinished.
10. Make a linen pinboard from a frame and a cork tile
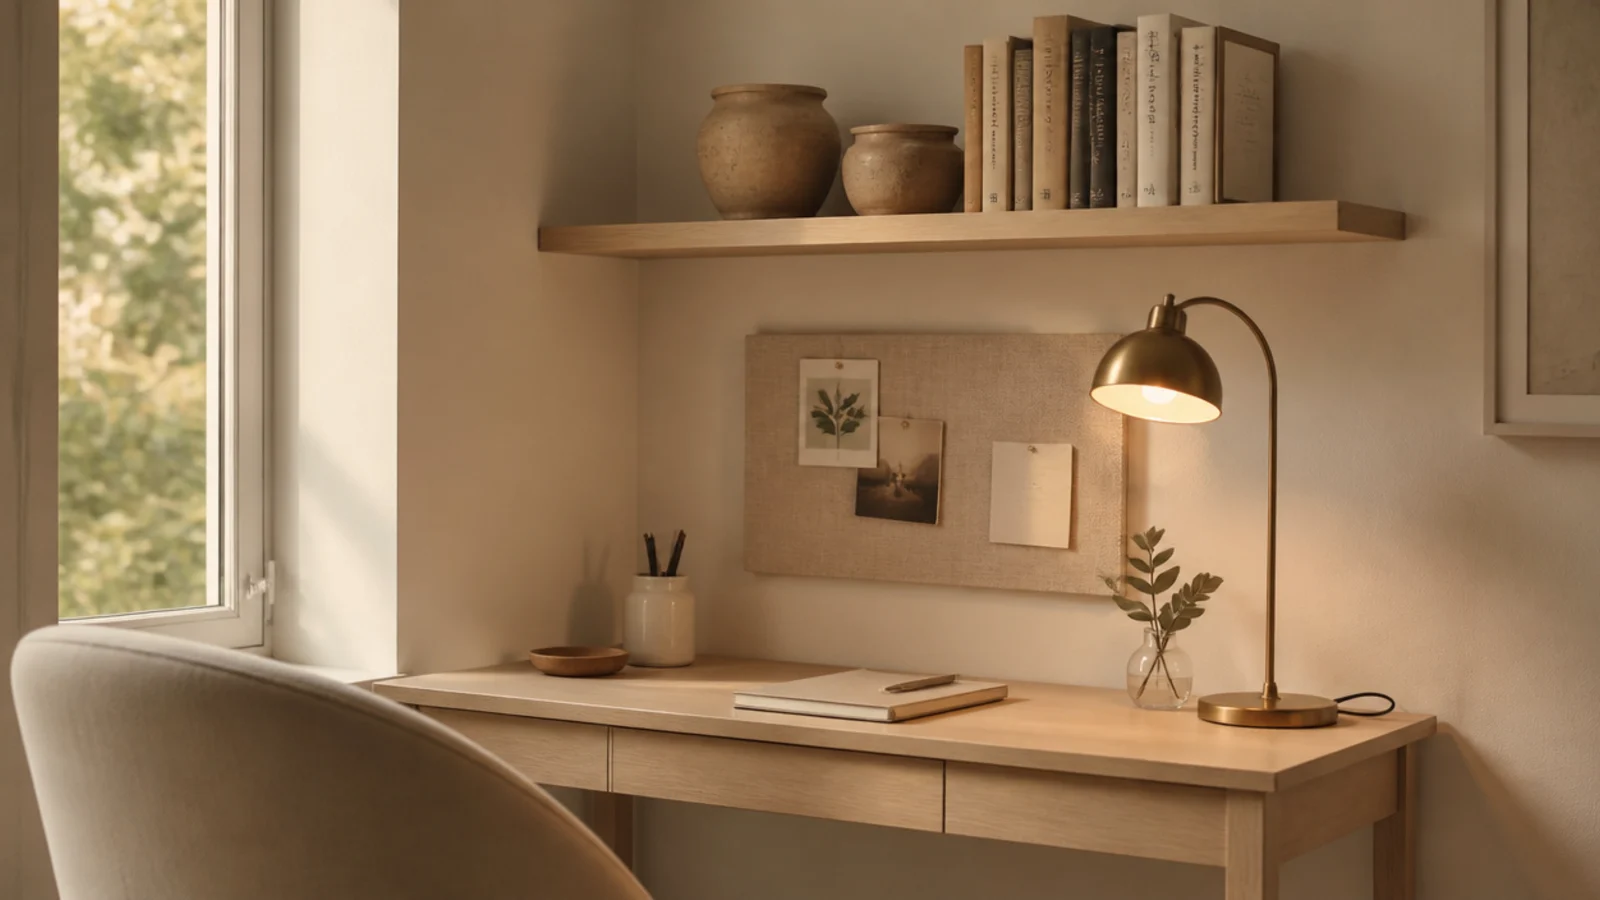
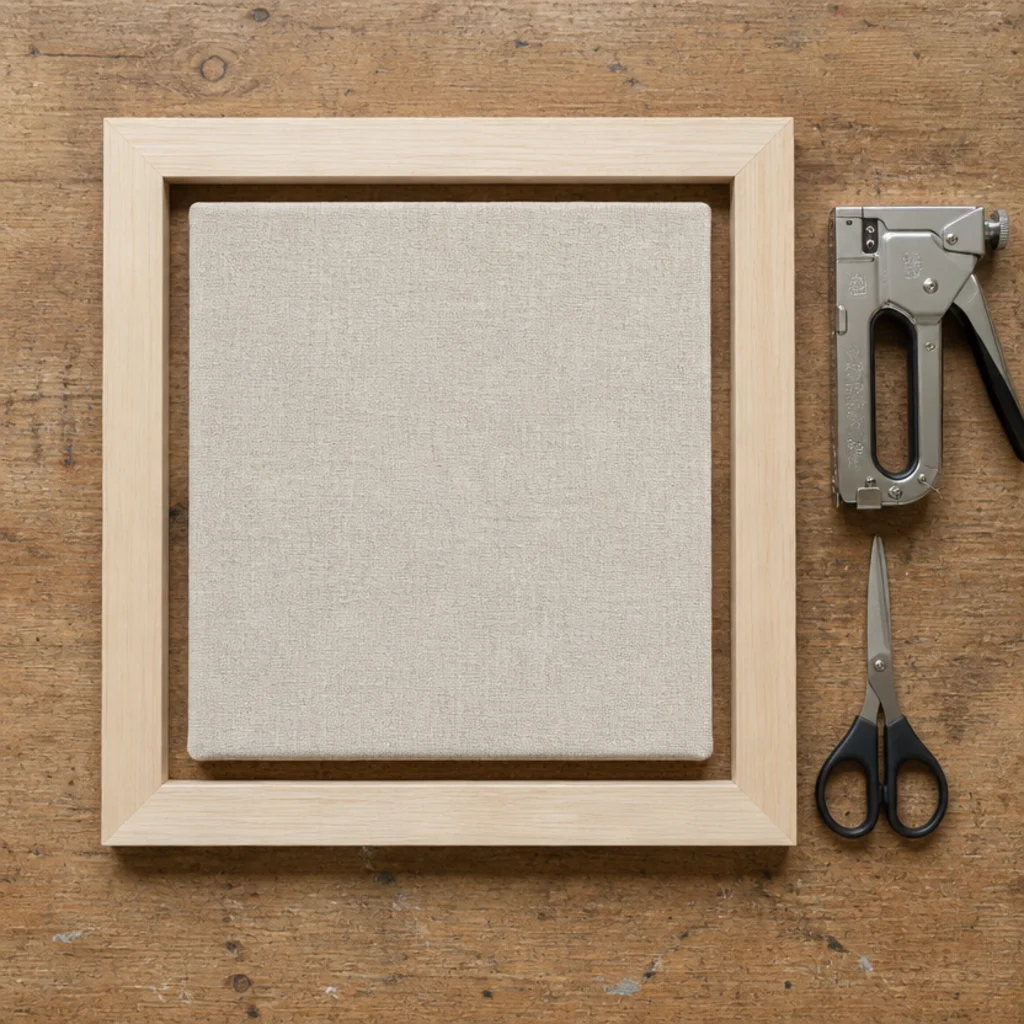
A charity shop frame, a 12 inch cork tile and a scrap of linen make a pinboard for under $10. Wrap the linen over the cork, staple on the back, drop it into the frame. Size the finished board to the desk width and hang the bottom edge 10 to 12 inches above the surface.
11. Turn offcuts into pen cups with a forstner bit
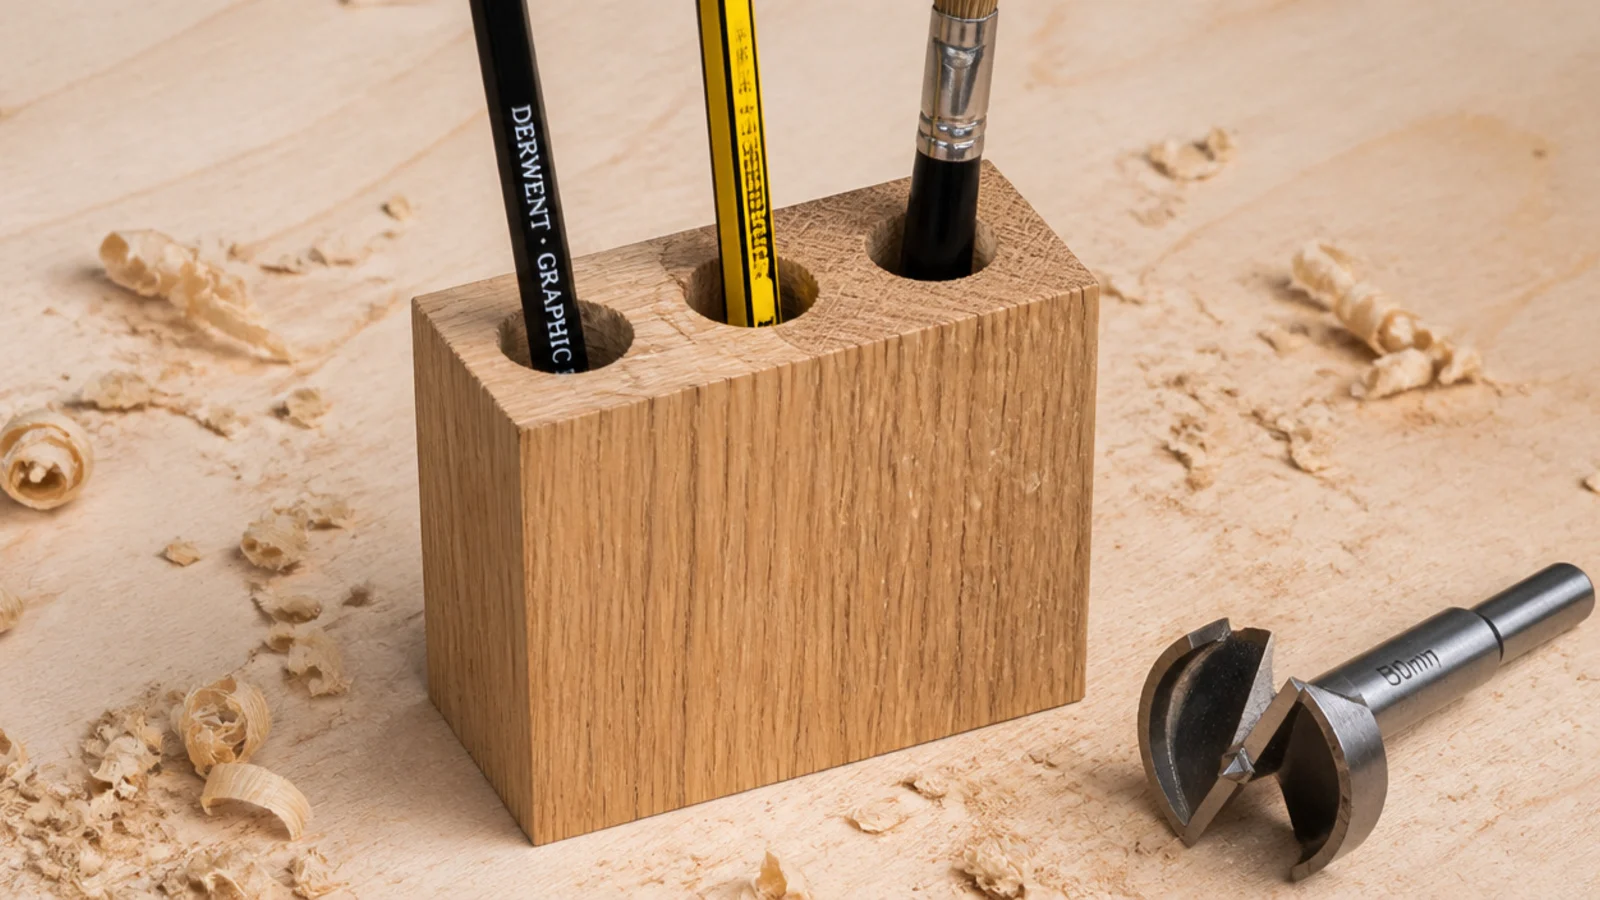
A 2 inch forstner bit and a solid offcut make a pen block that will outlast every plastic caddy you own. Drill 2 1/2 inches deep, keep the block at least 3 inches square so it cannot tip, and clamp the work properly — a forstner bit grabs hard in end grain.
12. Hinge a fold-down desk 30 by 18 inches
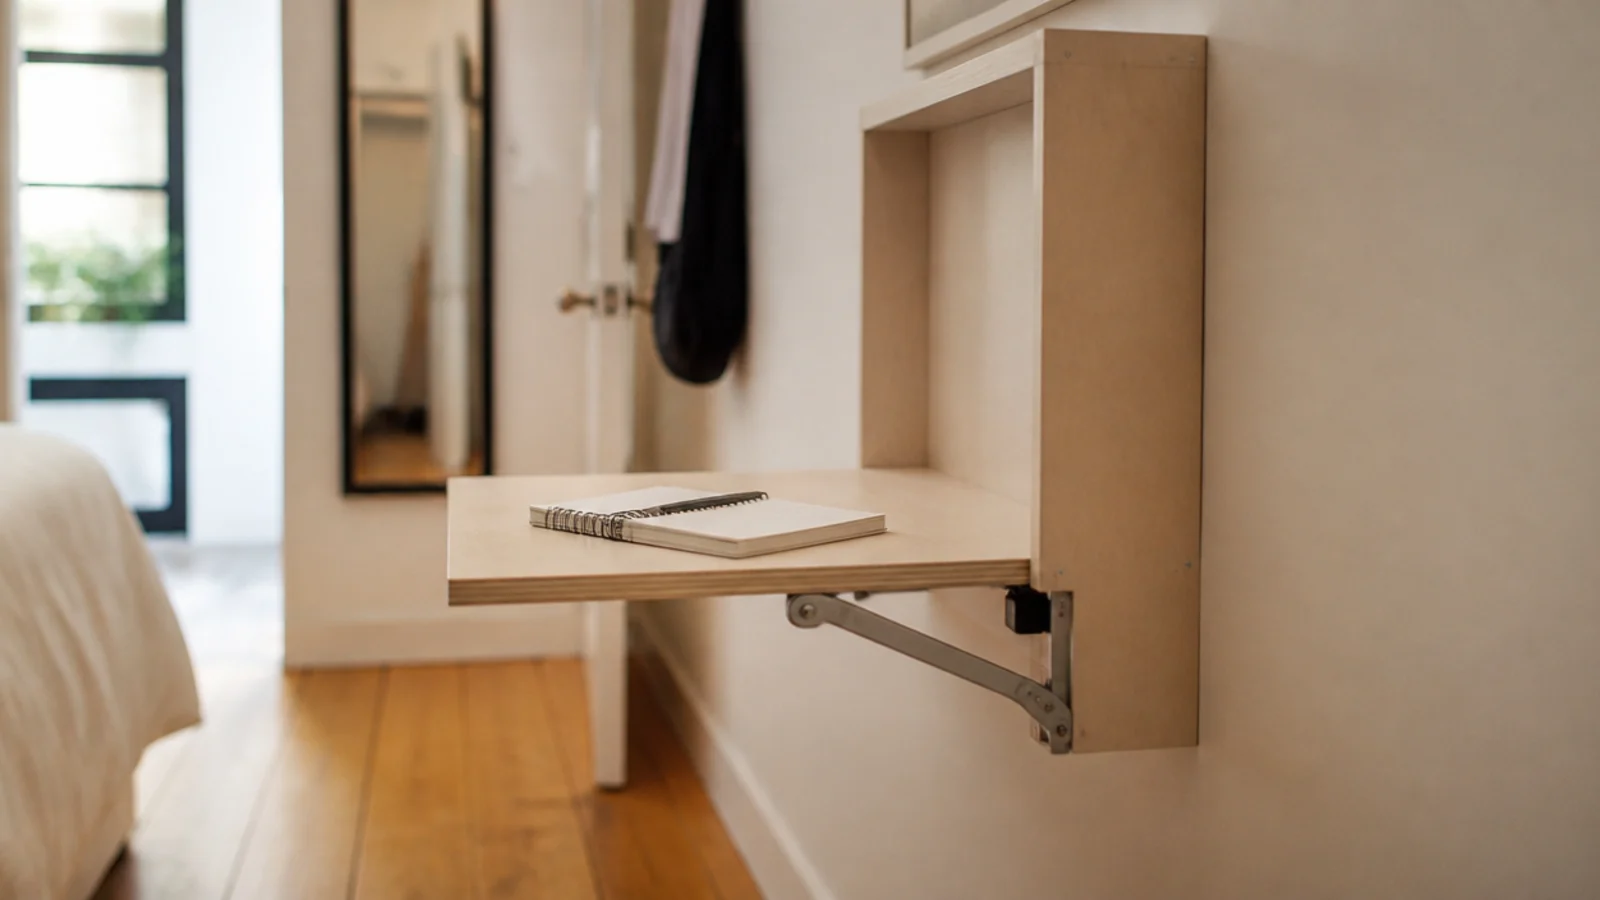
For a room with no floor to spare, a hinged leaf on a wall case gives you a working top that folds to about 4 inches deep. Fix the case into at least two studs, set the open height at 29 inches, and use folding brackets rated well above the 30 pounds a laptop and books will put on it.
13. Fit a shallow drawer on side runners
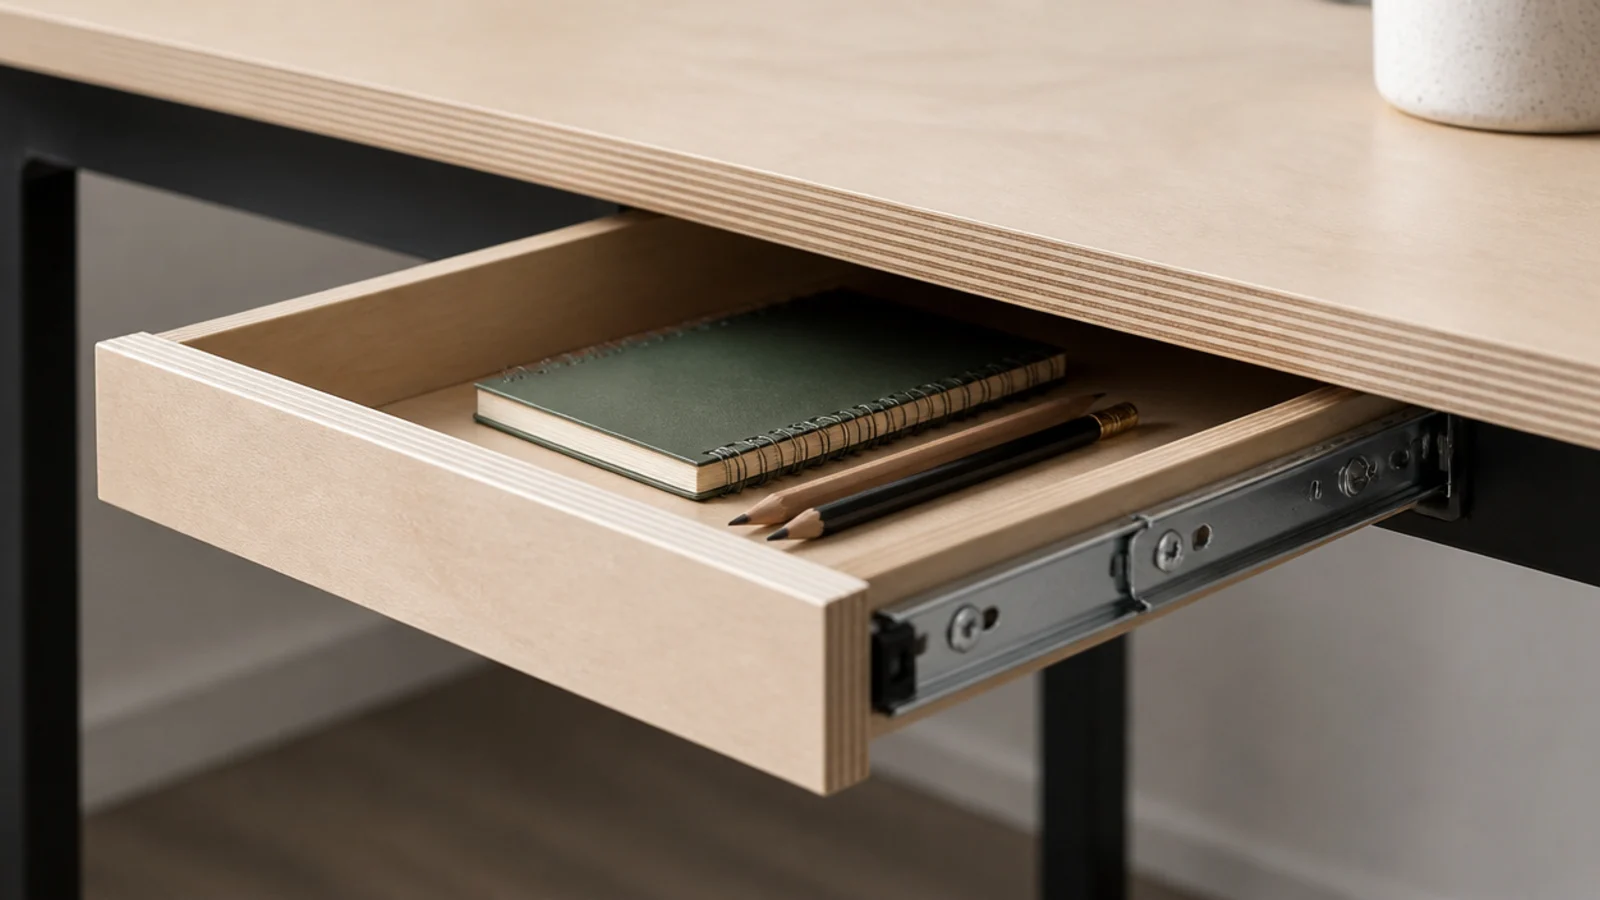
A plywood box on $12 side runners under the desk holds pens, cables and a notebook. Keep it shallow — 3 to 4 inches — and check the underside clearance stays at 25 inches from the floor, or you will meet it with your thighs every time you sit down.
14. Cut bookends from a right-angle offcut
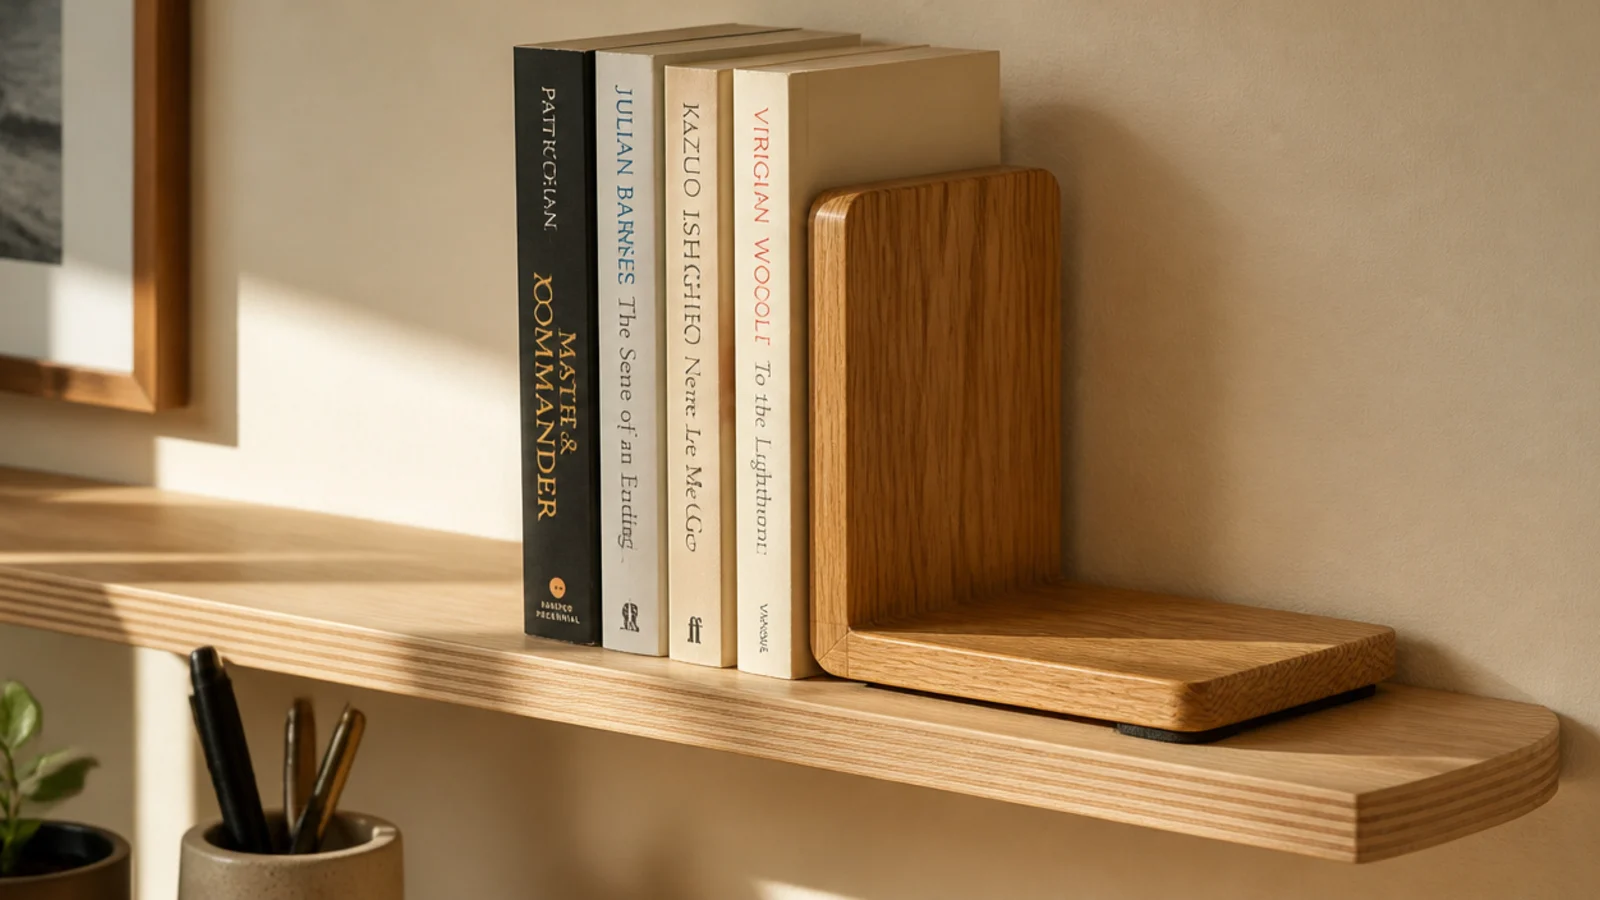
Two pieces of 3/4 inch ply glued at ninety degrees, with a felt pad on the base, hold a shelf of books and cost nothing. Make the horizontal leg at least 4 inches long so the weight of the books holds it down rather than tipping it.
15. Clip cables to the desk edge with binder clips
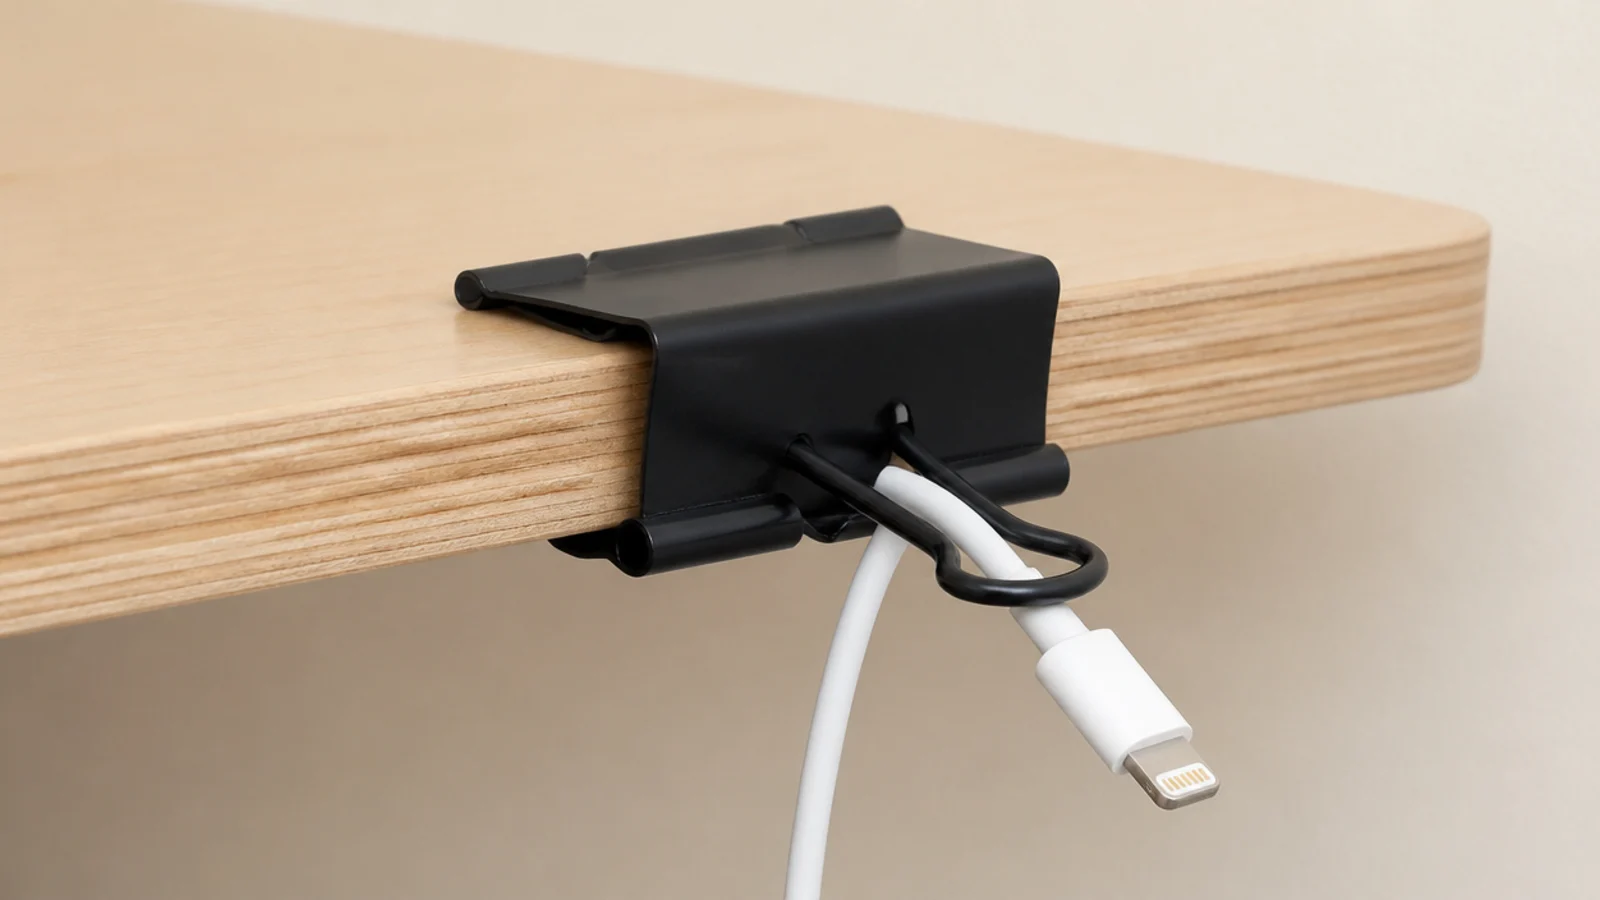
A medium binder clip on the back edge, lead threaded through the handle loop, stops the charging cable disappearing behind the desk. It costs pennies and it is the fix I still use daily. Space them every 8 inches if you are running more than one lead.
16. Slot a vertical file divider from quarter-inch ply
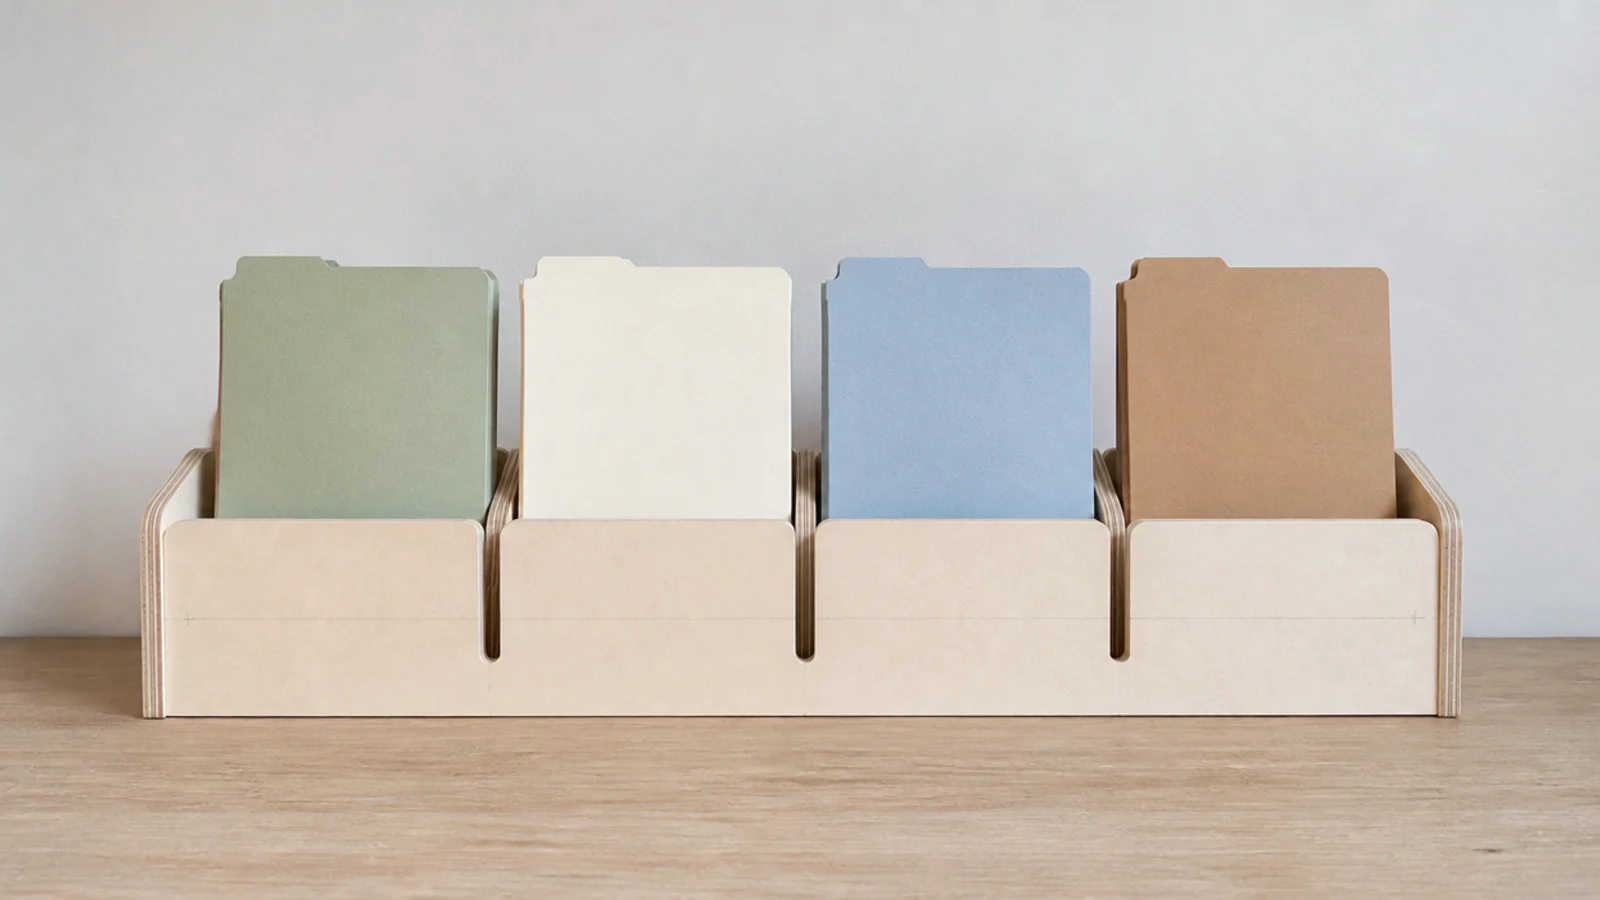
Cut four slots 1/4 inch wide and 1 1/2 inches deep into a base board and you have a divider that holds folders upright on 4 inches of surface. Upright paper gets used; stacked paper gets forgotten. Label the folders by subject rather than by date.
17. Screw a wooden peg under the front edge
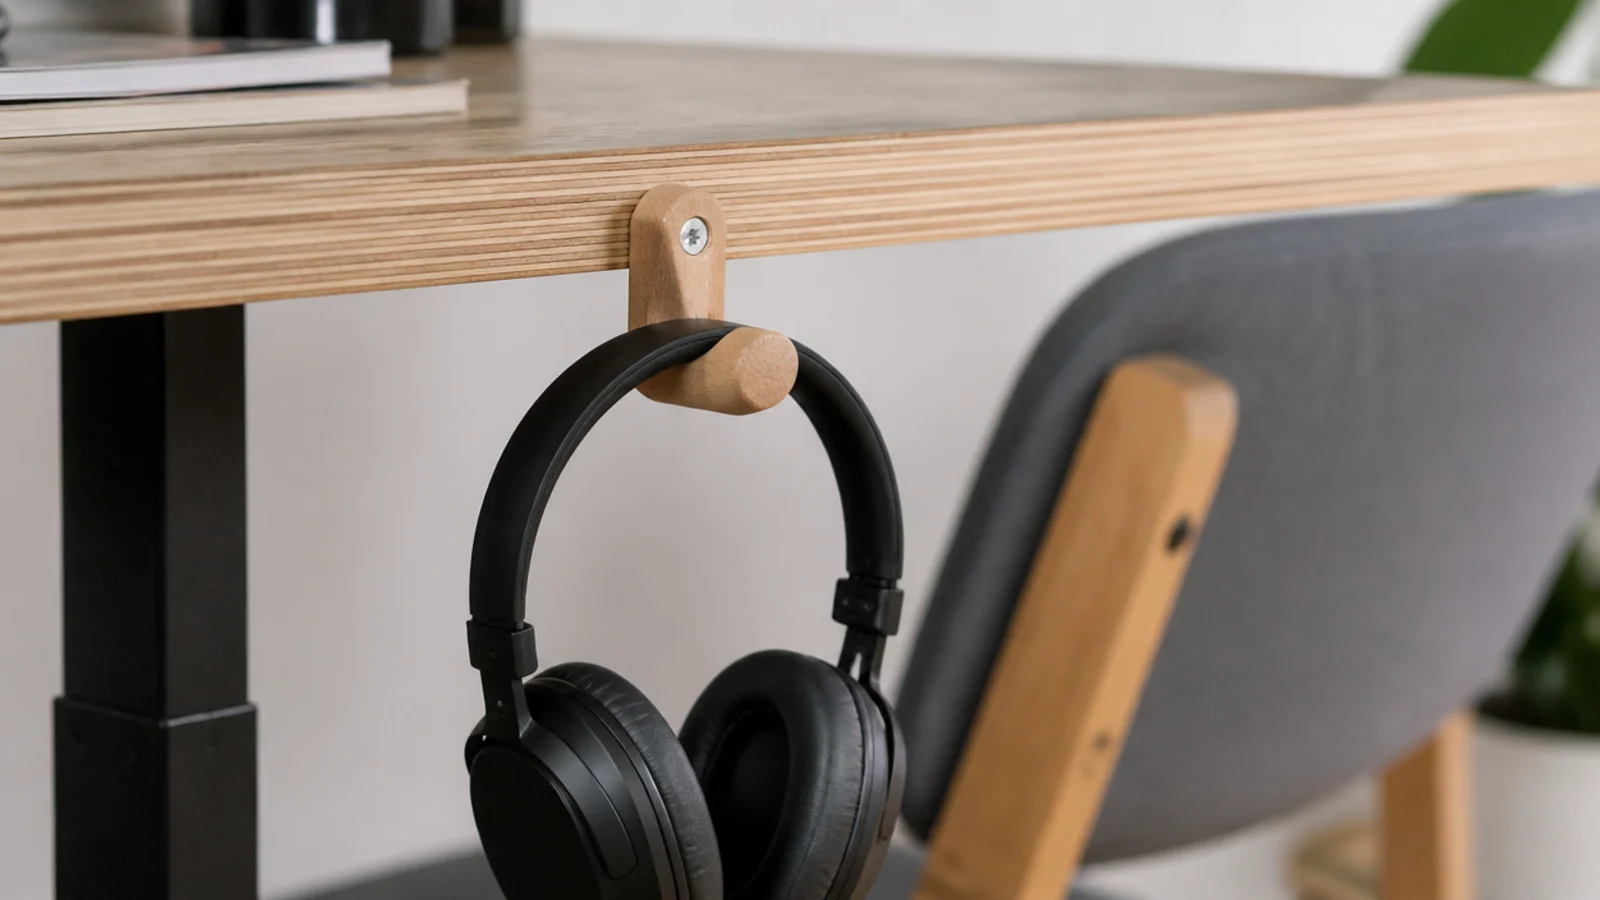
A turned peg fixed 2 inches back from the front edge takes headphones off the desk permanently. Use screws short enough not to punch through a 3/4 inch top — 5/8 inch is right — and pilot drill first so the peg does not split.
18. Cut a felt desk pad to 31 by 15 inches
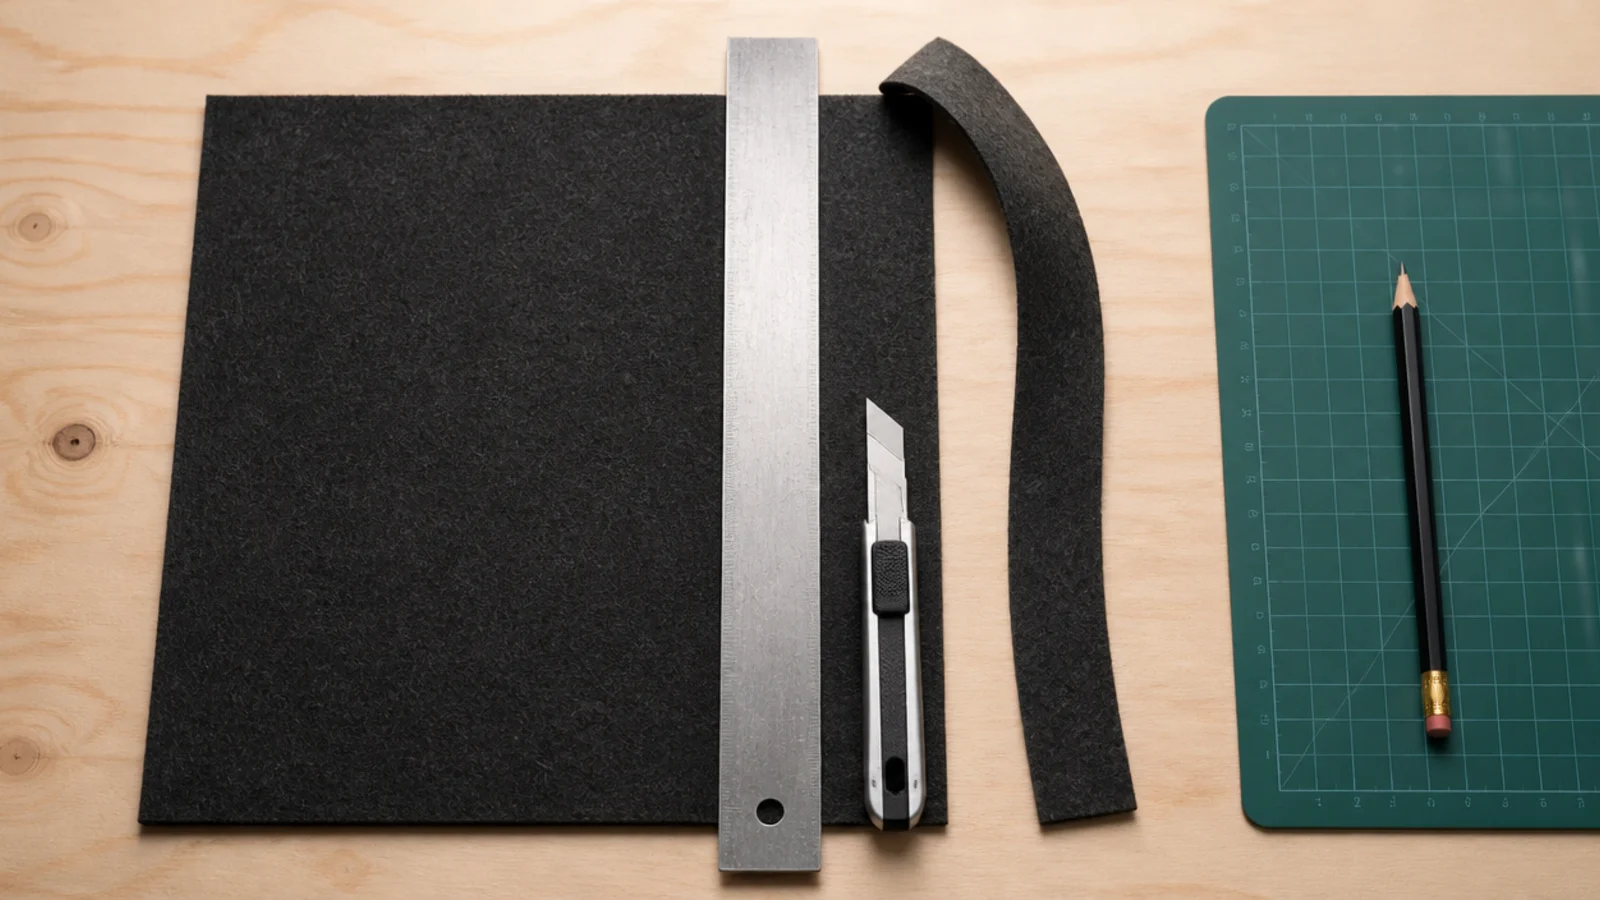
Wool felt sold by the metre costs $10 to $20 and cuts cleanly against a steel rule with a fresh blade. One straight cut gives you a pad that quietens typing, protects the finish and draws a border round the working area. Cut it slightly under the desk depth so the back edge stays free.
19. Hang a dowel rail under the shelf
The 3 inches under a floating shelf is dead space. A beech dowel in two small brackets, plus a few S hooks, turns it into hanging storage for scissors, a pouch or a small plant. Keep hanging items under 8 inches long so nothing dangles into your sightline.
20. Finish with two coats of hardwax oil
Raw plywood marks with every mug. Two thin coats of hardwax oil, six hours apart, sanded lightly at 240 grit between them, gives a surface that repels water and can be spot-repaired later. Oil every face including the underside, or the panel will cup within a season.
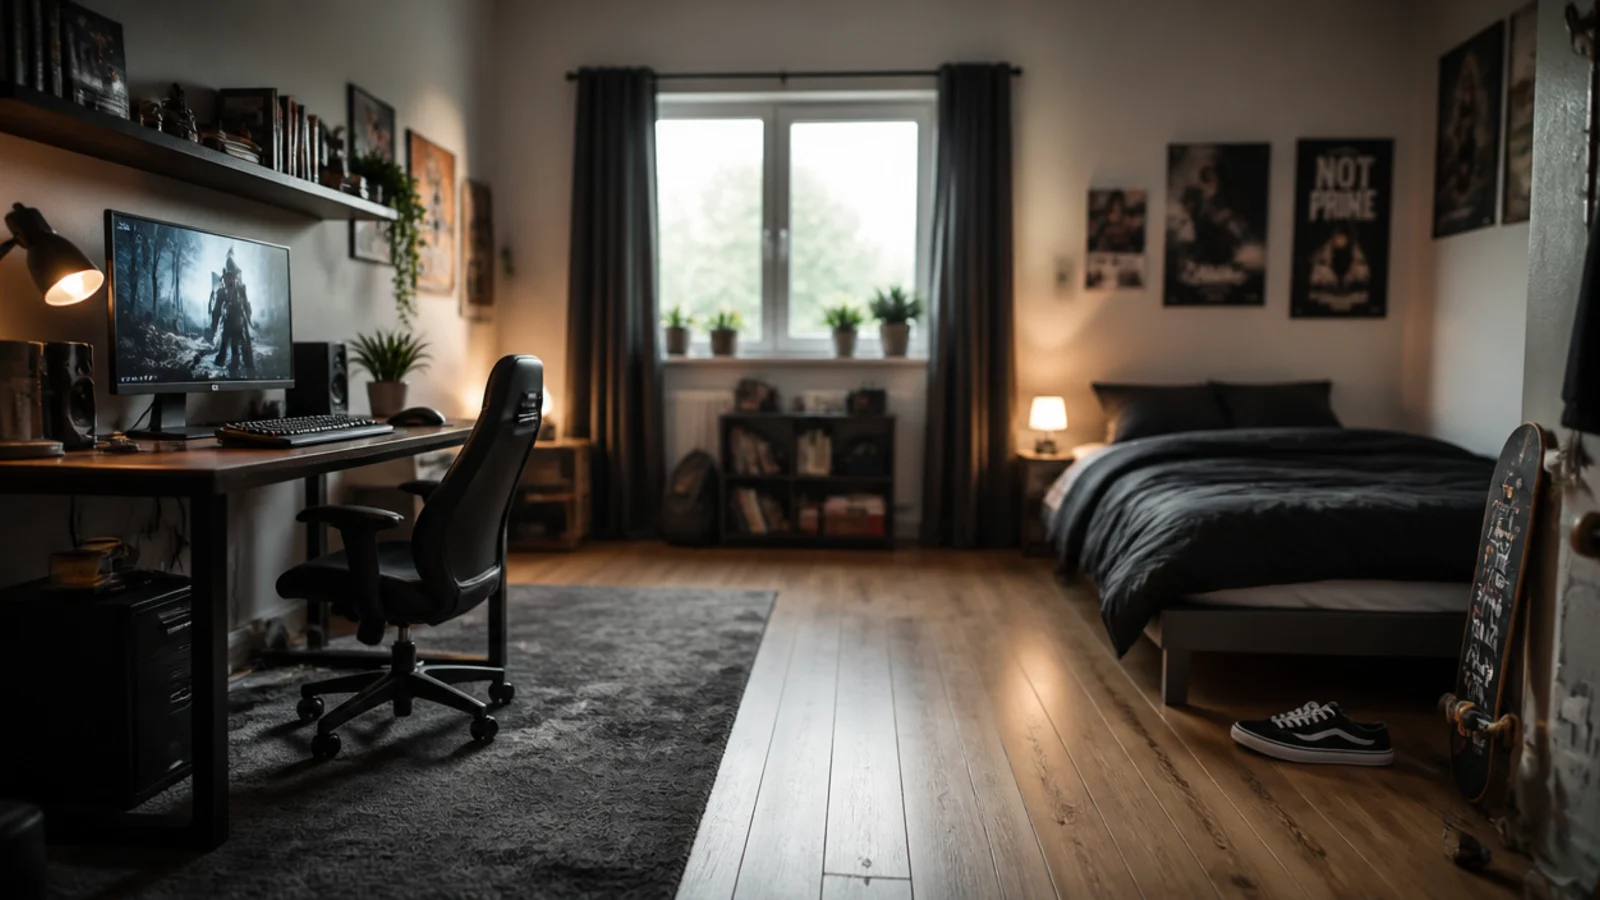
For the store-bought equivalents at similar money, the simple study desk decor picks cover what is worth buying instead of building. Corner shelf ideas handle the awkward return wall next to most desks, and the teen boy bedroom ideas guide covers the rest of a room built on the same budget.
Mistakes to Skip
- Building the top from half inch board to save $15. It bows visibly under a monitor within a term, and the bow never comes back out once it has set.
- Fixing shelves to drywall plugs alone. Books are heavier than they look, and a 30 inch shelf of hardbacks is 50 to 60 pounds hanging off two plastic anchors.
- Cutting the legs before measuring your own seated forearm height. Standard is 29 inches, but standard is not the same as right for a 5ft 2in student.
- Skipping the finish on the underside. A panel sealed on one face only cups within a season, and by then it is screwed to legs and loaded with books.
Frequently asked questions
What is the cheapest way to build a study desk top?
A single sheet of 3/4 inch birch plywood cut to 47 by 24 inches, edged with a strip of solid timber and finished with hardwax oil. Materials run about 45 to 70 dollars and most home centres will make the two straight cuts for free, which removes the hardest part of the job.
How thick does a DIY desk top need to be?
Three quarter inch plywood or solid stock is the working minimum, and it needs support every 32 inches to stay flat under a monitor and a stack of books. Half inch board will bow within a term. Glue a solid front lip on and you buy back several inches of unsupported span.
How high should I fit a DIY shelf above a desk?
Leave 18 to 24 inches of clear wall between the desk surface and the underside of the shelf. Twenty inches suits a desk with a monitor on a riser. Fix into studs where you can, and use toggle bolts rated 25 to 35 pounds each in half inch drywall if you cannot.
What tools do I actually need for these builds?
A cordless drill, a 60mm hole saw, a small hand saw or a circular saw with a clamped guide, a spirit level, a countersink bit and clamps. That covers every project here. A stud finder is worth the ten dollars before anything heavy goes onto a wall.
How do I stop a homemade shelf sagging?
Keep the span under 32 inches, use 3/4 inch stock rather than 1/2, and glue a solid lip along the front edge. A linear foot of hardbacks weighs 20 to 25 pounds, so a 36 inch shelf of books is carrying 60 or more and a thin board will bow permanently.
Want more like this? Browse all 15 study desk decor guides — they all use the same measurements and budget tiers.
Pin it for later
Save this to your Study Desk Decor board
Pin it now so it is waiting for you when the tape measure comes out — and so the next person hunting for this idea can find it too.
Save this pinKeep going
More ideas worth saving while you have the tape measure out.