Study Desk Decor · How-To
15 Steps To Style Study Desk Wall Decor Properly

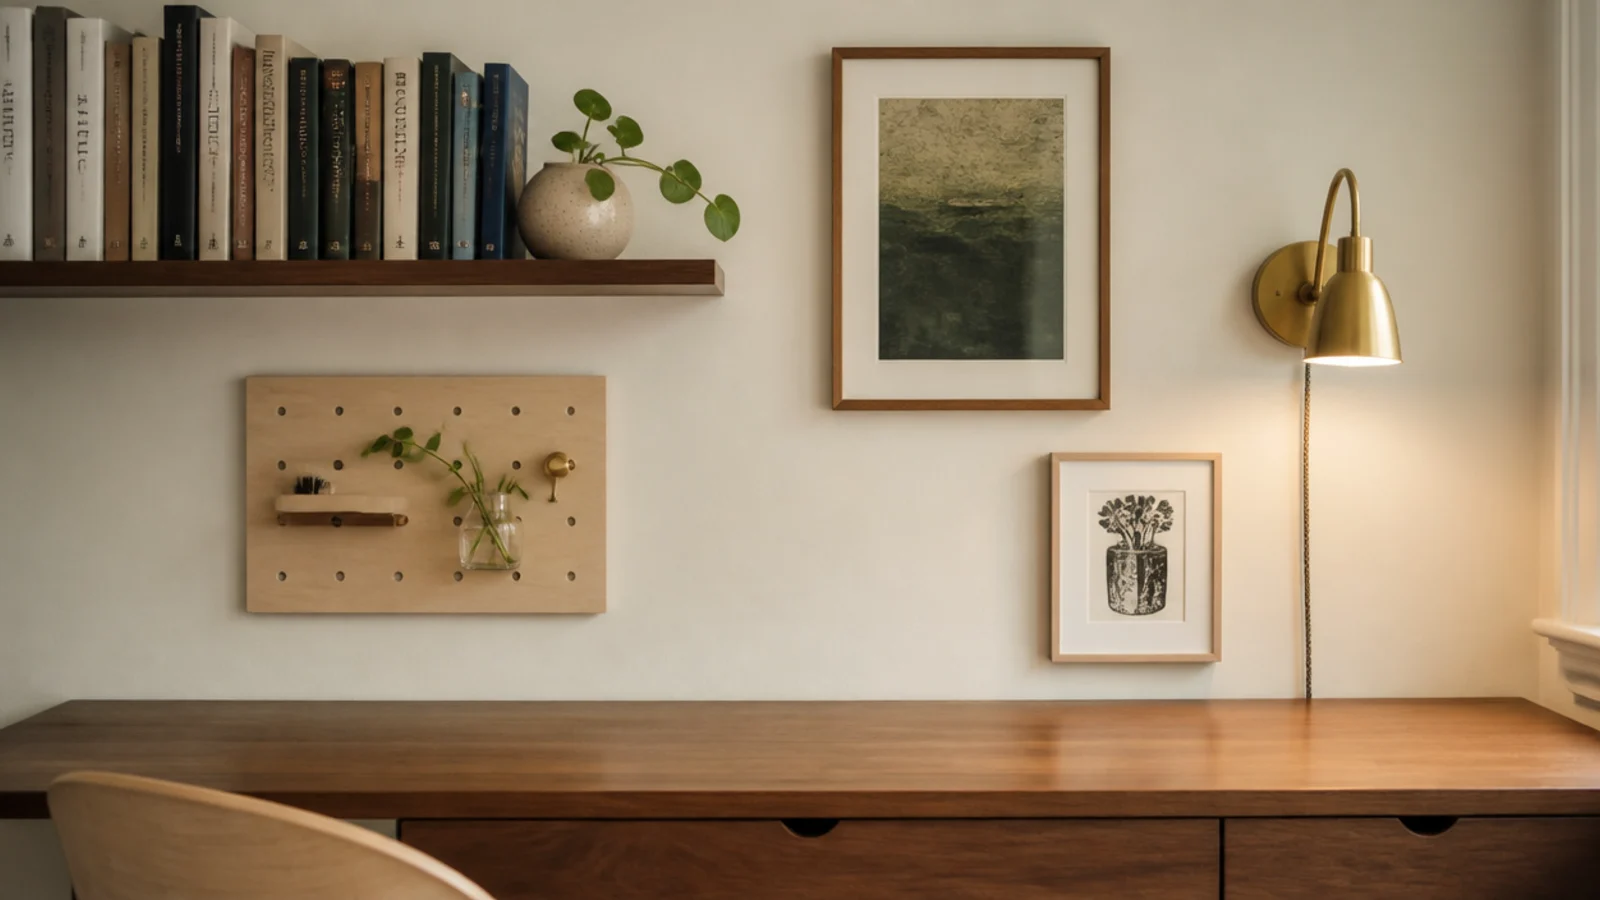
Study desk wall decor goes wrong in the order it gets done. Most people hang the frames first because those are the fun part, then discover the shelf has to go exactly where a frame already is. Working from the fixed things outward saves an afternoon of filler. This is the sequence I use: measure from the chair, find the studs, fix the shelf, then fill in around it and light the whole thing last. Fifteen steps, one evening, and every height taken from the desk surface rather than the floor.
In this guide18 sections — tap to openHide
- 1.What You'll Need For Study Desk Wall Decor
- 2.Step 1: Sit down and mark the head line
- 3.Step 2: Find the studs and mark them
- 4.Step 3: Mark the desk centre line on the wall
- 5.Step 4: Set the shelf height at twenty inches
- 6.Step 5: Fix the first shelf into studs
- 7.Step 6: Mount the pegboard on furring strips
- 8.Step 7: Hang the cork strip at ten inches
- 9.Step 8: Lay the frame group out on the floor
- 10.Step 9: Hang the frames with two-inch gaps
- 11.Step 10: Fit the wall lamp above the working side
- 12.Step 11: Hide a strip light under the shelf
- 13.Step 12: Run the cables in a painted channel
- 14.Step 13: Add the peg rail and the wall pocket
- 15.Step 14: Style the shelf at two heights only
- 16.Step 15: Sit down and check every sightline
- 17.Pro Styling Rules
- 18.Mistakes to Skip
What You'll Need For Study Desk Wall Decor
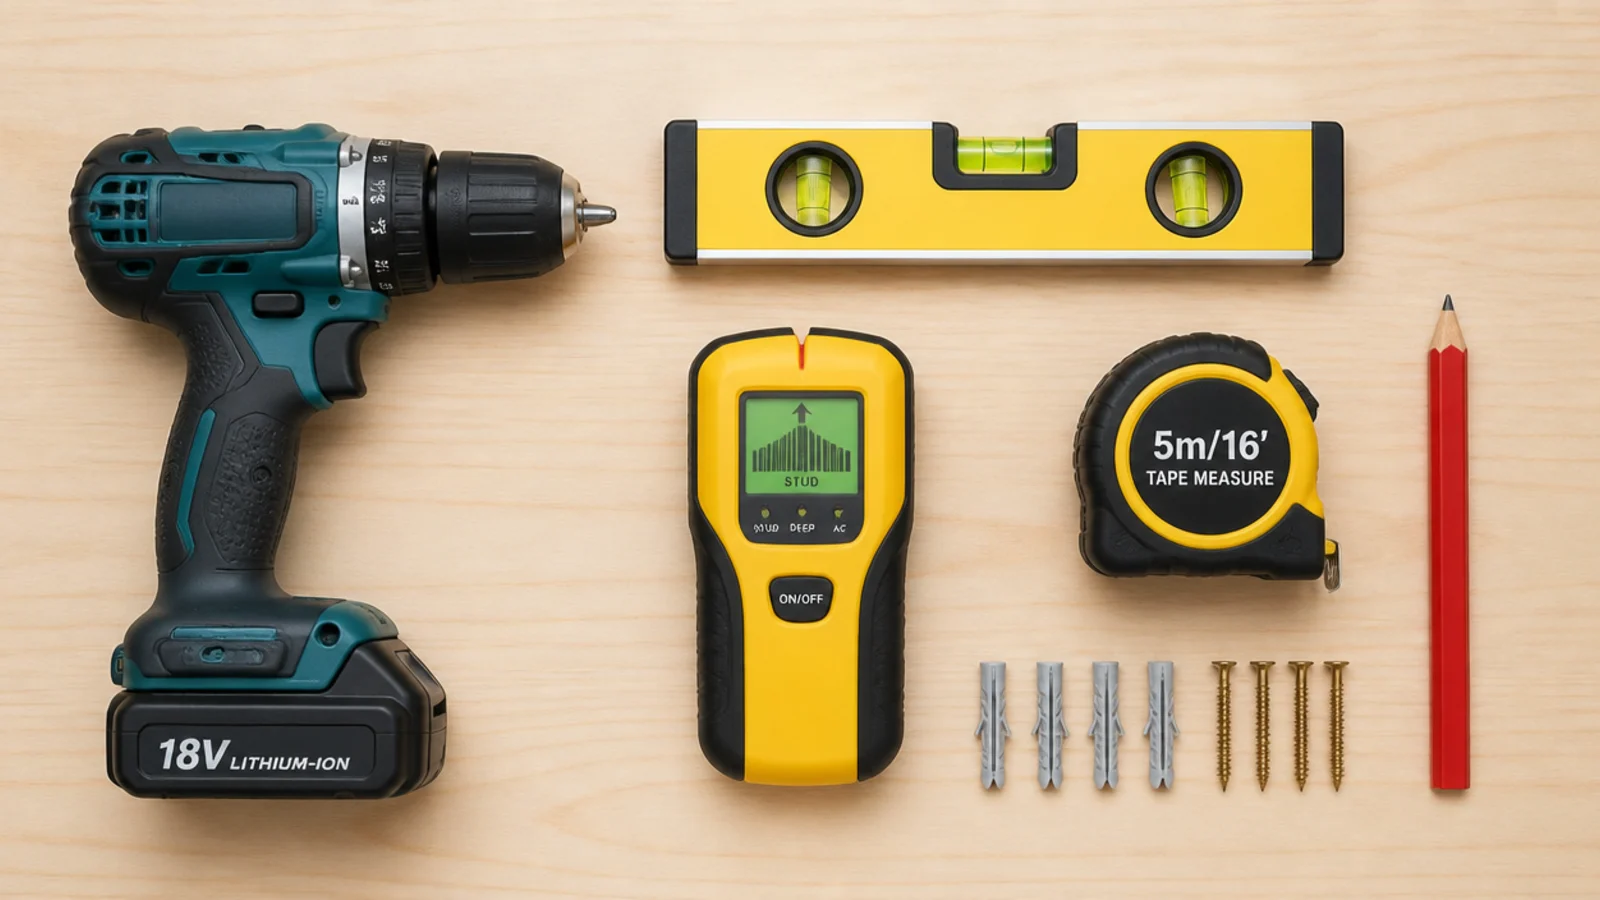
Nothing here is specialist. The stud finder is the one item worth not borrowing, because it decides whether the shelf stays up.
| Item | Spec that matters | Rough cost |
|---|---|---|
| Stud finder | Deep scan mode for lath or thick plaster | $10–$25 |
| Spirit level | 24 in, or a phone app for short runs | $8–$20 |
| Shelf and brackets | 3/4 in stock, span under 32 in | $15–$40 |
| Toggle bolts | Rated 25–35 lb each in 1/2 in drywall | $6 |
| Pegboard panel | 2 x 4 ft, plus 1/2 in furring strips | $12–$25 |
| Cork strip | 6–8 in tall, desk width | $8–$12 |
| Frames | Under 1 1/2 in deep | $6–$20 each |
| Wall lamp | Plug-in swing arm, 450–800 lumens | $25–$60 |
| LED strip | 2700K, USB powered | $10–$20 |
| Cable channel | Paintable, self adhesive or screwed | $8–$15 |
Budget tiers below: $ is under $60 for shelf, cork and frames only. $$ is $60 to $150 with a pegboard and a plug-in lamp. $$$ is $150 and up once a wall cabinet and hardwired lighting are involved.
Step 1: Sit down and mark the head line
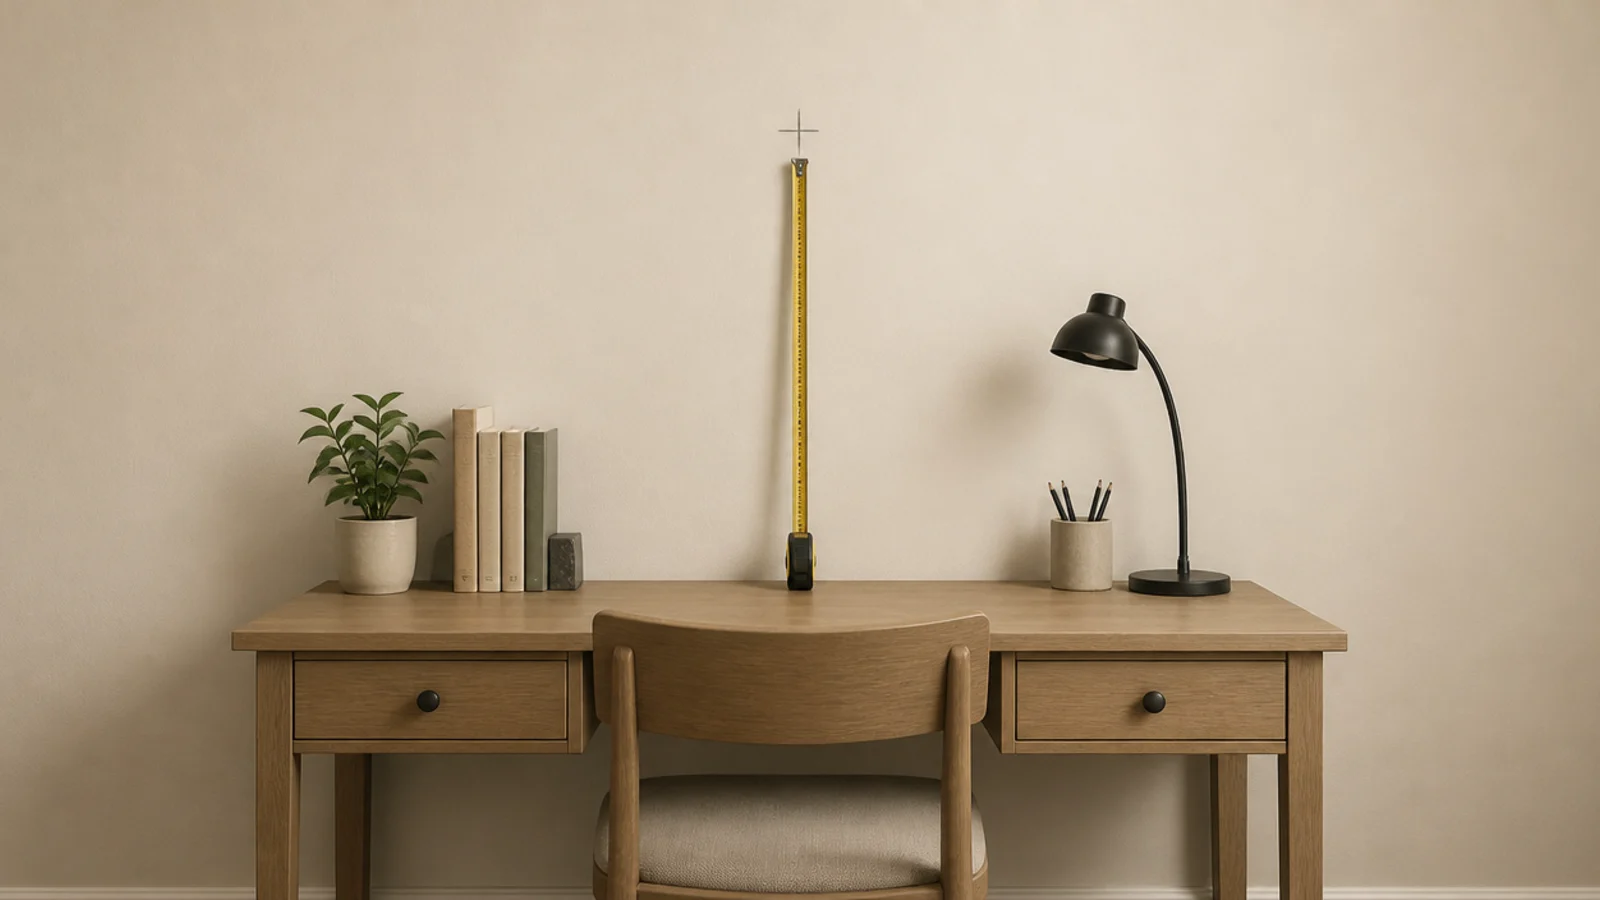
Sit in the chair you will use, at the desk you will use, and lean forward as if reading something flat on the surface. Have someone mark the wall where your forehead reaches, or reach up and mark it yourself.
That point is usually 16 to 18 inches above the desk top, and it is the lowest anything solid can go. Everything on this wall is measured up from the desk, never down from the ceiling.
Write the number on the wall in pencil. You will use it four more times.
Step 2: Find the studs and mark them
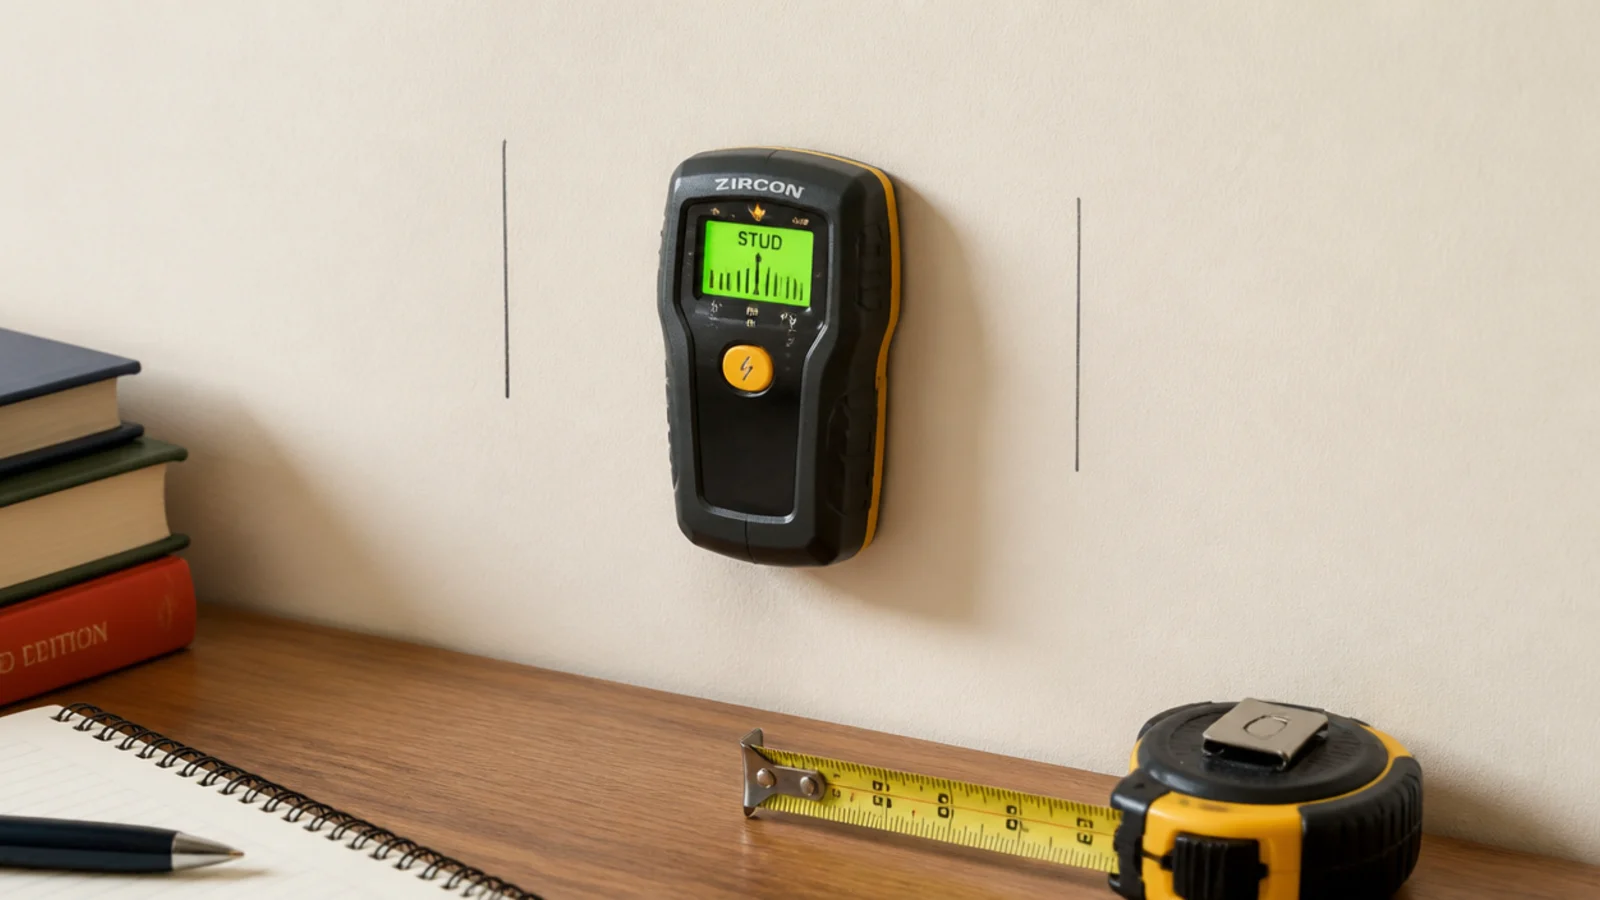
Run the stud finder across the full width of the desk wall and mark every stud edge with a light pencil line from skirting to picture rail height.
Studs sit at 16 or 24 inch centres in most homes. Once you know where they are, the shelf position is half decided for you, because a shelf carrying books wants at least one bracket into solid timber.
In older houses with lath and plaster, use the deep scan setting and confirm with a fine bradawl before drilling. $
Step 3: Mark the desk centre line on the wall
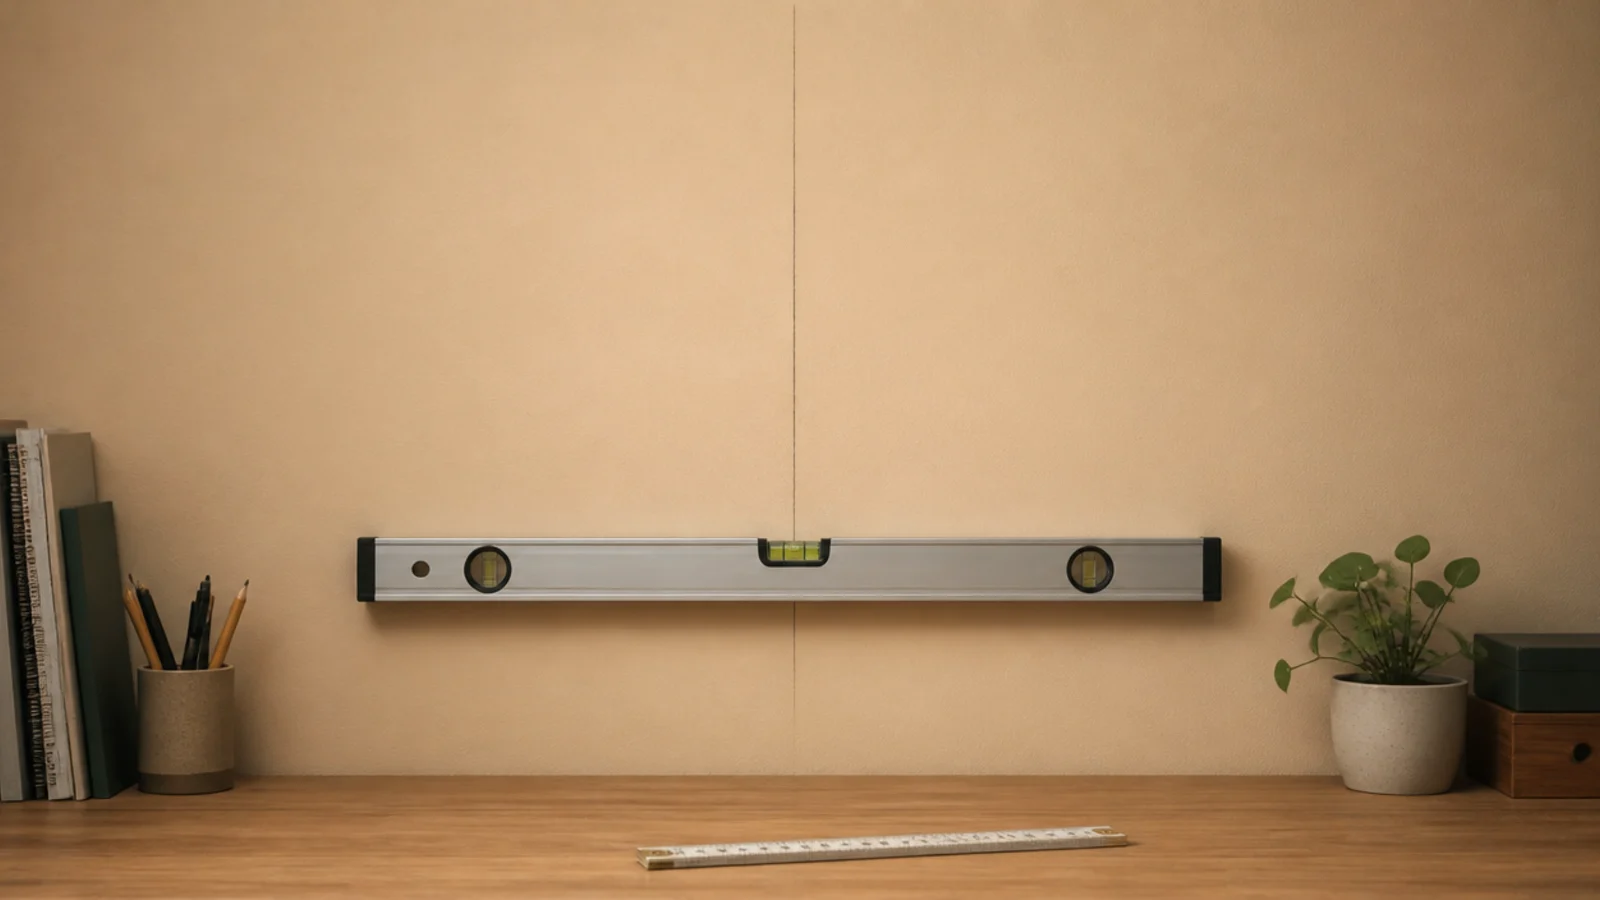
Measure the desk width, halve it, and draw a faint vertical pencil line up the wall from that point.
Every arrangement above the desk gets centred on this line rather than on the wall. A group centred on the wall but sitting 8 inches off the desk looks wrong even when every gap is perfect, because the eye reads the desk and the wall above it as one block.
If the desk is off-centre in the room, the wall arrangement should be too.
Step 4: Set the shelf height at twenty inches
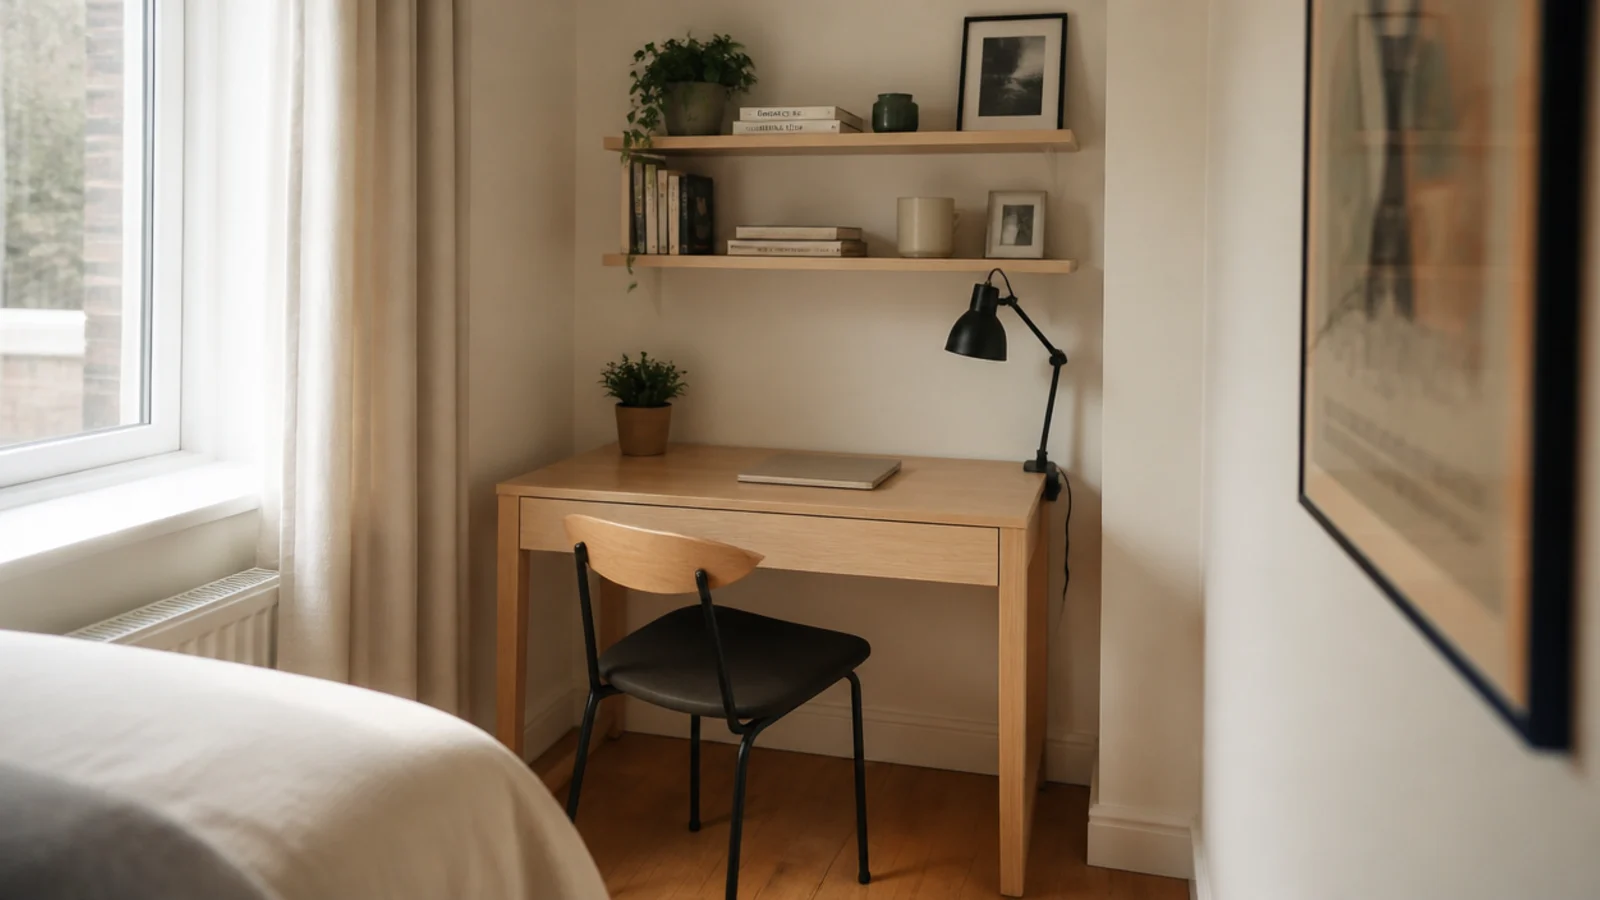
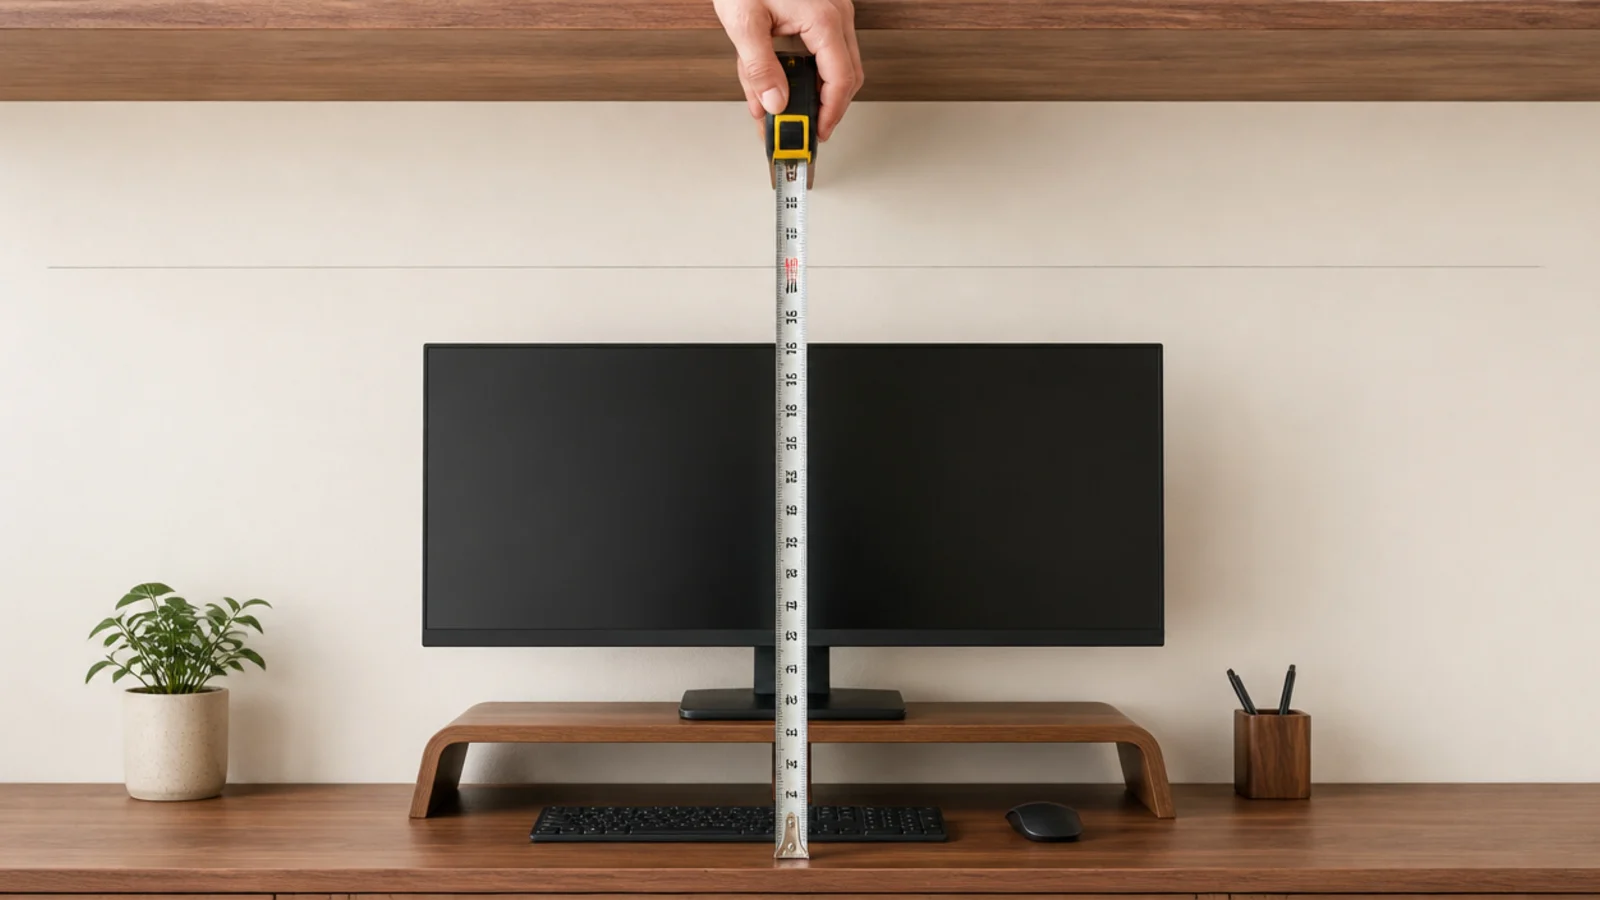
Measure 20 inches up from the desk top and mark a level line for the underside of the shelf.
Eighteen inches is the minimum, and it works only if the desk is laptop-only. Twenty clears a monitor sitting on a riser and still lets you reach the shelf without standing. Twenty-four is the upper limit before the shelf becomes storage you need to get up for.
Keep the shelf 8 to 10 inches deep. Deeper than that and it looms over the working surface and casts shadow onto it.
Step 5: Fix the first shelf into studs
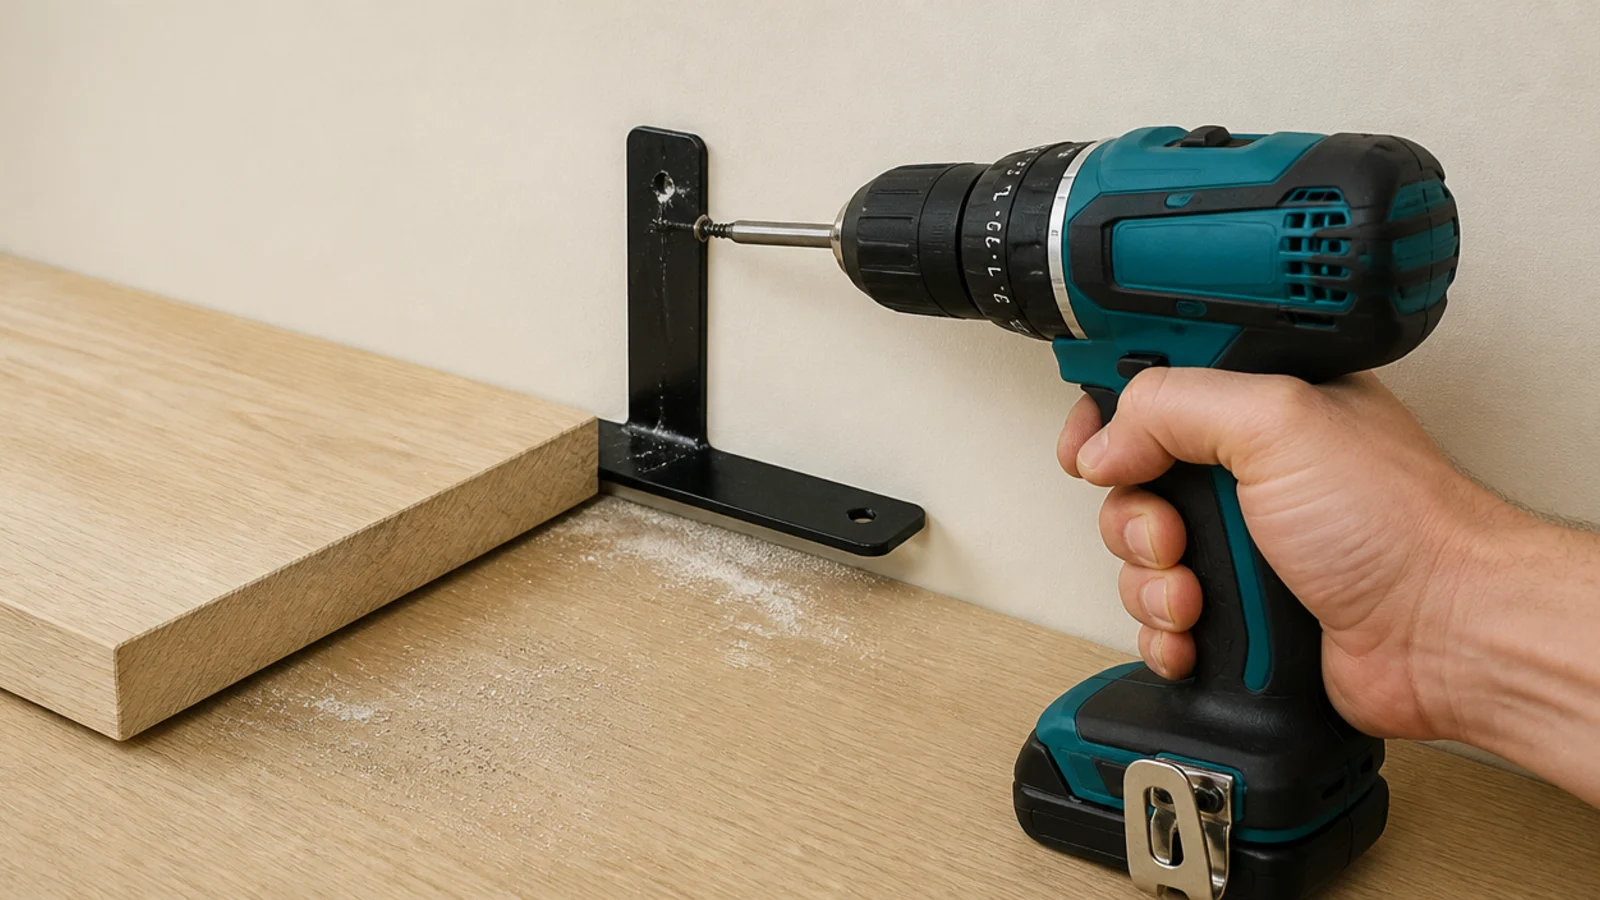
Mount the brackets on the marked studs, check the level across both, then screw the board down onto them.
If the stud spacing does not suit, use toggle bolts rated 25 to 35 pounds each in half inch drywall — but never plastic plugs alone for anything holding books. A 30 inch shelf of hardbacks is carrying 50 pounds or more.
Keep the unsupported span under 32 inches, or glue a 3/4 by 1 inch solid lip along the front edge to stiffen it. $
Step 6: Mount the pegboard on furring strips
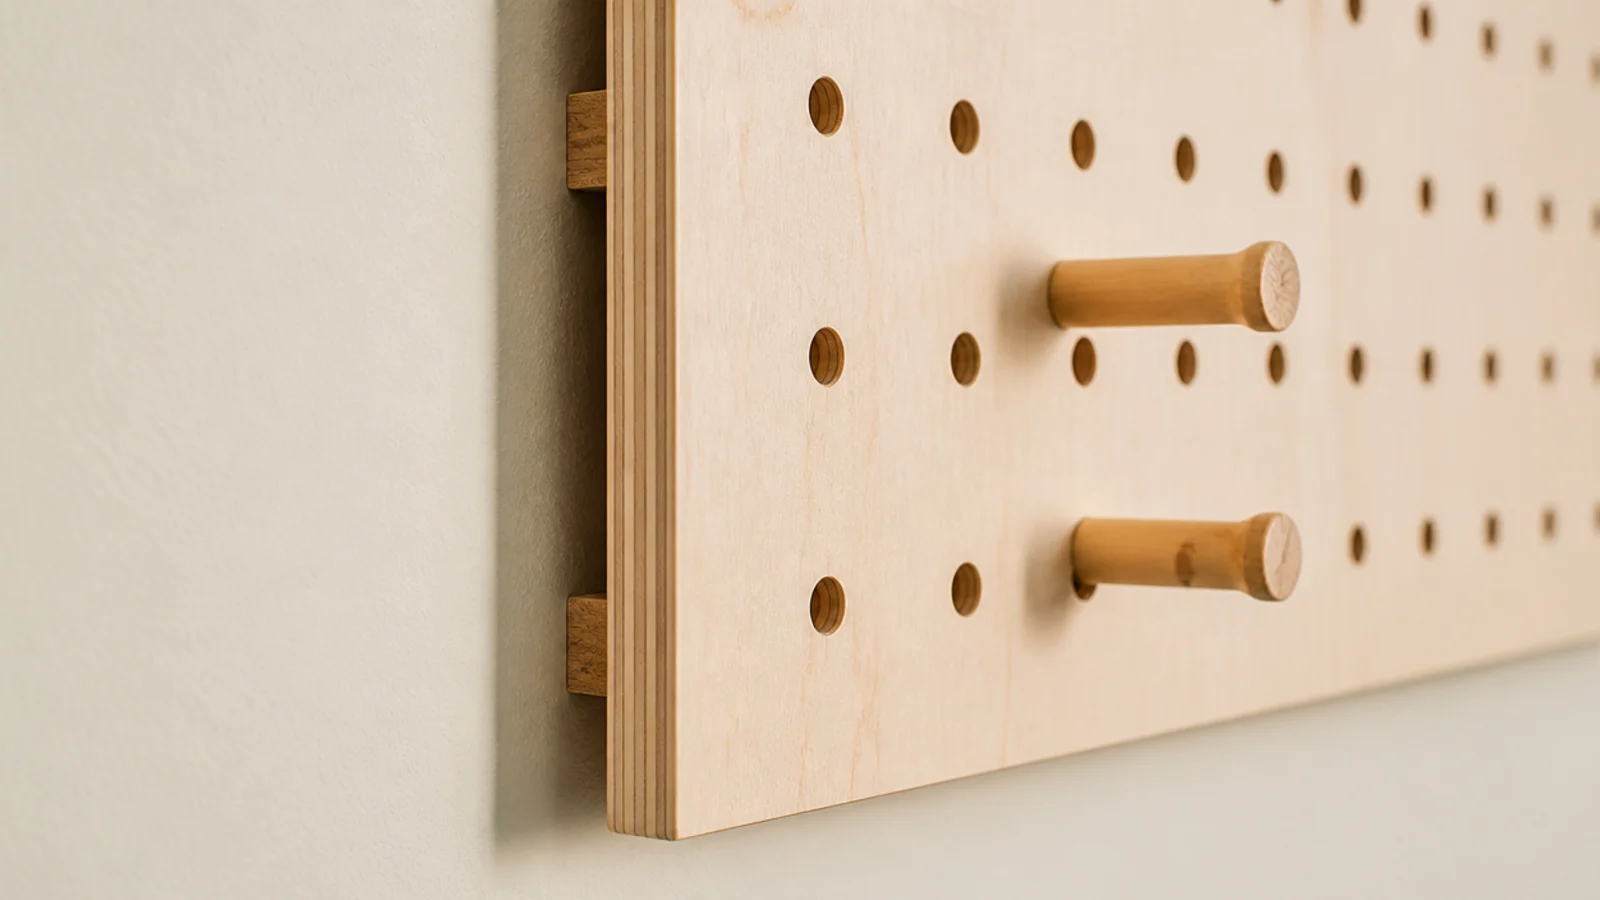
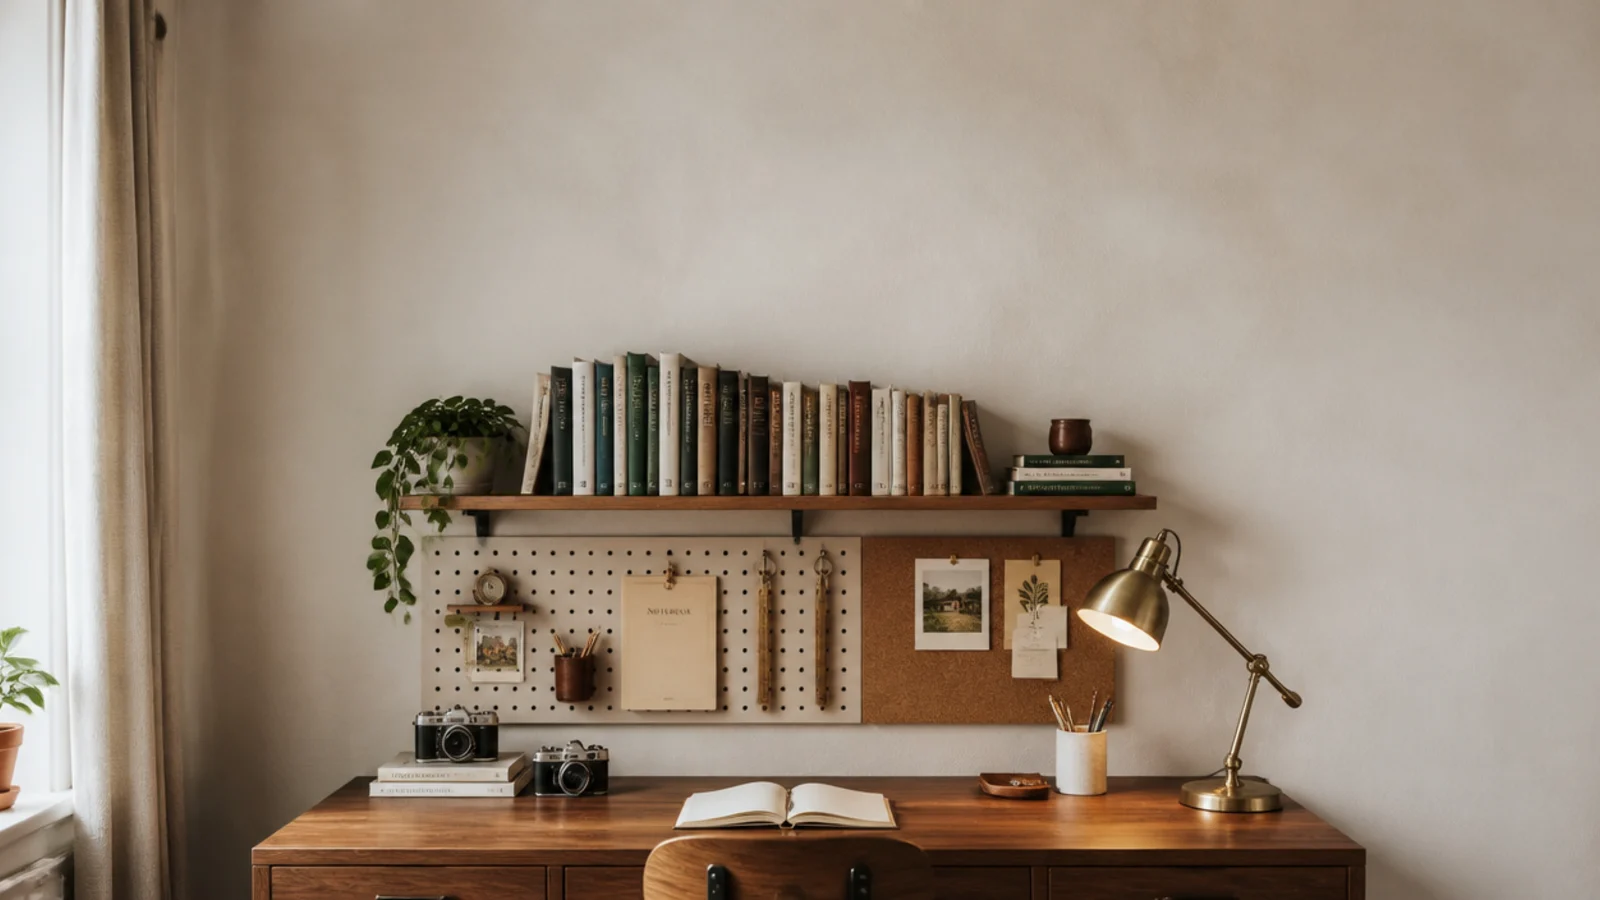
Screw half inch battens to the wall first, then fix the pegboard to the battens. Hooks need that air gap behind the board to seat properly, and a board screwed flat to plaster is useless.
Leave 12 to 16 inches of clear wall between the desk top and the bottom edge, so hooks and hanging pouches stay out of your elbow path.
A 2 by 4 foot panel takes scissors, headphones, tape, rulers and a pouch — most of what would otherwise live on the desk. $$
Step 7: Hang the cork strip at ten inches
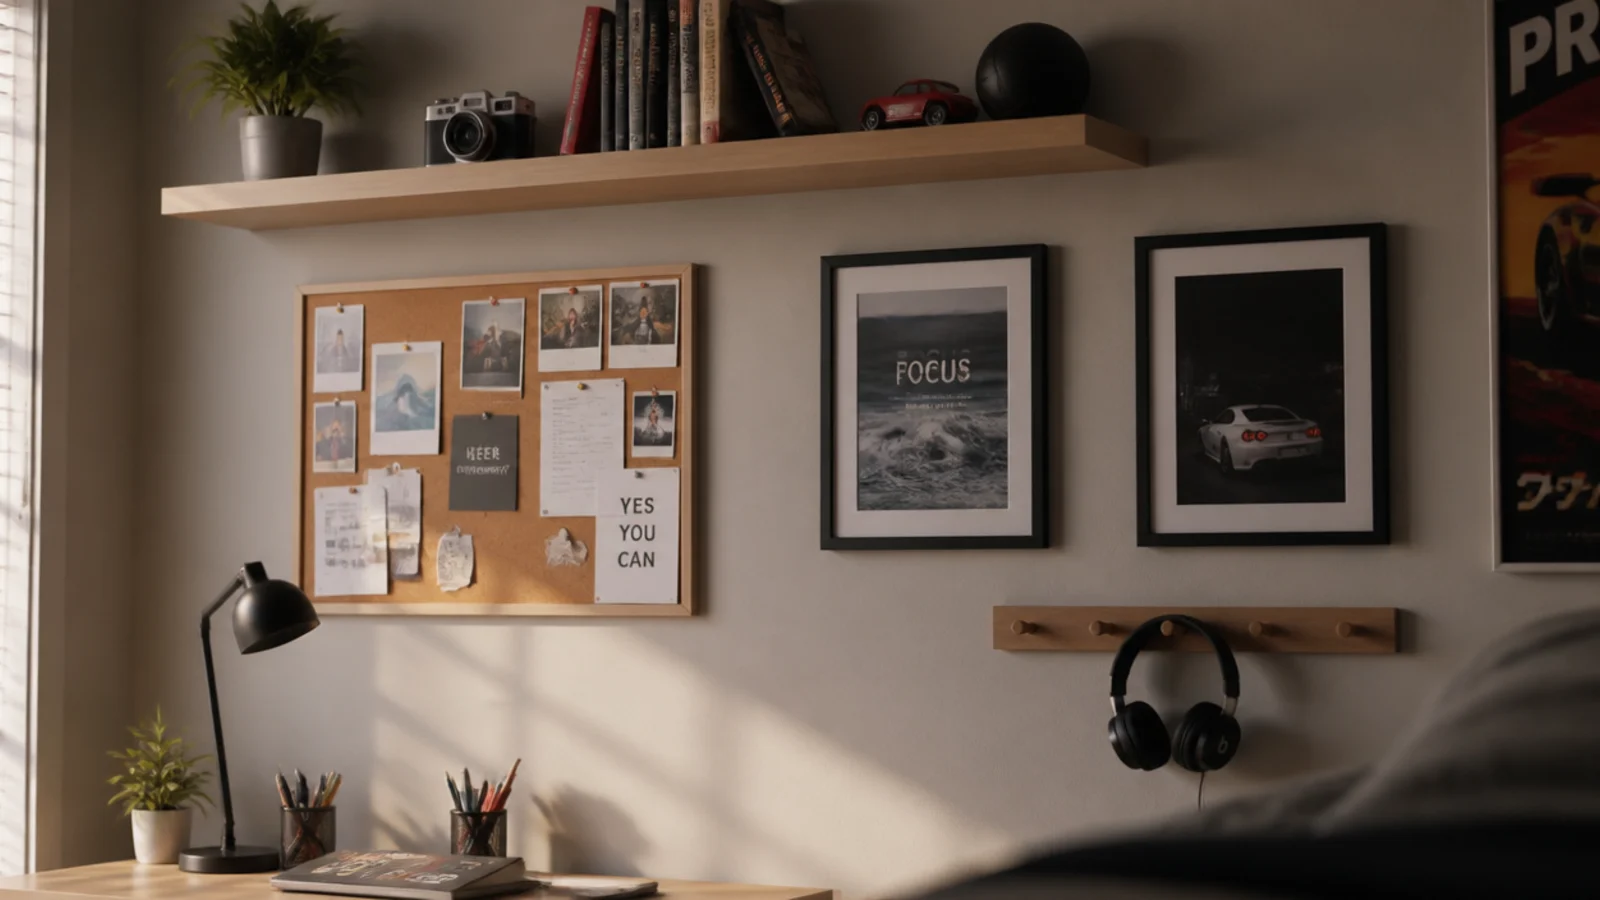
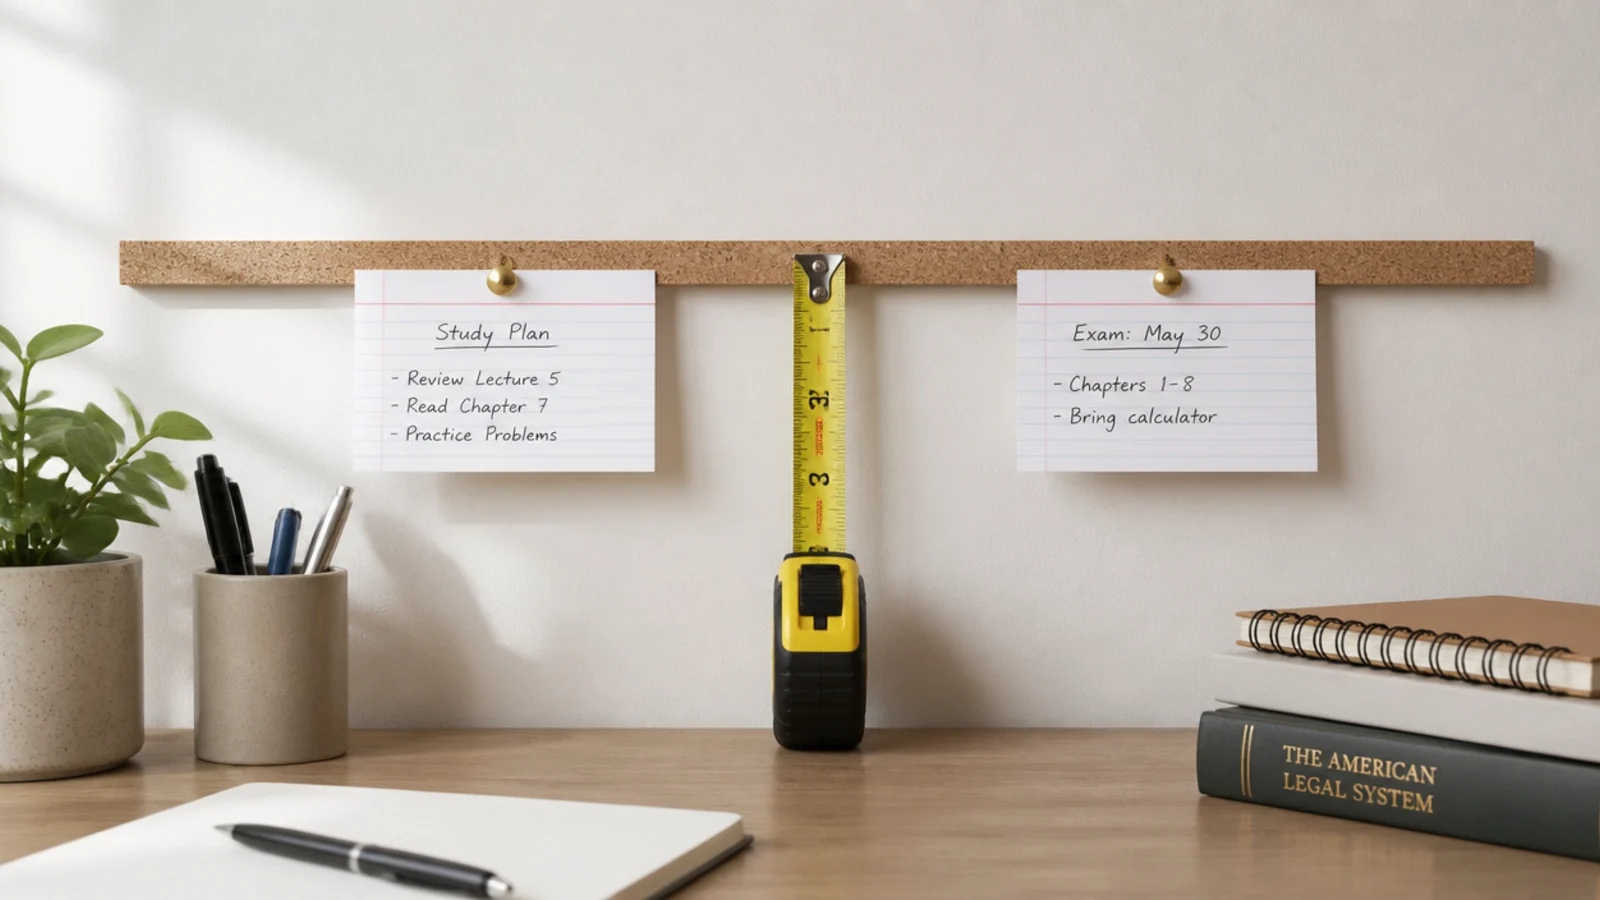
A strip 6 to 8 inches tall goes lower than everything else, roughly 10 to 12 inches above the desk, so you can pin to it without leaving the chair.
Keep it small on purpose. It holds the timetable and the current deadlines. A full-size board fills with birthday cards inside a month and stops carrying any information you actually need.
Adhesive strips are fine here, since a cork strip weighs under two pounds. Press for thirty seconds and leave it an hour before pinning.
Step 8: Lay the frame group out on the floor
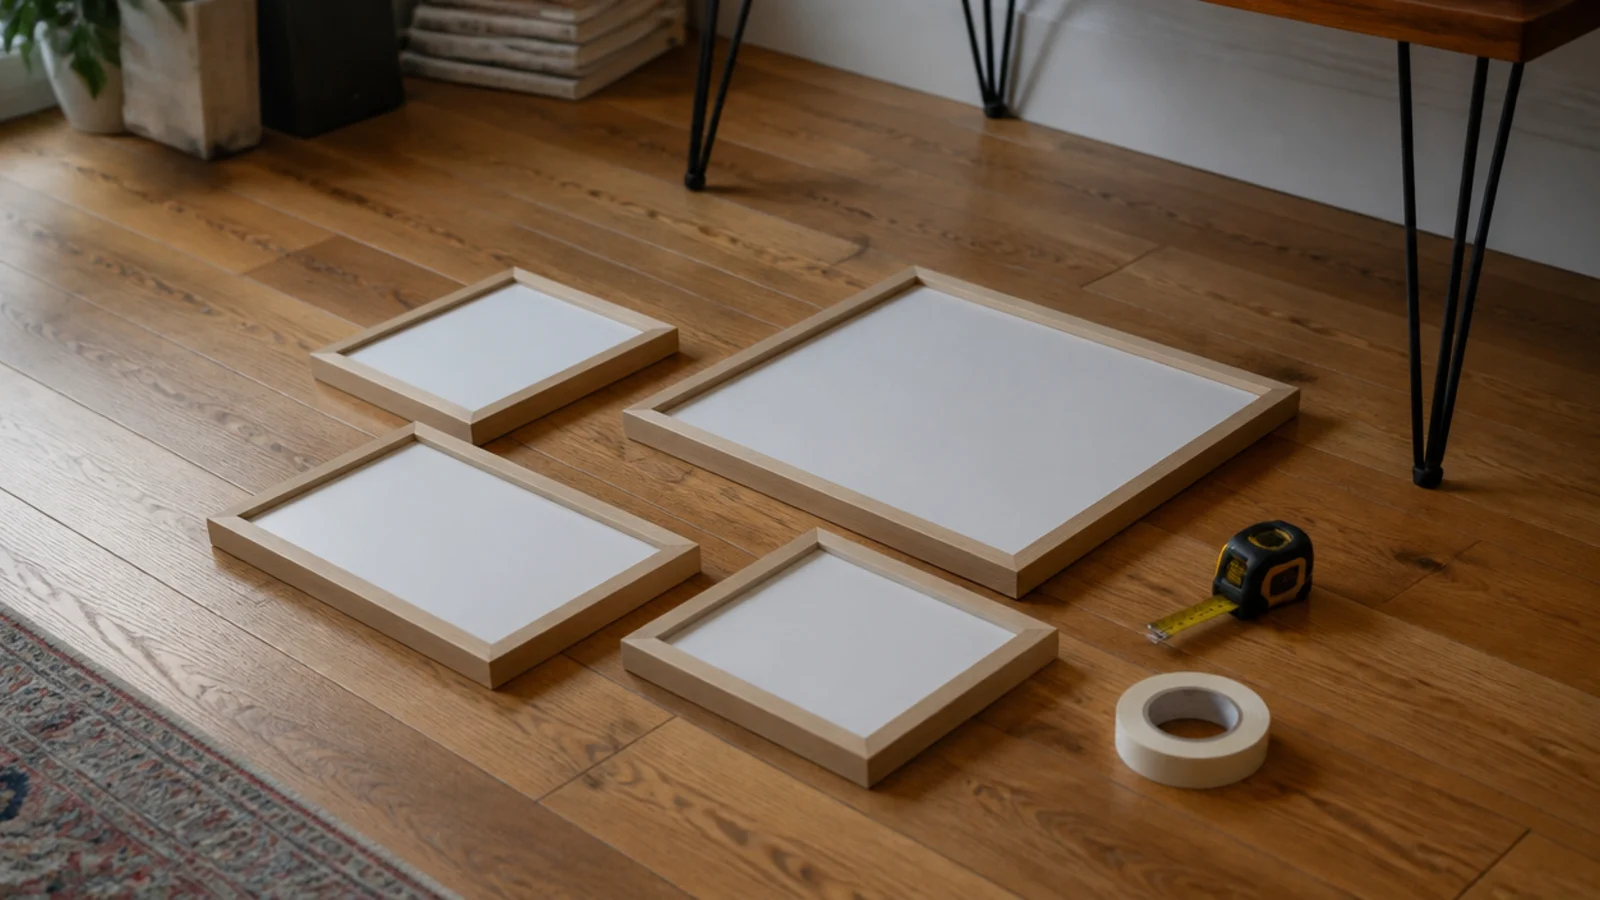
Put the frames on the floor in the same footprint as the wall space you have left, and move them around until the group reads as one rectangle.
Two inches between frames for a tight grid, three for a looser cluster, and the same gap everywhere. Even spacing is what makes separate pieces read as a single arrangement.
Photograph the layout before you pick anything up. It is much easier to copy a photo onto a wall than to remember an arrangement.
Step 9: Hang the frames with two-inch gaps
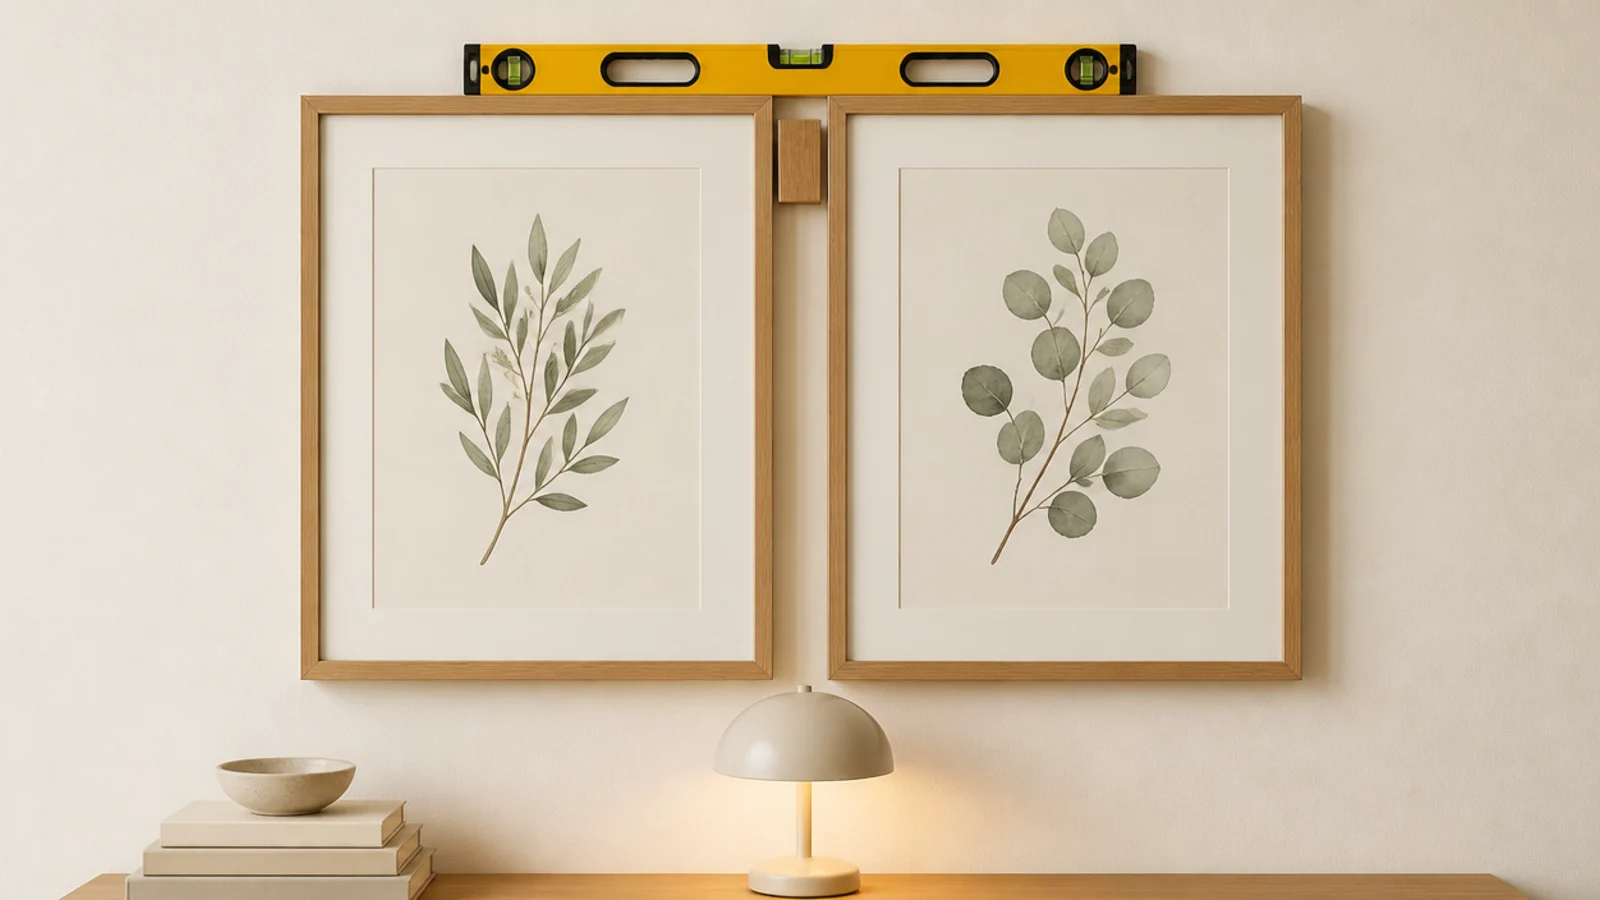
Transfer the layout to the wall, working outward from the centre line. Use a scrap of timber cut to your gap width as a spacer rather than measuring each time.
Keep the bottom edge of the lowest frame at least 10 to 12 inches above the desk so a lamp head or a standing book does not overlap it.
Frames under 1 1/2 inches deep are worth seeking out here, because anything chunkier catches you as you stand up out of the chair.
Step 10: Fit the wall lamp above the working side
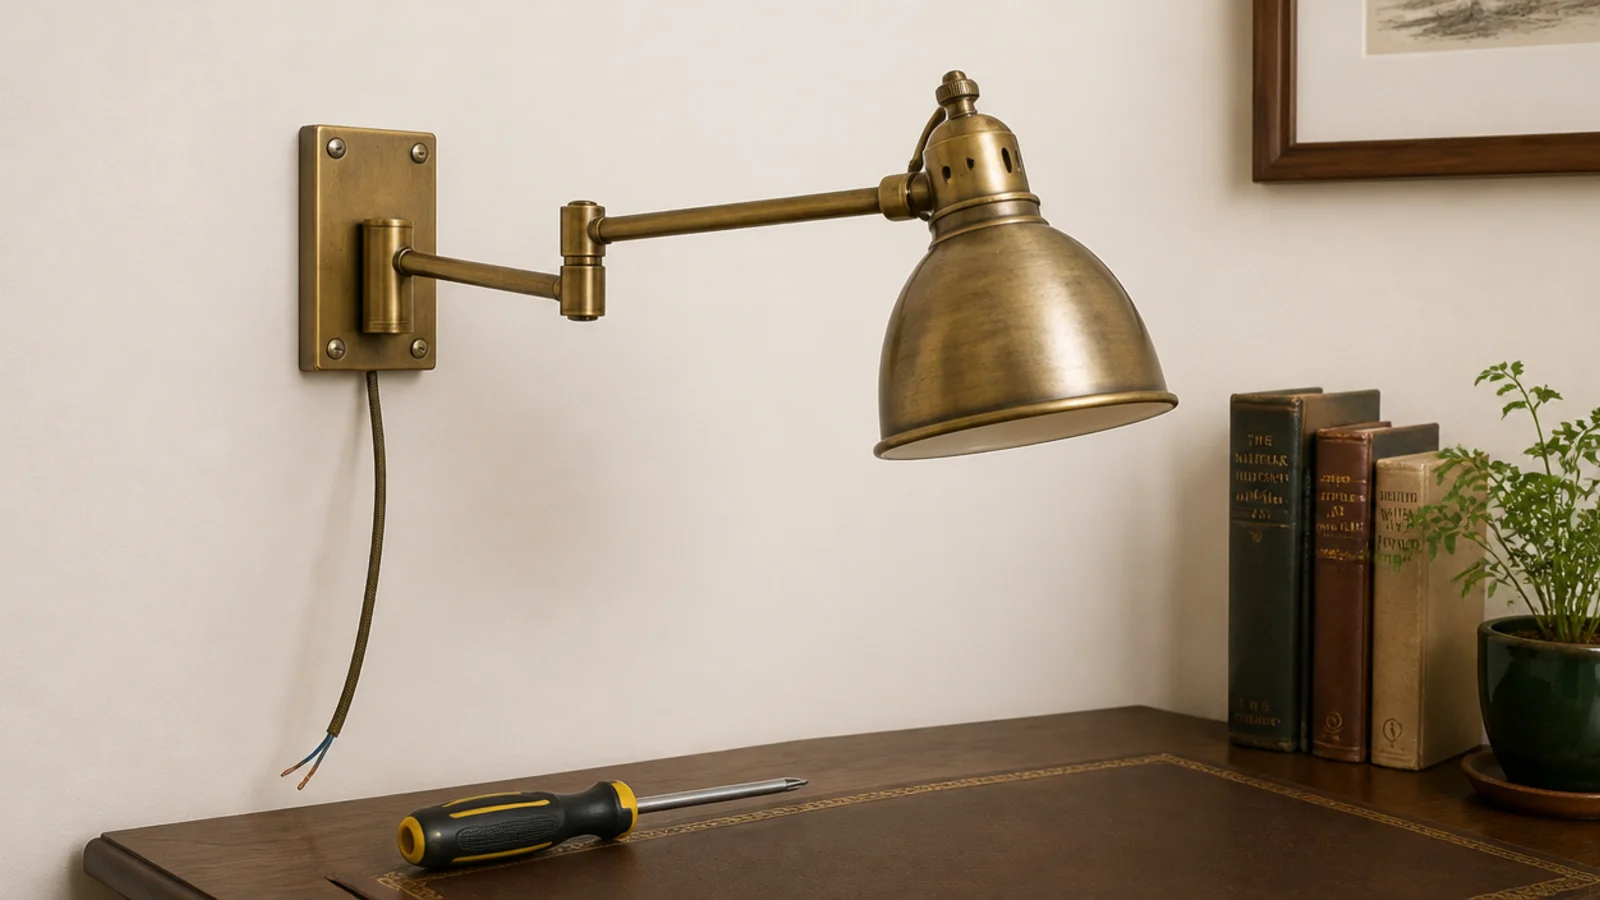
The lamp goes above the side opposite your writing hand — left for a right-hander — so no shadow falls across the page.
Mount a swing arm 15 to 20 inches above the desk surface. Higher and it lights the wall rather than the work. Aim for 450 to 800 lumens at 4000K for daytime, or a lamp with switchable temperature so it can drop to 2700K at night.
Plug-in versions need no electrician and suit a rental. $$
Step 11: Hide a strip light under the shelf
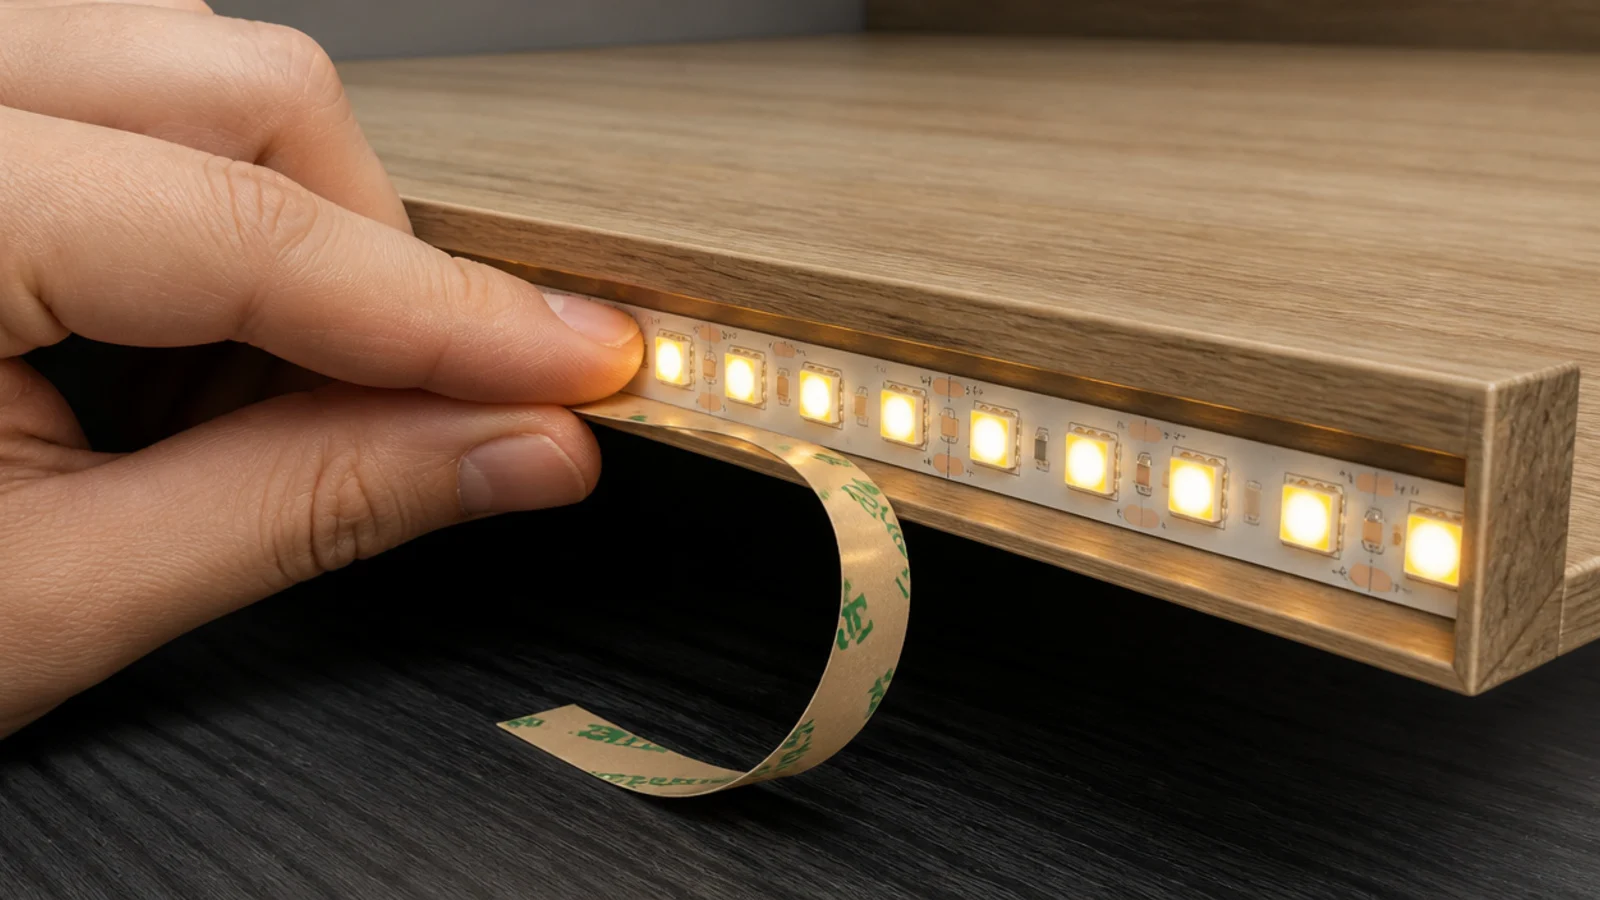
Press a warm LED strip into the inside face of the shelf front lip so the light washes down the wall and onto the desk without the strip ever appearing in your eyeline.
This is the piece that makes the wall feel finished at night, and it costs $10 to $20 from a USB port.
Keep it dim — around a tenth of your screen brightness. The job is to lift the wall behind the monitor, not to light the room.
Step 12: Run the cables in a painted channel
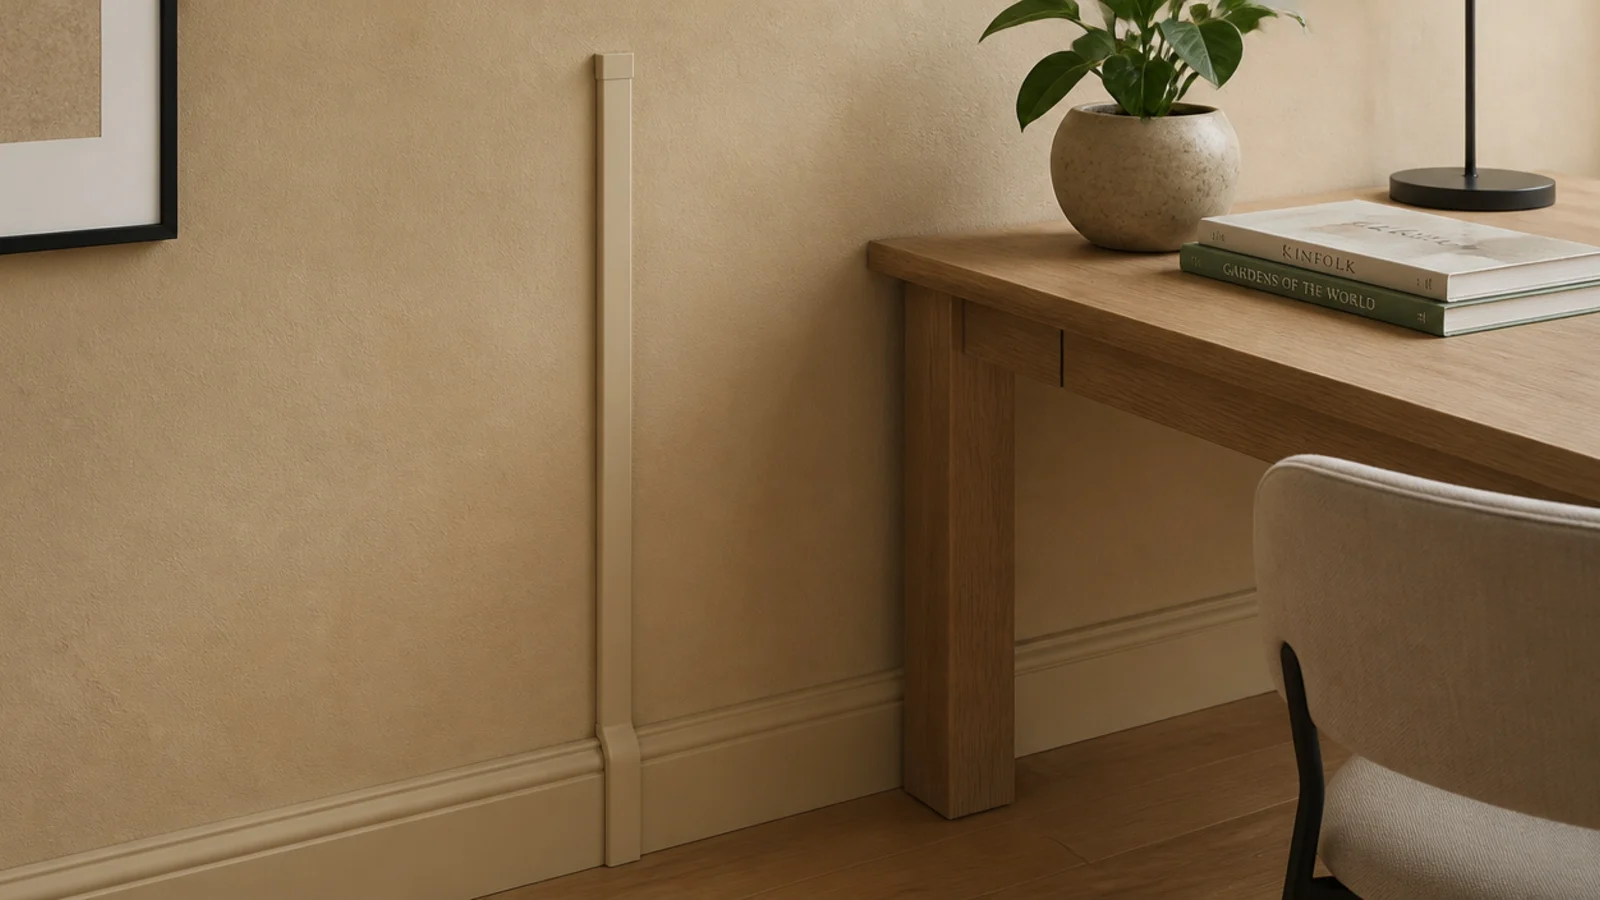
Take the lamp cord and any monitor lead up the wall in one straight surface channel, then paint it the exact wall colour and sheen.
From two feet away it disappears. It is far tidier than a run of clips, it is completely reversible in a rental with a little filler, and it stops cords looping across the desk surface.
Never run a lead behind a shelf where you cannot inspect it, and never under a rug.
Step 13: Add the peg rail and the wall pocket
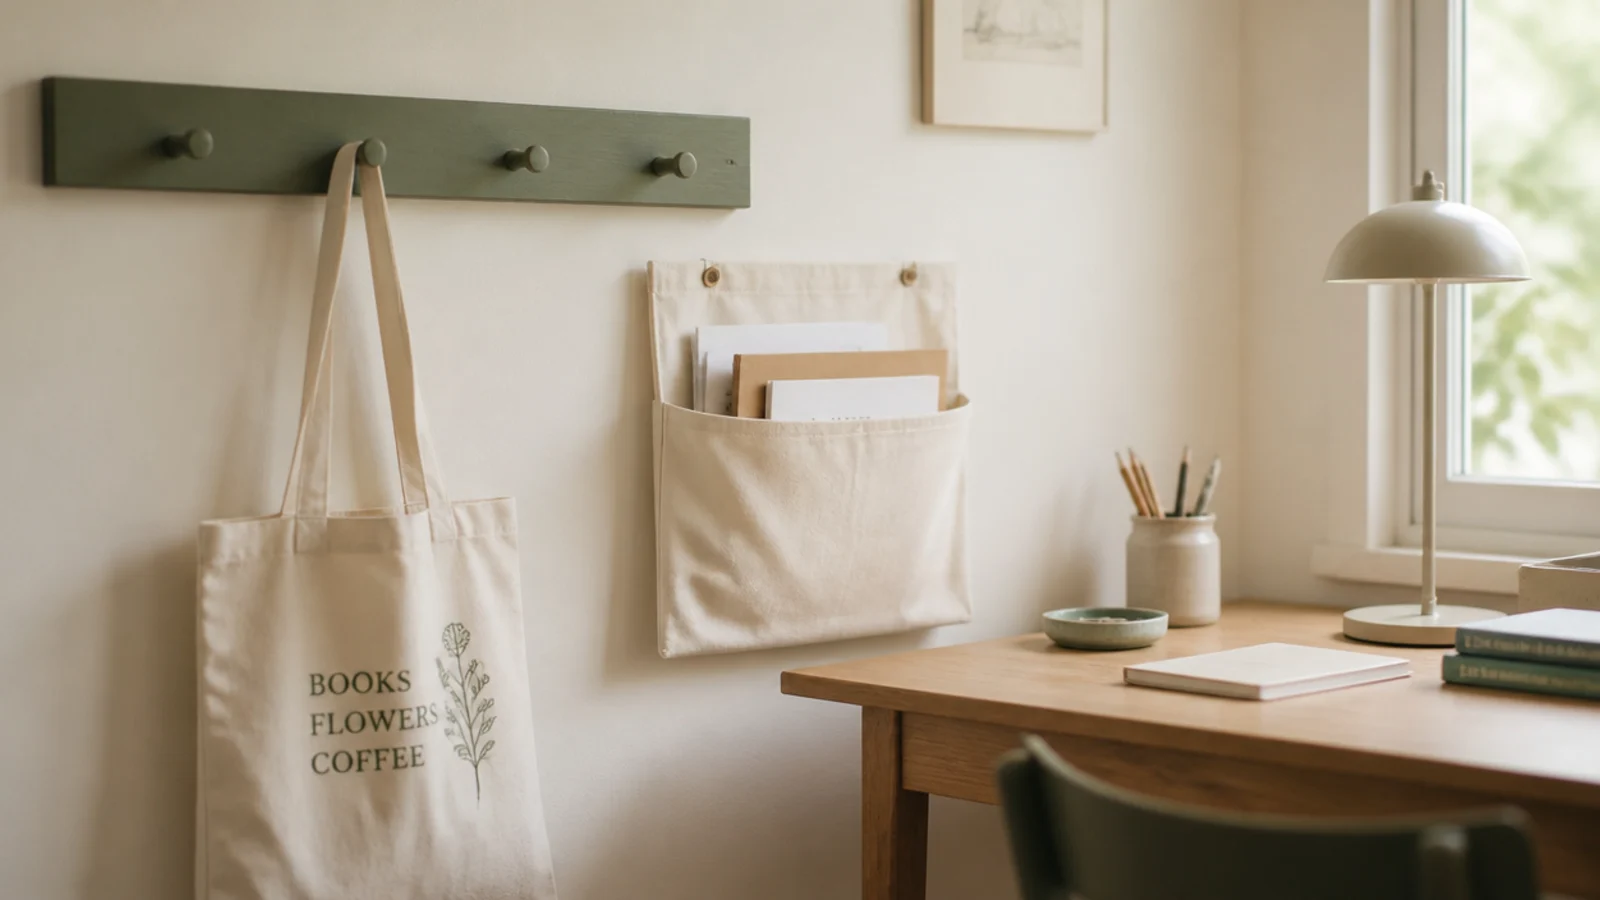
A peg rail with 6 inch spacing takes the bag and the headphones off the chair back. A canvas wall pocket beside the desk holds only the paper that is live this week.
Both should go outside the frame arrangement rather than inside it, because they will be in constant motion and a moving object inside a still composition looks like a mistake.
Fix the peg rail into a stud at each end. A loaded school bag is 15 pounds hanging off one peg.
Step 14: Style the shelf at two heights only
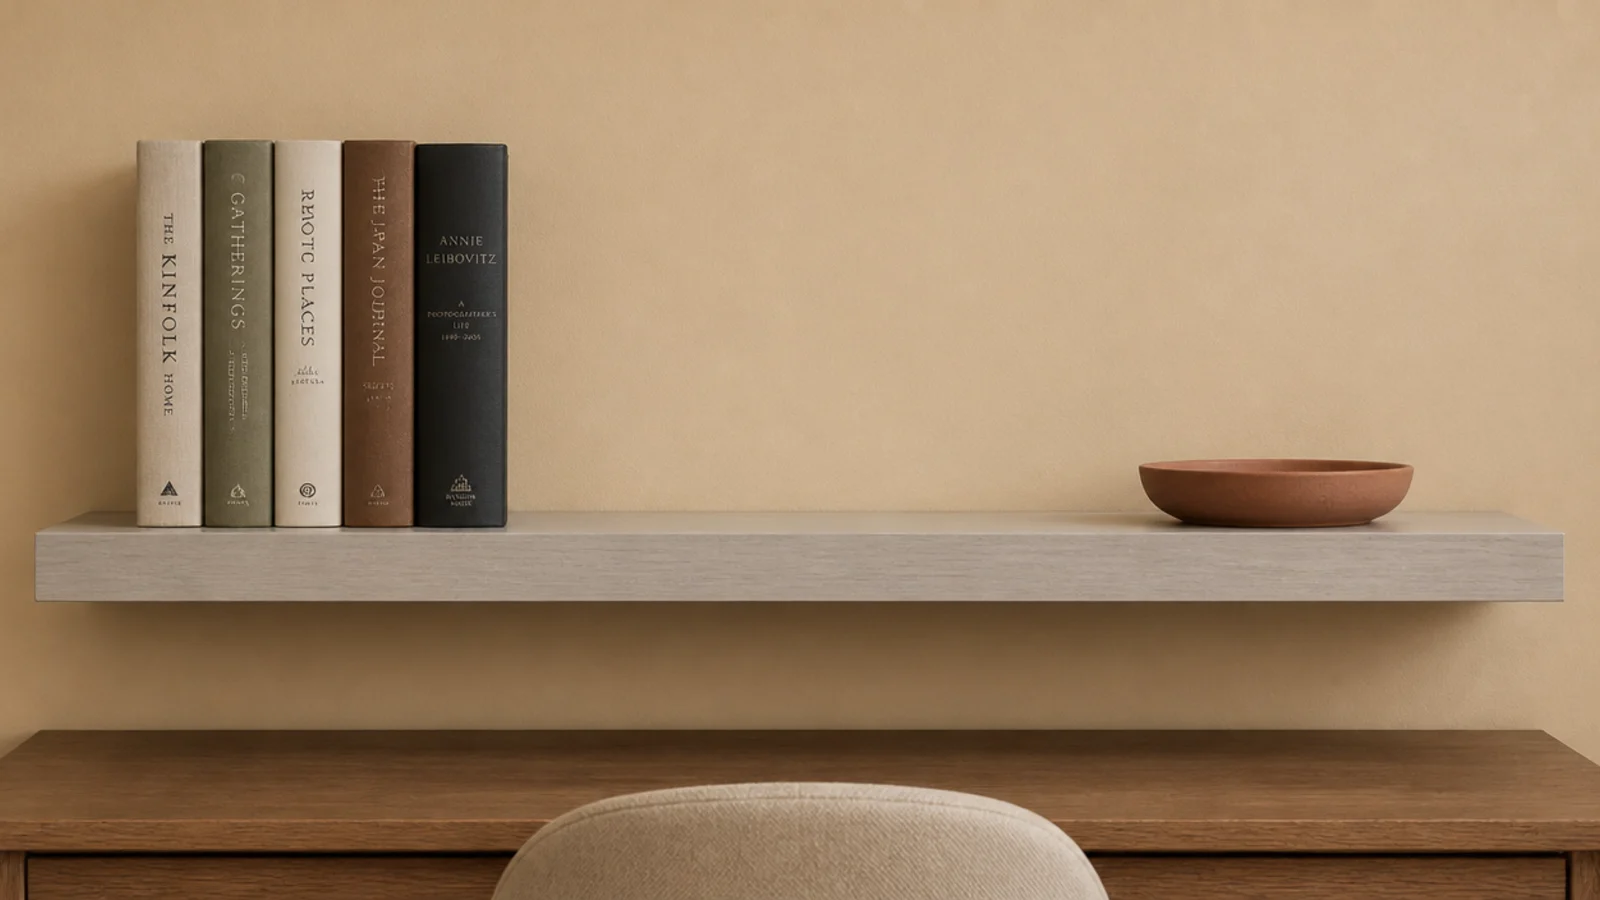
Books upright at one end, one flat object at the other, and about a third of the length left empty.
Two heights on a 9 inch deep shelf reads as composed. Three heights reads as clutter from a seated position, which is the only position that matters here.
Repeat the desk timber once on the wall if you can — a shelf, a frame or a peg rail in the same tone is what ties the desk and the wall into one composition. $
Step 15: Sit down and check every sightline
Turn the lamp on, turn the room light off, and sit down. Look at the dark screen and find every reflection.
Anything you can see reflected — the lamp bulb, the strip light, a window — is in the wrong place, and moving it is a two minute job now and a filler job later. Check that the shelf clears your head when you lean forward, and that you can reach the cork strip without standing.
Then take a photo from the doorway and fix whatever it shows.
Pro Styling Rules
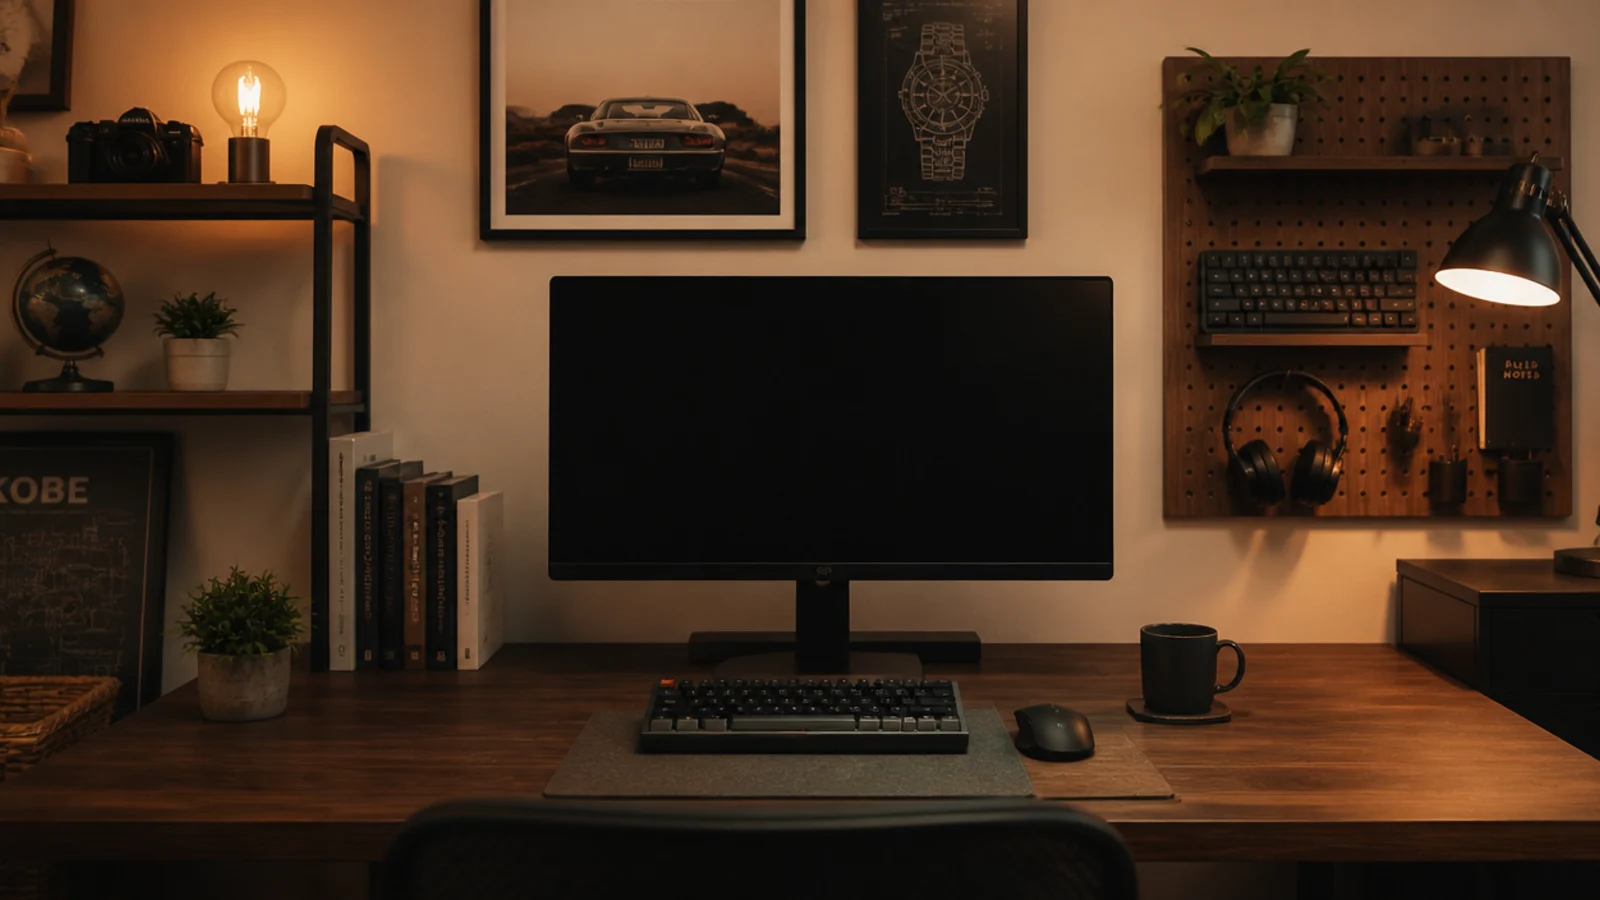
For layouts rather than sequence, the study table wall decor ideas cover twenty-five arrangements with their heights, and the wall decor study room desk ideas go wider on whole-room walls. Floating shelf ideas handle brackets and load properly, and the bedroom hanging lights guide covers the ceiling fixture this task lighting works alongside.
Mistakes to Skip
- Hanging the frames before fixing the shelf. The shelf position is decided by studs and by your head, and the frames will have to move around it every time.
- Marking heights while standing up. Every measurement on a desk wall should be taken from the chair, because that is where you will spend the next two thousand hours.
- Fixing a book shelf to plastic wall plugs. Books run 20 to 25 pounds per linear foot and the failure happens at night, onto whatever is on the desk.
- Putting a spotlight or downlight directly above the desk. It reflects off the screen from almost every seated position and no amount of tilting the monitor will fix it.
Frequently asked questions
What order should I hang things above a desk in?
Shelves first because they are fixed into studs and cannot move, then the pegboard, then the boards and frames that fill the gaps around them. Lighting goes last, once you know where every object sits. Hanging the frames first almost always means moving them when the shelf lands.
How high above a desk should a shelf be fixed?
Eighteen to twenty-four inches from the desk top to the underside of the shelf, with twenty inches the best all round figure. That clears a monitor on a riser and still lets you reach the shelf while seated. Below eighteen inches you will hit your head leaning forward over a book.
Do I need to find studs for a shelf above a desk?
For anything holding books, yes. A linear foot of hardbacks weighs 20 to 25 pounds, so a 30 inch shelf can carry 50 or more. Studs sit at 16 or 24 inch centres. Where a stud is not available, use toggle bolts rated 25 to 35 pounds each in half inch drywall.
How do I avoid glare from wall lights on a monitor?
Keep every light source outside a thirty degree cone from your eyes to the screen, and aim light across the wall rather than at it. A strip hidden behind the front lip of a shelf washes downward and never reflects. A downlight directly above the desk almost always does.
How much of the wall should stay empty?
About a third. A study wall filled edge to edge feels loud from the chair and leaves nowhere to pin the thing you actually need this week. Leave the panel directly behind the monitor bare as well, because pattern there competes with everything on the screen.
Want more like this? Browse all 15 study desk decor guides — they all use the same measurements and budget tiers.
Pin it for later
Save this to your Study Desk Decor board
Pin it now so it is waiting for you when the tape measure comes out — and so the next person hunting for this idea can find it too.
Save this pinKeep going
More ideas worth saving while you have the tape measure out.