Teen Boy Bedroom · How-To
15 Steps To Style Teen Boy Bedroom Wall Ideas

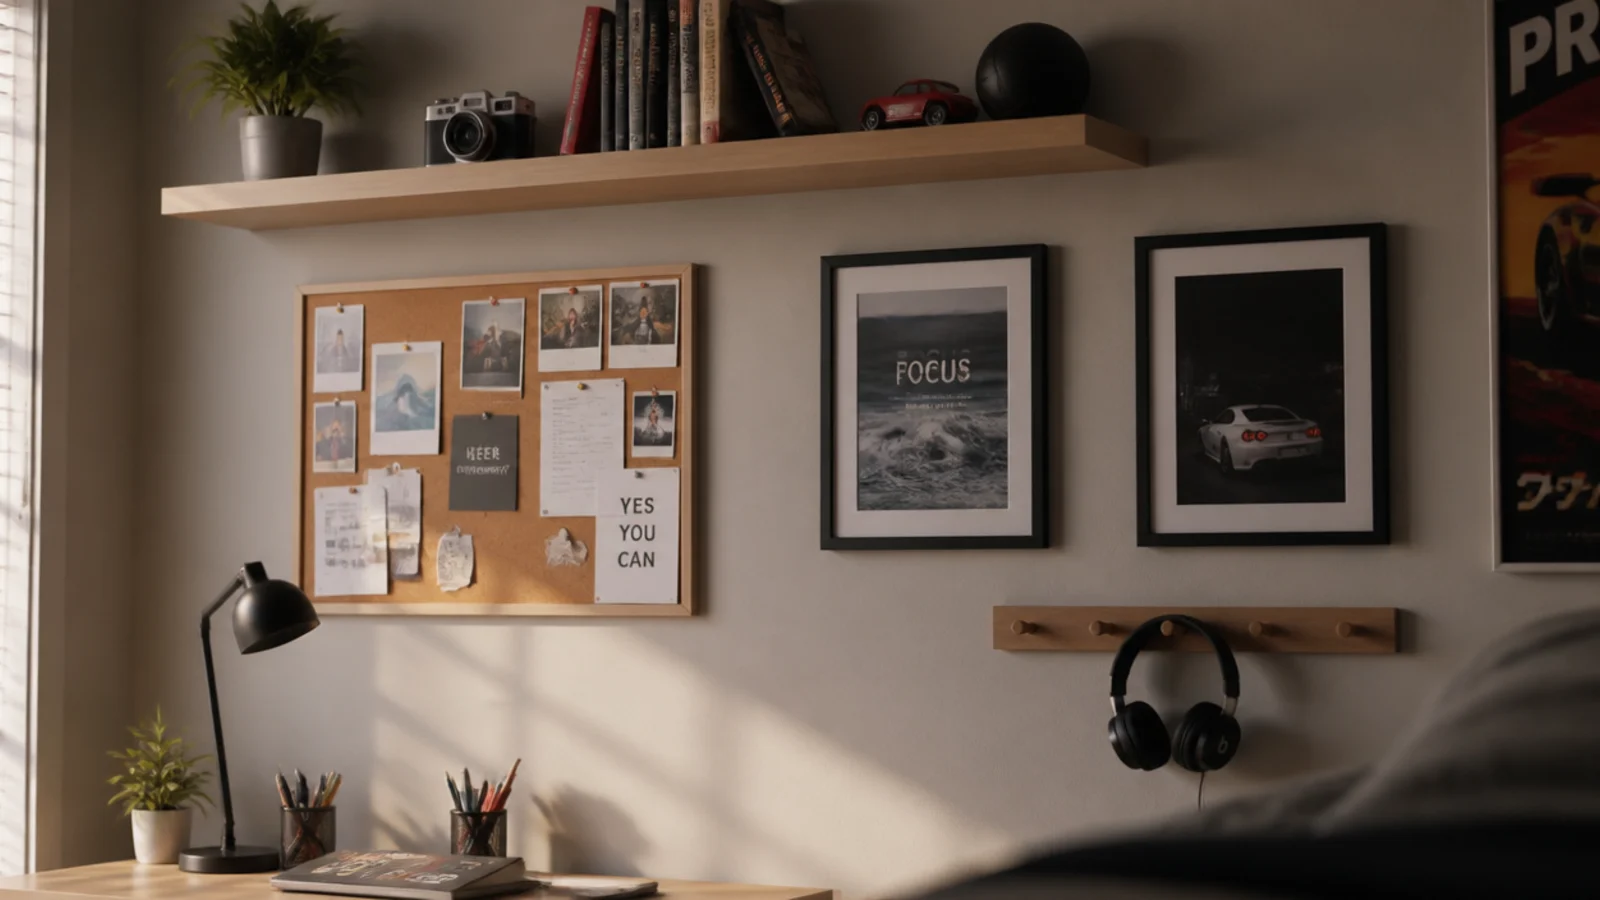
A teenage bedroom wall usually fails in one of two ways. Either everything is taped up and the paint comes off with it, or things are hung at random heights with whatever screw was in the drawer, and half of them are on the floor by spring. Both are fixable in an afternoon. Good teen boy bedroom wall ideas come down to an order of work: find the structure, set one horizontal line, match every fixing to a real weight, and only then decide what looks good. Here are fifteen steps in the order I actually do them, with the heights and load ratings that make the difference.
In this guide18 sections — tap to openHide
- 1.What You'll Need For Teen Boy Bedroom Wall Ideas
- 2.Step 1: Find and mark every stud across the wall
- 3.Step 2: Decide what the wall is for before what goes on it
- 4.Step 3: Set the centre line at fifty-seven inches
- 5.Step 4: Choose fixings by weight, not by looks
- 6.Step 5: Mount the changing surface first
- 7.Step 6: Hang the largest frame next
- 8.Step 7: Build the group outward with even gaps
- 9.Step 8: Fit the shelf above the desk
- 10.Step 9: Run the peg rail at sixty-two inches
- 11.Step 10: Put light on the wall, not just the ceiling
- 12.Step 11: Hide the cables inside the composition
- 13.Step 12: Add one soft surface for the sound
- 14.Step 13: Anchor anything tall standing against it
- 15.Step 14: Leave twenty percent of the wall bare
- 16.Step 15: Live with it a week, then adjust
- 17.Pro Styling Rules
- 18.Mistakes to Skip
What You'll Need For Teen Boy Bedroom Wall Ideas
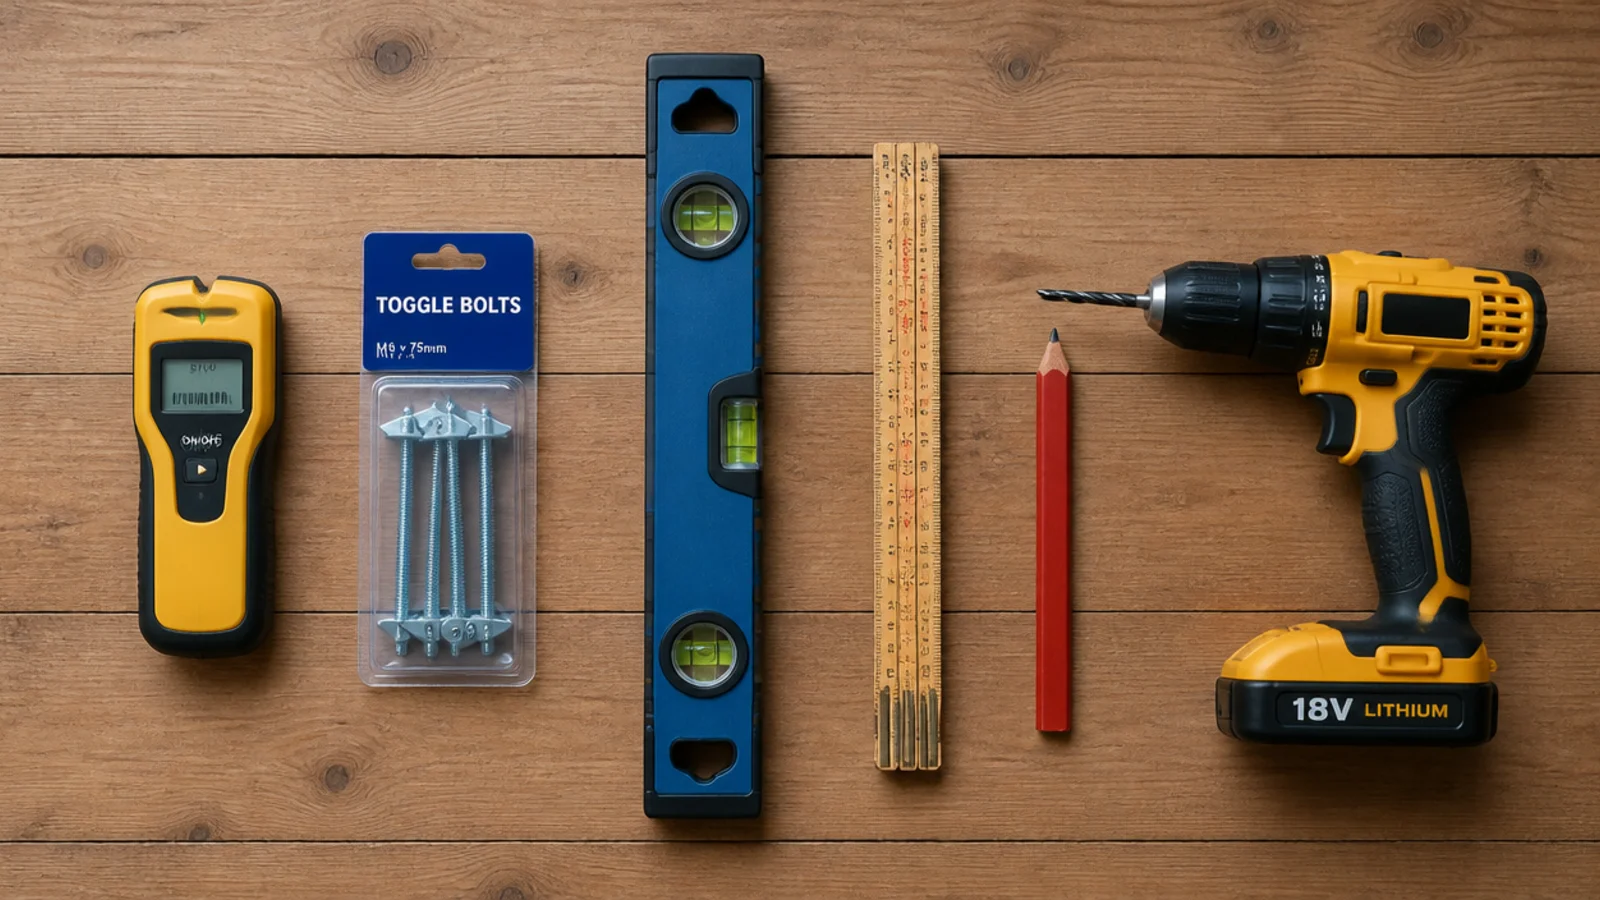
A stud finder, a long spirit level, a folding rule or tape, a carpenter pencil, a cordless drill, and a small selection of fixings. Under $40 for the lot if you own the drill, and every one of them earns its place.
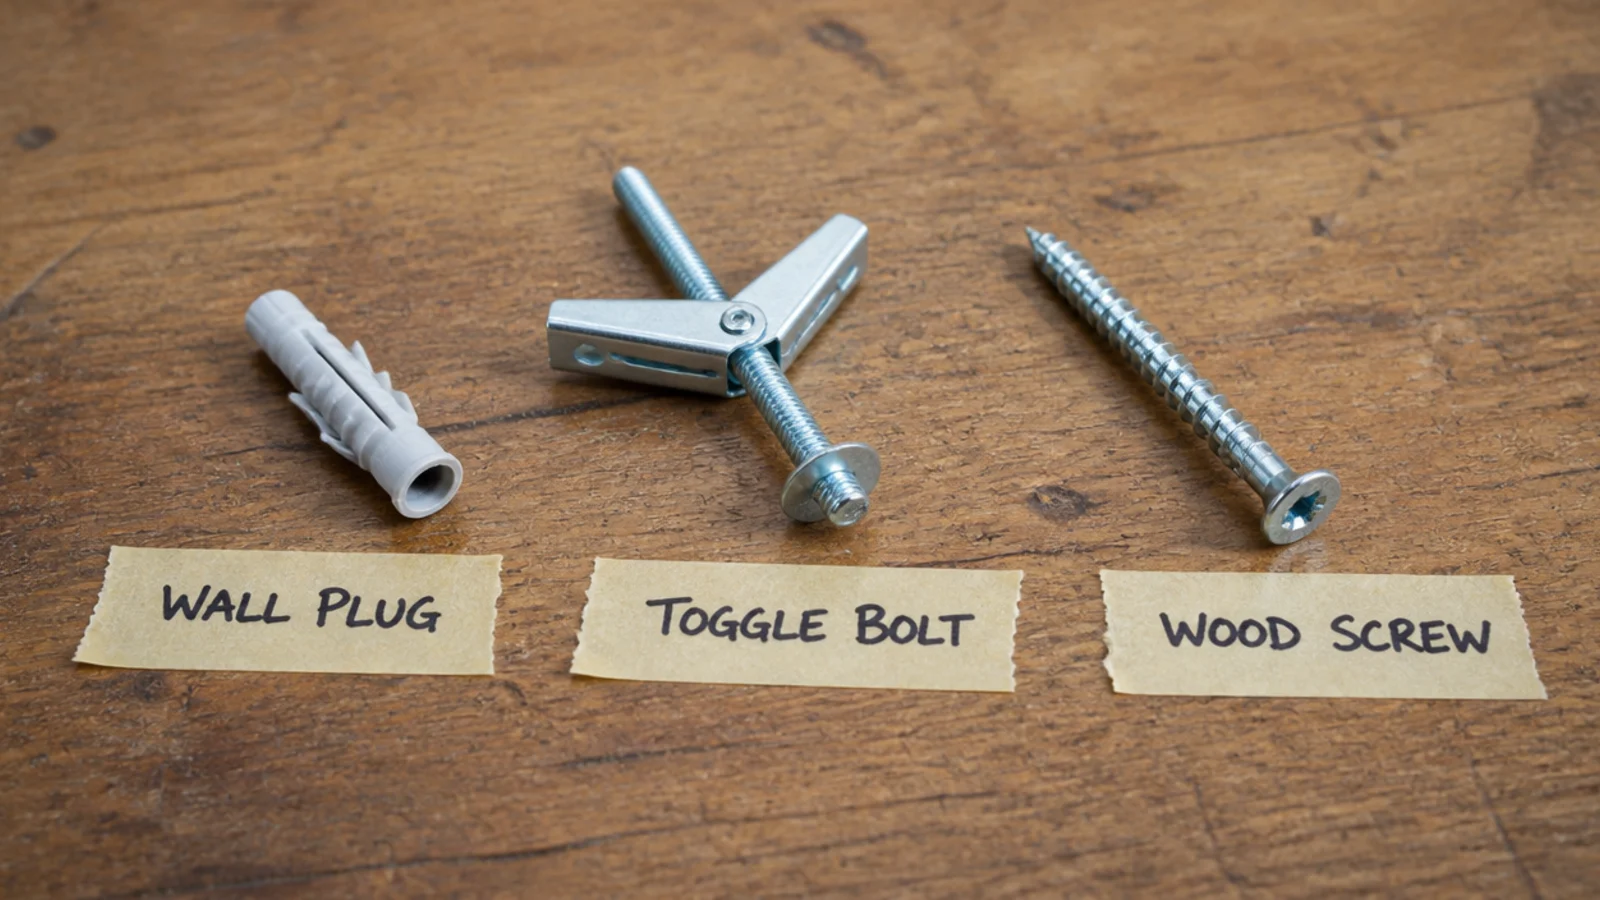
On fixings, the numbers that matter: the plastic plug supplied in most packets holds about 10 pounds in plasterboard, a toggle bolt carries 25 to 35 pounds in half-inch drywall, and a screw into a stud carries far more than anything you will hang. Adhesive strips are rated 4 to 16 pounds per pair depending on size, which covers a poster in a slim frame and nothing else.
Know the loads before you shop. A linear foot of textbooks is 25 to 30 pounds. A games console is 9 to 11. A loaded school backpack is 15 to 25. A 24 by 36 inch framed print with glass is 8 to 15.
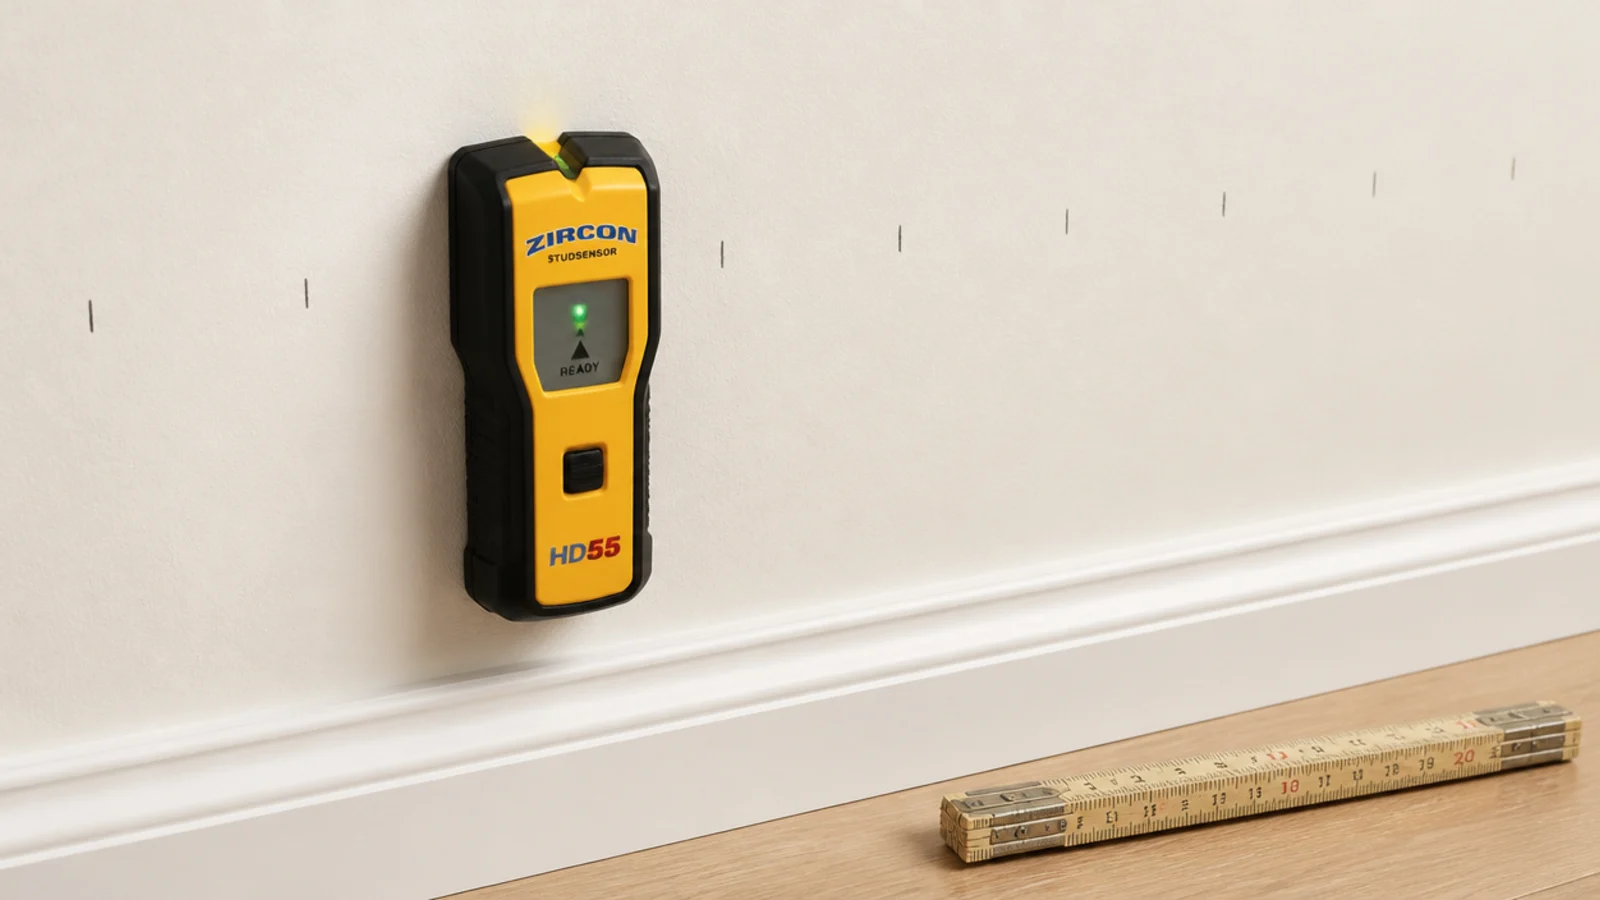
Studs sit at 16-inch centres in most US framing and 400 or 600 millimetre centres in the UK. Find them once, mark the whole wall, and every decision afterwards gets easier. If the wall in question is the one behind the desk, study table wall decor desk ideas covers the display side in more depth.
Step 1: Find and mark every stud across the wall
Run the stud finder the full width at about 40 inches and again at 65, and tick each hit lightly in pencil. Two passes at different heights confirm you have found timber rather than a pipe or a cable. Note the spacing — if the ticks are not evenly spaced, something in there is not a stud and you should check before drilling.
Step 2: Decide what the wall is for before what goes on it
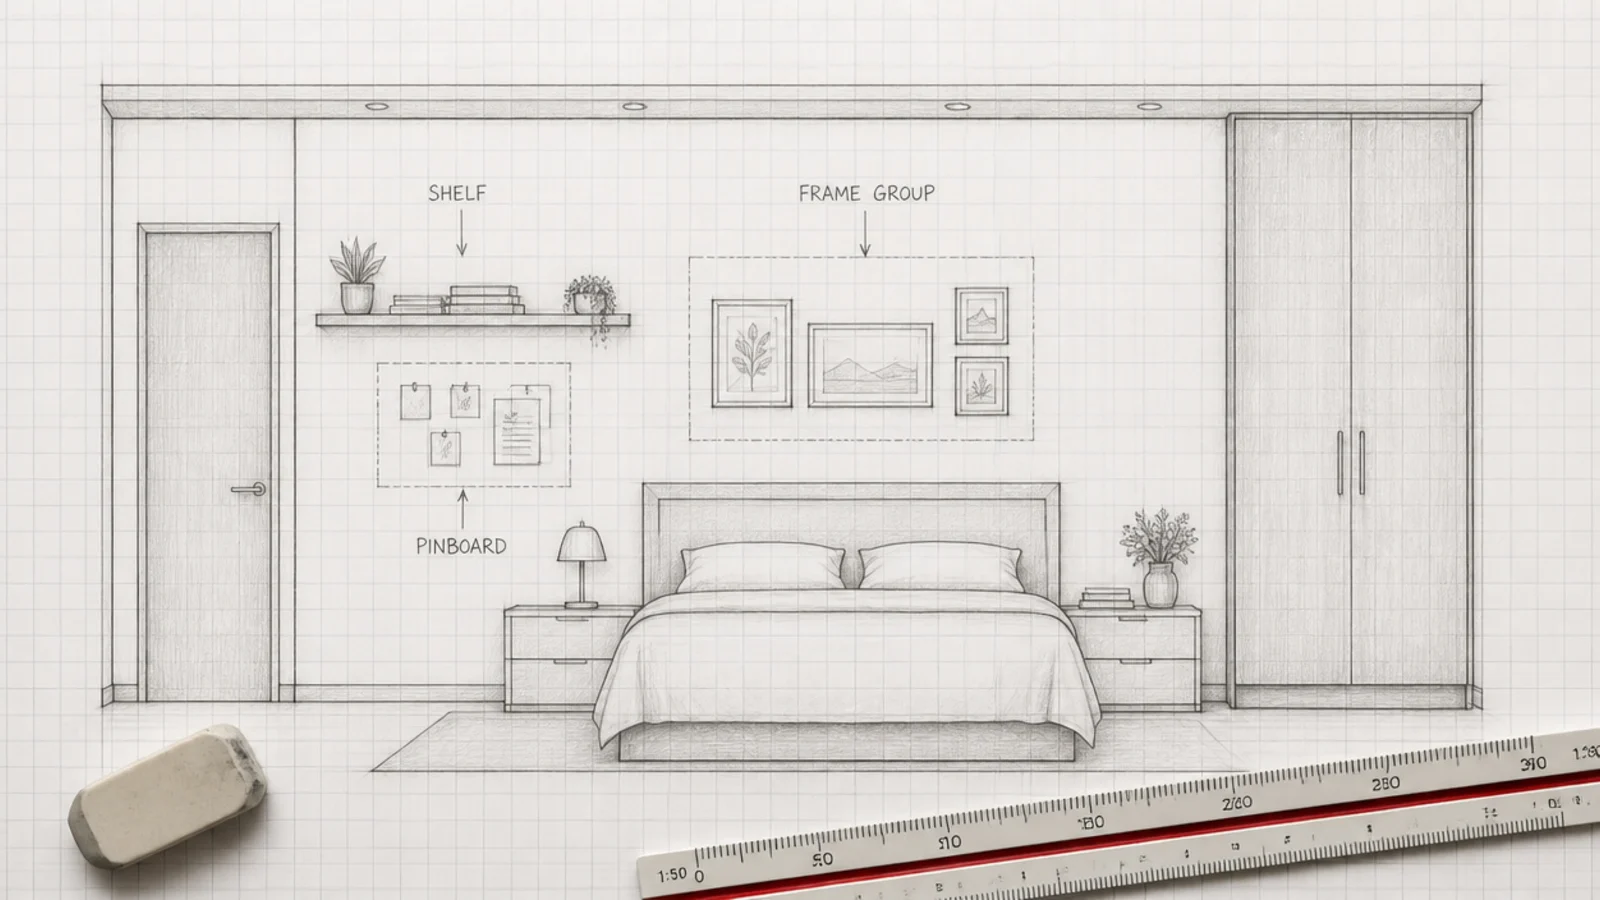
Every wall in the room does one job. Storage, display, or backdrop. The wall behind the desk is a backdrop and wants very little on it. The wall he faces from the bed is display. The wall by the door is storage. Sketch the elevation on graph paper and block the zones in before anything is bought.
Step 3: Set the centre line at fifty-seven inches
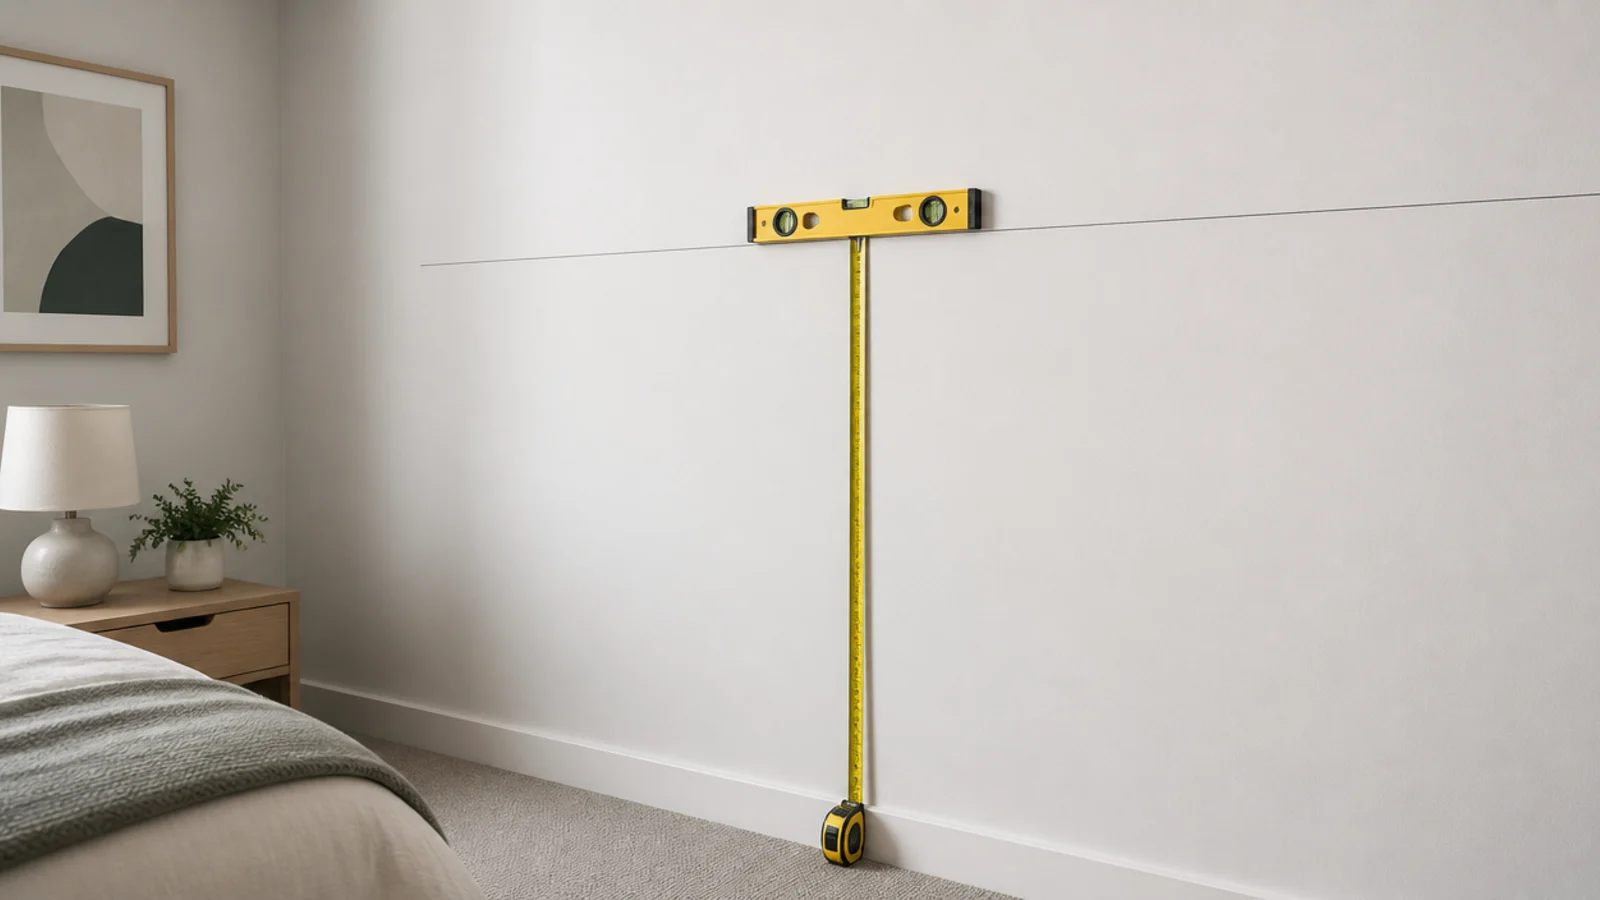
Fifty-seven inches from the floor is standard gallery eye level and it is the line everything on a display wall should relate to. Mark it faintly right across the wall with a level. Where furniture sits below, drop the arrangement so the bottom edge lands 8 to 10 inches above the furniture top instead.
Step 4: Choose fixings by weight, not by looks
Weigh or estimate each item, then pick the fixing that carries at least double it. Anything over about 20 pounds goes into a stud, full stop. Everything between 10 and 20 pounds gets a toggle bolt. Below 10 pounds a good plasterboard anchor is fine. Buy a mixed pack rather than making do with what is in the drawer.
Step 5: Mount the changing surface first
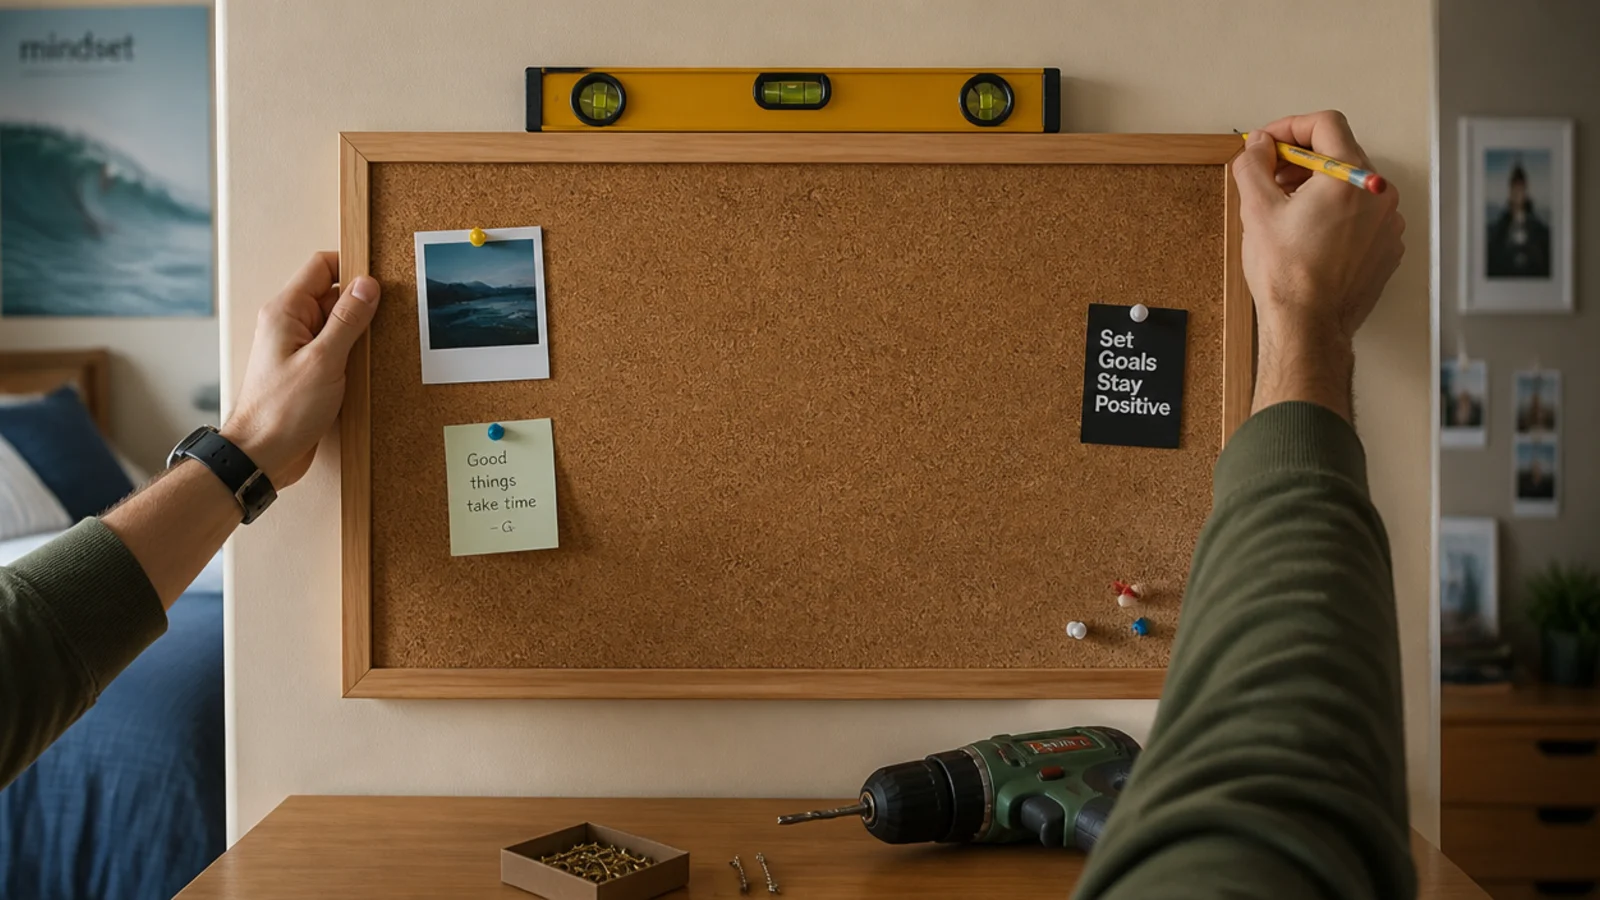
The pinboard, pegboard or picture ledge goes up before anything permanent, because it needs the best position — usually directly above the desk within arm's reach. Give it the space it deserves and arrange the fixed pieces around it. A 24 by 36 inch cork board wants two studs or four toggle bolts, and pegboard needs 3/4-inch battens behind so the hooks can seat.
Step 6: Hang the largest frame next
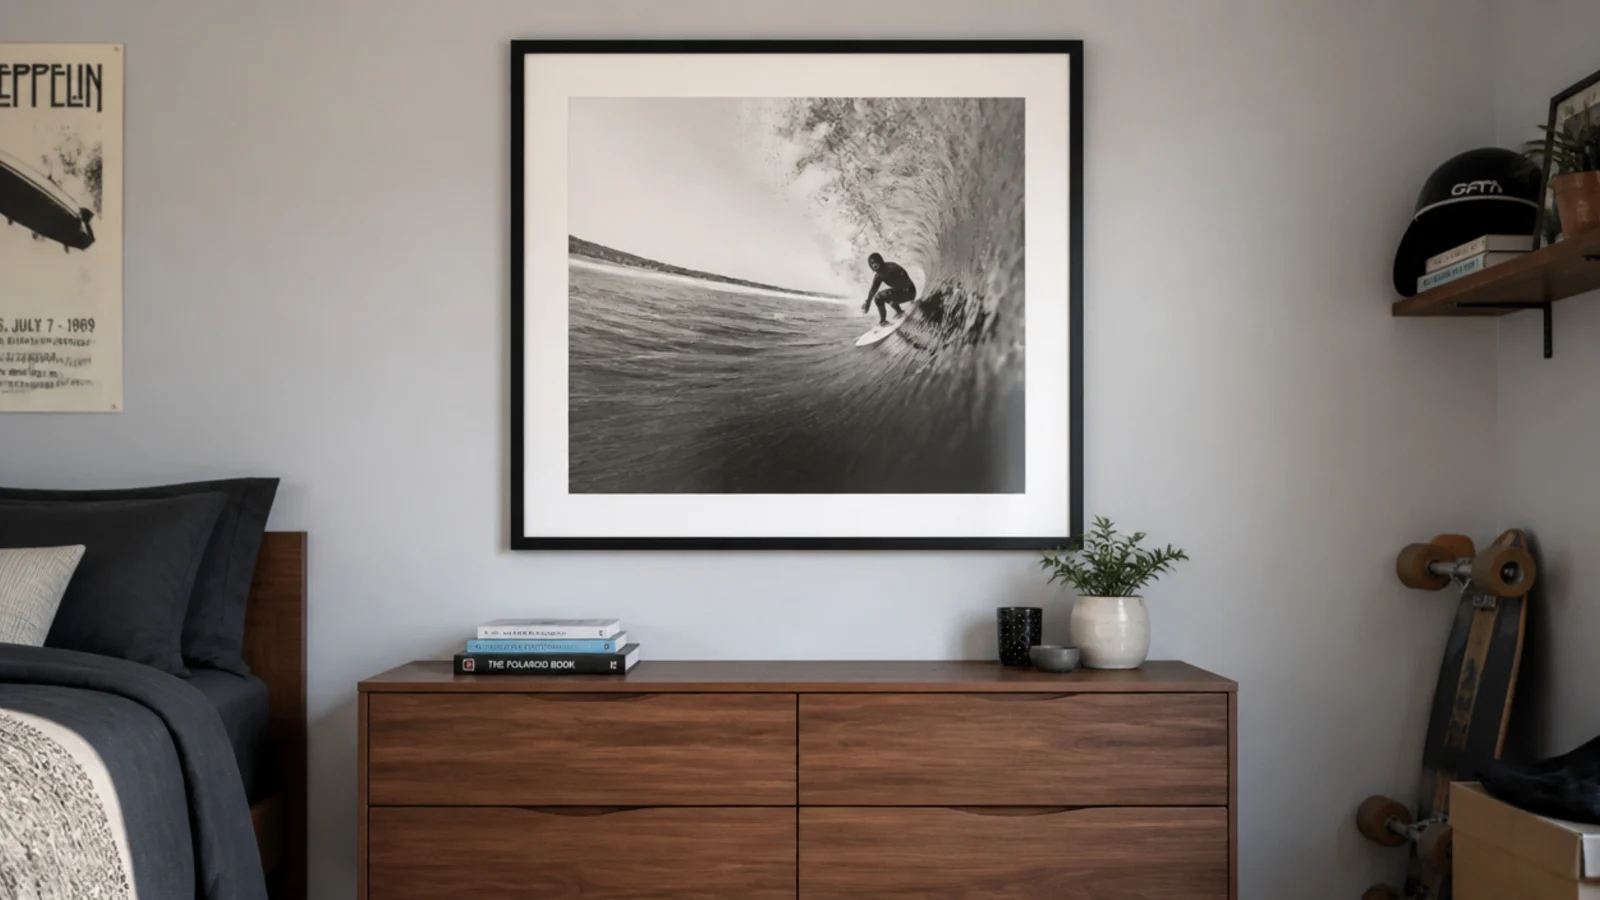
Big first, small after. The largest piece sets the visual weight of the wall, and hanging it last means shuffling everything else. Use two hooks spread wide rather than one in the middle, so a heavy frame cannot rotate. Check the level after the frame is on the wall, not before, because hanging wire stretches.
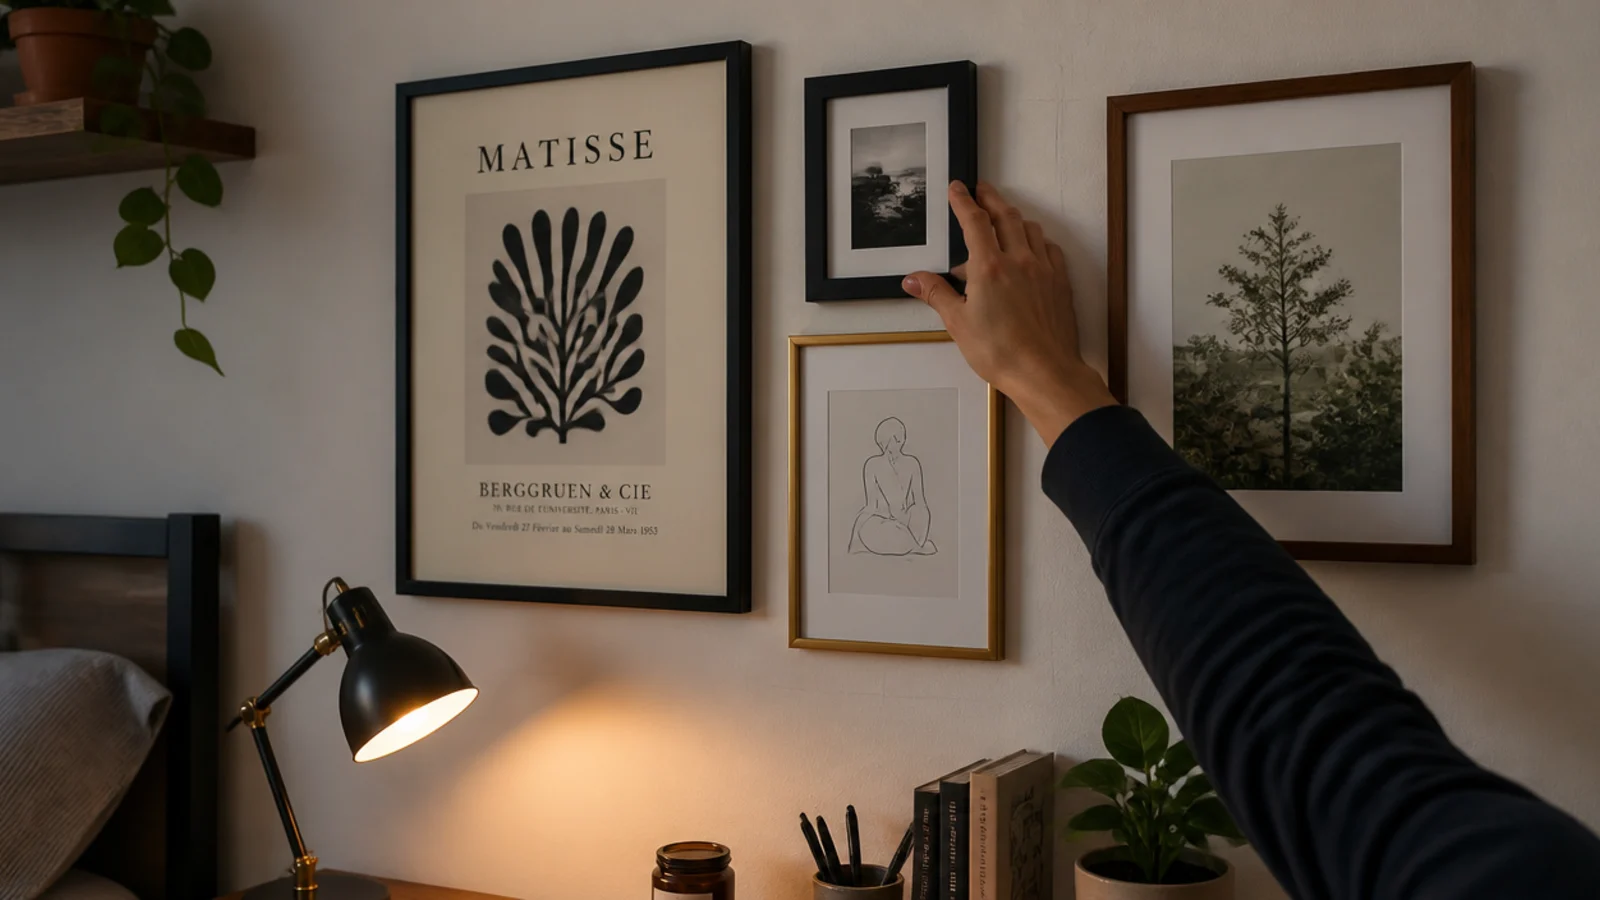
Step 7: Build the group outward with even gaps
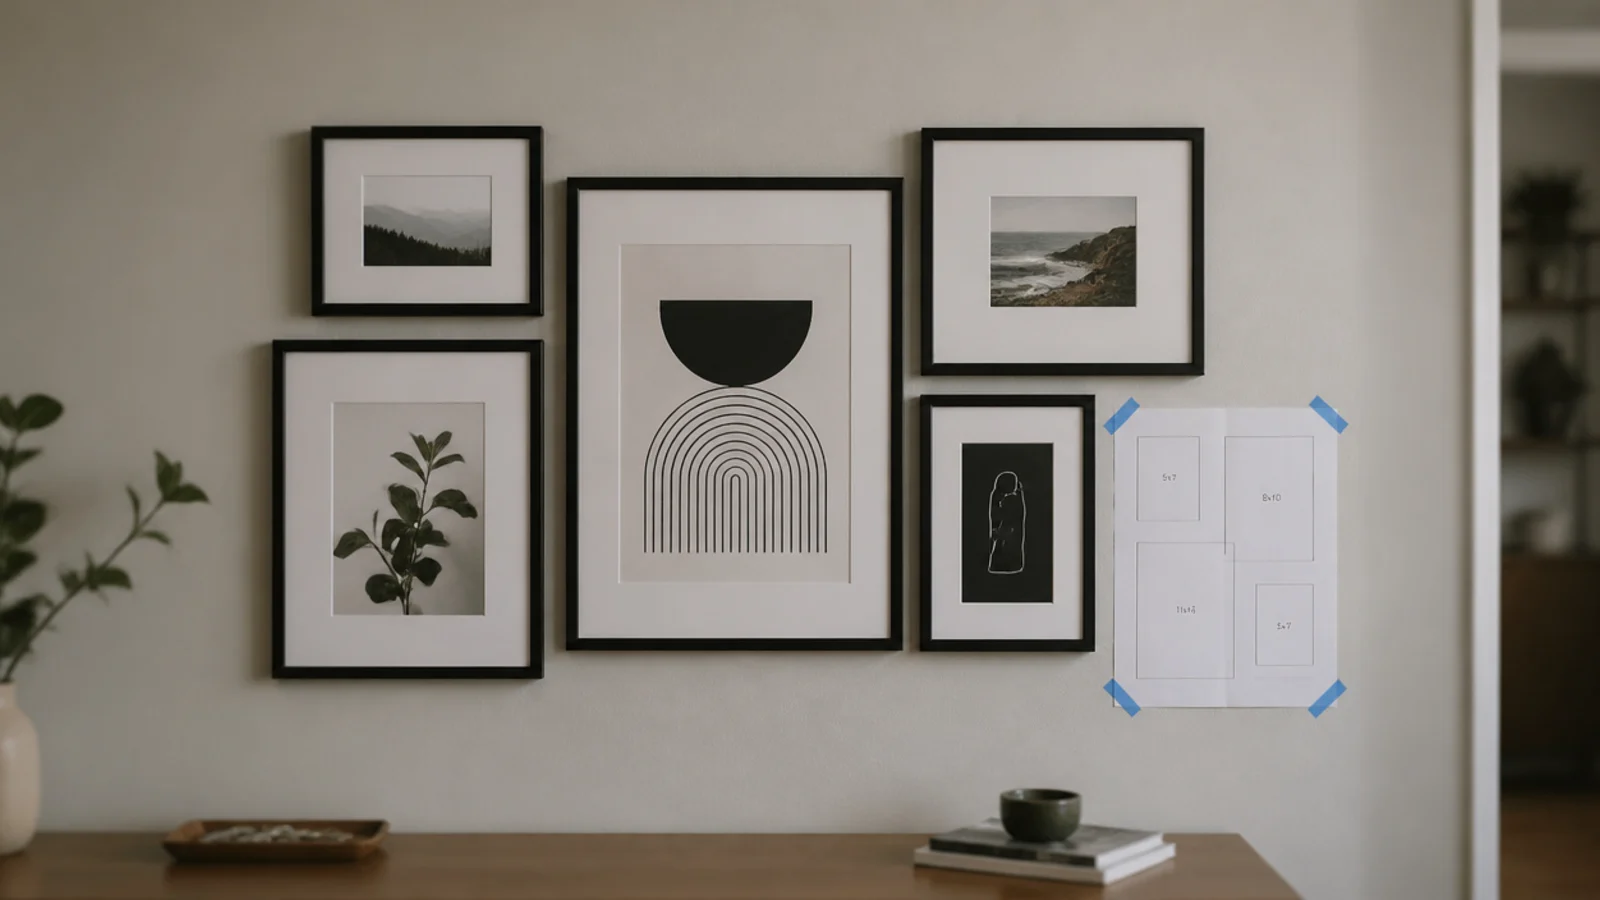
Keep 2 to 3 inches between frames and hold that gap consistently. Consistency is what makes a mixed group read as one object rather than several. Cut paper templates the size of each frame and tape them up first — it takes ten minutes and saves a wall full of trial holes.
Step 8: Fit the shelf above the desk
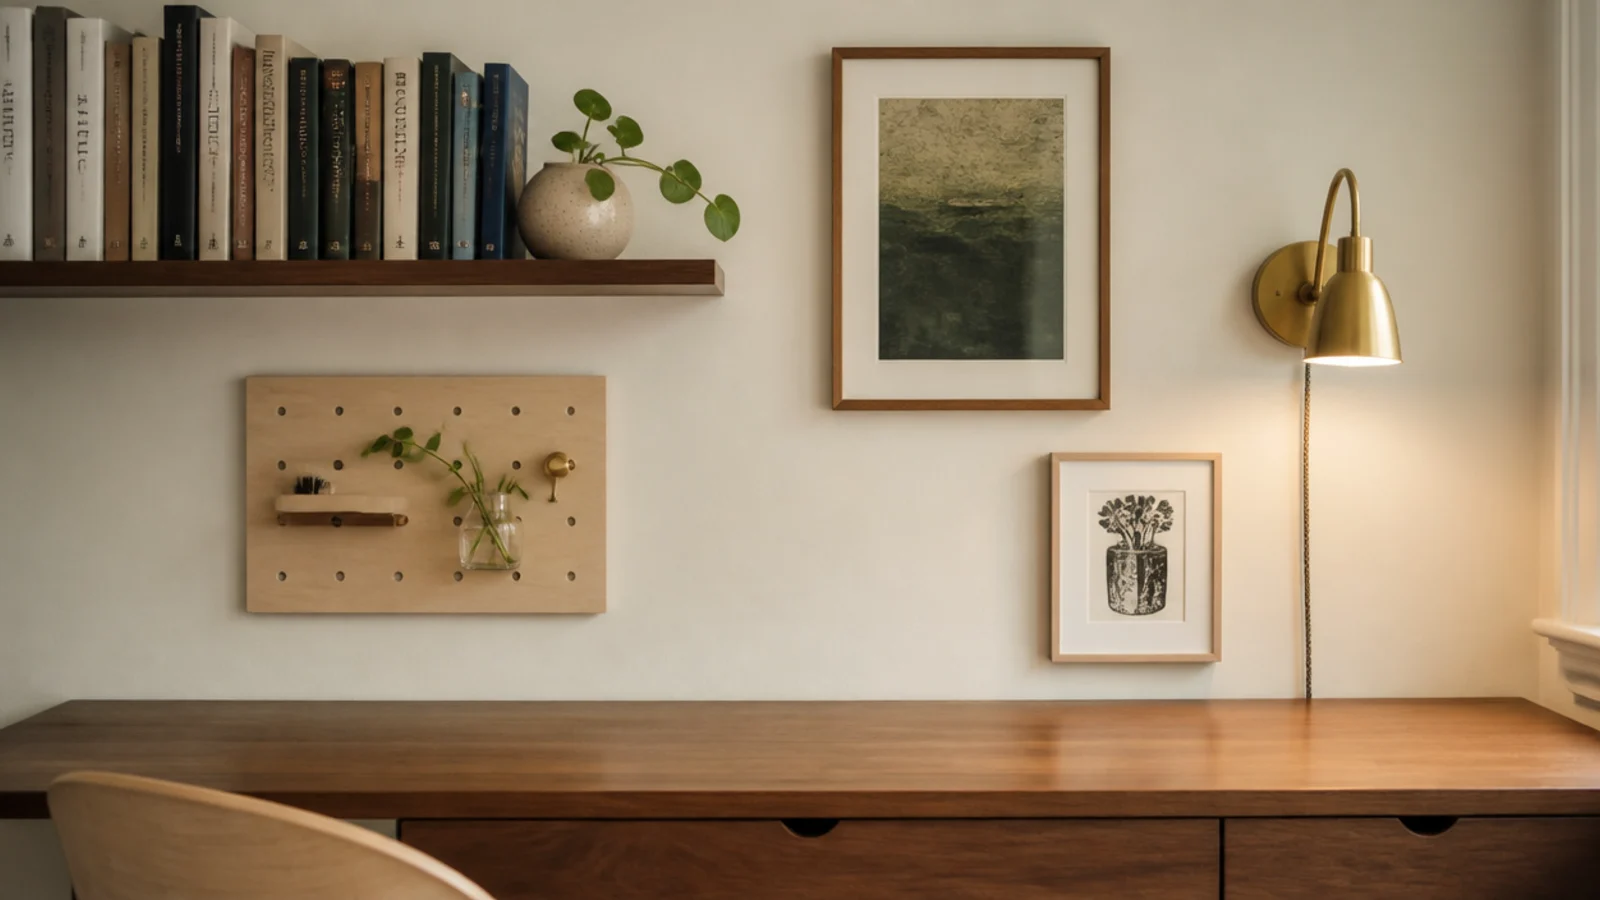
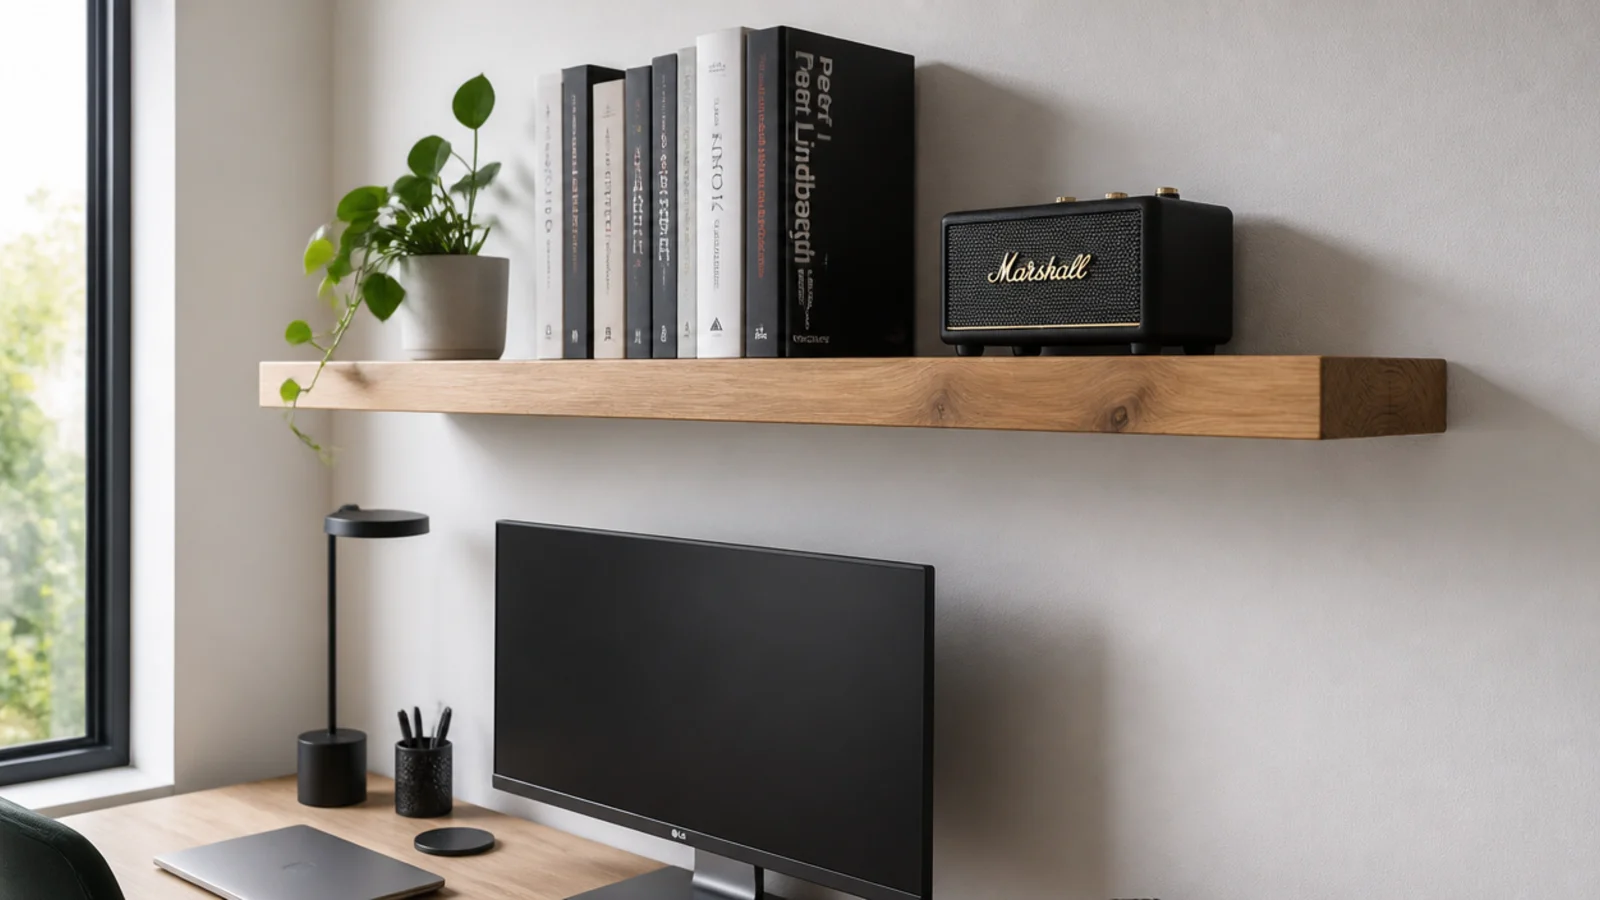
Sixteen to twenty inches above the desk surface clears a monitor and is still reachable while seated. Keep the span between fixings at or under 32 inches in three-quarter-inch stock, and allow 16 inches of clear height if a console will stand on it so the vents are not choked. Every bracket into a stud.
Step 9: Run the peg rail at sixty-two inches
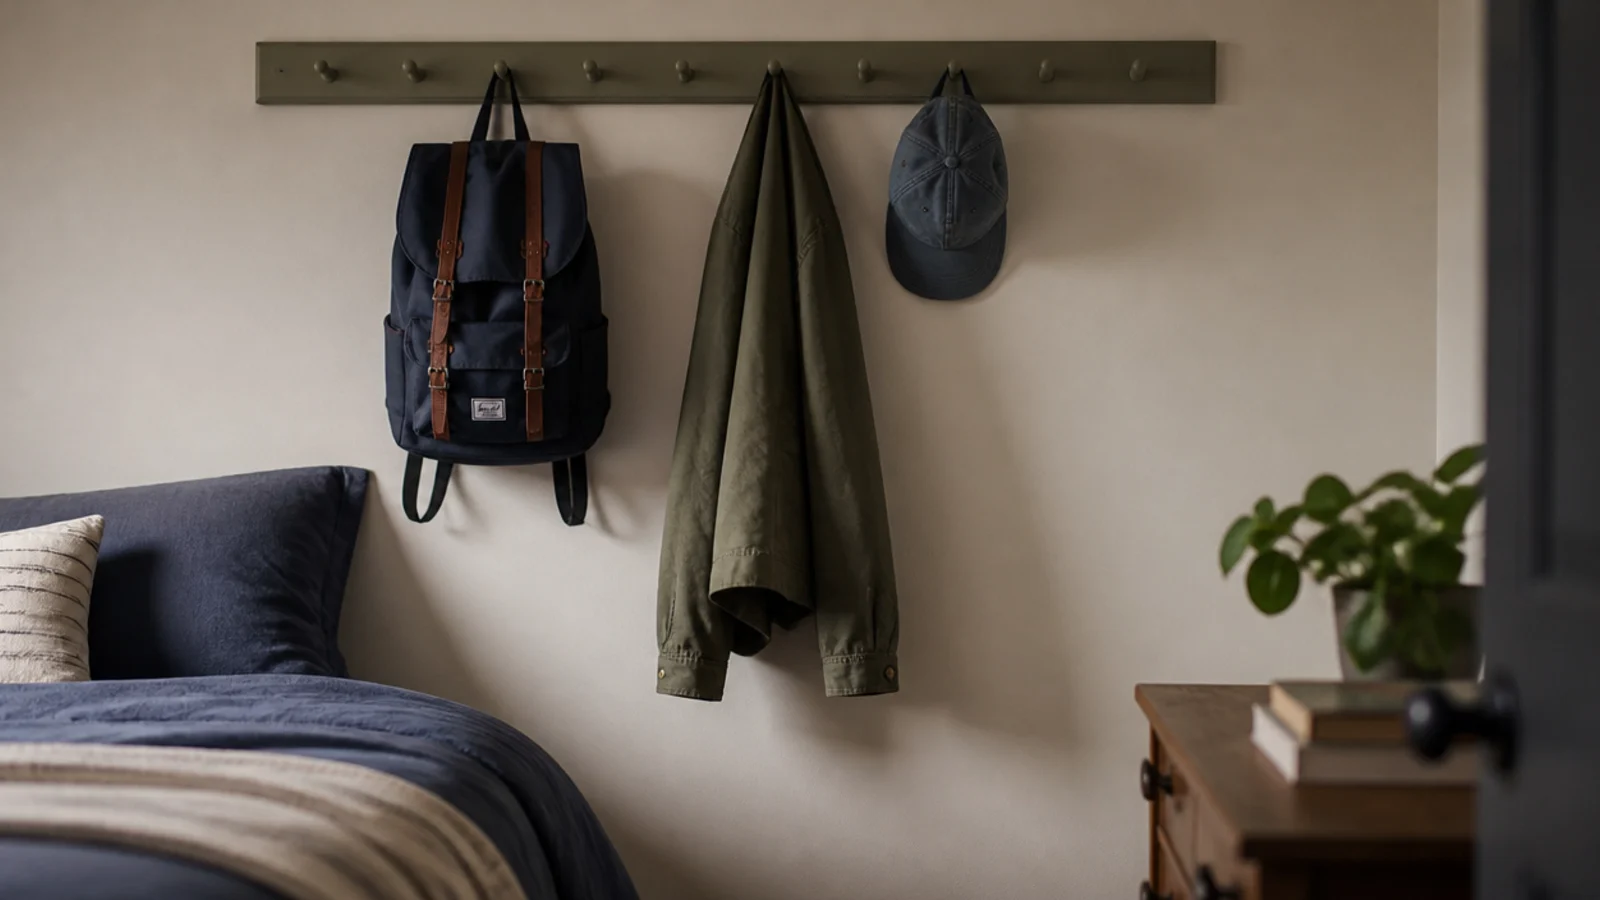
A peg rail at about 62 inches lets a jacket hang clear of the floor and a backpack sit above a bed or a bench. Fix every third peg into a stud. Space the pegs at 8-inch centres, which is close enough to hold a full row of bags and open enough that things do not tangle.
Step 10: Put light on the wall, not just the ceiling
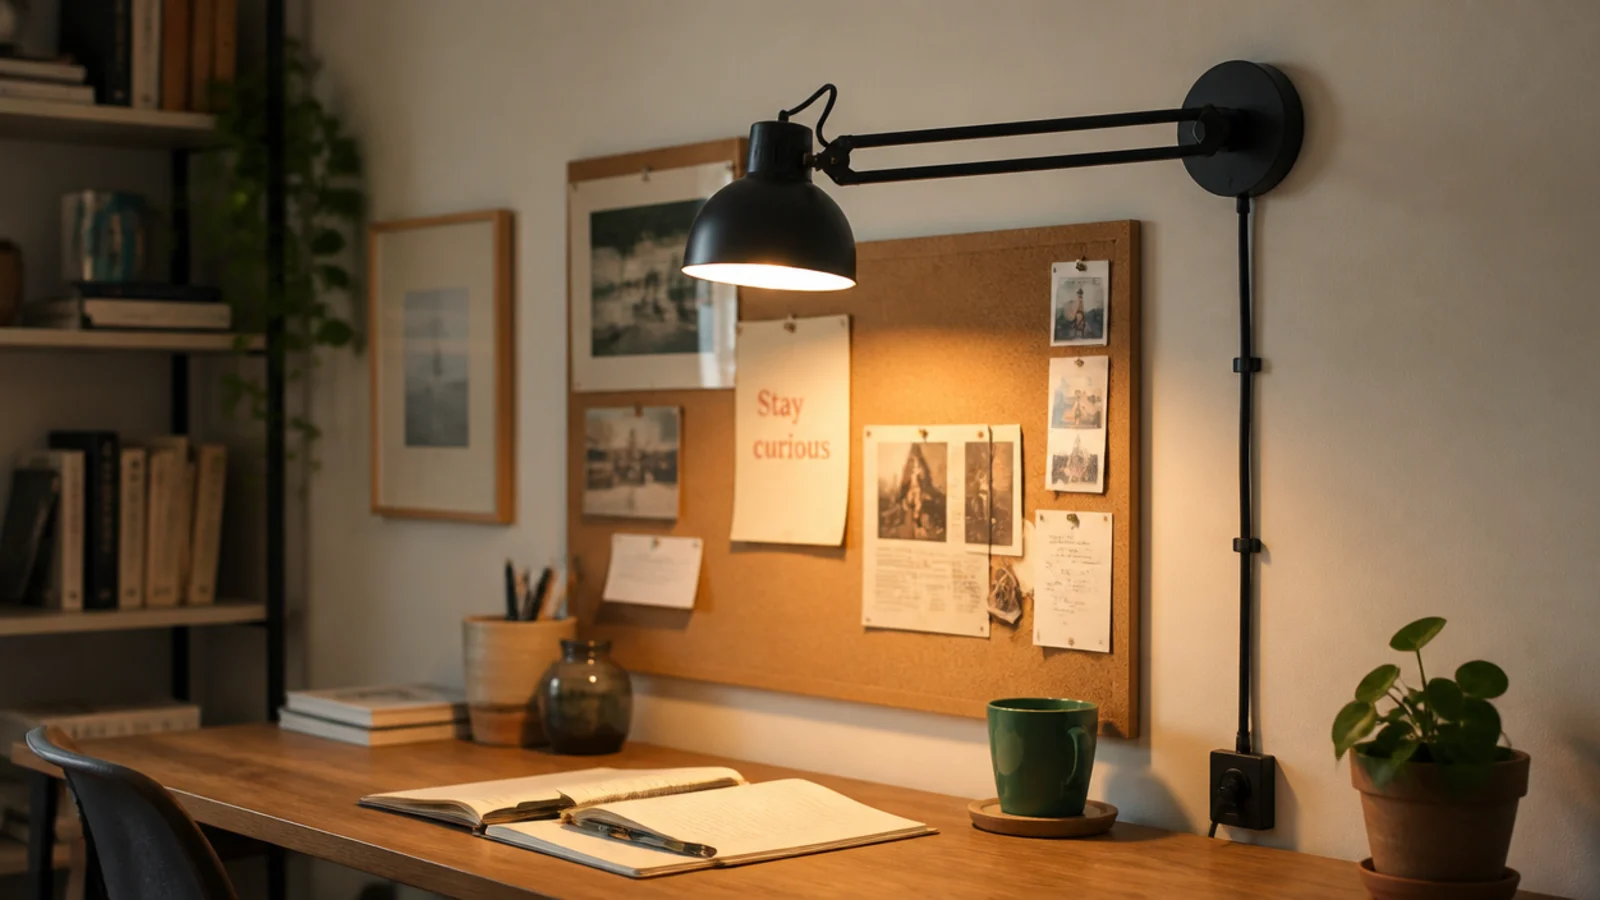
A swing-arm wall lamp mounted 15 to 20 inches above the desk surface lights the work and frees the whole desk top. Plug-in versions with a cord cover work in a rental. If you are hard-wiring anything, it needs a rated box behind it rather than a plasterboard fixing, and an electrician if the supply is moving.
Step 11: Hide the cables inside the composition
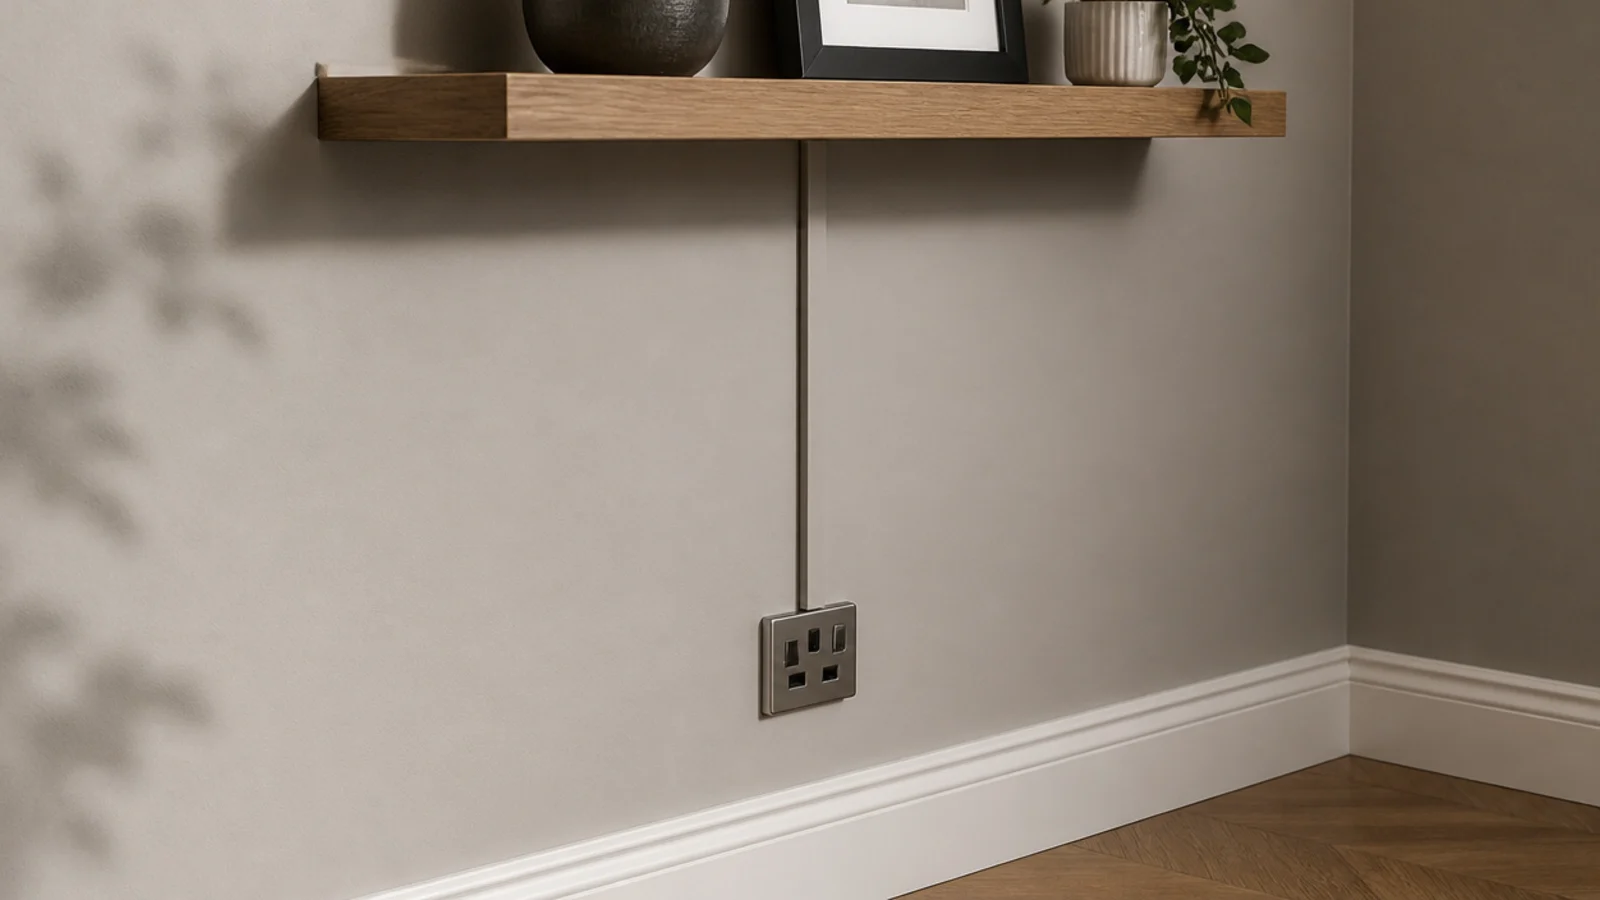
Run a slim trunking channel down the wall behind whatever you have mounted, painted the wall colour, and the cables disappear. A metre of channel is $6 to $12. Never bury a live cable in a chase without the correct depth and capping, and keep any run out of the zone directly above or beside a socket where a future drill might land.
Step 12: Add one soft surface for the sound
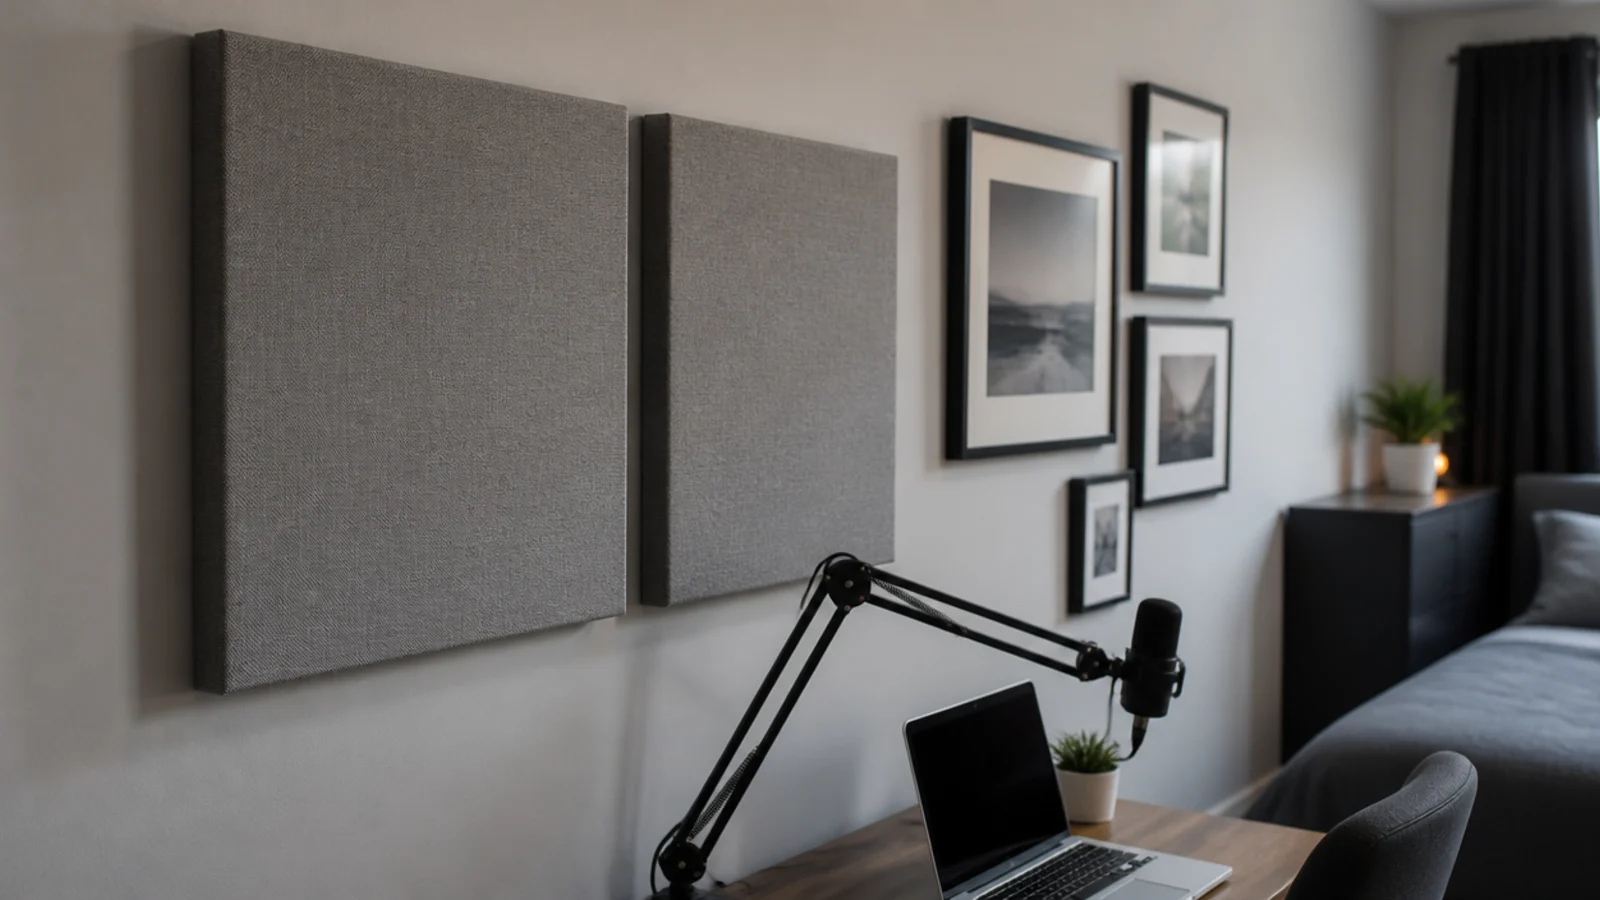
A bare wall above a desk makes every call and recording sound like a bathroom. Two 24 by 24 inch fabric panels, two inches thick, at the first reflection points take most of that away. Cover 15 to 20 percent of the wall area for a real difference. They hang on two hooks and weigh under four pounds each.
Step 13: Anchor anything tall standing against it
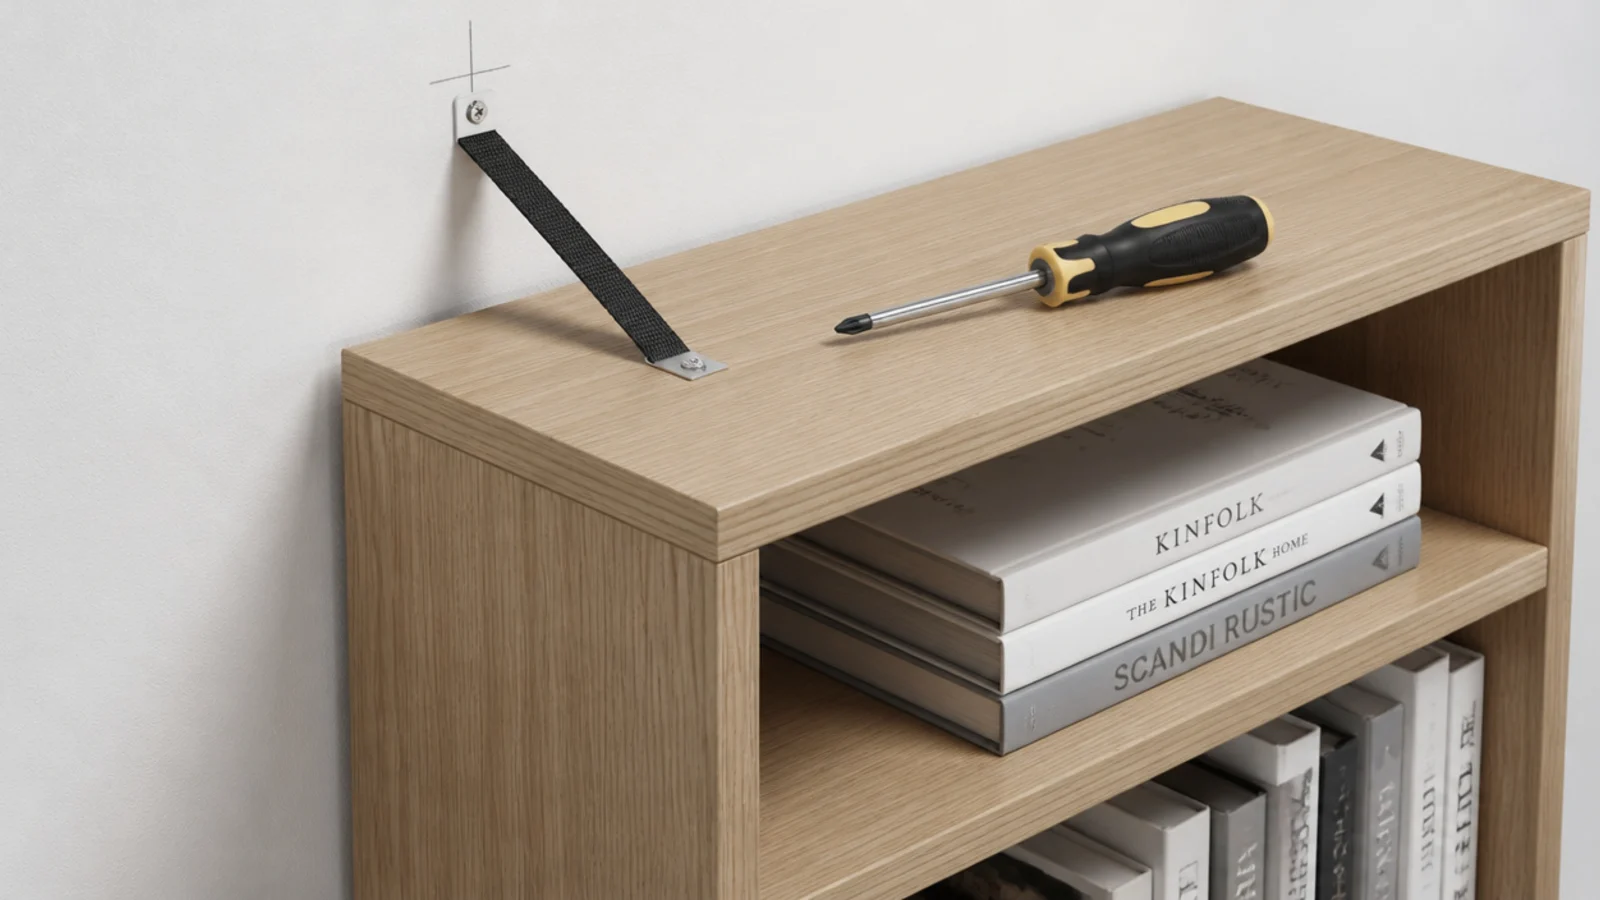
Any freestanding unit over 27 inches tall gets a strap into a stud, and that includes shelving that looks too small to matter. A loaded five-shelf case passes 200 pounds. A strap kit is $10 to $15 and takes ten minutes. Heavy items go on the bottom two shelves, always.
Step 14: Leave twenty percent of the wall bare
Choose which fifth of the wall stays empty rather than letting it be whatever is left over. Usually it is the outer edge nearest the window or the corner. That empty stretch is what lets the arrangement read as composed, and it is the first thing to go when things get added one at a time.
Step 15: Live with it a week, then adjust
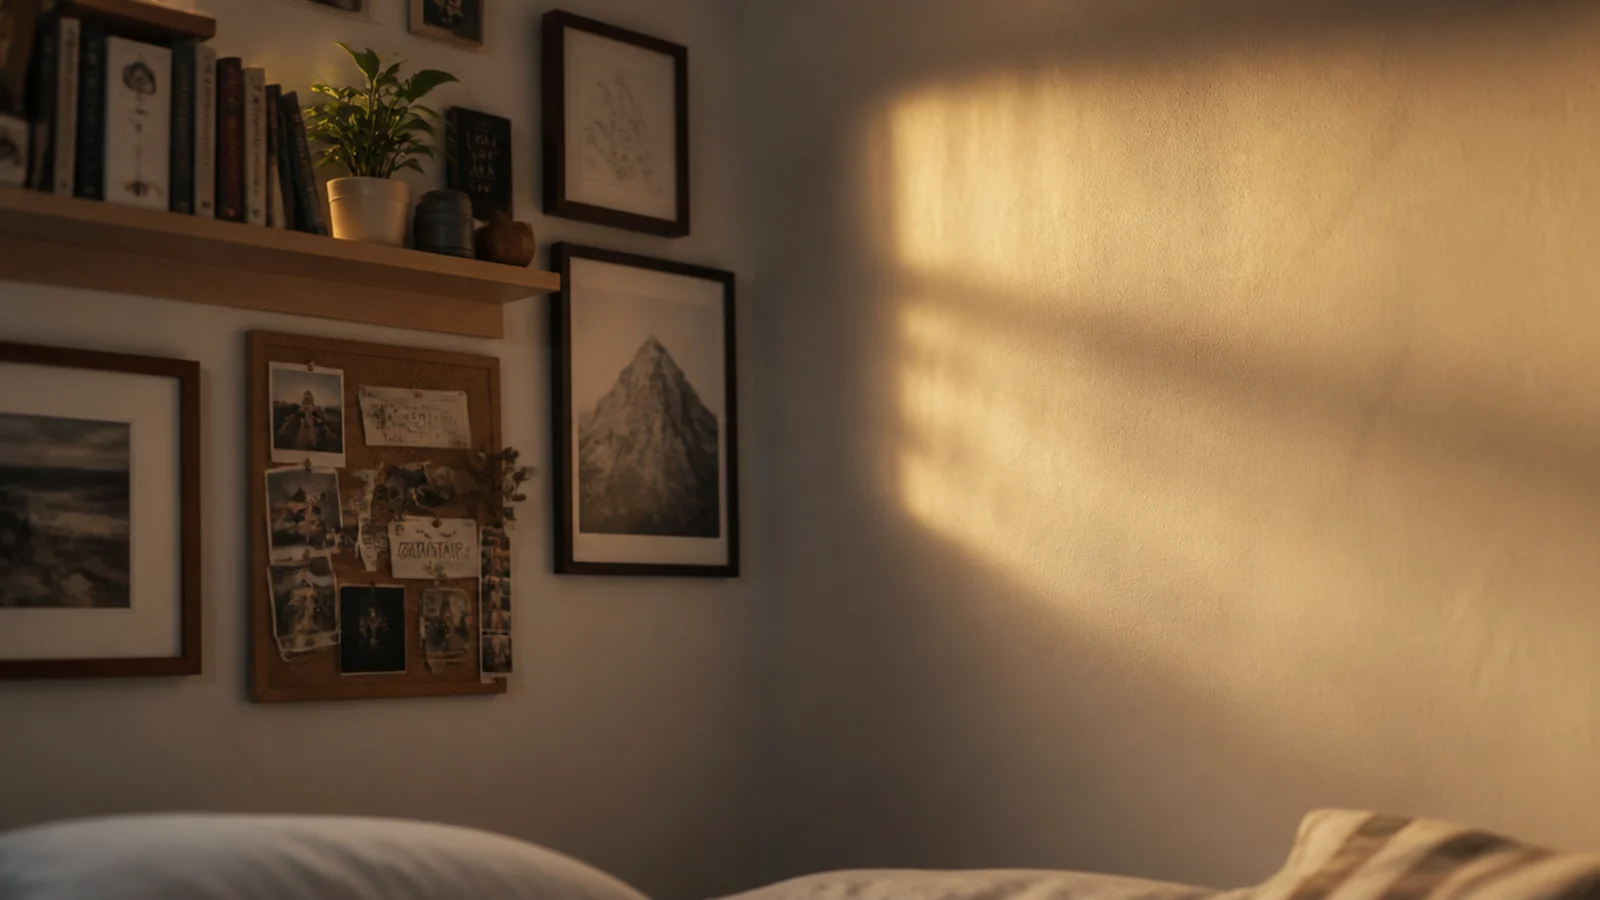
Give it seven days before touching anything, then change exactly two things. The gap you want to close, and the object that turned out to be in the way. Small holes fill with lightweight spackle in thirty seconds and touch up from the labelled jar of paint you kept from teen boy bedroom paint.
Pro Styling Rules
For the objects themselves and what survives four years, teen boy bedroom decor has the ratings and price bands. If the shelf is the main event on this wall, floating shelf ideas covers spans, stock thickness and bracket choice in detail.
Mistakes to Skip
- Hanging everything at ceiling height. Frames centred above about 65 inches float away from the furniture and make the room read taller and emptier at the same time.
- Using the plugs that came in the packet for a loaded shelf. They hold roughly ten pounds and a shelf of textbooks is several times that.
- Taping posters straight to fresh paint. Latex cures over fourteen to thirty days and tape applied inside that window lifts the paint film when it comes off.
- Filling the wall in one session. Leave room for the things he brings home over the next year, or the arrangement gets wrecked the first time something is added.
Frequently asked questions
How high should pictures be hung in a teenage bedroom?
Centre the frame or the group at fifty-seven inches from the floor, which is standard gallery eye level, or eight to ten inches above whatever furniture sits below it, whichever is lower. Hanging too high is the commonest error and it makes a wall look like it is floating away from the room.
What fixing do I need for a shelf holding books and a console?
Screws into studs, not plugs into plasterboard. A linear foot of textbooks weighs twenty-five to thirty pounds and a console adds nine to eleven. A plastic plug holds about ten pounds, a toggle bolt twenty-five to thirty-five in half inch drywall, and a screw into a stud far more than either.
Can I hang things without drilling into the wall?
Adhesive strips work for lightweight frames and cap out at roughly four to sixteen pounds per pair depending on size, so they hold a poster in a slim frame and nothing heavier. A leaning shelf, a freestanding pegboard on a stand, or a tension rail are the honest zero-hole options for anything with real weight.
How much of the wall should stay empty?
About twenty percent, and pick which twenty deliberately rather than letting it be whatever is left over. Empty space is what lets a busy wall read as arranged instead of accumulated, and in a room already carrying a desk, a screen and shelving it is doing more work than any single object.
How do I hang things on a wall a teenager keeps changing?
Give the changing content its own surface. A pinboard, a pegboard on battens, or a picture ledge lets him rearrange weekly without touching the plaster, while the fixed elements around it stay put. It is the single decision that stops a wall being repaired and repainted every two years.
Want more like this? Browse all 15 teen boy bedroom guides — they all use the same measurements and budget tiers.
Pin it for later
Save this to your Teen Boy Bedroom board
Pin it now so it is waiting for you when the tape measure comes out — and so the next person hunting for this idea can find it too.
Save this pinKeep going
More ideas worth saving while you have the tape measure out.