Teen Boy Bedroom · Listicle
25 Genius Teen Boy Gamer Bedroom Setups To Steal

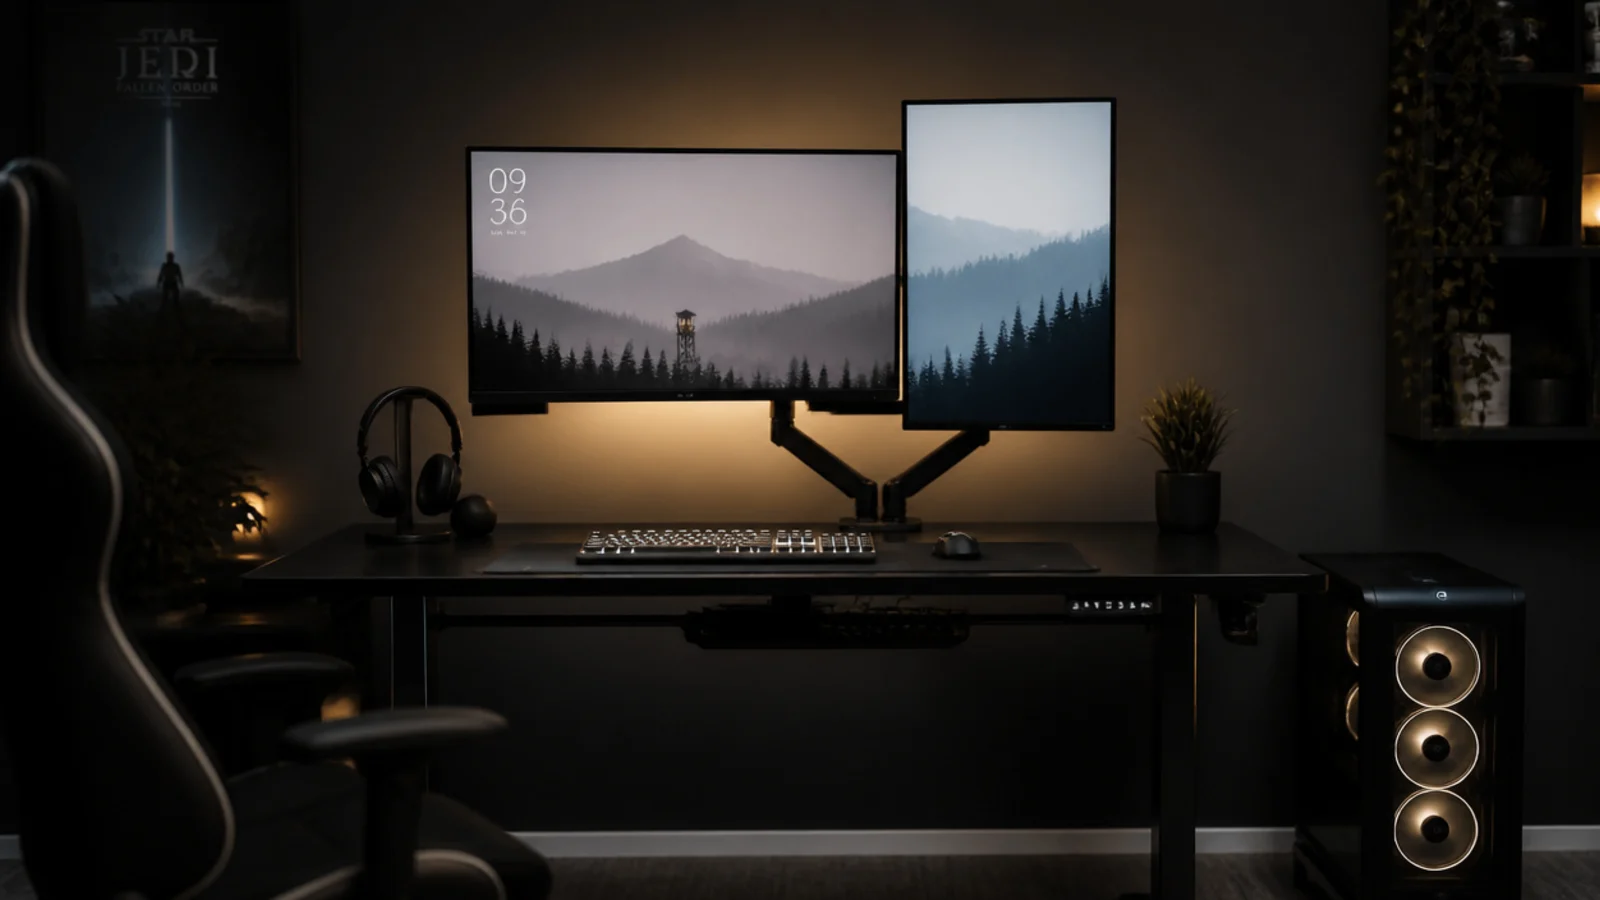
Most gaming setups in bedrooms are assembled in the order things were bought, which is why so many of them end up with a nest of cables, a machine wedged against a wall and one wall socket doing far more work than anyone has checked. A teen boy gamer bedroom is really an electrical and thermal problem wearing a lighting scheme. I plan them in that order now — watts, air, distance, then everything else. Below are twenty-five setups worth copying, each with the number that decides whether it works or quietly cooks itself over a summer.
In this guide27 sections — tap to openHide
- 1.What a teen boy gamer bedroom has to handle
- 2.Add up the wattage before you buy anything
- 3.One rated extension lead, never two chained
- 4.Choose surge protection over a thousand joules
- 5.Give the tower four inches of air
- 6.Ventilate the room, not just the case
- 7.Set the monitor top edge below eye level
- 8.Match viewing distance to screen size
- 9.Give a twenty-seven inch screen thirty inches of desk
- 10.Fit a monitor arm and reclaim the depth
- 11.Put a neutral bias light behind the screen
- 12.Keep cable runs under ten feet
- 13.Velcro-tie every run at six to eight inches
- 14.Screw a cable tray under the desk
- 15.Paint the wall behind the screen dark
- 16.Panel the first reflection points
- 17.Seal the gap under the door
- 18.Buy the chair on its adjustment range
- 19.Use a desk mat that survives a spill
- 20.Stand the console upright on an open shelf
- 21.Hook the headset off the desk
- 22.Give the controllers a charging shelf
- 23.Fit blackout for daytime sessions
- 24.Switch the setup separately from the room
- 25.Keep drinks off the desk deck
- 26.Build a shutdown routine into the room
- 27.Mistakes to Skip
What a teen boy gamer bedroom has to handle
Start with the load. A gaming PC under load draws 400 to 650 watts. A monitor is 25 to 45. A console runs 150 to 210 at peak. Add a router at about 10, speakers, a phone charger and a lamp, and a typical bedroom setup lands somewhere between 500 and 800 watts. A standard US power strip is rated 15 amps or 1,800 watts, and a UK lead 13 amps or 3,000, so one properly rated lead handles it easily — but only one, never two chained together.
Then the heat, because all of that wattage becomes heat in a small room. Five hundred watts is roughly 1,700 BTU an hour going into a space that might only be 960 cubic feet. Behind a closed door, carbon dioxide in a bedroom climbs past 1,500 parts per million overnight, which is enough to blunt concentration and make a room feel stale by morning.
Last, distance and height, which are free and almost always wrong. For the desk styling on top of all this, aesthetic study desk decor covers the surface.
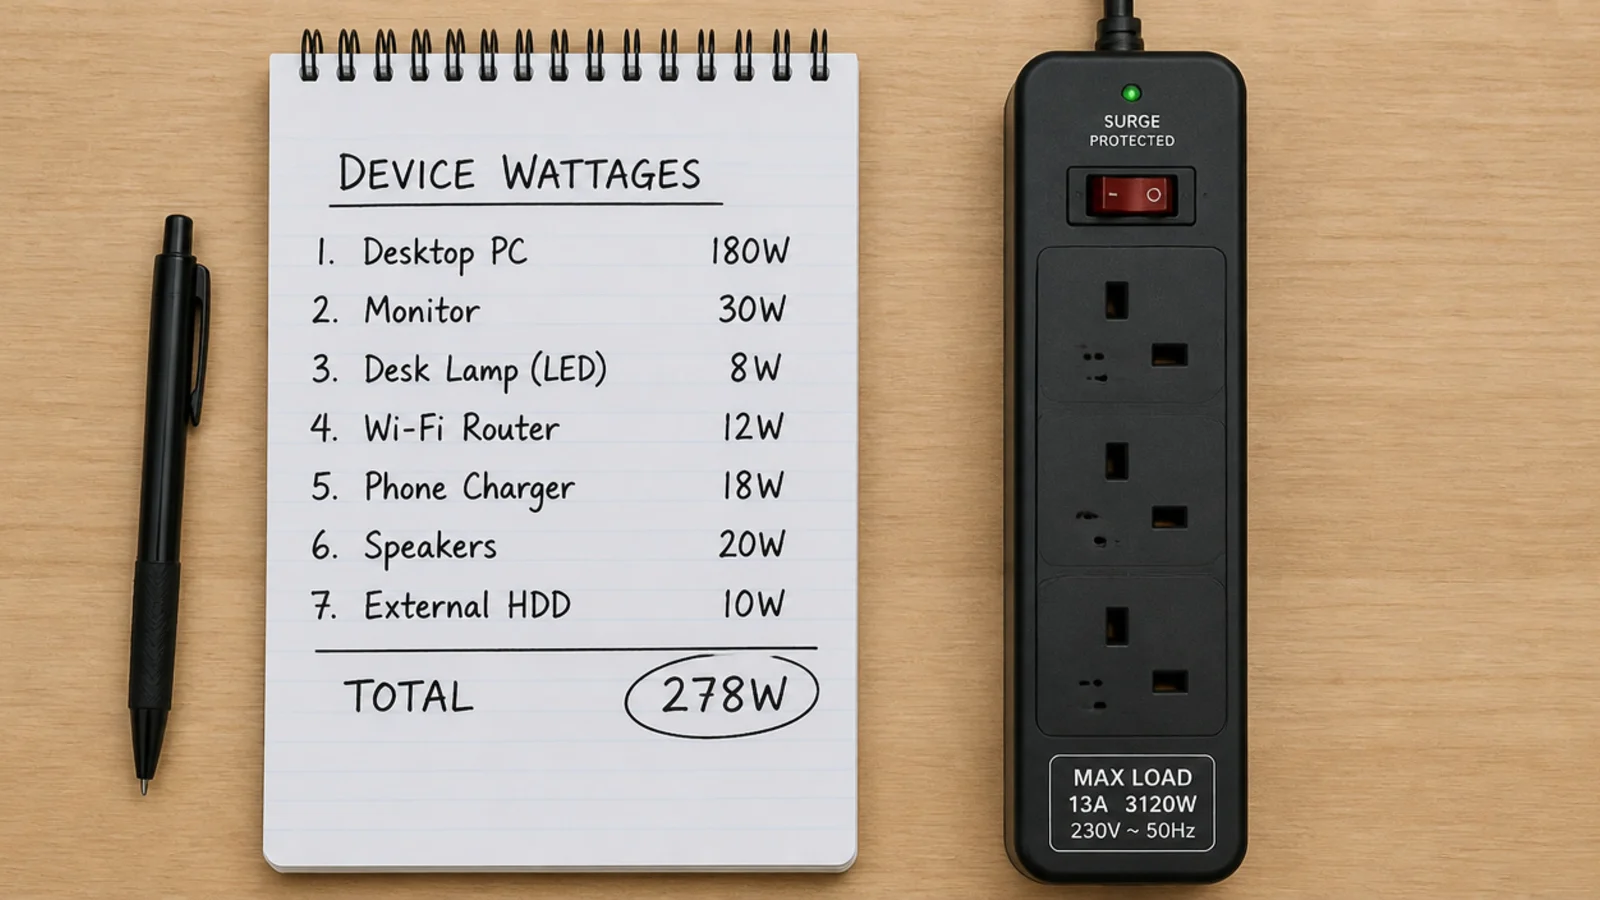
1. Add up the wattage before you buy anything
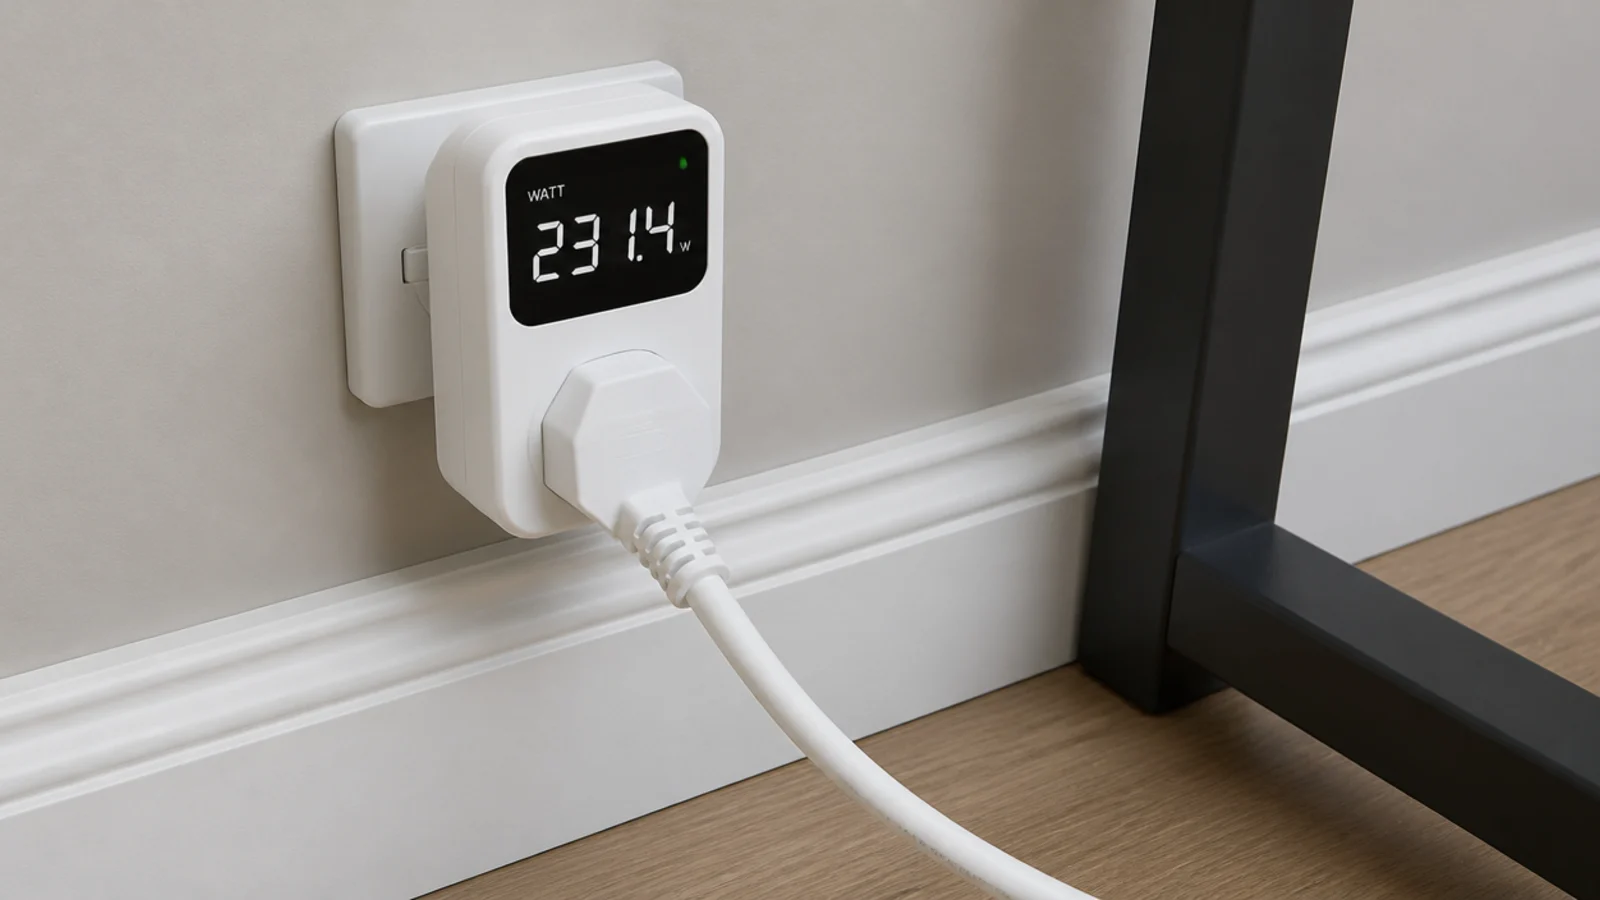
Write each device and its rated draw on a piece of paper and total it. A plug-in power meter costs $10 to $20 and gives you the real figure under load rather than the label figure. Knowing you are pulling 620 watts rather than guessing is what makes every other electrical decision here straightforward.
2. One rated extension lead, never two chained
Daisy-chaining is the single most common mistake in these rooms. Two strips in series still draw through one wall socket and one lead's internal wiring, and the rating does not add up — it stays whatever the weakest link is. One good lead with enough sockets, plugged directly into the wall.
3. Choose surge protection over a thousand joules
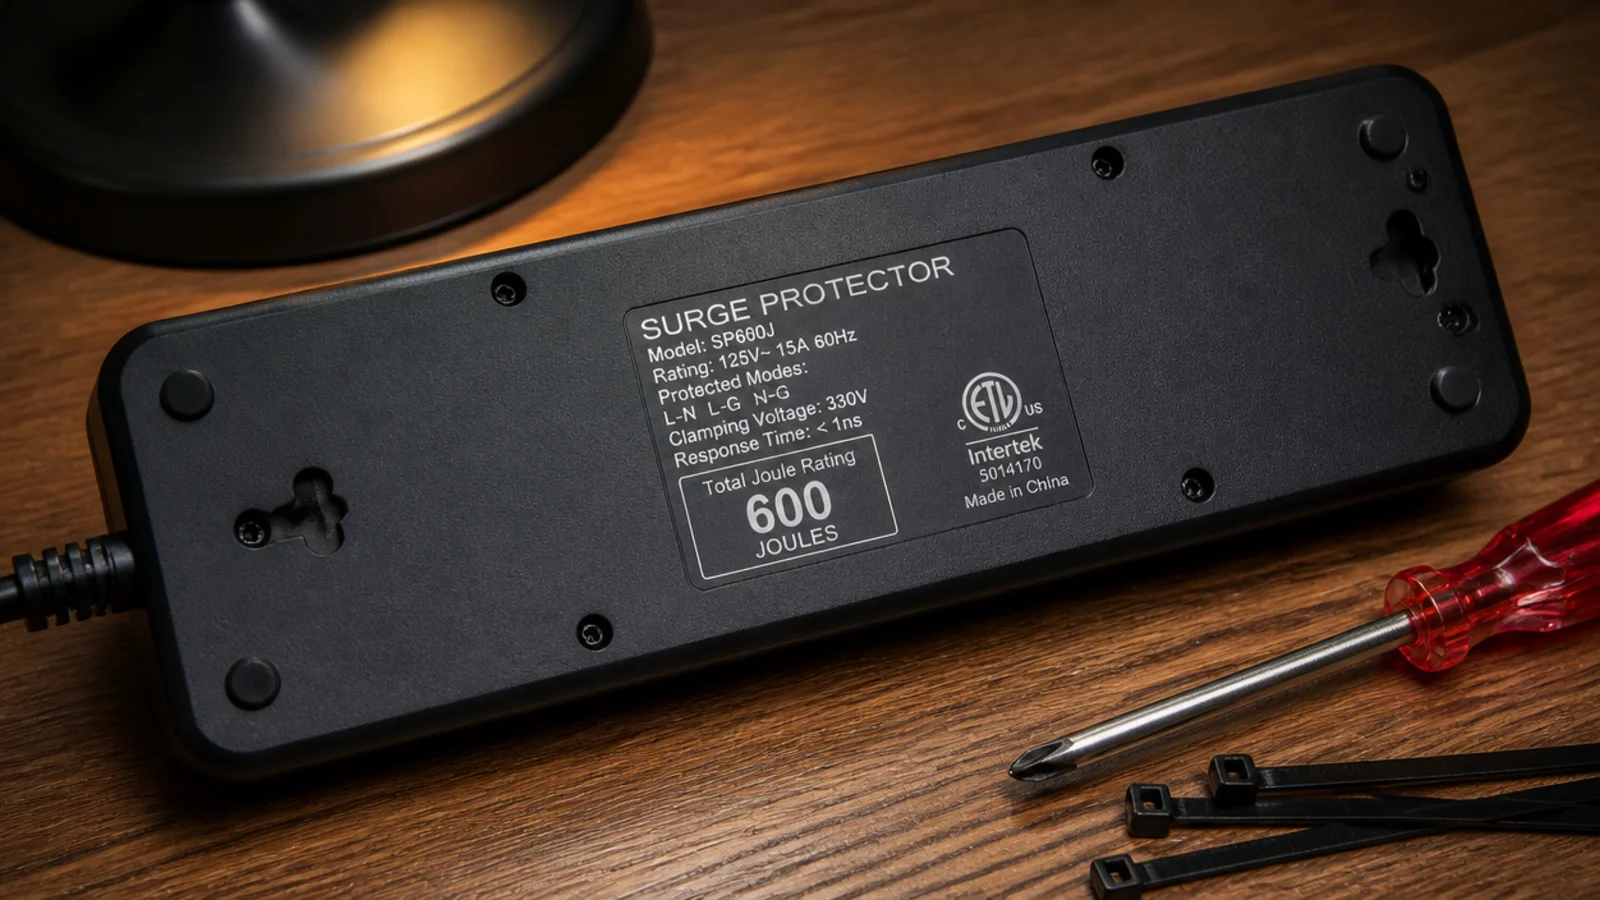
Socket count is the least useful number on the box. Basic strips offer around 600 joules; for anything with a PC on it, look for 1,000 to 2,000. Surge protection also degrades over time, so a strip that has taken a few hits is doing less than it did. Replace it every five years or so.
4. Give the tower four inches of air
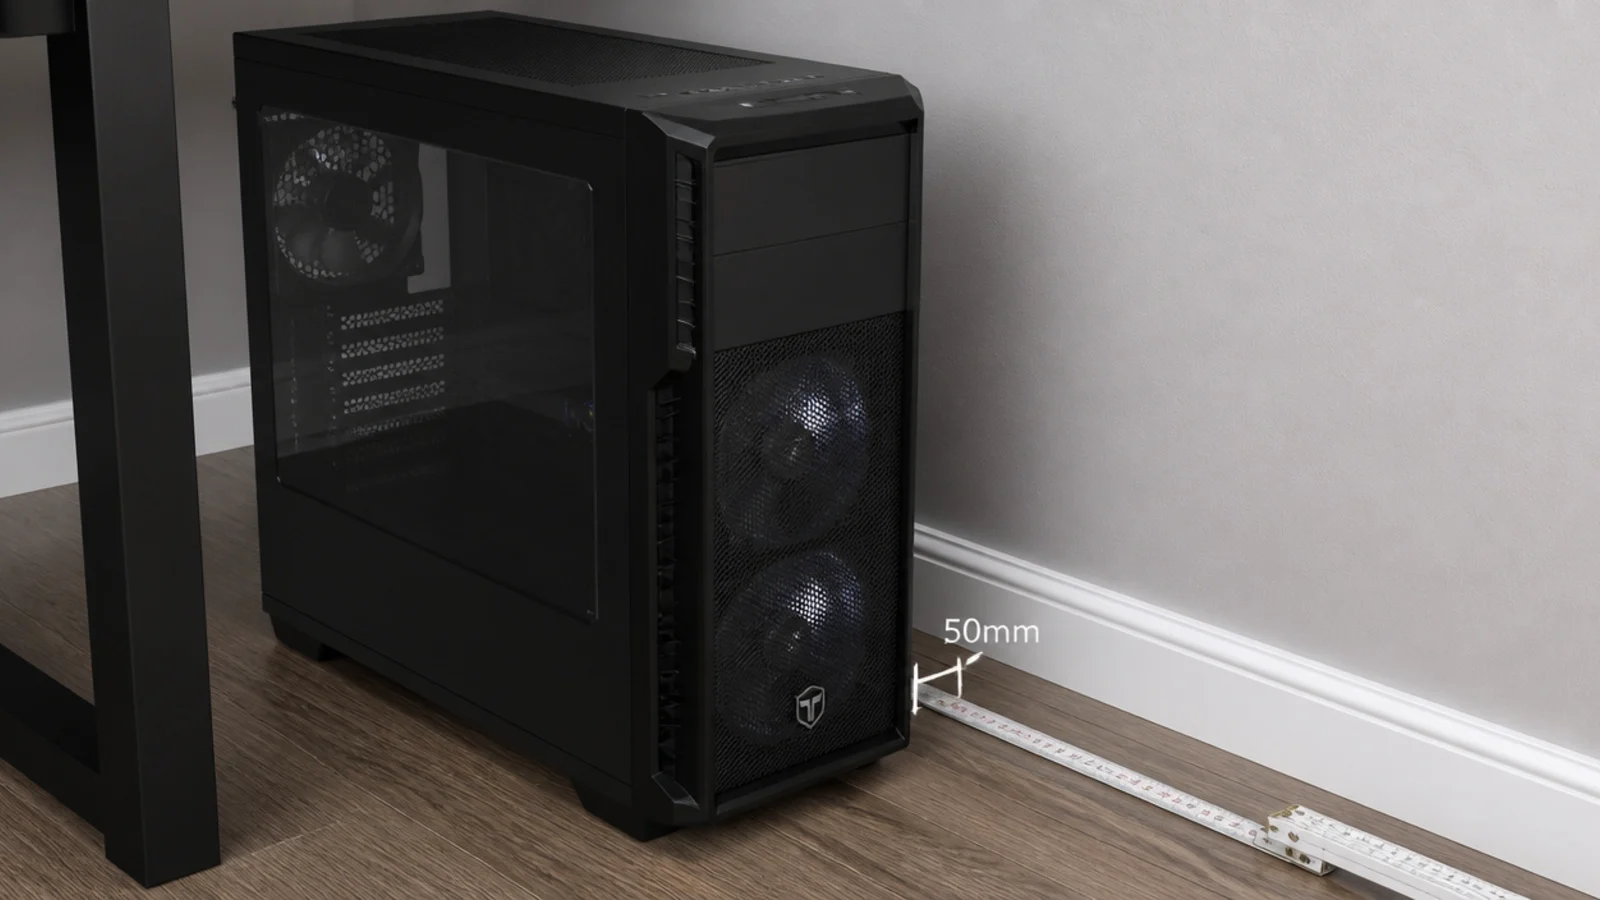
A machine pushed against a wall recycles its own exhaust and ramps its fans to compensate, which is why some rooms sound like a hairdryer. Leave 4 inches behind the intake side and 2 inches at each flank. Never in a closed cabinet without vents of at least 30 square inches top and bottom.
5. Ventilate the room, not just the case
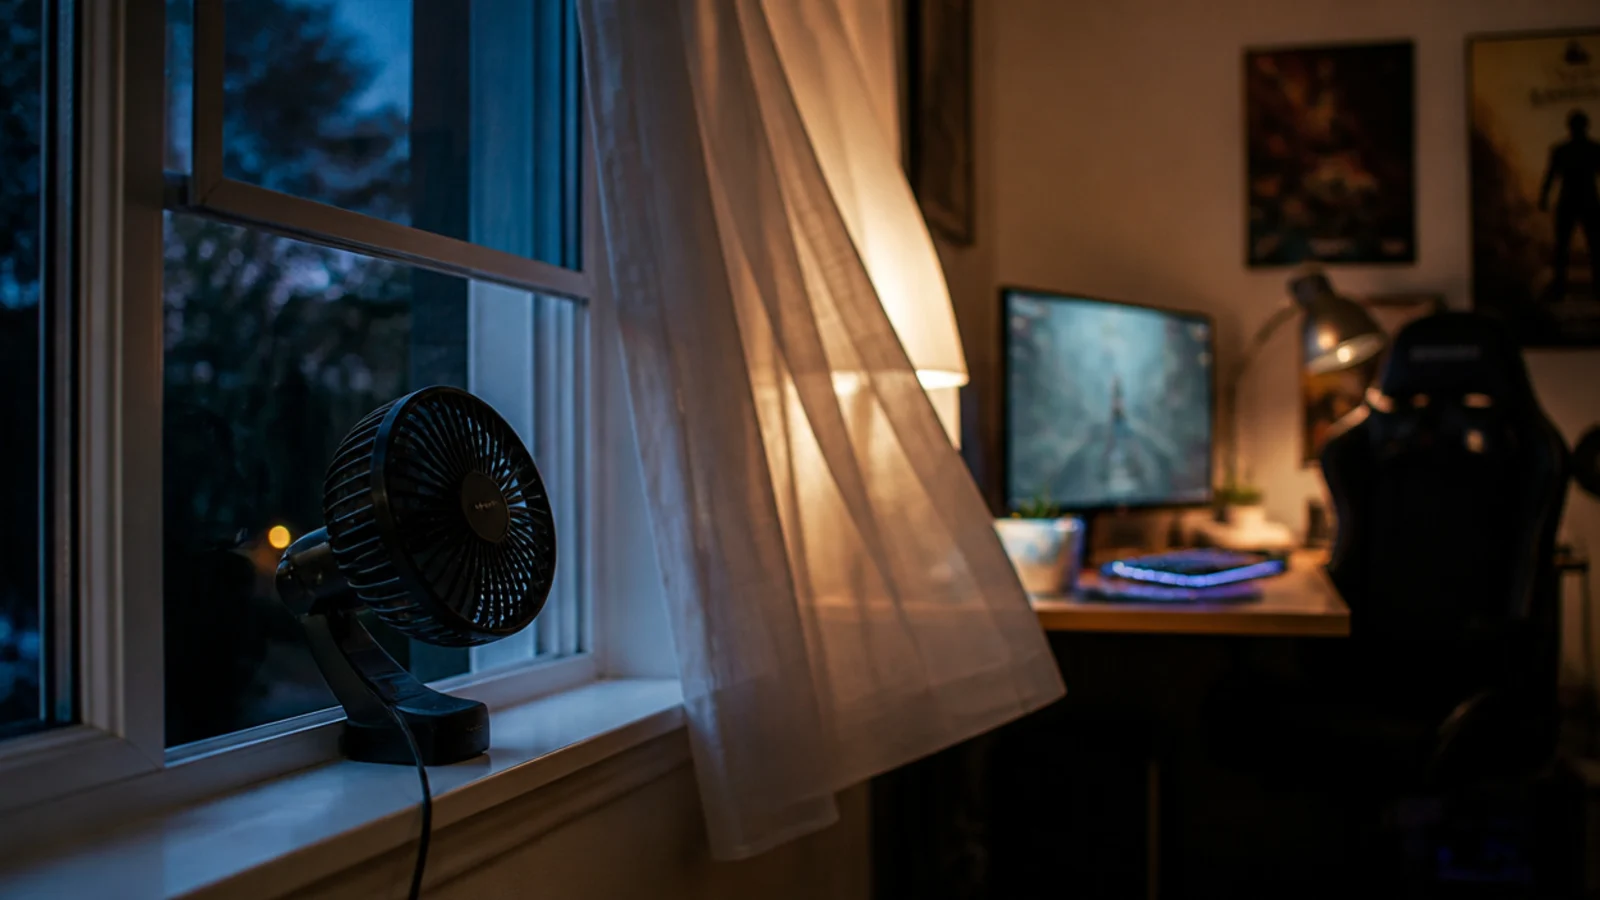
Case fans move heat out of the machine and into the bedroom, where it stays. A small bedroom needs around 11 cubic feet per minute of fresh air for one person before you add a device load. Ten minutes of open window morning and night, plus a door left ajar overnight, does most of the work.
6. Set the monitor top edge below eye level
Seated at a 30-inch desk, that usually puts the top edge 42 to 46 inches from the floor. Above eye level and he tips his head back for hours; too low and he hunches. Tilt the panel back about ten degrees so the whole screen faces his face rather than his chin.
7. Match viewing distance to screen size
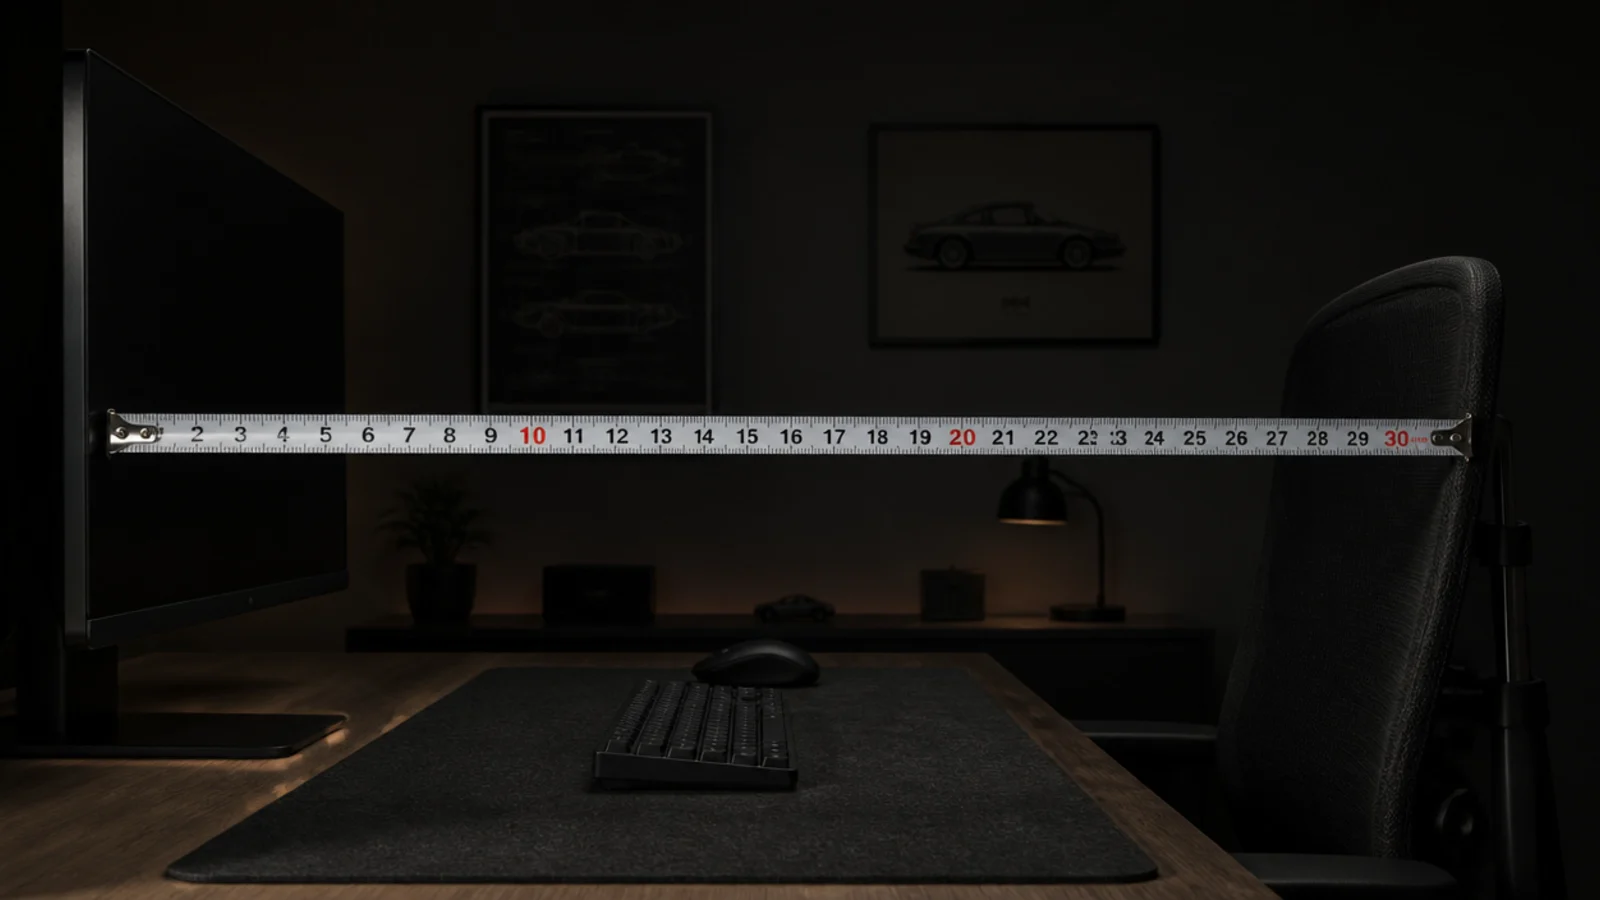
Twenty to thirty inches back from a 24-inch panel, 25 to 35 from a 27-inch, and 32 to 40 from a 32-inch. Too close on a big screen means constant head movement and eye strain. If the desk is not deep enough to allow the distance, the screen is too big for the room.
8. Give a twenty-seven inch screen thirty inches of desk
Desk depth is what makes viewing distance possible. Twenty-four inches is the minimum for a 24-inch monitor on a stand; a 27-inch panel wants 30 inches of depth. If the desk is shallower than that, either drop a screen size or move to an arm, which is the cheaper fix.
9. Fit a monitor arm and reclaim the depth
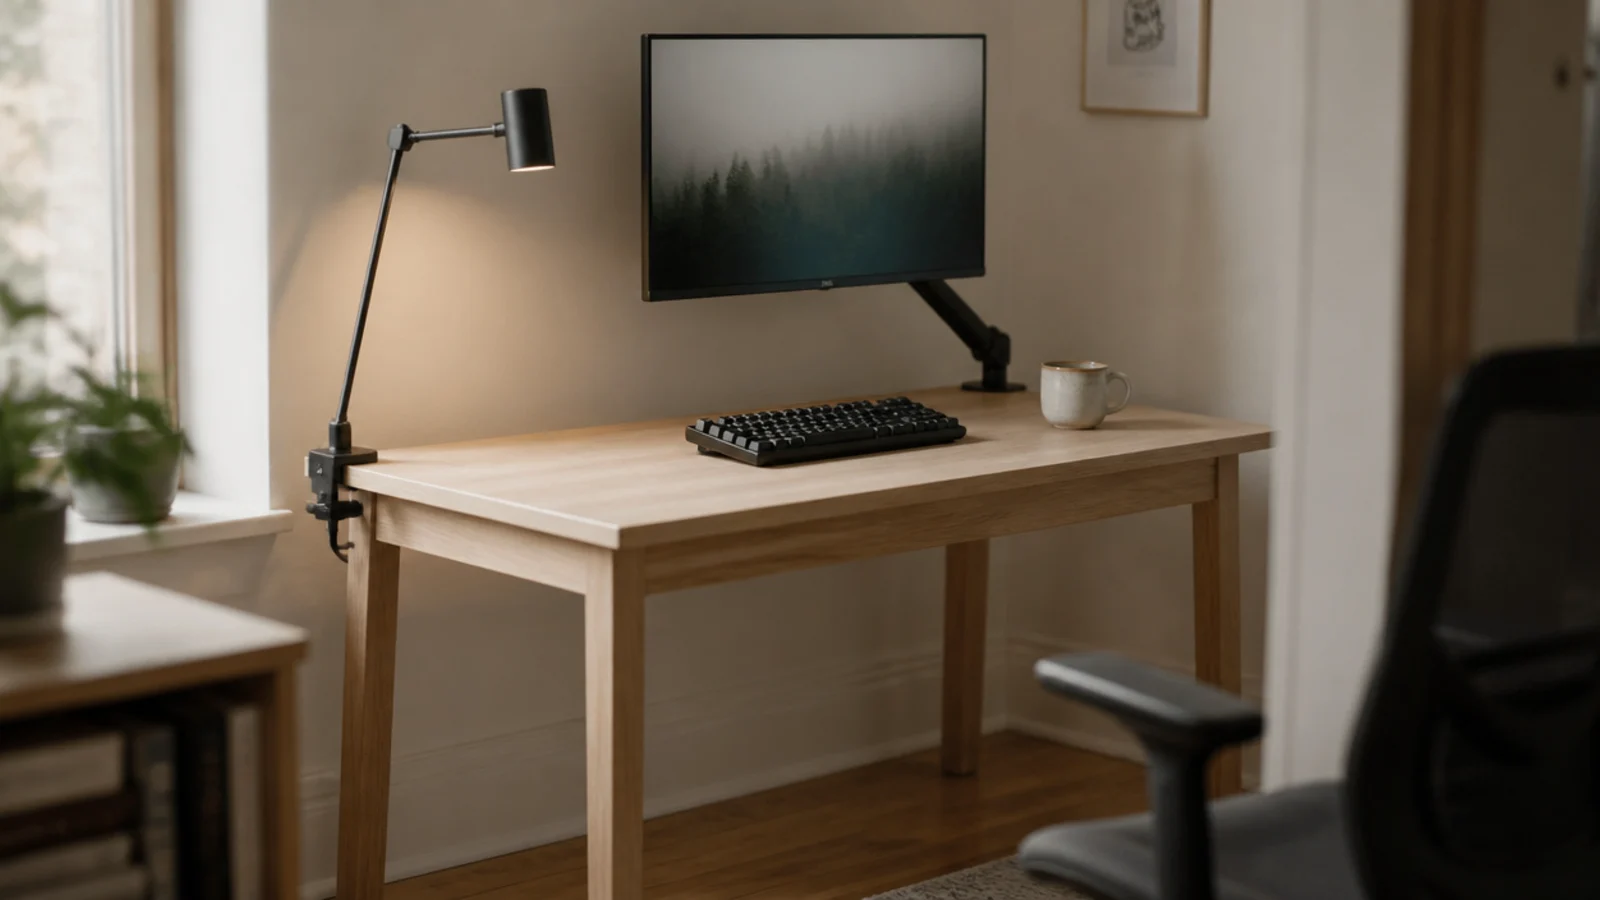
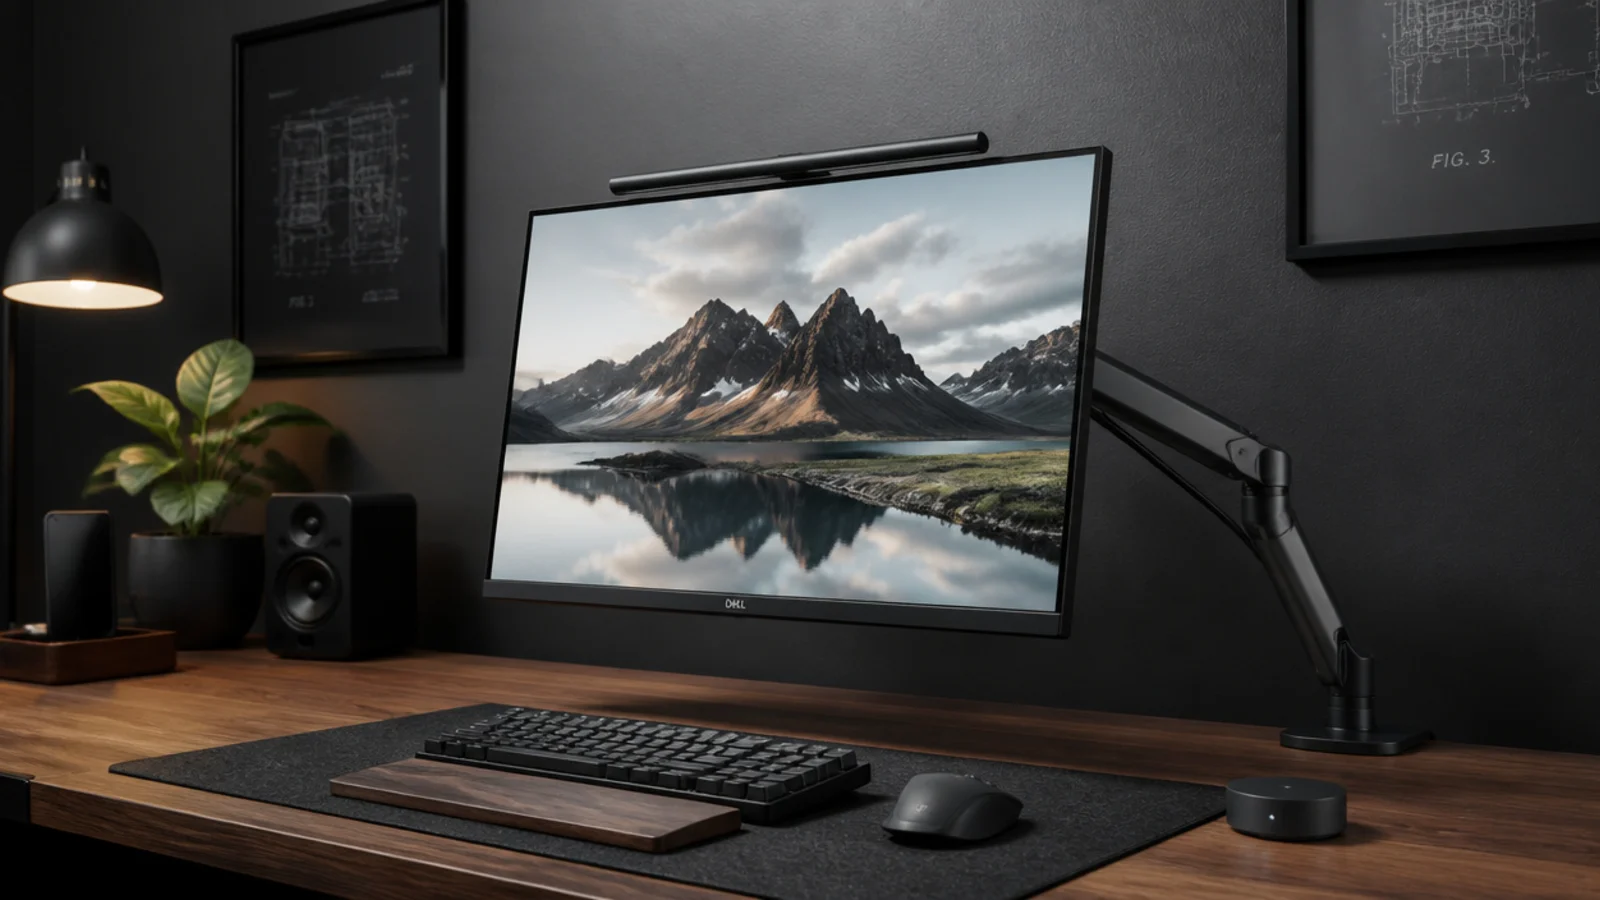
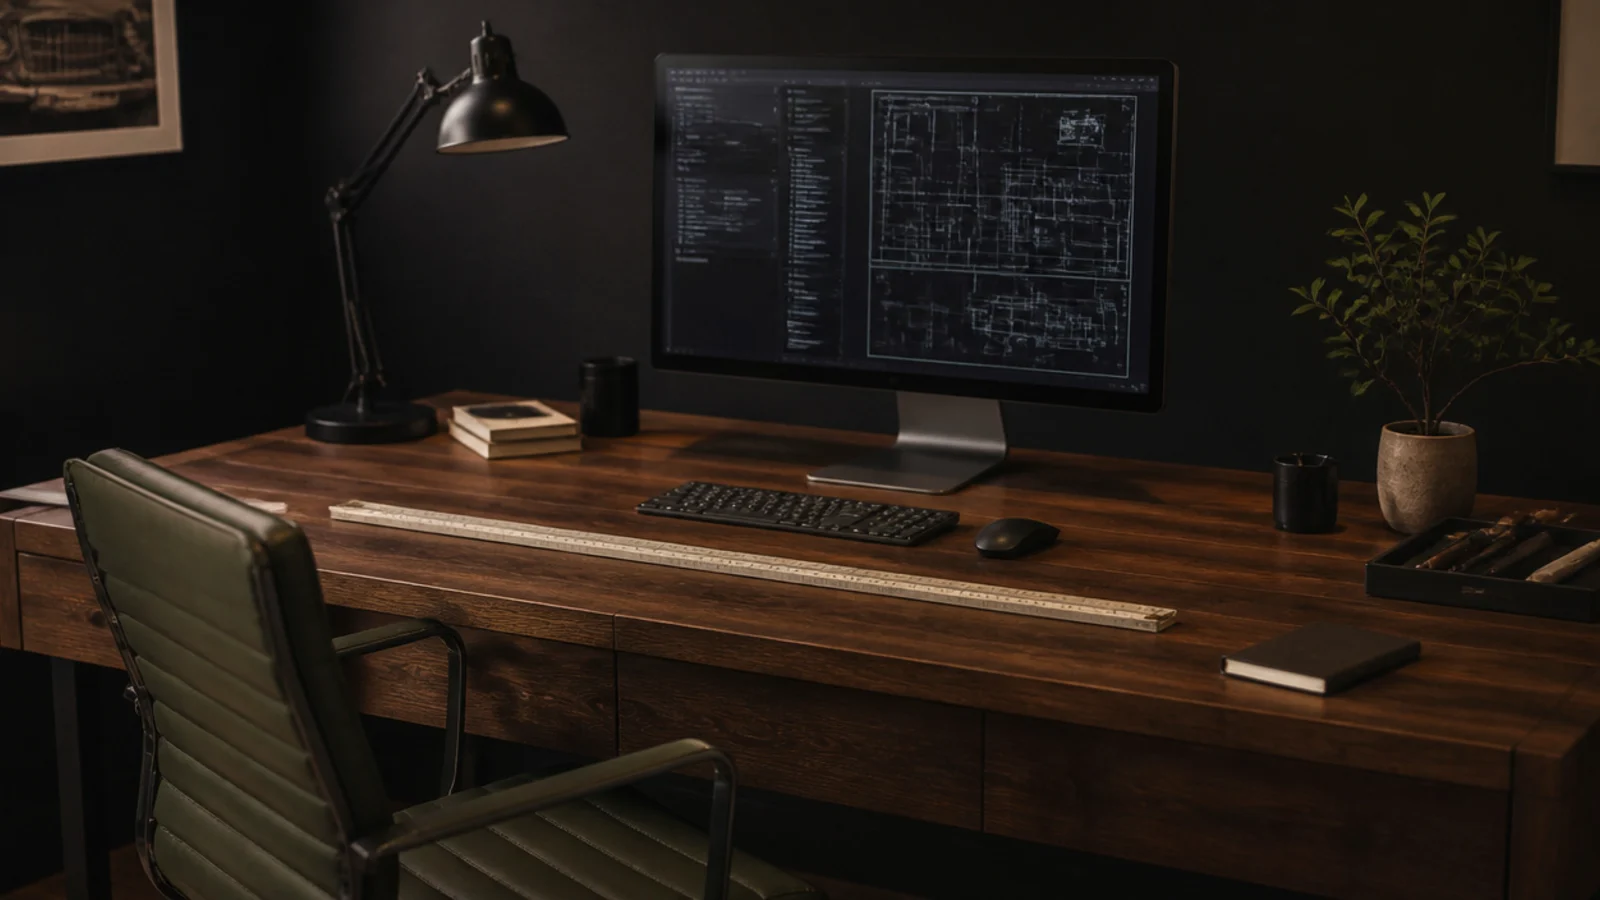
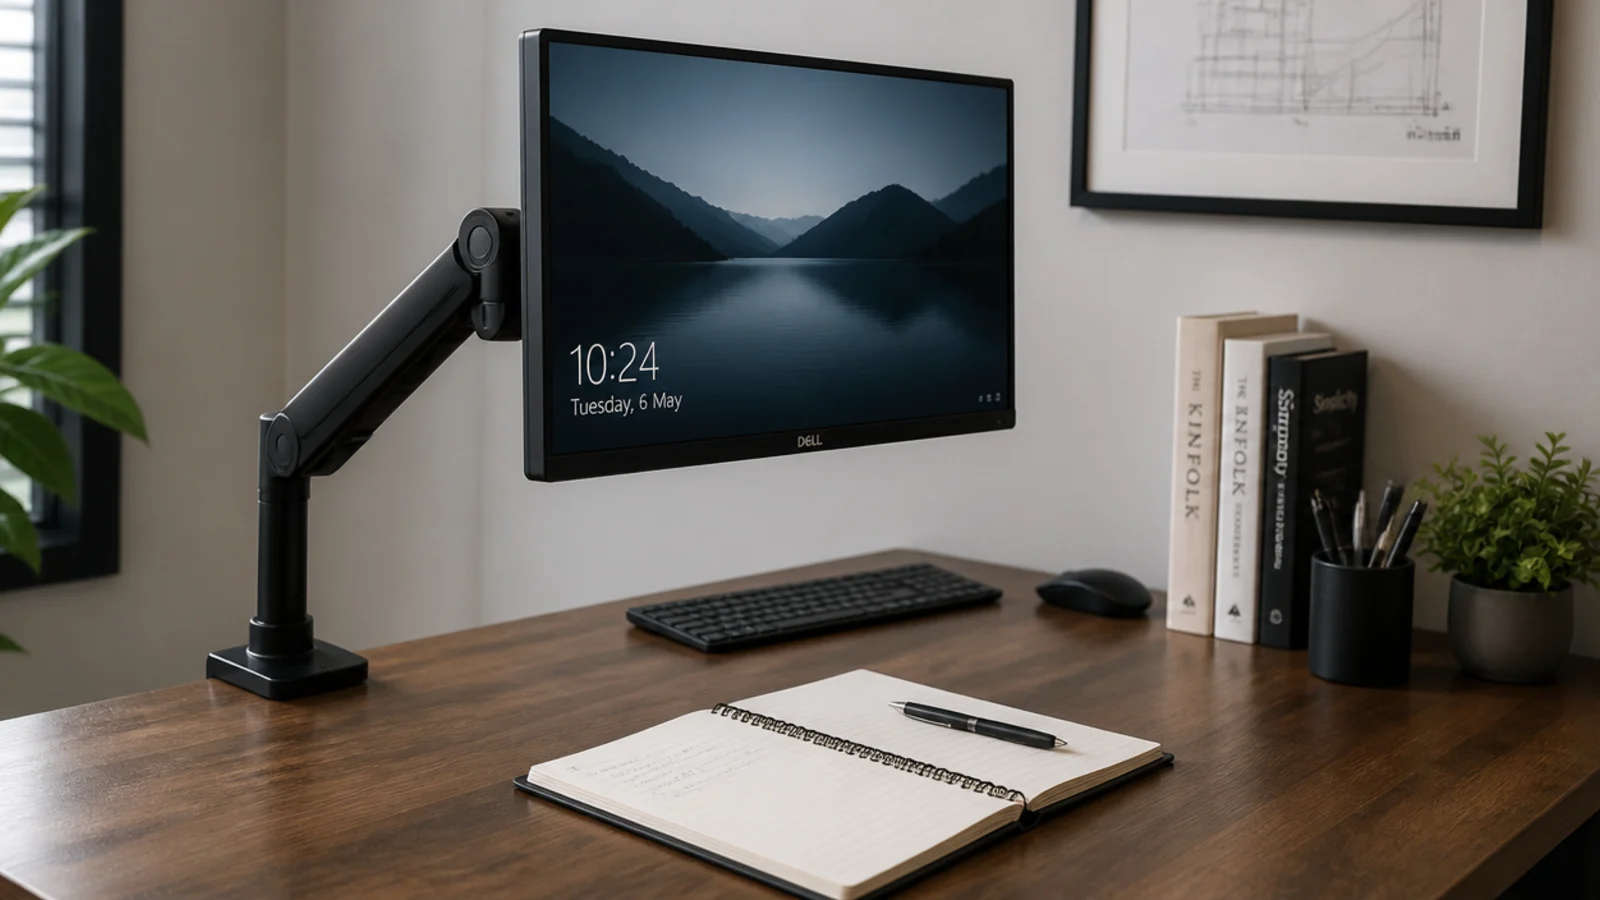
A clamp arm removes the stand base and returns 8 to 10 inches of usable depth, which on a 24-inch top is a third of the surface. It also lets you set height and distance precisely rather than approximately. Check the clamp suits your desk thickness, usually up to about 2 inches.
10. Put a neutral bias light behind the screen
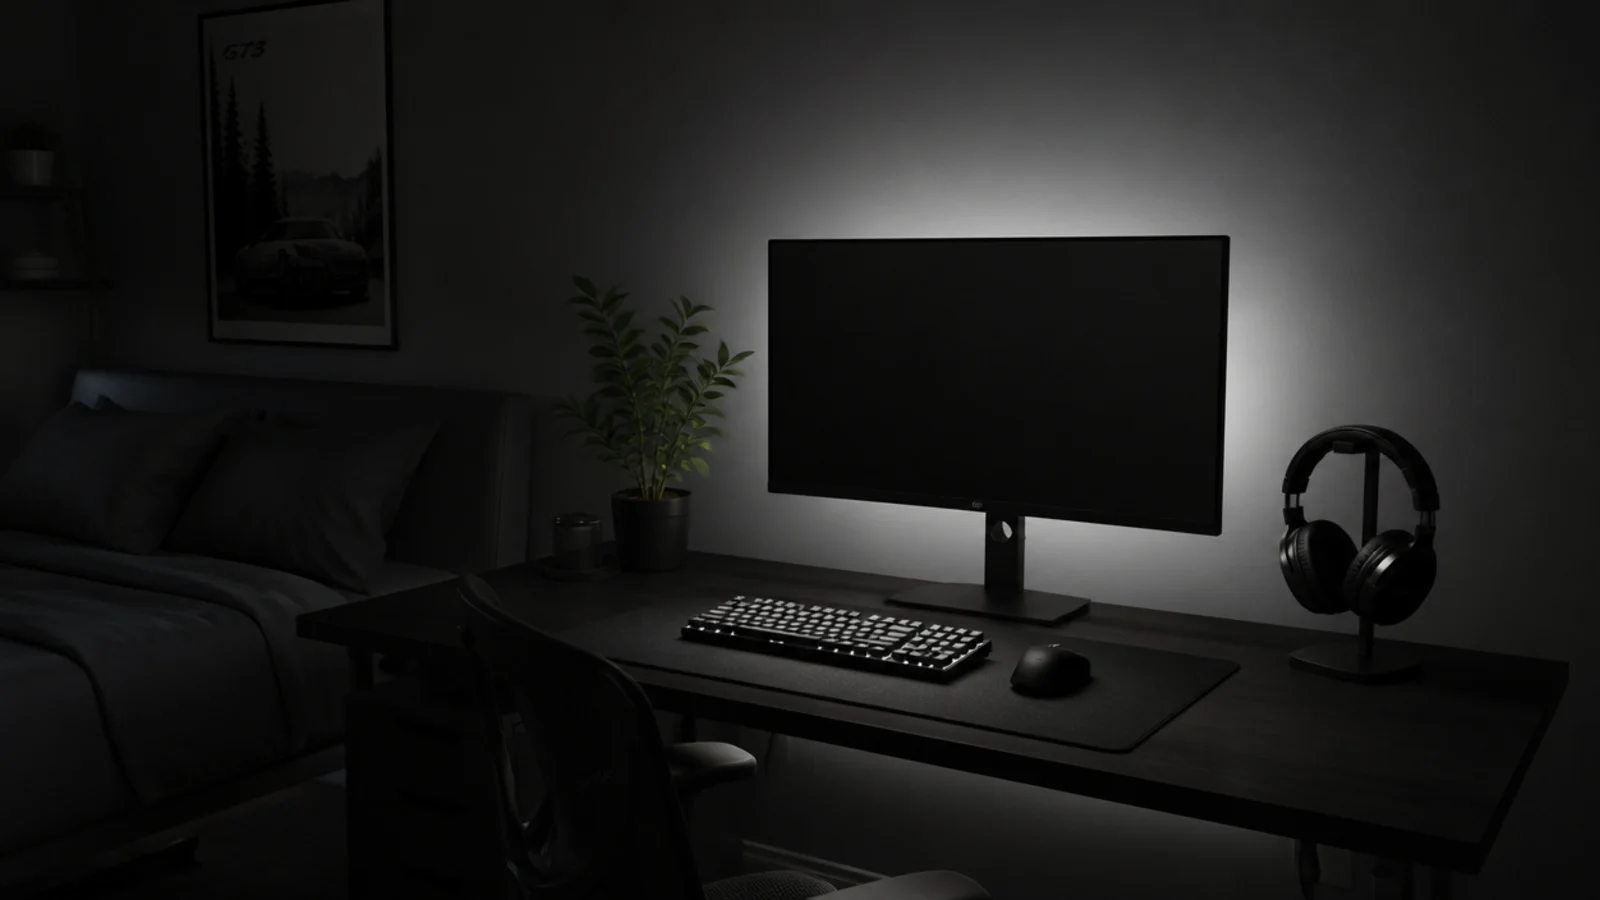
A 6500K strip behind the monitor at roughly ten percent of screen brightness cuts the contrast between a bright panel and a dark wall, which is what actually tires eyes at midnight. A five-metre 12-volt roll at 14.4 watts per metre draws about 72 watts, so check the supplied power block is rated above that.
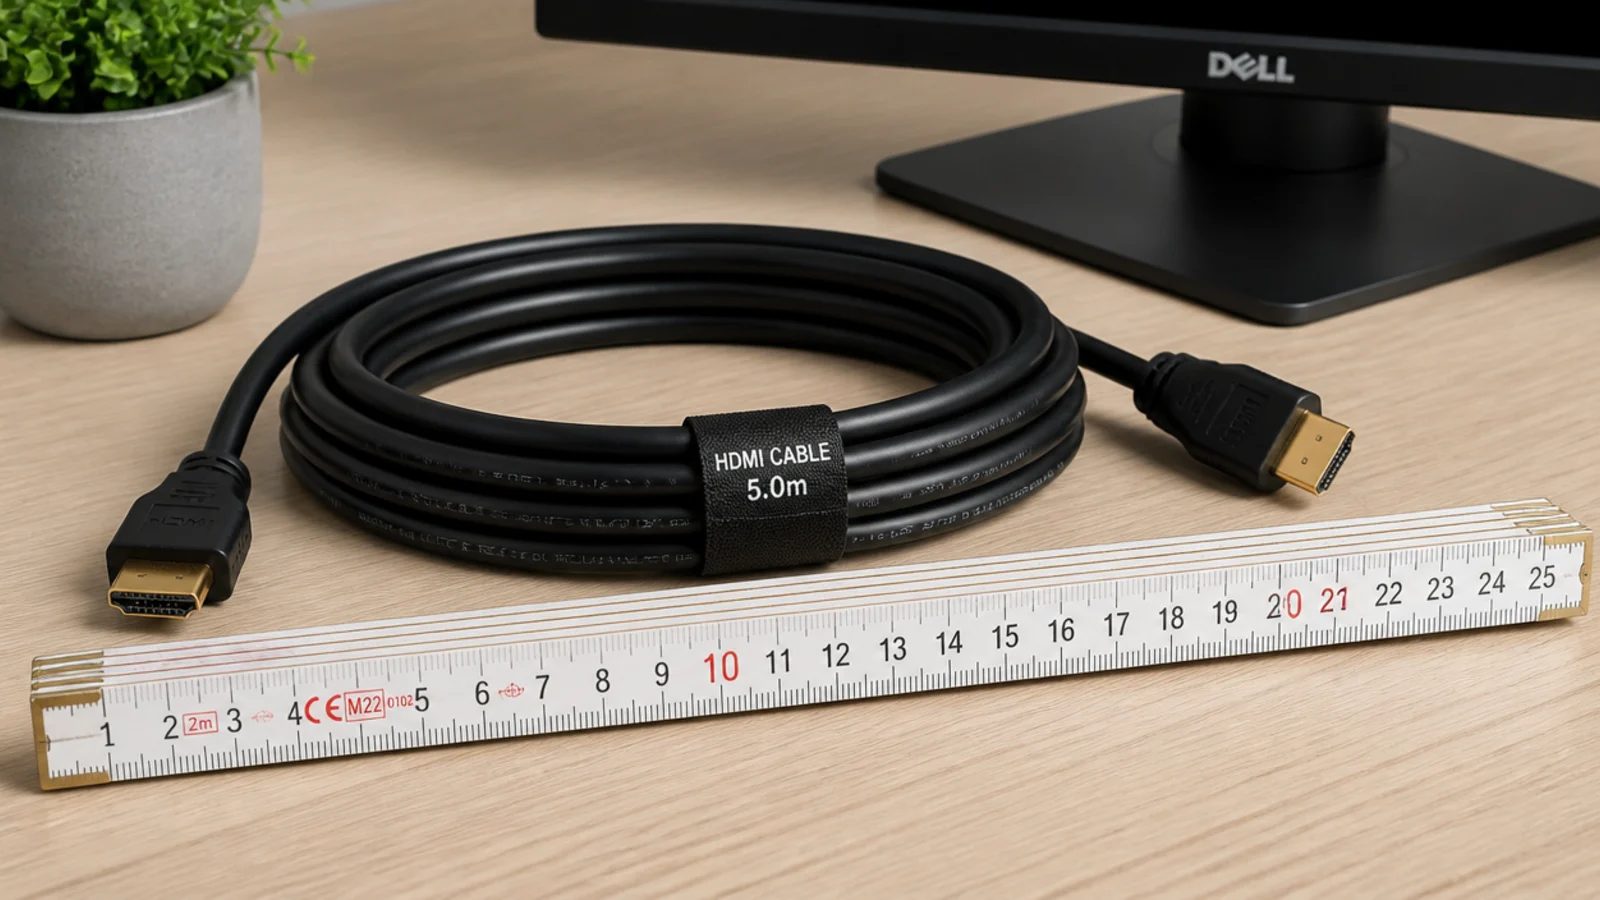
11. Keep cable runs under ten feet
Passive HDMI gets unreliable past about 10 feet at high resolutions and refresh rates, and long USB runs drop out under load. Buy cables to the length you actually need rather than coiling six feet of slack behind the desk, which is both a signal problem and a dust trap.
12. Velcro-tie every run at six to eight inches
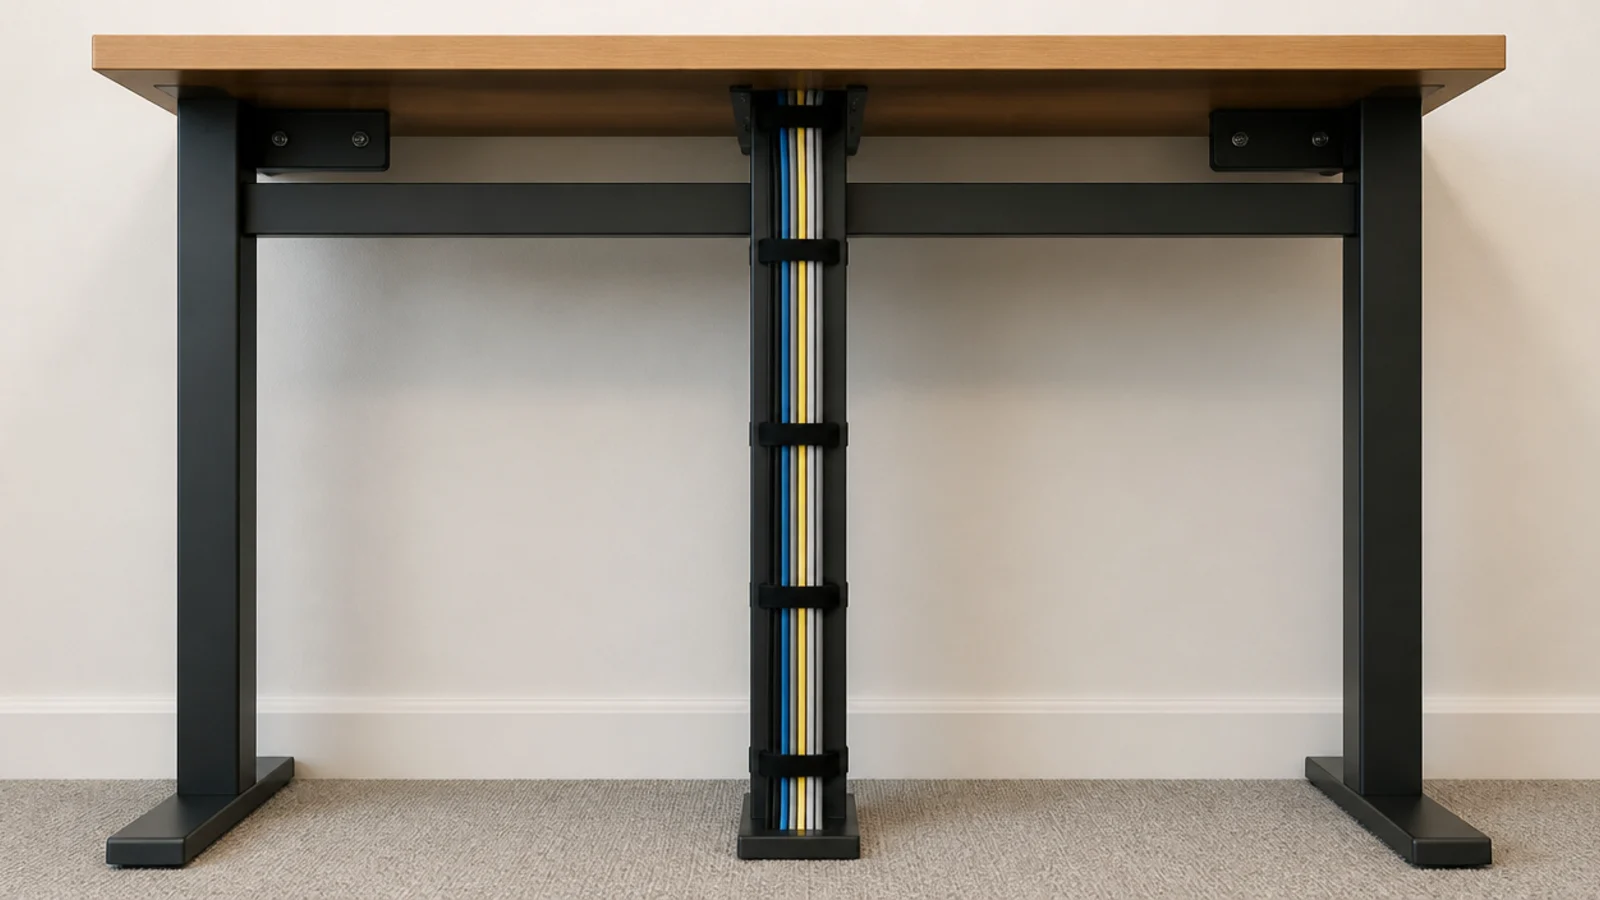
Even spacing keeps a bundle flat, traceable and easy to change. Reusable velcro is better than zip ties here because the setup changes every few months. A pack of fifty is under $10 and it is the difference between adding a device in five minutes and in forty.
13. Screw a cable tray under the desk
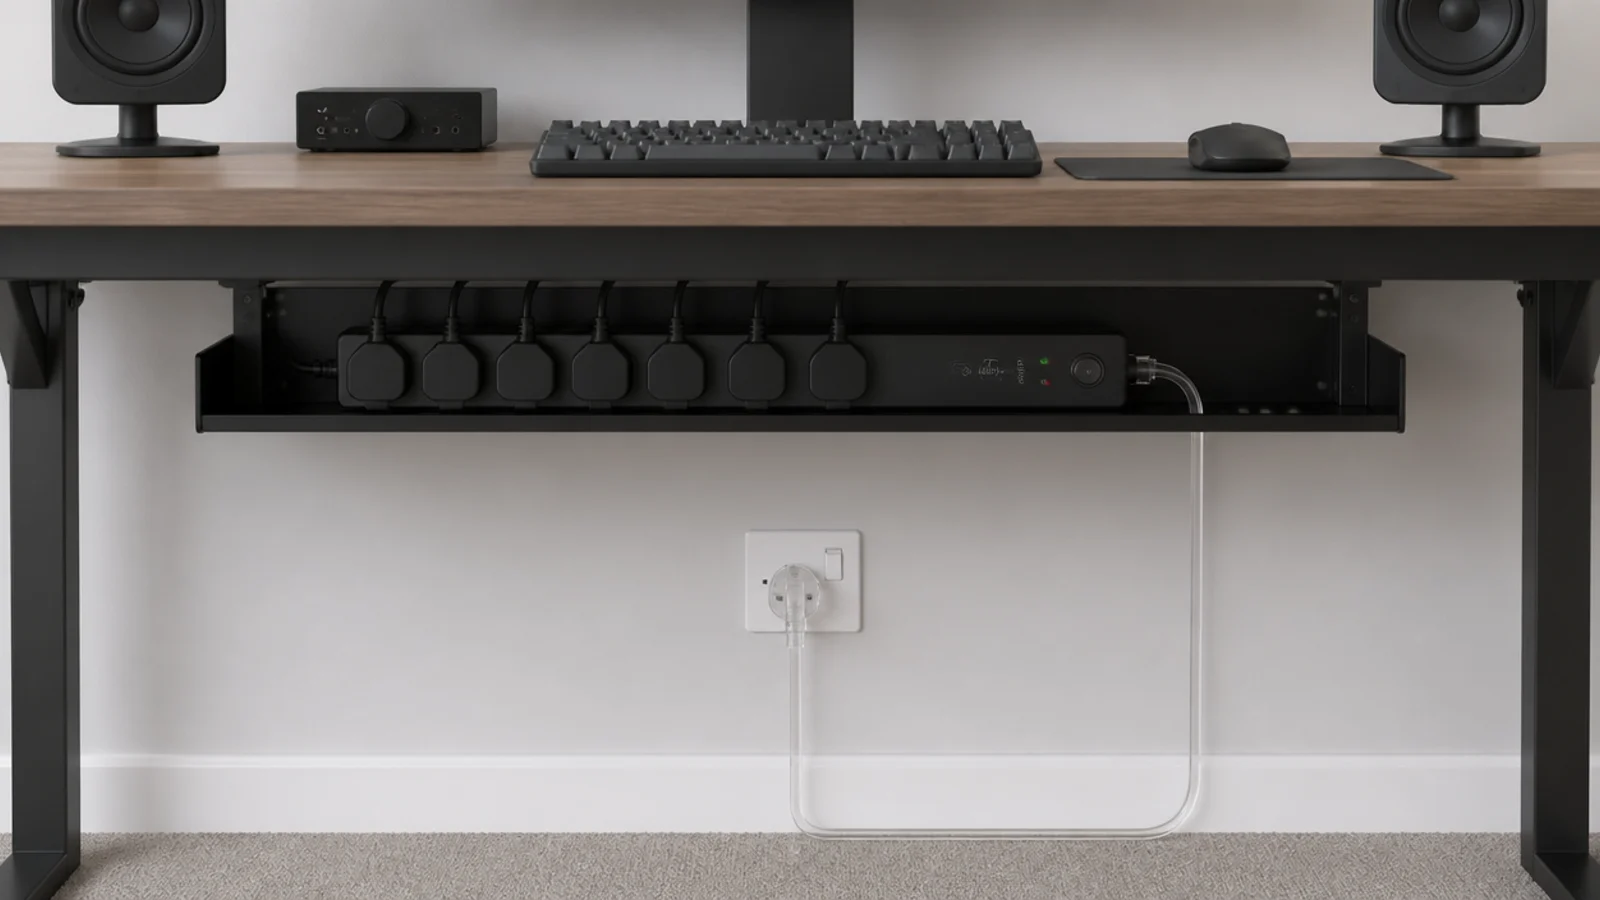
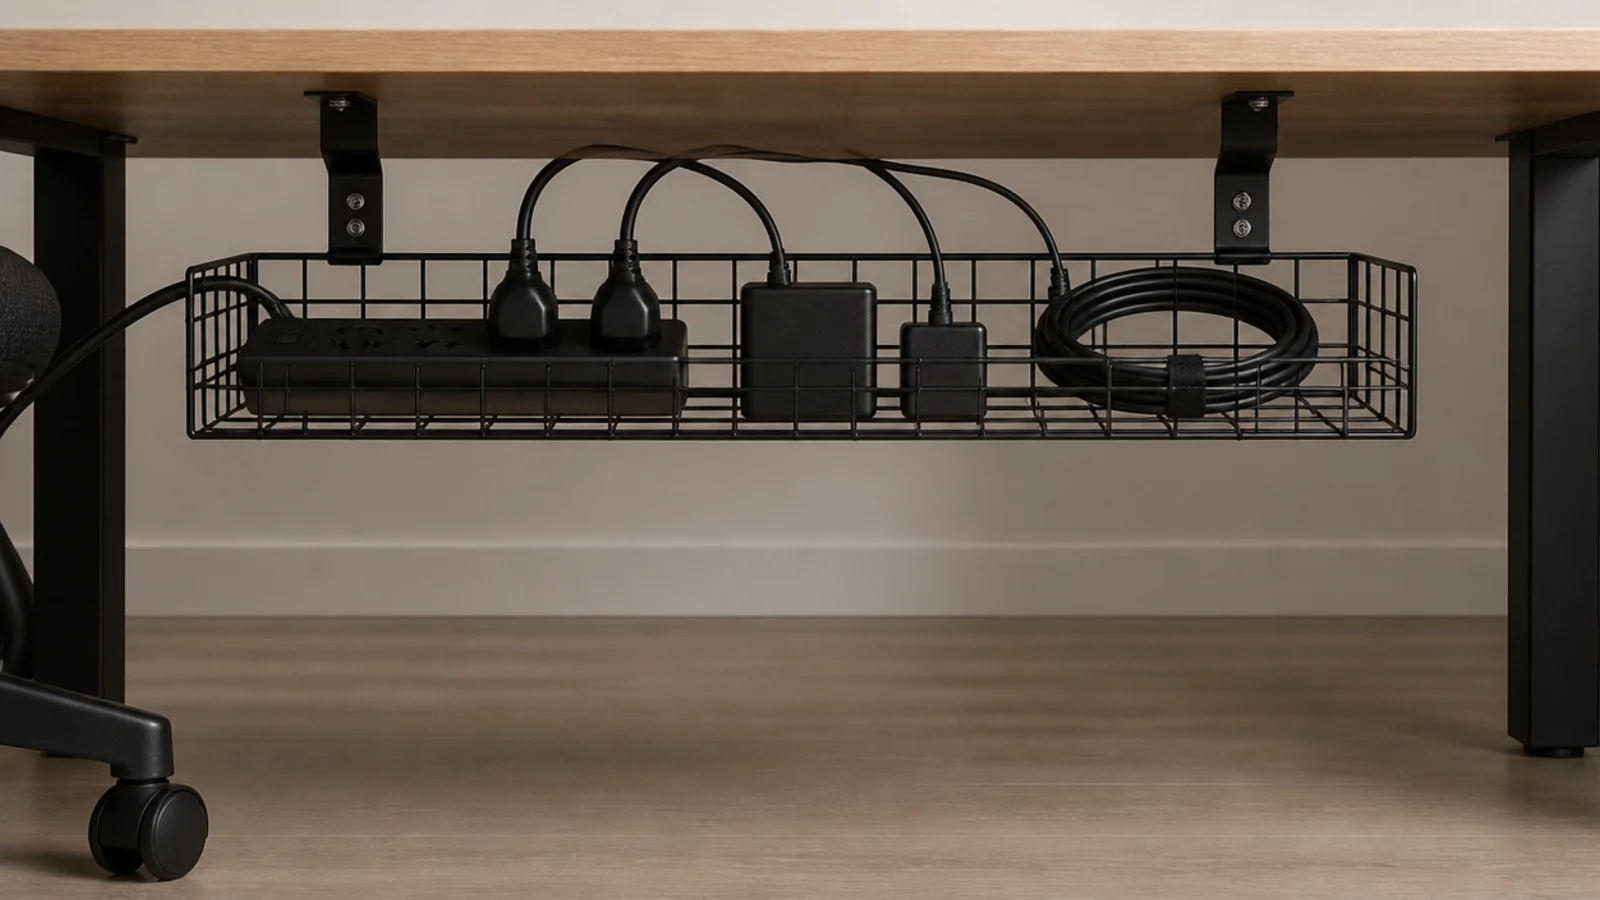
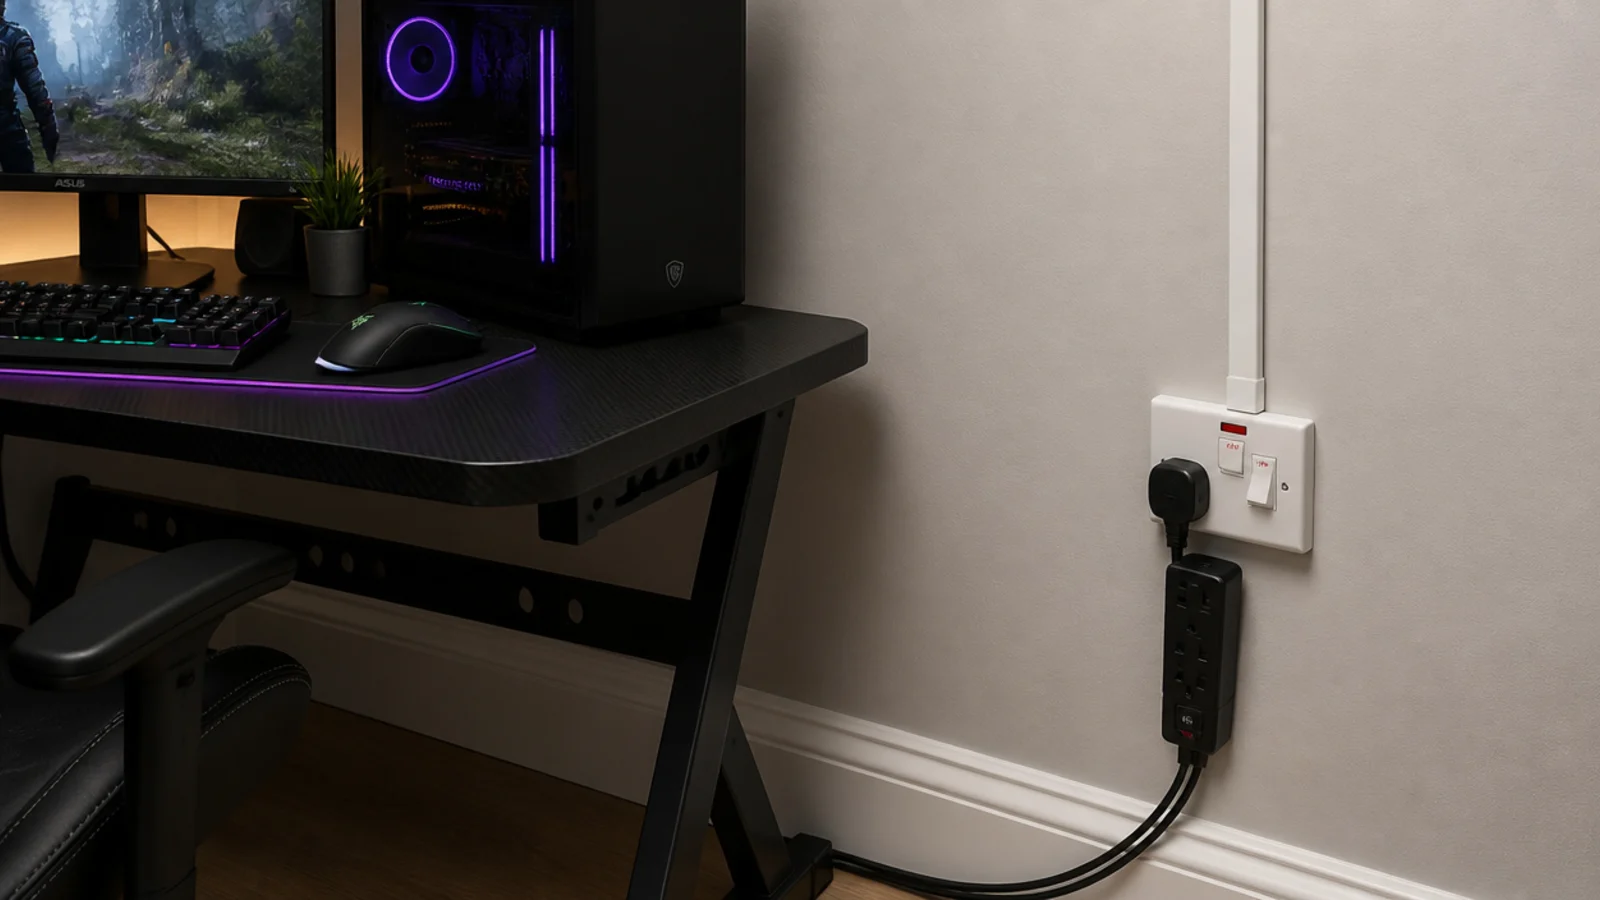
The power block belongs off the floor. A mesh tray at $10 to $20 holds the strip, the adapters and the slack, keeps dust out of the sockets, and stops the whole assembly being kicked. It also means the floor can be vacuumed in one pass, which otherwise never happens.
14. Paint the wall behind the screen dark
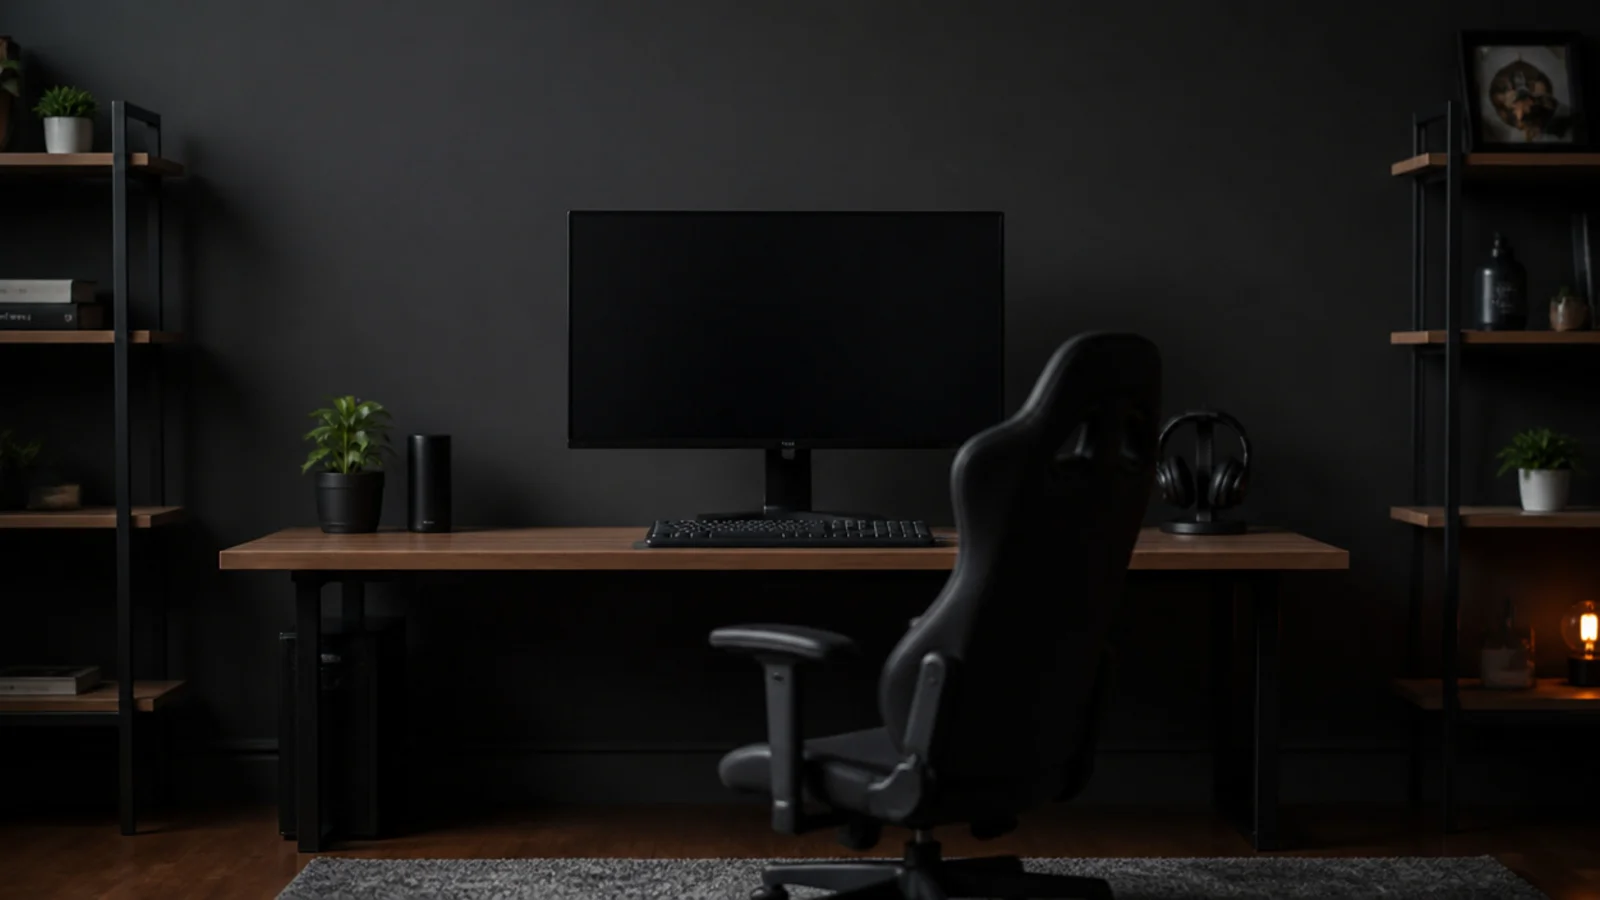
A wall below an LRV of about 25 behind the monitor reduces reflected contrast and makes long night sessions noticeably easier on the eyes. Use a scrubbable matte, because dark paint in anything glossier shows every roller lap under a desk lamp. Half a gallon covers one wall in two coats.
15. Panel the first reflection points
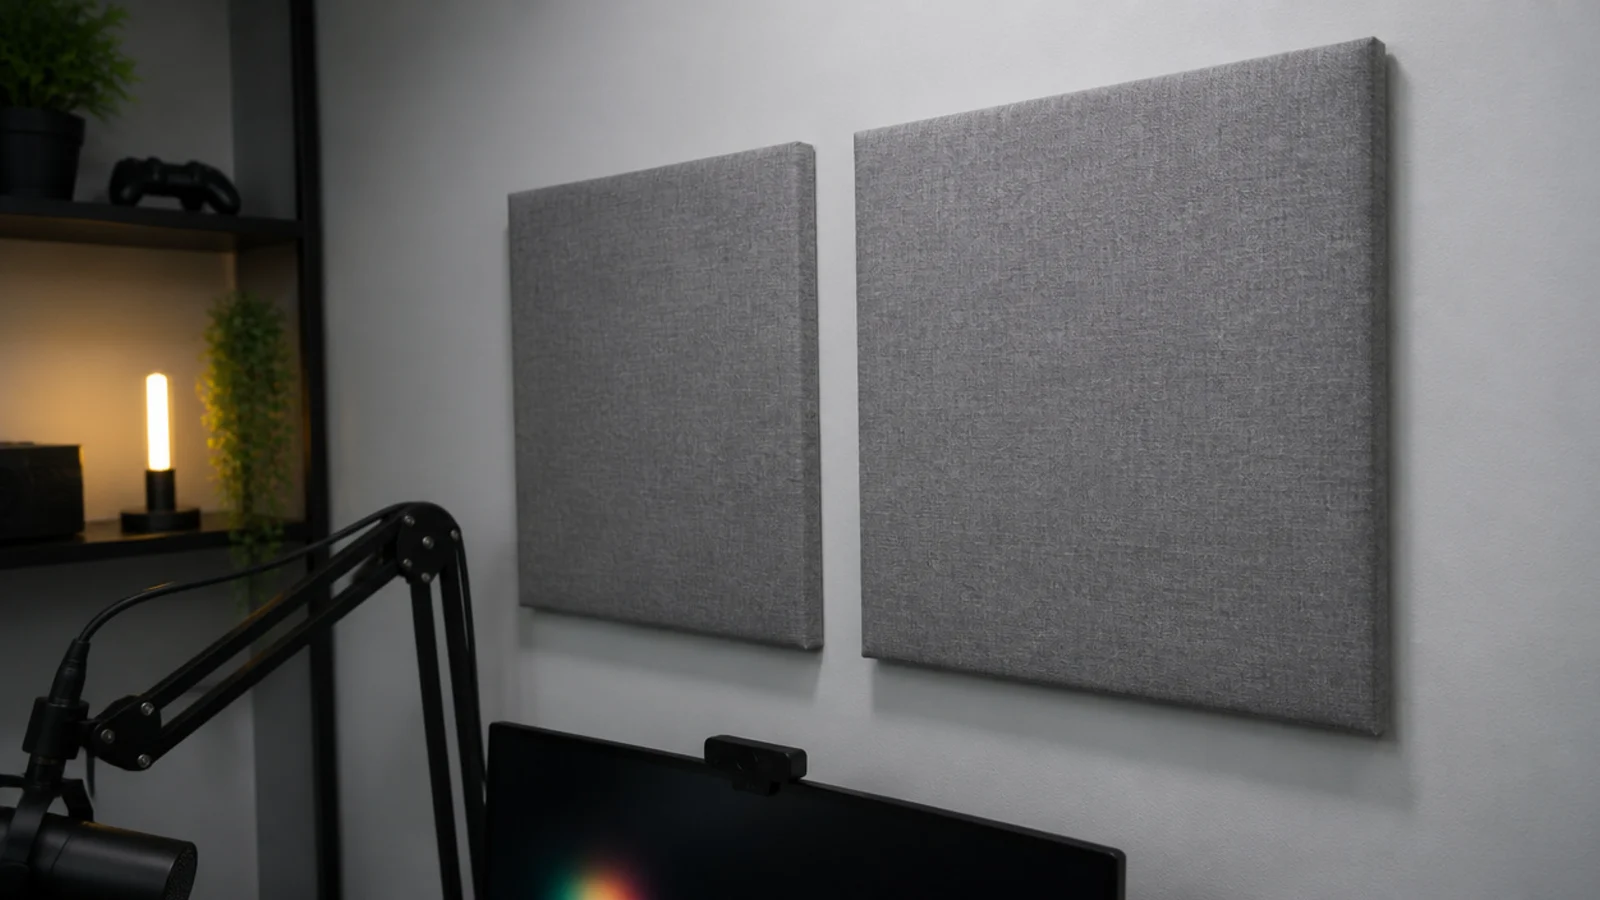
A bare-walled bedroom makes voice chat and streaming sound hollow. Two to six 24 by 24 inch fabric panels, two inches thick, covering 15 to 20 percent of the wall area at the side reflection points takes most of that out. Around $60 to $120 for a set of six, and they hang on two hooks each.
16. Seal the gap under the door
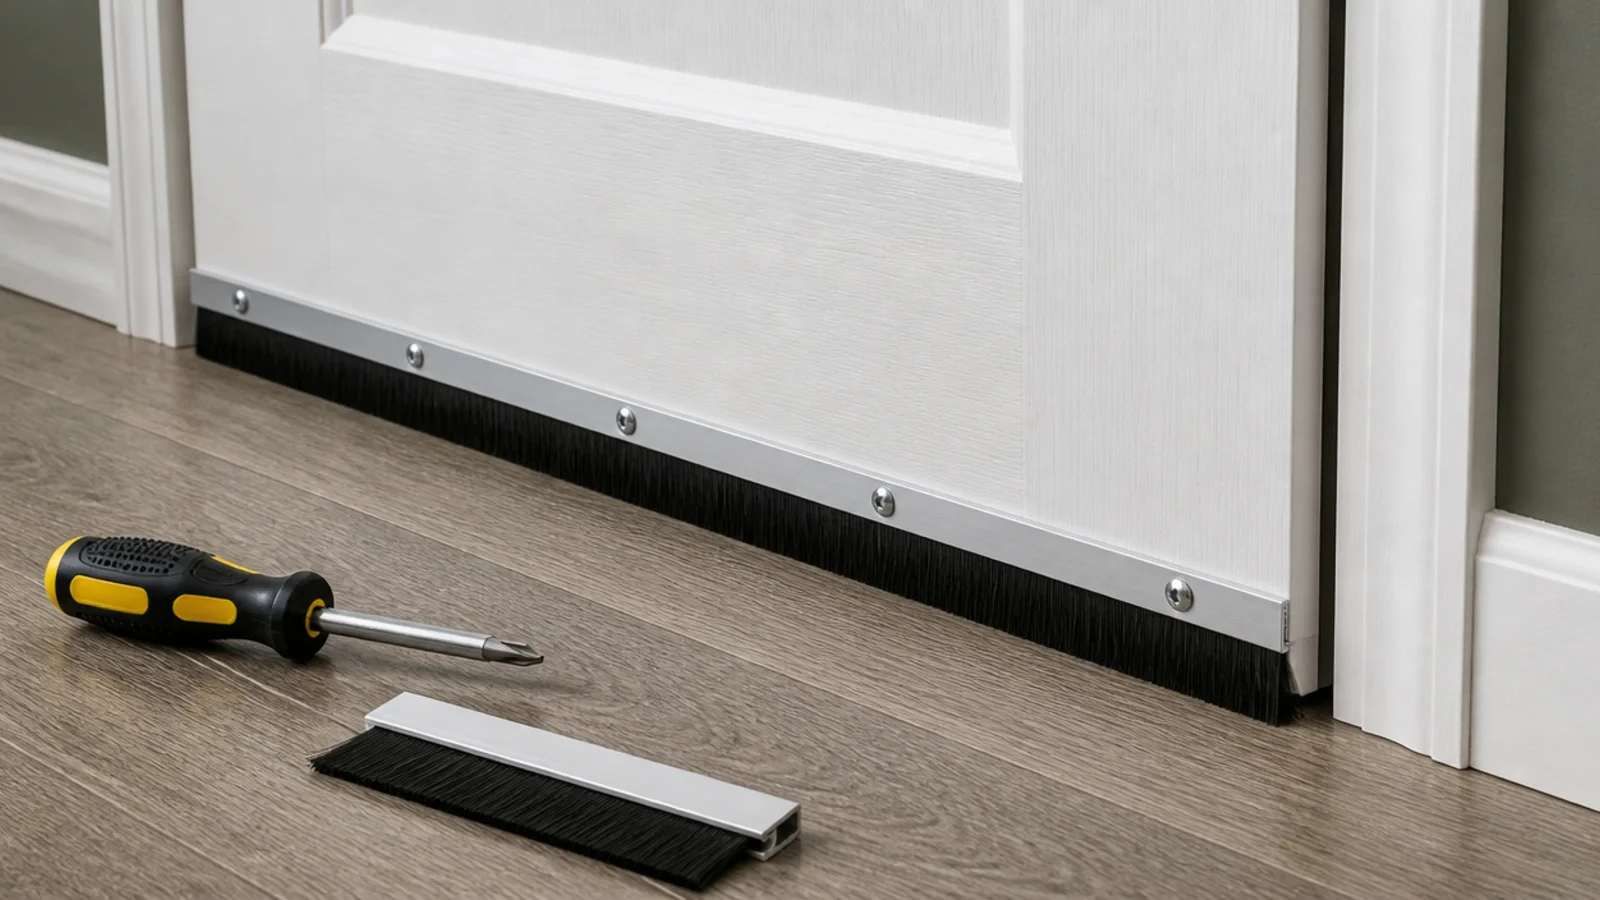
Most of the sound leaving a bedroom goes under the door, in both directions. A screw-fit brush seal at $15 to $30 is worth roughly 3 to 5 decibels, which is the difference between a headset session being audible downstairs and not. Adhesive versions peel within a heating season.
17. Buy the chair on its adjustment range
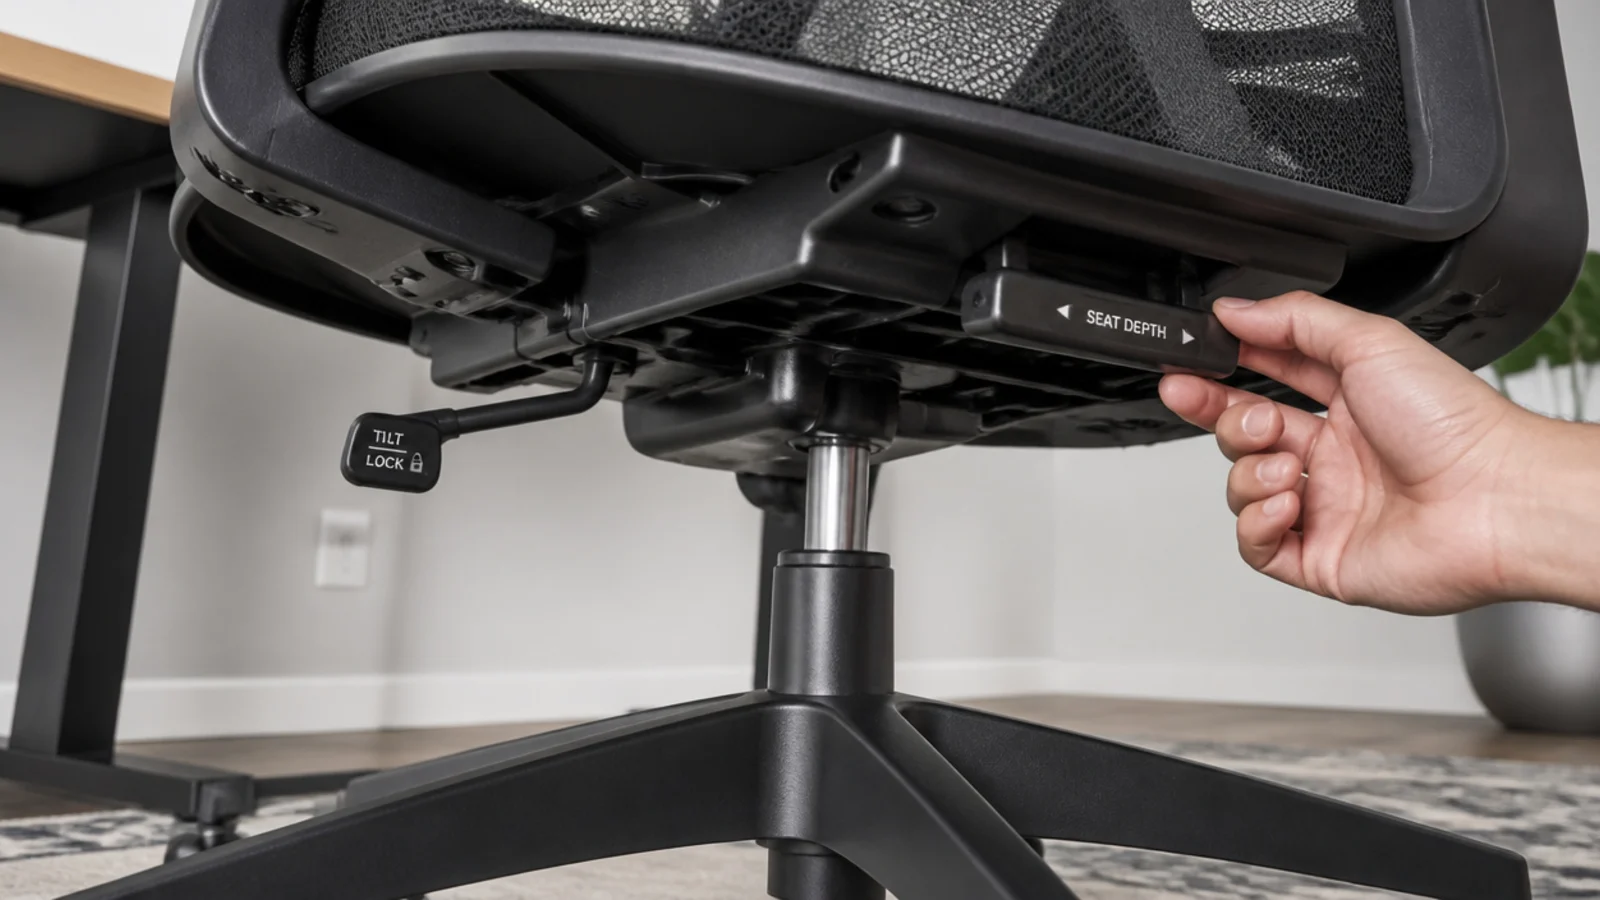
Seat height across 16 to 21 inches, a tilt lock, adjustable seat depth, and arms that drop below the desk. That specification matters far more than the silhouette. A fixed bucket seat suits one body size, and a teenager is not finished growing. Budget $150 to $350 for something that lasts.
18. Use a desk mat that survives a spill
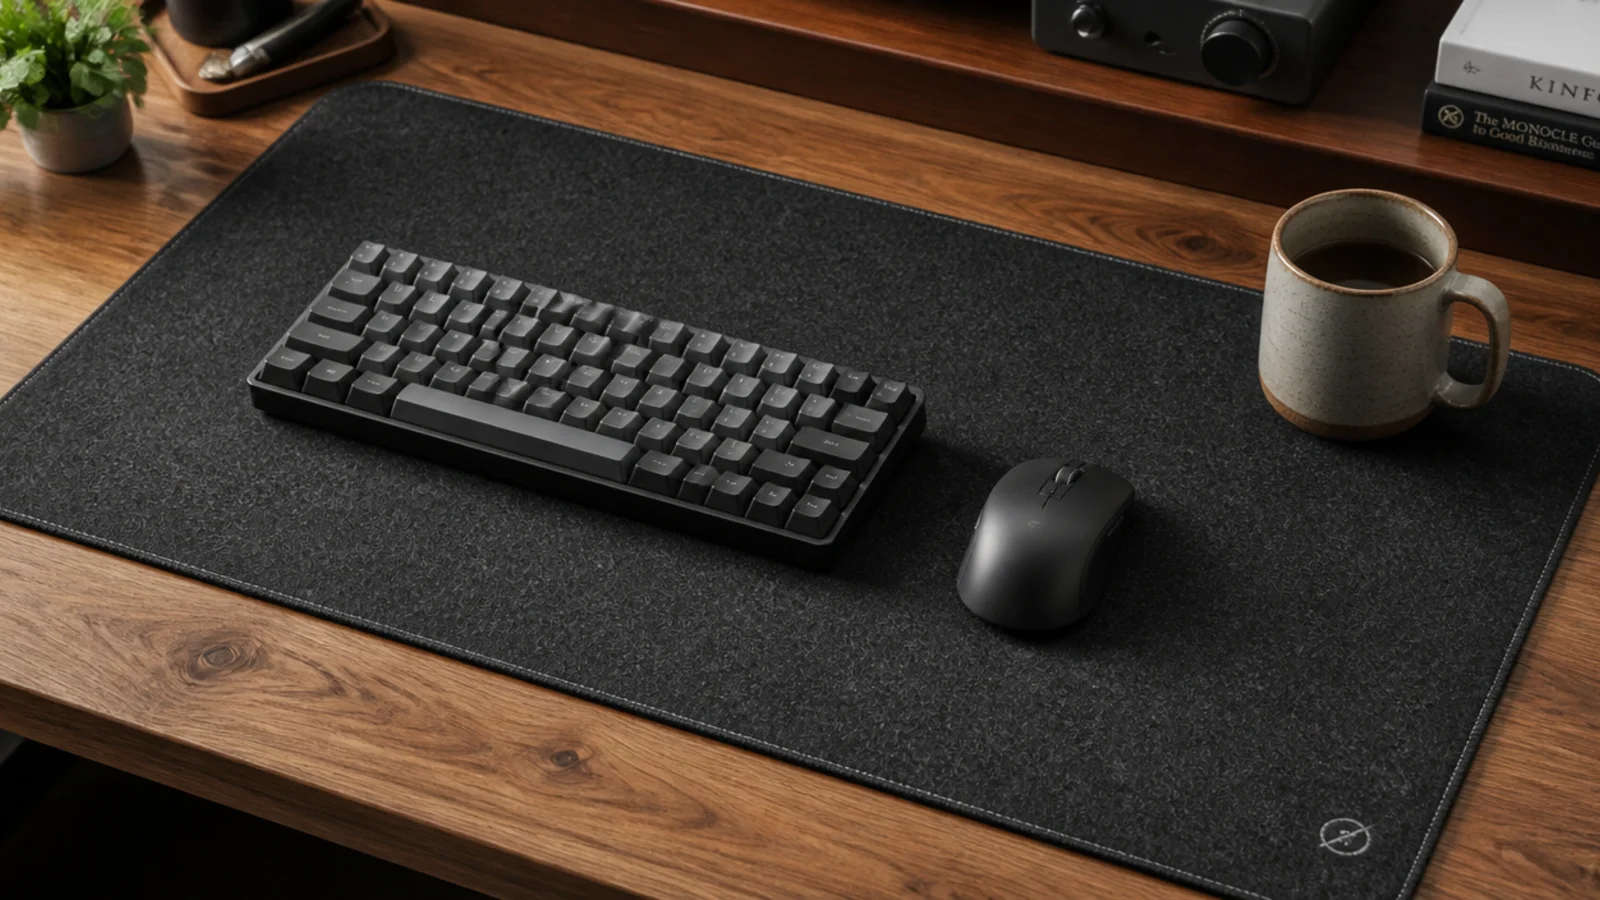
A large mat protects the top, quietens the keyboard and gives the mouse a consistent surface. Look for stitched edges, which stop it fraying within months, and at least 31 by 15 inches so both hands stay on it. Around $20 to $40, and it makes a cheap laminate top look considered.
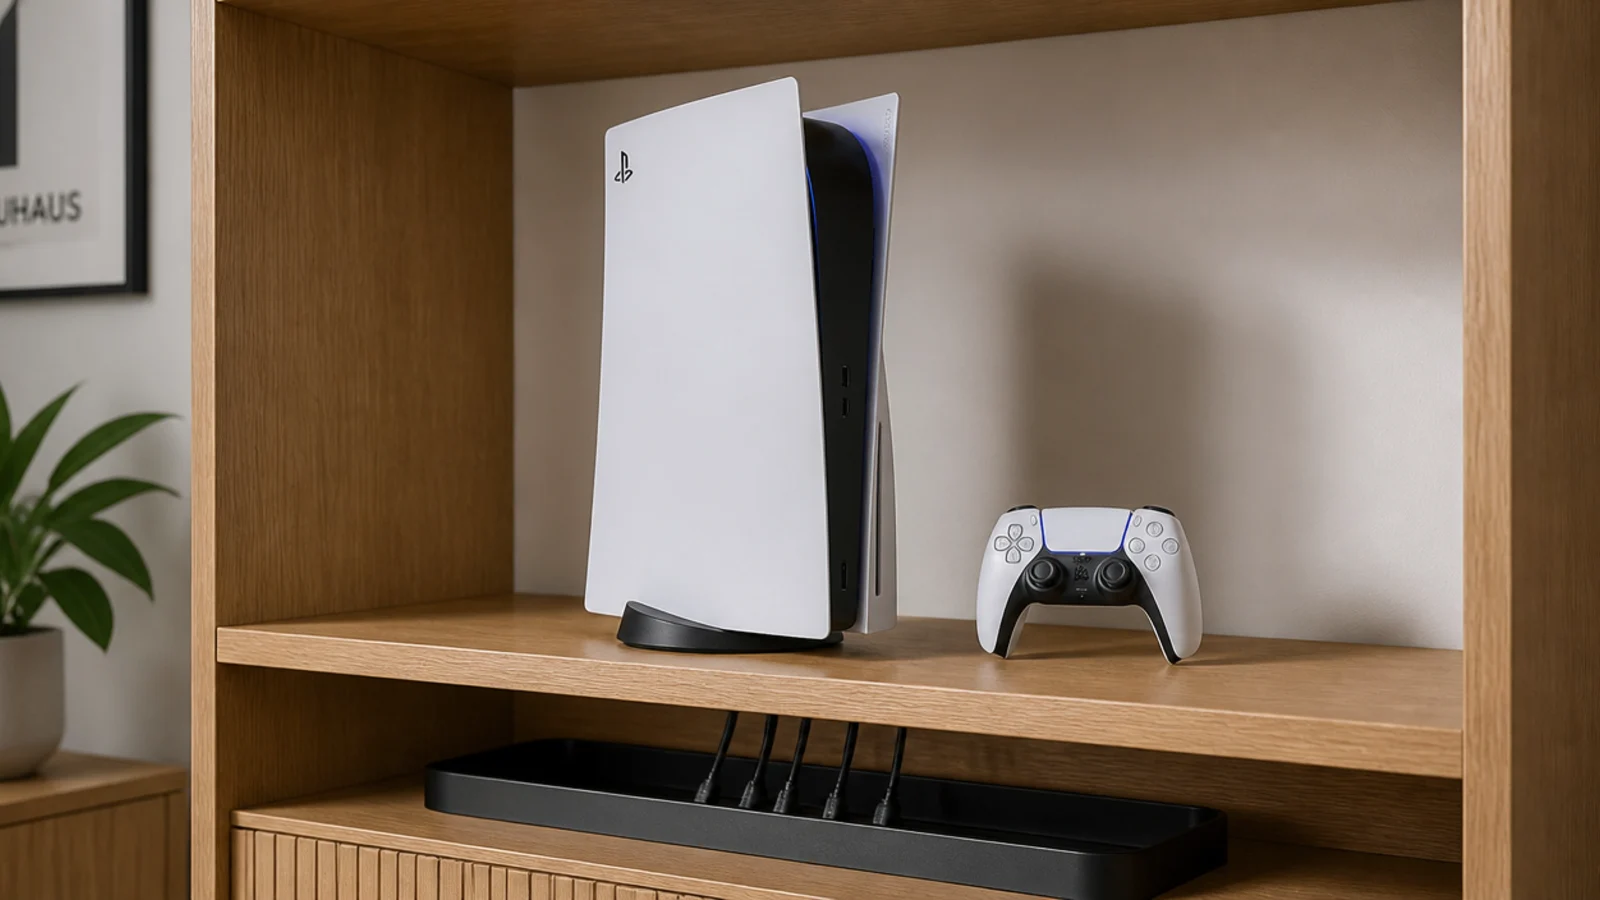
19. Stand the console upright on an open shelf
Standing takes about a third of the shelf that lying flat does, and it keeps the side vents clear. Leave 16 inches of clear height above it and 2 inches at each flank. An open shelf beats any cabinet, because a closed door turns the console into its own oven.
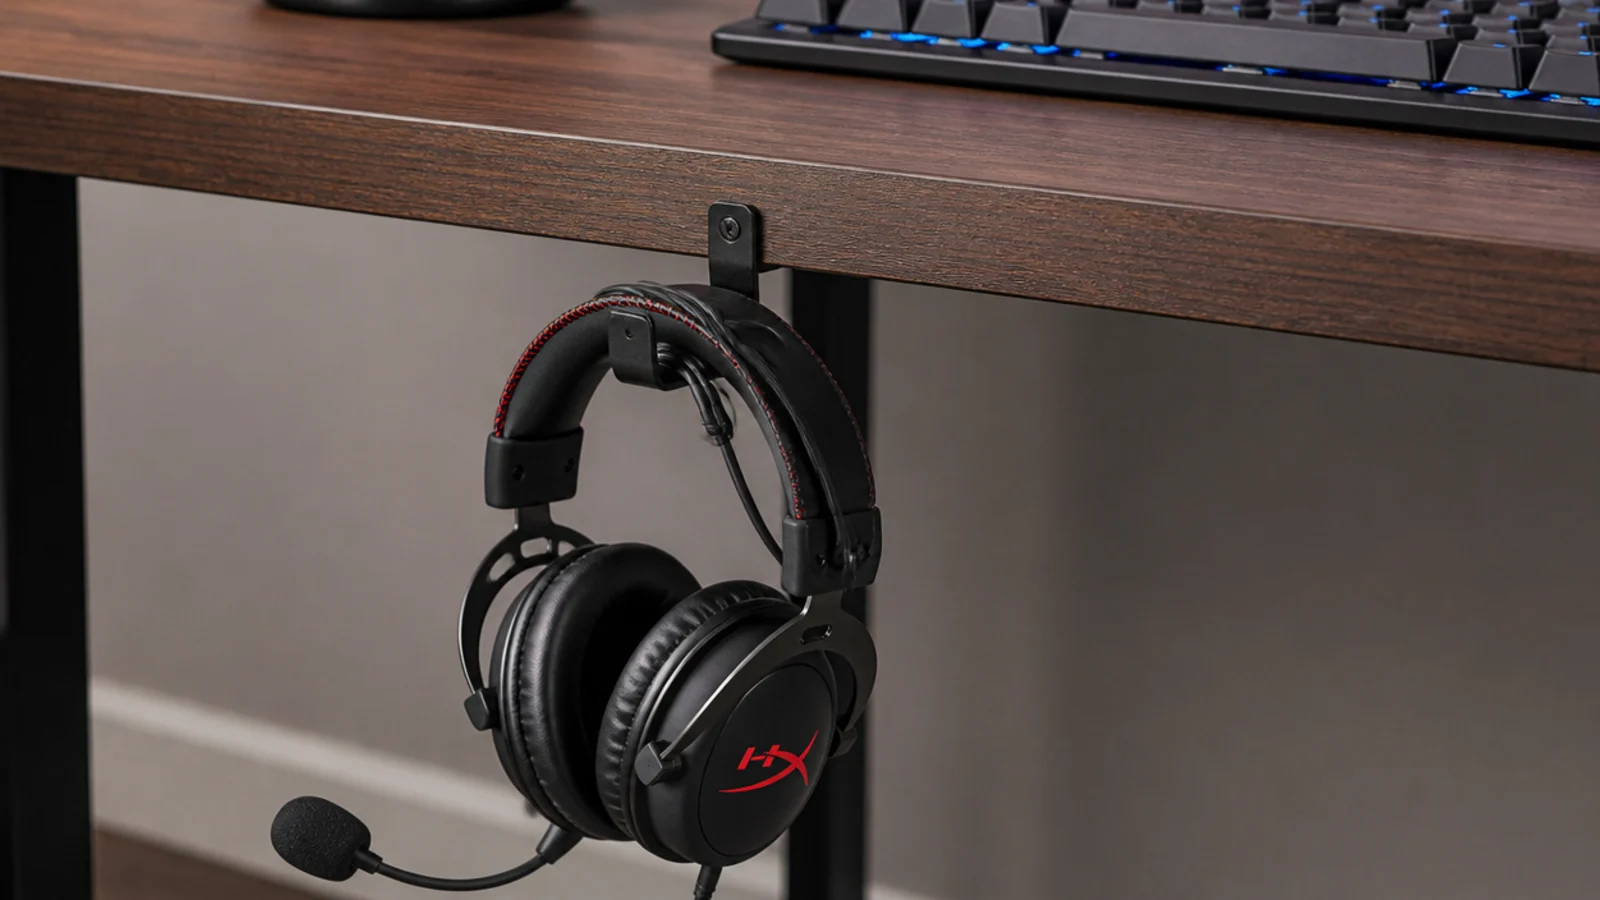
20. Hook the headset off the desk
A pair of over-ear headphones covers roughly a 7-inch square of desk and gets sat on when stored flat. A $6 under-desk hook or a weighted stand removes that permanently and stops the headband getting bent. Mount the hook on the side he does not write on, about 3 inches back from the front edge.
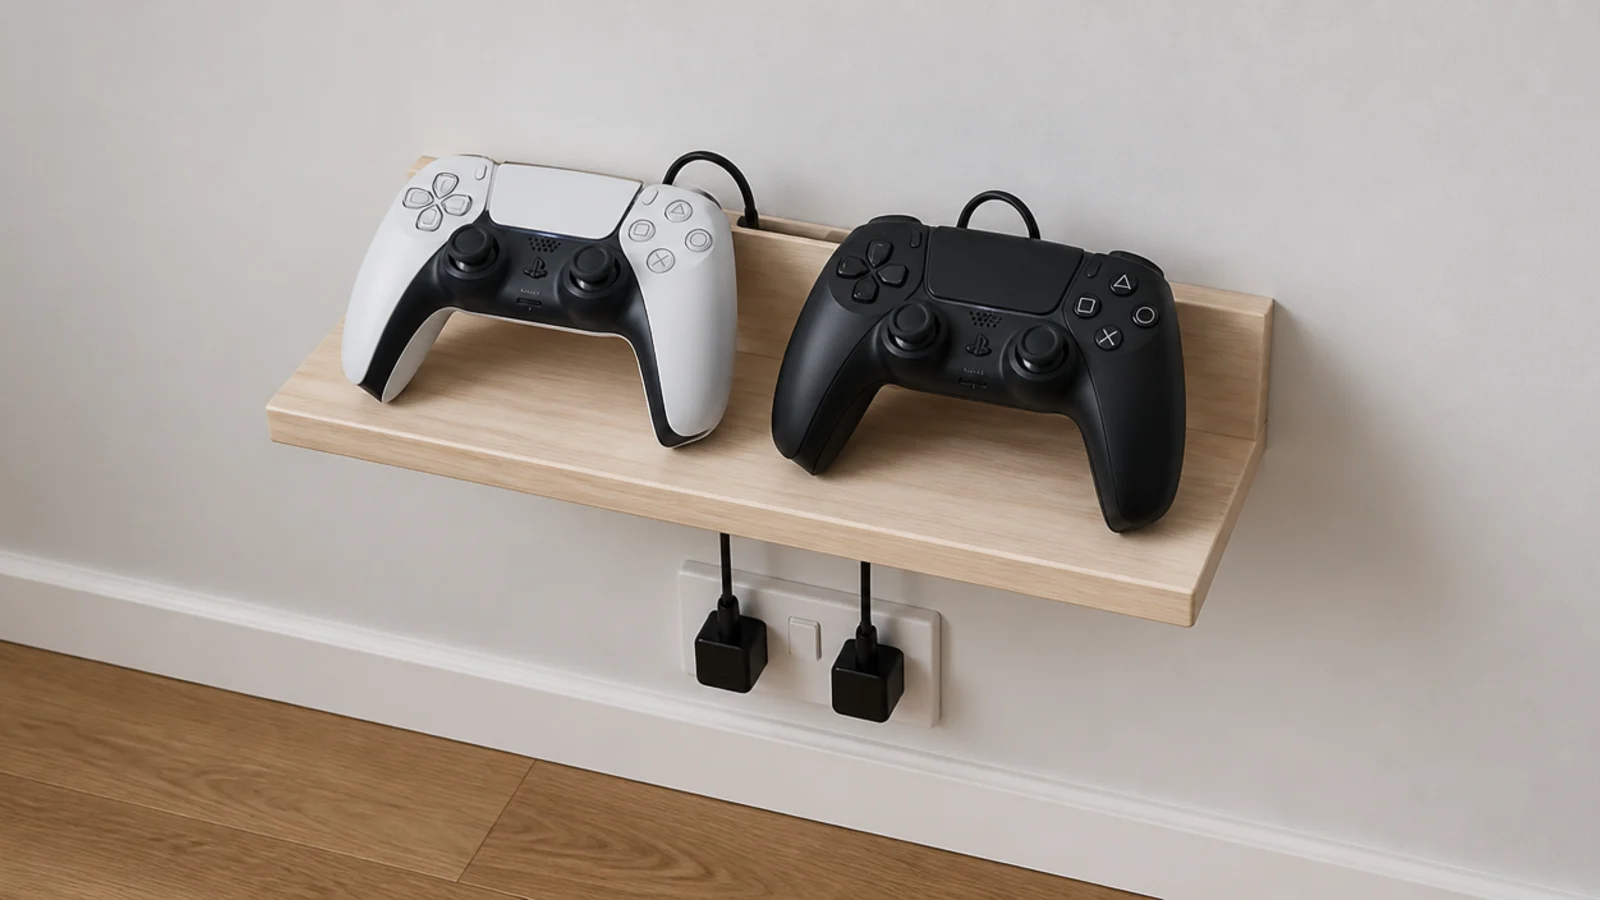
21. Give the controllers a charging shelf
Two controllers on a small wall shelf above the socket keeps them off the floor and always charged. A 4 by 12 inch ledge, two cable clips and fifteen minutes. It also stops the specific and very common failure where a controller gets stepped on because it was left beside the chair.
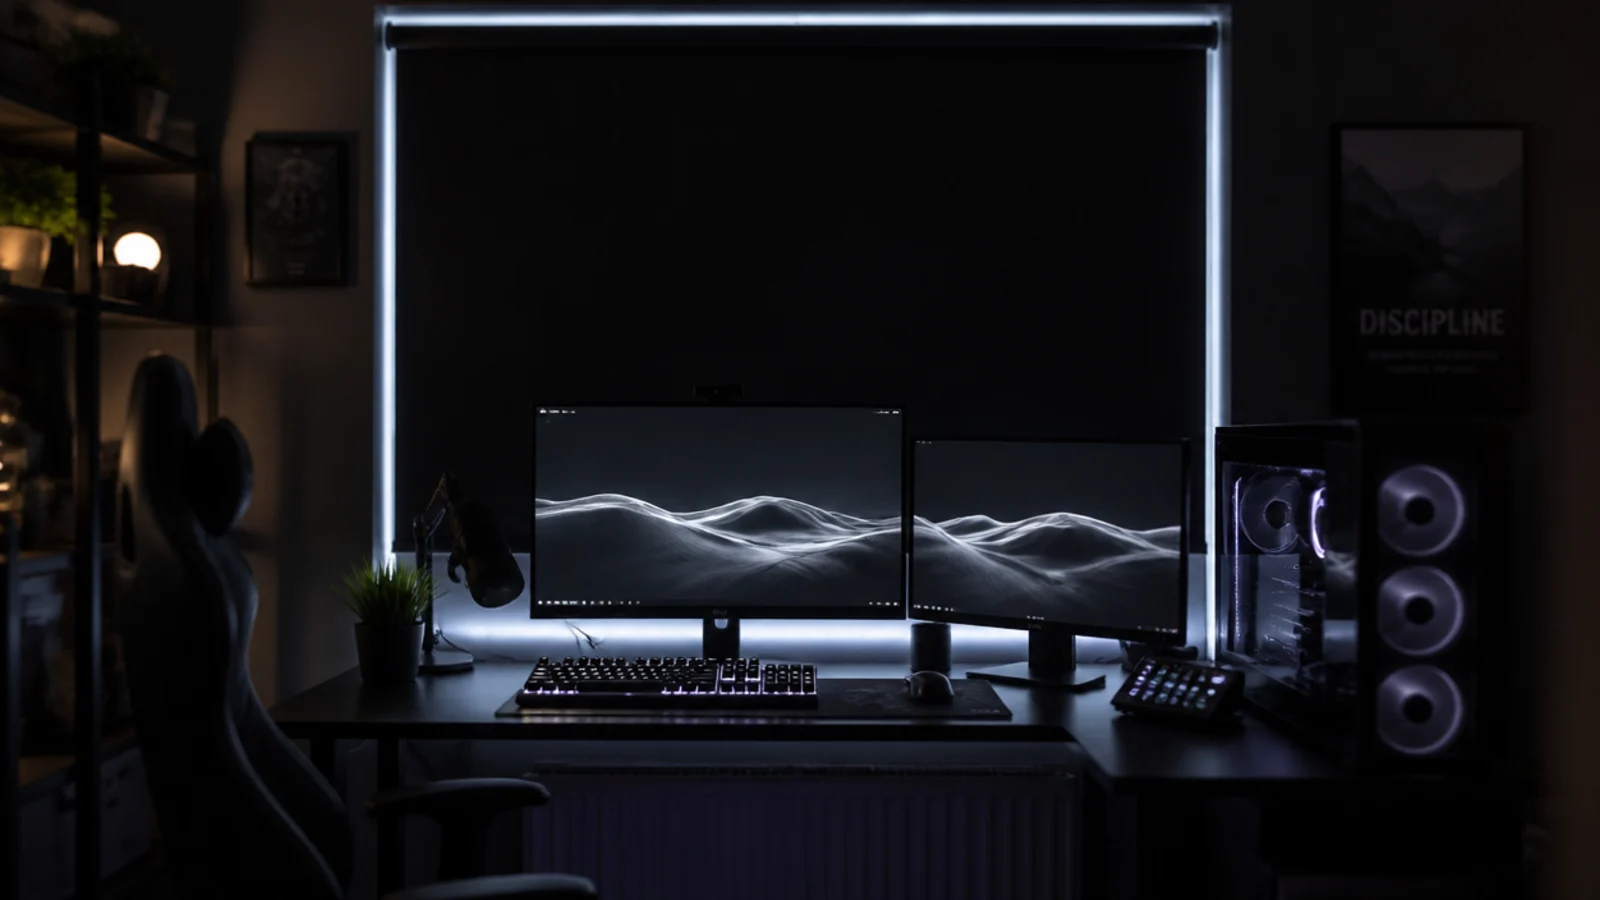
22. Fit blackout for daytime sessions
Direct sun on a screen at three in the afternoon is unusable. A blackout roller inside the reveal at $30 to $60 solves it without curtains blocking the wall. Measure the reveal in three places and use the smallest. Add a side channel if the light leak at the edges still bothers him.
23. Switch the setup separately from the room
Running the whole desk off one switched socket means the entire setup goes off with one movement at night, which cuts standby draw and gives the day an end point. It is a planning-stage decision — adding a switched socket afterwards means chasing a wall and repainting.
24. Keep drinks off the desk deck
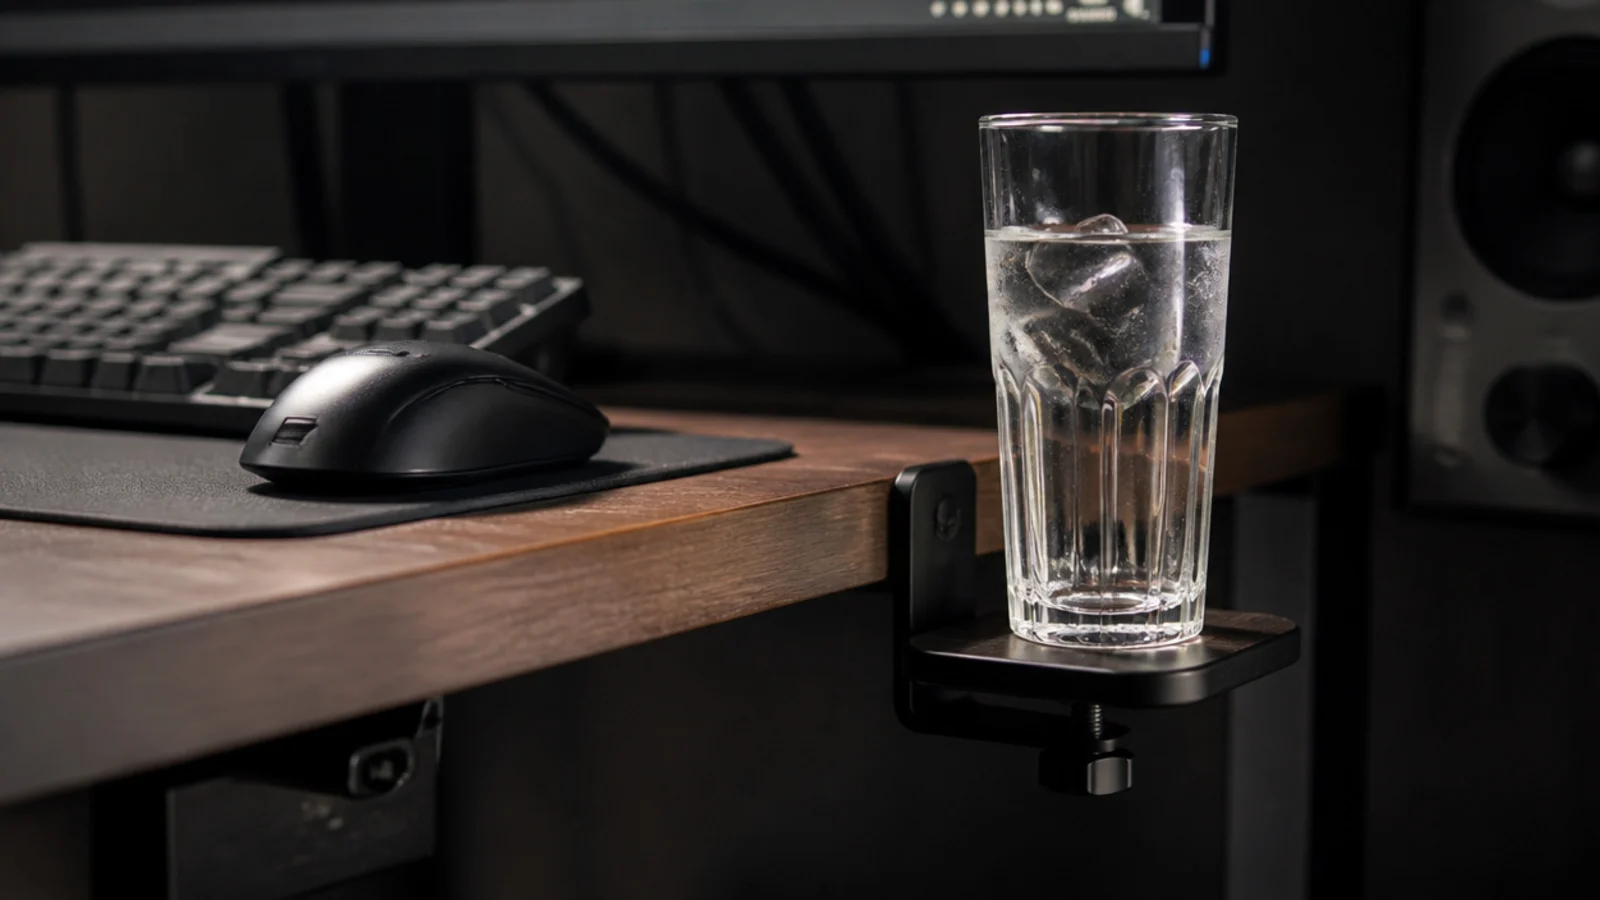
A small clamp-on side shelf below desk level puts the glass where a knock spills onto the floor rather than into a keyboard. It costs $10 to $25 and it is the single cheapest piece of insurance in the room. Nothing hot near cabling or bedding, and never a candle in a room with this much fabric.
25. Build a shutdown routine into the room
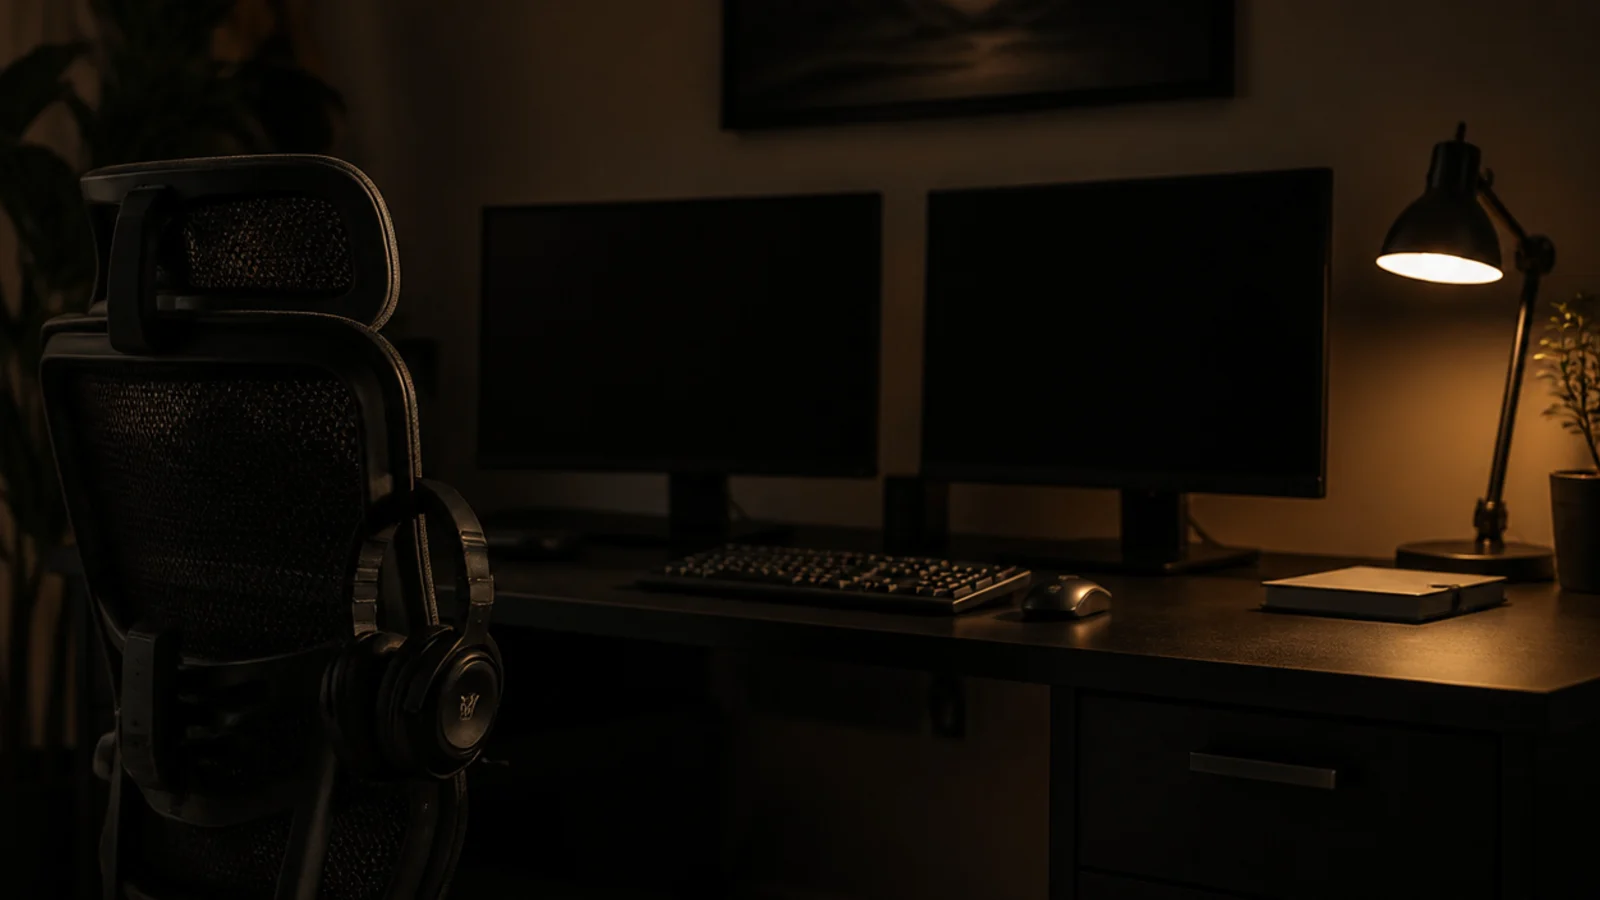
Screens off, headset on its hook, desk lamp on, controllers on the shelf. Four physical actions that end the session, which matters far more at fifteen than any timer app. Design the room so each of those has an obvious home and the routine takes thirty seconds rather than an argument.
For the step-by-step build on a budget, teen boy gaming bedroom works through it in order. The wider room around the setup is covered in teen boy bedroom, and if the shelving behind the desk is turning into a built-in run, built-in shelves living room ideas has the spans and construction detail.
Mistakes to Skip
- Plugging one extension lead into another. The rating does not add up, and the whole load still passes through a single wall socket and one length of flex.
- Shutting the tower inside a cabinet. Without at least thirty square inches of venting top and bottom, it recycles its own hot air and the fans never stop.
- Buying a bigger monitor than the desk depth allows. A thirty-two inch panel at twenty inches away is worse to use than a twenty-four inch one at the right distance.
- Leaving the power block on the carpet. It collects dust, gets kicked, and is the worst possible place for the one component carrying the whole load.
Frequently asked questions
How many watts does a gaming setup in a bedroom use?
A gaming PC under load draws four hundred to six hundred and fifty watts, a monitor twenty-five to forty-five, and a console one hundred and fifty to two hundred and ten. With a router, speakers and chargers, a full bedroom setup usually lands between five hundred and eight hundred watts, which one properly rated extension lead handles.
Can I plug a gaming PC and a console into the same power strip?
Yes, provided you read the rating on the strip and add up the devices. A typical US strip is fifteen amps or eighteen hundred watts and a UK lead thirteen amps or three thousand. Keep continuous load under about eighty percent of that, choose one rated over a thousand joules of surge protection, and never chain two strips.
How much ventilation does a bedroom with a gaming PC need?
More than a closed door allows. A machine drawing five hundred watts releases about seventeen hundred BTU an hour into the room, and carbon dioxide in a sealed bedroom climbs past fifteen hundred parts per million overnight. Ten minutes of open window morning and night plus a door left ajar handles most of it.
How high should a gaming monitor be?
The top edge of the screen just below seated eye level, which at a thirty inch desk usually lands forty-two to forty-six inches from the floor. Sit twenty to thirty inches back from a twenty-four inch panel and twenty-five to thirty-five from a twenty-seven, and tilt the screen back about ten degrees.
Does a dark wall behind the monitor actually help?
Yes. A wall below a light reflectance value of about twenty-five behind the screen reduces the contrast between a bright panel and its surround, which is the thing that tires eyes during long night sessions. Adding a neutral bias light behind the monitor at roughly ten percent of screen brightness helps further.
Want more like this? Browse all 15 teen boy bedroom guides — they all use the same measurements and budget tiers.
Pin it for later
Save this to your Teen Boy Bedroom board
Pin it now so it is waiting for you when the tape measure comes out — and so the next person hunting for this idea can find it too.
Save this pinKeep going
More ideas worth saving while you have the tape measure out.