Fairy Lights Bedroom · Listicle
20 Ideas Where To Put Fairy Lights Bedroom Walls

The question is almost never which set to buy. It is where to put them, and in a bedroom the answer is decided by two lines: your eyeline when you sit up in bed, and the route from the strand back to a socket. Get those right and a $10 strand of fairy lights looks installed. Get them wrong and the same strand reads as something taped to a wall. These twenty placements each come with the height they want, the length they take, and the reason they work in a room you sleep in.
In this guide22 sections — tap to openHide
- 1.Working out where to put fairy lights bedroom by bedroom
- 2.Twelve inches above the headboard
- 3.Behind the headboard, completely hidden
- 4.Straight across the ceiling above the bed
- 5.Inside the window reveal, not around the frame
- 6.Vertical drops either side of the bed
- 7.Along the picture rail at eighty-four inches
- 8.Into the corner where two walls meet
- 9.Around a mirror, on the frame
- 10.Along the top of a wardrobe
- 11.Inside the wardrobe under the top shelf
- 12.Under a floating shelf
- 13.Around a desk or vanity
- 14.Looped along a peg rail
- 15.Along the skirting for night light
- 16.Around the door frame
- 17.Behind a sheer curtain panel
- 18.Along the bed frame rail, never underneath
- 19.Threaded through a frame cluster
- 20.Up a corner ladder or tall plant
- 21.The four places to leave empty
- 22.Mistakes to Skip
Working out where to put fairy lights bedroom by bedroom
Start with the eyeline. Sitting up against the pillows, your eyes are roughly 40 to 45 inches off the floor, and looking around the room they sweep a band up to about 65 inches. Bare bulbs inside that band become glare. Below or above it, the same bulbs read as glow. That single rule sorts most of this list.
Then the power route. Measure from your intended start point back to the socket and add 18 inches of slack. A 33 foot strand usually carries about 5 feet of unlit lead, so anything further than that needs an extension along the wall face — clipped to the skirting, never under a rug or across a walkway.
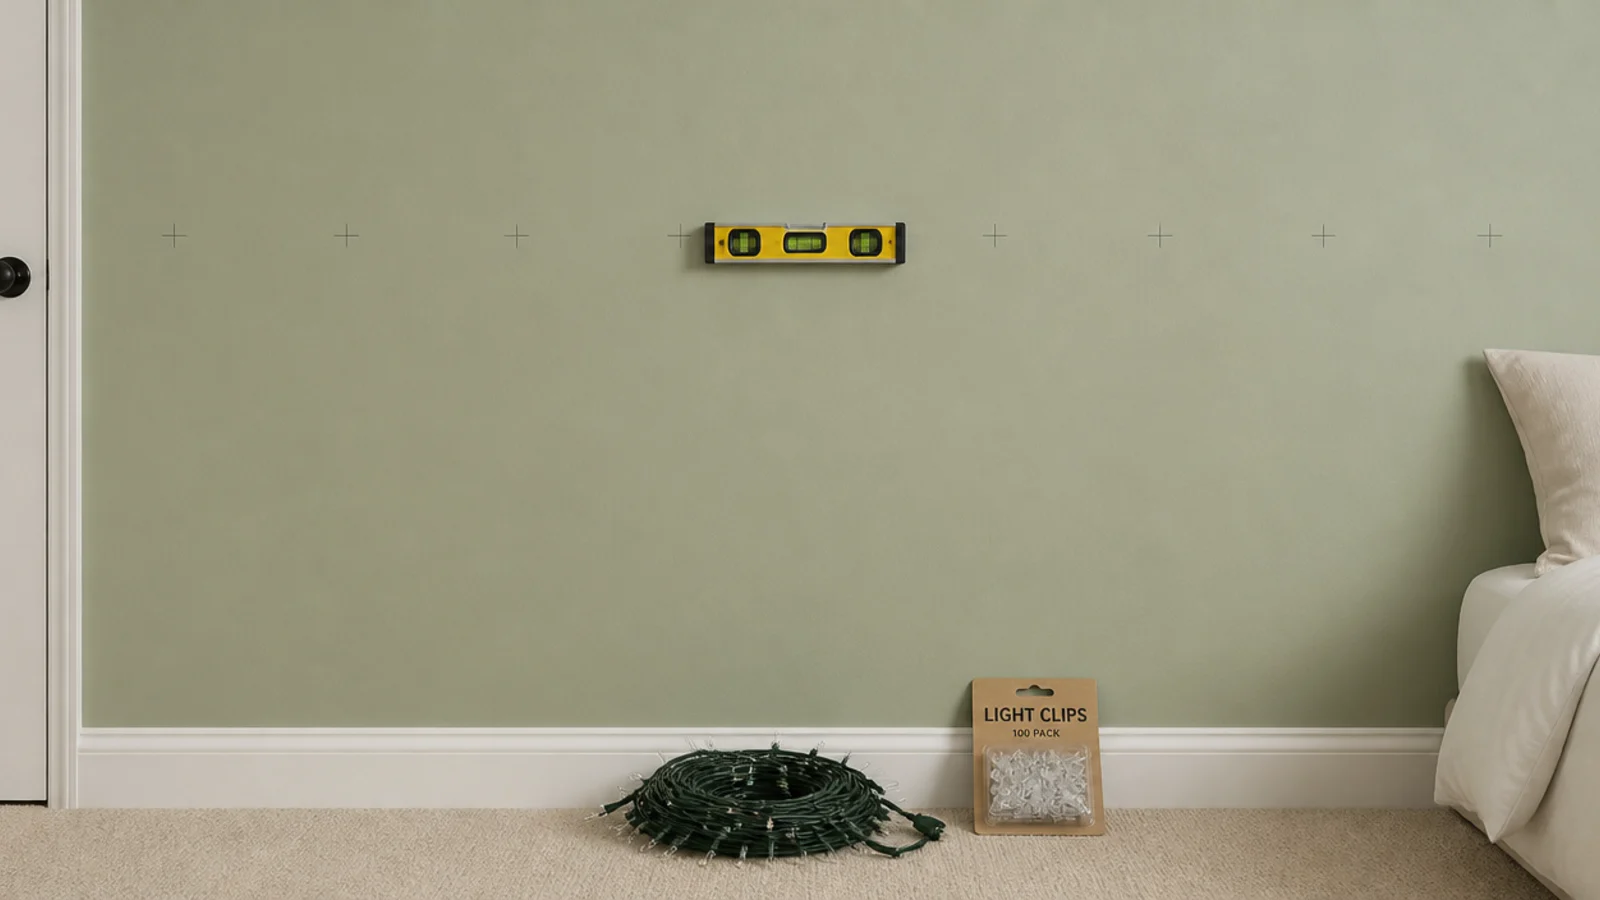
Then the fixing. Adhesive clips rated around half a pound at 12 to 16 inch spacing on walls, and 10 to 12 inches on ceilings where the pull is straight down. Press each clip for 30 seconds and leave it an hour before loading. No staples and no drawing pins: a pierced cable is a fault that shows up weeks later.
Safety sits inside the choice of place. LED strands only anywhere near curtains, canopies or bedding, the driver or battery pack always in open air, and never more sets chained end to end than the tag permits. For the full method in order, the hanging steps work through surfaces and clips one at a time.
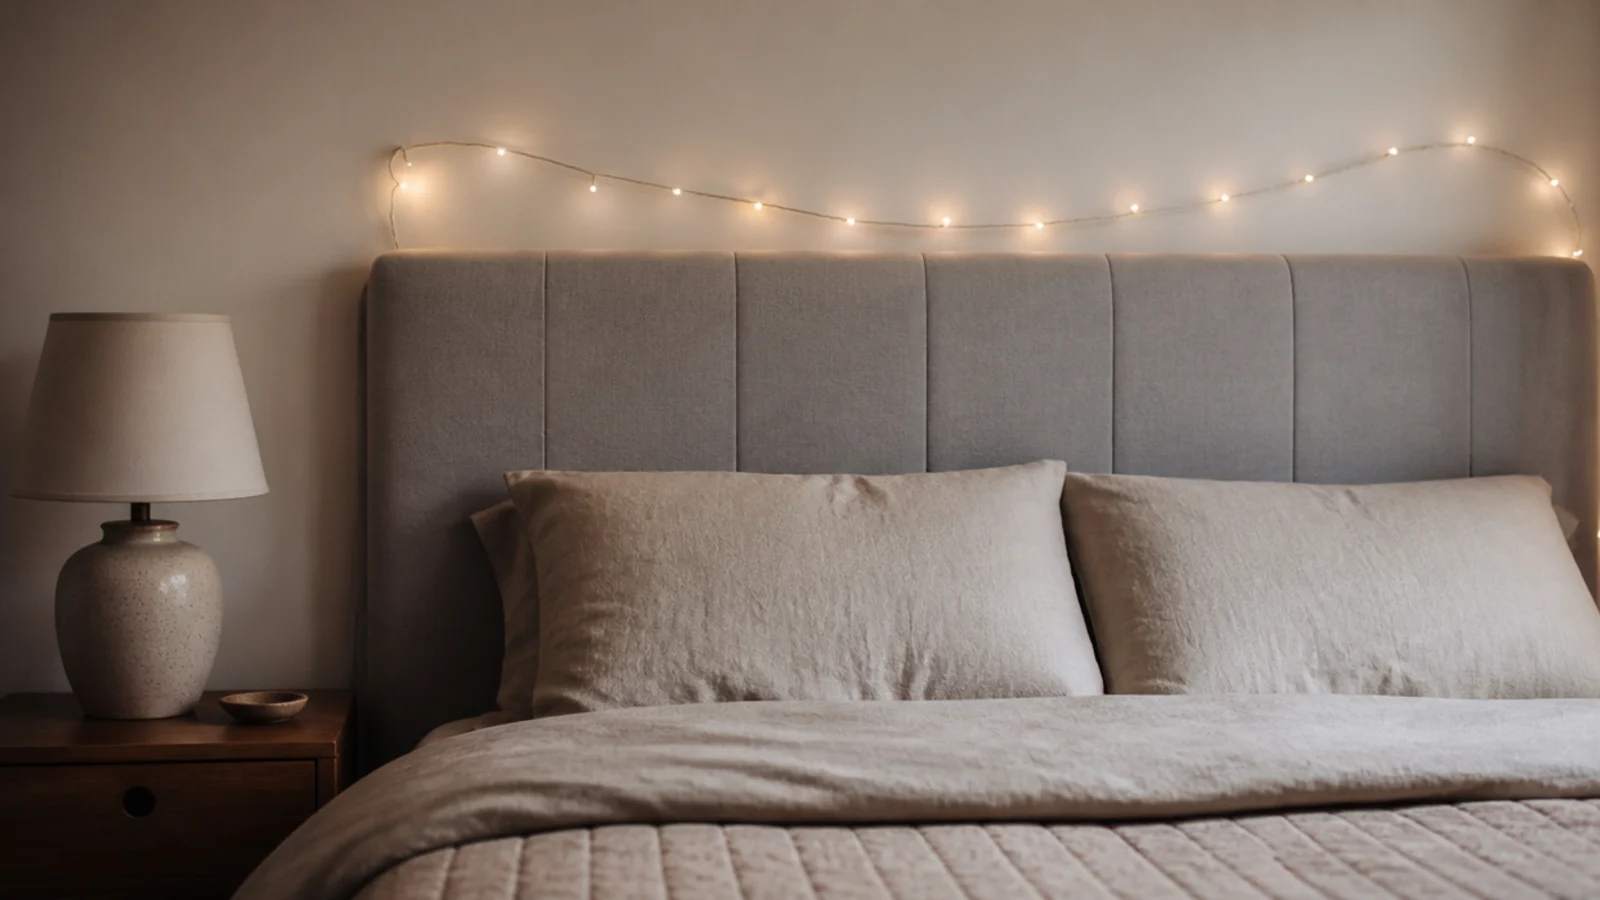
1. Twelve inches above the headboard
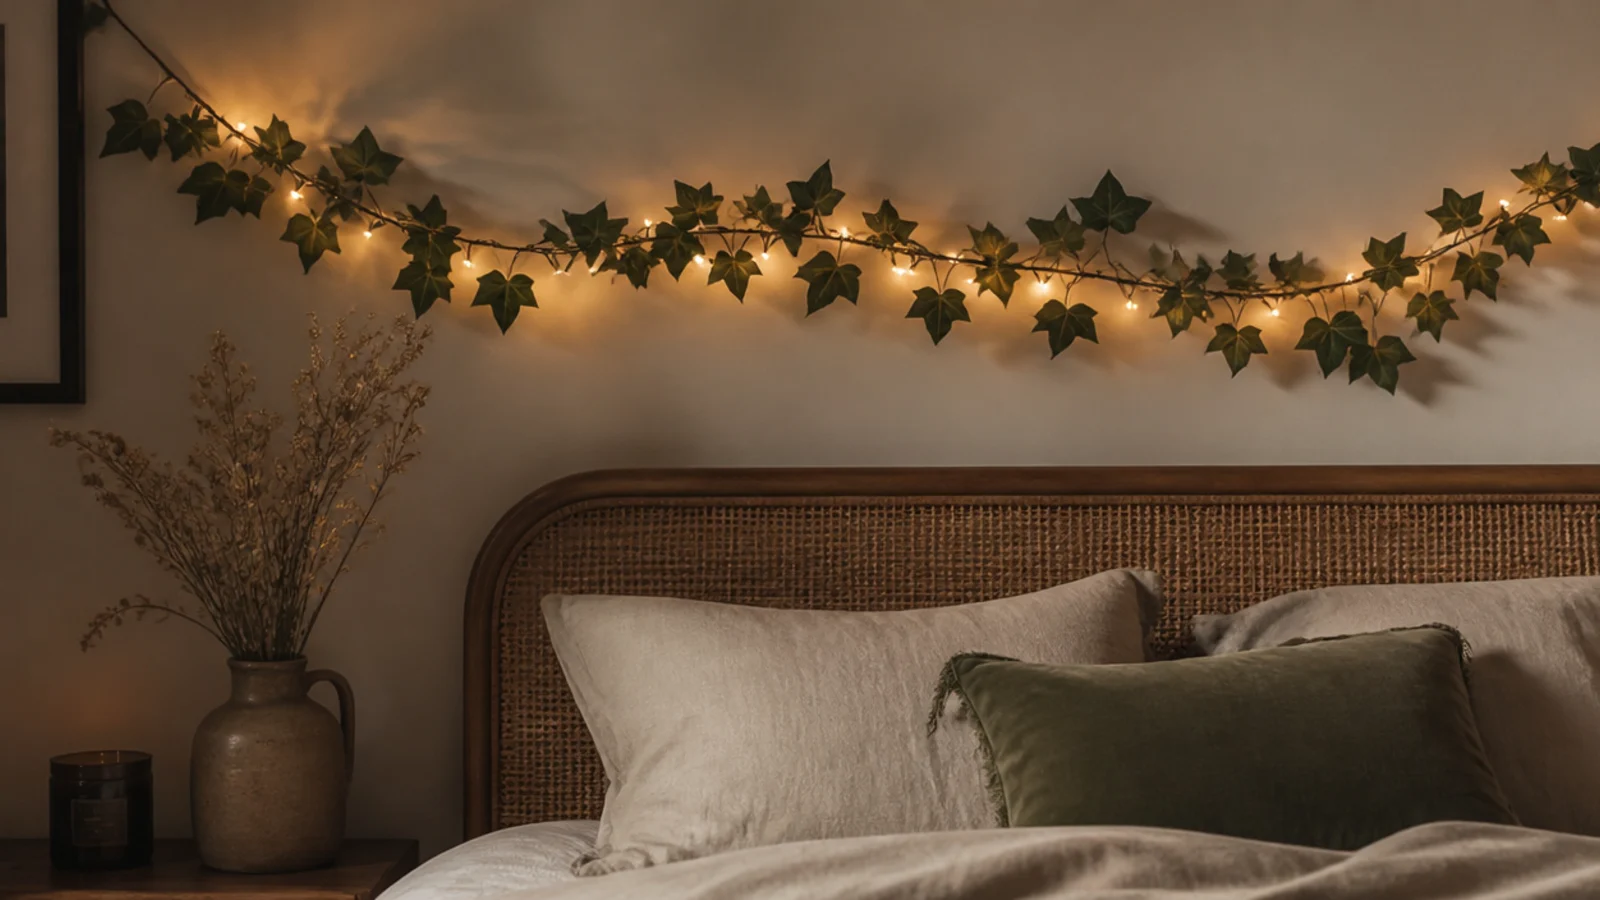
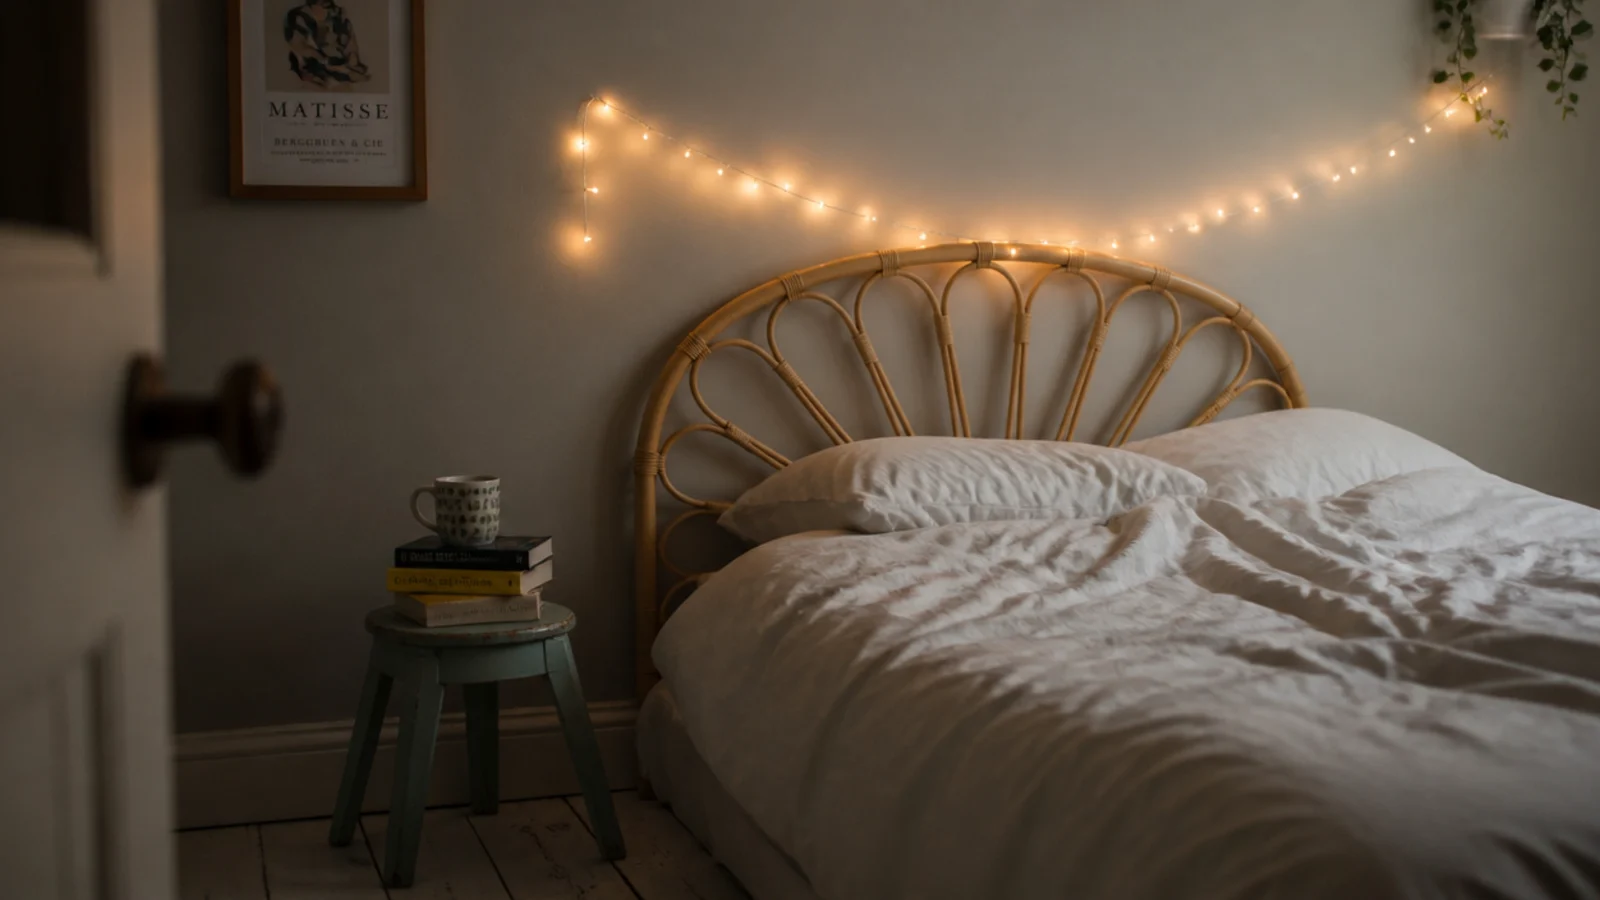
The default, and the one I fit first in any room. A shallow arc 12 inches above the top edge, rising about 8 inches at its centre, keeps every bulb behind and above you. One 33 foot strand covers a king headboard with slack for the drop to the socket, and six clips hold the whole run.
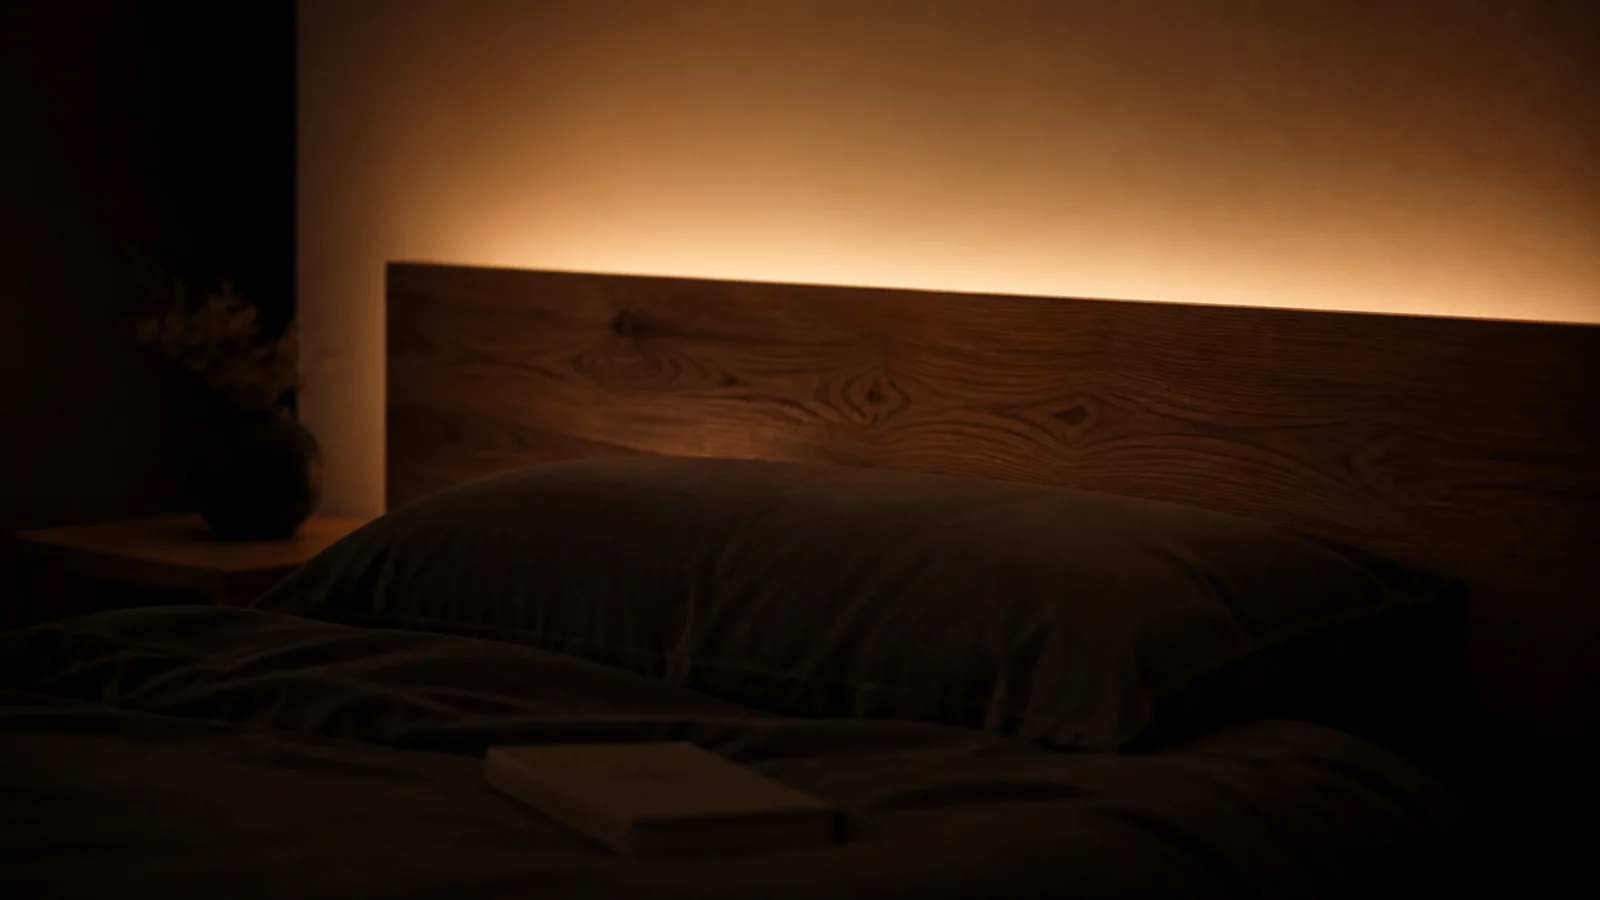
2. Behind the headboard, completely hidden
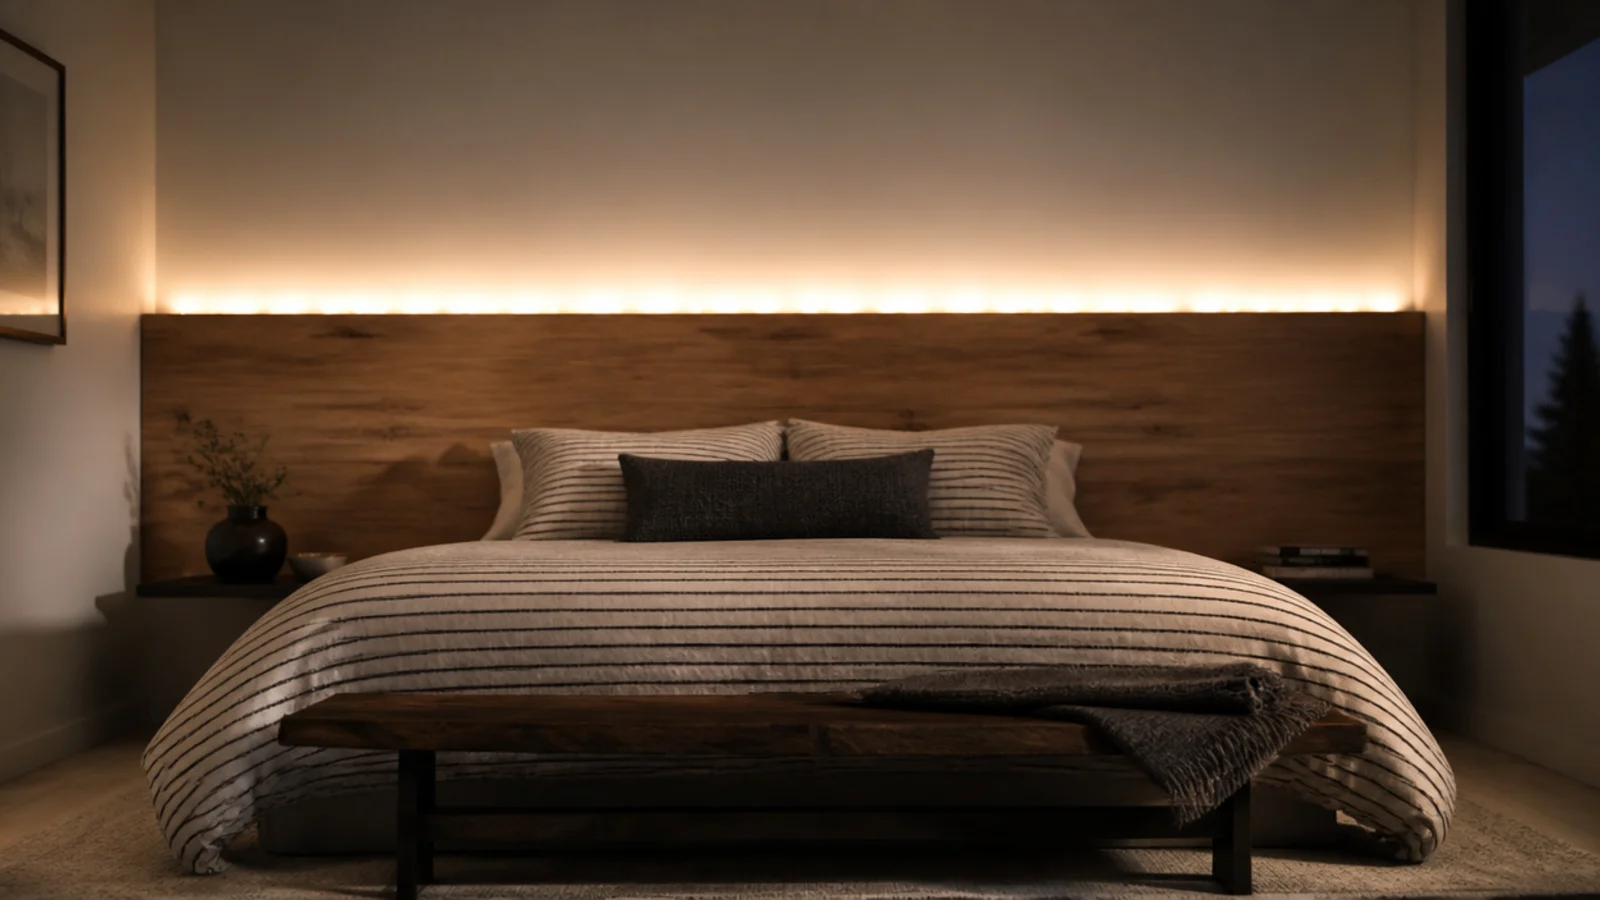
If the bed sits 4 to 6 inches proud of the wall, clip the strand low on the wall behind it. You see a wash of light rising and no bulbs at all, which is the closest a $10 set gets to looking like architectural cove lighting. Nothing is visible from the doorway.
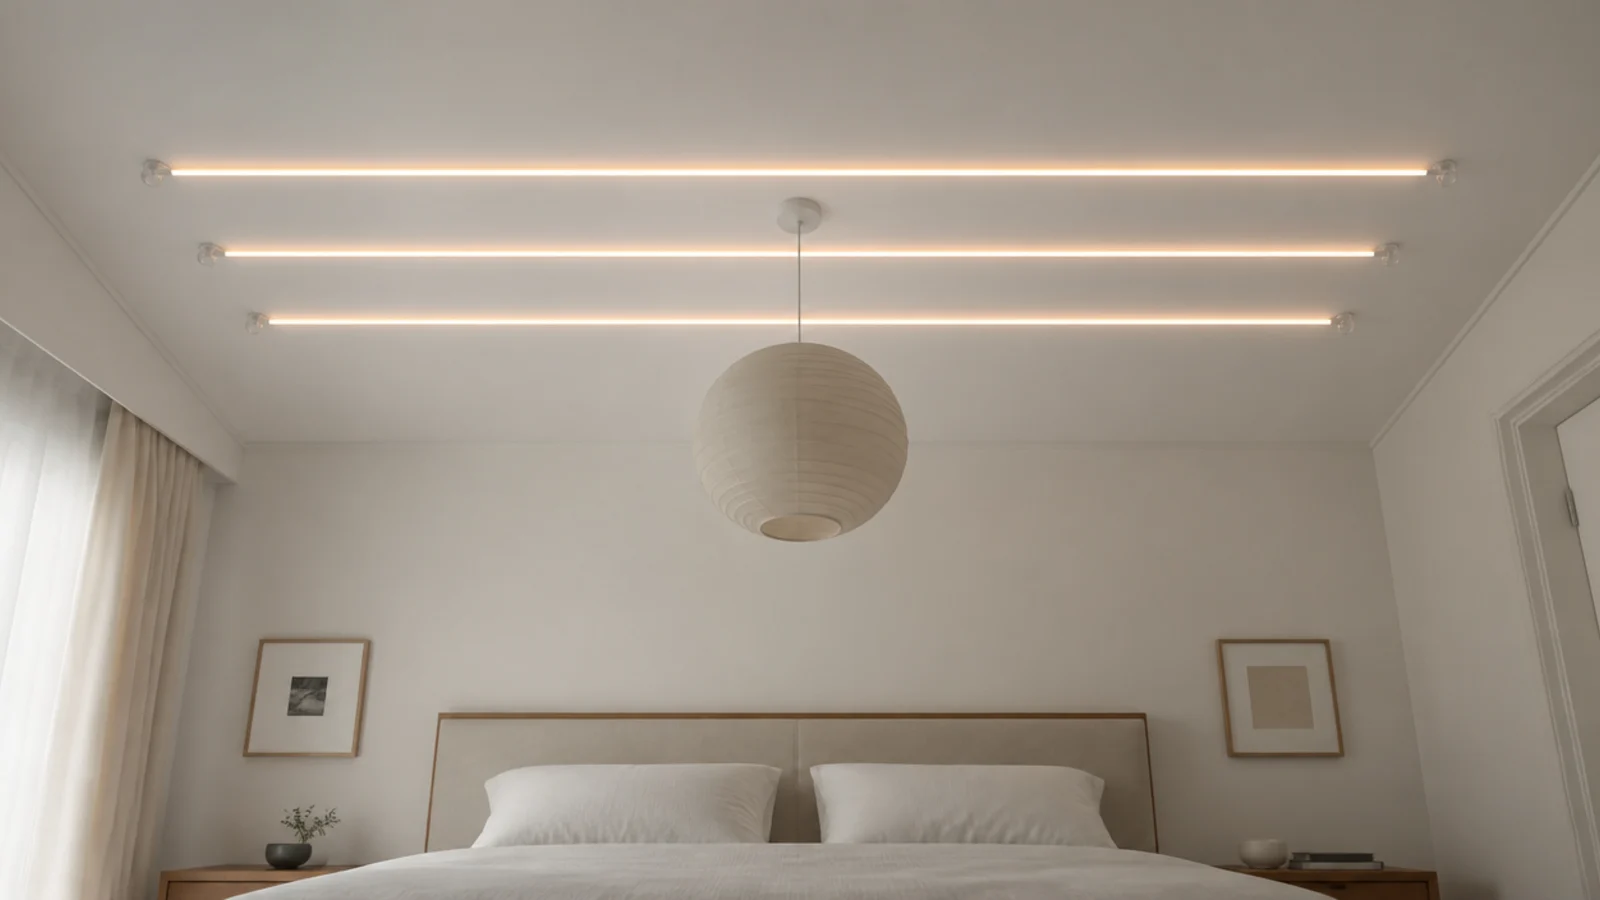
3. Straight across the ceiling above the bed
Parallel runs at 18 inch spacing, wall to wall, put light directly overhead without a fixture. A 12 foot span needs a 15 foot strand to allow the sag and the drop. Use ceiling clips every 10 to 12 inches, because adhesive on a ceiling is working against gravity the whole time. Two runs read as an accident and four begins to look like a grid, so three is usually the number. Keep them square to the bed rather than to the walls if the room is not truly rectangular, because the bed is what the eye measures against.
4. Inside the window reveal, not around the frame
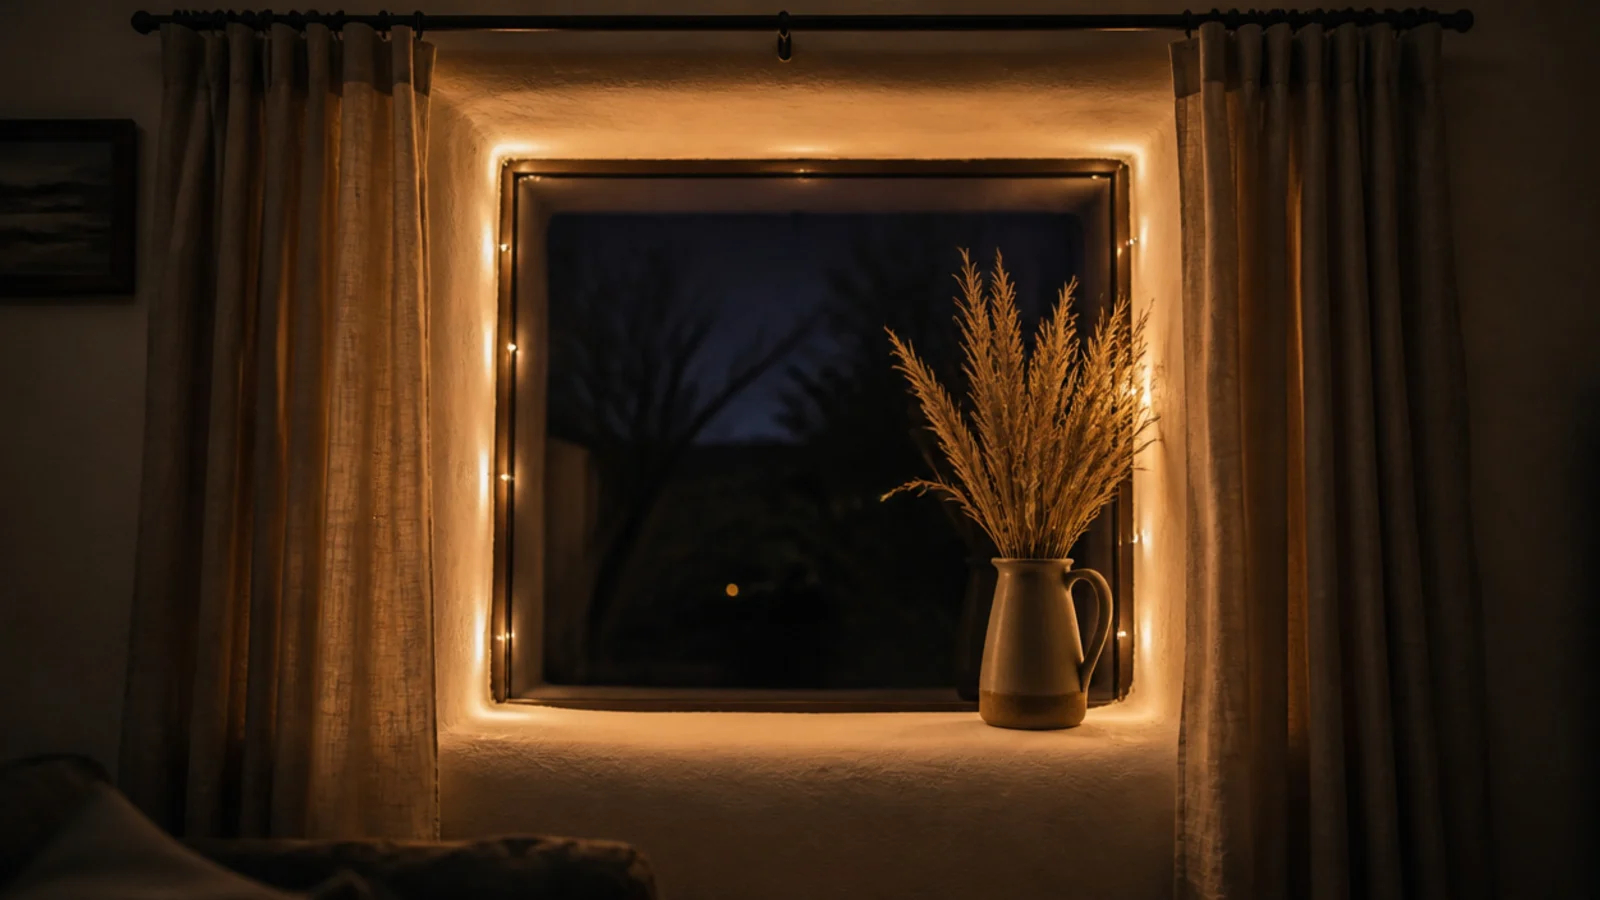
Most curtains hang outside the reveal, so a run around the outer frame disappears the moment you draw them. Clip inside the returns instead and the light stays visible all evening, catches the glass after dark, and stays clear of the fabric that moves.
5. Vertical drops either side of the bed
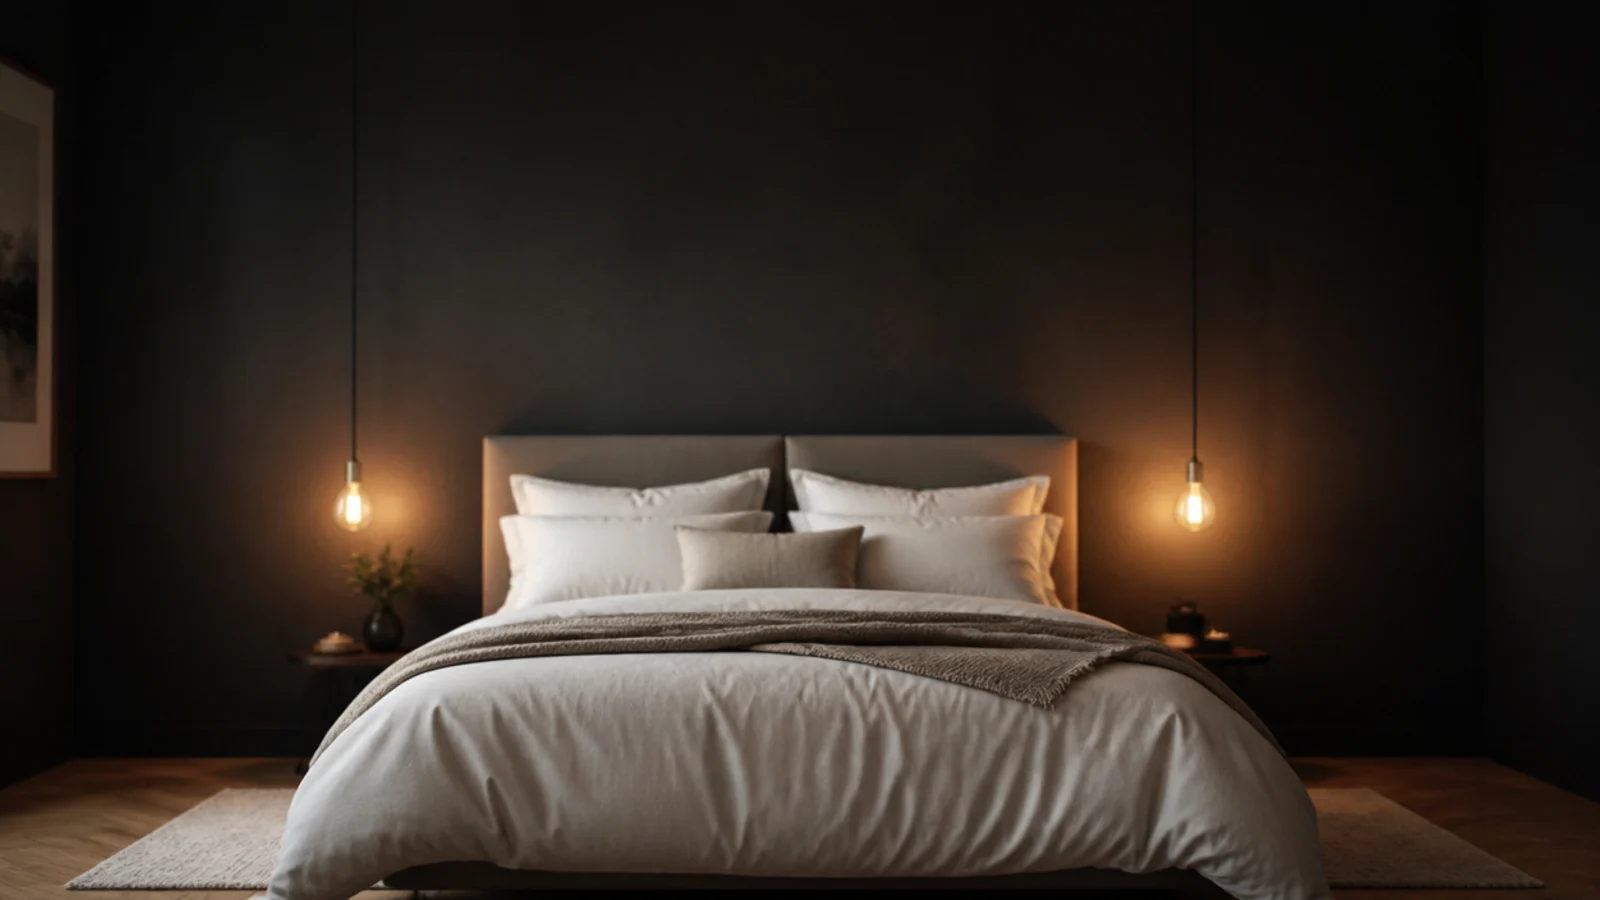
Two single drops from ceiling to skirting flanking the bed act like slim curtain panels and make a low ceiling feel taller. Set them 6 to 12 inches wider than the bed on each side. Each drop takes about 8 feet of strand on a standard 8 foot ceiling.
6. Along the picture rail at eighty-four inches
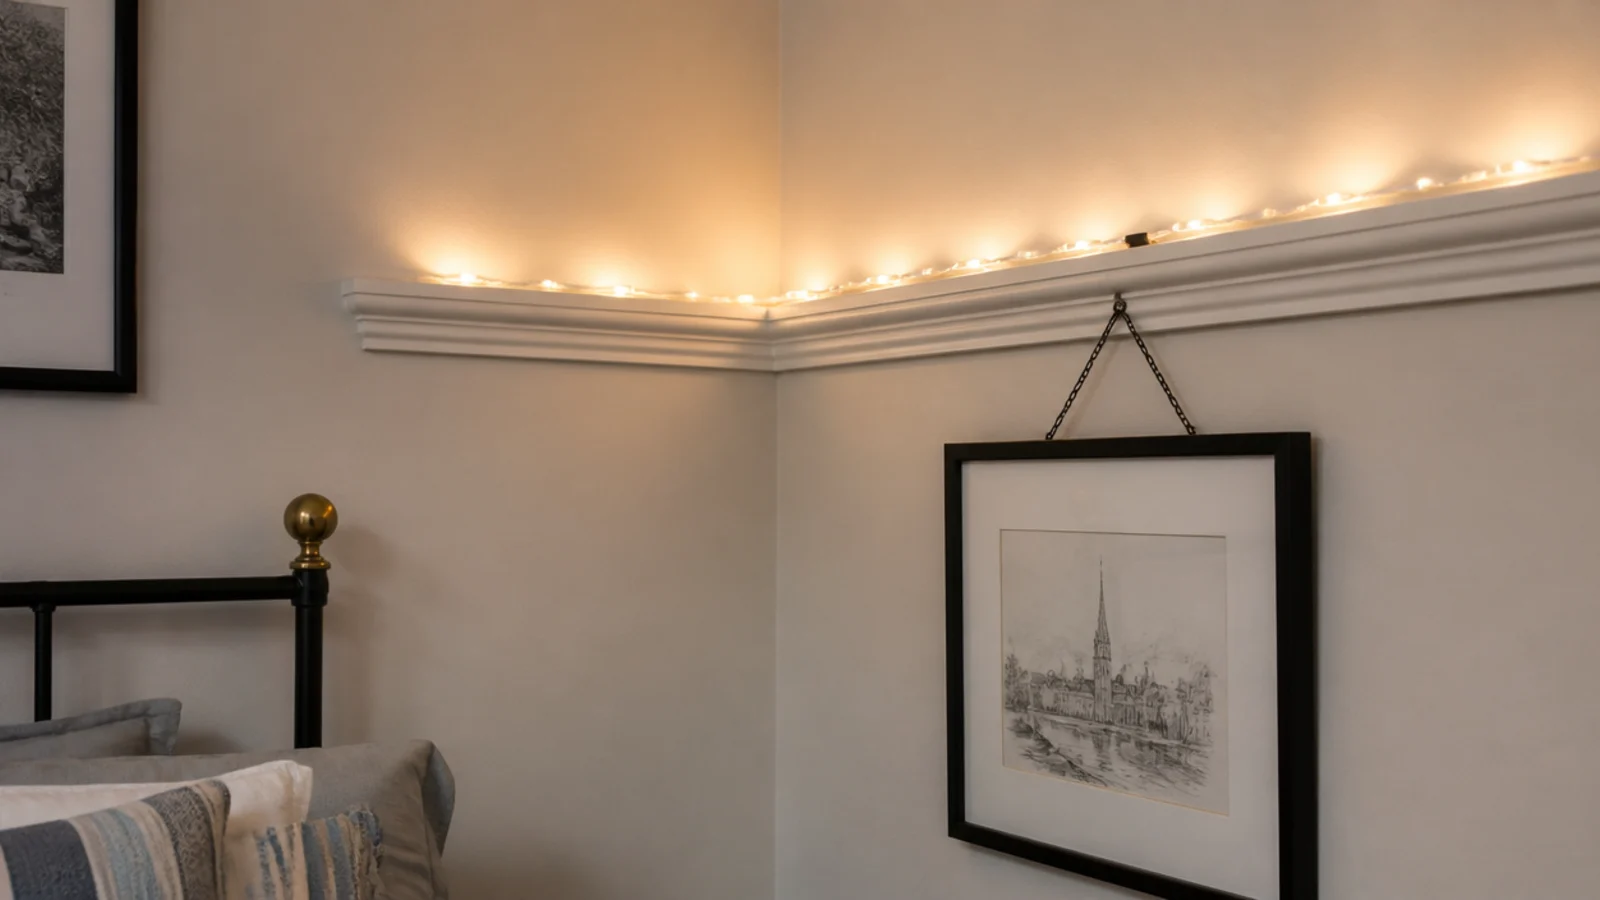
A picture rail sits around 84 inches, comfortably above the eyeline band, and it gives you a straight reference line you do not have to mark. Sit the strand in the shadow gap above the moulding and you see the wash and not the wire. Clip every 16 inches.
7. Into the corner where two walls meet
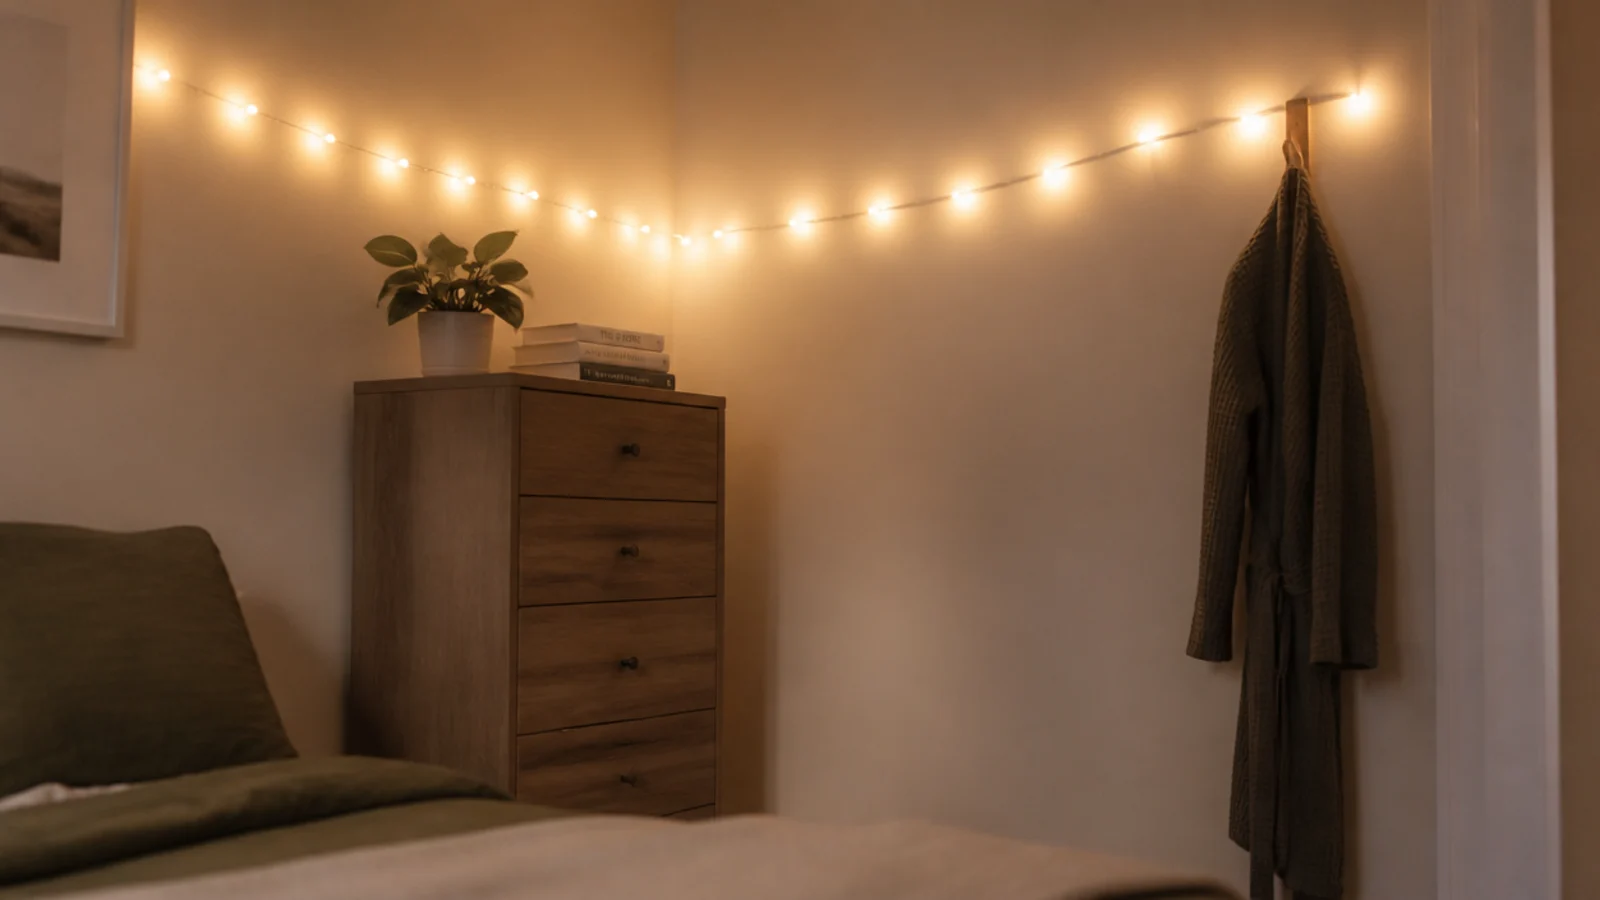
A corner returns light to itself, so the same strand reads brighter in an angle than on a flat wall. Carrying a run around the corner also lights two planes for the price of one and makes a small room feel wrapped rather than striped. Leave 6 inches of slack at the angle so the wire turns in a soft curve instead of a hard bend, because a tight fold at a corner is where a cheap strand eventually fails.
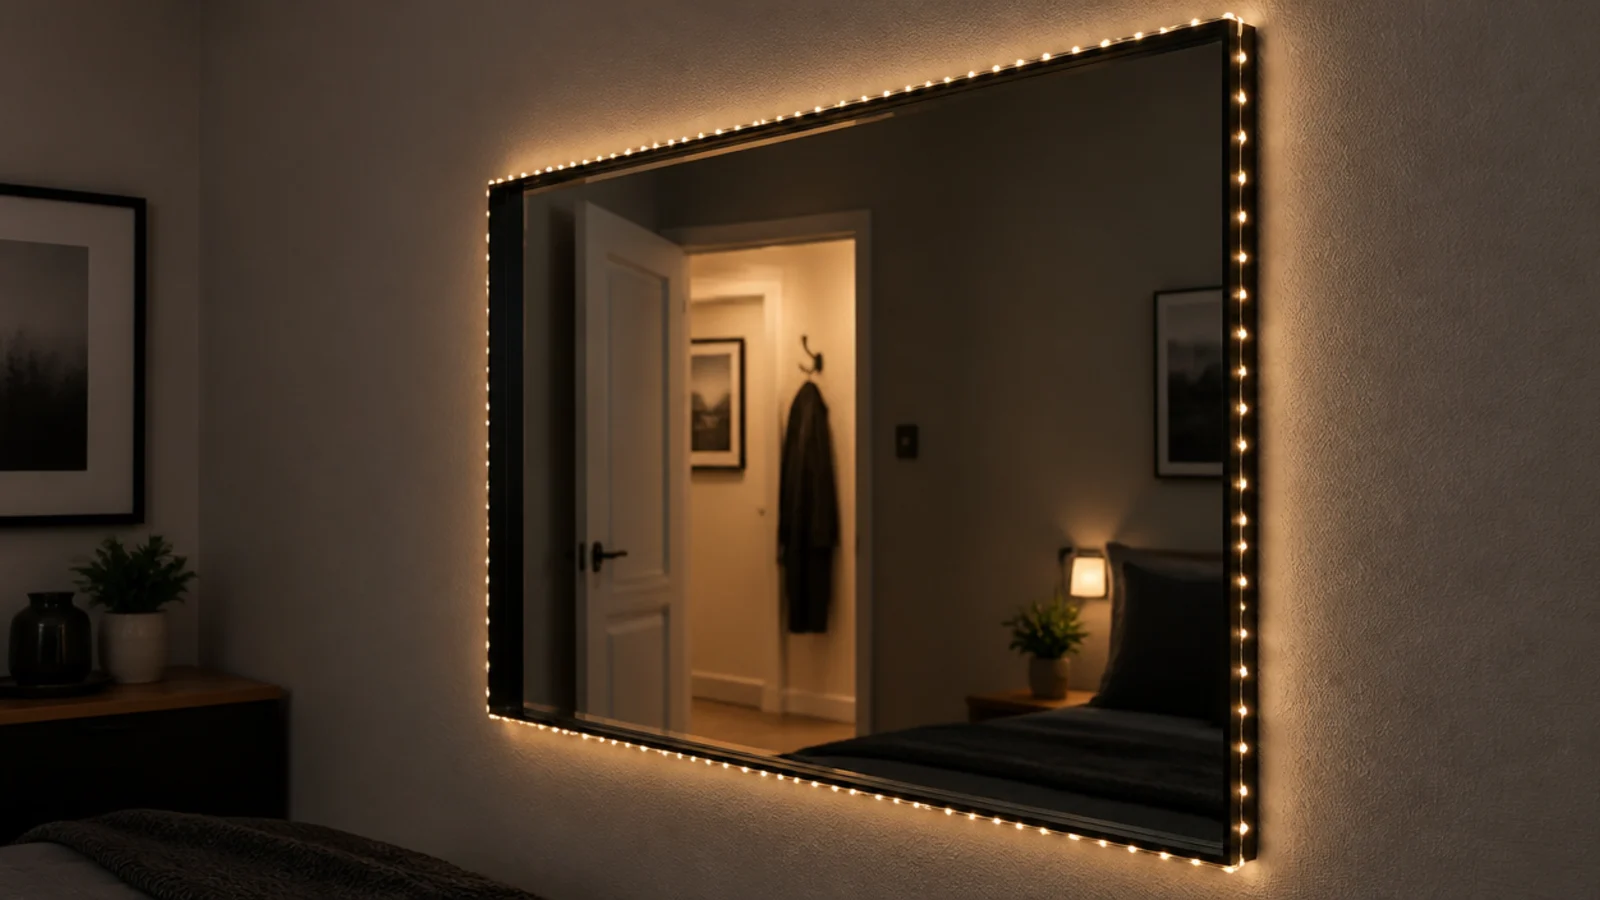
8. Around a mirror, on the frame
A 24 inch mirror takes about 7 feet of fine strand around its outer frame. Fix to the frame, never to the glass, because adhesive against a mirror back works at the silvering over time. The reflected light also doubles the apparent brightness of the corner.
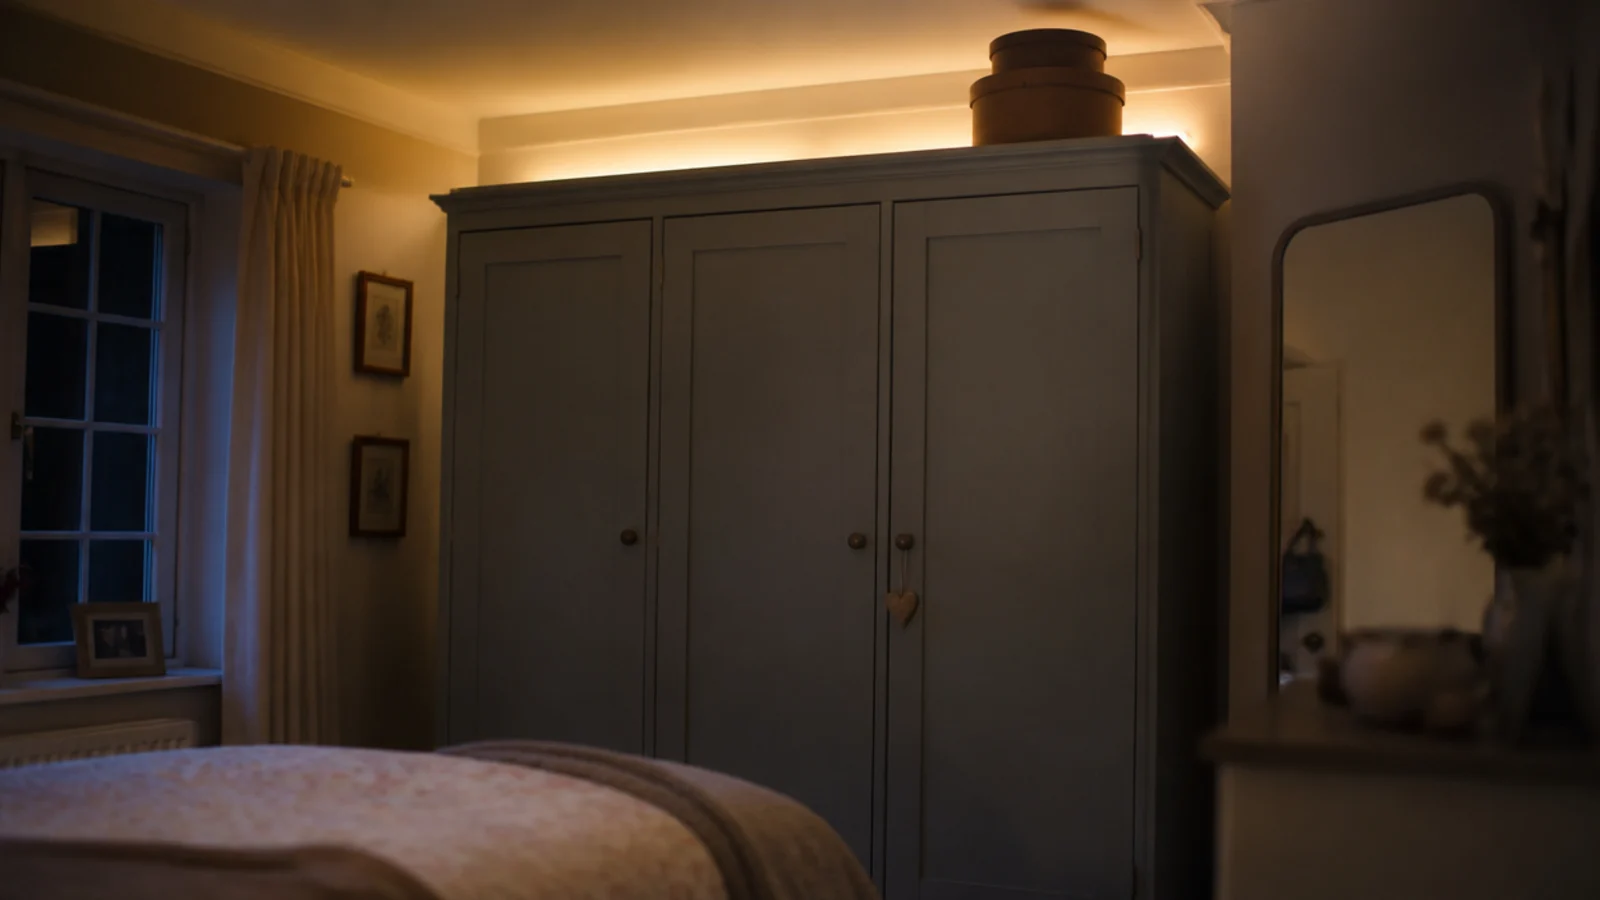
9. Along the top of a wardrobe
The gap between a wardrobe top and the ceiling is the most underused surface in a bedroom. A strand laid along it needs no fixing at all, is invisible from every angle, and throws an even wash across the ceiling. Check the run clears any door that swings past it.
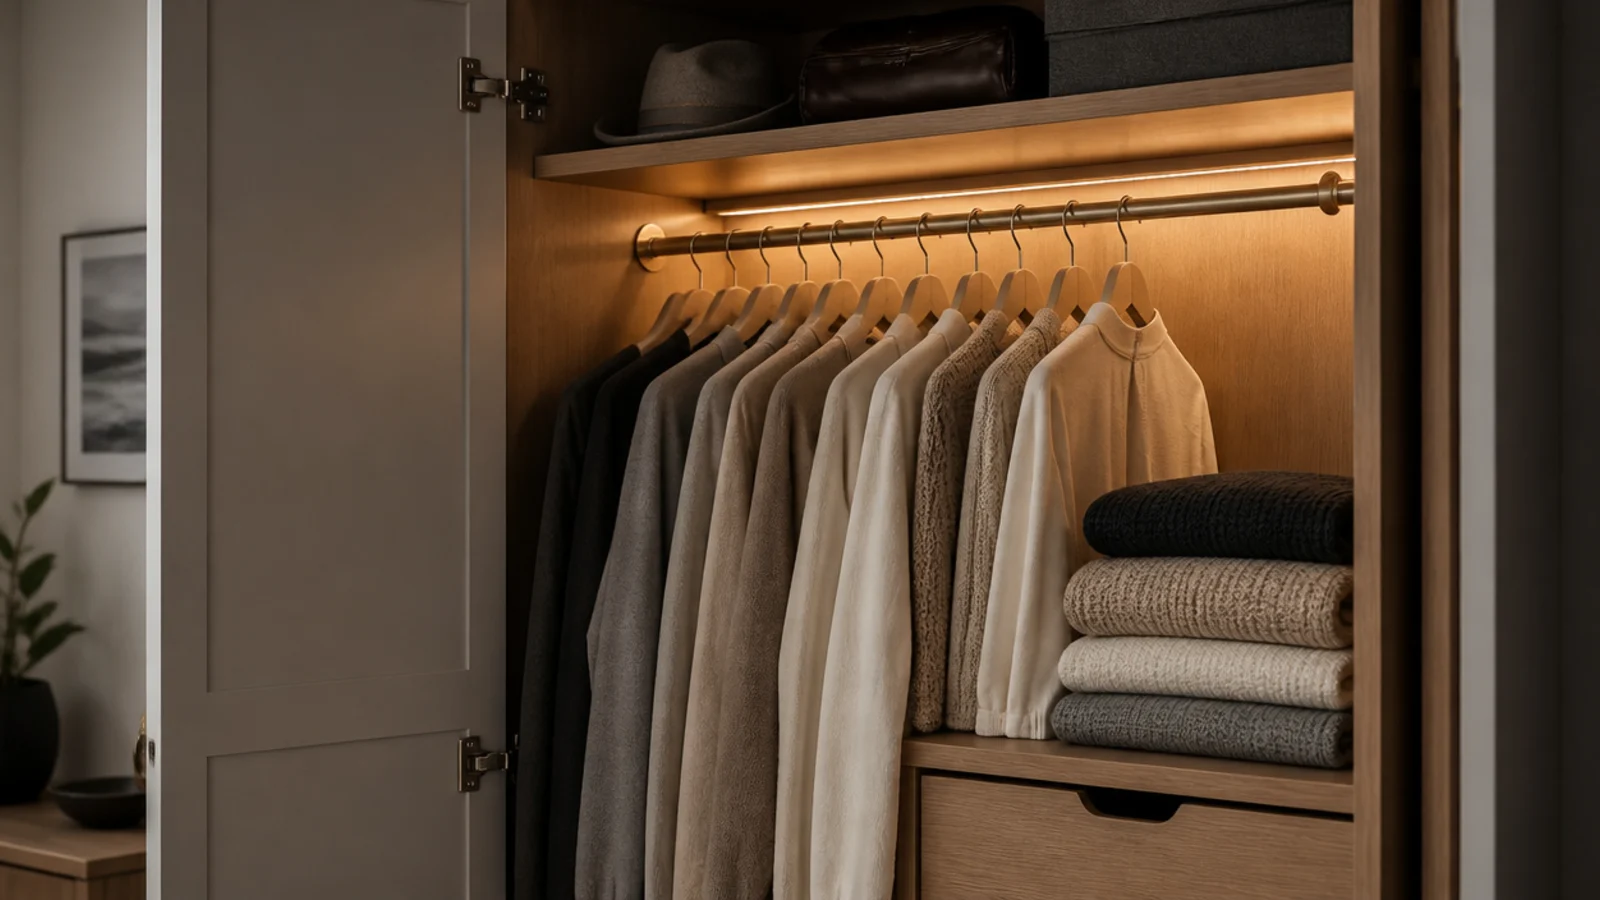
10. Inside the wardrobe under the top shelf
Fix a slim strand an inch back from the shelf lip and the rail below is finally visible. Keep it clear of the clothes themselves, use a USB or battery set with a timer if there is no socket inside, and route the lead through the door hinge side rather than the closing edge.
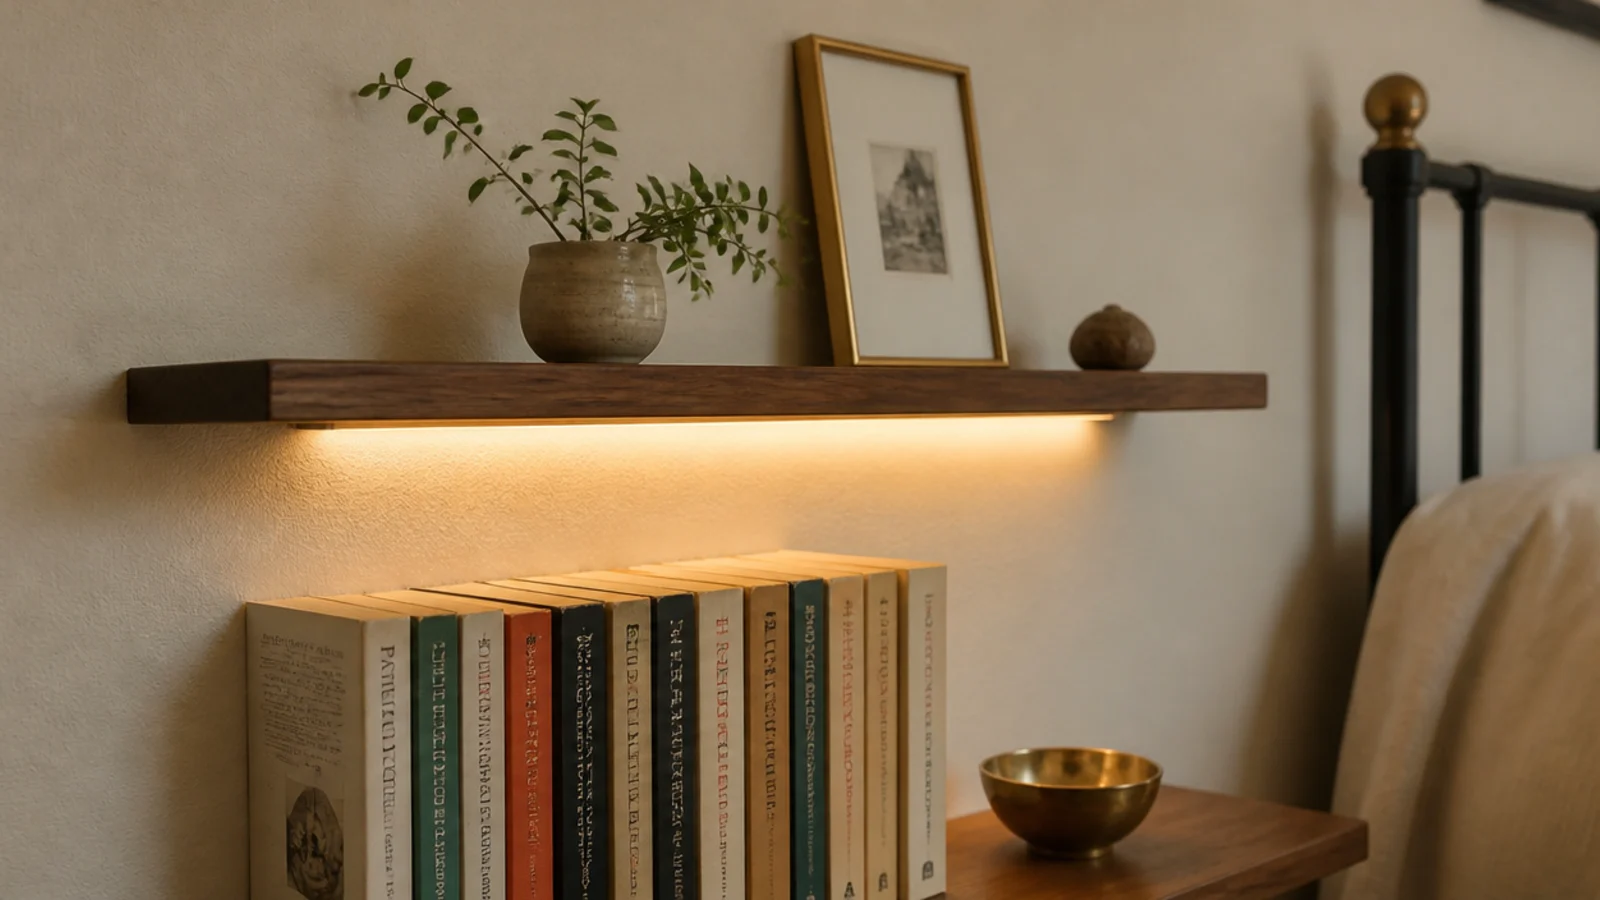
11. Under a floating shelf
Four inches back from the front edge hides the bulbs completely from standing height and lights whatever sits below. A 3 foot shelf takes about 5 feet of strand, so one 16 foot set does three shelves with enough left for the drops between them.
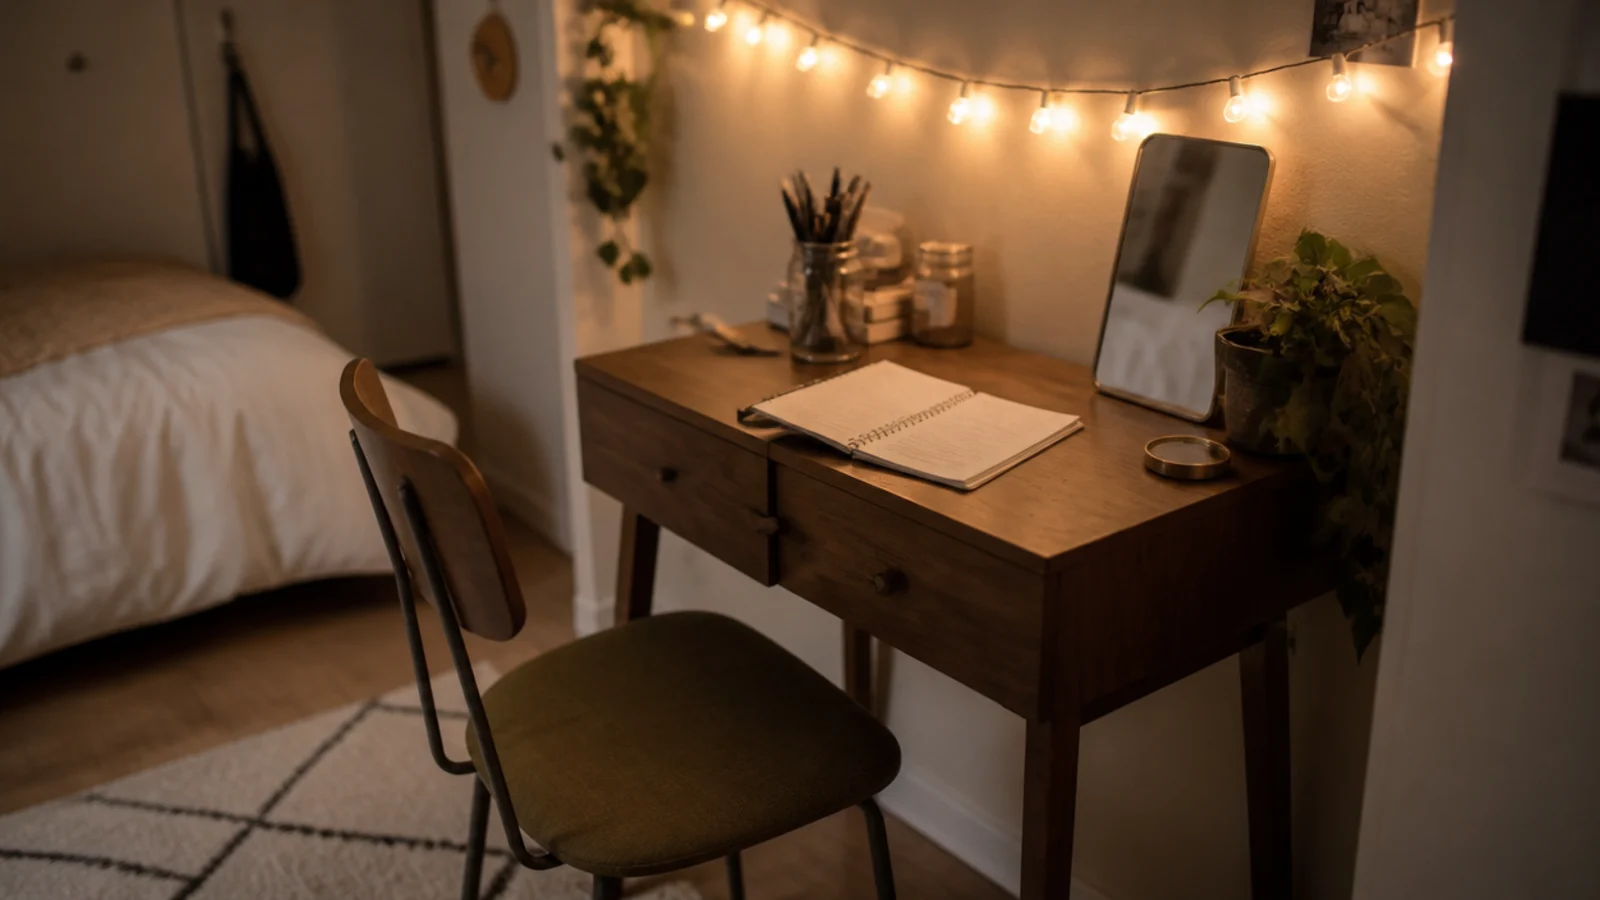
12. Around a desk or vanity
Light has to come from in front of your face, not behind your head, or you work in your own shadow. A strand along the wall above the desk at about 60 inches, with a diffuser on any bulb in the eyeline, gives soft frontal light. Add a proper task lamp for anything detailed.
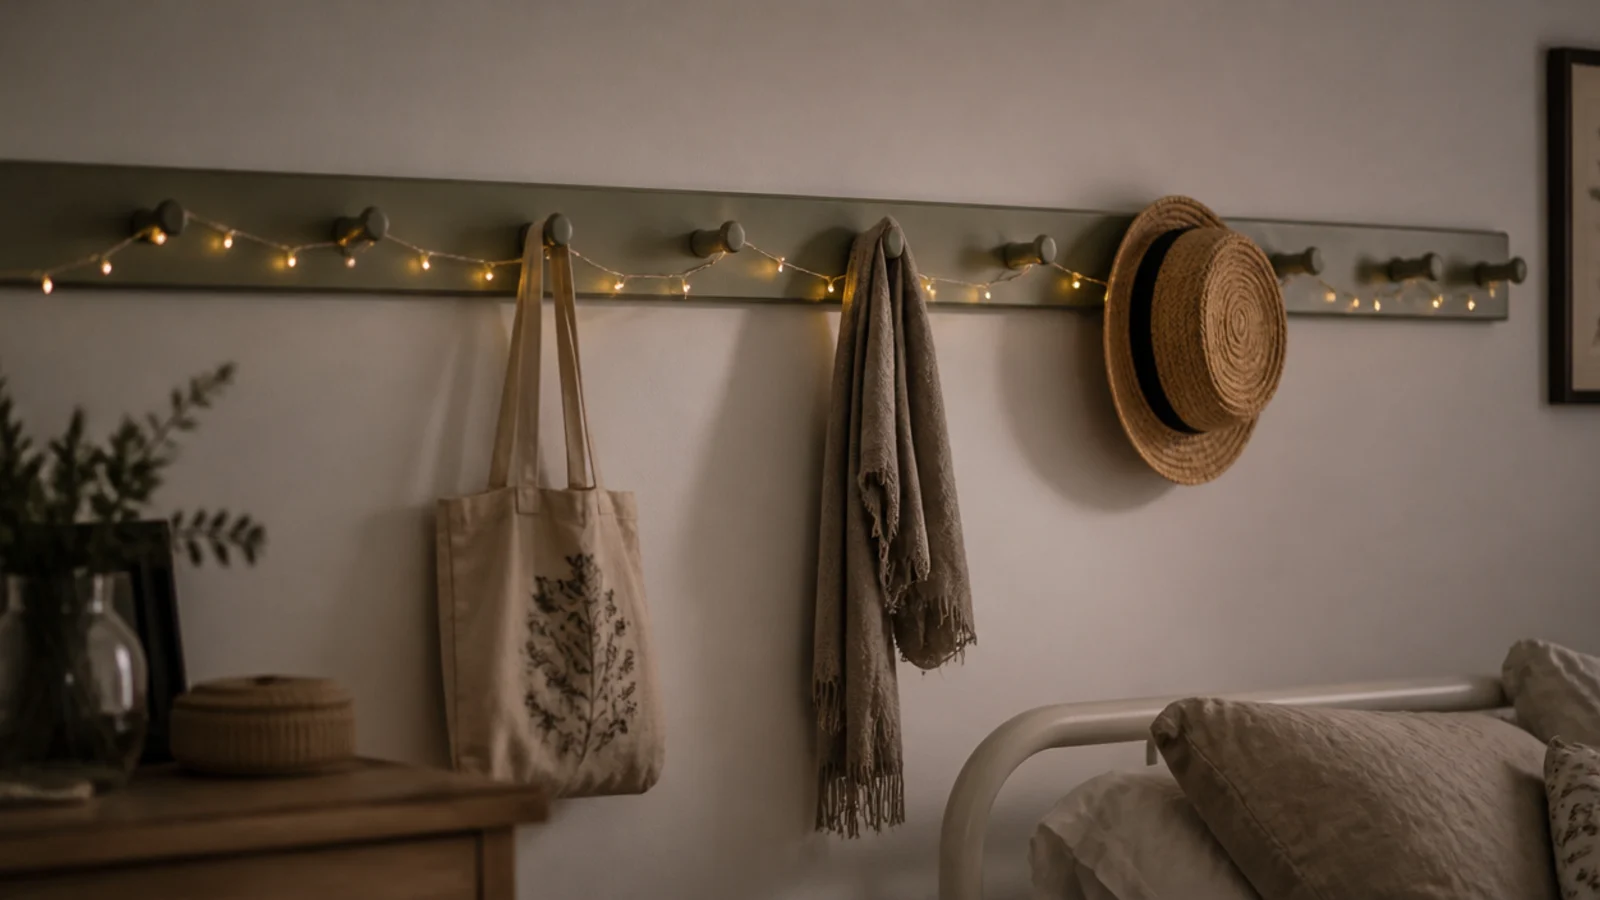
13. Looped along a peg rail
A peg rail carries the weight of bags and coats while the strand loops between pegs carrying only itself. Shallow loops of 4 to 6 inches read best, and a rail of five pegs at 12 inch centres takes about 8 feet of strand. It is a good fit for a small room where every fixing has to do two jobs at once, and it puts the light at around 60 inches where it lands on what is hanging rather than in your eyes.
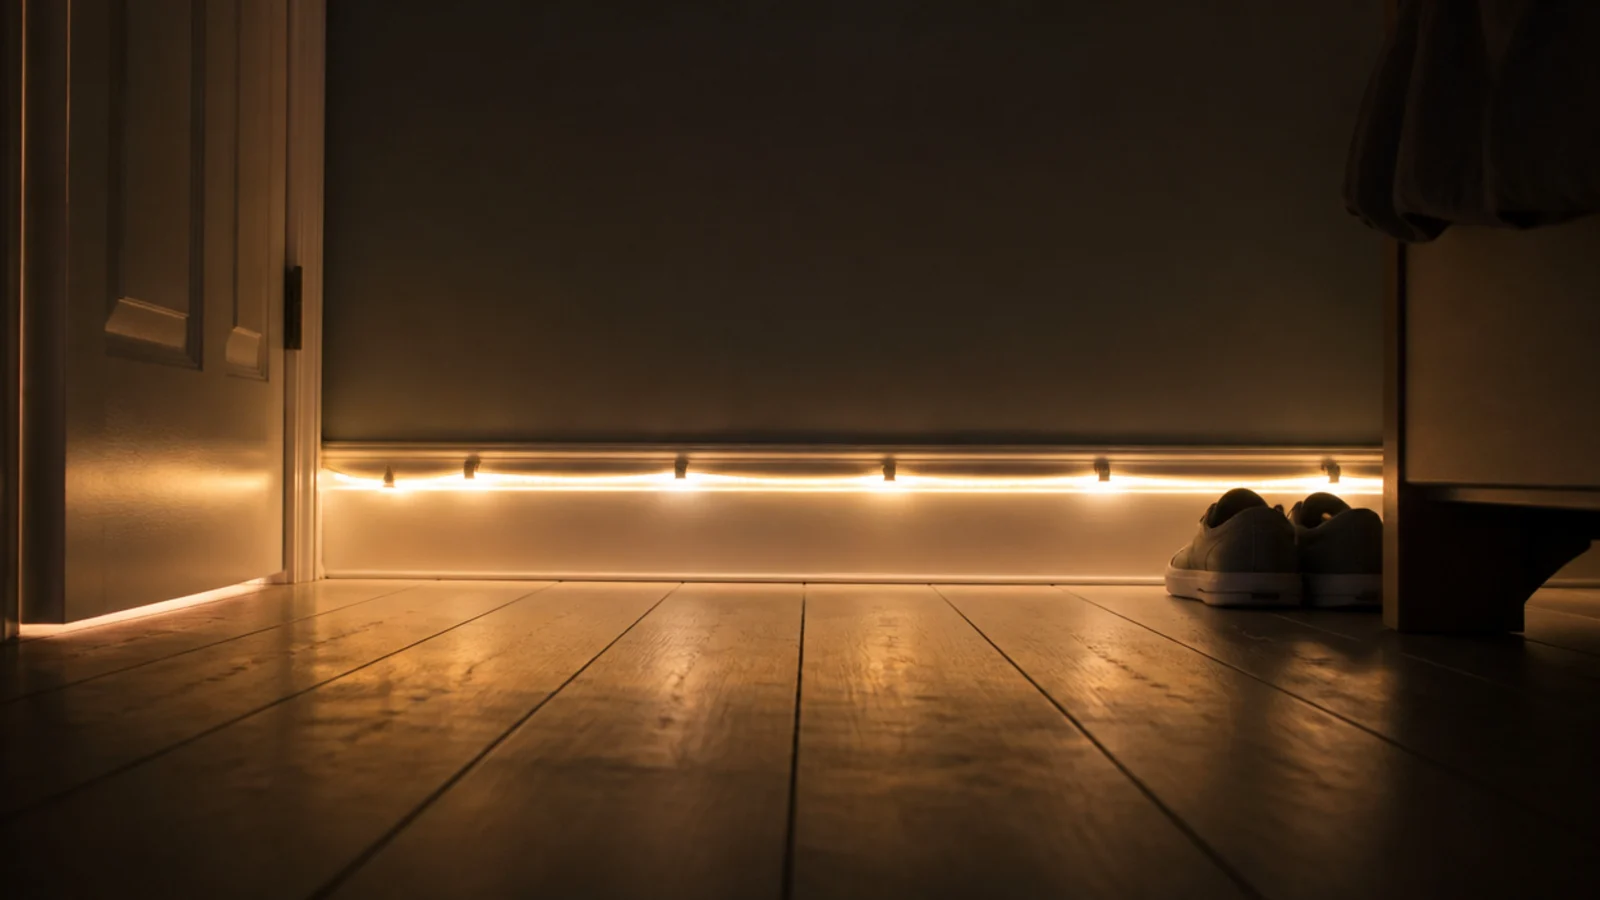
14. Along the skirting for night light
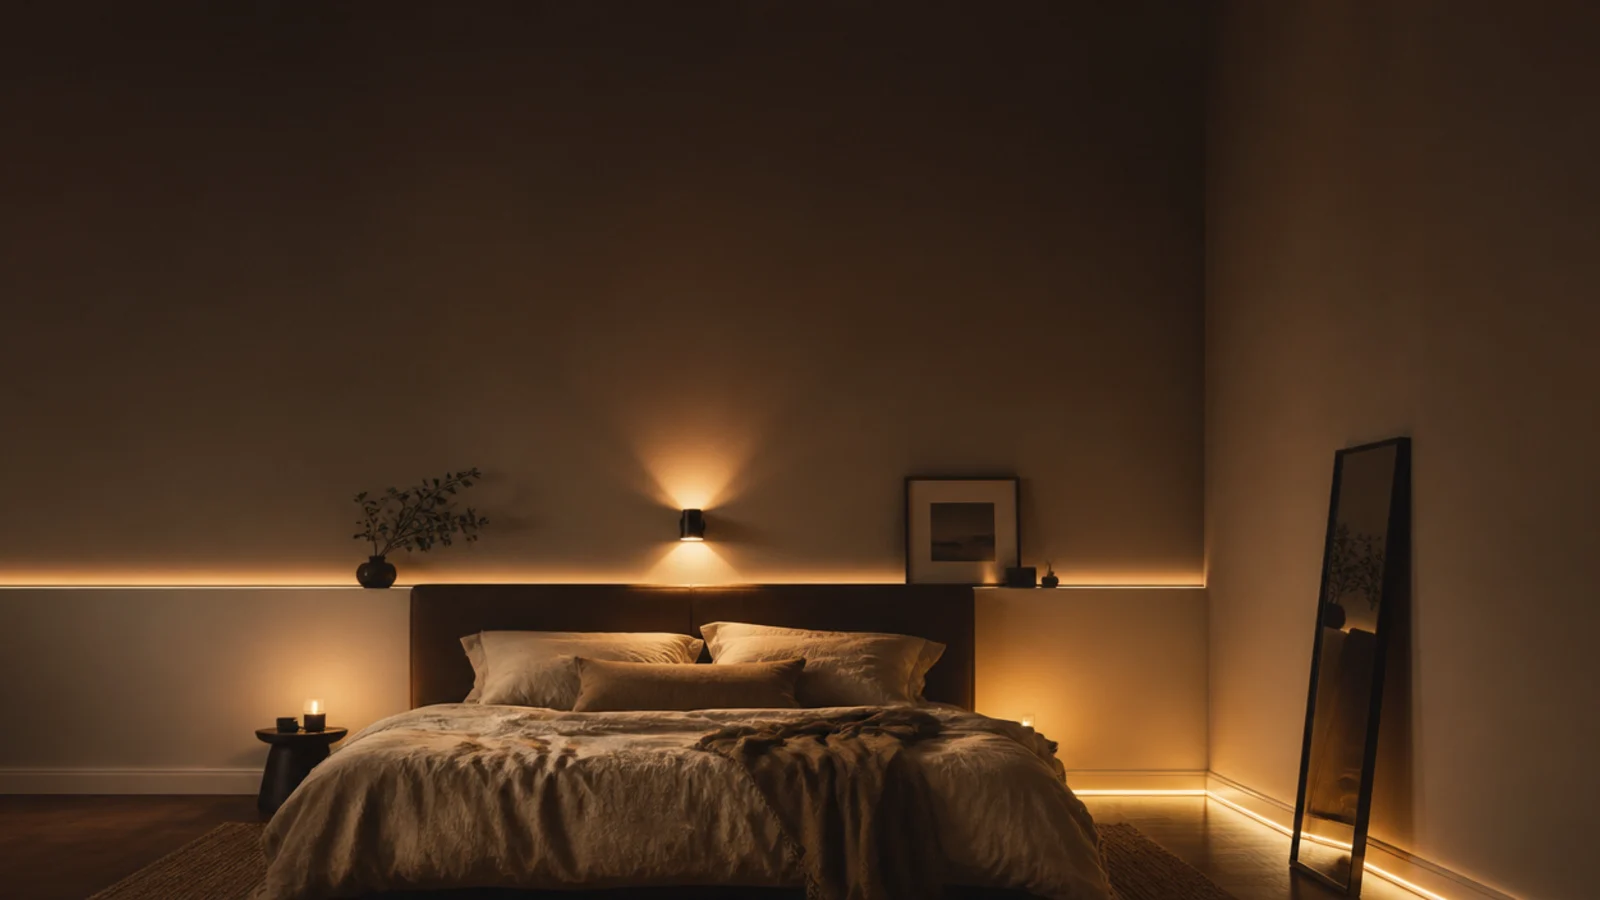
Clipped to the wall face just above the skirting, a strand gives ankle-height light for crossing a dark room without waking anyone. Keep it on the wall rather than the floor, keep it clear of any rug edge, and put it on the same timer as everything else.
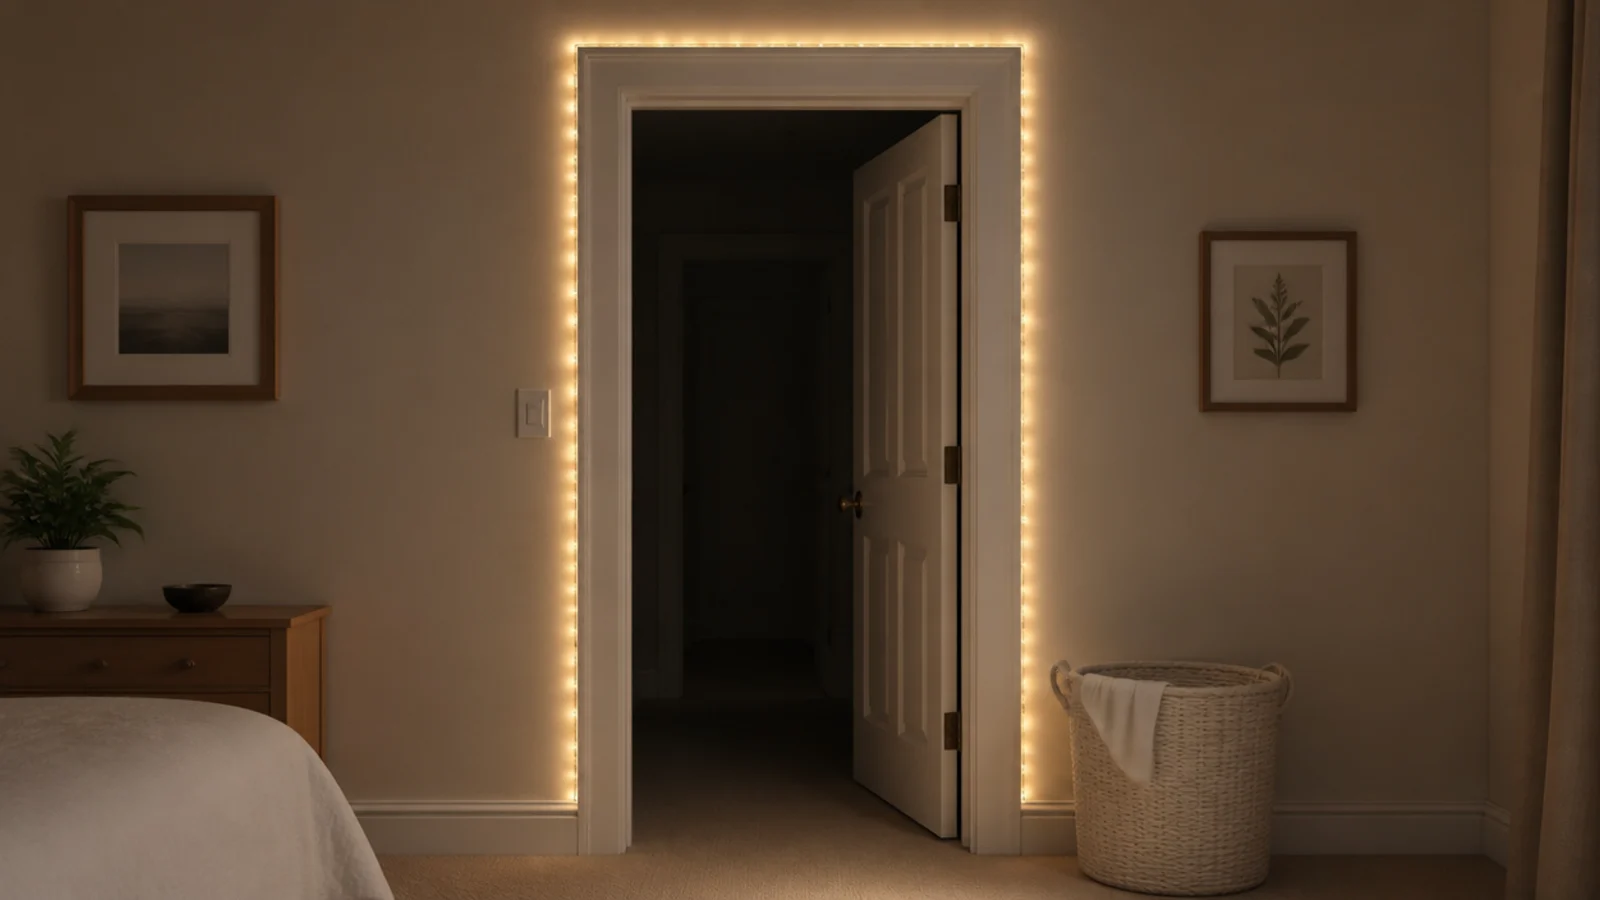
15. Around the door frame
Three sides of a standard architrave is about 16 feet, which one 16 foot set covers exactly. It reads best from outside the room, so it suits a bedroom you walk past. Keep the run on the hinge side clear of the door's swing arc.
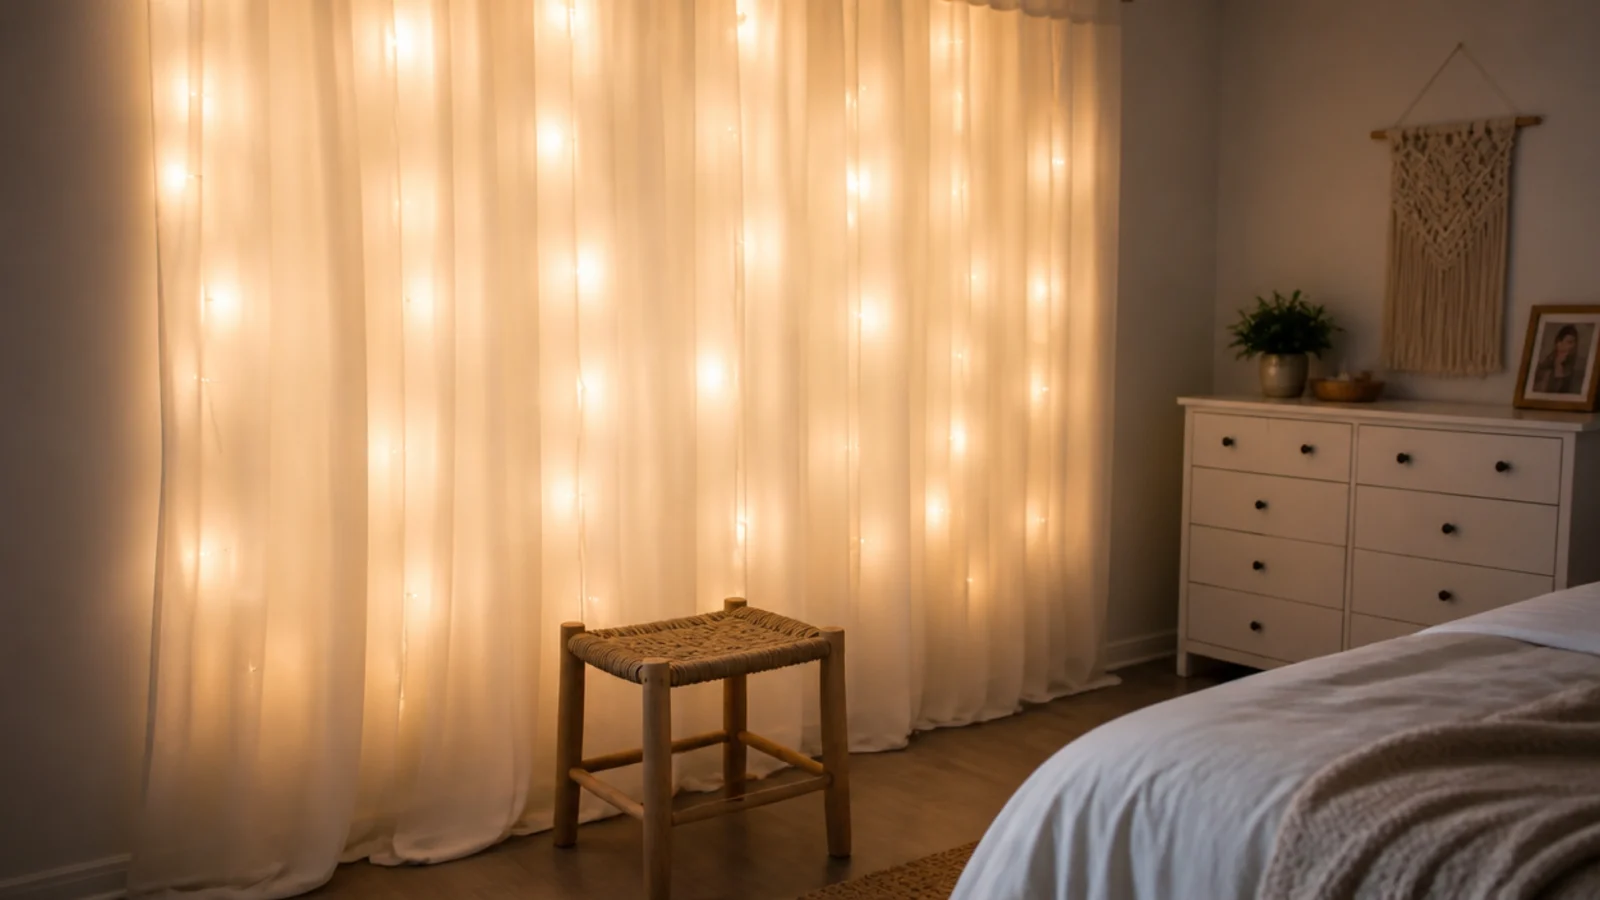
16. Behind a sheer curtain panel
A strand clipped 3 to 4 inches behind a voile turns forty bright points into one soft sheet. Closer than 2 inches and individual bulbs show through; further than 6 and the glow flattens out. It is the best diffuser available for under $10, and it works on a cheap voile as well as an expensive one because the weave is doing all the work. Keep the strand fixed to the wall rather than pinned to the fabric so the panel can still move and be taken down to wash.
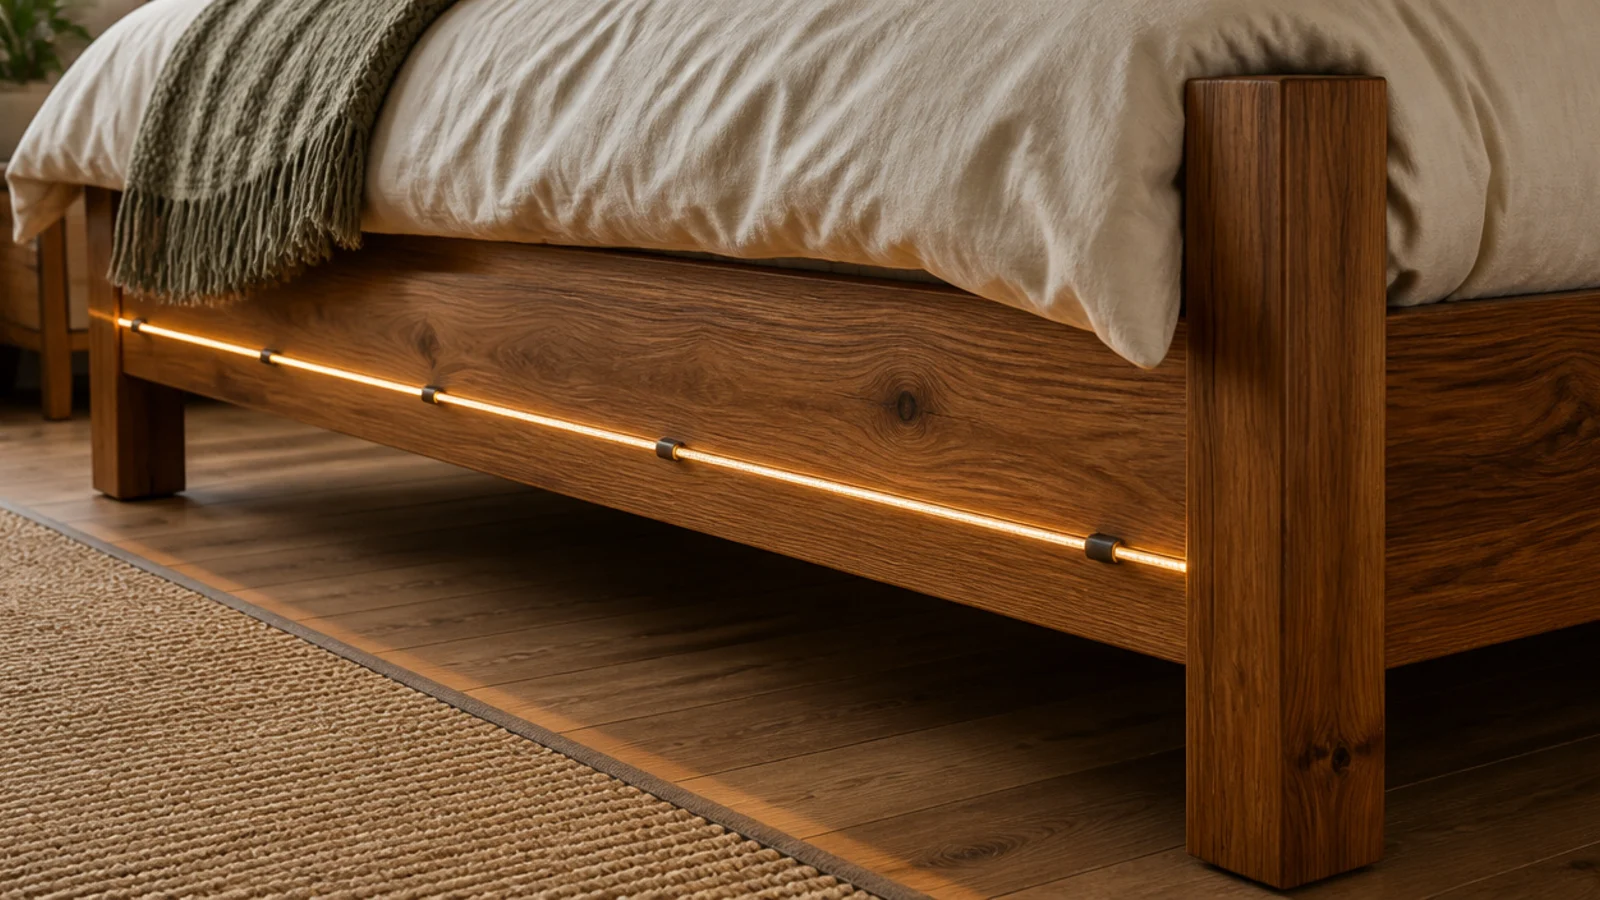
17. Along the bed frame rail, never underneath
The outer rail of a wooden bed frame gives you a straight line about 10 inches off the floor with something solid to clip to. It lights the rug edge and the frame itself. Keep it on the outward face, never on the underside where the cable would drag.
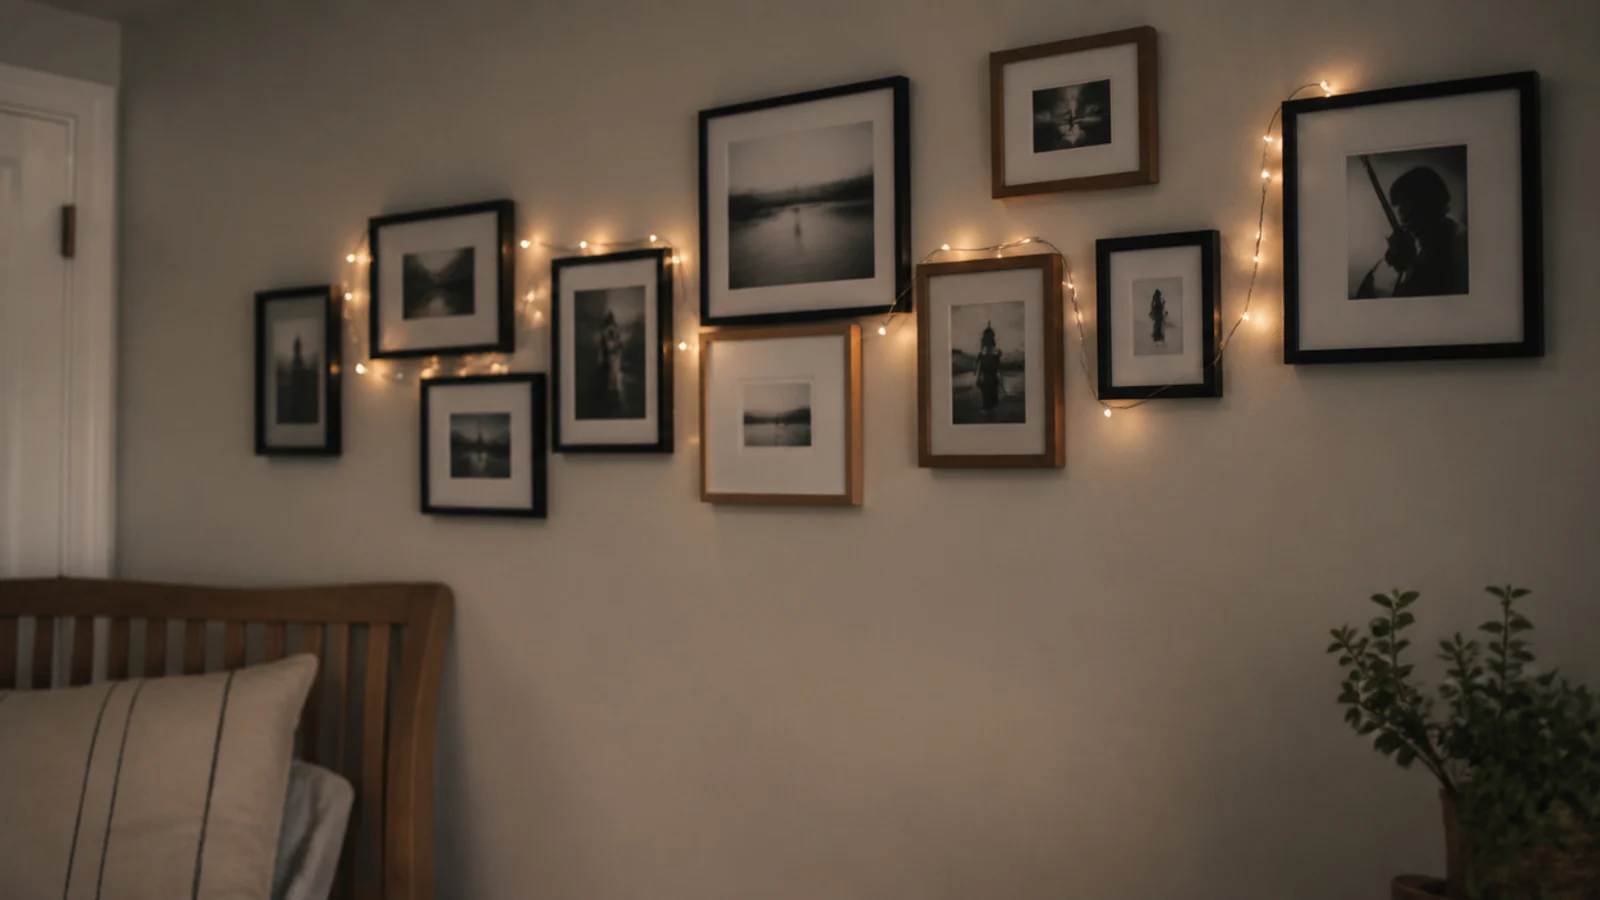
18. Threaded through a frame cluster
If you already have a gallery arrangement, weave a fine strand through the gaps rather than around the outside. The frames break the line of bulbs into sections and the light picks out the glass edges. Support the wire on the frames' hanging hooks, not on the pictures themselves.
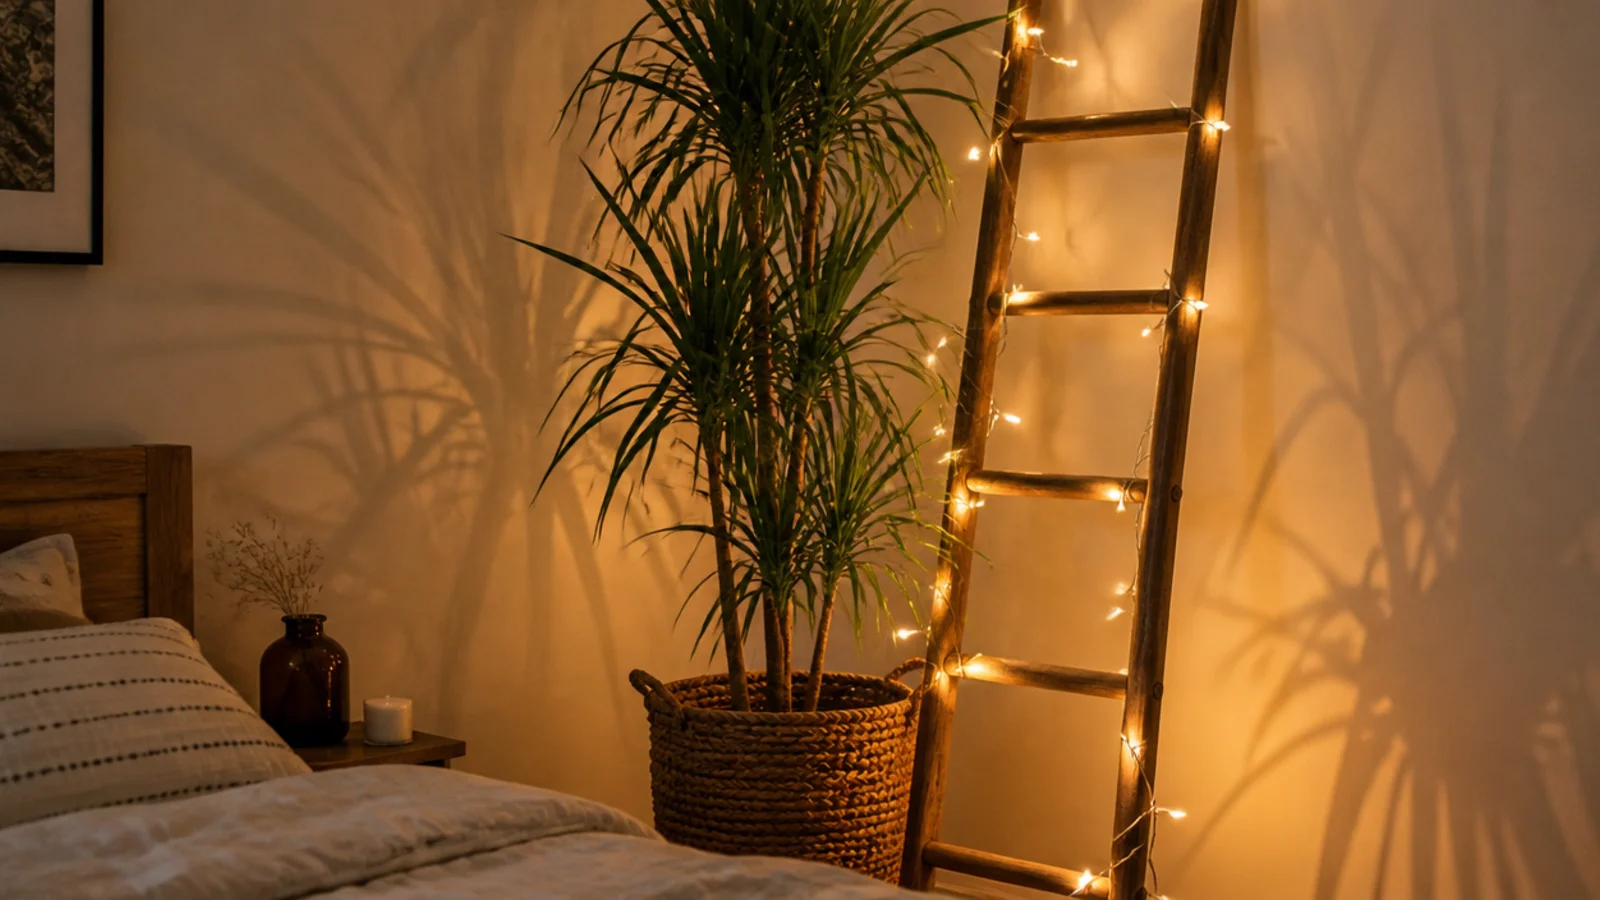
19. Up a corner ladder or tall plant
A leaning ladder or a 5 foot plant gives you vertical structure with zero fixings, which matters in a rental. Wind the strand up the rails or loosely through the branches, keeping it off the growing tips, and you gain height in the one part of a room that is usually dead. A 5 foot plant takes about 12 feet of strand at a comfortable density; a leaning ladder takes roughly 14 feet up both rails. Neither needs a single hole in the wall.
20. The four places to leave empty
Under a rug, inside bedding, across a walkway, and in the arc of a swinging door. A cable under a rug is abraded by every step and has nowhere to shed heat, a strand tucked into a duvet traps its driver against fabric, and a lead across a walkway is a trip in the dark. Route along the wall face instead, every time.
For the ceiling placements in detail, including starbursts and perimeter runs, ceiling layouts has the spacing. Corner shelf ideas covers the awkward angle a corner run usually lights, and hanging lights in a bedroom is the guide if you want a real fixture in the same room.
Mistakes to Skip
- Outlining all four walls. It draws a hard box around the room and makes it read smaller — one wall or one corner lit properly does far more.
- Putting bare bulbs between 40 and 65 inches. That is exactly where you look when you sit up in bed, and no amount of styling fixes glare at that height.
- Running the lead to a socket by the shortest route across the floor. Go the long way around the skirting instead and clip it down every 12 inches.
- Fixing anything to a mirror back, a wallpaper seam or a freshly painted wall. All three release the adhesive within days, usually overnight and usually noisily.
Frequently asked questions
Where is the best place to put fairy lights in a bedroom?
Above and behind the headboard, roughly 12 inches up from the top edge. The light sits outside your sight line when you are lying down, the bed anchors it visually, and one 33 foot strand covers a king headboard with slack. Every other placement in a bedroom is easier to judge once that one is in place.
How high should fairy lights be on a bedroom wall?
Either below 40 inches or above 65, because that band is exactly where your eyes land when you sit up in bed. Picture rail height at around 84 inches and skirting height at around 6 inches both work well. Anything in between needs a diffuser, a shelf overhang or something to hide behind.
Should fairy lights go around a window or inside the reveal?
Inside the reveal if your curtains hang outside it, which is the usual arrangement. Lights around the outer frame vanish the moment the curtains are drawn, and in a bedroom that is most of the evening. Inside the reveal the run stays visible with the curtains open and lights the glass at night.
Where should you never put fairy lights in a bedroom?
Under a rug, inside bedding, across a walkway, or anywhere the door swings. A cable under a rug is abraded by every footstep and has nowhere to lose heat, and a strand tucked into a duvet traps its driver against fabric. Route along the wall face and keep the floor completely clear.
How many clips do I need for one wall?
One every 12 to 16 inches, so a 10 foot horizontal run needs eight to ten. Ceilings want closer spacing at 10 to 12 inches because the adhesive is pulling straight down. Buy half-pound rated clips rather than the smallest ones, and press each for 30 seconds before loading it.
Want more like this? Browse all 15 fairy lights bedroom guides — they all use the same measurements and budget tiers.
Pin it for later
Save this to your Fairy Lights Bedroom board
Pin it now so it is waiting for you when the tape measure comes out — and so the next person hunting for this idea can find it too.
Save this pinKeep going
More ideas worth saving while you have the tape measure out.