Fairy Lights Bedroom · How-To
15 Steps On How To Hang Fairy Lights In Bedroom

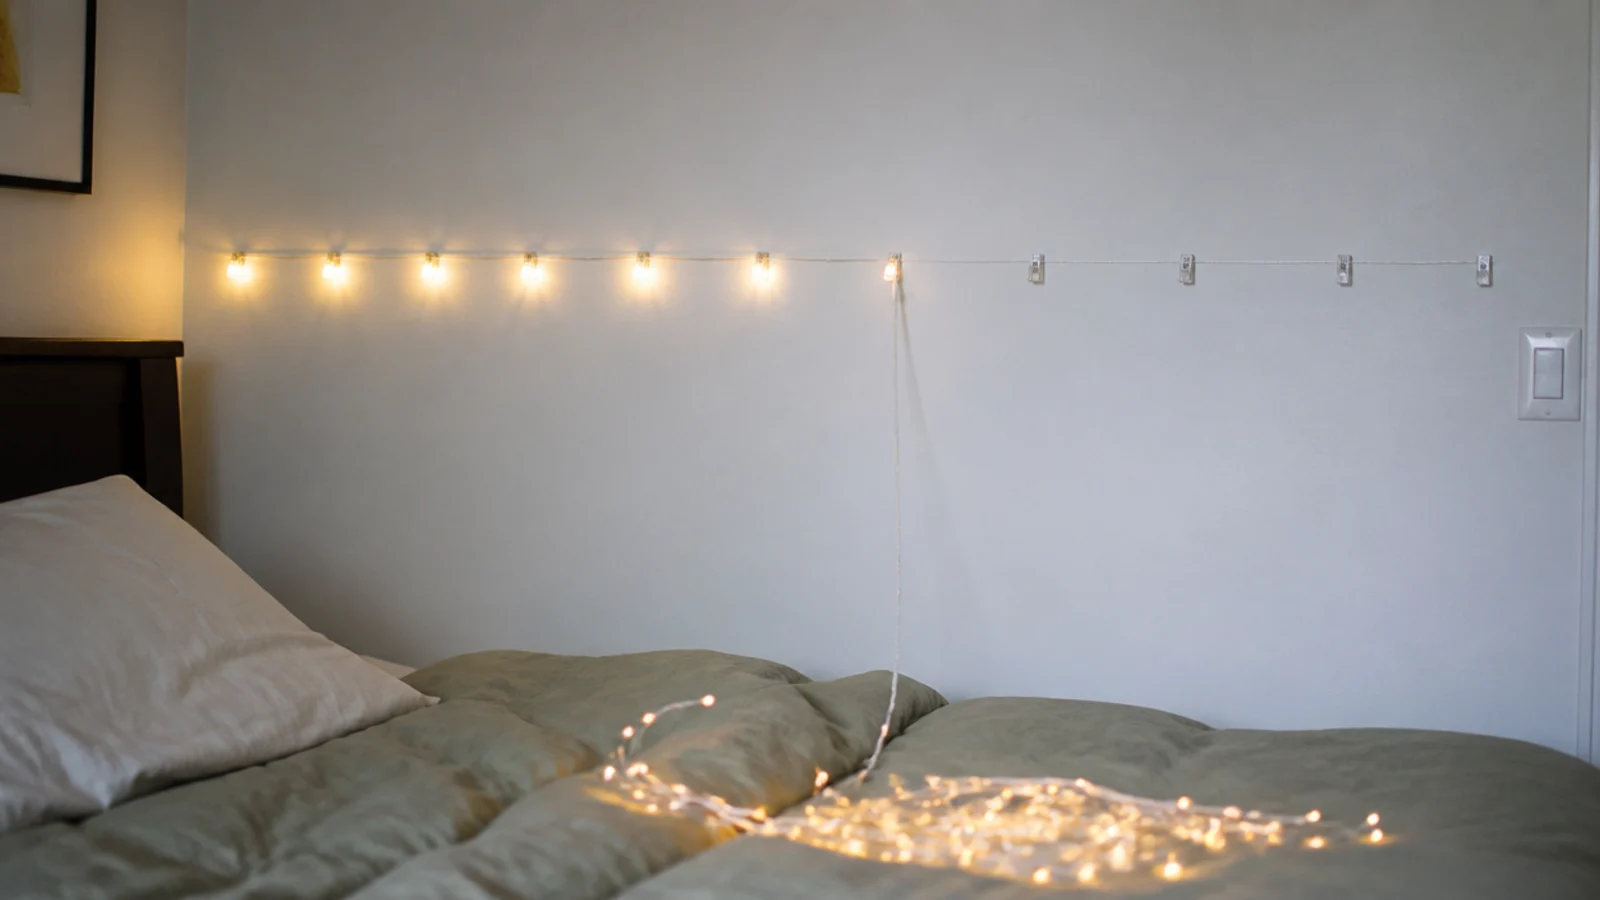
Putting string lights up badly takes twenty minutes. Putting them up so they are still there next winter, and so the wall survives the day you take them down, takes about ninety. The difference is almost entirely in the order of operations. If you have wondered how you hang fairy lights in a bedroom without pins, staples or a landlord conversation, this is the sequence I use: surface first, clips second, strand third, cable last. Fifteen steps, with the spacings and cure times that make each one hold.
In this guide18 sections — tap to openHide
- 1.How To Hang Fairy Lights In Bedroom Spaces: What You'll Need
- 2.Step 1: Decide the run and measure it
- 3.Step 2: Match the set to the power you have
- 4.Step 3: Identify the surface you are fixing to
- 5.Step 4: Test one clip for twenty-four hours
- 6.Step 5: Test the strand and read the tag
- 7.Step 6: Clean and warm every fixing point
- 8.Step 7: Mark the anchor points
- 9.Step 8: Fix the end anchors first
- 10.Step 9: Space the clips for the surface
- 11.Step 10: Seat the strand and set the slack
- 12.Step 11: Turn corners without folding the wire
- 13.Step 12: Cross a ceiling on a line
- 14.Step 13: Route and secure the cable
- 15.Step 14: Fit a timer and label the plug
- 16.Step 15: Plan the clean take-down
- 17.Pro Styling Rules
- 18.Mistakes to Skip
How To Hang Fairy Lights In Bedroom Spaces: What You'll Need
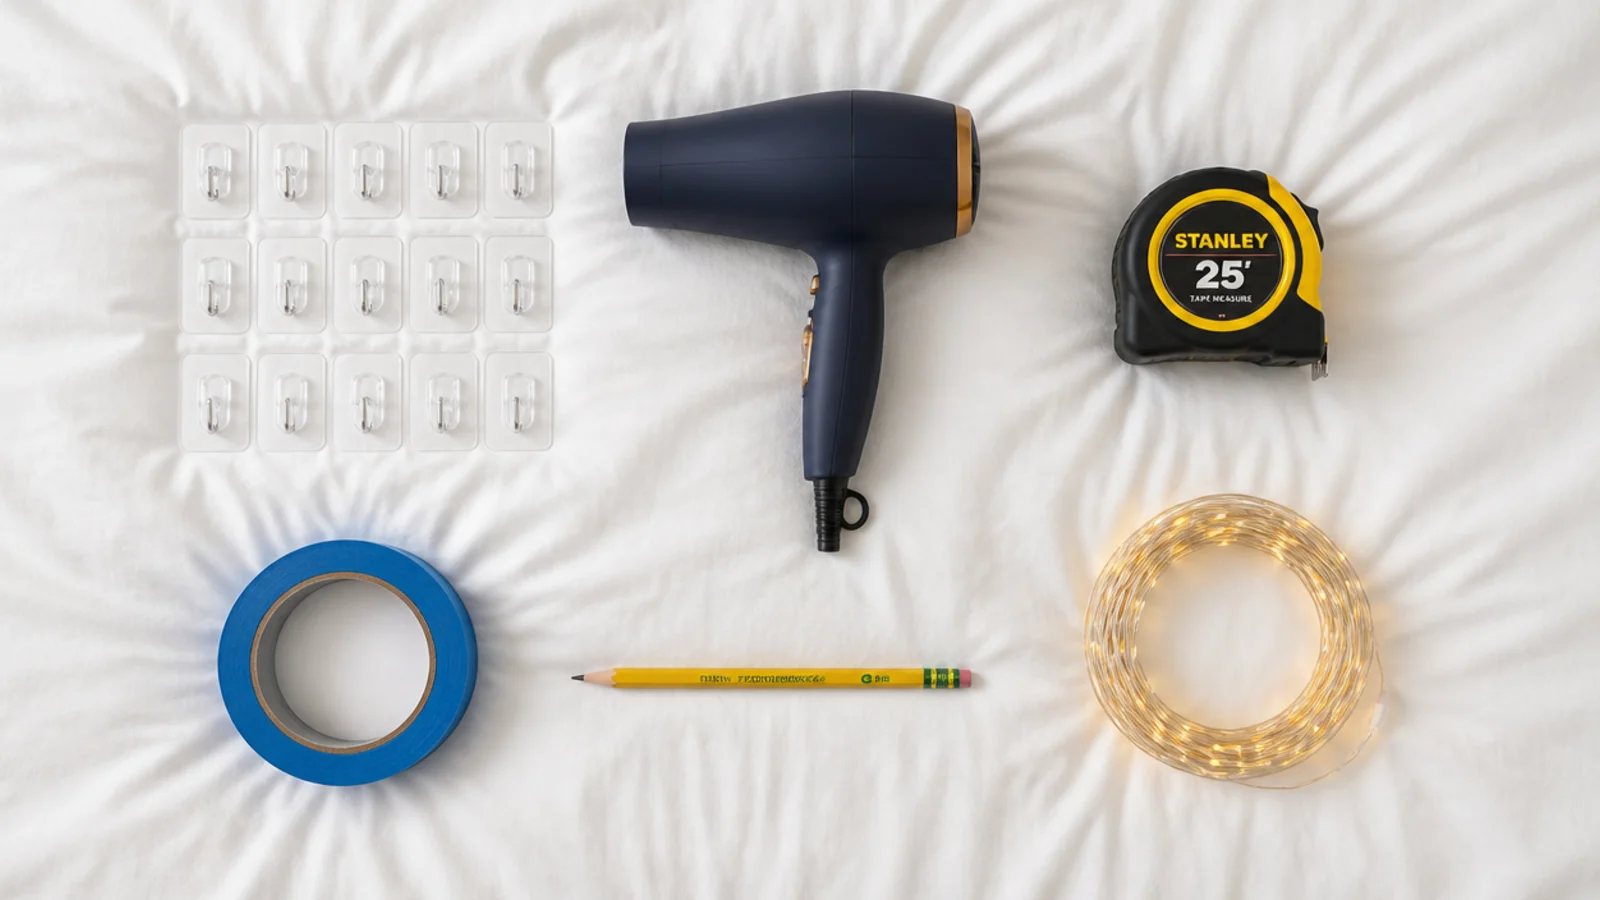
One or two 33 foot warm white LED strands at $8 to $14 each, a pack of twenty clear adhesive cable clips rated around half a pound at about $4, and a timer or smart plug at $5 to $15. For a ceiling run, add four small clear adhesive hooks and 15 feet of clear nylon line.
From the house: a tape measure, pencil, low-tack painter tape, a hairdryer, a step stool, a microfibre cloth and a phone level app.
Buy LED rather than incandescent. LED bulbs sit close to body temperature while incandescent minis reach 60°C and up, which matters as soon as a strand runs near a curtain, a canopy or the head of a bed. Check the box for a Kelvin figure between 2000K and 2200K, and check the lead tag for the maximum number of sets you may connect end to end.
Two things stay out of this job entirely. Staples and drawing pins, because anything piercing a cable sheath creates a fault that appears weeks later as a dead section. And rugs, because a lead run underneath one is abraded by every footstep and has nowhere to shed heat. If your room rules out even adhesive, simple renter setups covers the no-fixing alternatives.
Step 1: Decide the run and measure it
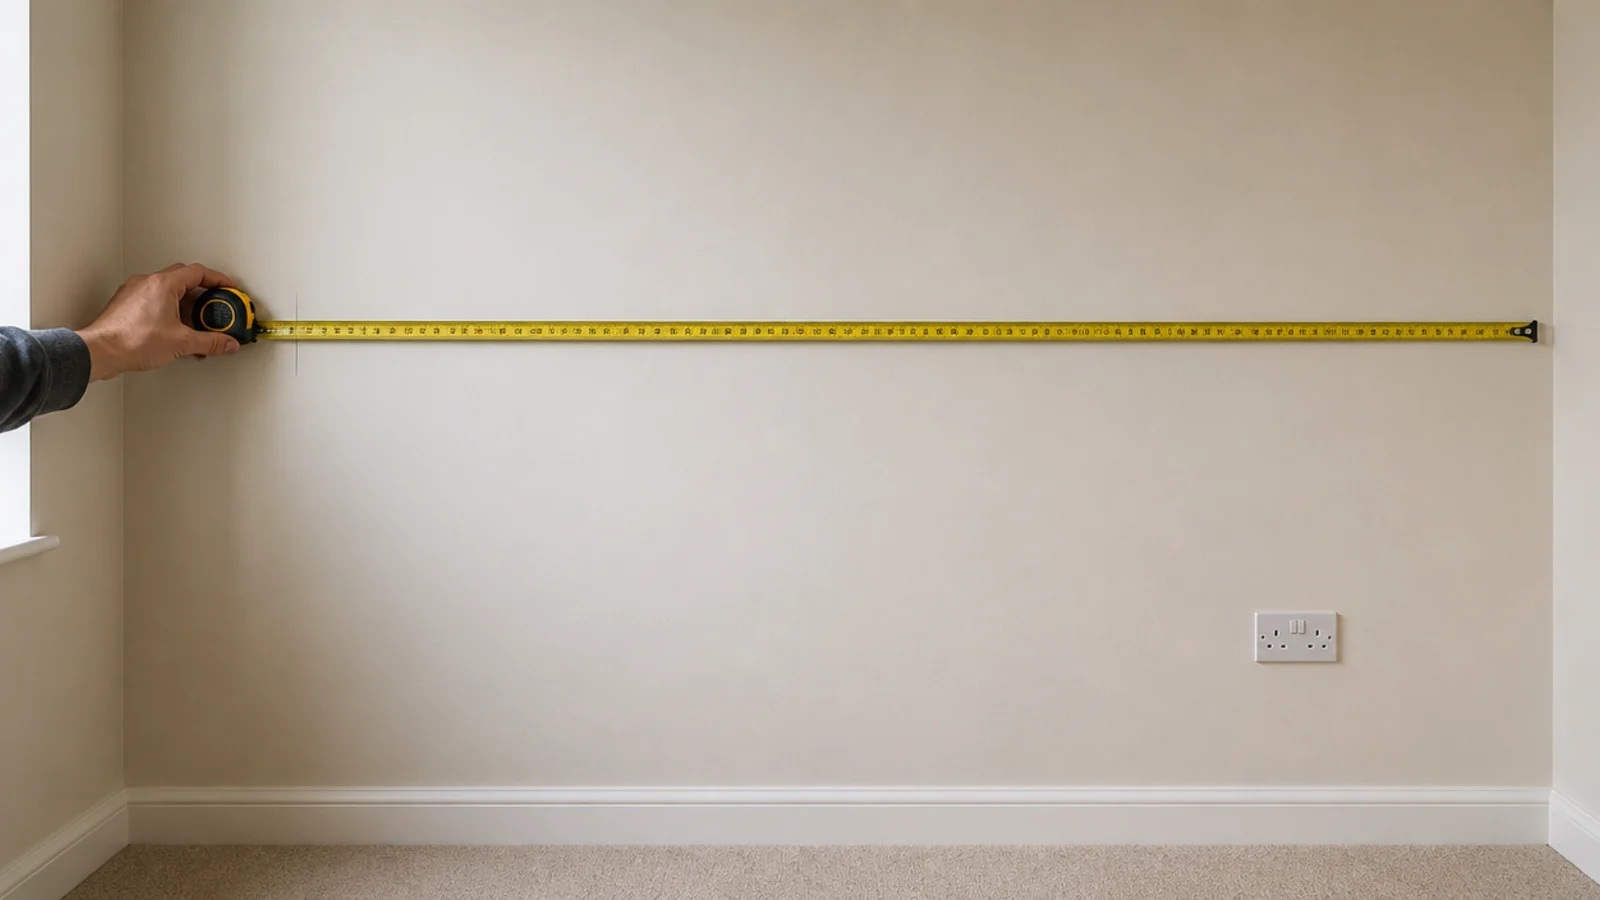
Choose the shape before you touch anything — one horizontal run, a shallow arc, vertical drops, or a ceiling crossing. Measure the route with a tape, then add the vertical drop to the socket plus 18 inches of slack.
Copper wire sets space bulbs about 4 inches apart, so 100 LEDs is roughly 33 feet and 50 LEDs about 16. Match the length to the measurement rather than buying the longest set on offer, because spare strand always ends up coiled somewhere visible.
Step 2: Match the set to the power you have
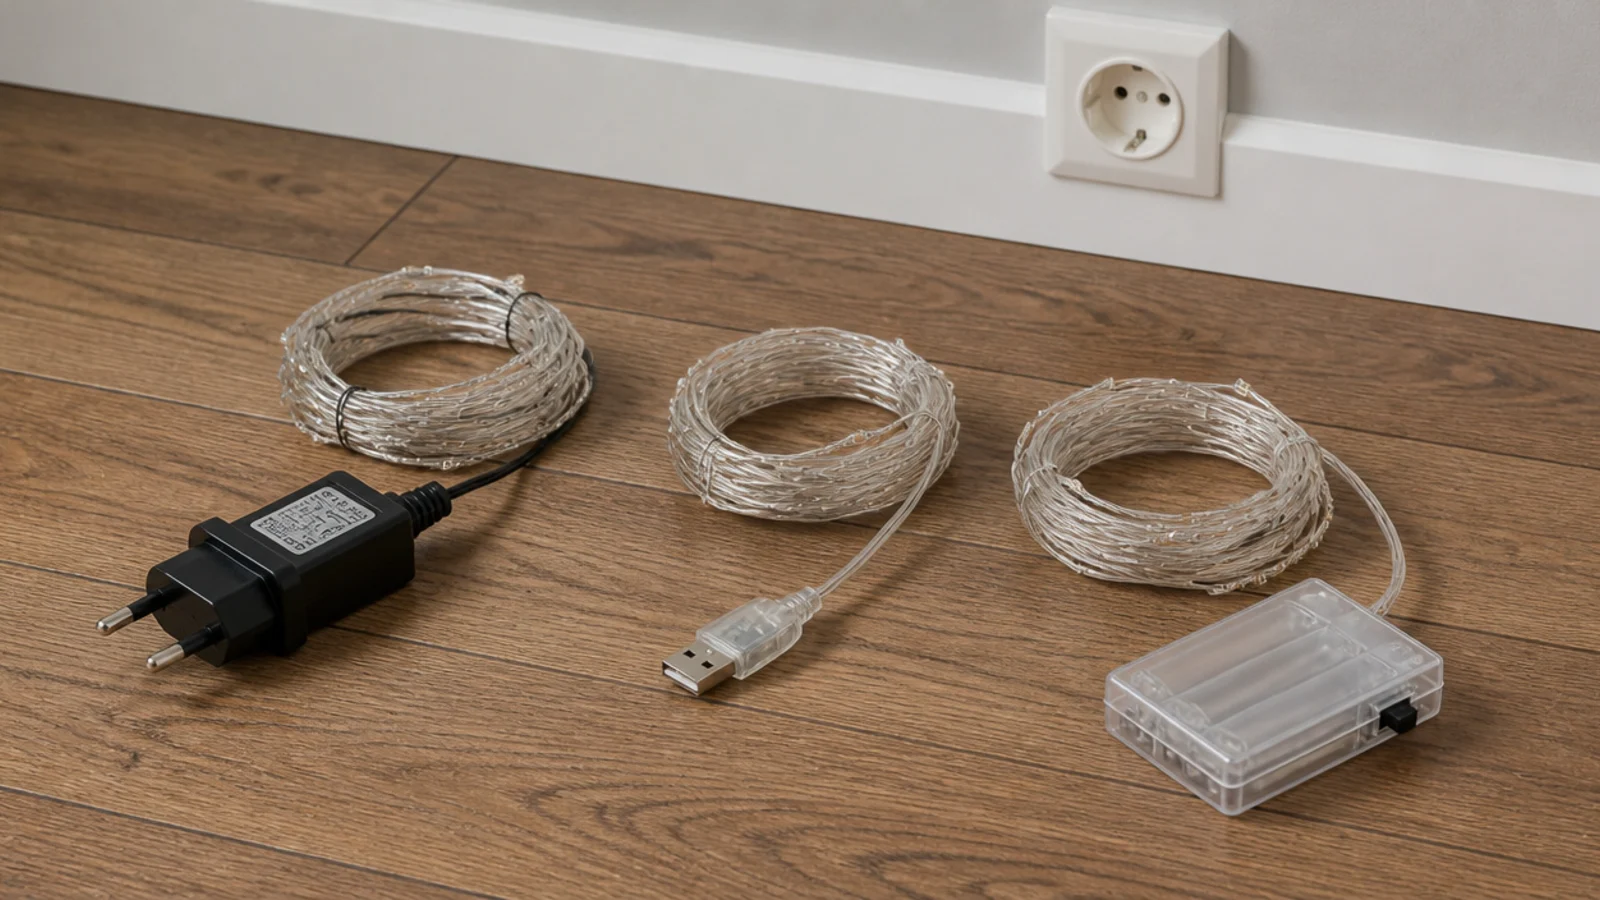
Plug-in sets need a socket within about 5 feet of the run's start. USB sets run off a phone charger or a power bank and pull under 5 watts. Battery sets remove the cable problem entirely but eat three AA cells in under a week without a timer.
Pick the power type before the layout, not after. Half the awkward cable routes I see exist because someone bought a plug-in set for a corner with no outlet.
Step 3: Identify the surface you are fixing to
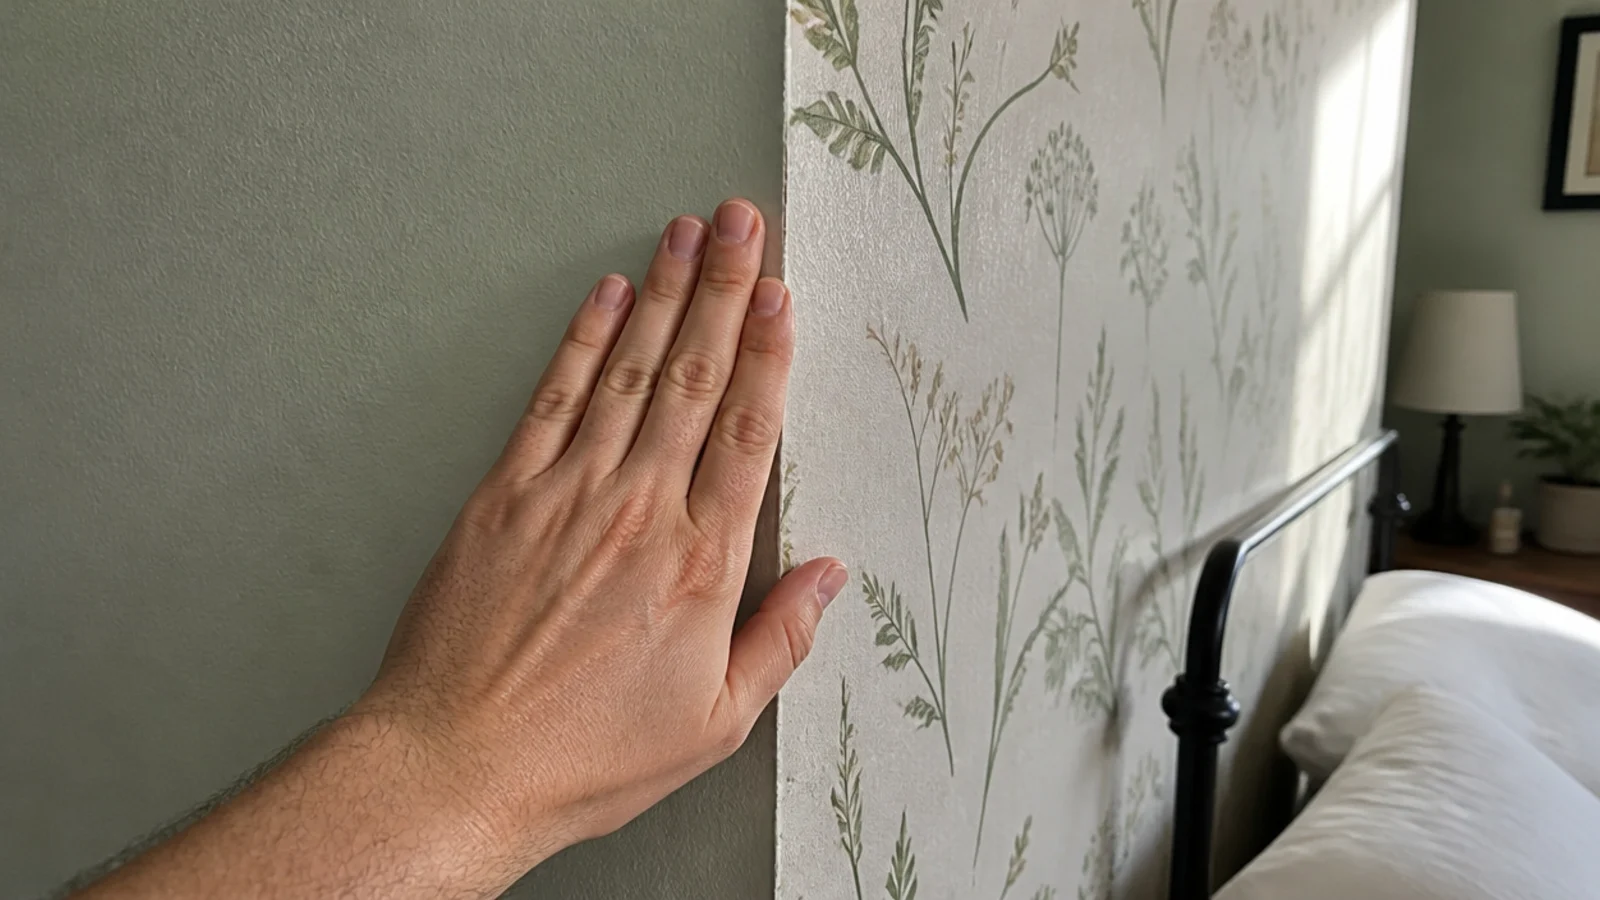
Sealed emulsion, gloss paint and tile hold adhesive clips well. Flat builder-grade paint is the common failure, because the glue holds and the paint layer releases instead. Textured plaster gives the pad too little contact area, and wallpaper lifts at the seams.
Paint applied within the last four weeks has not cured and will come away with the clip. On those surfaces, use existing hooks, a curtain pole, a tension rod or a leaning object instead of sticking anything to the wall.
Step 4: Test one clip for twenty-four hours
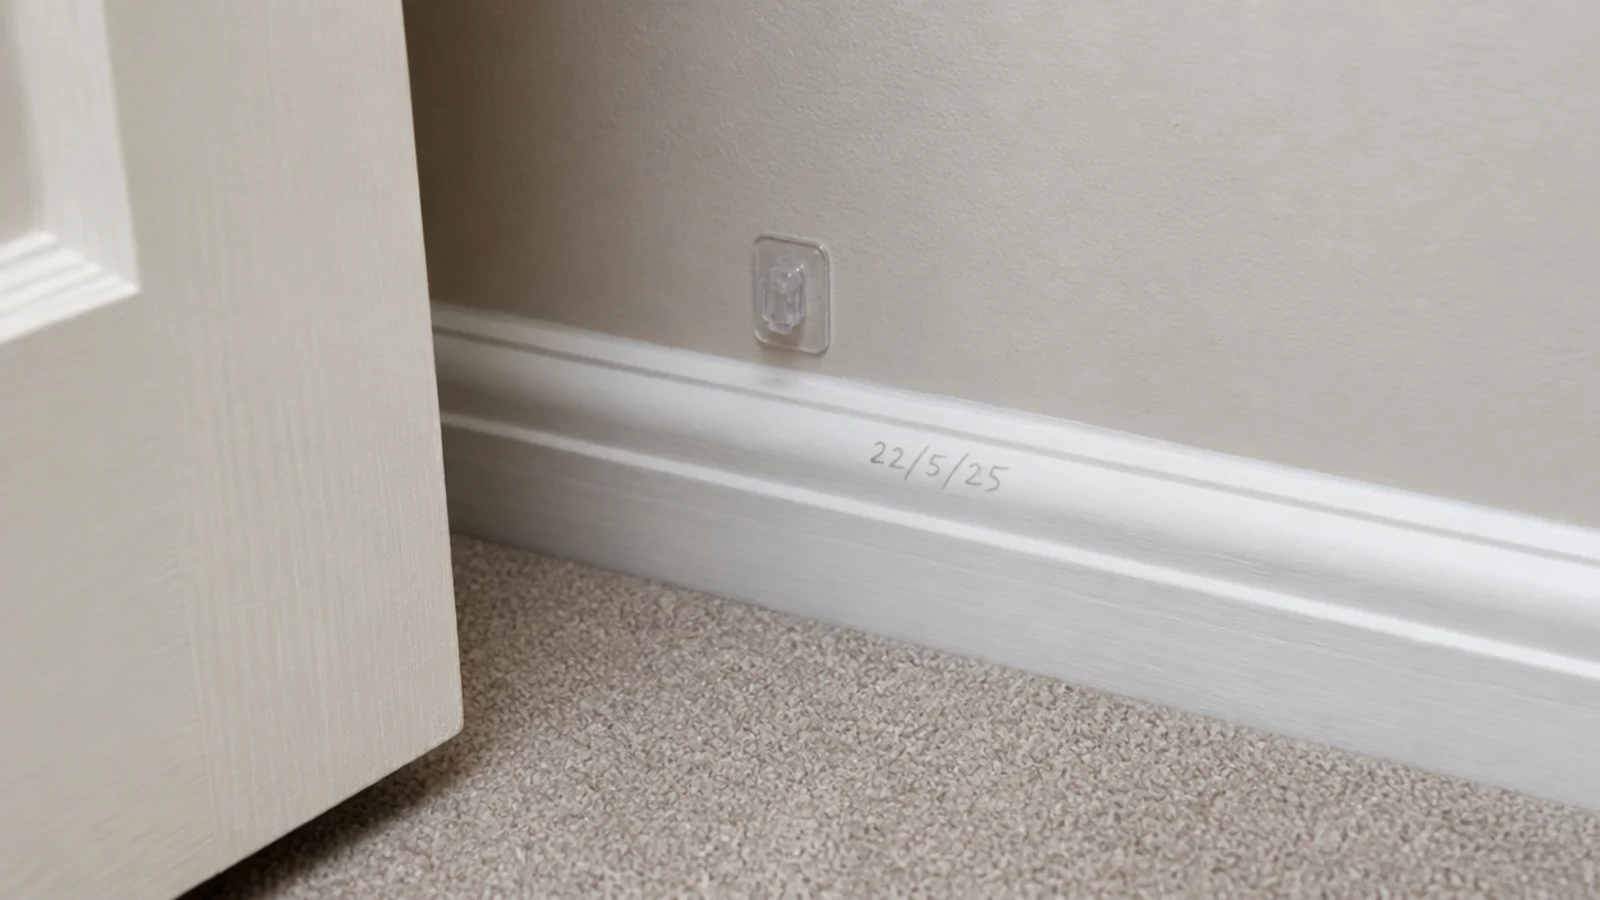
Press a single clip somewhere hidden — low behind the door, or inside a wardrobe — and leave it a full day. Then remove it the proper way and look at what comes off with it.
This costs one clip and a day of patience, and it is the difference between twenty clips that hold and twenty small patches of missing emulsion. Do it before every installation in a new room, not just the first one.
Step 5: Test the strand and read the tag
Lay the whole strand out on the floor, plug it in, and walk its length looking for dead sections. Sealed copper wire sets cannot be repaired, so a fault found now is a return rather than a wasted evening.
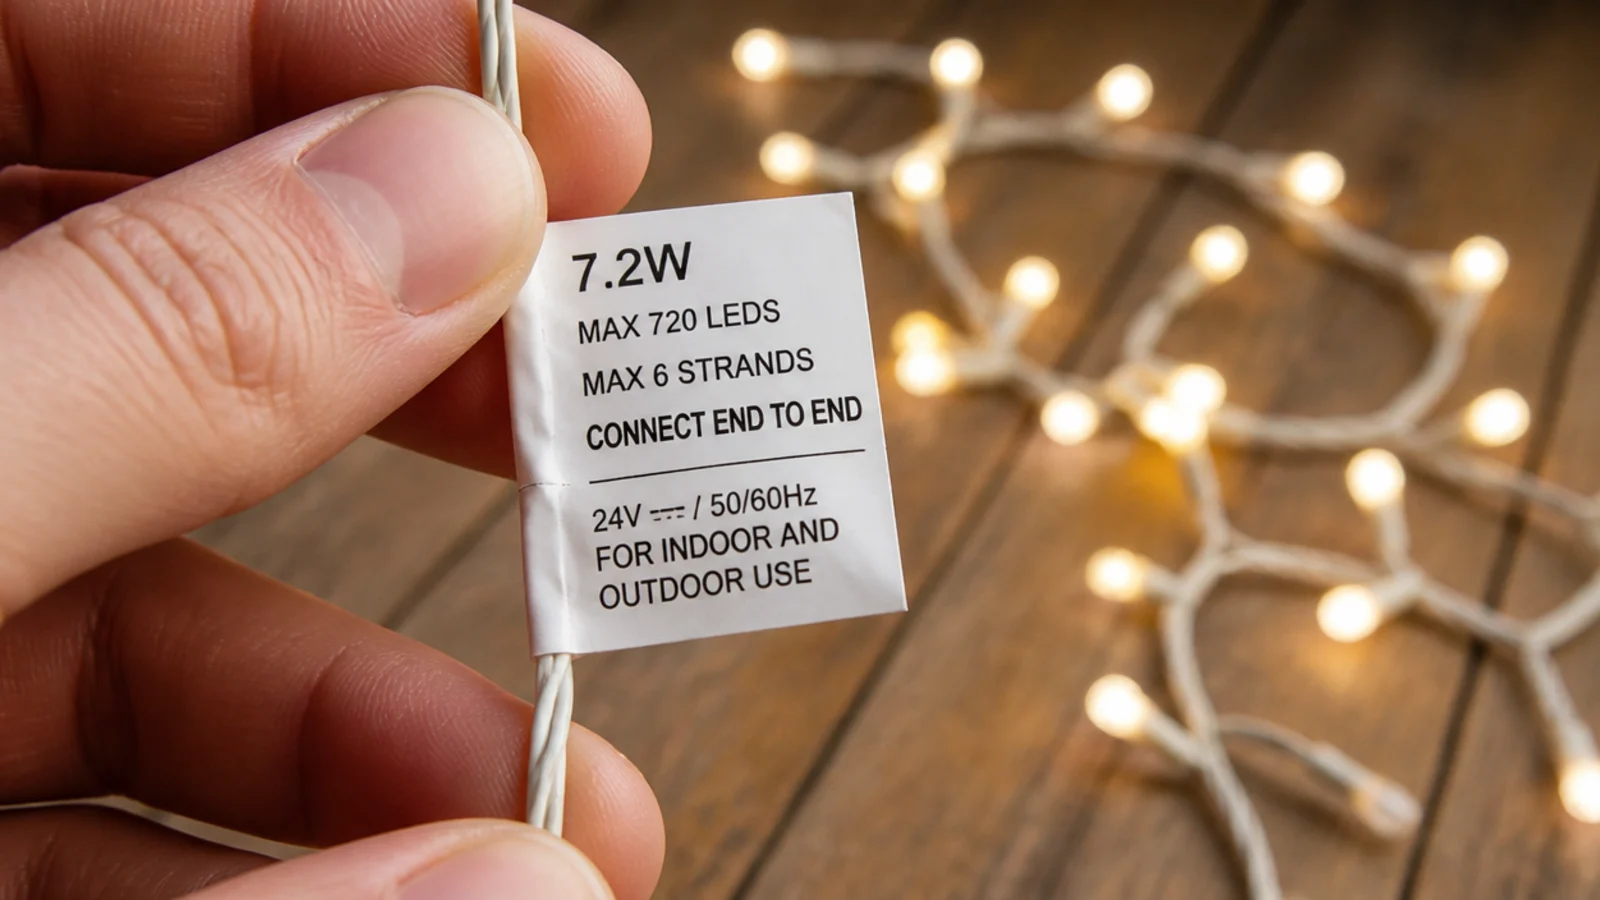
While it is out, read the small printed tag on the lead. It states the maximum number of sets you may connect end to end. That number is a current limit, not a suggestion, and exceeding it overheats the first plug in the chain.
Step 6: Clean and warm every fixing point
Wipe each marked spot with a dry microfibre cloth. Dust is the most common reason a clip lets go, well ahead of weight — a 33 foot strand weighs only about 3.5 ounces.
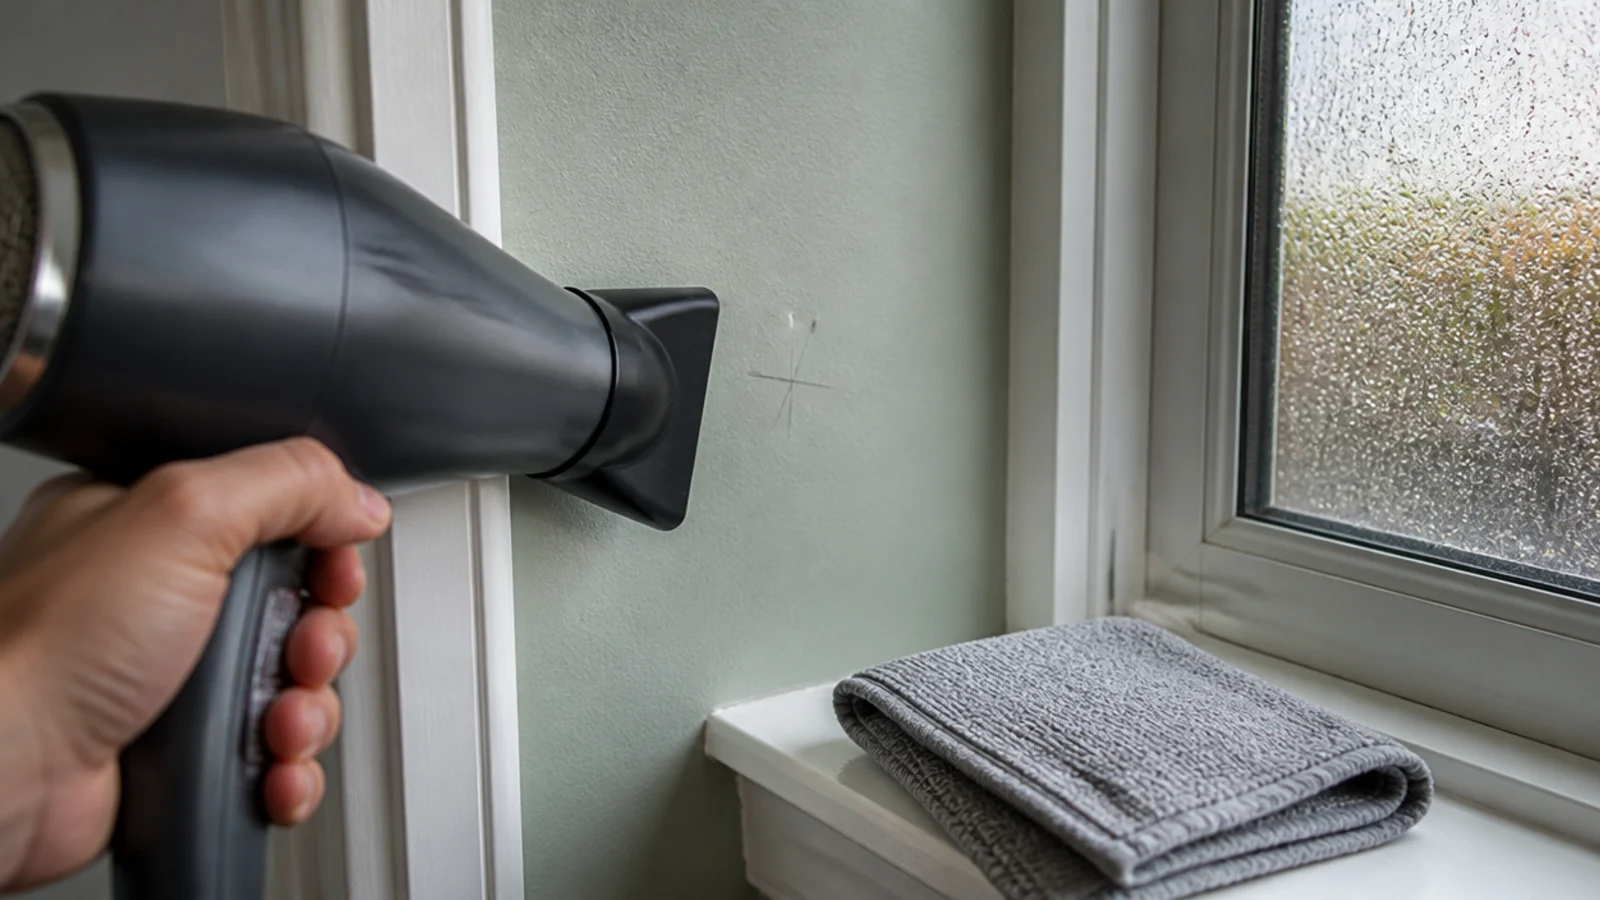
If the room is below about 60°F, warm each spot with a hairdryer on low for ten seconds. Cold walls are why clips drop overnight in January, and ten seconds of warm air fixes it completely.
Step 7: Mark the anchor points
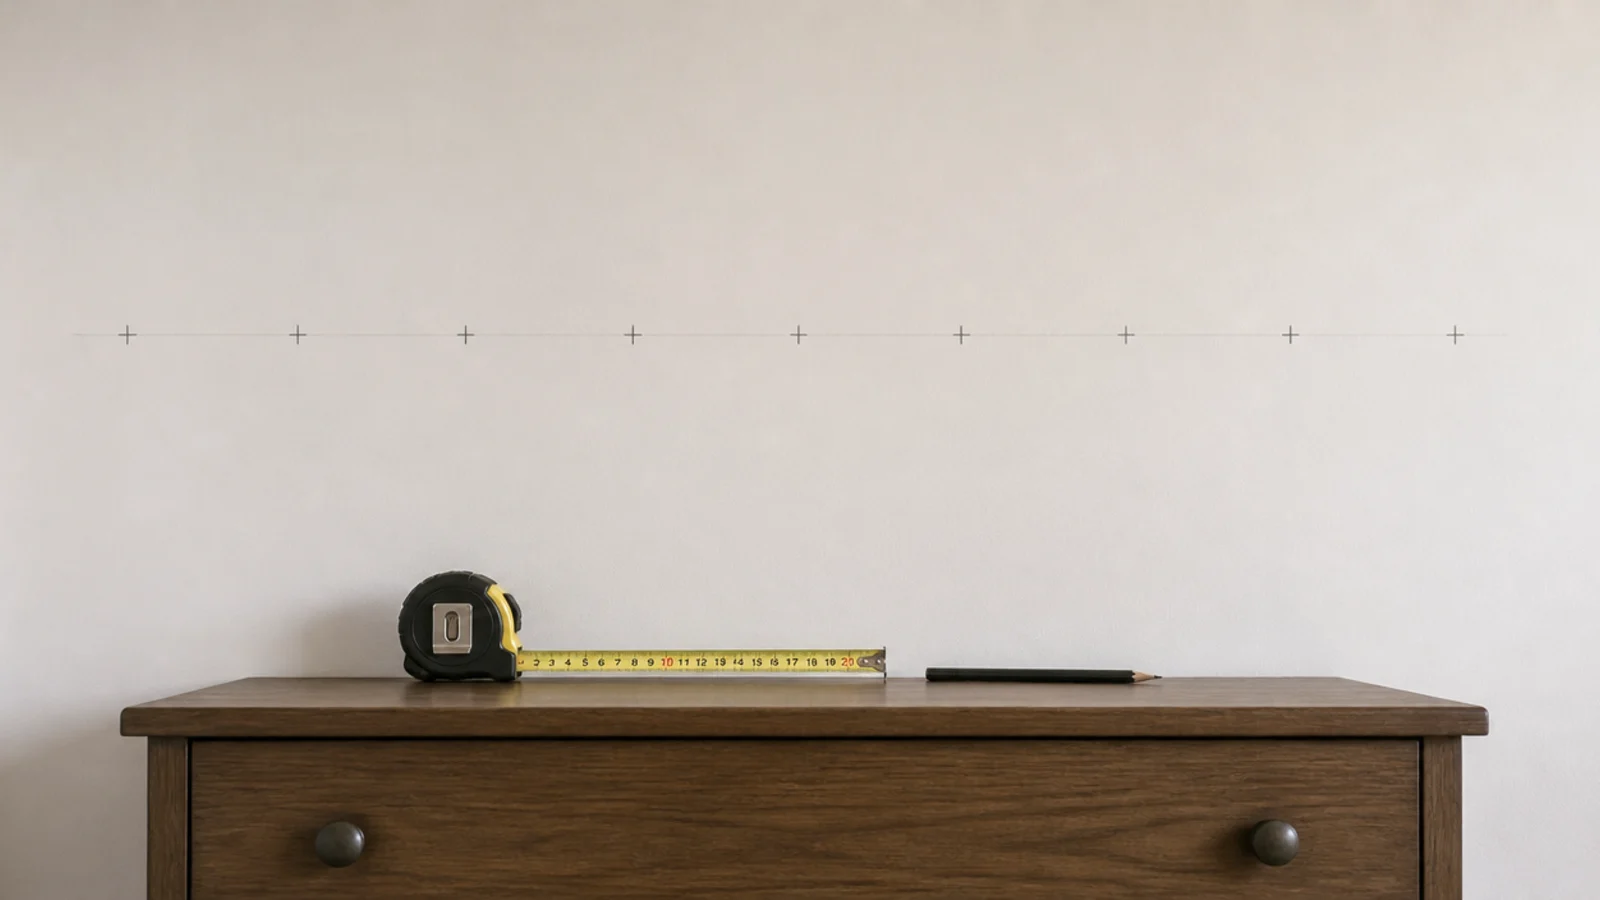
Mark every clip position in pencil before any adhesive touches the wall. On a straight run, check the line with a level or a phone app; on a curve, describe the shape in painter tape first and live with it for an evening.
Marking first means you place clips to a plan rather than adjusting as you go, and adjusting as you go is what leaves a row of small dents in the paint.
Step 8: Fix the end anchors first
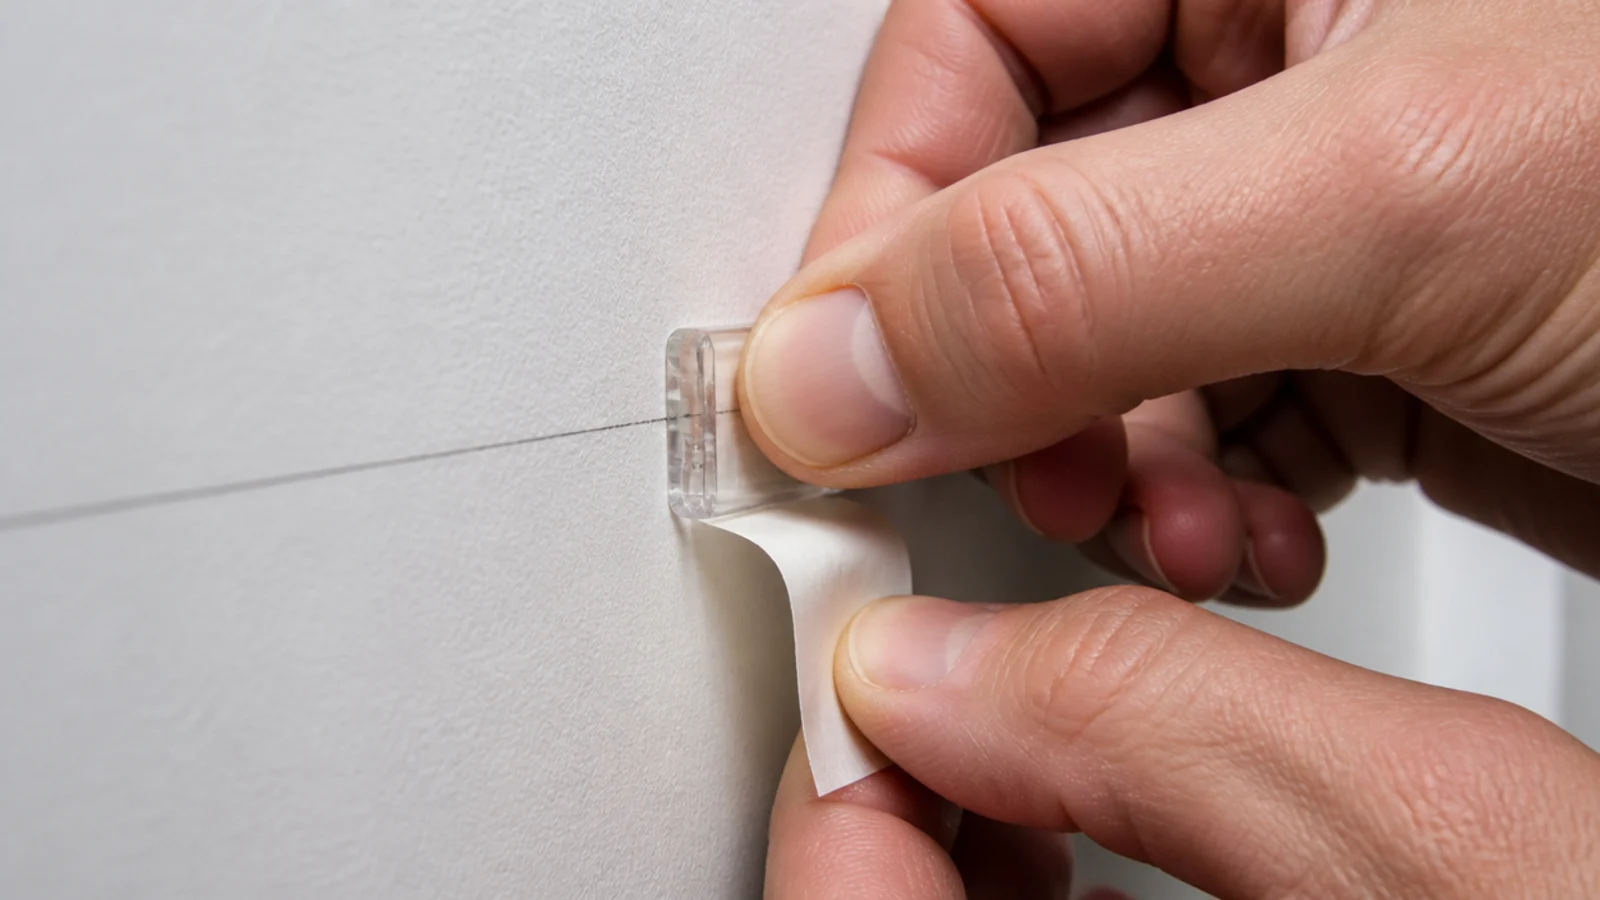
The two ends define the whole shape, so they go on before anything in between. Press each one firmly for a full 30 seconds, then leave it for an hour before it carries any load.
That hour matters more than any other number here. Most clip failures are impatience rather than weight, and an adhesive pad loaded straight away lets go on the first warm afternoon.
Step 9: Space the clips for the surface
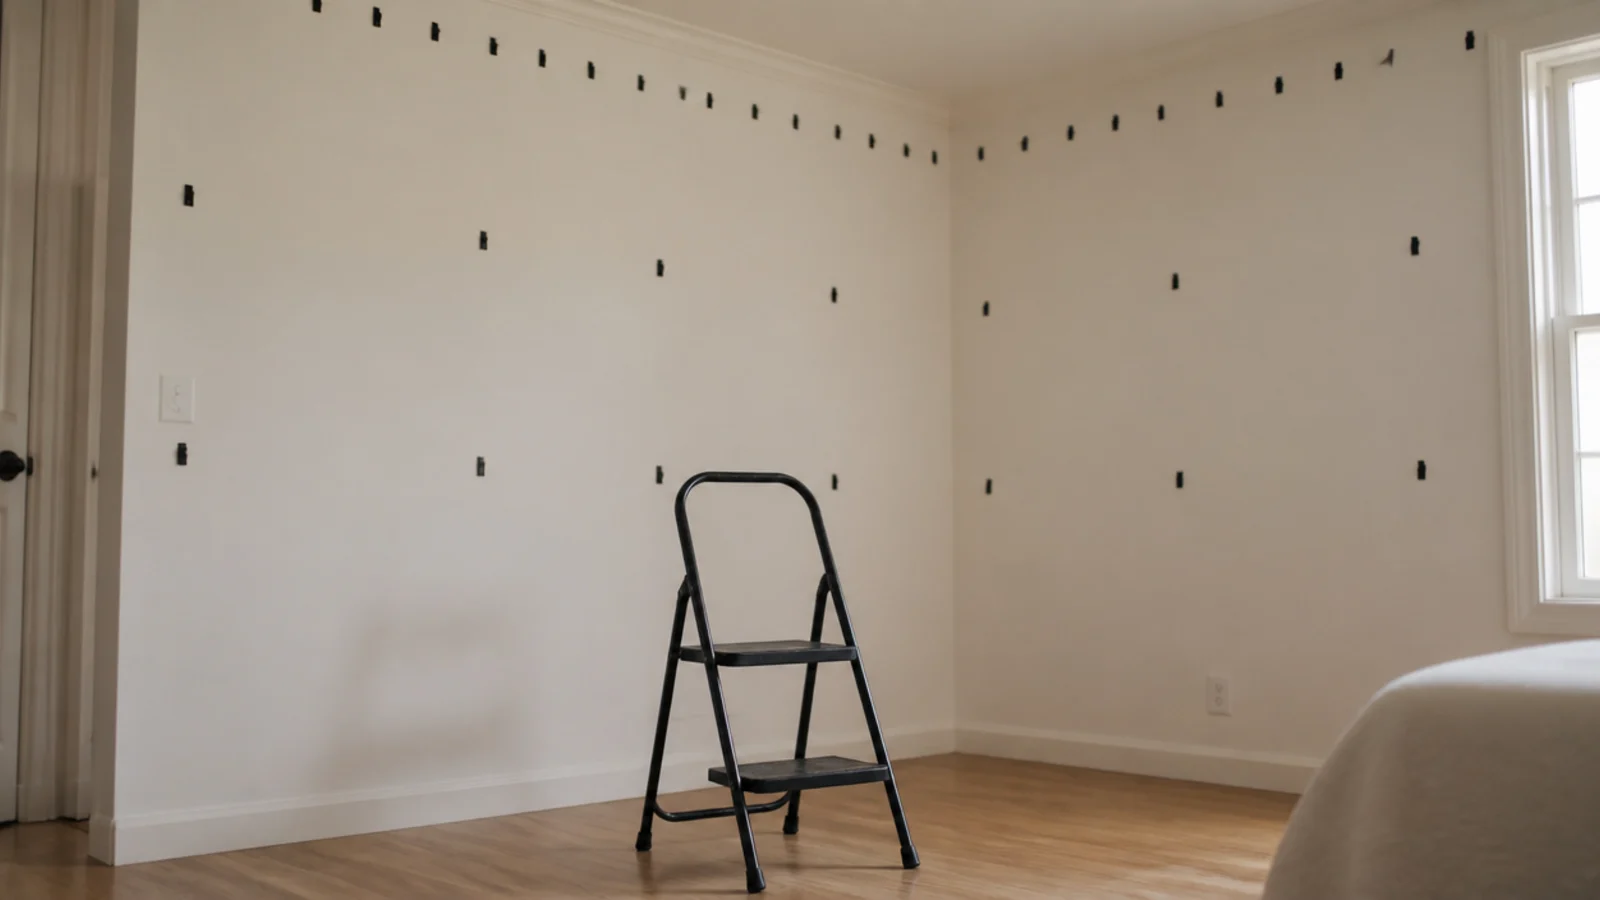
On a wall, every 12 to 16 inches. On a ceiling, every 10 to 12, because the adhesive is fighting gravity in a straight pull rather than a shear. A 10 foot wall run takes eight to ten clips; the same span overhead takes ten to twelve.
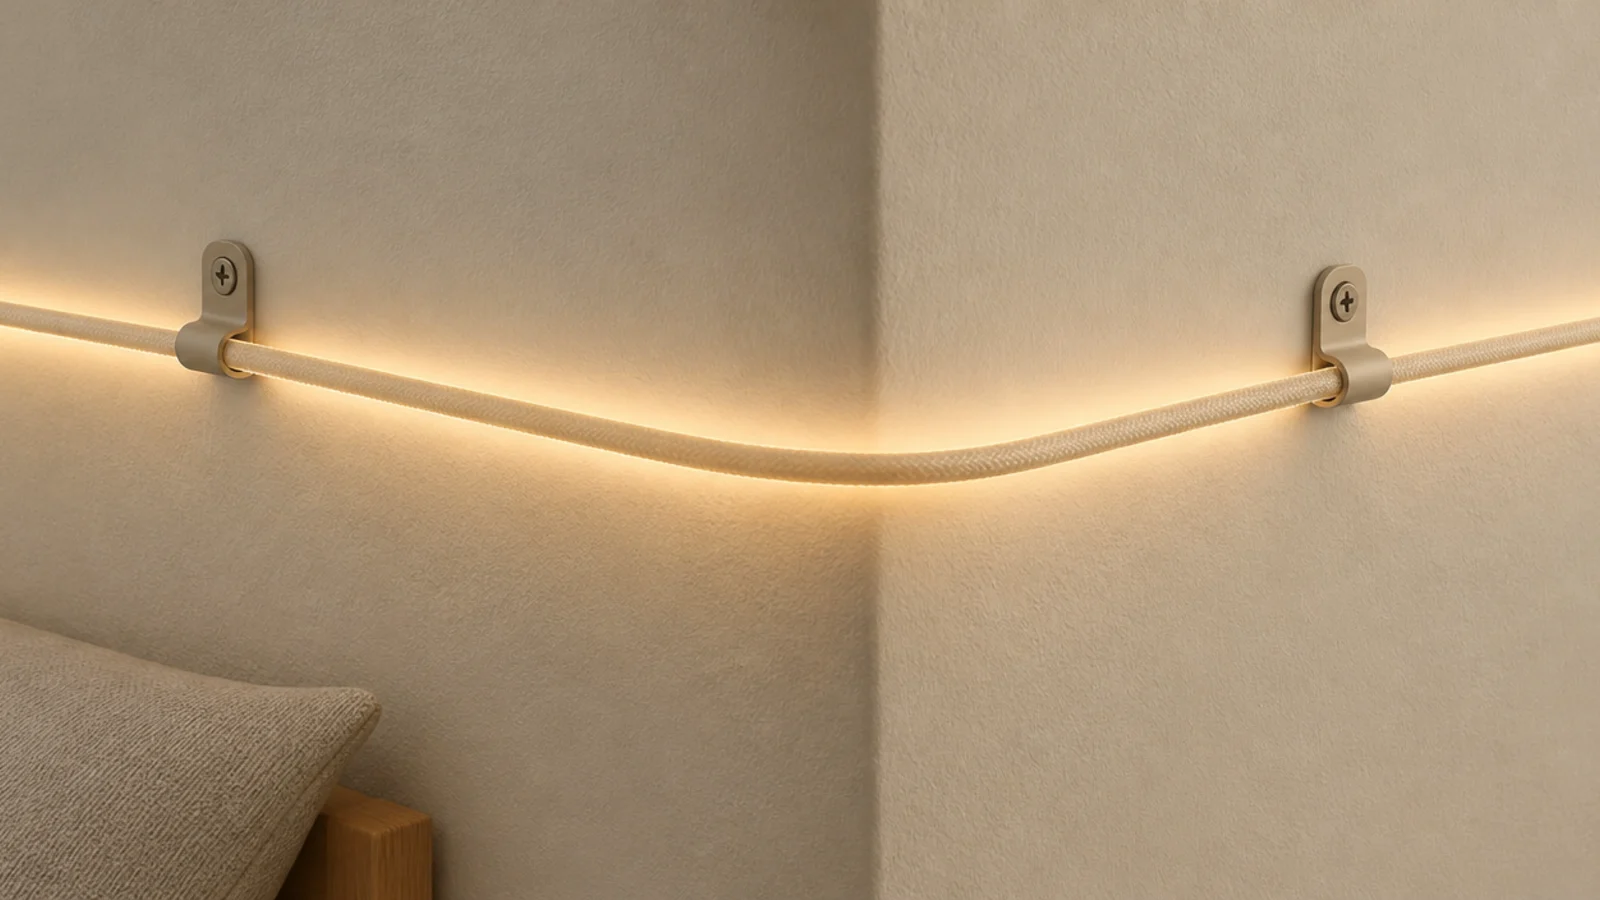
If you are working across two surfaces, place a clip 3 inches either side of the junction so the wire changes plane in a curve rather than over an edge.
Step 10: Seat the strand and set the slack
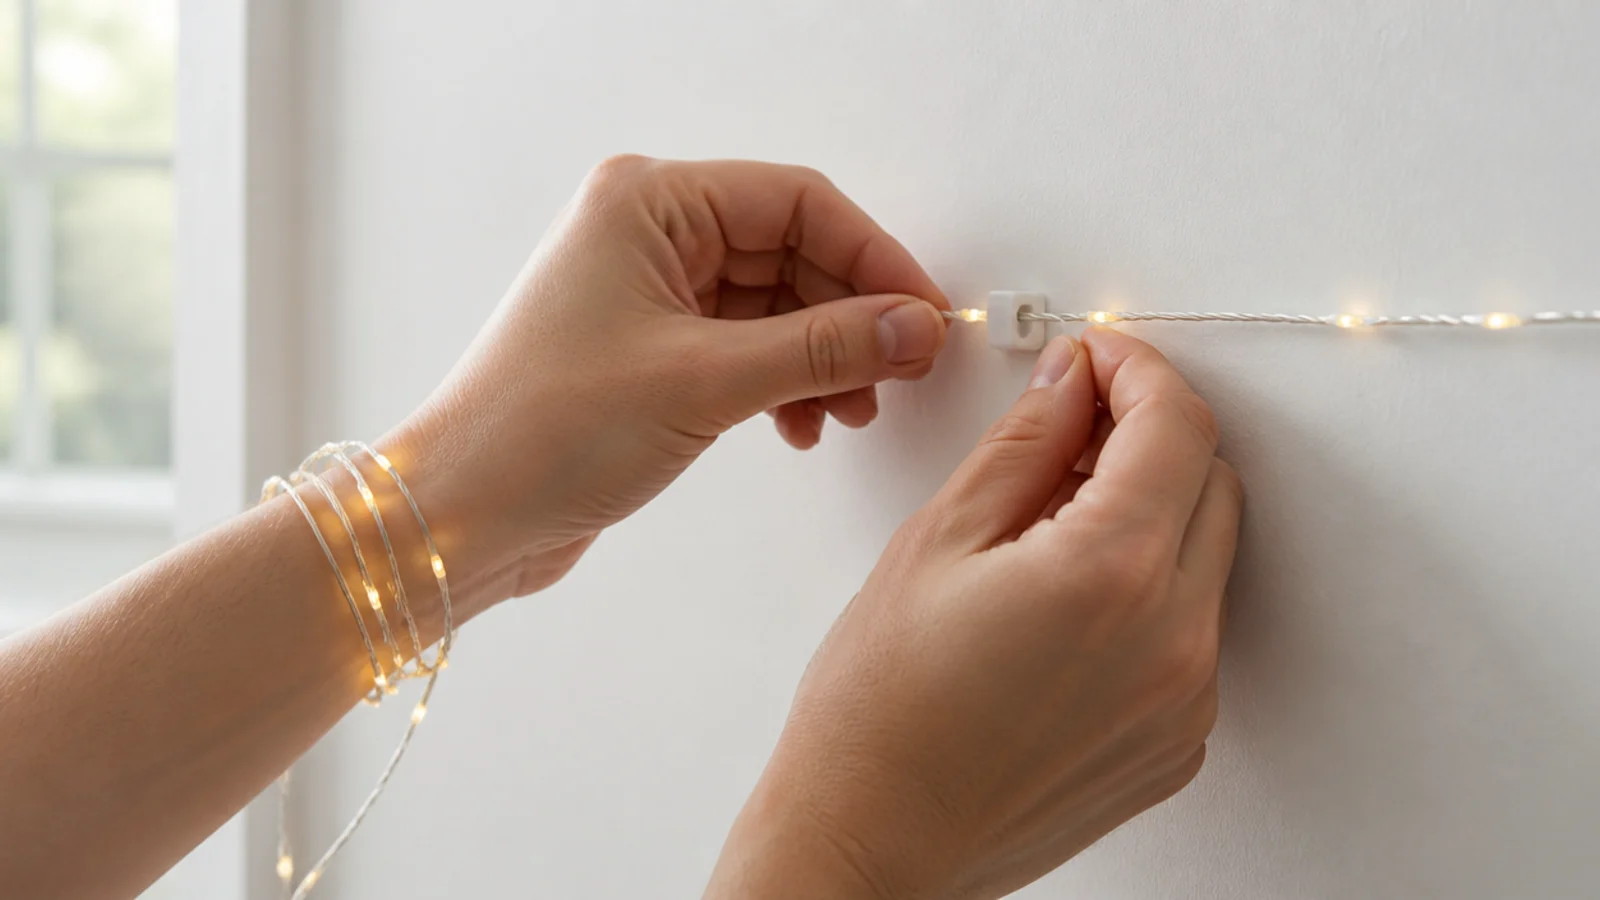
Work from one end to the other, seating the wire into each clip. Either pull it taut for a straight line or let every span dip by the same amount, around 6 inches every 3 feet.
Step back after every third clip. Consistency is what the eye reads: a deliberate deep curve looks designed, and a nearly straight line with two sags looks like a mistake nobody fixed.
Step 11: Turn corners without folding the wire
Put a clip 3 inches each side of an internal corner and leave slack between them so the cable curves around the angle. A hard crease at a corner concentrates strain on the fine conductors inside and is a common place for a strand to fail.
Same rule at a door frame, a picture rail return and any point where the run changes direction more than about 45 degrees.
Step 12: Cross a ceiling on a line
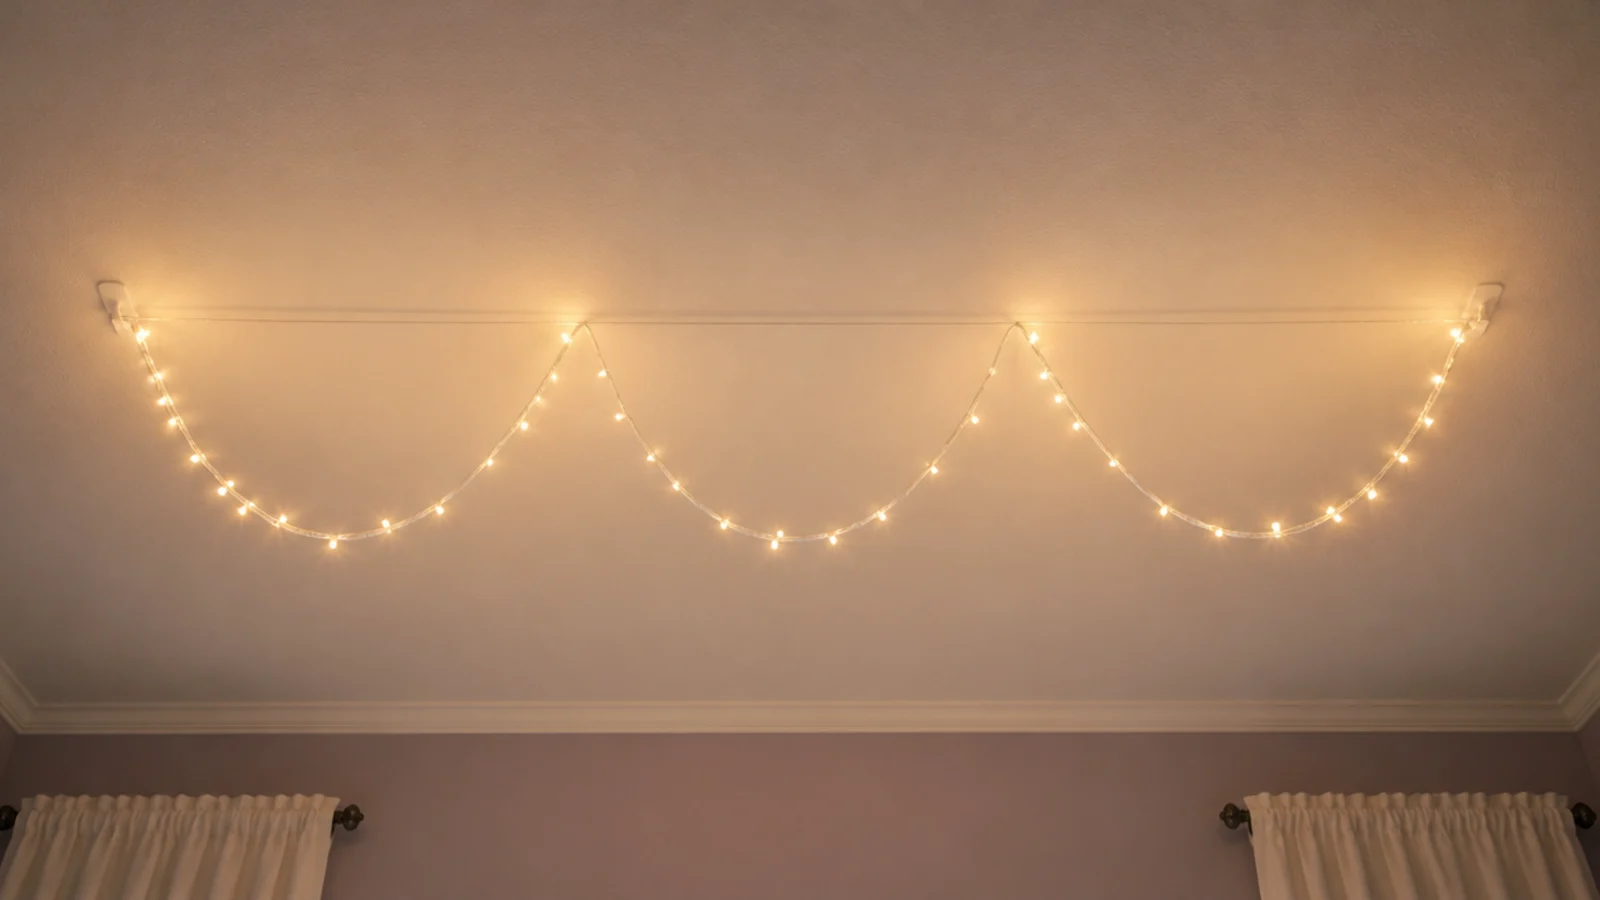
For a wall-to-wall run, string a clear nylon line between two adhesive hooks and hang the strand from the line in loops. The line takes the tension and the light wire carries only itself, which is the right division of labour.
A 12 foot span needs about 15 feet of strand to allow for the loops and the drop. Never load a ceiling hook for at least an hour, and use two per end if the run is long.
Step 13: Route and secure the cable
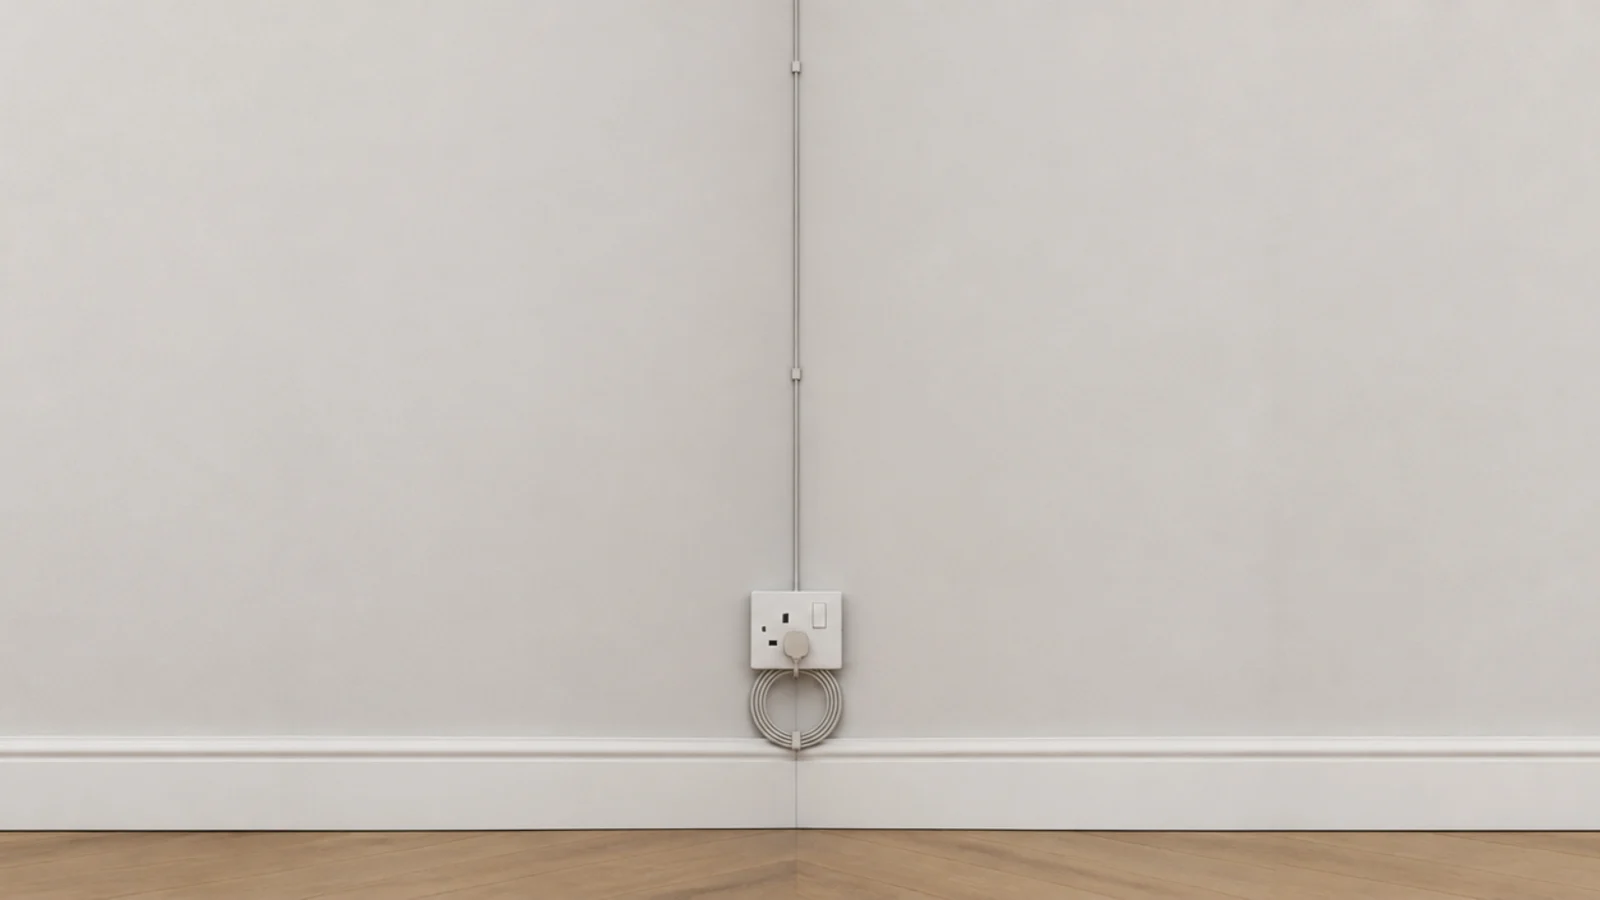
Bring the lead down in a single straight vertical, ideally inside a corner or behind a wardrobe edge, clipped every 12 inches. Leave 18 inches of slack near the plug so nothing is ever under tension at the socket.
The driver or battery pack sits in open air on a shelf or the floor, never under a pillow, inside bedding or behind a cushion. Nothing crosses a walkway and nothing goes beneath a rug, whatever the shortcut looks like.
Step 14: Fit a timer and label the plug
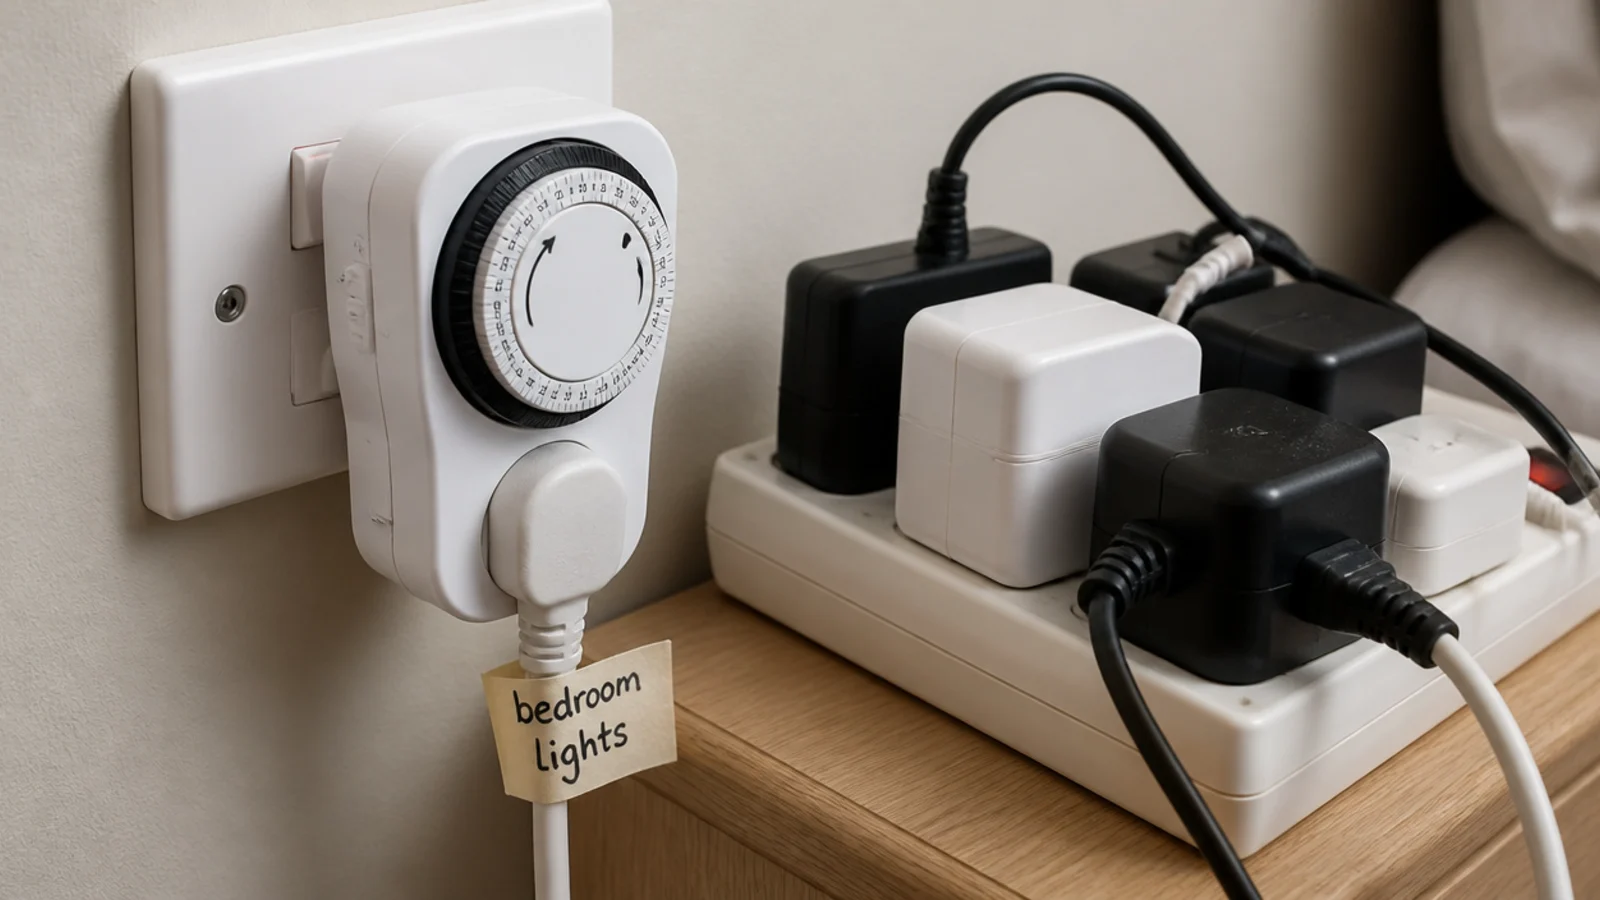
A $5 dial timer or a $12 smart plug on a six-hour schedule finishes the installation. Set it to come on at dusk and off at your usual bedtime, and every strand in the room goes on and off together.
Write what the plug feeds on a small label. In a room where four leads share one extension, that label saves you unplugging the wrong thing in the dark for the next two years.
Step 15: Plan the clean take-down
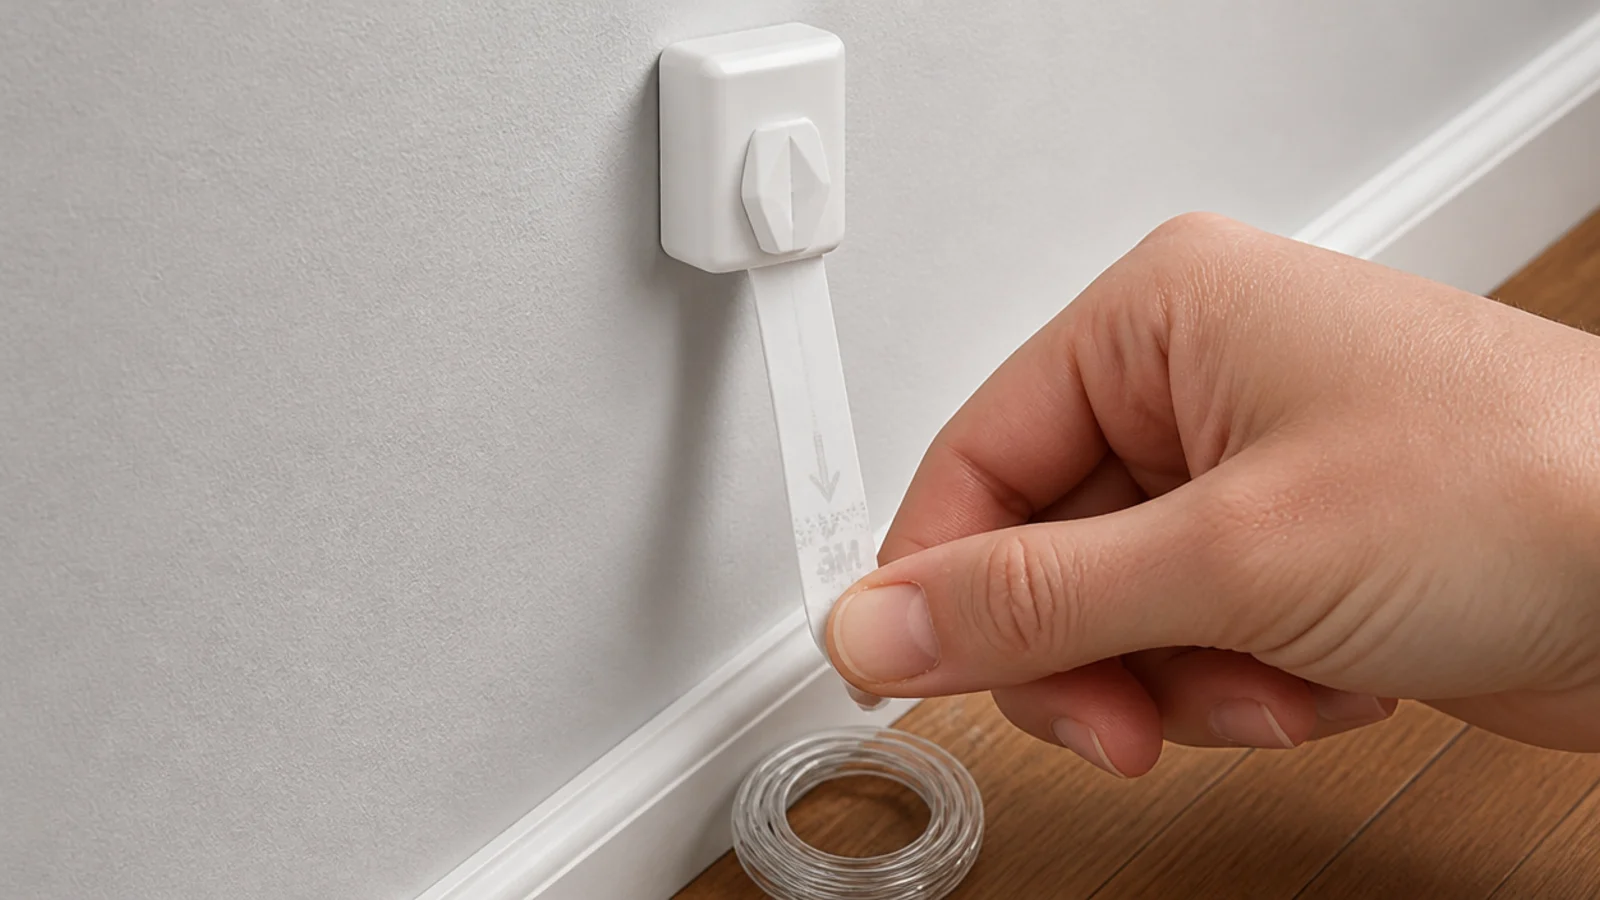
When it comes down, remove the strand from the clips first so nothing is under tension. Warm each clip with a hairdryer for about 20 seconds, then stretch the tab slowly straight down the wall, parallel to the surface.
Pulling outward is what takes a coin of paint with it. Any residue left behind lifts with a little isopropyl alcohol on a cloth. Keep six spare clips in the box, because you will lose two to a cold wall each winter.
Pro Styling Rules
For a full feature wall using this method, the wall styling steps cover layout and spacing, and ceiling layouts handle everything overhead. DIY headboard ideas has the slat build that hides a strand completely, and hanging lights in a bedroom covers proper fixtures on a rated ceiling box.
Mistakes to Skip
- Stapling or pinning through the cable. It pierces the insulation and the fault appears weeks later as a dead section you cannot trace behind a fixing.
- Skipping the 24 hour clip test on unfamiliar paint. Twenty clips lifting twenty coins of emulsion is a deposit conversation you can avoid for the price of one clip.
- Loading a clip the moment it is stuck. Thirty seconds of pressure and a full hour of cure, every time, on every surface including ceilings.
- Chaining more sets than the tag allows to reach a far corner. Use a second strand on its own plug, or an extension along the skirting, not a longer chain.
Frequently asked questions
What is the best way to hang fairy lights in a bedroom?
Adhesive cable clips rated around half a pound, spaced every 12 to 16 inches on a wall and 10 to 12 inches on a ceiling. A 33 foot copper wire strand weighs about 3.5 ounces, so adhesion rather than weight is the limit. Fix both end points first, then space the clips between them.
Can you hang fairy lights on any wall surface?
Not equally well. Sealed emulsion, gloss and tile hold adhesive clips reliably. Flat builder-grade paint, fresh paint under four weeks old, textured plaster, and wallpaper are all unreliable, and wallpaper often lifts at the seam. Test one clip in a hidden spot for 24 hours before you commit to a whole run.
How do you hang fairy lights on the ceiling without drilling?
Small clear adhesive ceiling hooks every 10 to 12 inches, or two hooks and a taut clear nylon line with the strand hanging from the line. Ceiling adhesive works against gravity constantly, so use more fixings than you would on a wall and never load one for a full hour after pressing it.
Is it safe to staple fairy lights to a wall?
No. A staple or drawing pin through a cable pierces the insulation and creates a fault that usually shows up weeks later as a dead section or a warm spot behind the fixing. Use clips that hold the outside of the sheath instead — they cost about ten cents each and cause no damage.
How do I remove fairy light clips without pulling off paint?
Take the strand off the clips first so nothing is under tension, warm each clip with a hairdryer on low for about 20 seconds, then stretch the tab slowly straight down the wall rather than pulling outward. Any adhesive residue left behind wipes off with a little isopropyl alcohol on a cloth.
Want more like this? Browse all 15 fairy lights bedroom guides — they all use the same measurements and budget tiers.
Pin it for later
Save this to your Fairy Lights Bedroom board
Pin it now so it is waiting for you when the tape measure comes out — and so the next person hunting for this idea can find it too.
Save this pinKeep going
More ideas worth saving while you have the tape measure out.