Fairy Lights Bedroom · Listicle
30 Simple Fairy Lights Bedroom Ideas For Renters

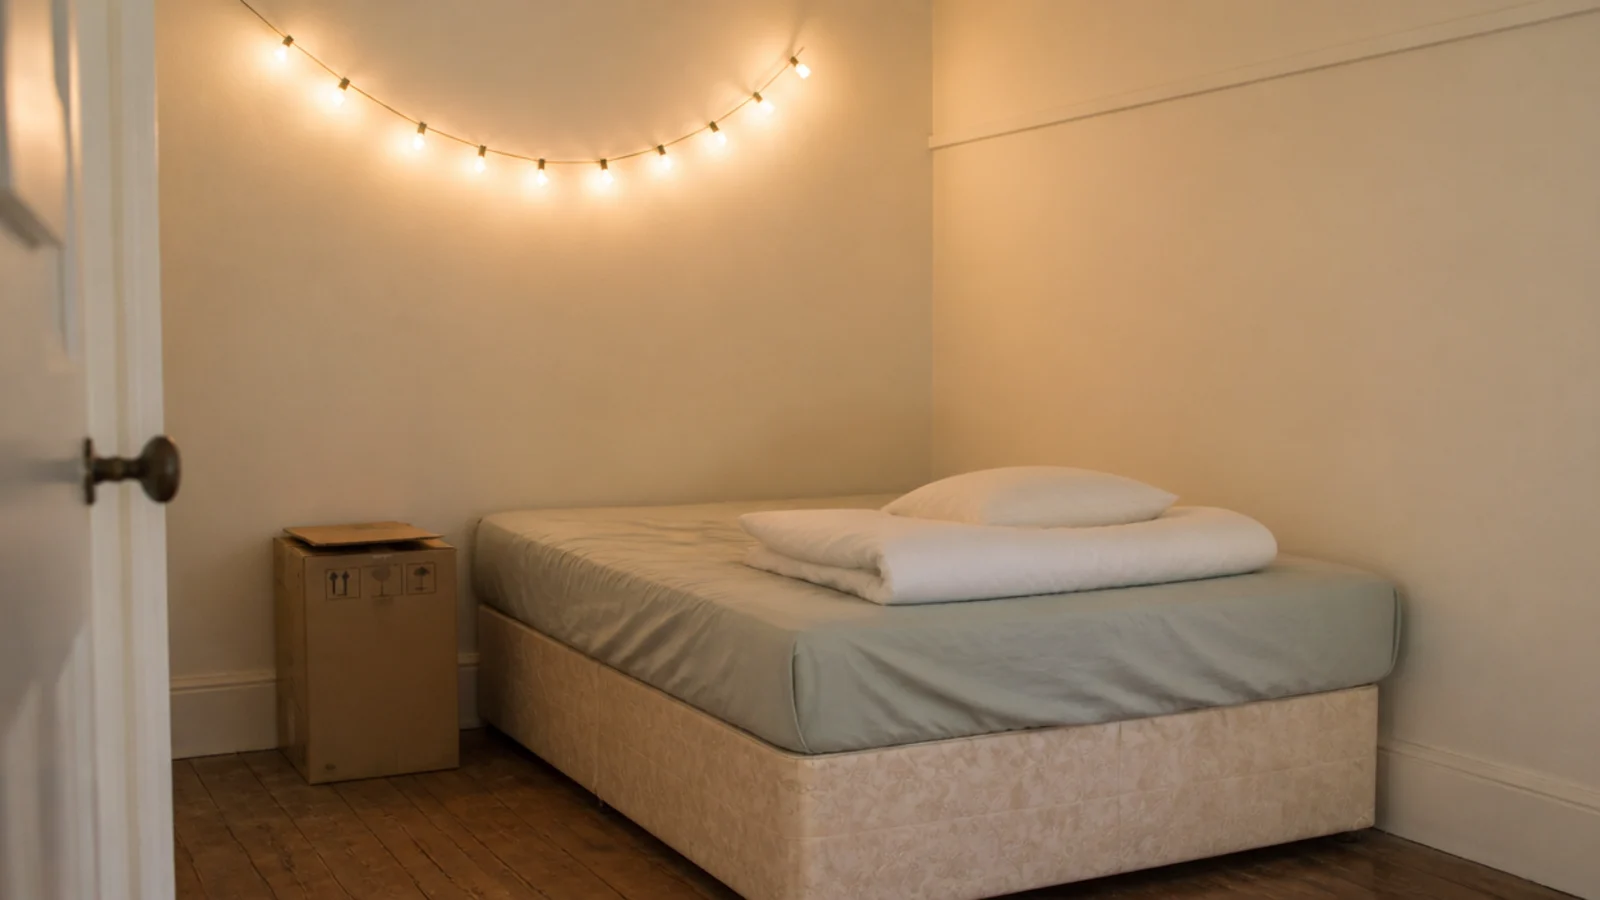
Renting turns lighting into a problem of fixings rather than taste. Simple fairy lights bedroom ideas have to go up in an evening, survive a year, and come off a wall without taking the paint with them. I have moved five times in eight years and the strand above my bed has come with me every time. Everything here uses clips, existing hooks, tension rods or gravity — no drill, no anchors, nothing that needs a deposit conversation later. Thirty setups, in rough order of how little effort they take.
In this guide32 sections — tap to openHide
- 1.What makes fairy lights bedroom ideas simple enough to rent with
- 2.The ten-minute headboard arc
- 3.Lay a strand along a shelf with no fixings
- 4.Drape over the curtain rod you already have
- 5.Hang from the picture hooks already in the wall
- 6.Use the curtain bracket, not the wall
- 7.A tension rod across an alcove
- 8.Coil a strand into a bowl on the dresser
- 9.Loop over the top of a door
- 10.Weight both ends with books
- 11.Along the window sill, not the frame
- 12.Wound around the headboard frame
- 13.Threaded through a clothes rail
- 14.Around a leaning floor mirror
- 15.Behind a bedroom desk monitor
- 16.Over a corkboard or pinboard
- 17.Cable-tied to the bed frame
- 18.Draped across a plant shelf
- 19.A micro strand in a bedside jar
- 20.A battery set with no cable run at all
- 21.USB lights from a power bank
- 22.Half-pound clips, not the smallest ones
- 23.Removable putty for micro wire only
- 24.Trial the layout in painter tape
- 25.Clip to a wire grid panel
- 26.Woven into a pegboard
- 27.Taped under the wardrobe shelf
- 28.Two hooks and a taut line
- 29.Around a stack of storage trunks
- 30.One timer for the whole room
- 31.Plan the take-down before you start
- 32.Mistakes to Skip
What makes fairy lights bedroom ideas simple enough to rent with
Three constraints and one habit. The first constraint is weight, and it is barely a constraint at all: a 33 foot copper wire strand weighs about 3.5 ounces, so a clip rated at half a pound has six times the margin it needs. Adhesion is the real question, not load.
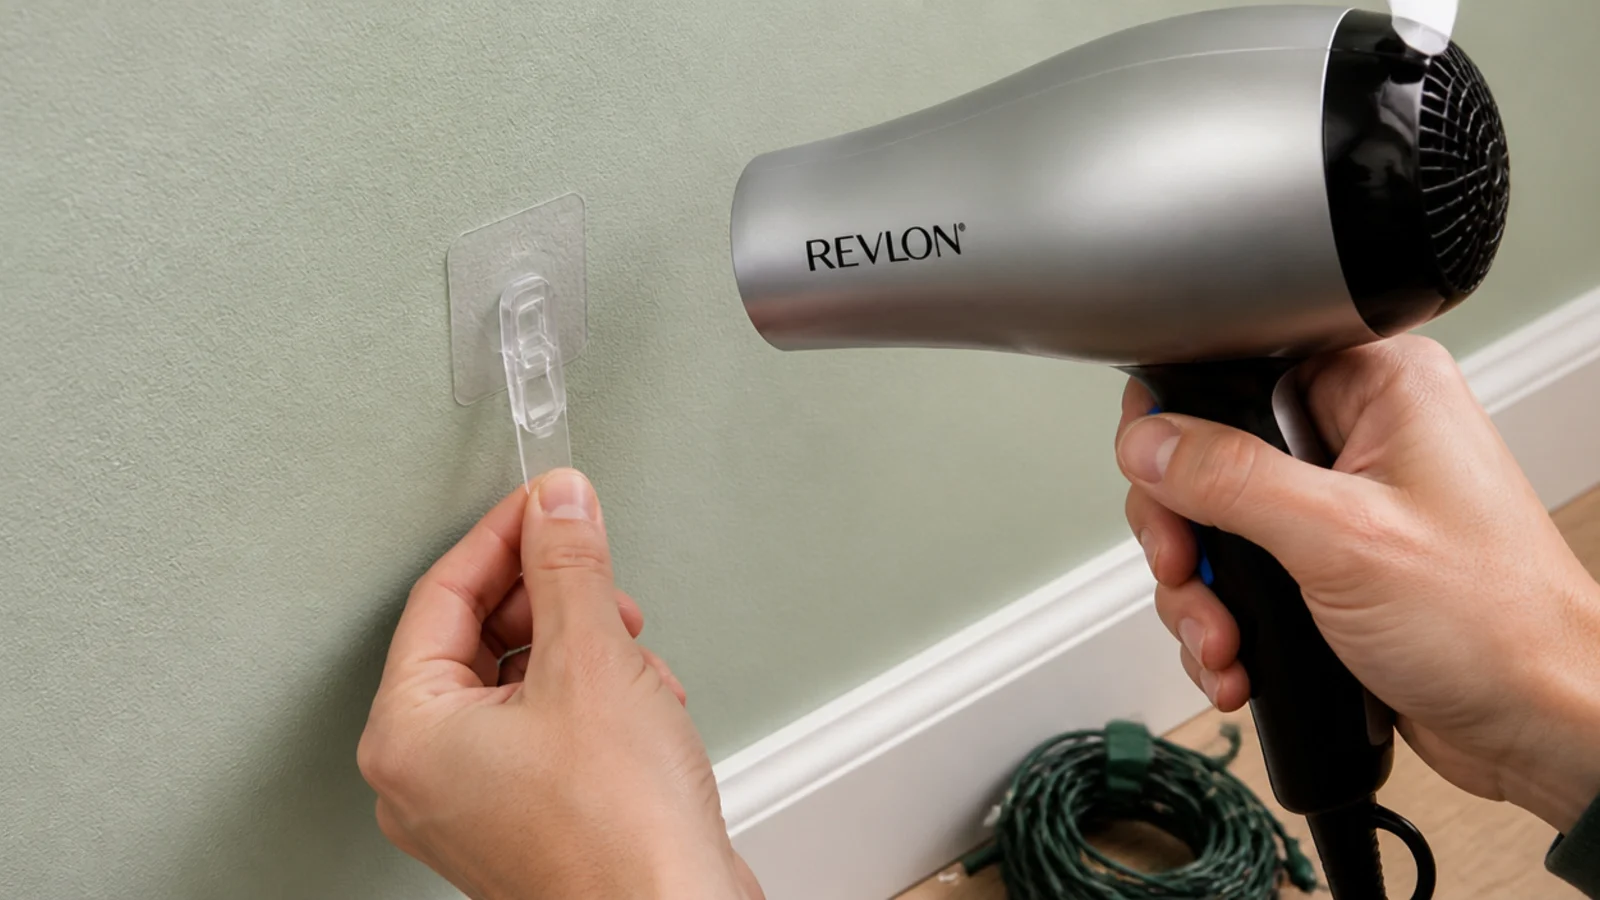
The second is the paint. Flat builder-grade emulsion is where adhesive clips fail, because the glue holds and the paint layer releases instead. Test one clip in a hidden corner for 24 hours before you commit to twenty. In a cold room, warm the spot with a hairdryer for ten seconds first — below about 60°F the adhesive never quite grabs.
The third is the power route. Measure back to the socket and add 18 inches of slack. Run the lead along the wall face or the skirting and clip it every 12 inches. Nothing goes under a rug, across a walkway, or inside bedding, because a cable under a rug has nowhere to shed heat and gets abraded by every footstep.
The habit is buying LED only. LED bulbs sit near body temperature where incandescent minis reach 60°C and up, which matters the moment a strand is near a curtain or a duvet. Keep the driver or battery pack in open air, never staple or pin through a cable, and stay inside the maximum number of sets the tag allows you to chain. For a fuller placement map, where to put them works through the room wall by wall.
1. The ten-minute headboard arc
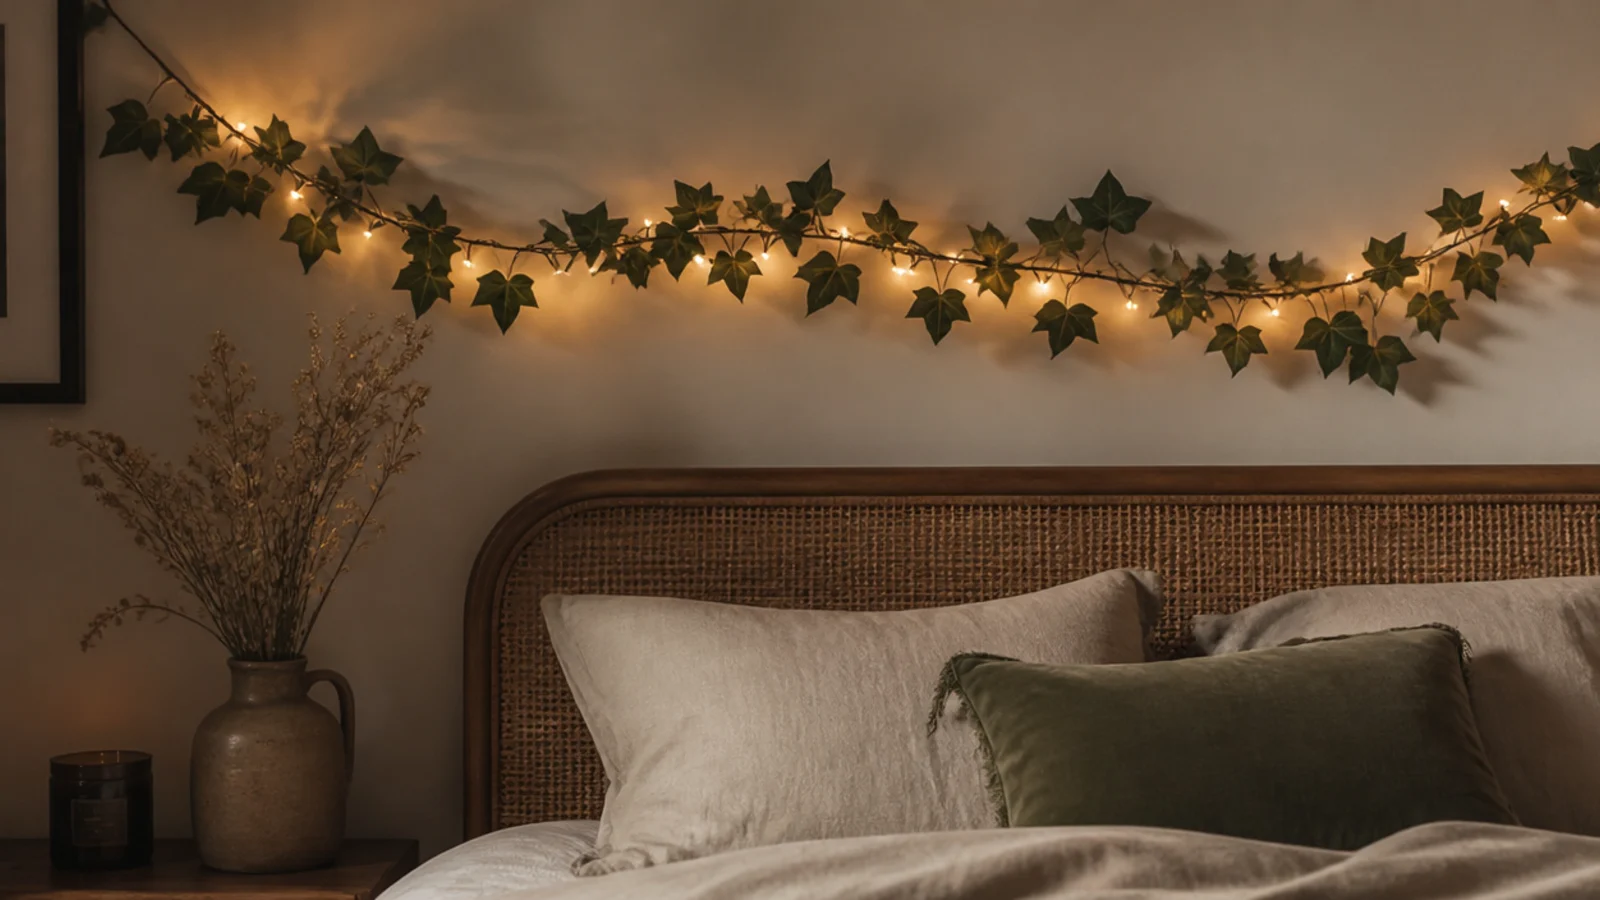
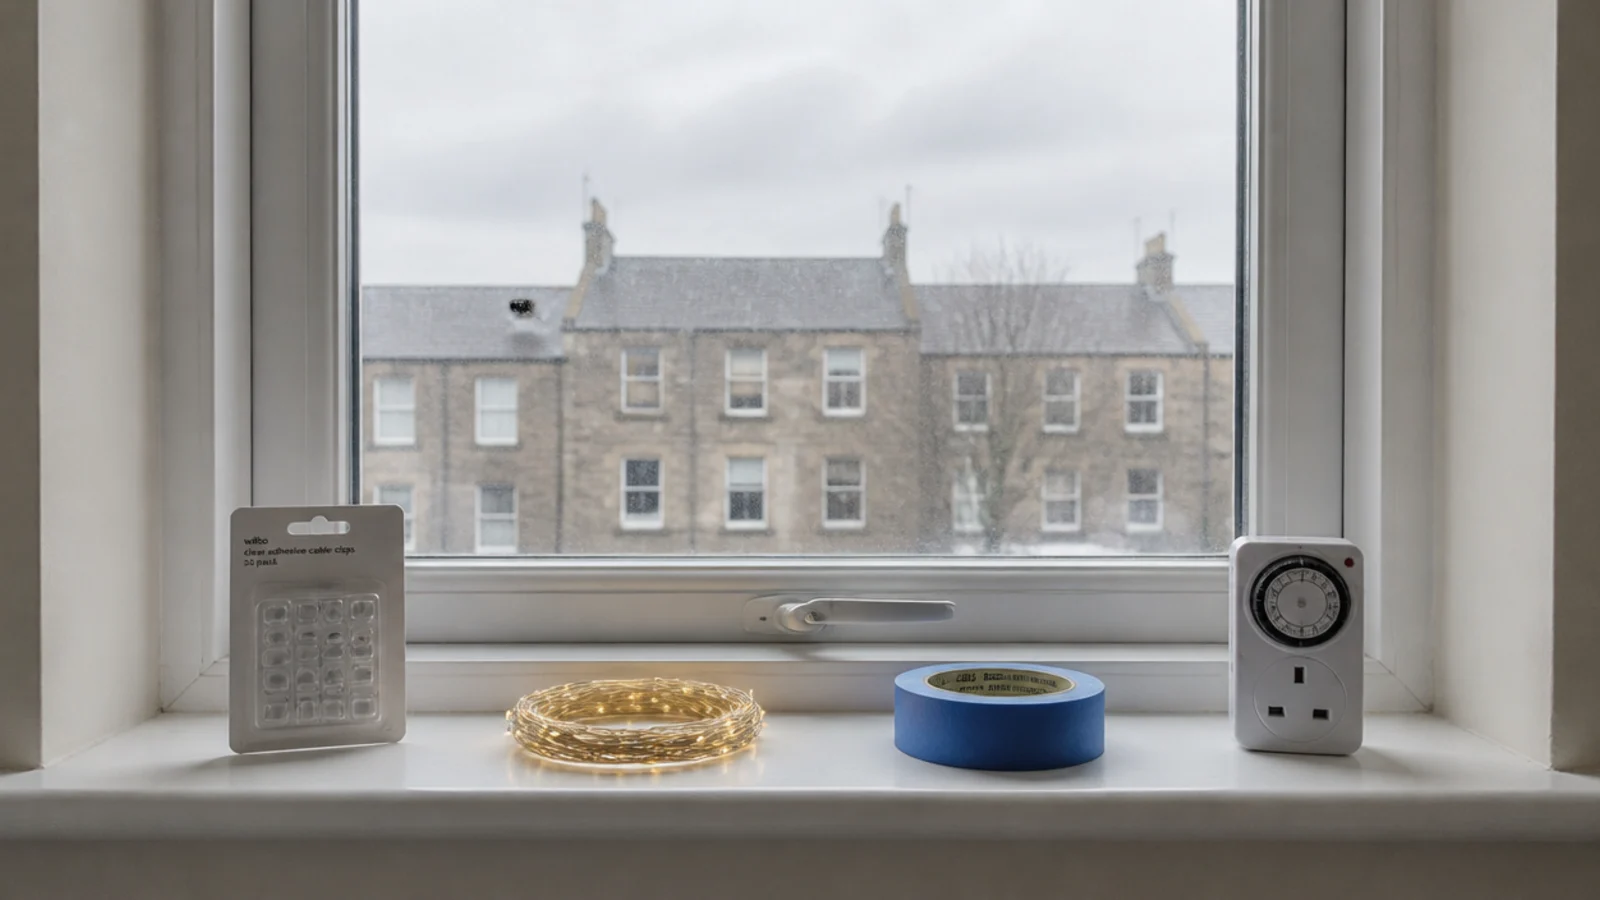
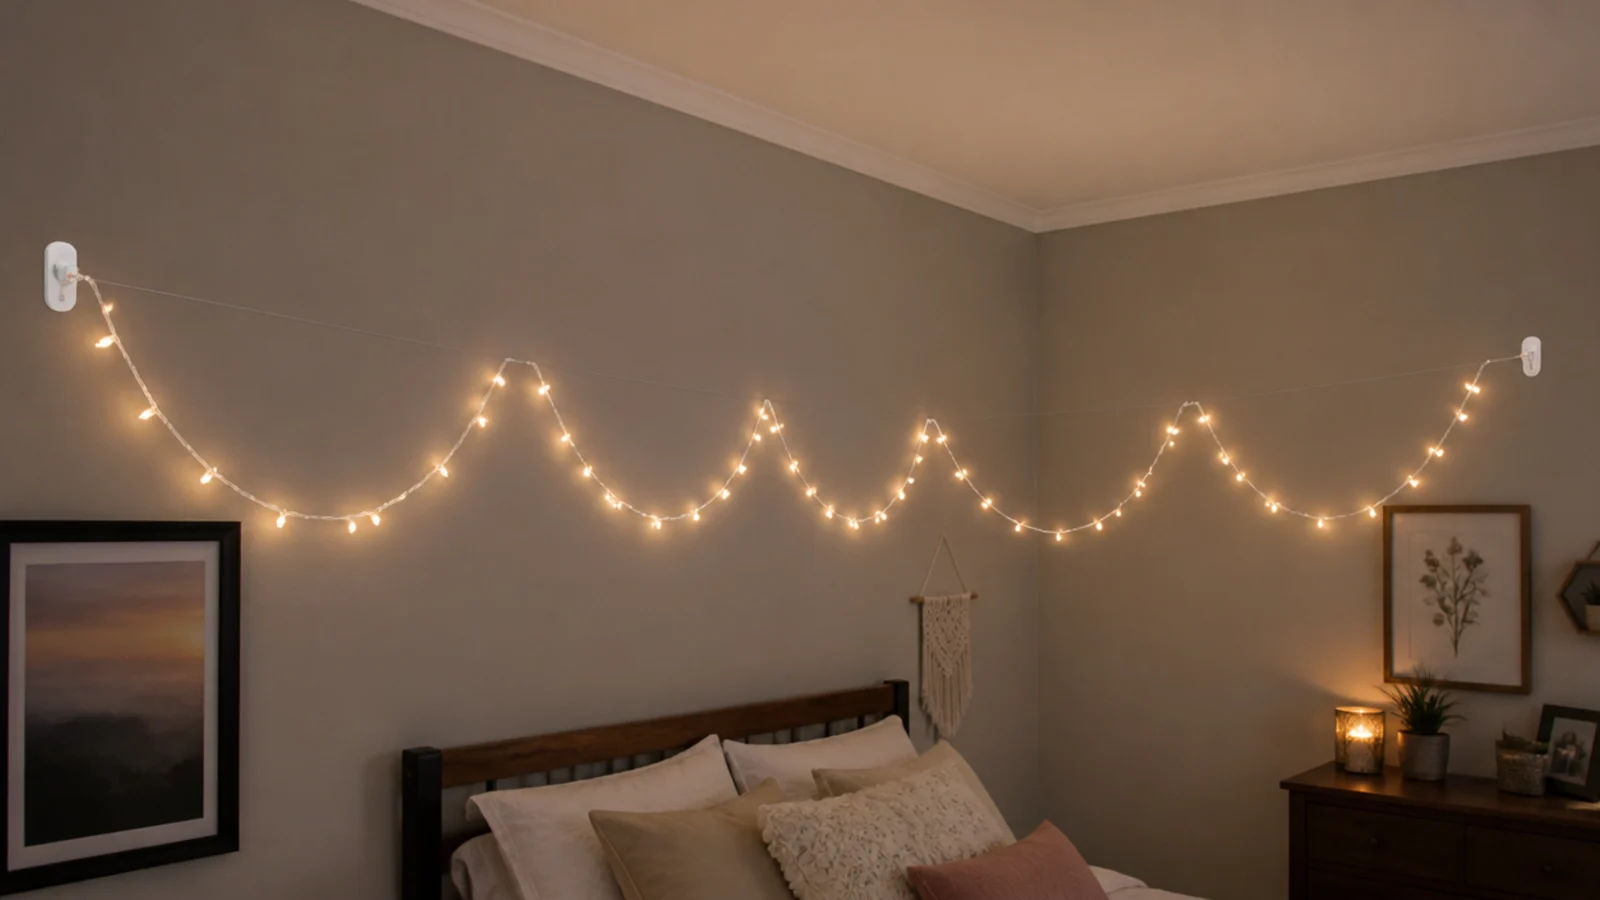
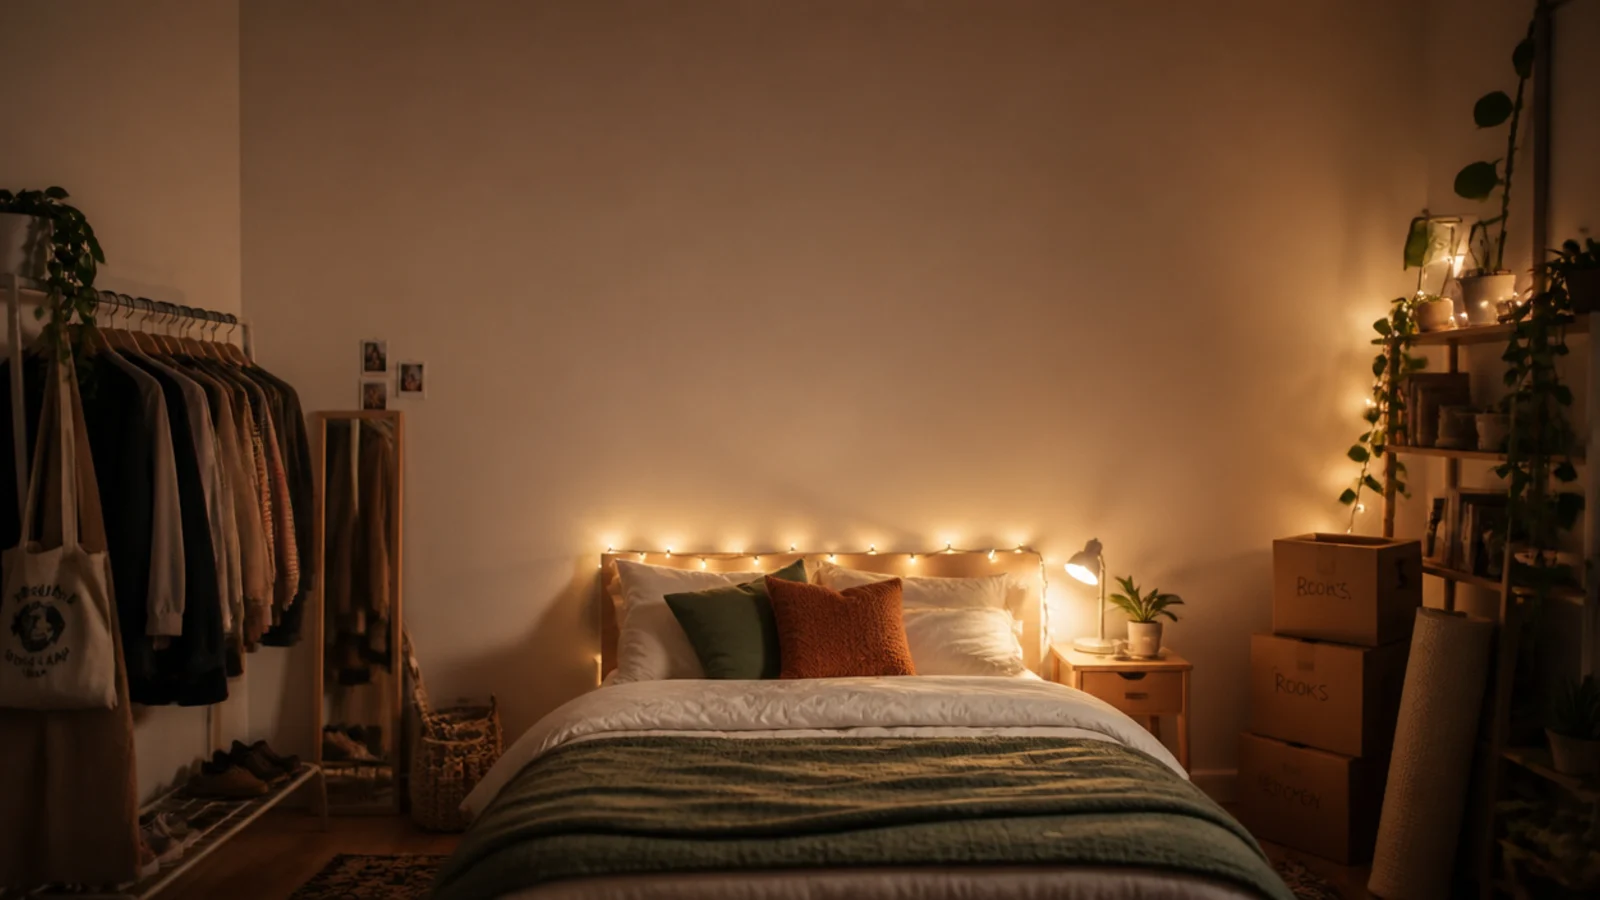
One 33 foot strand, three clips, a shallow curve 12 inches above the headboard. It costs $10 to $15 all in and it is above your eyeline while you are in bed. If you only ever do one thing from this list, do this one.
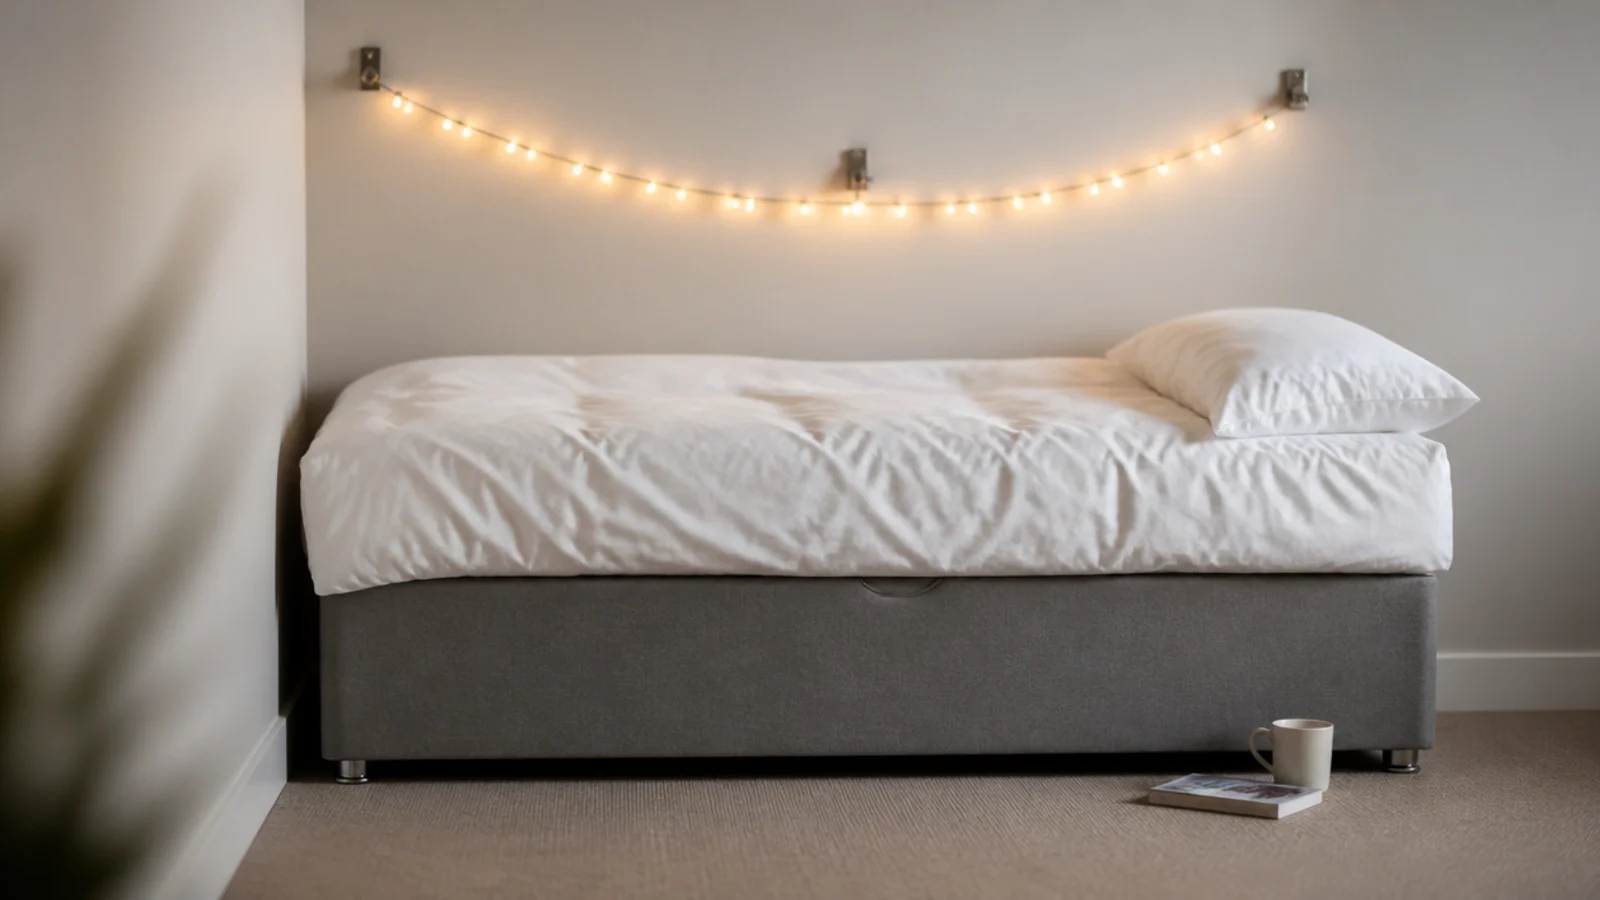
2. Lay a strand along a shelf with no fixings
A strand resting along the back edge of a shelf behind a row of objects needs nothing to hold it. The objects hide the wire, gravity holds the run, and the whole thing takes two minutes to undo when you move.
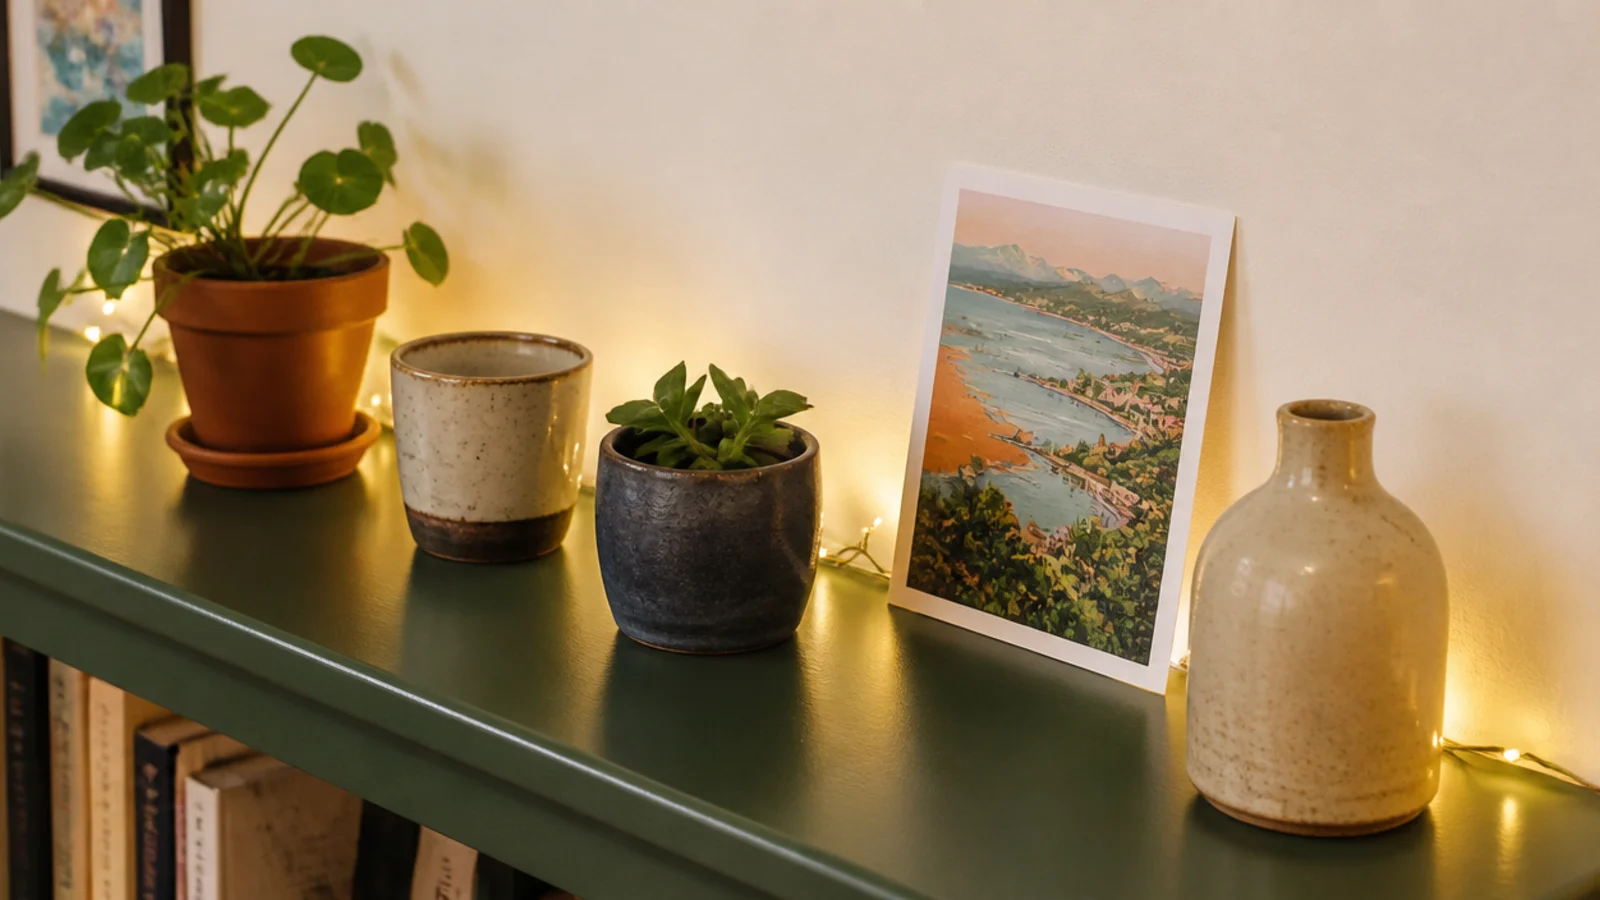
3. Drape over the curtain rod you already have
The rod is already fixed and already rated for the weight of curtains, which is far more than a light strand. Loop the strand over it at 8 to 10 inch intervals, and keep every bulb 3 inches clear of the fabric so the curtain can still move.
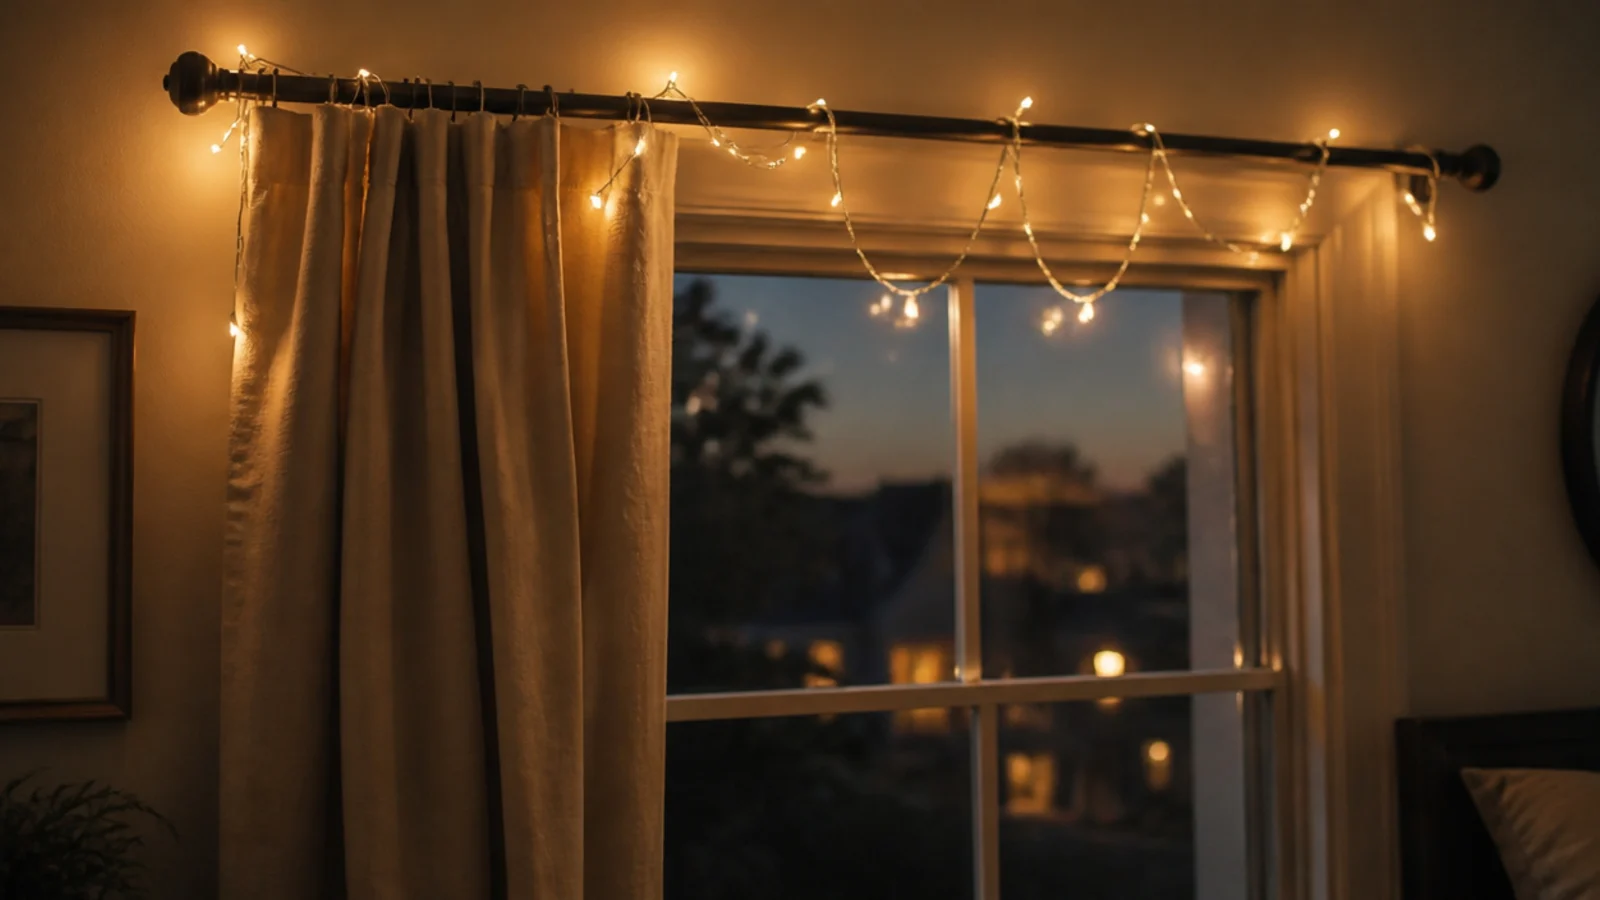
4. Hang from the picture hooks already in the wall
Most rentals come with hooks left in the plaster. They are free anchors that cost you nothing in deposit. A small loop of the strand over each one holds a run of any length, and you have added no holes of your own.
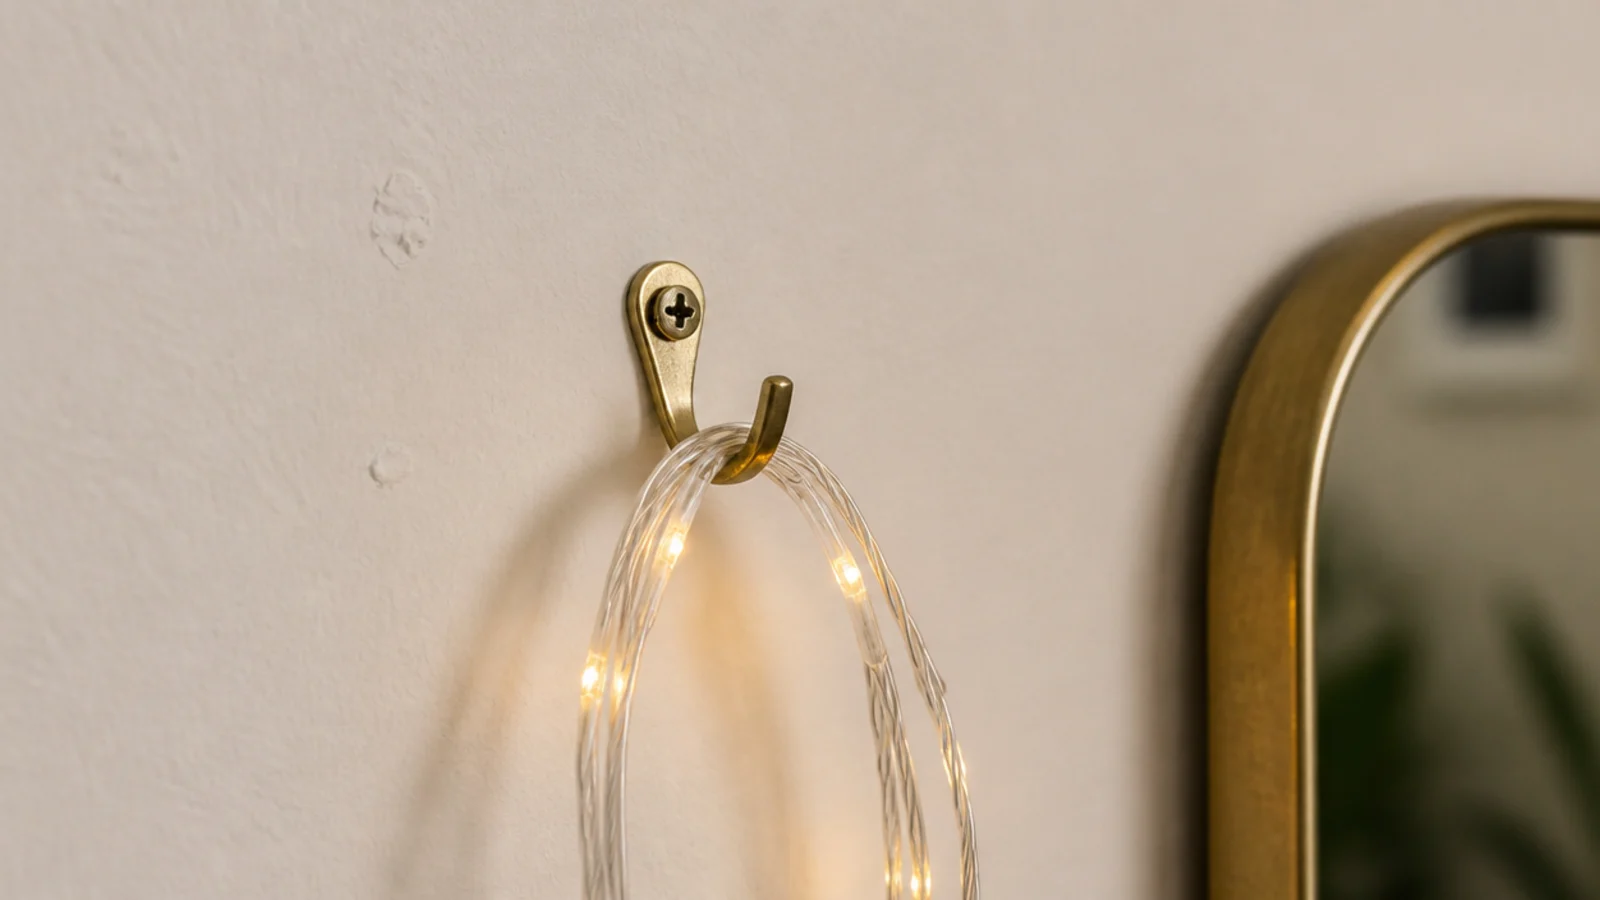
5. Use the curtain bracket, not the wall
A curtain pole bracket is screwed into something solid, which makes it the strongest fixing in most rented bedrooms. A single cable tie around it carries the end of a run with no adhesive involved and no risk to the paint at all.
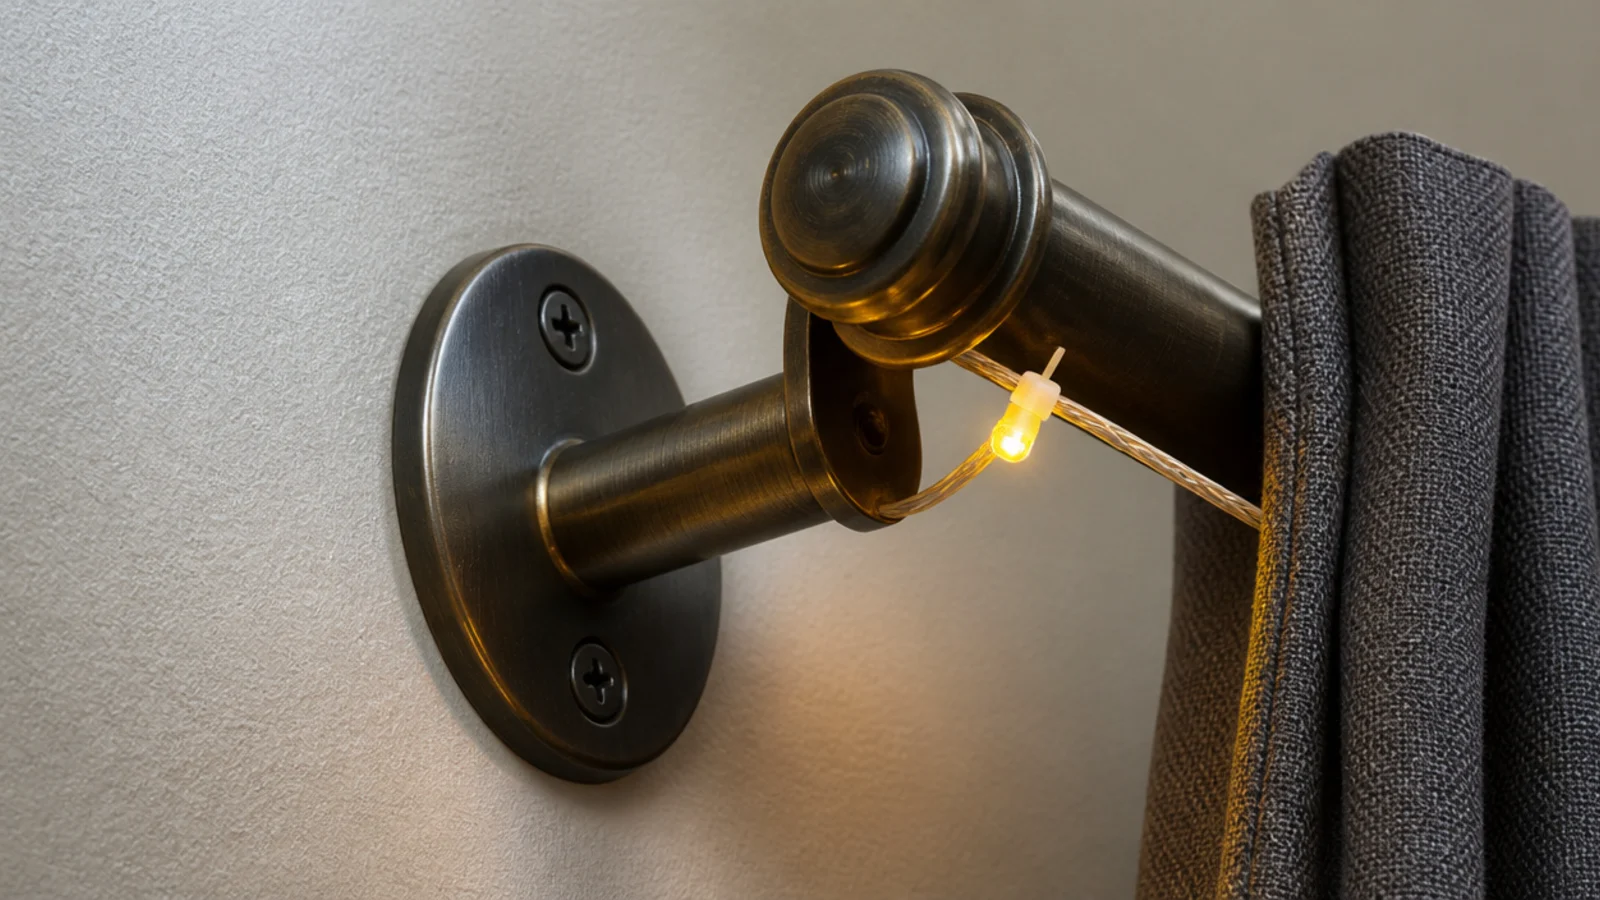
6. A tension rod across an alcove
A spring tension rod wedged between two alcove walls gives you a fixing line with zero holes. It carries several light drops easily. Check the rod is rated for a few pounds and set it high enough that nothing hangs into head height.
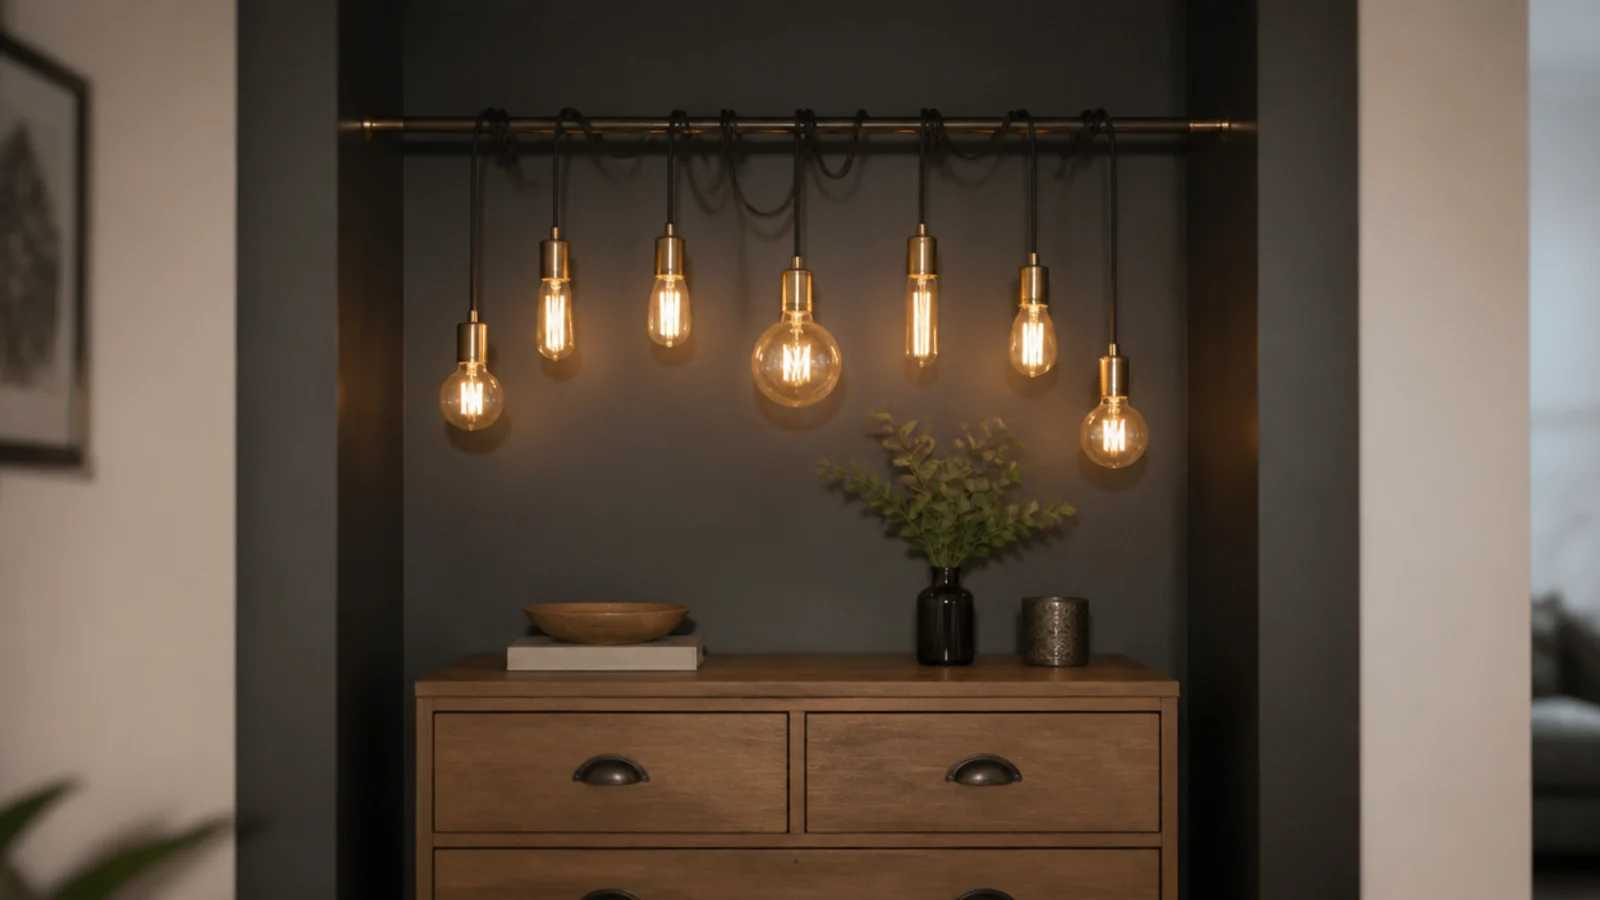
7. Coil a strand into a bowl on the dresser
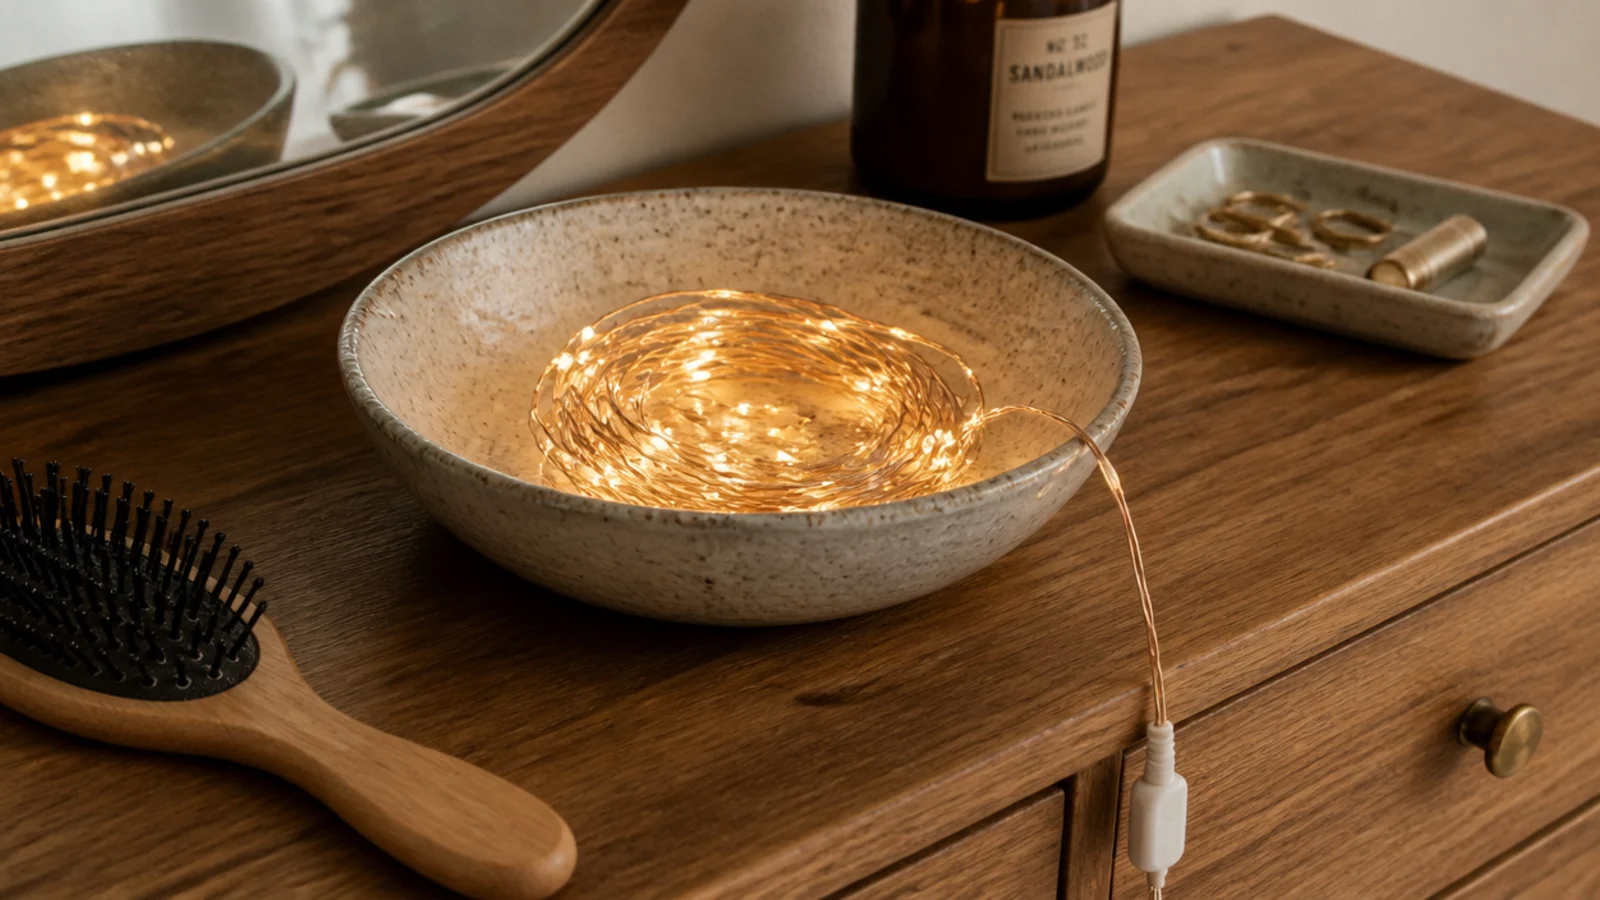
A loose coil in a shallow ceramic bowl reads as one soft light source rather than fifty bulbs. It needs no wall, no clip and no plan. Keep the coil loose rather than packed tight so air can move through it.
8. Loop over the top of a door
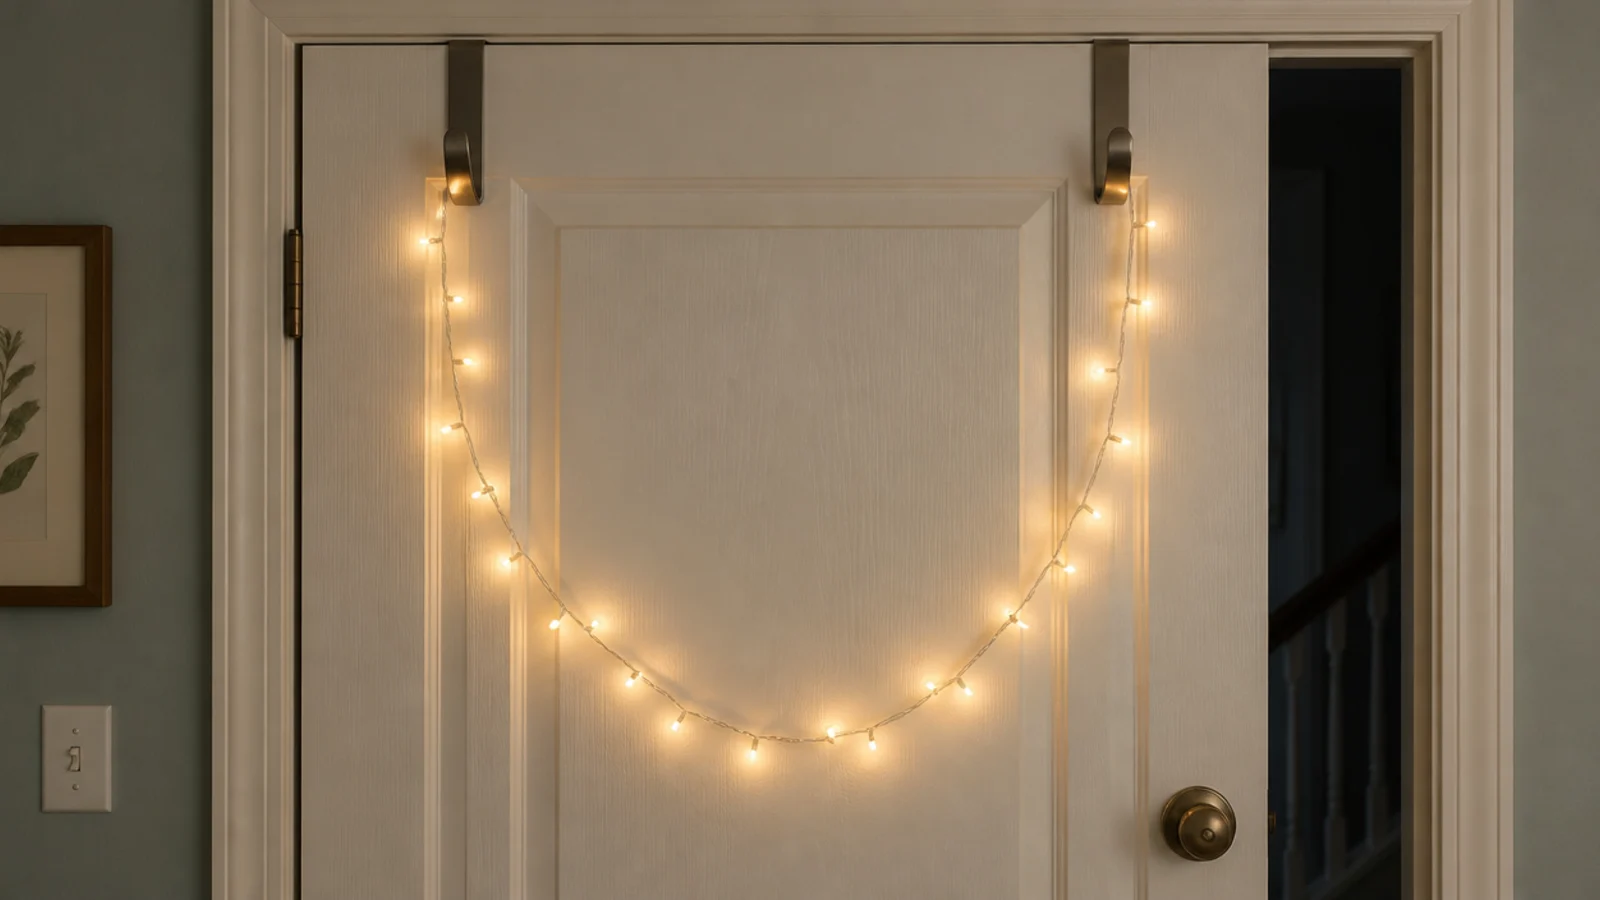
Two over-door hooks at about $4 a pair carry a strand down the face of a bedroom door. Choose the version with a felt pad so the hooks do not mark the paint, and keep the run clear of the closing edge.
9. Weight both ends with books
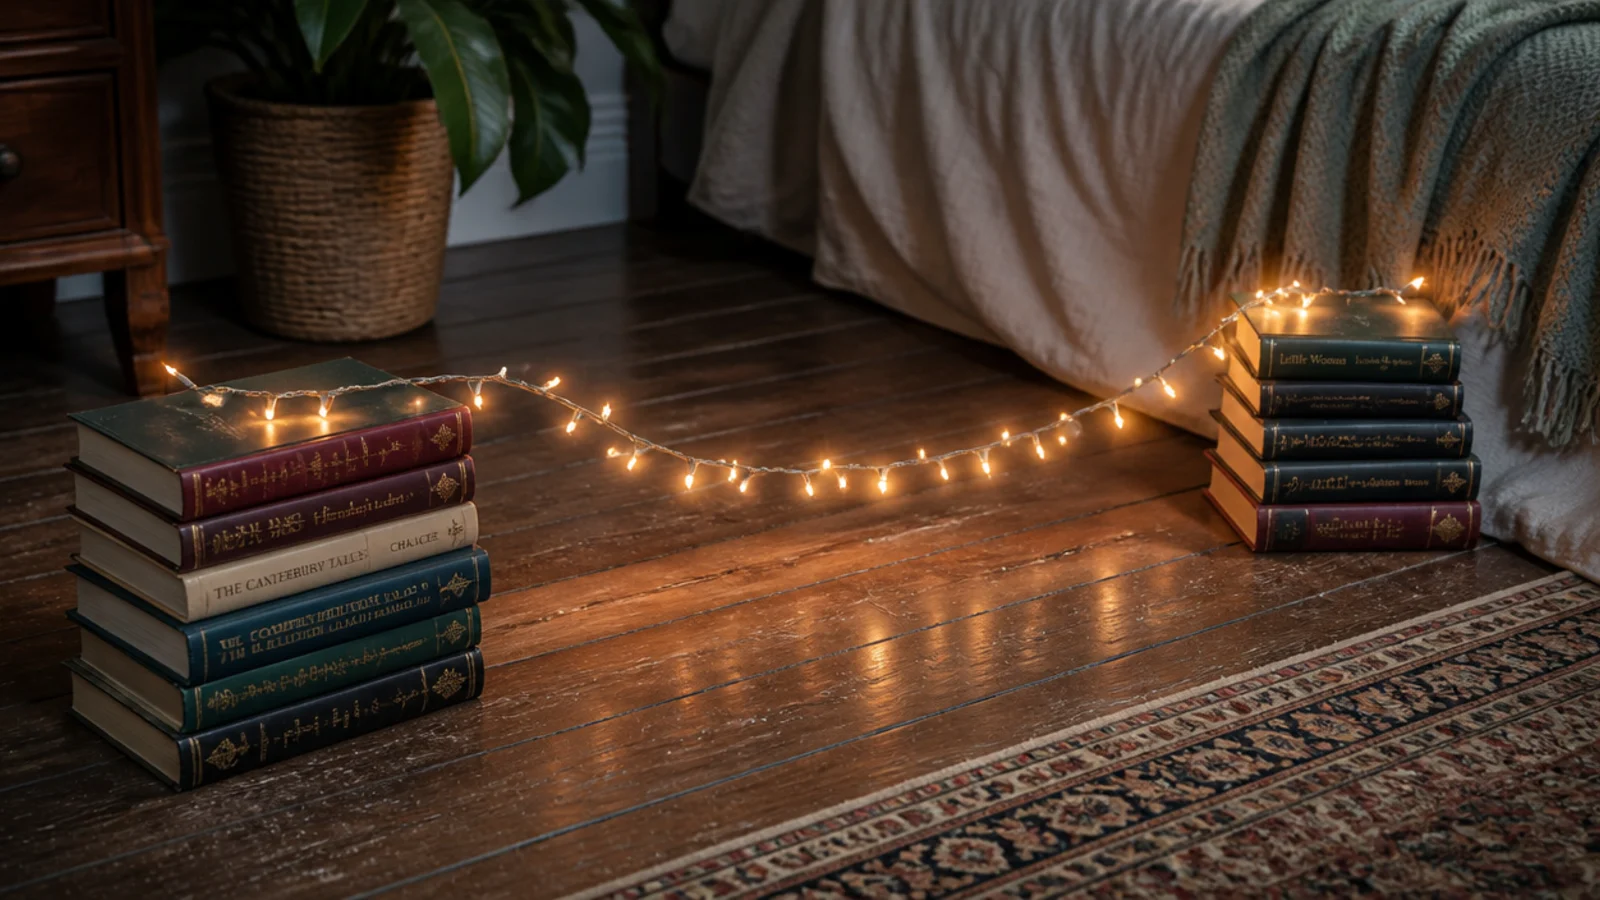
For a temporary run at floor or shelf level, two stacks of hardbacks anchor each end without any fixing at all. It sounds like a bodge and it works, particularly along the top of a low bookcase where nothing is under tension.
10. Along the window sill, not the frame
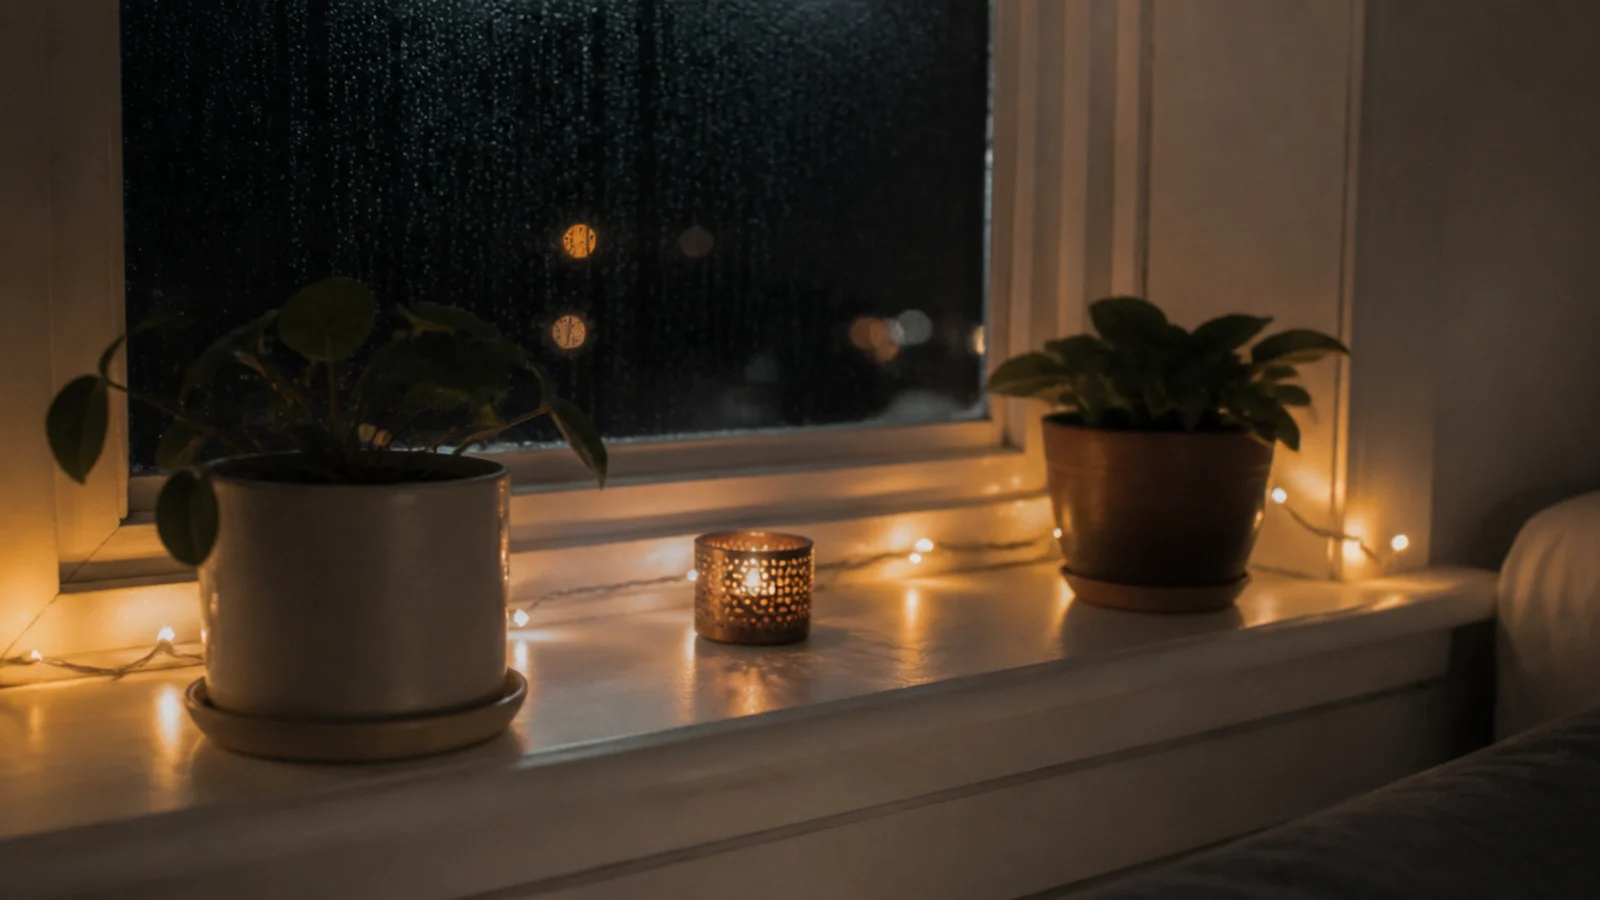
A deep sill is a shelf you already own. A strand laid along it behind two plant pots lights the glass at night and the plants during the evening, and it survives the curtains being drawn because it sits below them.
11. Wound around the headboard frame
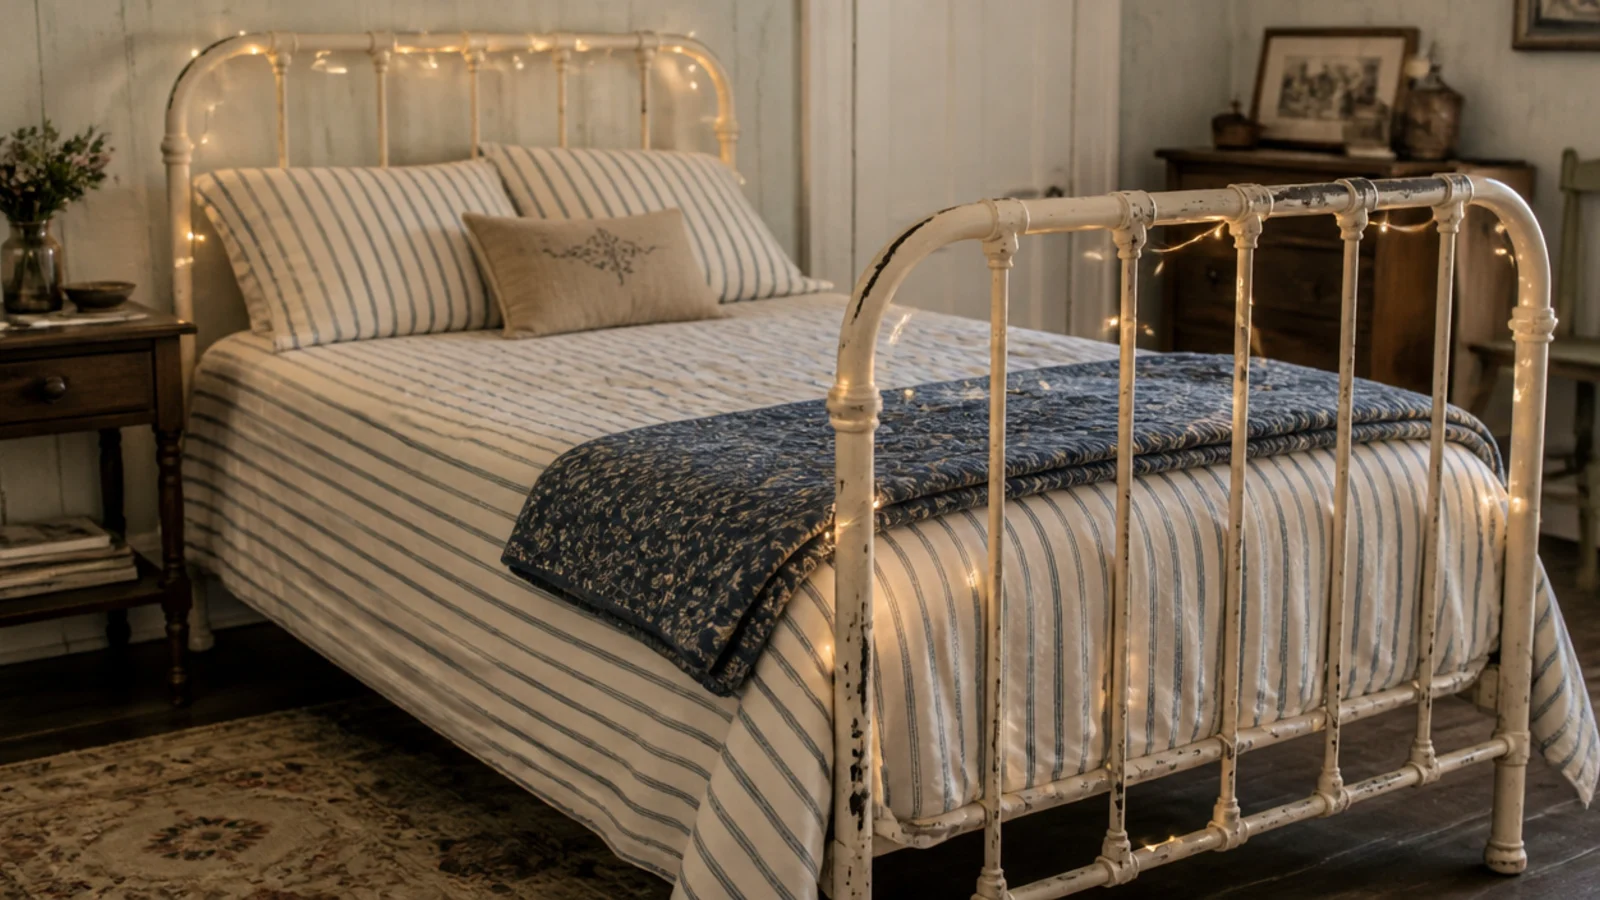
An old metal or timber bedstead gives you dozens of fixing points that are not the wall. Wind loosely, roughly six turns per foot on an upright, and leave the wire slack enough that it moves when the frame does.
12. Threaded through a clothes rail
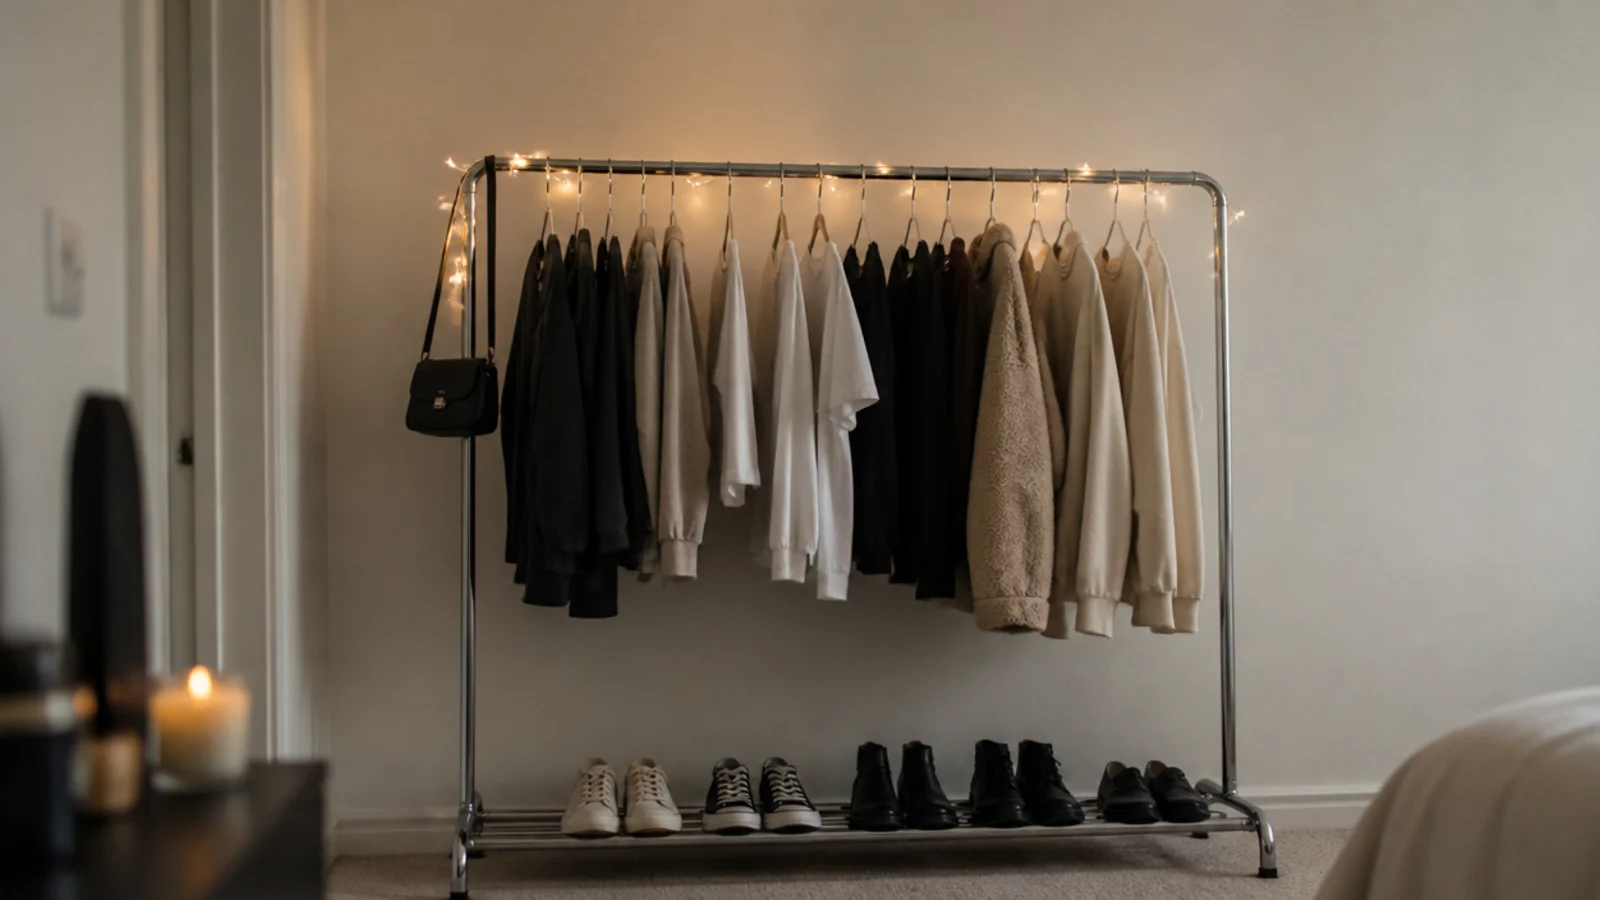
A freestanding rail is the most common storage in a rented room and its top bar is the perfect line for a strand. It lights what you are choosing to wear, which is genuinely useful at seven in the morning in winter.
13. Around a leaning floor mirror
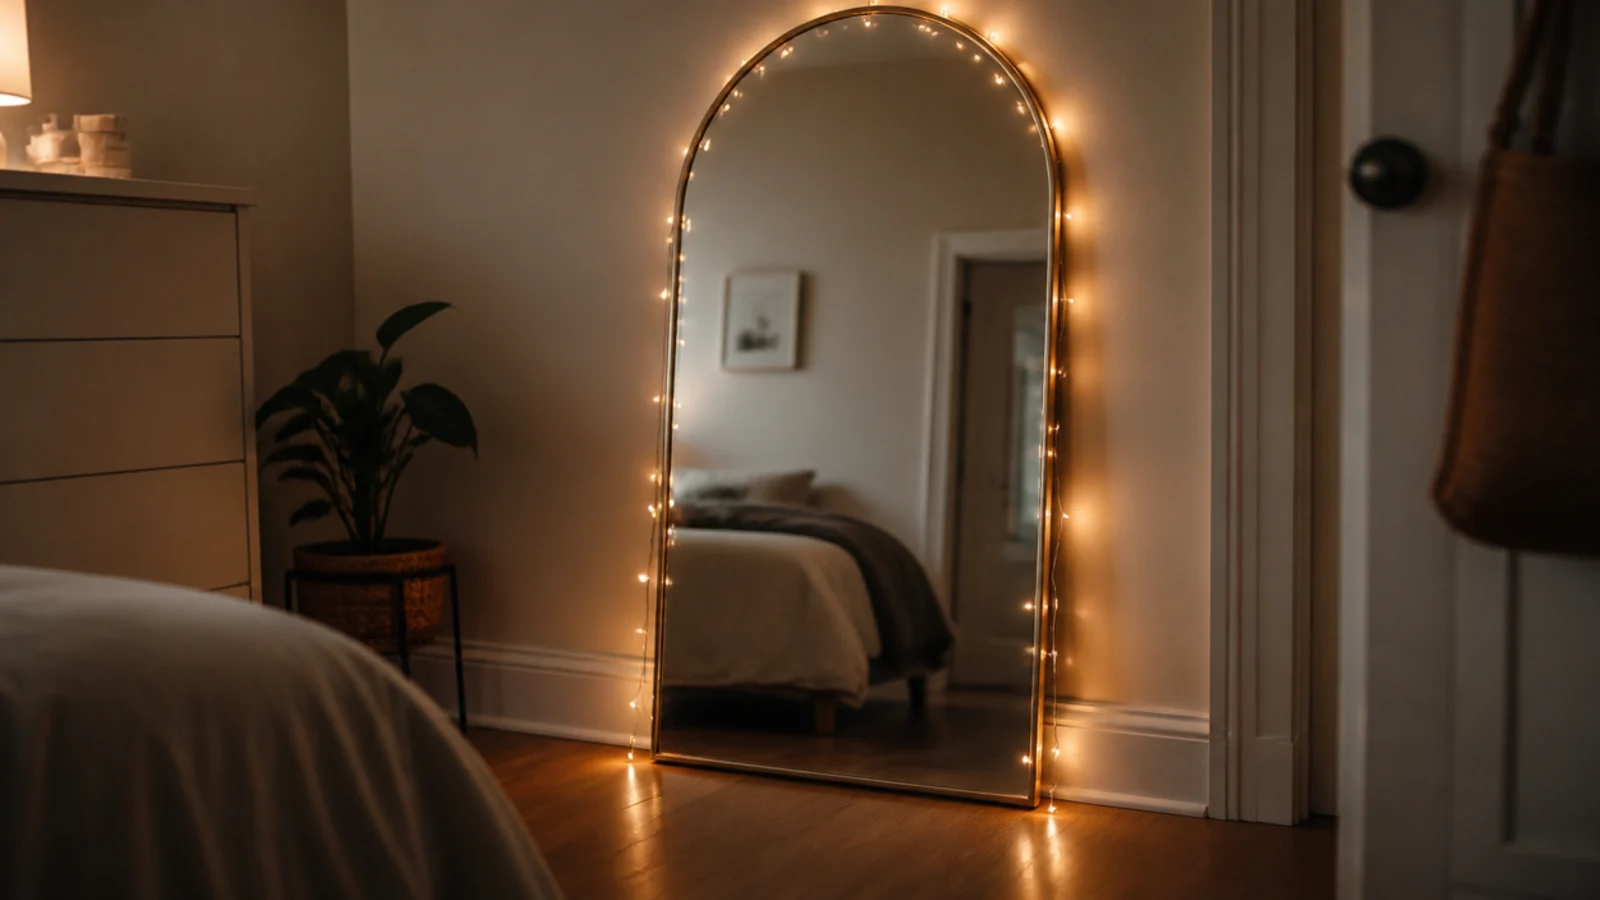
A leaning mirror needs no fixing, and a strand around its outer frame doubles the light because the glass reflects everything back. Fix to the frame rather than the glass — adhesive on a mirror back works at the silvering over time.
14. Behind a bedroom desk monitor
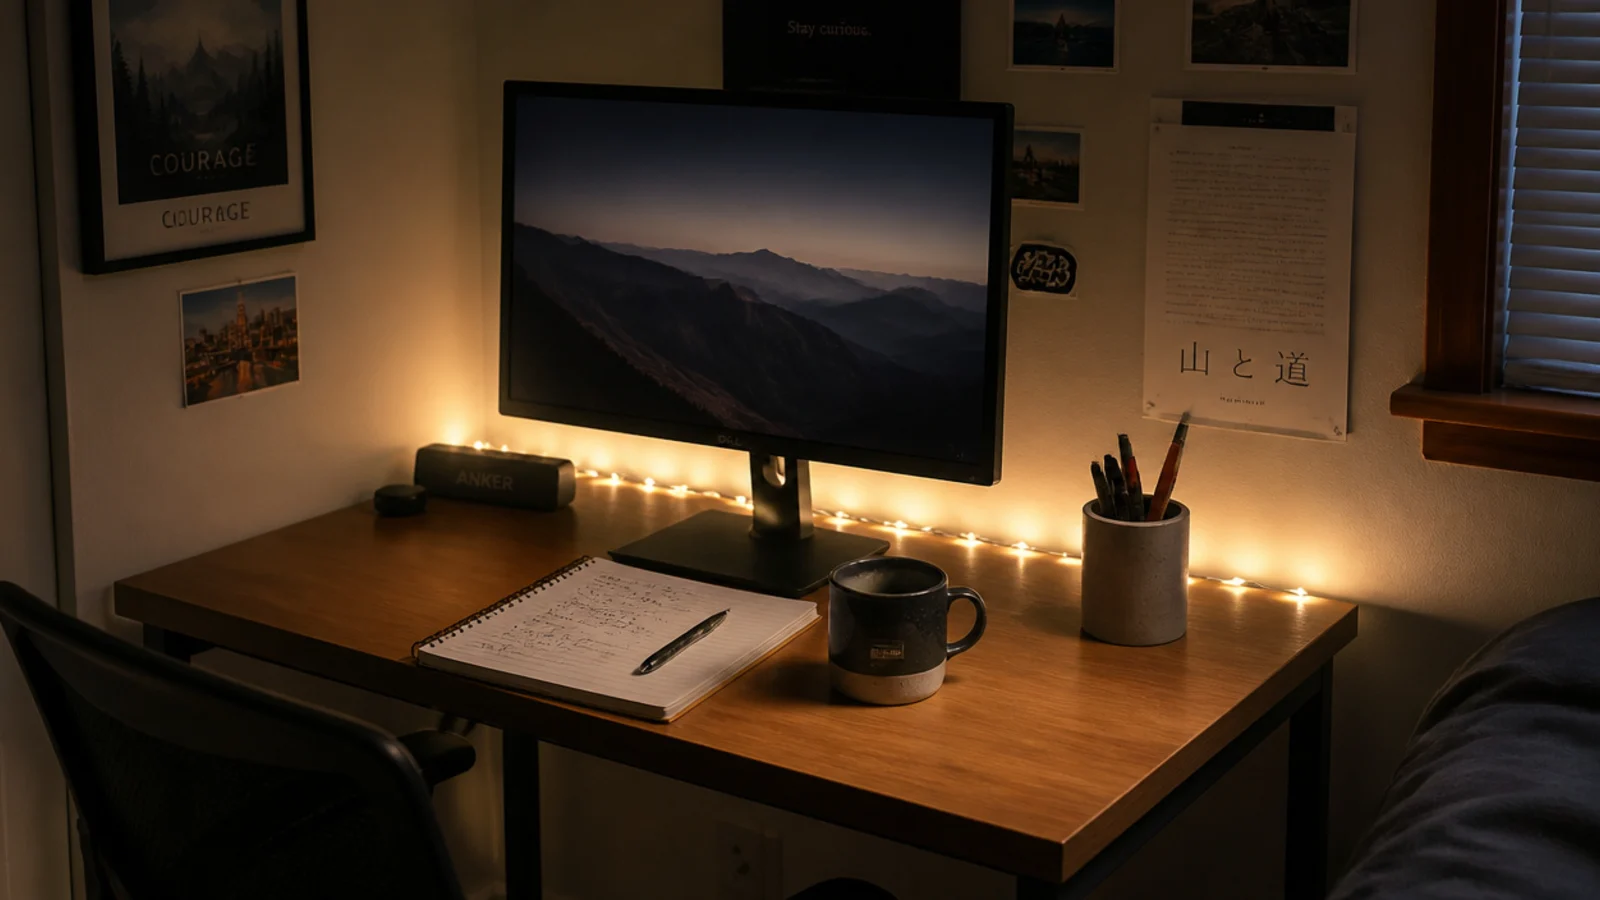
A strand taped along the back edge of a monitor gives you bias lighting, which reduces the contrast between a bright screen and a dark room. It costs about $8 and it is the only idea here with a genuine comfort benefit at eleven at night.
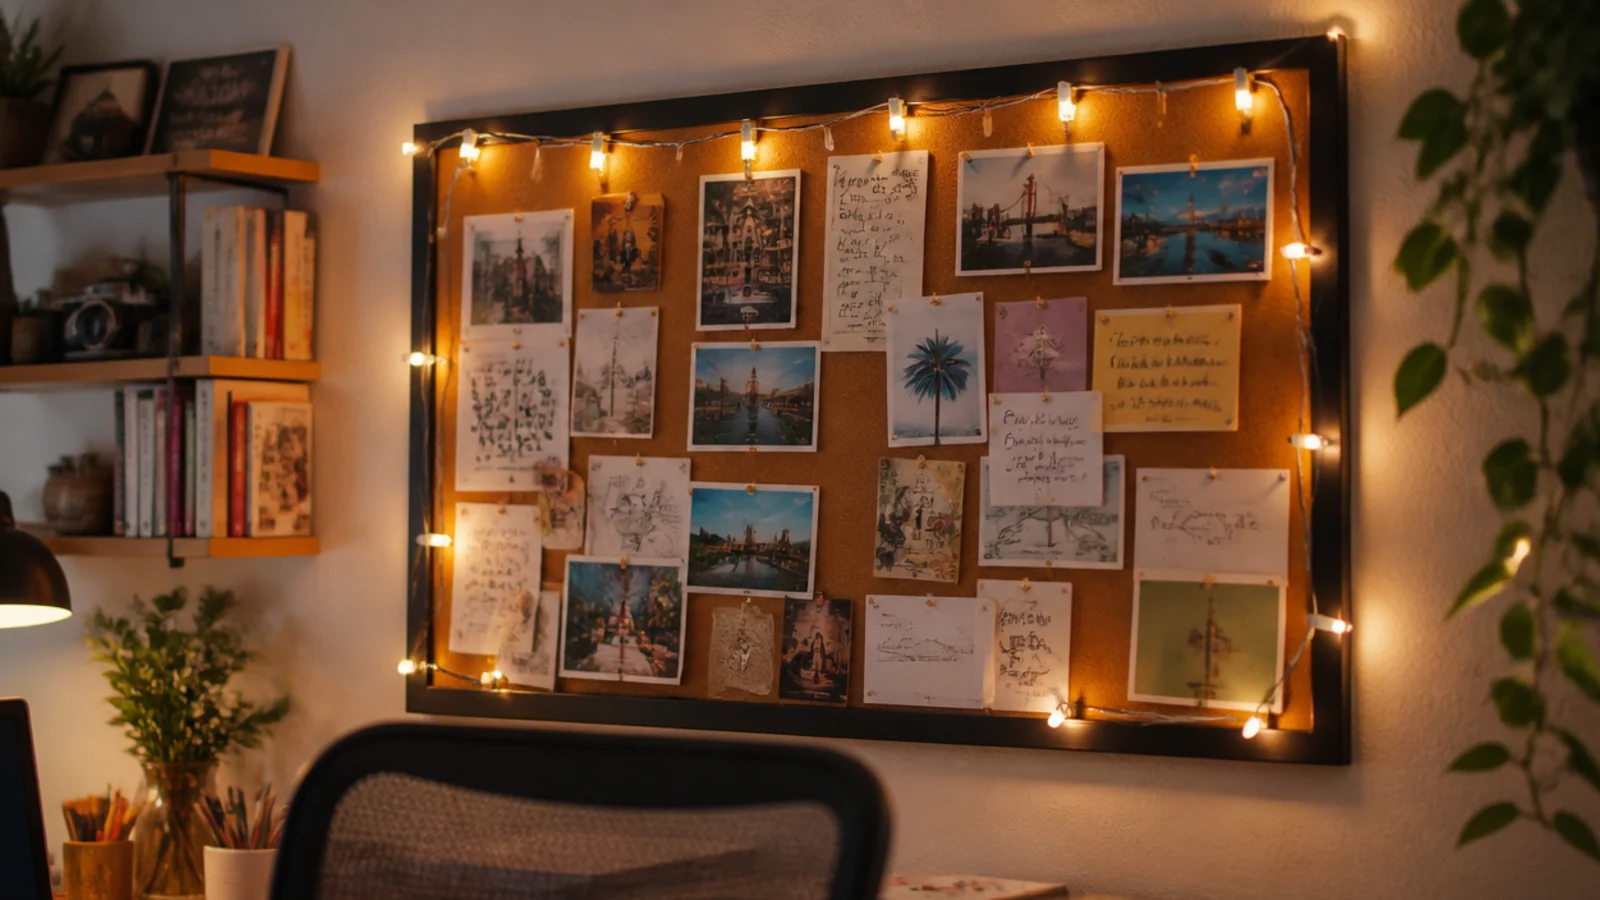
15. Over a corkboard or pinboard
Run the strand around the frame of the board on its own clips, never pinned through the cable. Pins through a sheath are the fastest way to kill a strand, and the fault appears weeks later as a dead section you cannot locate.
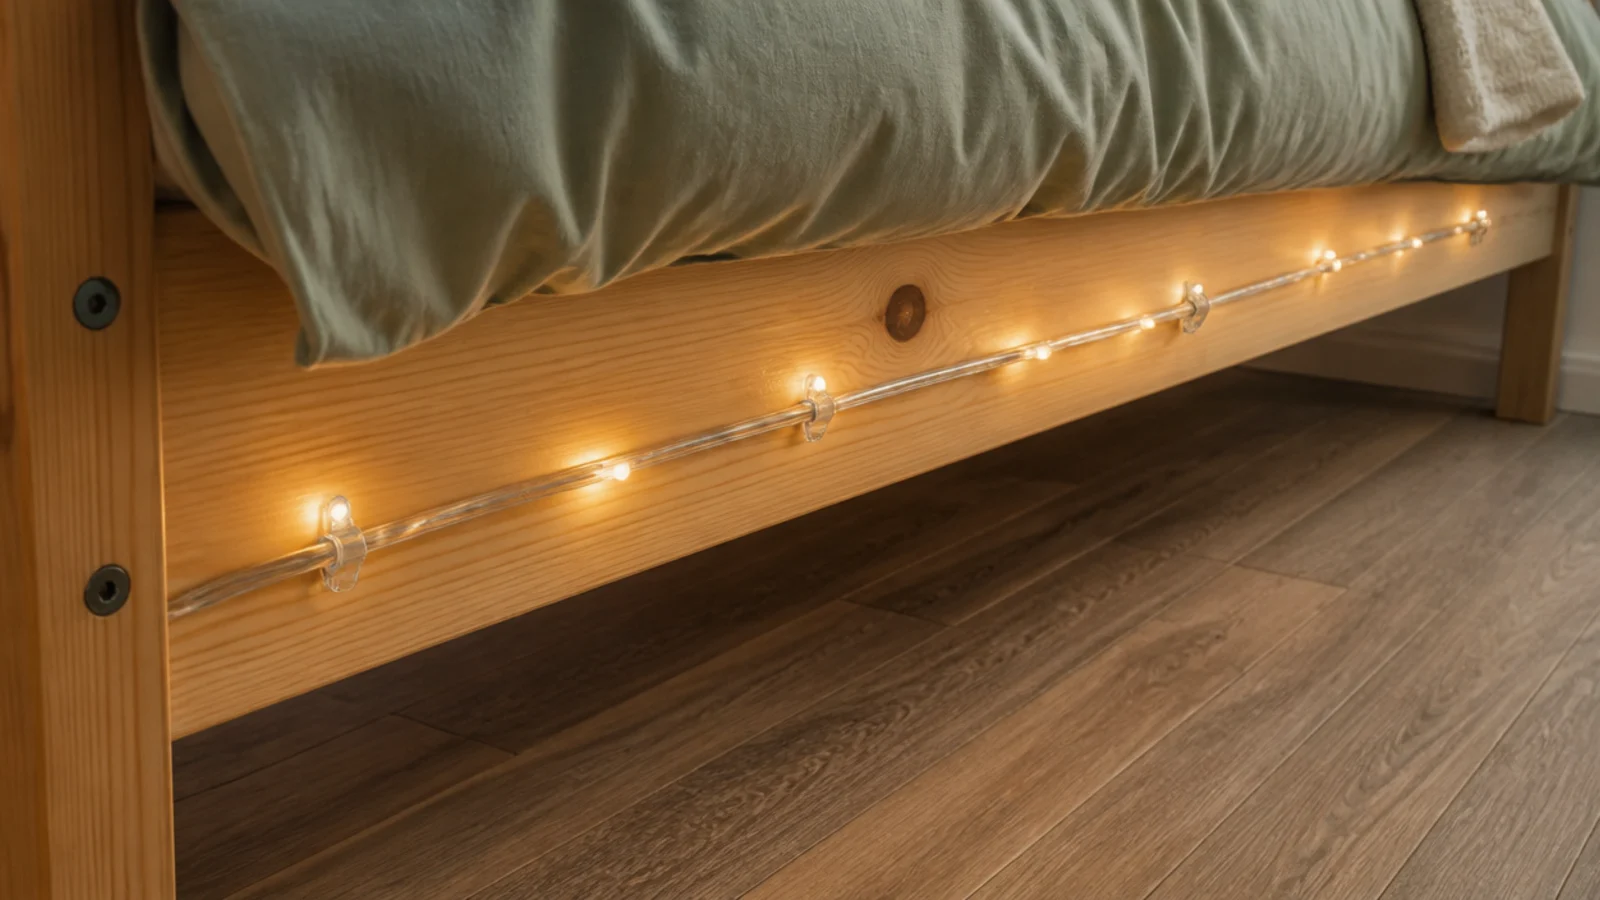
16. Cable-tied to the bed frame
Three small clear cable ties along the outer side rail give you a lit line about 10 inches off the floor with nothing touching the walls. Keep the ties loose enough to slide, and keep the strand on the outward face where nothing drags.
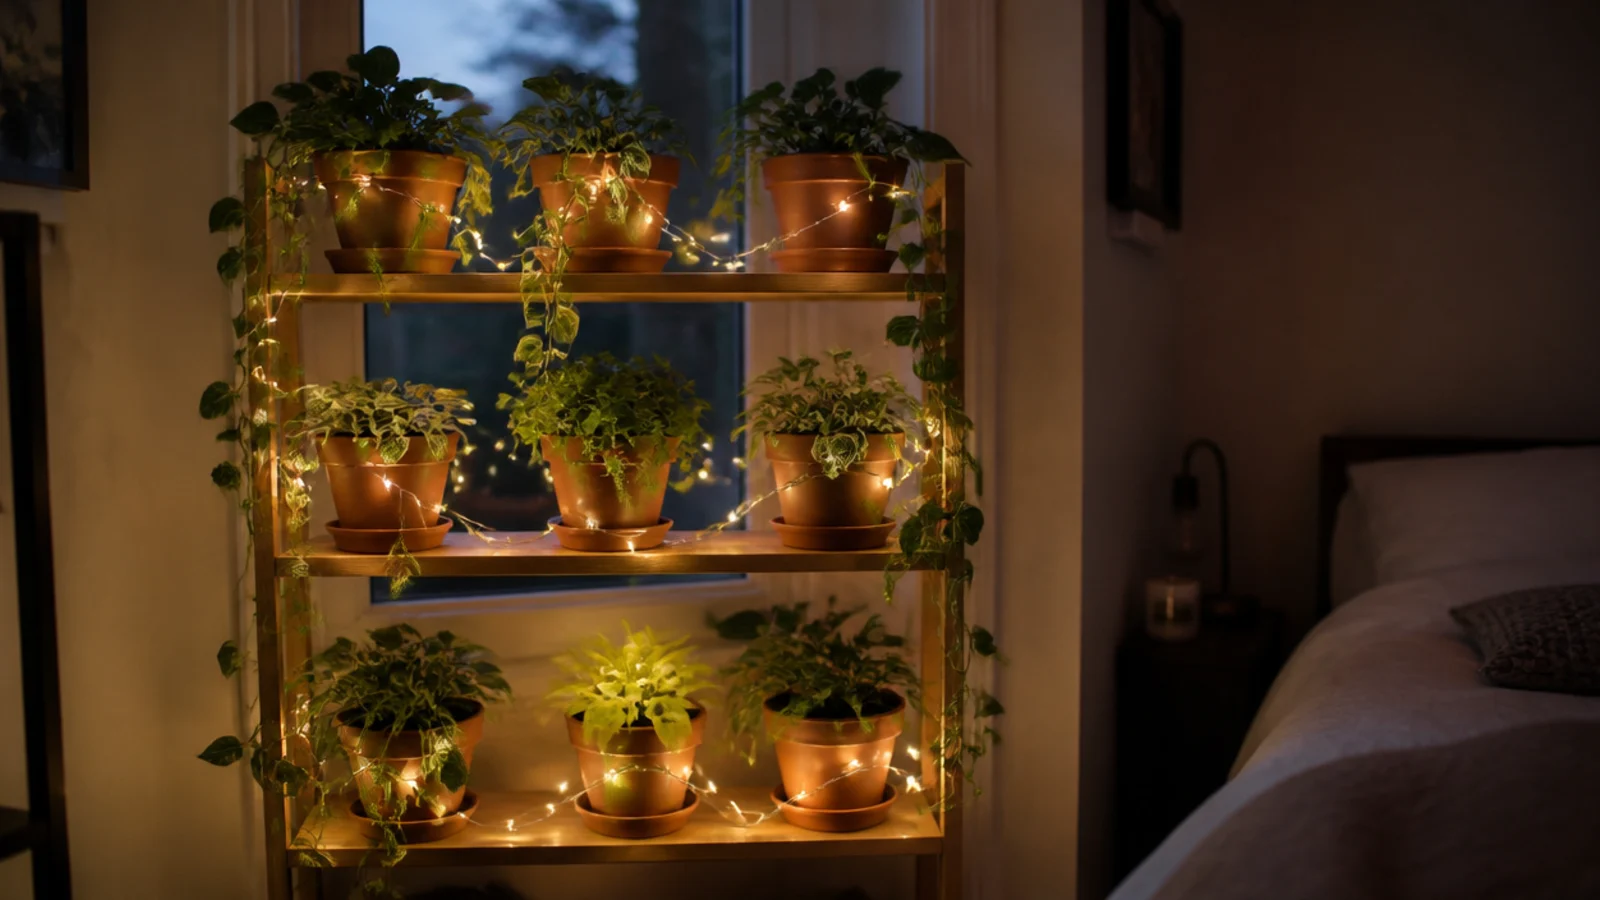
17. Draped across a plant shelf
Pot rims hold a strand exactly where you drape it. The light lands on leaves rather than plaster, which is far more interesting, and nothing is fixed to anything. Keep the wire clear of the soil surface so watering never reaches it.
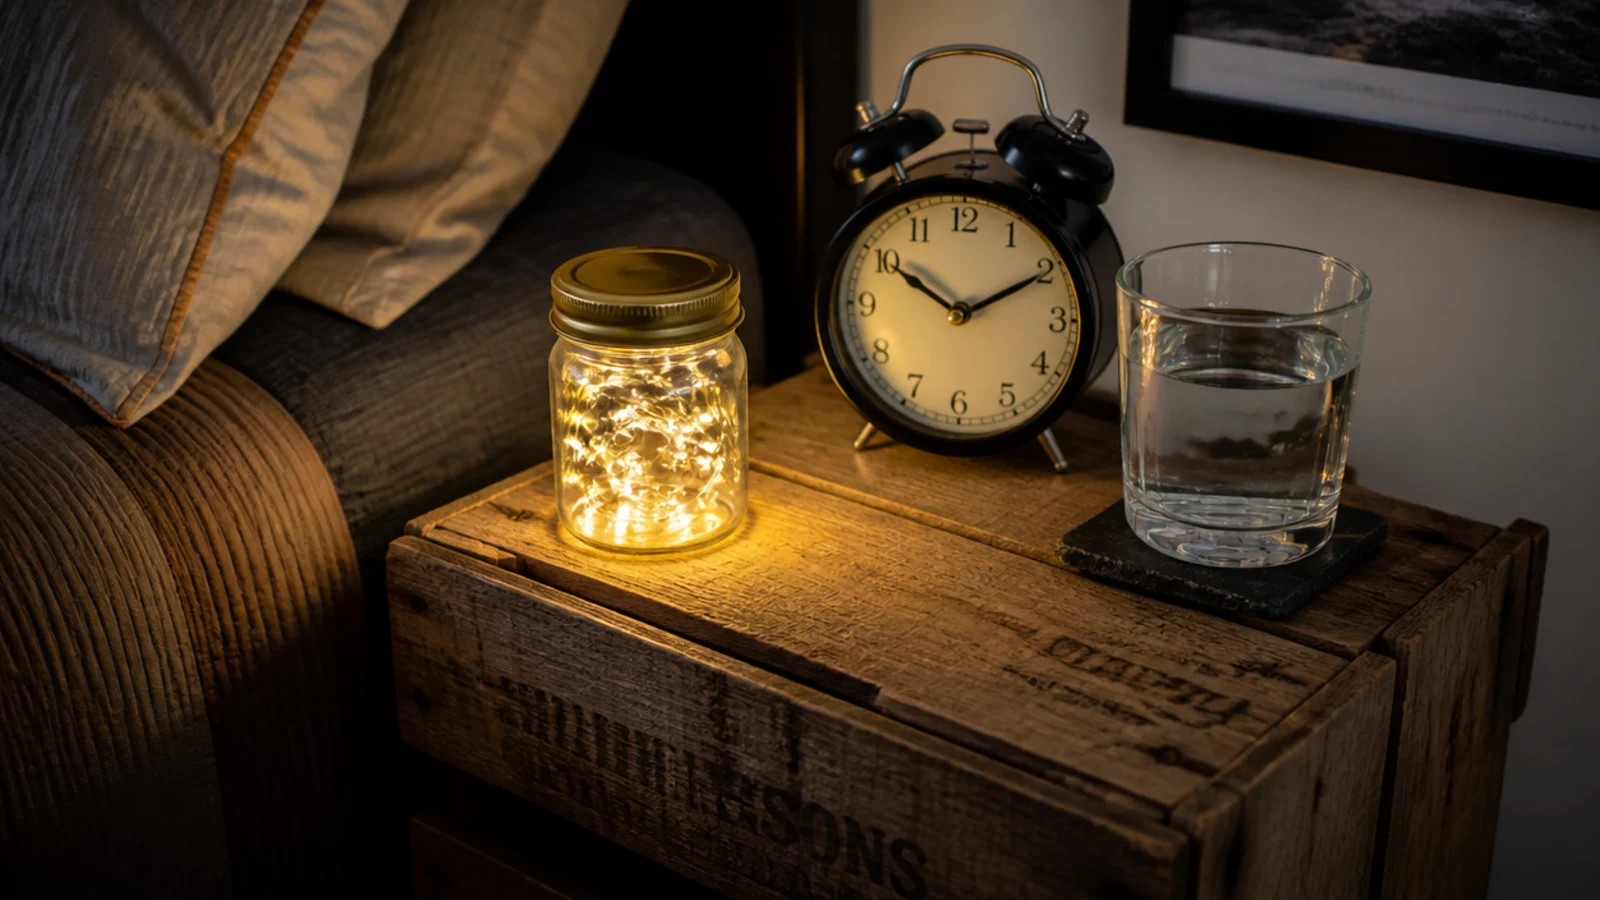
18. A micro strand in a bedside jar
A 16 foot battery micro strand coiled in a jam jar is a five dollar bedside lamp. It gives roughly 20 lumens, which is enough to find a glass of water and not enough to read by, and it needs no socket at all.
19. A battery set with no cable run at all
Removing the lead removes the whole routing problem. With a six hour timer, rechargeable cells last about a month. This is the answer for the corner of the room that is nowhere near a socket and never will be.
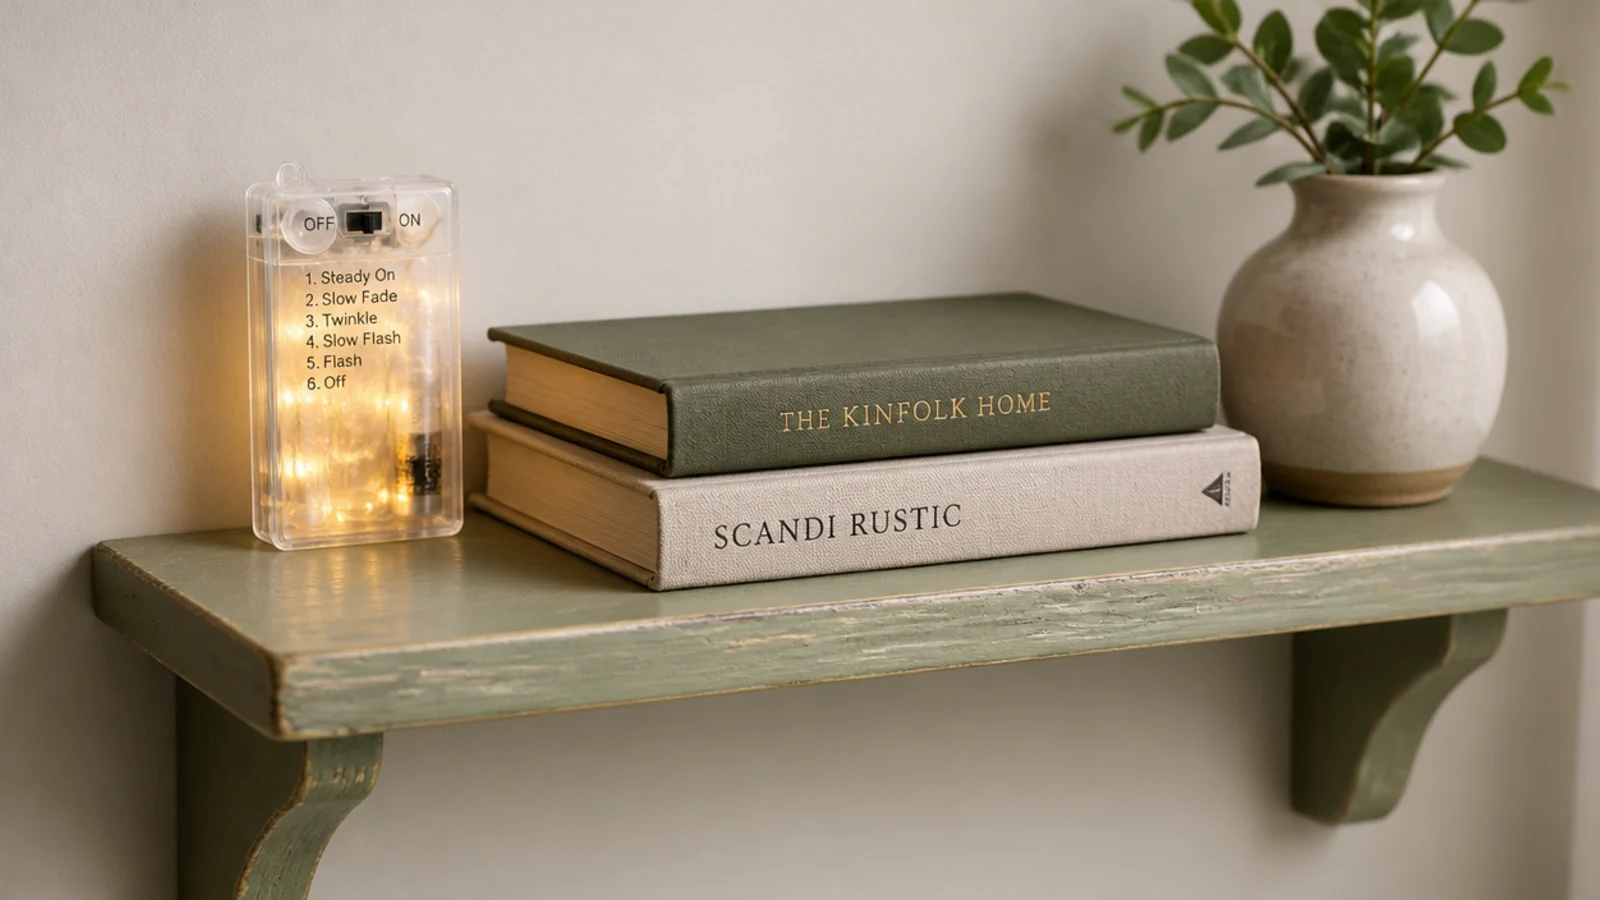
20. USB lights from a power bank
A 10,000mAh power bank runs a 100 LED strand for several nights on one charge, because the strand draws under 5 watts. It is a genuinely portable setup, and useful in a room where the only socket is behind the wardrobe.
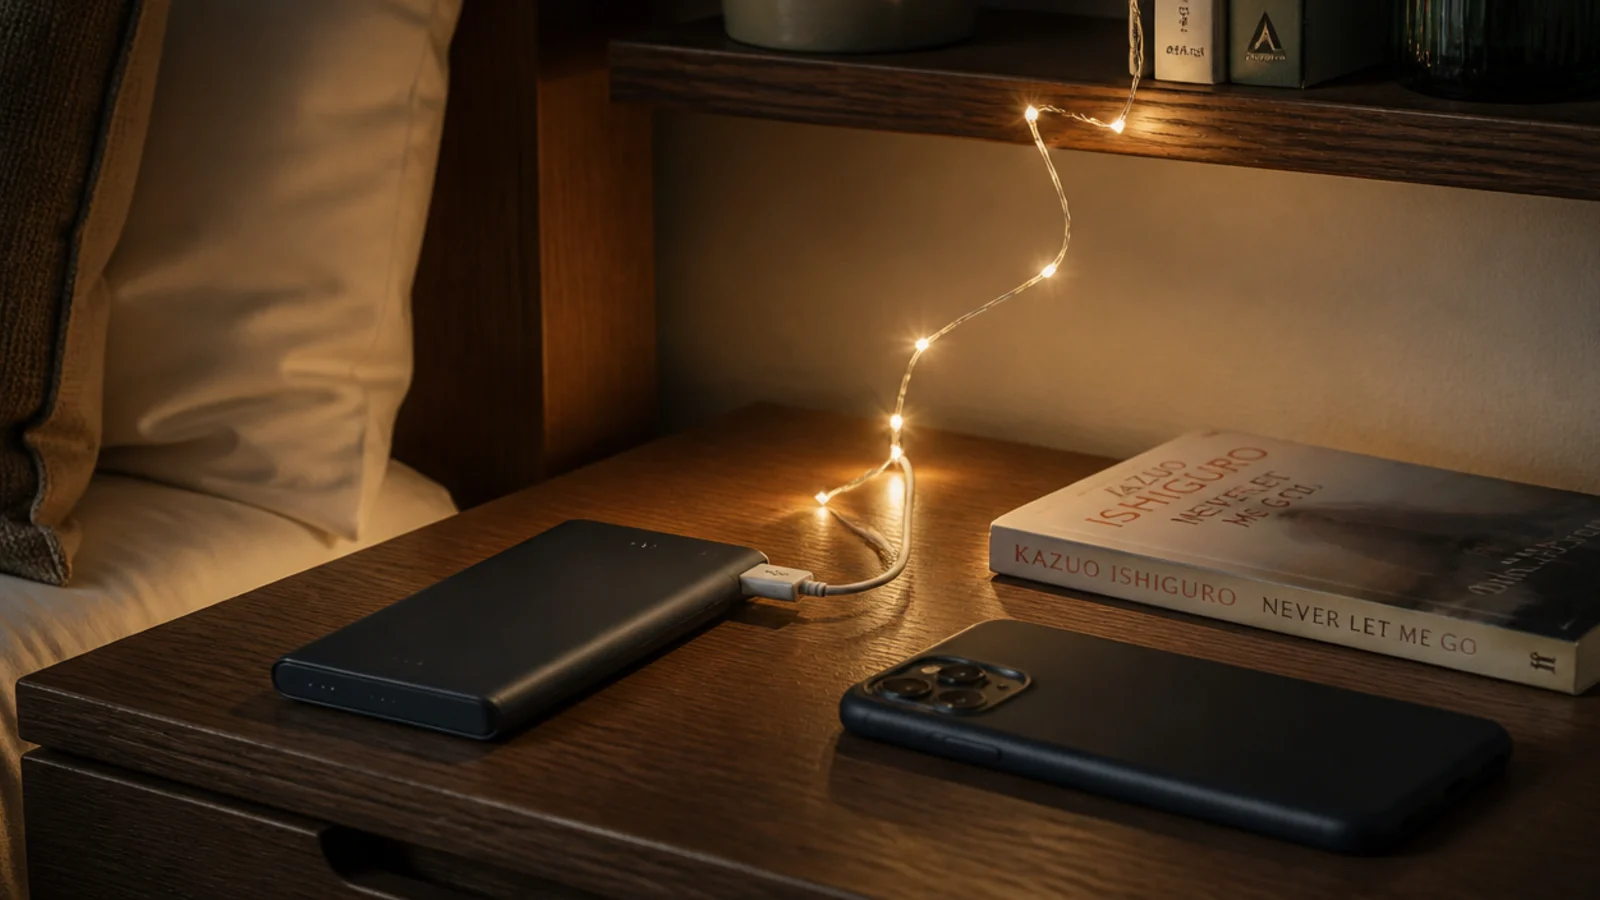
21. Half-pound clips, not the smallest ones
The smallest clips have a pad about the size of a pencil eraser and they let go first on a warm afternoon. Half-pound rated clips cost roughly the same per pack and have several times the adhesive area. Buy those and space them every 12 to 16 inches.
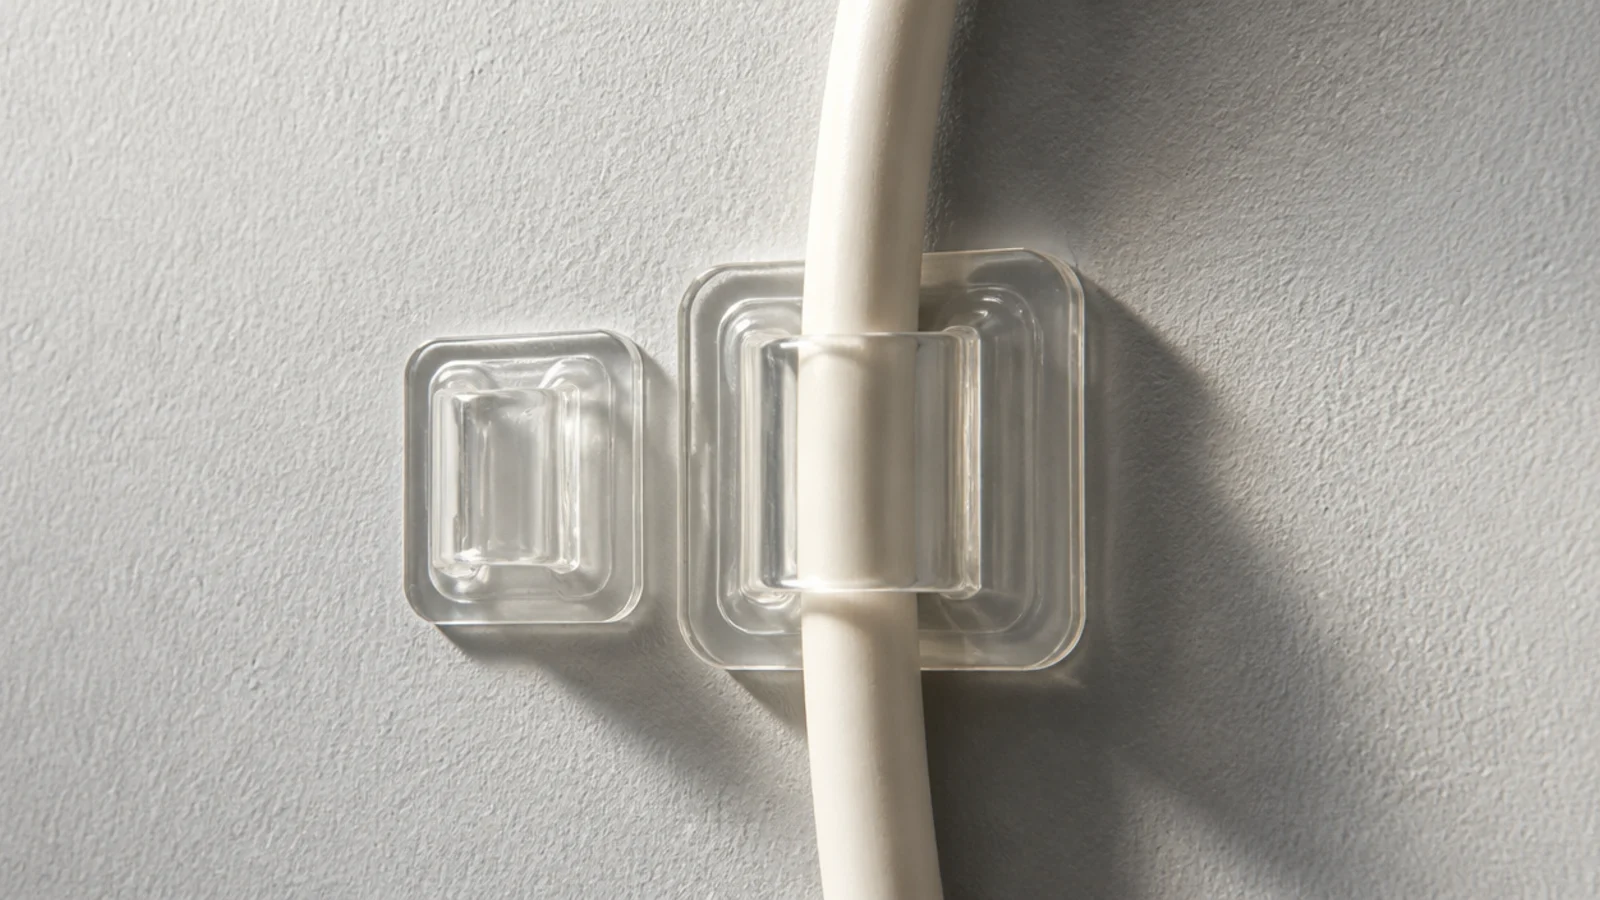
22. Removable putty for micro wire only
A pea of removable putty holds a hair-fine copper wire well on sealed paint or gloss. It does not hold a heavier cable, and it can mark flat emulsion or wallpaper. Use it for the last 6 inches into an awkward corner, not for a whole run.
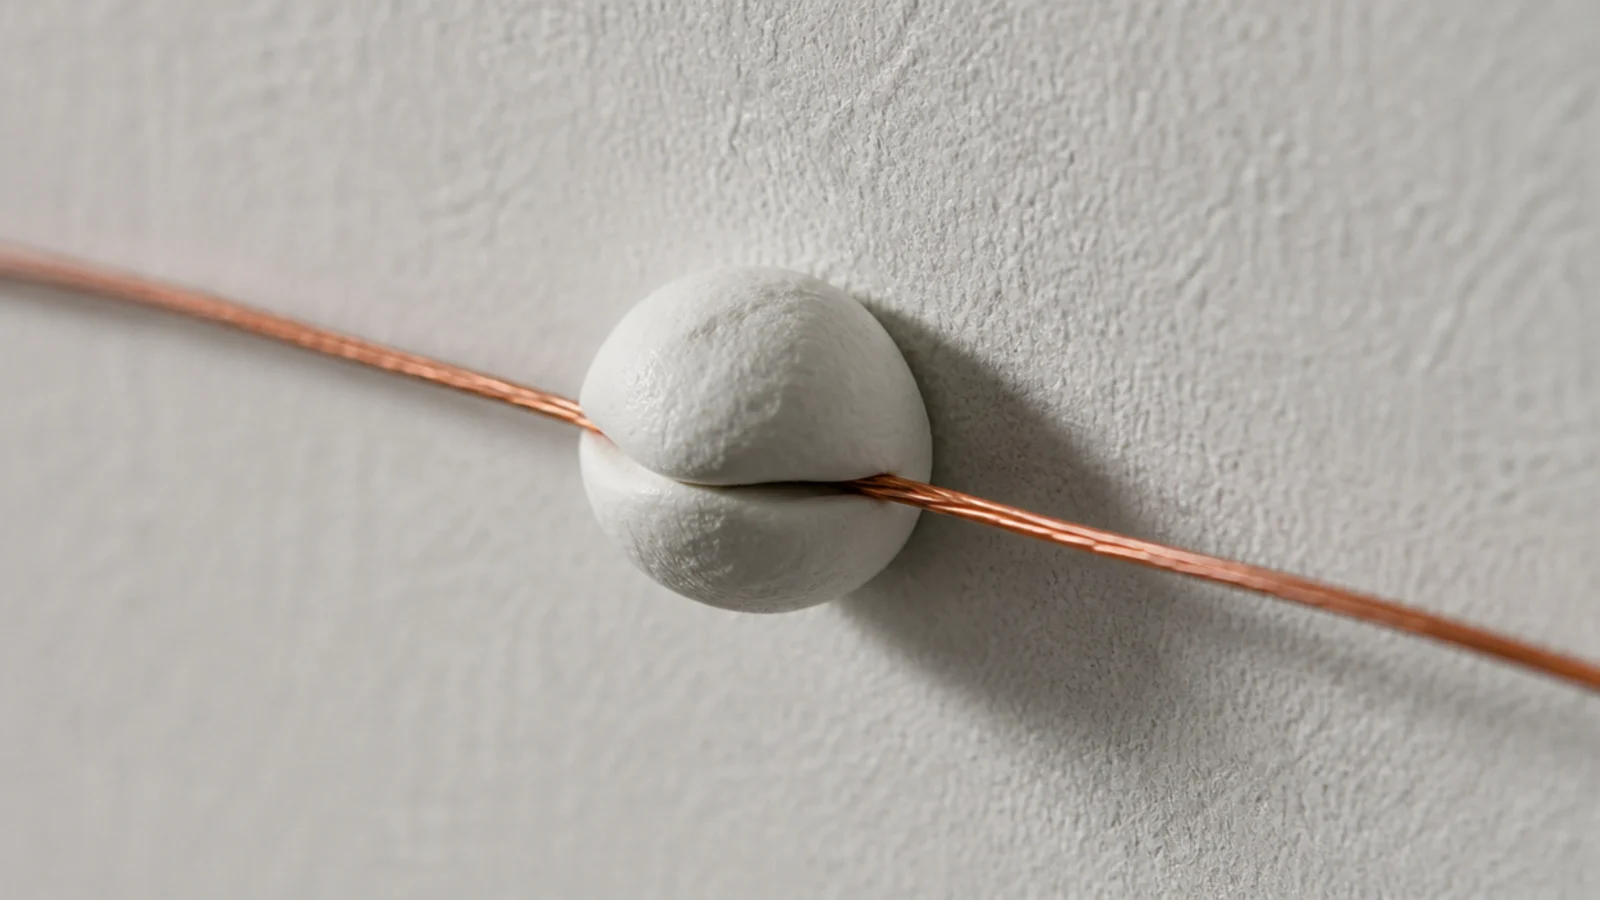
23. Trial the layout in painter tape
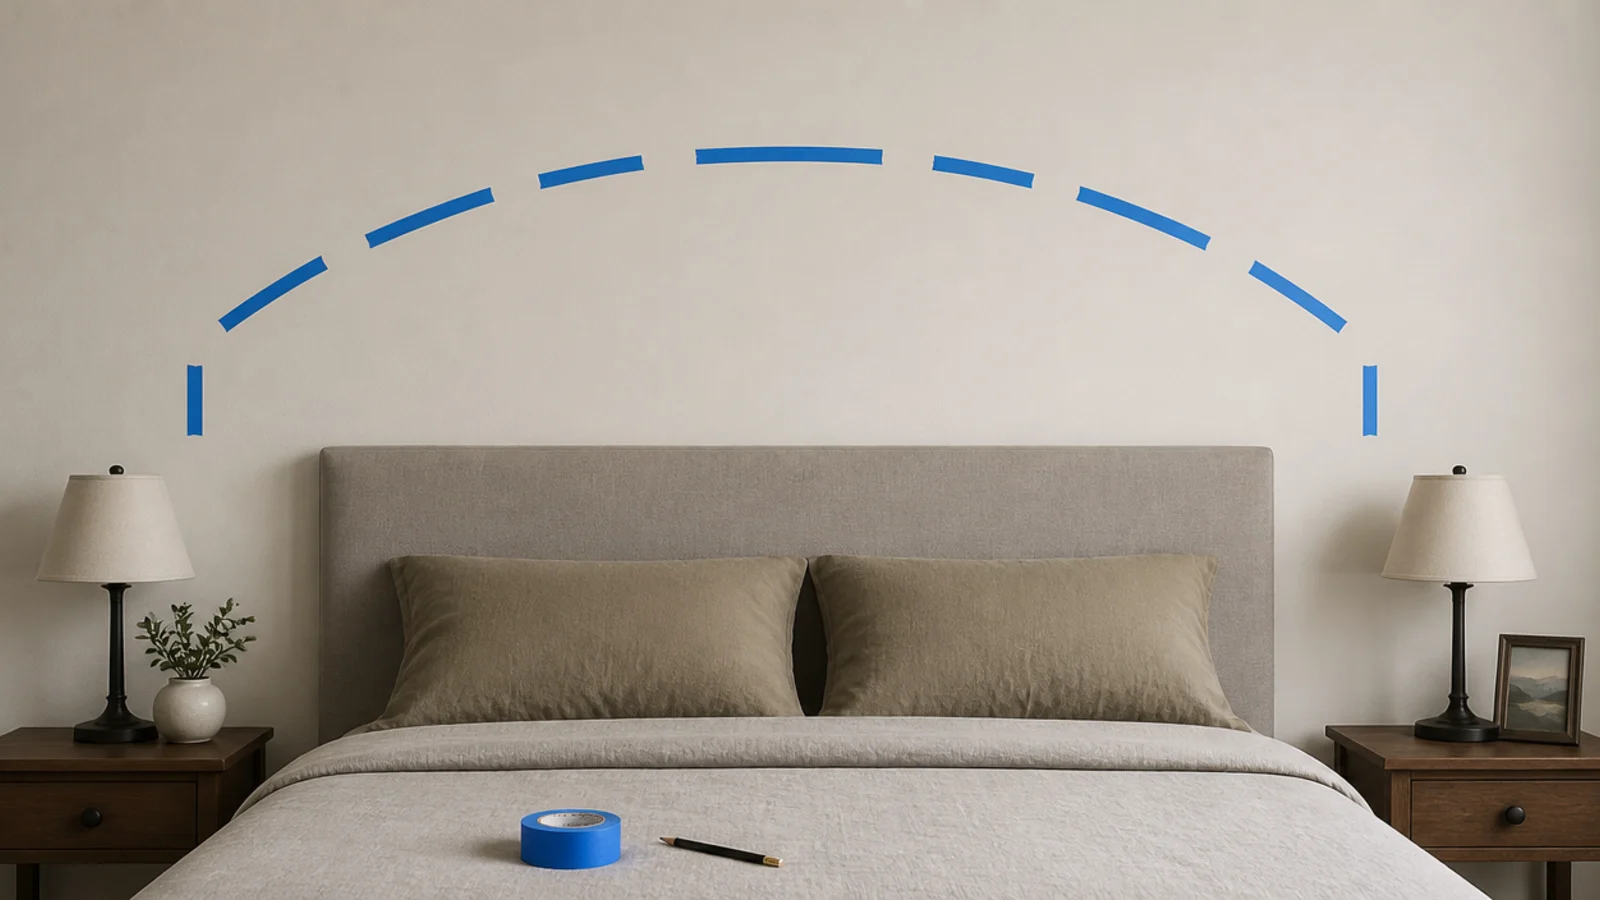
Mark the run in low-tack painter tape and leave it up for an evening. Curves that look right on the floor are often wrong on a wall, and it is far easier to move a strip of tape than twelve clips you have already committed.
24. Clip to a wire grid panel
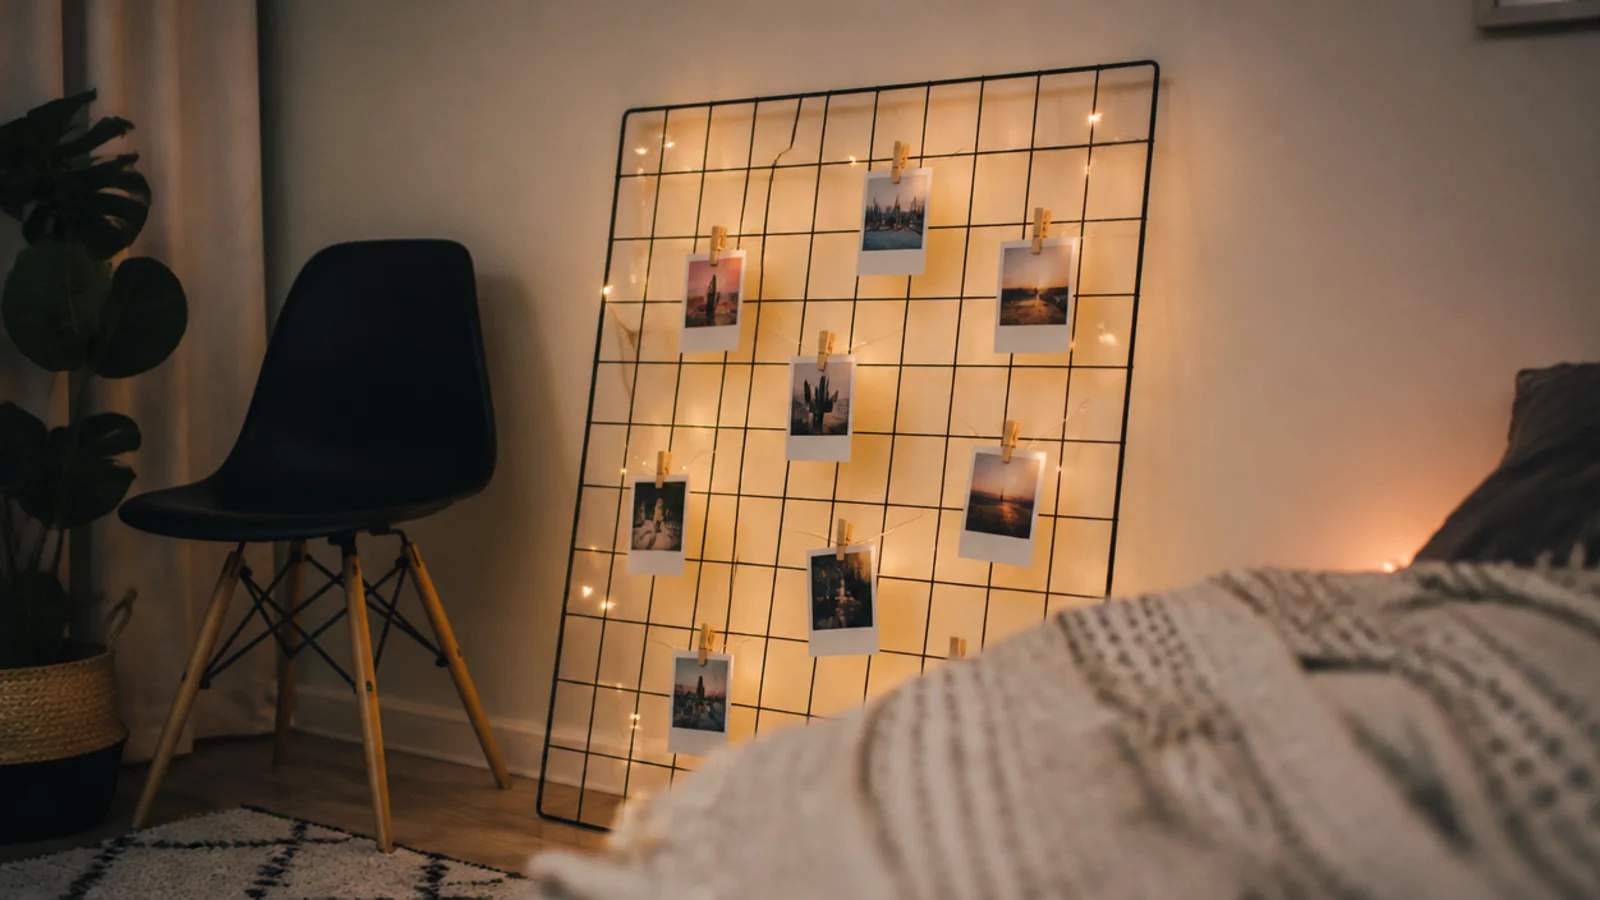
A wire grid panel leaned or hung on existing hooks gives you a mesh to weave a strand through with no adhesive anywhere. It also carries photos and small hooks, which makes one fixing do three jobs in a small room.
25. Woven into a pegboard
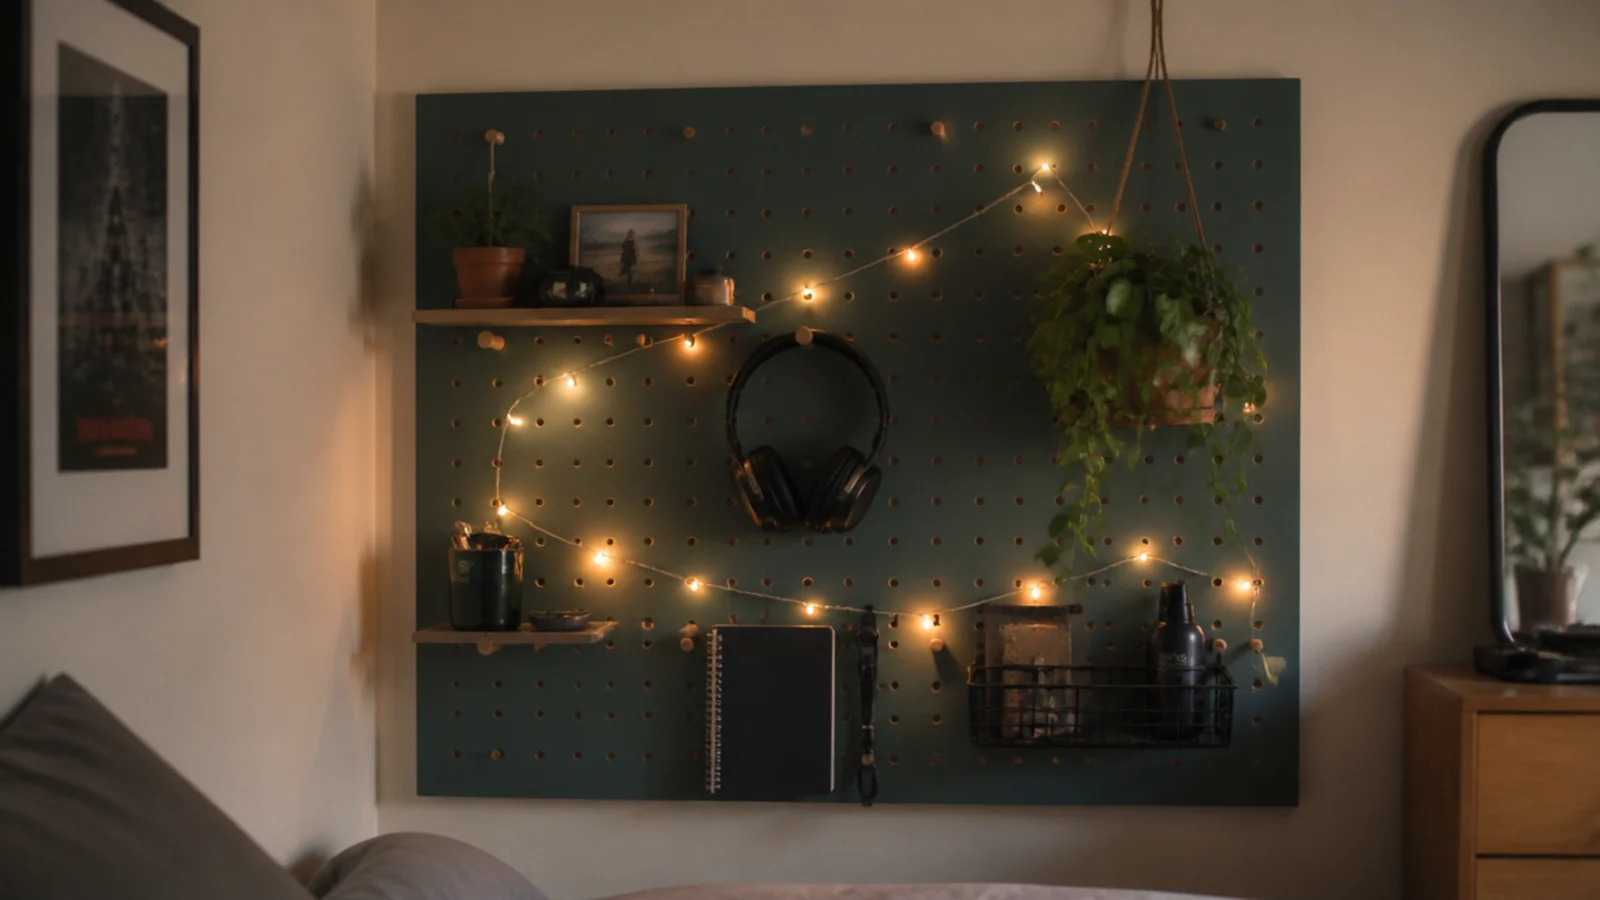
If the room already has a pegboard, the holes are the fixings. Thread the strand between pegs and let hooks and shelves sit around it. Nothing new goes into the wall and the whole arrangement changes in five minutes whenever you want.
26. Taped under the wardrobe shelf
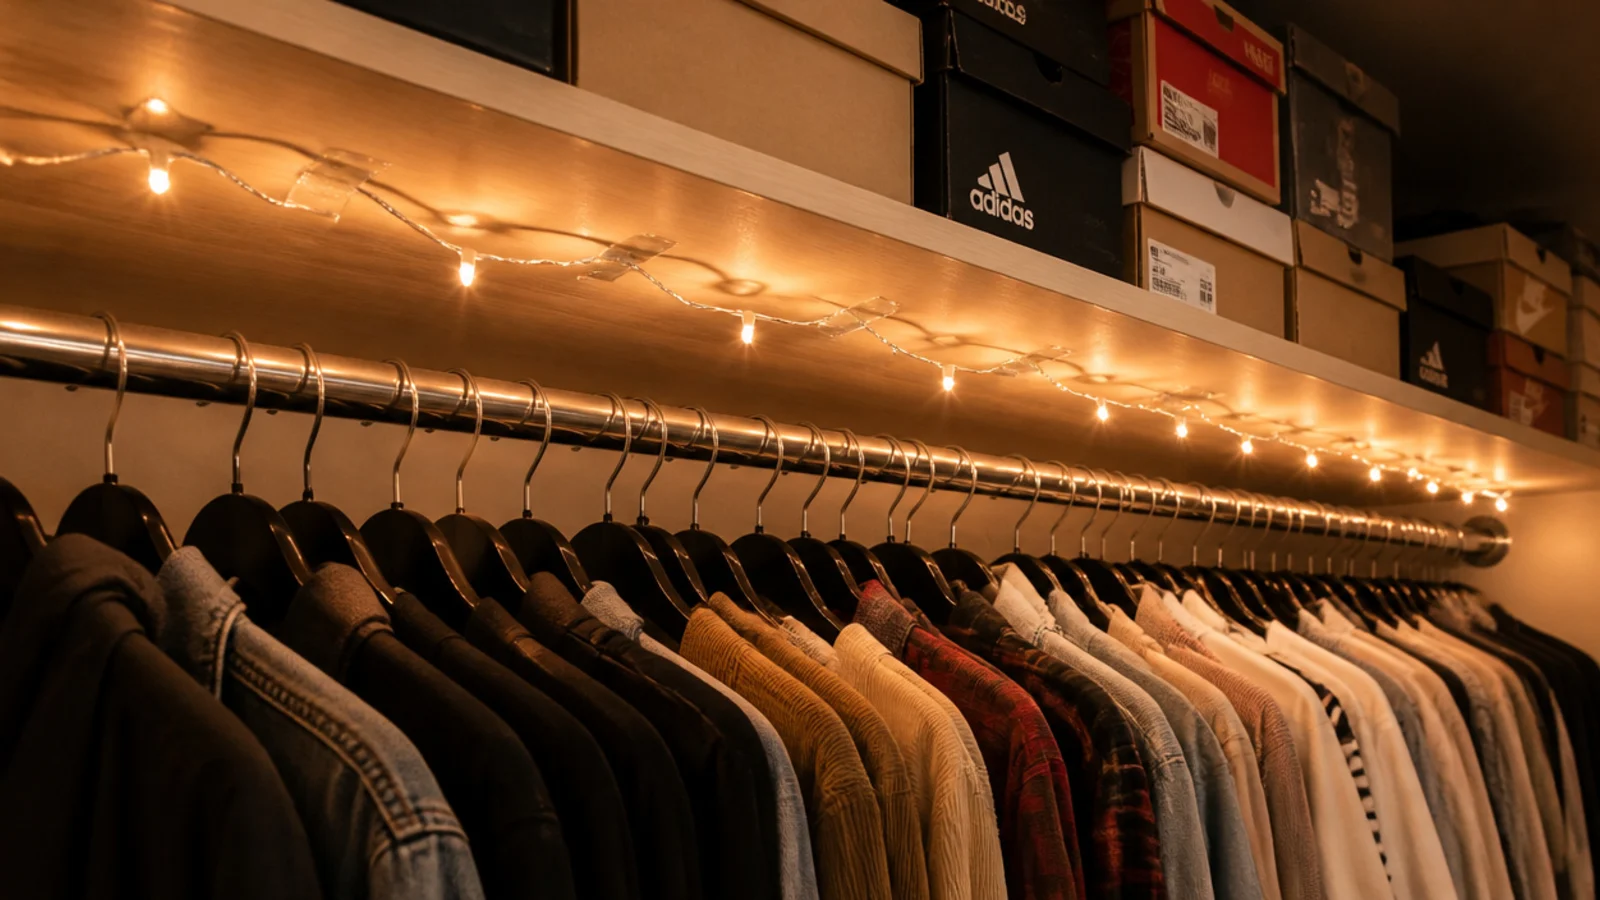
Inside a wardrobe, tape is fine — nobody sees it and the surface is not the paint you will be judged on. Run the strand an inch back from the shelf lip, and route the lead out on the hinge side where the door will not pinch it.
27. Two hooks and a taut line
Two adhesive hooks and a length of clear nylon line spread the load of a long run across the line rather than the strand. The wire then hangs in relaxed loops, which is both better looking and much kinder to the cable joints.
28. Around a stack of storage trunks
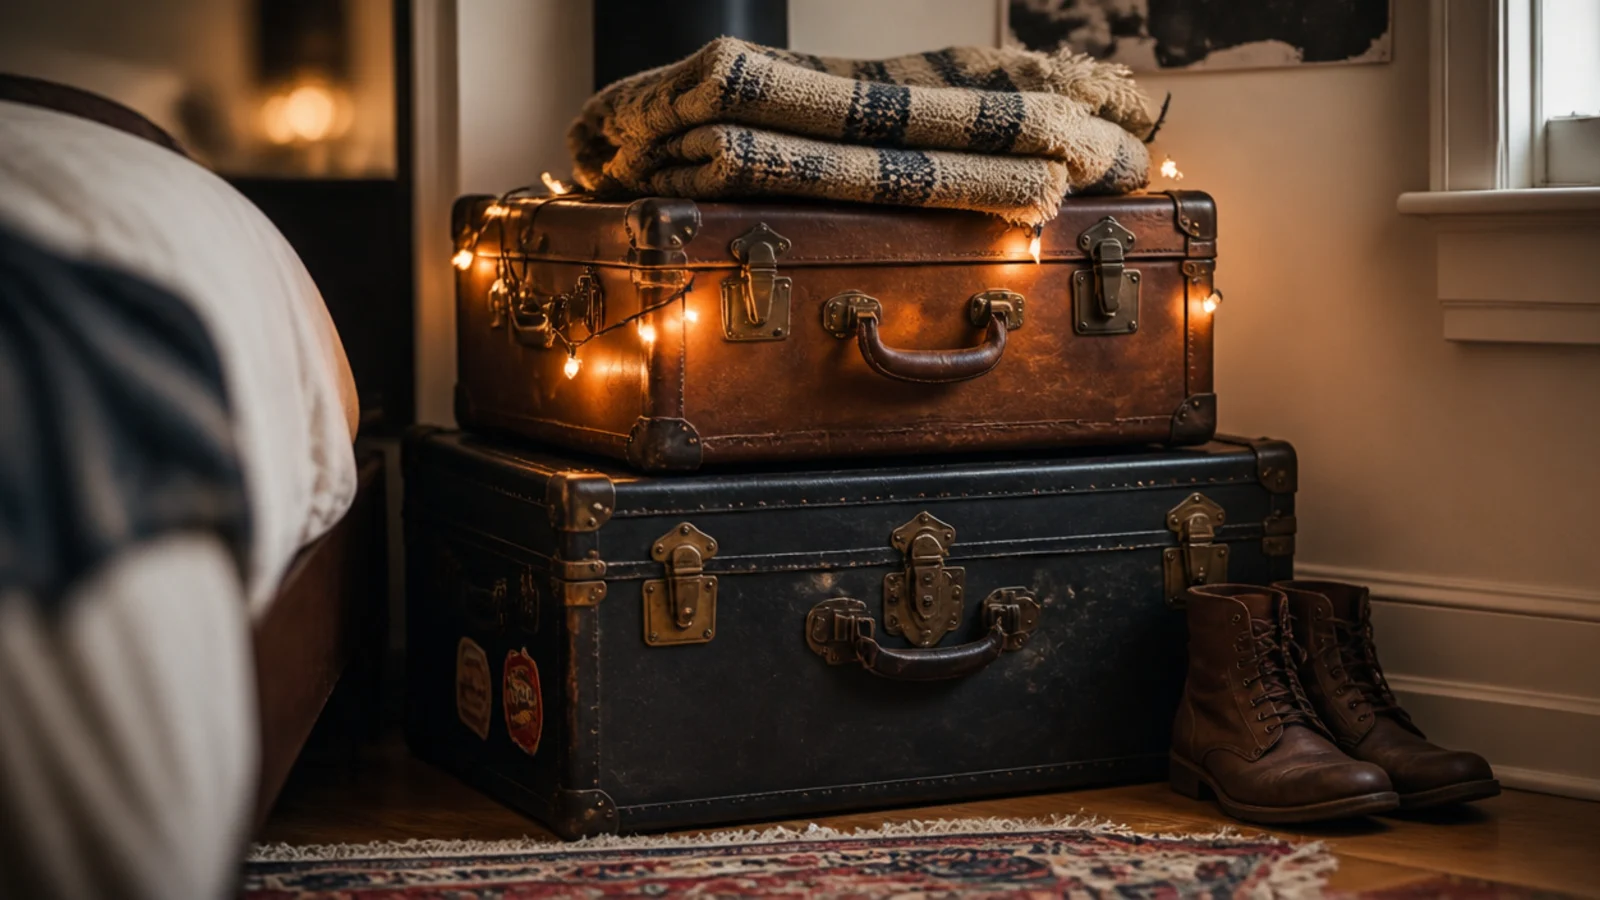
Stacked trunks or suitcases give a rented room some height and a strand wound around the top one turns the stack into a light source. Nothing is fixed, nothing is drilled, and the whole arrangement lifts straight out on moving day.
29. One timer for the whole room
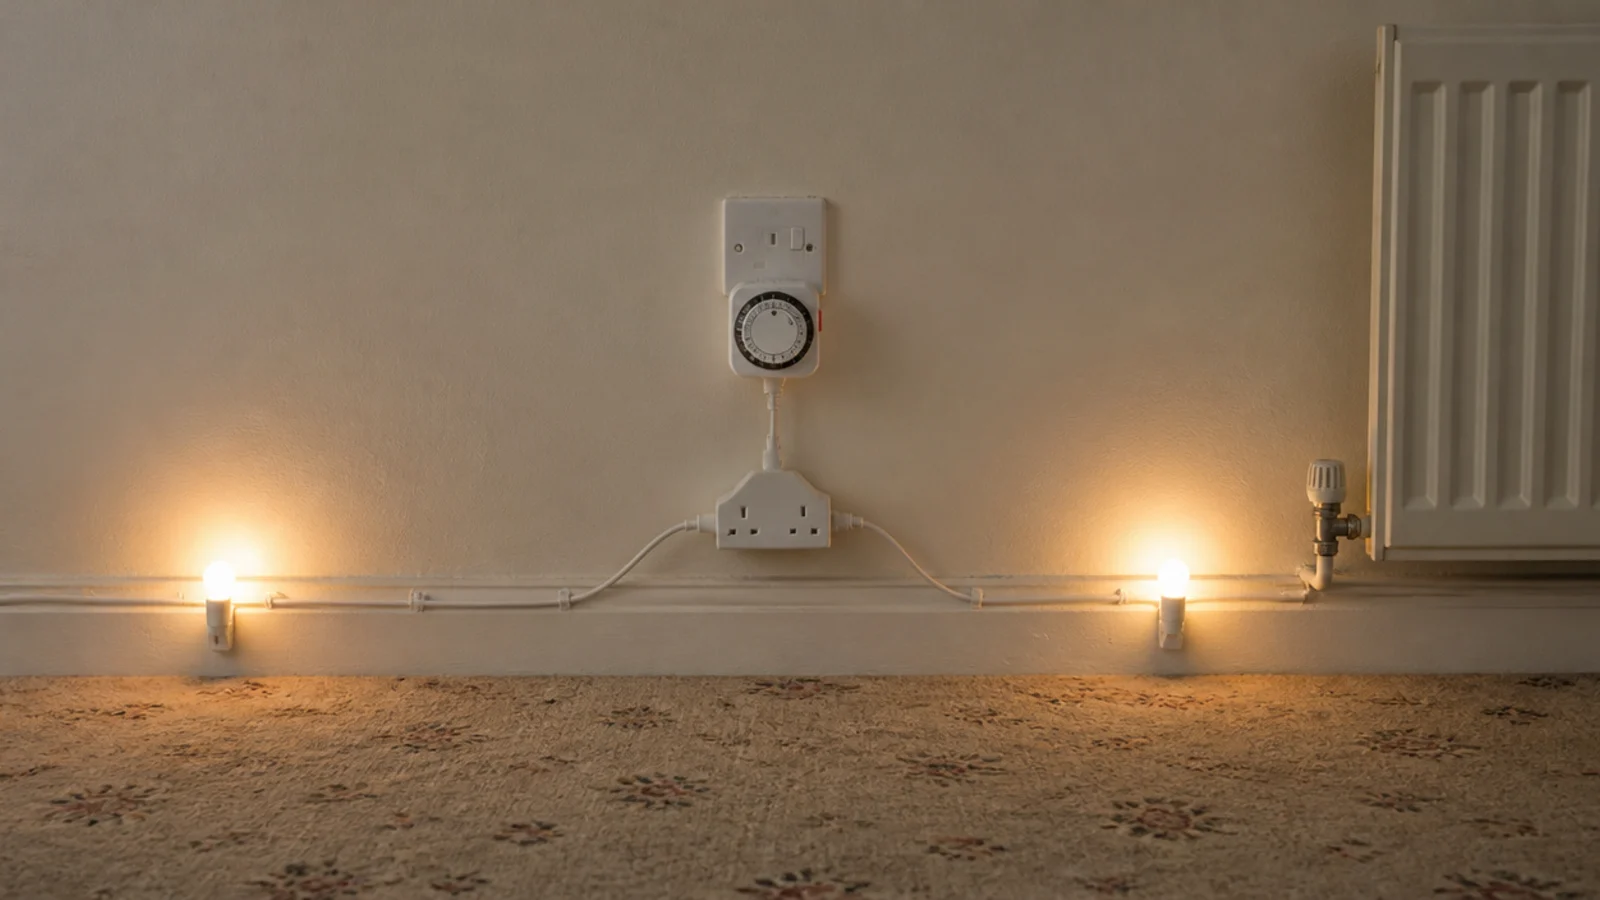
A $5 dial timer and a short extension puts every strand in the room on the same six-hour schedule. It halves your battery costs, removes four switches from the evening, and it moves house with you in a coat pocket.
30. Plan the take-down before you start
Before the first clip goes up, decide how it comes off. Warm each clip with a hairdryer for about 20 seconds, take the strand off first so nothing is under tension, and stretch each tab slowly straight down the wall rather than pulling it outward.
If you want the cheapest possible versions of these, cute setups under thirty dollars costs each one out. Small walk-in closet ideas covers lighting a rented wardrobe properly, and small bedside table ideas has the surfaces that suit a rented room this size.
Mistakes to Skip
- Using packing tape because it was in the drawer. It lifts paint on removal and leaves an adhesive line that yellows within a few months and never washes off.
- Pressing a clip onto a wall you painted last week. Fresh emulsion needs about four weeks to cure properly, and adhesive applied before then takes the paint with it.
- Pinning a strand to a corkboard through the cable. Use clips around the frame instead — a pierced sheath kills a section weeks later with no visible cause.
- Running an extension under the rug to the far corner. Take the long way round the skirting and clip it down, or use a battery set and skip the cable entirely.
Frequently asked questions
How do you hang fairy lights without nails?
Adhesive cable clips rated around half a pound, spaced every 12 to 16 inches, hold a copper wire strand easily because a 33 foot set weighs only about 3.5 ounces. Press each clip for a full 30 seconds and leave it an hour before loading. Existing picture hooks, curtain rods and tension rods all work too.
Will adhesive clips damage rental paint?
Not if the paint is sound and you remove them properly. Flat builder-grade emulsion is the risk, because the adhesive holds and the paint layer lets go instead. Test one clip in a hidden spot for 24 hours, then remove by stretching the tab straight down along the wall rather than pulling it outward.
What is the simplest fairy light setup for a bedroom?
A 33 foot warm white strand arced above the headboard on three clips, plugged into a timer. It takes about ten minutes, costs $10 to $15 all in, needs no tools, and sits above your eyeline so nothing glares while you are in bed. Everything else on this list is a variation.
Can I use tape instead of clips for fairy lights?
Only low-tack painter tape, and only as a trial while you decide on the layout. Packing tape and duct tape lift paint on removal and leave adhesive that yellows within months. Clear clips cost about ten cents each and come off cleanly, which makes them the cheaper option in a rental.
How do I take fairy lights down without leaving marks?
Warm each clip with a hairdryer on low for about 20 seconds to soften the adhesive, then stretch the tab slowly straight down the wall. Take the strand off the clips first so nothing is under tension. Any residue left behind lifts with a little isopropyl alcohol on a cloth.
Want more like this? Browse all 15 fairy lights bedroom guides — they all use the same measurements and budget tiers.
Pin it for later
Save this to your Fairy Lights Bedroom board
Pin it now so it is waiting for you when the tape measure comes out — and so the next person hunting for this idea can find it too.
Save this pinKeep going
More ideas worth saving while you have the tape measure out.