Fairy Lights Bedroom · How-To
15 Steps To Style A Fairy Lights Bedroom Wall

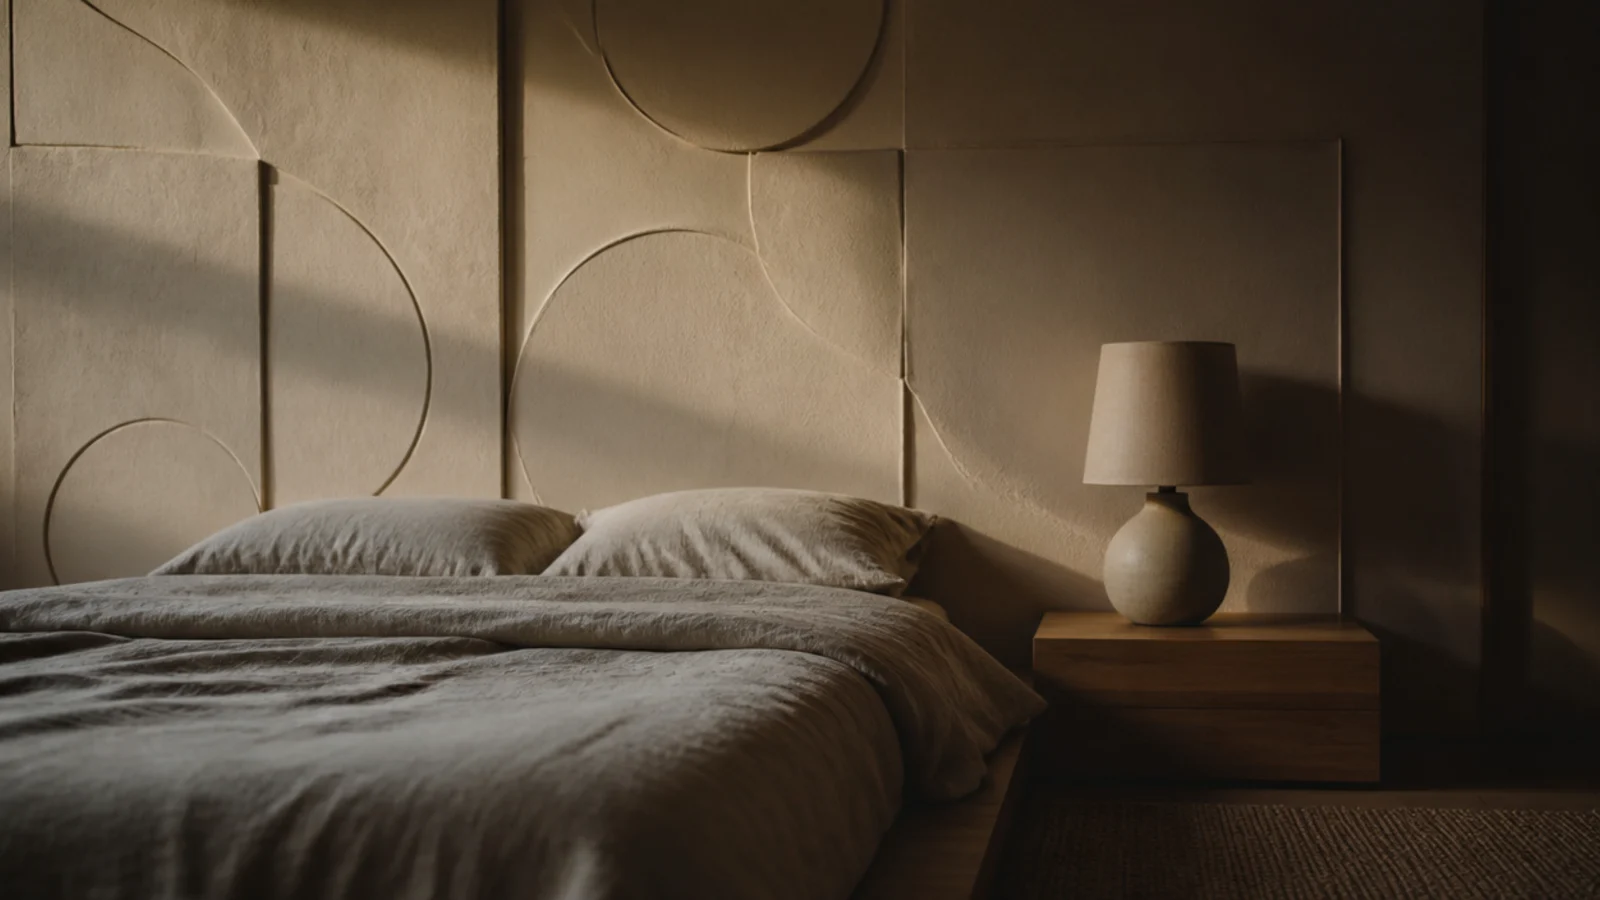
A wall of string lighting is either the best thing in a bedroom or the most obviously improvised, and the difference is about forty minutes of measuring. The version that works has a strand length matched to the wall, clips at a spacing you chose rather than guessed, and a cable that arrives at the socket in a straight line. Building a fairy lights bedroom wall took me an evening the first time and about ninety minutes every time since. These fifteen steps are that process in order, with the numbers I use.
In this guide18 sections — tap to openHide
- 1.What You'll Need For A Fairy Lights Bedroom Wall
- 2.Step 1: Measure the wall and choose the layout
- 3.Step 2: Work out strand length and bulb count
- 4.Step 3: Check the Kelvin number before you commit
- 5.Step 4: Find the socket and plan the lead route
- 6.Step 5: Mark the line in pencil and tape
- 7.Step 6: Test the whole strand flat first
- 8.Step 7: Clean and warm the surface
- 9.Step 8: Fix the two end clips first
- 10.Step 9: Space the clips between them
- 11.Step 10: Hang the strand with consistent slack
- 12.Step 11: Bring the cable down in one line
- 13.Step 12: Add the second layer or a diffuser
- 14.Step 13: Fit the timer or smart plug
- 15.Step 14: Style the wall around the light
- 16.Step 15: Check it at night and adjust
- 17.Pro Styling Rules
- 18.Mistakes to Skip
What You'll Need For A Fairy Lights Bedroom Wall
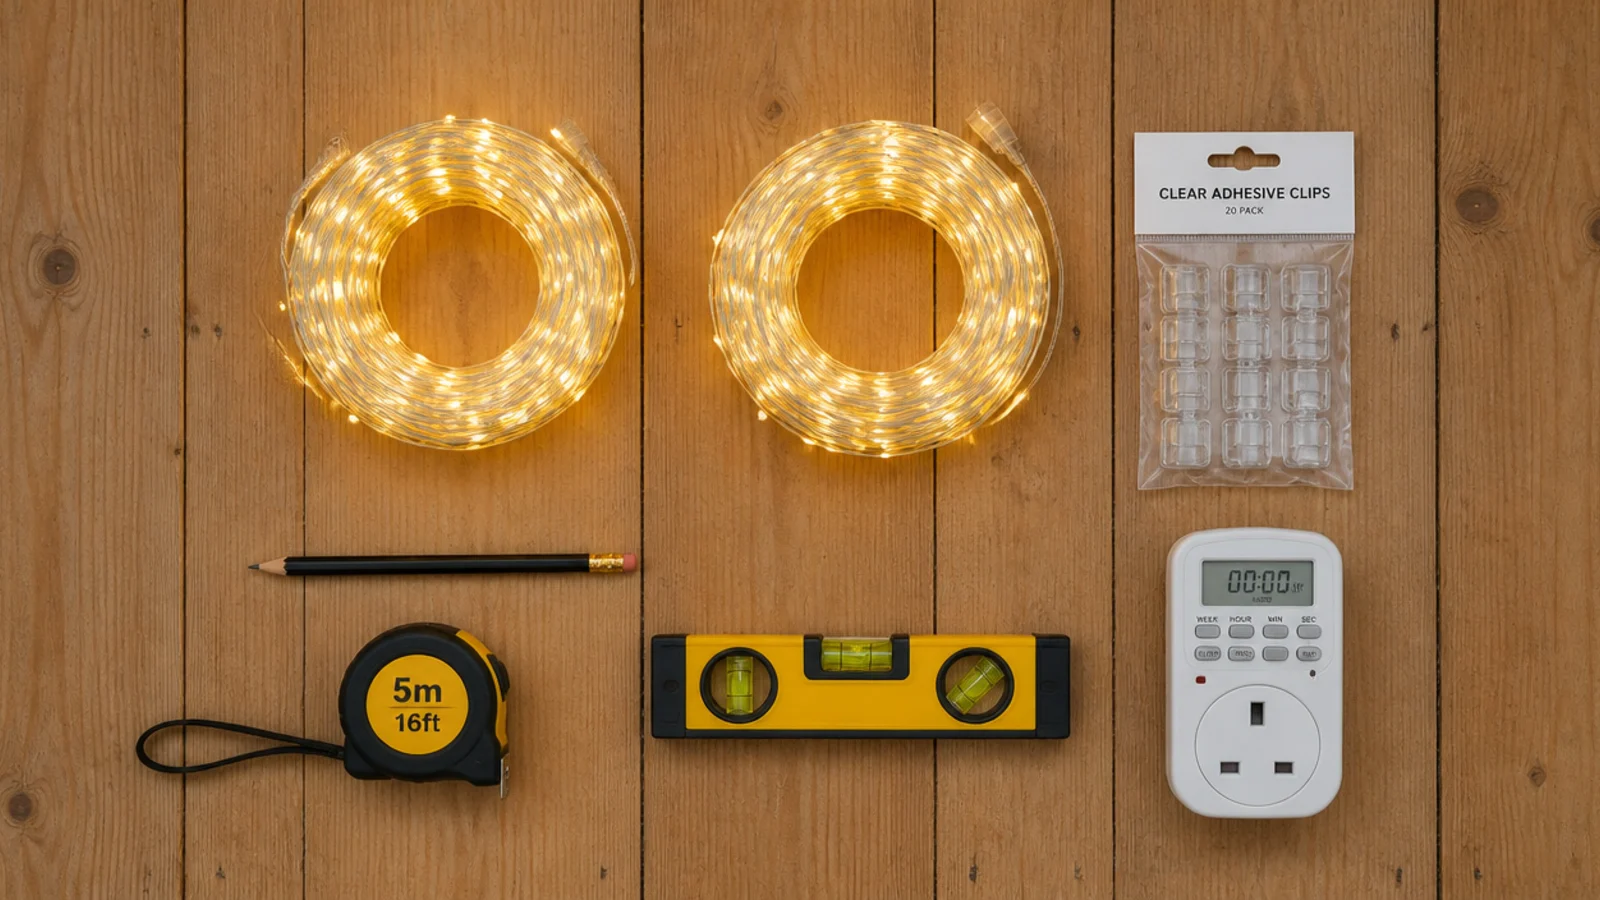
Two 33 foot warm white LED strands at $8 to $14 each, one pack of twenty clear adhesive cable clips rated around half a pound at about $4, and a timer or smart plug at $5 to $15. That is the whole shopping list for a standard 10 by 8 foot wall.
From the house: a tape measure, a pencil, low-tack painter tape, a small spirit level or a phone level app, a hairdryer, a step stool, and a handful of small cable ties for the drop.
Buy LED, not incandescent. LED bulbs sit close to body temperature while incandescent minis reach 60°C and up, and a feature wall usually ends up near a curtain, a canopy or the head of a bed. Check the box for a Kelvin figure of 2000K to 2200K, and check the tag for the maximum number of sets you may chain end to end — that number is a current limit, not a suggestion.
Two things you will not need: staples and drawing pins. Anything that pierces a cable sheath creates a fault that appears weeks later as a dead section, and it is the single most common way a cheap strand dies early. For the fixing options in a room where drilling is out of the question, simple renter setups covers the alternatives.
Step 1: Measure the wall and choose the layout
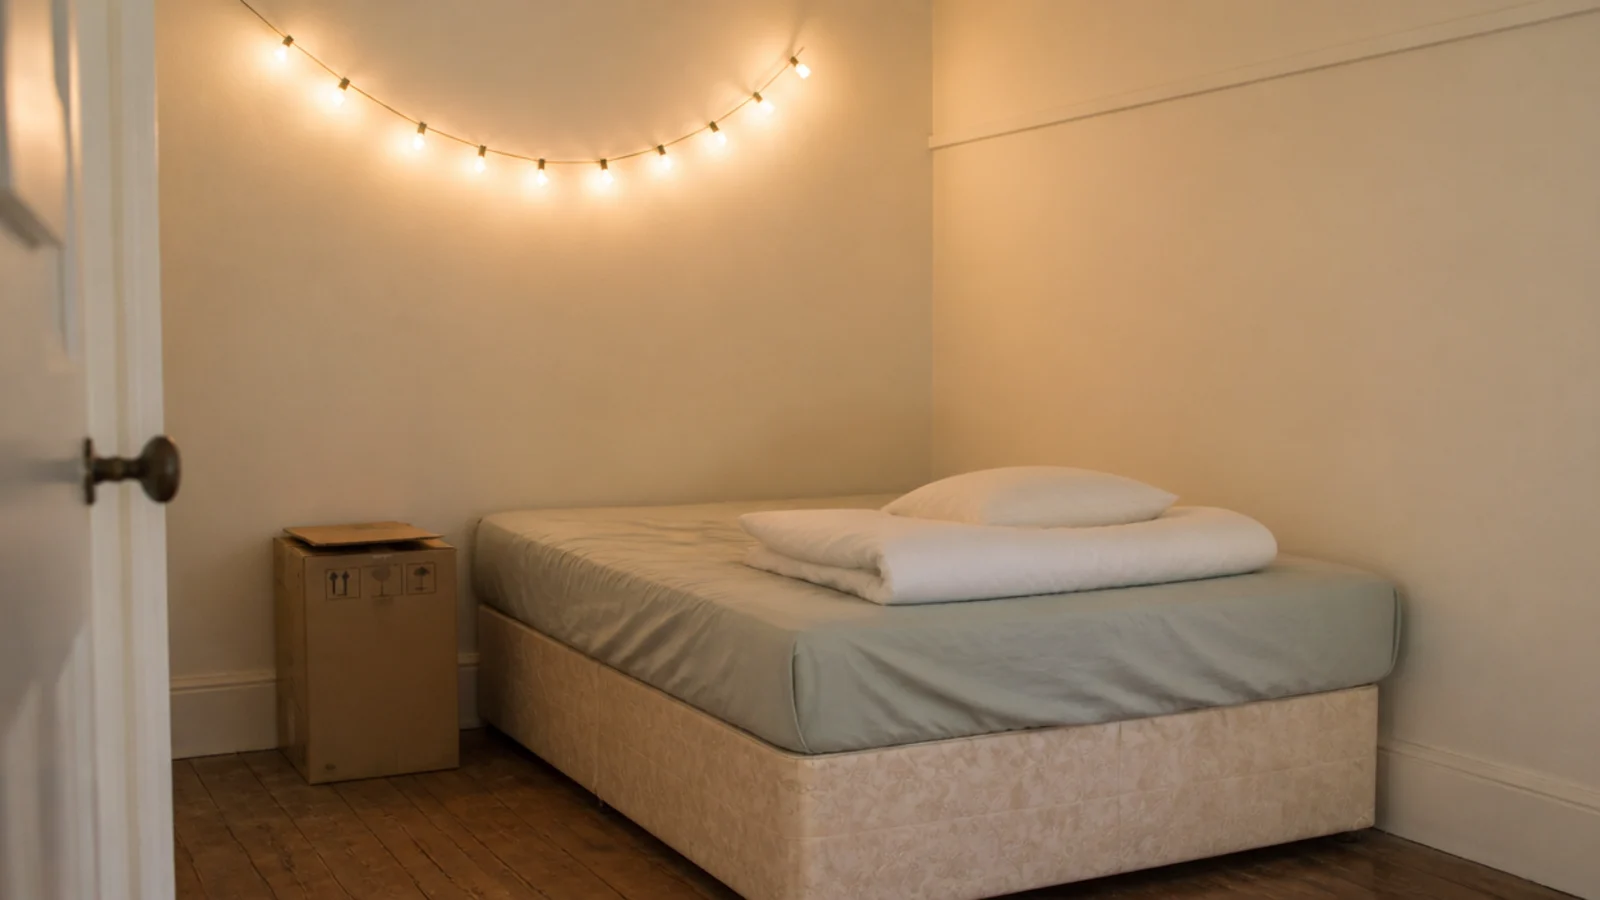
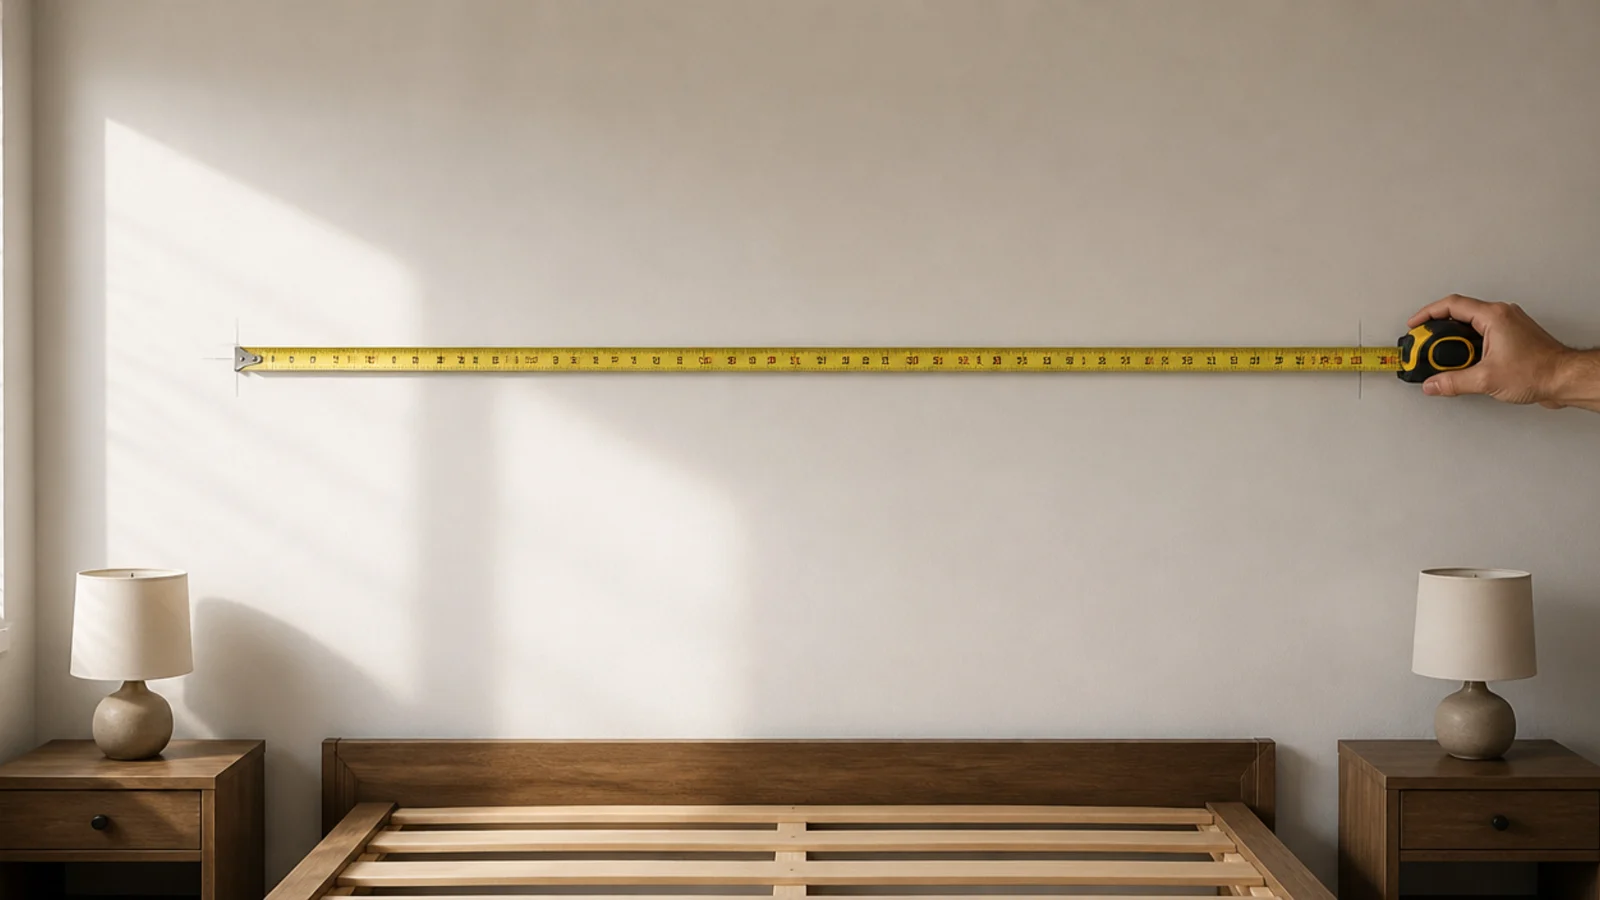
Measure width and height, then decide between three shapes: a single horizontal run, a shallow arc, or vertical drops. A 10 foot wall takes one horizontal run, a 12 foot wall carries an arc comfortably, and anything under 8 feet wide looks better with drops because verticals make a narrow wall feel taller.
Write the numbers down. Every decision after this is arithmetic on those two figures, and guessing at the shop is how people end up with 16 feet of strand for a 10 foot wall.
Step 2: Work out strand length and bulb count
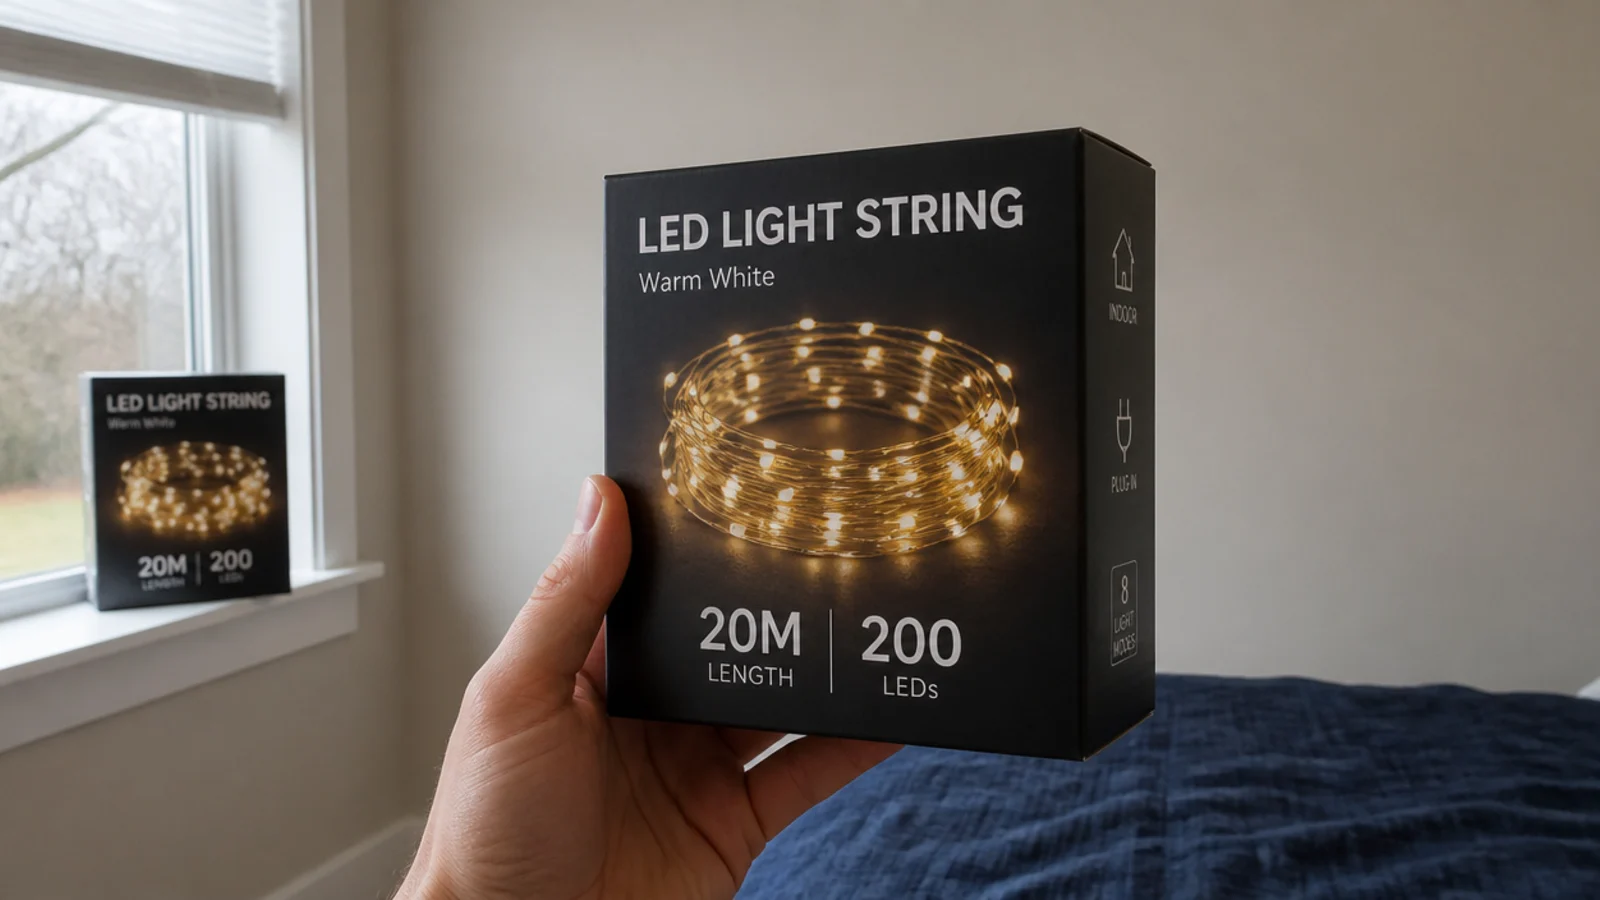
Copper wire sets space LEDs about 4 inches apart, so 100 LEDs is roughly 33 feet, 50 LEDs about 16 feet and 200 LEDs about 66 feet. For a 10 by 8 foot wall, one 33 foot strand gives an outline and two give a wash.
Add 5 feet for the drop to the socket. Then buy two shorter strands rather than one long one: low-voltage runs dim along their length, and the far end of a 66 foot set reads visibly weaker than the first few feet.
Step 3: Check the Kelvin number before you commit
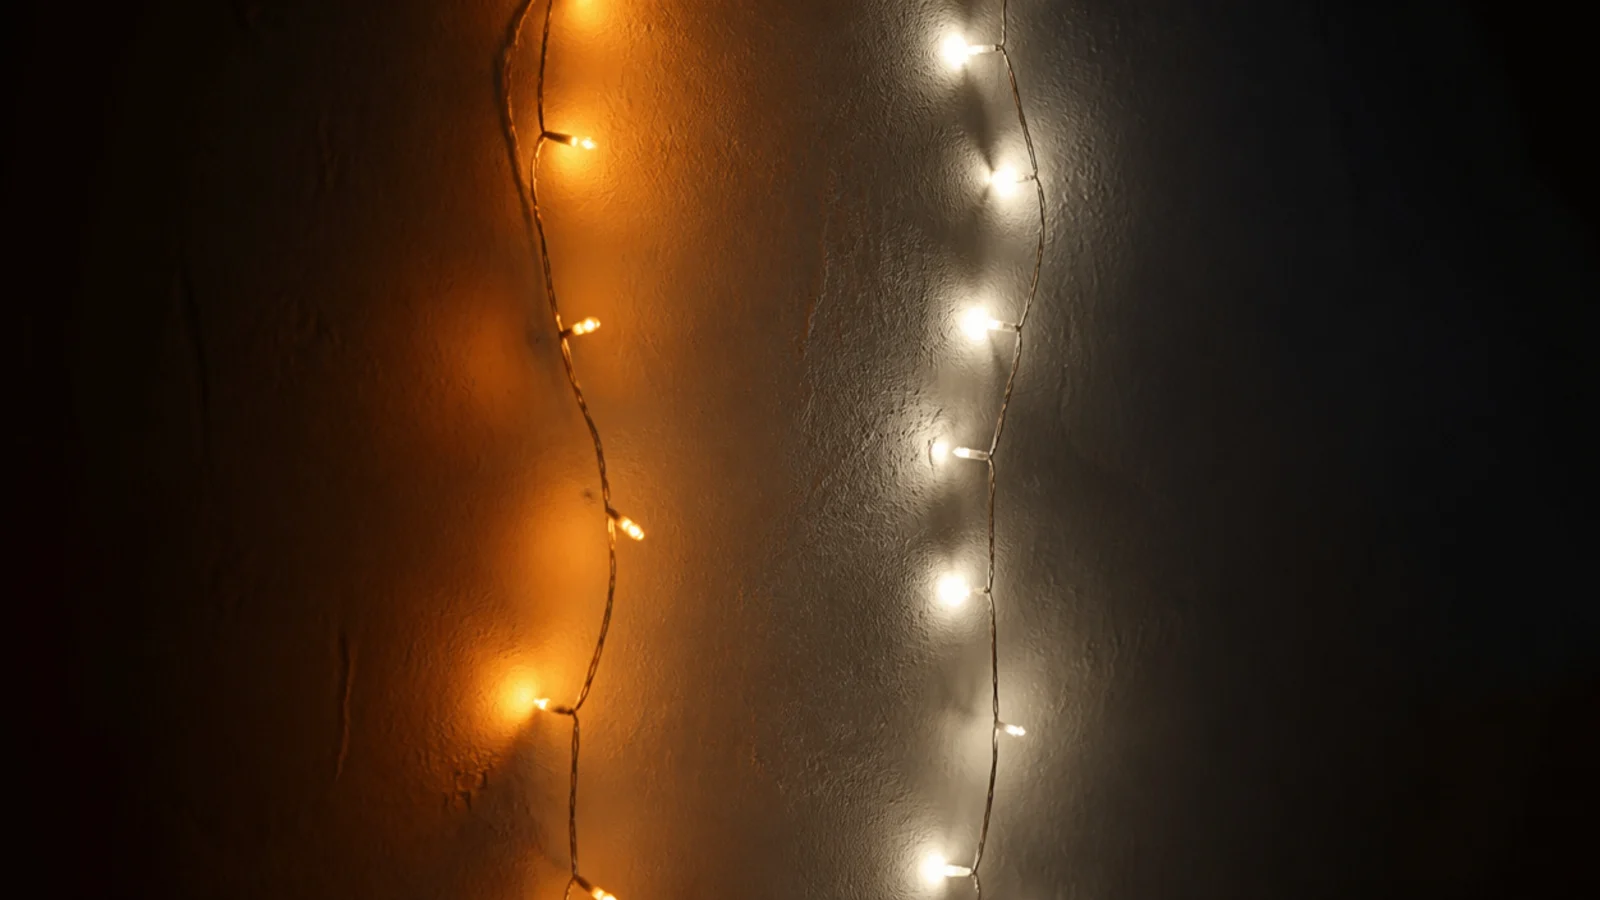
Warm white covers 2200K through 3500K depending on who wrote the listing. Look for the actual figure. At 2000K to 2200K the light reads like candlelight; at 3000K it goes silvery and the wall stops looking like a bedroom.
If you already own one strand, buy the second from the same range. Two different warm whites on one wall read as a fault from the doorway, and no styling fixes it after dark.
Step 4: Find the socket and plan the lead route
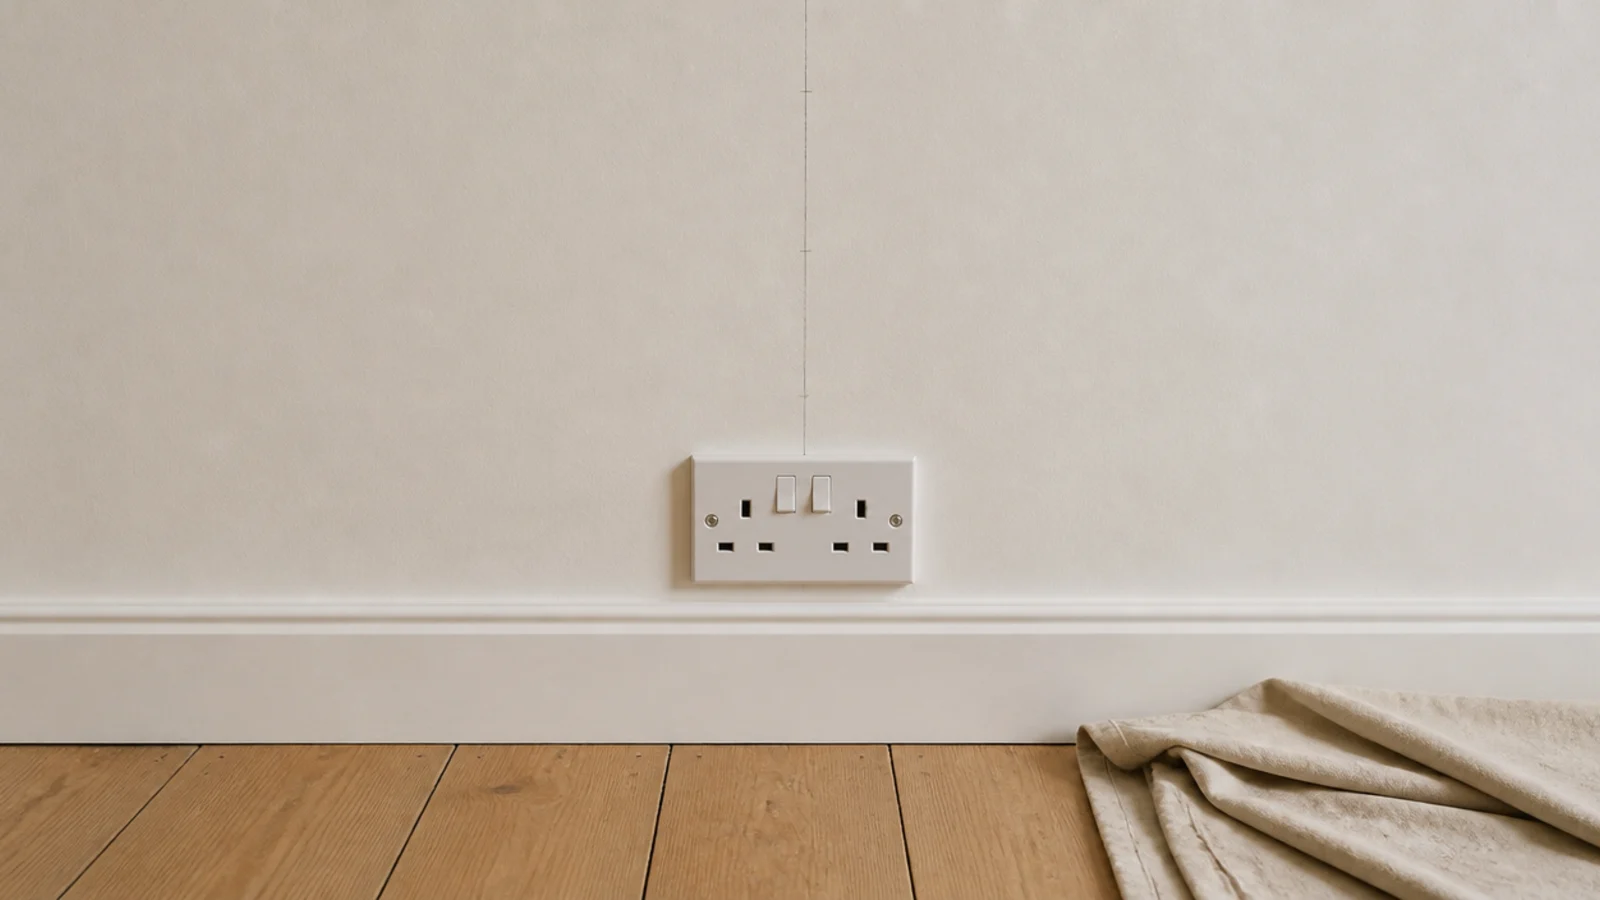
A 33 foot strand usually carries about 5 feet of unlit lead. Measure from where the run will start to the socket, and if the gap is longer, add a flat extension along the skirting rather than buying a longer strand.
Plan that route now, in pencil. It goes down a corner or behind furniture, clipped to the wall face — never under a rug, where a cable is abraded by every footstep and has nowhere to shed heat, and never across a walkway.
Step 5: Mark the line in pencil and tape
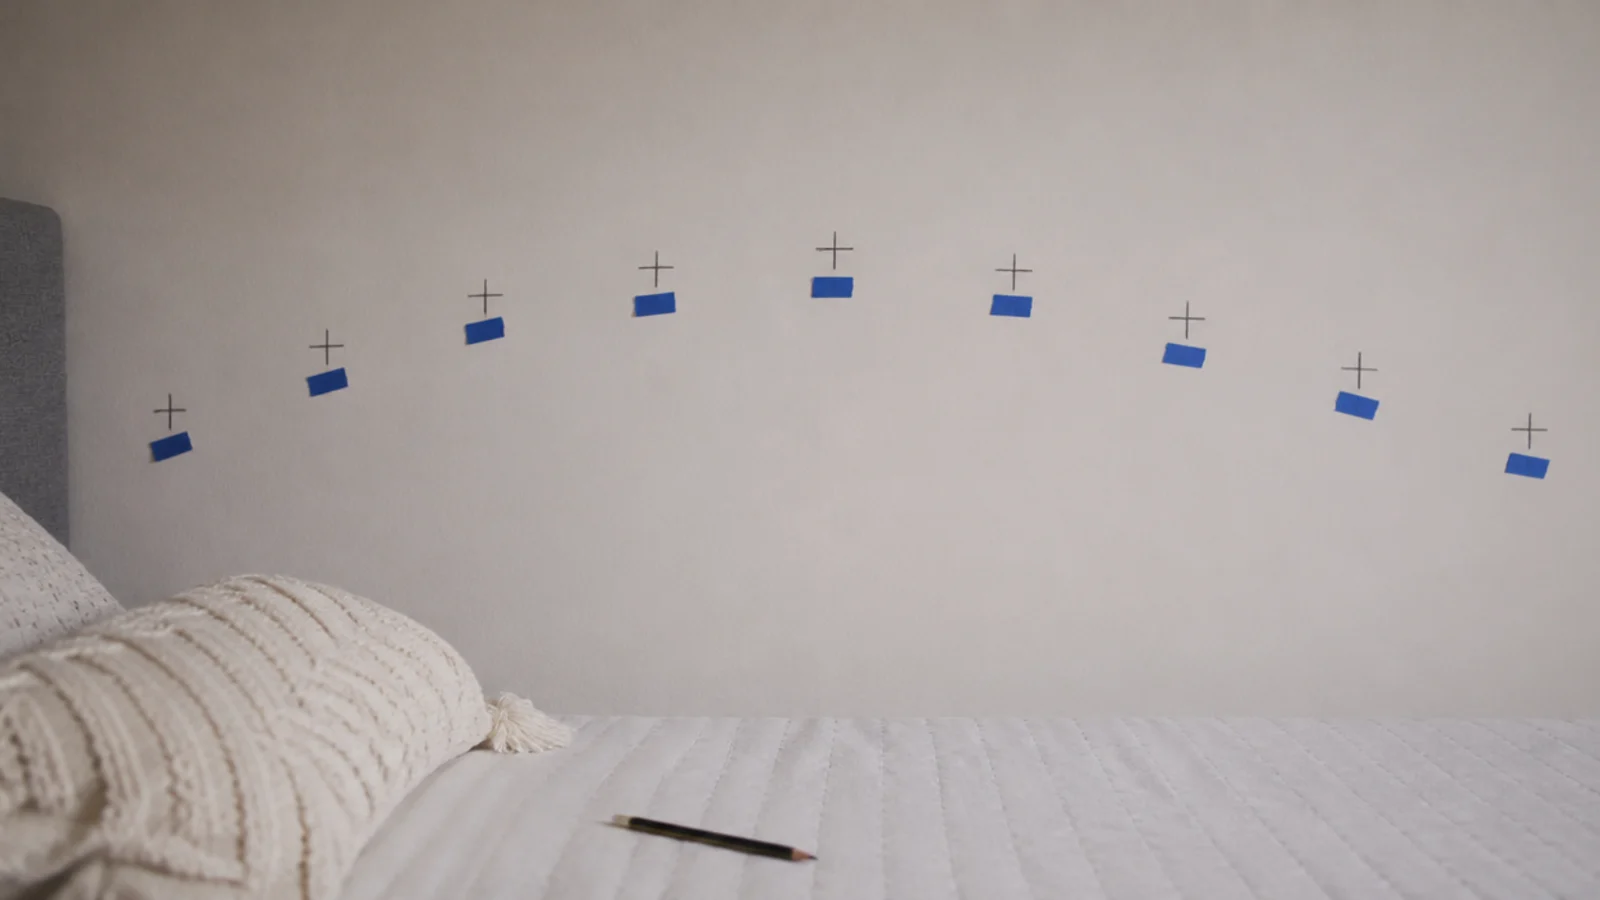
Mark the two end points, then use painter tape to describe the shape in between. A shallow arc wants to rise about 8 inches over a 10 foot span; a straight run wants a level line you have actually checked rather than eyeballed.
Leave the tape up for one evening and look at it with the room lit as it normally is. Half of my layouts have changed at this point, which costs nothing in tape and a great deal in clips.
Step 6: Test the whole strand flat first
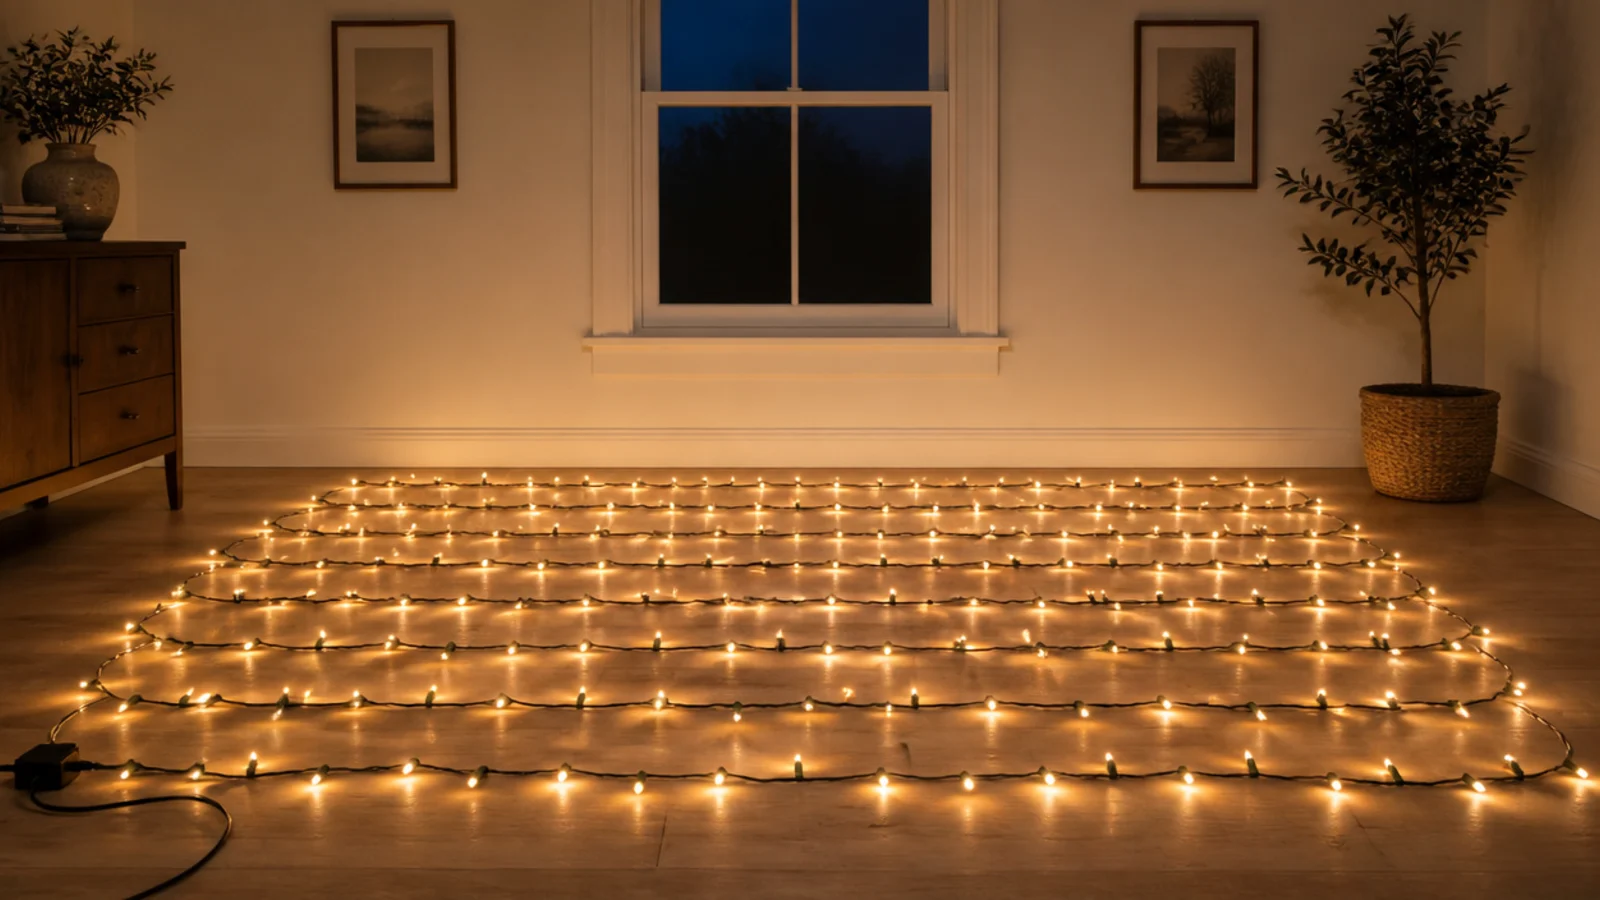
Lay the strand out on the floor, plug it in and walk its full length. Dead sections halfway along a run are common on cheap sets and impossible to repair on sealed copper wire.
Leave it lit for twenty minutes while you do the next step. A set that is going to fail early usually shows itself in the first hour, and finding out now is far cheaper than finding out with ten clips already on the wall.
Step 7: Clean and warm the surface
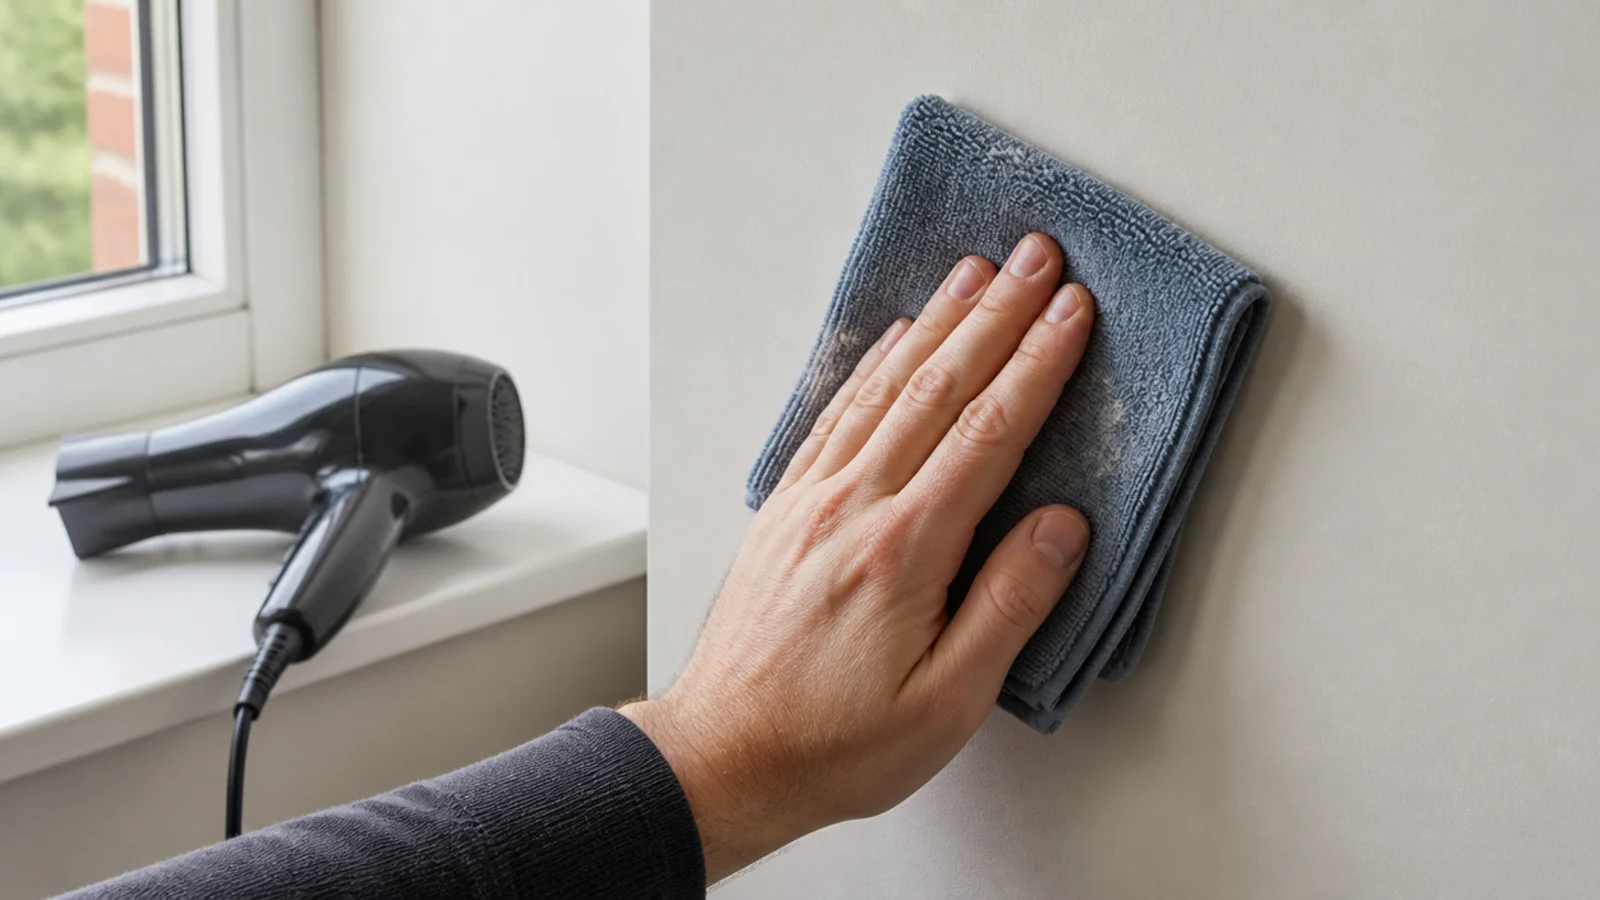
Wipe the clip positions with a dry microfibre cloth. Dust is the reason most adhesive clips let go, not weight — a 33 foot strand weighs about 3.5 ounces, which is nothing.
If the room is under about 60°F, warm each spot with a hairdryer on low for ten seconds. Cold walls are why clips drop overnight in winter. Never fix to paint applied within the last four weeks; it has not cured and it will come away with the clip.
Step 8: Fix the two end clips first
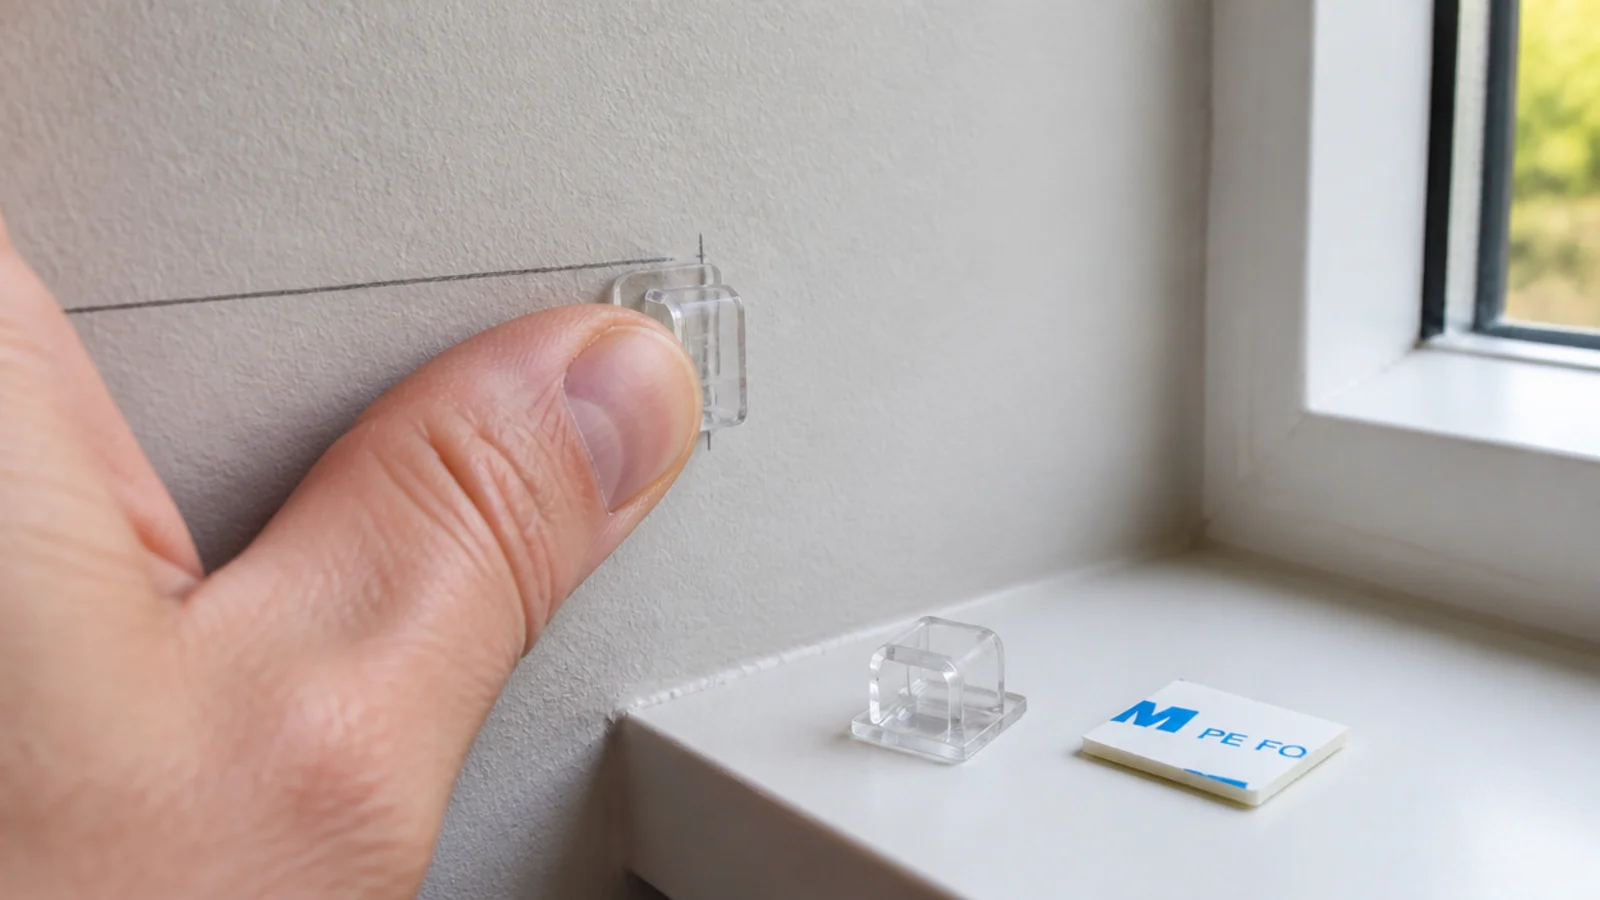
The ends define the shape, so they go in before anything else. Press each clip firmly for a full 30 seconds and then leave it for an hour before it carries anything.
That hour is not optional. Most clip failures are impatience rather than load, and an adhesive pad that has not had time to bond simply lets go the first warm afternoon.
Step 9: Space the clips between them
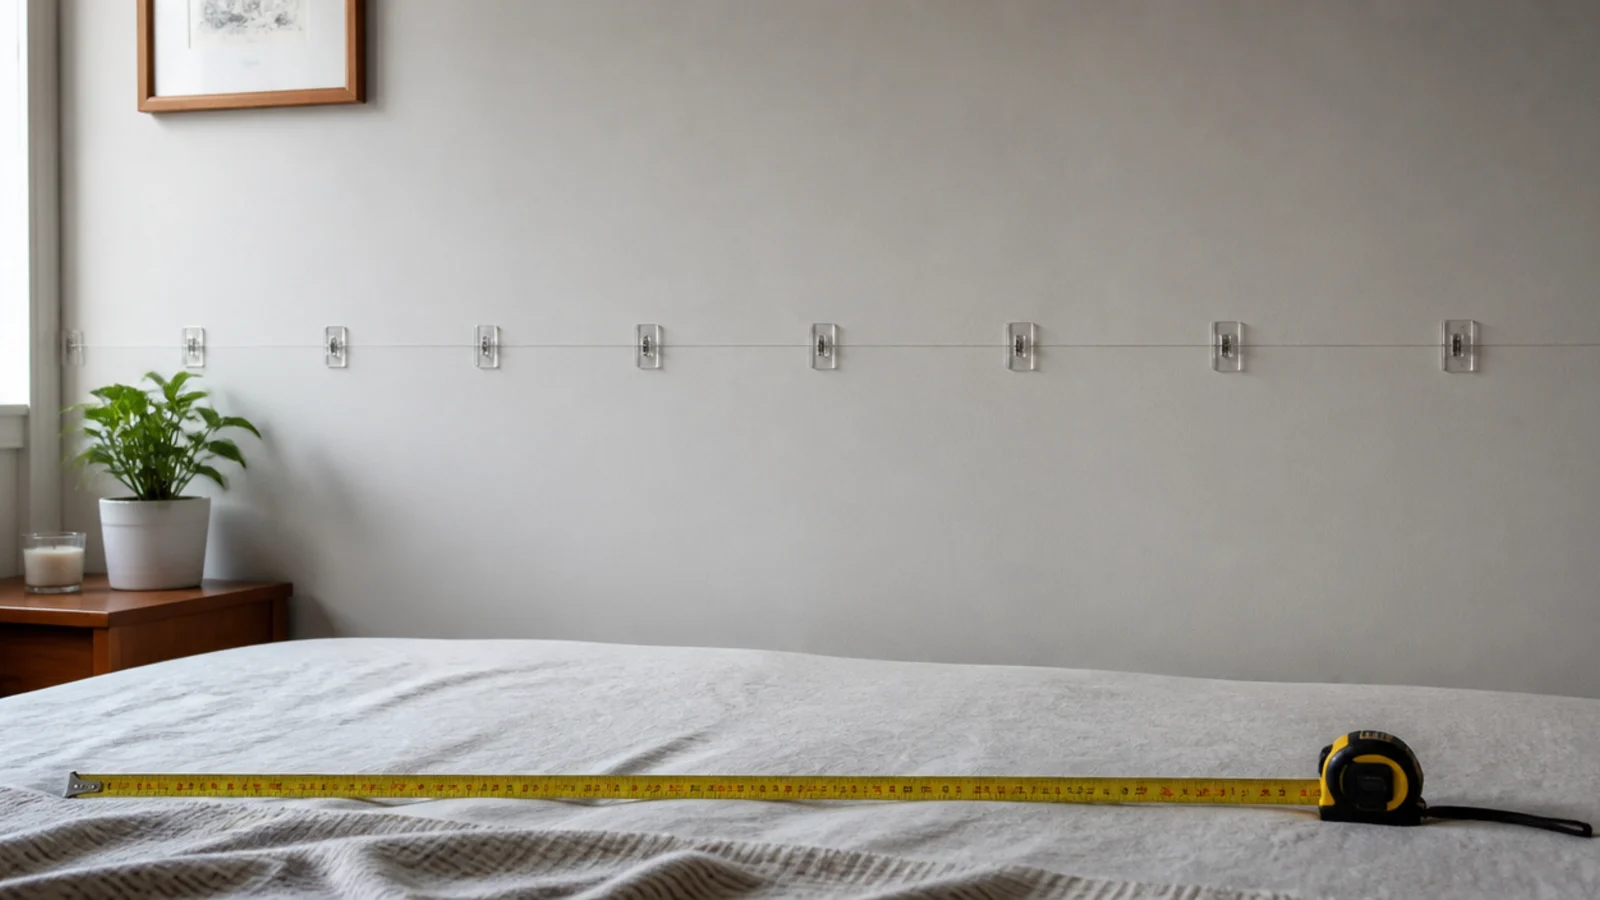
Measure the span, divide it into equal segments of 12 to 16 inches and mark each one. A 10 foot run therefore takes eight to ten clips. Even spacing is what makes a run read as installed rather than draped.
If the run turns a corner, put a clip 3 inches either side of the angle and leave slack between them, so the wire curves rather than folds. A tight fold at a corner is where a strand eventually fails.
Step 10: Hang the strand with consistent slack
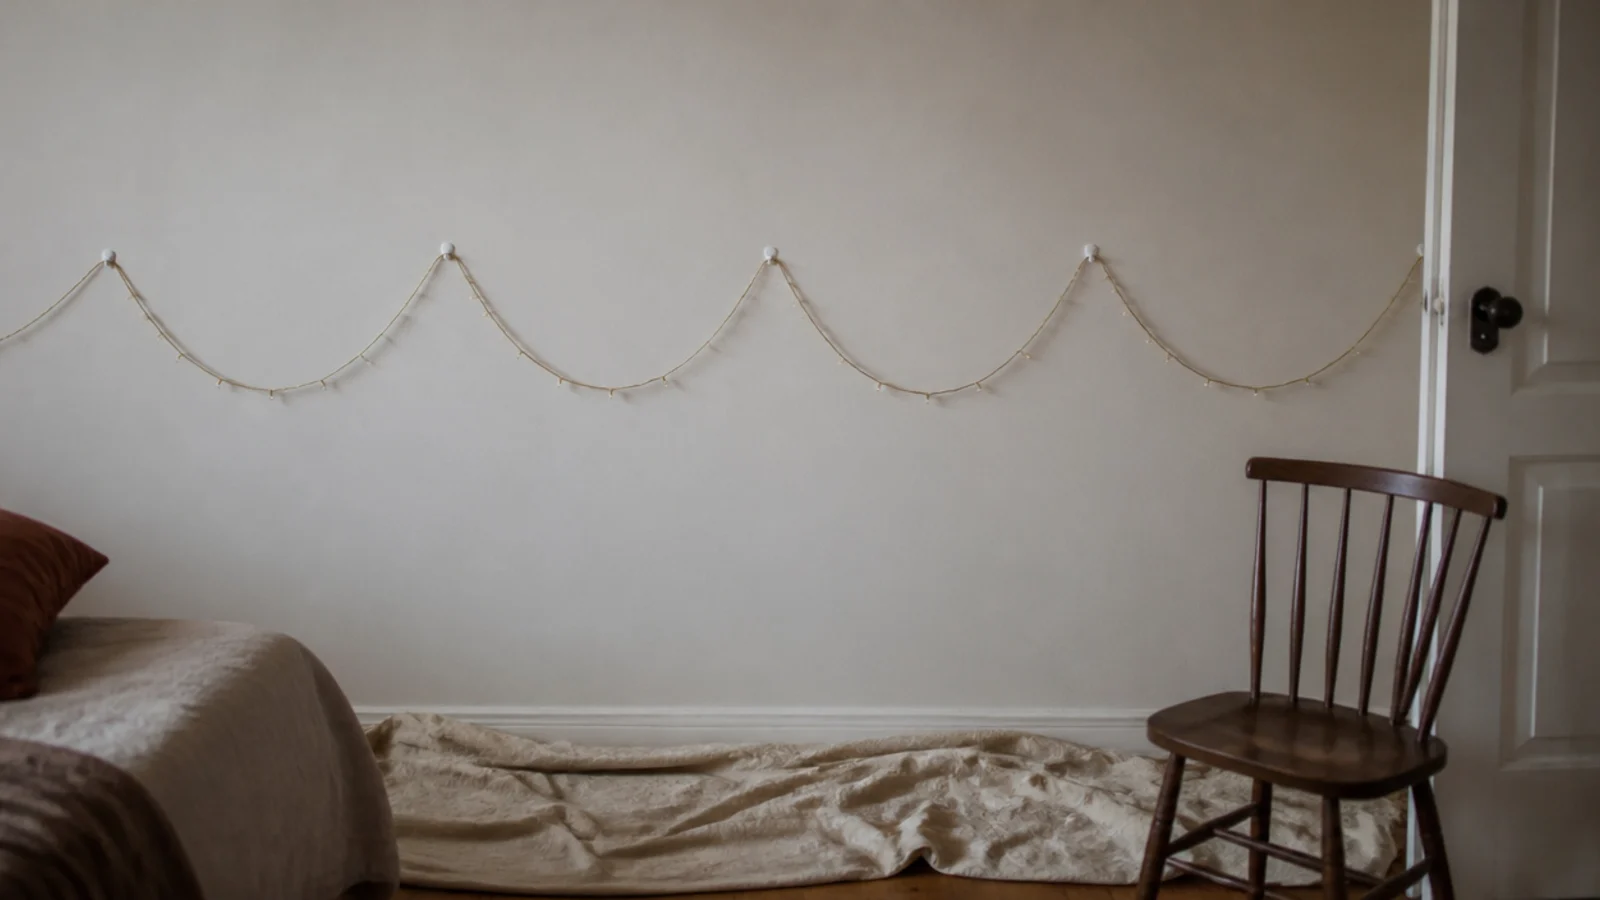
Seat the wire into each clip working from one end. Either pull it taut for a straight line, or let each span dip by the same amount — about 6 inches every 3 feet reads well.
Consistency matters more than the choice. The eye forgives a deep, deliberate curve and never forgives a nearly straight line that sags in two places. Step back every three clips and check.
Step 11: Bring the cable down in one line
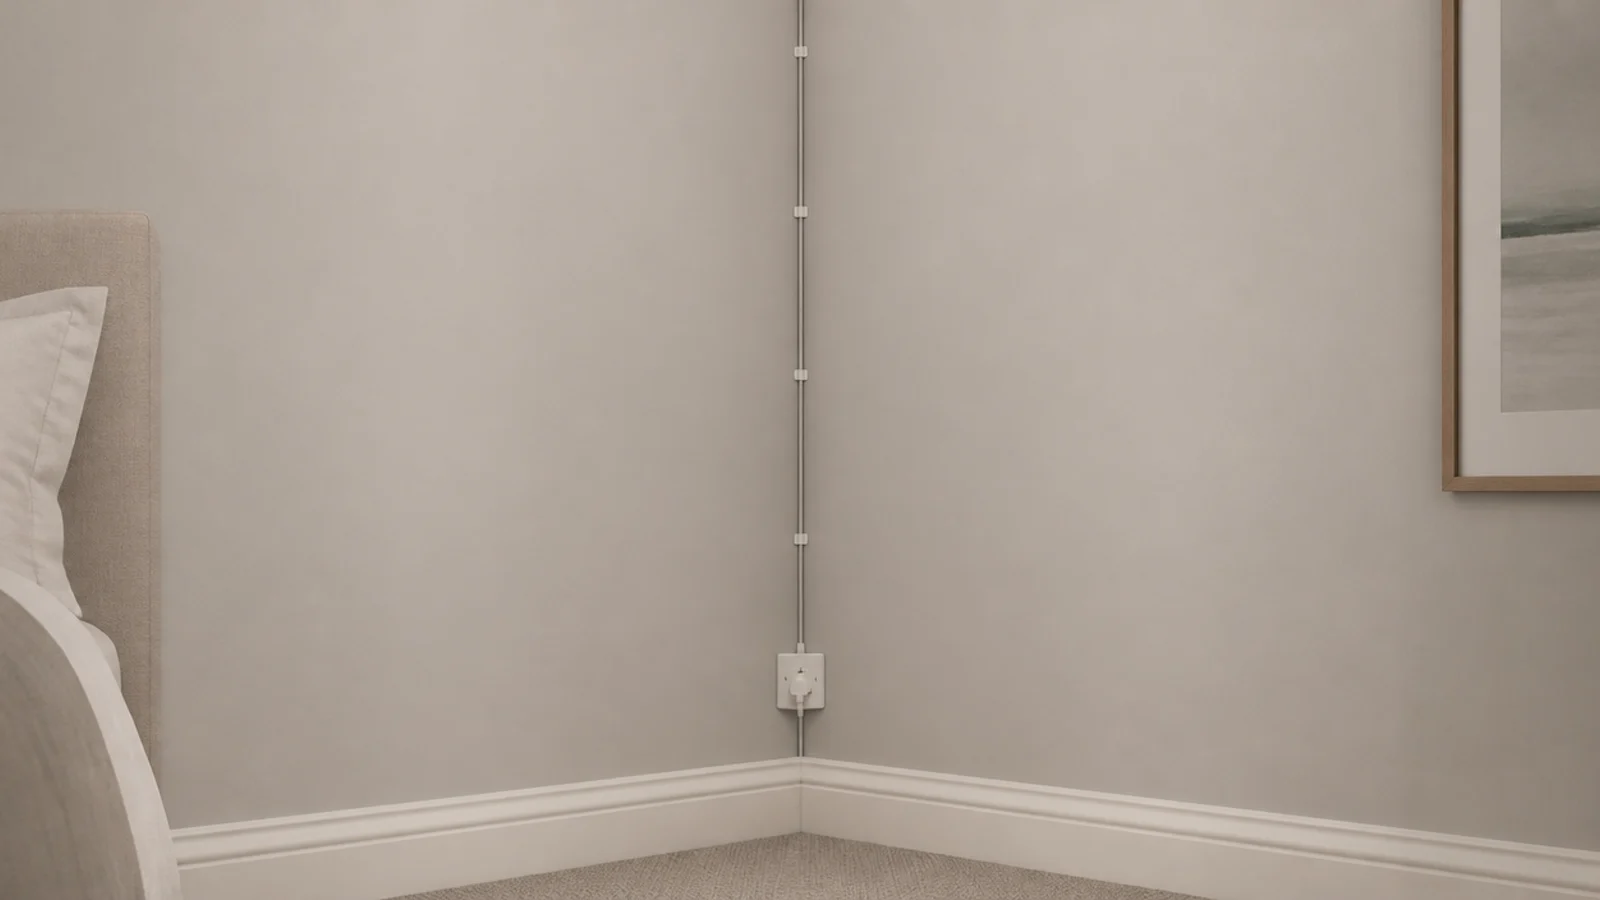
Take the lead down in a single dead straight vertical, clipped every 12 inches, ideally inside a corner or behind a wardrobe edge. Leave 18 inches of slack near the plug so nothing is ever under tension against the socket.
Keep the driver or battery pack in open air rather than tucked behind a cushion or inside bedding. This is the step people skip, and it is the one that separates a wall that looks finished from one that looks temporary.
Step 12: Add the second layer or a diffuser
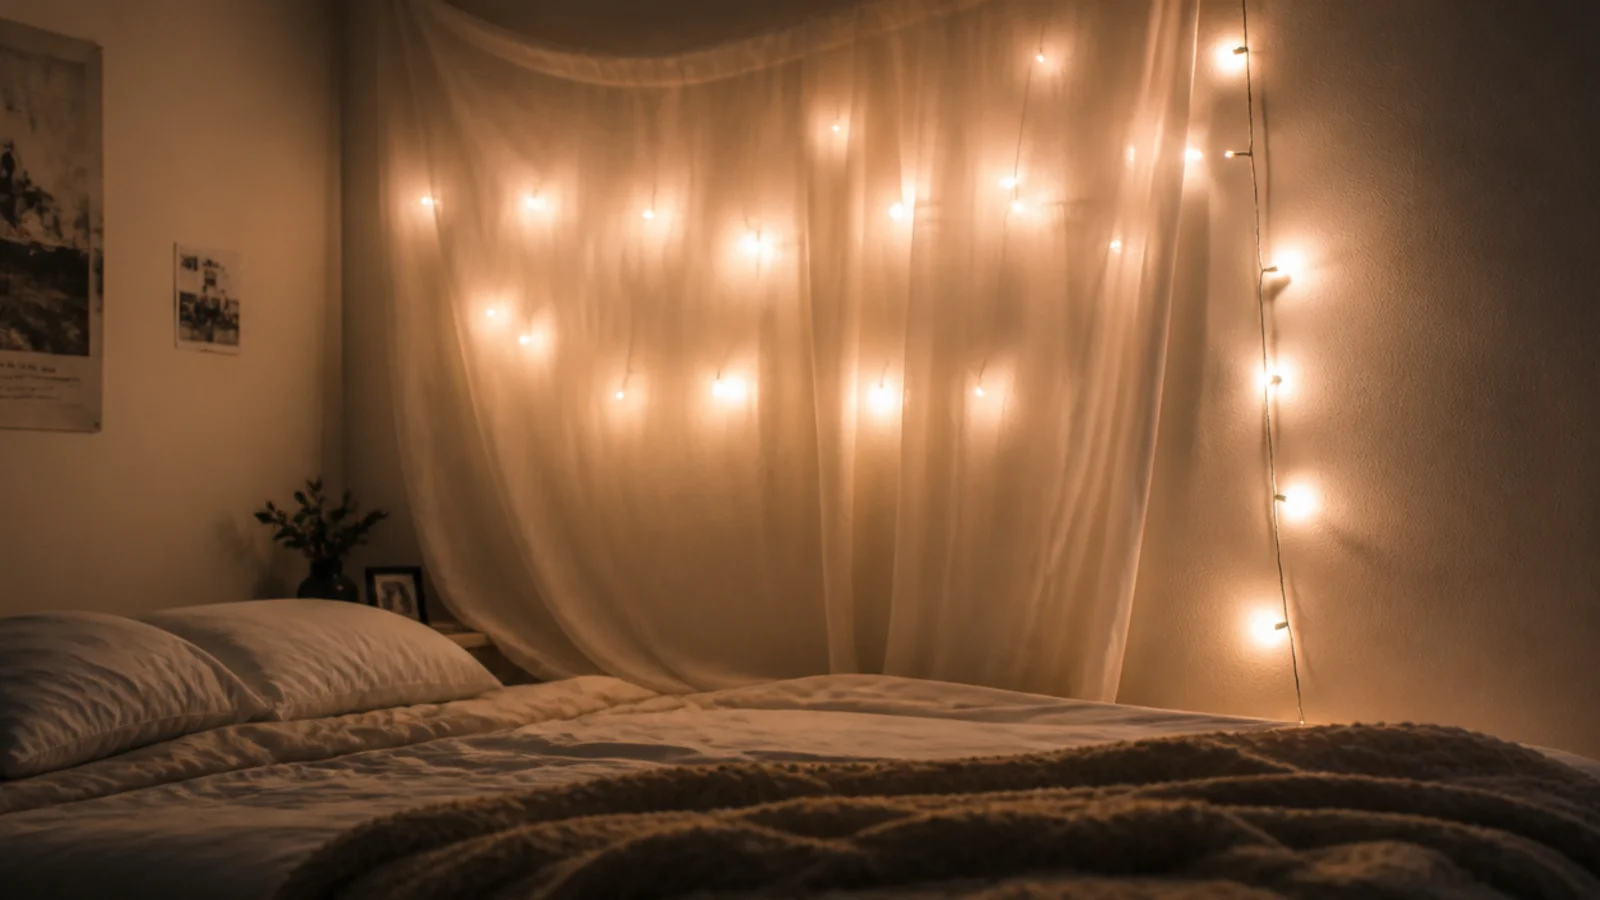
Now decide whether the wall needs more. A second strand doubles the density; a sheer panel clipped 3 to 4 inches in front turns the bulbs into a soft sheet; small paper shades cover only the bulbs sitting in your eyeline between 40 and 65 inches.
Keep any fabric 3 inches clear of the bulbs and draped rather than wrapped, so air moves and the cable is never under tension against cloth.
Step 13: Fit the timer or smart plug
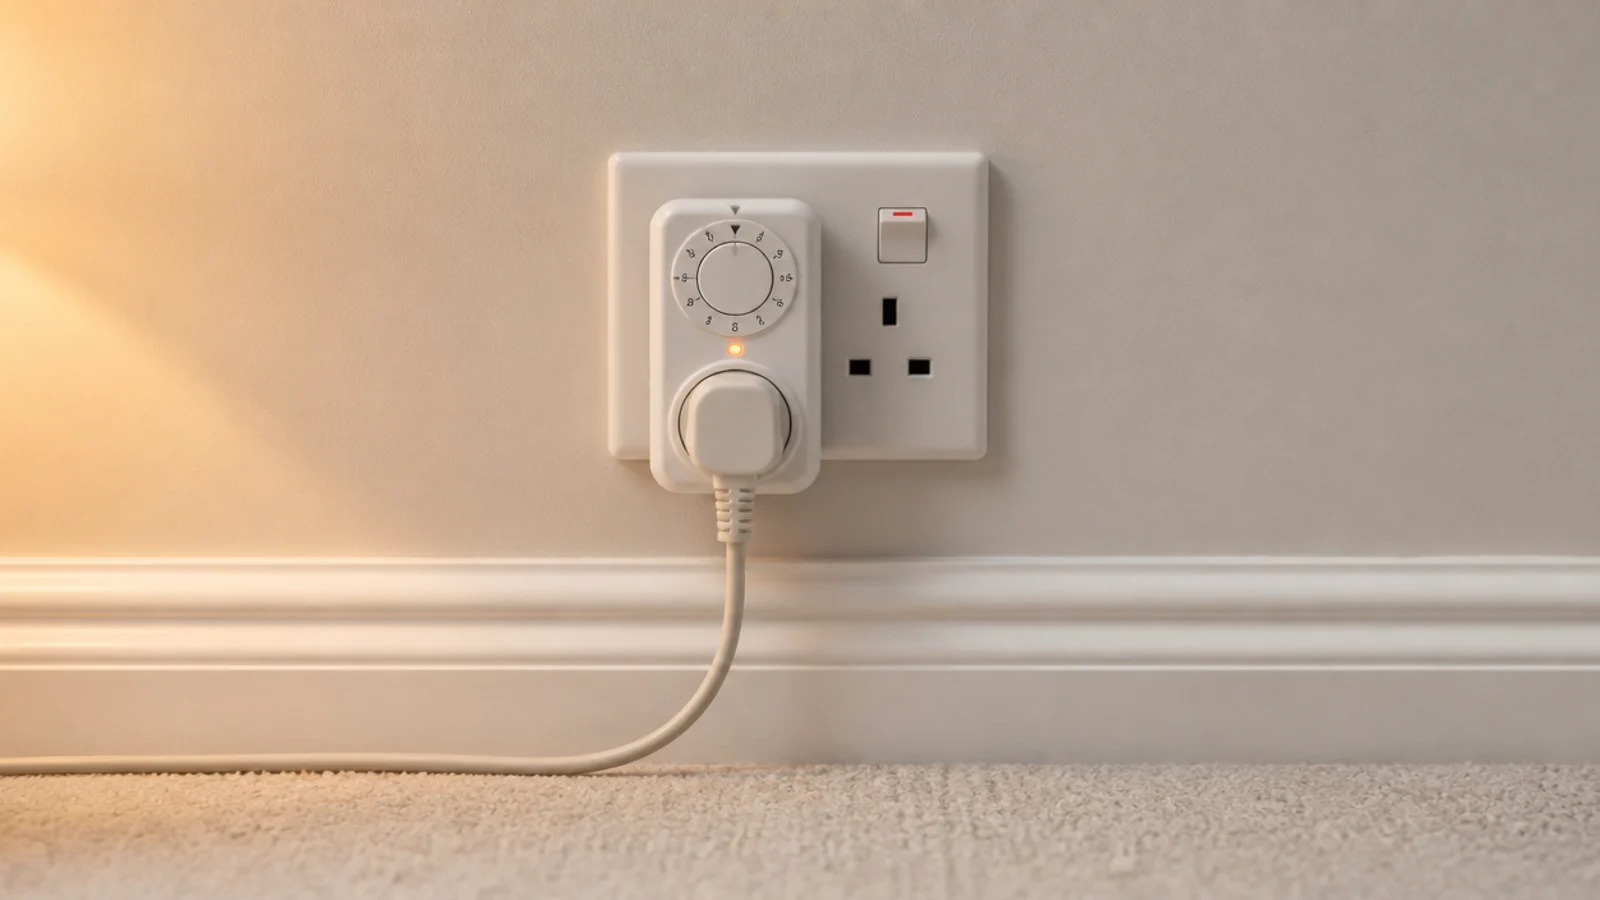
A $5 dial timer or a $12 smart plug on a six-hour schedule finishes the job. It stops the slow drift into leaving the wall lit all night and it puts every strand on the same switch.
If two strands share one socket, run both through one extension and one timer so they always come on and go off together. Two sources that switch separately never quite read as one scheme.
Step 14: Style the wall around the light
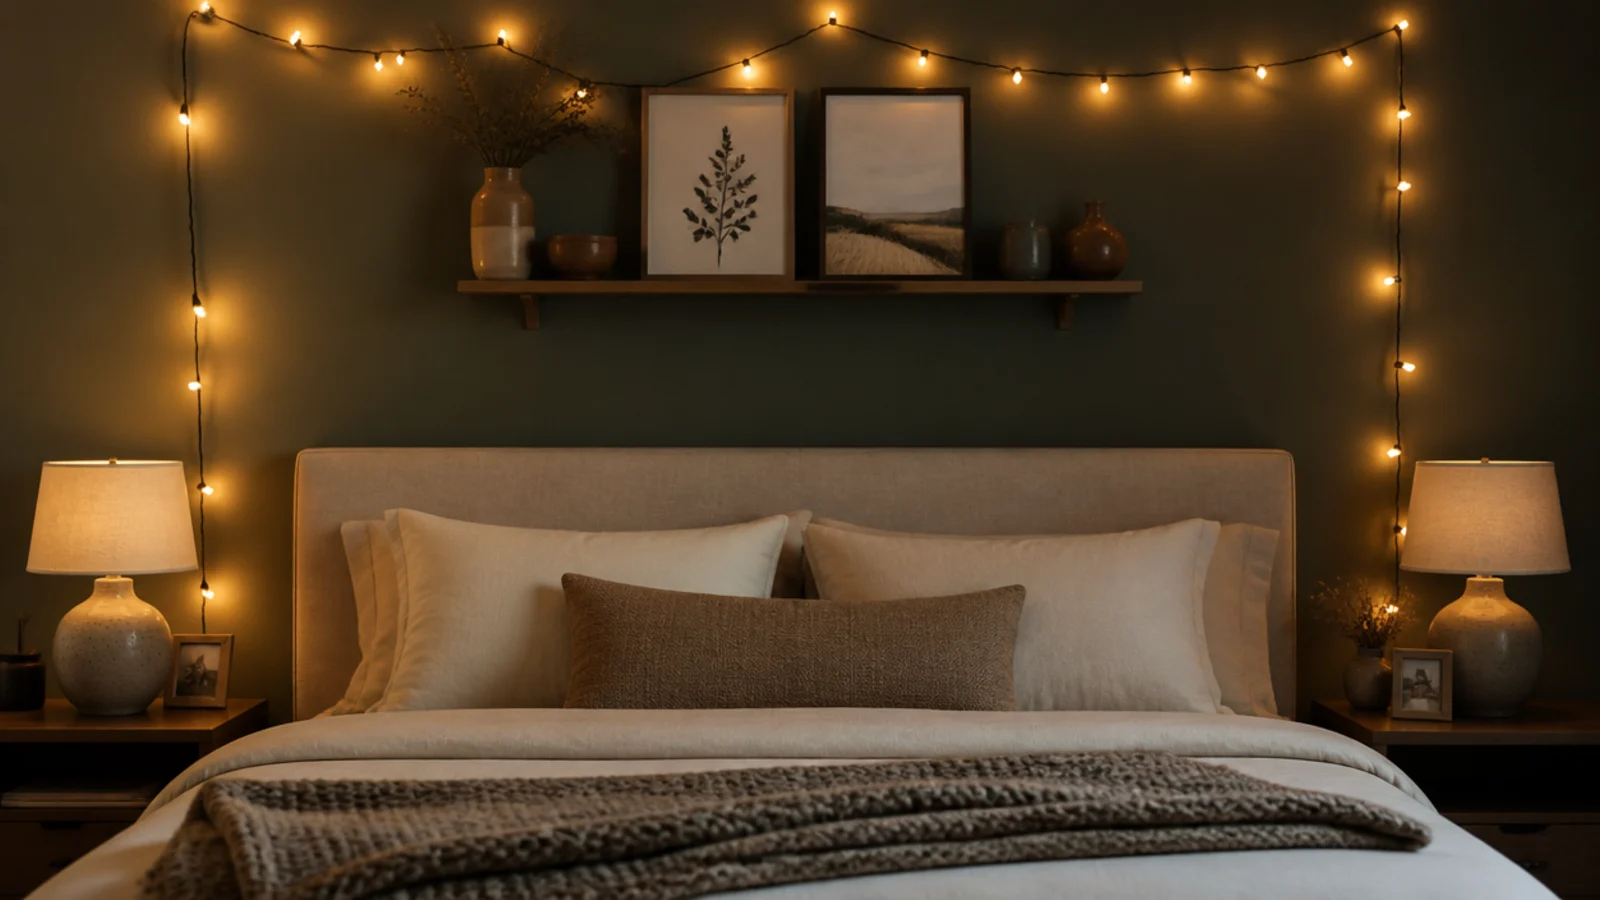
Fill the gaps the strand leaves. Two or three framed pieces, a narrow shelf, or a leaning mirror all pick up the light and give it something to land on. Keep objects out of the run itself so the wire stays free.
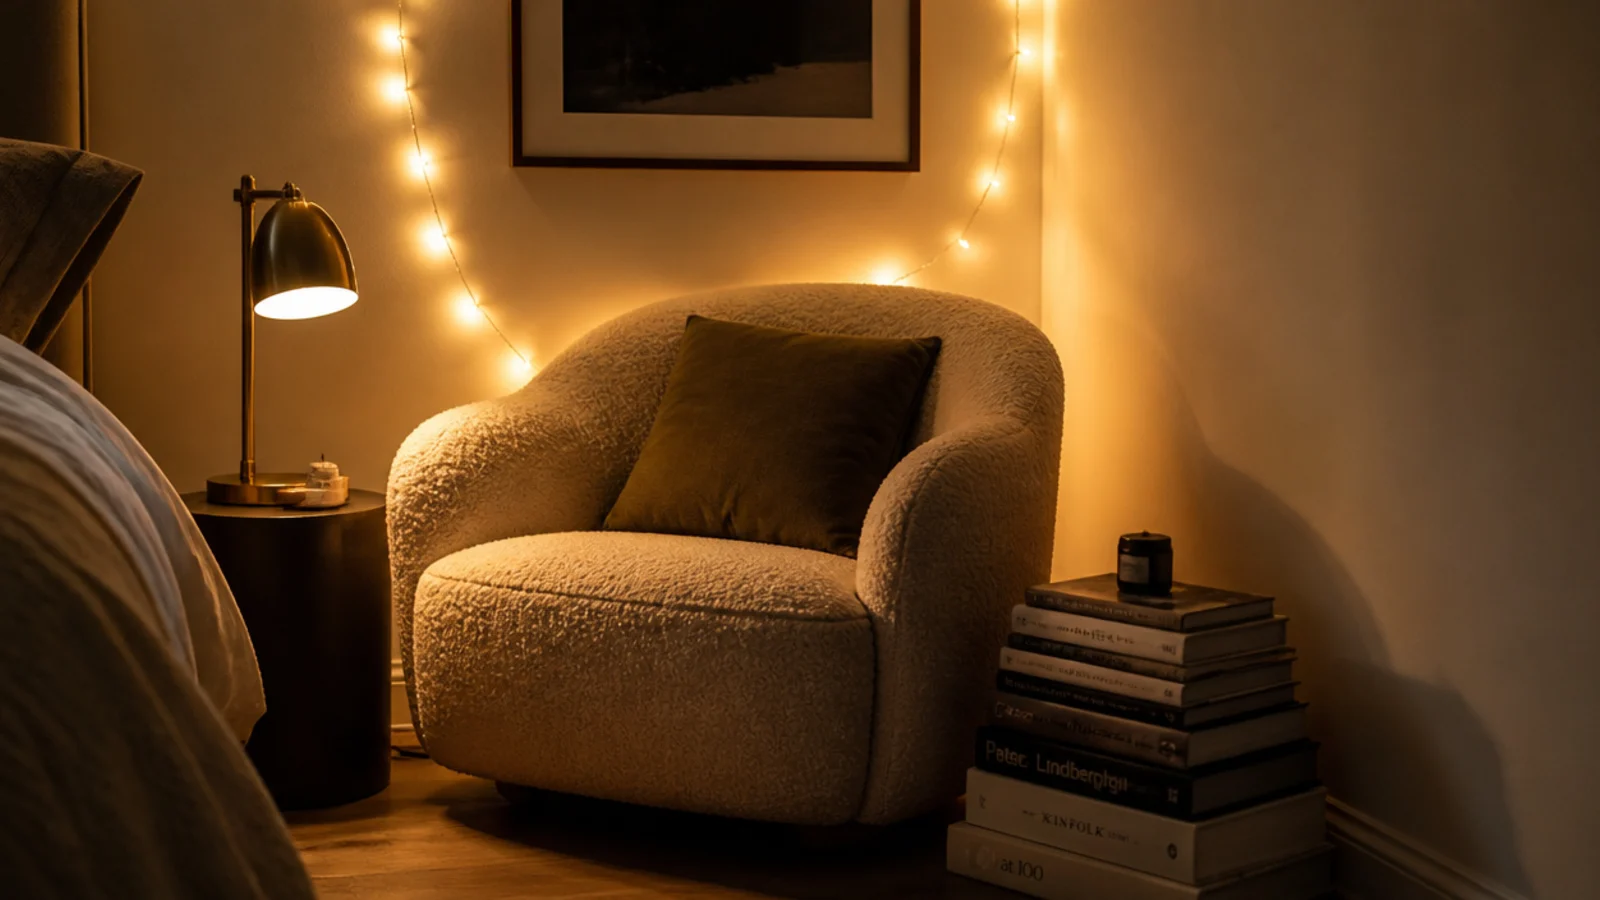
Light on bare plaster reads as decoration; light falling across pottery, timber and paper reads as a lit room. There is more on this in mirror wall decor ideas.
Step 15: Check it at night and adjust
Sit on the bed at eleven with the ceiling light off and look at the wall from the pillow. That is the only viewpoint that matters, and it is not the one you have been working from all evening.
Look for bulbs in your eyeline, uneven dips, and any bright point that pulls focus. Moving one clip 2 inches usually fixes all three, and it takes a minute now against a month of mild irritation.
Pro Styling Rules
If the wall is only half the plan, the full hanging method covers ceilings and awkward surfaces, and aesthetic corner setups has the smaller arrangements that sit beside a feature wall. For a proper fixture in the same room, hanging lights compares the options.
Mistakes to Skip
- Starting at the middle of the wall. Fix both ends first and work inward, or the run finishes 8 inches short of where you meant it to and the whole line shifts.
- Loading a clip immediately. Thirty seconds of pressure and a full hour of cure is the difference between a wall that holds all winter and one that drops at 3am.
- Using one 66 foot strand for the whole wall. The far end dims noticeably and one failure takes out the entire layout instead of half of it.
- Judging the result with the main light on. Every decision here is made for a dark room, so turn everything else off before you decide anything is finished.
Frequently asked questions
How much fairy light strand does one bedroom wall need?
For a wall about 10 feet wide and 8 feet high, one 33 foot strand of 100 LEDs gives a light outline and two give a proper wash. Copper wire sets space bulbs roughly 4 inches apart, so length and bulb count move together. Add 5 feet for the drop to the socket before you buy.
How far apart should the clips be on a wall?
Every 12 to 16 inches on a vertical wall surface, and closer at 10 to 12 inches on a ceiling where the adhesive is pulling straight down. A 10 foot horizontal run therefore needs eight to ten clips. Put the two end clips in first and let the intermediate ones set the shape.
Should fairy lights on a wall be straight or draped?
Either, as long as it is consistent. A dead straight run wants a level or a laser line and reads architectural. A draped run wants identical dips of about 6 inches every 3 feet. The failure mode is a run that is nearly straight, because the eye reads small variation as a mistake.
What colour temperature suits a bedroom feature wall?
Between 2000K and 2200K for the strings themselves and no higher than 2700K for any lamp on the same wall. Above 3000K the light turns silvery and the wall reads like a corridor. The Kelvin number is printed on the box, and warm white as a phrase covers everything from 2200K to 3500K.
How do I hide the cable running down to the socket?
Bring it down in one dead straight vertical line, ideally in a corner or behind a piece of furniture, clipped every 12 inches. Leave 18 inches of slack near the plug so nothing is under tension. Never run it under a rug or across a walkway to reach a closer outlet.
Want more like this? Browse all 15 fairy lights bedroom guides — they all use the same measurements and budget tiers.
Pin it for later
Save this to your Fairy Lights Bedroom board
Pin it now so it is waiting for you when the tape measure comes out — and so the next person hunting for this idea can find it too.
Save this pinKeep going
More ideas worth saving while you have the tape measure out.