Bedside Table Ideas · Listicle
20 DIY Bedside Table Ideas Under 50 Dollars

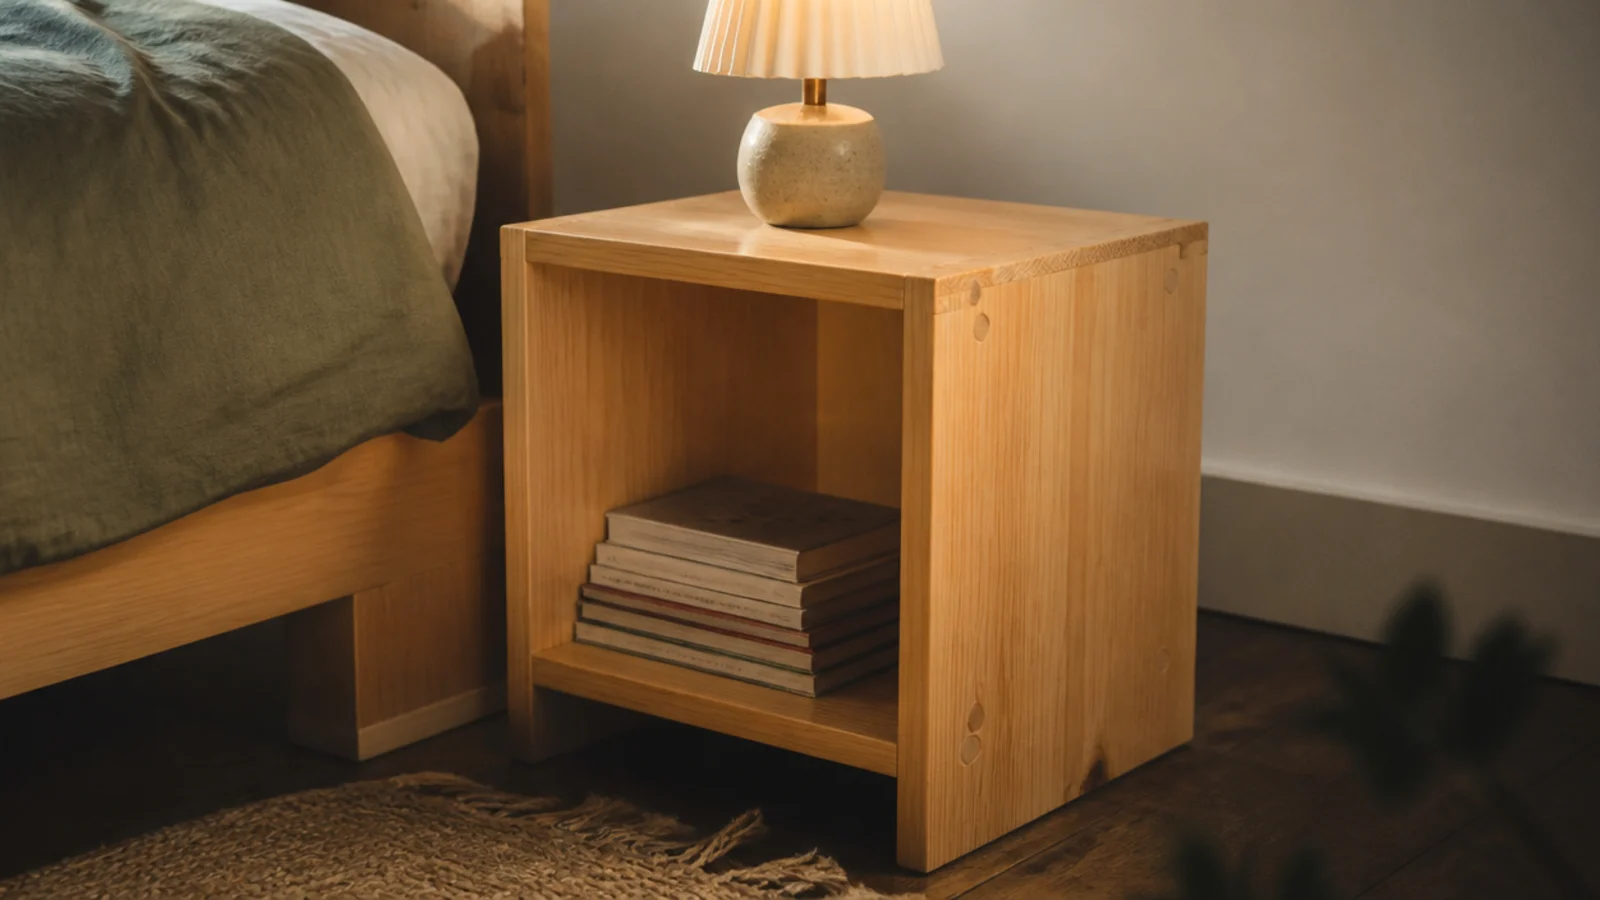
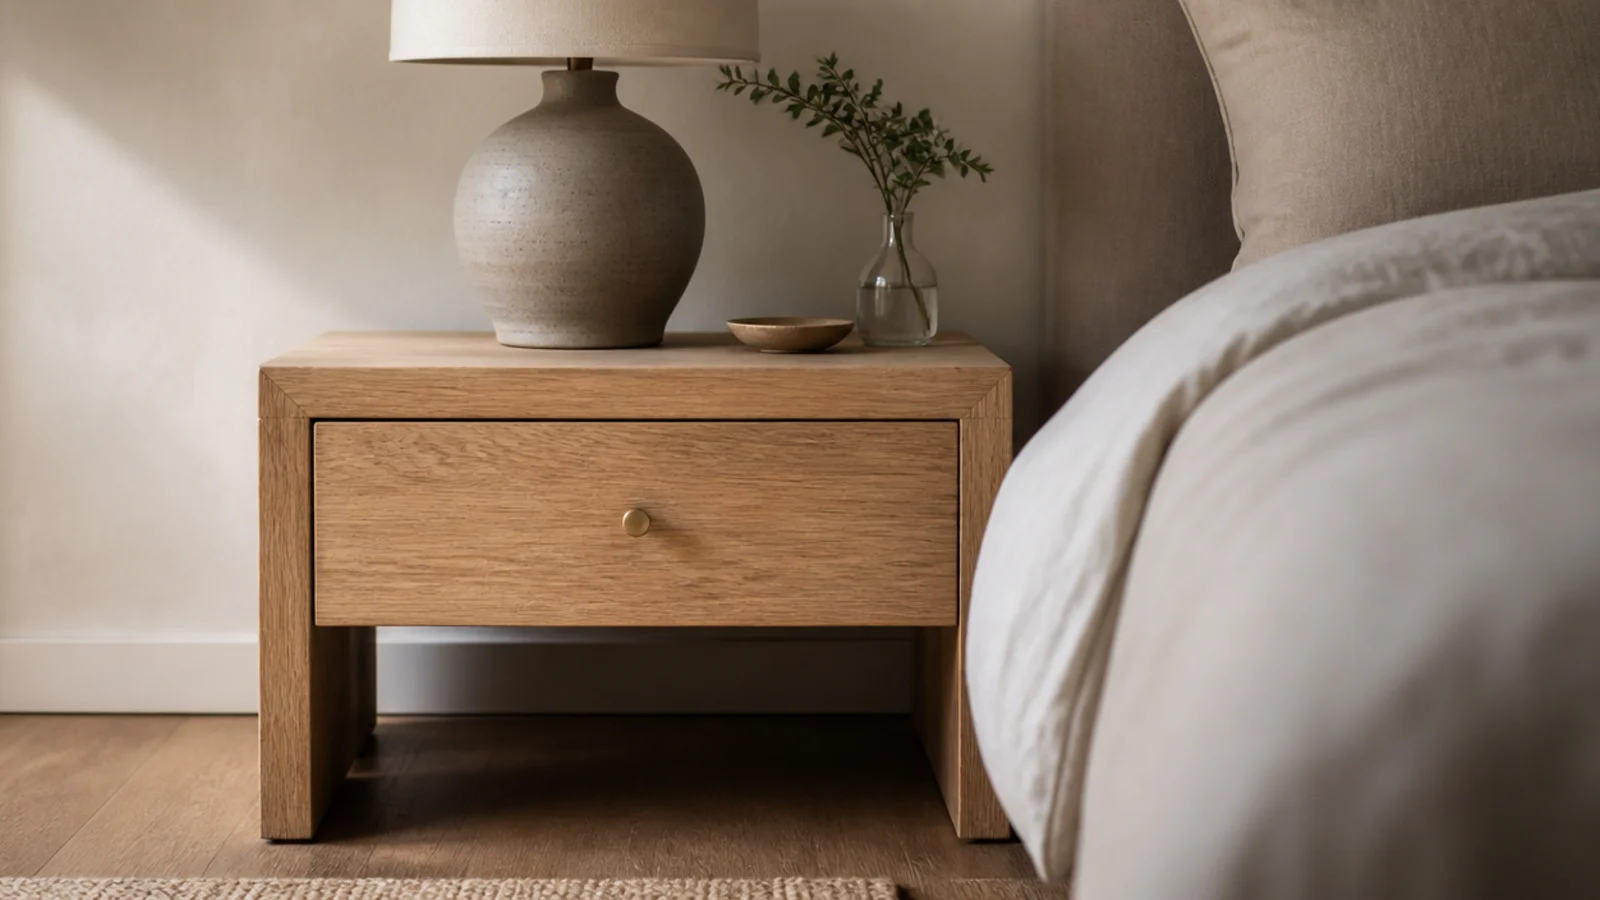
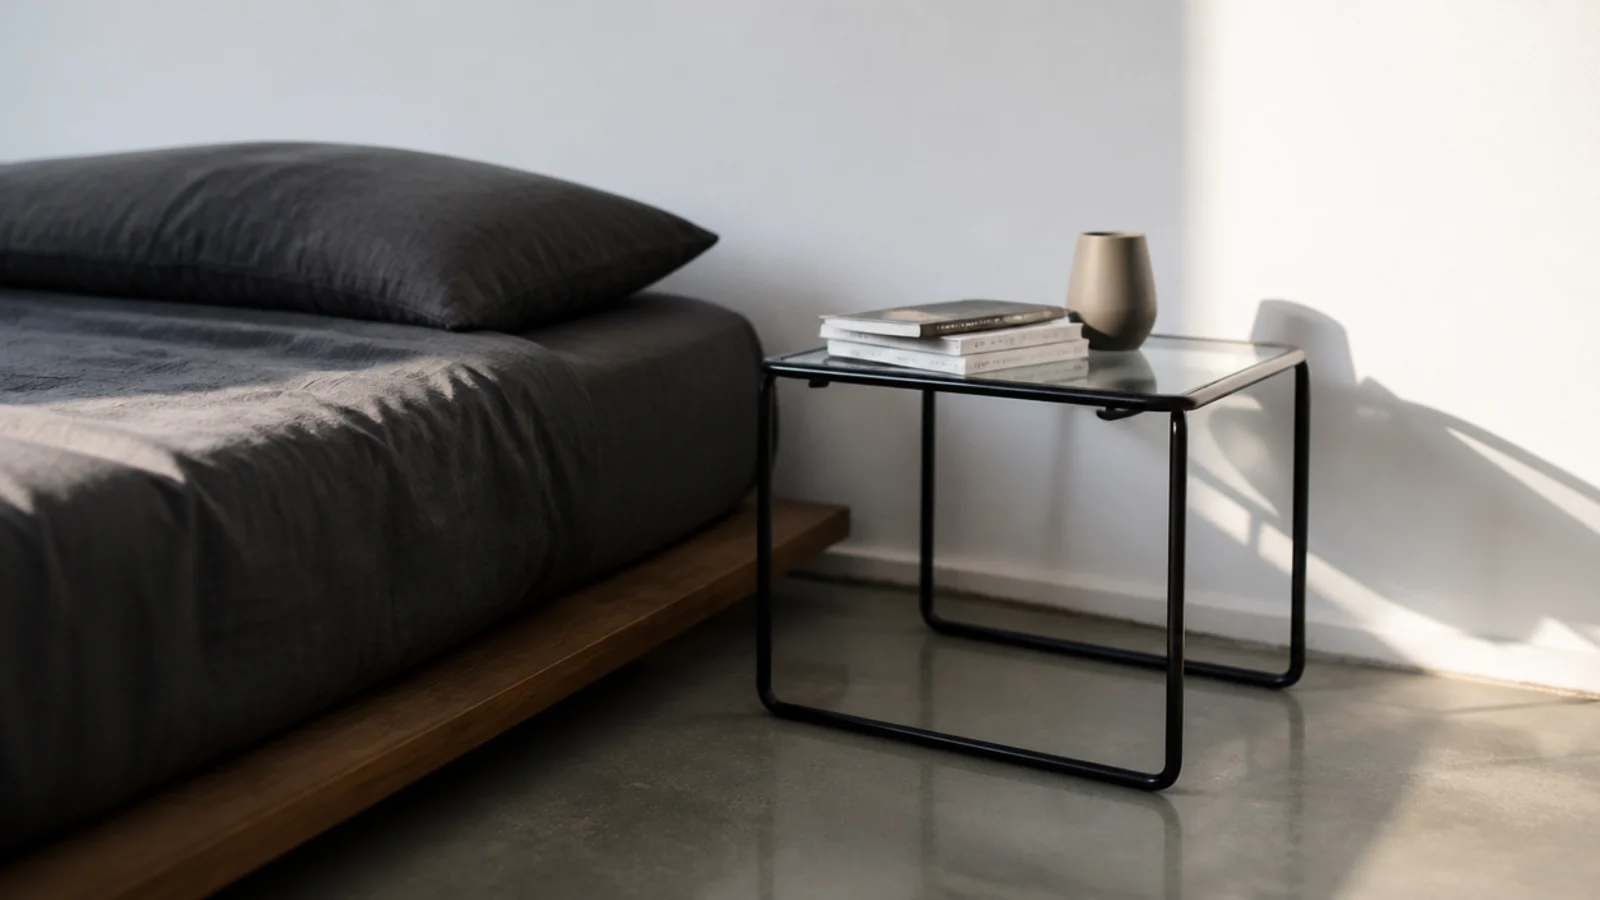
DIY bedside table ideas fail for one predictable reason: the build looks simple in a photograph and the materials list turns out to cost more than a shop-bought table. So every idea here is costed, and the whole point is that a nightstand is the easiest piece of furniture in the house to make. It is small, it carries almost no load, nobody sits on it, and it lives in a dim room where a slightly imperfect cut disappears. I have built six of these, and the first one took a Saturday.
In this guide22 sections — tap to openHide
- 1.What DIY bedside table ideas actually cost to build
- 2.The three-cut box from a single 1x12 board
- 3.Tapered legs and angle plates, no joinery at all
- 4.One quarter sheet of plywood, four parts
- 5.Pocket holes: six minutes a corner
- 6.A dowelled frame with no visible fasteners
- 7.A stair tread as a ready-made top
- 8.A reclaimed drawer turned into an open box
- 9.A cleat-run drawer with no metal runners
- 10.Two shelf brackets and a cutting board
- 11.A round top cut with a router trammel
- 12.Iron-on edge banding hides every plywood edge
- 13.Wood filler and primer fake a solid painted piece
- 14.Danish oil in three coats, six hours apart
- 15.Water-based poly for a white that stays white
- 16.A colour wash that lets the grain read through
- 17.Chalk-type paint and a sanded-back edge
- 18.Drill a 35mm cable port with a forstner bit
- 19.Felt pads and levelling screws underneath
- 20.Round every edge with an eighth-inch roundover
- 21.Price the whole build before you cut anything
- 22.Mistakes to Skip
What DIY bedside table ideas actually cost to build
Timber first. A 1x12 pine board — actually 19mm by 286mm once planed — costs 15 to 25 dollars for eight feet, and that single board makes an entire open box. An 18mm birch plywood quarter sheet runs 25 to 40 dollars and yields a small cabinet with a shelf. Construction-grade ply is cheaper but has voids in the core that show at every cut edge.
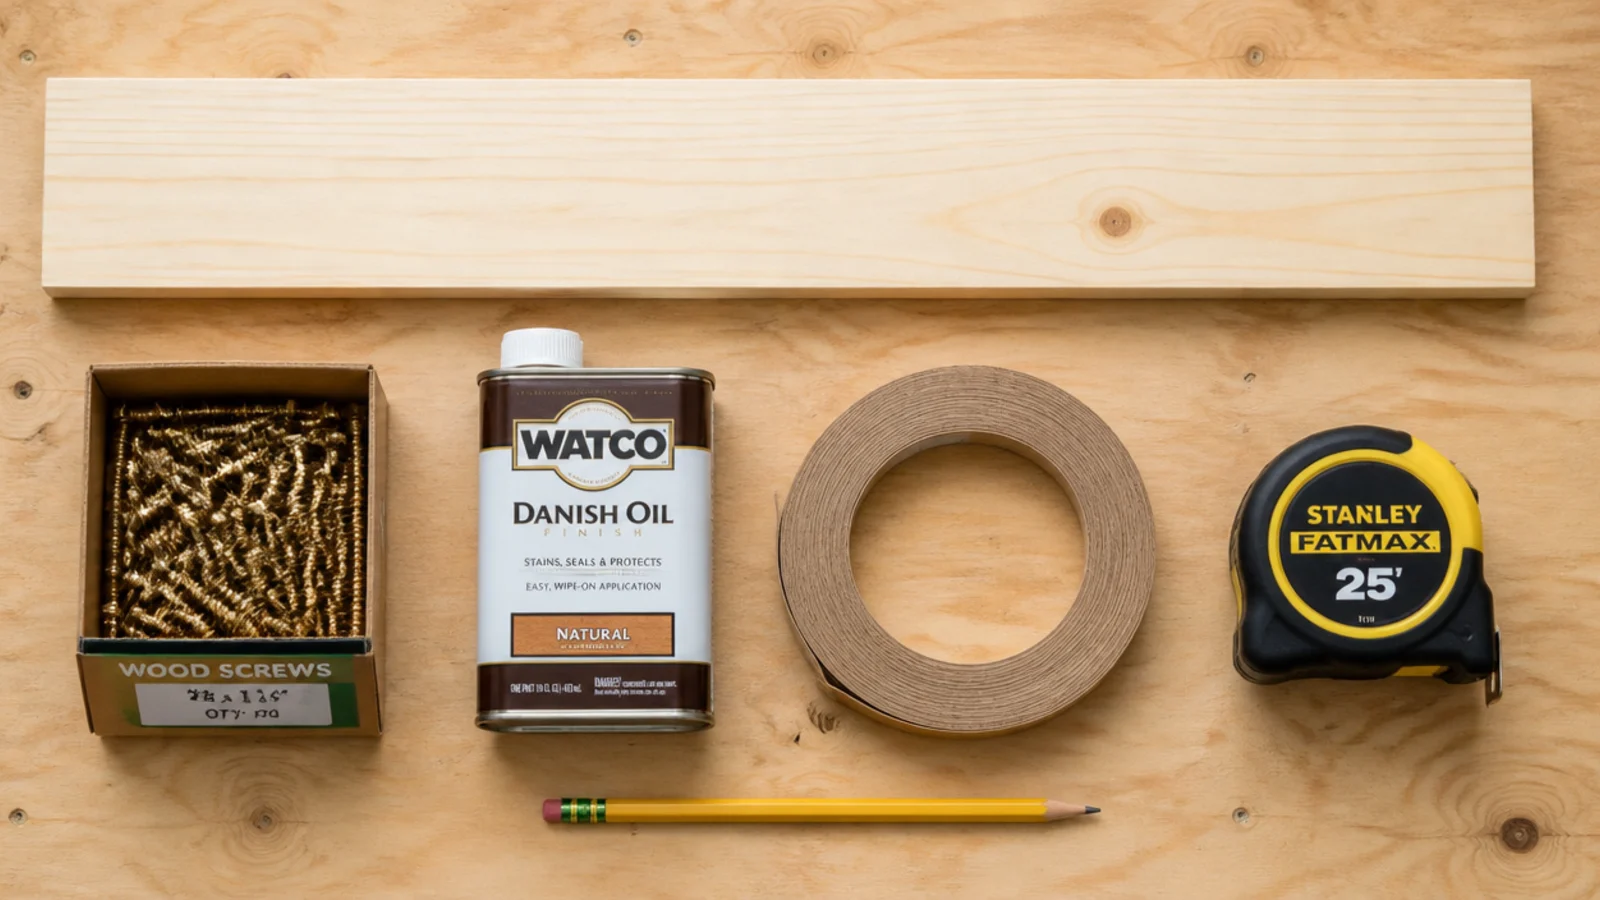
Hardware next. A box of 40mm screws is about 6 dollars, four tapered beech legs with angle plates run 18 to 30 dollars a set, and a roll of iron-on edge banding is 4 to 8. Danish oil in a 250ml tin is around 10 dollars and does three coats on a table this size with plenty left.
Tools are where budgets break. You need a saw, a drill, a countersink bit and a sanding block — perhaps 60 dollars if you own none of it. A pocket-hole jig at 40 dollars is the one optional purchase that genuinely changes what you can build. Borrow before you buy.
Realistic totals: 18 to 25 dollars for the three-cut box, 30 to 45 for a plywood cabinet with a drawer, and 25 to 35 for a top on bought legs. For pieces made from things you already own rather than bought timber, the found-object approach costs less again.
1. The three-cut box from a single 1x12 board
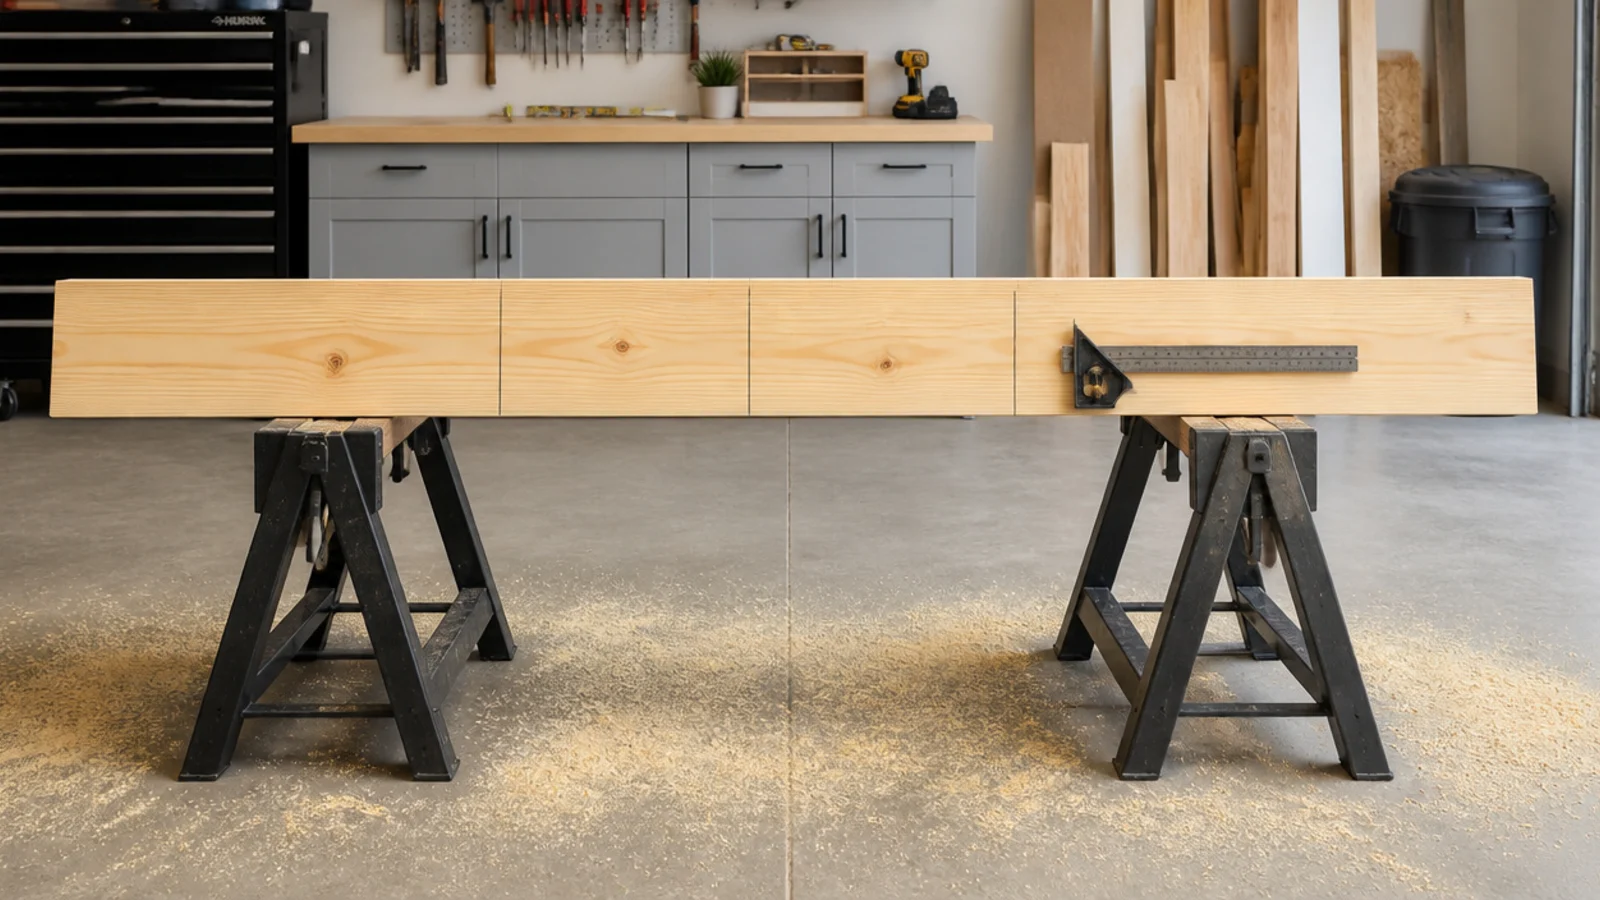
The simplest real table there is. Cut two sides at 24 inches and one top at 15 inches from one 8-foot board, glue and screw the top across the two uprights, and you have a 24-inch-tall open box for about 20 dollars. Add a shelf from the offcut at 12 inches up. Countersink every screw 2mm below the surface so filler sits flush, and check the box is square by measuring both diagonals before the glue sets.
2. Tapered legs and angle plates, no joinery at all
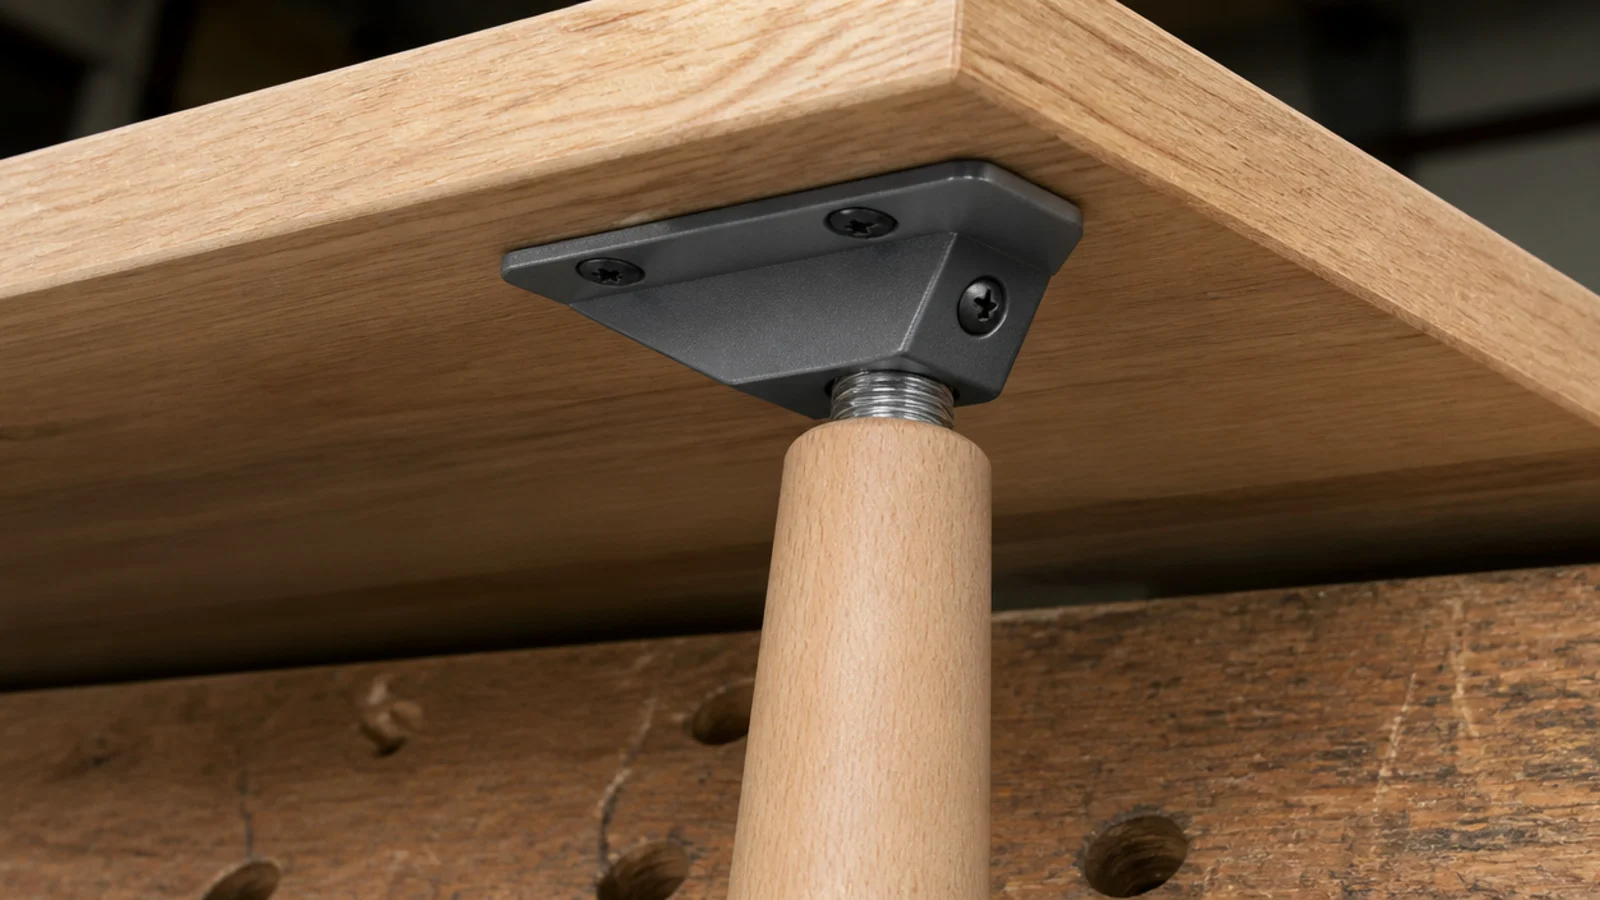
Buy four tapered beech or oak legs with steel angle-mounting plates, screw the plates to the underside of any flat panel, and thread the legs in. Total time is about twenty minutes and the result looks mid-century rather than improvised. The plates are usually angled at 4 degrees, which splays the legs slightly and adds real stability. Set them in from each corner by about 40mm so the top overhangs and the table does not read as a stool.
3. One quarter sheet of plywood, four parts
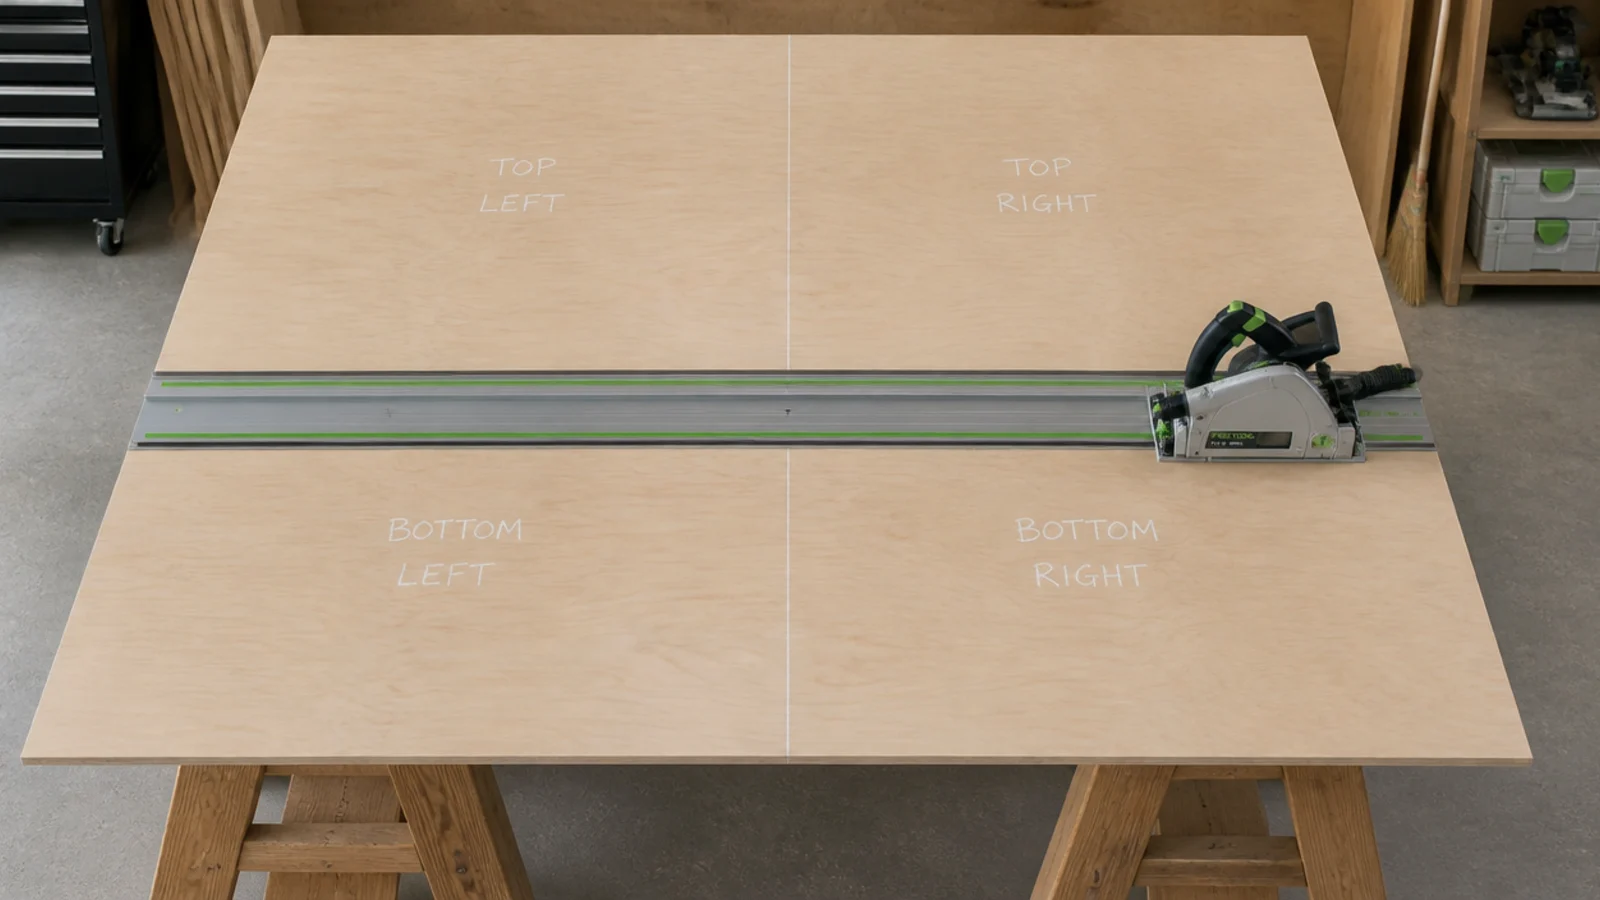
A 4x2 foot quarter sheet of 18mm birch ply cuts into two sides at 24 by 14 inches, a top at 16 by 14 and a bottom at 14 by 14, with very little waste. Most timber merchants will make those cuts for a dollar or two each, which is worth paying for because a straight factory cut is what makes the box square. Wear a mask when sanding ply — the glue line dust is genuinely unpleasant.
4. Pocket holes: six minutes a corner
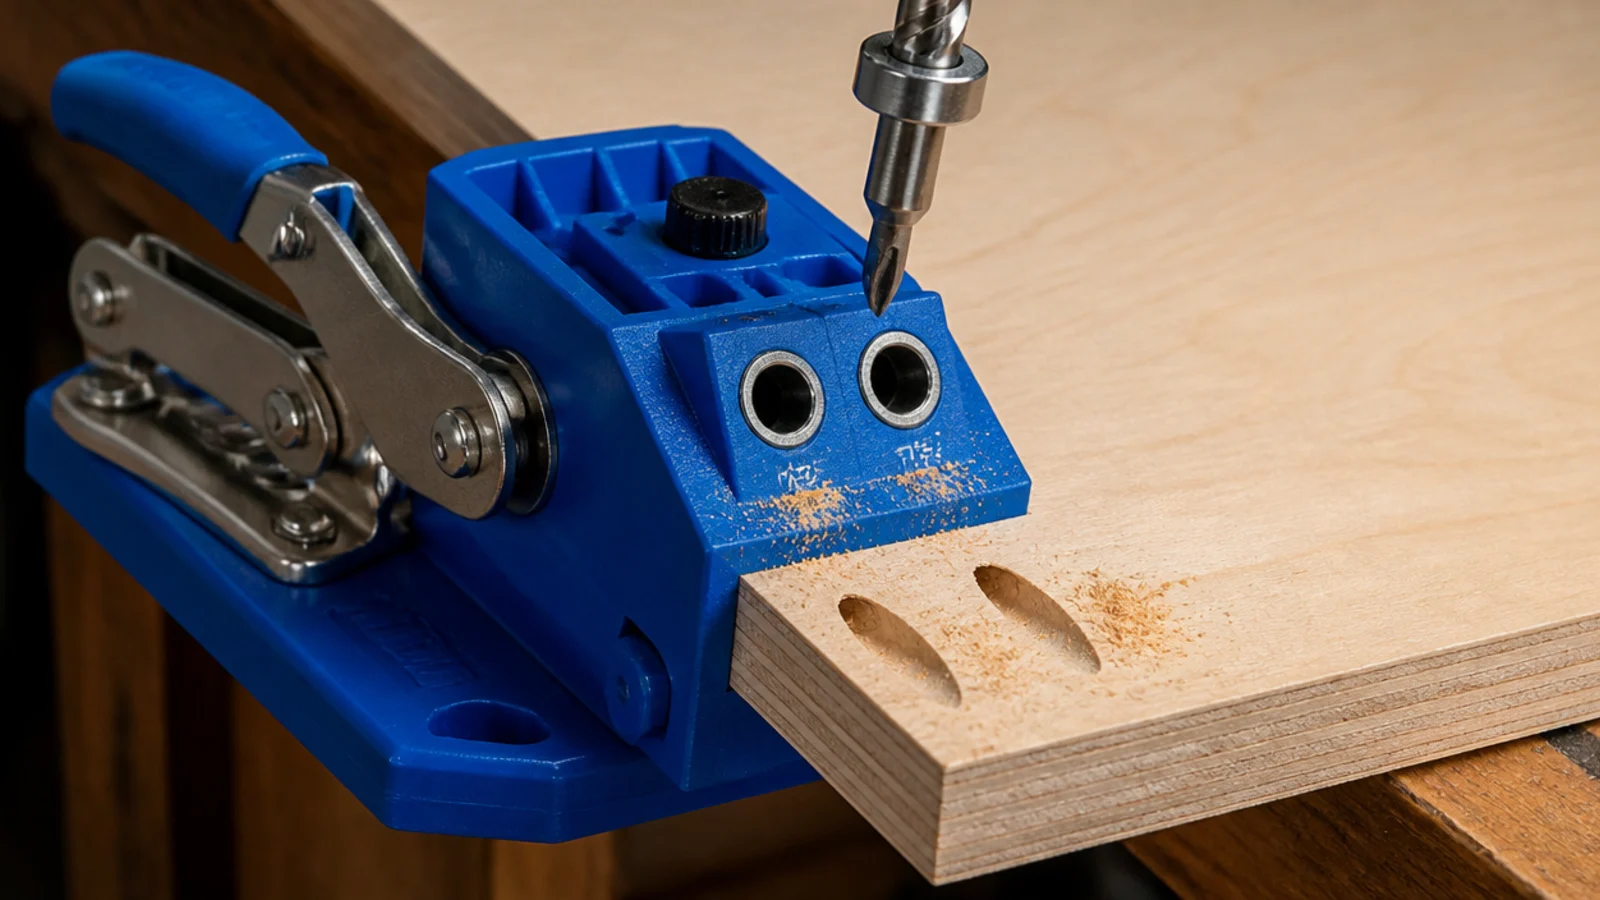
A pocket-hole jig drills a steep angled hole so a screw pulls two panels tight without any clamping. For a small carcass, use two screws per corner in 18mm material, with coarse-thread screws for pine and ply. The fixings all land on the inside face, so the outside stays clean with no filler at all. This is the technique that takes a build from looking homemade to looking bought.
5. A dowelled frame with no visible fasteners
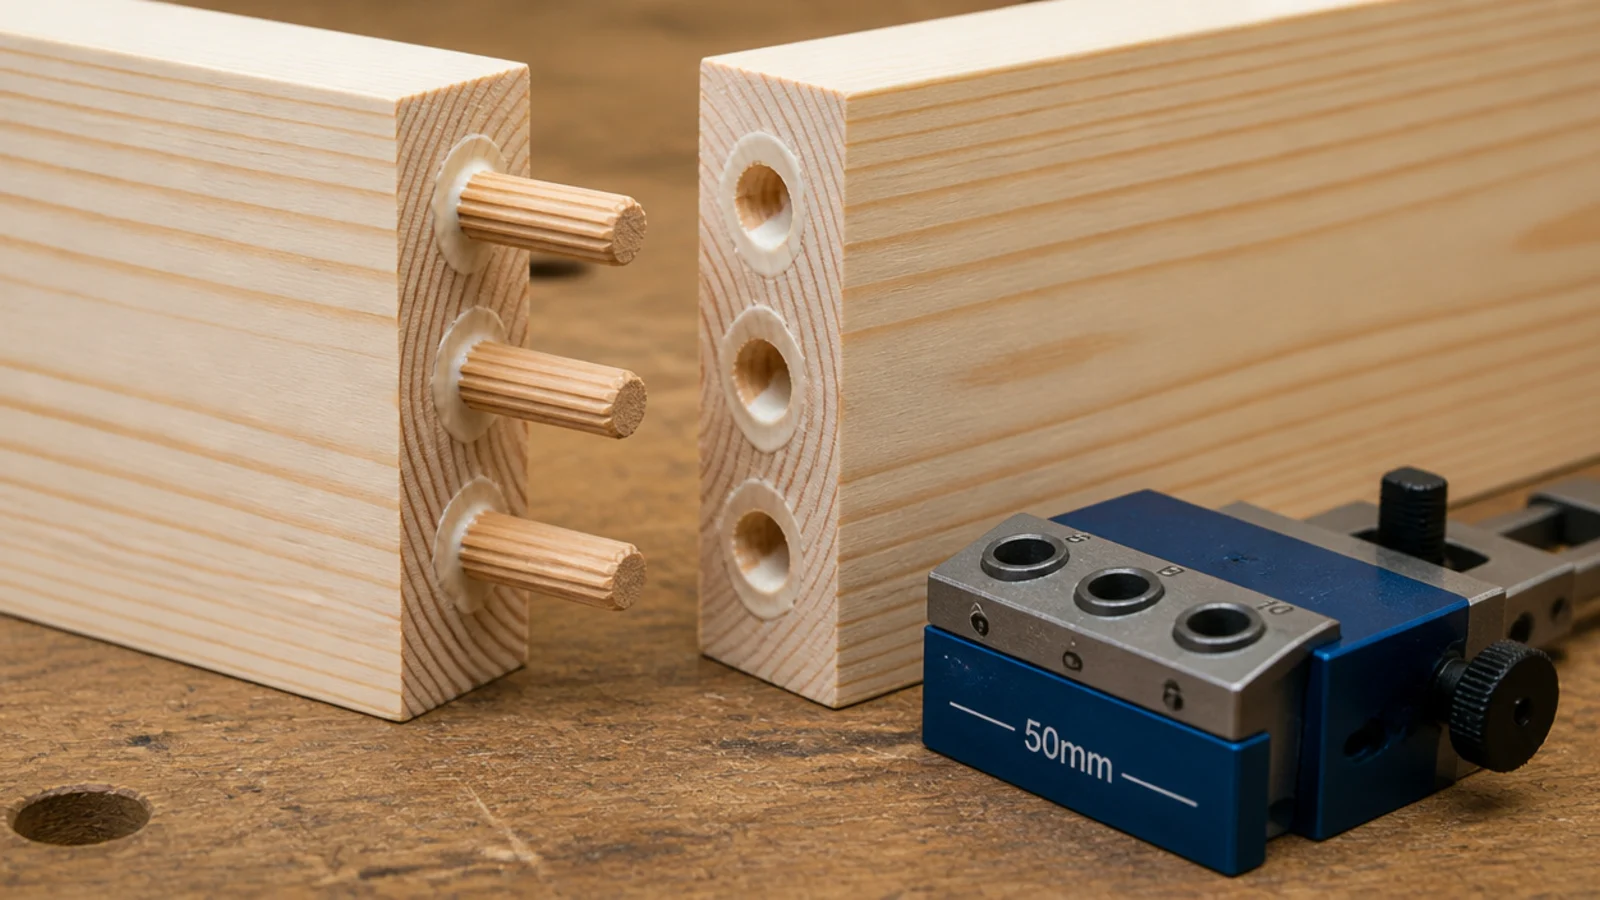
If you want no metal in the piece at all, dowels are the beginner-friendly route. An 8mm dowelling jig at about 20 dollars keeps the holes square, and three dowels per joint in a leg-and-rail frame is plenty for a table carrying a lamp and a book. Dry-fit everything before glue touches anything, because dowelled joints go together once and will not come apart.
6. A stair tread as a ready-made top
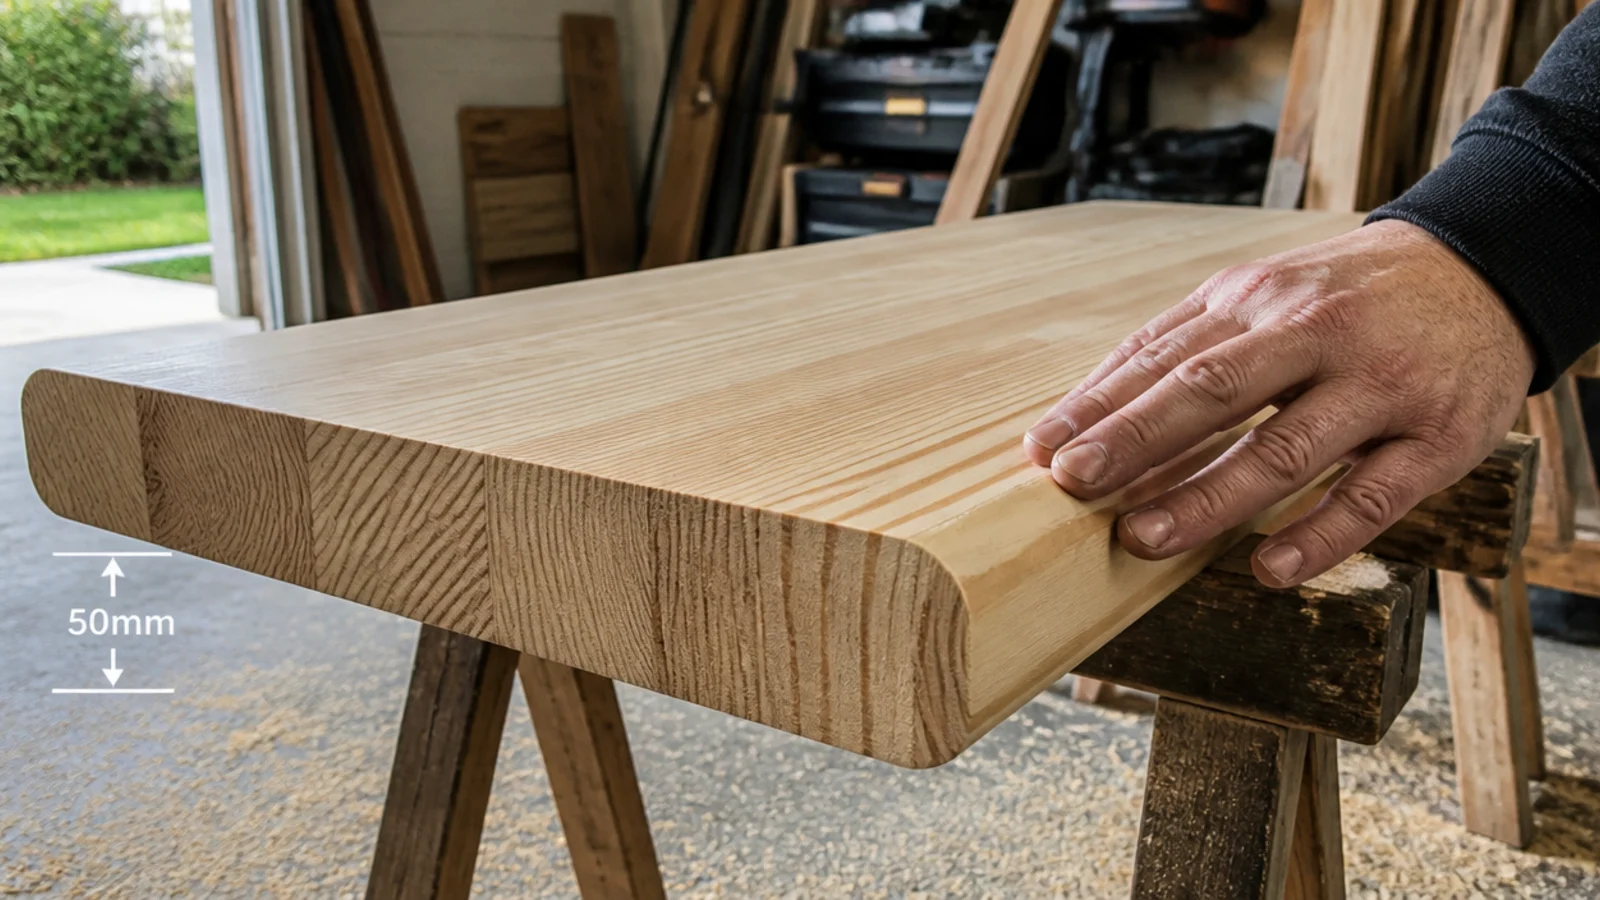
A solid pine or oak stair tread is a glued-up panel about 1 inch thick with a machined rounded bullnose already on the front edge — the exact profile you would otherwise pay for. They cost 20 to 40 dollars, come in 36-inch lengths, and cut down to a 16-inch tabletop with an offcut left over for a shelf. Sand the sawn end to match the factory edge and nobody can tell.
7. A reclaimed drawer turned into an open box
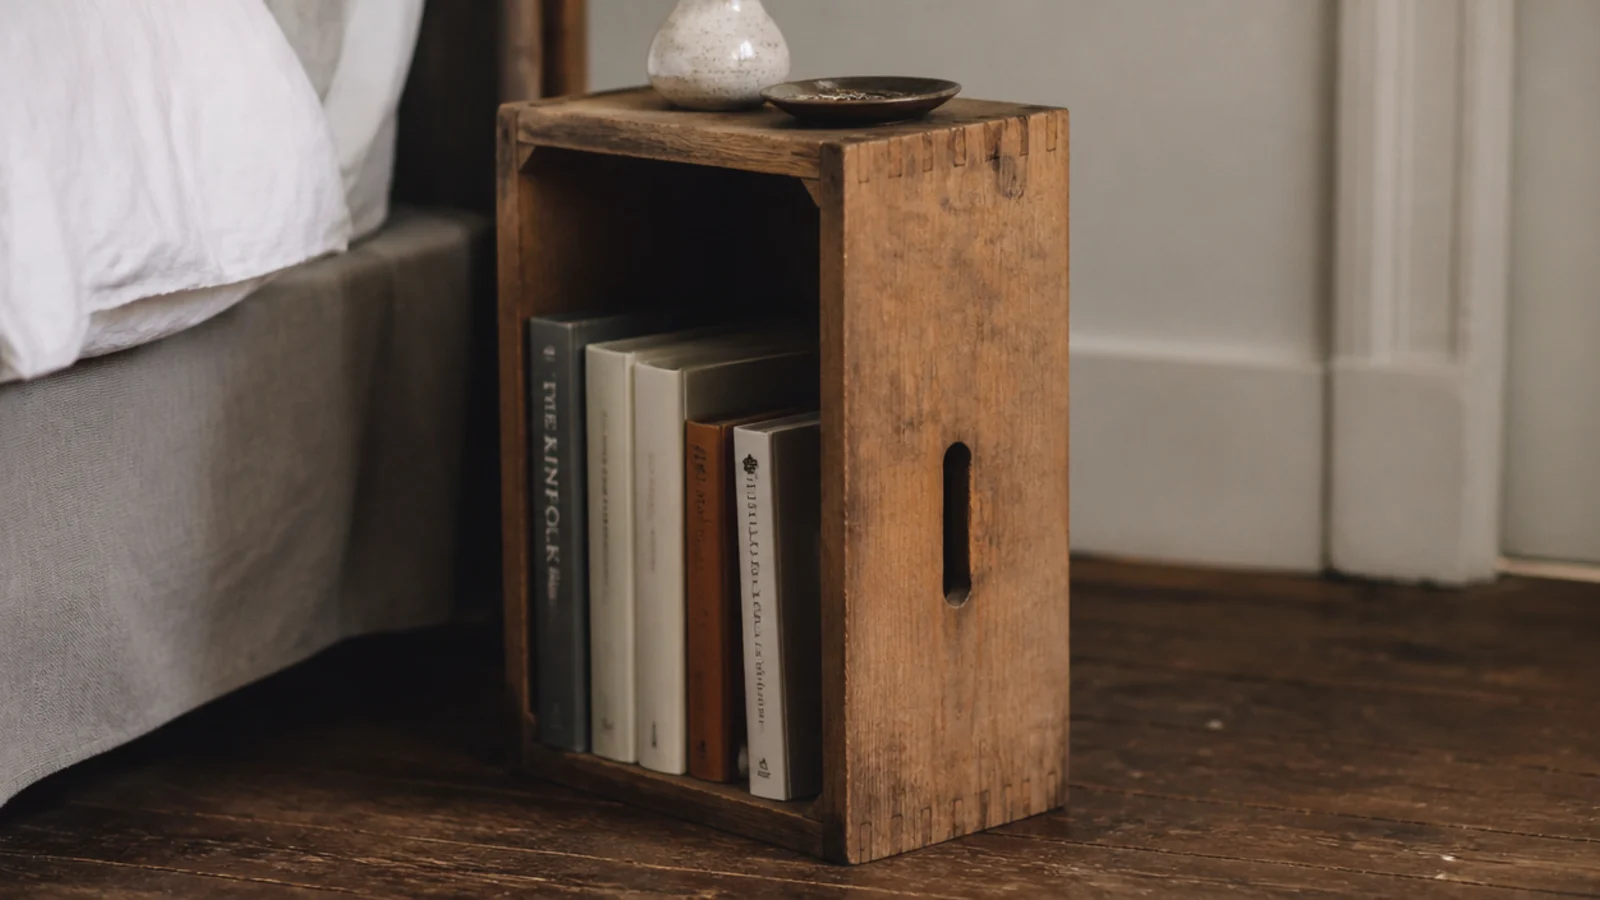
A drawer from a broken chest is a ready-made box with dovetailed corners and a solid bottom. Stand it on its end, remove the handle, fill the screw holes, and you have a bedside cube 16 to 20 inches tall for the price of a tin of oil. Add a plywood divider halfway up for a shelf. Check the bottom panel is captured in a groove rather than pinned on, since a pinned bottom will not take weight in this orientation.
8. A cleat-run drawer with no metal runners
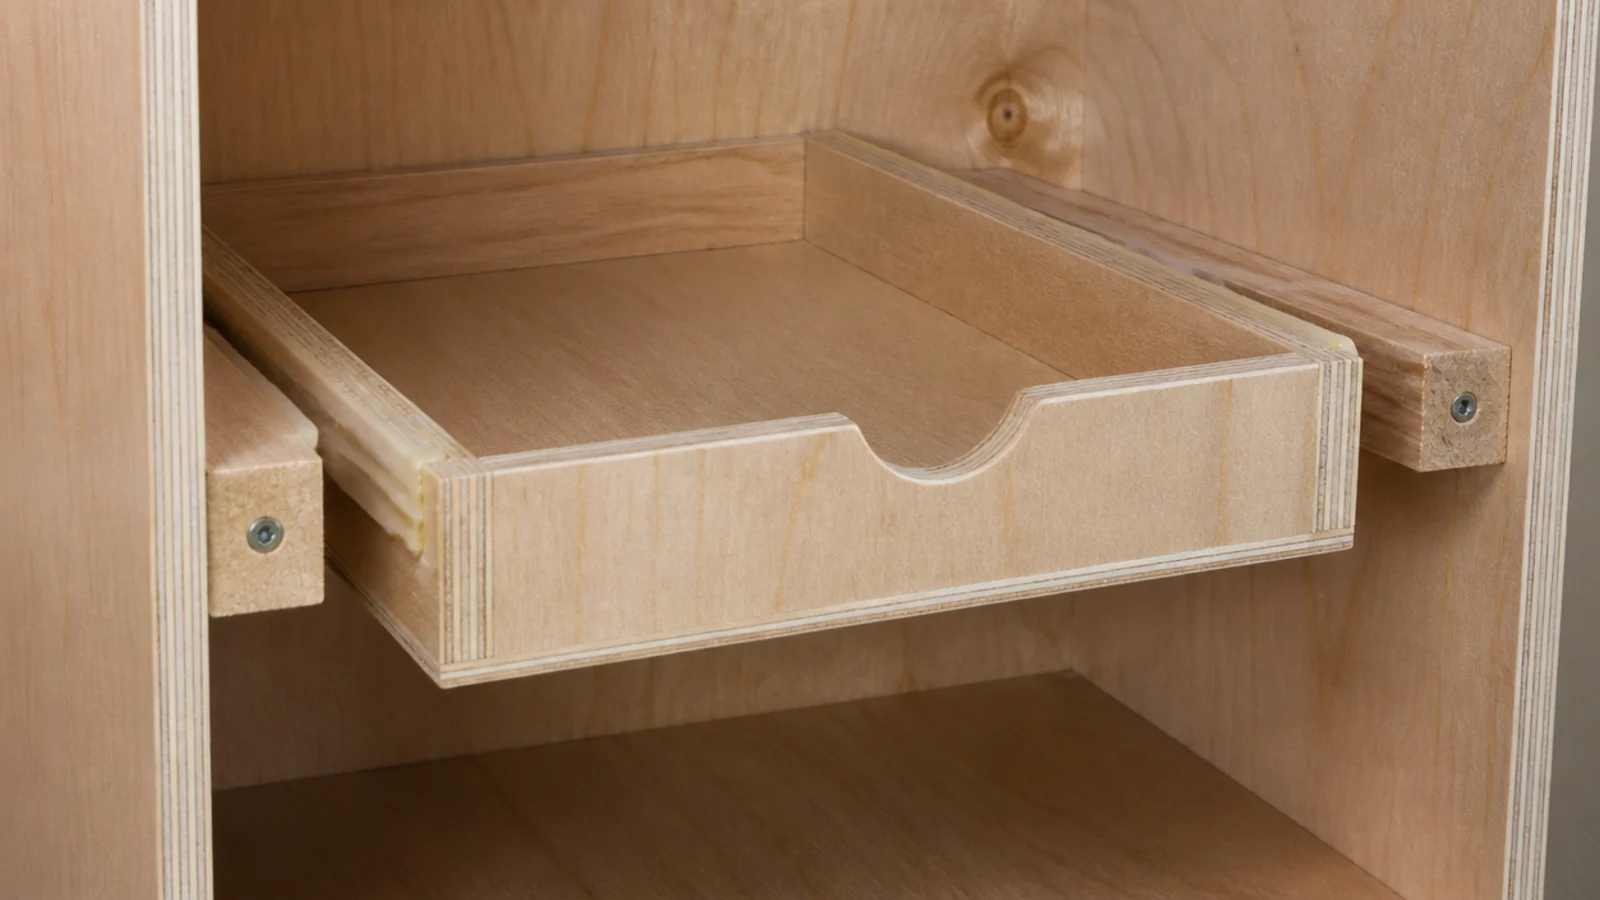
Metal runners cost 15 to 30 dollars a pair and demand precision. Instead, screw two 20mm timber cleats to the inside walls of the carcass and let the drawer sides ride on them. Rub a candle along both bearing surfaces and it runs smoothly for years. Allow 3mm of clearance either side, and stop the drawer with a small block at the back so it cannot be pulled all the way out.
9. Two shelf brackets and a cutting board
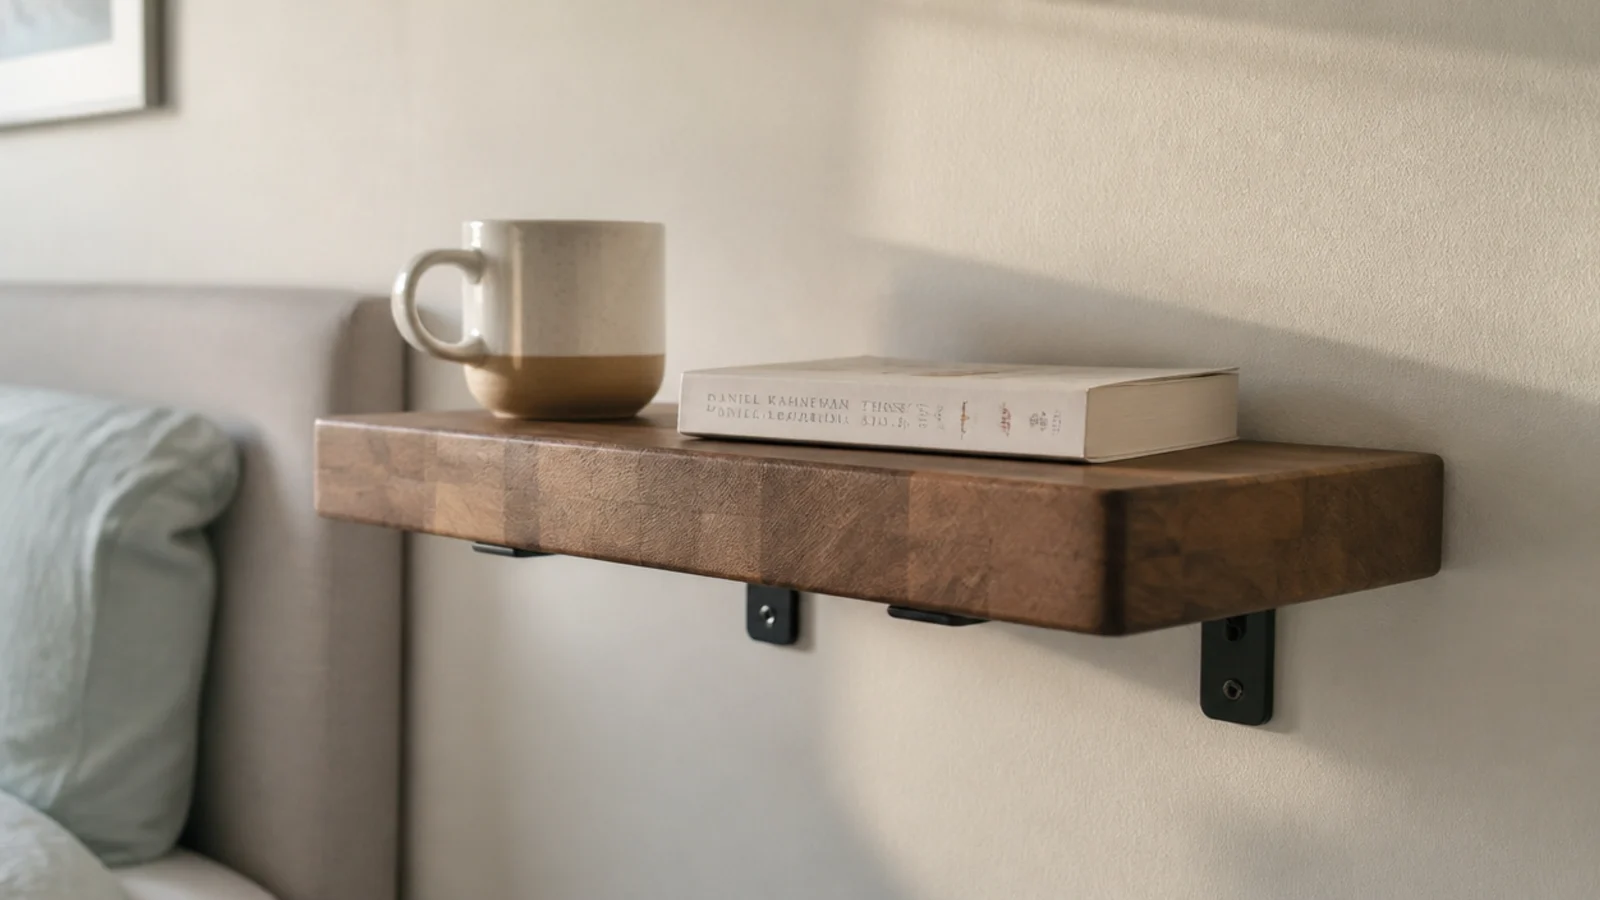
A thick end-grain cutting board is a finished, flat, food-safe panel with sanded edges that costs 15 to 30 dollars — far less than buying the same panel as timber and finishing it yourself. Screw it to two brackets fixed into studs and you have a wall-mounted surface in an hour. Drill pilot holes for the bracket screws, because end-grain boards split if a screw is driven in dry.
10. A round top cut with a router trammel
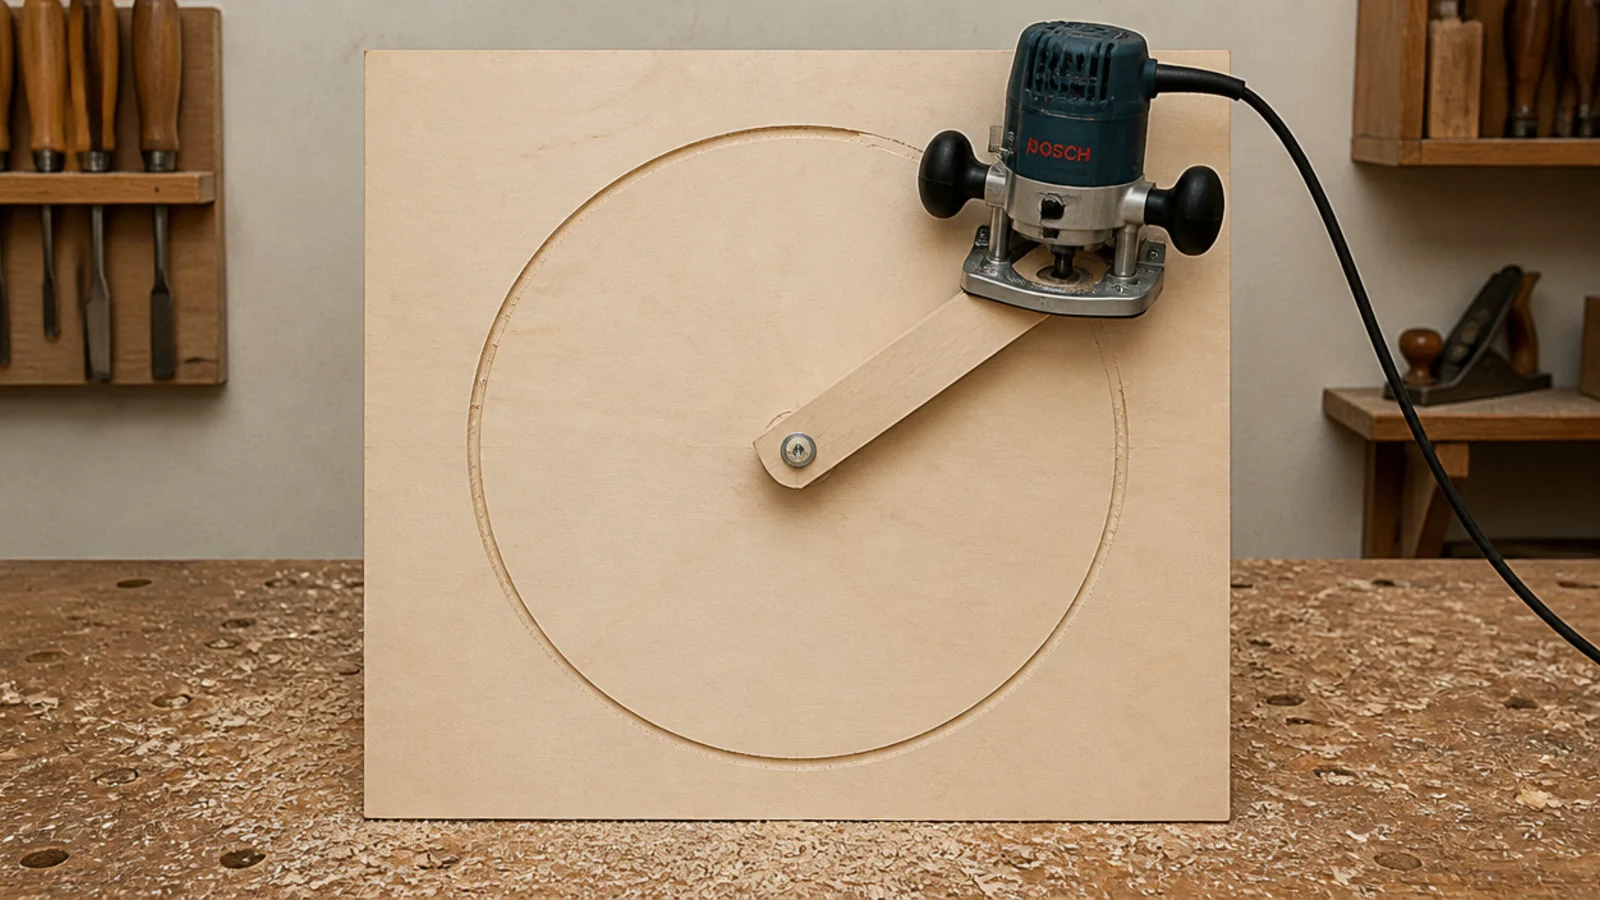
A circle is the one shape that is hard by hand and easy with a jig. Screw a strip of plywood to the router base, drive a pivot screw through it at the radius you want into the centre of a square panel, and swing the router around in two or three shallow passes. A 16-inch round top takes about ten minutes. Wear eye protection and cut in the direction that keeps the bit pulling into the work.
11. Iron-on edge banding hides every plywood edge
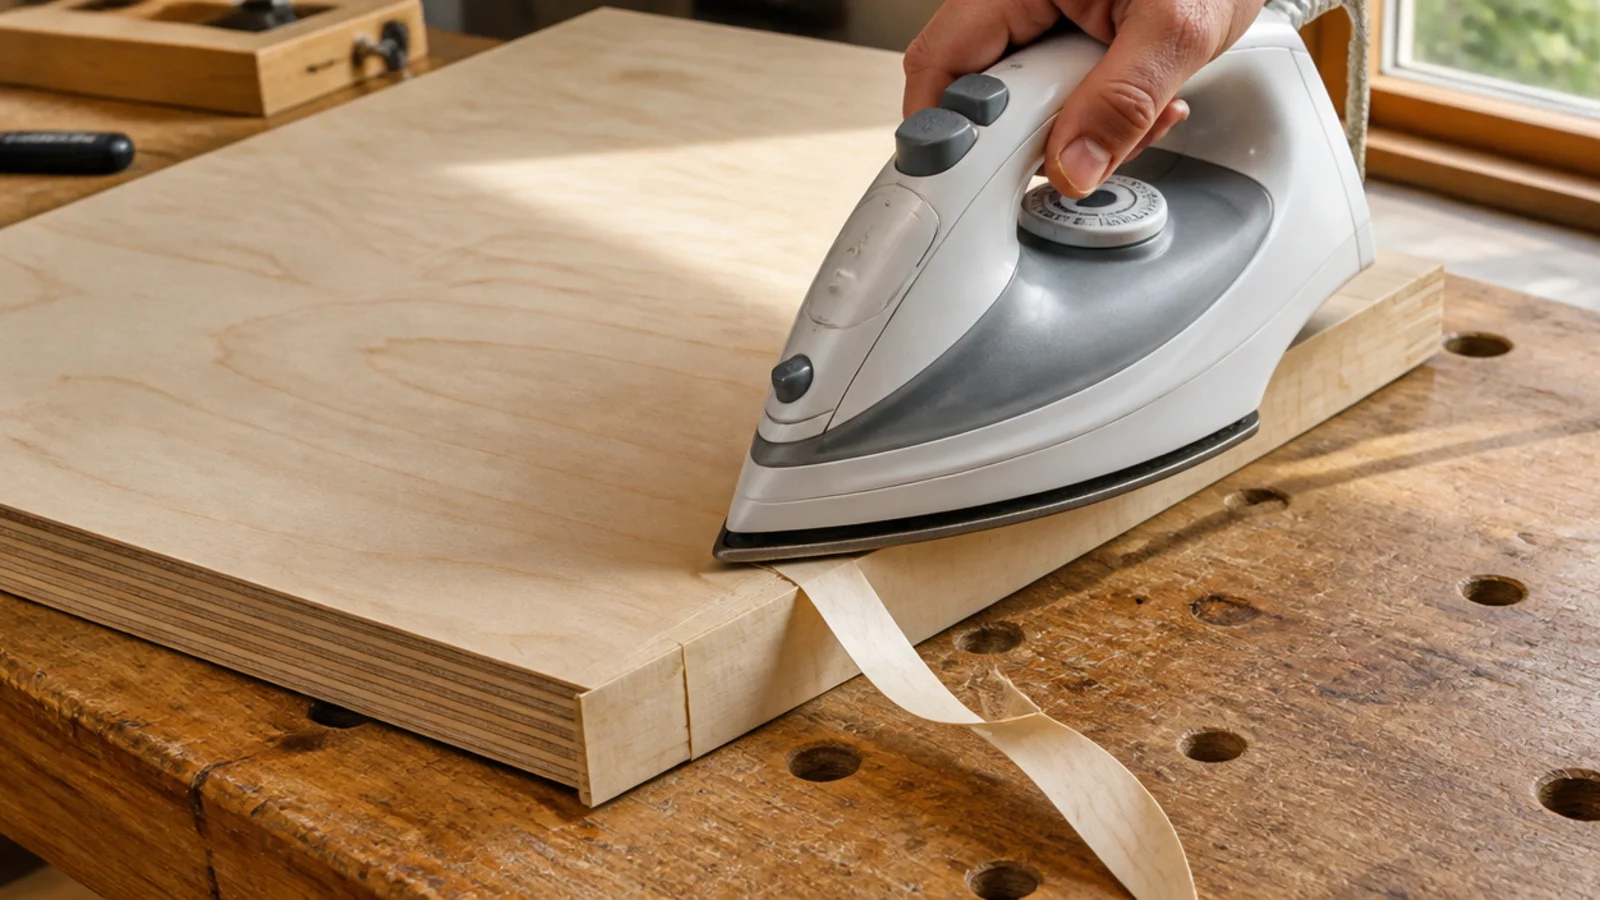
Raw plywood edges are what make a homemade cabinet look homemade. Iron-on banding is a paper-backed veneer strip with hot-melt glue on the back: press it with a household iron on a low dry setting, roll it down with a block while warm, then trim flush with a chisel held bevel-down. A roll covers a whole nightstand for four to eight dollars and takes fifteen minutes.
12. Wood filler and primer fake a solid painted piece
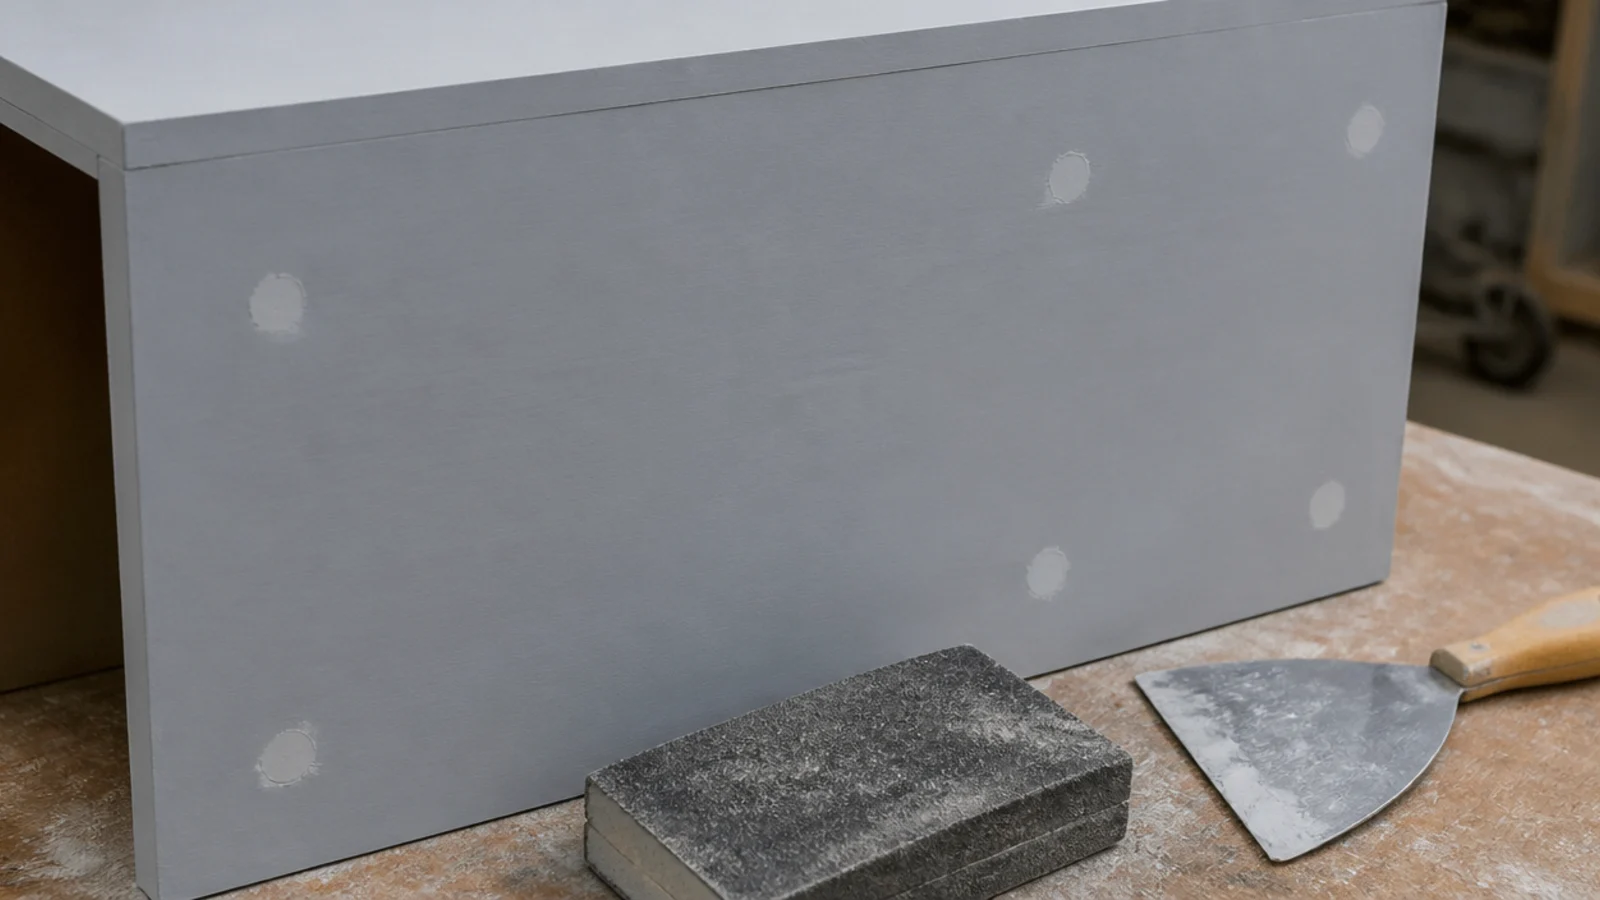
If the piece is going to be painted, the joinery does not have to be perfect — it has to be flat. Fill every countersunk screw hole and any gap over half a millimetre, sand at 120 then 180 grit, and prime the whole thing. Primer is what reveals the flaws you missed, so plan to fill a second time after the first coat rather than hoping.
13. Danish oil in three coats, six hours apart
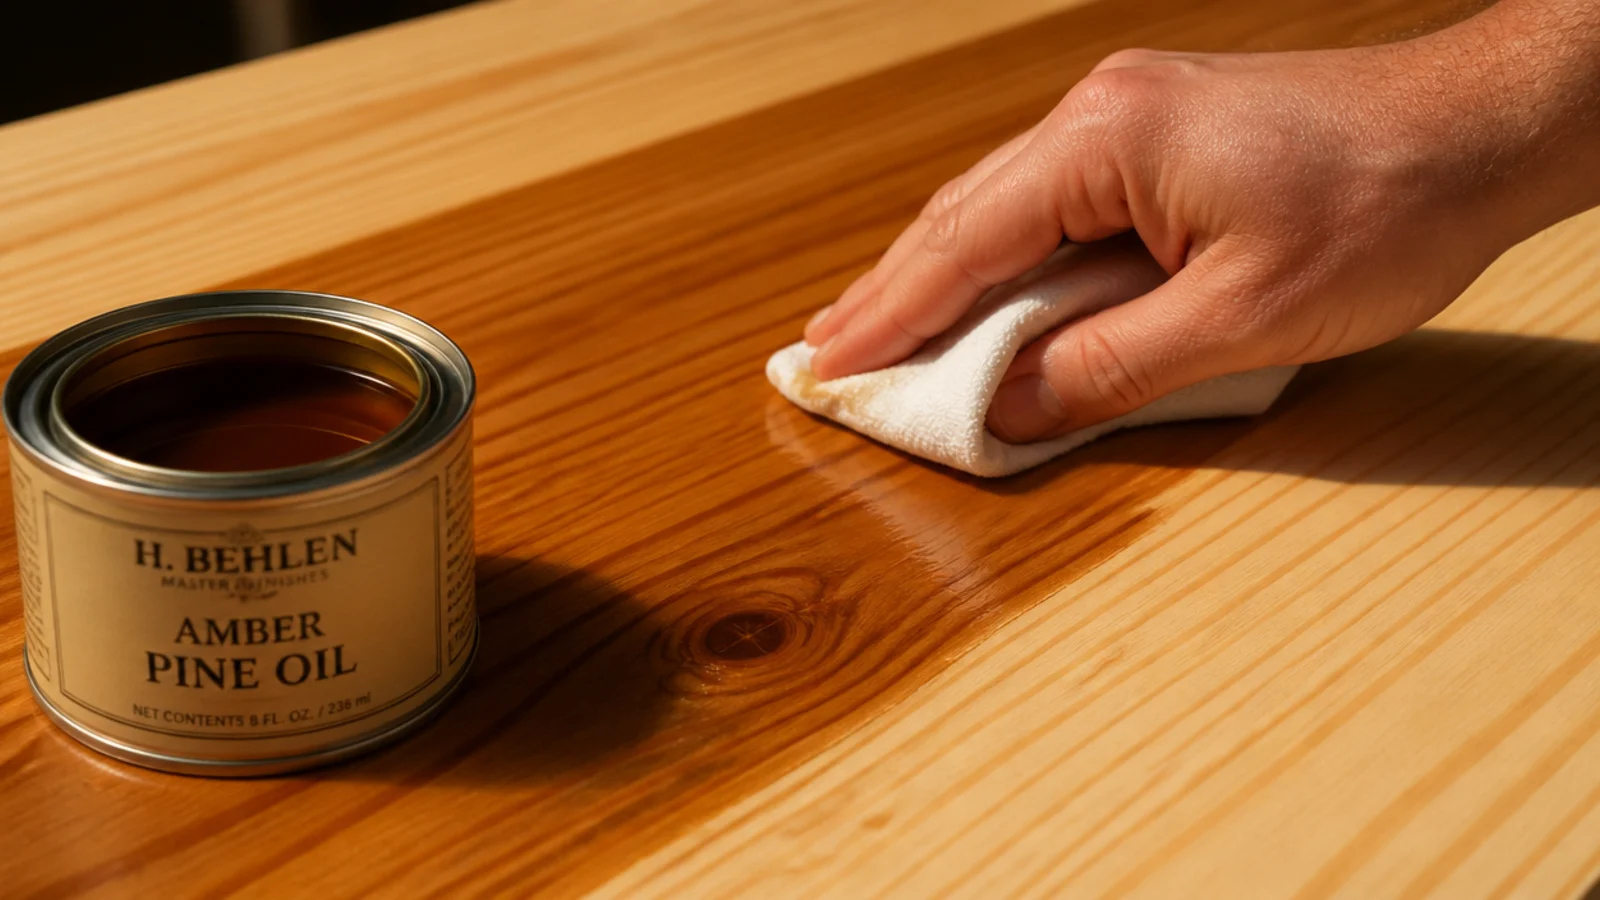
Danish oil is a thinned oil-varnish blend that soaks in rather than sitting on top, so it cannot chip or peel and any future damage sands out invisibly. Wipe on generously with a cloth, leave ten minutes, then wipe all the excess off — leaving it wet is what causes a sticky finish. Three coats, six hours apart. Lay used rags flat outdoors to dry before binning, because oily rags can heat up on their own.
14. Water-based poly for a white that stays white
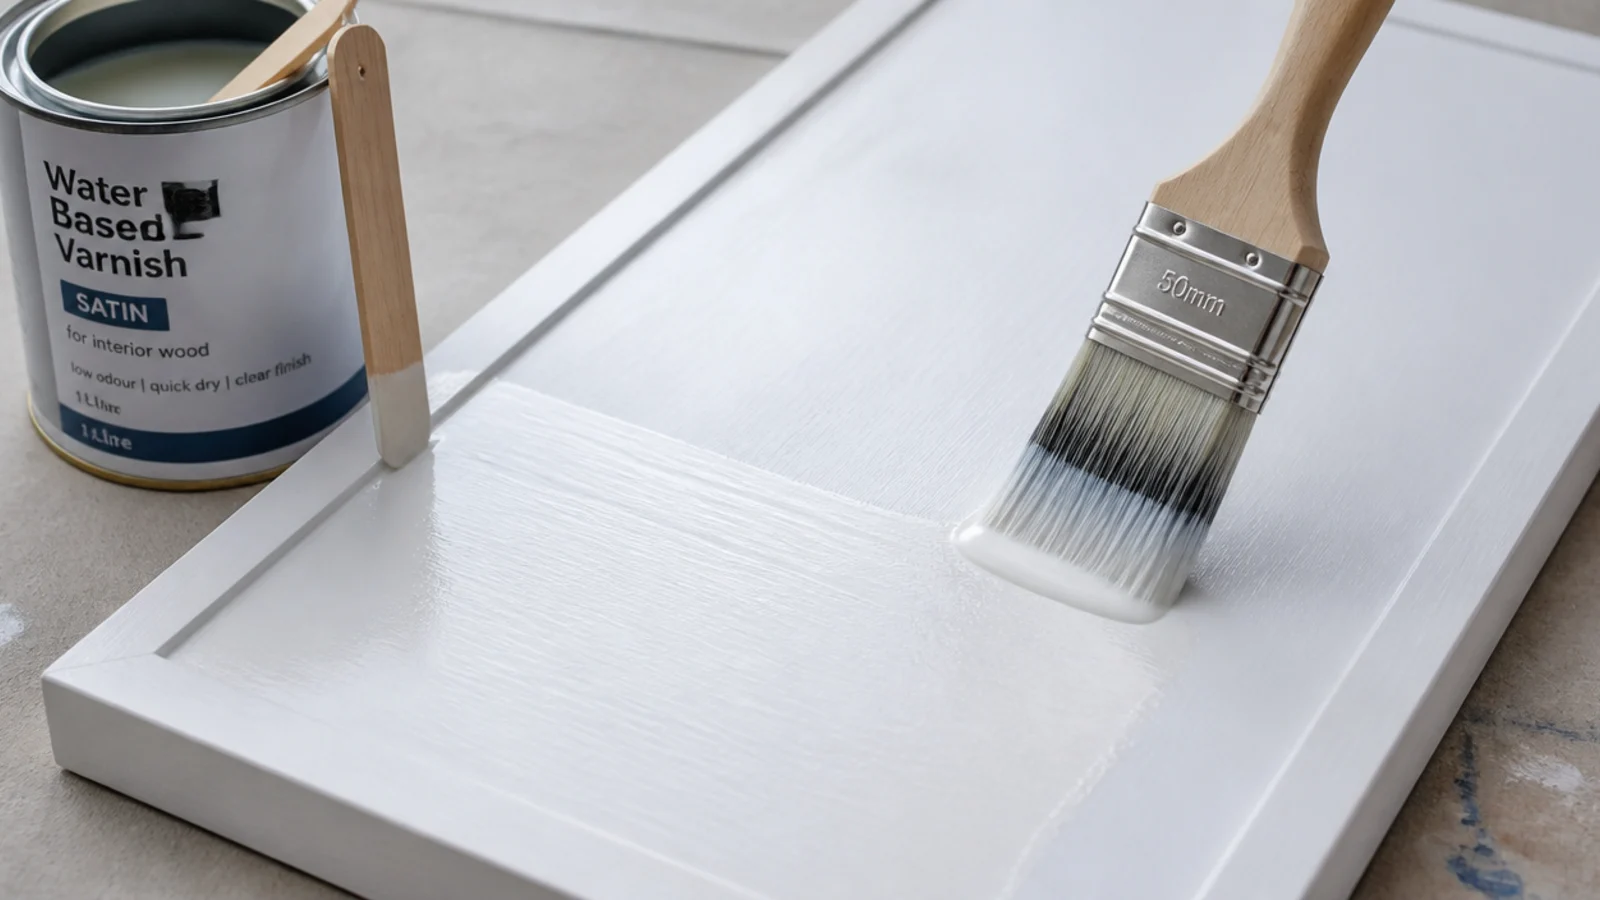
Oil-based varnish over white paint turns cream within about two years, and warm yellow within five. Water-based polyurethane goes on milky and dries genuinely colourless, so a white nightstand stays white. It raises the grain on bare timber, so sand lightly with 240 grit between the first and second coats. Two coats on the top, one on the sides is enough for bedroom use.
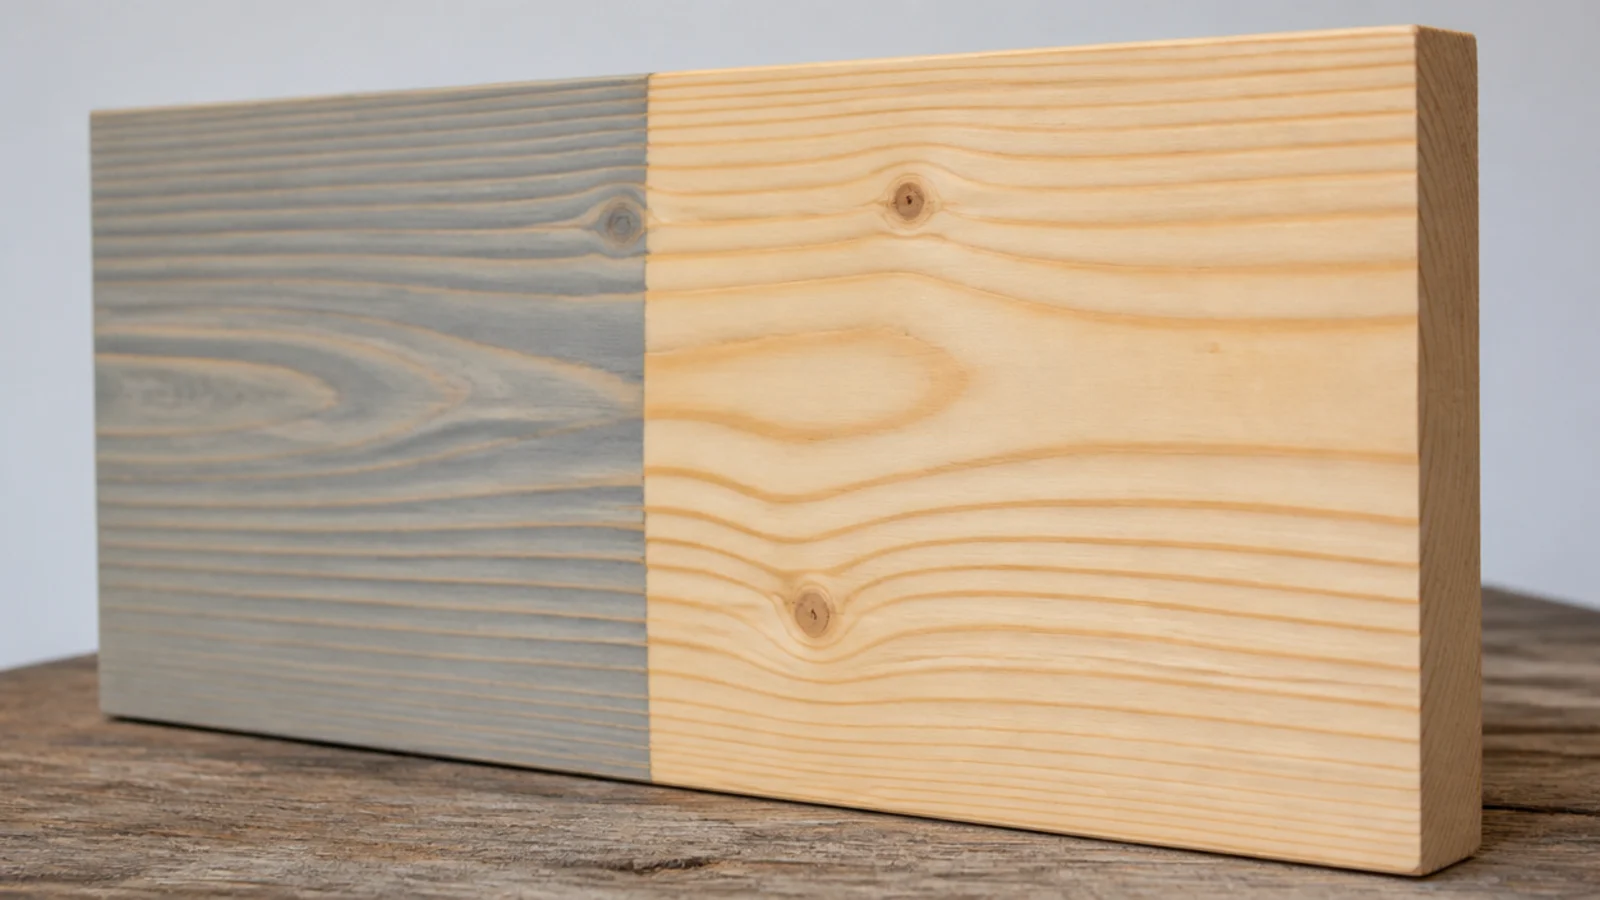
15. A colour wash that lets the grain read through
Thin emulsion or chalk paint with water at roughly one part water to two parts paint, brush it on and wipe back with a cloth within a minute. The colour lodges in the open grain and the figure stays visible, which is what stops cheap pine looking like cheap pine. Test on an offcut first, since the same dilution reads very differently on pine and on birch ply.
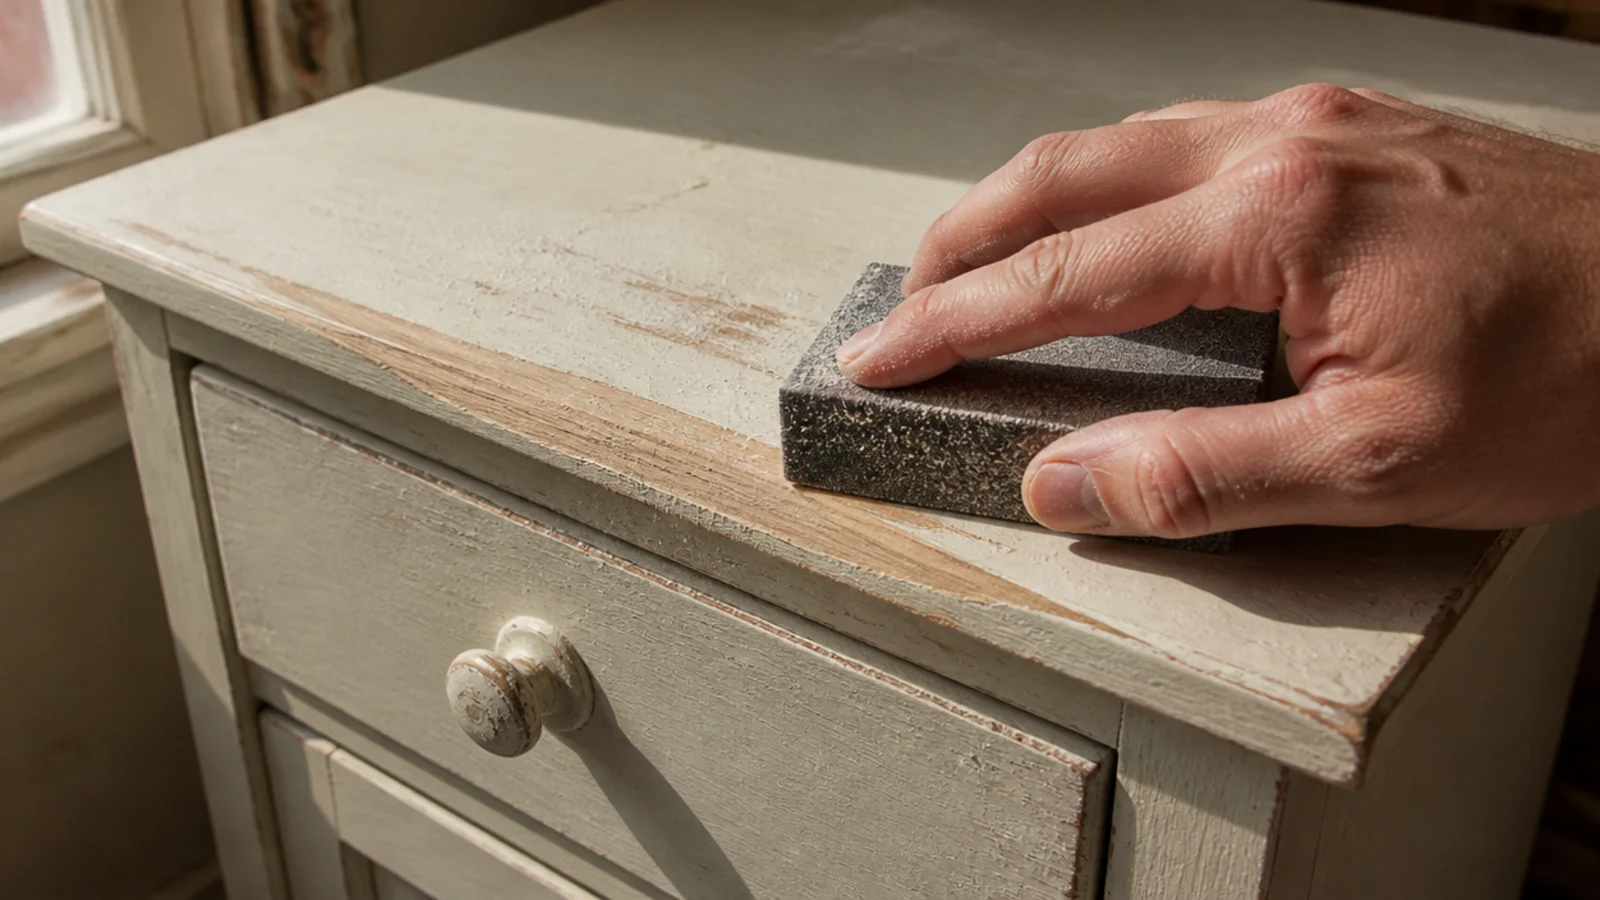
16. Chalk-type paint and a sanded-back edge
Chalk paint grips bare pine, MDF and old varnish without primer, which saves a whole step. The trick with distressing is to wear it only where a hand or a hip would actually have worn it — the front edge of the top, the corners, around the knob. Even distressing across a whole panel looks like a technique; localised wear looks like age. Seal with a soft wax or a matte water-based topcoat.
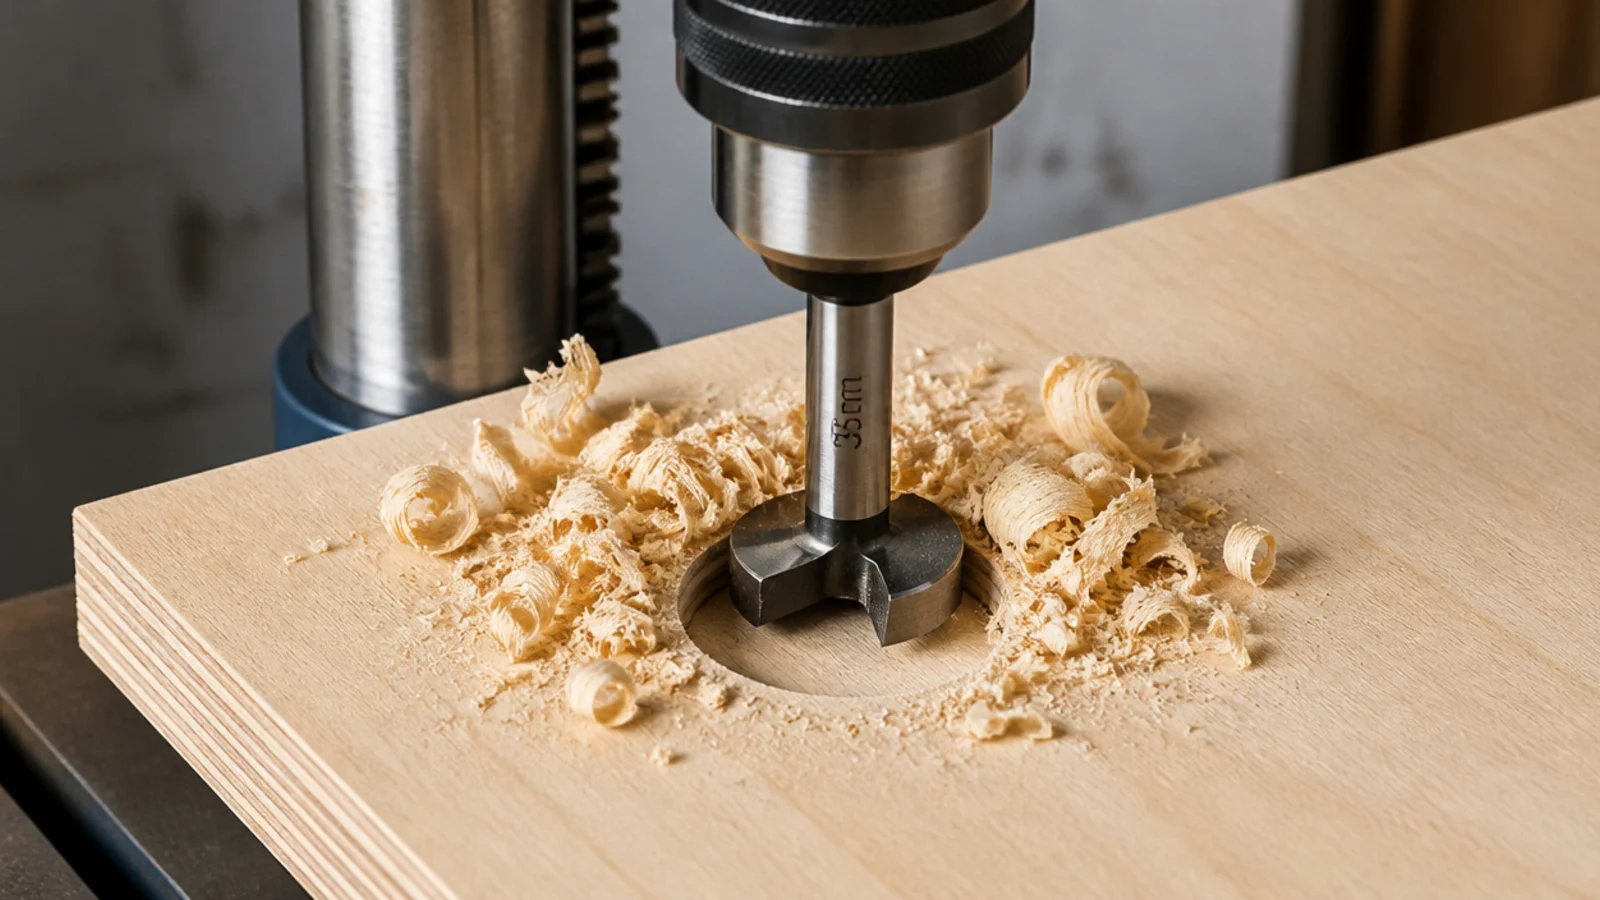
17. Drill a 35mm cable port with a forstner bit
A 35mm forstner bit — the same size used for kitchen door hinges — cuts a flat-bottomed hole with clean edges and no tear-out, which a twist bit cannot do. Put it through the back panel about 50mm up from the bottom, clamp a scrap block behind the exit side, and drill at low speed. A plastic grommet ring to finish it costs about two dollars.
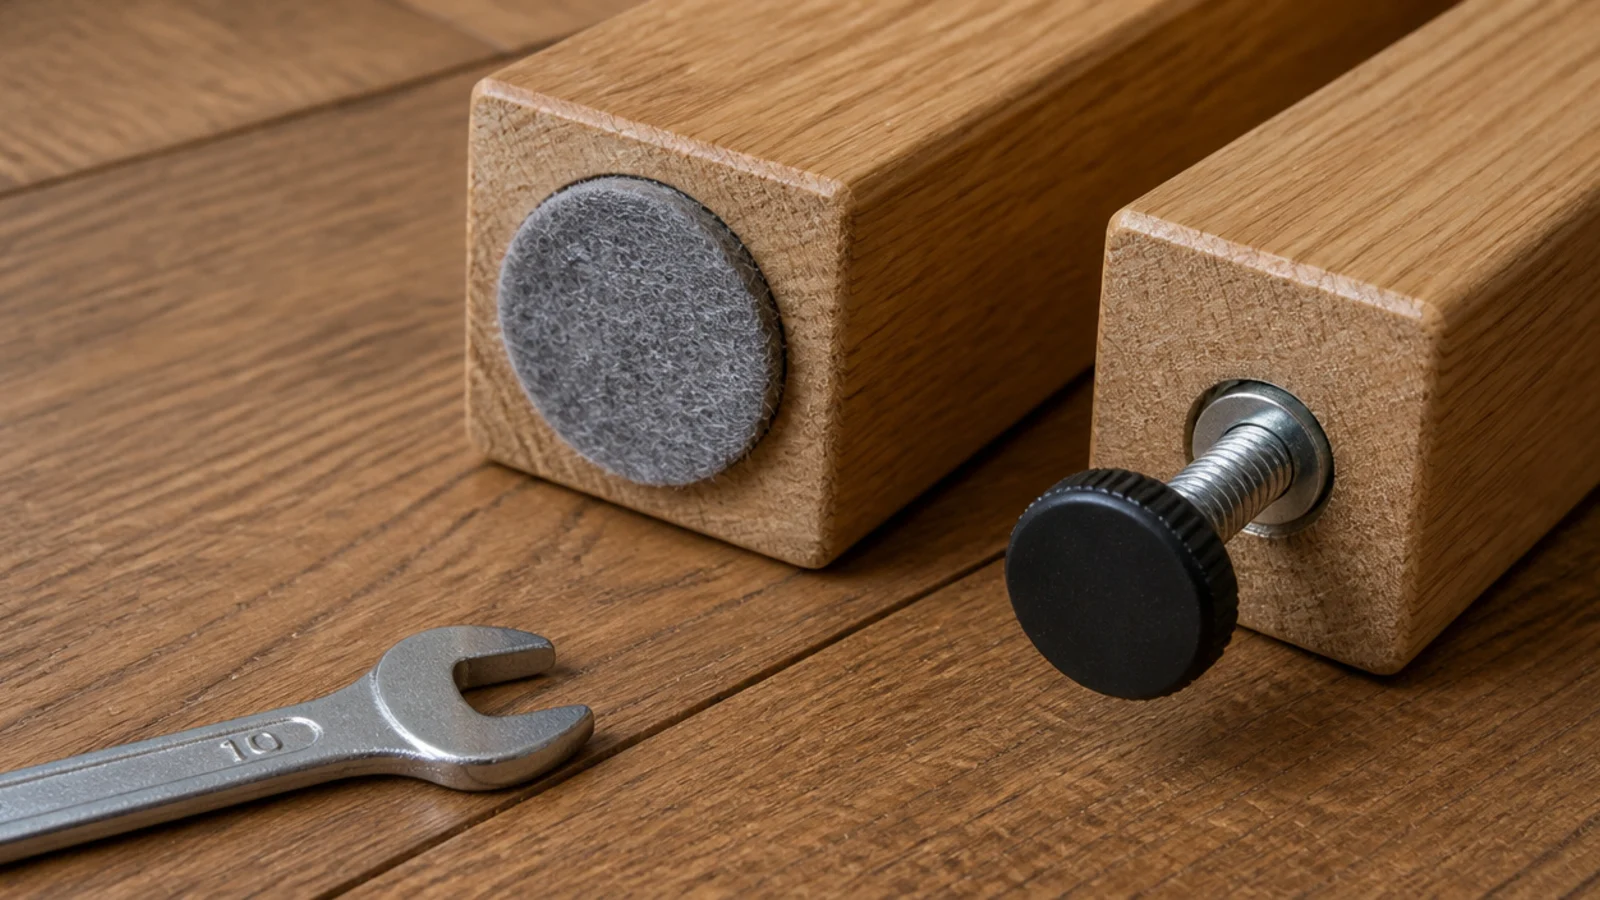
18. Felt pads and levelling screws underneath
Every homemade table rocks slightly, because floors are not flat and neither are legs. Threaded levelling feet at about 6 dollars for four let you take out the wobble with a quarter turn, and felt pads stop a timber leg marking a floorboard. Fit them before you finish the piece, since drilling into a freshly oiled leg is how you end up sanding a leg twice.
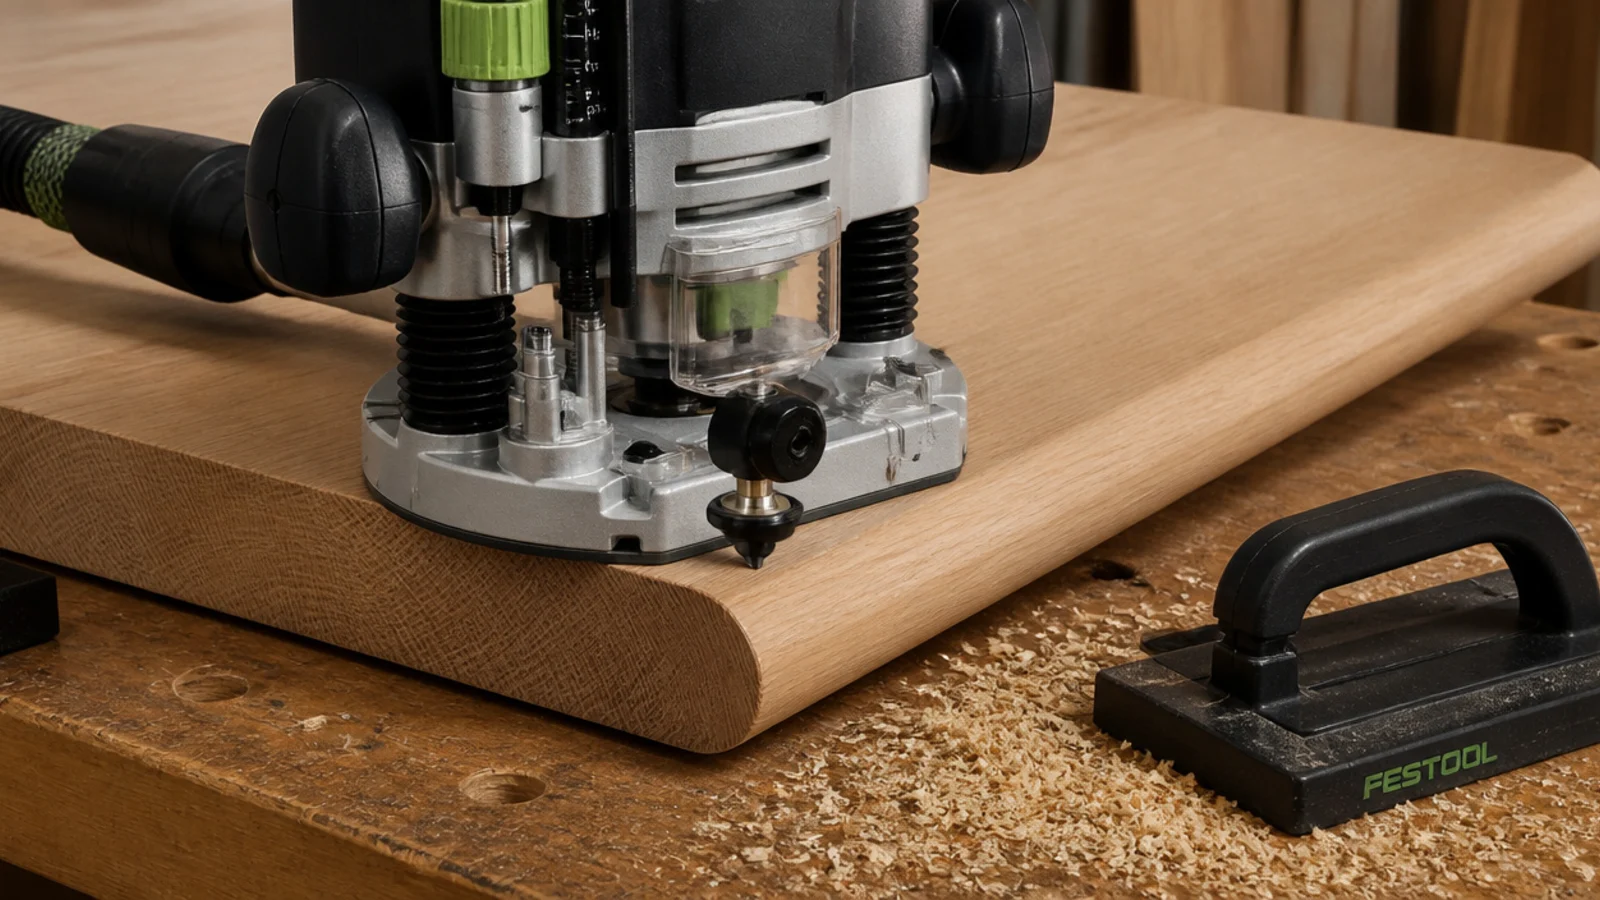
19. Round every edge with an eighth-inch roundover
A sharp square arris on a bedside table chips, catches sleeves and feels unfinished under the hand. An eighth-inch roundover — from a router bit, a block plane or just a sanding block worked at 45 degrees along the edge — is the difference between a panel and a piece of furniture. Do it on every exposed edge including the inside of a shelf front.
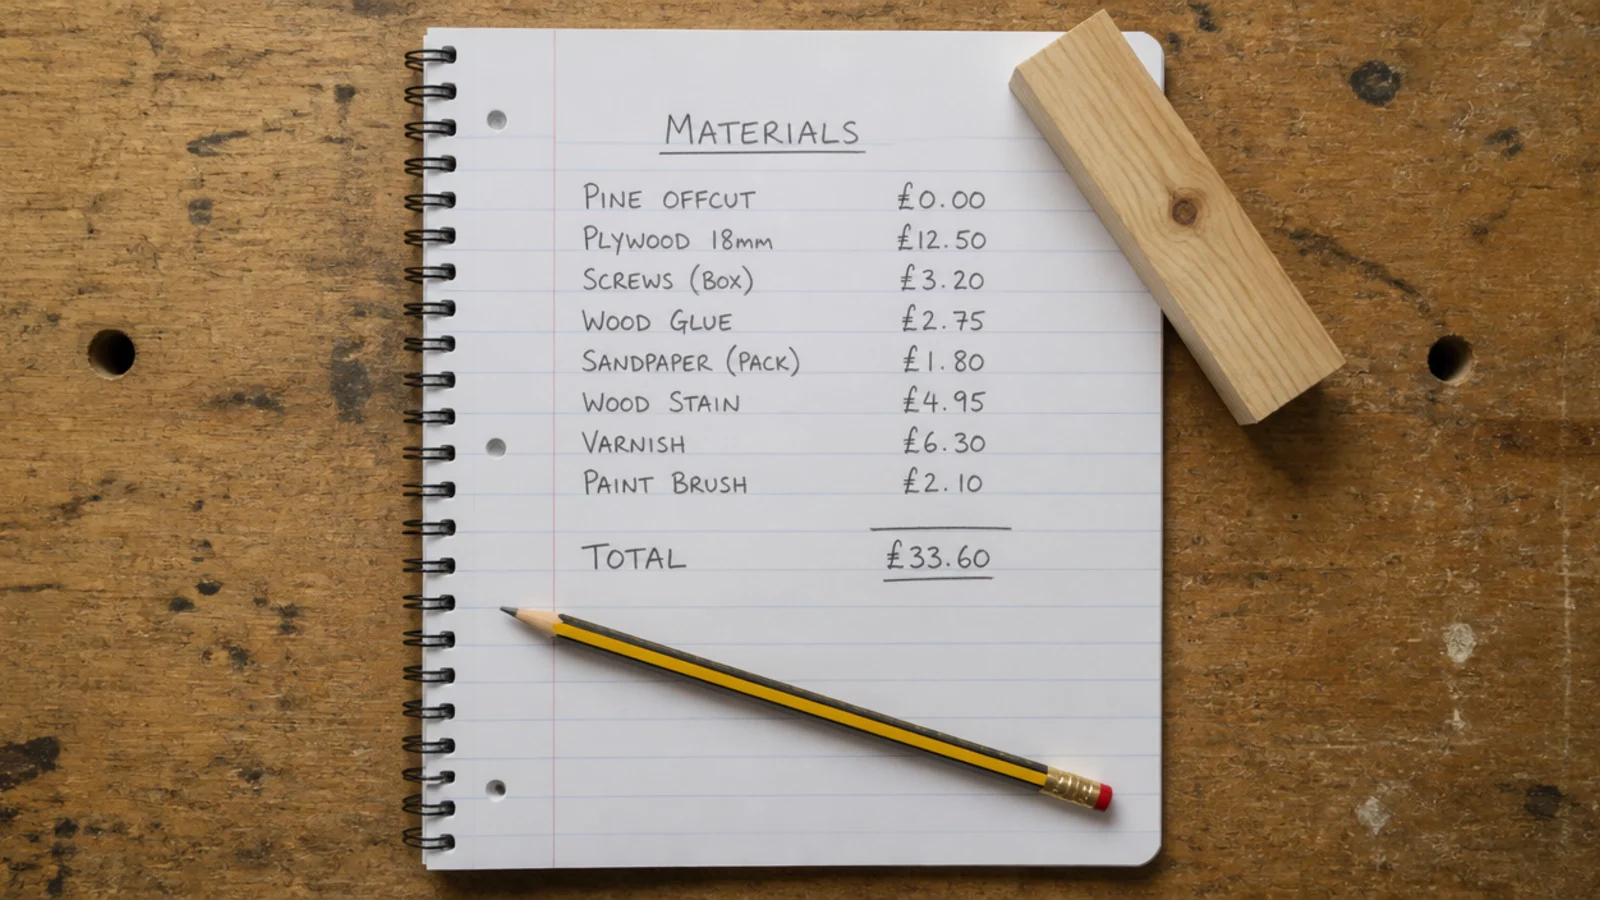
20. Price the whole build before you cut anything
Write the full list down: timber, screws, legs, banding, filler, oil, and anything you have to buy to hold or cut it. Half of the DIY nightstands that end up costing 90 dollars started as a 30-dollar plan that quietly needed a jig, a bit and a second tin. If the honest total lands above about 60, buy secondhand and refinish it instead — the same wood finishes apply either way.
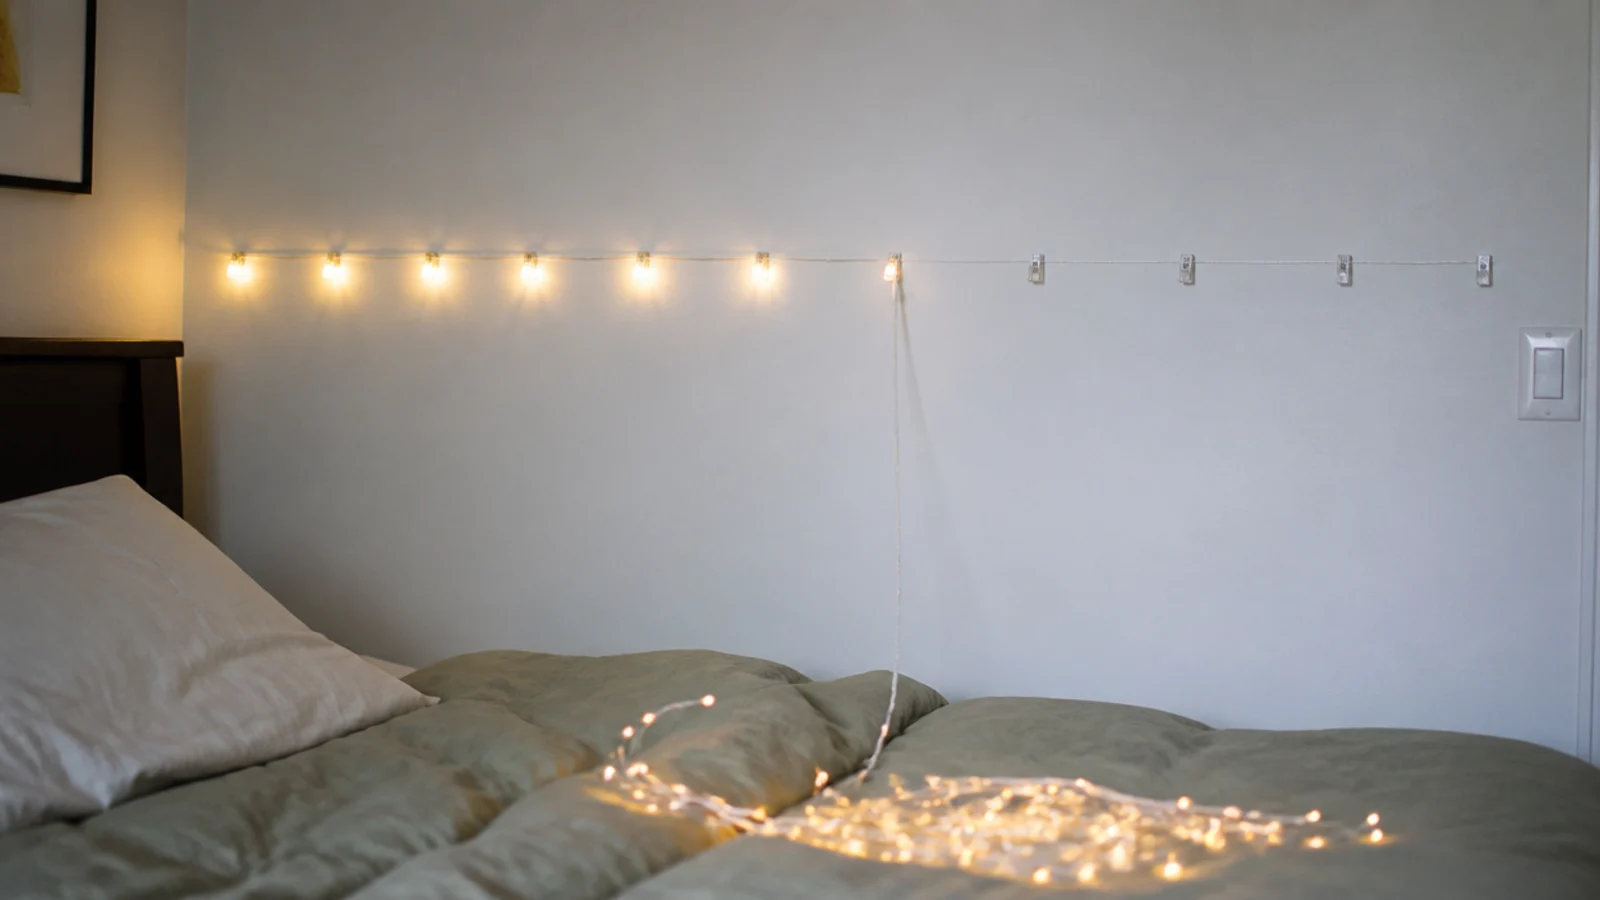
If the build is heading up the wall rather than onto legs, diy headboard projects cover the same fixings and finishes at a larger scale. For soft light above a homemade table without wiring anything, fairy light layouts work off a single low-voltage plug.
Mistakes to Skip
- Buying the timber before writing the cut list. An eight-foot board that yields three parts and a useless offcut costs the same as one that yields four.
- Skipping the squareness check. Measure both diagonals of the carcass before the glue grabs, because a box that is 4mm out will rock forever.
- Using oil-based varnish over white paint. It looks perfect for a year and distinctly yellow by the third.
- Leaving oily rags balled up in a bin. Danish oil and linseed oil generate heat as they cure, and a bunched rag is a genuine fire risk — dry them flat outside.
- Making the top flush with the sides. It is the single detail that makes an otherwise decent build look like a shipping crate.
Frequently asked questions
What is the cheapest bedside table you can build yourself?
A three-cut box from a single 1x12 pine board, at roughly 18 to 25 dollars including screws and a small tin of oil. One eight-foot board gives you two sides and a top with almost nothing left over, and the only tools required are a saw, a drill and a countersink bit.
What wood should a beginner use for a bedside table?
Pine boards or birch plywood. Pine is soft, cheap and forgiving of a slightly wandering saw cut, and a 1x12 board is already planed to a usable width. Birch ply is flatter and stronger for a cabinet, and an 18mm quarter sheet costs around 25 to 40 dollars and yields an entire small carcass.
Do I need a pocket-hole jig to build a nightstand?
No, but it is the single tool that makes the biggest difference for about 40 dollars. Pocket screws pull a joint tight without clamps and hide the fixings on the inside face. The alternative is glue and countersunk screws through the outside, which works fine if you fill and paint over the heads.
How do I stop plywood edges looking unfinished?
Iron-on edge banding, which is a thin veneer strip with heat-activated glue on the back. A roll costs about four to eight dollars, you press it on with a household iron on a low setting, then trim it flush with a chisel or a utility knife and sand the corner lightly.
What finish is best for a homemade bedside table?
Danish oil for timber you want to feel like timber, three coats six hours apart, wiped rather than brushed. Water-based polyurethane for anything painted white, because oil-based varnish yellows noticeably within a couple of years. Always let rags dry flat outdoors before binning them, since oily rags can self-heat.
Want more like this? Browse all 15 bedside table ideas guides — they all use the same measurements and budget tiers.

Pin it for later
Save this to your Bedside Table Ideas board
Pin it now so it is waiting for you when the tape measure comes out — and so the next person hunting for this idea can find it too.
Save this pinKeep going
More ideas worth saving while you have the tape measure out.