Fairy Lights Bedroom · Listicle
25 Stunning Fairy Lights Bedroom Ceiling Layouts

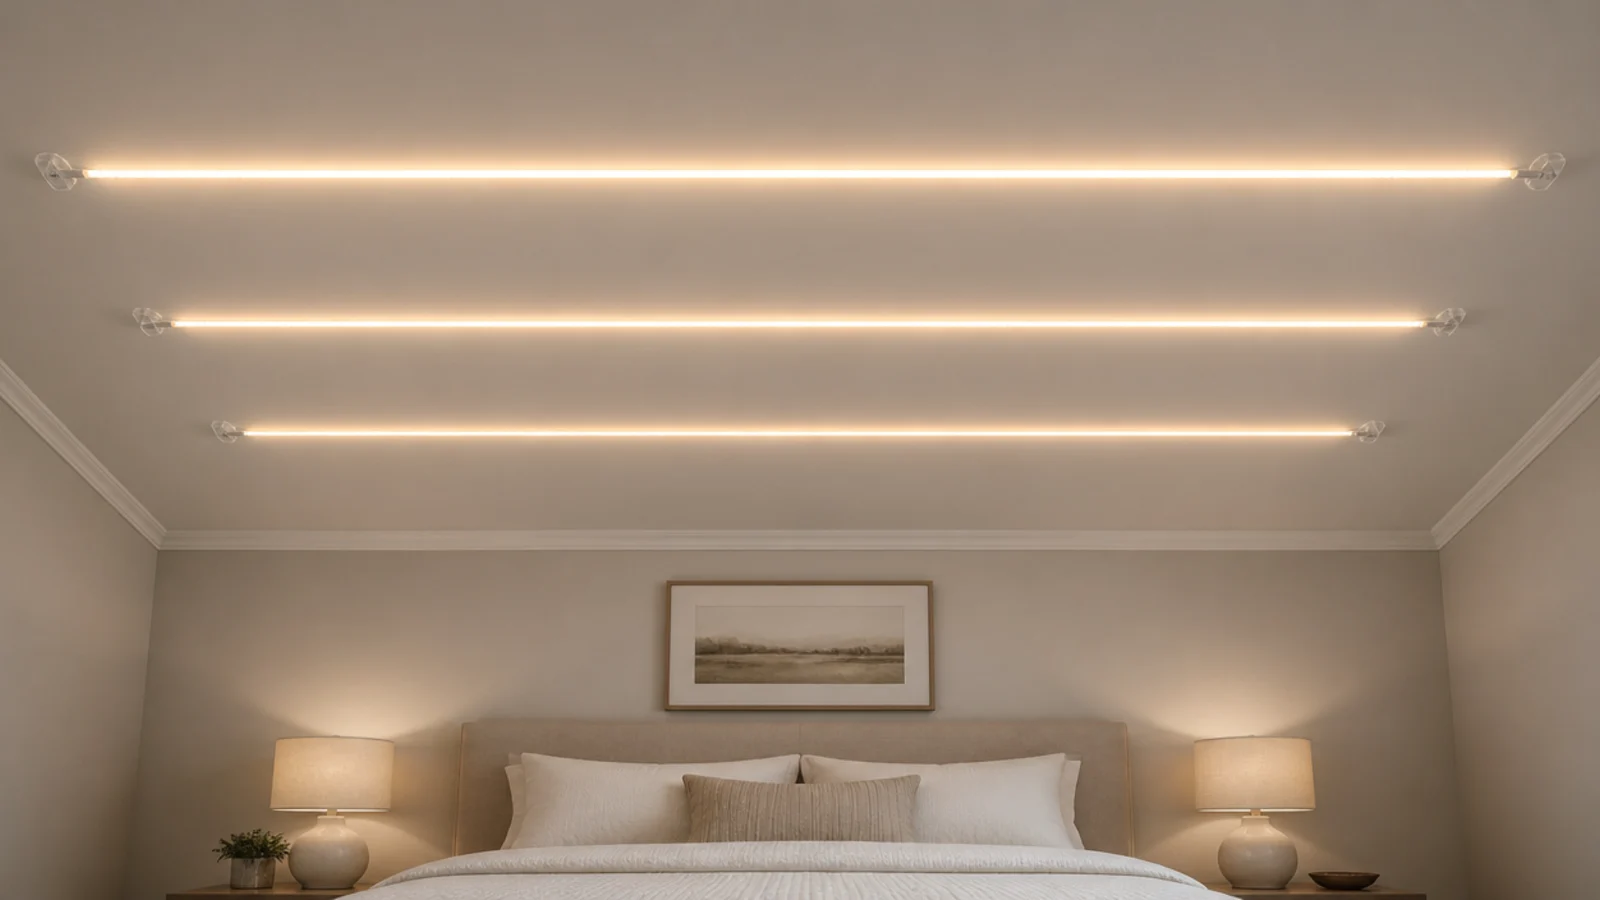
A ceiling is the largest uninterrupted surface in a bedroom and the one people leave alone. It is also the hardest place to fix anything, because adhesive up there is fighting gravity in a straight pull rather than a shear. A fairy lights bedroom ceiling works when the fixings are closer together than you think and the strand carries nothing but itself. I have run about a dozen of these, including two that came down at three in the morning before I learned the spacing. Here are twenty-five layouts with the numbers behind them.
In this guide27 sections — tap to openHide
- 1.What a fairy lights bedroom ceiling has to hold
- 2.Three parallel runs at eighteen inches
- 3.A perimeter outline around the room
- 4.A starburst from one centre point
- 5.A diagonal cross above the bed
- 6.A zigzag wall to wall
- 7.A grid at twenty-four inch centres
- 8.A dense cluster above the bed only
- 9.An irregular star field
- 10.Drop clusters at three lengths
- 11.A canopy gathered to four points
- 12.Along the ceiling and wall junction
- 13.A halo ring above the bed
- 14.Following an attic slope
- 15.One long swooping curve
- 16.A curtain of drops down one wall
- 17.A ring around the ceiling rose
- 18.Two runs converging into a corner
- 19.Under a bunk or loft bed frame
- 20.Along exposed ceiling beams
- 21.A milky way band on the diagonal
- 22.Paper lantern cloud clusters
- 23.Layer a high run with low drops
- 24.Framing a skylight
- 25.A track or wire canopy frame
- 26.Leave the centre of the ceiling empty
- 27.Mistakes to Skip
What a fairy lights bedroom ceiling has to hold
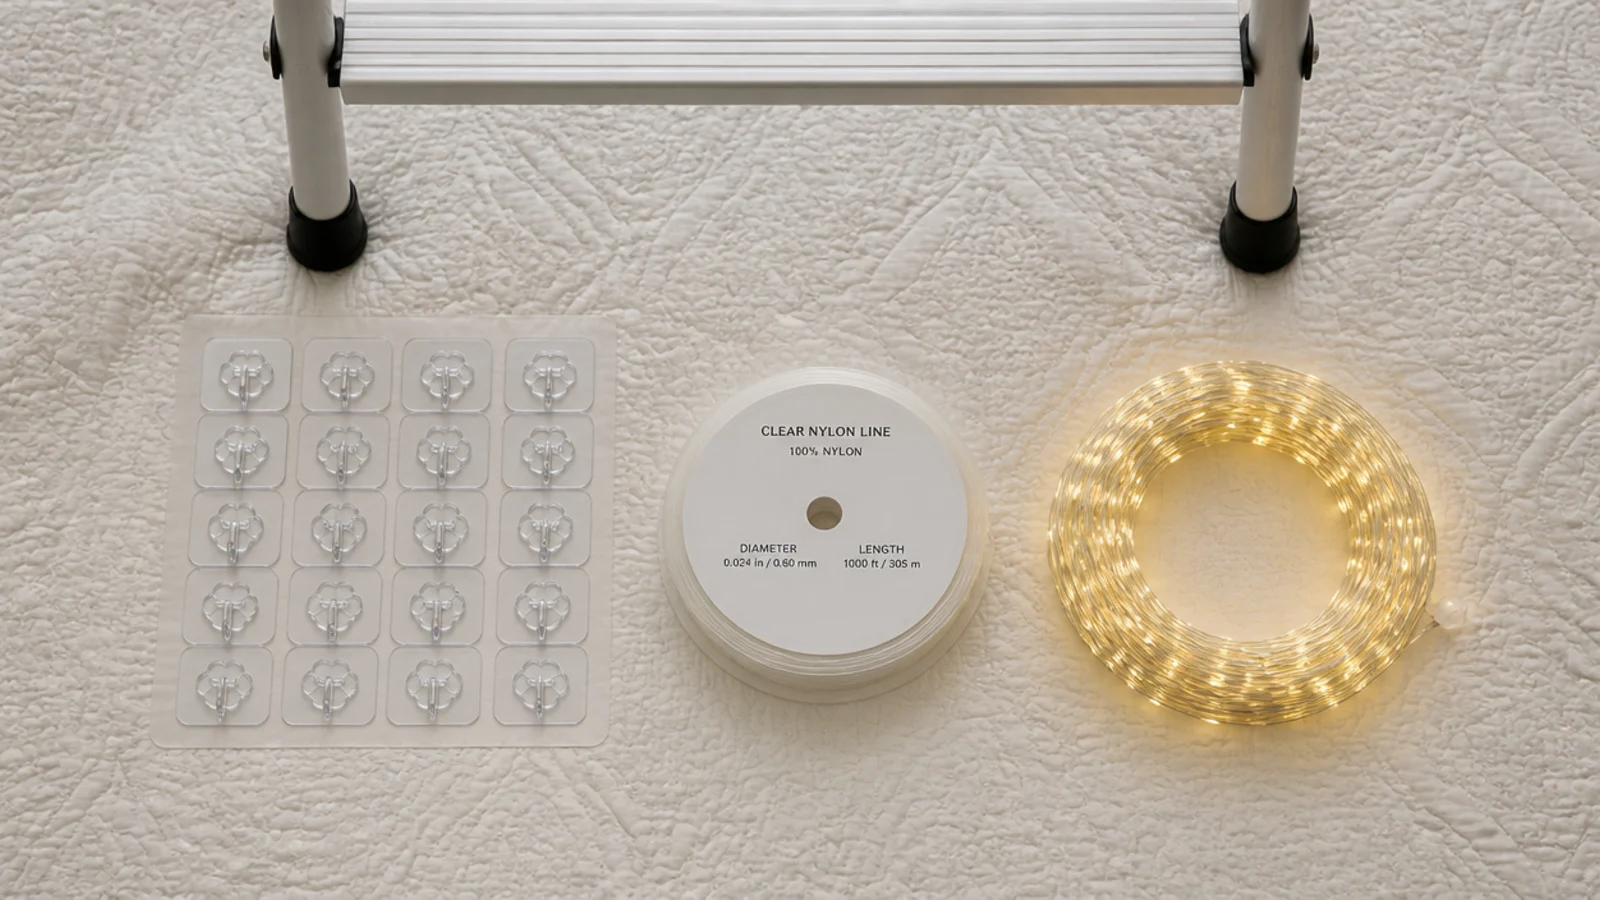
Weight is not the issue: a 33 foot copper strand weighs about 3.5 ounces. Adhesion is. Use small clear hooks every 10 to 12 inches, against the 12 to 16 you would use on a wall, and leave every hook a full hour after pressing before it carries anything.
For a long span, do not ask the wire to take the tension. String a clear nylon line between two hooks and hang the strand from the line in loops. A 12 foot span needs about 15 feet of strand once you allow for the sag and the drop at each end.
Spacing between runs decides the whole look. Sixteen to 24 inches apart reads as a designed layout; closer than 16 and it becomes a net; wider than 24 and the ceiling looks striped. Square the runs to the bed rather than to the walls, because the bed is what the eye measures against.
The safety sits in the fixings. LED strands only anywhere near a canopy or bedding, drivers and battery packs in open air and never resting on the bed, no cable under a rug on the way to a socket, no staples or pins through the sheath, and never more sets chained end to end than the tag allows. A stick-on hook holds a light strand and nothing more — a pendant or any real fixture needs a rated ceiling box and an electrician. The full fixing method is in the hanging steps.
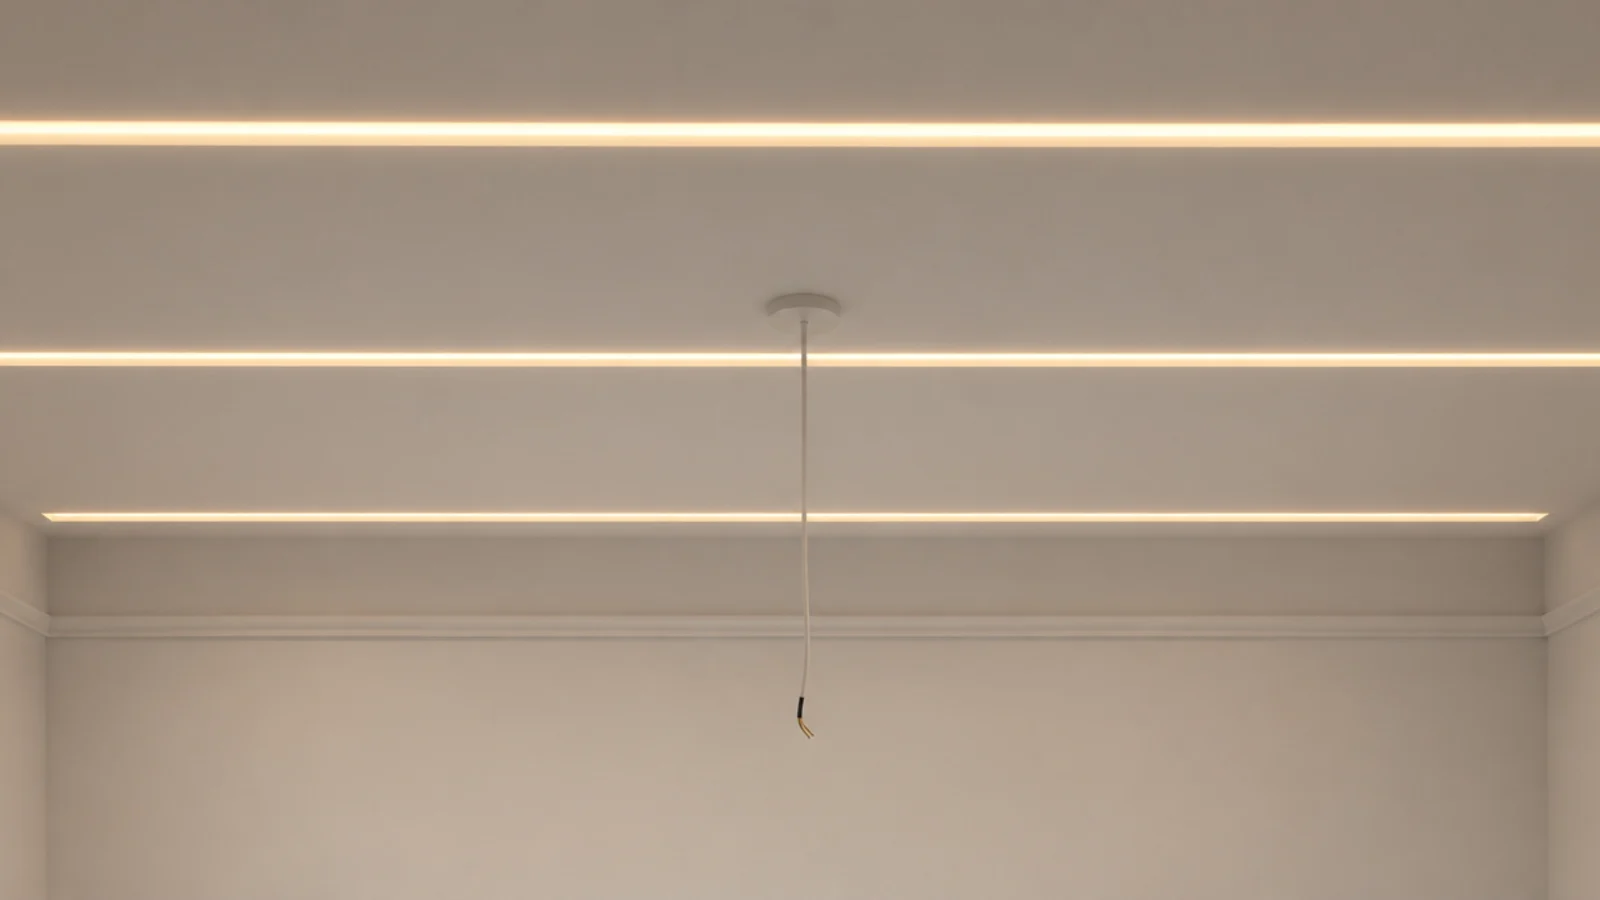
1. Three parallel runs at eighteen inches
The layout I fit most often. Three runs, 18 inches apart, squared to the bed and centred on it. On a 12 foot span that is about 45 feet of strand in total, so one 33 foot set plus one 16 foot set rather than a single long run that dims at the far end.
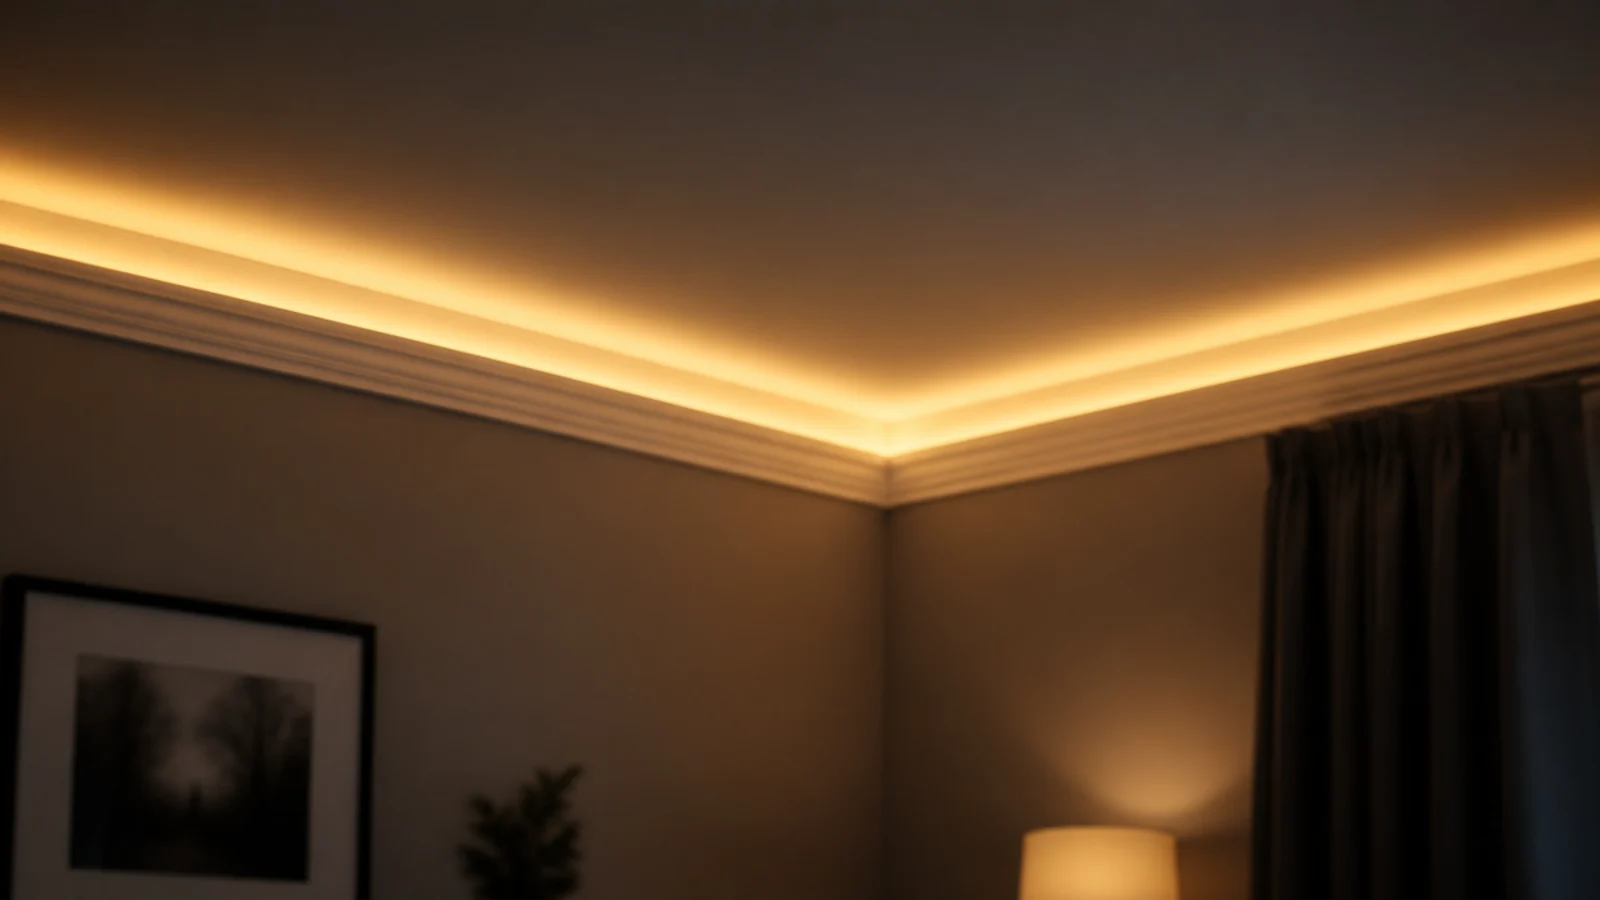
2. A perimeter outline around the room
Follow the junction of ceiling and wall the whole way round. In a 12 by 11 foot room that is 46 feet of perimeter, so two 33 foot strands fed from opposite corners. The wire sits in the shadow line, so you see the wash and almost none of the run.
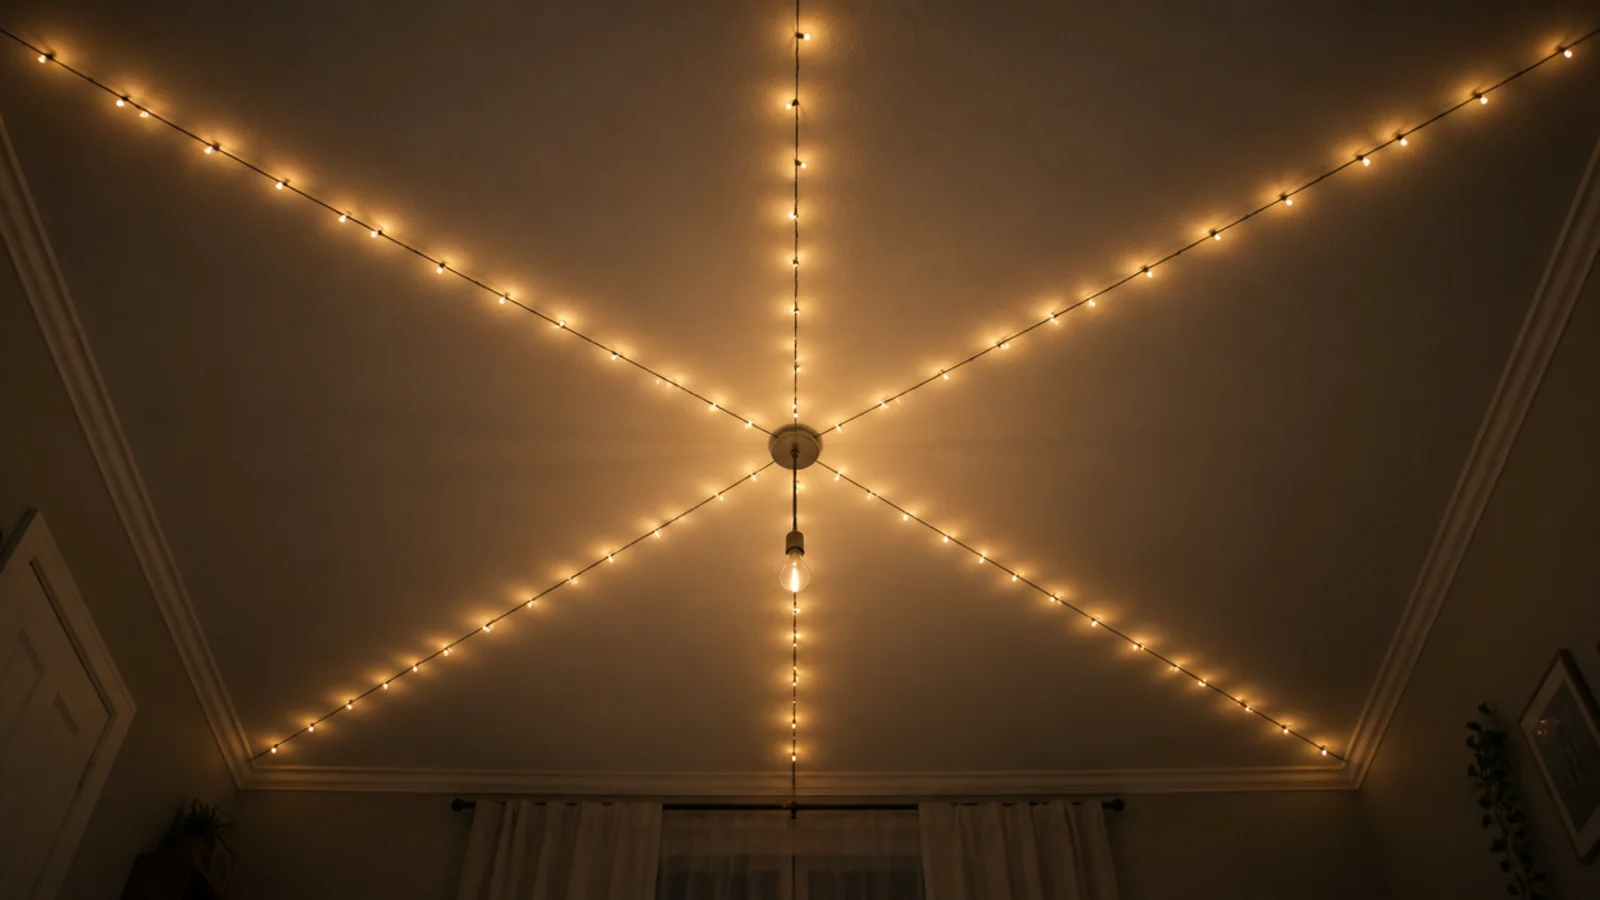
3. A starburst from one centre point
Six strands radiating from a single central hook out to the wall junctions. It is the most dramatic layout here and the most demanding: the central point carries six times the load, so use a hook rated well above what you need or, better, a small ring hung from two hooks.
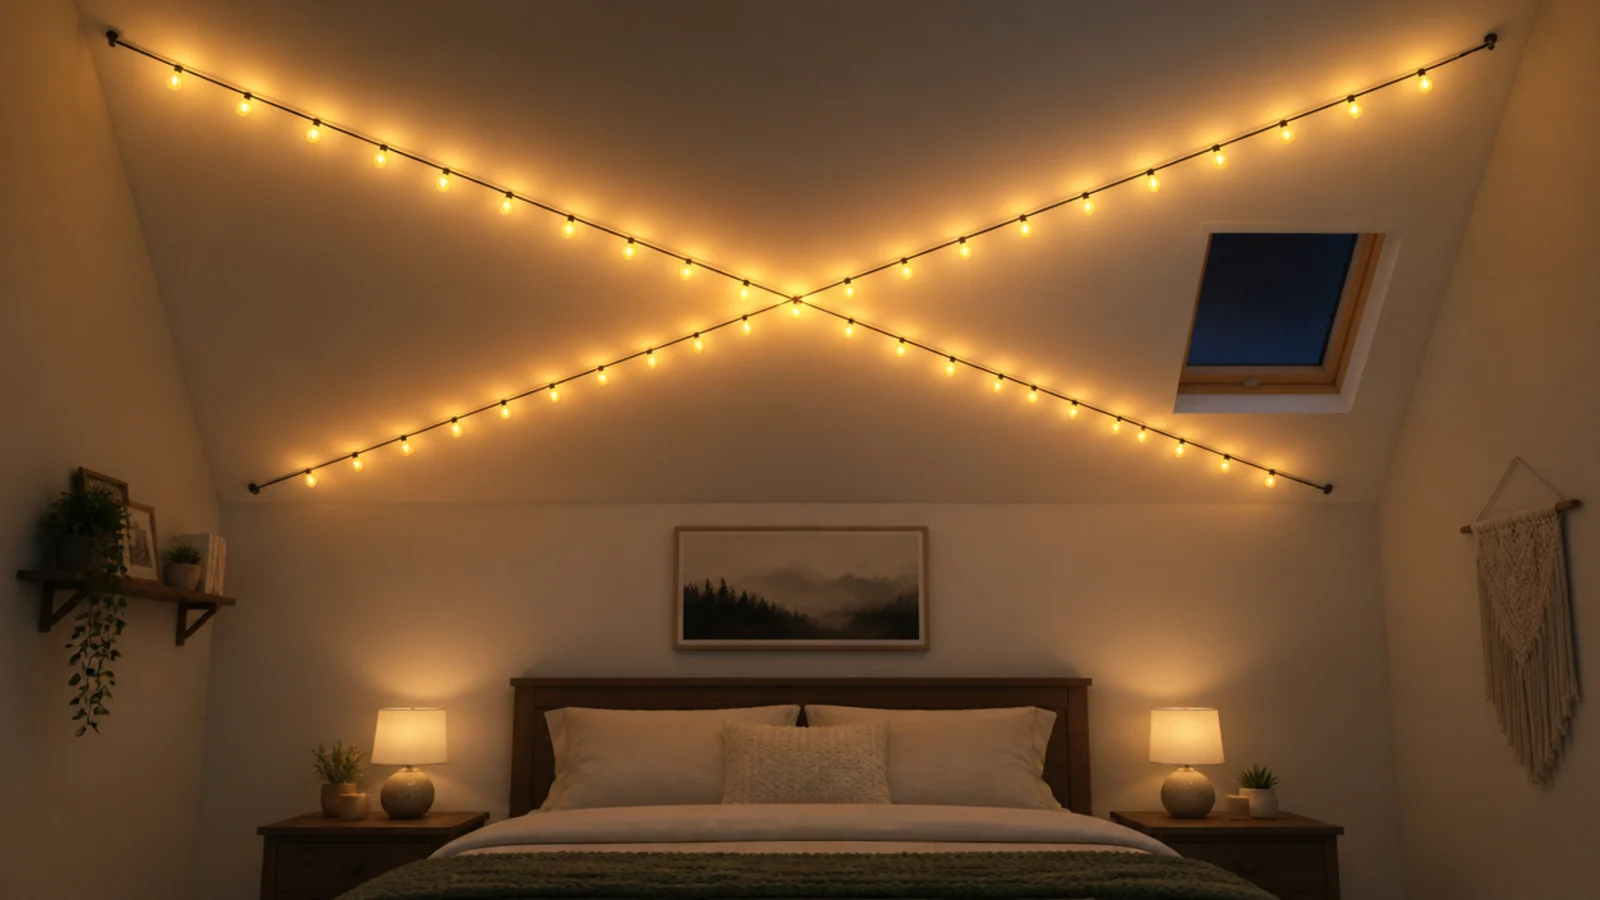
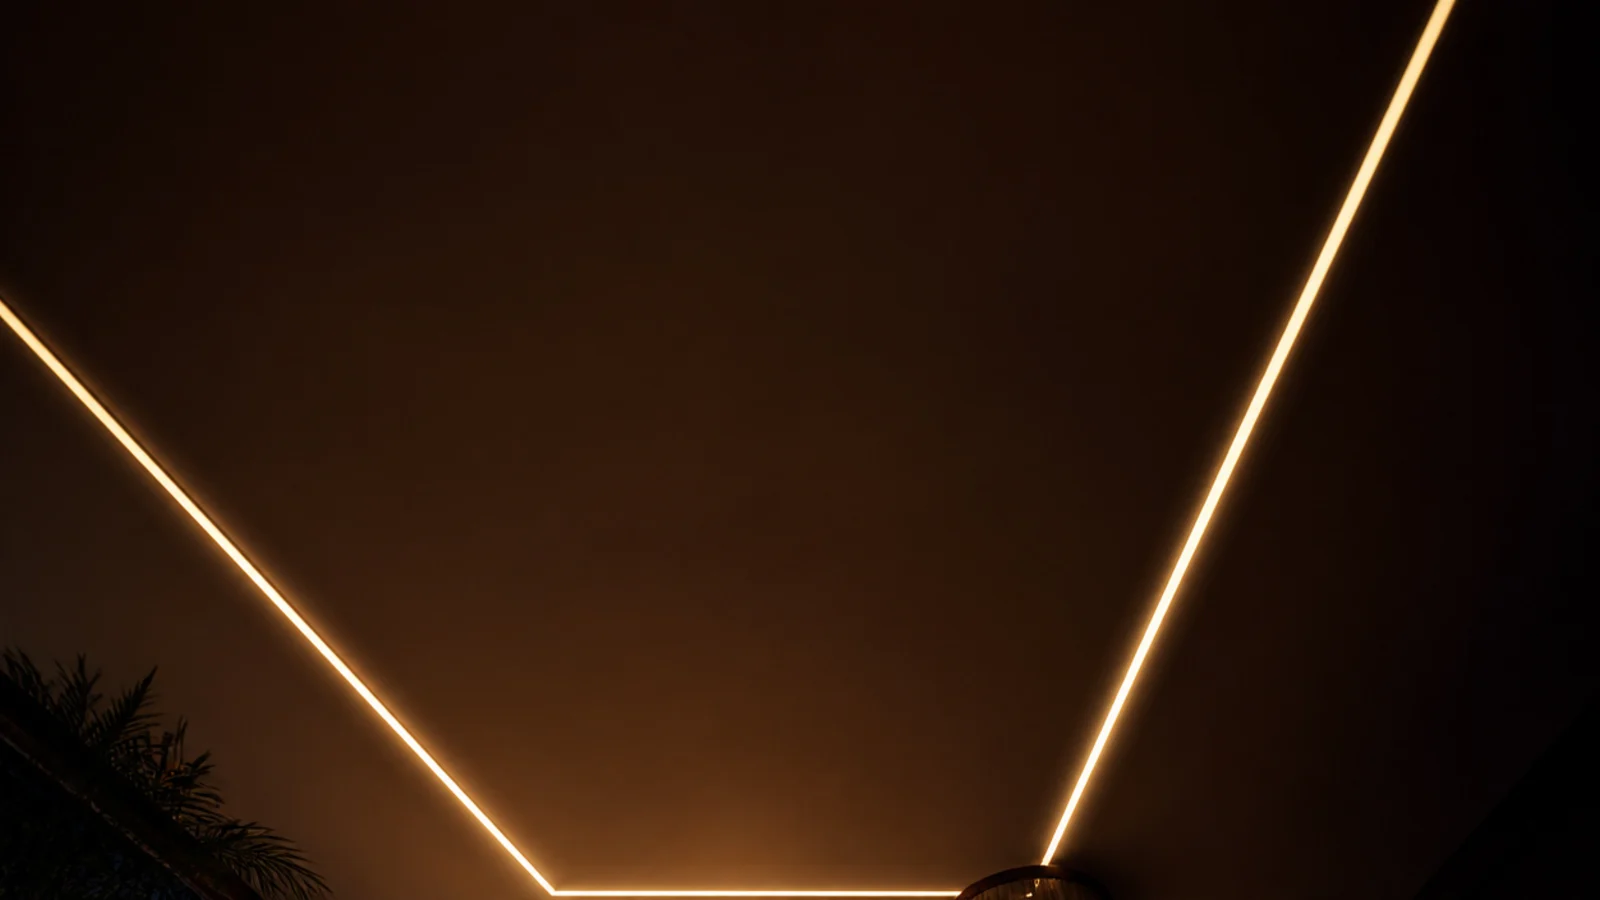
4. A diagonal cross above the bed
Two strands corner to corner. Diagonals cut across the boxiness of a small rectangular room in a way that parallel runs never manage. A 12 by 11 foot room has a diagonal of about 16 feet, so two 16 foot sets or one 33 foot strand folded at the centre both work.
5. A zigzag wall to wall
One continuous strand travelling back and forth between opposite walls with hooks alternating along each side. Five passes across a 10 foot room uses about 55 feet, so this is the one layout where a 66 foot strand earns its place — it avoids a join in the middle of the run.
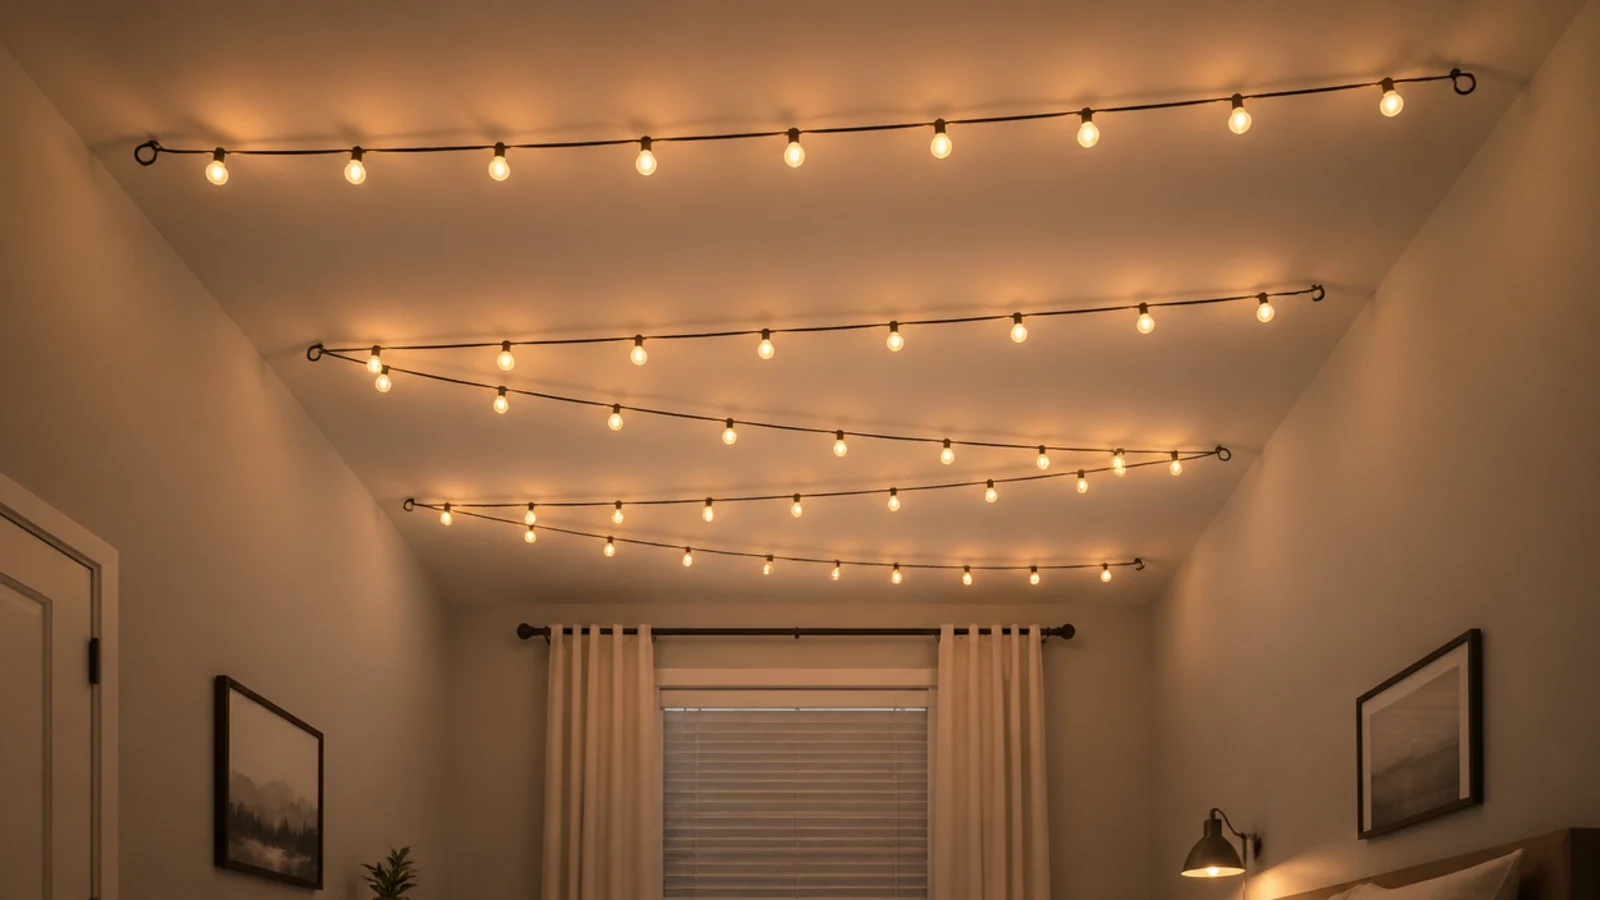
6. A grid at twenty-four inch centres
Runs crossing at right angles into wide squares. Keep the squares at 24 inches or larger, because a tight mesh reads as netting rather than lighting. Tie the crossing points loosely with a small clear tie so they hold their shape without pinching either cable.
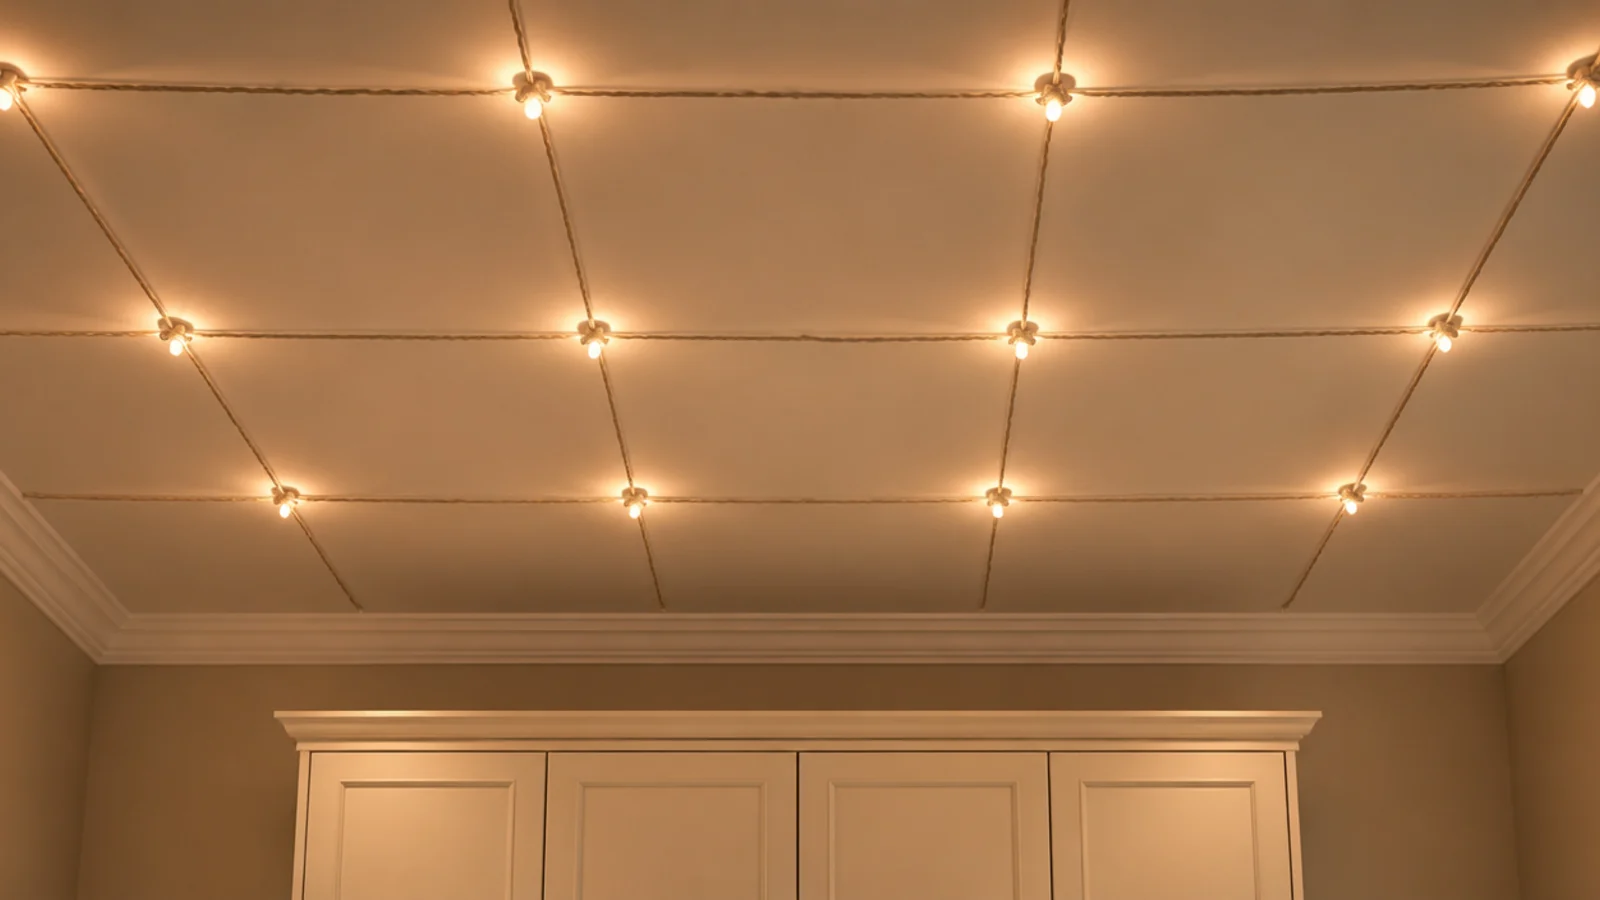
7. A dense cluster above the bed only
Concentrate the whole strand into a 5 by 6 foot area directly above the bed and leave the rest of the ceiling dark. The contrast is what makes it work, and it uses far less strand than lighting the whole plane. Keep the lowest point above 78 inches so nobody walks into it.
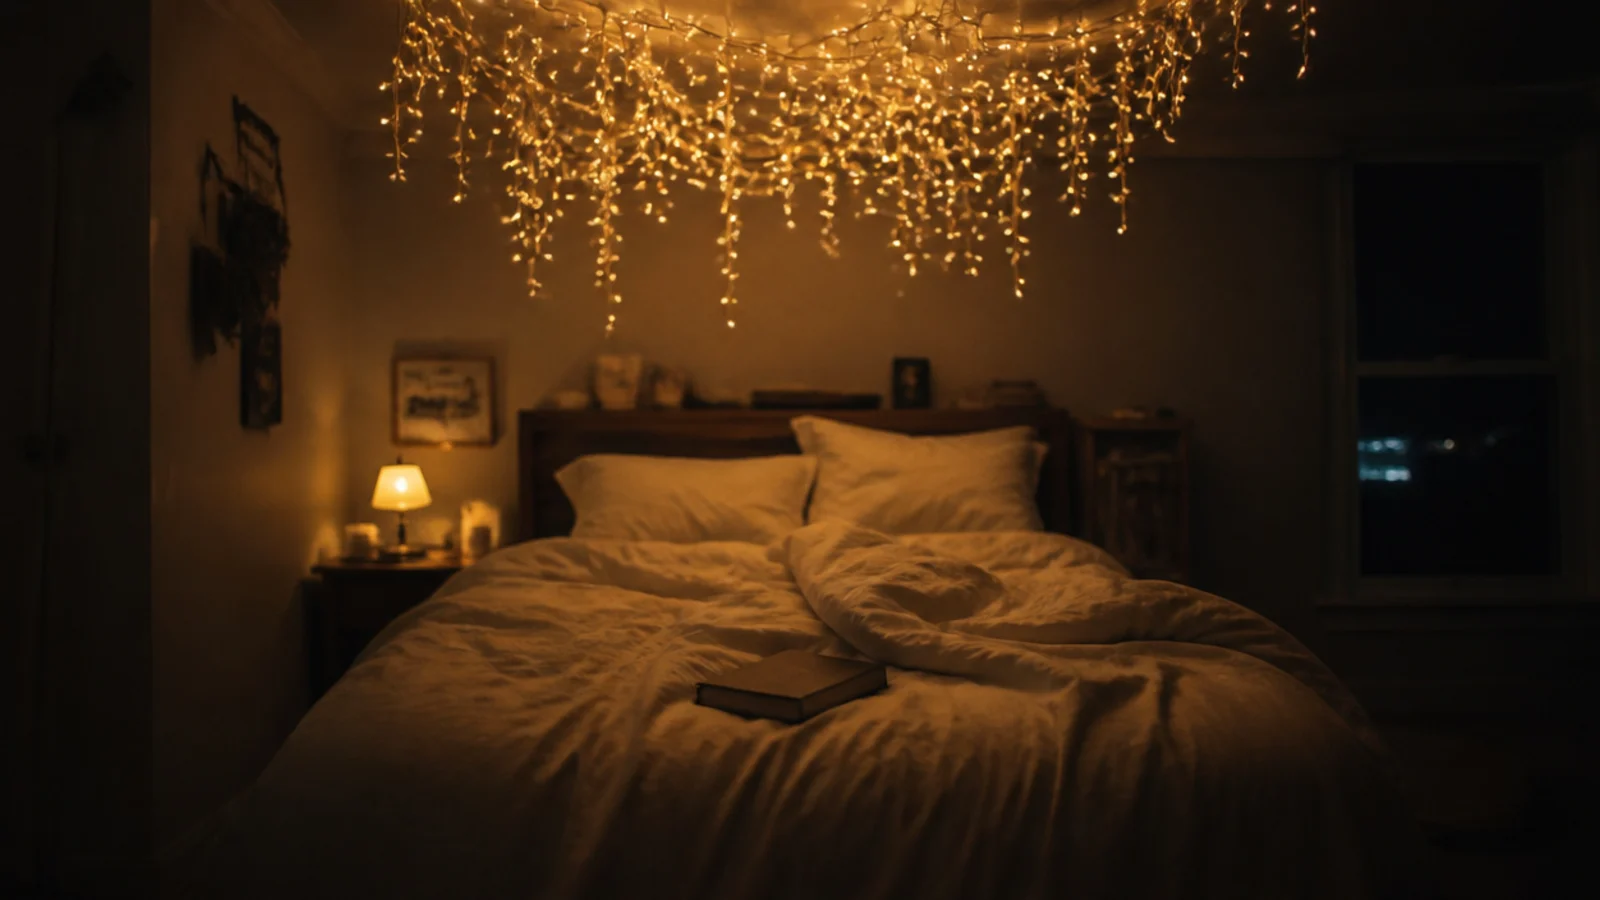
8. An irregular star field
Roughly one bulb per square foot near the centre, thinning toward the edges, on clear wire with small adhesive dots. Irregular spacing is essential — anything approaching a grid reads as a net instantly. A 12 by 11 foot room takes about 120 bulbs, which is one 33 foot strand plus a second short one.
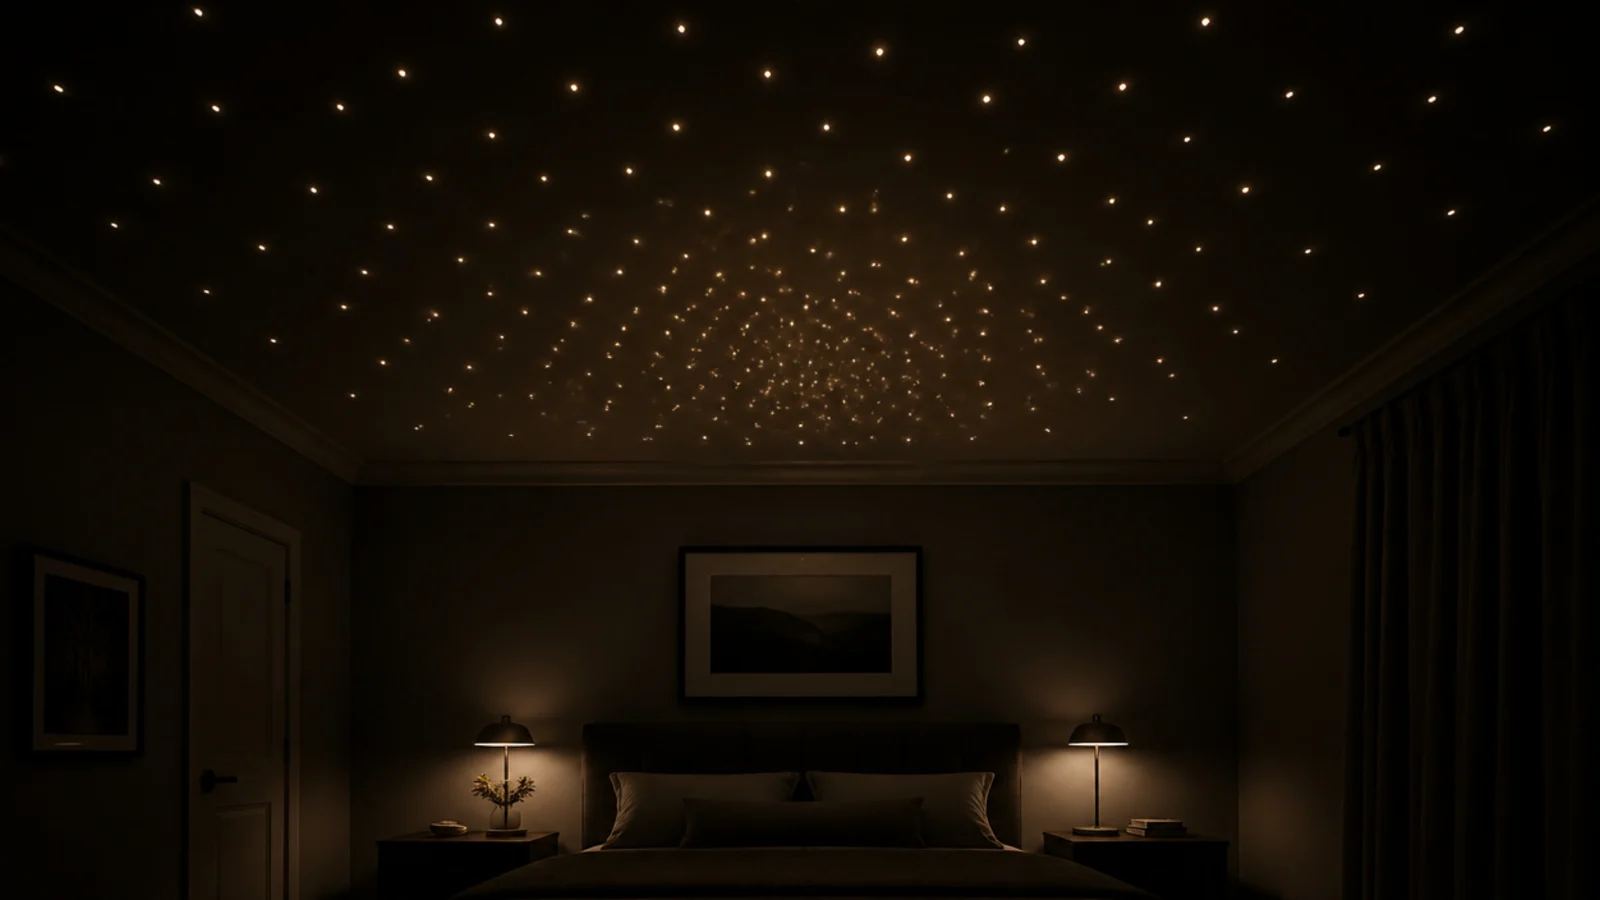
9. Drop clusters at three lengths
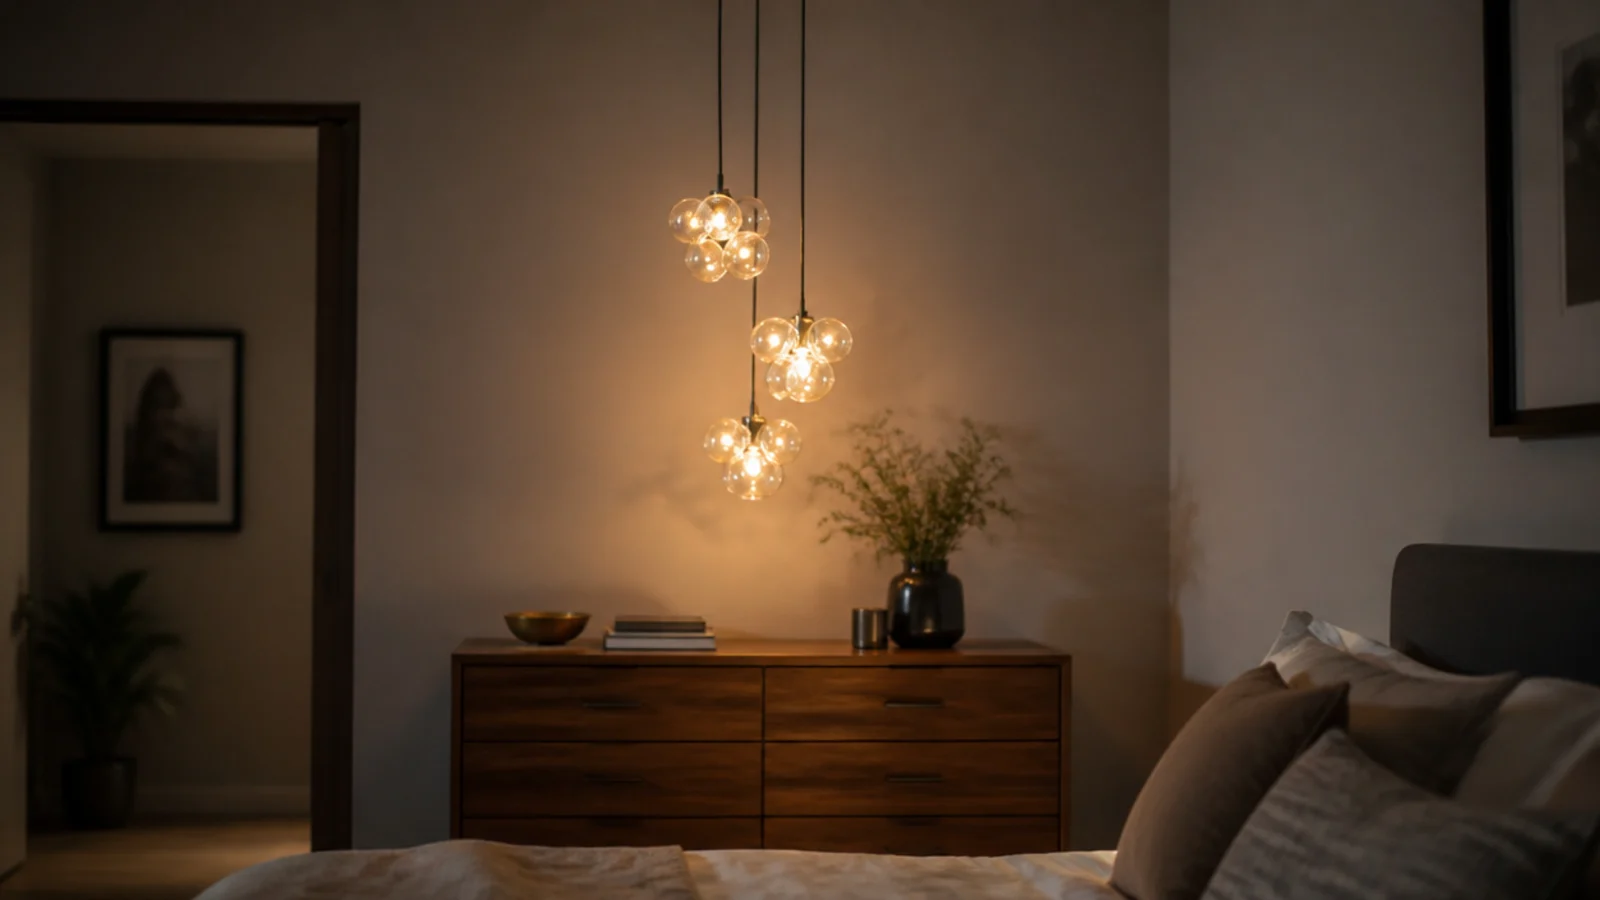
Gather bunches of 20 to 30 bulbs and hang them at three different drop lengths from one fixing line — say 12, 18 and 24 inches. The staggered heights give the ceiling depth. Keep every cluster above head height and well clear of any door swing.
10. A canopy gathered to four points
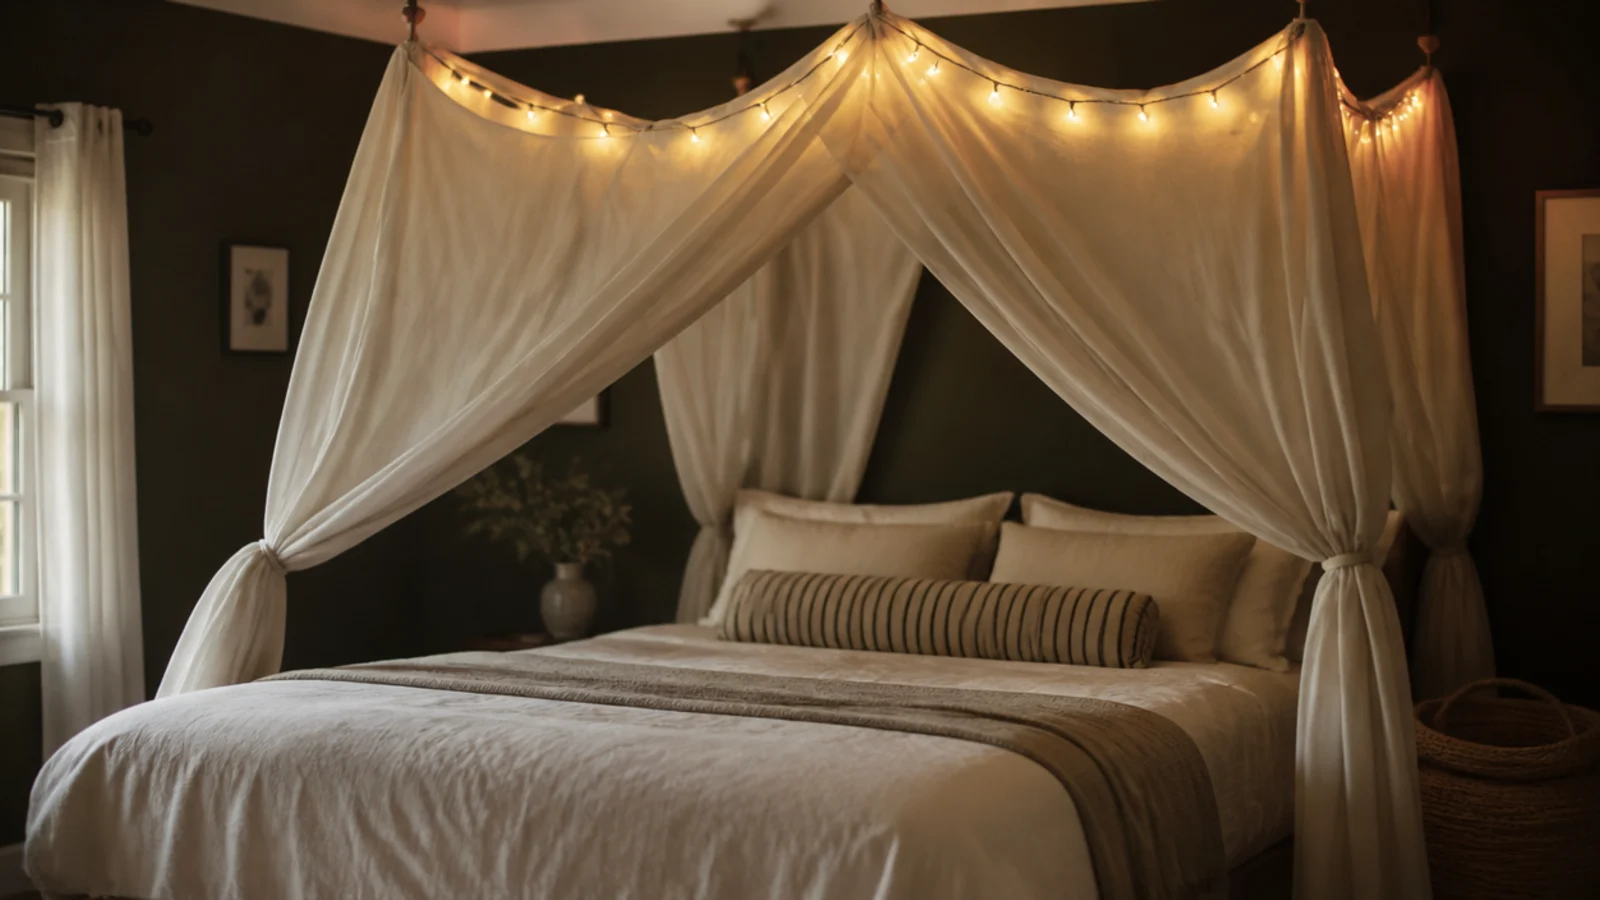
Four hooks in a rectangle 4 inches wider than the bed on each side, fabric gathered between them, one LED strand laid over the top folds rather than sealed inside. Muslin weighs little, but use hooks rated at a pound each and check them after the first week.
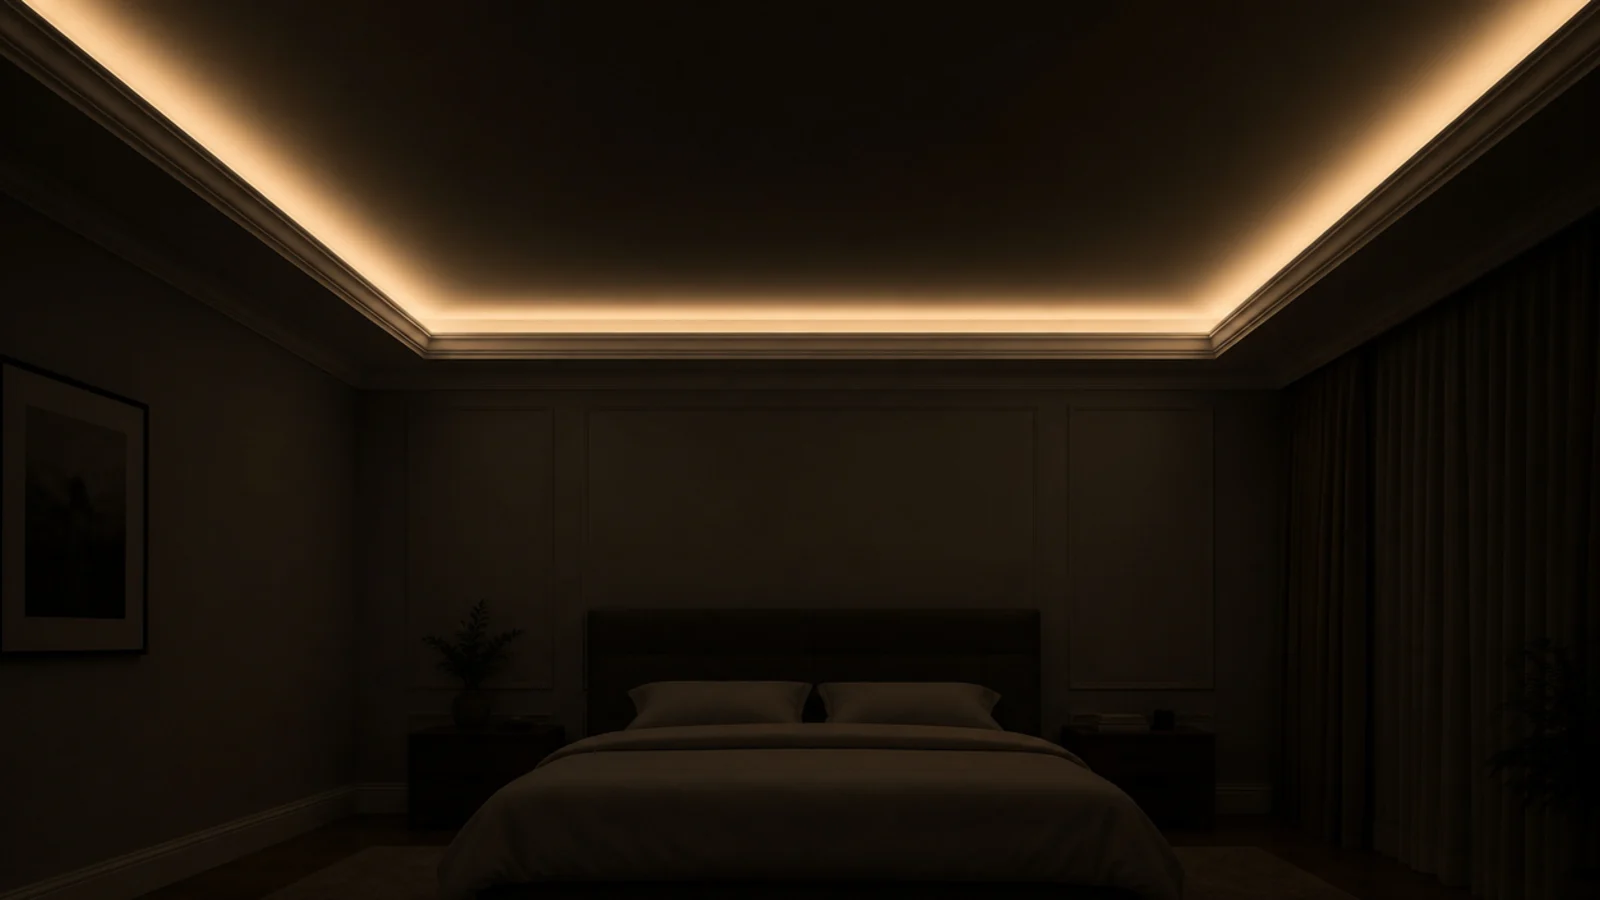
11. Along the ceiling and wall junction
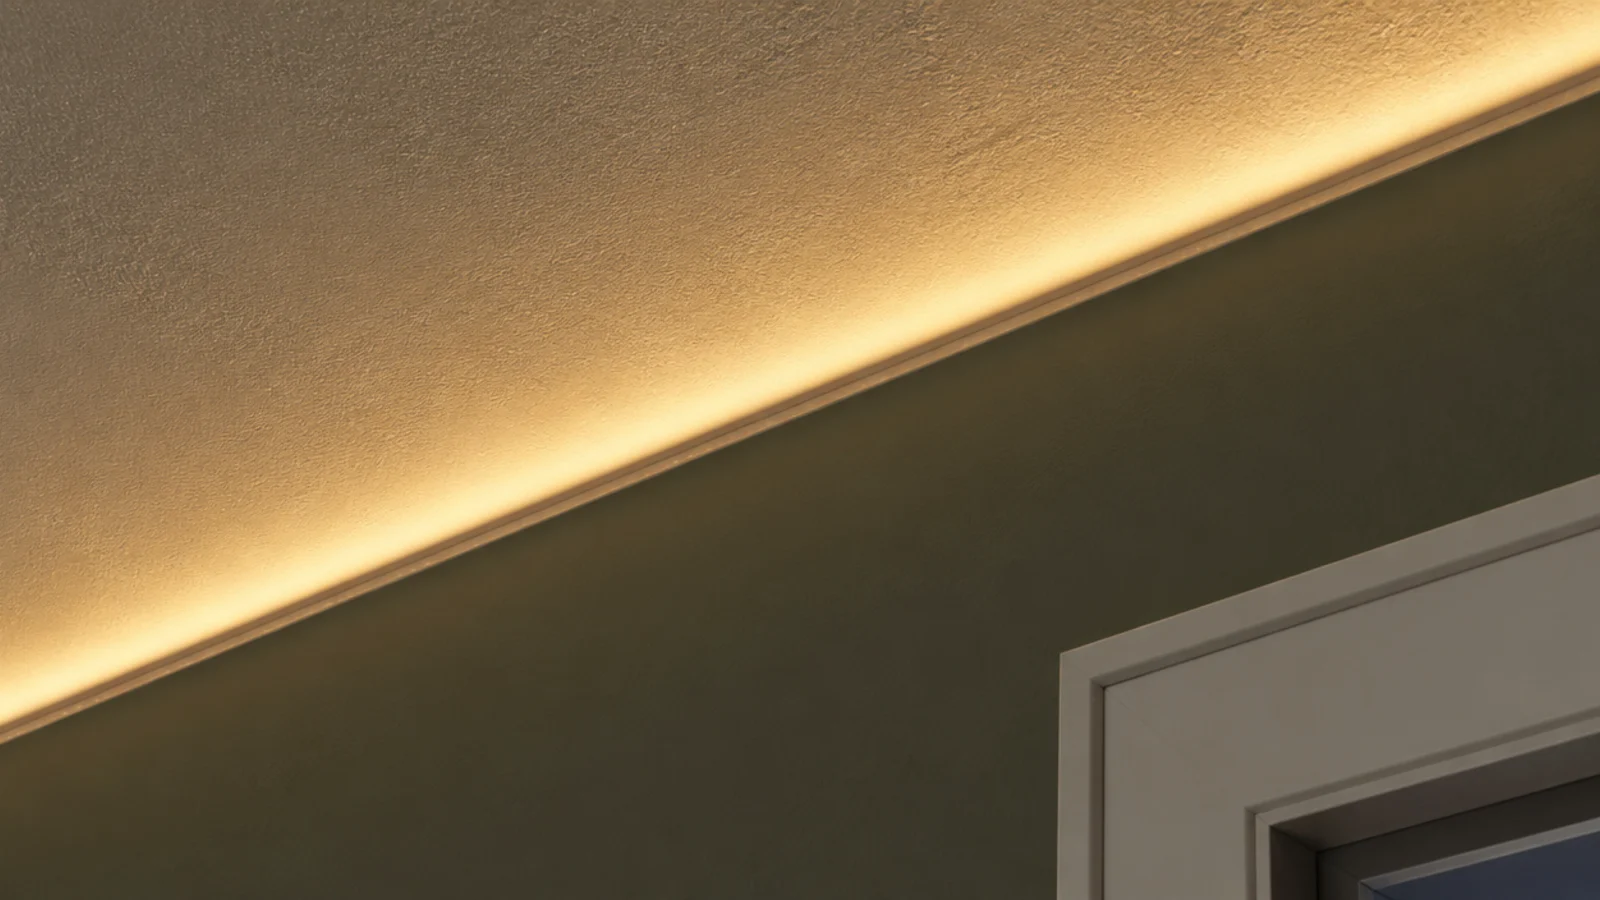
A single run tucked into the shadow gap where the two planes meet gives you cove lighting for the price of a strand. It works best in a room with a cornice or a picture rail to sit against, and it puts every bulb well outside your eyeline.
12. A halo ring above the bed
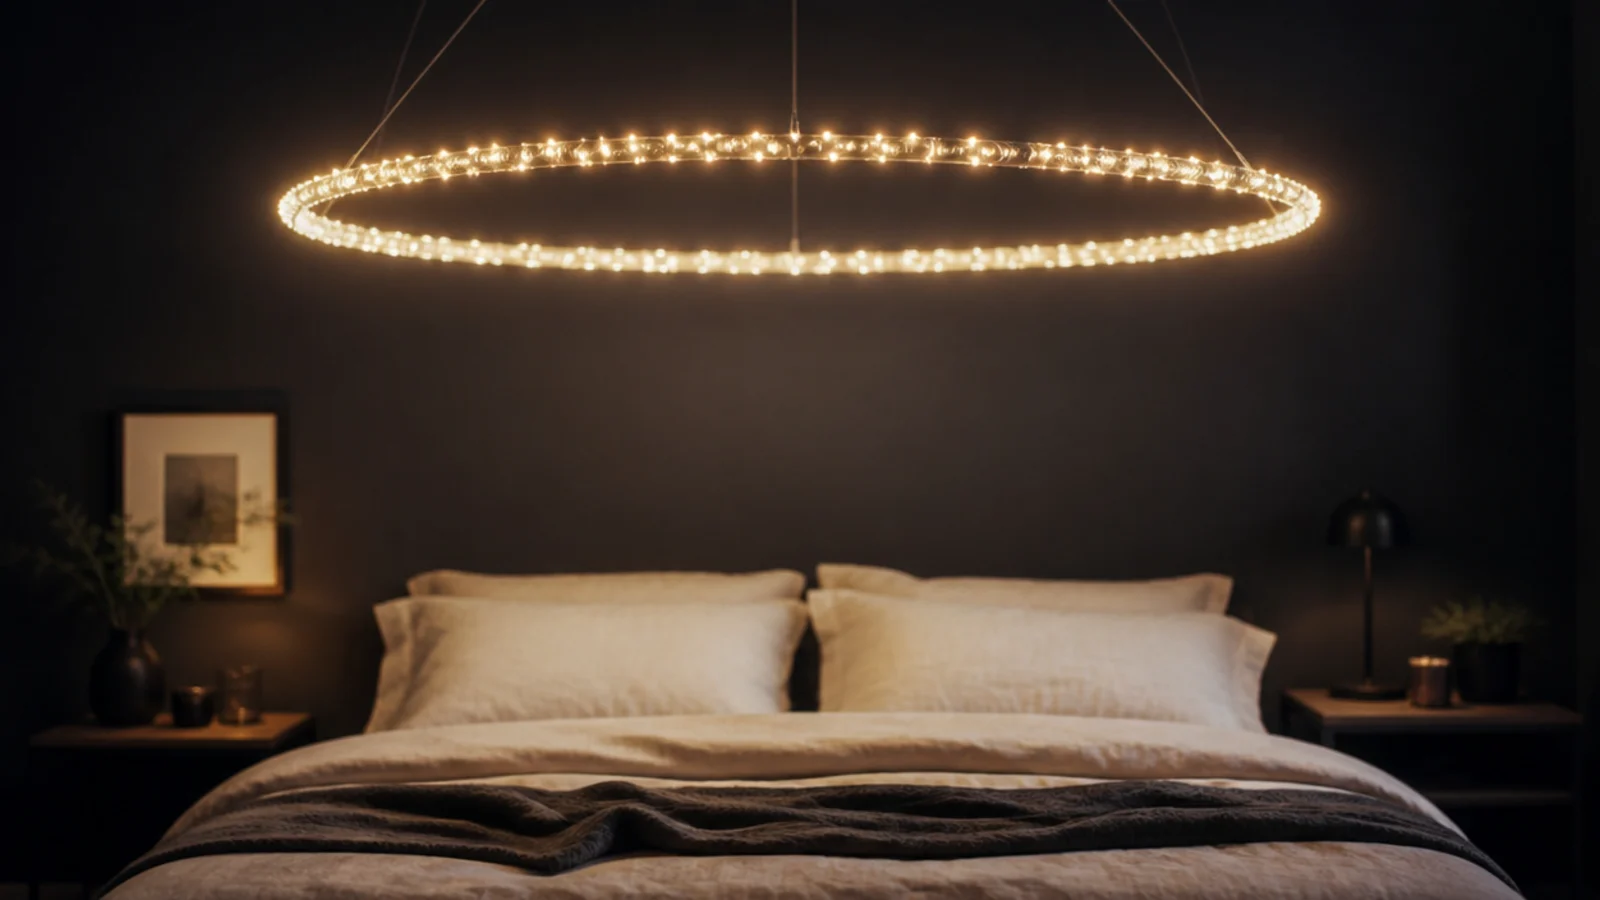
An 18 to 24 inch hoop wrapped with a fine strand and hung level on three fine cables reads as a fixture rather than a decoration. Hang it from hooks rated for several times its weight, keep it at least 30 inches above the mattress, and check it hangs true before you leave it.
13. Following an attic slope
In a sloped room, run the strands along the pitch rather than across it. Following the architecture makes a low attic feel intentional instead of cramped. Keep the runs clear of the window and never obstruct the route to it, because an attic bedroom's escape path matters more than any layout.
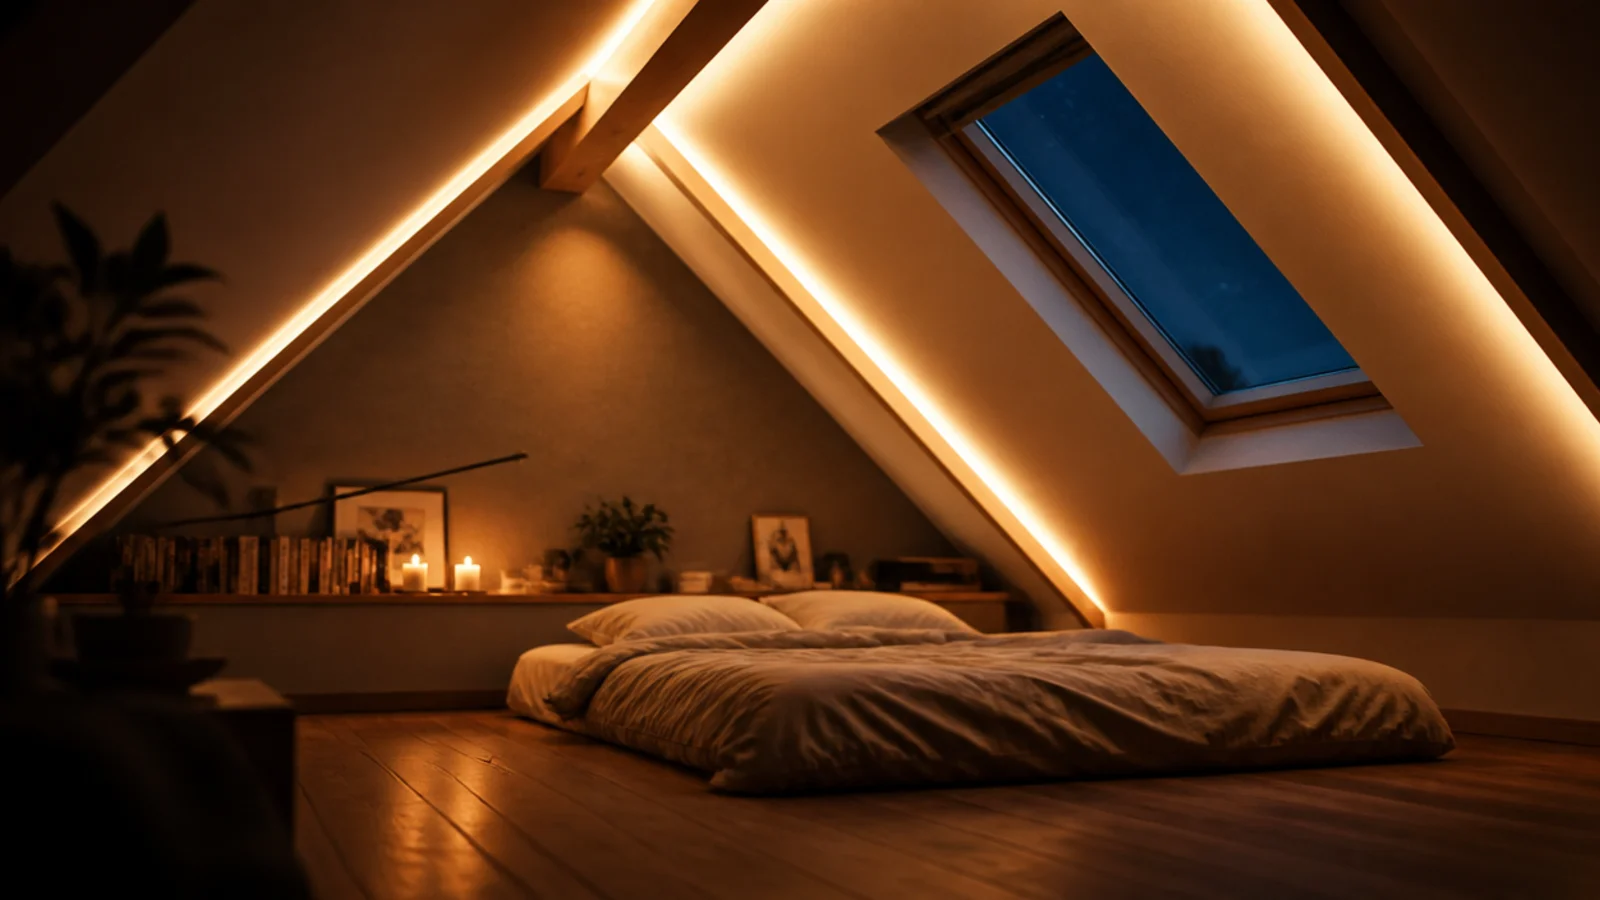
14. One long swooping curve
A single strand held by three hooks in a shallow arc across the ceiling. It is the least work here and surprisingly effective in a small room, because one confident line does more than several hesitant ones. Let the curve dip about 10 inches at its lowest point.
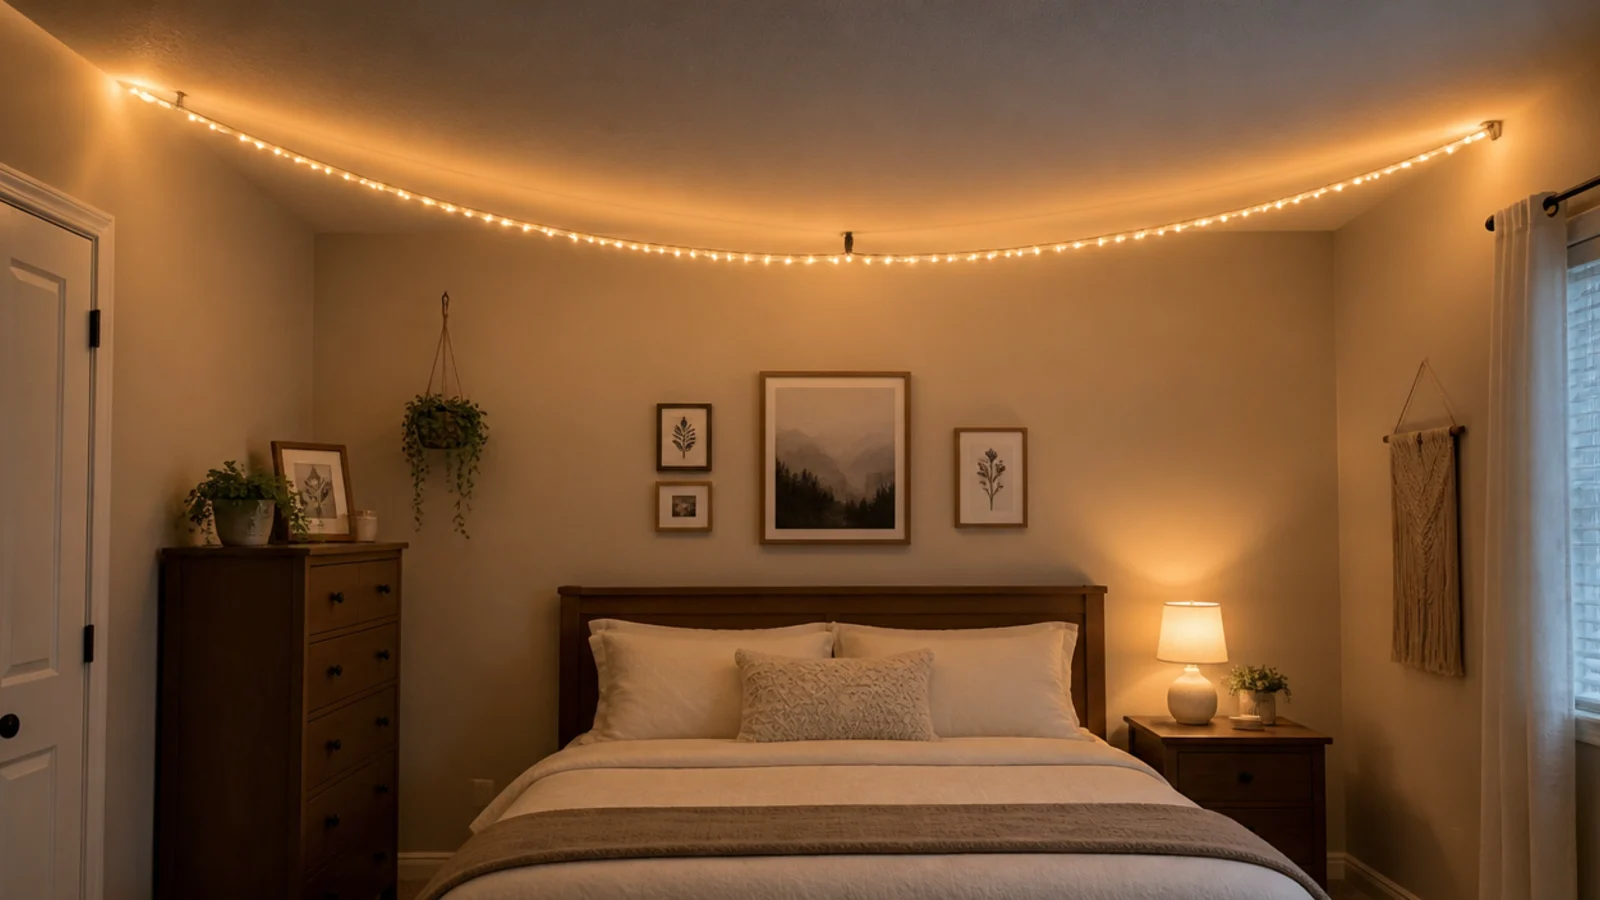
15. A curtain of drops down one wall
Fix the hooks to the ceiling and let the strands fall the full height of the wall behind the bed. On an 8 foot ceiling each drop takes about 9 feet with the slack. Five drops at 16 inch spacing across a 6 foot span is enough — ten becomes a wall of light nobody sleeps well under.
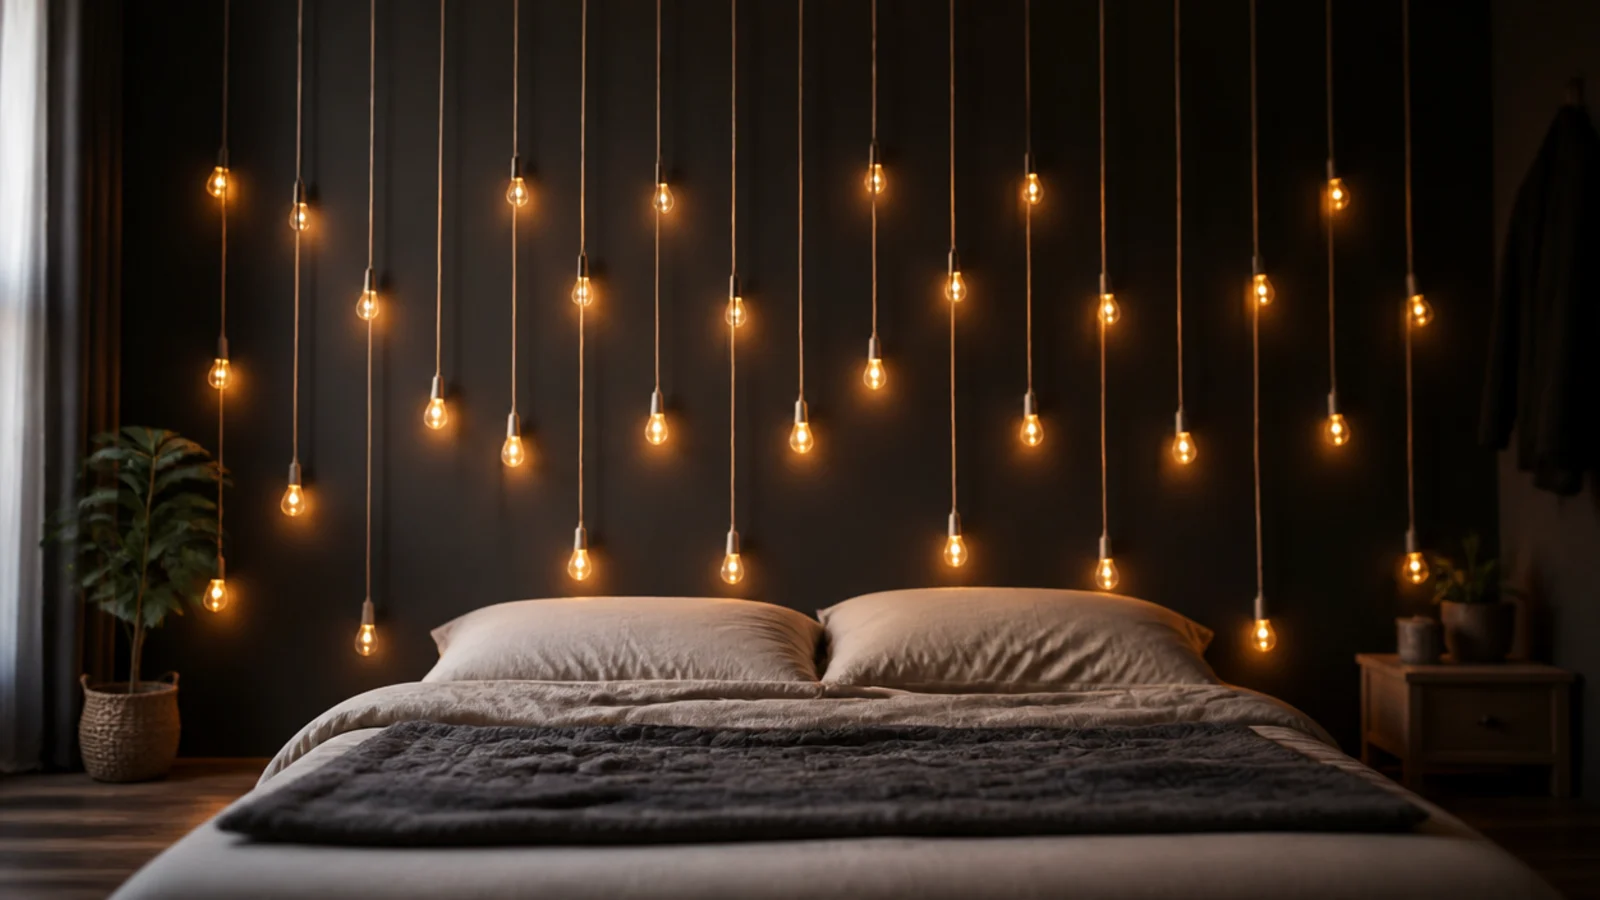
16. A ring around the ceiling rose
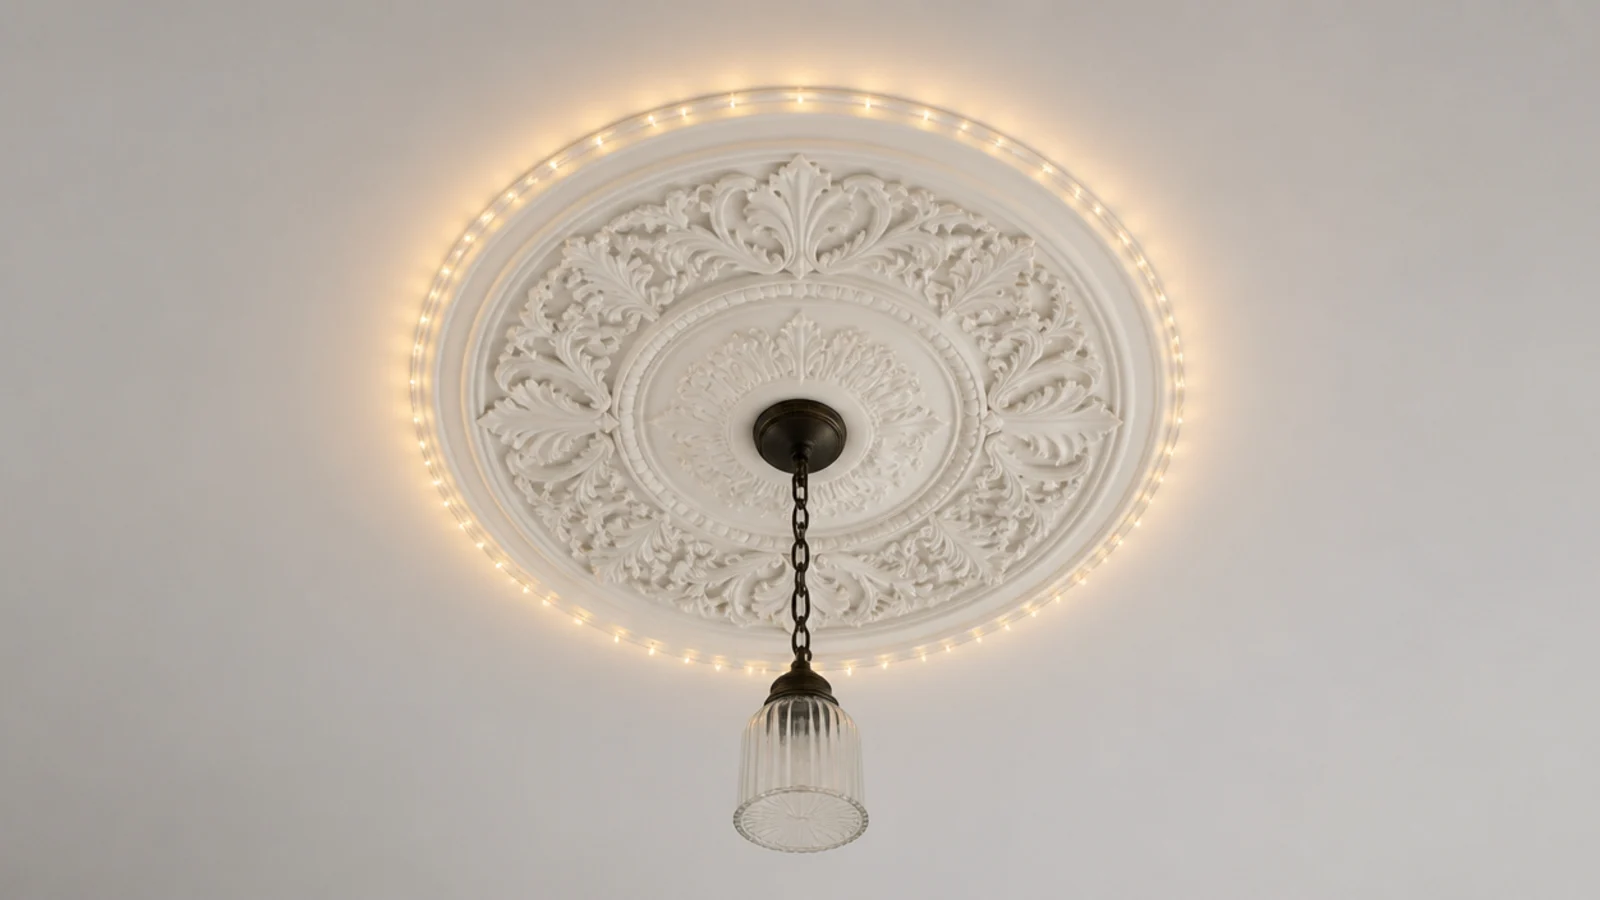
If the room has a plaster rose, circle it with a fine strand at a small distance and leave the fitting itself alone. Nothing attaches to the pendant, the flex or the fitting. It gives an unlit or dimmed pendant something to be, which suits a room where the overhead light stays off.
17. Two runs converging into a corner
Two strands crossing the ceiling and meeting above one corner pull the eye up and across. Put something tall in that corner — a plant, a leaning ladder, a floor vase — so the convergence lands on an object rather than empty plaster.
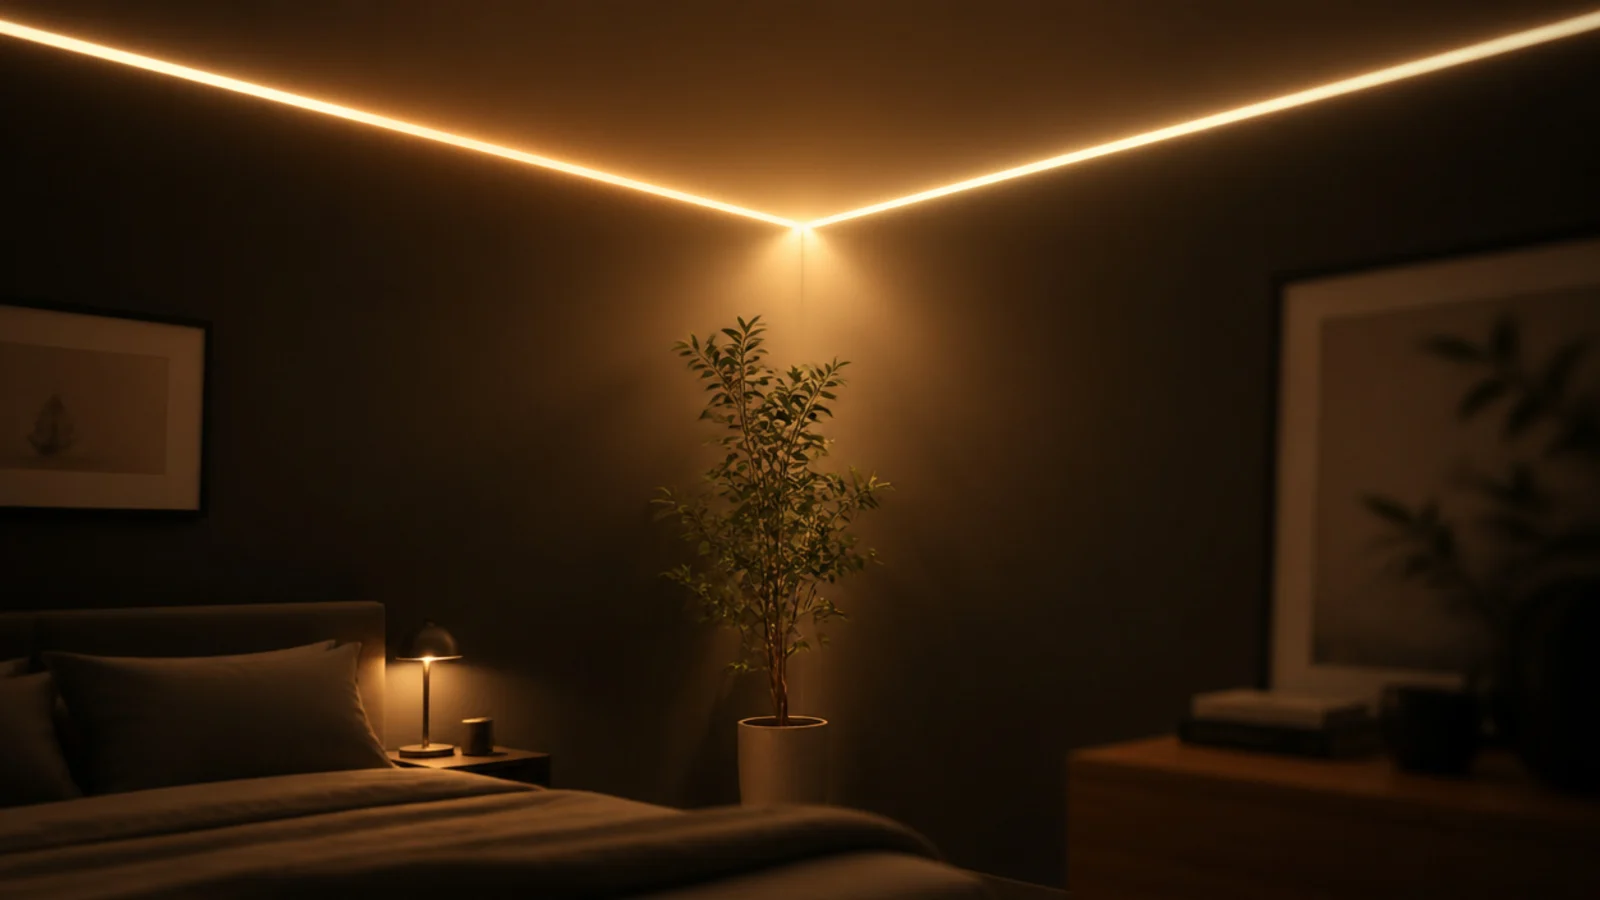
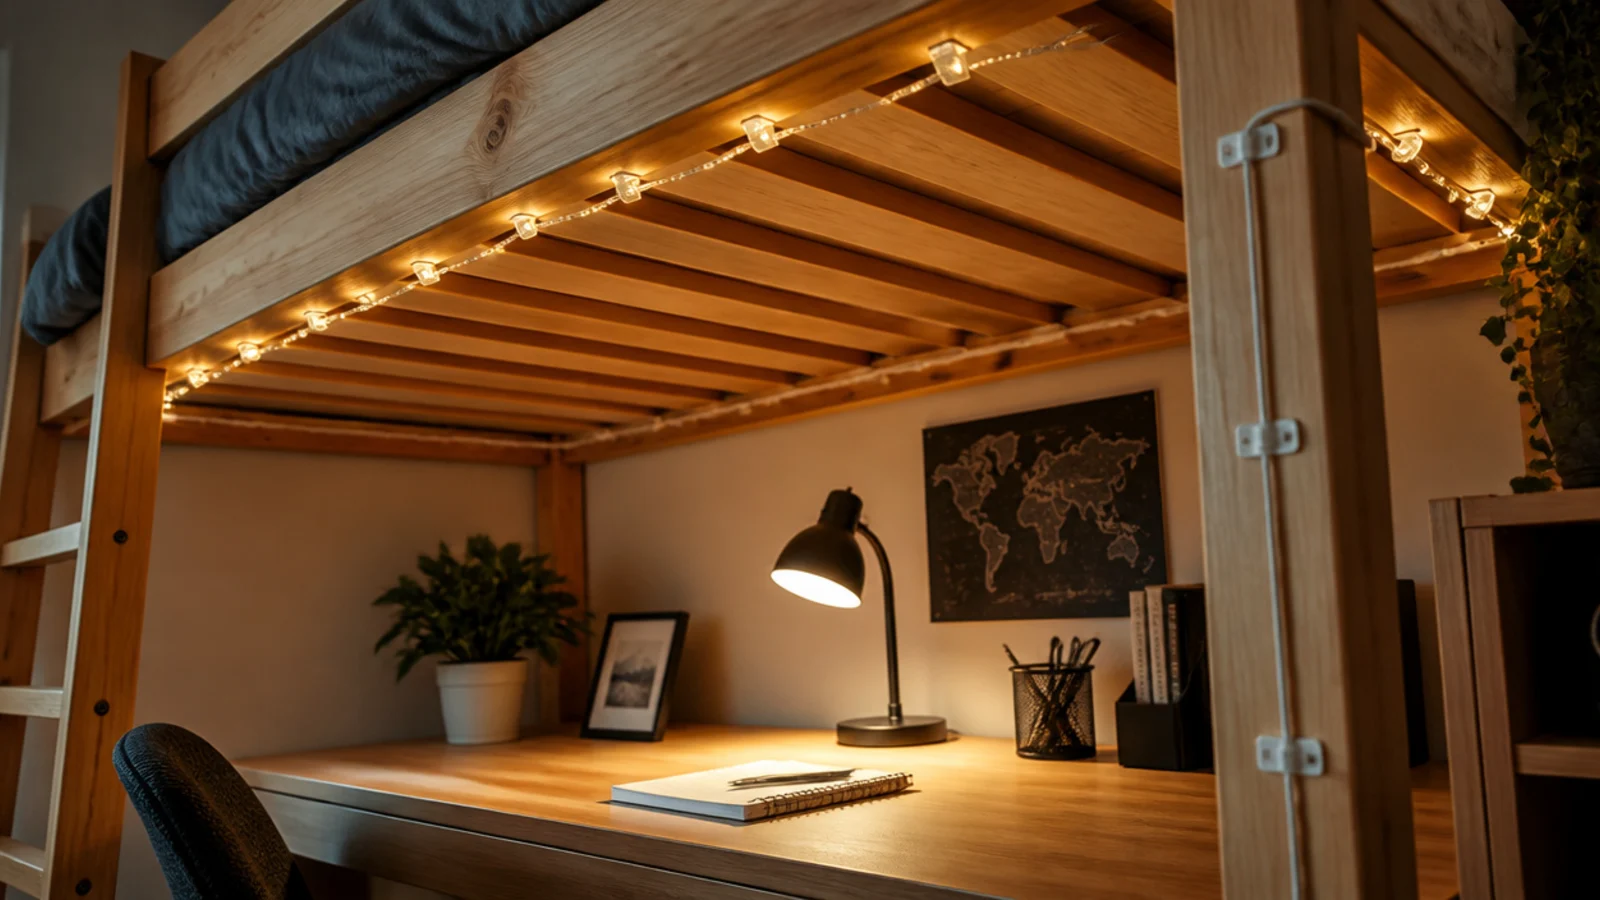
18. Under a bunk or loft bed frame
Clip the strand to the frame slats rather than to the mattress base, route the cable down a leg, and keep everything clear of bedding above and the head space below. It turns the area under a loft bed into a usable desk corner, and the frame gives you fixings the ceiling cannot.
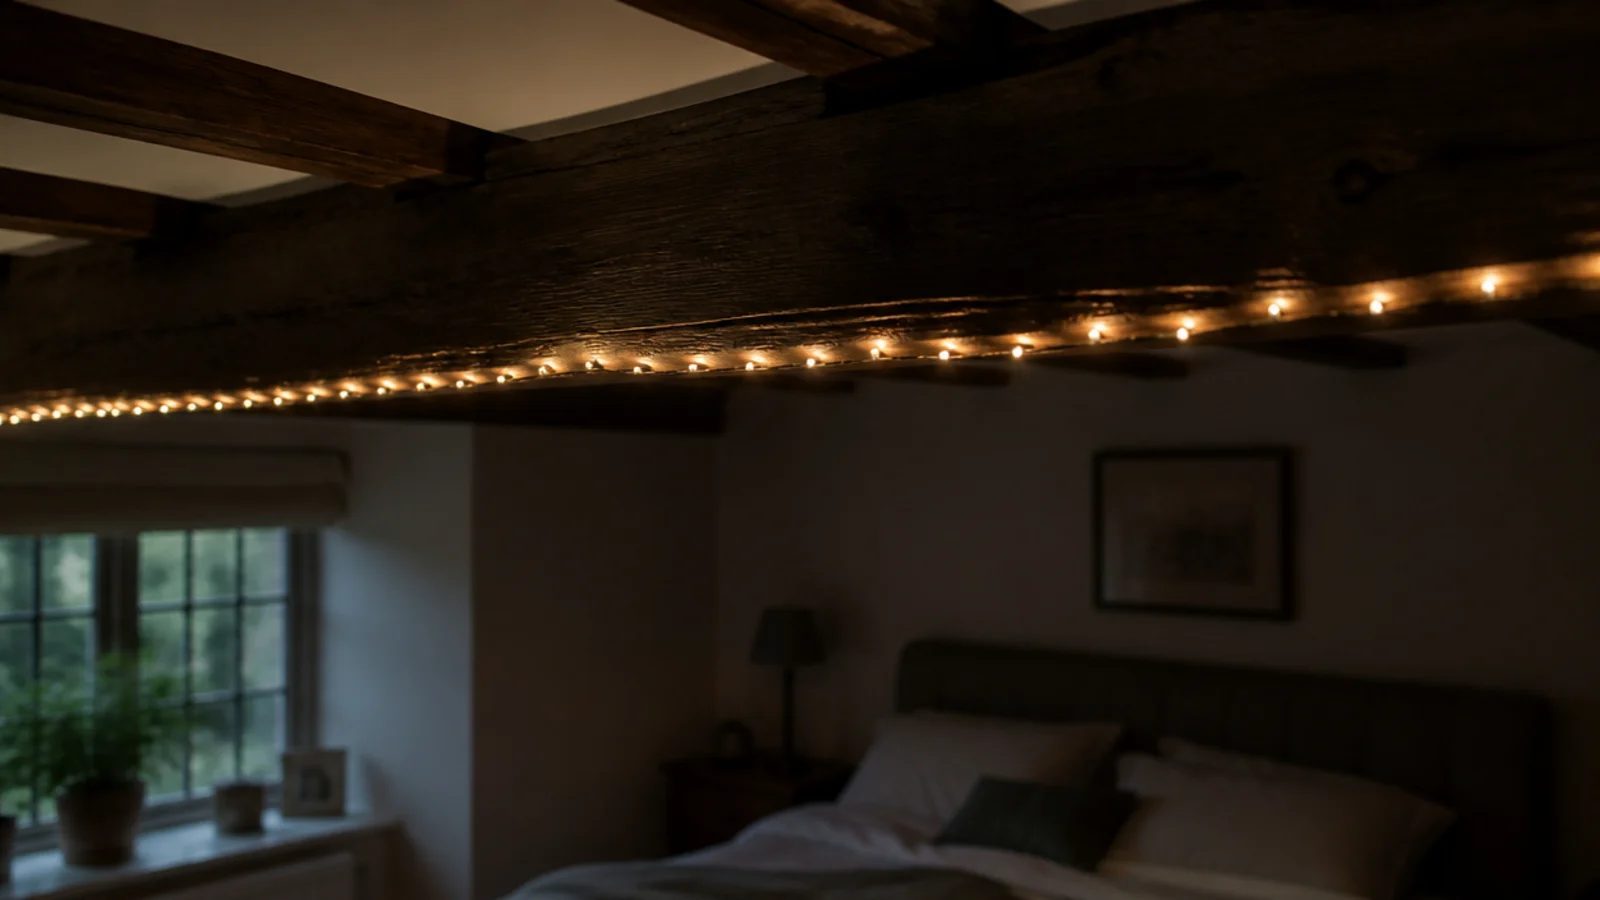
19. Along exposed ceiling beams
A beam is a fixing line already in place. Run the strand along its lower face using small clips into the timber's existing shadow, and the wire disappears. Two beams lit and the rest dark is better than every beam lit, which flattens the ceiling back out again.
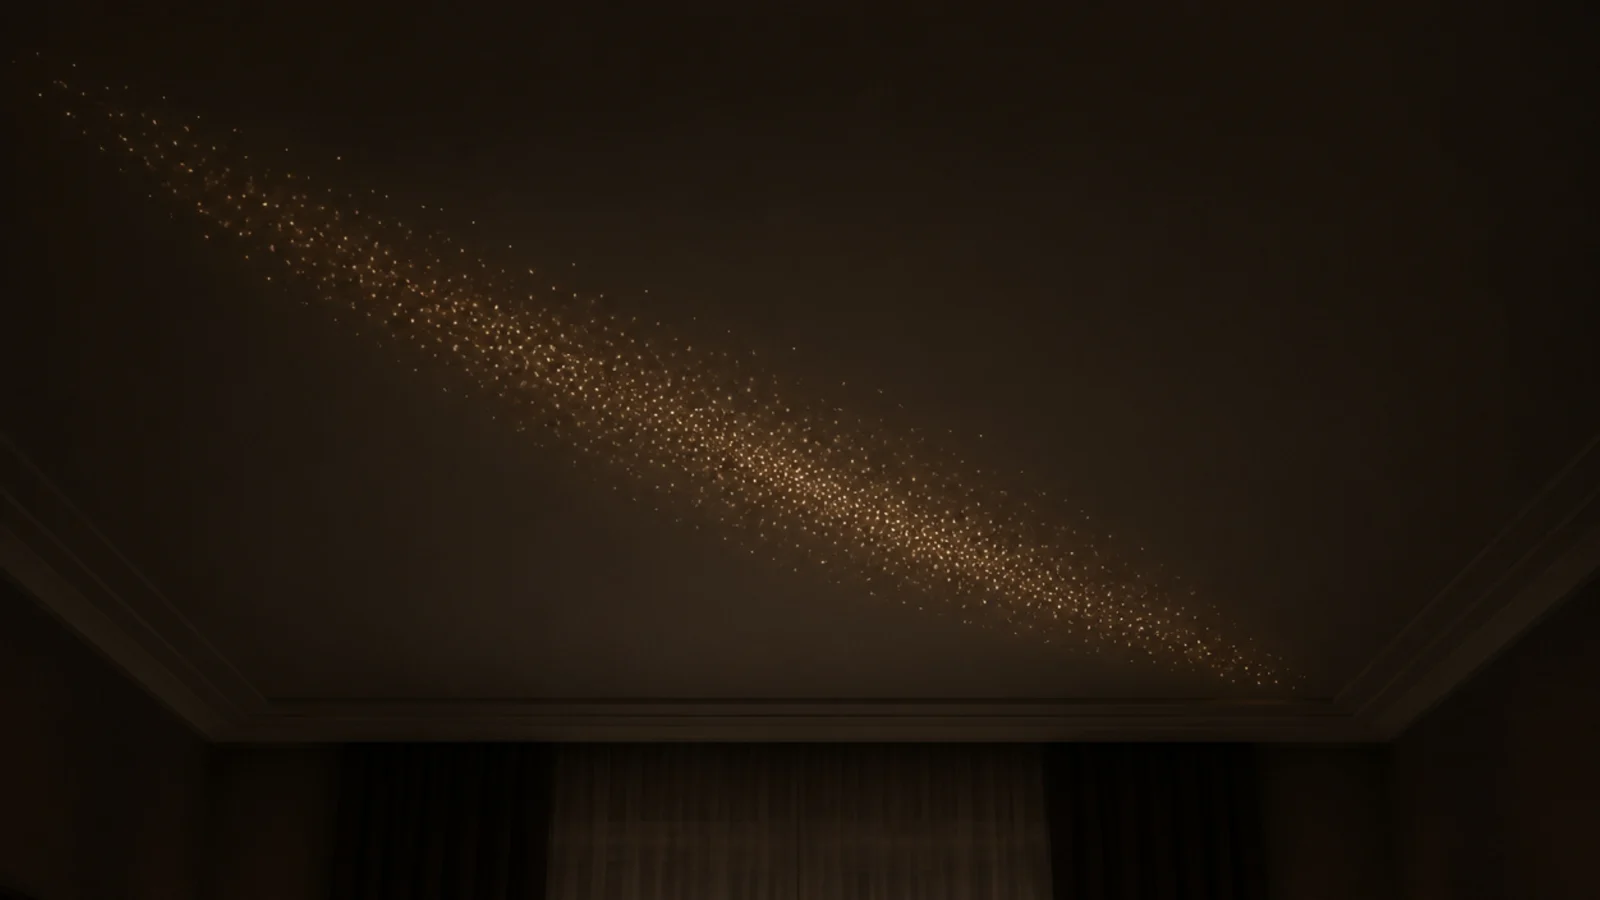
20. A milky way band on the diagonal
Bunch the bulbs tightly at the centre of a diagonal run and let the spacing widen toward each end. The gradient reads as depth rather than a line. It uses one strand and takes about twenty minutes longer than a plain diagonal, and it is worth every one of those minutes.
21. Paper lantern cloud clusters
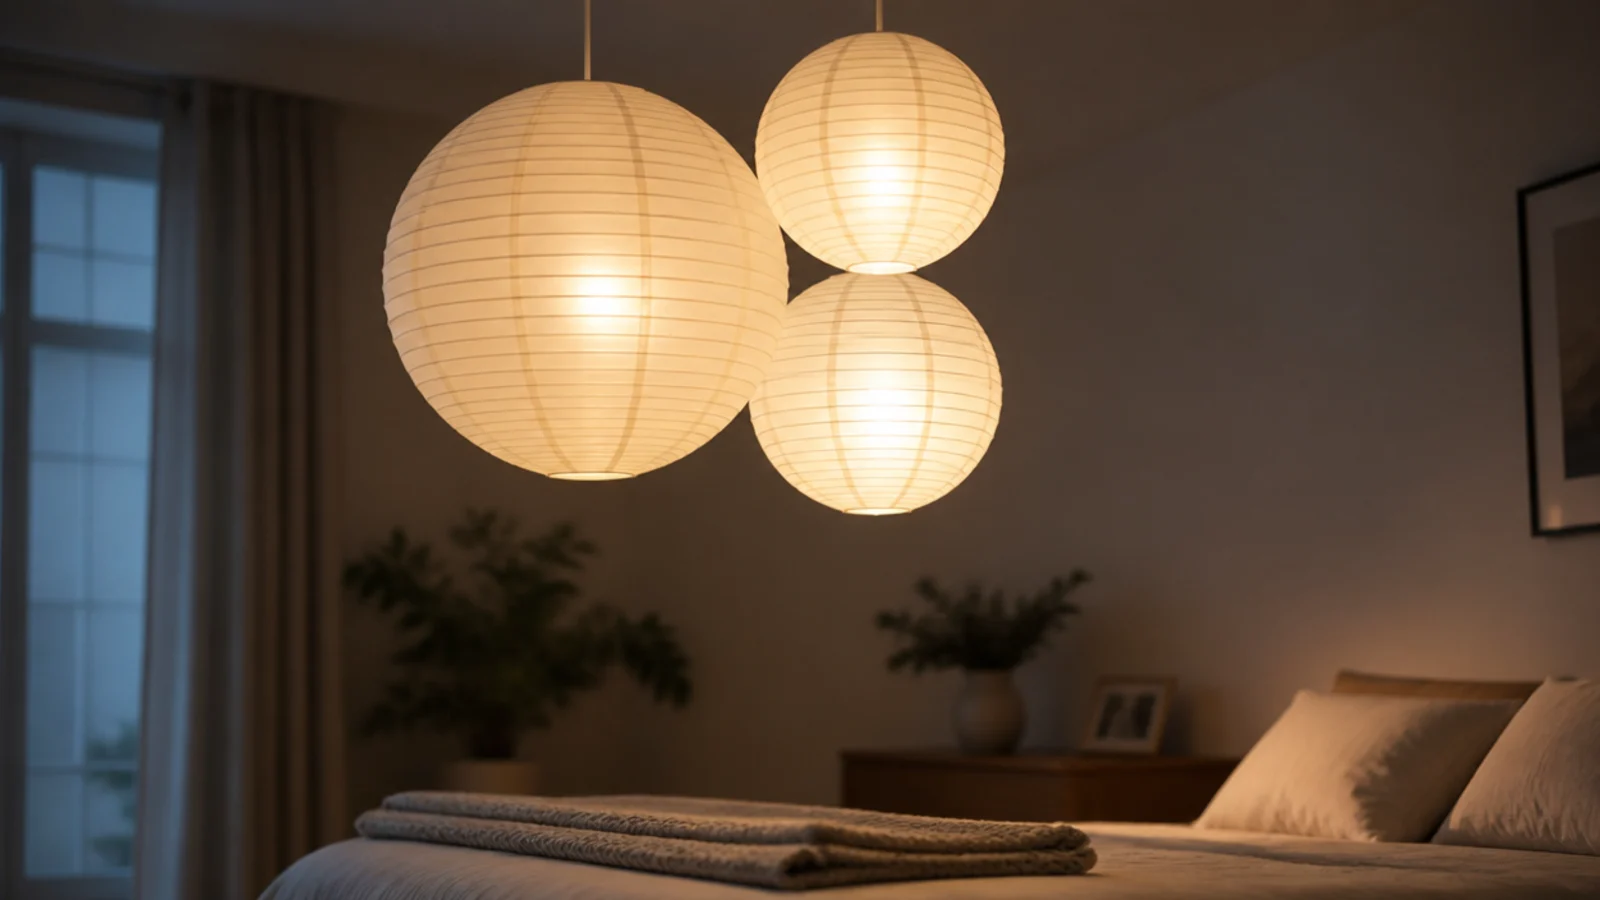
Three paper lanterns at 8, 12 and 16 inches hung close together, each with a small light cluster loose inside, read as one soft shape. Keep the clusters away from the paper and use LED only. The whole group costs $15 to $25 and hangs from two hooks.
22. Layer a high run with low drops
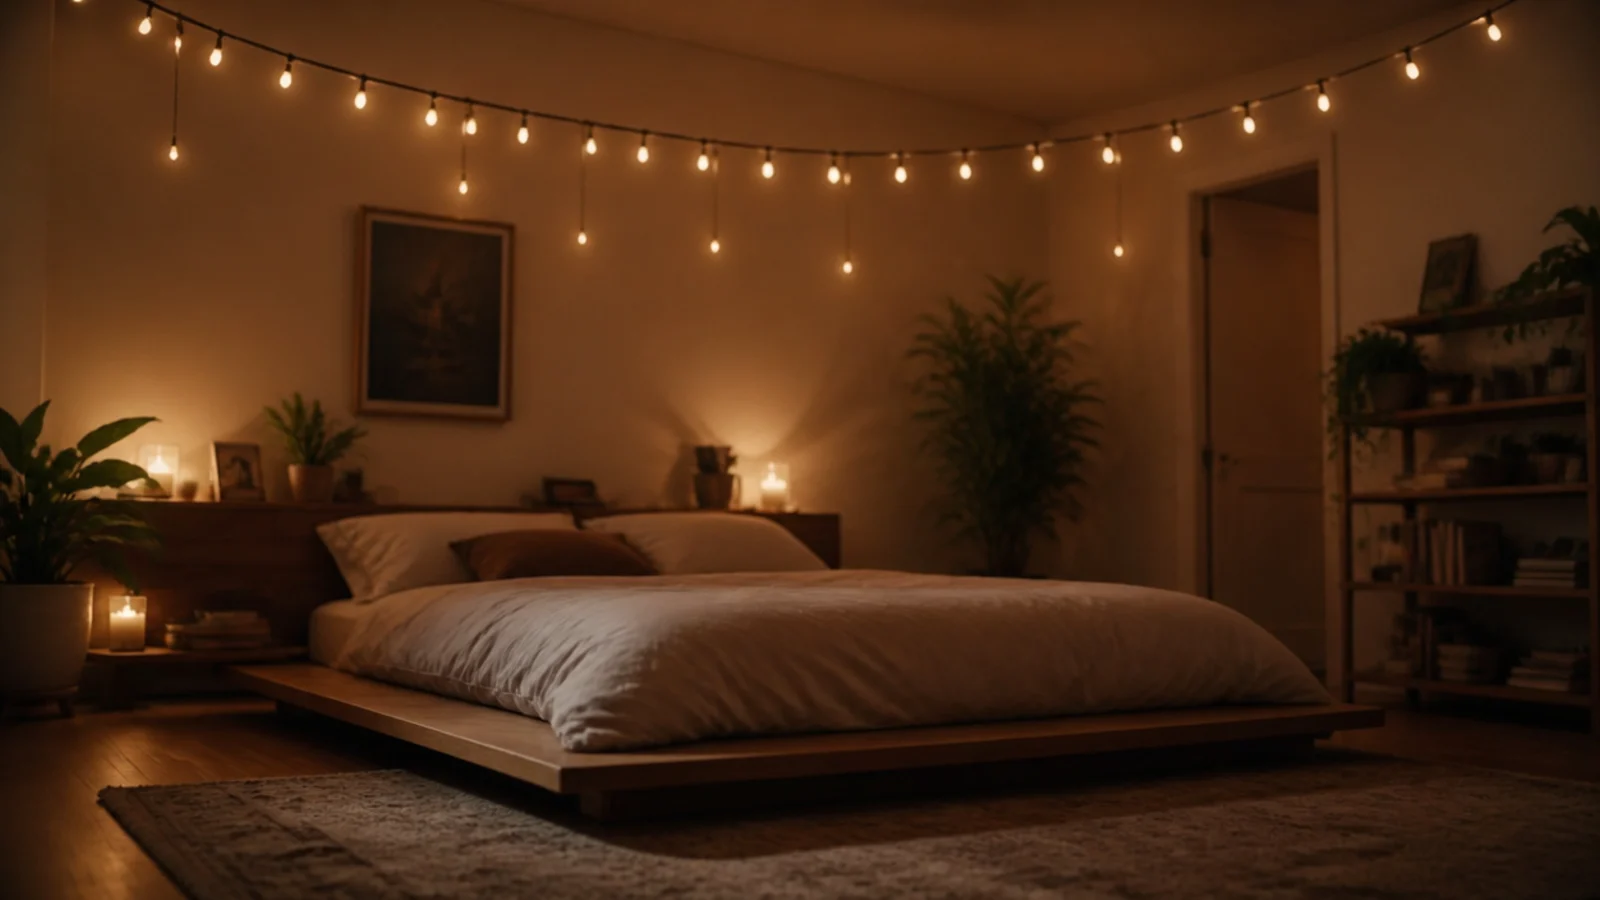
One strand across the ceiling and a few short drops beneath it at 12 to 18 inches gives you two planes of light instead of one. Ceilings look flat because everything sits at the same height, and this is the cheapest way to fix that.
23. Framing a skylight
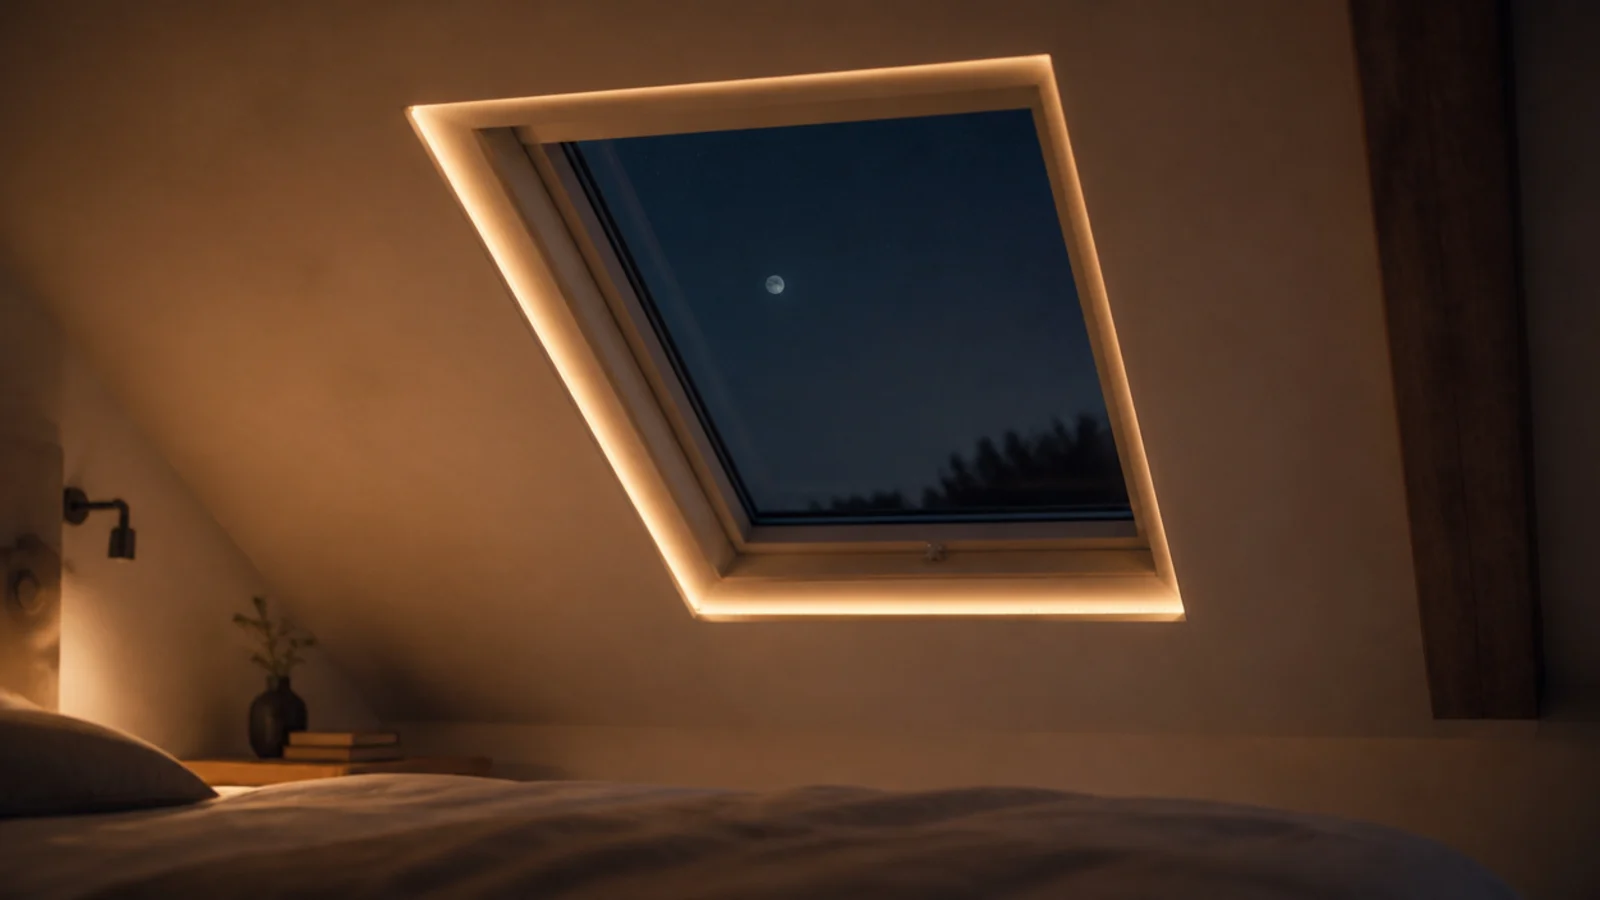
Follow the plastered reveal of a roof window on all four sides with one short strand. It lights the deepest part of the ceiling and leaves the glass clear so the sky is still the main event. Keep the run inside the reveal rather than on the ceiling face around it.
24. A track or wire canopy frame
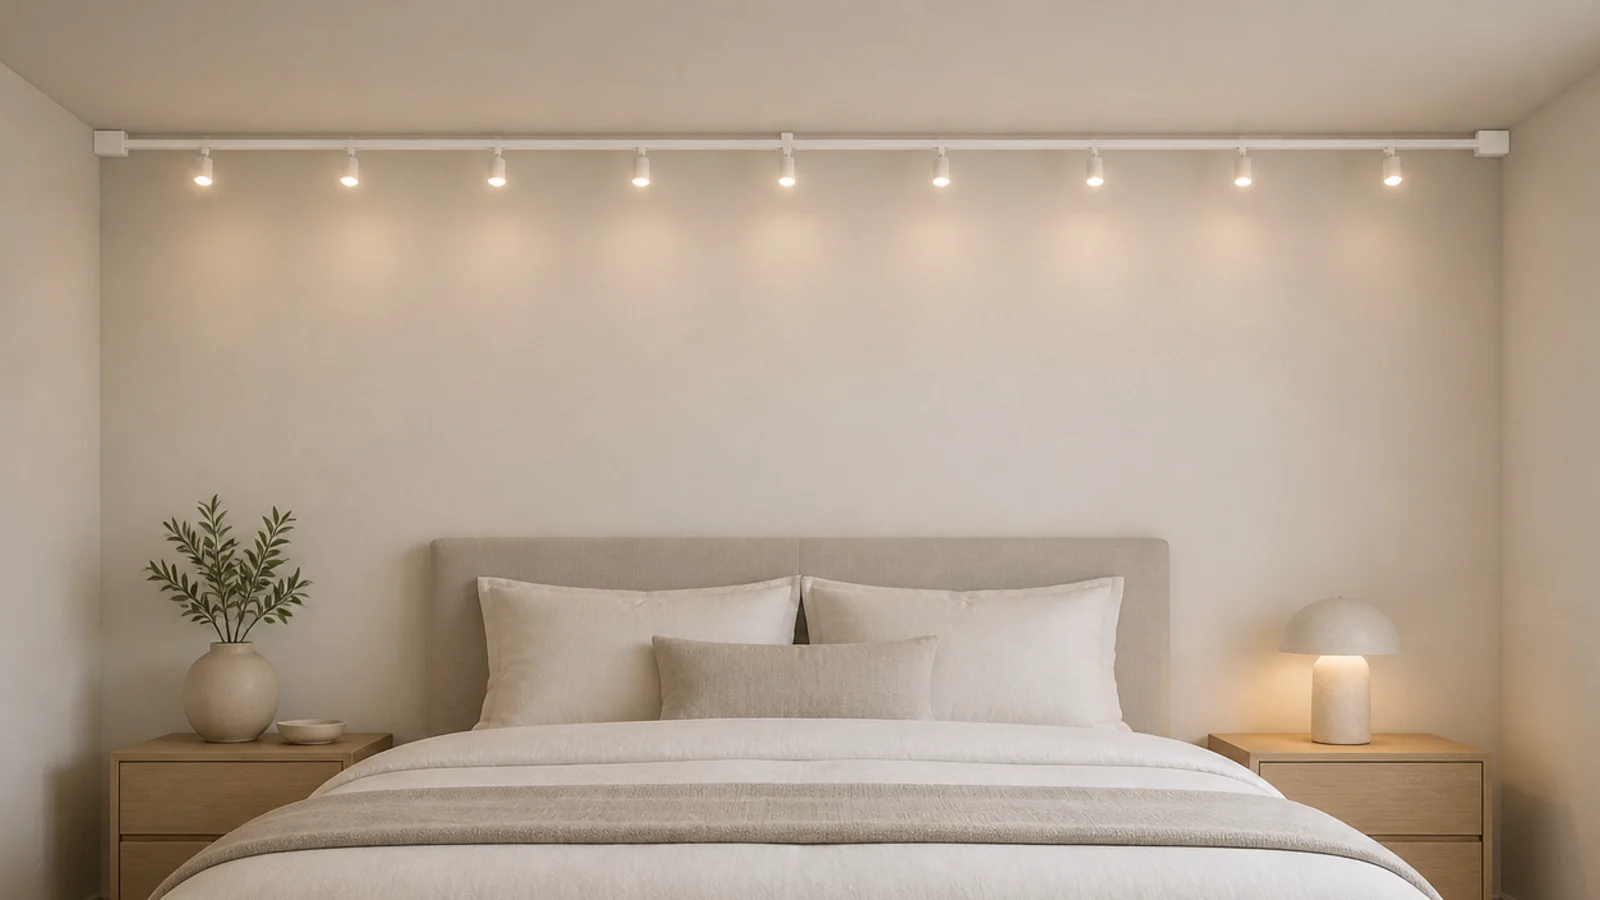
A slim ceiling track or a tensioned wire lets the whole run slide sideways when you move the bed. It costs $20 to $40 more than hooks and it is the version I would choose in a room I expected to rearrange, because nothing has to be re-stuck.
25. Leave the centre of the ceiling empty
The layout most people get wrong is the one that fills the middle. Light the edges, the perimeter or one side and leave the centre dark, and the ceiling reads as higher than it is. A fully lit plane above your head does the opposite and closes the room down.
For the wall placements that pair with an overhead run, where to put them covers the room wall by wall. Ceiling hanging lights is the guide for a real fixture on a rated box, and corner shelf ideas covers the corner a converging run usually lands on.
Mistakes to Skip
- Using wall spacing on a ceiling. Twelve to sixteen inches works vertically and fails overhead — go to 10 to 12 inches and give each hook its full hour.
- Letting the light wire carry the tension of a long span. String a nylon line between the hooks and hang the strand from it in loops instead.
- Hanging anything heavier than a strand from an adhesive hook. Pendants, lanterns with glass and anything with real weight need a rated ceiling box, not sticky pads.
- Filling the whole ceiling plane. A fully lit ceiling reads lower, not higher, and it removes the contrast that makes the lit parts worth looking at.
Frequently asked questions
How do you hang fairy lights on a bedroom ceiling?
Small clear adhesive hooks every 10 to 12 inches, or two hooks and a taut clear nylon line with the strand hanging from the line. Ceiling adhesive works against gravity in a straight pull rather than a shear, so use more fixings than on a wall and leave every one an hour before loading it.
How much strand do I need to cross a bedroom ceiling?
About 15 feet for a 12 foot span, allowing for gentle sag and the drop at each end. Three parallel runs across a standard 12 by 11 foot room therefore need roughly 45 feet, which is one 33 foot strand plus one 16 foot set rather than a single long run that dims at the far end.
How far apart should ceiling runs be?
Between 16 and 24 inches for parallel runs. Closer than 16 and it reads as a net; wider than 24 and the ceiling looks striped rather than lit. Three runs at 18 inch spacing directly above the bed is the layout I fit most often, squared to the bed rather than to the walls.
Is it safe to hang fairy lights above a bed?
With LED strands and proper fixings, yes. Use hooks rated well above the load, keep the driver or battery pack off the bed and in open air, and never hang a heavy fixture from an adhesive hook — a pendant or a chandelier needs a rated ceiling box and an electrician, not a stick-on hook.
Will fairy lights damage a ceiling when removed?
Not if the paint is sound and you remove them properly. Take the strand down first so nothing is under tension, warm each hook with a hairdryer for about 20 seconds, then stretch the tab slowly along the ceiling surface rather than pulling straight down away from it.
Want more like this? Browse all 15 fairy lights bedroom guides — they all use the same measurements and budget tiers.
Pin it for later
Save this to your Fairy Lights Bedroom board
Pin it now so it is waiting for you when the tape measure comes out — and so the next person hunting for this idea can find it too.
Save this pinKeep going
More ideas worth saving while you have the tape measure out.