Fairy Lights Bedroom · UGC
20 Hanging Fairy Lights In Bedroom Mistakes I Made

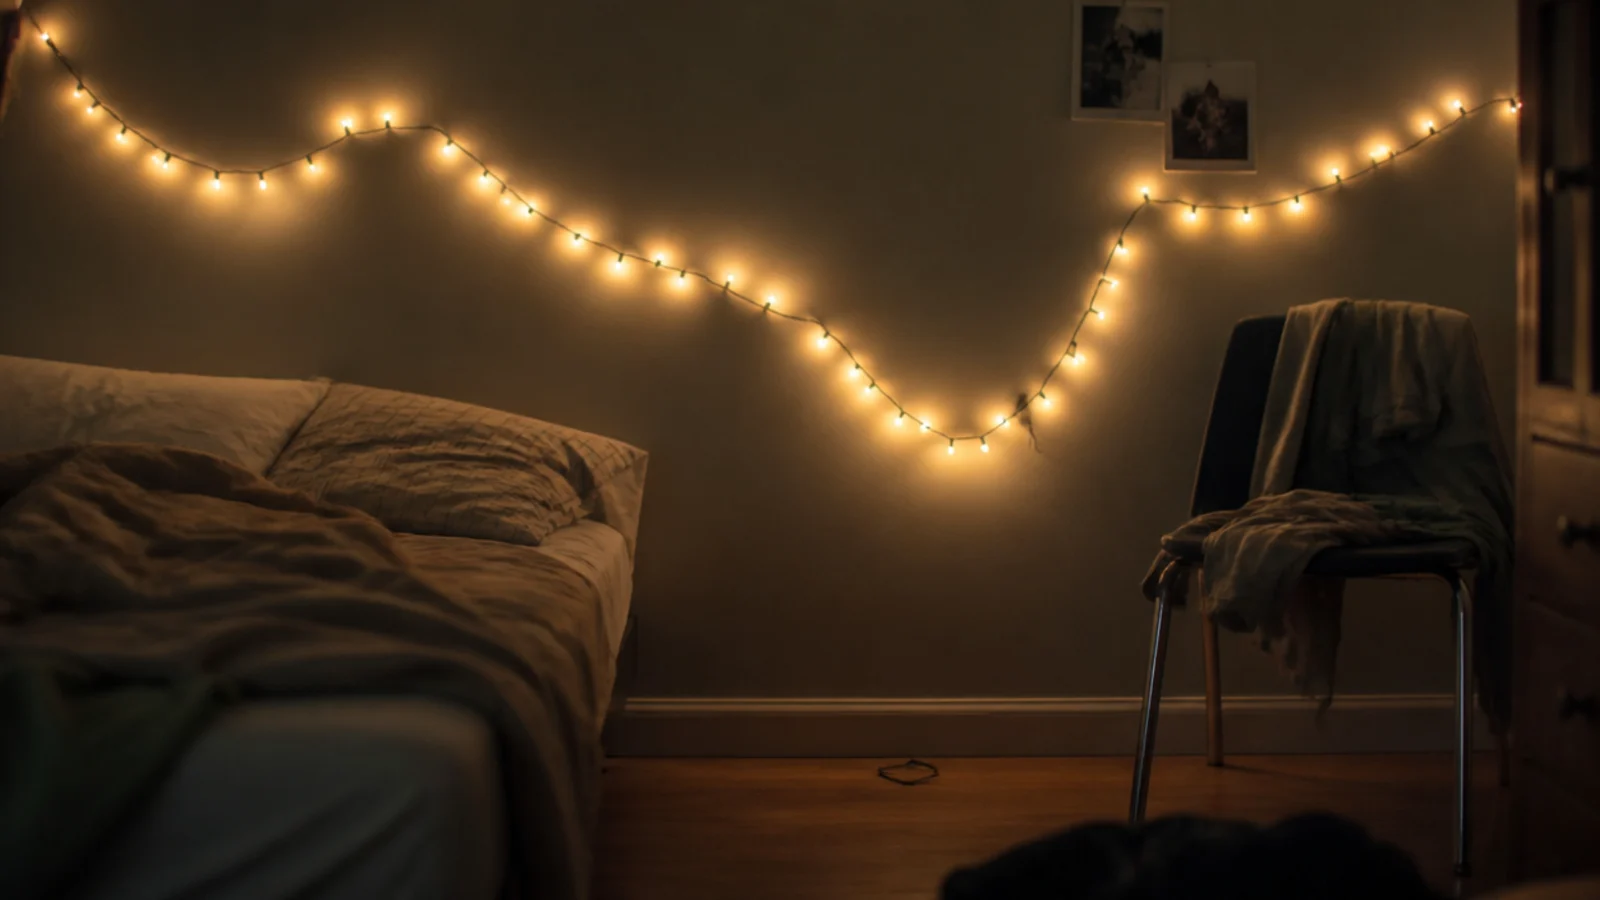
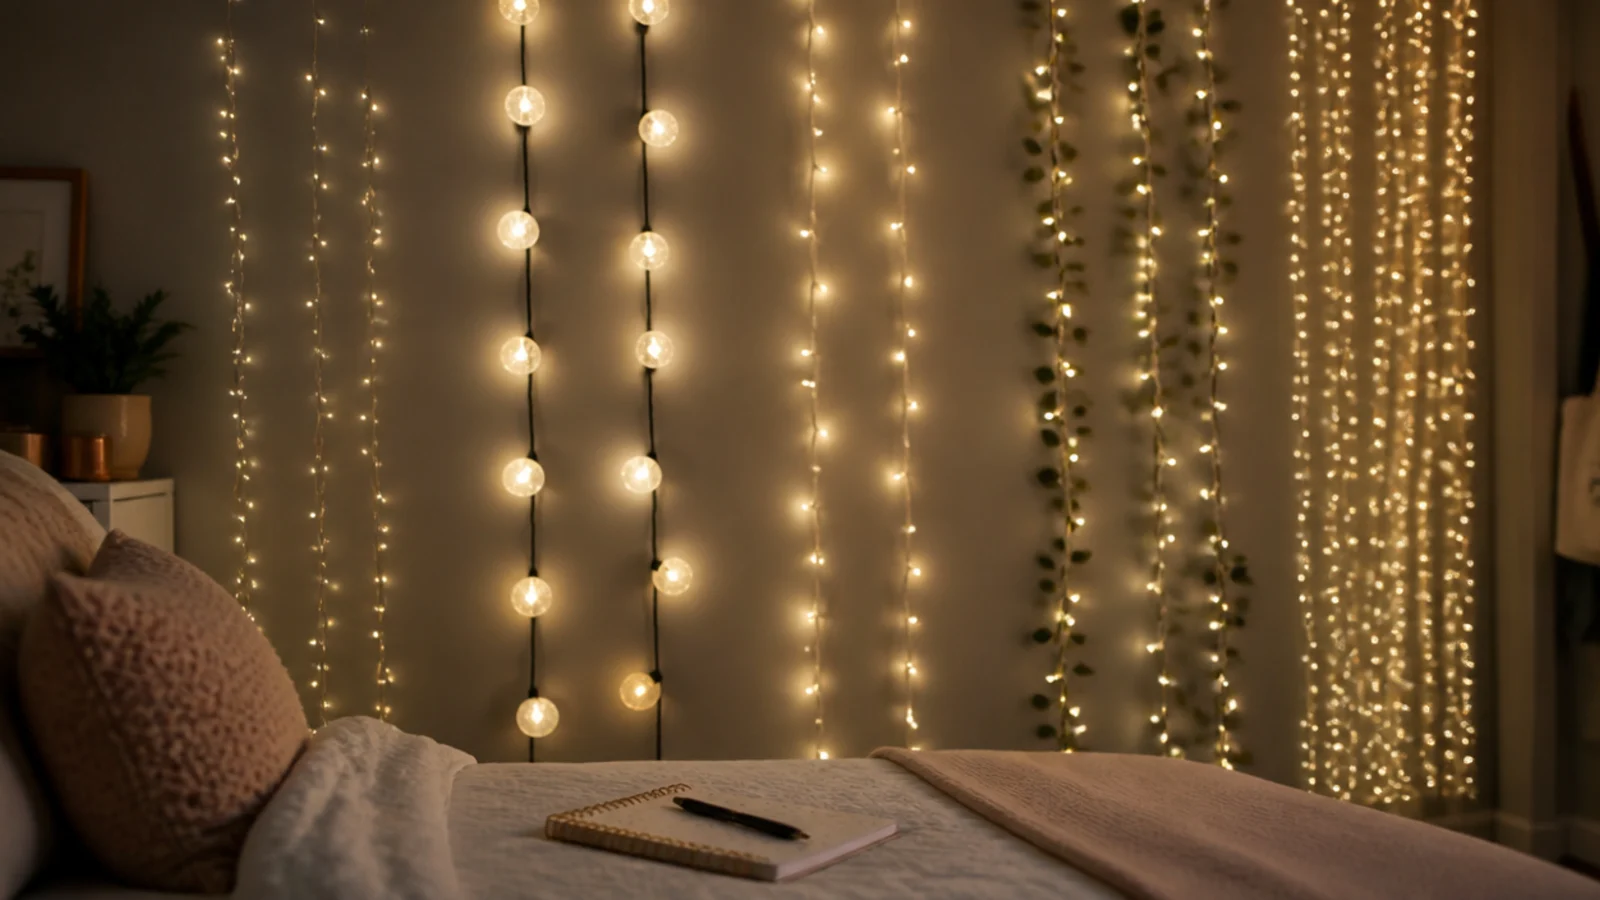
I have hung string lights in five bedrooms over about four years, and I have made every one of these mistakes at least once. Some cost a strand, one cost a patch of a rented wall, and several cost nothing but a week of low-level irritation before I moved the run. Hanging fairy lights in bedroom rooms looks like a five-minute job and mostly is, provided the twenty things below are already in your head. They were not in mine. Here is each one, what it actually cost, and what I do now instead.
In this guide22 sections — tap to openHide
- 1.What hanging fairy lights in bedroom rooms taught me
- 2.I bought one sixty-six foot strand
- 3.I hung it before testing it flat
- 4.I used drawing pins through the cable
- 5.I ignored the Kelvin number twice
- 6.I loaded a clip straight away
- 7.I fixed to a freshly painted wall
- 8.I used wall spacing on a ceiling
- 9.I ran the lead under a rug
- 10.I hid the battery pack in a cushion
- 11.I chained four sets end to end
- 12.I hung bulbs at seated eye level
- 13.I wrapped fabric around the strand
- 14.I outlined all four walls
- 15.I did not mark the line first
- 16.I pulled the strand tight
- 17.I used packing tape instead of clips
- 18.I left everything on all night
- 19.I bought the set with a remote
- 20.I hung a run across the door swing
- 21.I pulled the clips straight off the wall
- 22.What I'd Do Differently Now
What hanging fairy lights in bedroom rooms taught me
Three themes run through the whole list. The first is patience with adhesive: 30 seconds of pressure and a full hour before loading, every clip, every time. Weight is never the problem, since a 33 foot copper strand weighs about 3.5 ounces.
The second is that the cable is fragile in ways the bulbs are not. Anything that pierces or pinches the sheath — a pin, a staple, a tie pulled hard — creates a fault that shows up weeks later, and sealed copper wire sets cannot be repaired.
The third is that this is a bedroom, so the light has to work from a pillow at eleven at night rather than from a doorway at four in the afternoon. Most of my layout mistakes were judged from the wrong place at the wrong time of day. If you want the corrected method from the start, the hanging steps set it out in order.
1. I bought one sixty-six foot strand
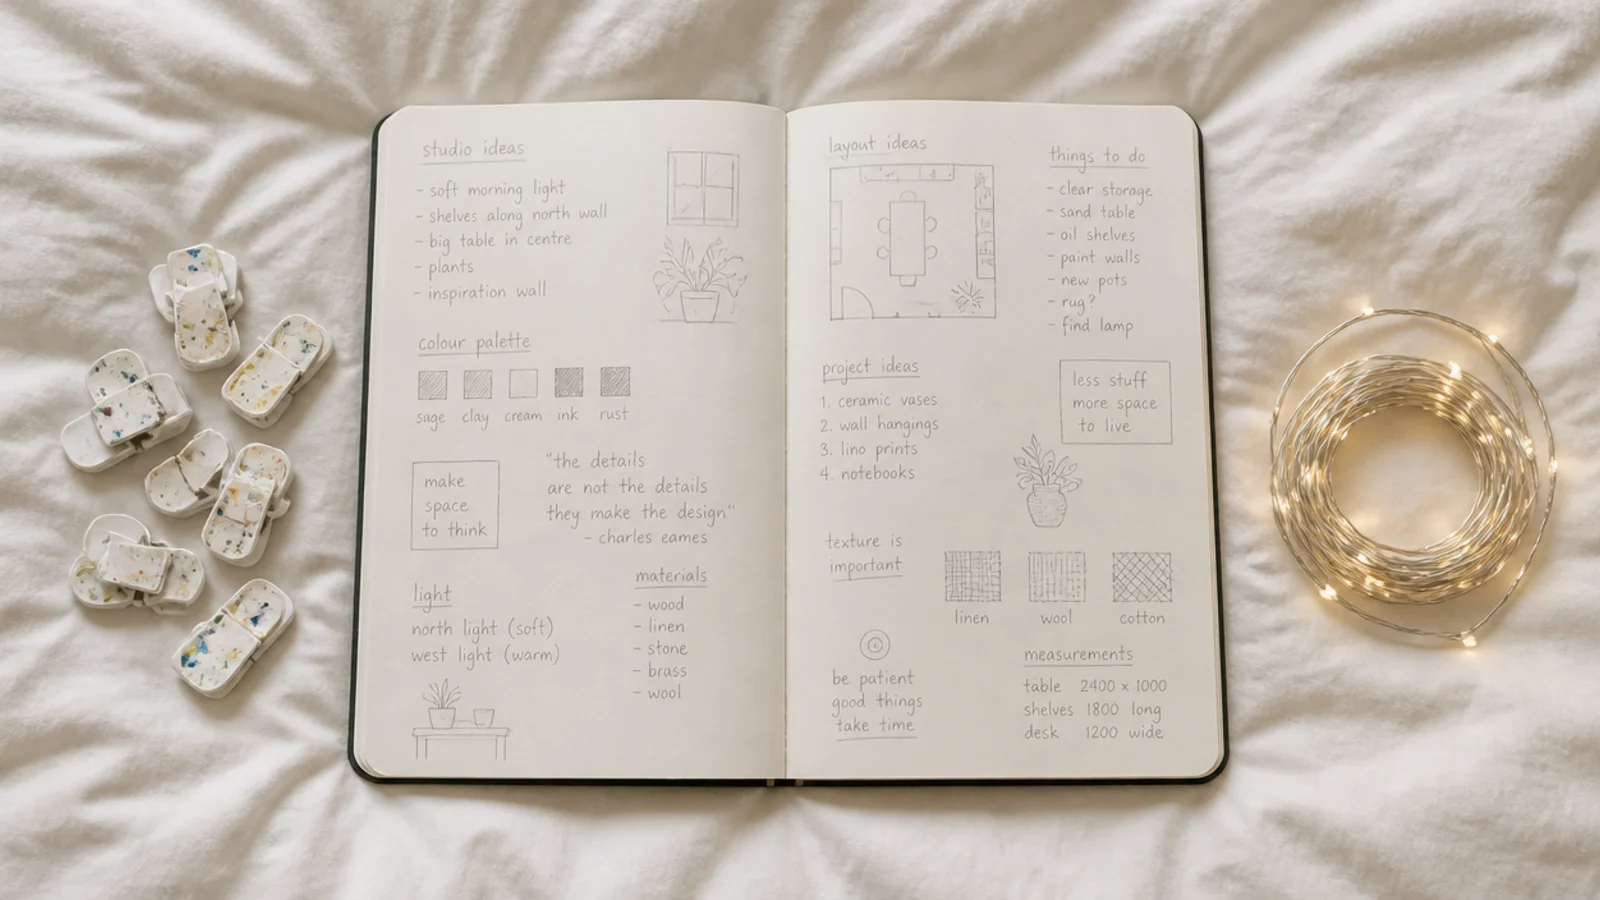
It was better value per foot and worse in every other way. Low-voltage runs lose brightness along their length, and the last 15 feet read visibly dimmer than the first. Two 33 foot strands fed from opposite ends cost the same and light evenly. It also means a single failure leaves you with half a wall lit rather than a dark room, which is worth more than the two dollars a longer set saves.
2. I hung it before testing it flat
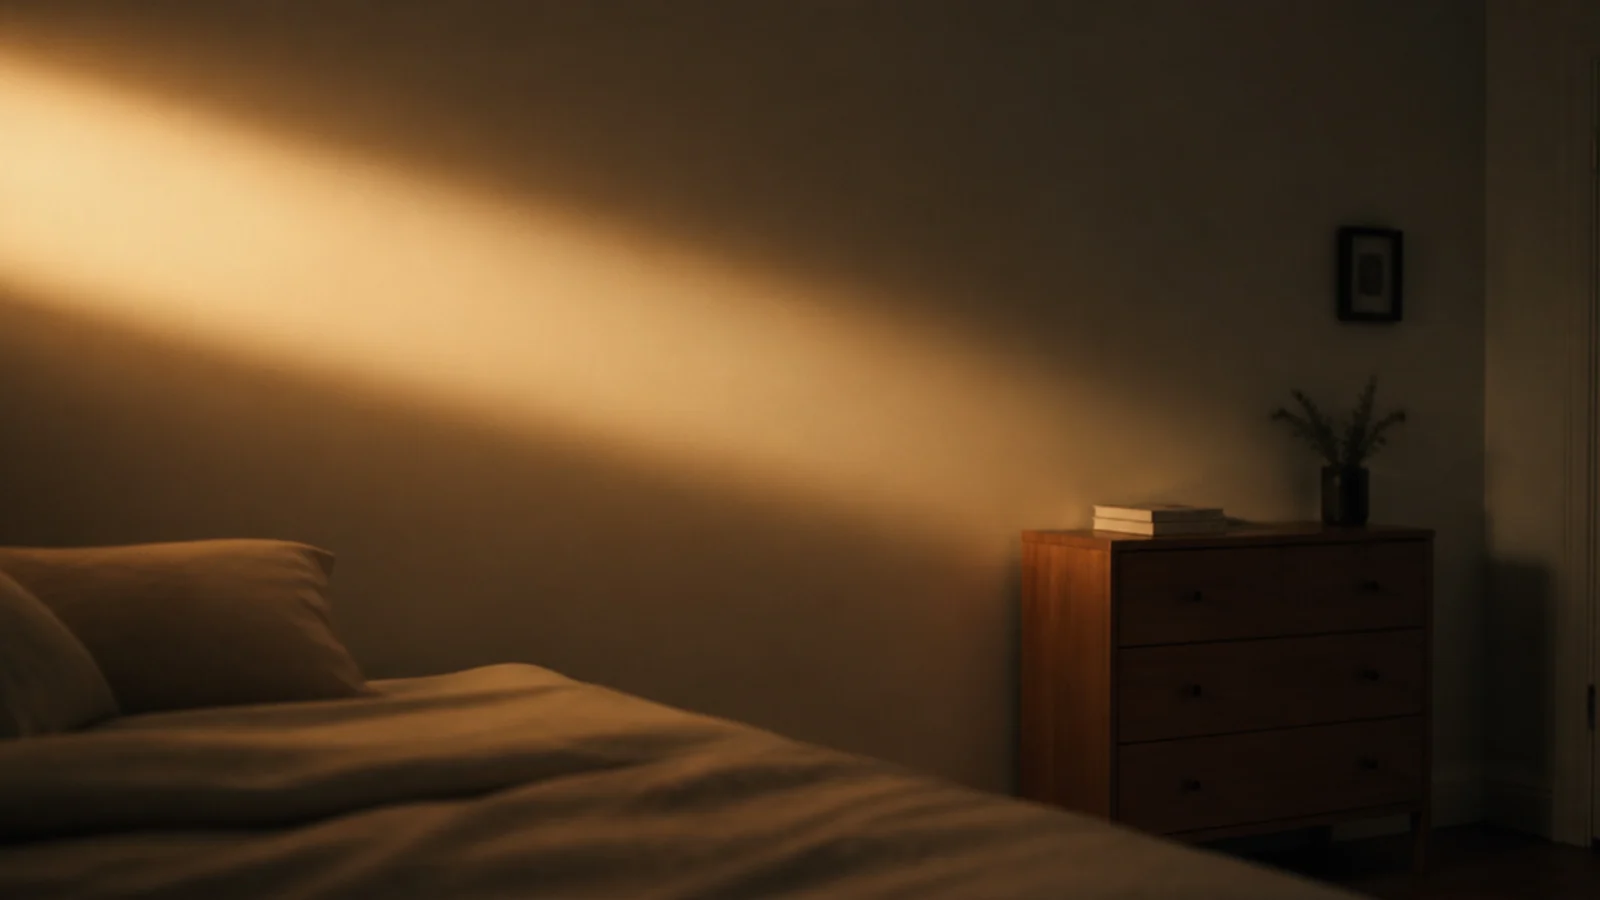
Twelve clips in, I found a dead section in the middle of the run. Now I lay every strand out on the floor, plug it in and walk its length before anything touches a wall. It takes four minutes and it has saved me an evening twice.
3. I used drawing pins through the cable
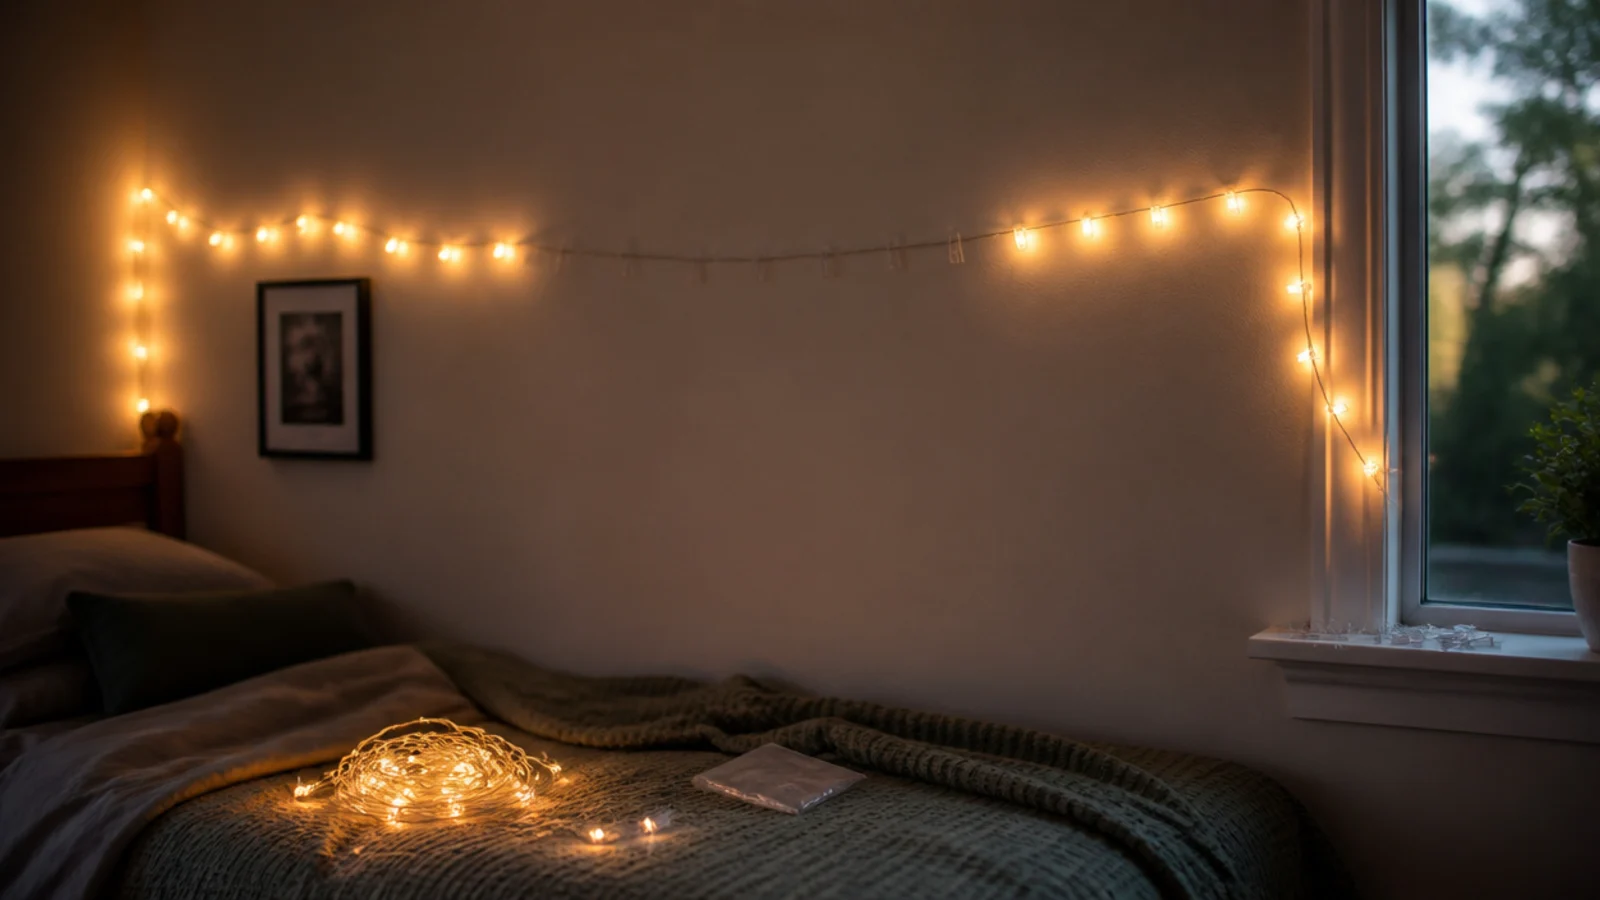
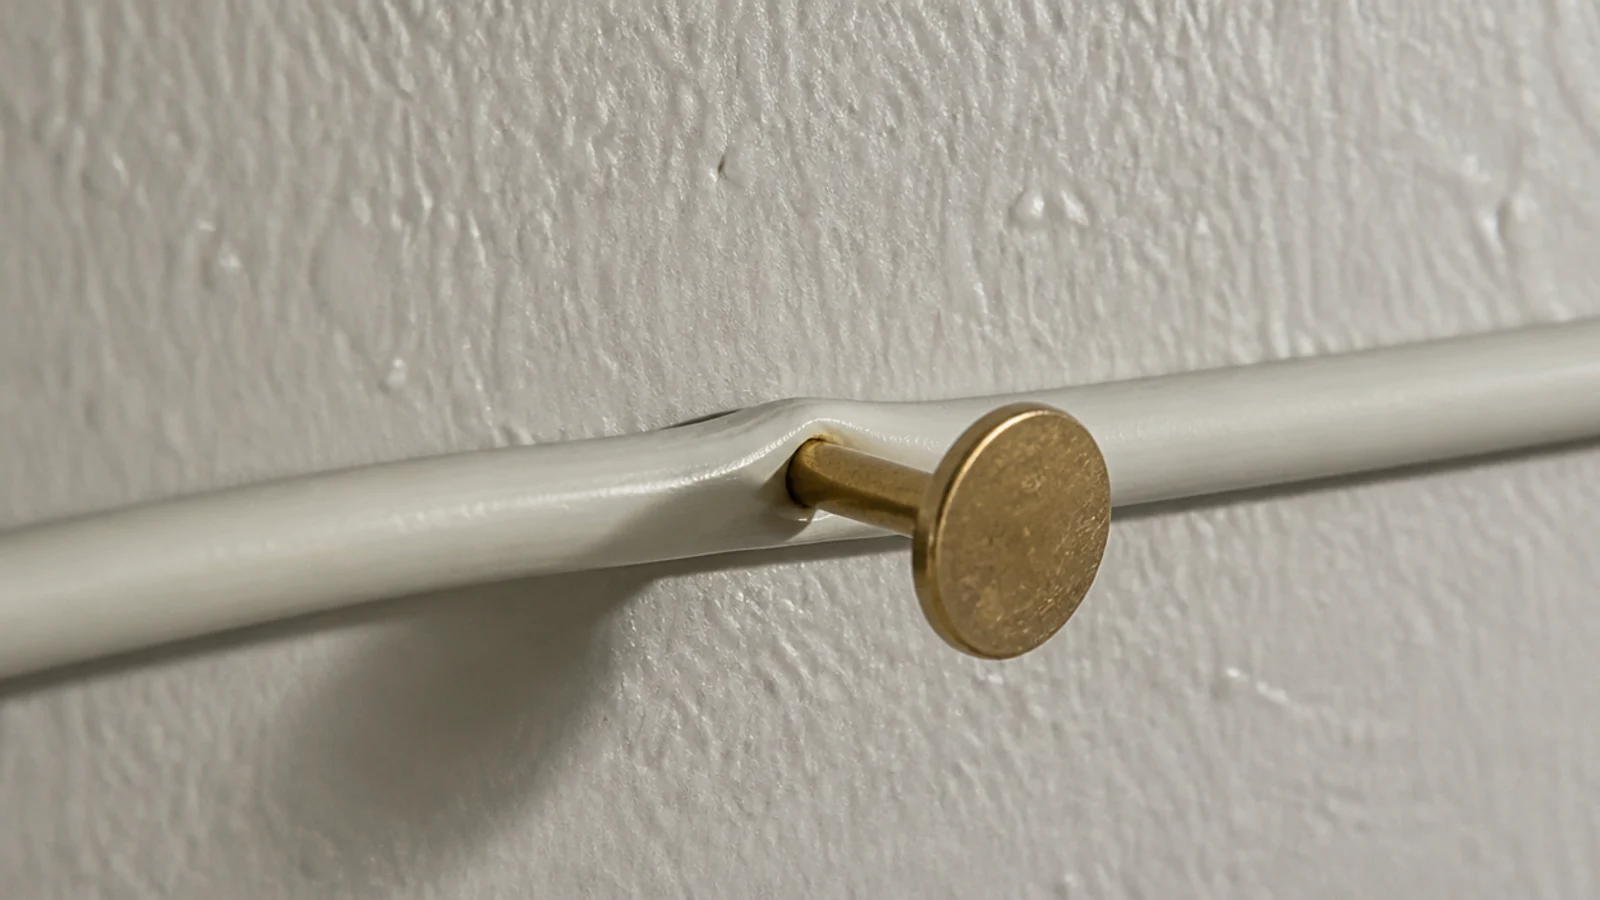
It held perfectly for about six weeks, then that section went dark and stayed dark. A pin through the sheath damages the conductor inside, and the failure never happens while you are watching. Clips hold the outside of the cable and cost about ten cents each.
4. I ignored the Kelvin number twice
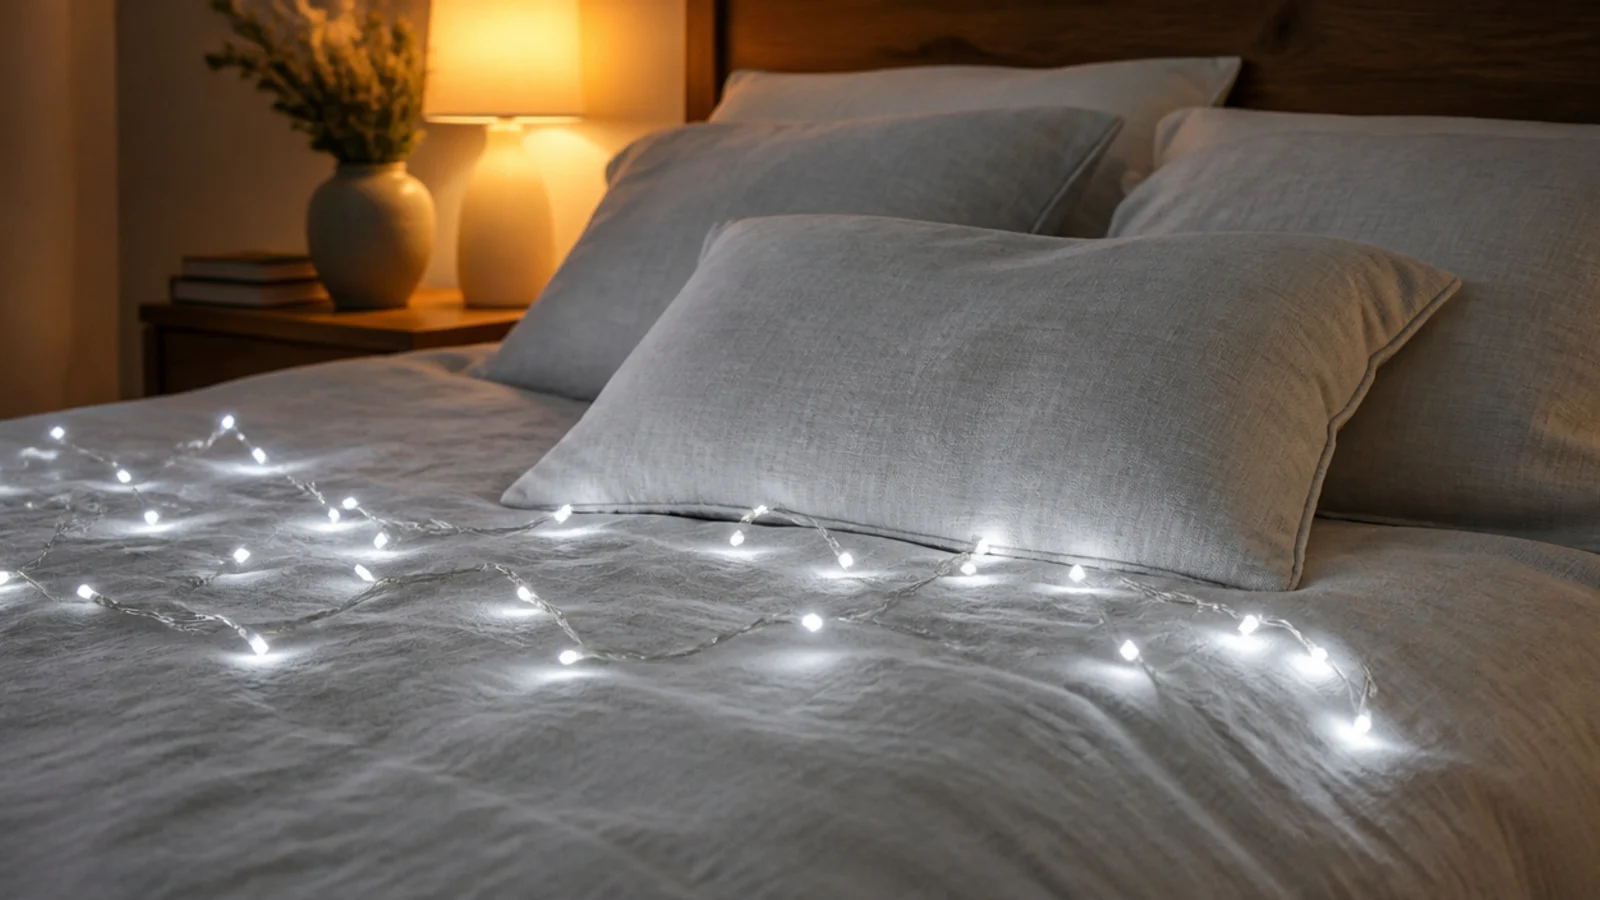
Both sets said warm white on the box. One was 2200K and lovely; the other was 4000K and turned a bedroom into a corridor. The Kelvin figure is the only honest number, and it is usually printed in small type on the back.
5. I loaded a clip straight away
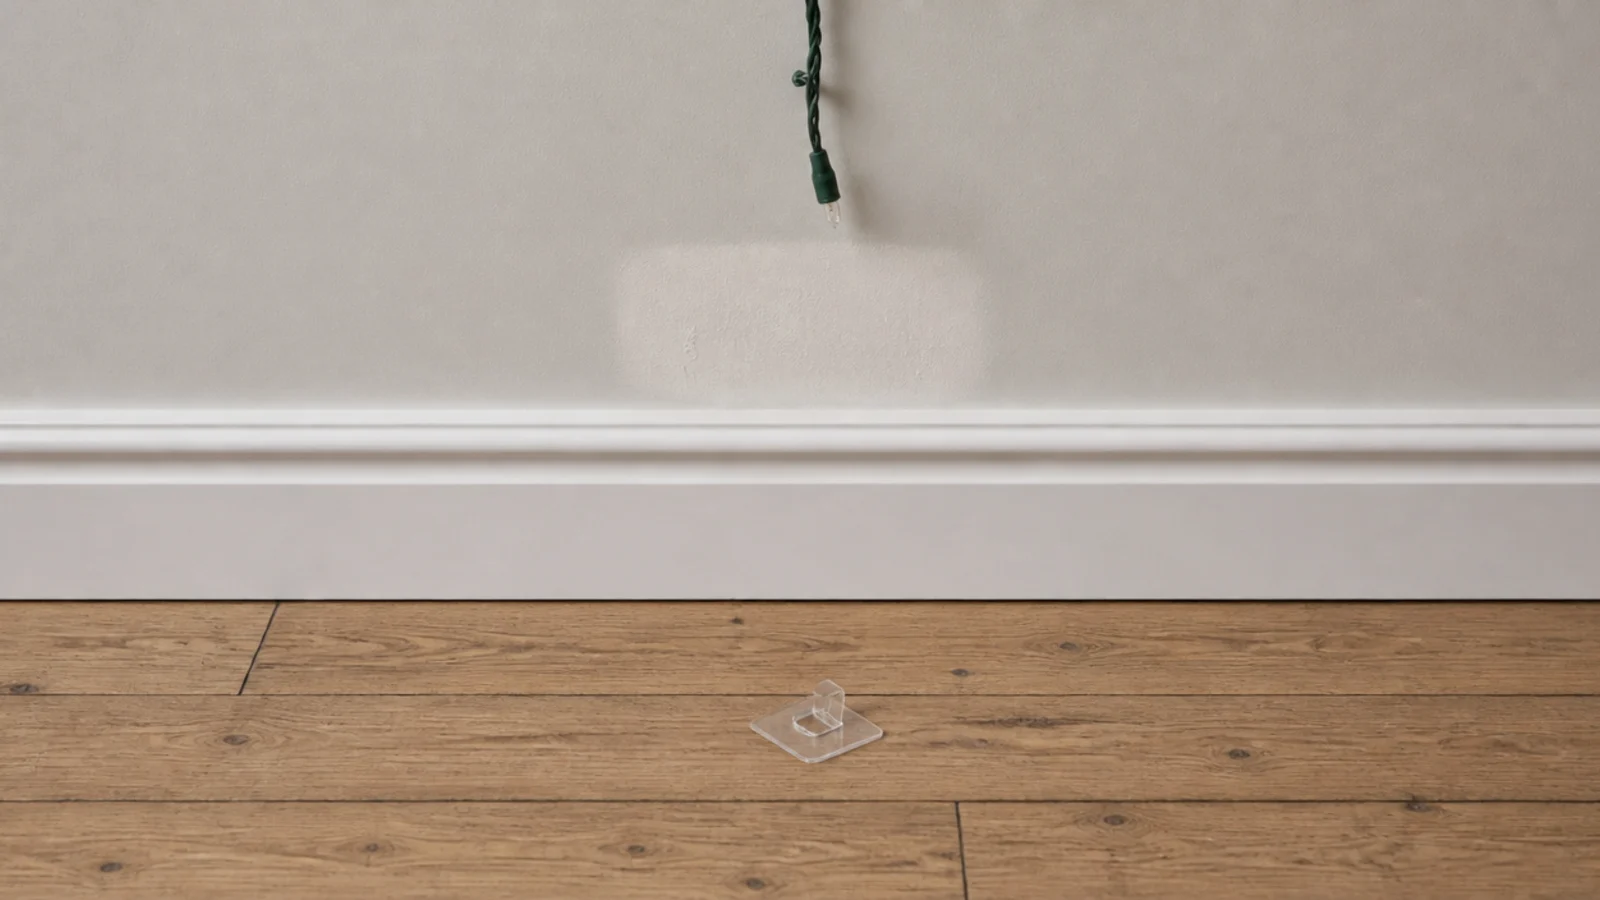
Stuck it, hooked the strand in, walked away. It was on the floor by morning. Thirty seconds of firm pressure and one full hour of cure before any load is the rule, and almost every clip I have lost since was one I rushed. In a cold room I now warm the spot with a hairdryer for ten seconds first, because below about 60°F the adhesive never properly grabs.
6. I fixed to a freshly painted wall
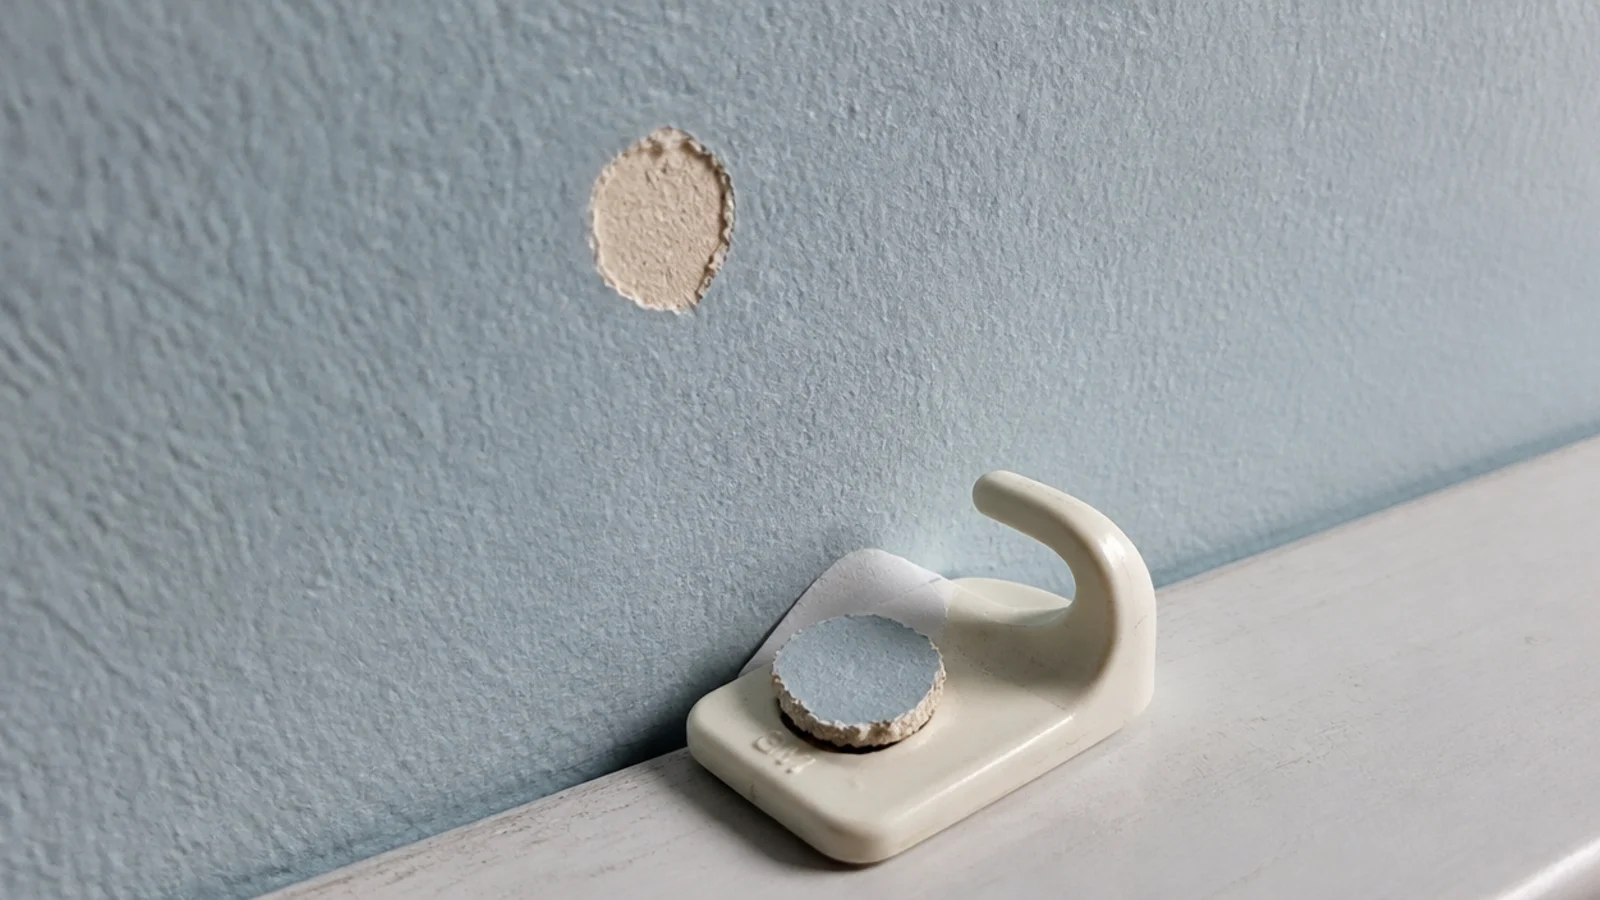
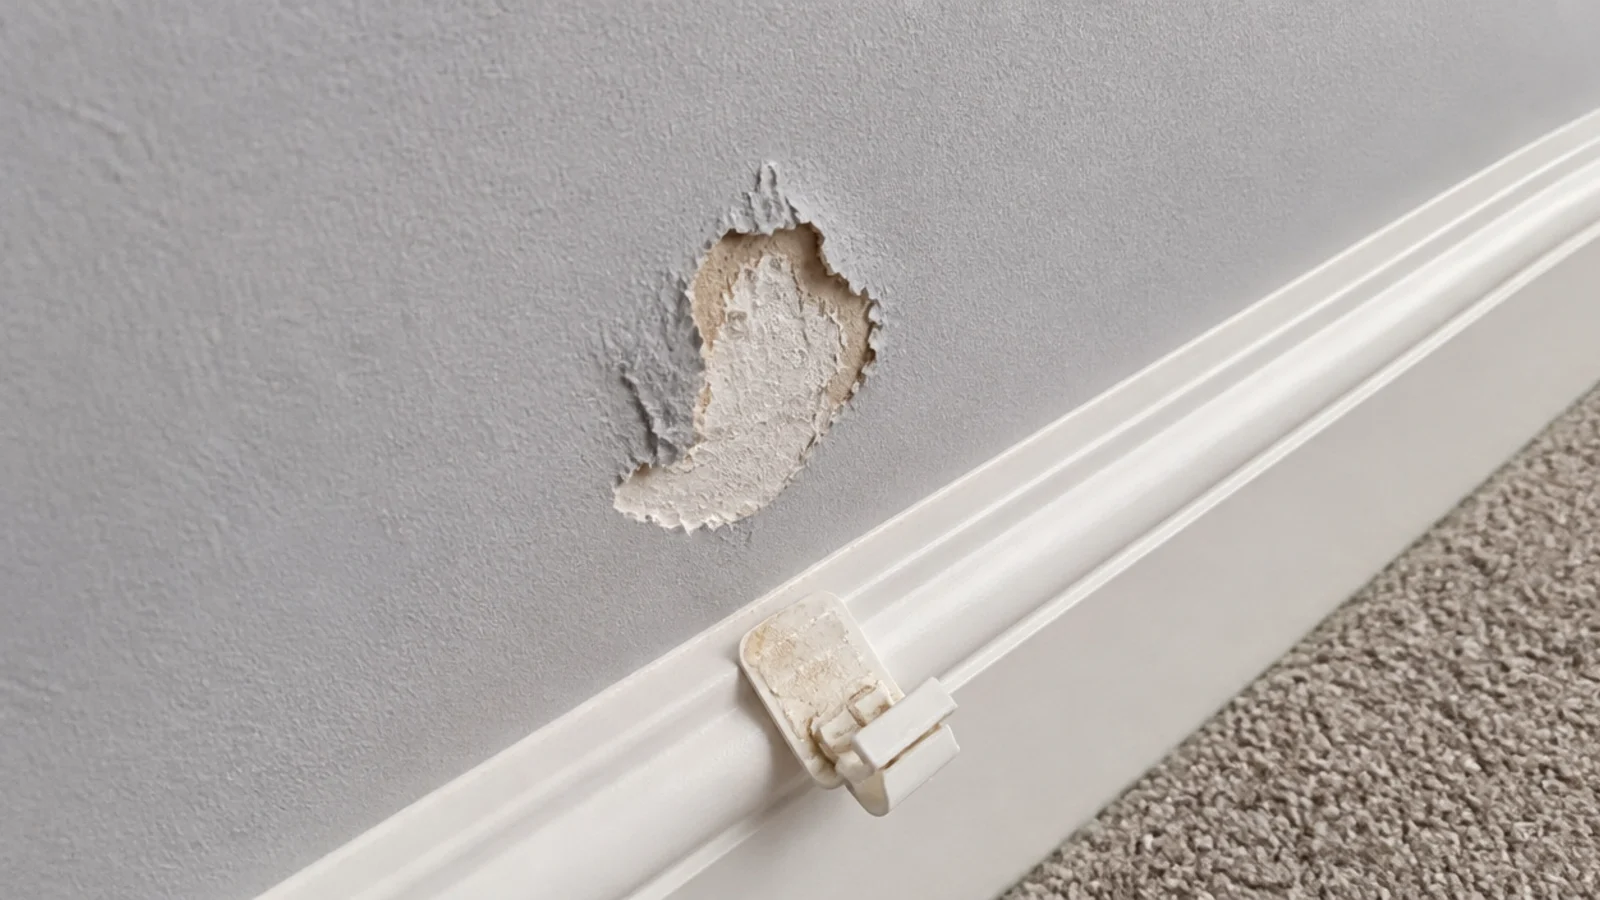
Emulsion needs about four weeks to cure. I gave it four days, and the clips took coin-sized patches of paint with them when they came off. In a rental that is a genuine cost, and it is entirely avoidable by waiting.
7. I used wall spacing on a ceiling
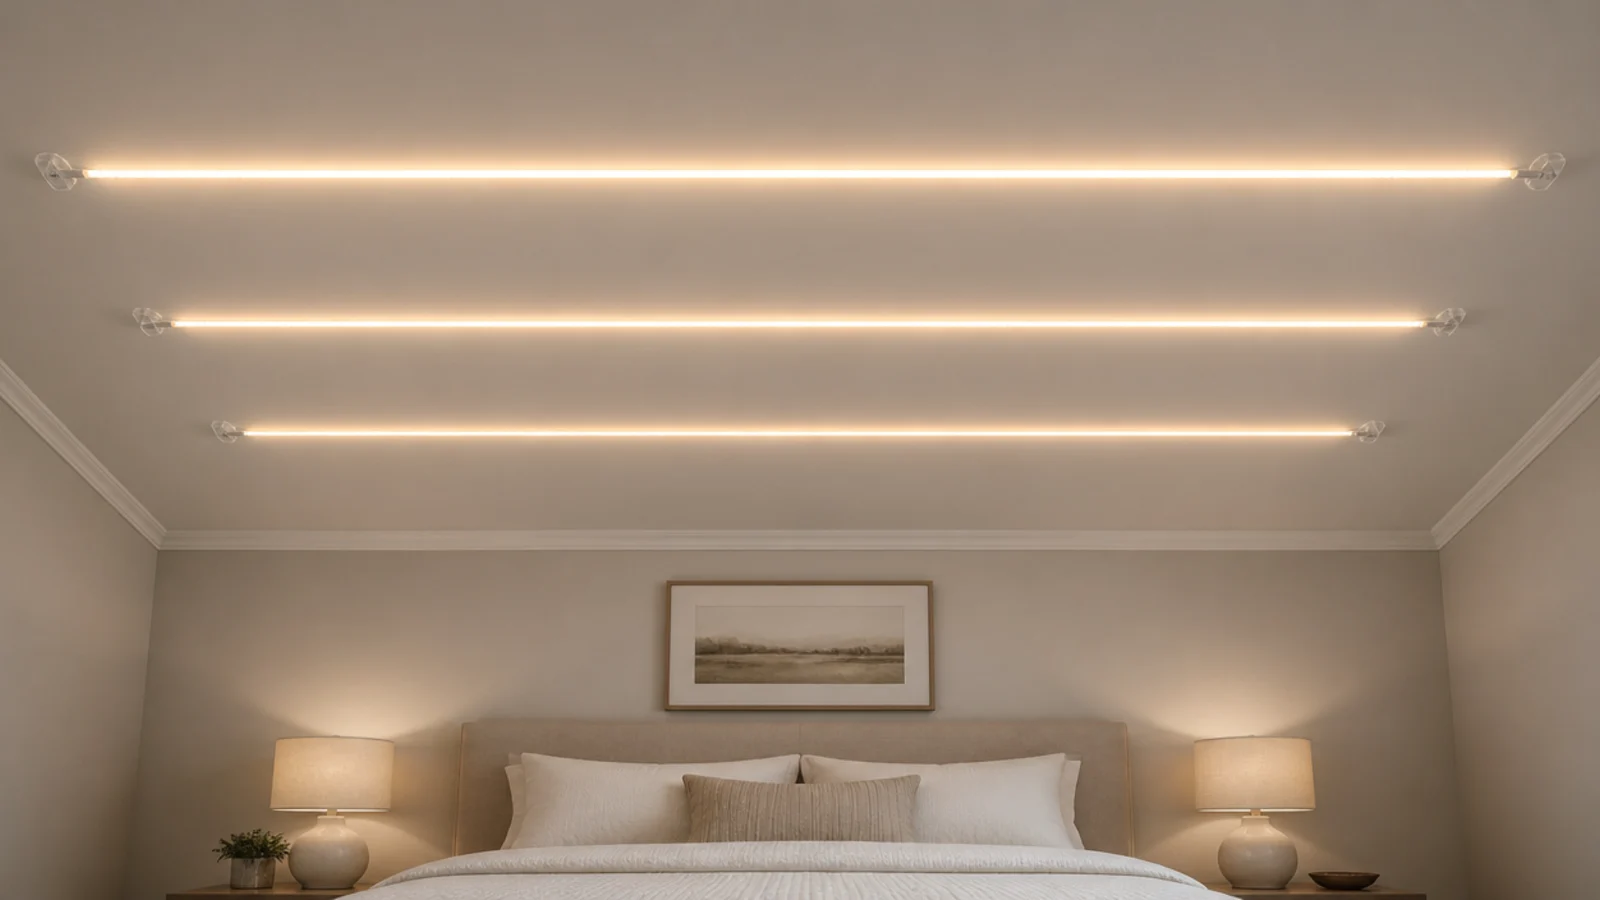
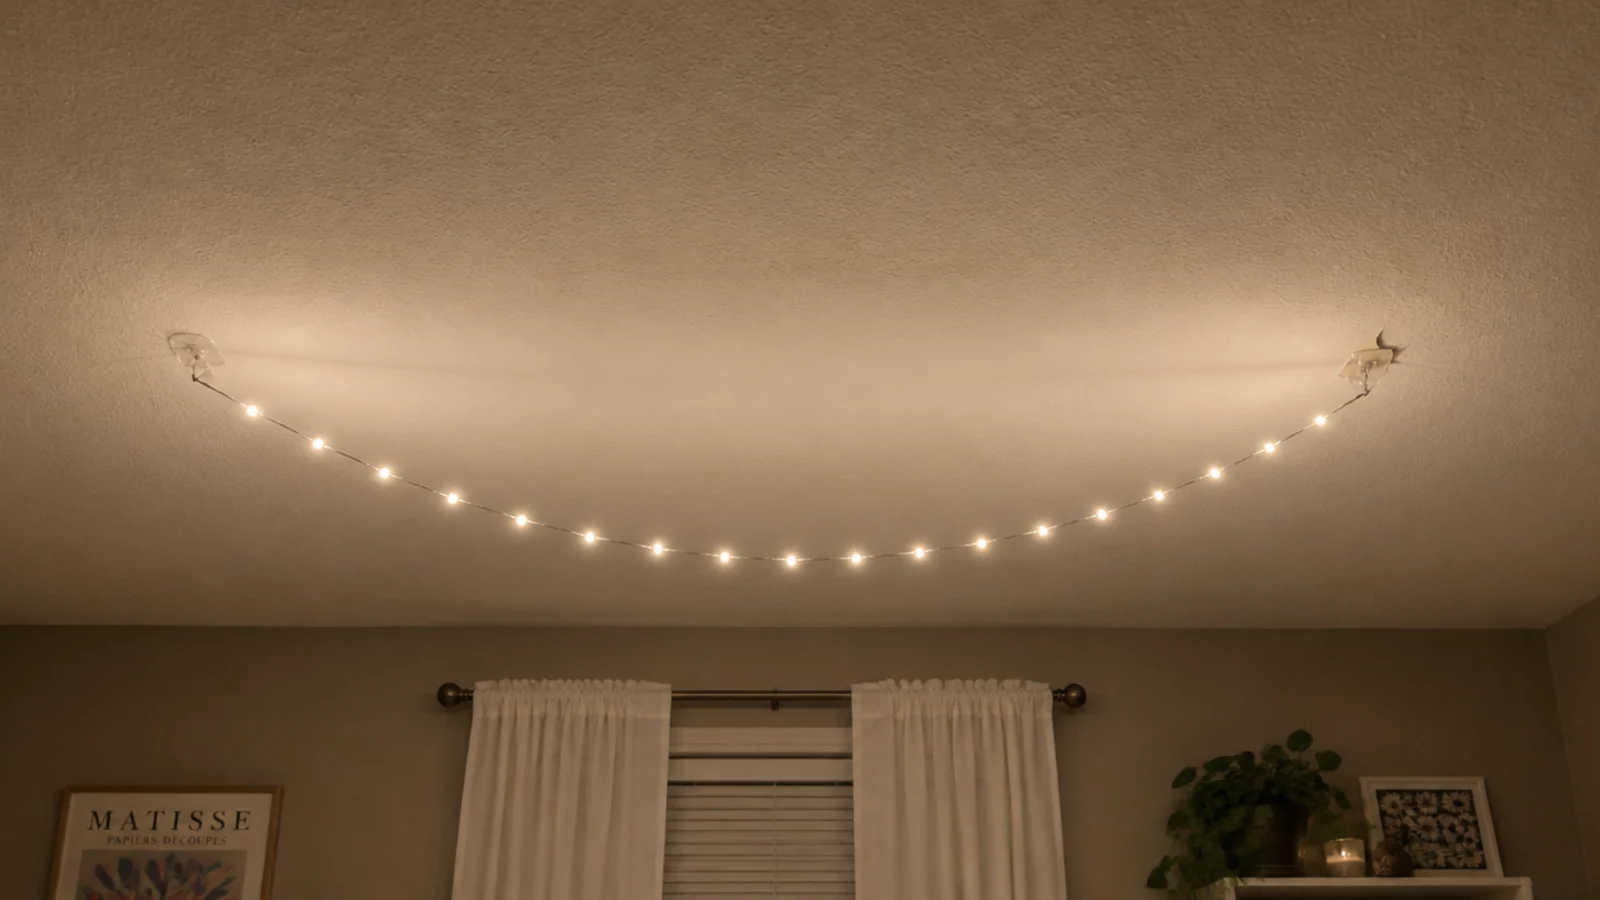
Twelve to sixteen inches works on a wall where the load is mostly shear. Overhead the pull is straight down and the same spacing sagged within a week. Ceilings want hooks every 10 to 12 inches, or a nylon line carrying the strand.
8. I ran the lead under a rug
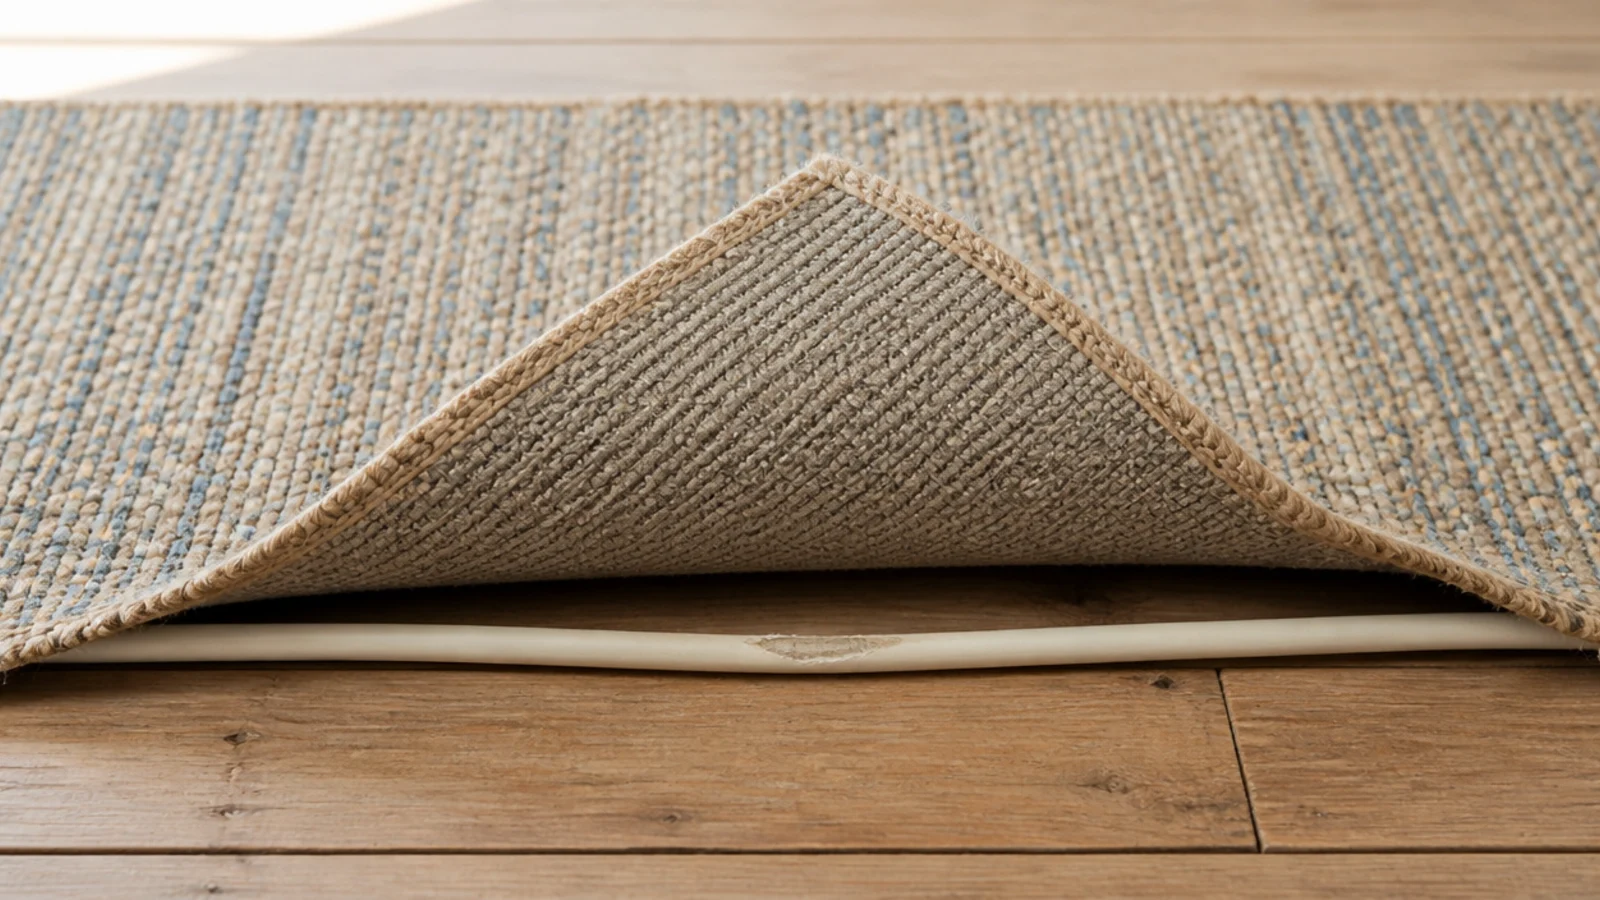
It was the shortest route to the socket and it was a bad idea. Every footstep abrades the sheath, the cable has nowhere to shed heat, and you cannot see damage developing. I now go the long way round the skirting and clip it every 12 inches.
9. I hid the battery pack in a cushion
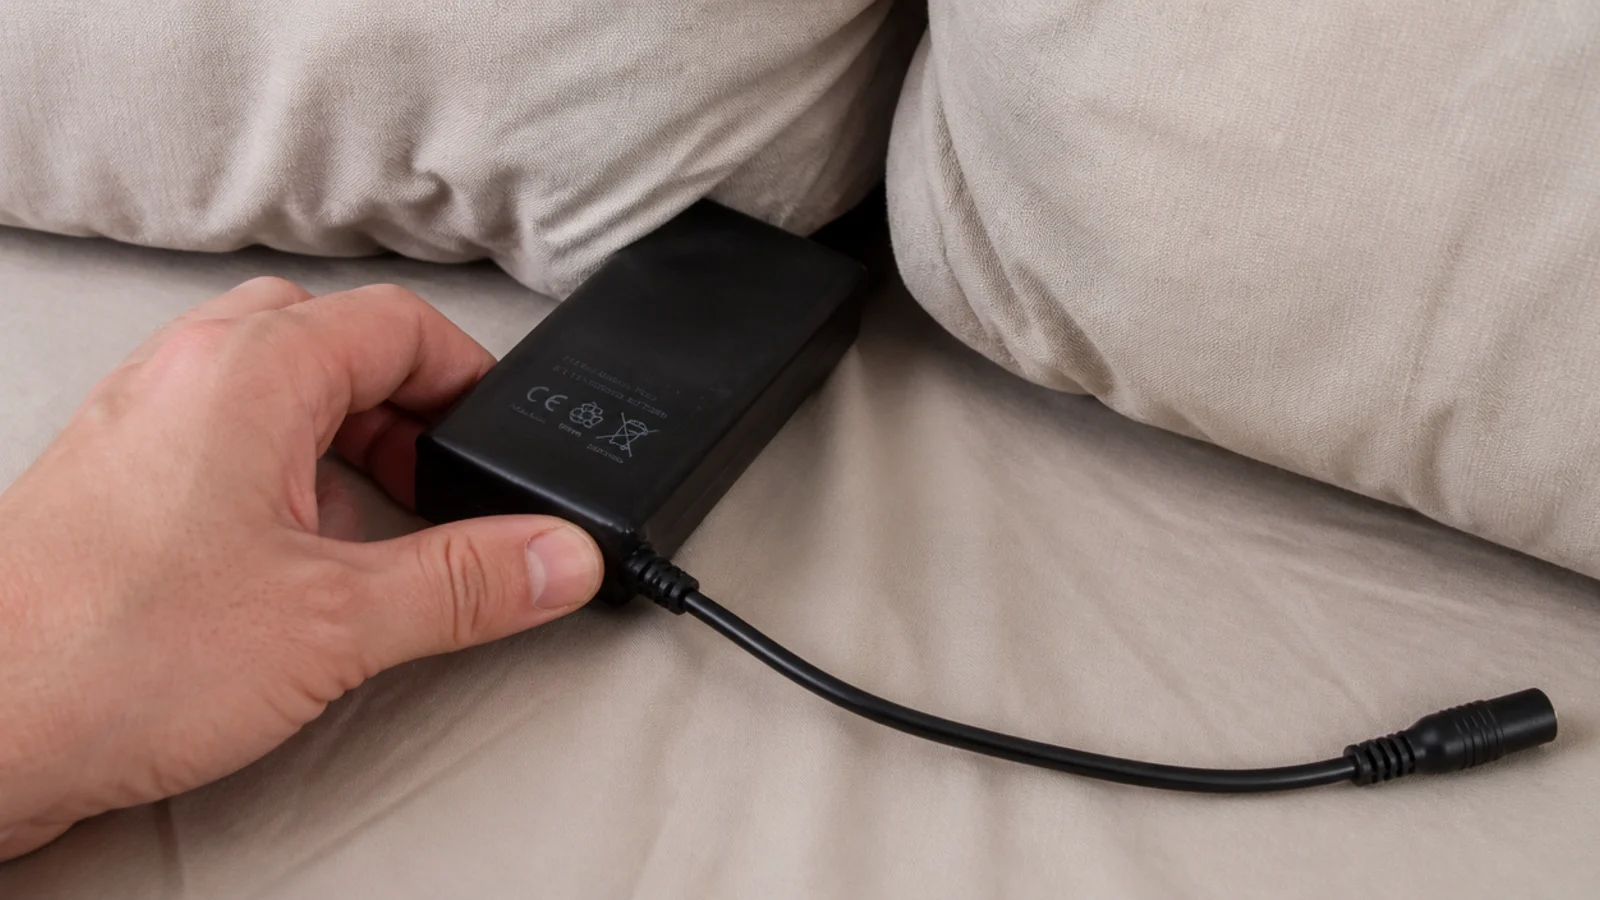
It looked tidy for a week. Packs need air around them and they need reaching when the cells go, and burying one in soft furnishings gives it neither. Mine now sits upright in an open basket on a shelf with the lead over the rim. The same rule applies to a plug-in driver: it lives in open air on the floor or a shelf, never under a pillow, inside bedding or pushed behind a headboard where nothing can reach it.
10. I chained four sets end to end
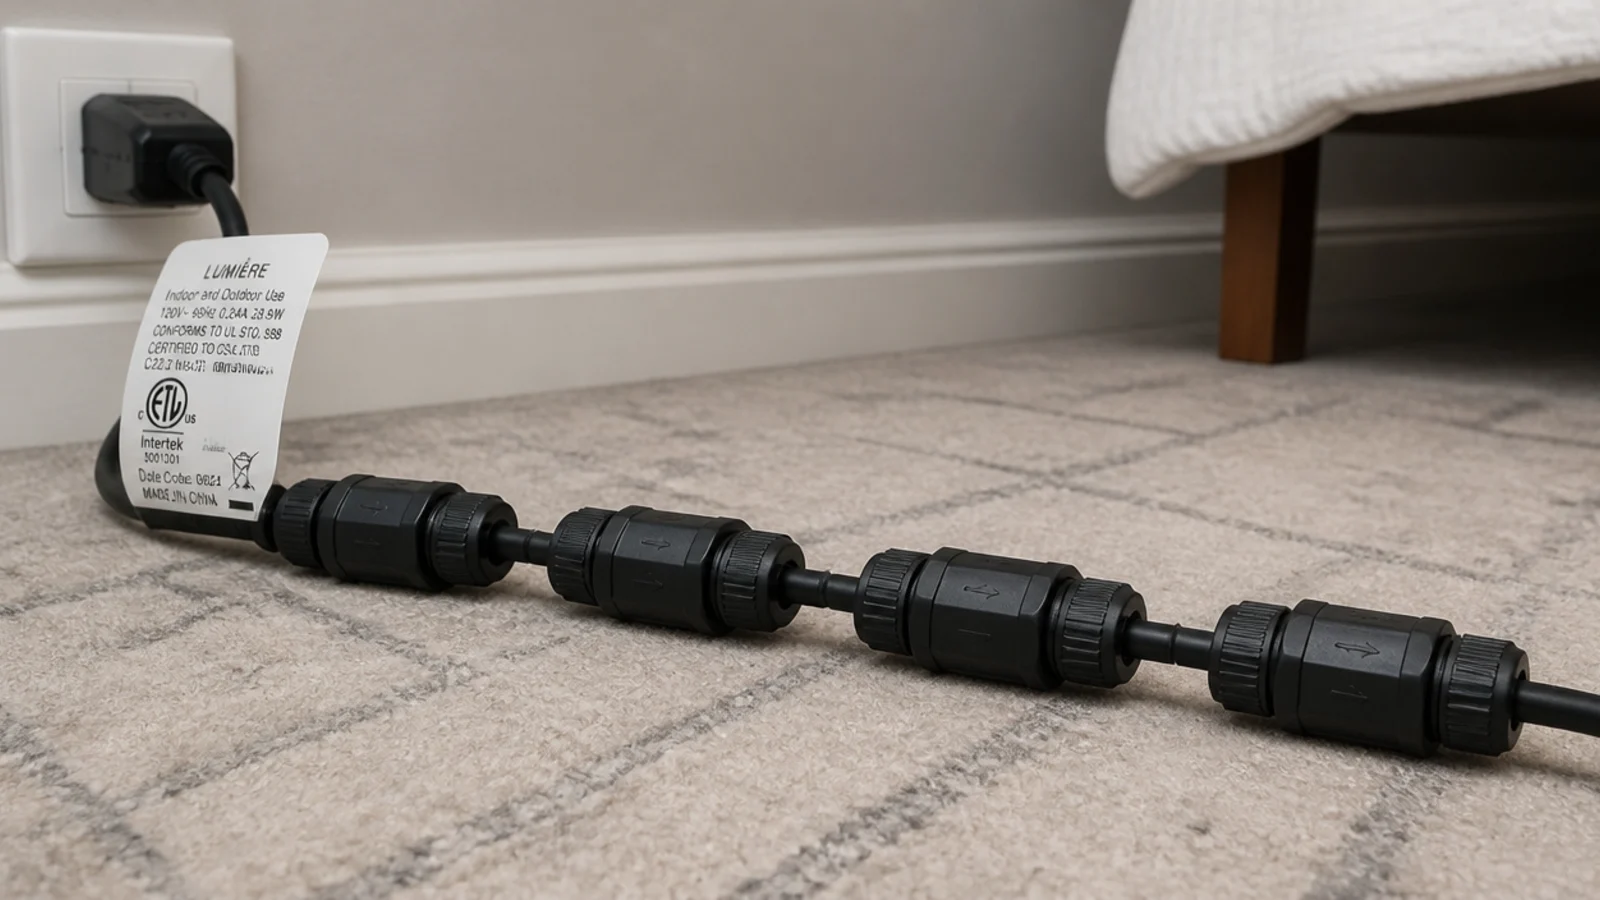
The tag on the first lead said three. I read it afterwards, which is the wrong order. That printed number is a current limit for the first plug in the chain, not a suggestion — if a corner is out of reach, run a second strand on its own plug.
11. I hung bulbs at seated eye level
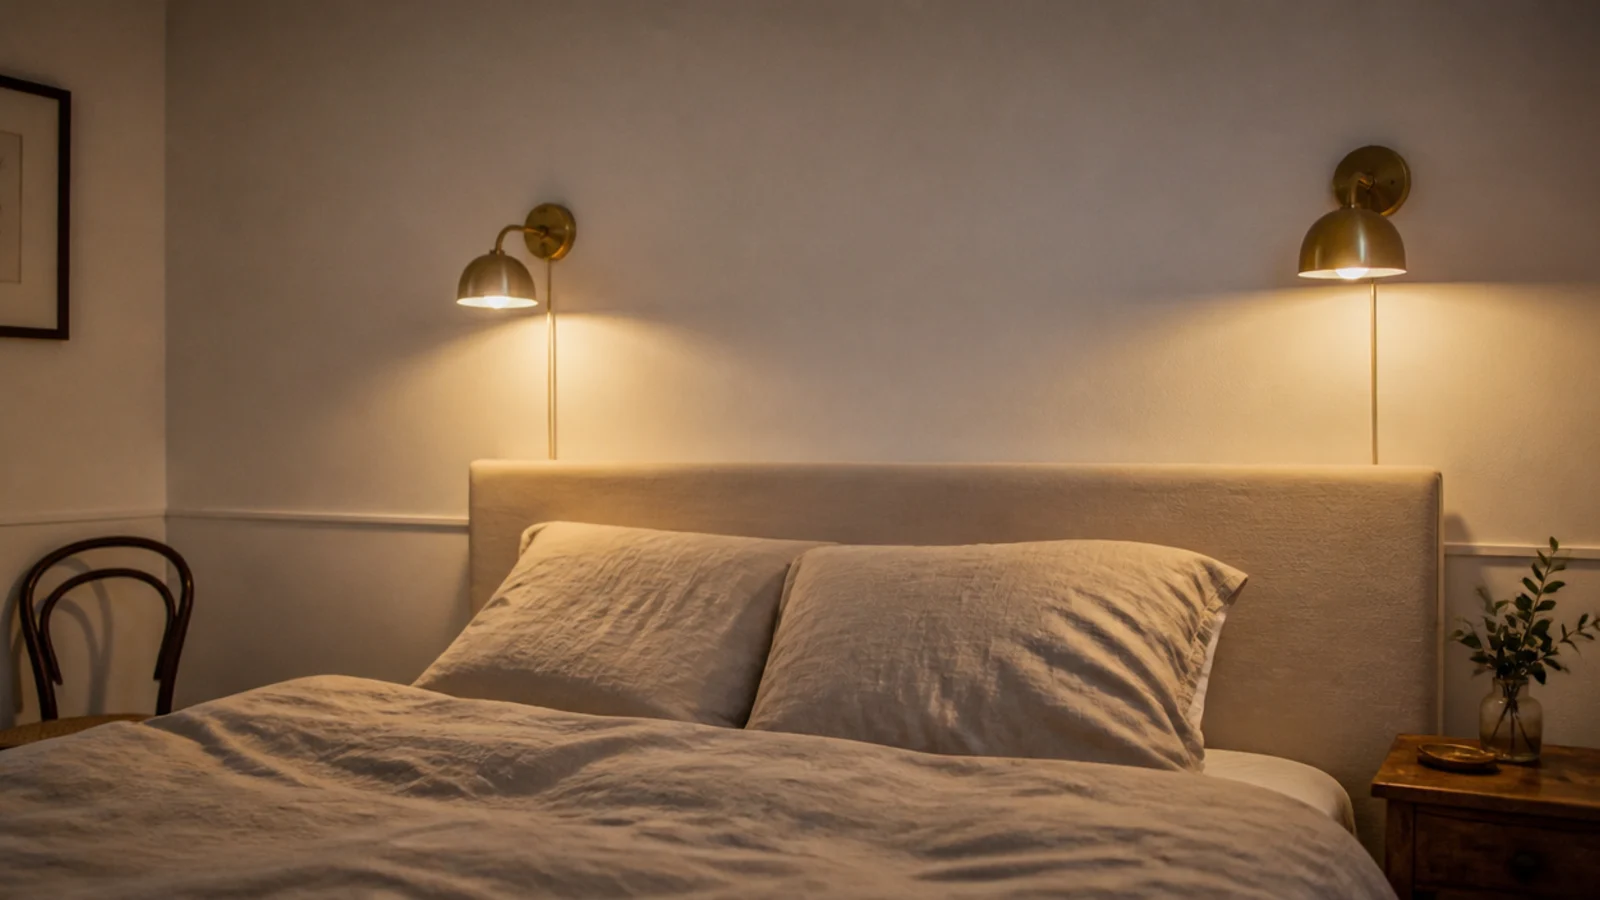
The run looked perfect standing in the doorway and glared straight into my face the moment I sat up in bed. Anything between 40 and 65 inches is in that band. Now it goes above 70 inches, below 30, or behind a diffuser.
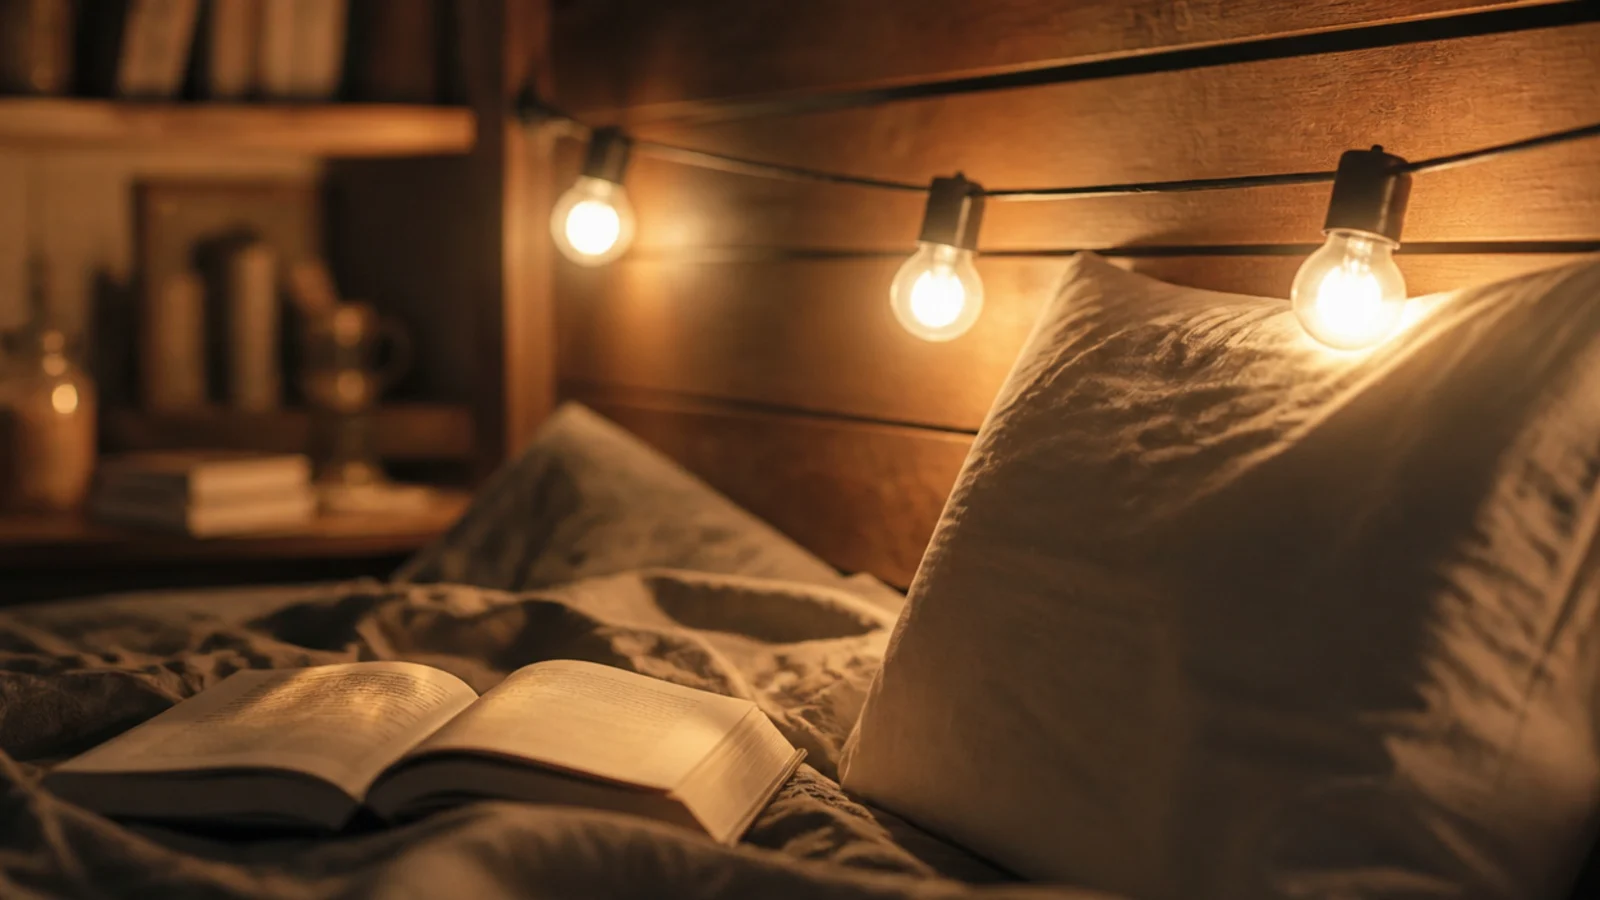
12. I wrapped fabric around the strand
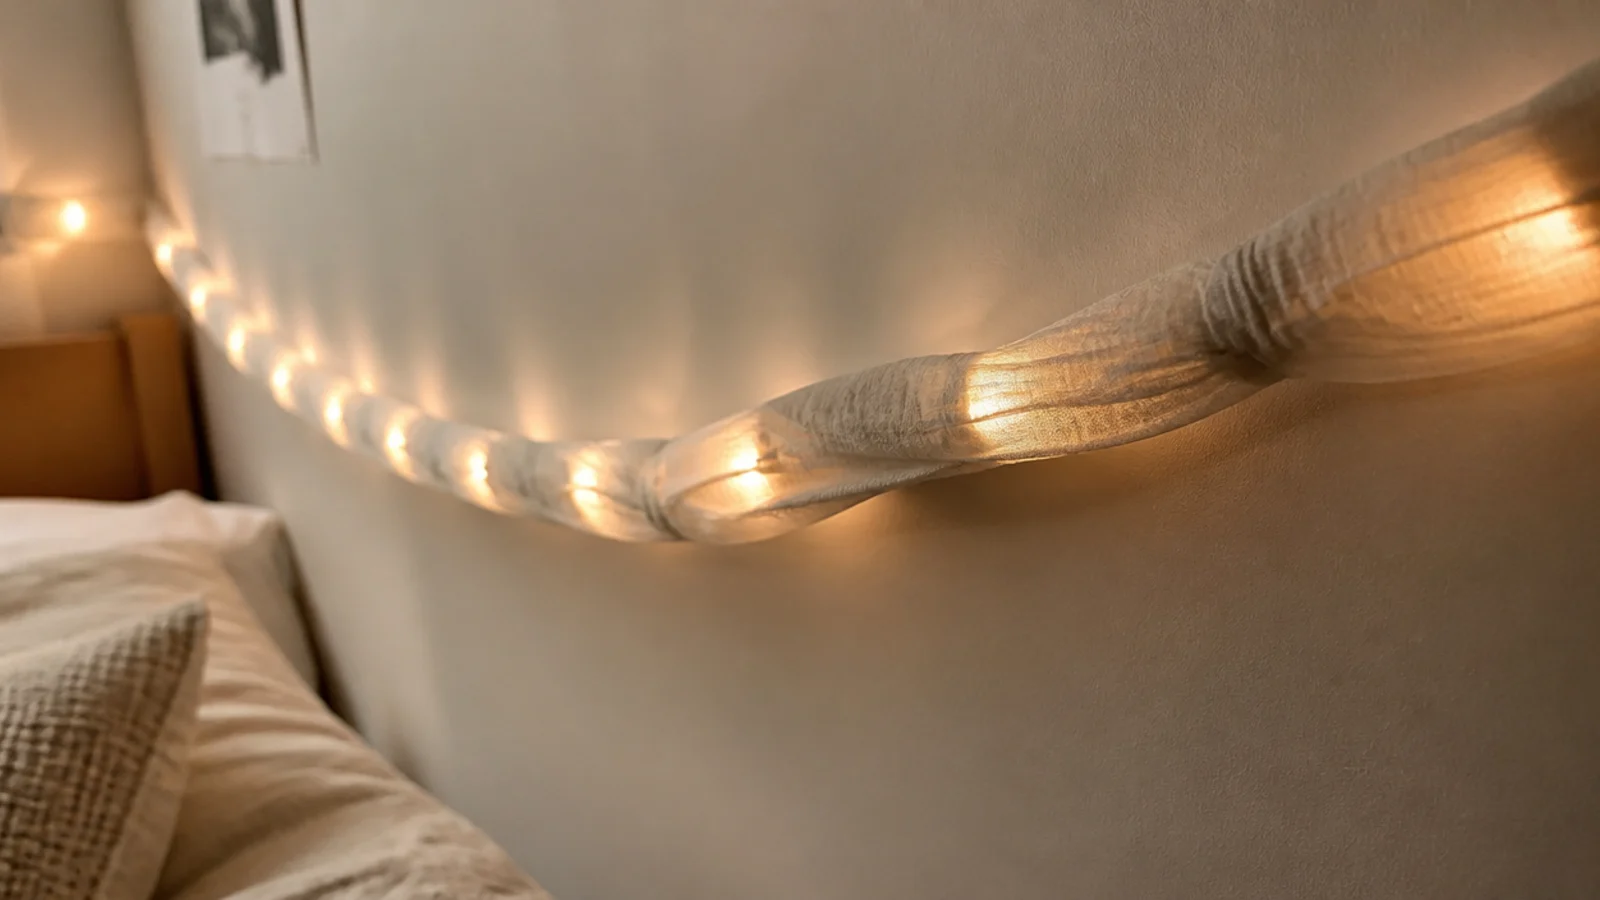
I wanted a softer effect and wound thin cotton around the wire. That presses cloth against bulbs and puts the cable under tension. Draping fabric loosely over the top does the same job with air moving through it, and it takes less time. This matters most on a canopy, where the strand is closest to cloth — LED sets sit near body temperature, but a wire under tension against fabric is still a wire under tension.
13. I outlined all four walls
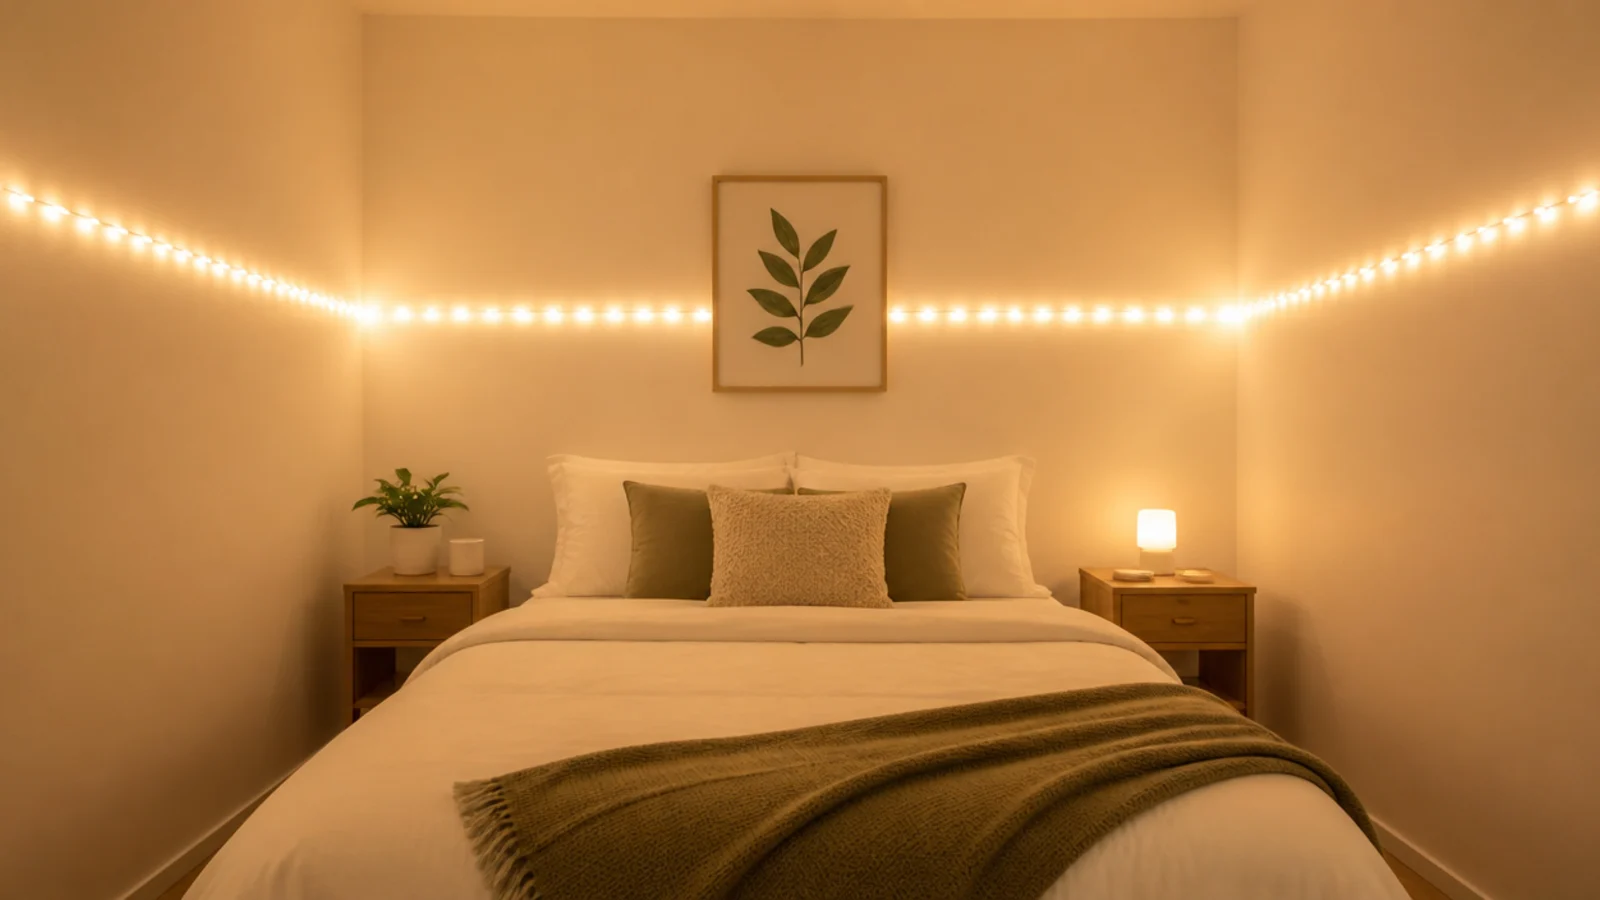
Two strands, a hard glowing box, and a room that felt distinctly smaller. Lighting one wall and leaving the opposite corner dark gives depth. I took half of it down the following weekend and preferred the result immediately.
14. I did not mark the line first
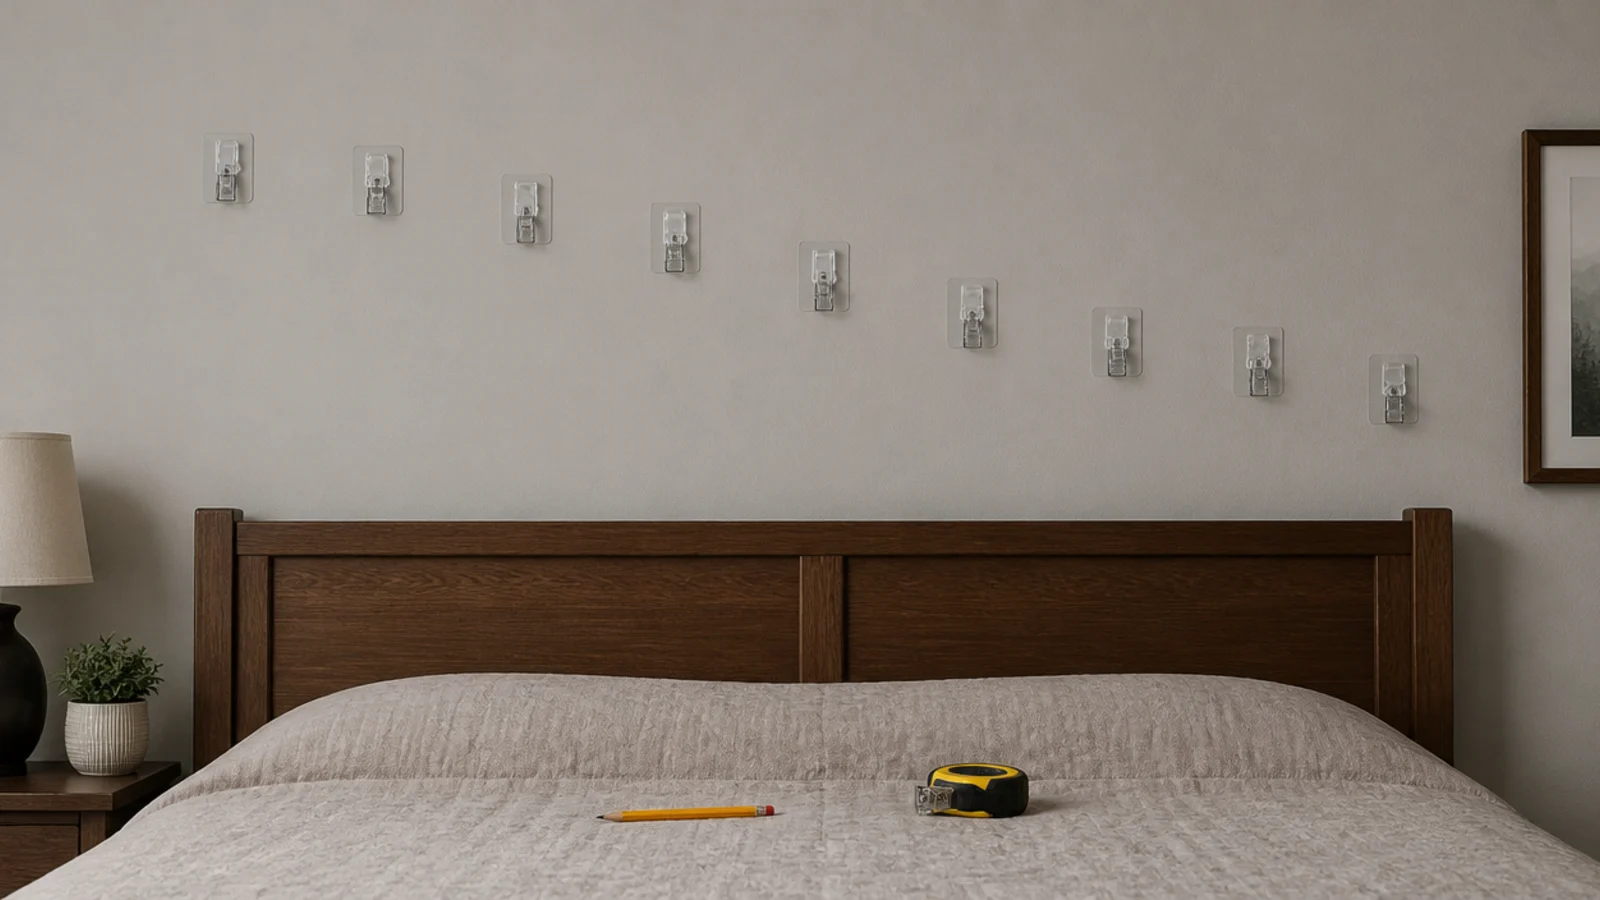
I eyeballed twelve clips along an 8 foot wall and the run drifted three inches downward by the end. Marking every position in pencil first takes ten minutes and means the clips go where you planned rather than where the last one landed.
15. I pulled the strand tight
A taut run puts constant tension on every pad. Two clips lifted at their lower edge within a fortnight. A little slack in each span — around 6 inches of dip every 3 feet — looks better and takes the strain off the adhesive completely.
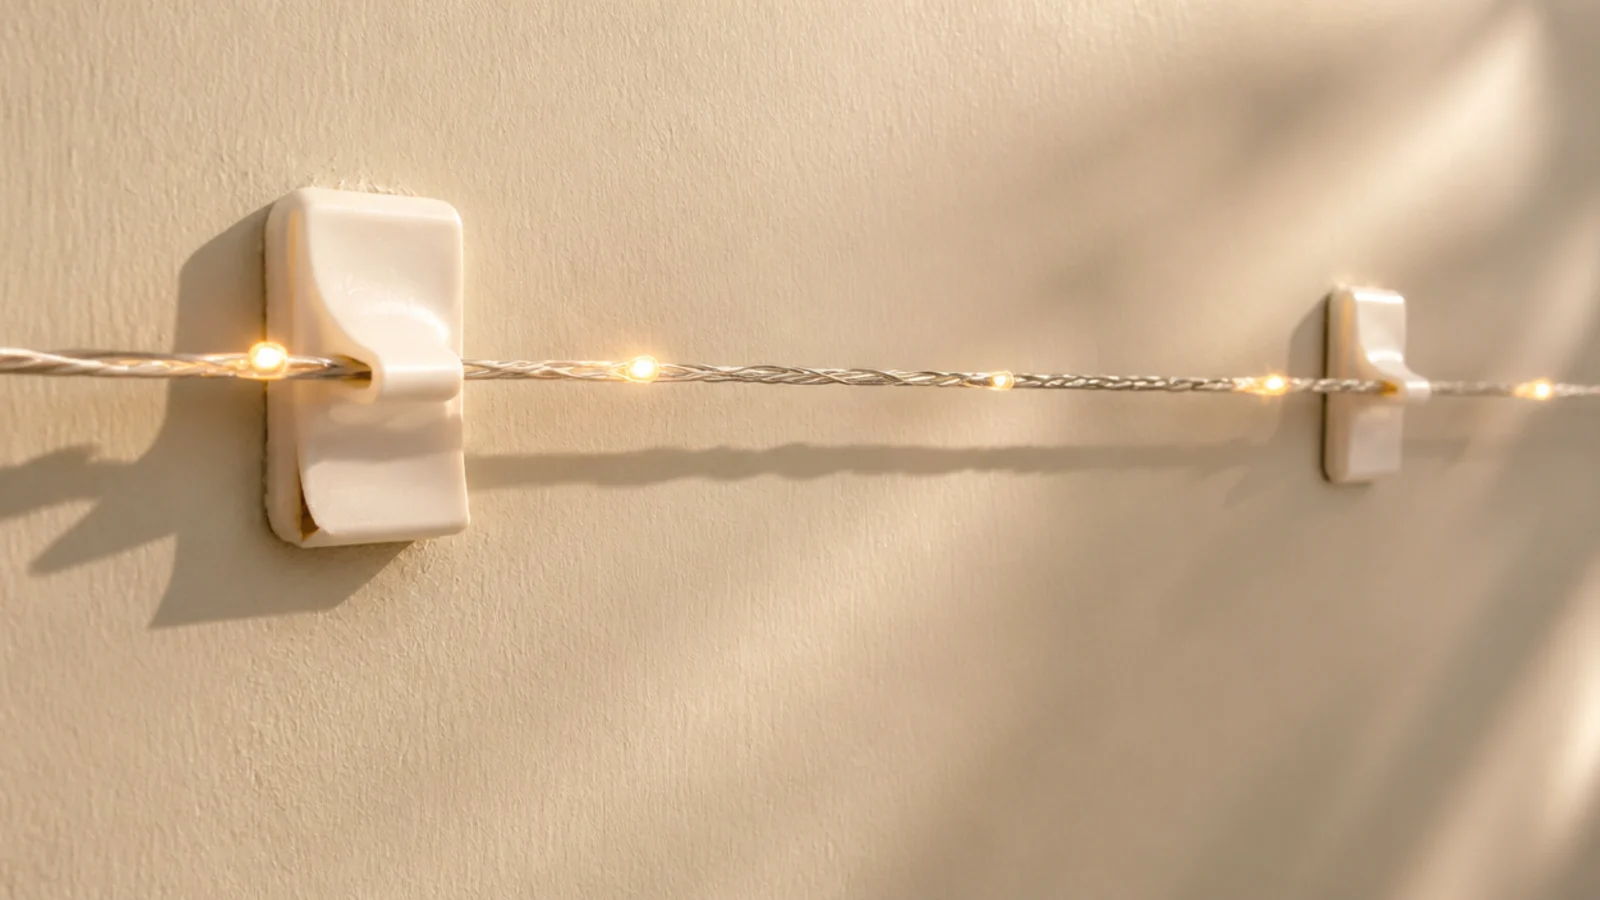
16. I used packing tape instead of clips
It lifted paint at both ends and left a yellow line down the wall that did not wash off. Low-tack painter tape is fine for trialling a layout for an evening. Anything permanent needs proper clips.
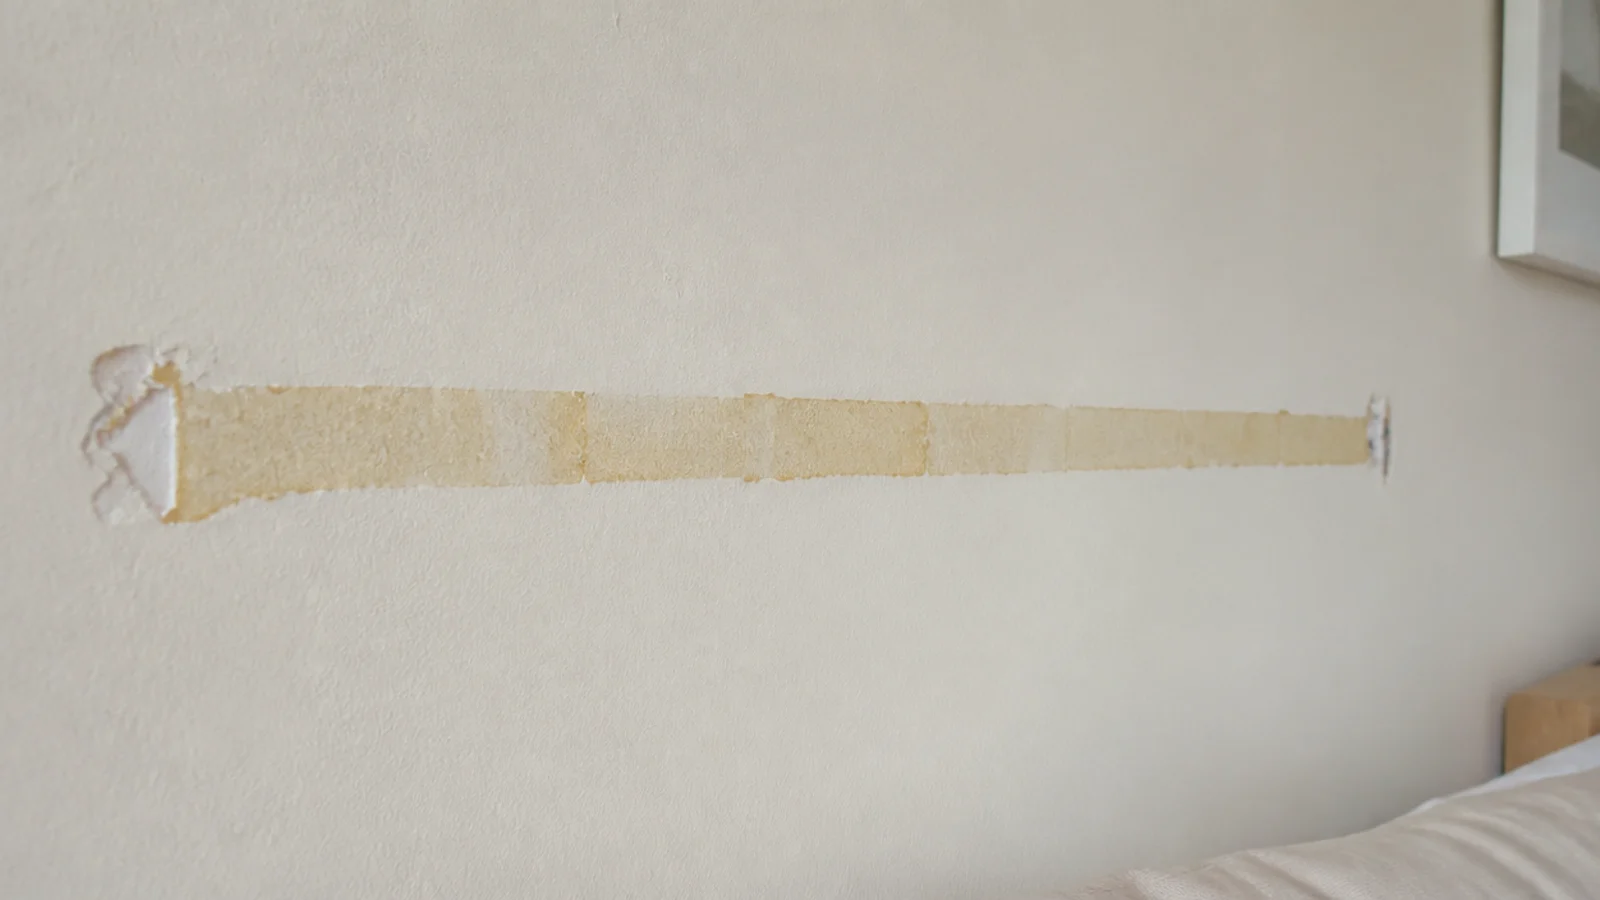
17. I left everything on all night
Not because of the LEDs, which draw under 5 watts. Because I was going through three AA cells a week on the battery sets and waking to lights on at nine in the morning. A $5 dial timer fixed the whole habit in one evening. Six hours on and eighteen off took a set of rechargeable AA cells from lasting five days to lasting about a month, and it put every strand in the room on the same schedule.
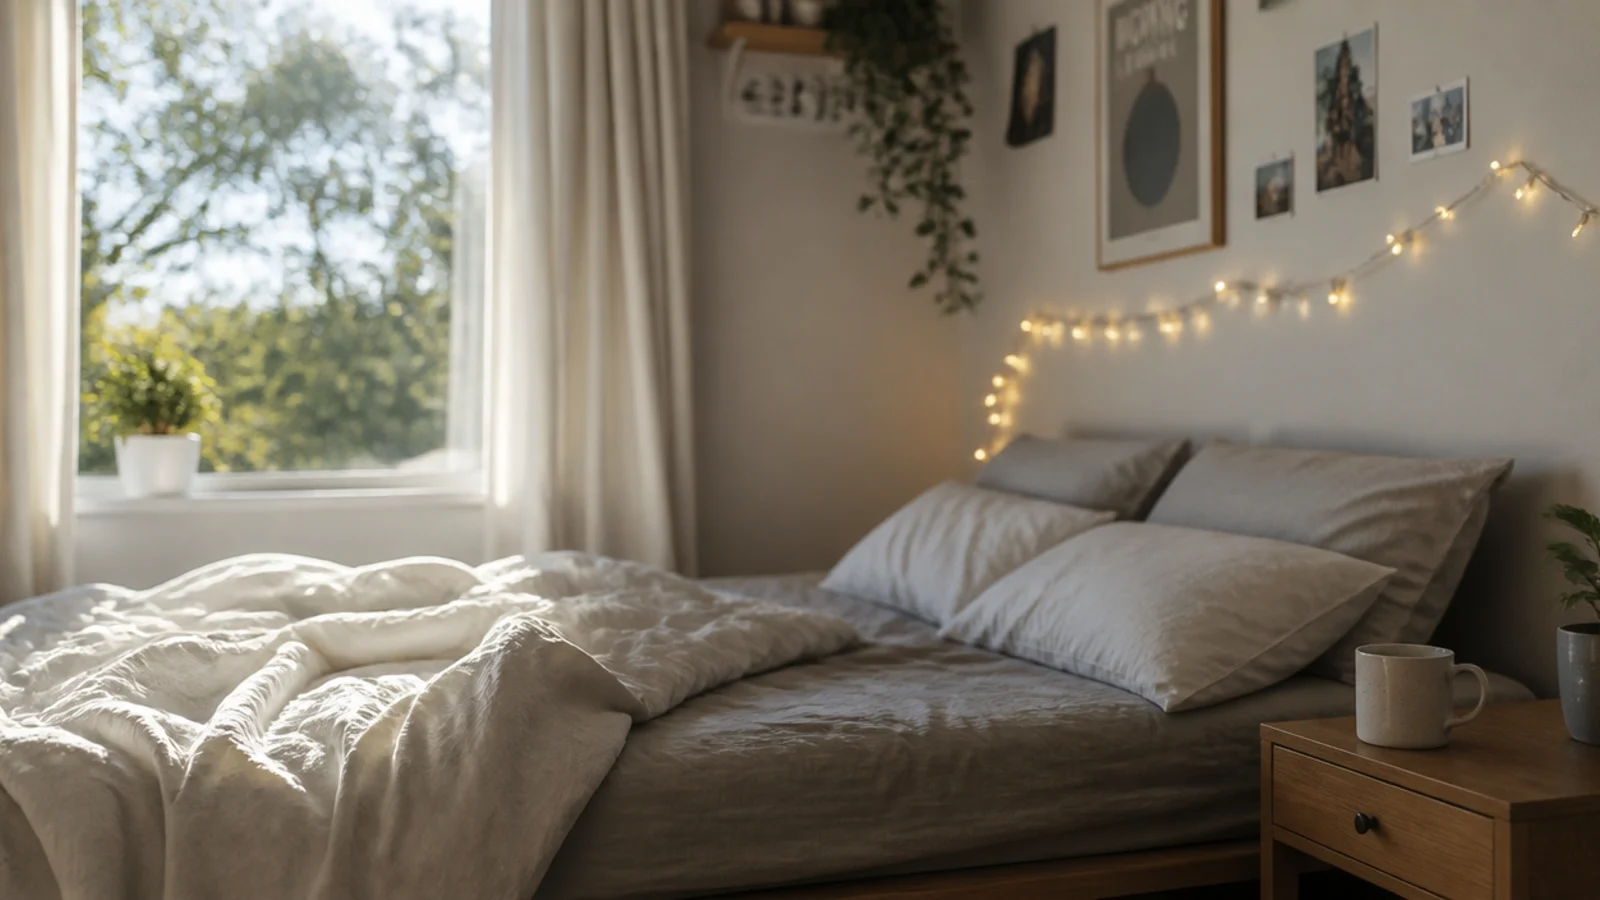
18. I bought the set with a remote
The remote cost $5 extra and added a receiver box moulded into the cable that is visible from the doorway. I used the colour settings twice in a year. Plain warm white with a timer does everything I actually wanted.
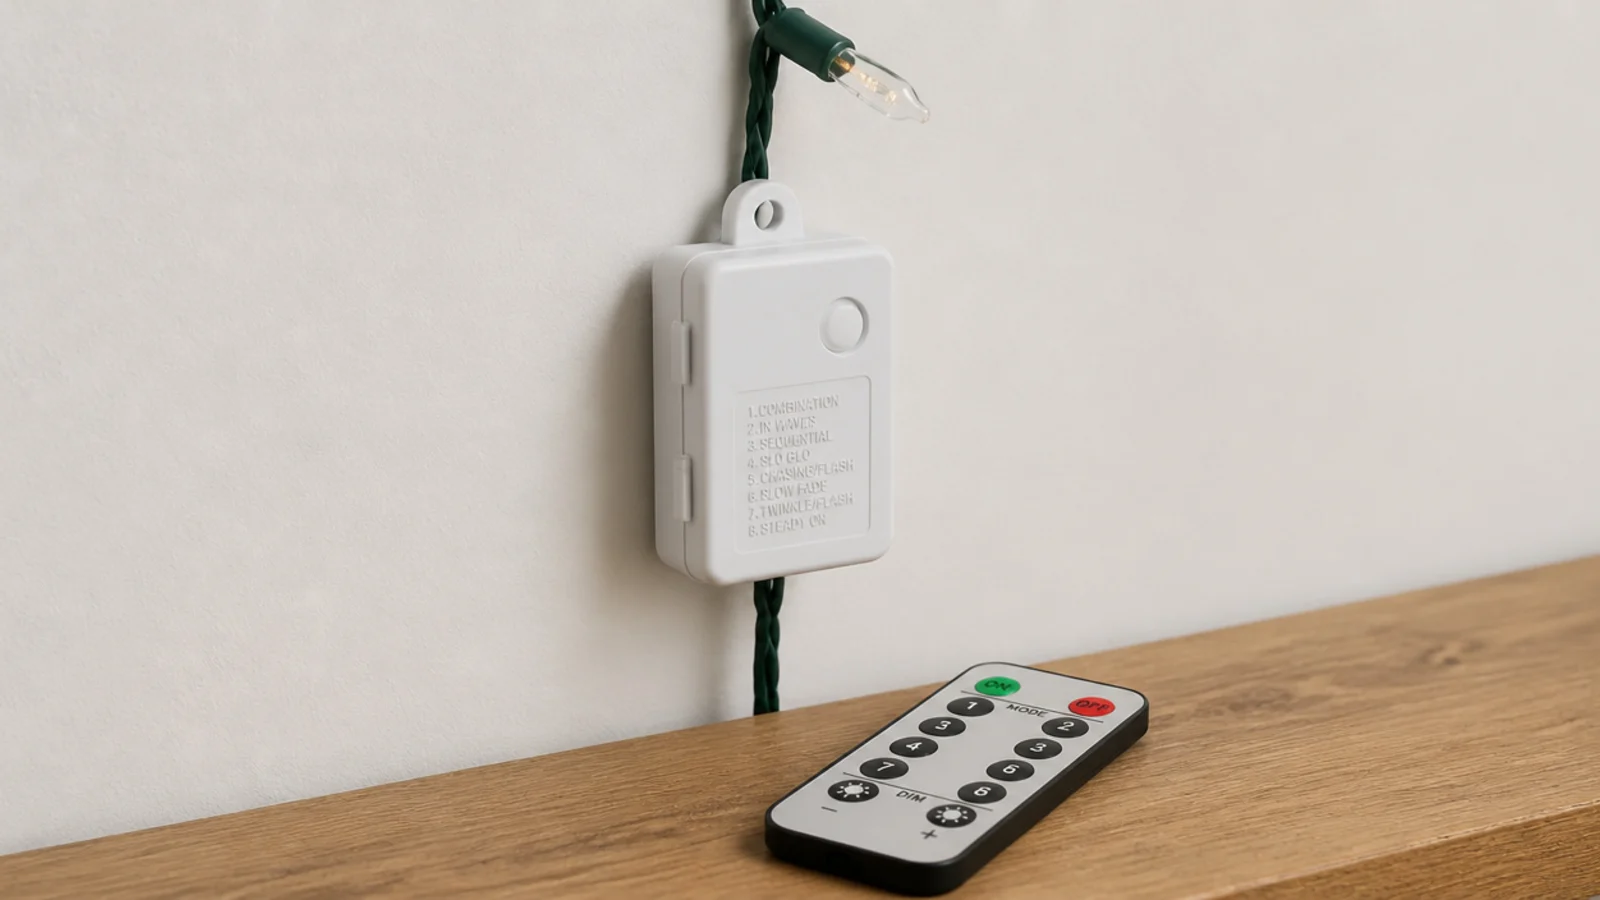
19. I hung a run across the door swing
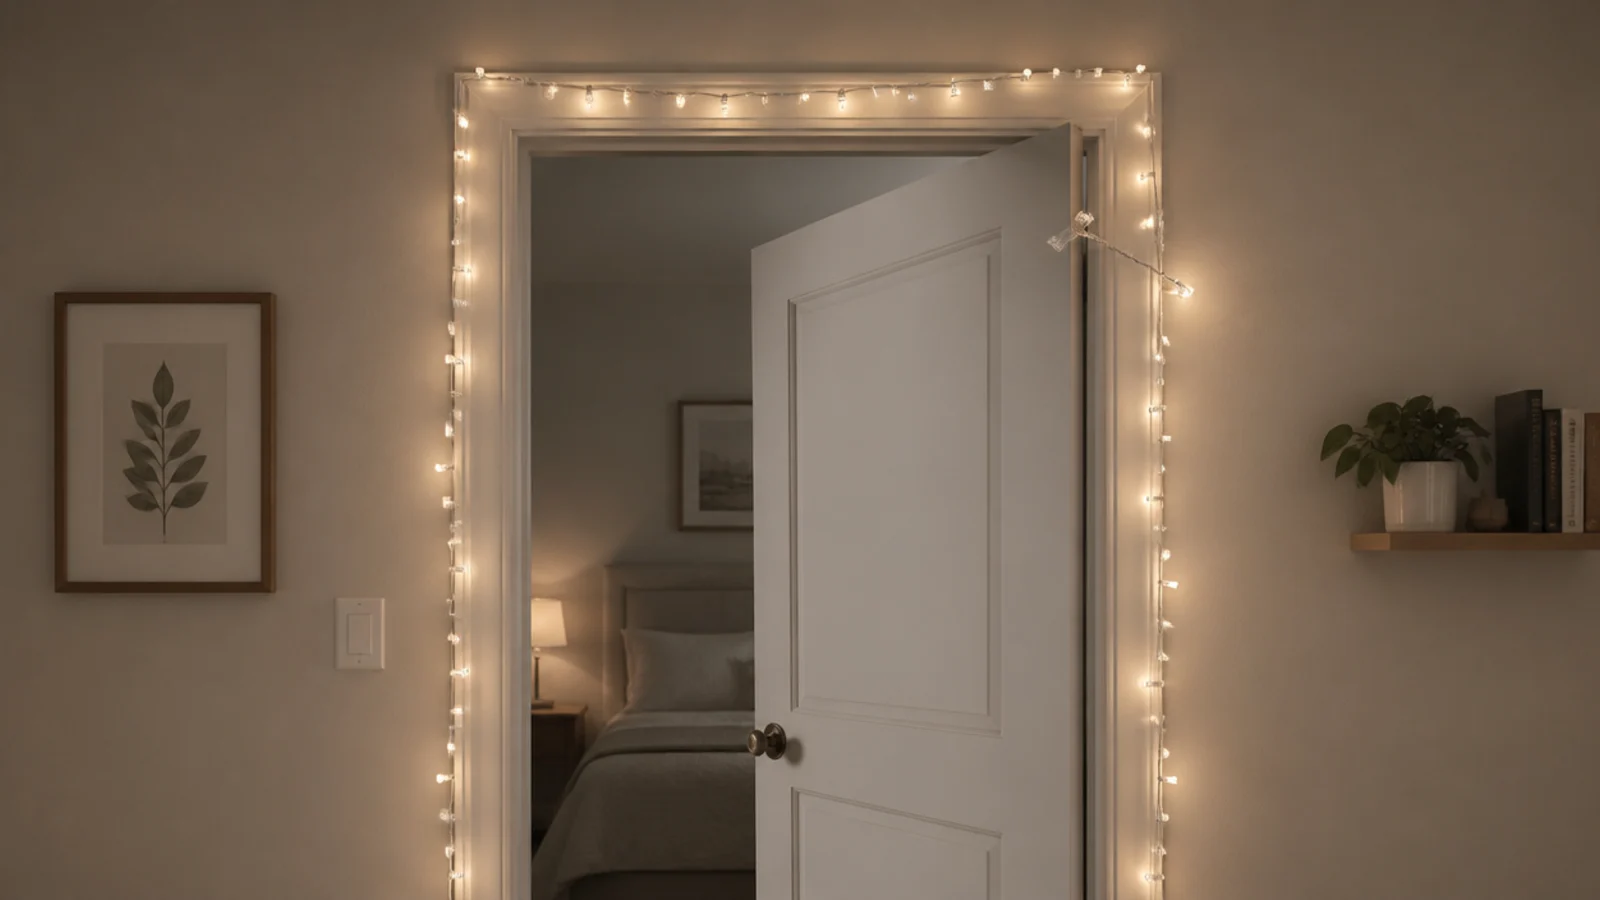
The door caught it on the first day and pushed a clip off the wall. Check the arc of every door and drawer before you fix anything, and keep runs at least 2 inches outside the sweep. It is the most obvious mistake here and I still made it.
20. I pulled the clips straight off the wall
The strand was still hanging in them and I tugged outward. Two clips took paint with them. The right way is to remove the strand first, warm each clip with a hairdryer for about 20 seconds, then stretch the tab slowly straight down the wall.
What I'd Do Differently Now
I would buy once and buy properly. Two 33 foot warm white LED strands at 2200K, one pack of half-pound clips and a $5 timer covers almost every layout in a normal bedroom, and it costs under $35. Every set I have regretted was bought for a feature — a remote, colour changing, a shape — rather than for the light itself.
I would treat the cable as the fragile part. No pins, no staples, no ties pulled tight, no route under a rug, no pack buried in fabric, and never more sets chained than the tag allows. Every strand I have killed died at the cable, never at a bulb.
I would give the adhesive its hour. That single habit would have saved me about a dozen clips and one patch of a rented wall, and it costs nothing but doing something else for sixty minutes.
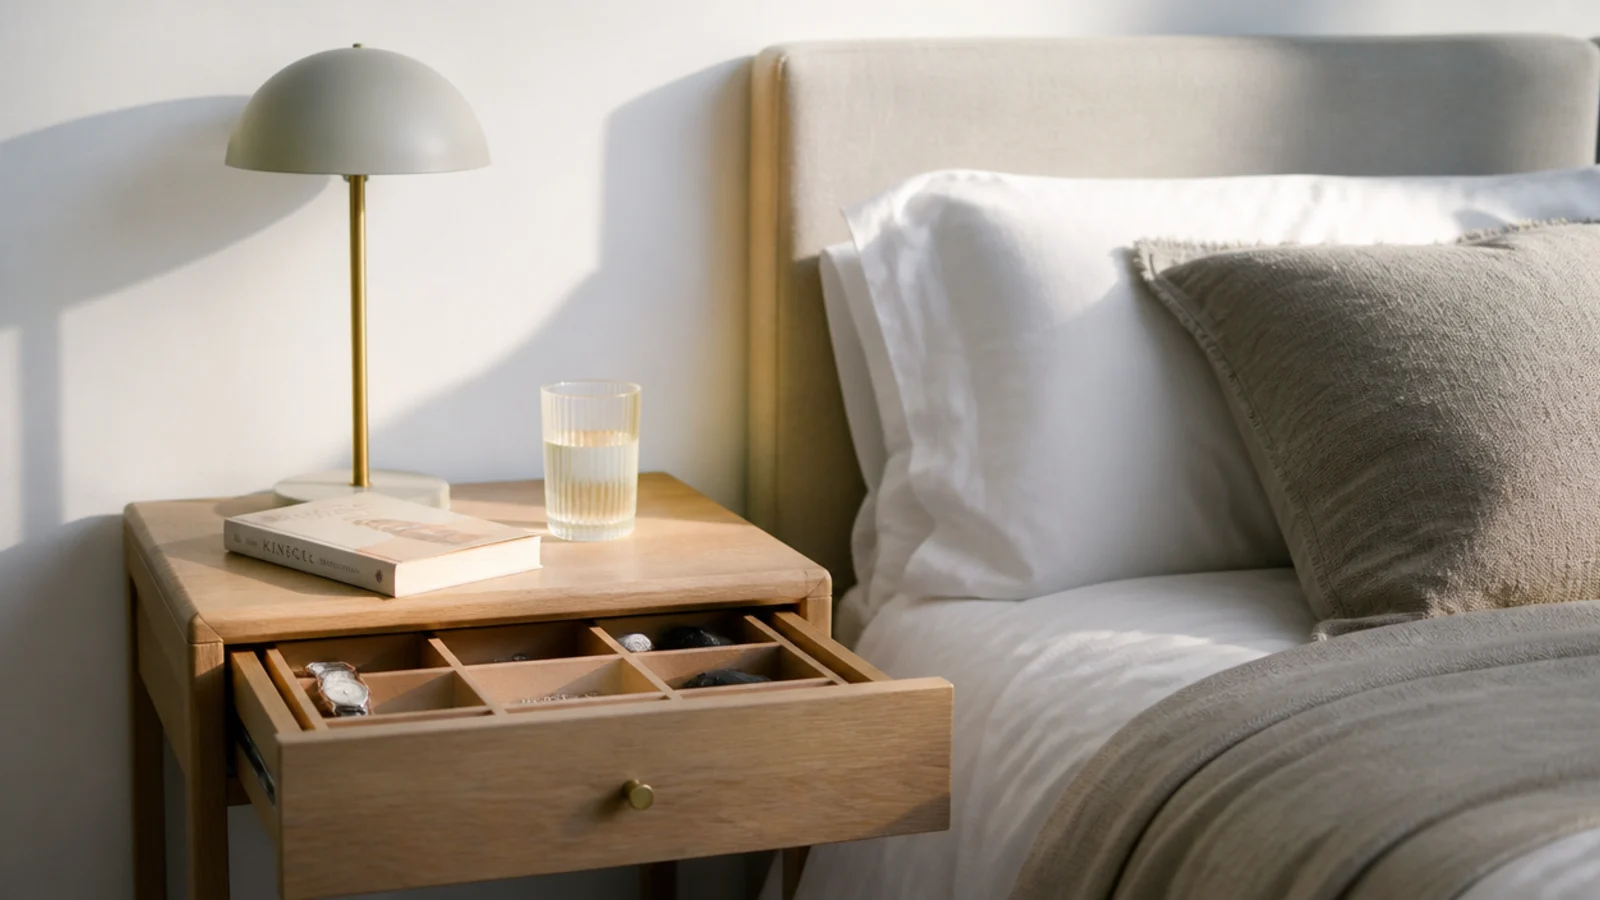
And I would judge every layout from the bed at eleven at night rather than from the doorway in the afternoon. Half of these mistakes were invisible from where I was standing when I made them. For the whole method written out properly, the wall styling steps cover layout and spacing, DIY headboard ideas has the slat build that hides a strand completely, and bedside table ideas covers the surface heights and cable routing underneath it all.
Frequently asked questions
What is the most common fairy light hanging mistake?
Loading an adhesive clip straight after sticking it. The pad needs 30 seconds of firm pressure and a full hour before it carries anything, and almost every clip I have lost came down within a day of being rushed. Weight is not the issue, since a 33 foot strand weighs about 3.5 ounces.
Why did my fairy lights stop working halfway along?
Usually a pierced or pinched cable. A drawing pin, a staple or a tie pulled hard against a fine copper wire damages the conductor, and the fault appears weeks later as a dead section. Sealed copper wire strands cannot be repaired, so clip around the sheath and never through it.
Can you run a fairy light cable under a rug?
No. The cable is abraded by every footstep, the run has nowhere to shed heat, and you cannot see damage developing under there. Route the lead along the wall face or the skirting instead, clipped every 12 inches, or use a battery set and remove the cable question entirely.
How many strands can I plug into each other?
Only as many as the tag on the lead states. Three end to end is common for incandescent sets and LED sets often allow far more, but the printed number is a current limit for the first plug in the chain. If a corner is out of reach, run a second strand on its own plug instead.
What colour temperature did you settle on in the end?
Between 2000K and 2200K everywhere, with lamps at 2700K. I bought a 4000K set twice because the box said warm white, and both times the bedroom read like a hallway after dark. The Kelvin figure on the box is the only reliable guide, because the wording is not regulated in any useful way.
Want more like this? Browse all 15 fairy lights bedroom guides — they all use the same measurements and budget tiers.
Pin it for later
Save this to your Fairy Lights Bedroom board
Pin it now so it is waiting for you when the tape measure comes out — and so the next person hunting for this idea can find it too.
Save this pinKeep going
More ideas worth saving while you have the tape measure out.