Bedside Table Ideas · How-To
15 Steps To Fix Bedside Table Organization Ideas

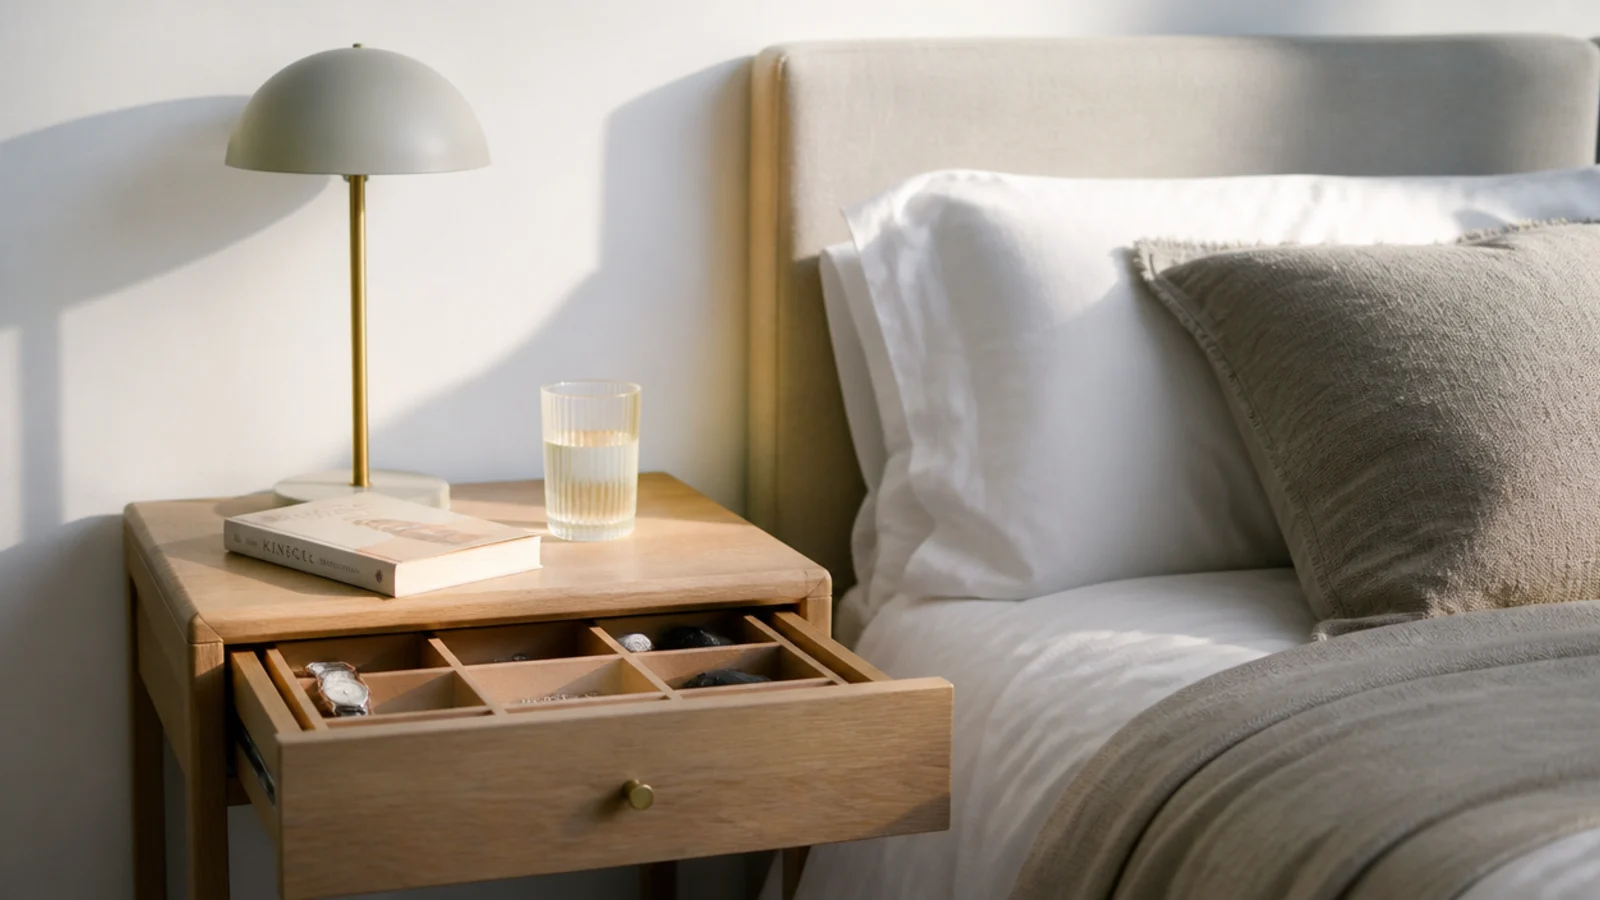
Most bedside table organization ideas start with buying an organiser, which is the wrong end of the problem — you cannot divide a space until you know what has to go in it. This is a fifteen-step process that begins with a week of evidence and ends with a nightly routine short enough to actually happen. It works on a single drawer or on a pair of cabinets, and the only real cost is a set of dividers. Two of the steps are habits rather than actions, and they are the reason the fix lasts past the first fortnight.
In this guide18 sections — tap to openHide
- 1.What You'll Need To Fix Bedside Table Organization Ideas
- 2.Step 1: Tally what you reach for over seven nights
- 3.Step 2: Rank by frequency, not by category
- 4.Step 3: Set a hard object limit for the top
- 5.Step 4: Measure the drawer interior before buying inserts
- 6.Step 5: Divide the drawer into fixed zones
- 7.Step 6: File small items on edge rather than stacking
- 8.Step 7: Give medication one lidded box
- 9.Step 8: Move charging inside the drawer
- 10.Step 9: Cap the book stack at two
- 11.Step 10: Add a catch dish for pocket contents
- 12.Step 11: Put a small waste bag at the back
- 13.Step 12: Keep a landing box for what lives elsewhere
- 14.Step 13: Label inside the drawer, not the front
- 15.Step 14: Split a shared table by owner
- 16.Step 15: Run a ninety-second close-down
- 17.Pro Styling Rules
- 18.Mistakes to Skip
What You'll Need To Fix Bedside Table Organization Ideas
Very little, and the measuring matters more than the buying.
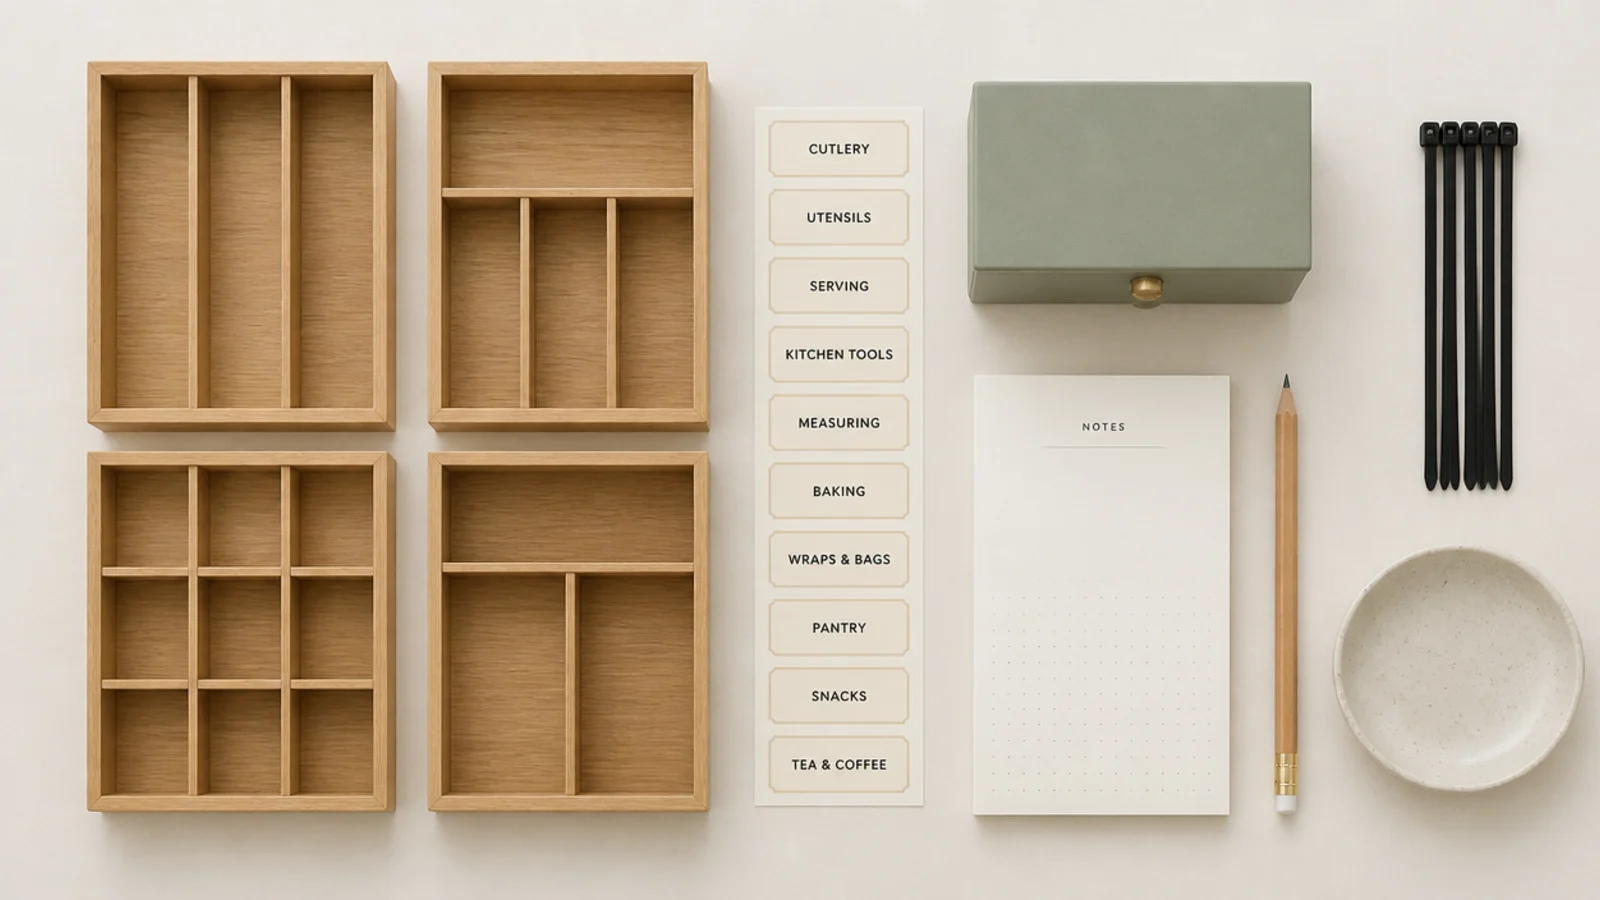
- A notepad and pencil that live on the table for seven nights. This is the whole diagnostic.
- A tape measure, because drawer inserts are sold on external dimensions and drawers are not.
- Drawer dividers, cut to size. Timber battens, adjustable spring dividers or foam board all work; expect 8 to 25 dollars.
- One small lidded box, roughly 5 by 3 inches, for medication.
- A shallow catch dish with steep sides for pocket contents.
- A small clip-on fabric pouch or bag for tissues and wrappers.
- Adhesive labels or masking tape and a marker.
- A short charging cable, 30 to 50cm, so it can live inside the drawer without coiling.
- A shallow box to act as a landing point for items that belong in other rooms.
Total spend is usually 15 to 40 dollars, and about half of it is optional if you cut your own dividers. If the surface is genuinely too small for anything to work, the tight-room layouts come first.
Step 1: Tally what you reach for over seven nights
Put a notepad on the table and mark a stroke every time you use something. Seven nights, no editing. You will discover that the hand cream gets used nightly and the two books, the spare charger and the framed photo get used never. Organising from memory produces a system built around what you think you use; organising from a tally produces one built around what you actually reach for in the dark.

Step 2: Rank by frequency, not by category
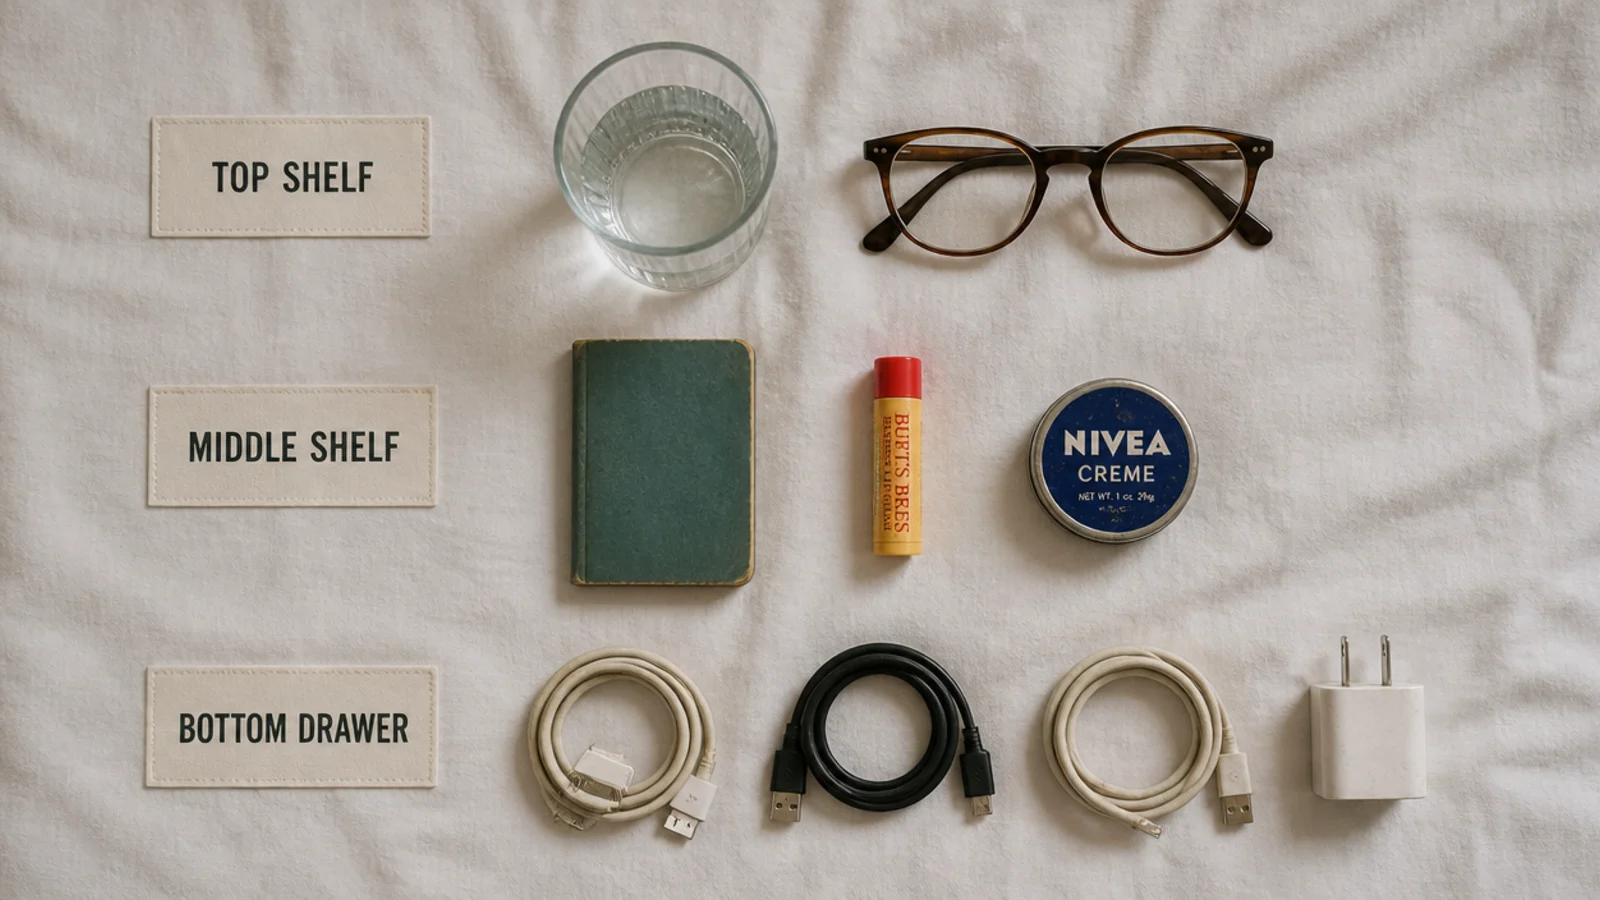
Standard advice groups by type — all the cables together, all the toiletries together. Frequency works better beside a bed, because reach distance is the constraint. Nightly items go on the surface or in the front third of the drawer. Weekly items go in the back of the drawer. Anything with no tally marks after seven nights leaves the bedroom entirely, rather than moving to another surface in the same room.
Step 3: Set a hard object limit for the top
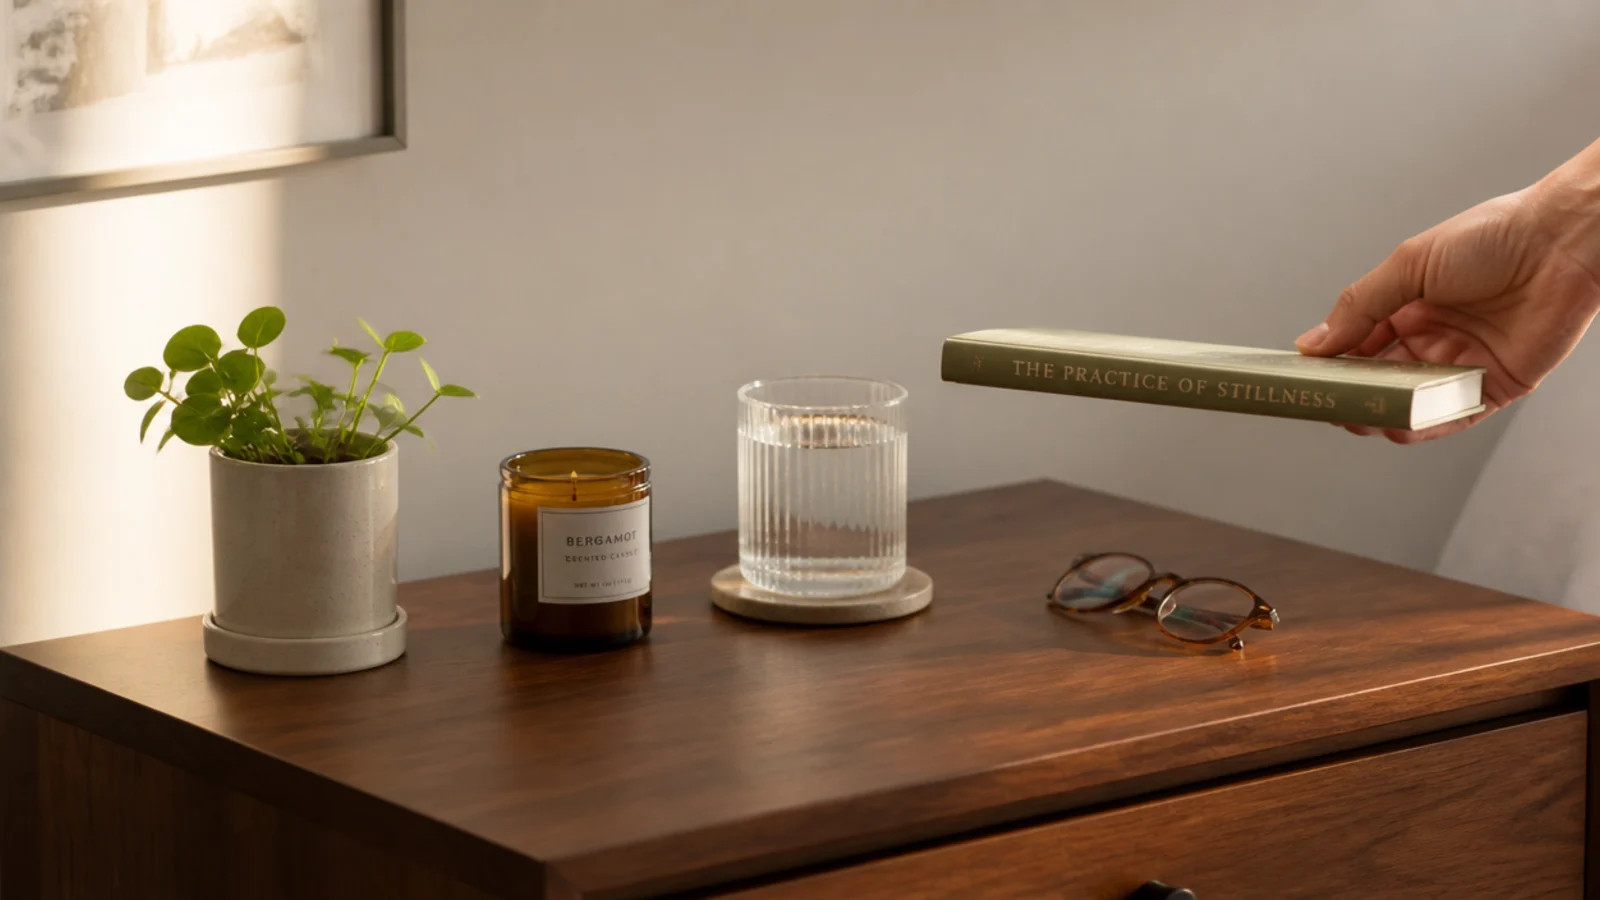
Pick a number and hold to it: four on a 16-inch top, five or six on a wide cabinet. A number is enforceable in a way that "keep it tidy" is not, and it turns every new arrival into a straight swap. Count the lamp in the total. Most surfaces that feel cluttered are running at eight or nine items, and dropping to four is a visible change from the doorway.
Step 4: Measure the drawer interior before buying inserts
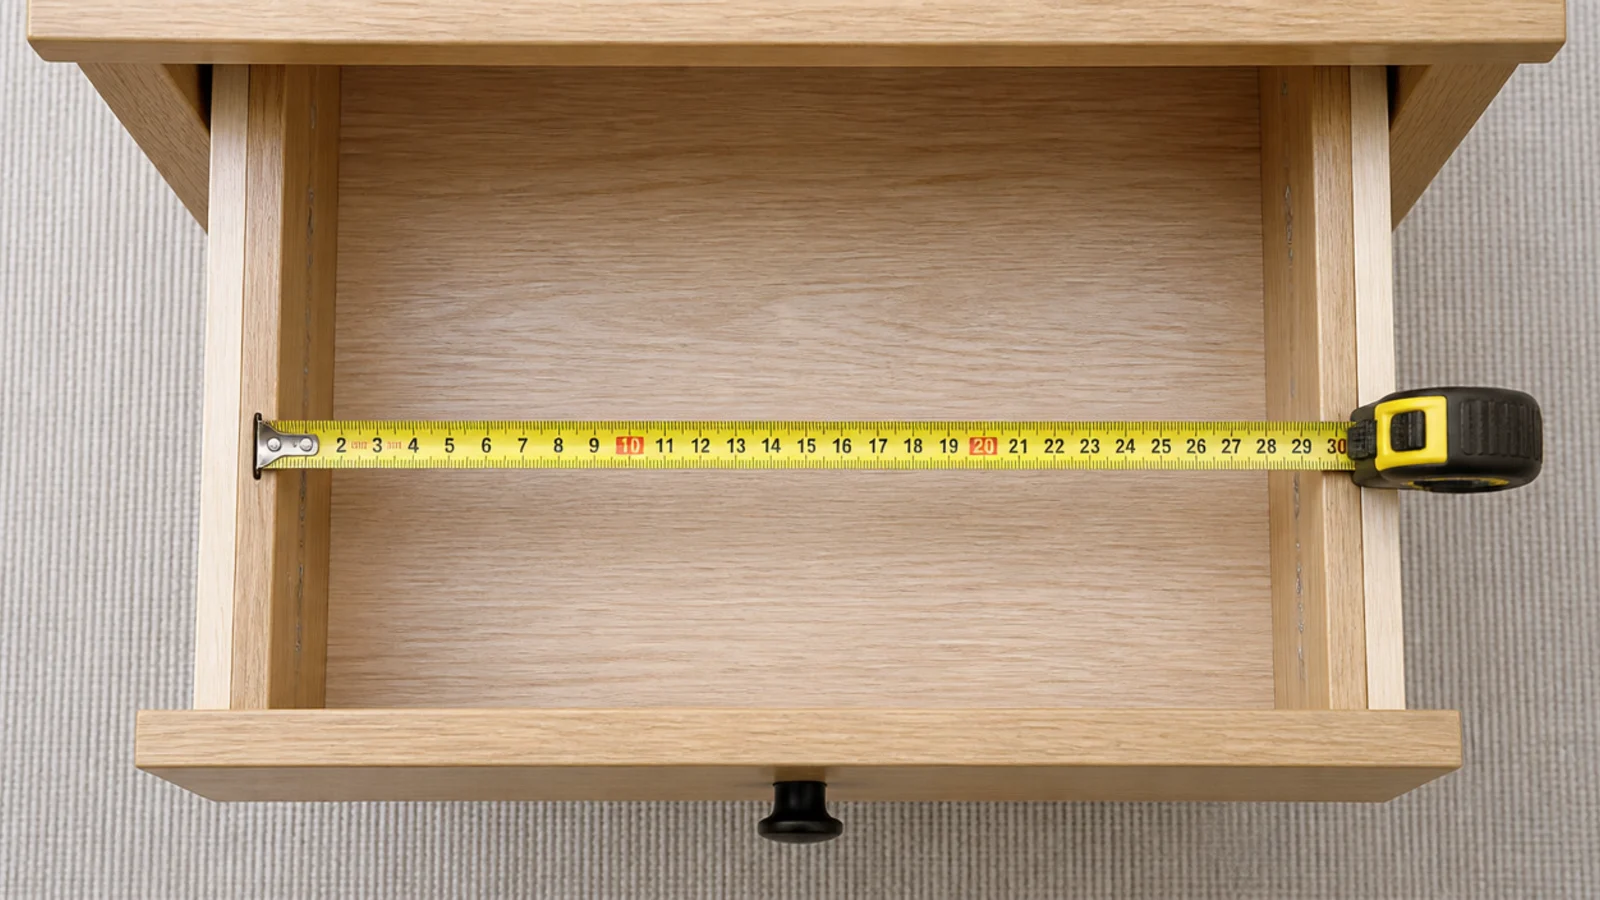
The usable width inside a drawer is typically 30 to 40mm less than the cabinet width once you allow for the drawer sides and the runners, and the usable depth is often 20mm less than it looks because of the back panel. Measure inside the box, write down width, depth and internal height, and shop to those three numbers. This is the single reason most bought organisers end up rattling around or not fitting at all.
Step 5: Divide the drawer into fixed zones
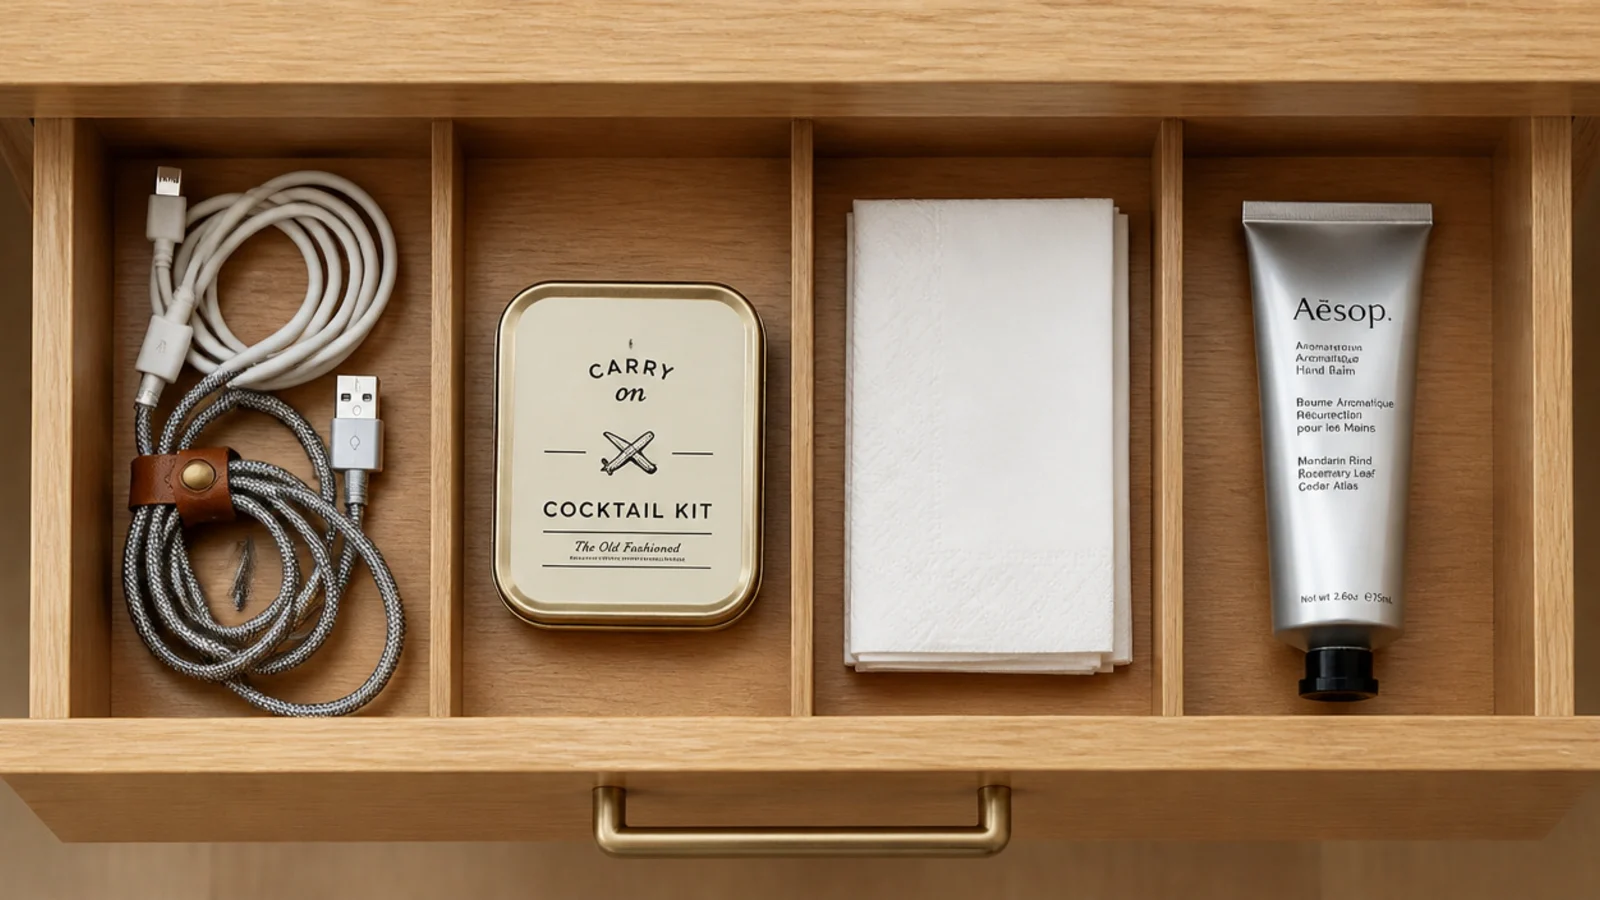
Four zones is usually right for a standard bedside drawer: cables and charging, personal care, medication, and one deliberately empty. Fixed dividers beat loose trays because loose trays slide and merge every time the drawer is opened. Cut 6mm plywood or 20mm timber battens to the internal width and glue them in, or use spring-loaded dividers if you rent and want it reversible.
Step 6: File small items on edge rather than stacking
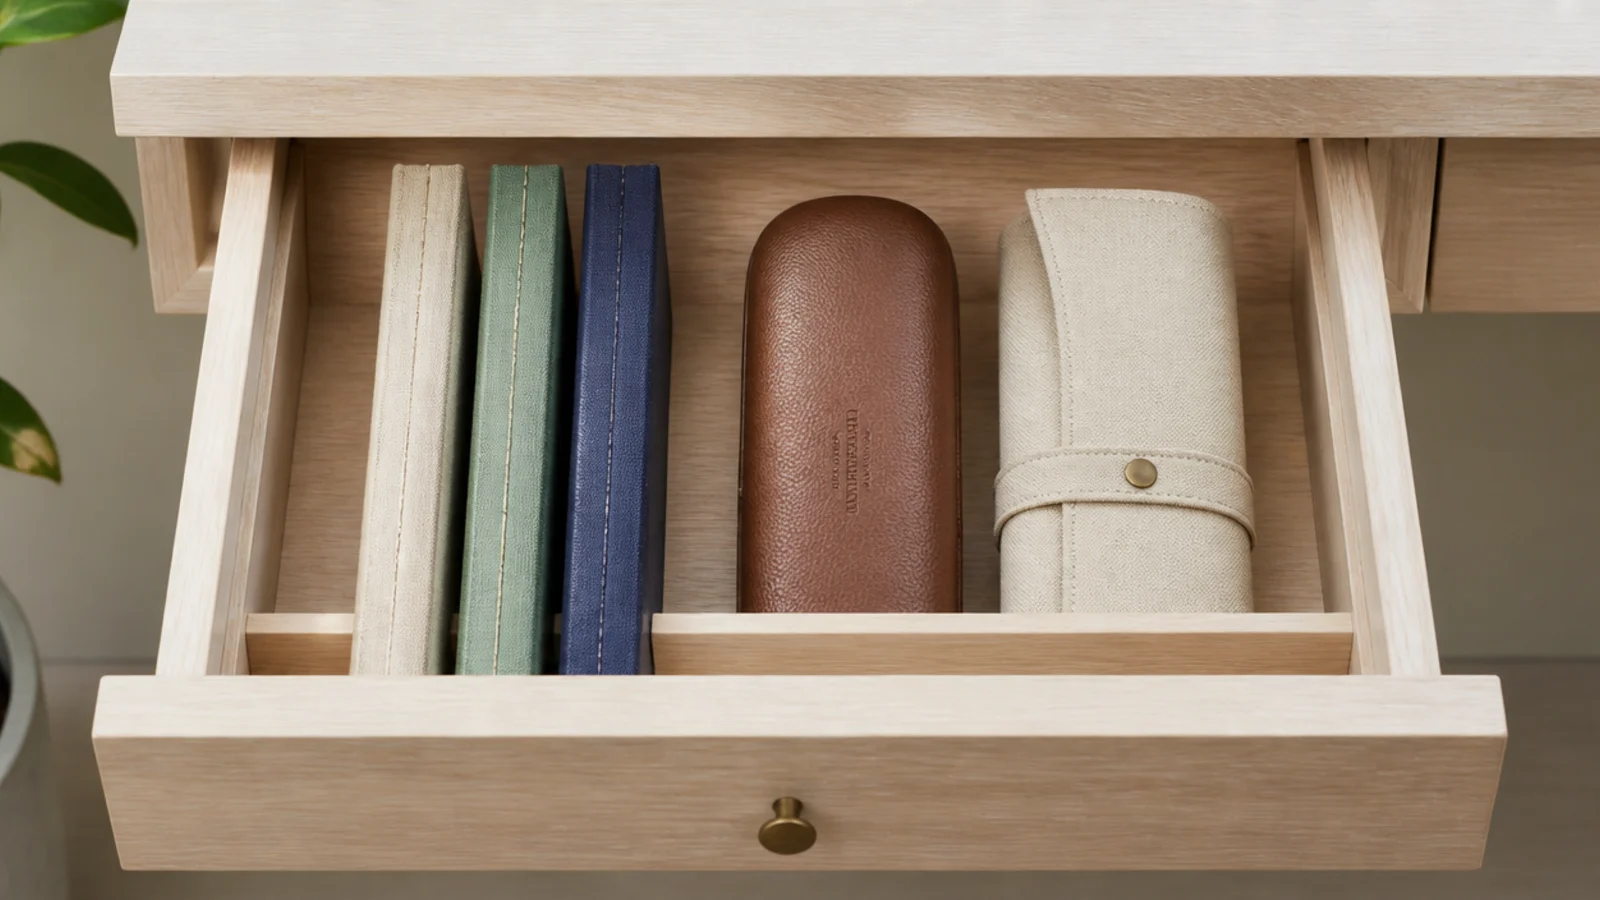
Stacking hides things: the item at the bottom is invisible and therefore unused. Standing notebooks, cases, packets and pouches vertically on their edges — the way files sit in a drawer — means everything is visible at once and nothing has to be lifted to find anything. A shallow drawer of 4 to 5 inches is deep enough to file most bedside items upright.
Step 7: Give medication one lidded box
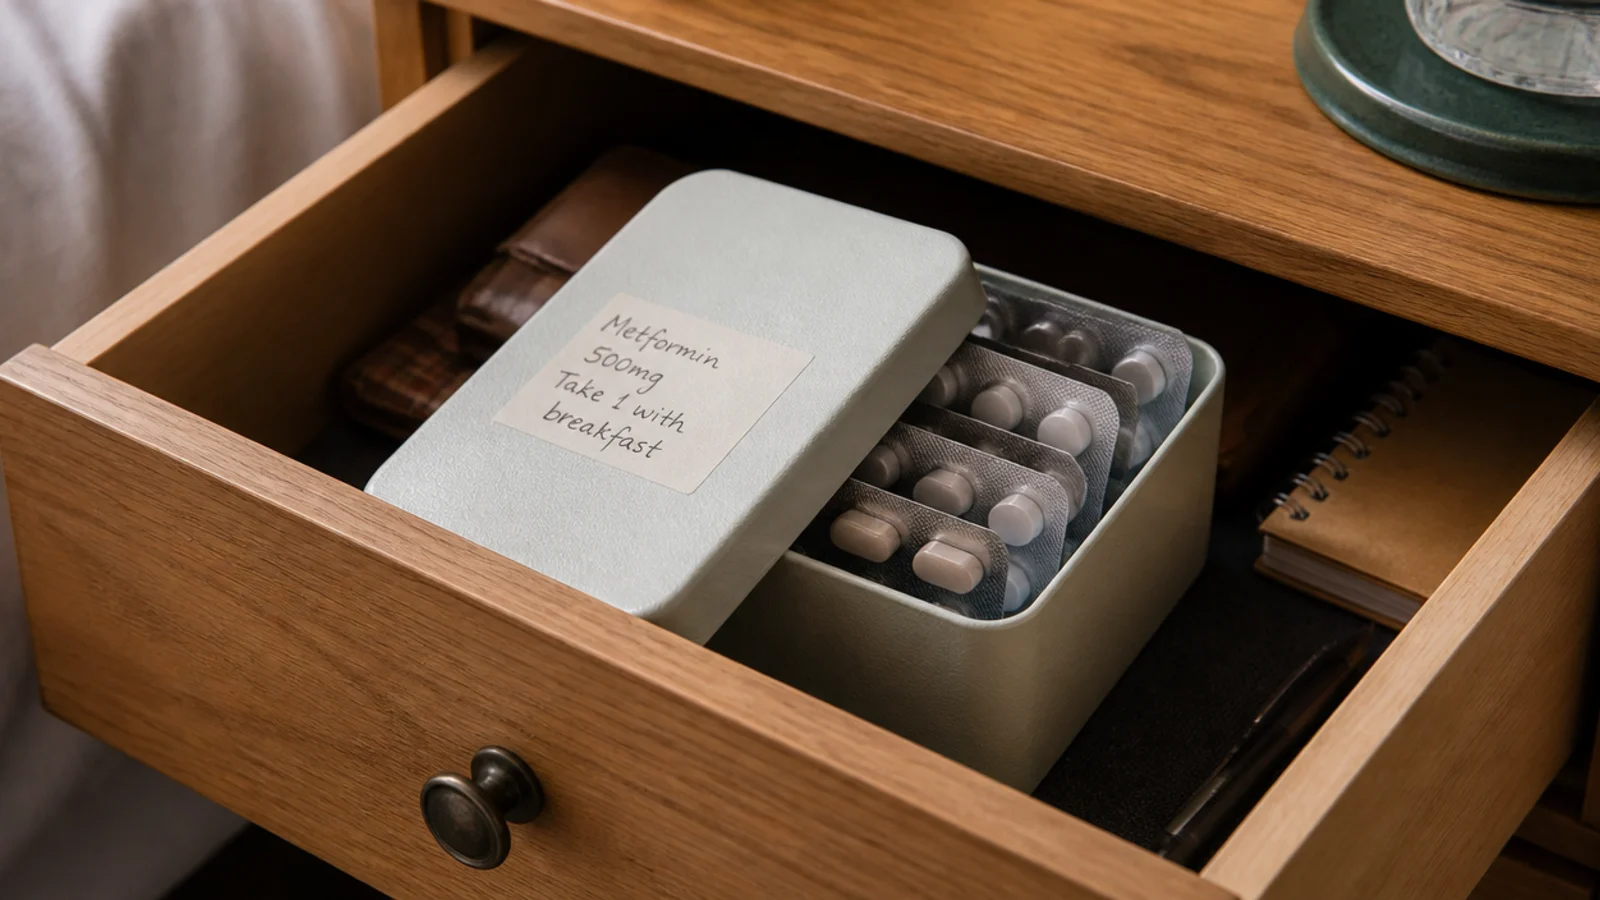
Everything medical goes in a single labelled box with a lid, so nothing is picked up by mistake at 3am and nothing migrates loose around the drawer. Write the contents on the outside. If there are children in the house, be clear with yourself that a bedside drawer is not secure storage — anything prescription or potentially harmful belongs in a high or locked cupboard, and only the empty routine items stay by the bed.
Step 8: Move charging inside the drawer
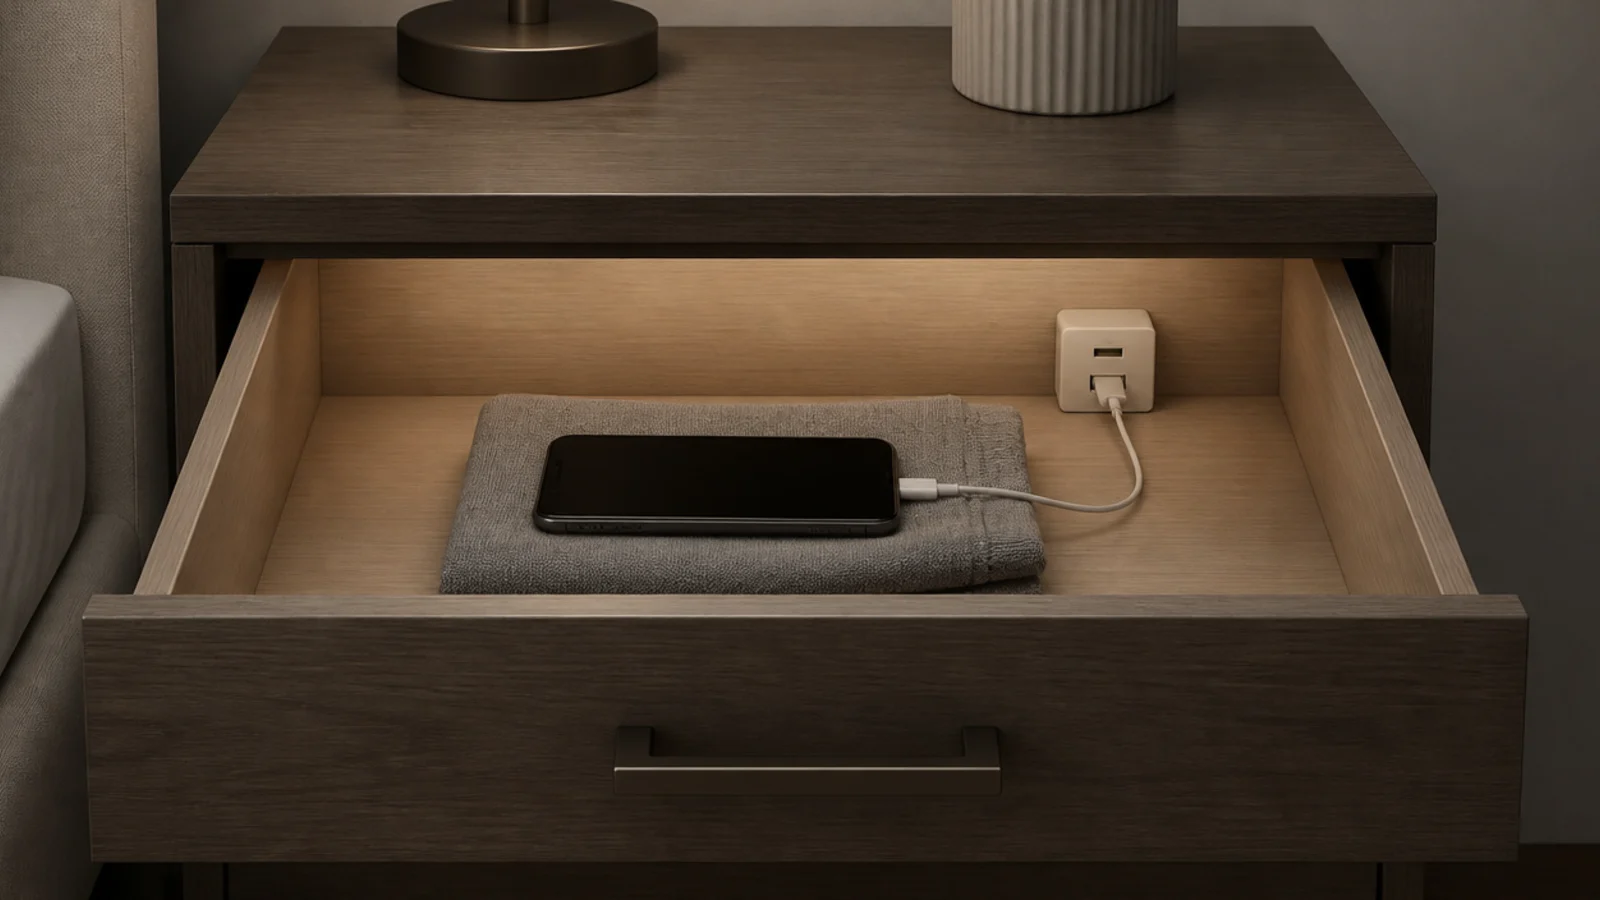
A charging brick on the surface, a cable draped over the edge and a phone face-up is three of your object limit gone. Put a short 30 to 50cm cable and the plug block inside the drawer, feed it through a notch cut in the back panel, and lay the phone on a folded cloth. It also removes the screen glow from the room. Do not bury a charging phone under bedding or paper, since the battery needs air.
Step 9: Cap the book stack at two
The book pile is the most common single cause of bedside overflow, because it grows by aspiration rather than by use. Two is the working limit: the one you are reading and the one you are reading next. Everything else goes back to a shelf. A stack of six beside the bed is storage, and it is storage in the least convenient place in the house.

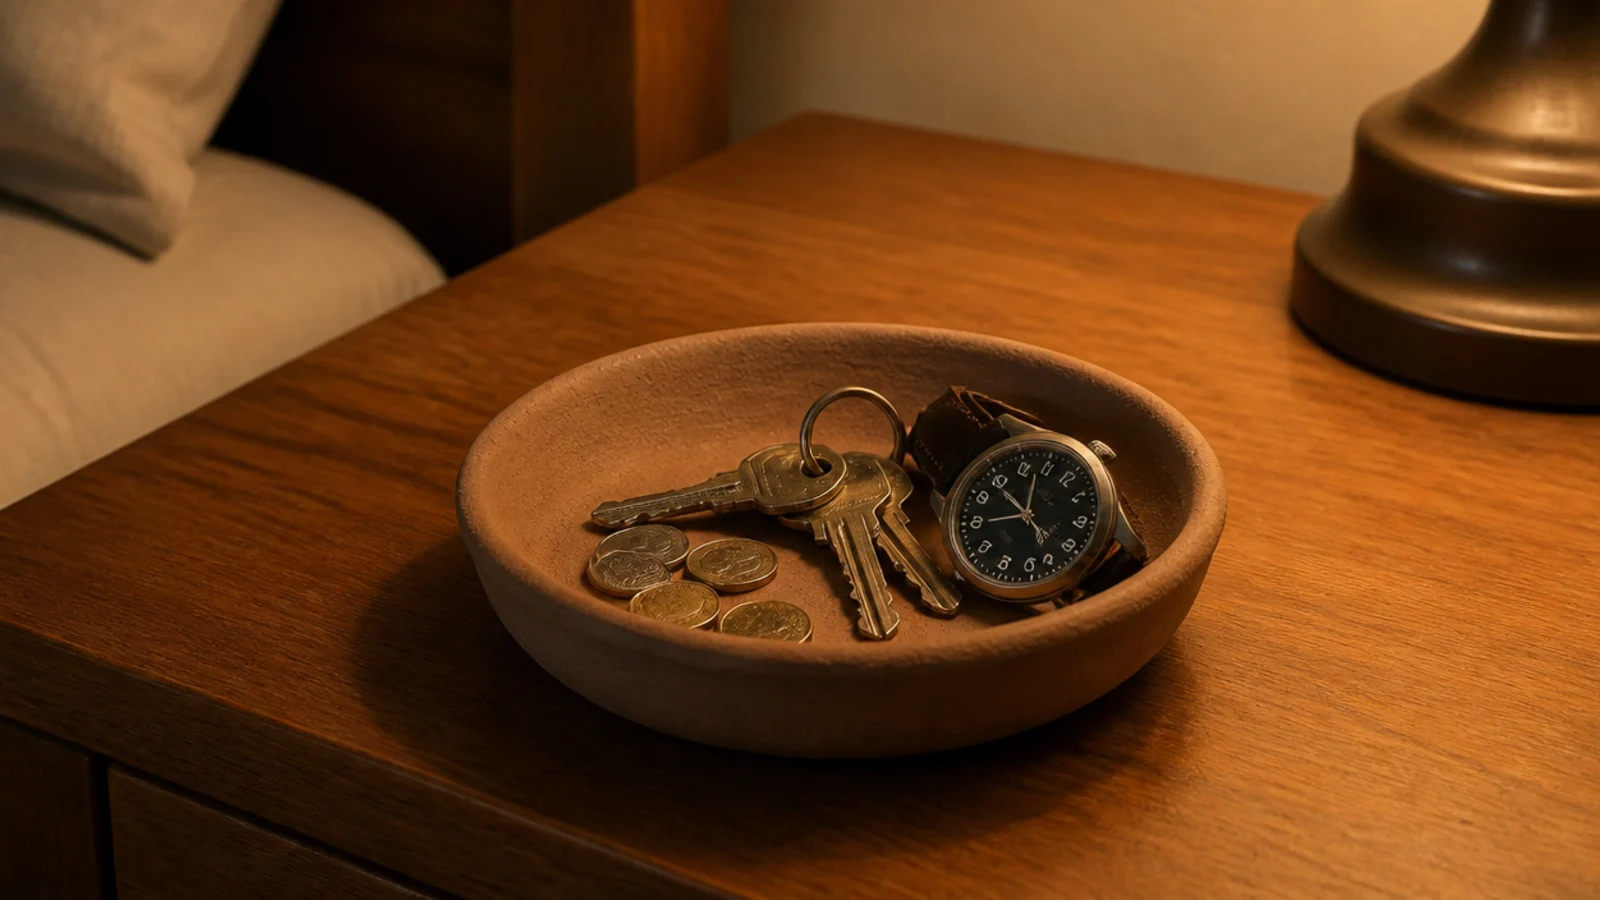
Step 10: Add a catch dish for pocket contents
Coins, keys, a watch, a hair tie and a receipt are what turn a styled surface into a tray of debris within three days. One shallow dish with steep sides, 6 to 8 inches across, gives all of it a single destination. Steep sides matter — a flat dish lets things creep out. Empty it once a week rather than letting it become a second junk drawer.
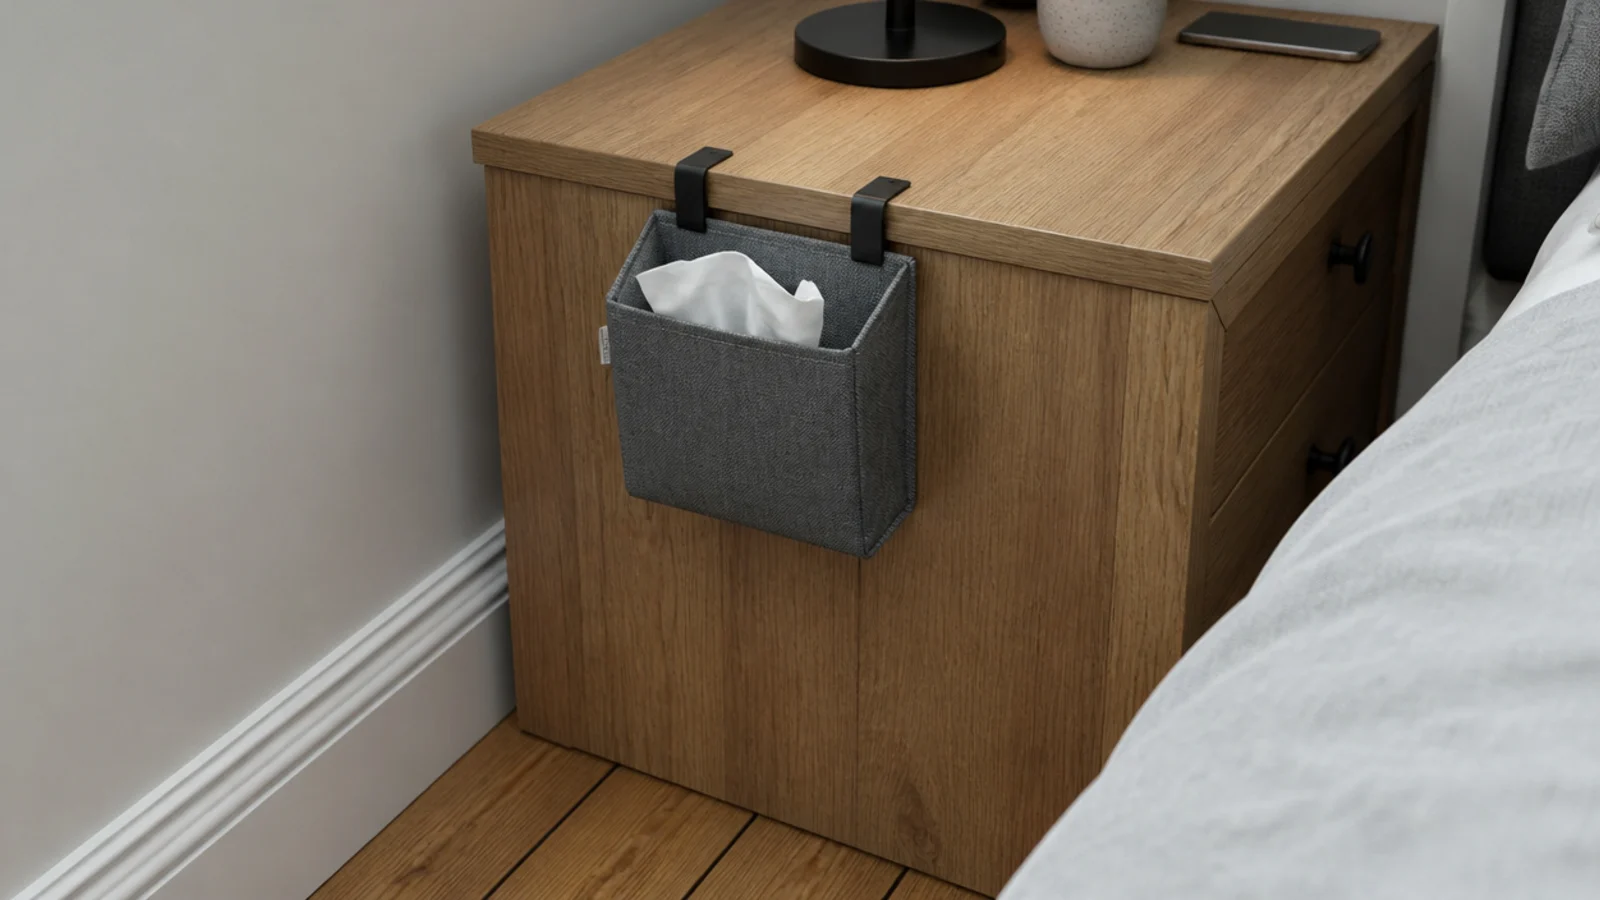
Step 11: Put a small waste bag at the back
Tissues, wrappers, blister packs and earplug packets end up on the floor because there is nowhere for them to go. A small fabric pouch clipped to the back edge of the cabinet, or a slim bin tucked behind it, catches all of it out of sight. Empty it when you change the sheets so it never becomes something you notice.
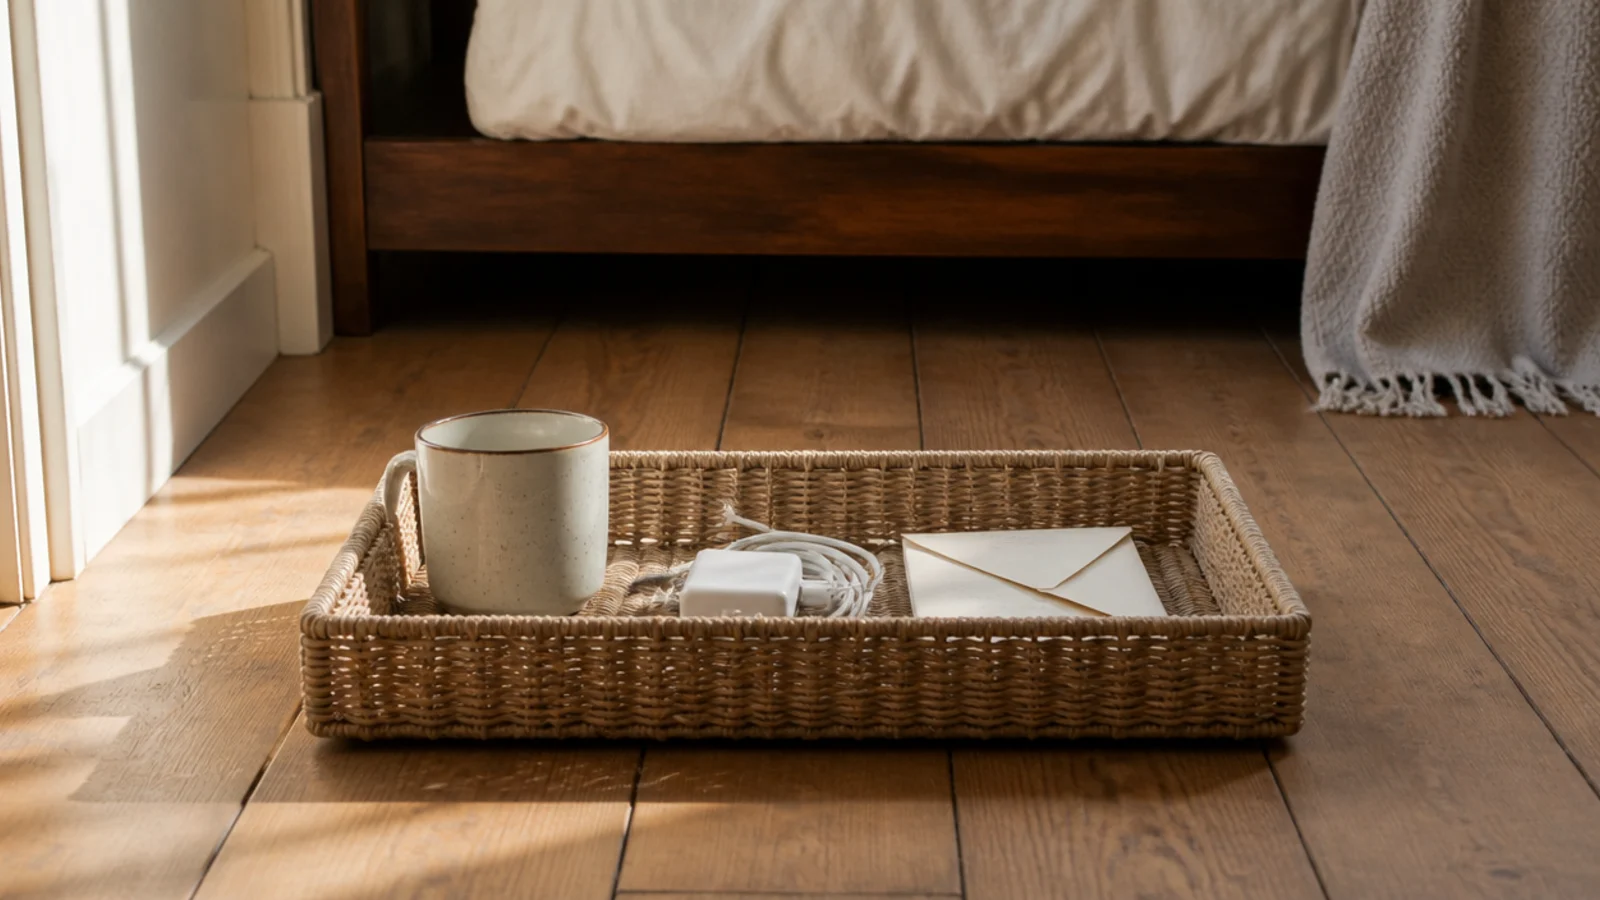
Step 12: Keep a landing box for what lives elsewhere
Mugs, chargers, post, a jumper — things arrive at a bedside from other rooms and stay because returning each one individually is too much effort. A shallow box on the floor beside the bed collects them, and it gets carried out once a day. The point is to make the removal one trip rather than six, because six trips do not happen.
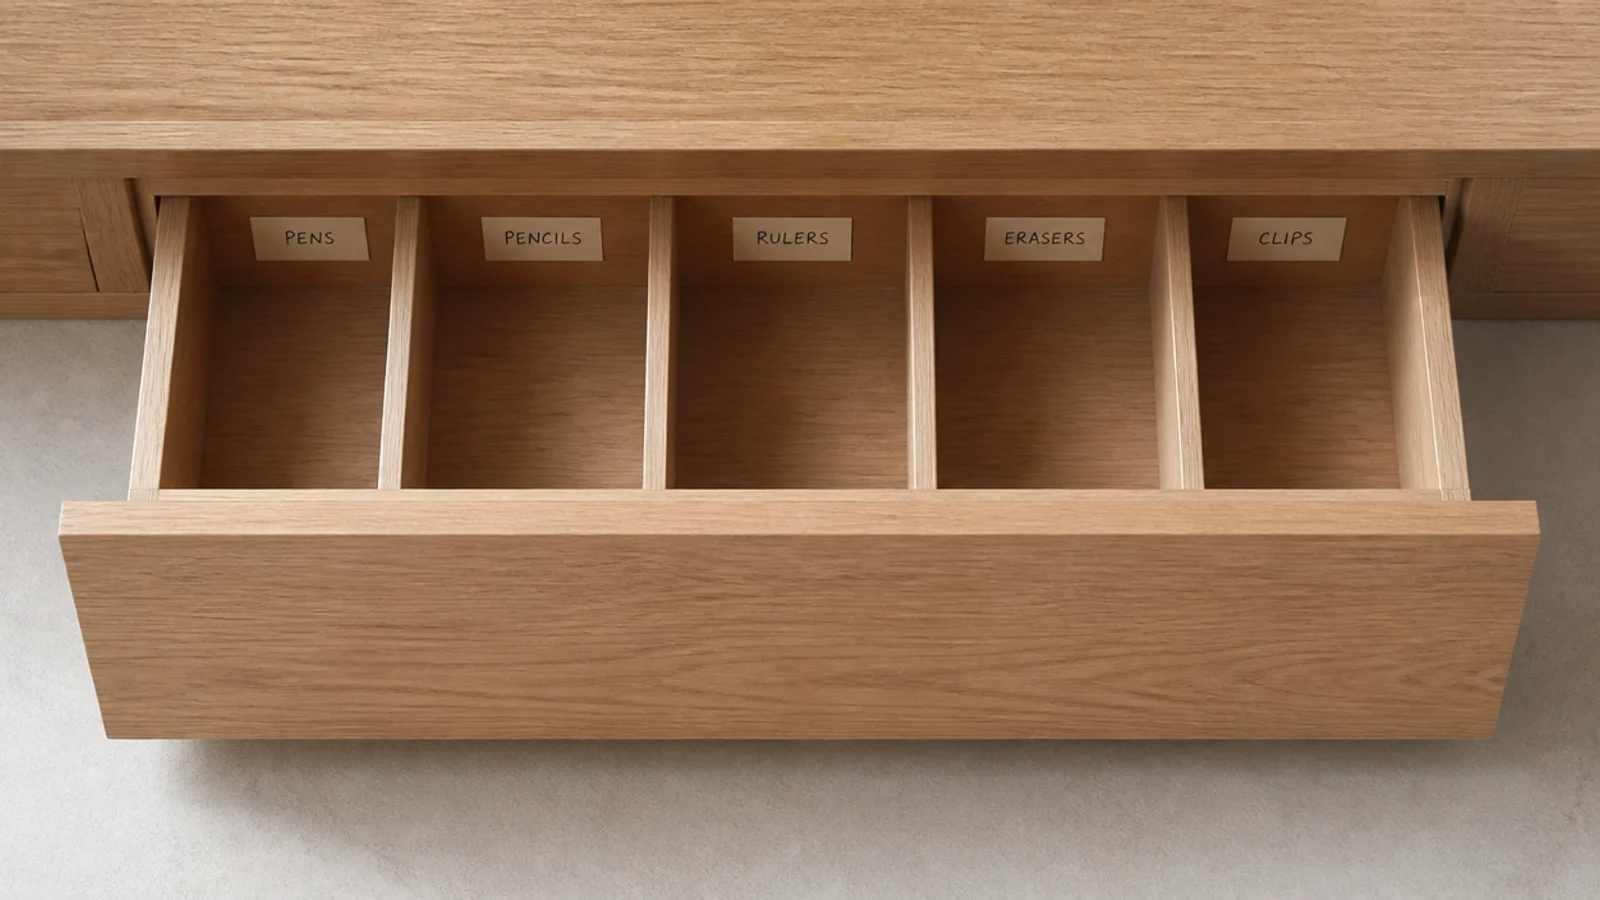
Step 13: Label inside the drawer, not the front
Labels on the outside of bedroom furniture look like a filing cabinet. Labels stuck to the inner faces of the dividers do the same job, are visible the moment the drawer opens, and are invisible the rest of the time. It matters most in a shared house or a guest room, where the system has to be legible to someone who did not build it.
Step 14: Split a shared table by owner
Shared systems fail because nobody owns them. If there are two tables, each person organises theirs entirely their own way and neither comments on the other. If there is one table between two people, run a single divider down the middle of the drawer and let each half be governed separately. Clear ownership fixes more clutter than any insert.
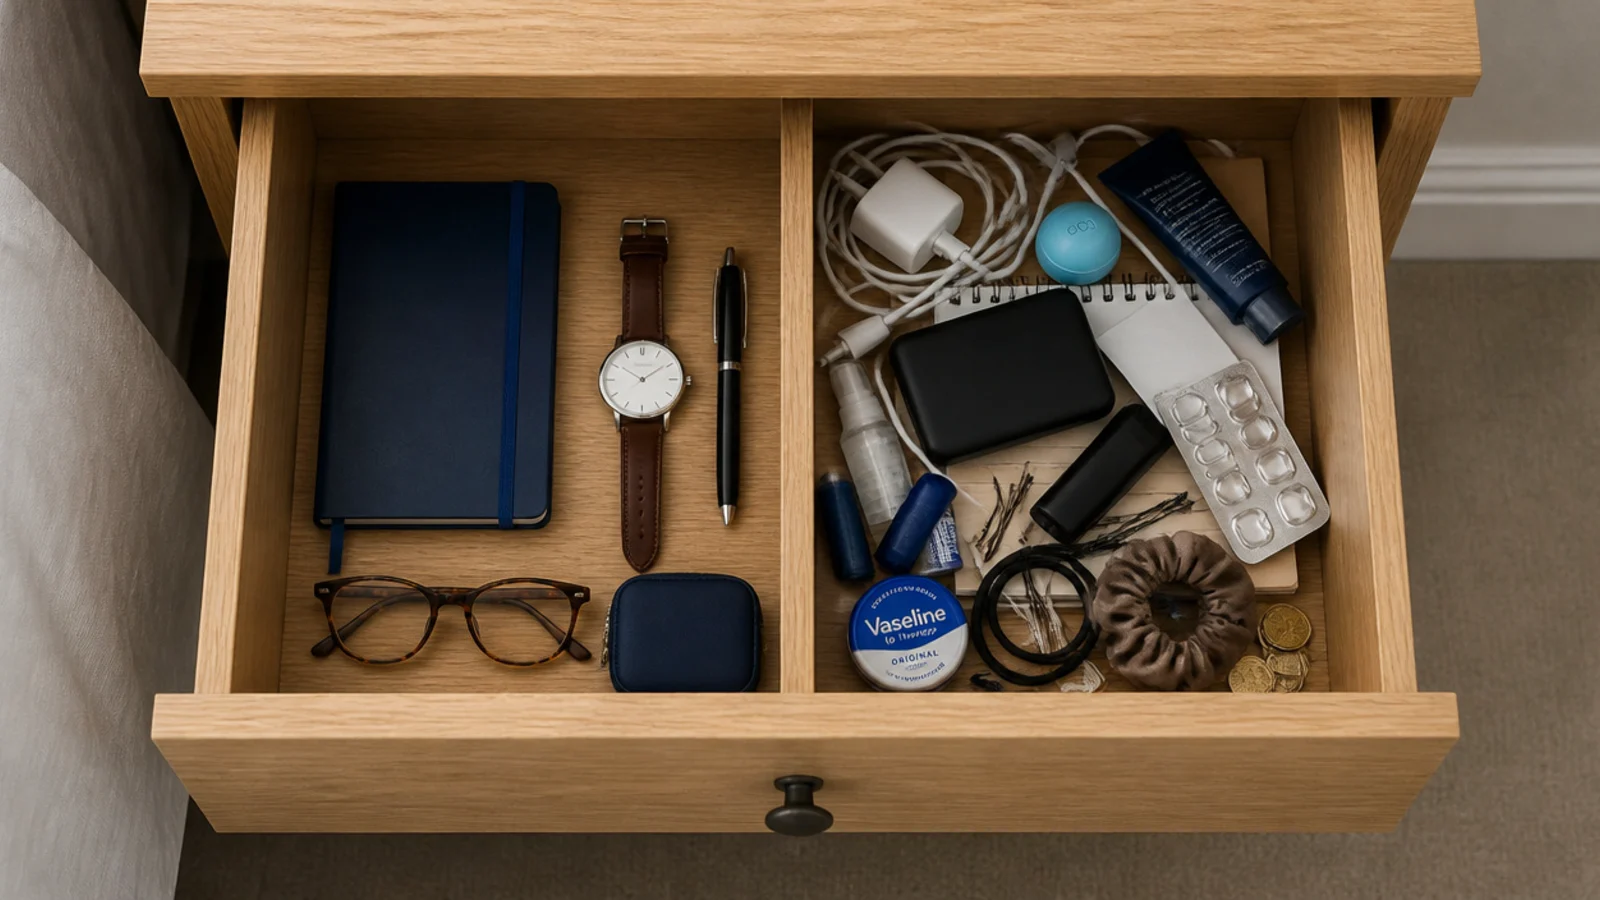
Step 15: Run a ninety-second close-down
Last thing at night, everything that is not on the object list goes back to its zone. Timed, it takes 60 to 90 seconds. That is the entire maintenance cost of the system, and it is what stops a fortnightly reorganisation from ever being needed again. Re-audit properly at thirty days: anything that has not moved in a month leaves the drawer.

Pro Styling Rules
Once the storage works, the surface arrangement is worth a second pass on a budget. The same frequency-ranking logic drives this small walk-in closet guide, and moving the light source to the wall with bedroom pendant lighting buys back the biggest single object on the top.
Mistakes to Skip
- Buying organisers before measuring. Drawer inserts are sized on external dimensions, and the inside of a drawer is 30 to 40mm narrower than the cabinet.
- Organising by category instead of frequency. Beside a bed, how often you reach for something matters far more than what type of thing it is.
- Filling every zone on day one. A drawer with no spare capacity pushes the overflow straight back onto the surface within a week.
- Leaving medication loose in a drawer. One labelled lidded box prevents the wrong thing being picked up in the dark, and children need a locked cupboard instead.
- Relying on a monthly tidy-up. Ninety seconds a night takes less total time than one hour-long reorganisation and it never lets the pile form.
Frequently asked questions
How do I organize a bedside table drawer?
Measure the internal opening first, then divide it into fixed zones with cut-to-size dividers so every item has one address. Internal width is usually 30 to 40mm narrower than the cabinet, which is why organisers bought on the outside dimension never fit. Leave one zone deliberately empty to absorb whatever arrives during the week.
What should actually live on a bedside table?
Only what you touch on a normal night: a light, a glass, whatever you are reading, and your glasses if you wear them. Everything used weekly rather than nightly belongs in the drawer, and anything you have not touched in a fortnight belongs somewhere else in the house entirely.
Where should I keep medication beside the bed?
In one lidded, labelled box rather than loose in the drawer, so nothing is taken by mistake in the dark. In a home with children, a bedside drawer is not secure storage at all — anything prescription or potentially harmful needs a high or locked cupboard, and only the box itself lives beside the bed.
How do I stop the bedside table filling up again?
Set a hard object limit for the top and run a ninety-second close-down each night. The limit gives you a rule to enforce, and the nightly reset means clutter never accumulates past one day. Keeping one drawer zone empty on purpose gives the overflow somewhere to go that is not the surface.
How should two people share a bedside setup?
Split by owner rather than by category. Each person takes one table and organises it entirely their own way, instead of one shared system where nobody is responsible. Where there is only one table between two people, divide the drawer down the middle and let each half be governed separately.
Want more like this? Browse all 15 bedside table ideas guides — they all use the same measurements and budget tiers.

Pin it for later
Save this to your Bedside Table Ideas board
Pin it now so it is waiting for you when the tape measure comes out — and so the next person hunting for this idea can find it too.
Save this pinKeep going
More ideas worth saving while you have the tape measure out.