Corner Shelf Ideas · Listicle
25 Dreamy Corner Shelf Ideas for Any Home

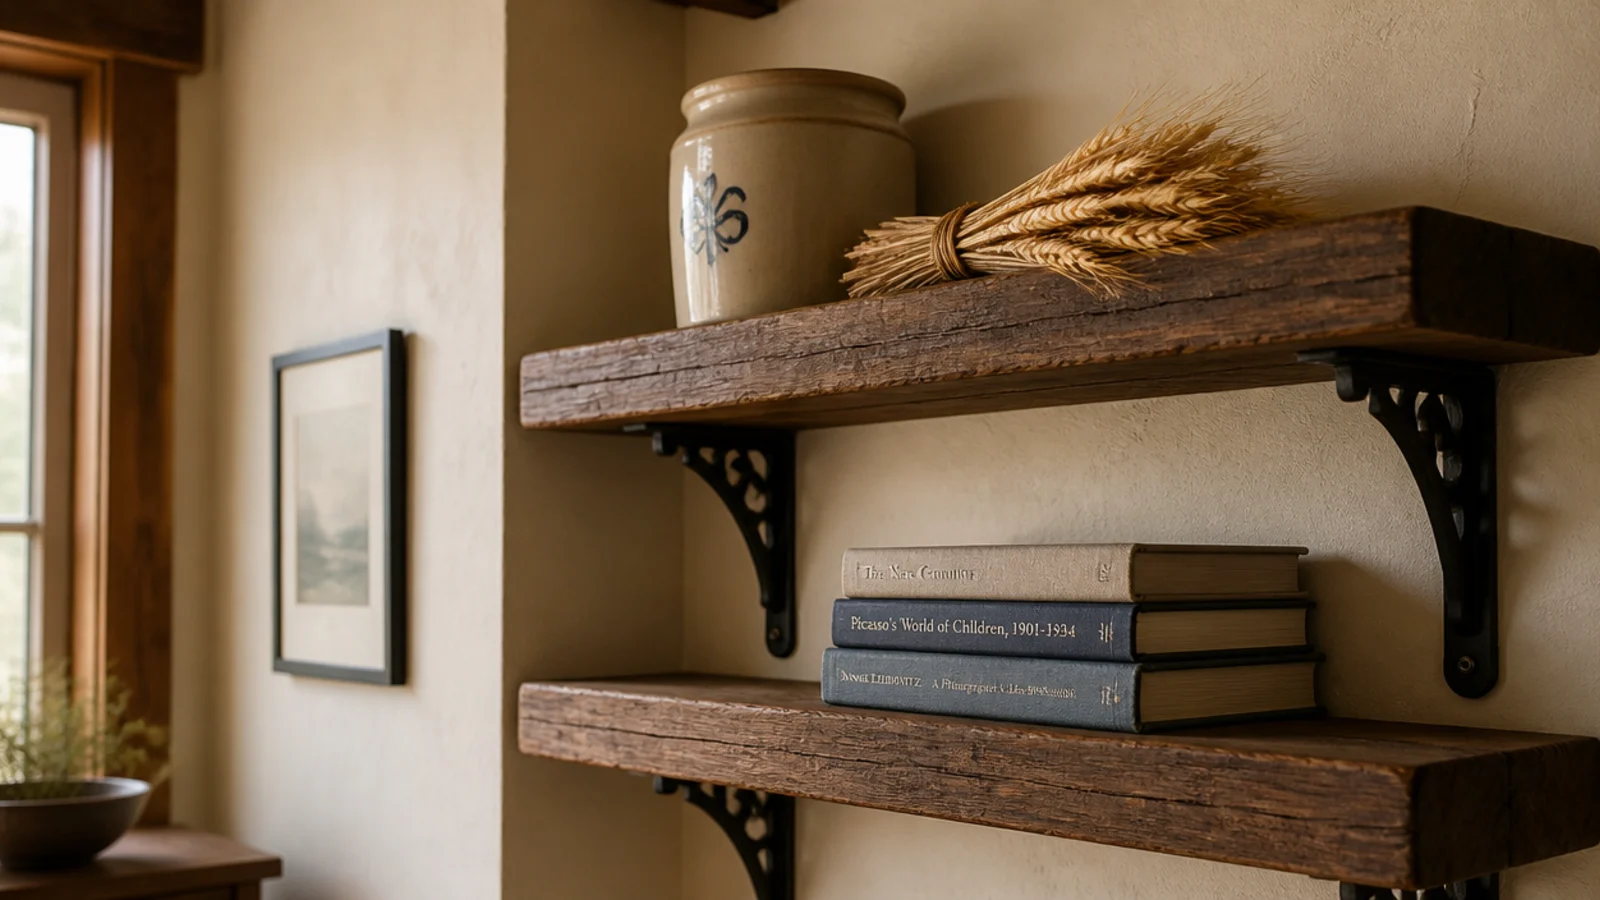
Rustic corner shelves go wrong in one specific way: the room ends up looking like a set. Genuine rustic reads as collected — a few honest materials among ordinary ones — and the fastest way to get there is one real reclaimed board rather than fifteen distressed accessories. These 25 ideas cover the boards, the brackets and the finishes, with what each costs and where to actually find it.
In this guide27 sections — tap to openHide
- 1.What makes rustic corner shelves look collected instead of costumed
- 2.A reclaimed barn board on iron brackets
- 3.A scaffold board on galvanised pipe
- 4.A rope-hung plank shelf
- 5.A live-edge slab on forged brackets
- 6.A wooden crate mounted as a cubby
- 7.An old ladder standing in the corner
- 8.A whitewashed board with the knots showing
- 9.Milk paint that wears at the edges
- 10.A salvaged panel as the shelf backing
- 11.Plain black cast iron brackets
- 12.Leather straps instead of brackets
- 13.A driftwood shelf in a coastal corner
- 14.A wine box turned on its side
- 15.Butcher block with one live edge left
- 16.Ebonized reclaimed oak
- 17.Carved wooden corbels under the board
- 18.Heat-treated pallet boards only
- 19.A log slice as a tiny corner shelf
- 20.An old shutter as a shelf back
- 21.A galvanised pipe corner frame
- 22.A bread board leaning at the back
- 23.Enamelware grouped in one color
- 24.Dried herbs hanging beneath the shelf
- 25.A crock and pitcher as the anchor pair
- 26.A single reclaimed beam as one deep shelf
- 27.Mistakes to Skip
What makes rustic corner shelves look collected instead of costumed
Three things separate the real thing from the theme.
Real wear is uneven. A genuinely old board is worn at the edges, around old fixings and wherever hands went, and untouched everywhere else. Machine-distressed new wood has marks distributed evenly across the whole face, which is exactly what nothing in life does. If you are ageing new wood, wear only the front edge and the corners.
Mass matters. Part of what reads as rustic is visible thickness. An inch and a half or more, which is why scaffold boards, barn boards and beams suit the look. A thin distressed board reads as flimsy rather than characterful.
One strongly rustic material per room. A single reclaimed board against clean plaster is a considered contrast. The same board plus a barrel table, a wagon wheel and three distressed frames is a costume. Rustic works hardest when it is outnumbered.
Sourcing, honestly: scaffold boards from scaffolding suppliers ($10–$20 each) are the most reliable. Architectural salvage yards, demolition sales and Marketplace are next. Check every board with a magnet for hidden fasteners before cutting, and be cautious with any painted wood older than 1978 unless you can confirm it is lead-free.
1. A reclaimed barn board on iron brackets
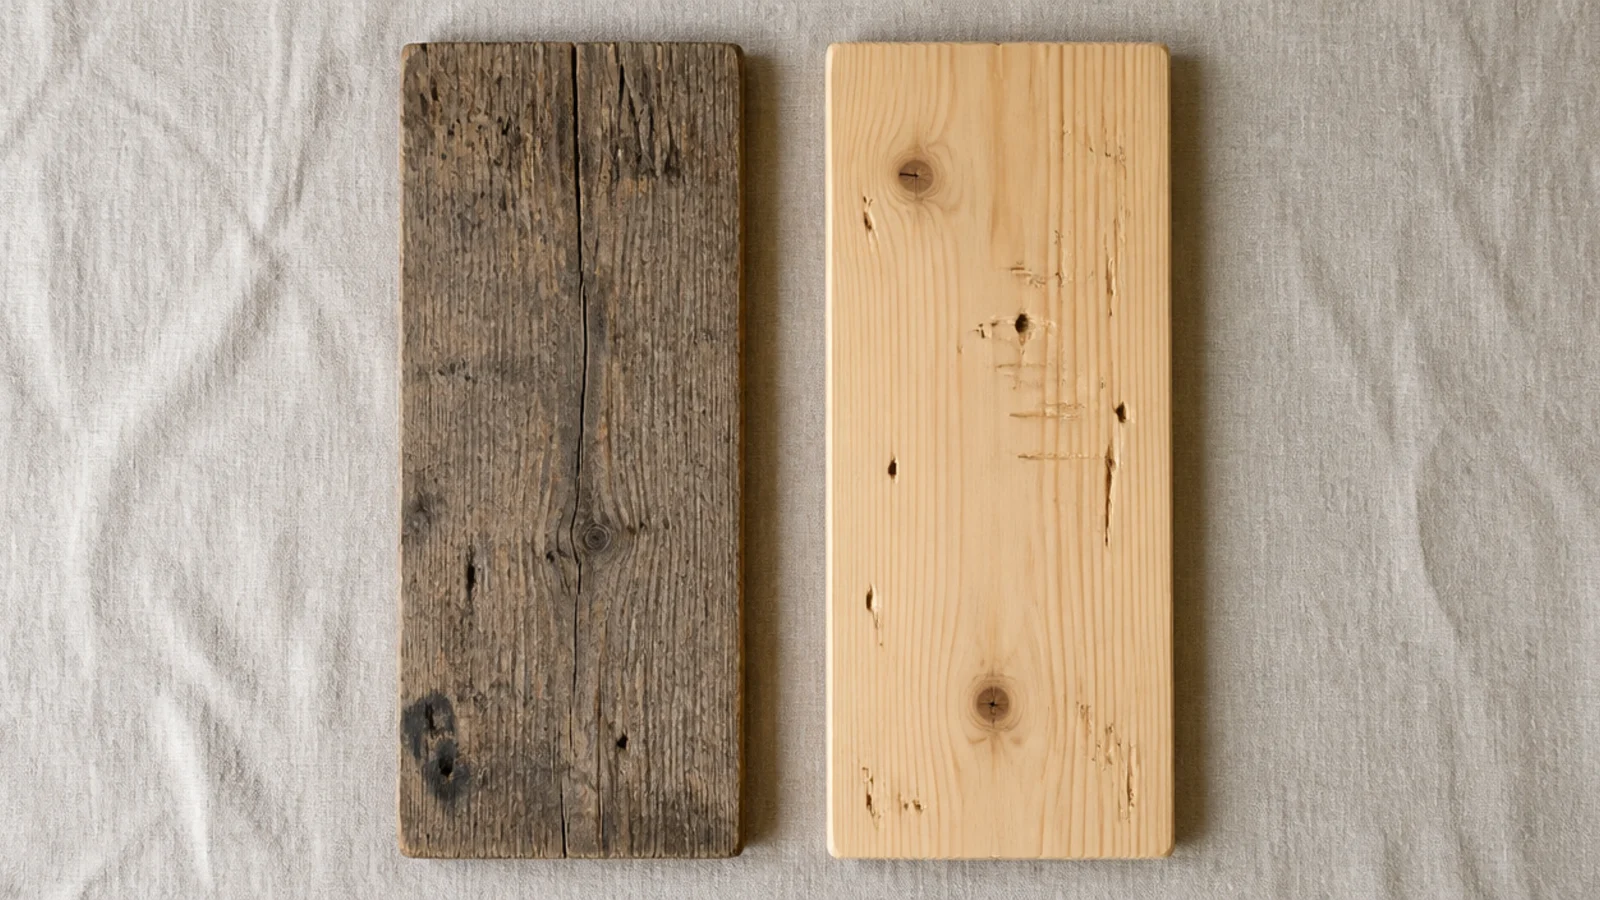
The archetype, and it works. A weathered board on black cast iron, holding a stoneware crock.
Leave the nail holes and the saw marks — filling them removes precisely what you paid for. Clean thoroughly, seal with a matte hardwax oil, and let the surface stay visibly irregular. $25–$60 a board
2. A scaffold board on galvanised pipe
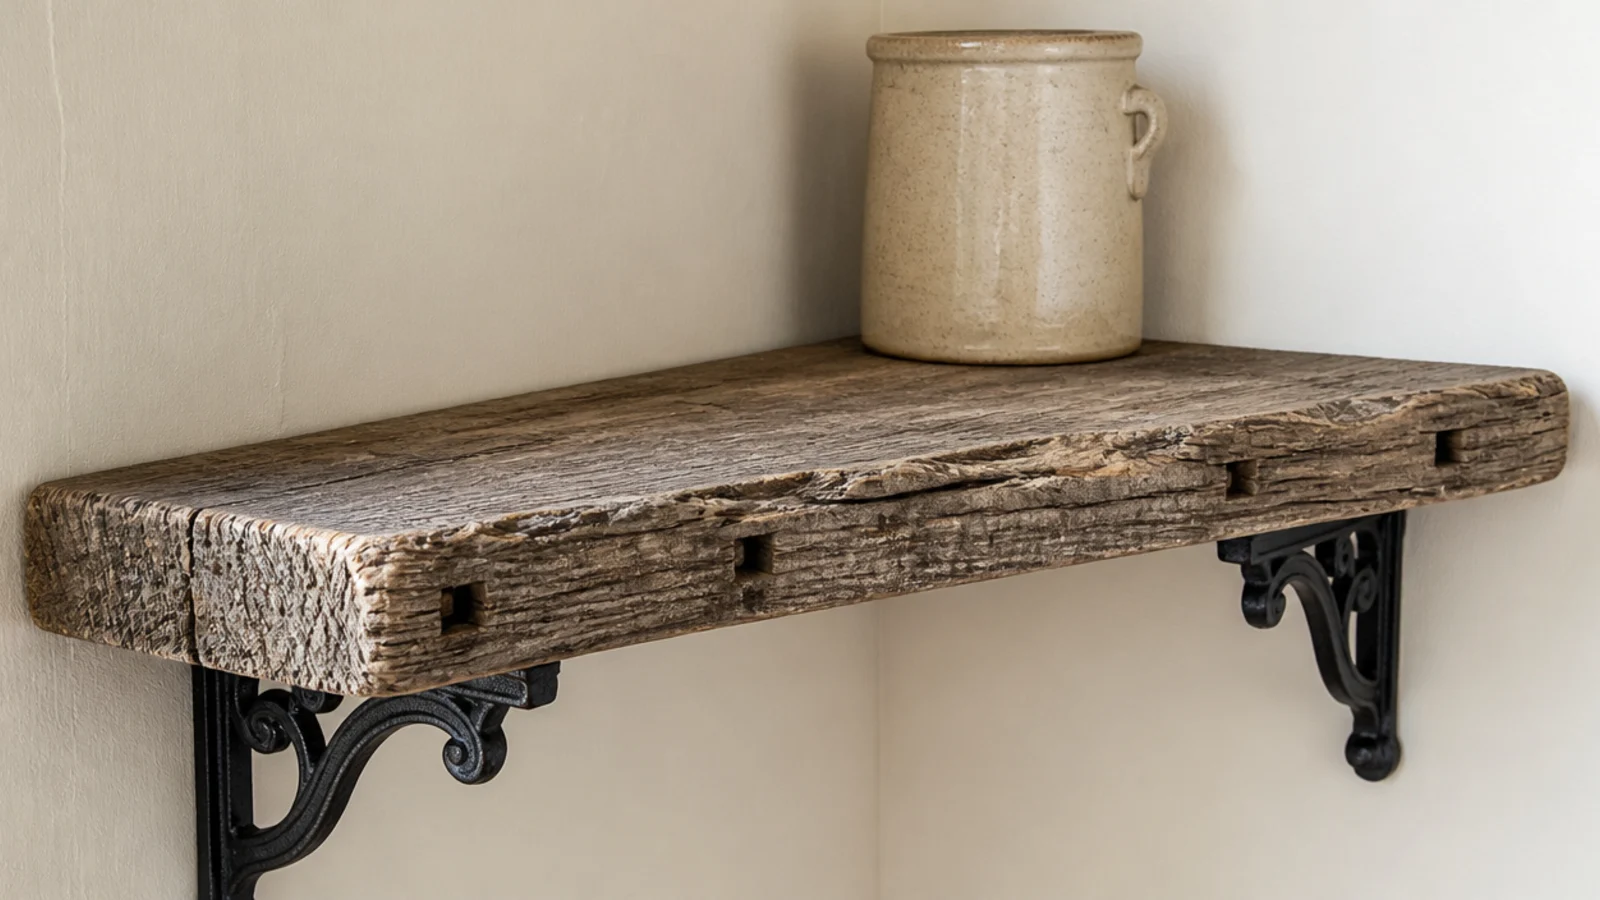
Scaffold boards arrive around an inch and a half thick and genuinely weathered, which is most of the work done for you.
Galvanised pipe flanges and short lengths cost less than most decorative brackets and carry considerably more. Budget an hour per board sanding — they carry grit from site. $15–$30 per shelf
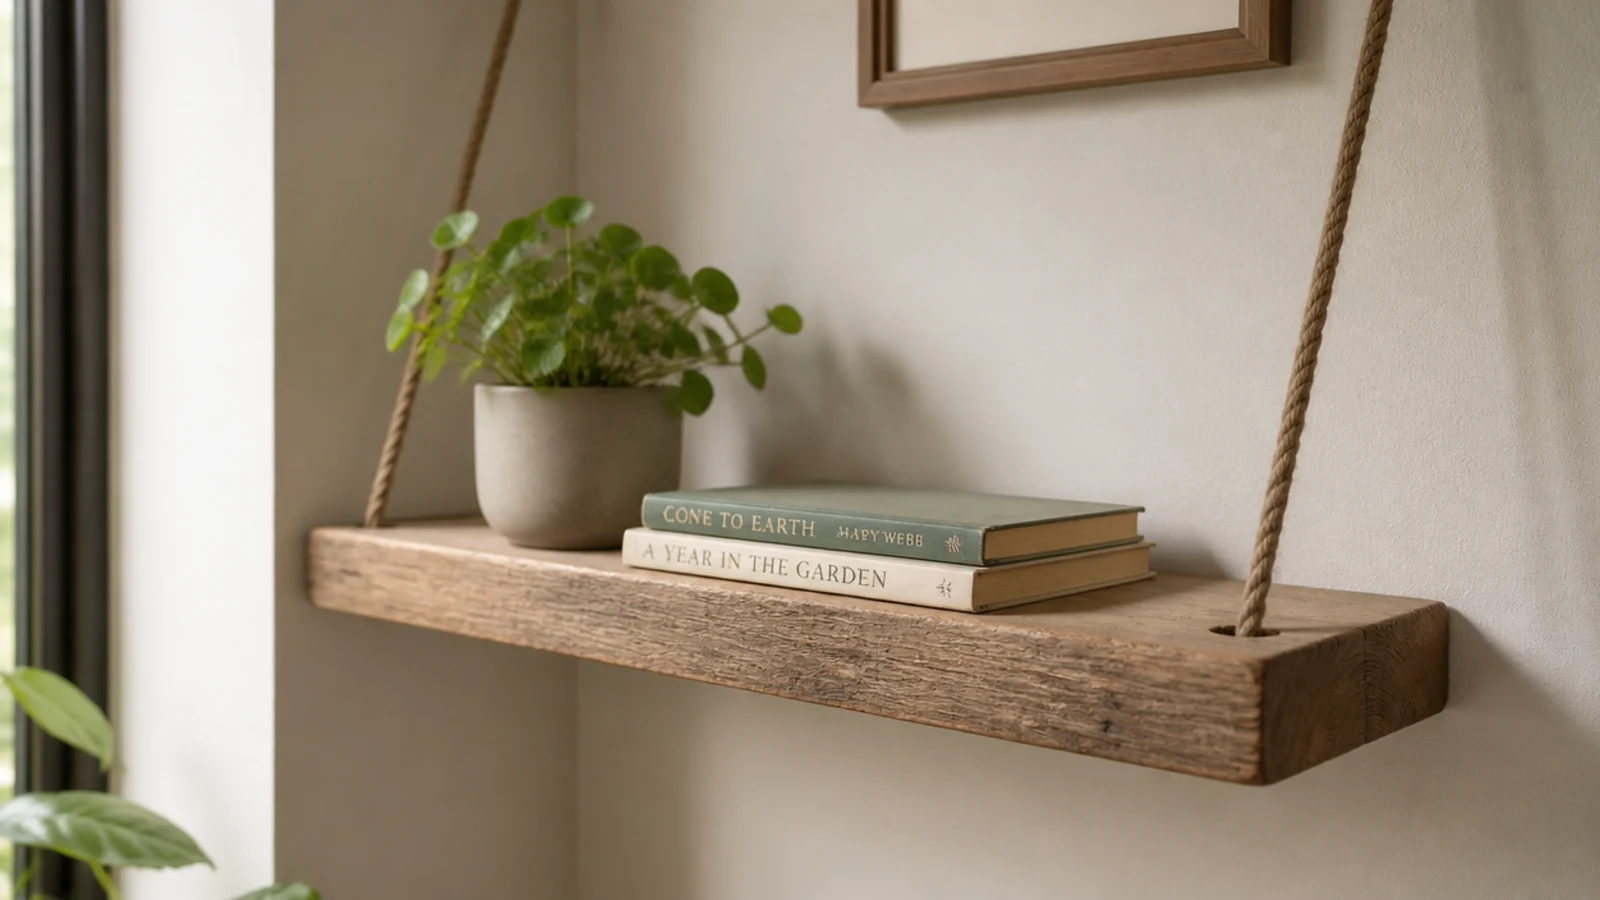
3. A rope-hung plank shelf
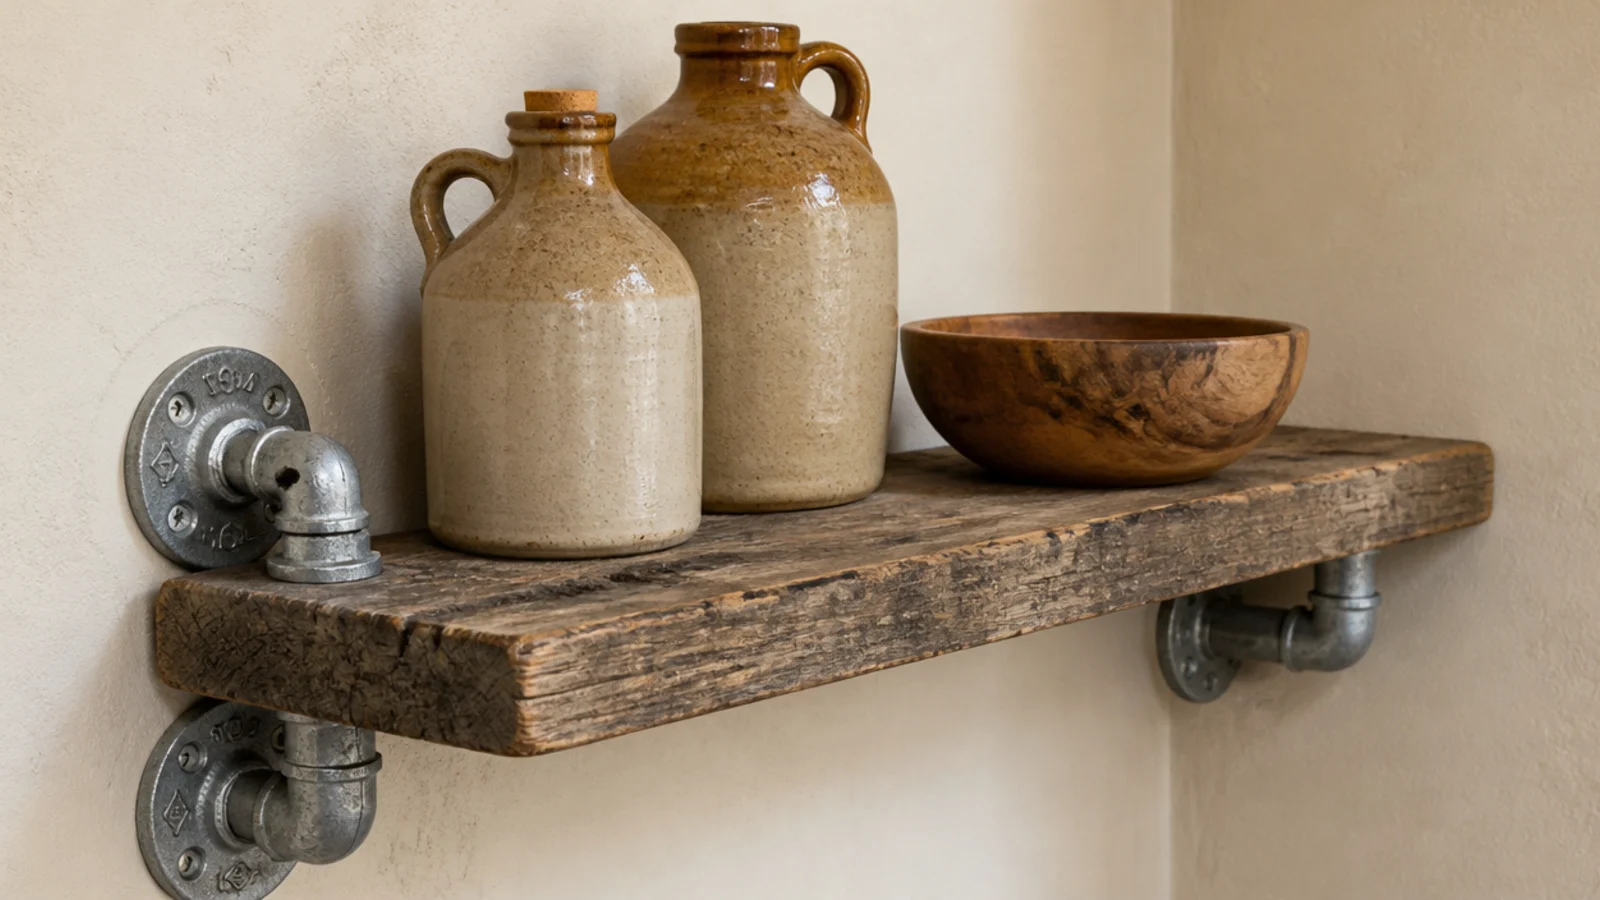
Drill a hole near each end, thread thick jute rope through, and hang from a single fixing above. The plank finds its own level.
Use natural fibre rope, not synthetic — the texture is the whole point. Keep the load light and check the knots every few months, since natural rope stretches. $20–$35
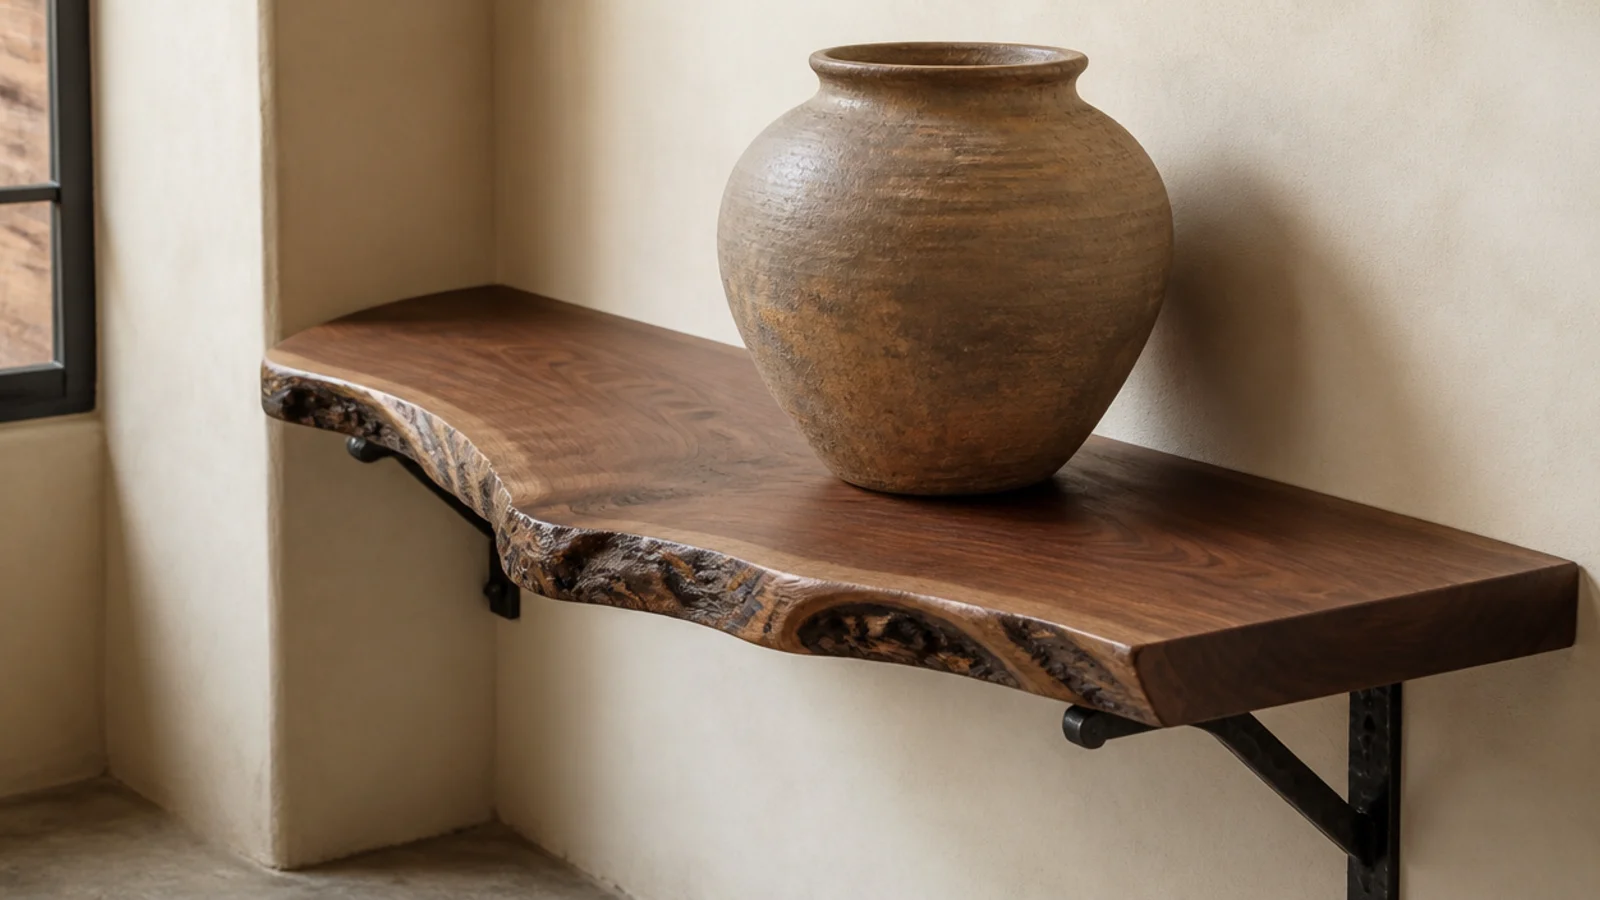
4. A live-edge slab on forged brackets
One live edge per room. The irregular natural edge is a strong gesture and loses all its force when repeated.
Choose a gentle curve over a dramatic one — an aggressive live edge in a small room competes with the furniture. Hand-forged brackets suit it better than machined ones. $60–$150
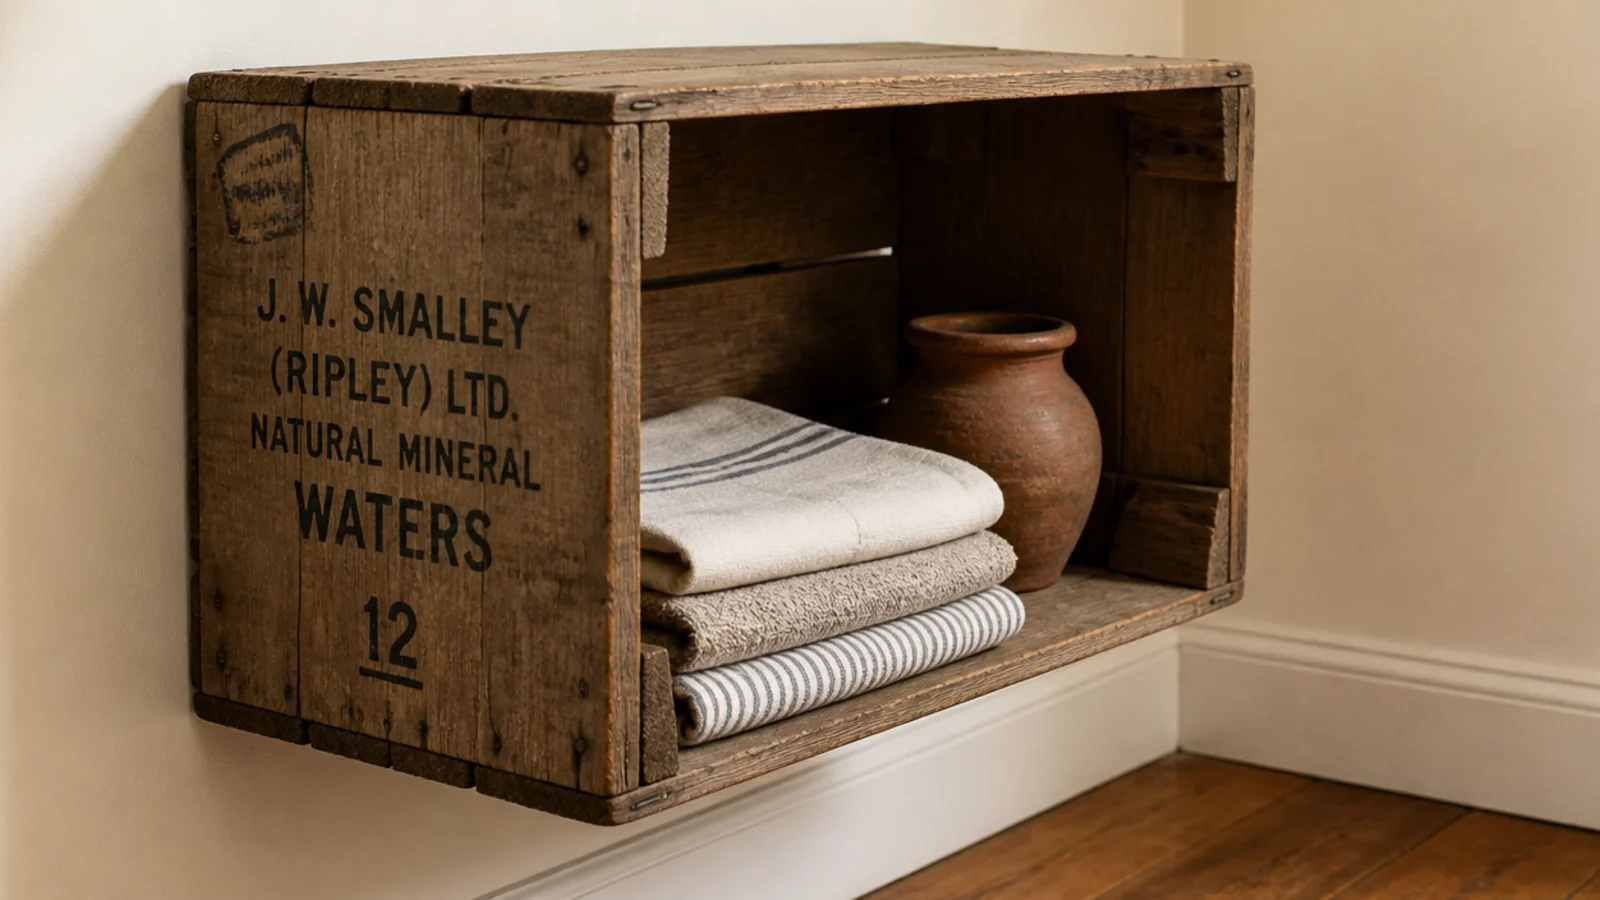
5. A wooden crate mounted as a cubby
An old crate mounted on its side gives you a shelf with sides and a back for very little, and the stencilling does the decorating.
Fix through the back panel into a stud. Crate timber is thin and the corner joints are usually stapled, so the wall fixing has to carry all of it. $10–$25
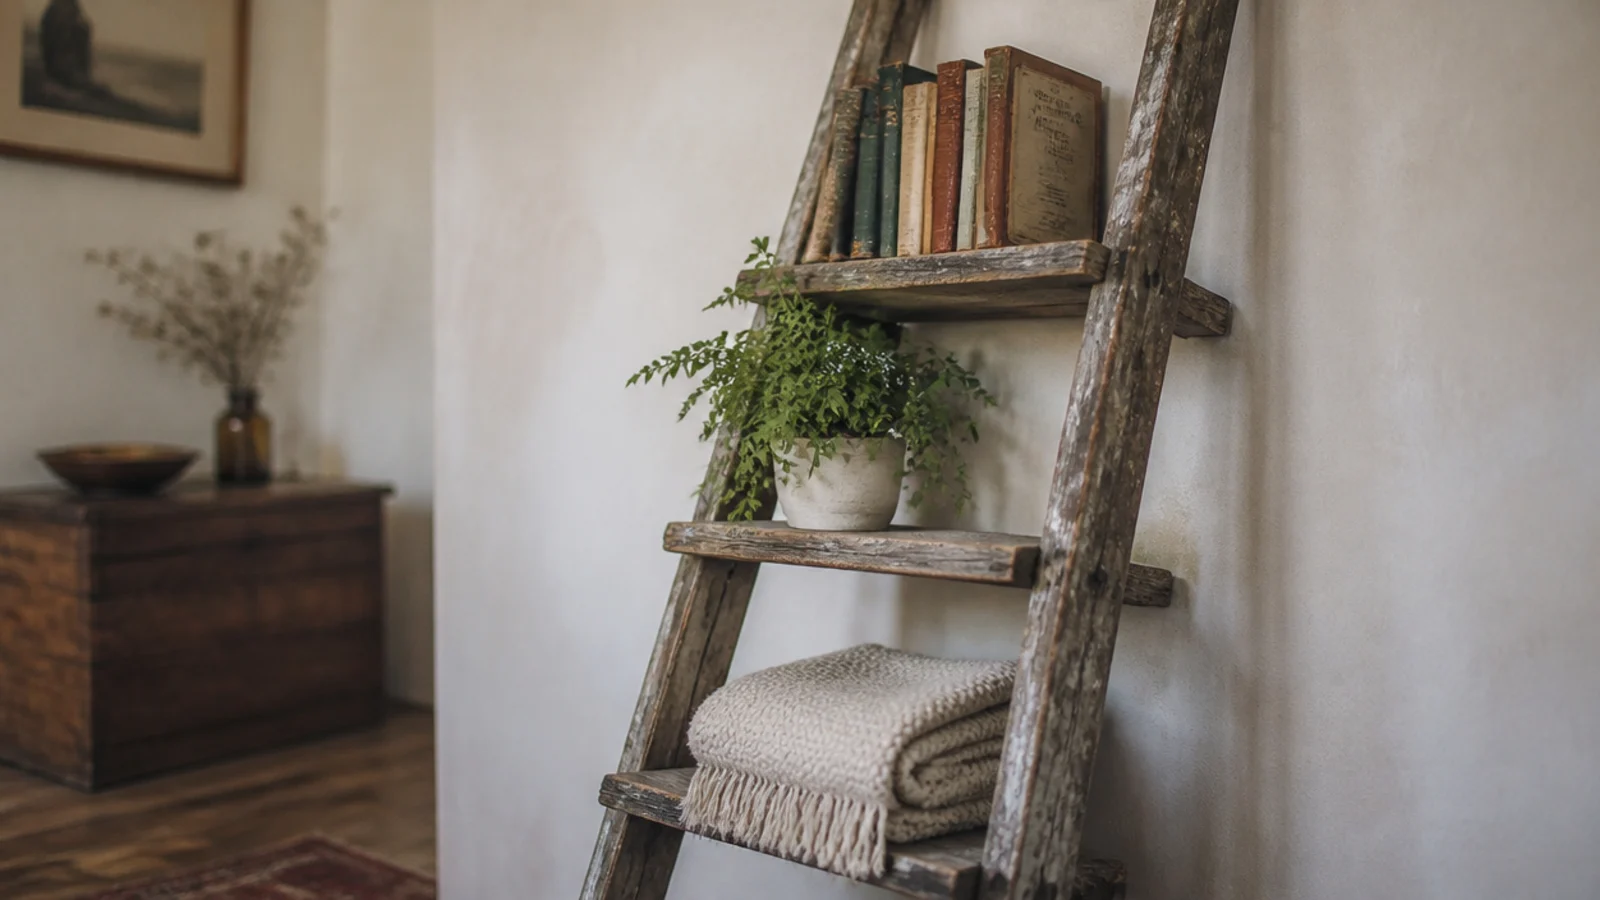
6. An old ladder standing in the corner
A weathered ladder leaning in a corner is instant rustic storage, and laying short boards across the rungs turns it into real shelving.
Check the rungs are sound before loading. Old ladders were built for weight but not for forty years in a barn. Felt pads under the feet, and a wall strap if there are children. $30–$80
7. A whitewashed board with the knots showing
Thin white paint roughly three parts to one with water, brush on, wipe most of it back before it dries.
The dark knots and grain coming through the pale haze is what separates a whitewash from a paint job. Test on an offcut — reclaimed boards absorb very unevenly. $–$$
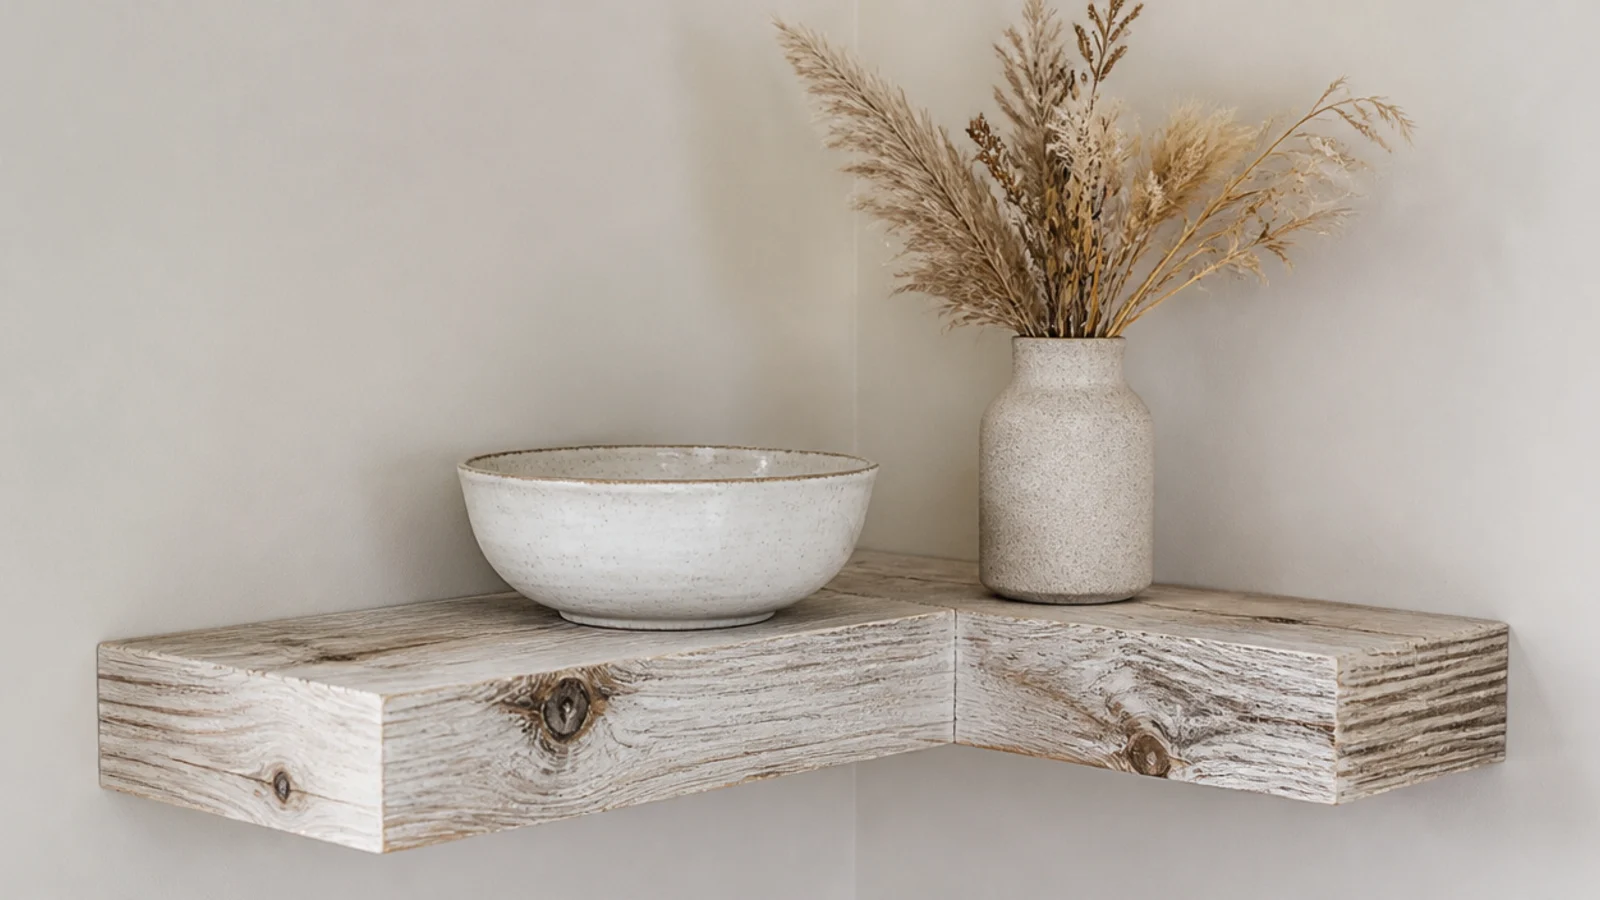
8. Milk paint that wears at the edges
Milk paint chalks and wears where hands go, rather than chipping in flakes like modern acrylic. That difference is why it reads as genuinely old.
Seal with clear wax afterwards, or it marks from any moisture including damp hands. Best on pine and reclaimed softwood. More finish options in wooden corner shelves. $
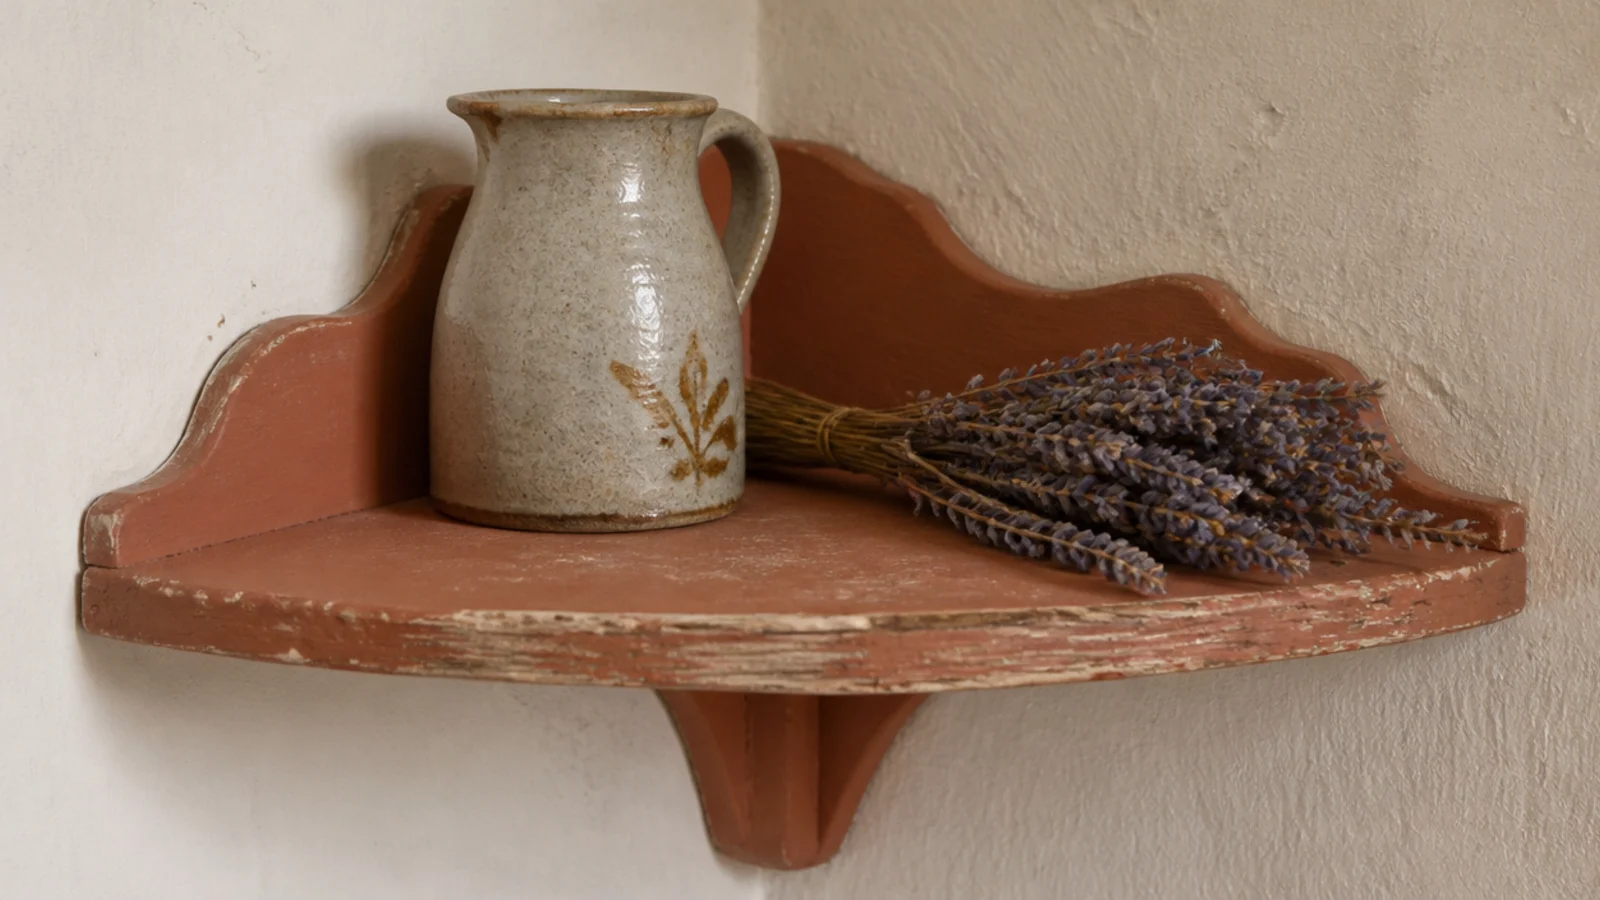
9. A salvaged panel as the shelf backing
Mount an old door panel or a section of beadboard flat on the corner, then fix slim shelves across it.
The backing gives shallow shelves visual depth and hides an uneven wall. It also means your shelf fixings go into the panel rather than the plaster, which helps in an old house with soft walls. $20–$50
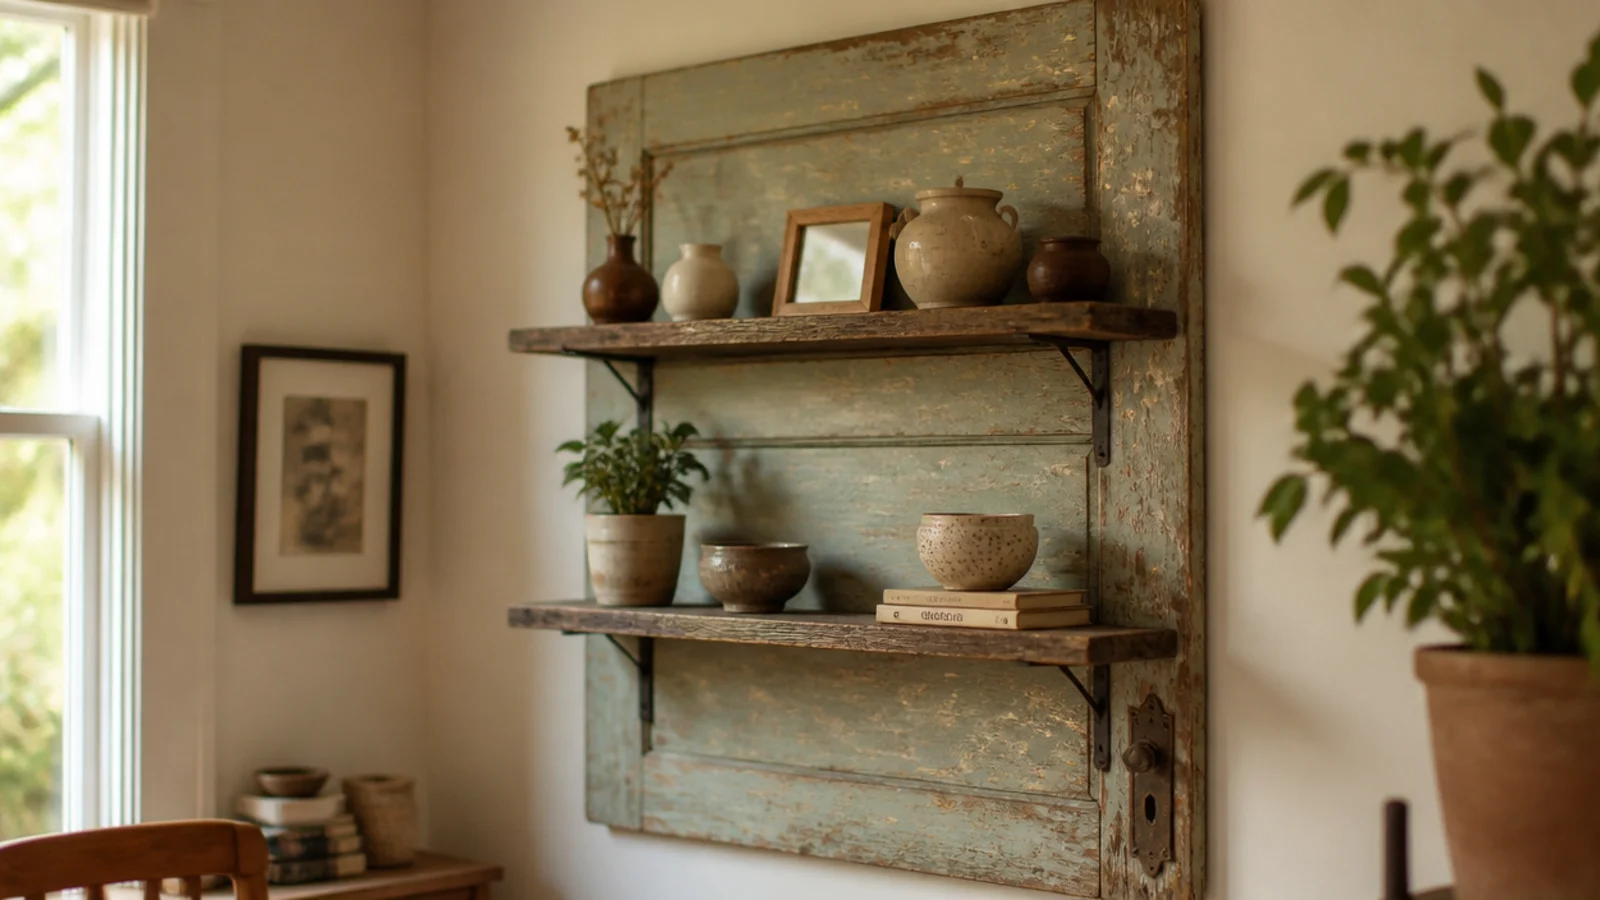
10. Plain black cast iron brackets
Real cast iron has casting texture and ages by darkening. Painted fake-antique brackets chip to reveal bright steel and read as costume immediately.
Iron brackets also carry more than most decorative ones, which matters under a thick reclaimed board. Expect $8 to $20 a pair for honest ones. $
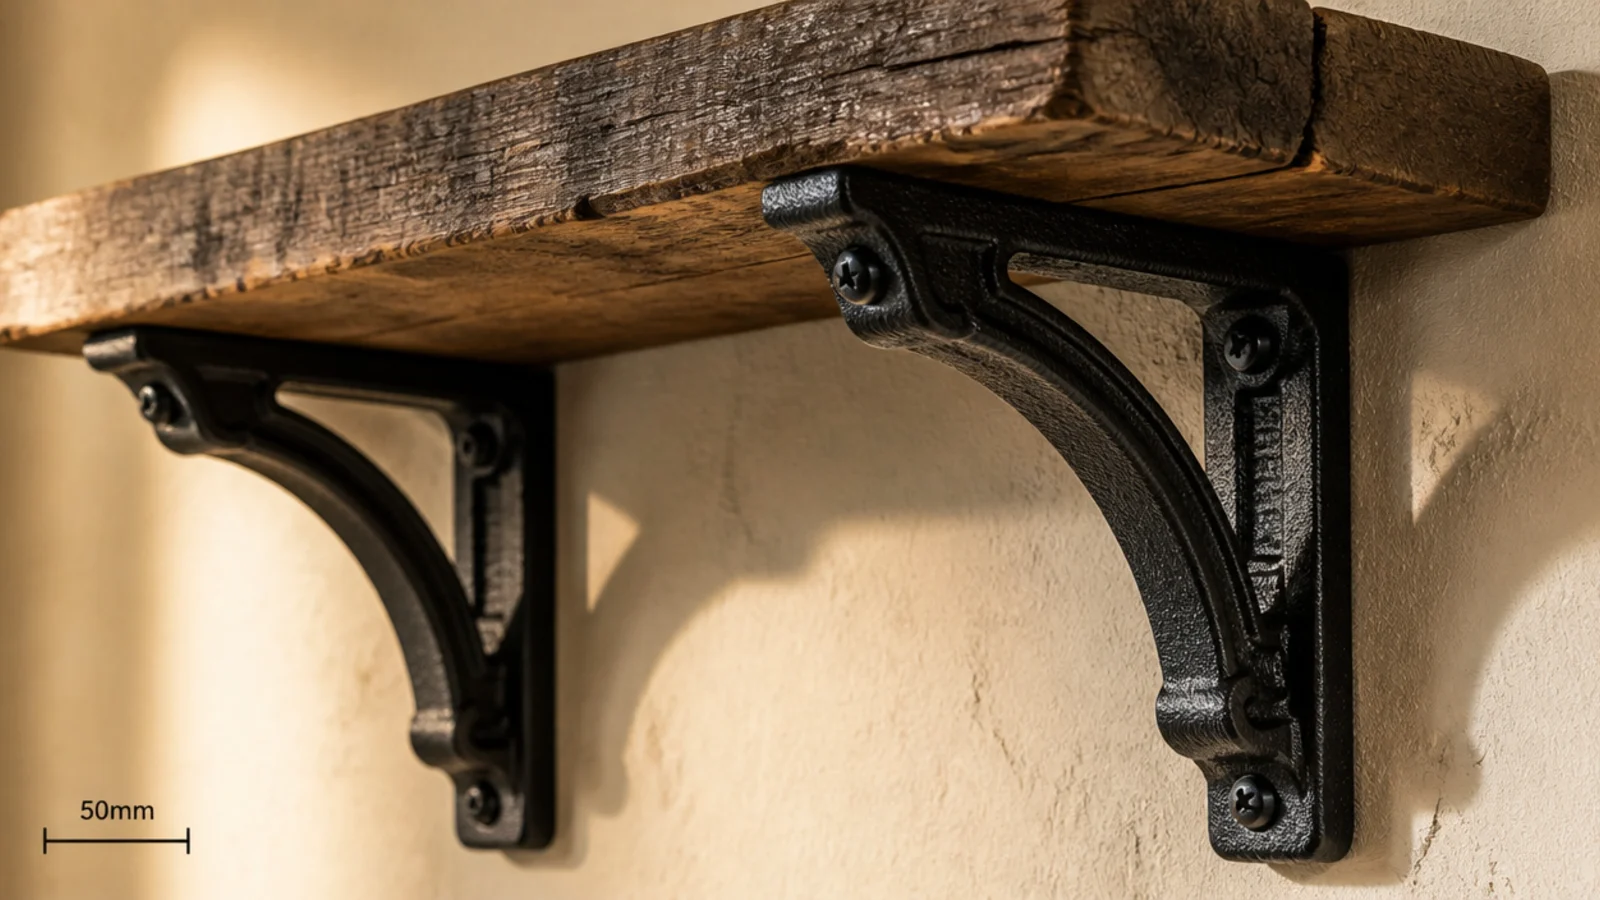
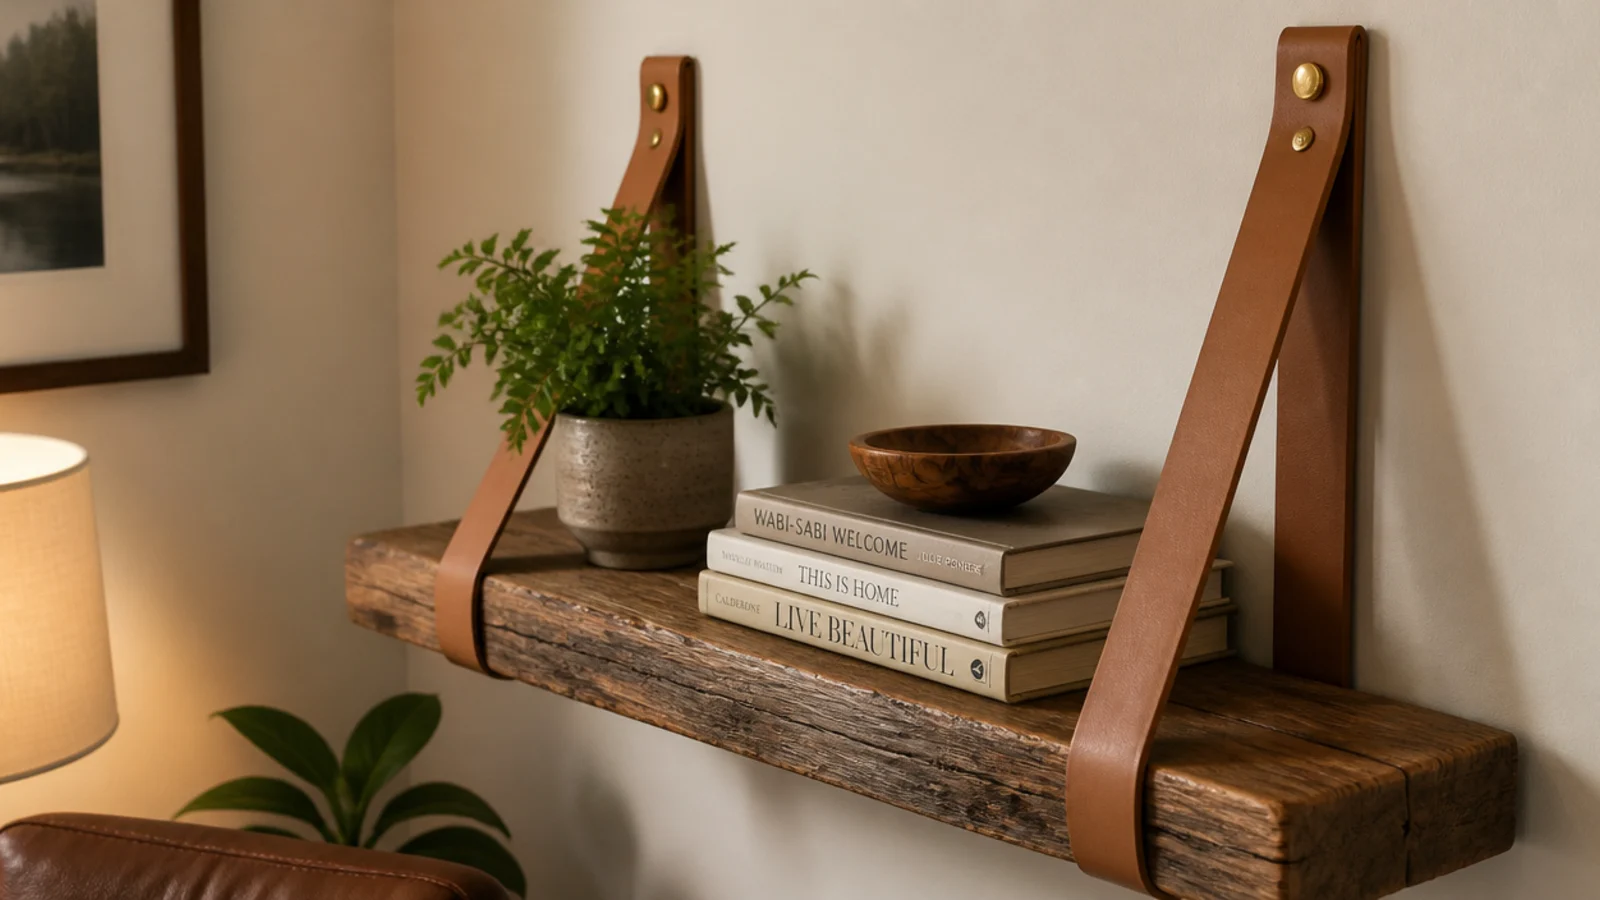
11. Leather straps instead of brackets
Two thick leather straps fixed above and looped under the board. It is a beautiful detail and it needs one honest warning: leather stretches.
Check the level after a month and again after six. Use vegetable-tanned leather at least 3mm thick, and keep the load genuinely light. $25–$45
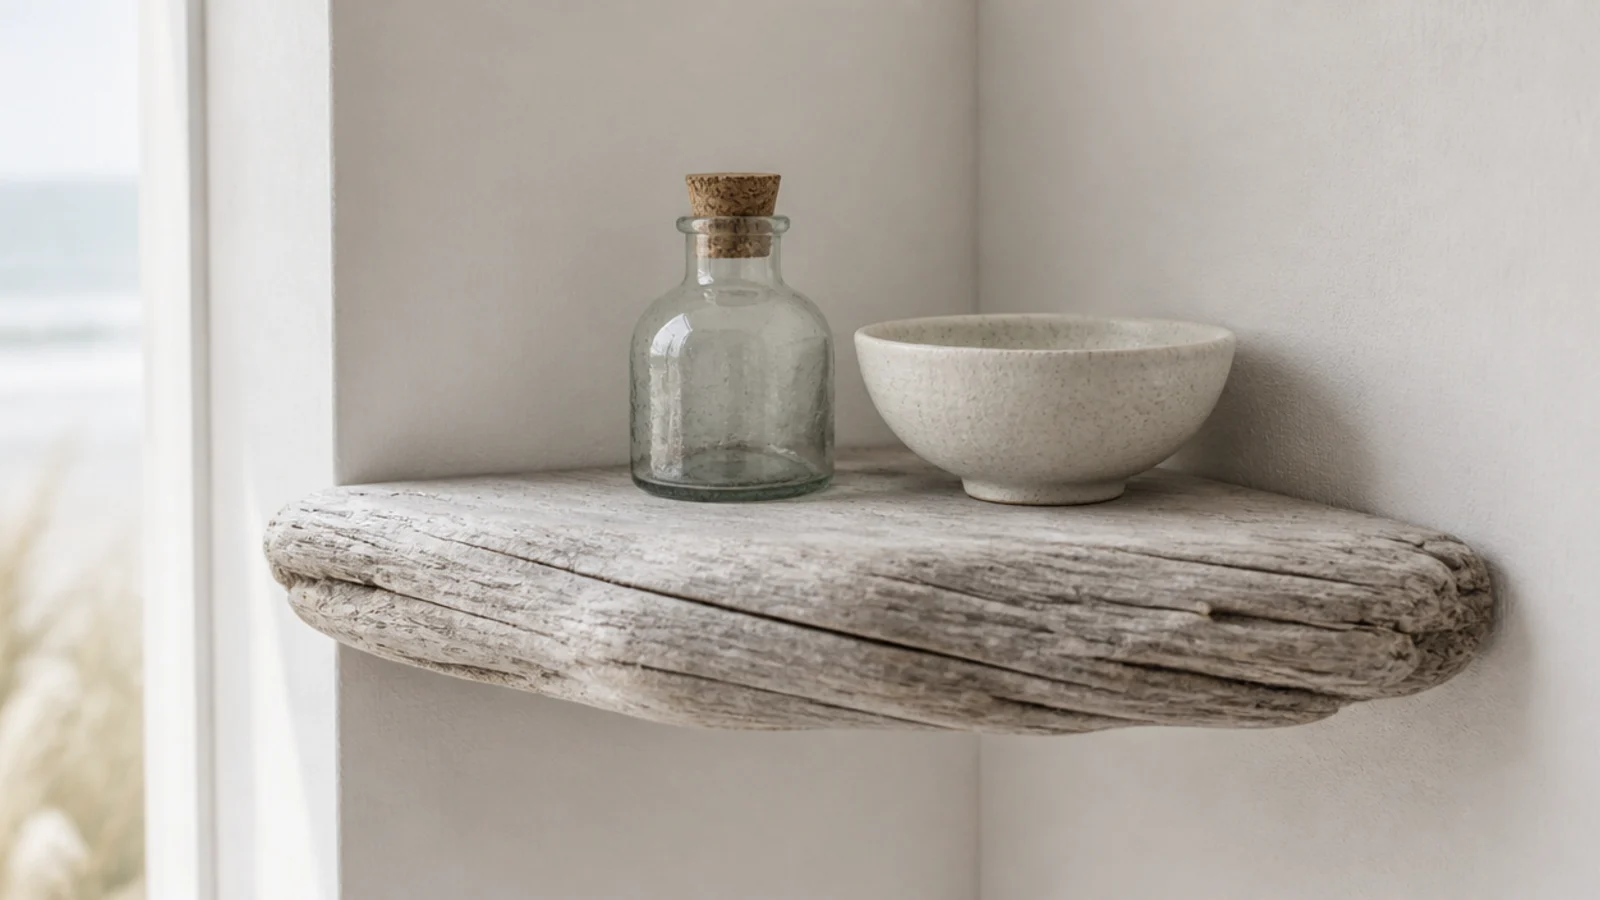
12. A driftwood shelf in a coastal corner
Silvered driftwood needs no finishing at all, which is the appeal. It does need preparing.
Freeze it for 48 hours to kill anything living in it, then let it dry fully indoors for a week before mounting. Skipping that step is how people introduce woodworm to a house. Free
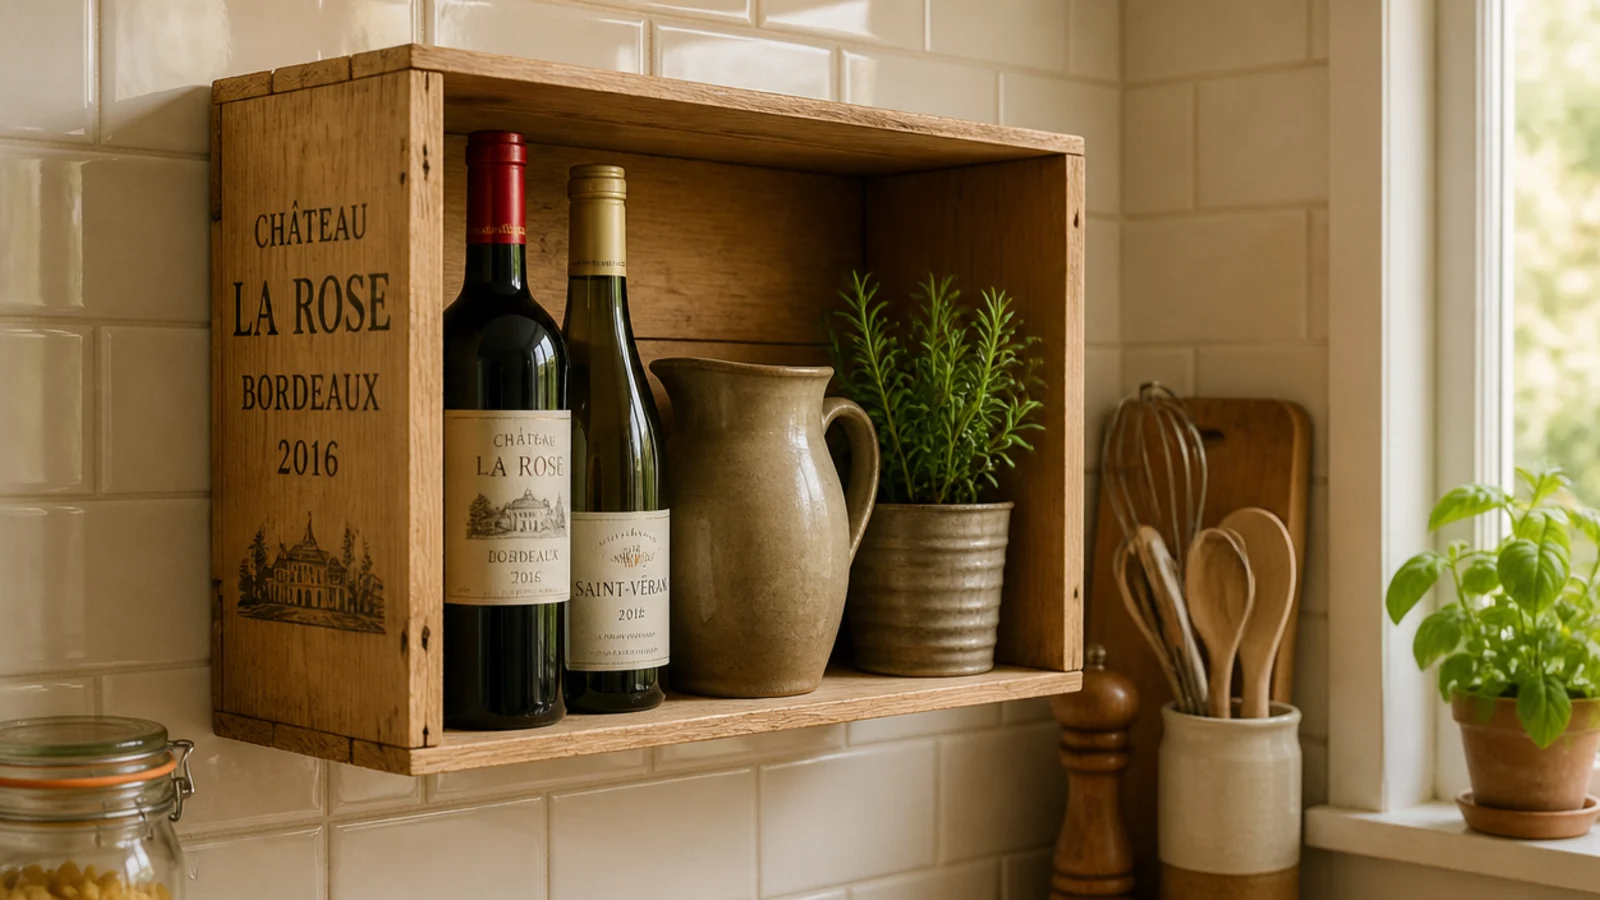
13. A wine box turned on its side
Independent wine shops give these away. Stencilled panels, dovetailed corners, and exactly the right depth for a kitchen corner.
Sand lightly, seal, and mount through the back panel. Two stacked and offset make a small corner unit that cost nothing but an afternoon. Free–$10
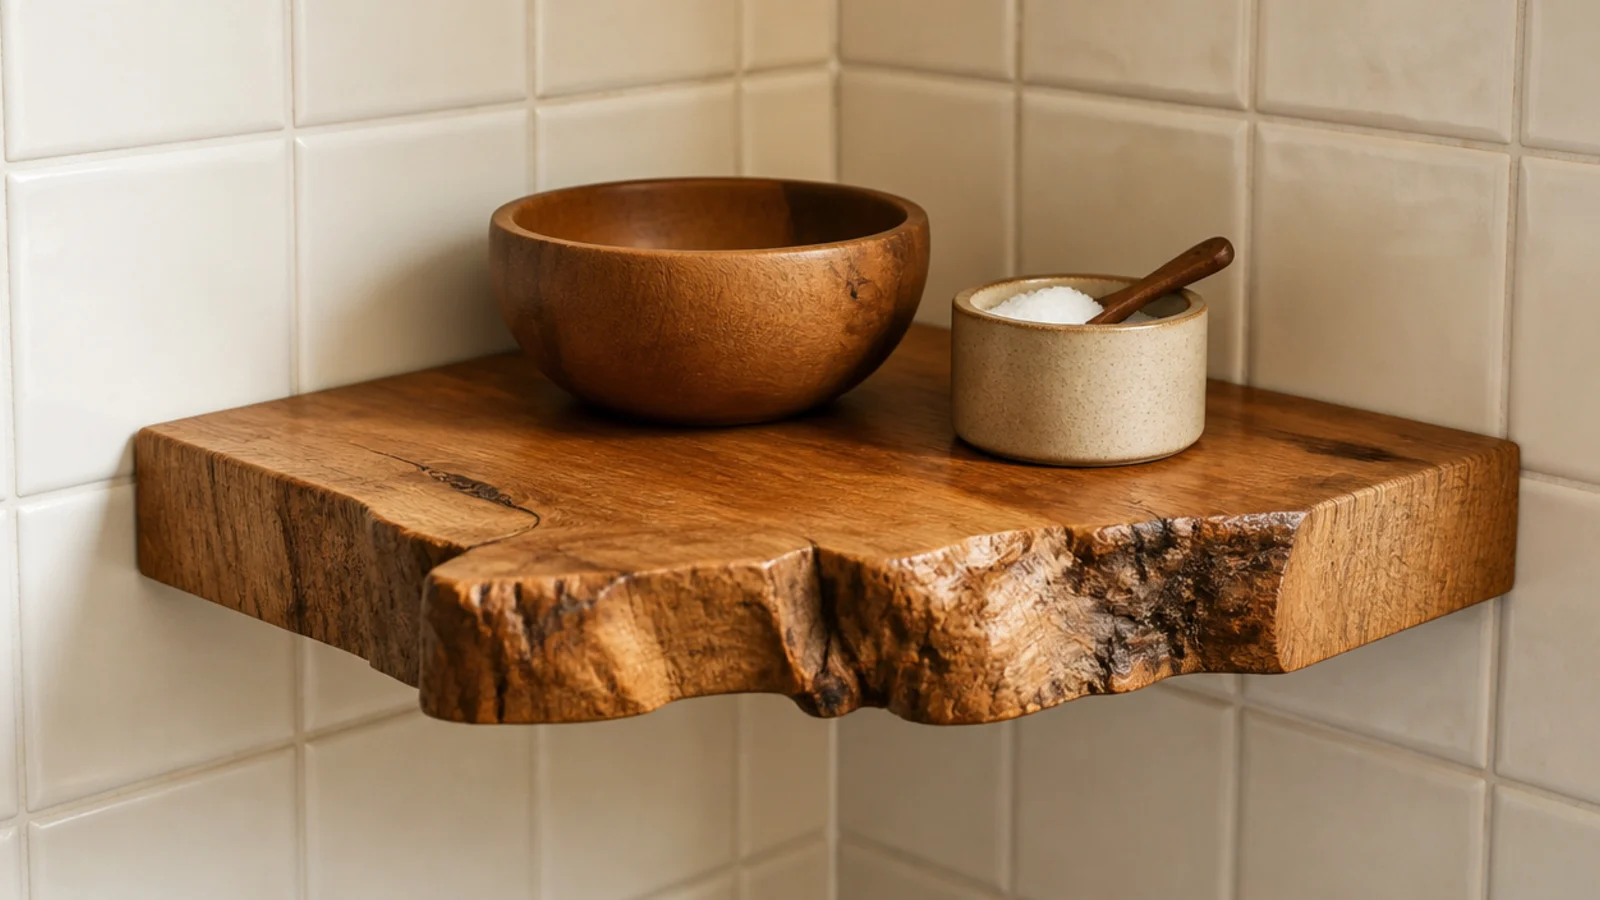
14. Butcher block with one live edge left
A worktop offcut with the outer edge left natural gives you end grain and a live edge in one inexpensive piece.
Oil every face including the underside before mounting. Untreated end grain absorbs moisture unevenly and cups faster than any solid board. $20–$45
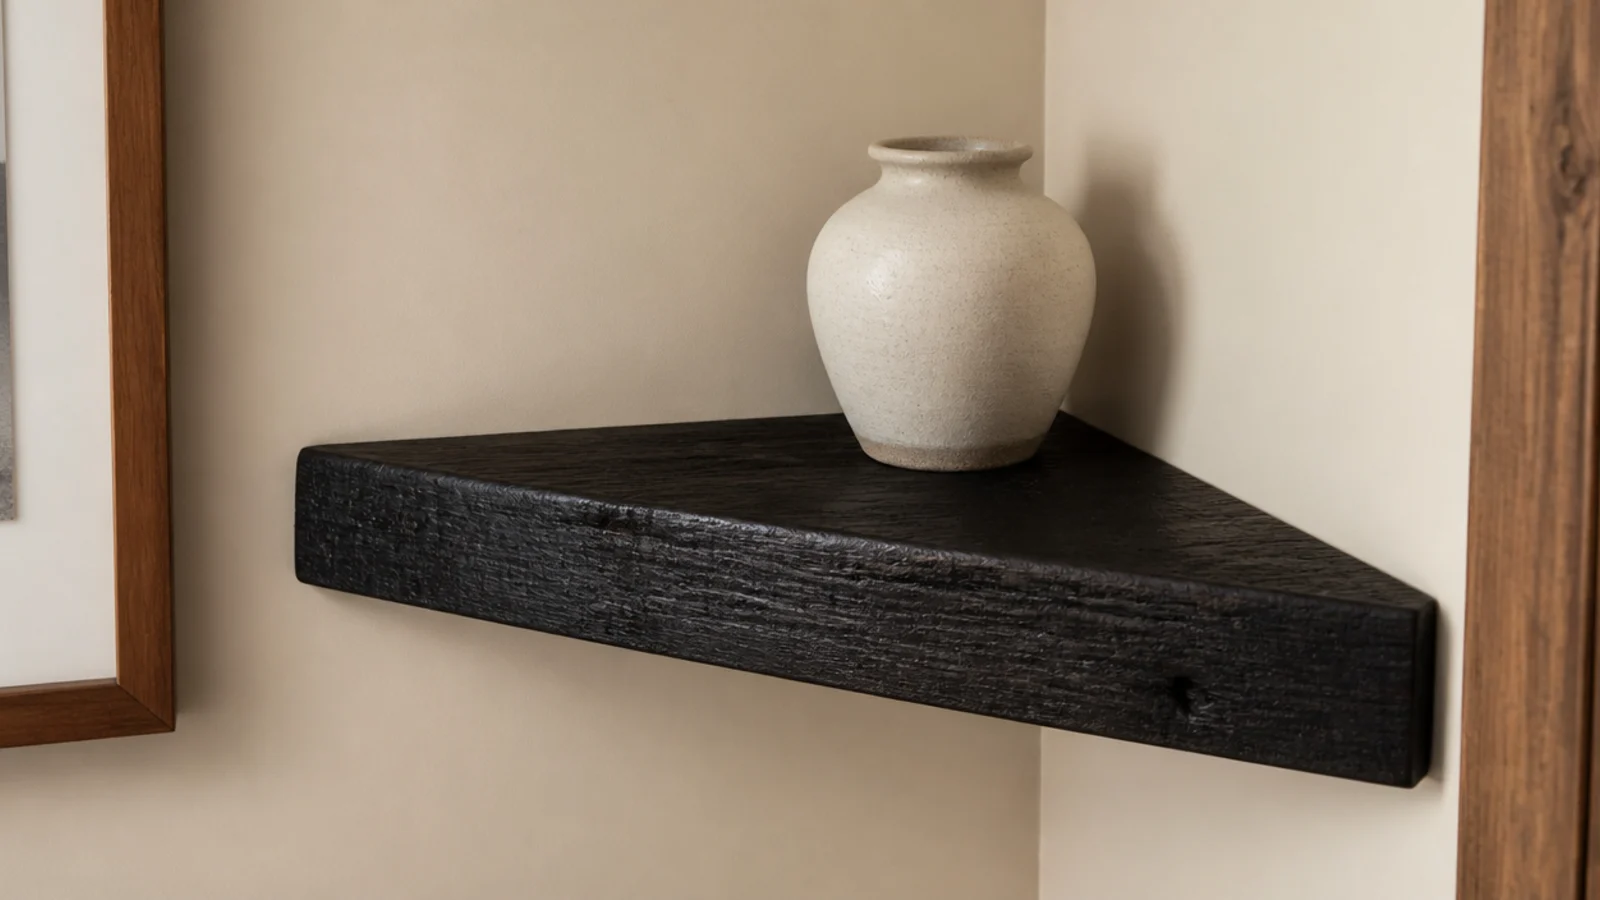
15. Ebonized reclaimed oak
Ebonizing reacts with the tannins in oak to turn it genuinely black while leaving every saw mark and grain line visible.
It is dramatic against pale plaster with pale objects on it. Finish matte — any sheen on black shows every fingerprint and dust mote. $
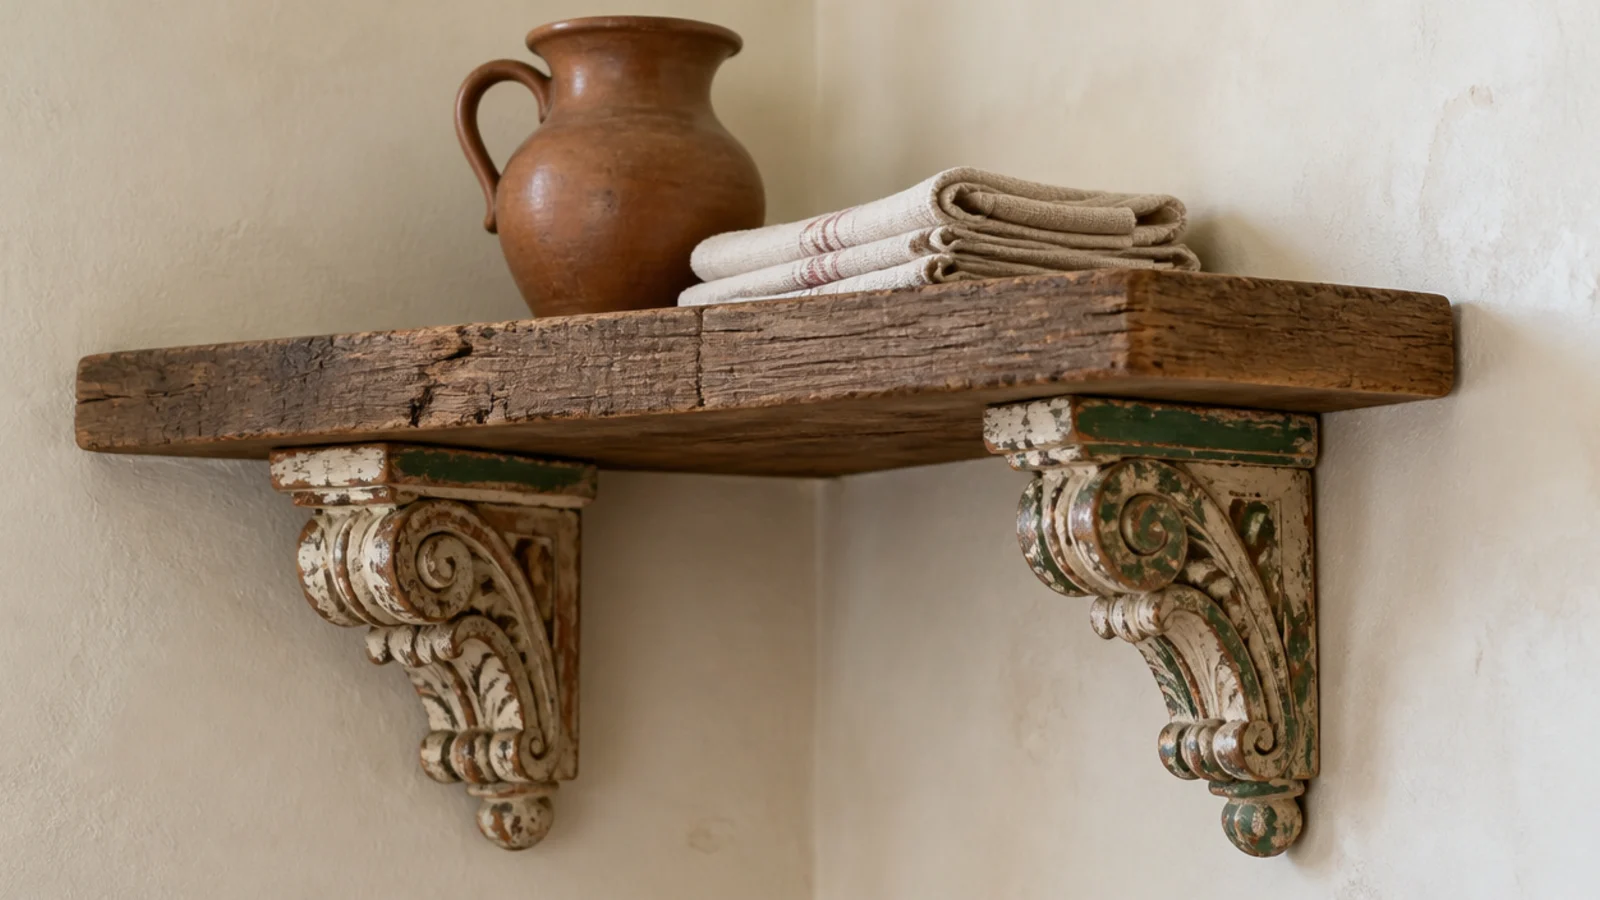
16. Carved wooden corbels under the board
Corbels read as architecture where brackets read as hardware, and salvage yards are full of them for $10 to $30 a pair.
They project further than most brackets, so they suit deeper boards — 10 inches or more. Leave the old paint if there is any; stripped corbels lose most of their character. $$
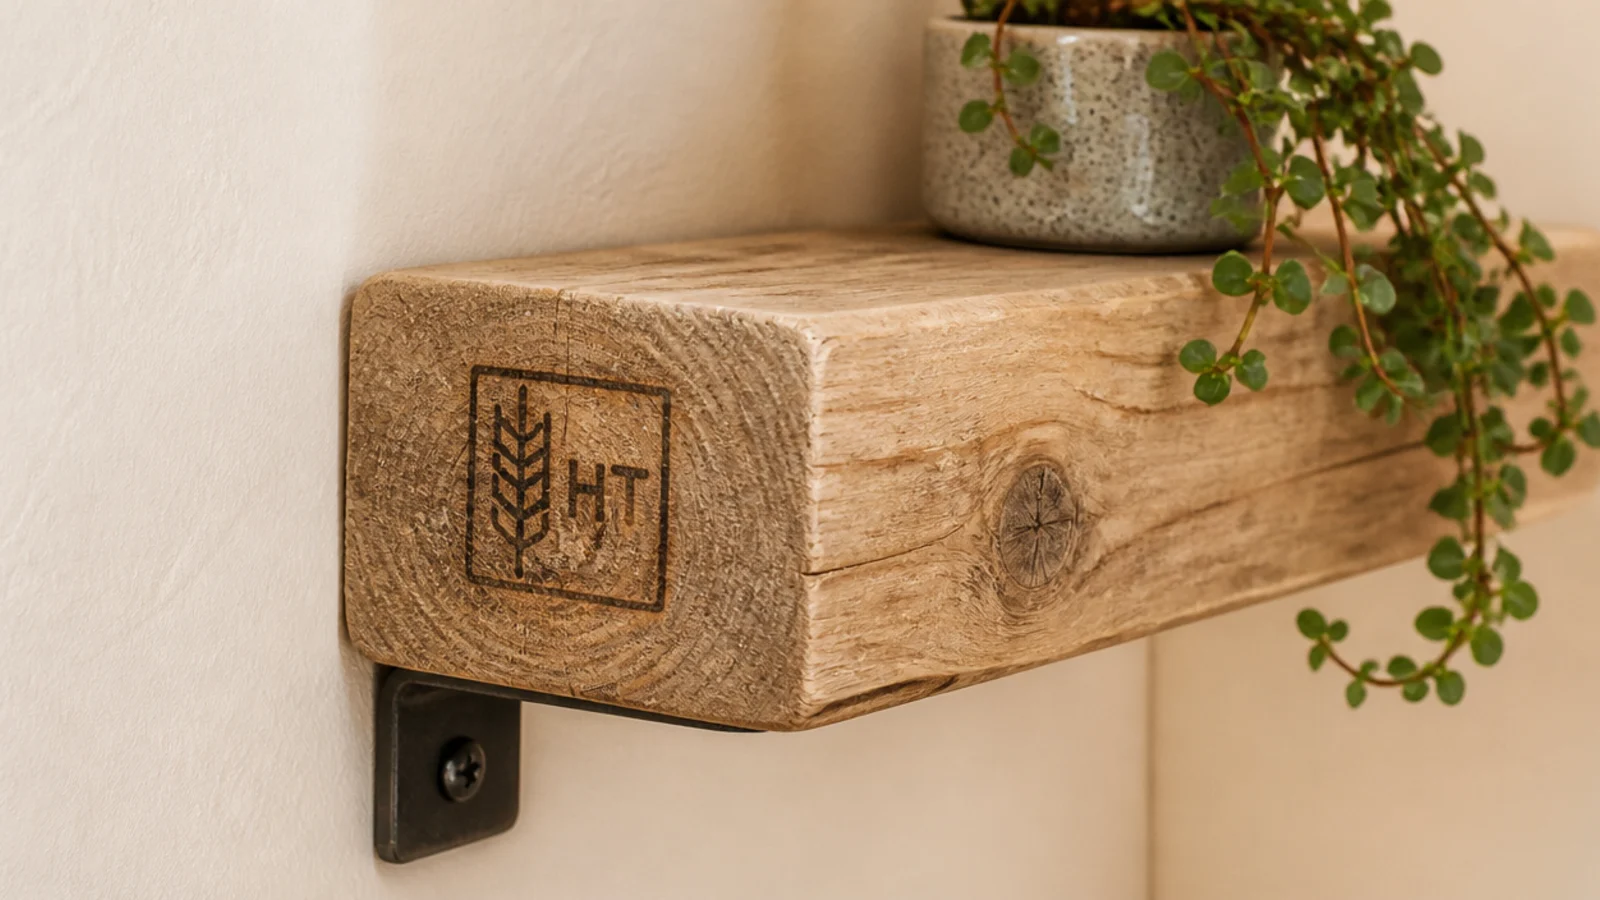
17. Heat-treated pallet boards only
Check the stamp. HT means heat-treated and safe. MB means methyl bromide, a fumigant, and that pallet does not come indoors.
Even with HT wood, sand and seal — pallets live on warehouse floors. Most pallet boards are also thin and knotty, so keep spans under 18 inches. Free
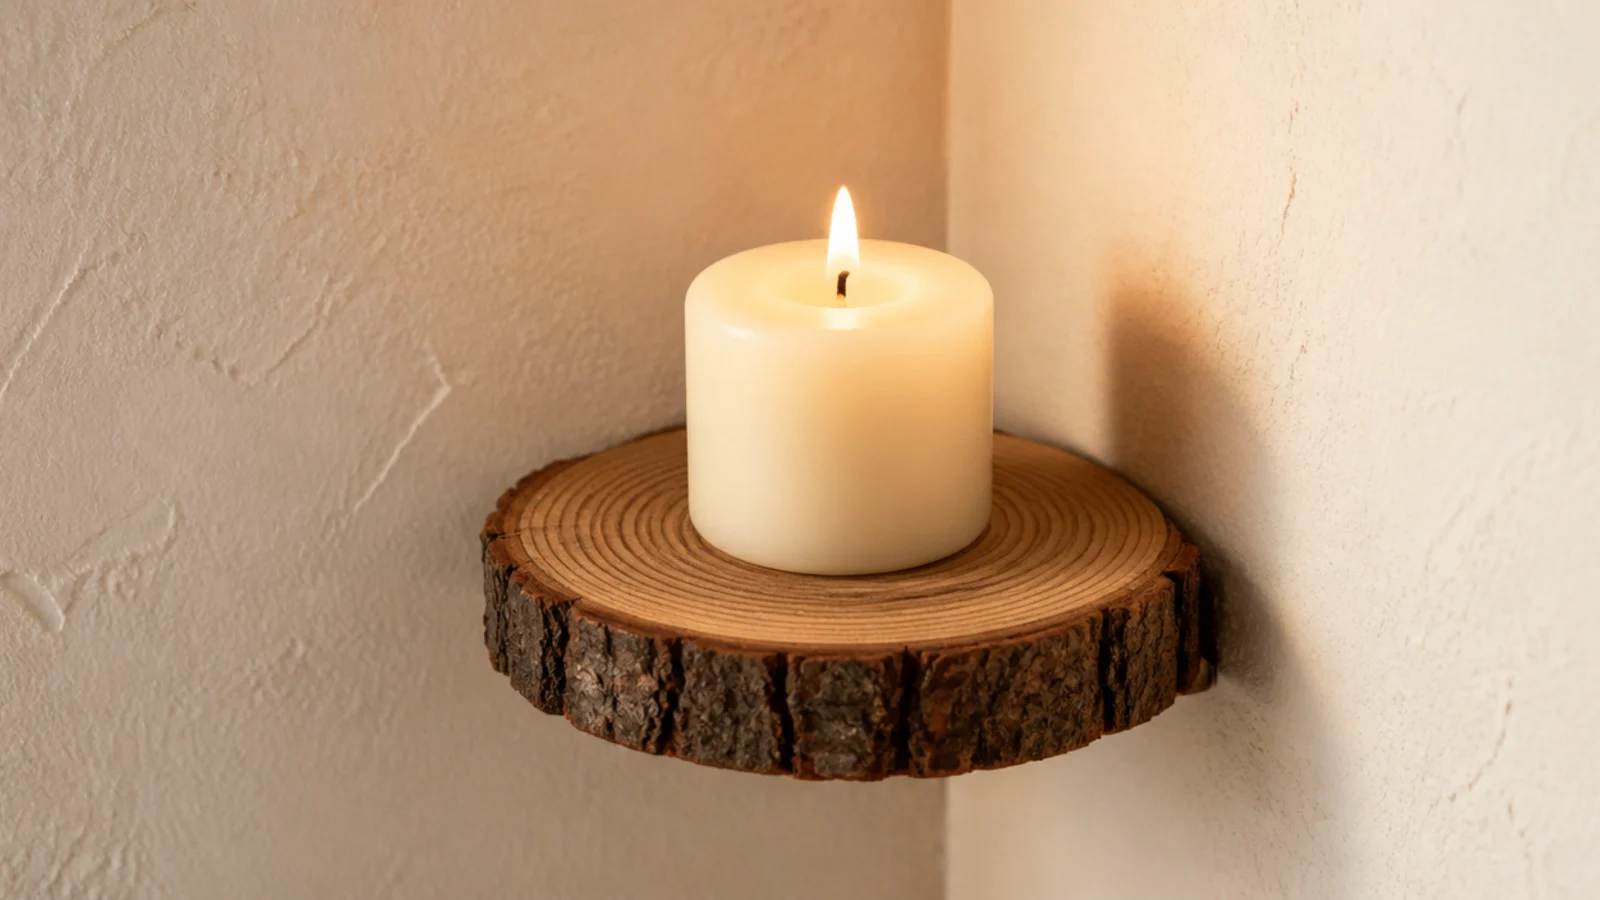
18. A log slice as a tiny corner shelf
A single round slice with bark edge intact, mounted on a small hidden bracket, makes a shelf for one candle or one small plant.
Seal the end grain thoroughly on both faces or it will check and crack within a year as it dries. Kiln-dried slices are worth the extra cost. $10–$25
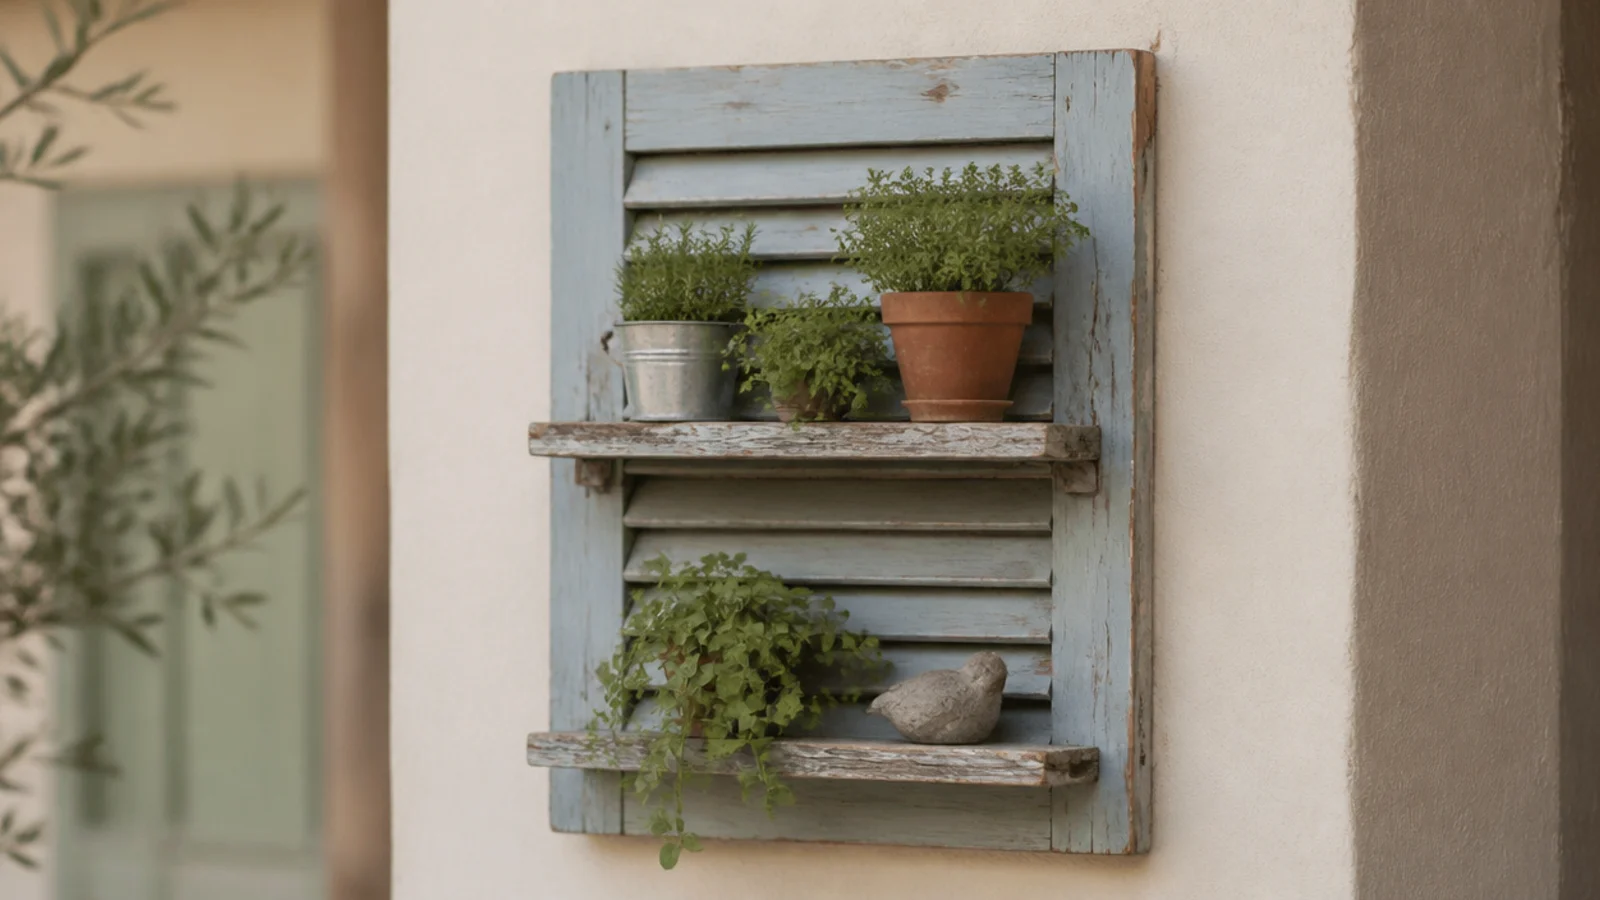
19. An old shutter as a shelf back
A weathered shutter mounted flat gives you texture, a backdrop and louvres you can hook things into.
Fix small shelves across it and hang herbs or utensils from the slats. It suits a kitchen or utility corner where the shelves are working rather than purely decorative. $25–$60
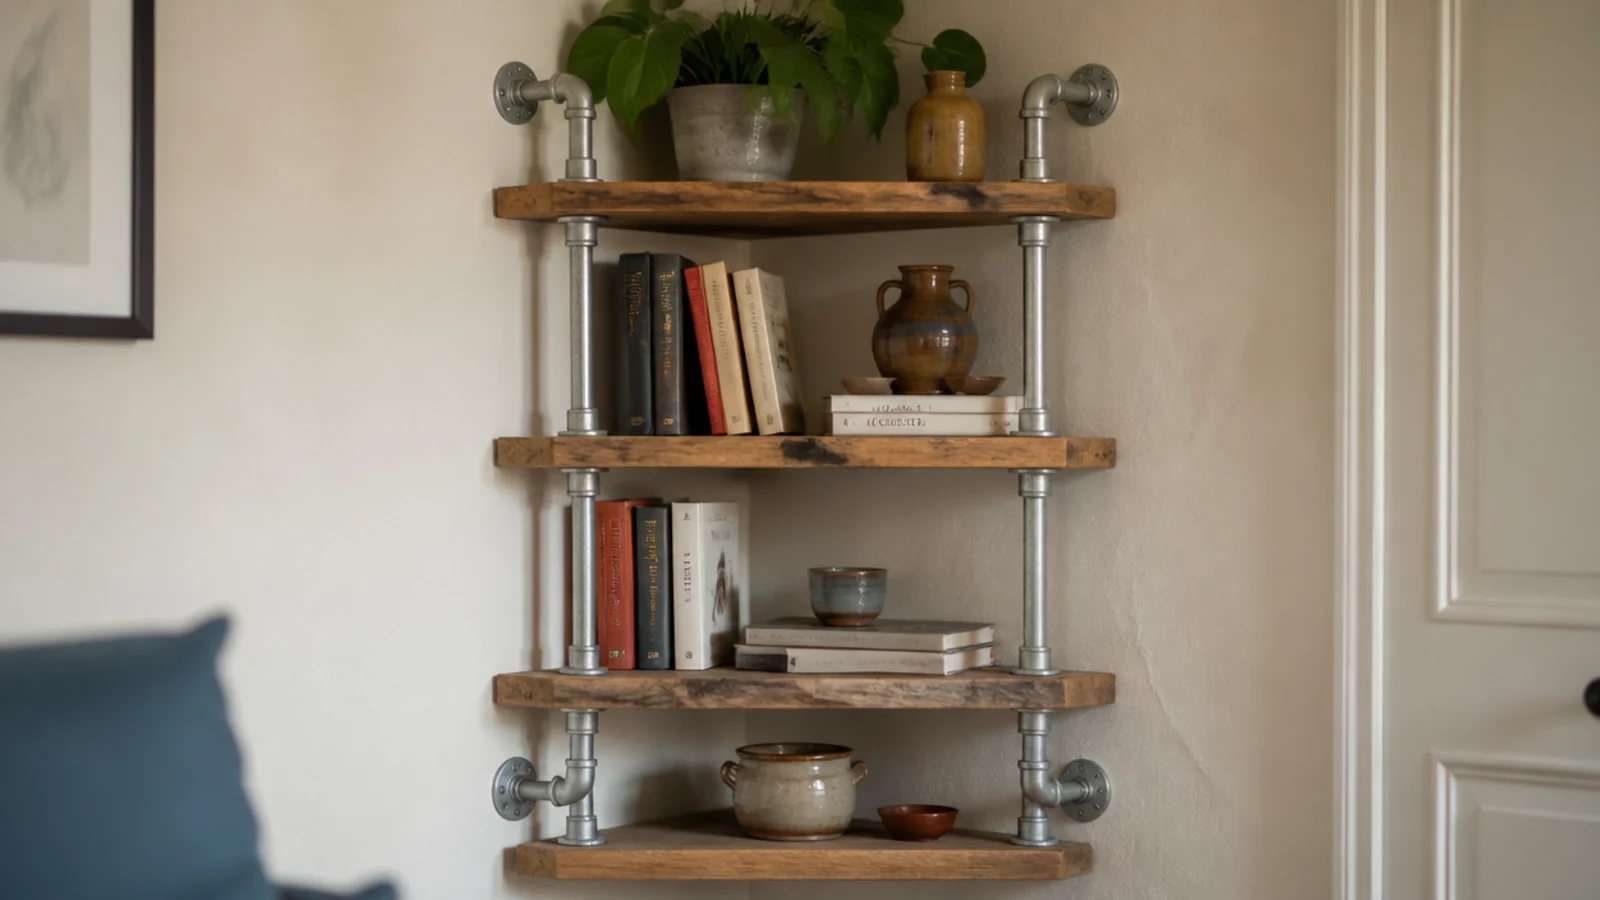
20. A galvanised pipe corner frame
Pipe fittings and flanges bolted into a corner frame carry four boards and considerably more weight than any bracket at the same price.
Raw galvanised, not painted. Wipe the oily coating off new fittings with mineral spirits first or it transfers to everything. $50–$110
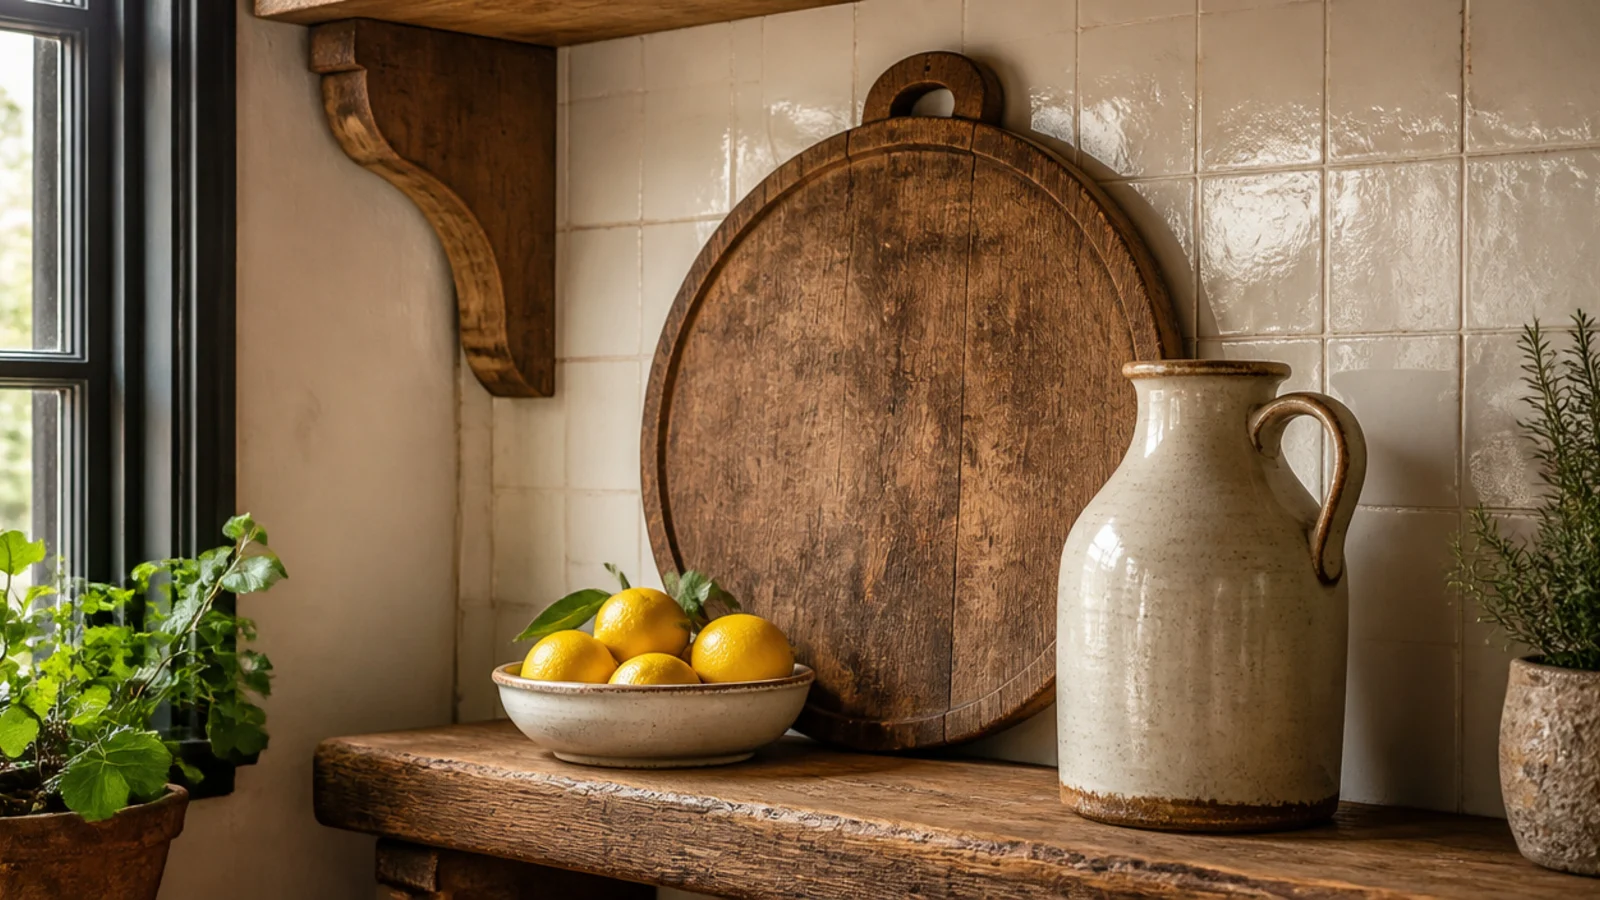
21. A bread board leaning at the back
An antique round bread board leaning upright against the wall behind your pottery is the cheapest rustic backdrop available.
It adds a large soft circle against all the straight lines and gives a shallow shelf a sense of depth. Salvage yards and thrift stores have them for $8 to $20. $
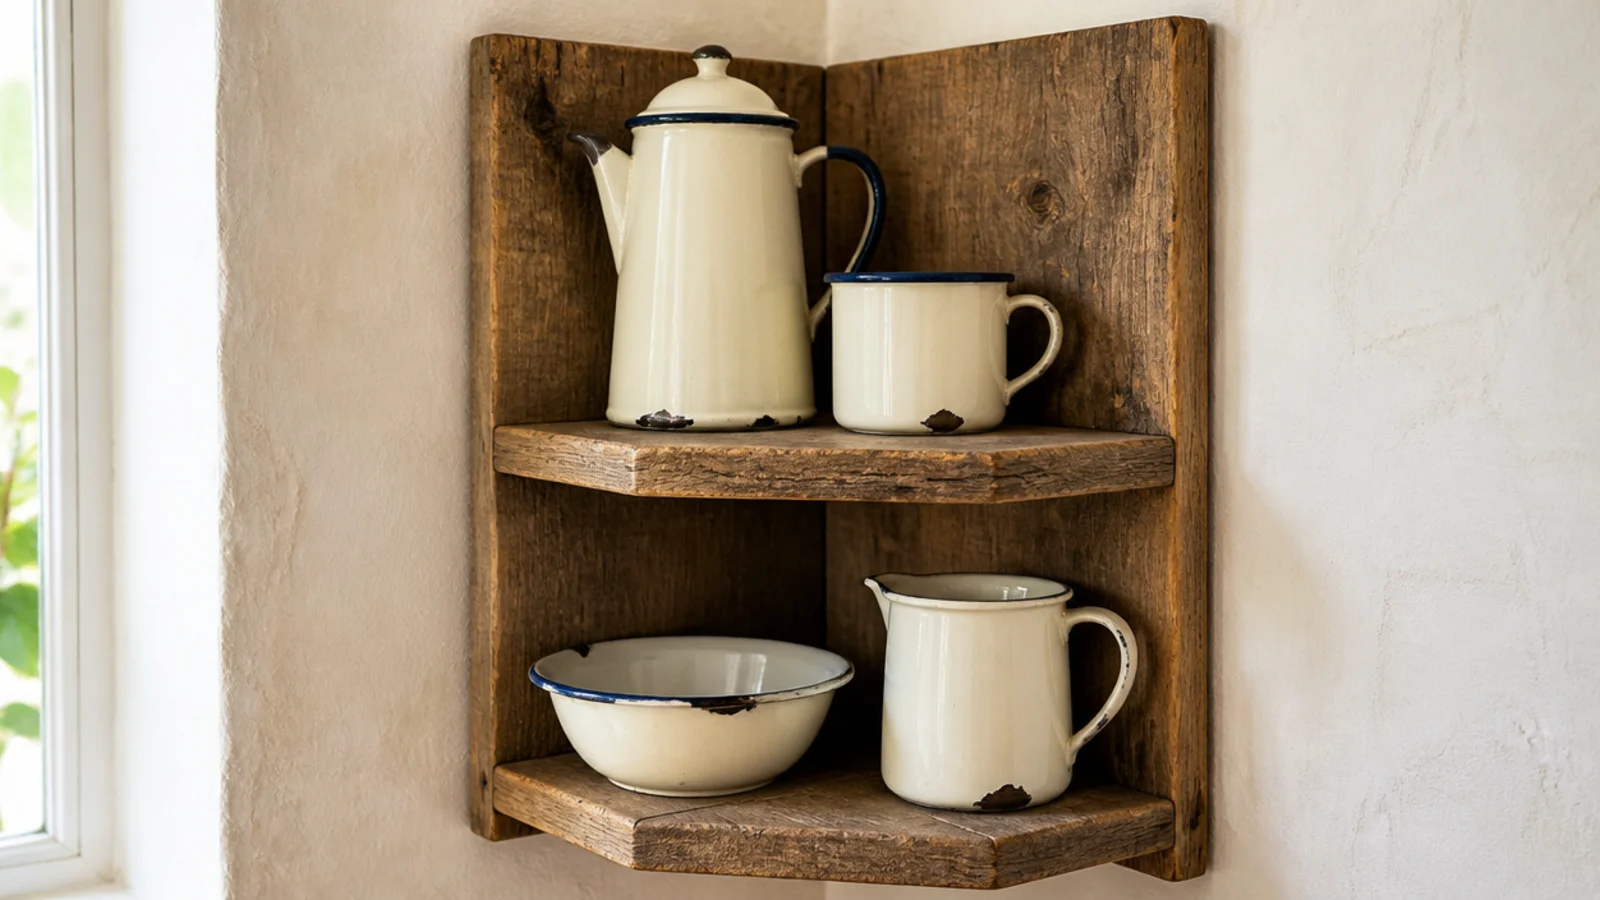
22. Enamelware grouped in one color
Enamel jugs, bowls and mugs in one colour family, mixed shapes, chips left alone. The chips are the point — repaired enamelware looks wrong.
Group at least three pieces together. Individual enamel objects scattered across shelves read as random; grouped, they read as a collection. $
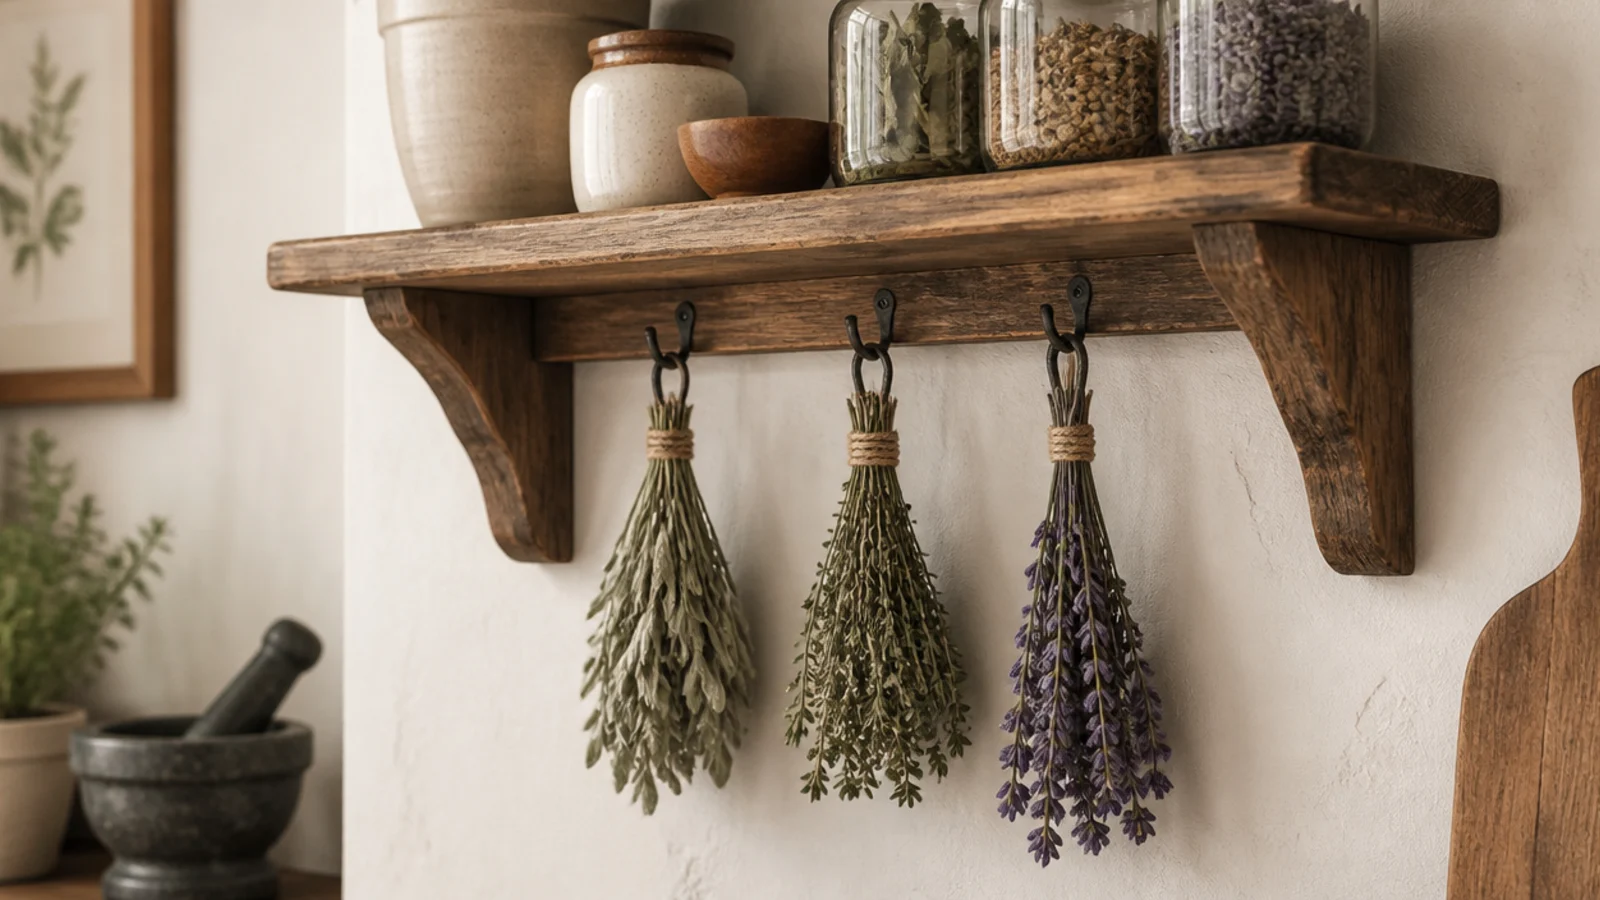
23. Dried herbs hanging beneath the shelf
Three small bunches hung stem-up from hooks under a kitchen shelf gives you scent, texture and a use for the underside of the board.
Keep them out of direct sunlight, which bleaches them within weeks. Replace annually — herbs past a year look dusty rather than rustic. $
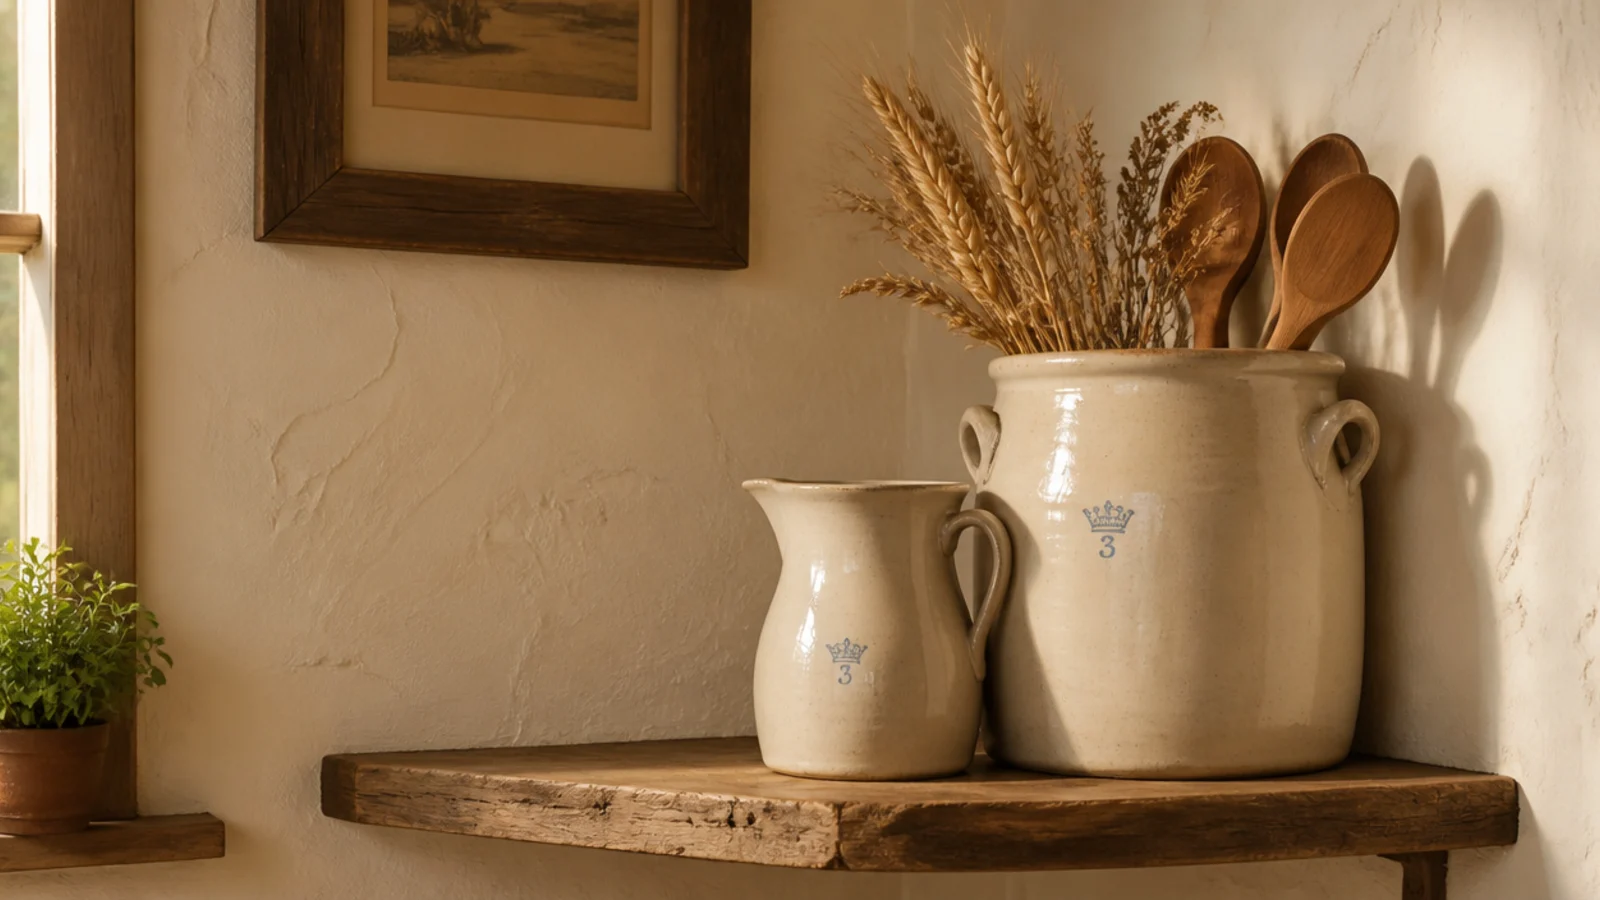
24. A crock and pitcher as the anchor pair
A large stoneware crock with wooden spoons in it, plus a matching pitcher, anchors a rustic corner the way nothing small can.
Put them on the lowest shelf. Weight low is both a structural rule and a compositional one, and a heavy crock at the base grounds everything above it. $$
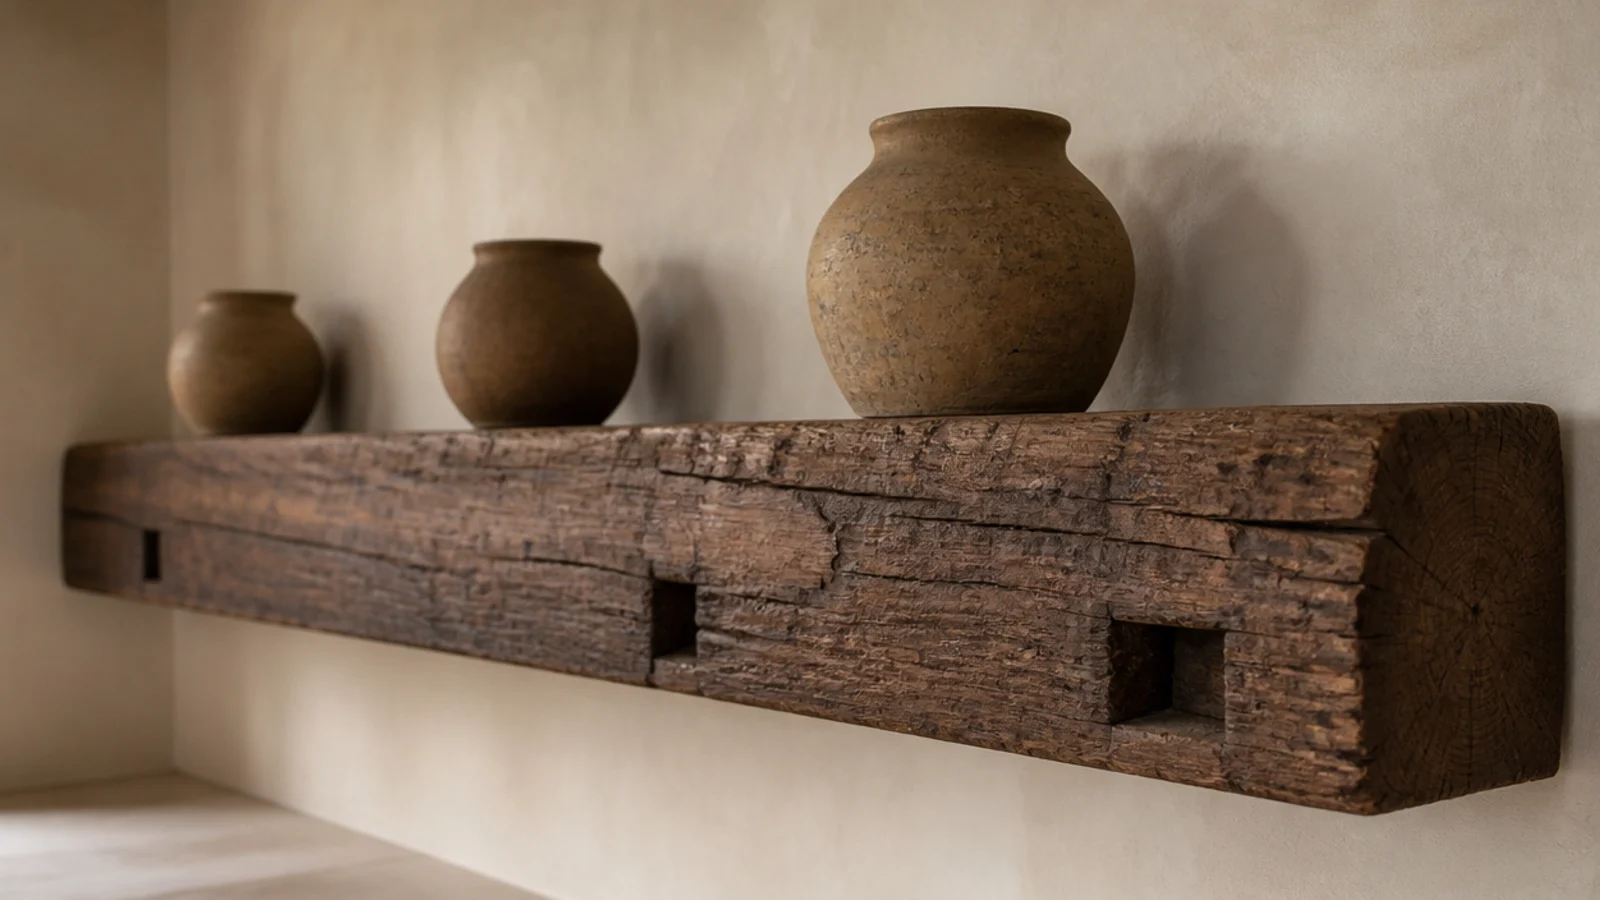
25. A single reclaimed beam as one deep shelf
One thick beam with old adze marks and mortise pockets, mounted as a single deep shelf, is the most confident version of this whole list.
Style it with three widely spaced objects and nothing else. A beam this substantial is the focal point; loading it up buries the thing you went to the trouble of finding. $$–$$$
Mistakes to Skip
- Distressing new wood evenly across the whole face. Real wear happens at edges and around fixings, and even distressing is the single clearest tell.
- Using untested pallet wood indoors. Check for the HT stamp; MB-marked pallets were fumigated with methyl bromide and do not belong in a home.
- Filling the nail holes in a reclaimed board. Those holes are the provenance — filling them leaves you with an expensive board that just looks damaged.
Frequently asked questions
Where do I find reclaimed wood for rustic corner shelves?
Architectural salvage yards, demolition sales, Facebook Marketplace and scaffolding suppliers selling retired boards. Scaffold boards are the most reliable source — consistent thickness, genuinely weathered, and usually $10 to $20 a board. Avoid anything painted before 1978 unless you can confirm it is lead-free, and check every board with a magnet for hidden fasteners.
Is pallet wood safe to use for shelves?
Only heat-treated pallets, marked HT on the stamp. Pallets marked MB were treated with methyl bromide, a fumigant you do not want indoors. Even with HT wood, sand and seal it — pallets sit on warehouse floors and in loading yards, so the surface carries whatever was there. Many pallets are also too thin and knotty to span more than 18 inches.
How do I make new wood look rustic without it looking fake?
Wear it where a real shelf would wear: the front edge, the corners, and around any fixing. Distressing evenly across the whole face is what makes new wood look costumed. A wire brush along the grain to raise the texture, then a dark wax rubbed in and buffed back, gets you far closer than any distressing kit.
What brackets suit rustic corner shelves?
Black cast iron, forged steel, or plain galvanised pipe fittings. All three are honest materials that age rather than degrade. Avoid anything with a fake-antique painted finish — it chips to reveal bright steel underneath and immediately reads as costume. Iron brackets also carry more than most decorative brackets, which suits heavier reclaimed boards.
How thick should a rustic shelf board be?
An inch and a half or more, which is why scaffold boards and barn beams suit the look so well. Thin rustic boards look flimsy rather than characterful, because part of what reads as rustic is visible mass. If the board you have is thin, add a strip under the front edge to double the apparent thickness.
Can rustic corner shelves work in a modern room?
Yes, and they usually look better there than in a fully themed room. One reclaimed board in a room of clean plaster and painted walls reads as a considered contrast. Fifteen rustic elements together read as a set. The rule is roughly one strongly rustic material per room, doing the work of a focal point.
Buy one genuinely good board rather than three mediocre ones — a single reclaimed shelf carries a corner, and it is far cheaper than a room full of distressed accessories. For placement see fifteen corner shelf ideas, for species and finishes see wooden corner shelves, and the same reclaimed boards work beautifully in a kitchen in rustic kitchen shelves. Save the pin for the salvage yard.
Want more like this? Browse all 15 corner shelf ideas guides — they all use the same measurements and budget tiers.
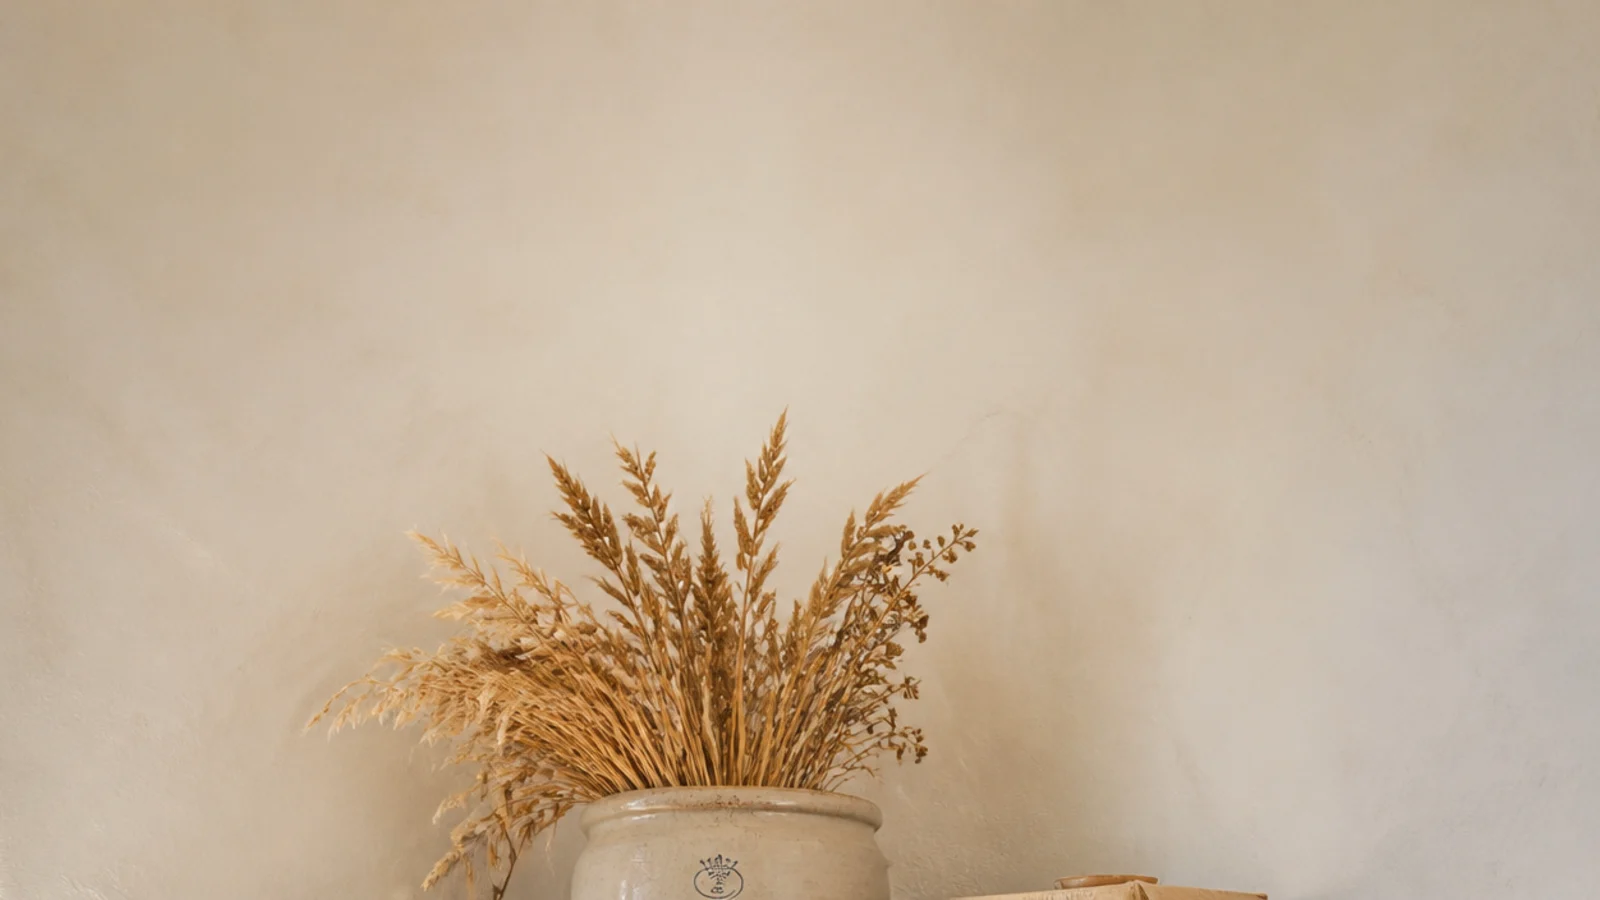
Pin it for later
Save this to your Corner Shelf Ideas board
Pin it now so it is waiting for you when the tape measure comes out — and so the next person hunting for this idea can find it too.
Save this pinKeep going
More ideas worth saving while you have the tape measure out.