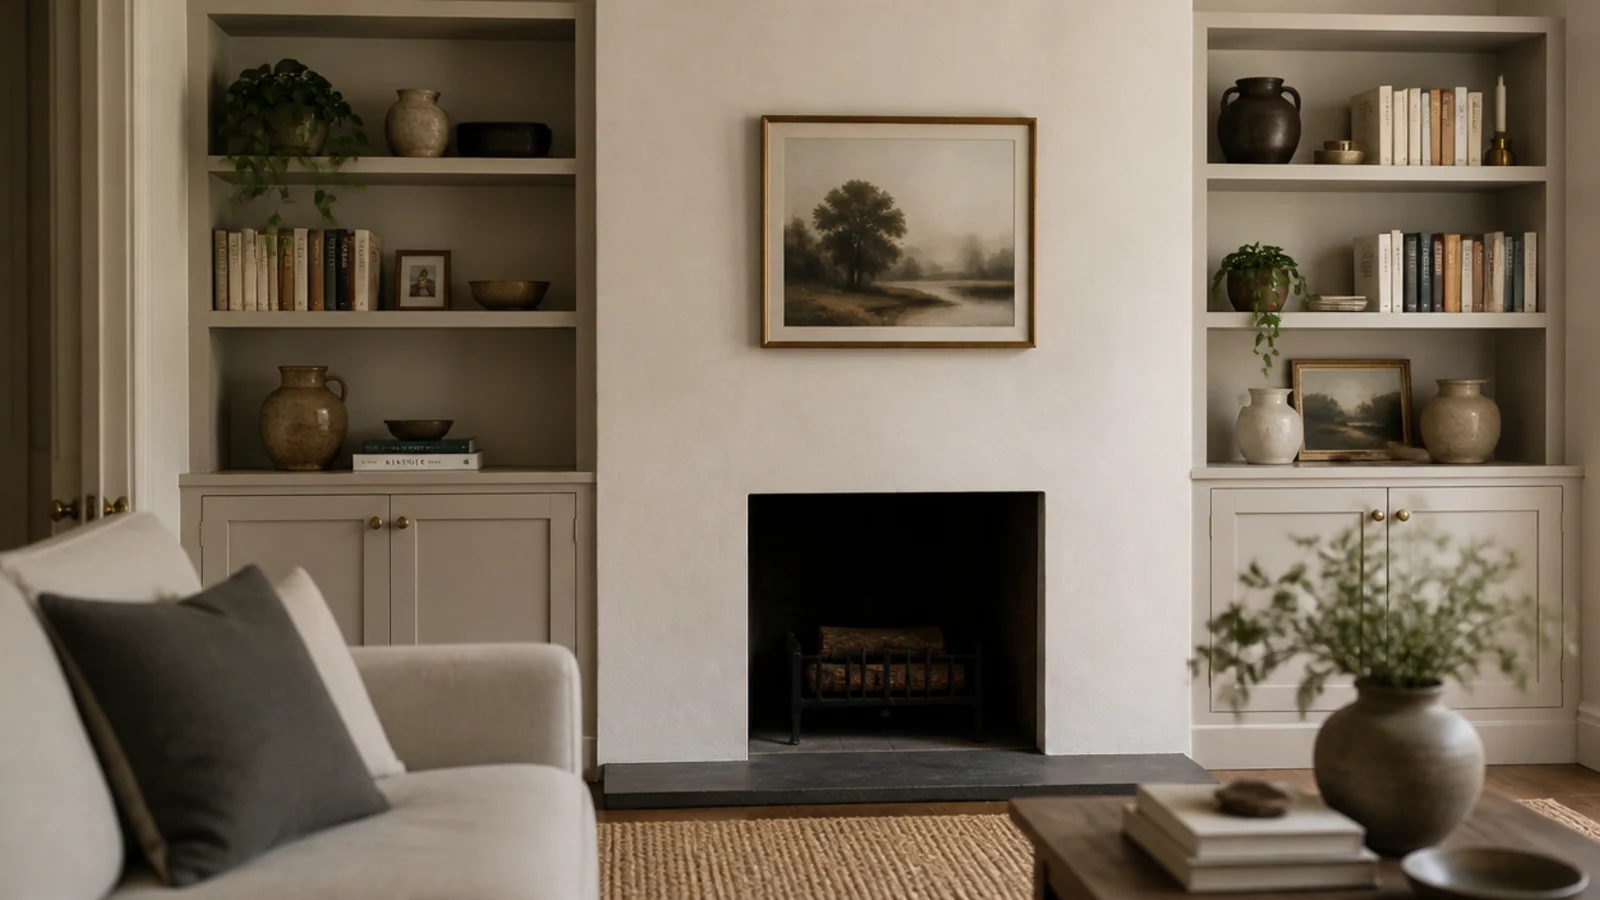
Living Room Built-In Shelves · Listicle
20 Genius Living Room Built-Ins Ideas for a Cozy Home

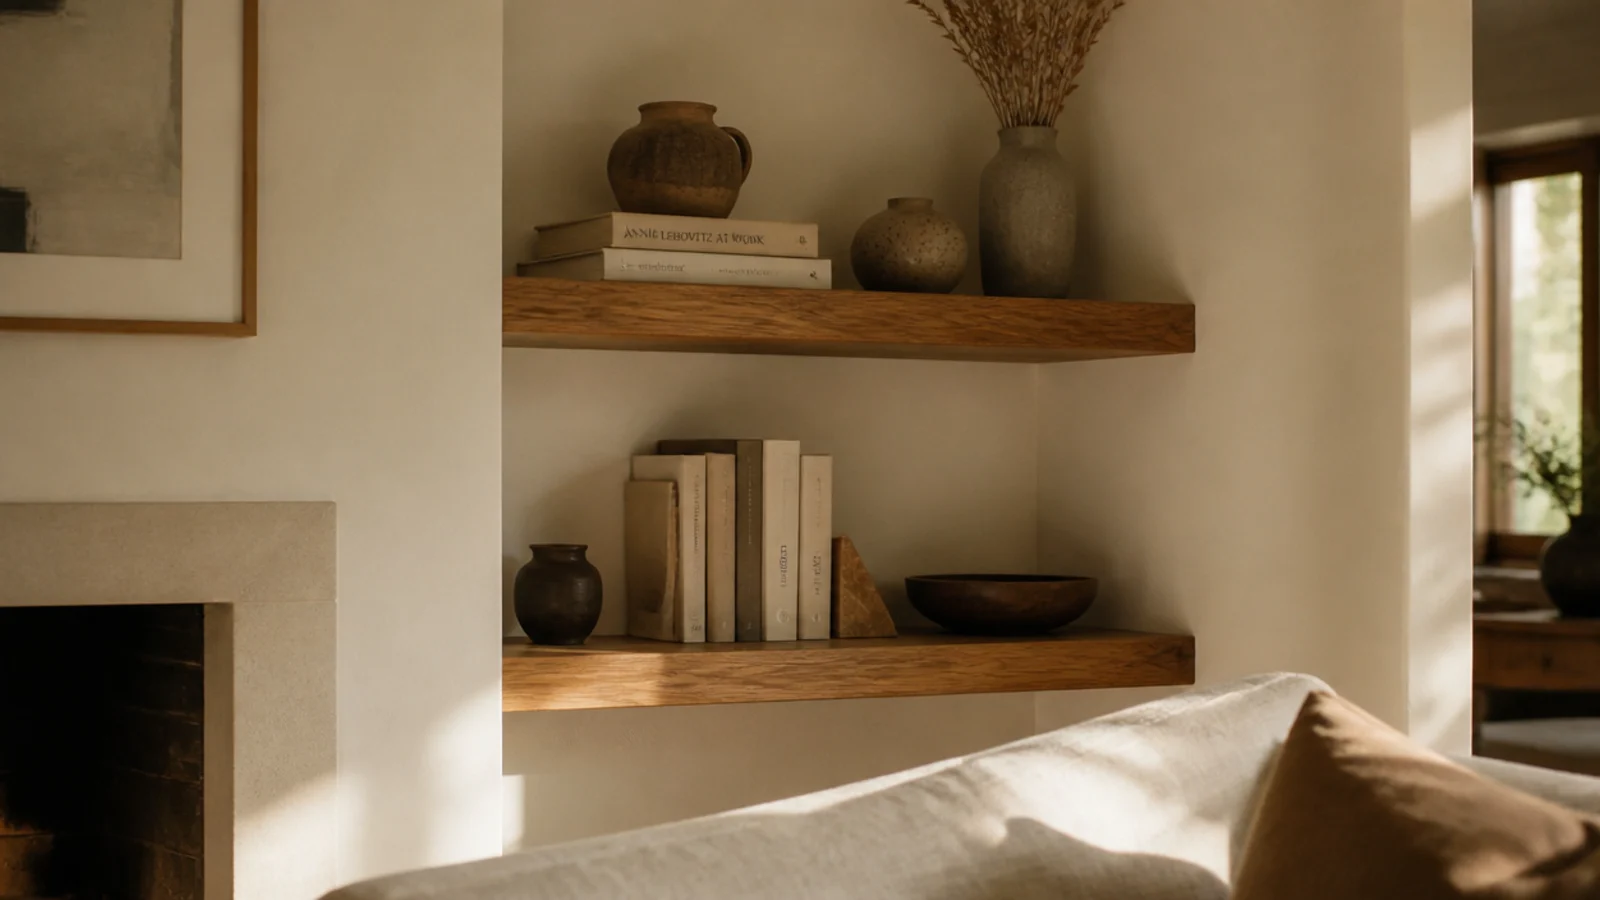
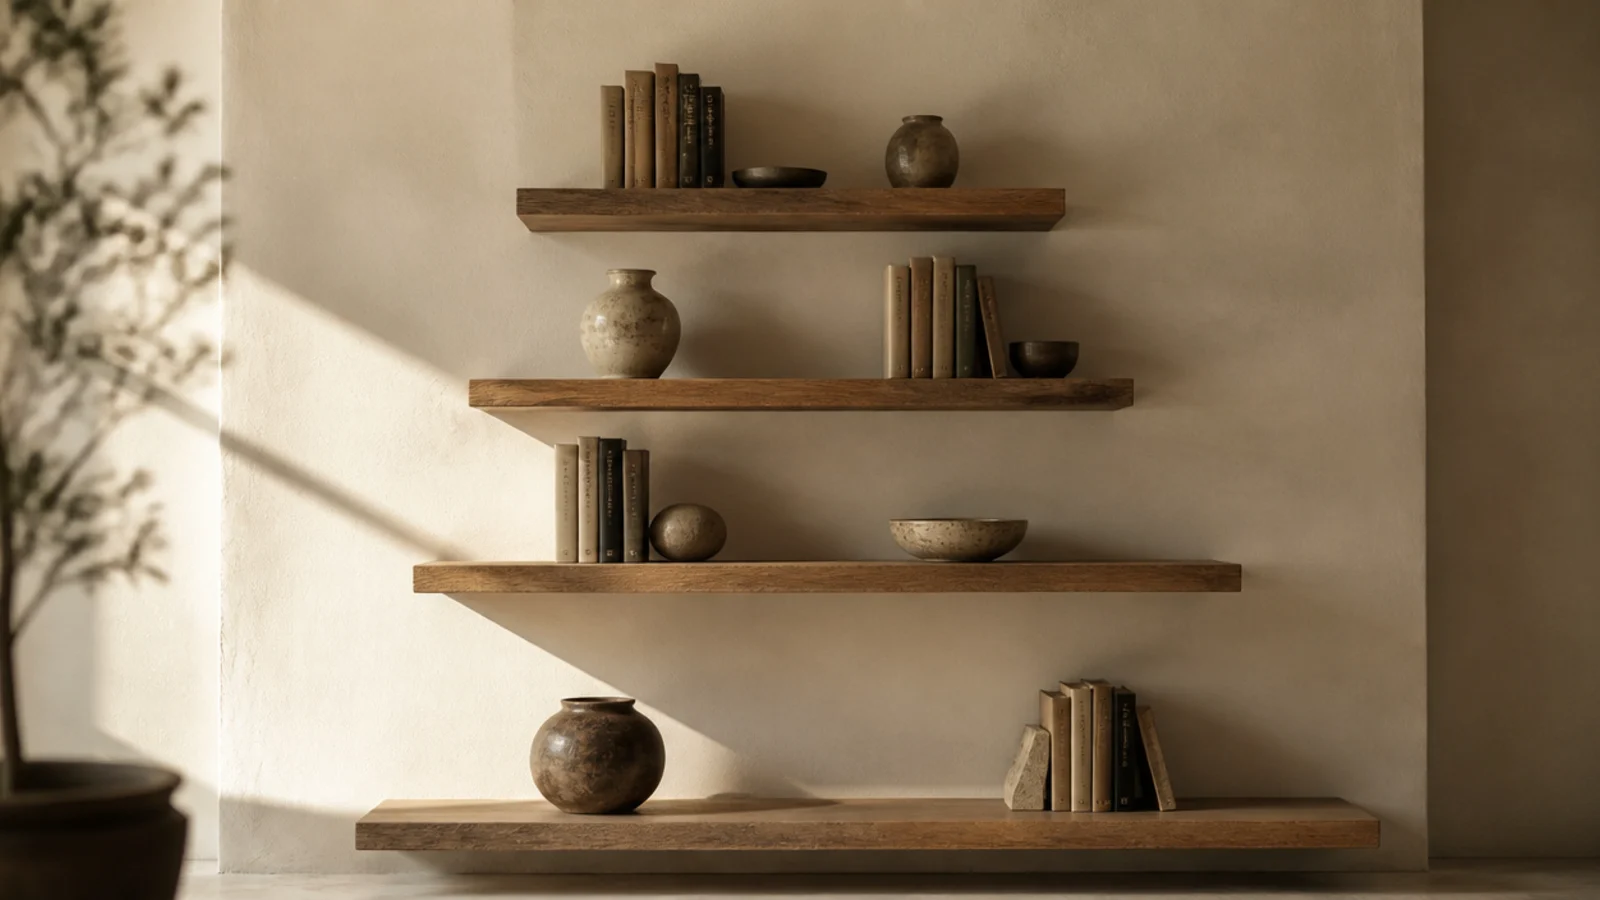
Floating built-in shelves are the trick that makes a wall look like it was always this way. No brackets, no visible hardware, just a slab that appears to grow out of the plaster. I have built them on hidden steel rods, on french cleats and as plywood torsion boxes, and the difference between one that looks custom and one that sags comes down to about four numbers. Here are twenty ways to use them, with those numbers attached.
In this guide22 sections — tap to openHide
- 1.Where floating built-in shelves work and where they do not
- 2.Alcove floaters on hidden steel rods
- 3.Build the shelf as a 2-inch torsion box
- 4.Floating shelves above a low media cabinet
- 5.Staggered floaters that turn a corner
- 6.One full-width floating slab used as a mantel
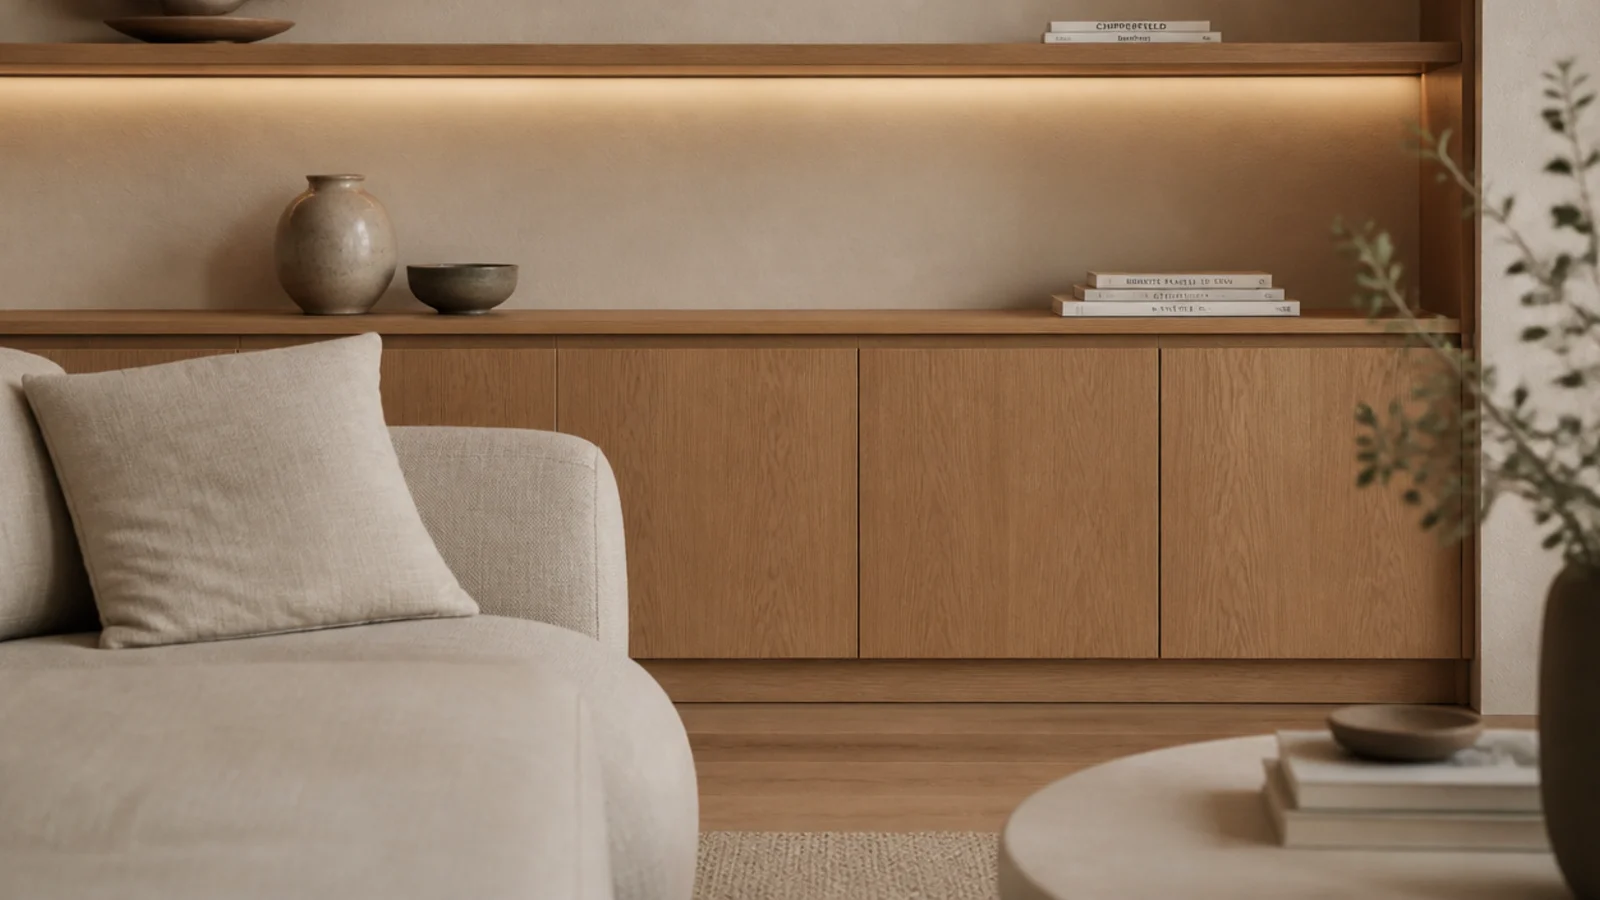
- 7.An LED strip routed into the underside
- 8.A shadow gap where the shelf meets the wall
- 9.Wall-to-wall floaters in a narrow alcove
- 10.A floating desk nook that clears the floor
- 11.A floater above the radiator
- 12.A thick solid oak slab as the only shelf
- 13.Floaters painted the exact wall color
- 14.A floating picture ledge with a front lip
- 15.Floaters flanking a window
- 16.A floating drop zone with hooks below
- 17.Two long floaters above the sofa
- 18.A floating shelf built for a turntable
- 19.The renter version on a french cleat
- 20.A floater with an integrated back panel
- 21.The spacing rules that make a stack look deliberate
- 22.Mistakes to Skip
Where floating built-in shelves work and where they do not
A floating shelf carries its load in cantilever, so everything depends on what is buried inside it and what that hardware is screwed into. Hidden rod brackets are typically 1/2-inch steel set into holes drilled 4 to 5 inches deep into the back edge, with the plate screwed to studs at 16-inch centers. Miss a stud and the shelf pulls out of the drywall the first time somebody leans on it.
Depth next. Eleven to twelve inches handles books. Go to 14 to 16 inches only if the shelf has to carry baskets or media gear, and expect the leverage on the fixings to roughly double. A 3/4-inch plywood shelf sags past a 32-inch span, so either glue a solid 1x2 lip along the front edge or build the shelf as a hollow torsion box, which is what gives a floater its stiffness in the first place.
Budget honestly. $ is $150 to $400 to trim in stock bookcases or build one floating slab per alcove. $$ is $500 to $1,200 in materials for a plywood alcove build with doors below. $$$ is $2,500 to $6,000 and up for a cabinetmaker-built wall. Whatever tier you land in, paint the result the same color as the wall or the trim so it reads as architecture rather than furniture.
1. Alcove floaters on hidden steel rods
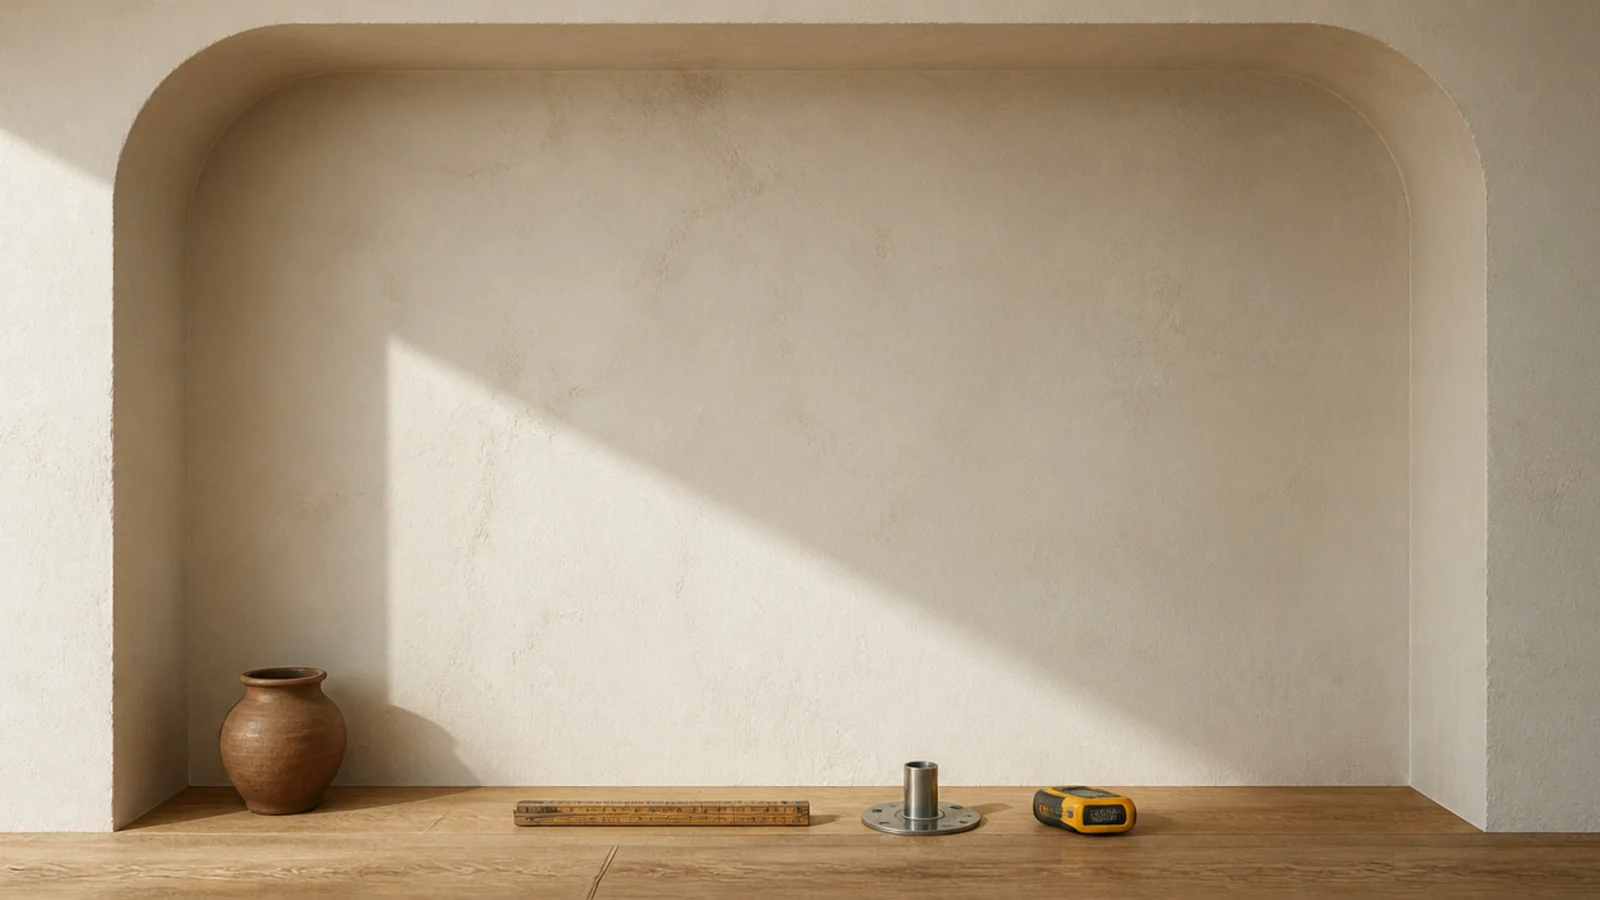
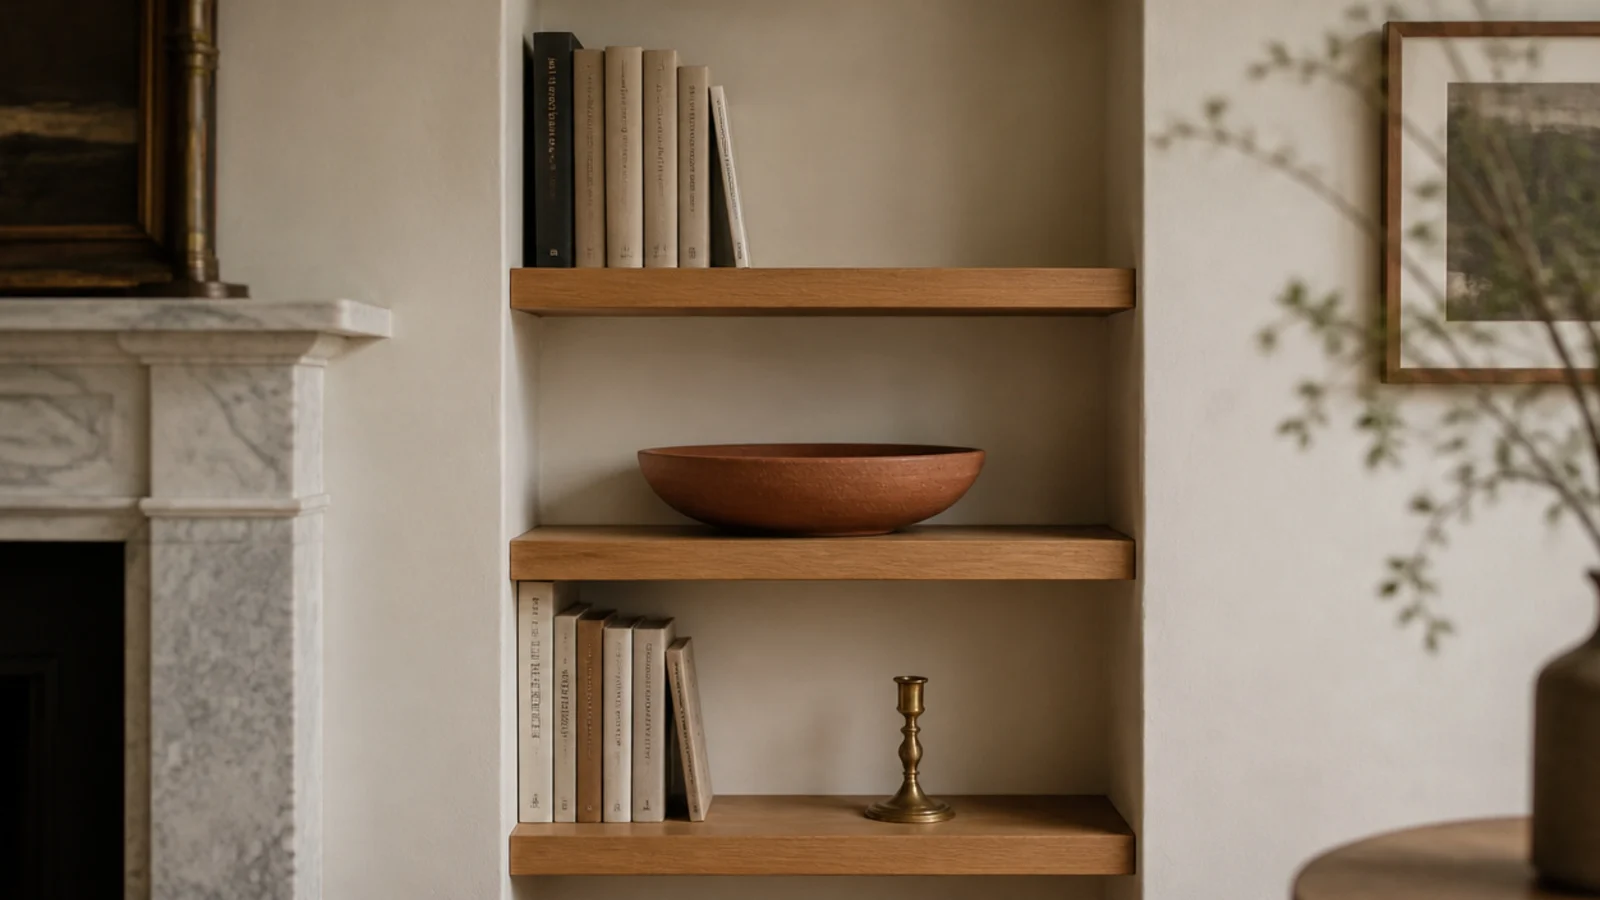
The alcoves beside a chimney breast usually run 24 to 40 inches wide, which is exactly the span a hidden rod bracket handles without complaint. Drill the back edge 4 to 5 inches deep for 1/2-inch steel rods, catch two studs with the plate, and keep the shelf 11 to 12 inches deep for books. Solid oak or a torsion box, nothing thinner than 2 inches finished. Budget $: around $180 in oak and hardware for a pair. The wall does all the work and you see none of it.
2. Build the shelf as a 2-inch torsion box
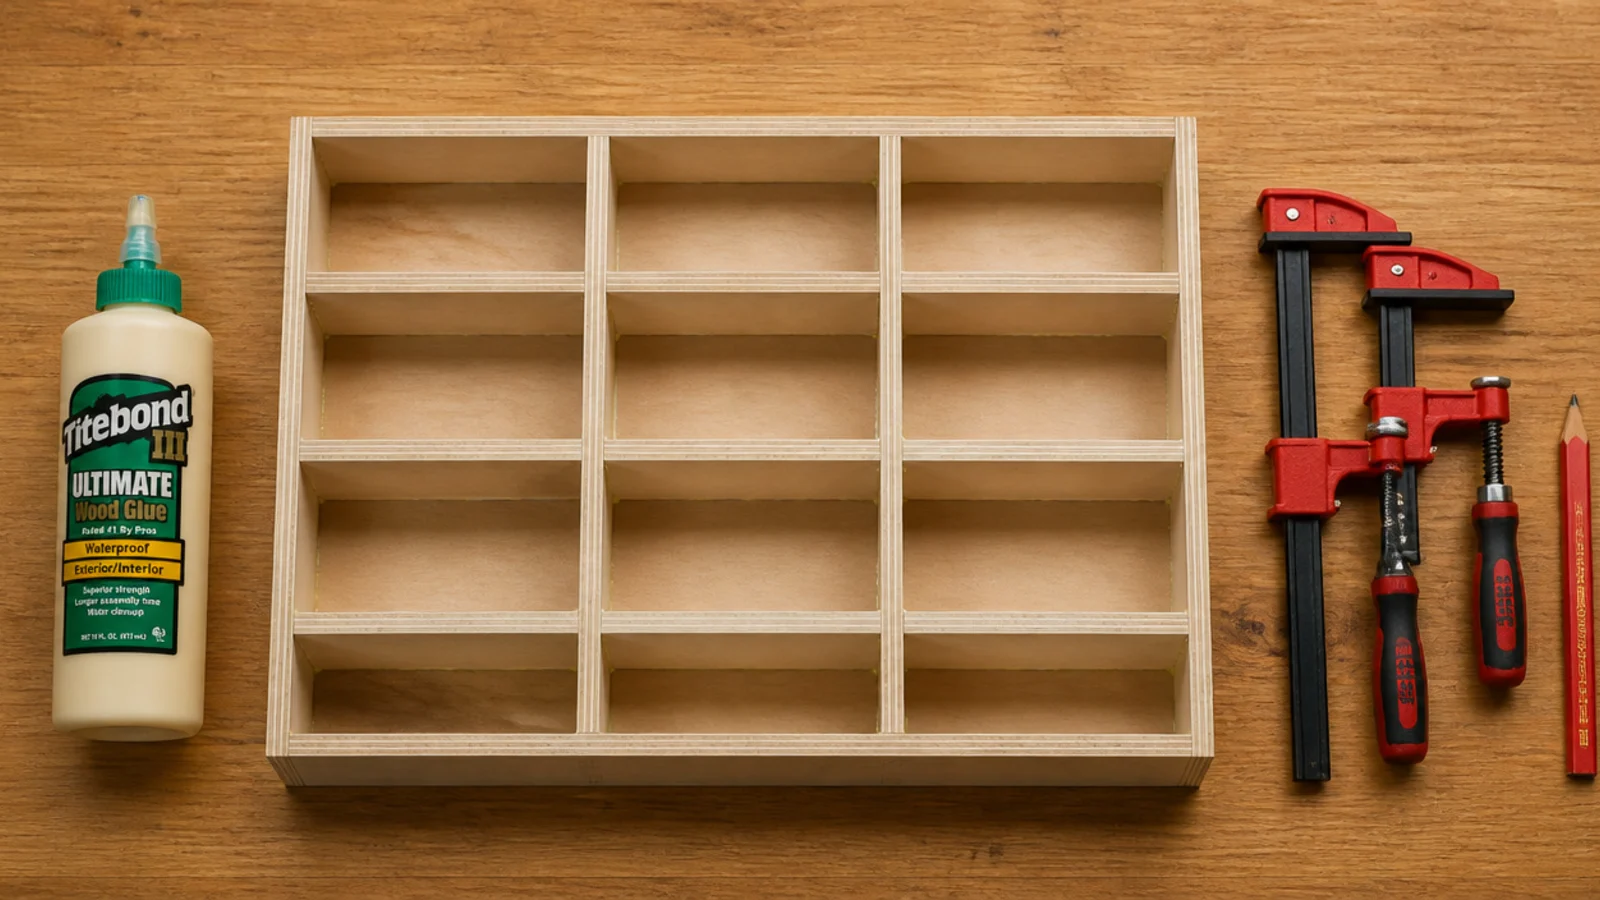
A torsion box is two skins of 1/2-inch plywood over an internal grid of 3/4-inch strips, glued and clamped. Finished at 2 to 2.5 inches thick it is dramatically stiffer than a solid board of the same weight, and the hollow center is exactly where the rods or the cleat live. Leave the back edge open until the hardware is drilled. One 4x8 sheet yields three 36-inch shelves for about $75, and the full step-by-step built-in build covers the glue-up.
3. Floating shelves above a low media cabinet
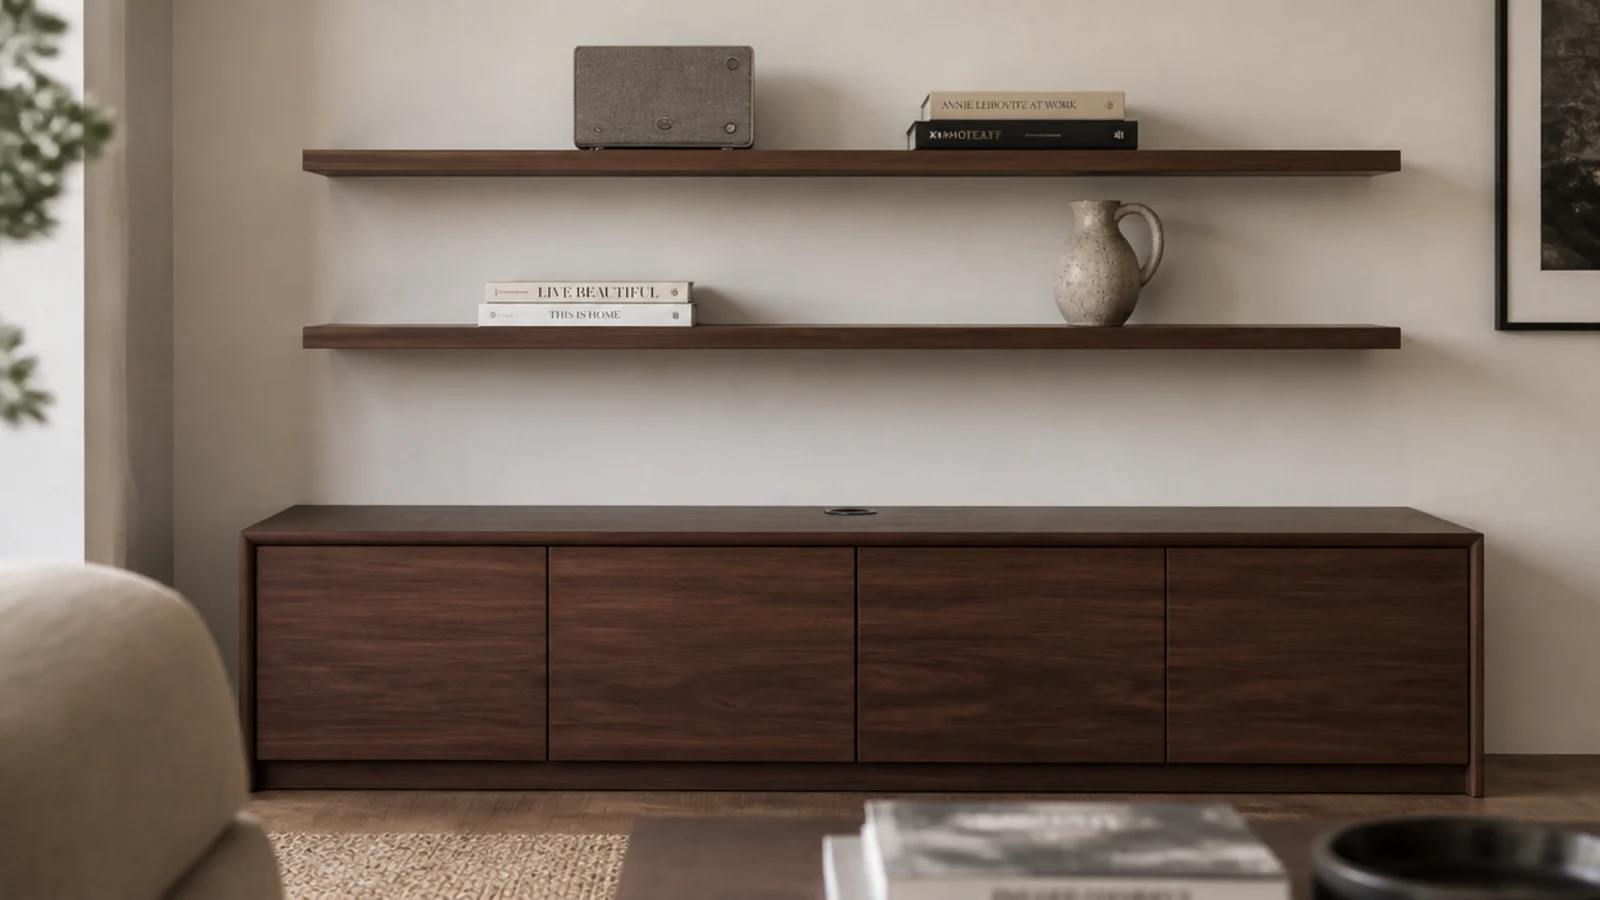
Put the storage that has doors at the bottom and let everything above it float. A 30-inch high cabinet swallows the router, the console and the cable mess, then two floating shelves at 14 inches and 27 inches of clear space above it carry speakers and books. Make the lower shelf 14 to 16 inches deep for gear and the upper one 11 inches. Drill a 2-inch grommet hole at the back before you finish the shelf — retrofitting one later is miserable work.
4. Staggered floaters that turn a corner
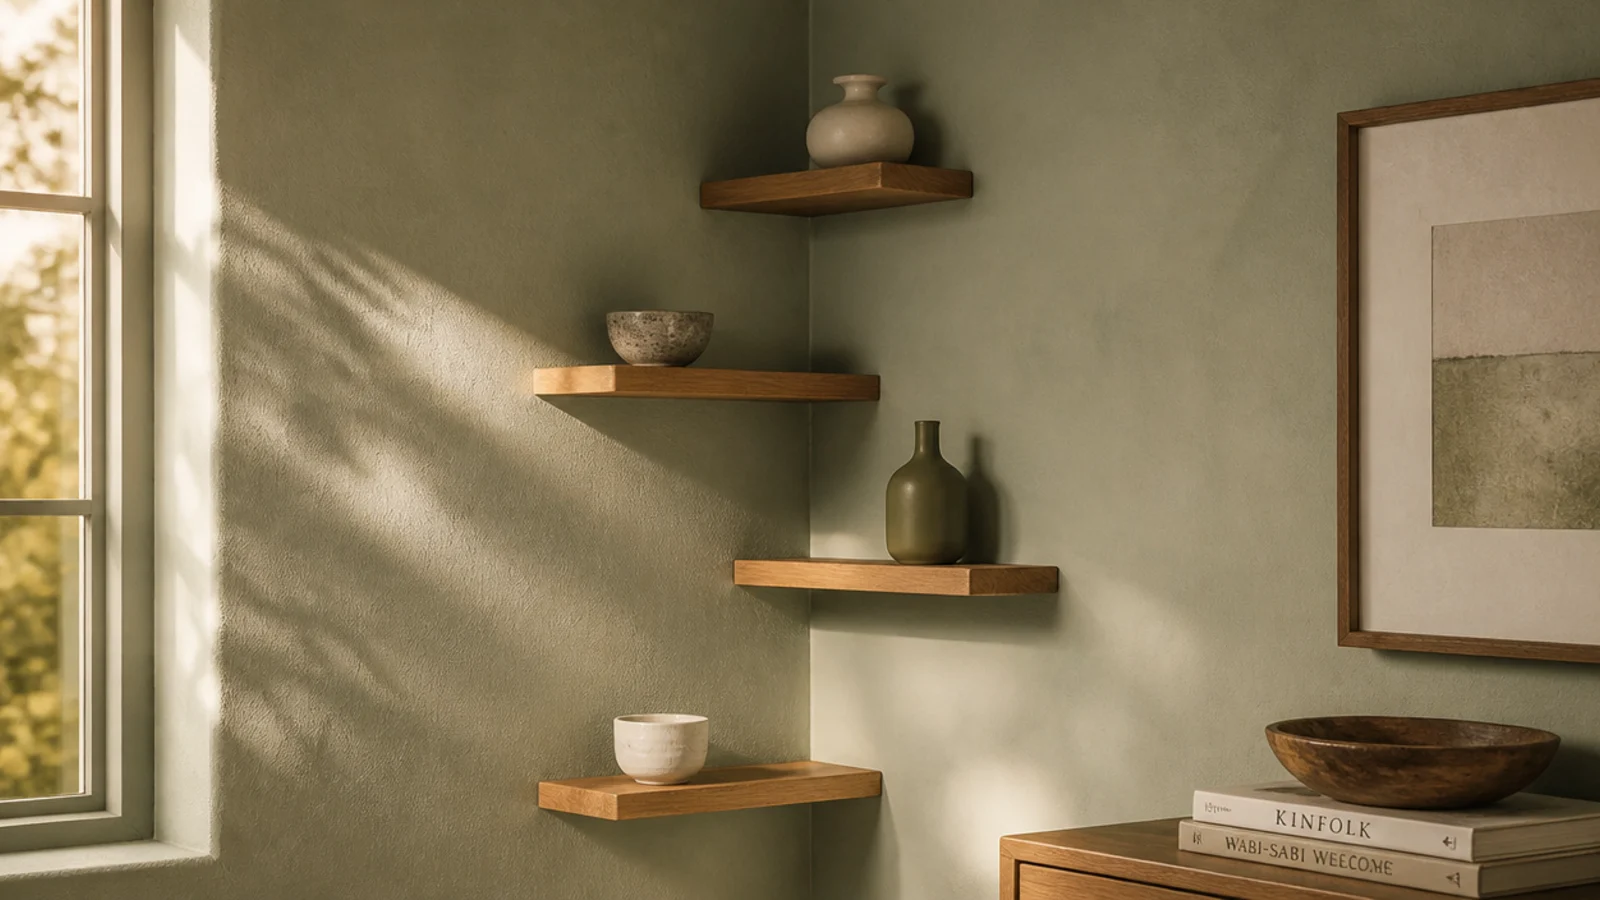
Where two walls meet, run short shelves at different heights on each side instead of butting them into a mitered corner. Mitered floating corners open up as the wood moves, and that gap is the first thing anyone notices. I stagger four shelves 18 to 24 inches long with 13 inches of clear space between levels, alternating walls as they climb, deepest shelf lowest. In a modest room this reads as sculpture rather than storage and costs under $200 in oak.
5. One full-width floating slab used as a mantel
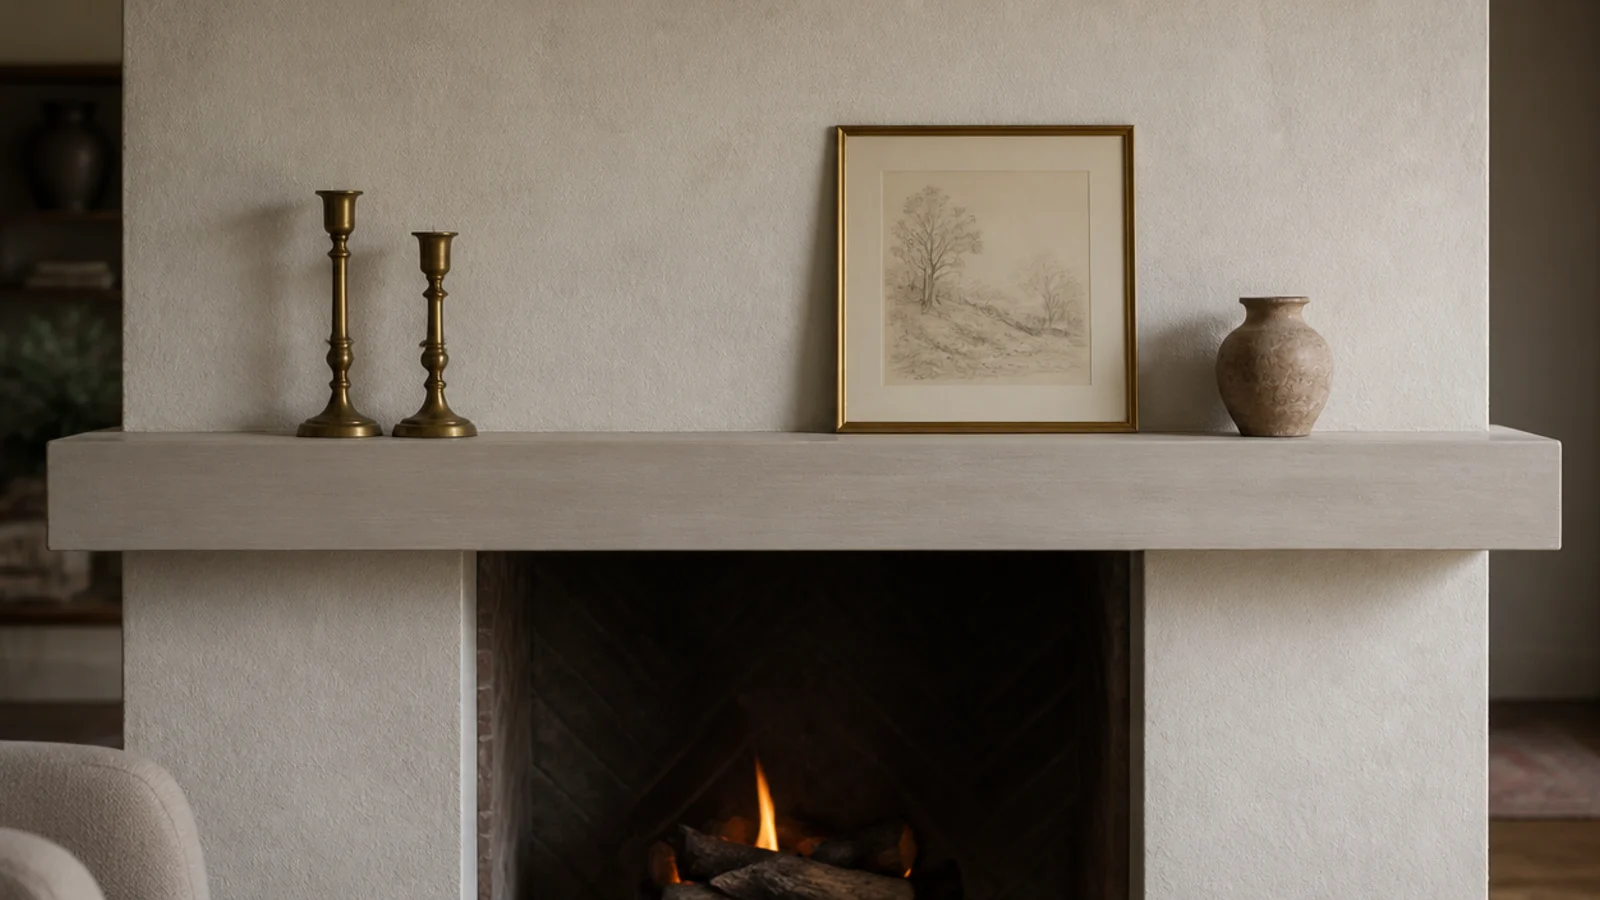
A single slab 4 to 5 inches thick spanning the full width of a chimney breast reads as a mantel and a shelf at once. Keep the underside at least 6 inches above the firebox opening and follow the appliance clearance label, because some gas units want considerably more. Support it on 1/2-inch rods sunk 5 inches into the masonry with epoxy anchors, never drywall fixings. Solid oak at 8 to 9 inches deep, so a loaded stocking hook cannot tip it forward.
6. An LED strip routed into the underside
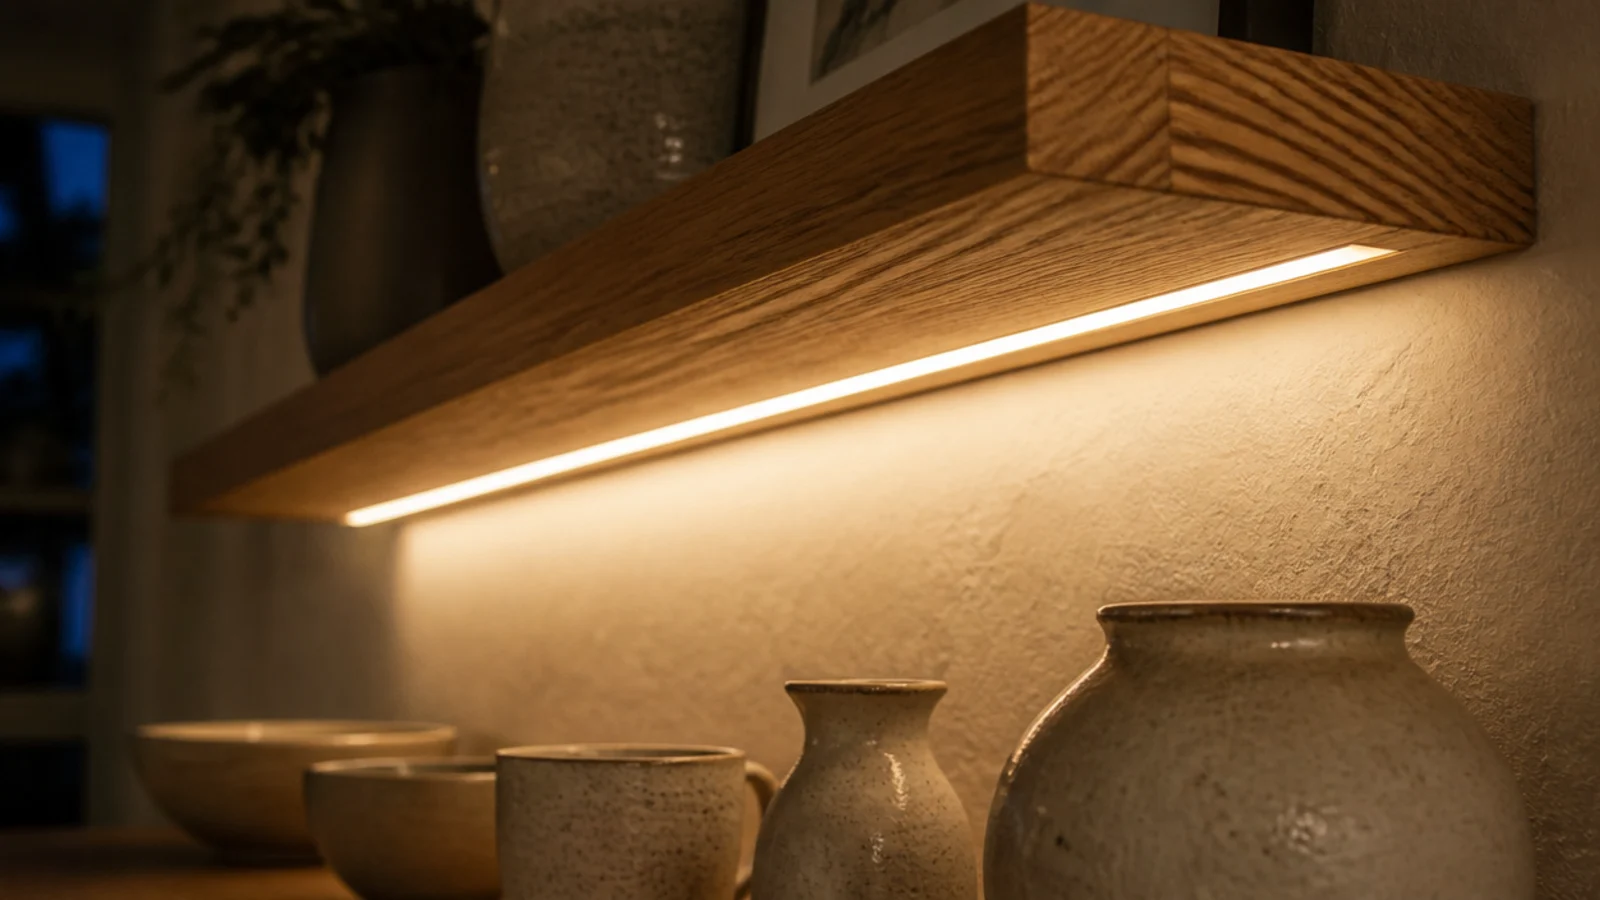
Rout a 1/2-inch groove along the underside of the shelf about an inch back from the front edge and drop in a 24V dimmable LED strip with a frosted diffuser. Run the wire out the back into the wall cavity before the shelf goes up. At 24V a six foot run stays even end to end, and dimmable means it can sit at ten percent as evening light. The driver hides in the cabinet below. Adds roughly $90 to the build.
7. A shadow gap where the shelf meets the wall
Instead of caulking a shelf tight to a side wall, hold it back 1/2 inch and let a deliberate shadow line run down the end. It looks intentional, and more usefully a wall that is 3/8 inch out of plumb never gives itself away. The number one giveaway of a DIY built-in is a gap at the wall or ceiling, so the fix is either scribe and caulk it perfectly or make the gap obviously on purpose. Pick one and commit to it.
8. Wall-to-wall floaters in a narrow alcove
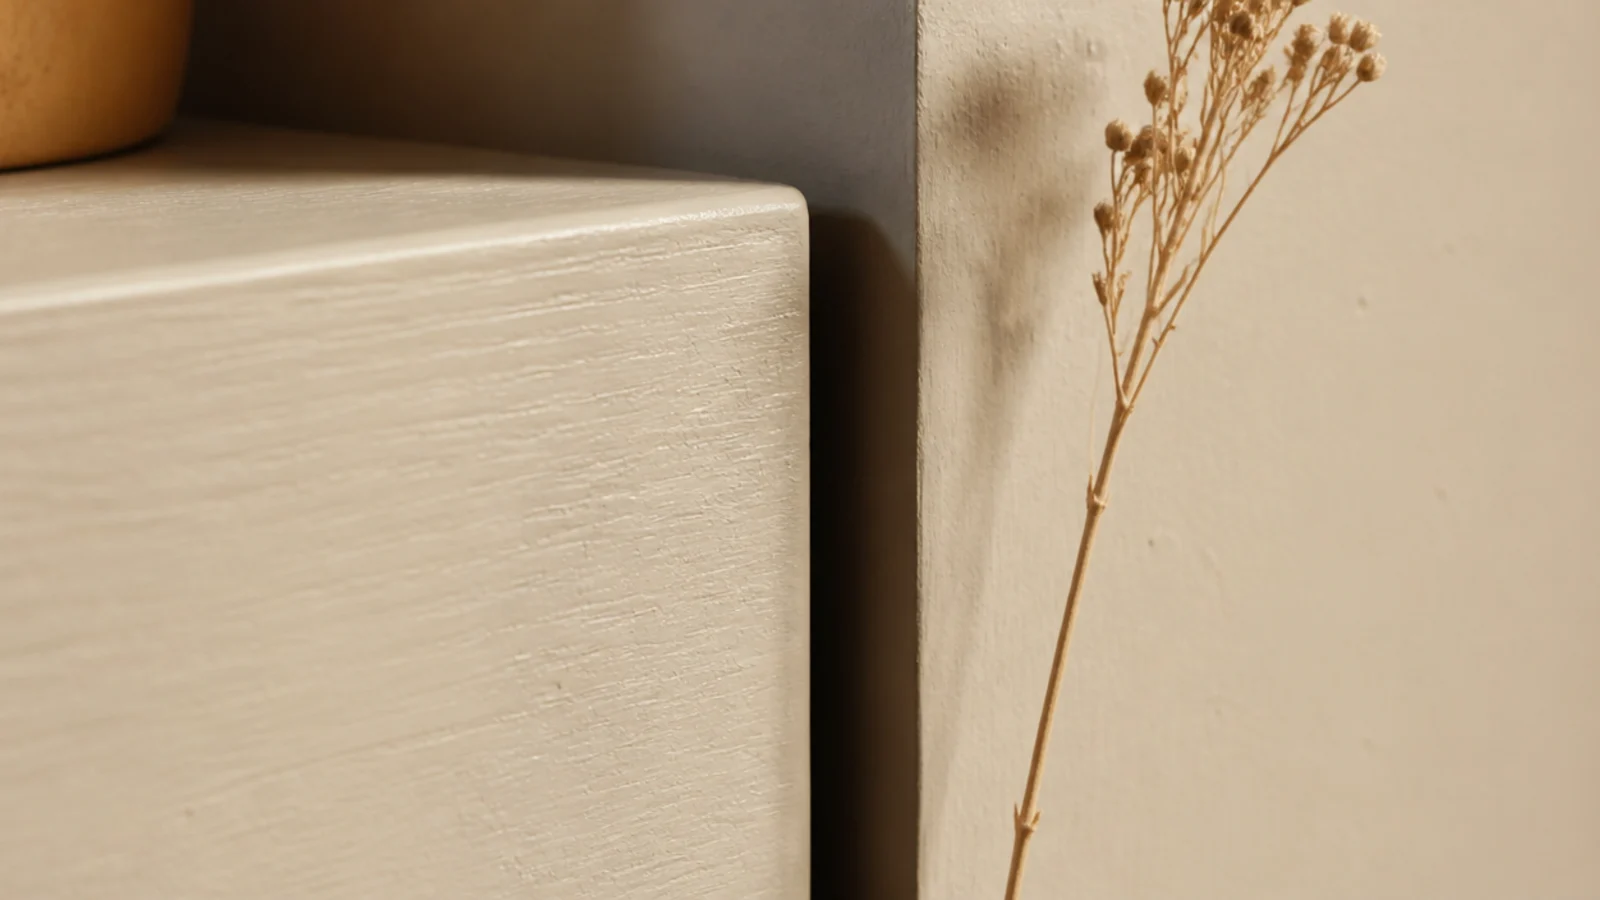
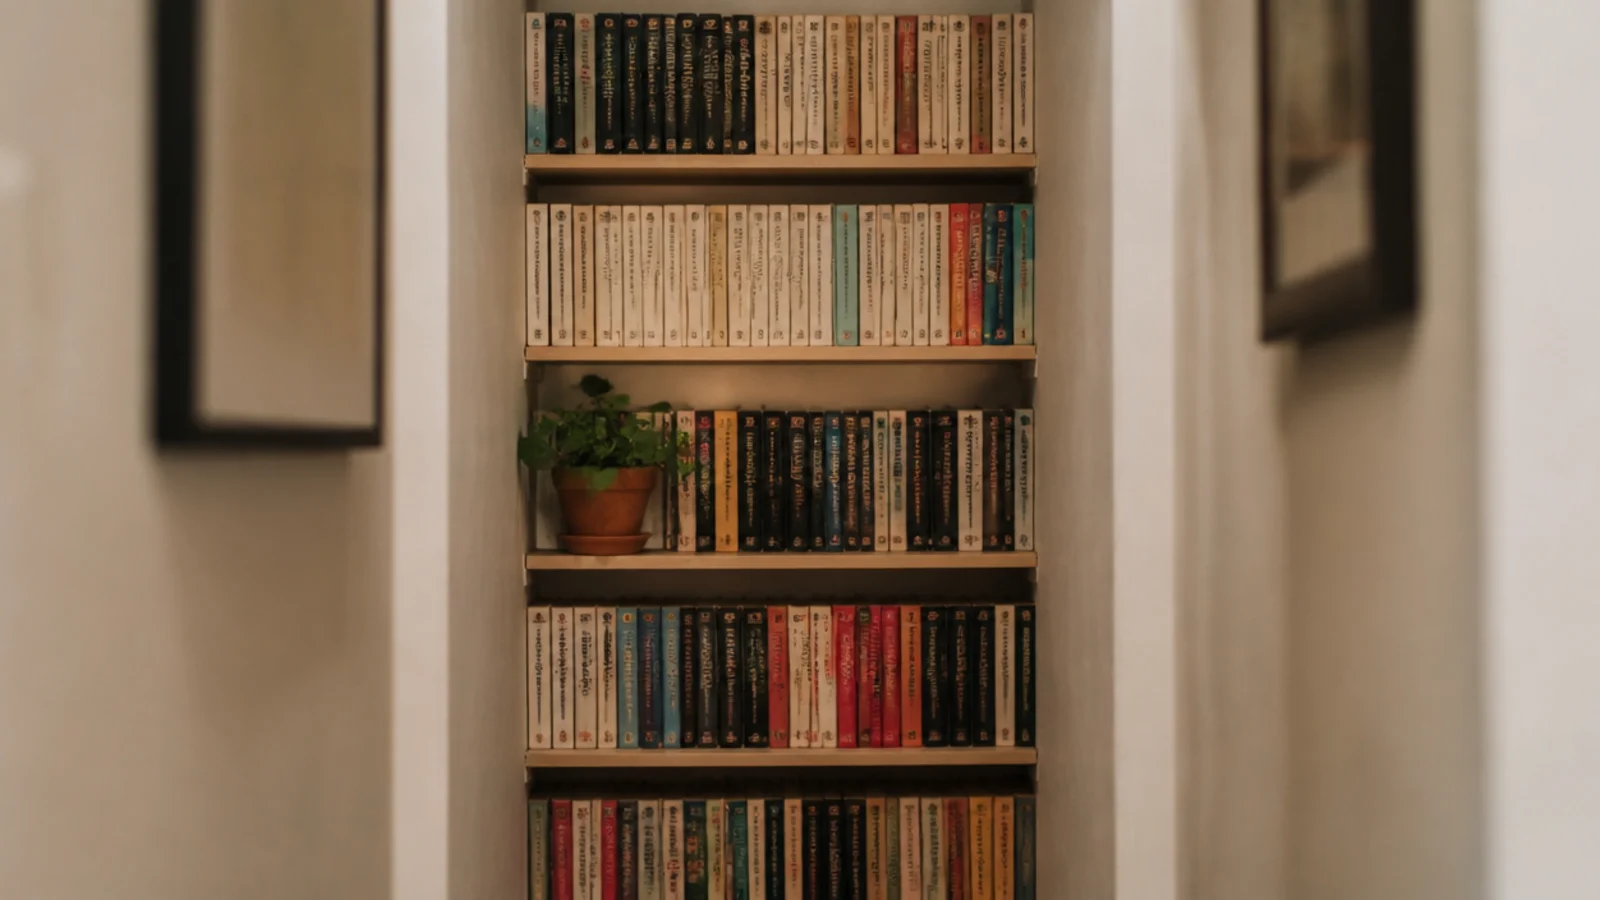
In an alcove 30 inches wide or less, run every shelf the full width and scribe both ends. There is no visible support anywhere, because the cleats hidden inside each shelf screw into the alcove side walls rather than the back. Five shelves at 11 inches deep with 12 inches of clear space between them swallow an entire paperback collection. Scribe with a compass, sand to the line, caulk the hairline with paintable sealant. Materials for the run: about $220, still $.
9. A floating desk nook that clears the floor
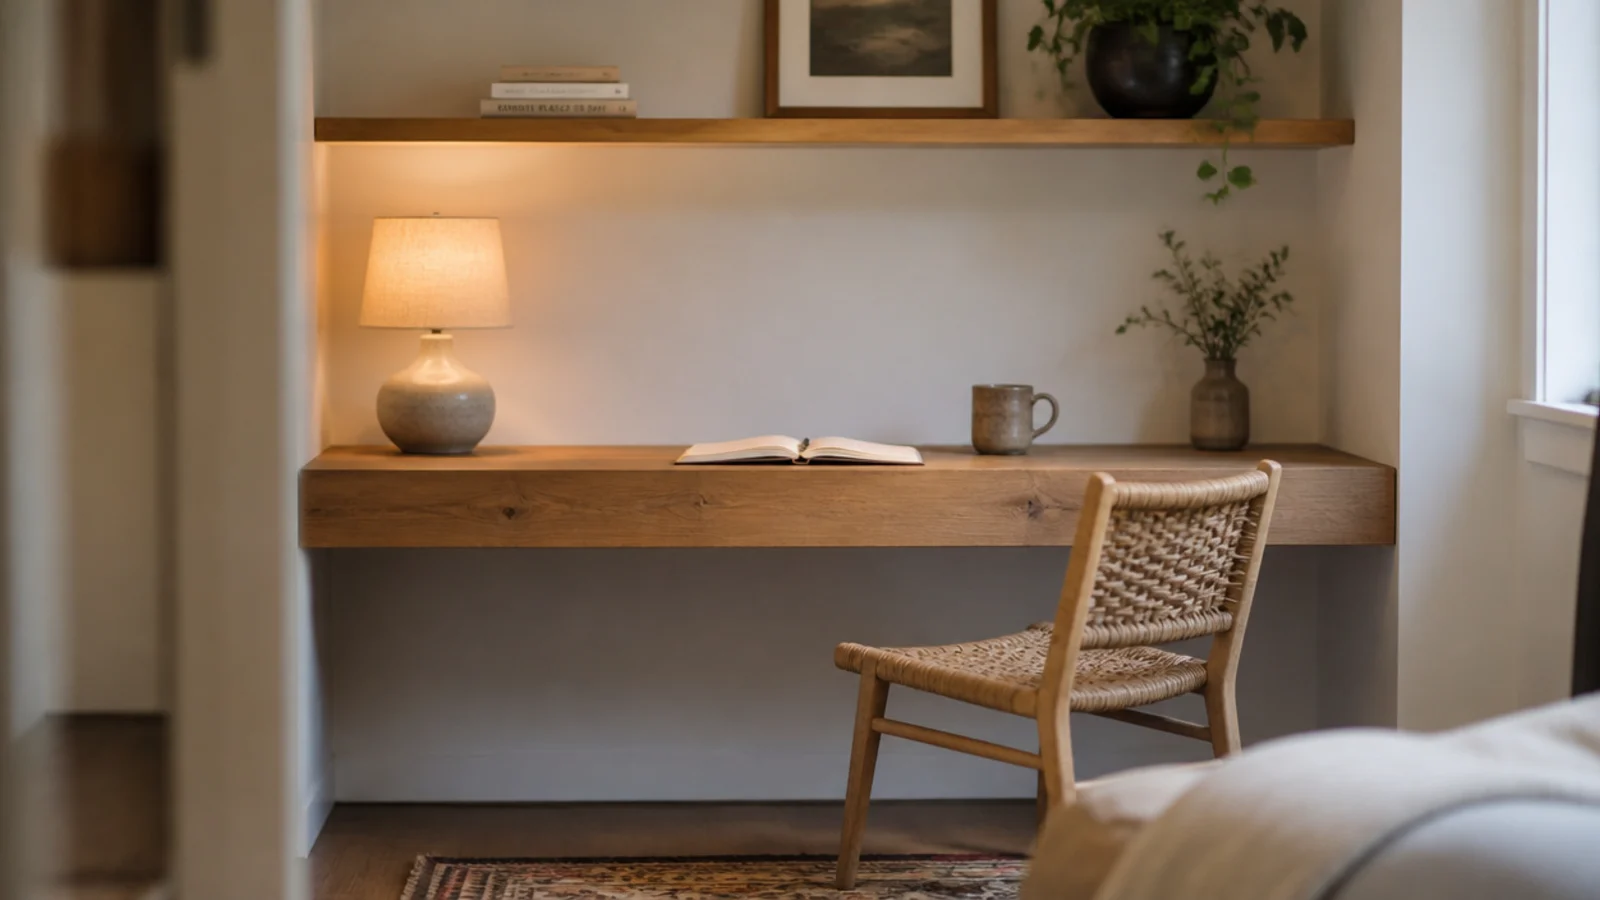
A floating desk is the same build, only wider and deeper. Make the top 24 inches deep and 2.5 inches thick on three 1/2-inch rods into three studs, set at 29 to 30 inches off the floor. Add one floating shelf 16 inches above it at 10 inches deep so a monitor still fits underneath. Nothing touches the floor, so the vacuum goes straight through and the room still reads as a living room rather than an office. Around $300 in materials.
10. A floater above the radiator
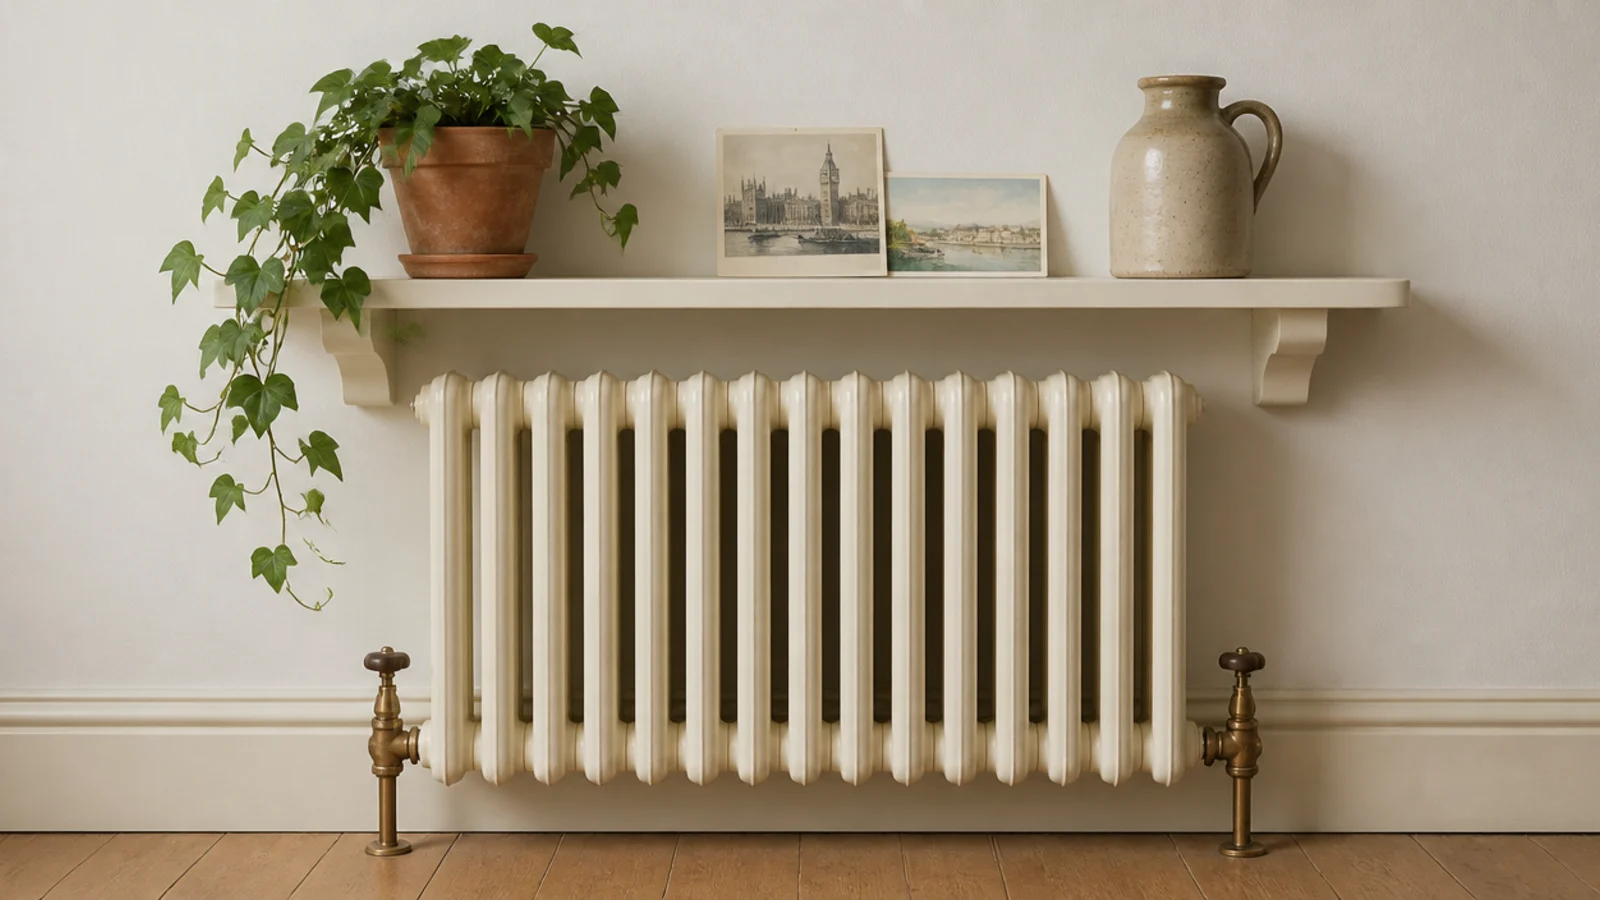
A shelf over a radiator turns an eyesore into a plinth, but leave 4 inches of clear air above the fins so heat still rises. Solid wood or a plywood torsion box only, because laminate edges lift after a couple of heating seasons. Keep the depth to 8 inches so the shelf does not trap the convection current against the wall. Ceramics, framed prints and trailing ivy handle the warmth. Candles and vinyl do not. Renter-safe on a french cleat.
11. A thick solid oak slab as the only shelf
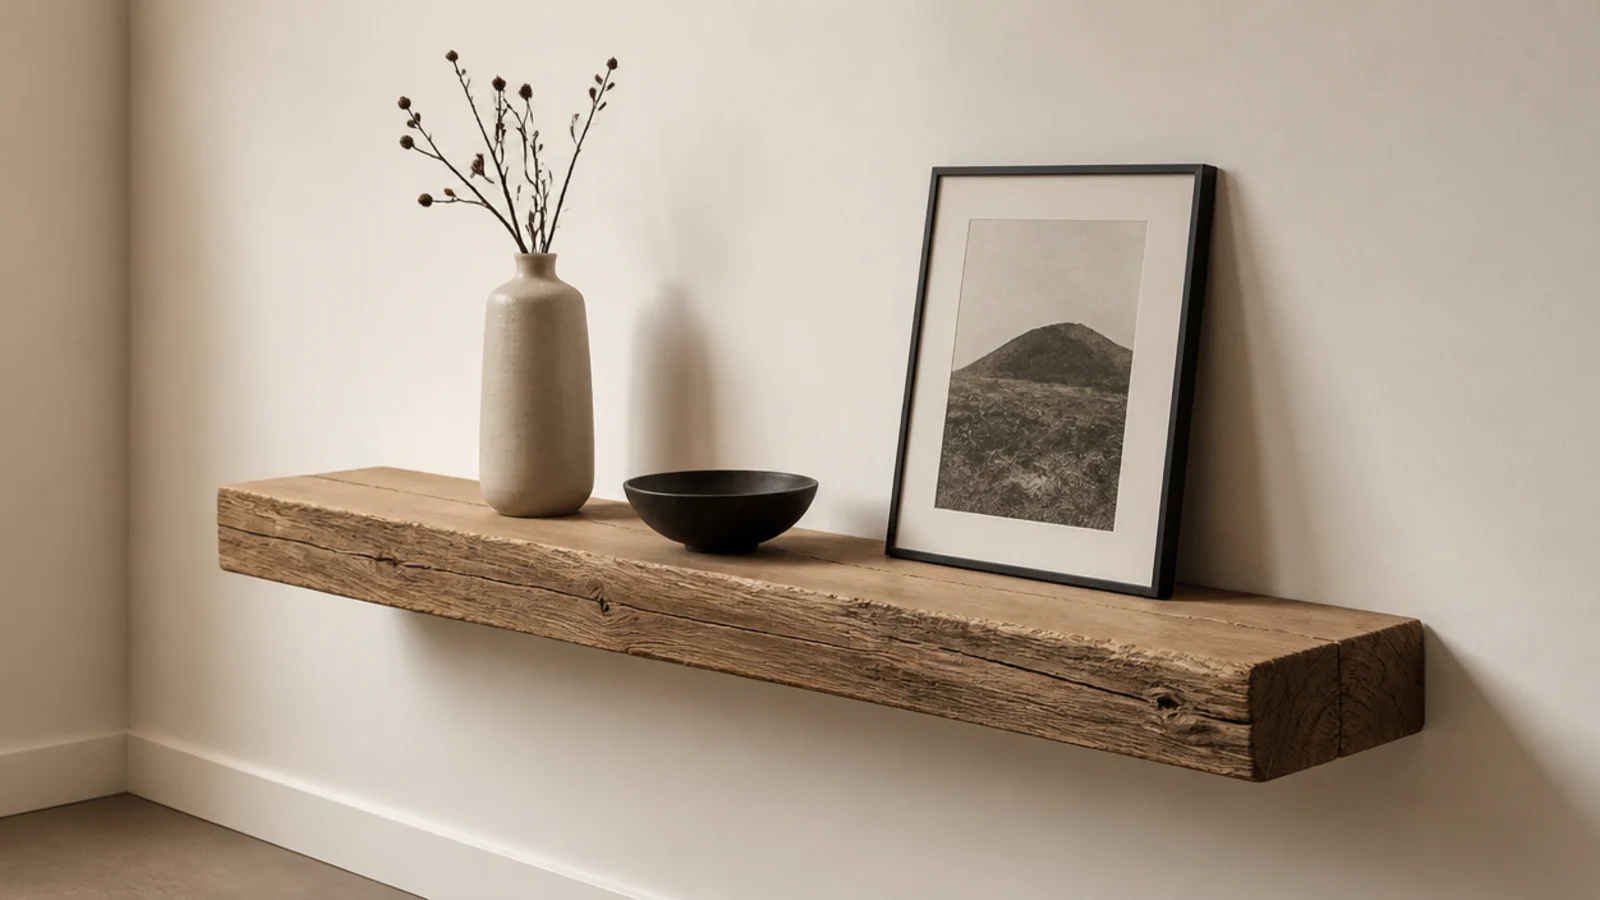
Sometimes one shelf beats six. A single 2.5-inch white oak slab, 48 inches long and 12 inches deep, mounted at 54 inches on a wall with nothing else happening, is the most expensive-looking idea in this list and costs about $220 in materials. Rods into two studs, minimum. Style it with three objects, not twelve. The restraint is the whole point, and it works best on the wall opposite a sofa where a full built-in would crowd the room.
12. Floaters painted the exact wall color
Paint the shelves the same color as the wall, or the same color as the trim, and they stop reading as furniture and start reading as architecture. This is the highest-leverage decision in any built-in and it costs nothing extra. Match the sheen as well: eggshell shelves on an eggshell wall vanish, satin shelves on a matte wall do not. Prime the plywood edges twice and sand at 220 between coats so the ends look solid rather than layered. White built-in shelves on a white wall are the easiest version of this trick.
13. A floating picture ledge with a front lip
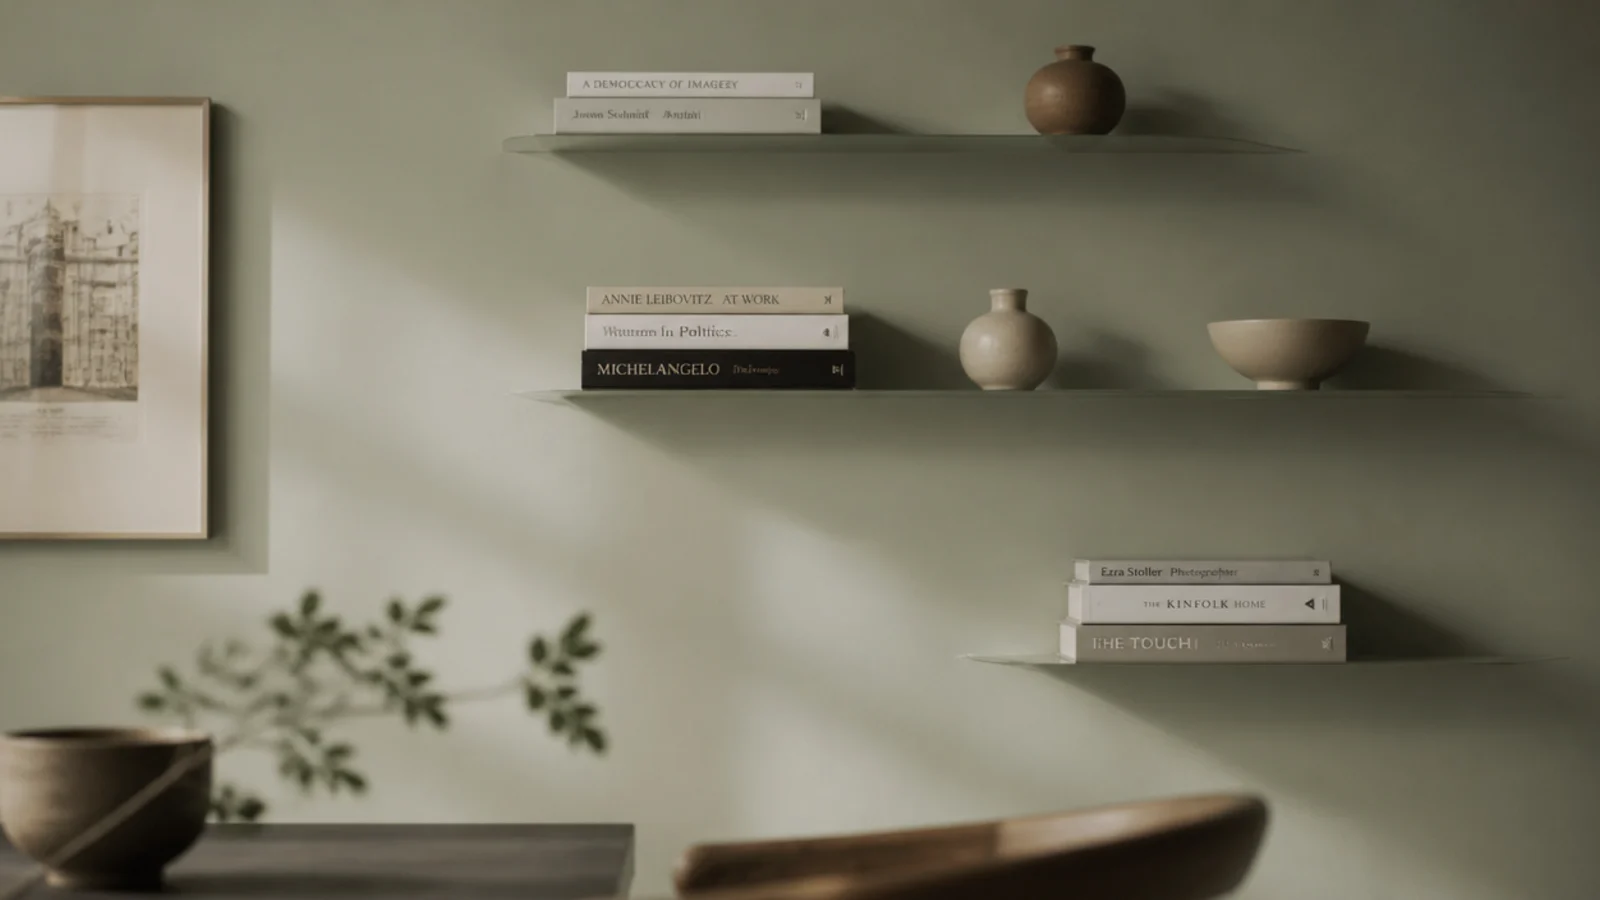
A picture ledge is a floating shelf with a job. Make it 3.5 inches deep with a 3/4-inch lip along the front so frames lean instead of slide. Mount it at 60 inches to the top surface and let the frames overlap an inch or two. Two ledges spaced 16 inches apart read as a gallery wall you can restyle in five minutes without a single new hole. Under $40 in poplar per eight foot run, which makes it the cheapest idea here.
14. Floaters flanking a window
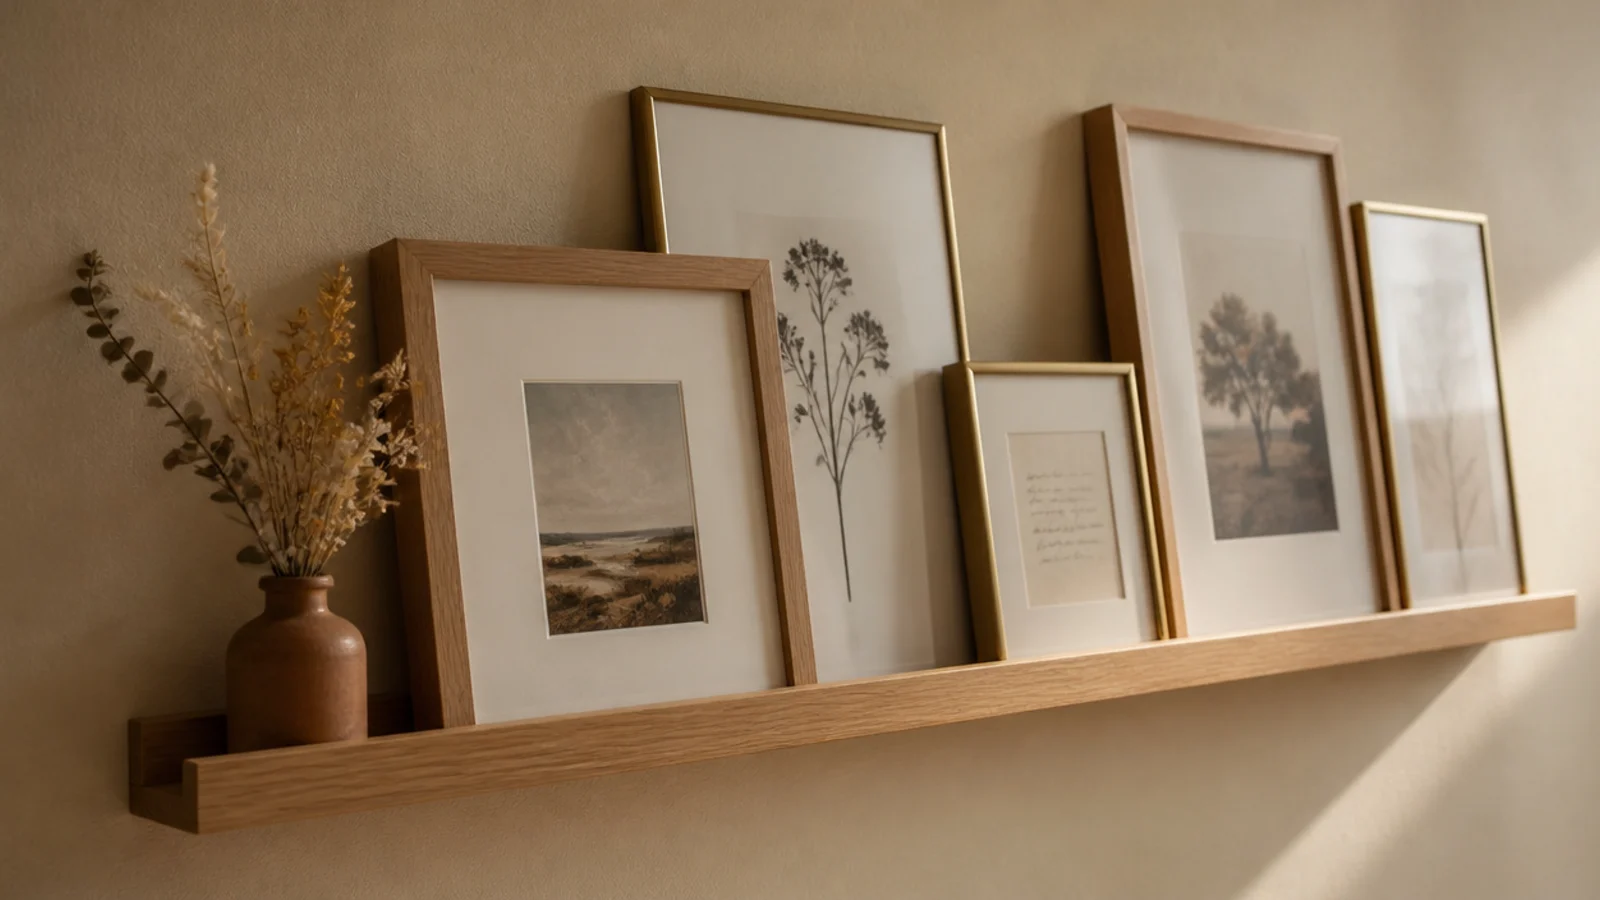
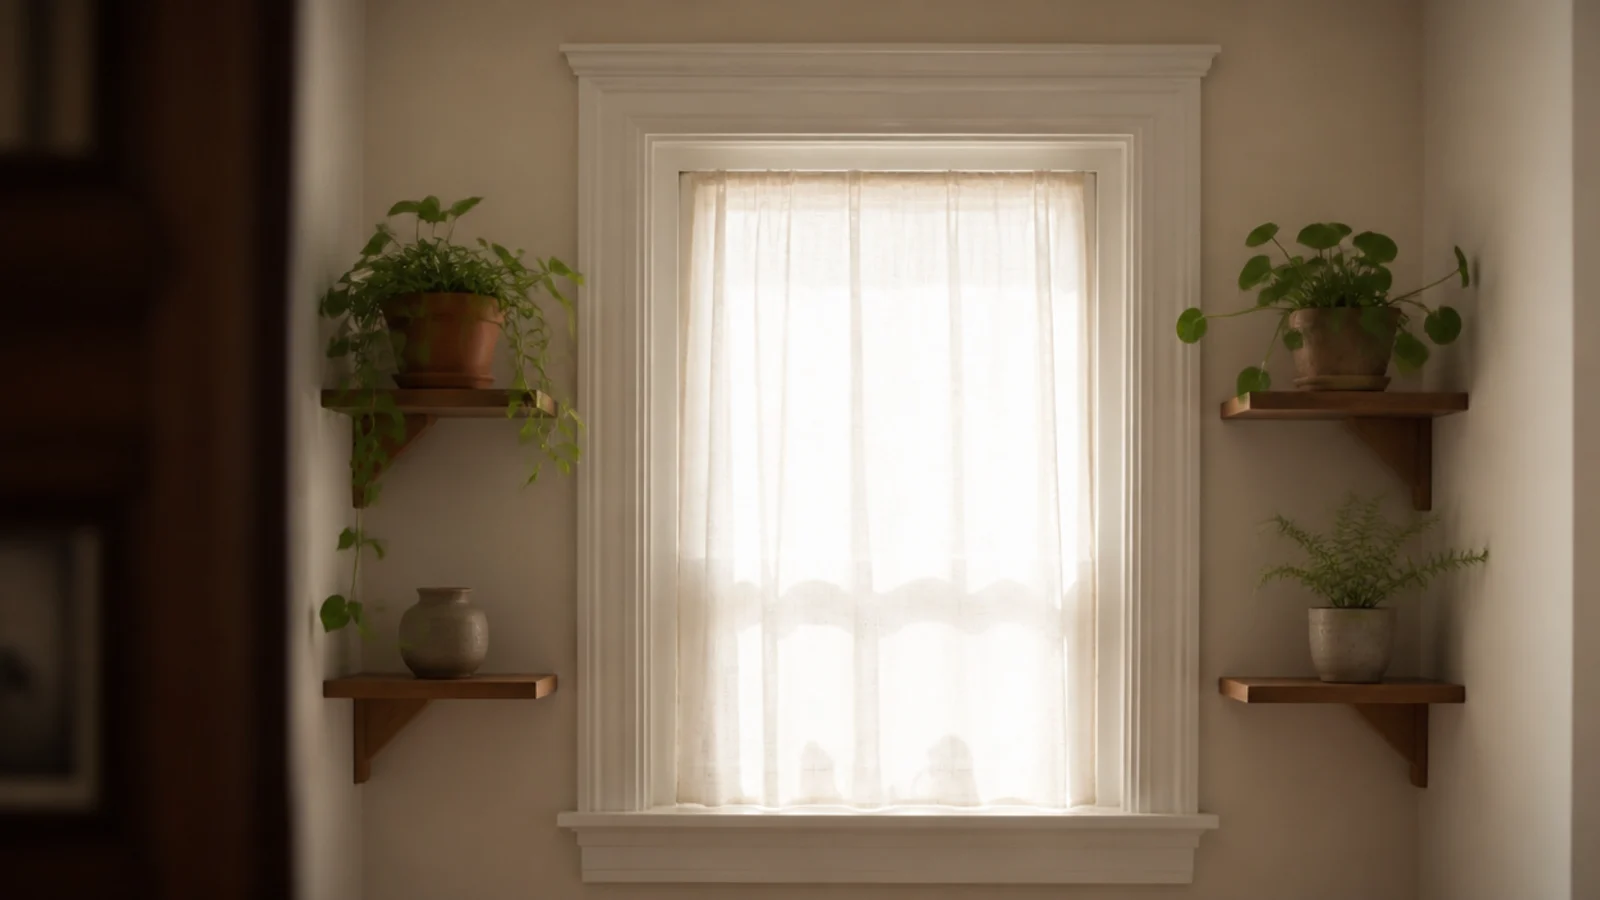
Windows leave two dead vertical strips of wall, usually 14 to 20 inches wide, that a full built-in cannot use. Short floating shelves there frame the view instead of fighting it. Align the top shelf with the head of the window casing and the lower one with the sill, so the shelves and the window share horizontal lines. Keep them 8 inches deep so nothing blocks the light, and paint them the trim color. Plants are happiest in exactly this spot.
15. A floating drop zone with hooks below
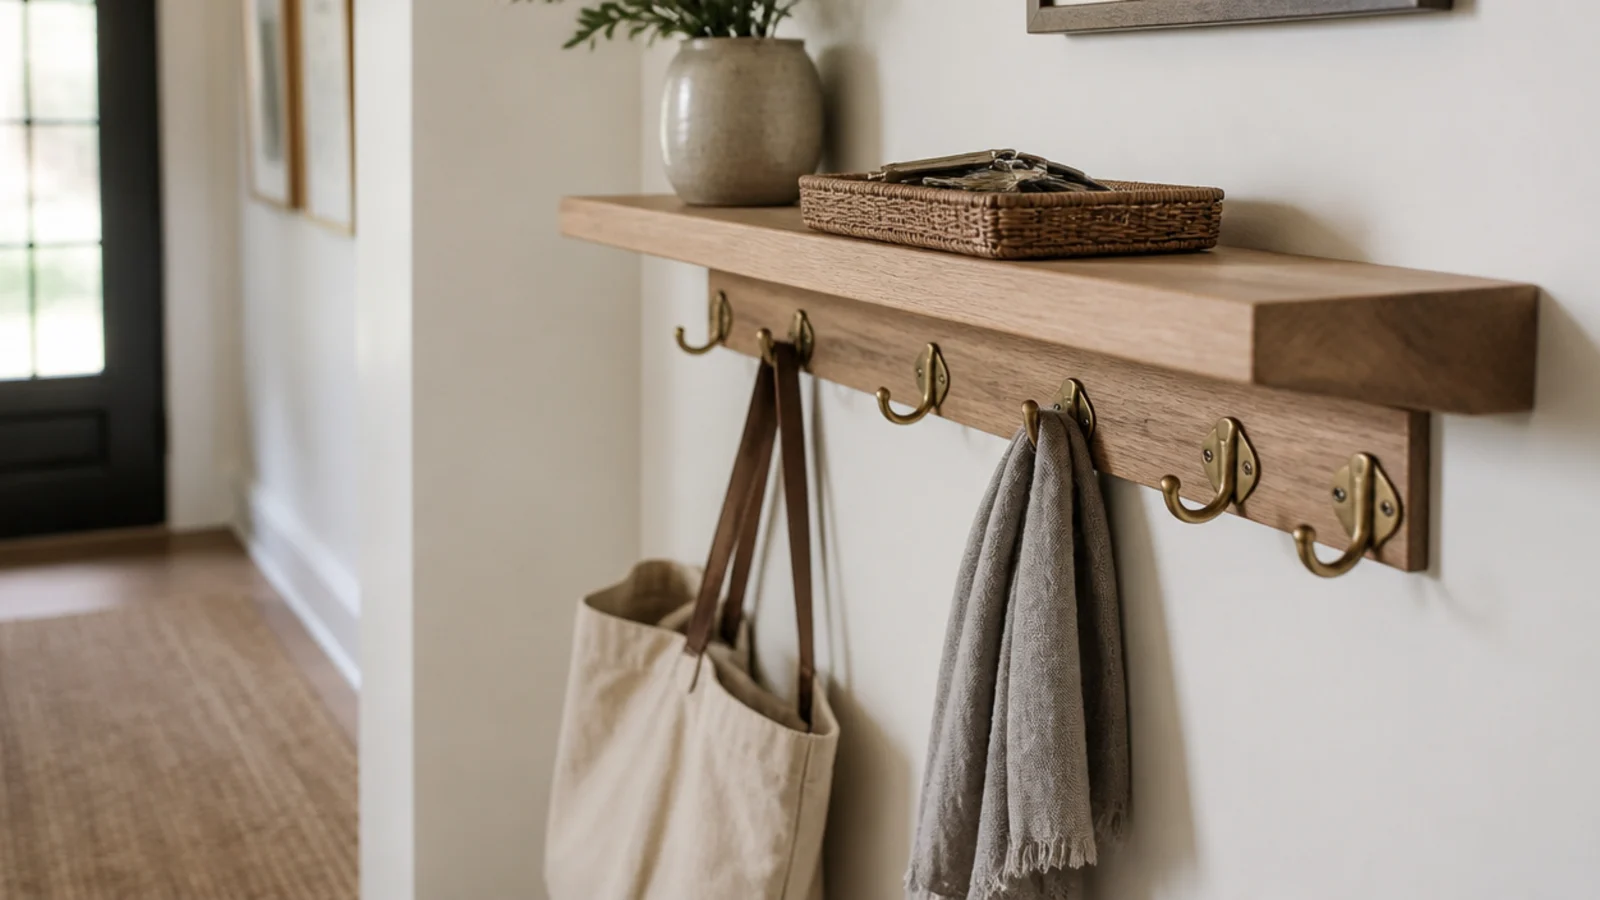
Near the door, a floating shelf at 52 inches with a row of aged brass hooks 14 inches below turns three feet of wall into a working entry. The shelf takes a woven tray for keys and mail, the hooks take bags. Keep it 8 inches deep so it never narrows the doorway. Use a french cleat here rather than rods, because a coat-loaded shelf sees sideways force and a long cleat resists that far better than two points. Without a tray the shelf becomes a ledge things slide off.
16. Two long floaters above the sofa
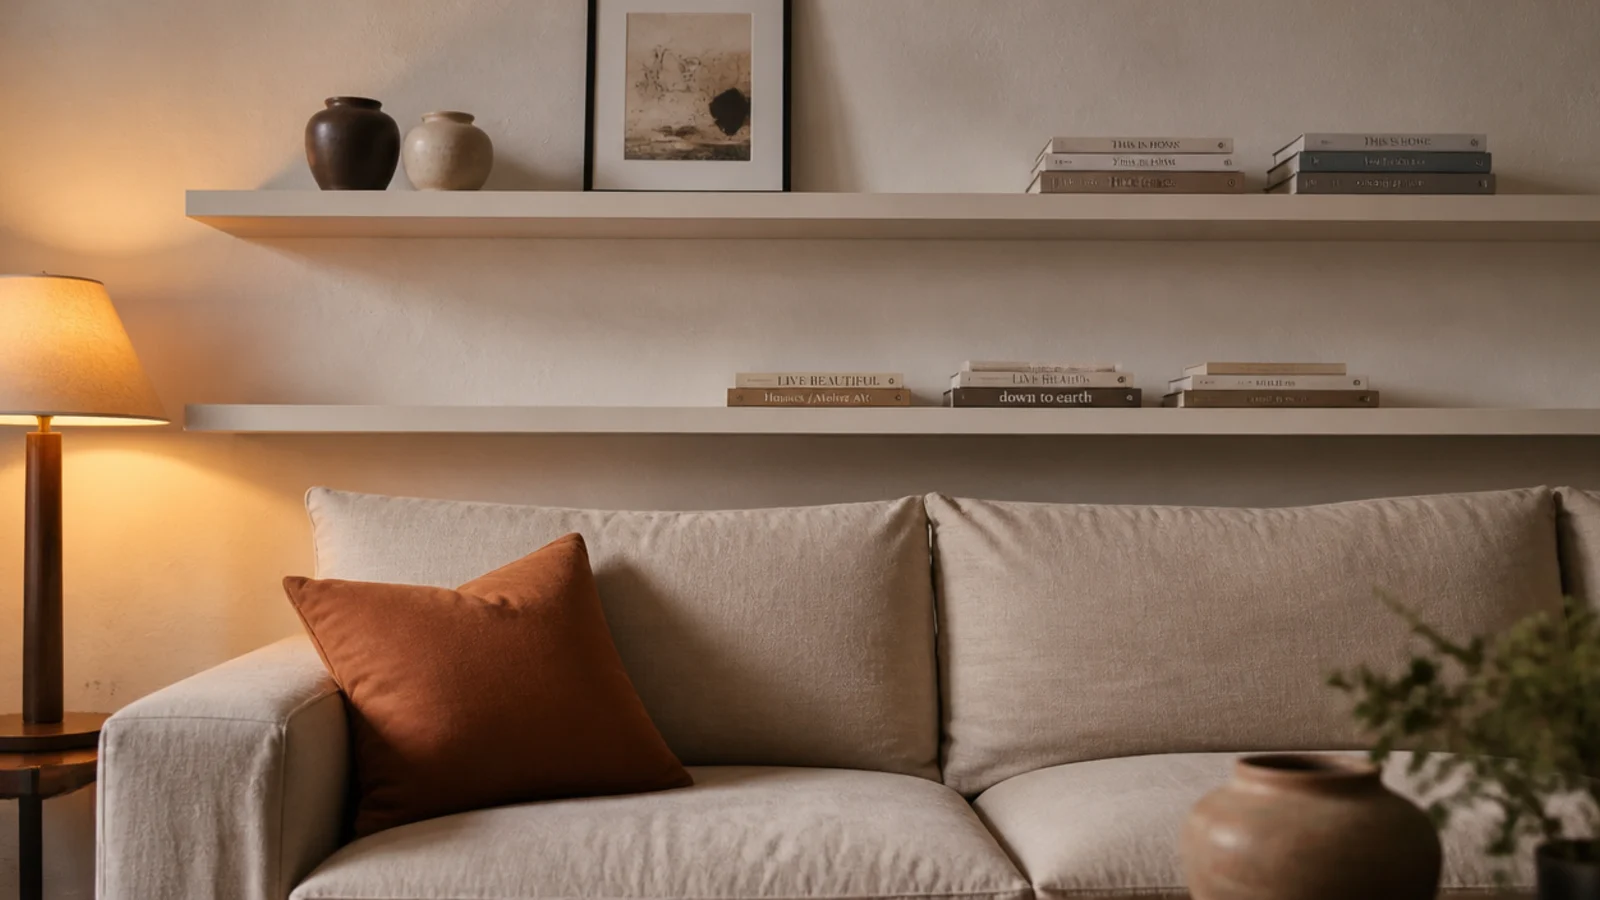
The wall above a sofa wants two long shelves, not a grid. Start the lower one 10 to 12 inches above the sofa back so heads clear it, keep both at 8 to 9 inches deep, and run them at least three-quarters of the sofa length so the arrangement looks anchored. Nothing heavy or breakable goes up here — books laid flat, a couple of ceramics, one leaning print. A living room mirror wall does the same job with no shelf at all.
17. A floating shelf built for a turntable
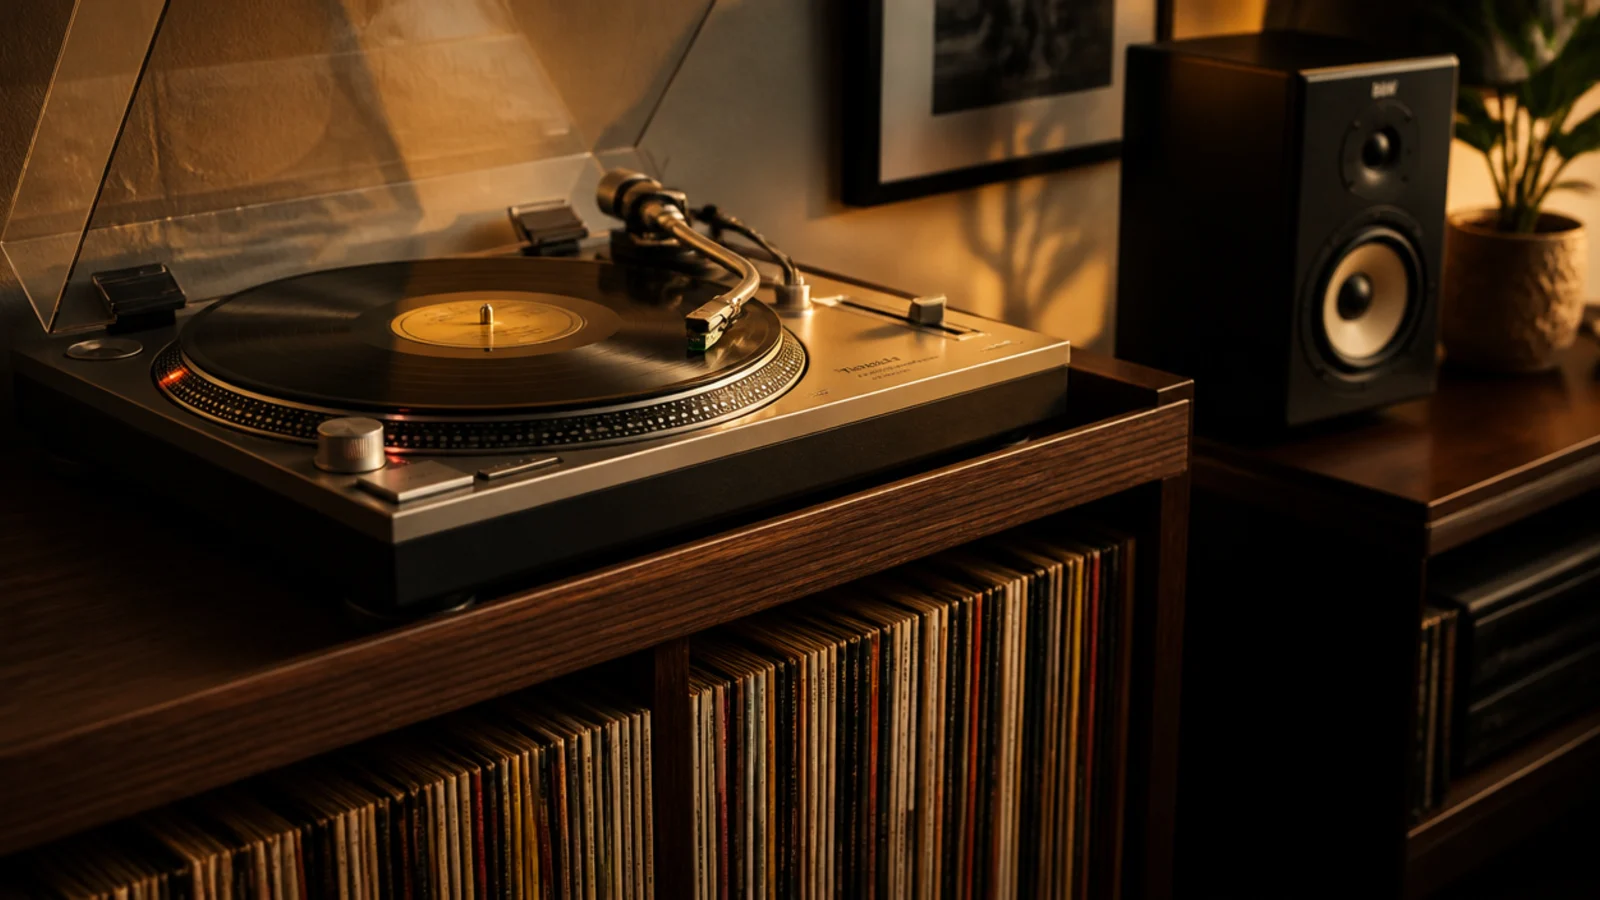
A turntable needs mass and stillness, which is the opposite of what a thin floater offers. Build this one 16 inches deep and 2.5 inches thick on three 1/2-inch rods into three studs, and glue a 1x2 lip along the front edge to kill any flex. At 40 inches off the floor the platter sits at a comfortable working height. Keep the speakers off the same shelf entirely or the bass walks the needle. Records live below, stored on edge.
18. The renter version on a french cleat
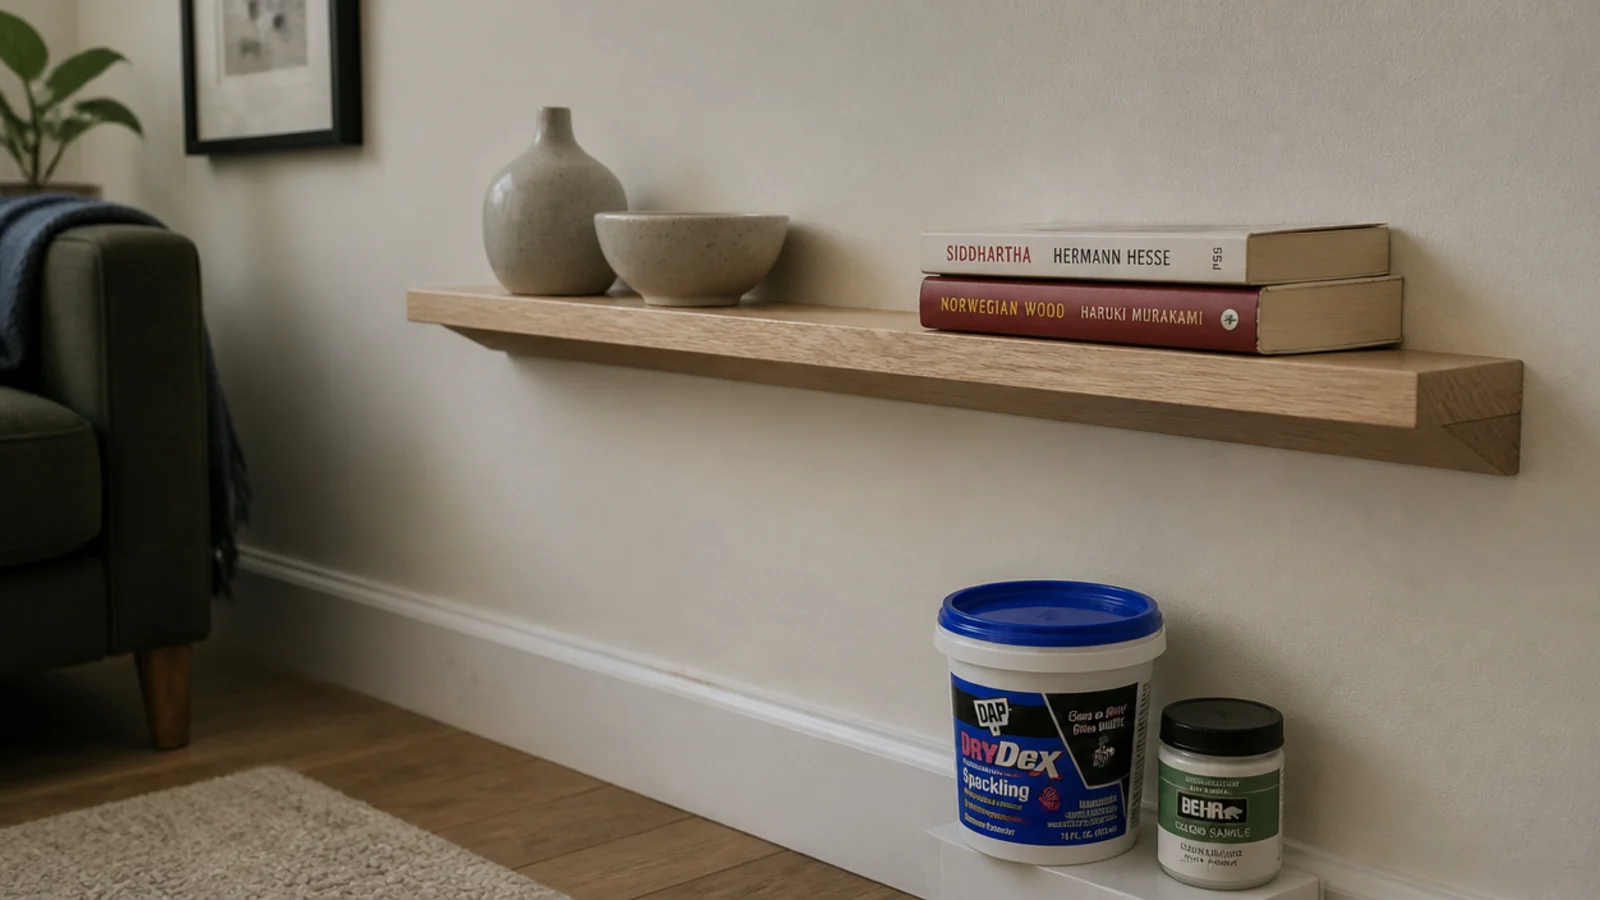
A french cleat is two 45-degree bevels: one screwed to the studs, one glued inside the shelf. It leaves two patchable holes per stud instead of a permanent build, and it carries far more than any adhesive strip. A 36-inch shelf on a cleat into two studs holds 40 pounds and comes down in ten seconds on lease day. Fill with lightweight spackle, sand flush, touch up with the landlord paint. Bevel both pieces on one saw setting so they mate exactly. Around $30 in hardware, firmly $.
19. A floater with an integrated back panel
Add a thin beadboard or V-groove back panel between two floating shelves and the pair suddenly reads as one built-in niche. The panel is 1/4-inch ply, glued and pinned to a frame hidden behind the shelves, painted the same color as everything around it. It covers a wall that is patched, textured or simply ugly, and it gives small objects a background so they stop disappearing. Modern built-in shelves lean on this trick more than anyone admits. Adds about $45 and an afternoon to any alcove build.
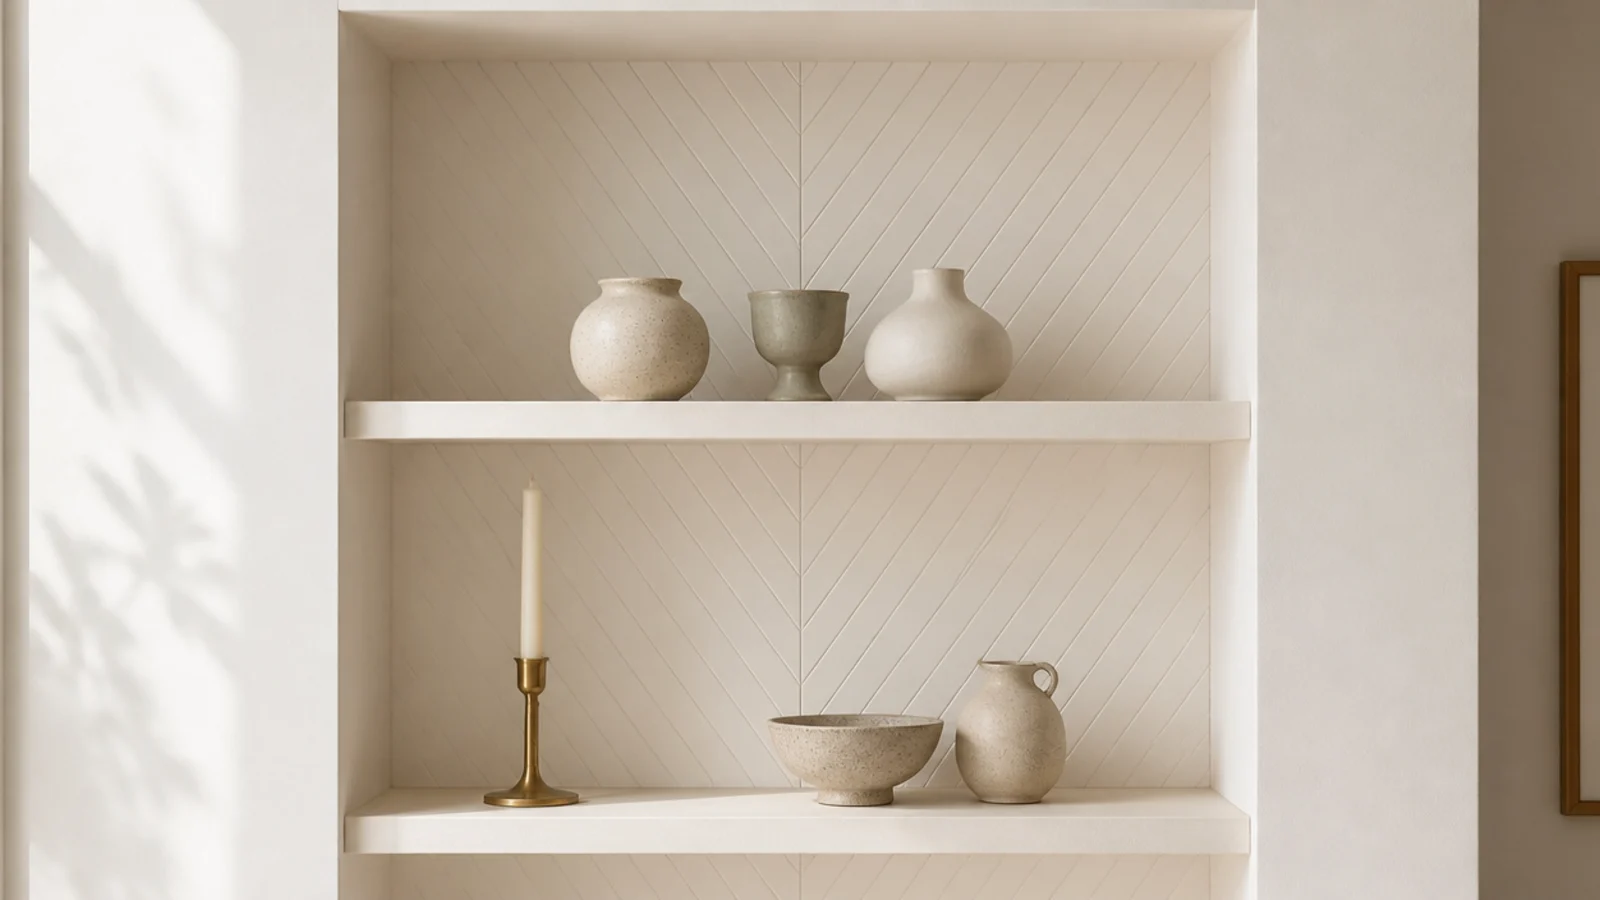
20. The spacing rules that make a stack look deliberate
Four shelves at identical 13-inch gaps look like shelving. The same four at 15, 13, 11 and 11 inches look designed, because the eye reads that widening gap at the bottom as weight. Keep 11 to 13 inches clear for hardbacks, put the deepest shelf lowest, and stop the top shelf about 12 inches below the ceiling. Every span over 32 inches gets a front lip. Those four numbers do more than any styling decision you make afterward.
Mistakes to Skip
- Hanging a floating shelf on drywall anchors alone. A cantilever multiplies force at the fixing, and even a good toggle will egg out its hole within a year. Rods and cleats go into studs.
- Spanning more than 32 inches with a bare 3/4-inch plywood shelf. It bows, and once it bows nothing brings it back. Glue on a 1x2 front lip or build the shelf as a torsion box instead.
- Leaving a visible gap where the shelf meets the wall or ceiling. Scribe it, sand to the line and caulk the hairline, or hold it back 1/2 inch and turn it into a shadow gap on purpose.
Frequently asked questions
How do floating shelves stay up without brackets?
The hardware is buried inside the shelf. Most floating built-ins ride on half-inch steel rods set into holes drilled 4 to 5 inches into the back edge, with the mounting plate screwed to studs at 16-inch centers. The alternative is a french cleat, two 45-degree bevels that hook together. Either way the load path ends in framing, never in drywall alone.
How much weight can a floating built-in shelf hold?
With rods into two studs and a 2-inch torsion box shelf, 40 to 50 pounds spread evenly is realistic. A french cleat into two studs carries a similar load. The real limits are span and placement: anything past 32 inches needs a front lip or a mid support, and weight sitting near the front edge counts roughly double.
How thick should a floating shelf be?
Two to two and a half inches is the sweet spot. Thinner than that and the shelf looks flimsy with nowhere to hide the rods. Much thicker starts reading as a mantel, which is lovely over a firebox and heavy everywhere else. Build the thickness as a hollow torsion box rather than solid stock and you get stiffness without the weight.
Can renters install floating built-in shelves?
Yes, with a french cleat. It leaves two patchable screw holes per stud instead of a permanent build, and it carries far more than adhesive strips ever will. Fill the holes with lightweight spackle on move-out day, sand flush and touch up with the landlord paint. The other renter route is trimming in freestanding bookcases and anchoring them.
How far apart should floating shelves be spaced?
Eleven to thirteen inches of clear space suits hardbacks and most pottery. Vary the gaps slightly rather than making them identical: a wider gap at the bottom reads as weight and makes the stack look designed instead of merely installed. Stop the top shelf about twelve inches below the ceiling so the run does not feel jammed against it.
How deep should a floating built-in shelf be?
Eleven to twelve inches handles books, framed art and most ceramics without crowding a walkway. Go to fourteen or sixteen inches only when the shelf has to carry baskets or media gear, and accept that the leverage on the fixings roughly doubles at that depth. Picture ledges are the exception at three and a half inches with a lip.
Start with one alcove and one shelf. Get the depth right at 11 to 12 inches, catch two studs, keep the span under 32 inches or add a lip, and paint it the wall color — that single shelf changes how the whole room reads before you ever build the second one. Once it is up, styling a built-in shelf covers what belongs on it, and built-ins for a small living room handles the tighter walls. Save the pin below so the numbers come with you to the lumber aisle.
Want more like this? Browse all 15 living room built-in shelves guides — they all use the same measurements and budget tiers.
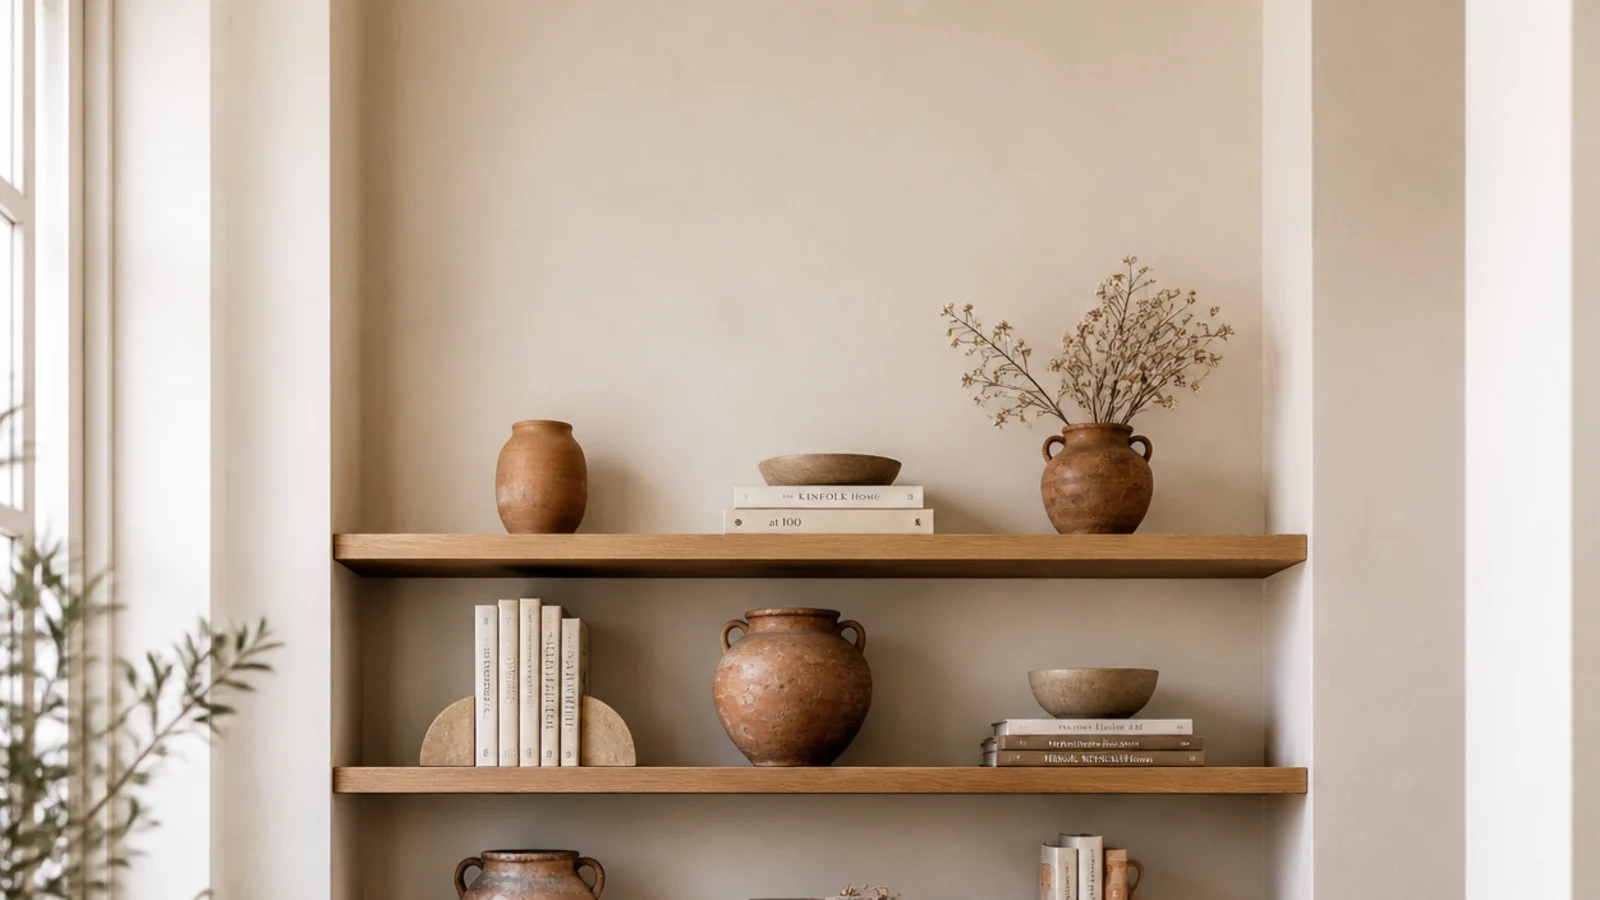
Pin it for later
Save this to your Living Room Built-In Shelves board
Pin it now so it is waiting for you when the tape measure comes out — and so the next person hunting for this idea can find it too.
Save this pinKeep going
More ideas worth saving while you have the tape measure out.