Bookshelf Ideas · How-To
15 Steps to Style a Cozy Bookshelf

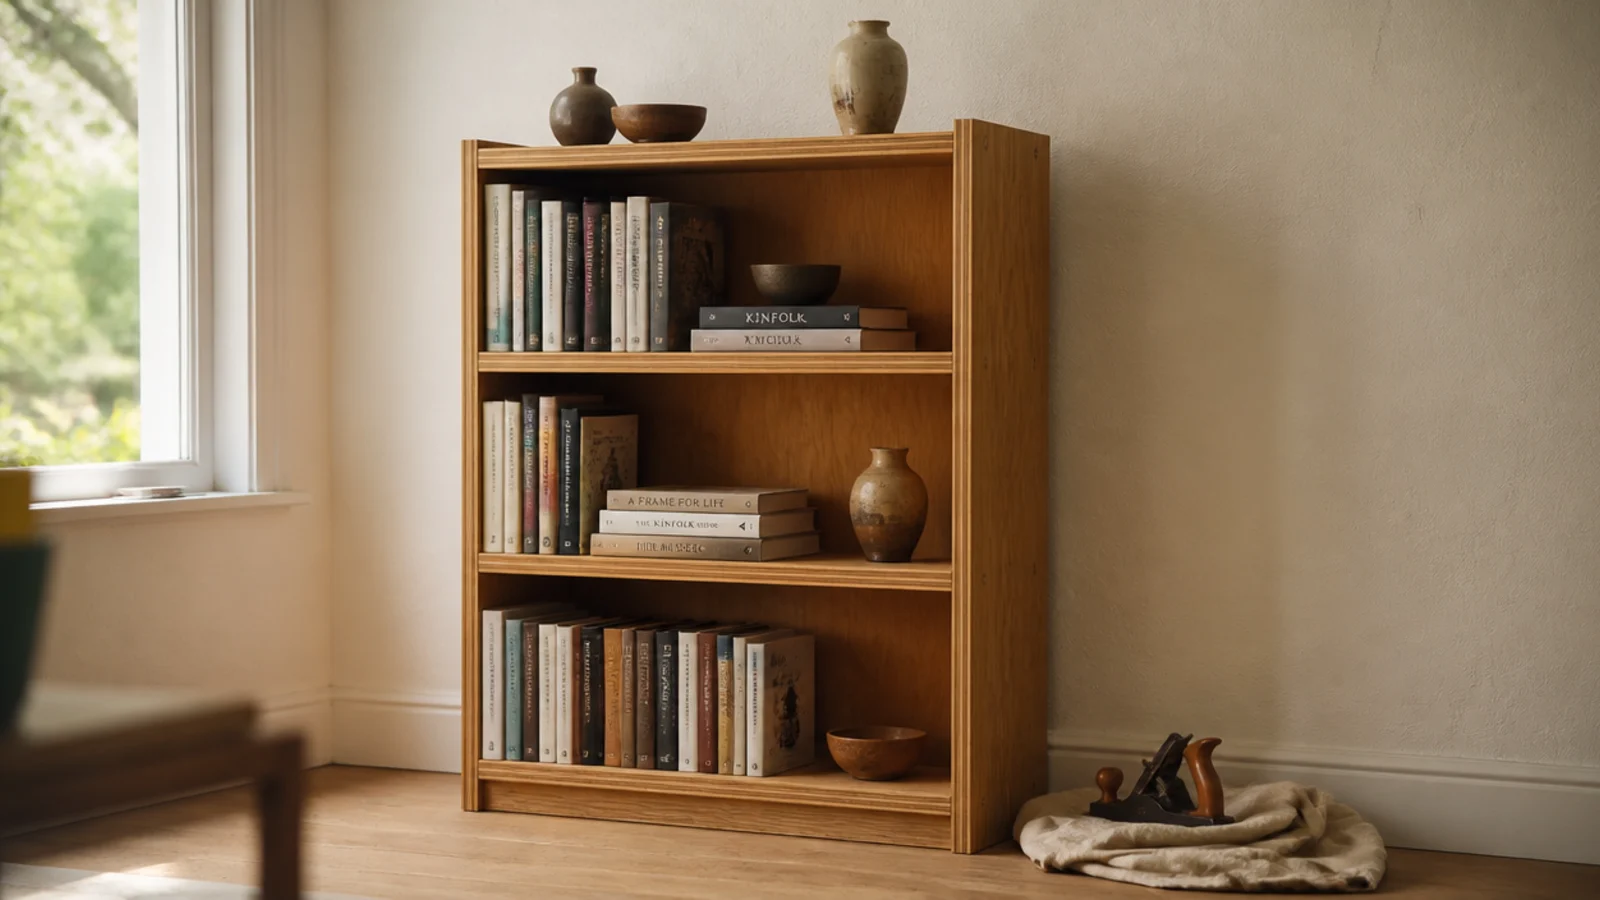
Building a bookcase is not hard woodworking. It is four panels, a back and a lot of arithmetic — and the arithmetic is where most homemade units go wrong. The best DIY bookshelf ideas all start from the same three numbers: 32 inches of span, 11 to 12 inches of depth, and 11 to 13 inches of clear height. Expect one weekend and $90 to $220 in materials.
In this guide18 sections — tap to openHide
- 1.What You'll Need for These DIY Bookshelf Ideas
- 2.Step 1: Measure the wall, the ceiling and the books
- 3.Step 2: Set the depth from what you actually own
- 4.Step 3: Plan the clear heights before the box
- 5.Step 4: Keep every span under 32 inches
- 6.Step 5: Choose plywood or solid stock
- 7.Step 6: Write the cut list and get the sheet ripped
- 8.Step 7: Glue a solid lip on every shelf
- 9.Step 8: Cut the sides, top, bottom and fixed shelf
- 10.Step 9: Drill the shelf pin holes with a jig
- 11.Step 10: Glue and screw the carcass square
- 12.Step 11: Fit the back panel that stops the racking
- 13.Step 12: Build a toe kick and level it to the floor
- 14.Step 13: Sand, prime and finish before it goes up
- 15.Step 14: Scribe it to the wall, fix it and strap it
- 16.Step 15: Load heavy low, then style it
- 17.Pro Styling Rules
- 18.Mistakes to Skip
What You'll Need for These DIY Bookshelf Ideas
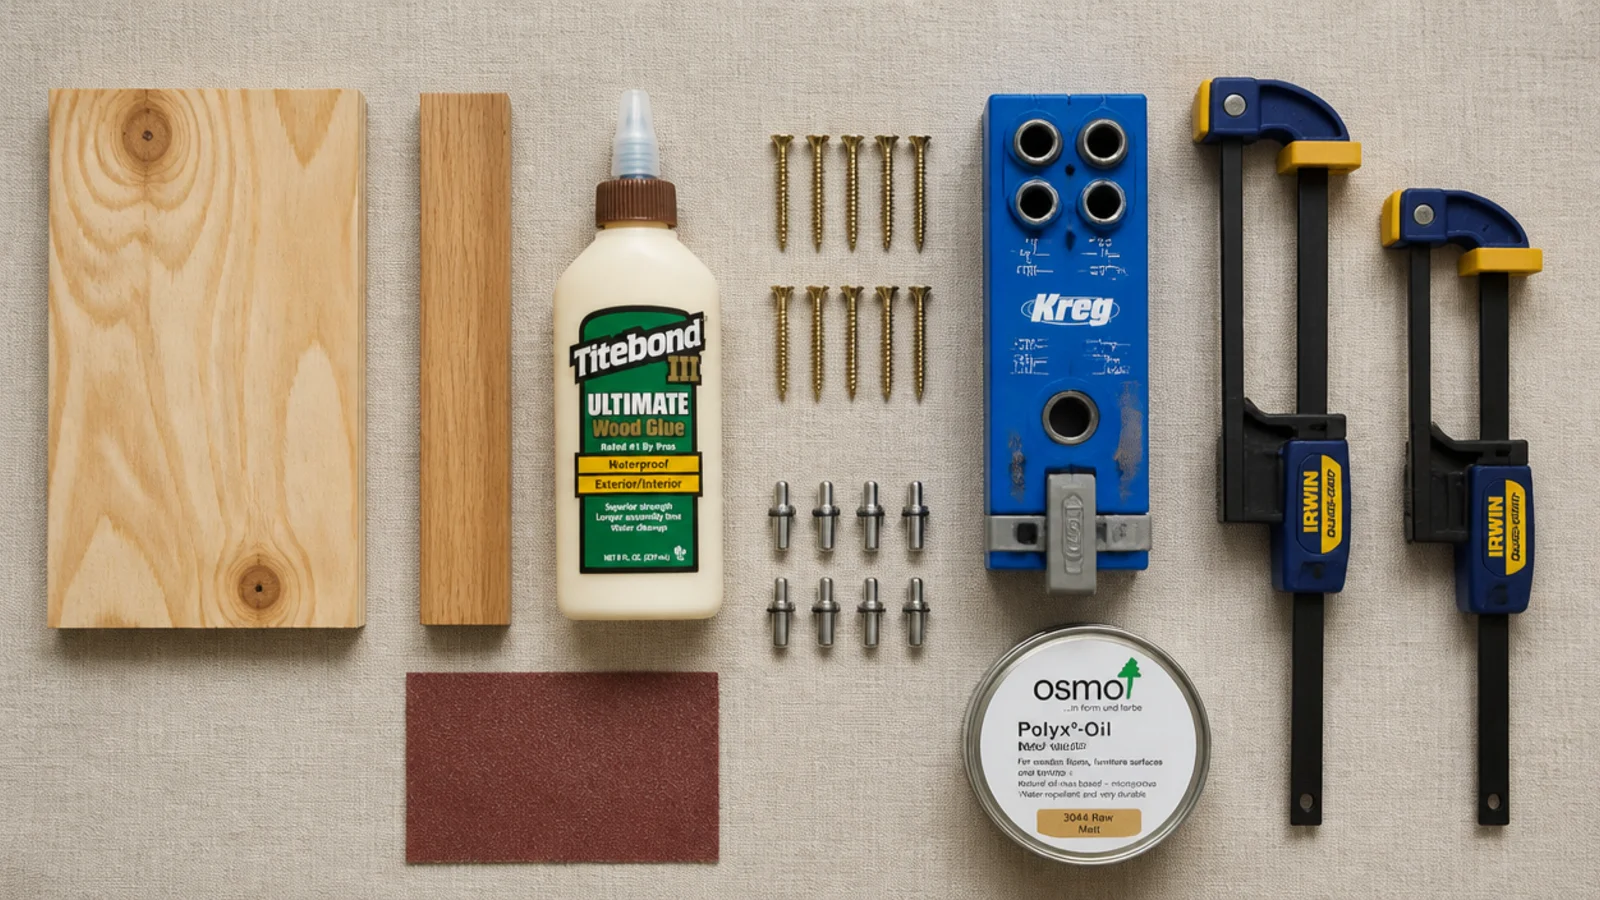
One sheet of plywood makes a bookcase roughly 30 inches wide and 72 inches tall with five shelves. Most home centers will rip the sheet down for you, which turns the hardest cut into a free one.
| Item | Spec that matters | Rough cost |
|---|---|---|
| Plywood sheet | 3/4 in cabinet grade, birch or maple face | $55–$95 |
| Back panel | 1/4 in plywood or hardboard, full size | $15–$25 |
| Front lip stock | Solid oak or poplar, 3/4 x 1 in | $12–$25 |
| Wood glue | Standard yellow PVA | $6 |
| Cabinet screws | 1 1/4 in coarse thread, 50 count | $8 |
| Shelf pins and jig | 5 mm pins, self-centering jig | $20–$35 |
| Wall screws | 3 in, into studs, plus an anti-tip strap | $12 |
| Finish | Hardwax oil, or primer and eggshell paint | $18–$35 |
| Tools | Drill, circular saw with guide, clamps, level | borrowed |
Budget tiers used below: $ keeps the build under $120 in paint-grade materials, $$ is $120 to $220 in birch ply with solid lips, and $$$ is $250 and up in hardwood-faced sheet with a fitted toe kick.
Step 1: Measure the wall, the ceiling and the books
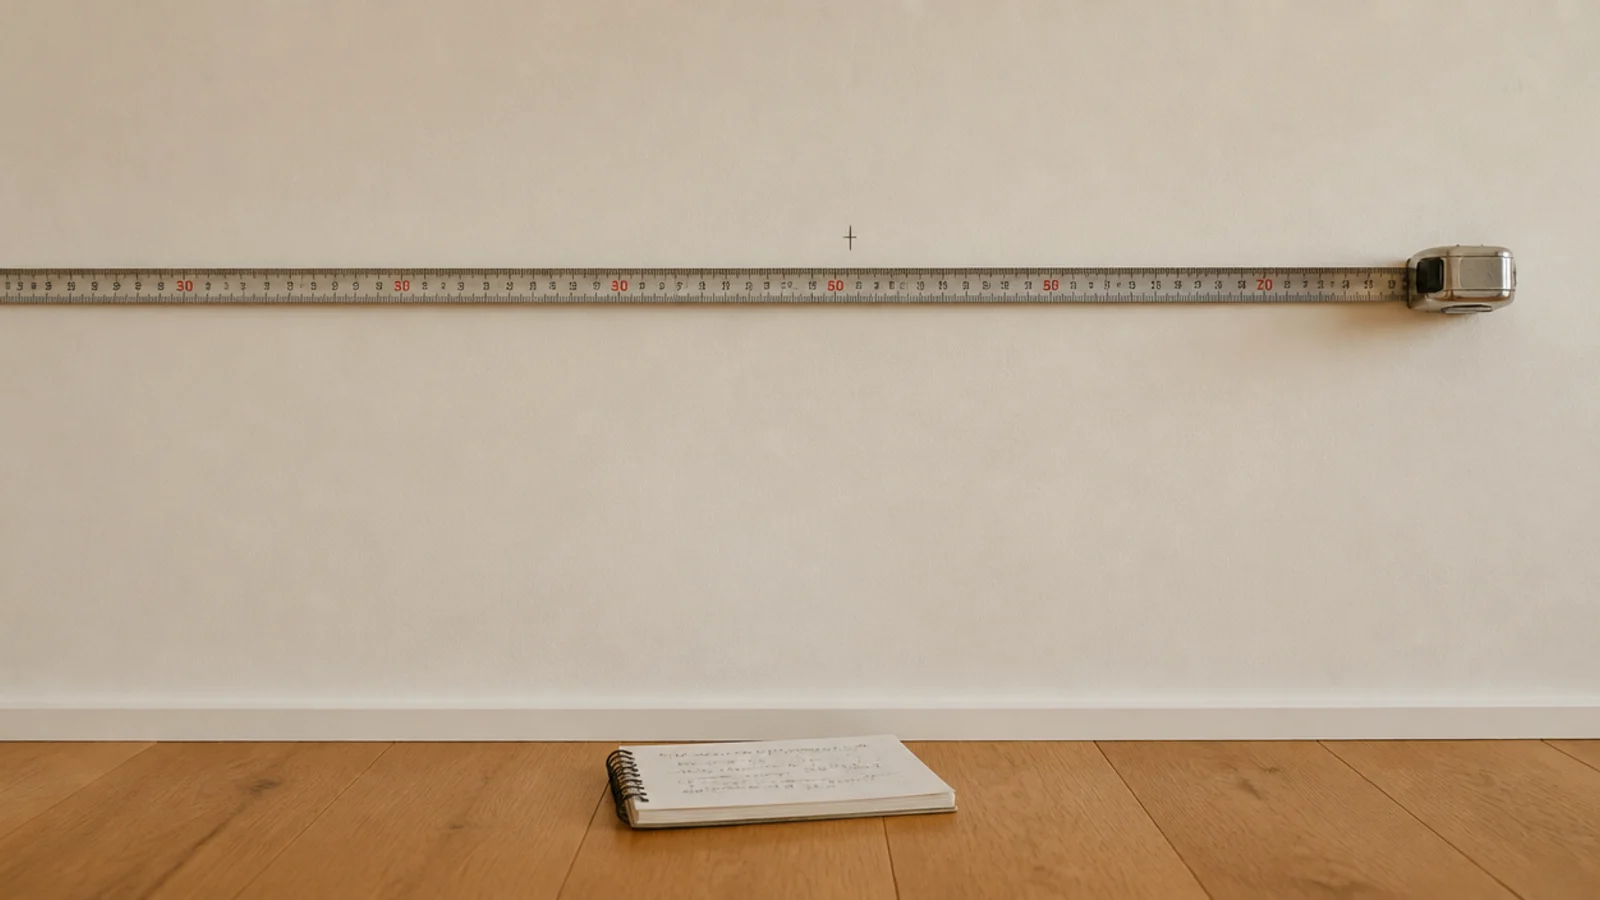
Take three numbers before anything else: the clear width of the wall, the ceiling height, and the height of your ten largest books.
The third one is the number people skip and then regret. Standard hardbacks vary from 8 to 11 inches, and art books run past 13. Stop the unit about 12 inches below the ceiling — running it all the way up compresses the whole wall, even in a tall room.
Write all three on a scrap and keep it in your pocket at the lumber counter.
Step 2: Set the depth from what you actually own
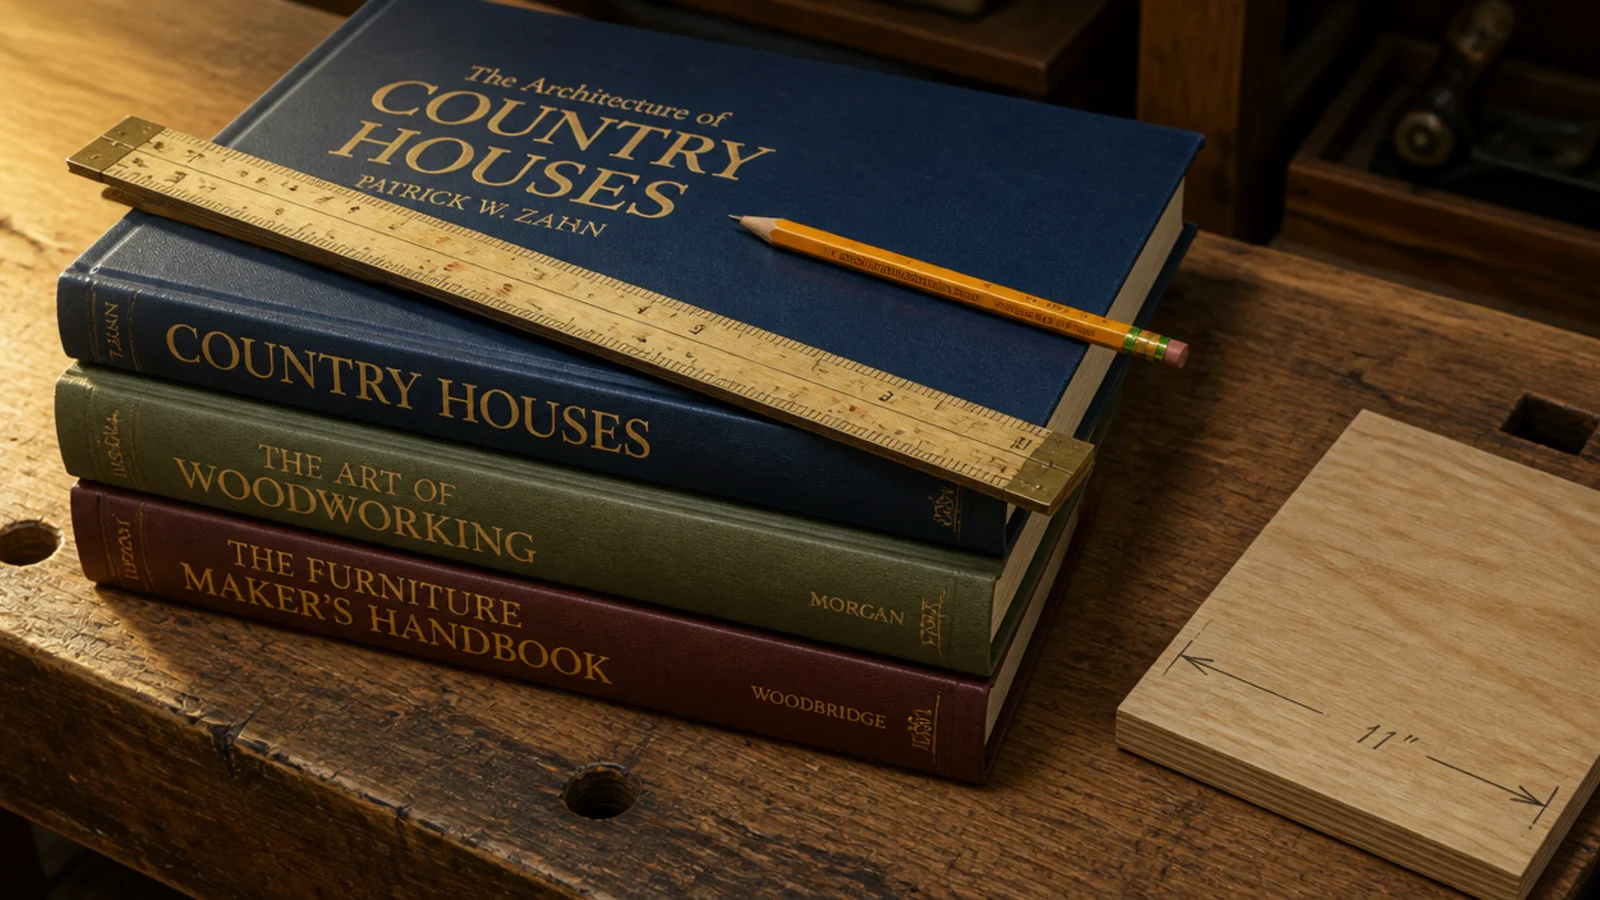
Eleven to twelve inches suits hardbacks and most art books. Nine to ten inches is plenty for paperbacks and reads far lighter in a narrow room.
Deeper than twelve inches buys you nothing but a second row of books you will never see again, and it costs floor space you cannot get back. A standard 4x8 sheet rips neatly into four 11 3/4-inch strips, which is exactly why that depth is so common.
Measure your own books, not a chart.
Step 3: Plan the clear heights before the box
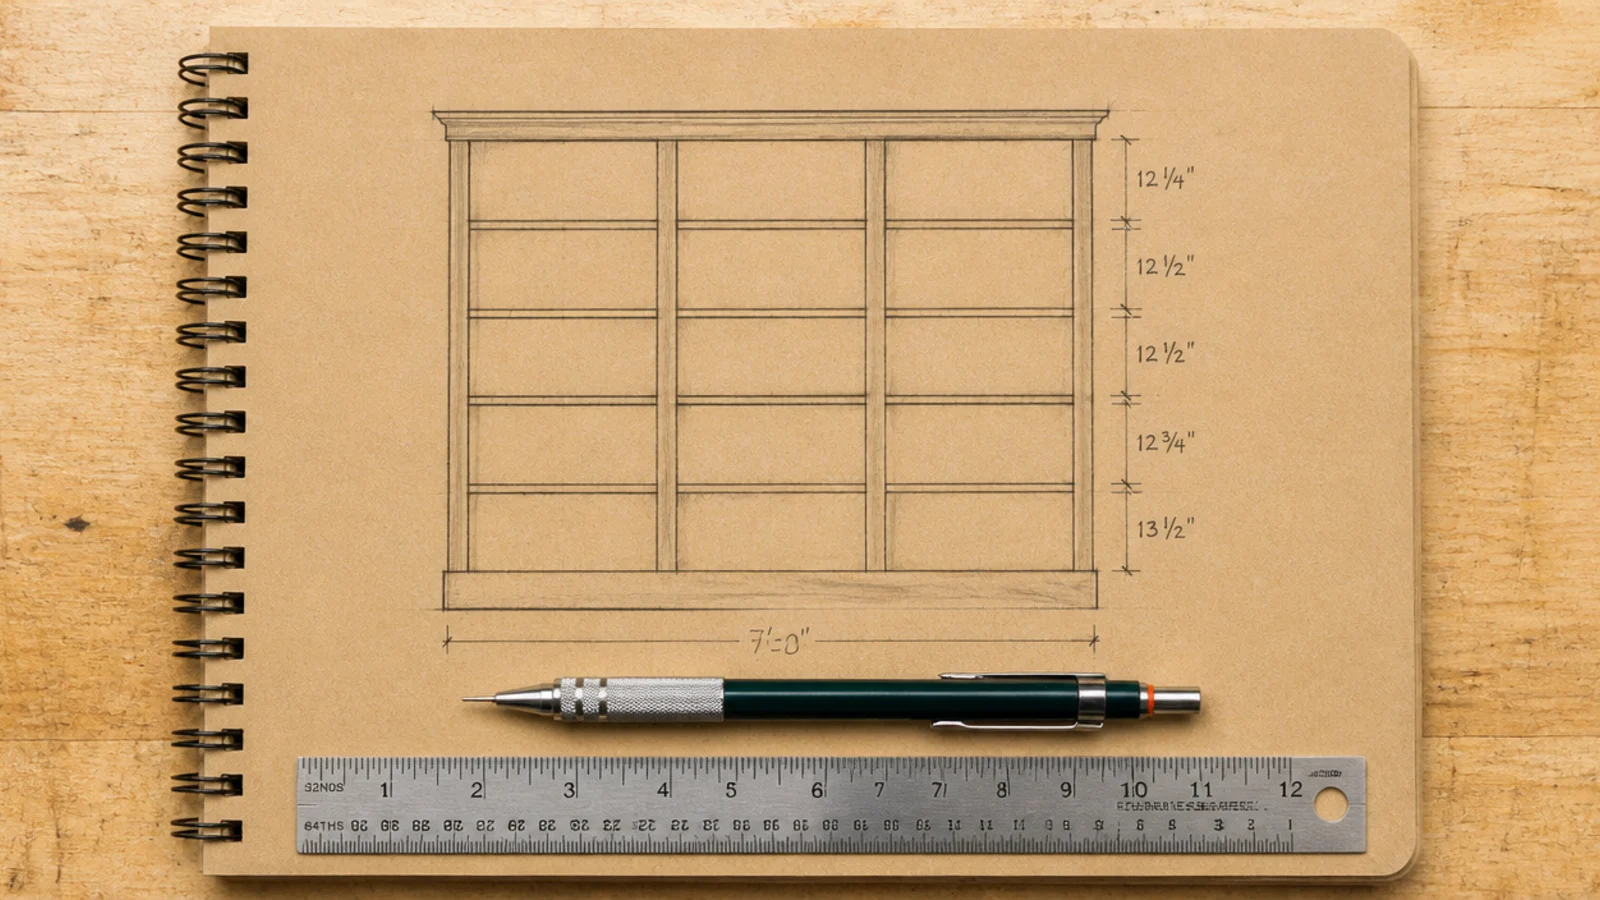
Draw the gaps first, then let the carcass follow. Hardbacks want 11 to 13 inches of clear height between shelves; paperbacks are comfortable at 9 to 10.
Sketch the elevation on paper with each gap written in, and remember to add the shelf thickness back in when you total the height. A five-shelf unit at 12-inch gaps plus 3/4-inch shelves needs about 68 inches of internal height.
Plan two repeating heights rather than five different ones.
Step 4: Keep every span under 32 inches
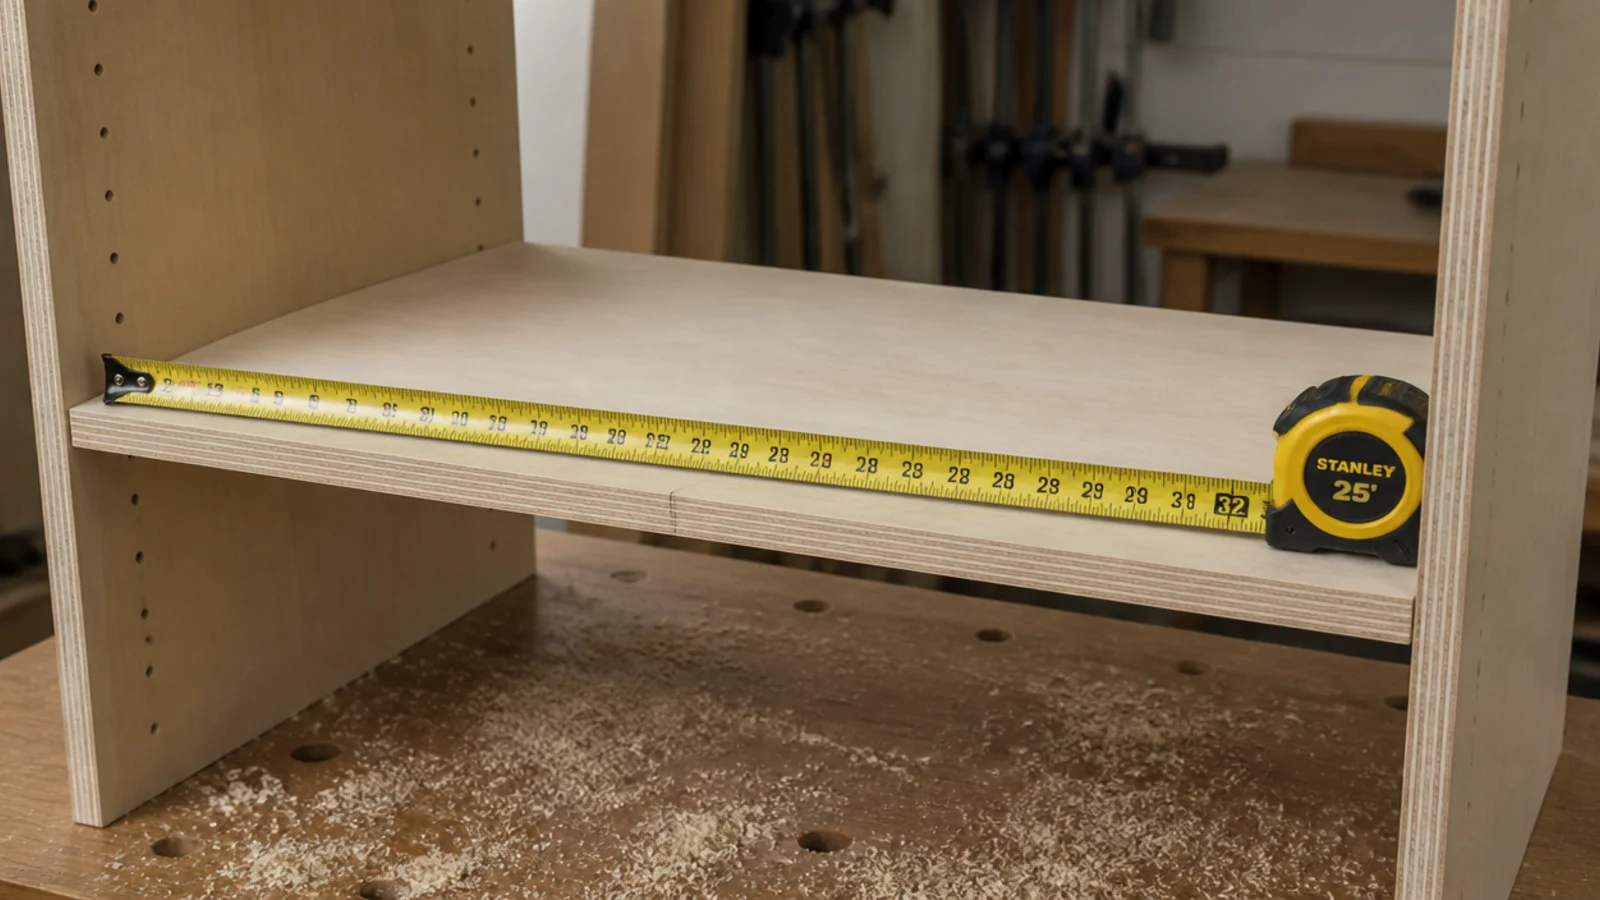
This is the rule that decides whether your bookcase looks good in five years. Three-quarter-inch plywood or solid stock begins to sag past a 32-inch span under a full load of books, and the bow never comes back out.
A linear foot of hardbacks is 20 to 25 pounds, so a 36-inch shelf is carrying 60 to 75 pounds. That is a lot of load on a thin board.
Three fixes: shorten the bay with a vertical divider, glue a solid front lip on, or step up to 1-inch stock. $
Step 5: Choose plywood or solid stock
Cabinet-grade plywood is the right default. It stays flat, it holds screws, it does not move with the seasons, and a birch-faced sheet takes paint or oil beautifully.
Solid stock looks better left raw and costs two to three times as much for the same unit. It also cups if you finish only one face.
Avoid MDF and melamine particle board for anything holding books. Both creep permanently under sustained load rather than springing back when you unload them. $$
Step 6: Write the cut list and get the sheet ripped
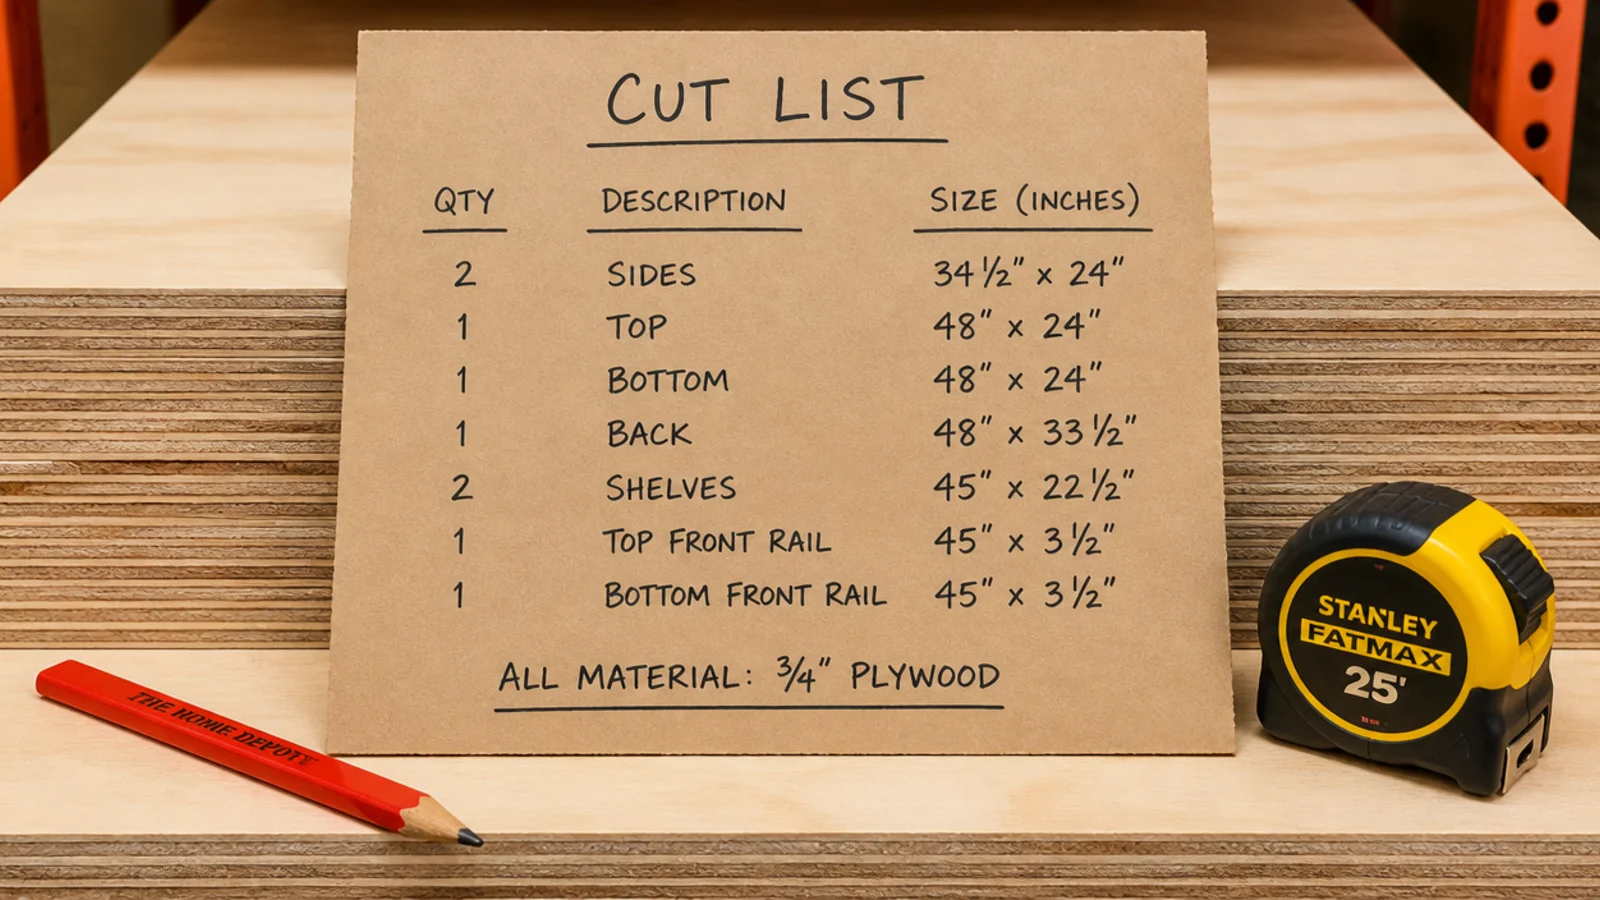
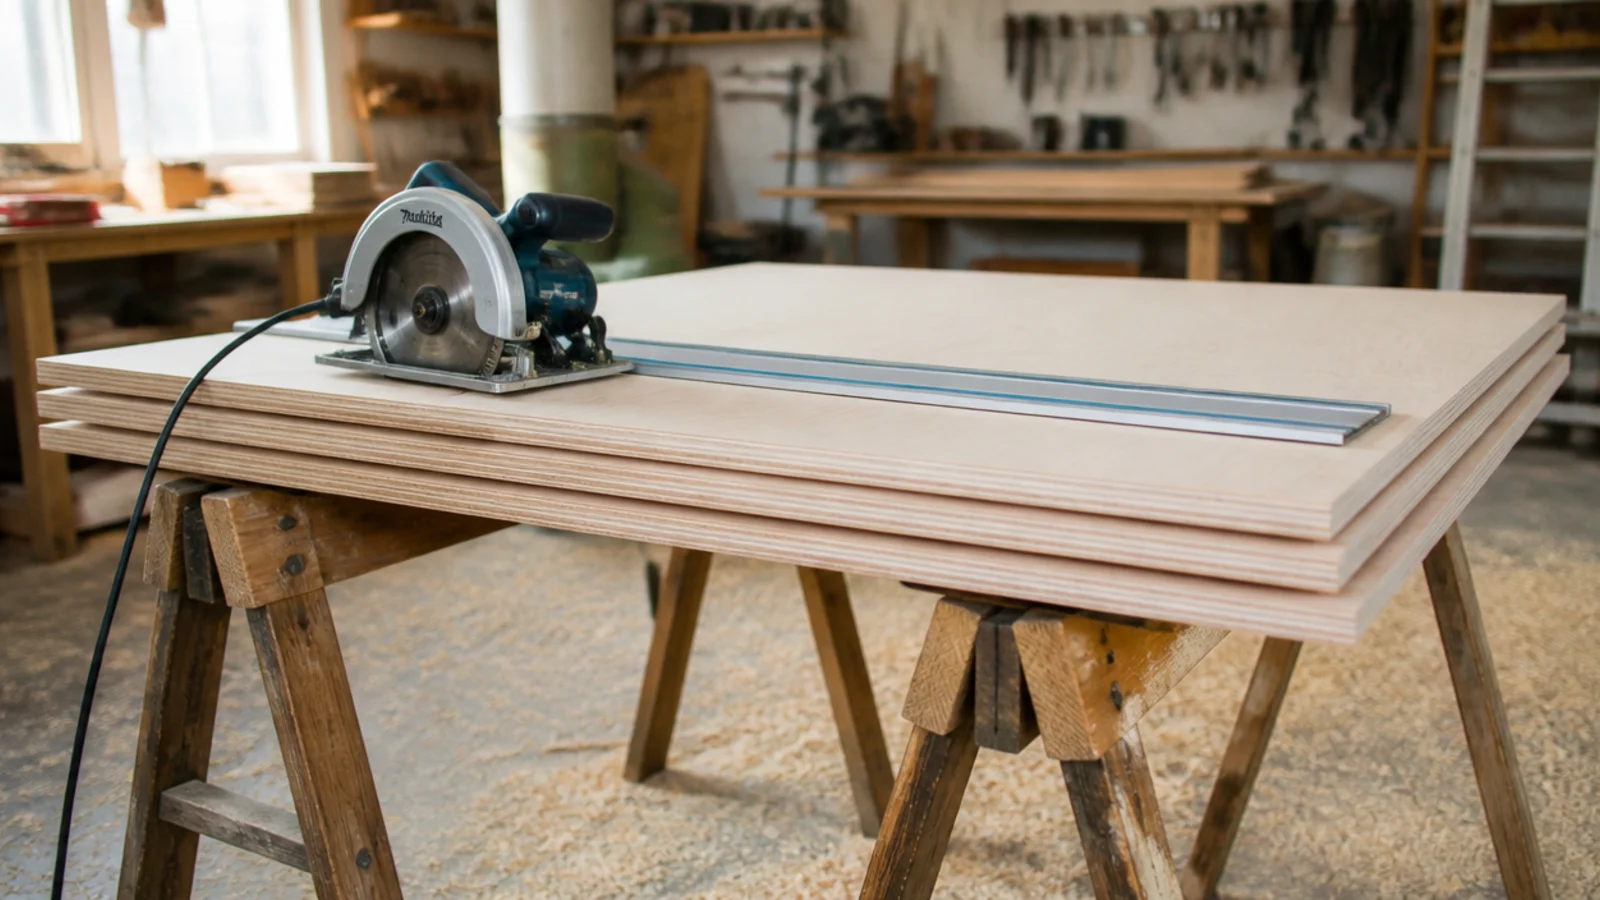
Write every panel with its finished size, then take the list to the store and have them rip the sheet down. Most home centers do the first few cuts free.
A full sheet is awkward and heavy, and a store panel saw cuts straighter than a circular saw on sawhorses. Add 1/8 inch to shelf lengths so you can trim to a snug fit at assembly.
Number each panel in pencil on the face that will be hidden.
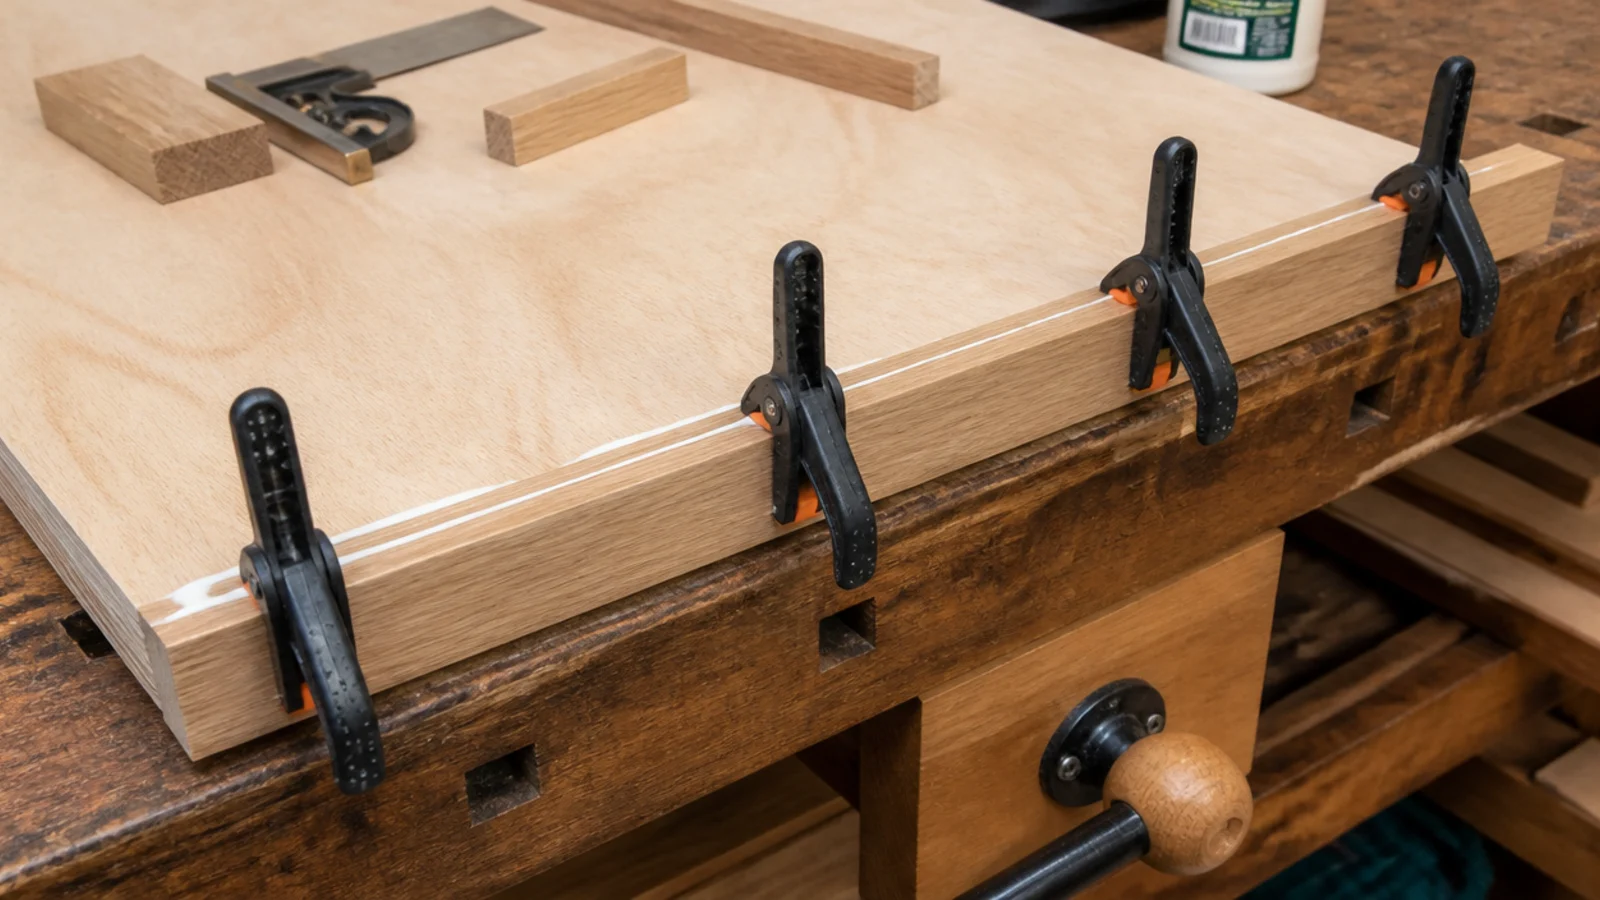
Step 7: Glue a solid lip on every shelf
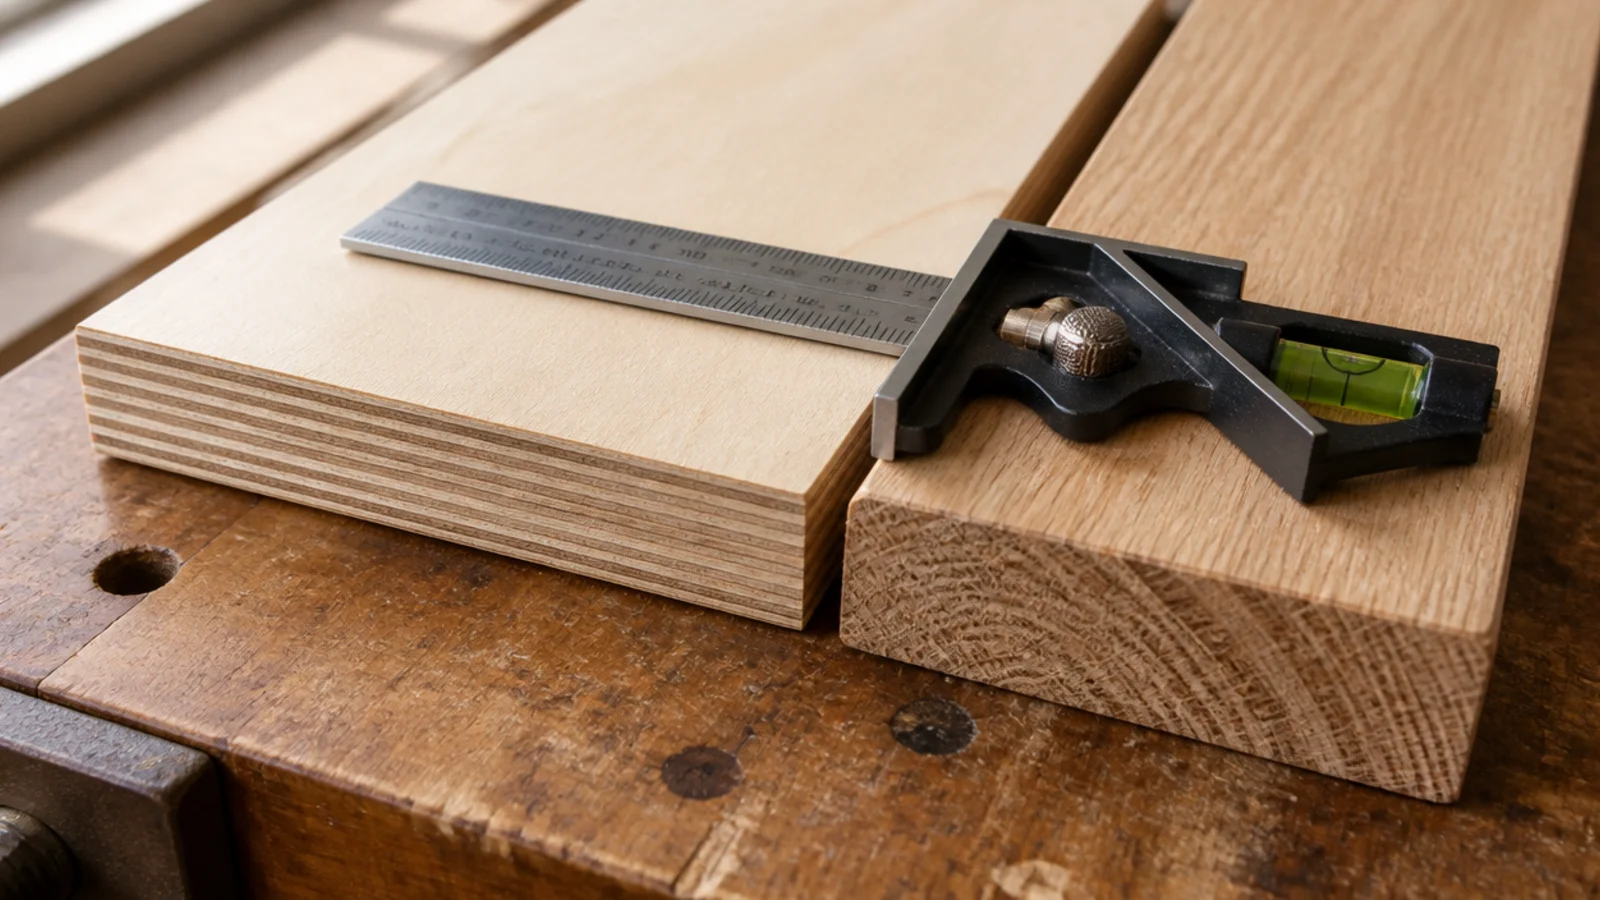
A 3/4 by 1-inch solid strip glued along the front edge of each shelf does two jobs at once: it hides the plywood laminations, and it stiffens the shelf enough to buy back several inches of usable span.
Clamp every 8 inches and wipe the squeeze-out with a damp cloth immediately, because dried glue rejects finish and shows as a pale streak forever.
This one detail is what makes a homemade shelf read as furniture rather than shelving. $
Step 8: Cut the sides, top, bottom and fixed shelf
Cut every panel before assembling anything. Use a straight edge clamped to the sheet as a saw guide and cut with the good face down if you are using a circular saw, so any tear-out lands on the hidden side.
Keep at least one fixed shelf near the middle, glued and screwed into the sides. It is what ties the two sides together and keeps the carcass from spreading under load.
Sand the cut edges to 150 grit before assembly, while everything is still flat on the bench.
Step 9: Drill the shelf pin holes with a jig
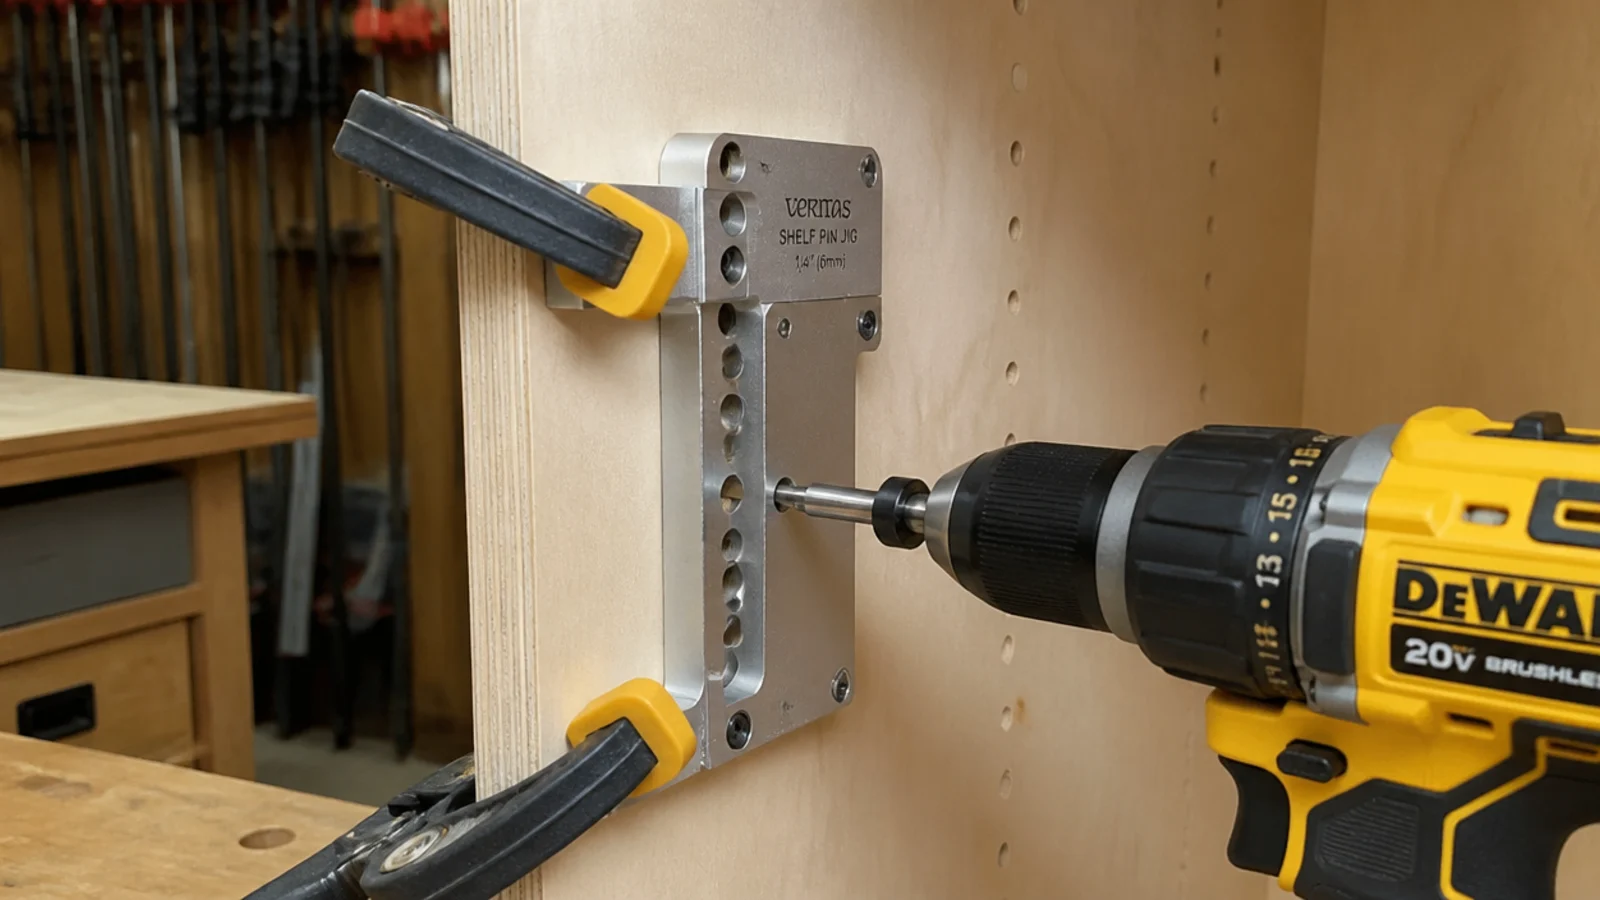
Adjustable shelves are worth the extra half hour, because the books you own in five years are not the books you own now.
A self-centering jig runs $20 to $35 and keeps every hole square, evenly spaced and at matching heights on both sides. Use a depth stop on the bit — a hole drilled through a 3/4-inch side panel is a hole you have to plug.
Drill both side panels clamped together in the same orientation so the holes cannot drift out of alignment.
Step 10: Glue and screw the carcass square
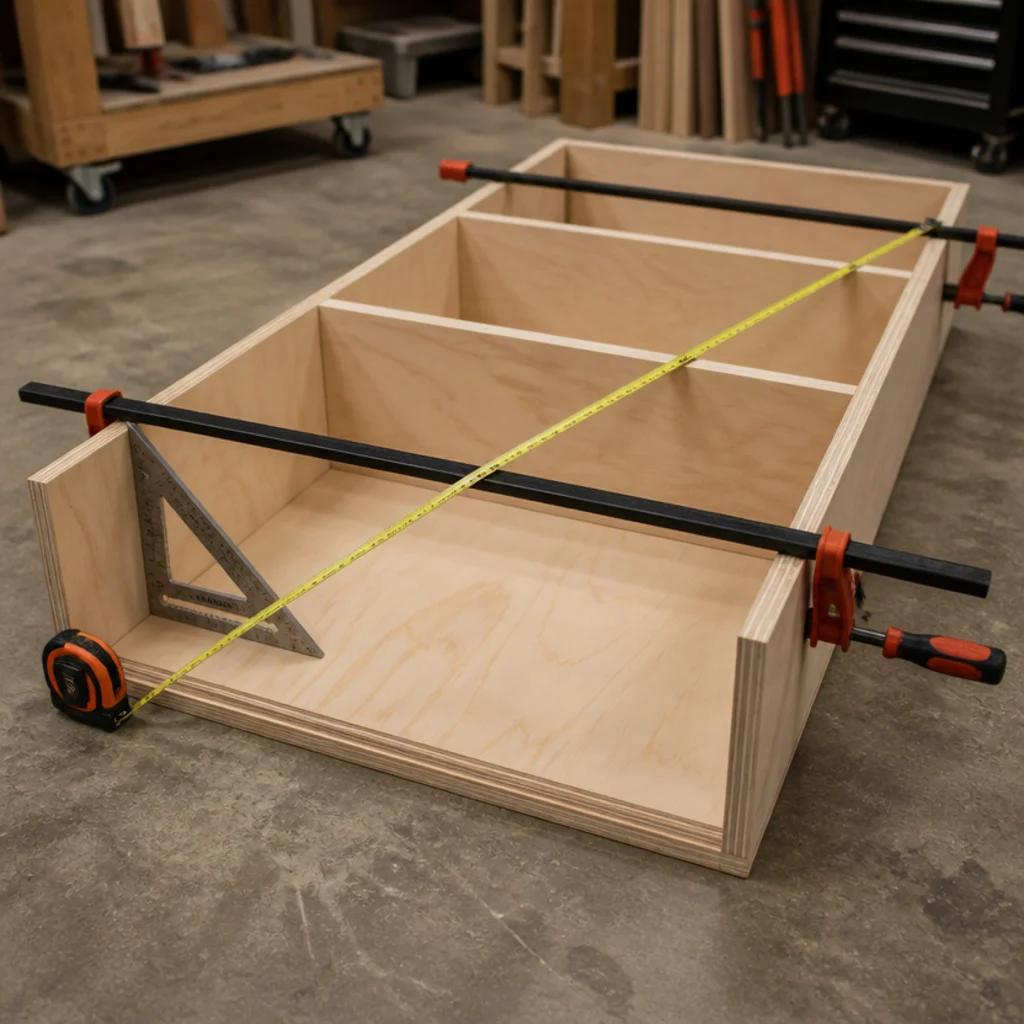
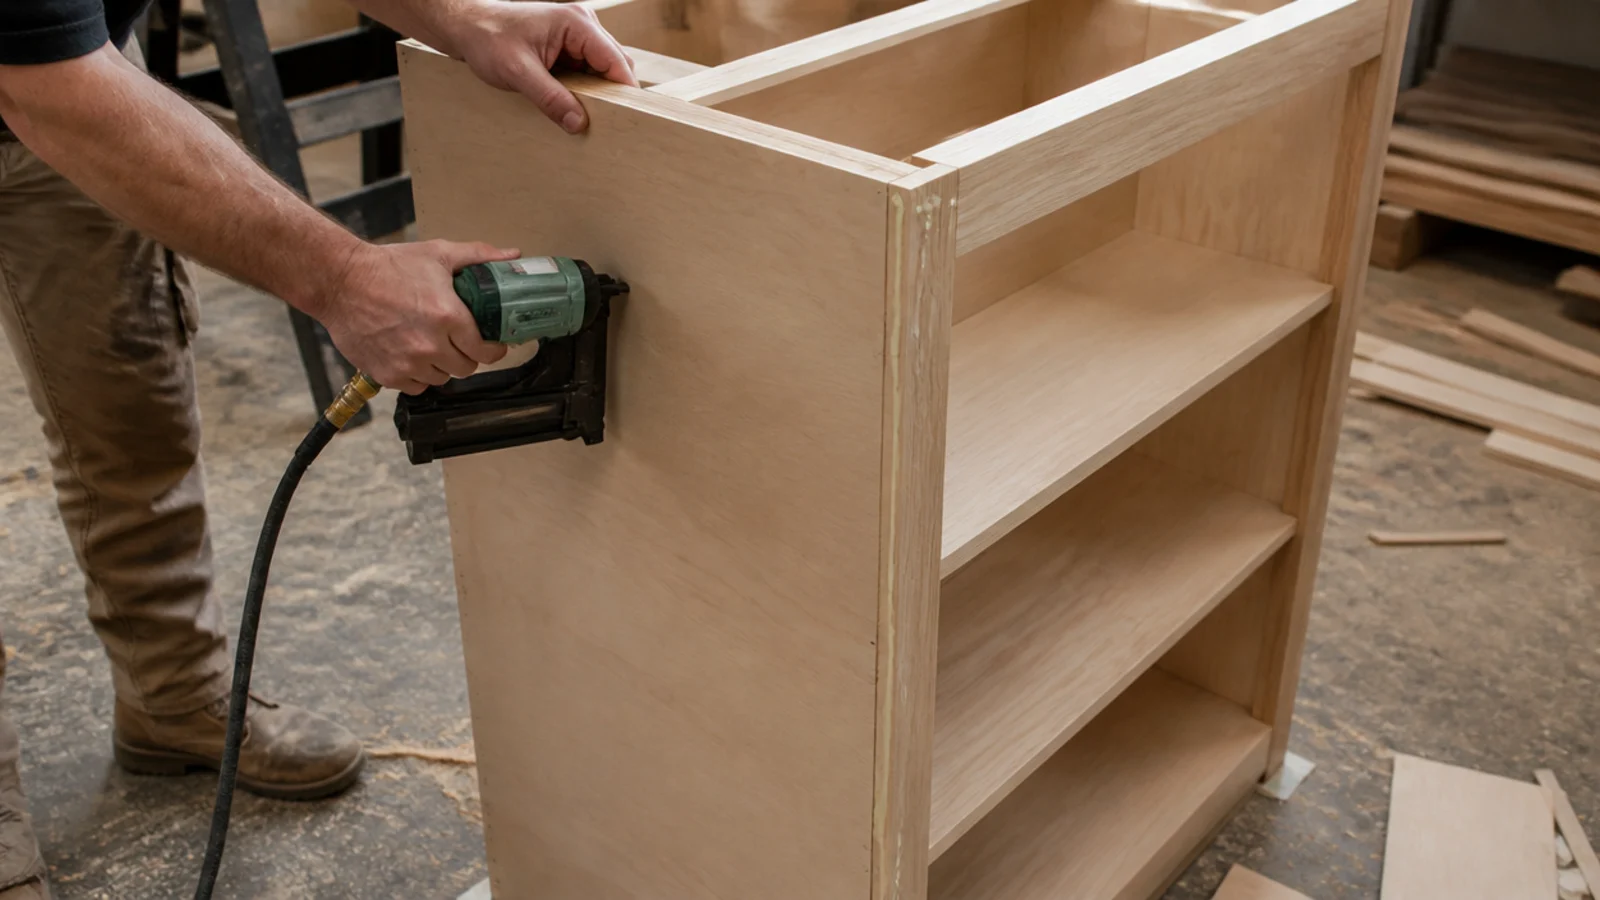
Lay the carcass face down, glue every joint, drive screws through the sides into the top, bottom and fixed shelf, then check for square by measuring both diagonals.
Equal diagonals means square. If they differ, push the long corner until they match and clamp it there before the glue sets.
A carcass assembled out of square never comes right, and every shelf you cut afterward will fit at one end and not the other.
Step 11: Fit the back panel that stops the racking
A 1/4-inch plywood back glued and pinned to the rear edges is the piece that stops the whole unit racking sideways into a parallelogram over time.
It is structural, not cosmetic, and it costs about $15. Fit it while the carcass is still clamped square, because the back is what locks that squareness in permanently.
Paint the inside face before fitting if you want a colored back panel — it is far easier flat than in place.
Step 12: Build a toe kick and level it to the floor
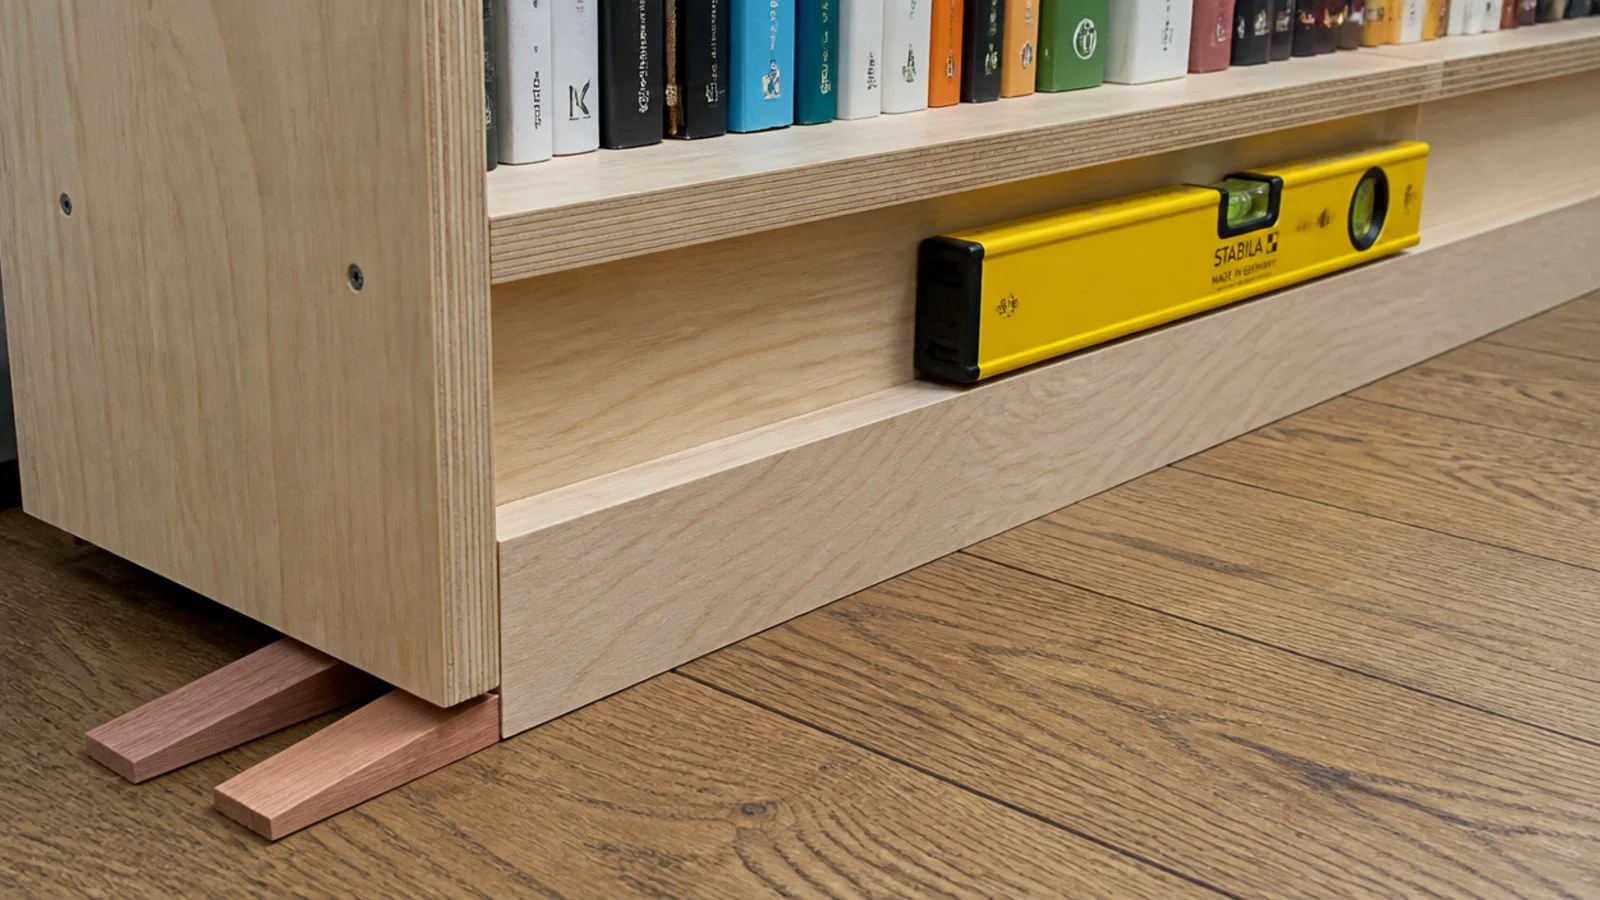
A recessed base 3 to 4 inches tall and set back 2 1/2 inches lifts the bottom shelf clear of the baseboard and gives your feet somewhere to go.
Old floors slope, sometimes by half an inch across three feet. Drive tapered shims under the low corner until a level sits true, then trim the shims flush with a sharp knife.
Level the unit before it touches the wall, not after. $$
Step 13: Sand, prime and finish before it goes up
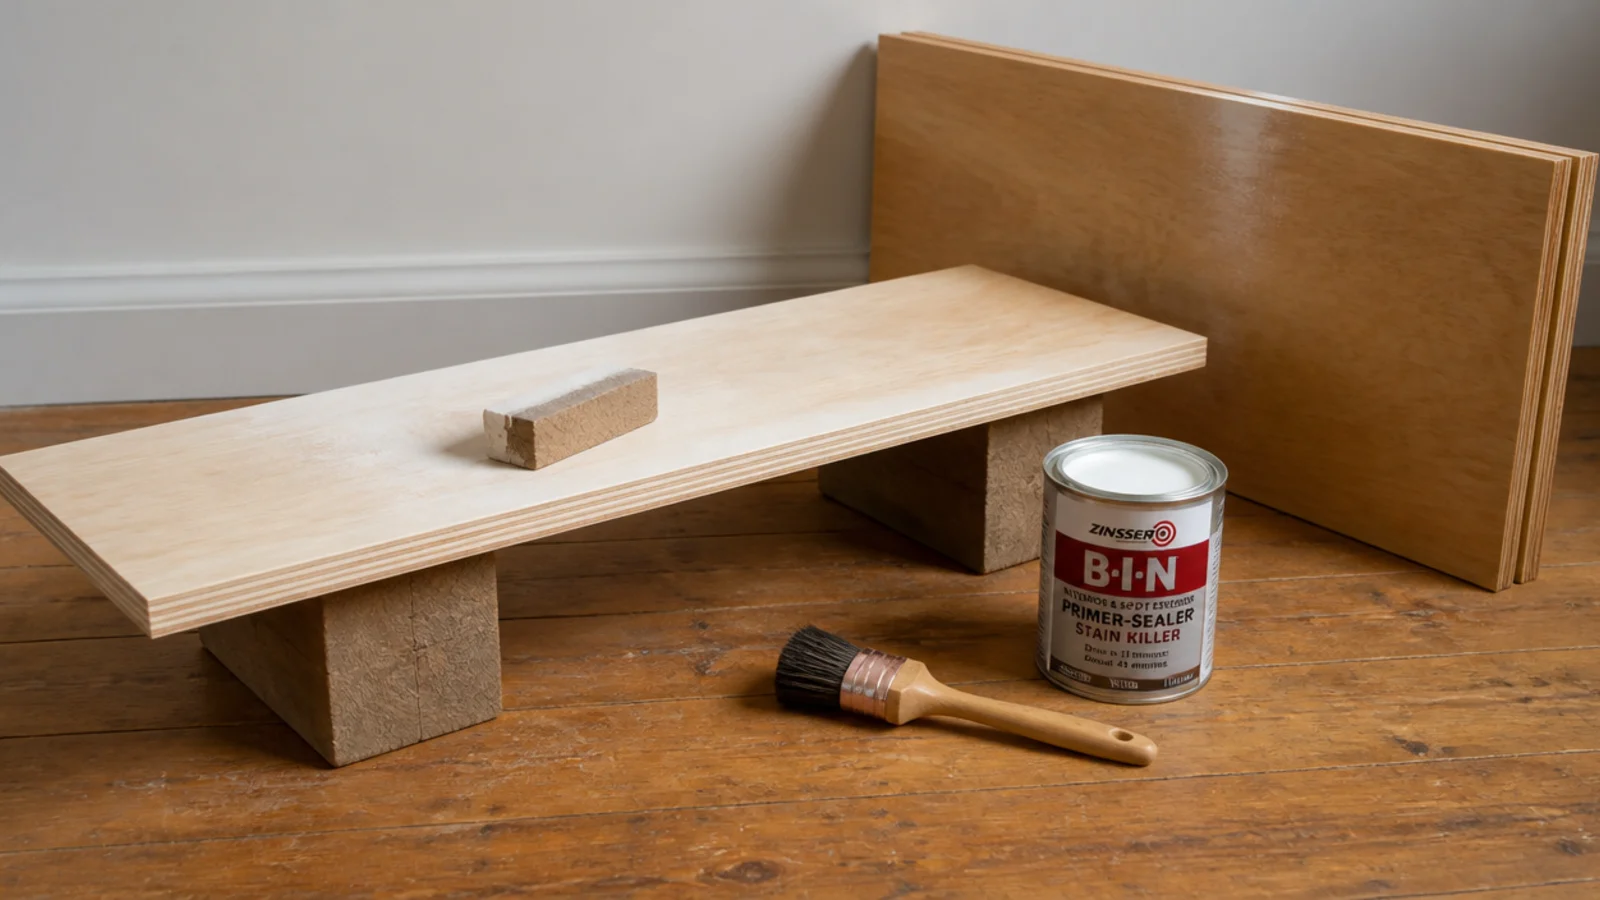
Sand to 180 grit, then wipe with a damp cloth, let it dry and sand again at 220. Raising the grain first is what keeps the surface smooth after finishing.
Finish every face, including the undersides and the backs of the shelves. A panel sealed on one side only will cup within a season.
Two thin coats beat one heavy one. Let the last coat cure overnight before anything touches it. $$
Step 14: Scribe it to the wall, fix it and strap it
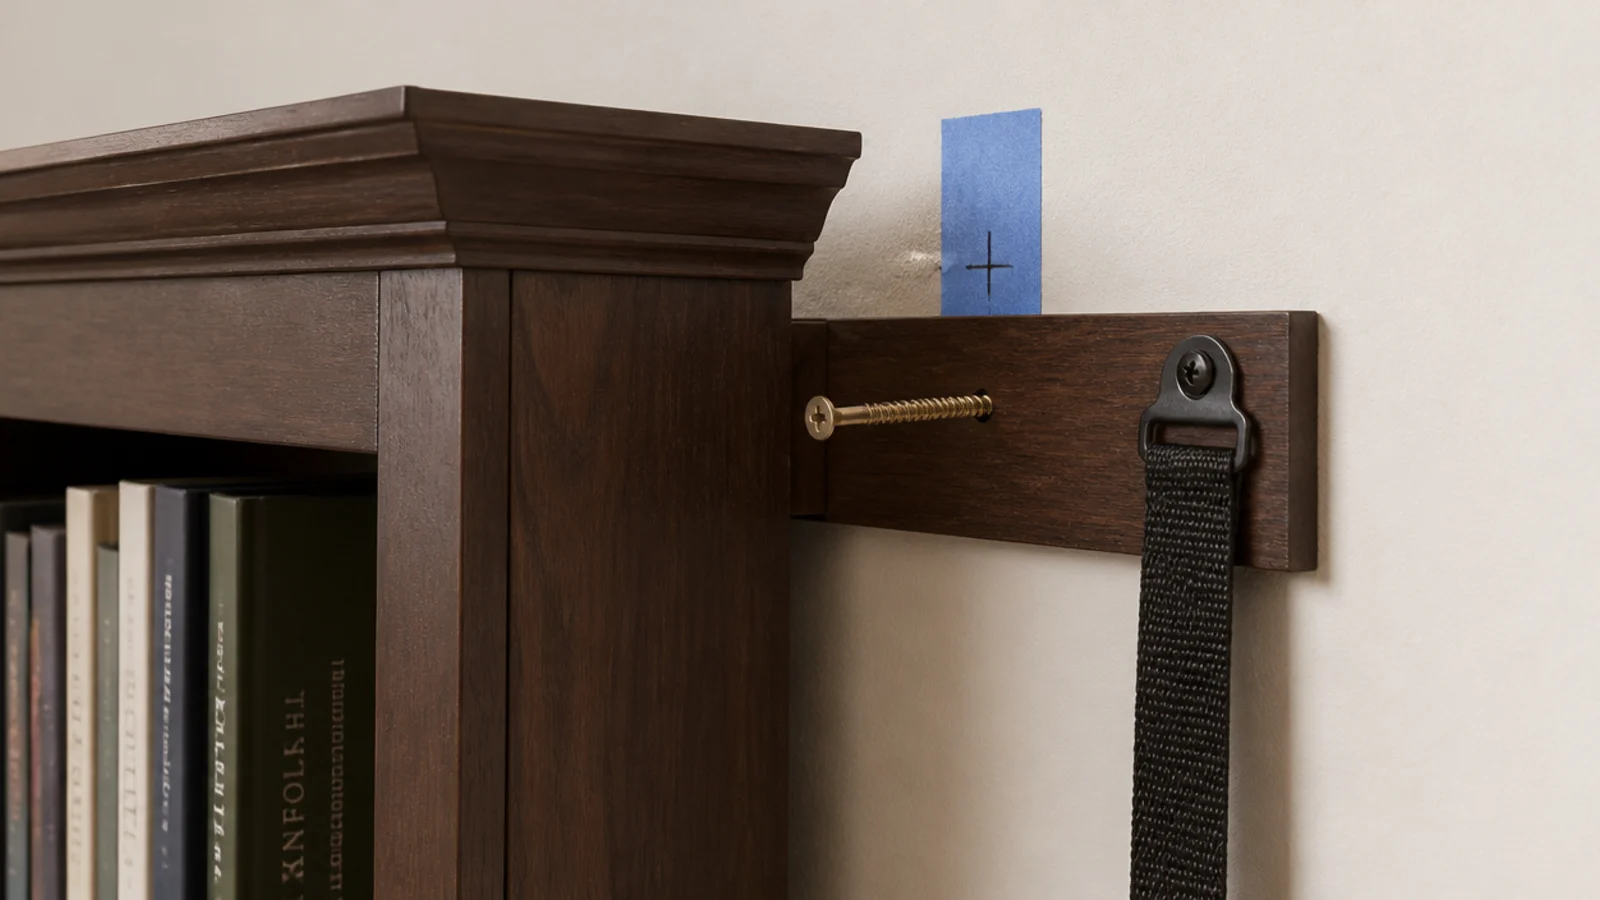
Walls are never flat. Slide the unit into place, mark where it rocks, and either scribe the back edge or run a bead of caulk along the top of the baseboard gap once it is fixed.
Then screw through the top rail into at least two studs with 3-inch screws, or fit an anti-tip strap kit. Every freestanding bookcase, without exception, in any home where a child could climb. A loaded unit can pass 200 pounds and drywall plugs will not hold it.
Ten minutes, about $12.
Step 15: Load heavy low, then style it
Put the large art books and anything over four pounds on the bottom two shelves, mostly stacked flat. Low weight steadies the unit and makes a tall bookcase look grounded.
Then sight along each shelf after a week under load. Any visible dip means that bay needs a mid support or a thicker board, and it is far easier to fix now than after everything is arranged.
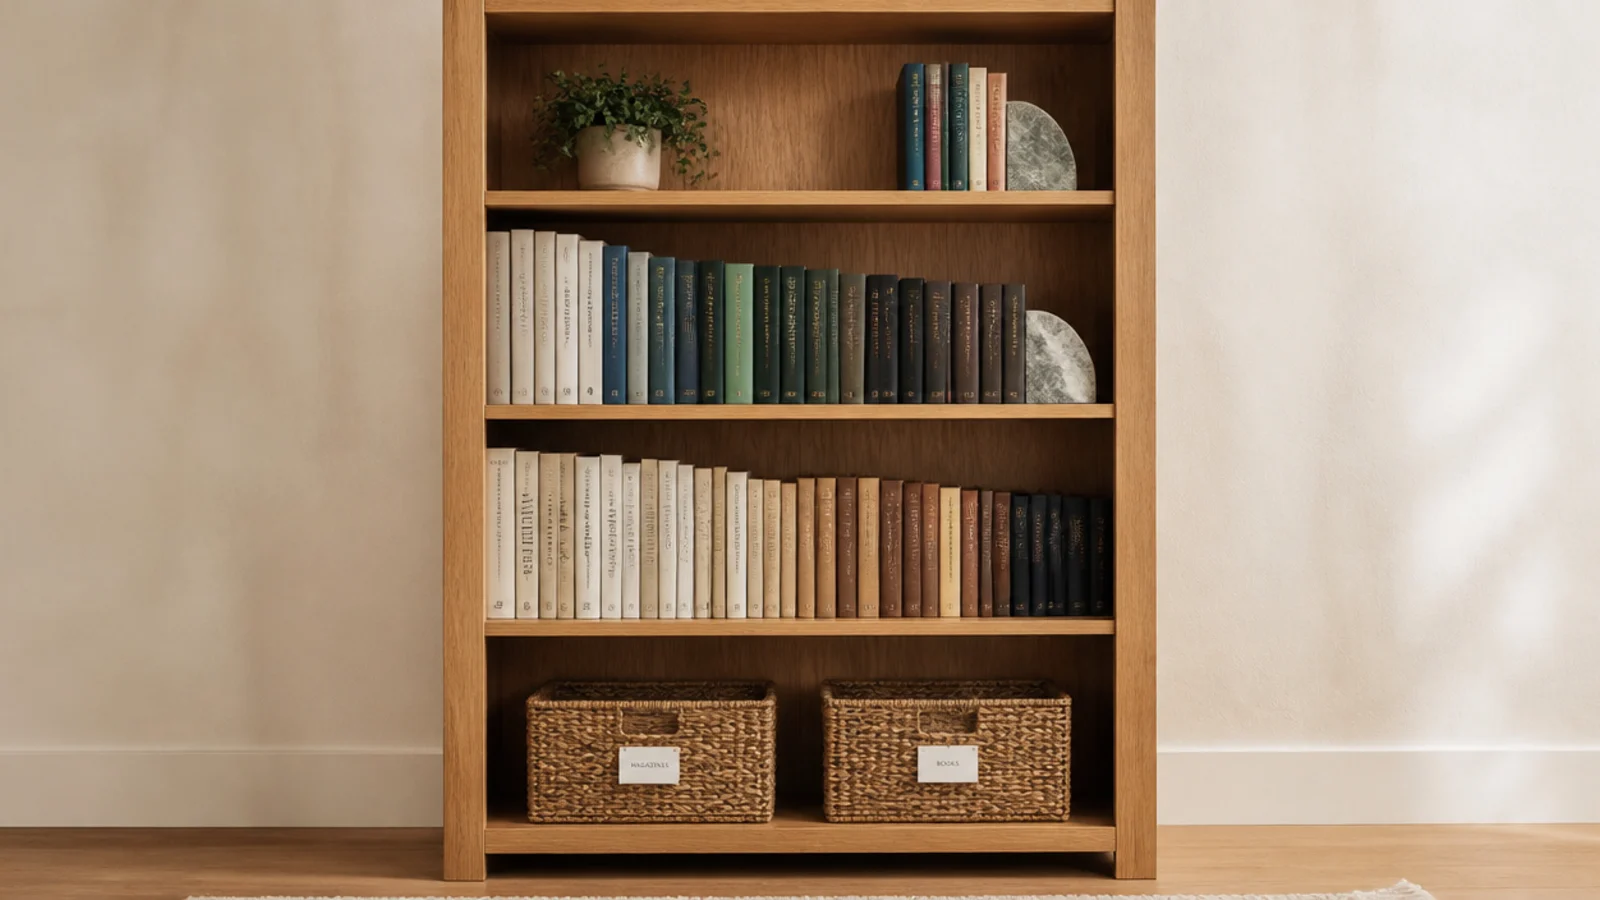
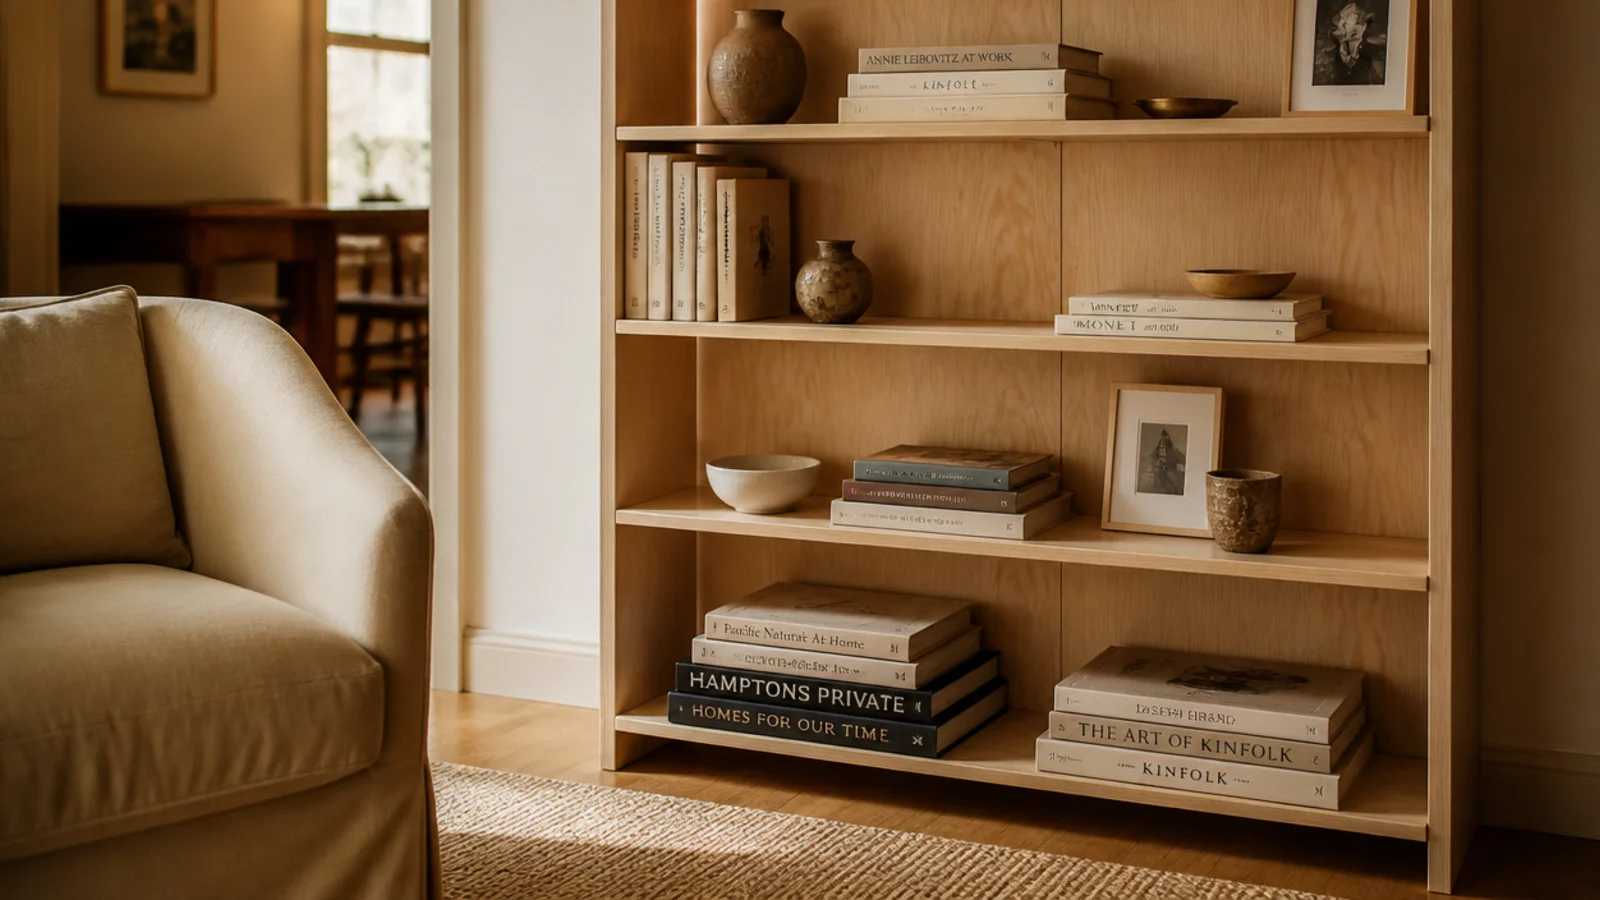
Group books by height rather than color, keep about a third of every shelf empty, and vary horizontal stacks with vertical rows.
Pro Styling Rules
Mistakes to Skip
- Building 36-inch bays in 3/4-inch stock. That is 60 to 75 pounds of hardbacks on a board rated for far less, and the sag is permanent.
- Skipping the back panel to save $15. Without it the carcass racks sideways under load and every shelf slowly goes out of level.
- Finishing only the visible faces. Sealed on one side, the panels cup within a season — by which point the unit is loaded and fixed to the wall.
Frequently asked questions
What is the best material for a homemade bookcase?
Three-quarter-inch cabinet-grade plywood for the carcass, with a solid hardwood lip glued along the front edge of every shelf. Plywood stays flat, takes screws well and costs far less than solid stock. Avoid MDF and melamine particle board for shelves carrying books, because both creep permanently under sustained load rather than springing back.
How long can a bookshelf span be without sagging?
Thirty-two inches is the practical limit for three-quarter-inch plywood or solid stock under a full load of books. Past that you need one of three fixes: shorten the bay with a vertical divider, glue a one-inch solid lip along the front edge, or move up to one-inch stock. A mid-span support does the same job in an existing unit.
How deep should I build my bookshelf?
Eleven to twelve inches for hardbacks and art books, nine to ten for paperbacks. Deeper than twelve inches only gives you a hidden second row you never look at, and it eats floor space you cannot get back. Measure your own largest ten books before you cut anything, because the standard varies more than you would expect.
Do I need a back panel on a DIY bookcase?
Yes. A quarter-inch plywood or hardboard back is what stops the carcass racking sideways under load, and a bookcase without one will slowly lean into a parallelogram. Glue and pin it into a rabbet if you can cut one, or simply nail it flush to the back edges. It costs about $15 and it is structural, not cosmetic.
How do I attach a bookcase to the wall safely?
Screw through the top rail or a cleat into at least two wall studs with three-inch screws, or fit a purpose-made anti-tip strap kit. Drywall plugs are not acceptable for this — a loaded bookcase can pass 200 pounds. Do it in every home with children, without exception, before a single book goes on.
Build one bay first if you are unsure. The second and third go up in half the time once you know how your walls and your saw behave. When it is up, work through bookshelf styling ideas for the arranging, and bookshelf wall ideas if you want to take the build across a whole wall. The same cut-and-scribe method builds a DIY headboard in an afternoon. Save the pin so the cut list is with you at the lumber counter.
Want more like this? Browse all 15 bookshelf ideas guides — they all use the same measurements and budget tiers.
Pin it for later
Save this to your Bookshelf Ideas board
Pin it now so it is waiting for you when the tape measure comes out — and so the next person hunting for this idea can find it too.
Save this pinKeep going
More ideas worth saving while you have the tape measure out.