Attic Bedroom Ideas · How-To
15 Steps To Style Girls Attic Bedroom Ideas Cheaply

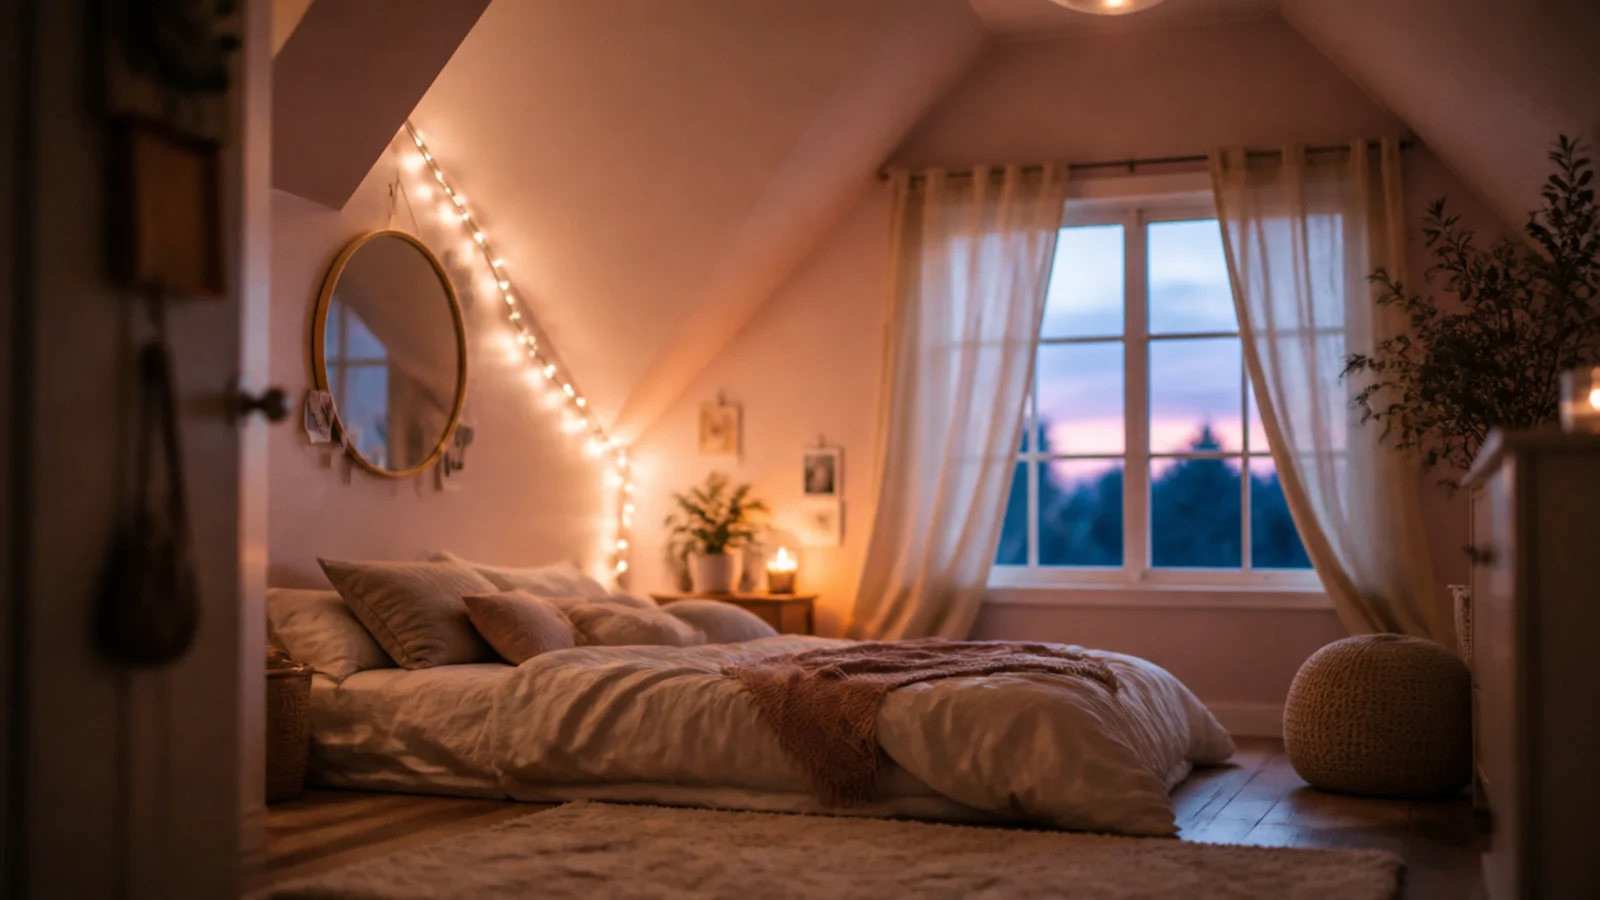
Styling a loft cheaply works when the jobs happen in the right order. Paint before furniture, furniture before lighting, lighting before textiles. Do it the other way round and you will be moving a made bed to reach a wall you should have painted first. These girls attic bedroom ideas run as fifteen ordered steps, each one costing less than a night out.
The room I did this in last was my god-daughter's. Total spend was under $450, and the two steps that changed it most were the cheapest on the list.
In this guide19 sections — tap to openHide
- 1.Where girls attic bedroom ideas actually start
- 2.What You'll Need Before You Start
- 3.Step 1: Measure the headroom above the bed position
- 4.Step 2: Check the escape window opens and stays clear
- 5.Step 3: Empty the room and fill the plaster
- 6.Step 4: Paint the slope and walls as one colour
- 7.Step 5: Paint the floorboards pale
- 8.Step 6: Tape the bed out before you place it
- 9.Step 7: Fix a padded panel behind the pillows
- 10.Step 8: Add a shelf where a bedside table will not fit
- 11.Step 9: Hang plug-in wall lights at pillow height
- 12.Step 10: Add the soft light layer with LED strings
- 13.Step 11: Fit a blackout blind to the roof window
- 14.Step 12: Fill the knee wall with real storage
- 15.Step 13: Hang a mirror on the straight wall
- 16.Step 14: Layer the textiles last
- 17.Step 15: Build one display ledge and edit it
- 18.Pro Styling Rules
- 19.Mistakes to Skip
Where girls attic bedroom ideas actually start
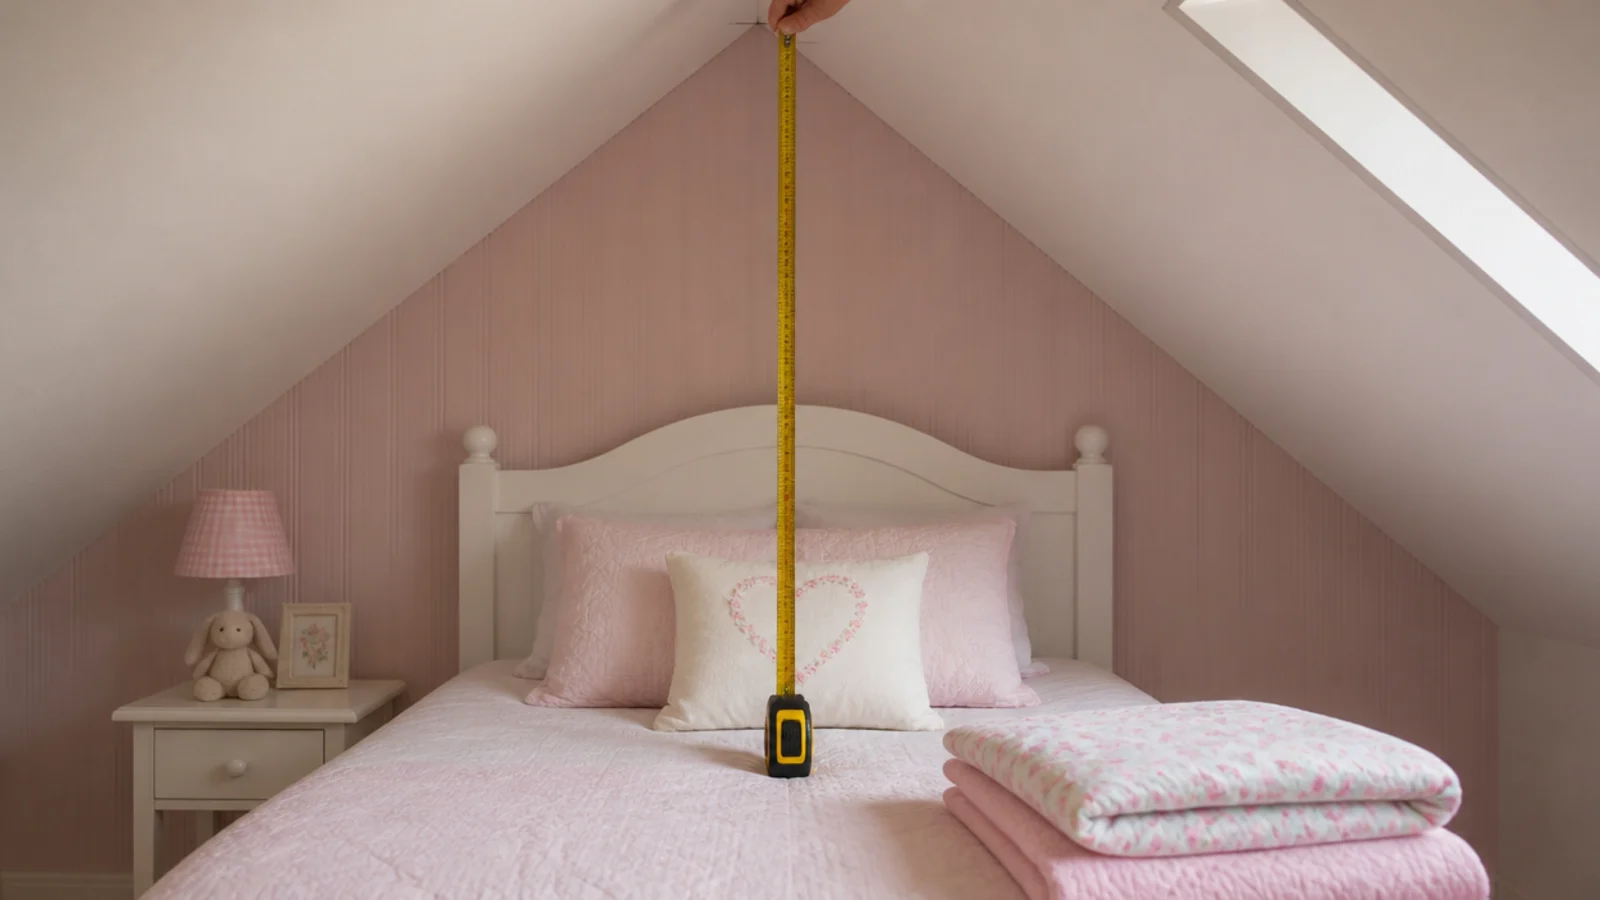
With a tape measure and a tester pot, not a mood board. Two numbers decide the layout: the clear height above where the pillow will sit, and the width of the strip where the ceiling is above seven feet. Thirty inches of air above the mattress is the working minimum and 36 is comfortable for anyone who reads in bed.
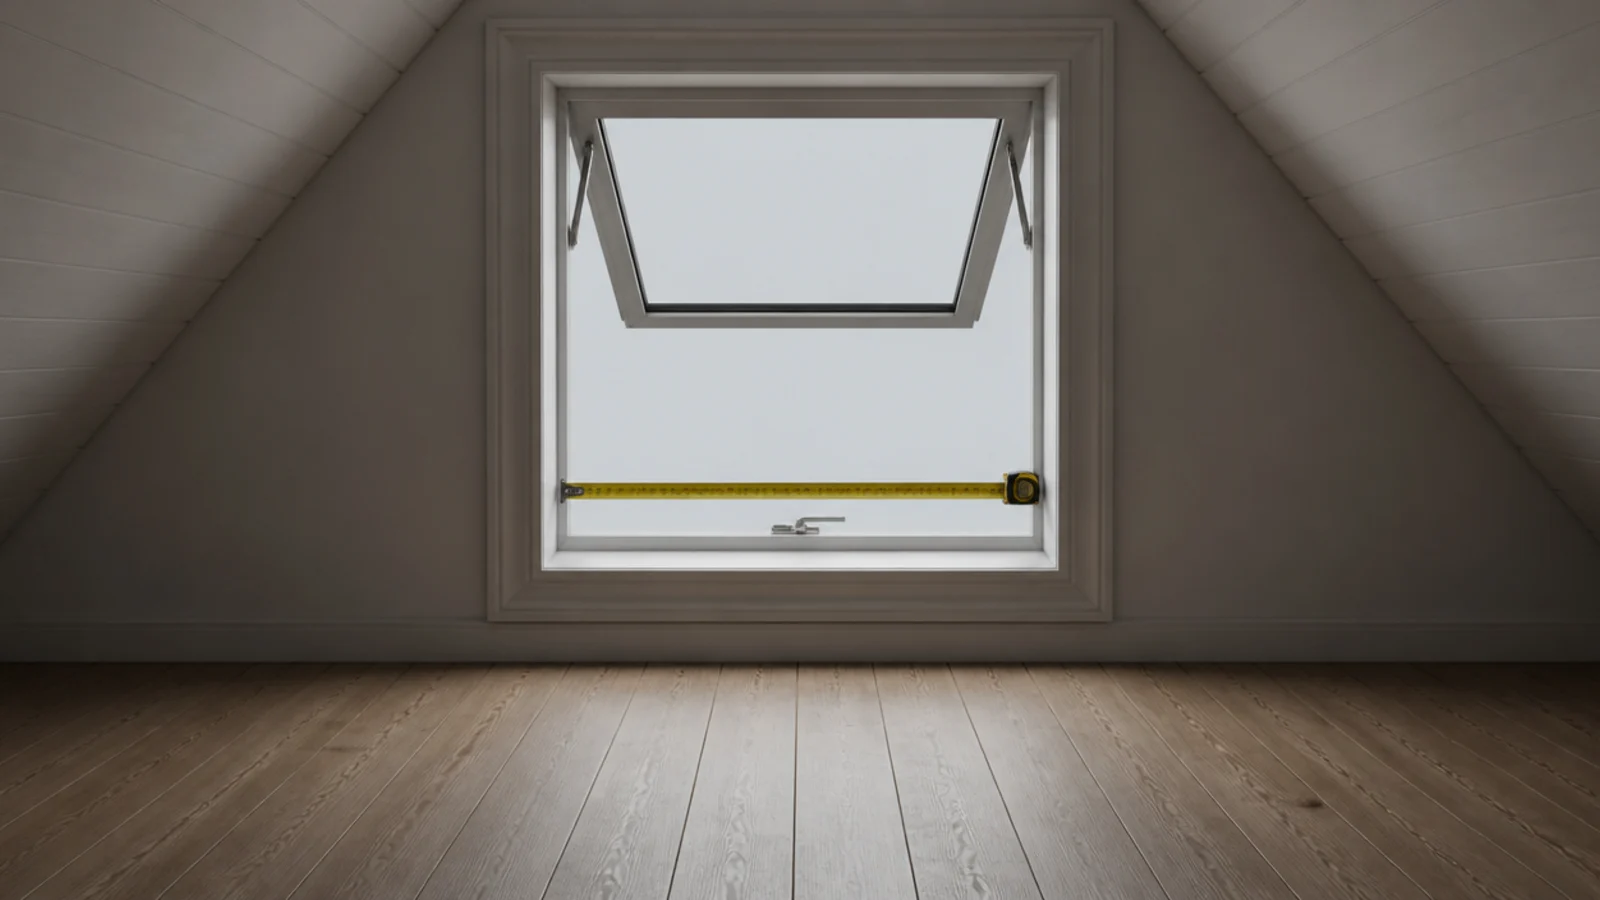
Then check the room is a legal sleeping room. A compliant emergency escape and rescue opening — commonly 5.7 square feet net clear, 24 inches minimum clear height, 20 minimum clear width, sill within 44 inches of the floor — kept permanently clear, plus habitable ceiling height, are regulated minimums enforced by your local building department. Decorating never overrides them.
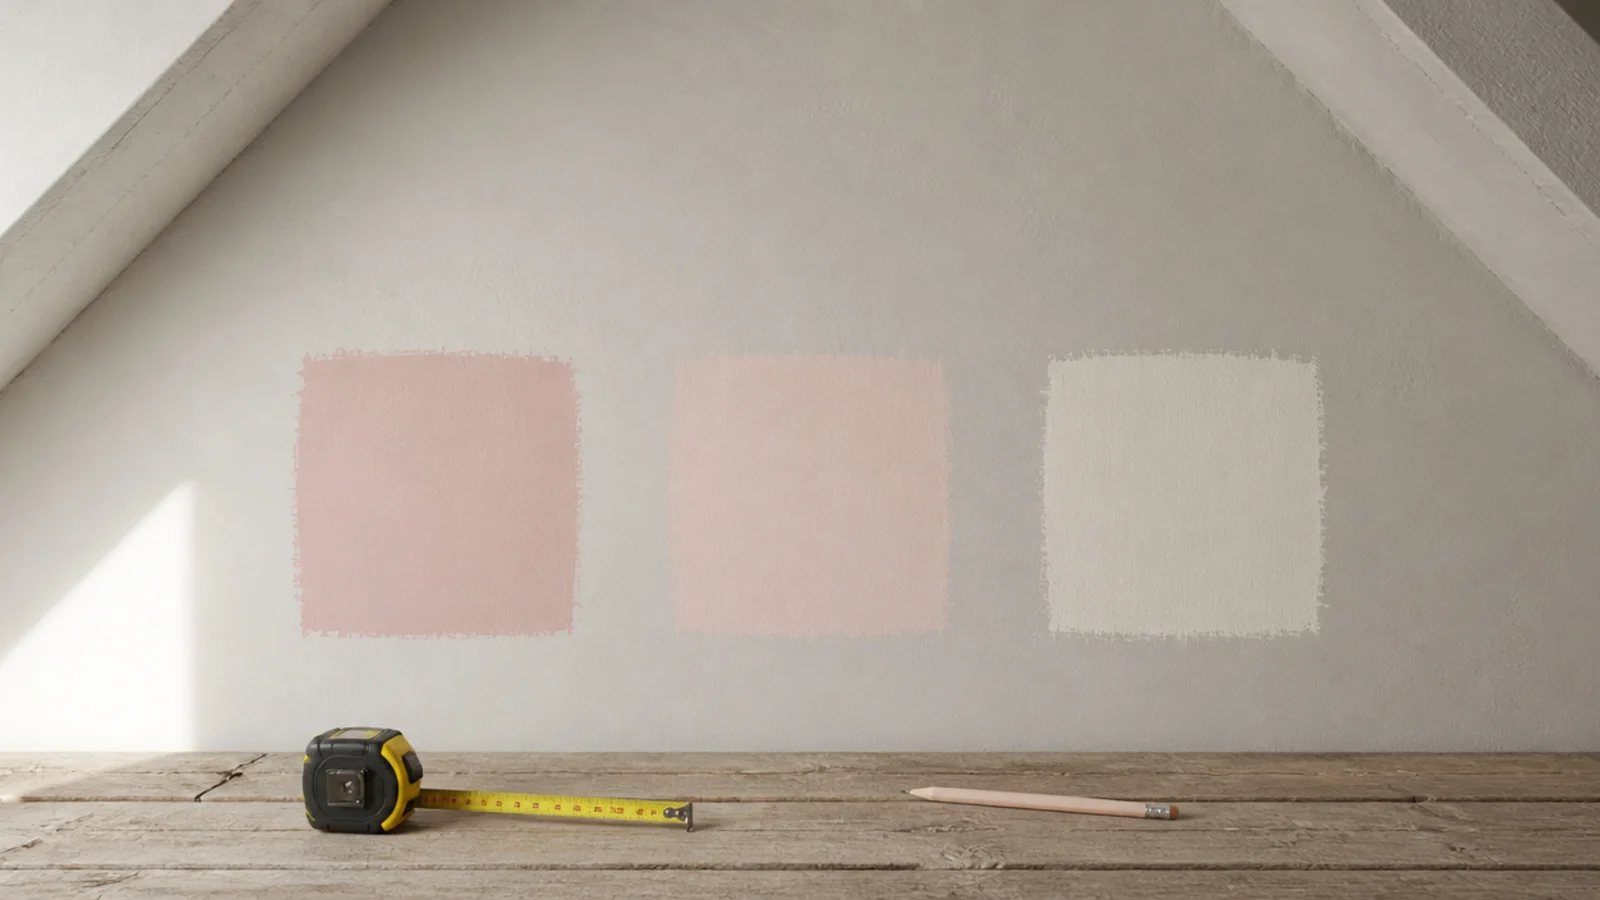
Paint a tester square on the slope itself, not on a board. A sloped surface reads about two shades darker than the same colour on a vertical wall, which is why so many attic rooms end up gloomier than the sample suggested.
Budget for the whole sequence: paint $60 to $120, floor paint $70, blackout blind $60 to $150, plug-in wall lights $25 to $60 each, LED strings $15 to $30, textiles $150 to $250.
What You'll Need Before You Start
- A tape measure and masking tape. Two rolls. Marking the bed footprint on the floor is the cheapest design decision you will make.
- Filler, a filling knife and a sanding block. Attic plaster is never flat, and matte paint over unfilled ripples looks worse than the ripples did.
- Matte emulsion for wall and slope, plus floor paint. One colour, one finish, enough for two coats on every surface including the pitch.
- A roller with an extension pole. Painting overhead on a slope with a hand roller is how a weekend becomes three days.
- A stud or rafter detector. Anything fixed to a knee wall or a slope goes into timber, not plasterboard.
- Plug-in wall lights and warm LED strings. All bulbs at 2700K, indoor-rated sets only, and keep drivers off bedding.
- A drill, a level and a pencil. The level matters more than usual, because in a loft nothing else in the room is square to trust by eye.
Step 1: Measure the headroom above the bed position
Sit on the floor where the bed will go, hold the tape at mattress height and read the clear space to the slope. Under 30 inches, move the bed further out. On a steep pitch every inch away from the low wall returns close to an inch of headroom, so small moves matter.
Step 2: Check the escape window opens and stays clear
Open it fully and measure the actual clear opening rather than the frame. Then decide the furniture layout with that window and the floor in front of it treated as permanently unavailable. Every later step has to respect it.
Step 3: Empty the room and fill the plaster
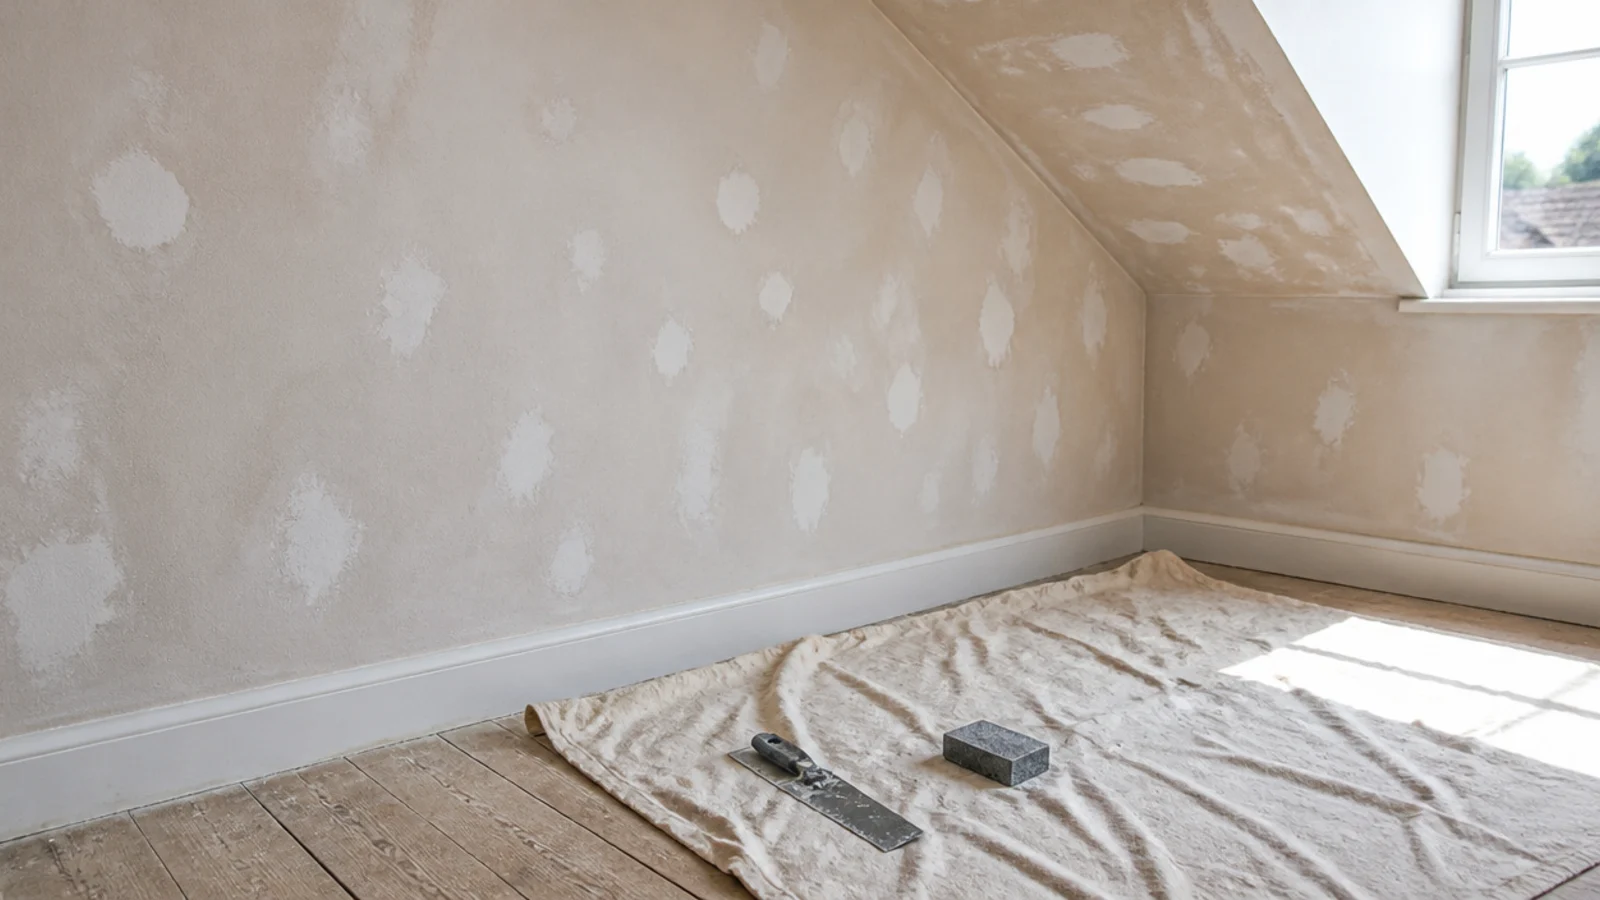
Everything out, including the curtain rail. Fill, sand and dust the walls and the slope. Matte paint hides sheen defects but nothing hides a hollow, and a slope catches raking light from a rooflight all day long, which shows every one.
Step 4: Paint the slope and walls as one colour
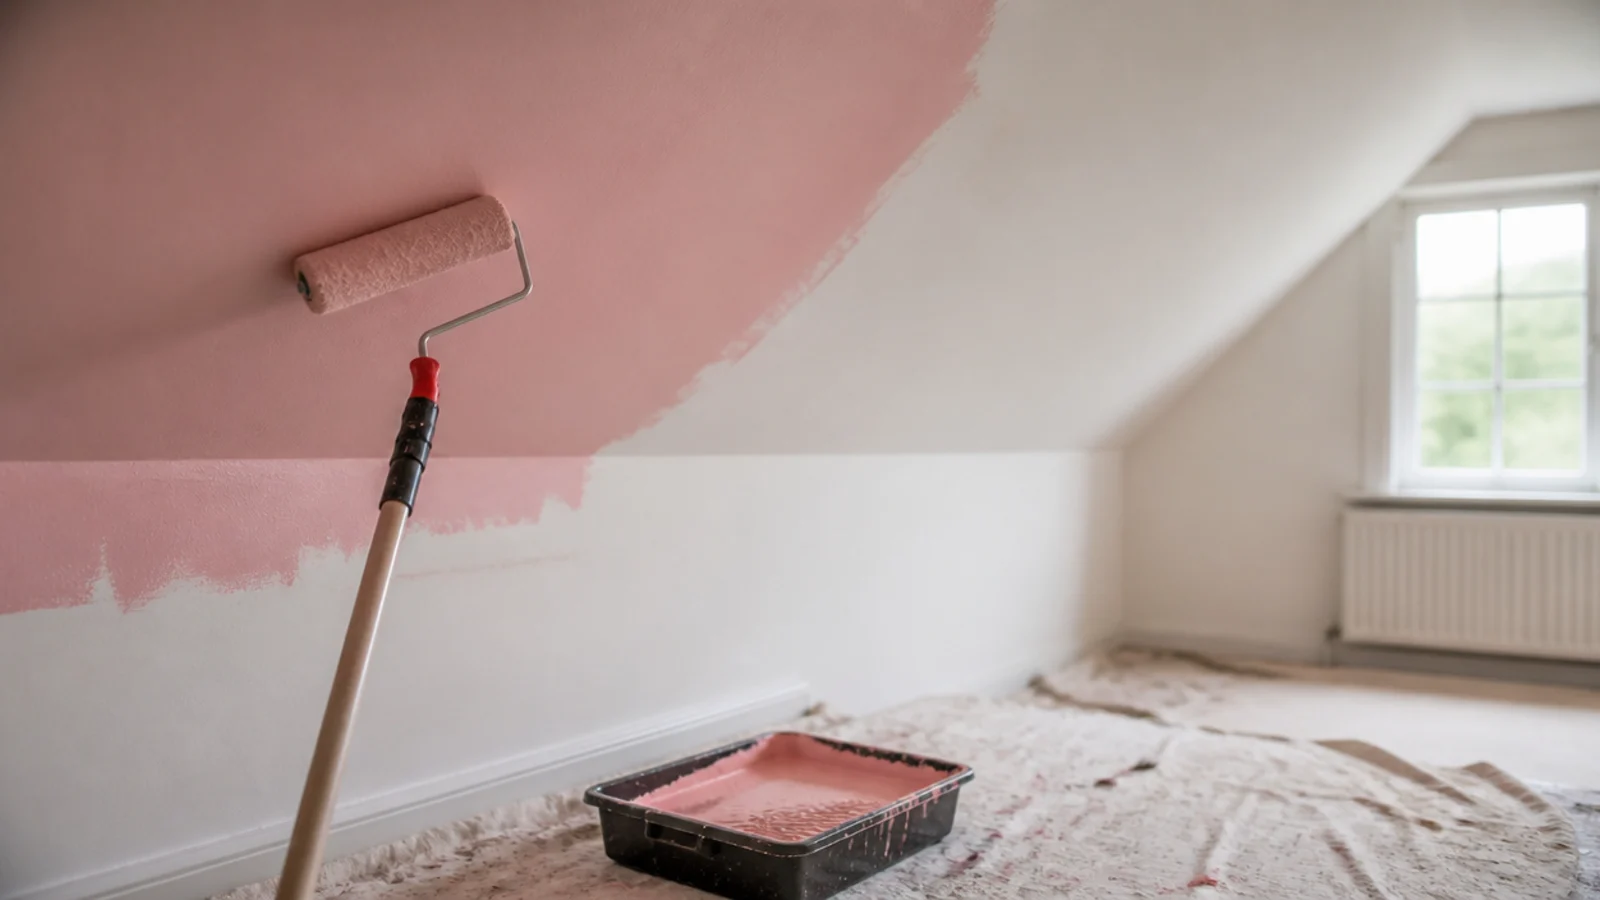
Cut in at the skirting and the window, then roll from the floor up the wall and straight onto the slope without stopping at the junction. One colour, one matte finish. This is the step that decides how tall the room reads, and it costs $60 to $120.
Step 5: Paint the floorboards pale
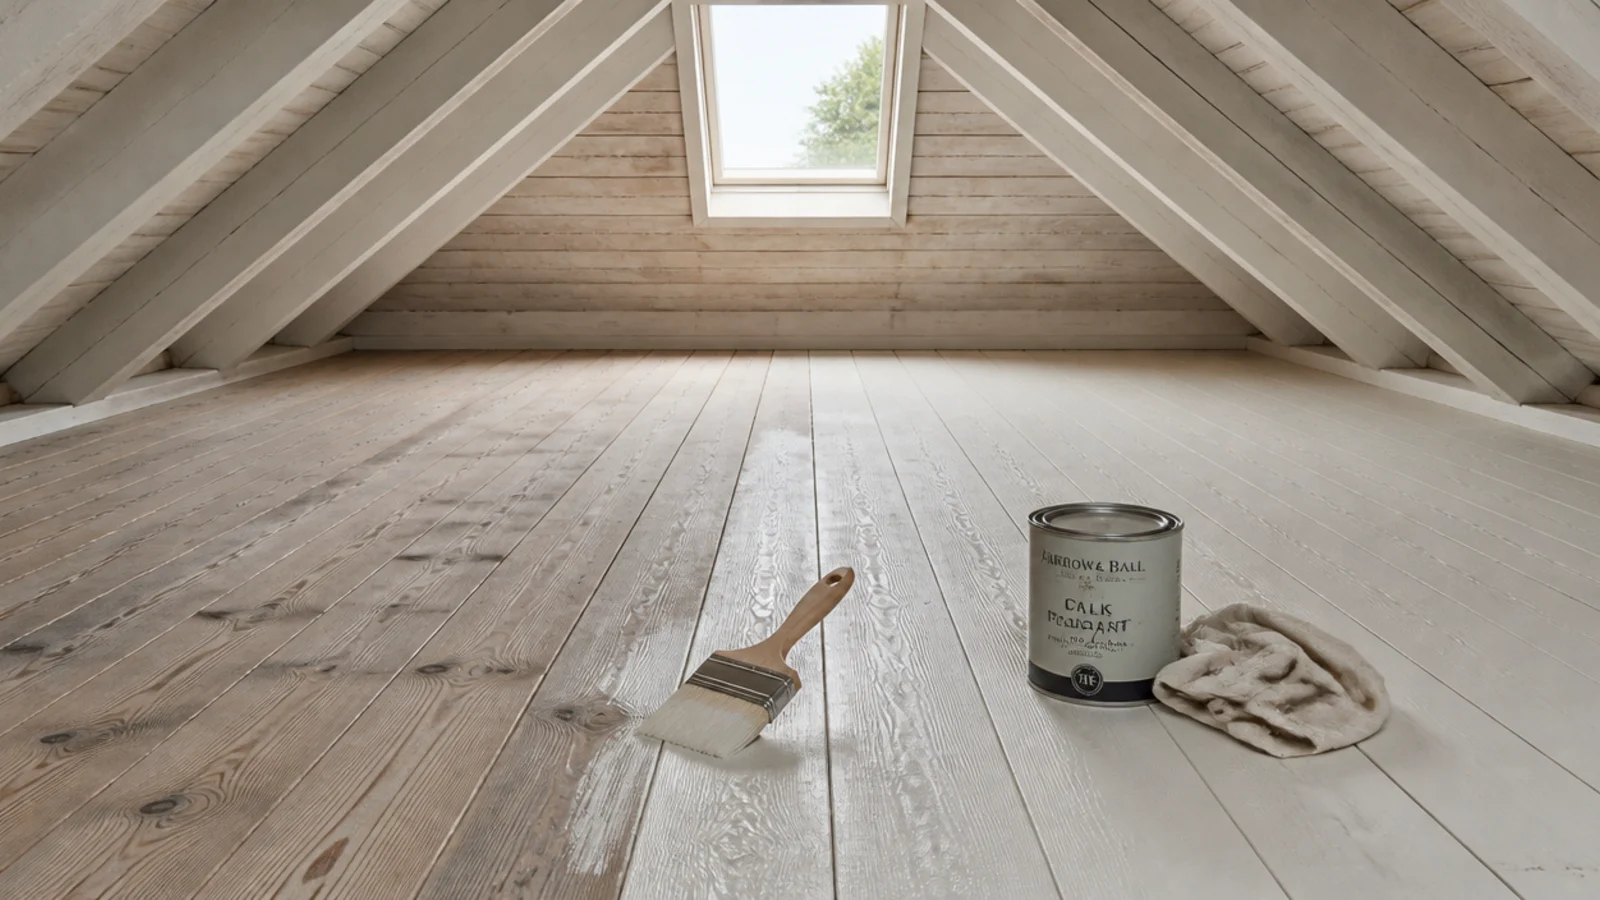
Prime, then two coats of floor paint. Pale boards bounce daylight back up onto the slope, which is exactly what a room lit from a single rooflight needs. About $70 and a weekend including drying time between coats.
Step 6: Tape the bed out before you place it
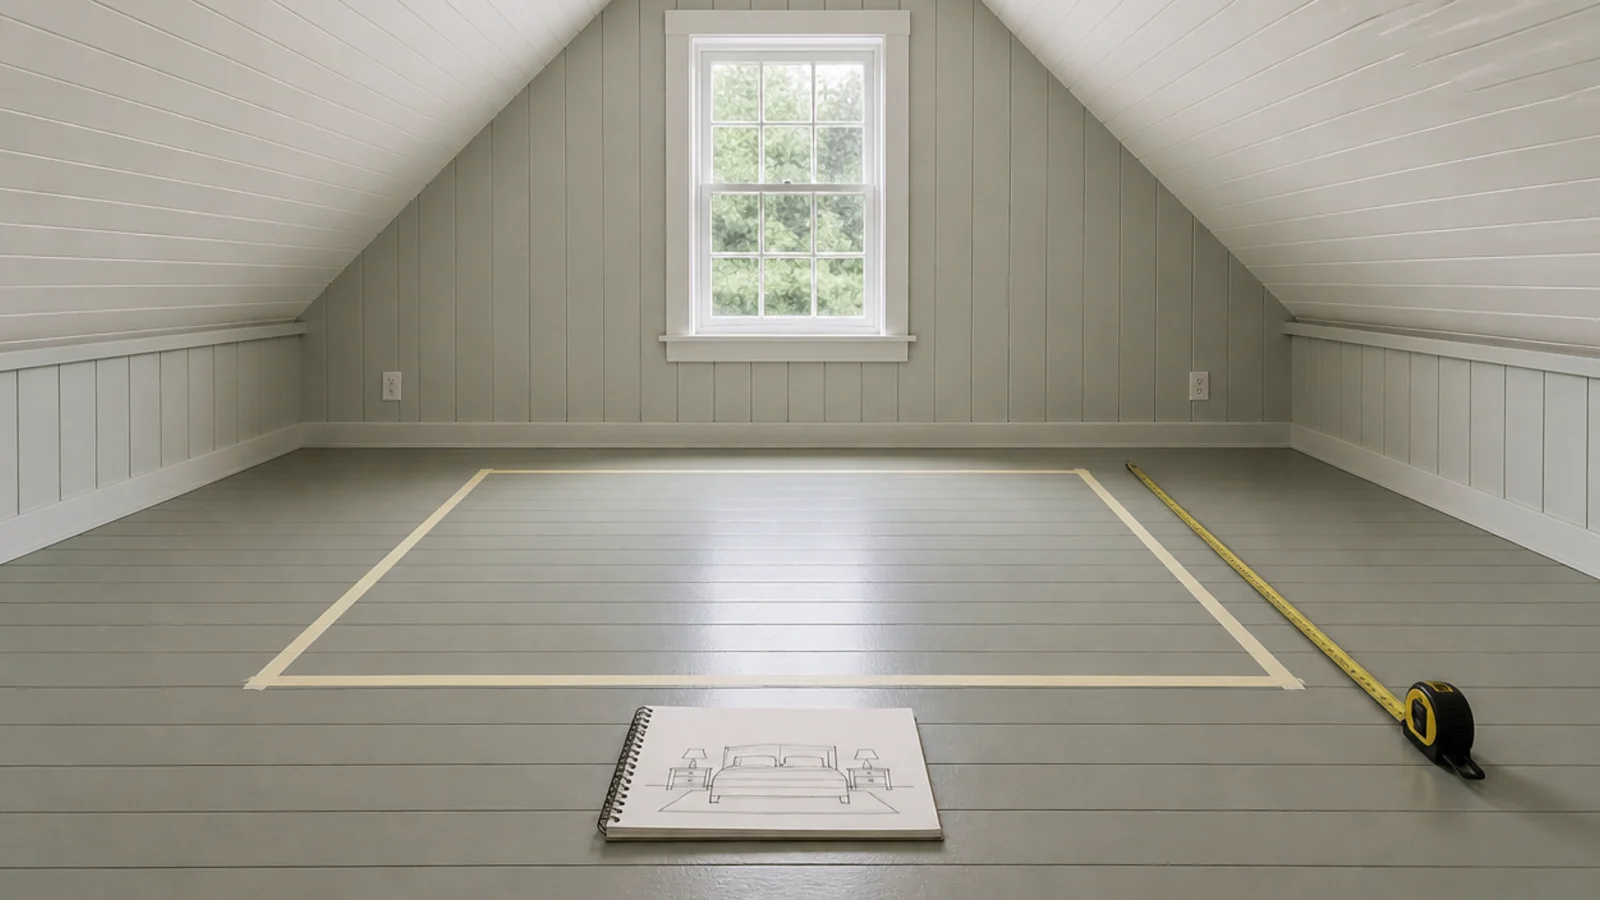
Mark the mattress footprint on the painted floor and walk around it. Check 24 inches of clear walkway with an allowance for duvet overhang, check the headroom above the pillow again, and check the route to the escape window. Only then carry the bed in.
Step 7: Fix a padded panel behind the pillows
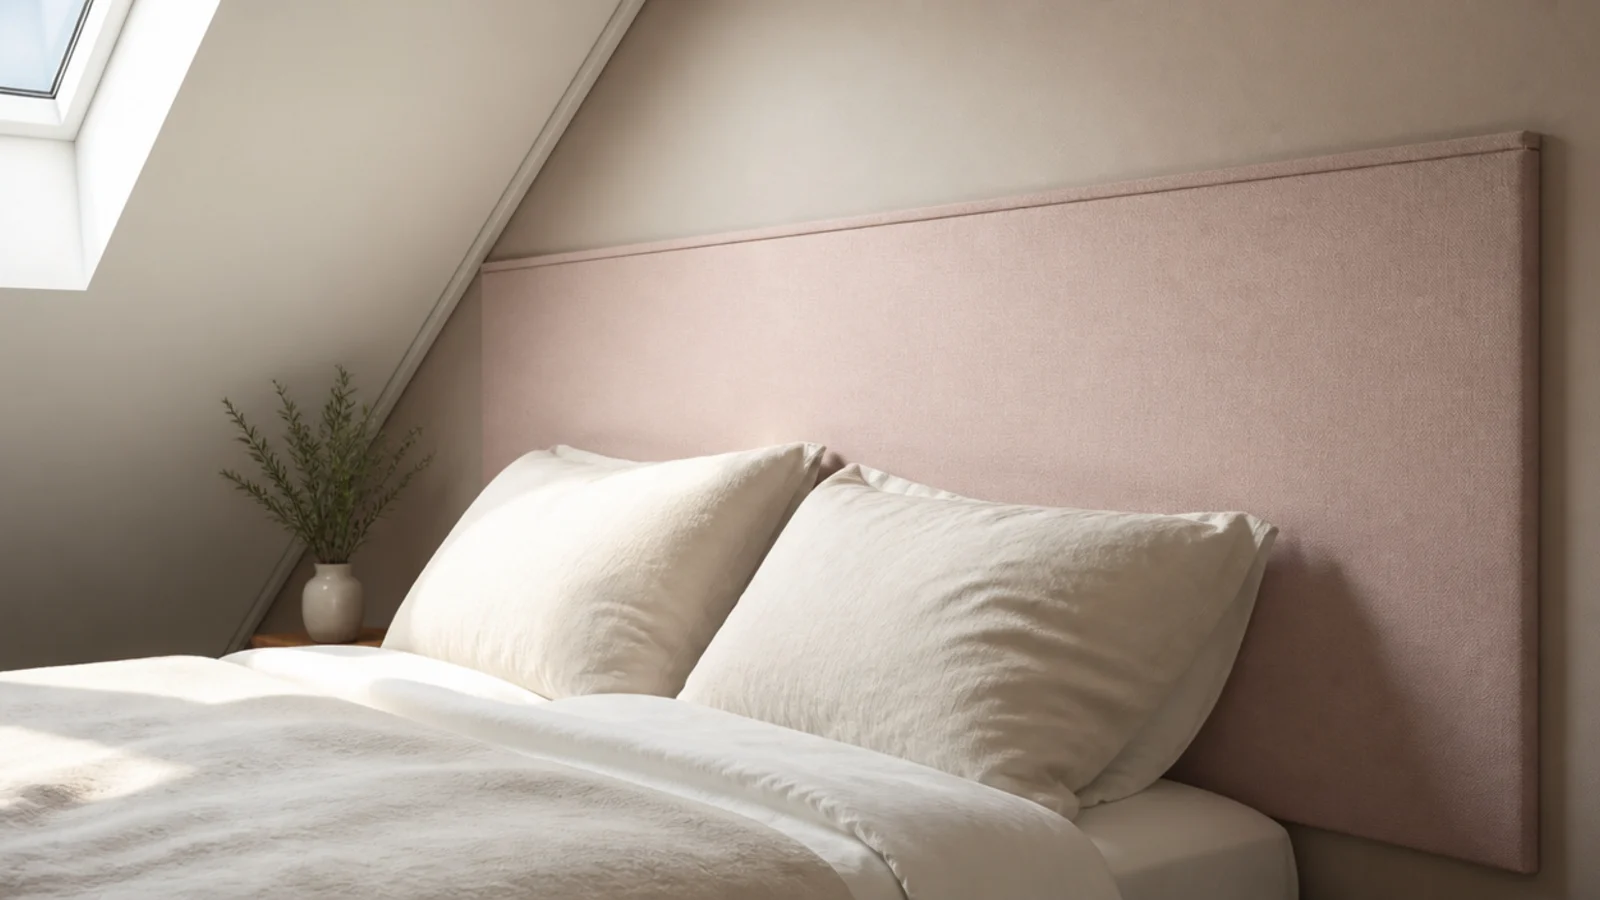
A headboard adds 3 to 5 inches to the bed's footprint and often meets the slope. A fabric-covered panel screwed flat to the knee wall gives the same softness with no depth at all, and costs $30 to $60 in ply and fabric. Fix into studs.
Step 8: Add a shelf where a bedside table will not fit
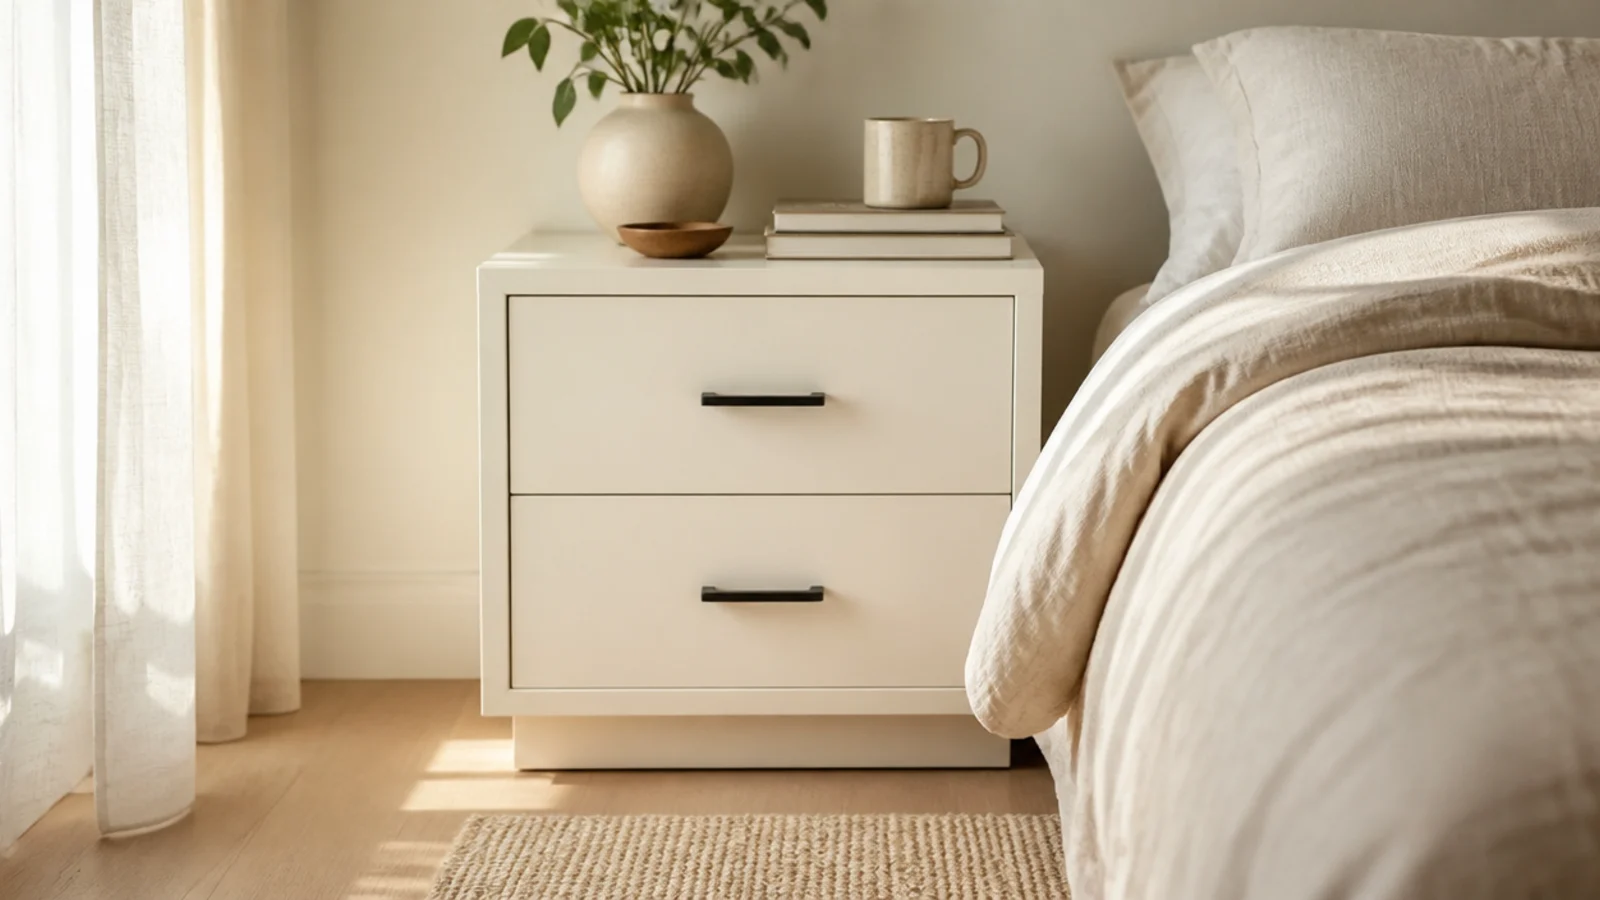
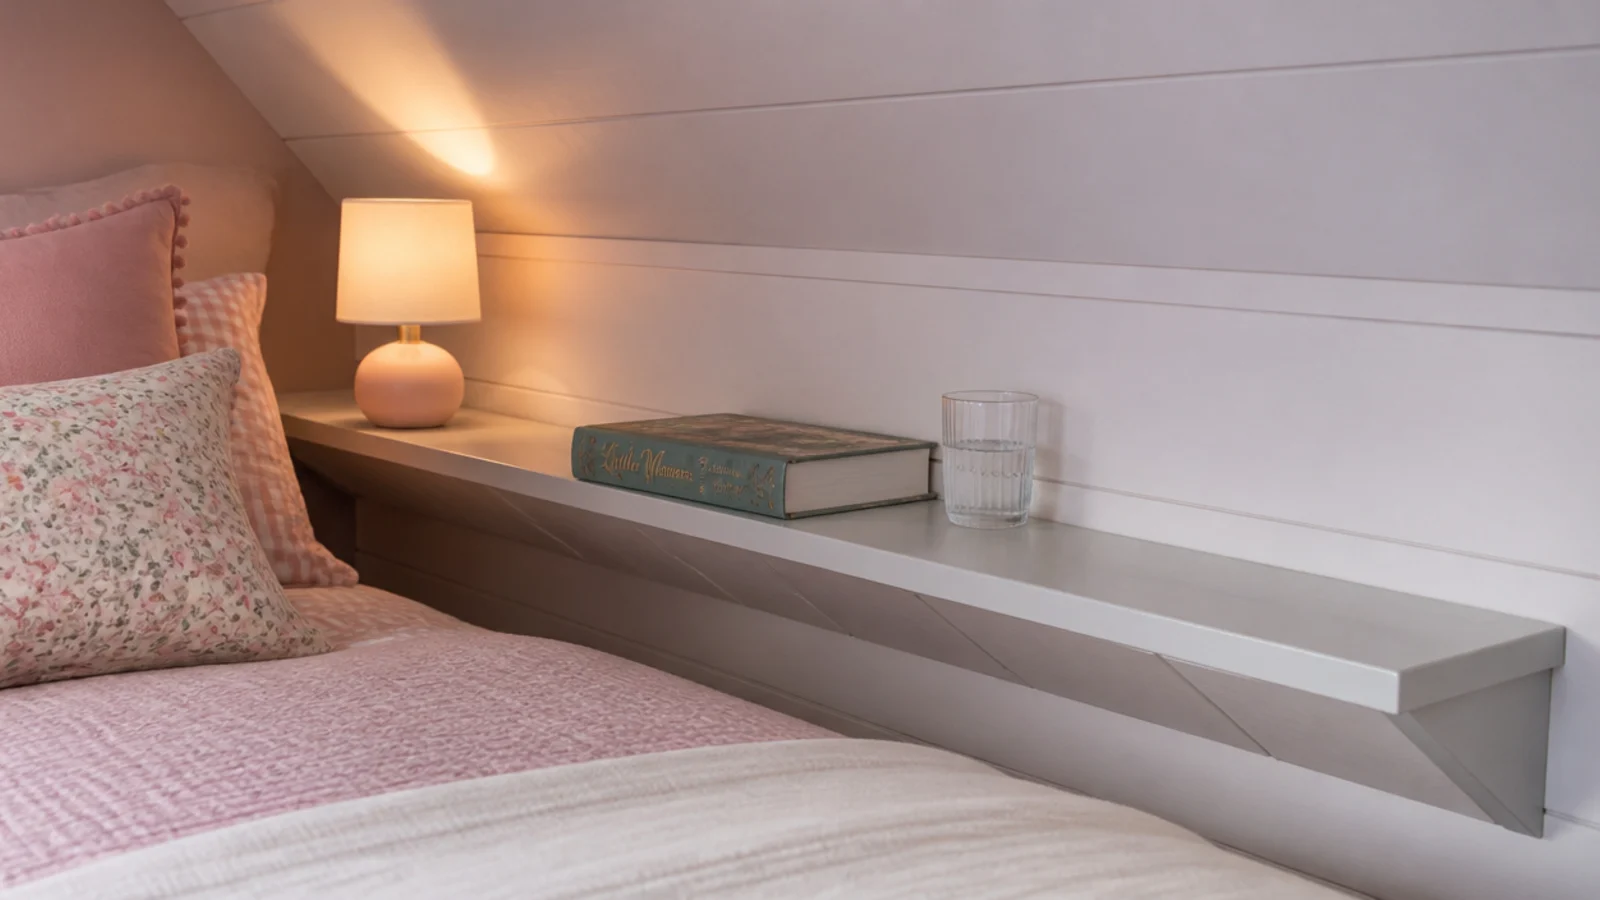
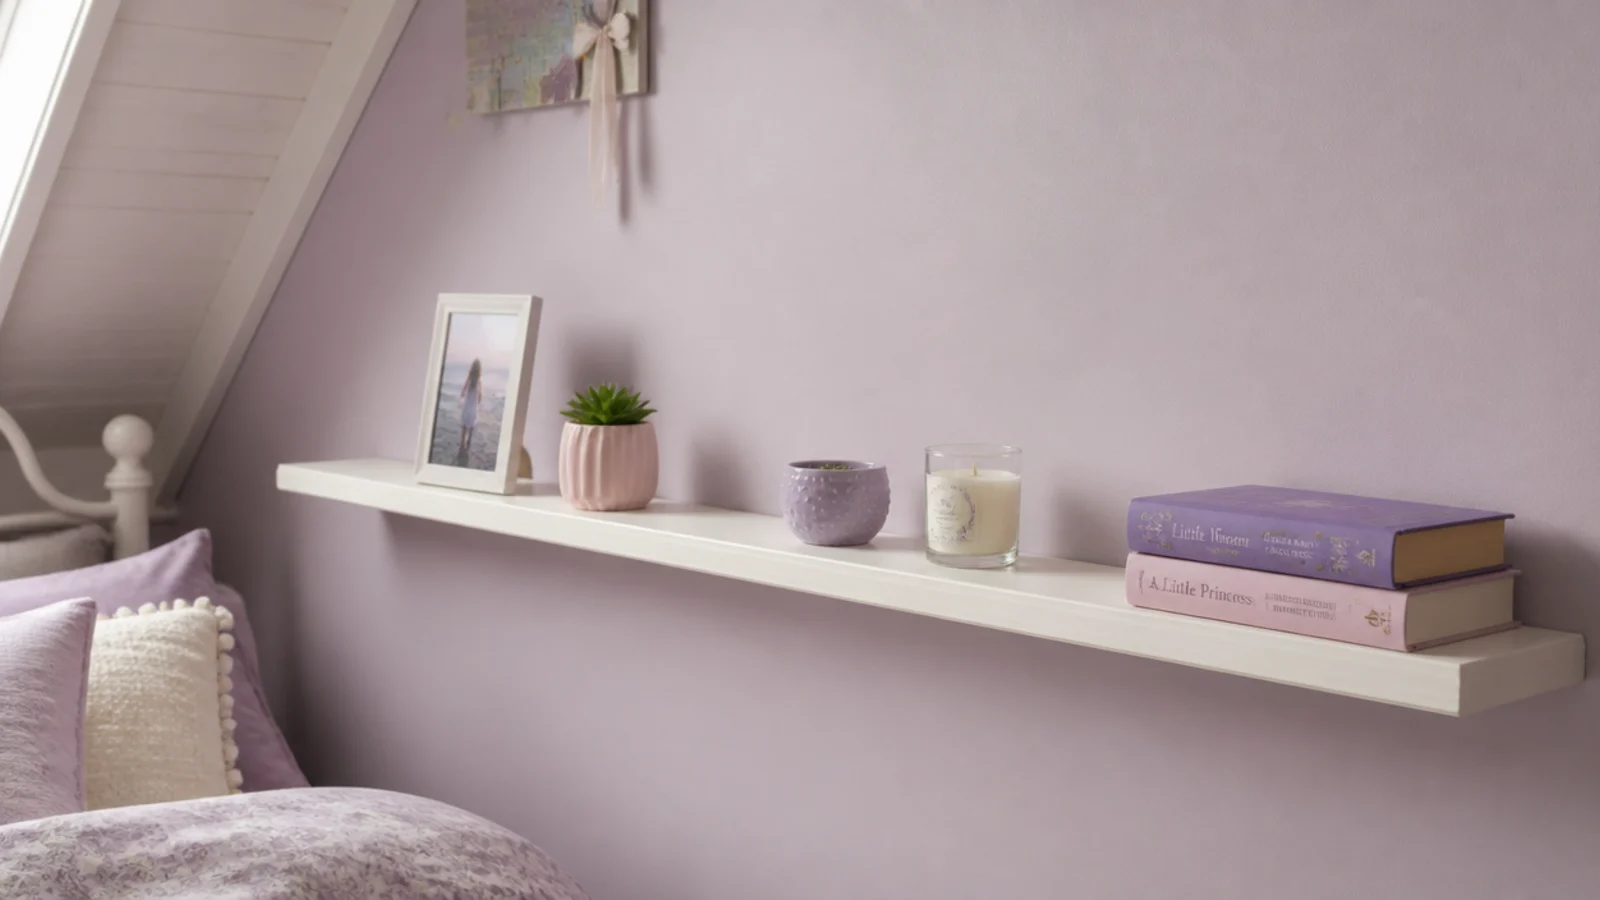
Under a slope there is rarely floor for a table with legs. A shelf 8 to 10 inches deep at mattress height into the knee wall studs holds a lamp, a book and a glass. It takes an hour and costs under $30.
Step 9: Hang plug-in wall lights at pillow height
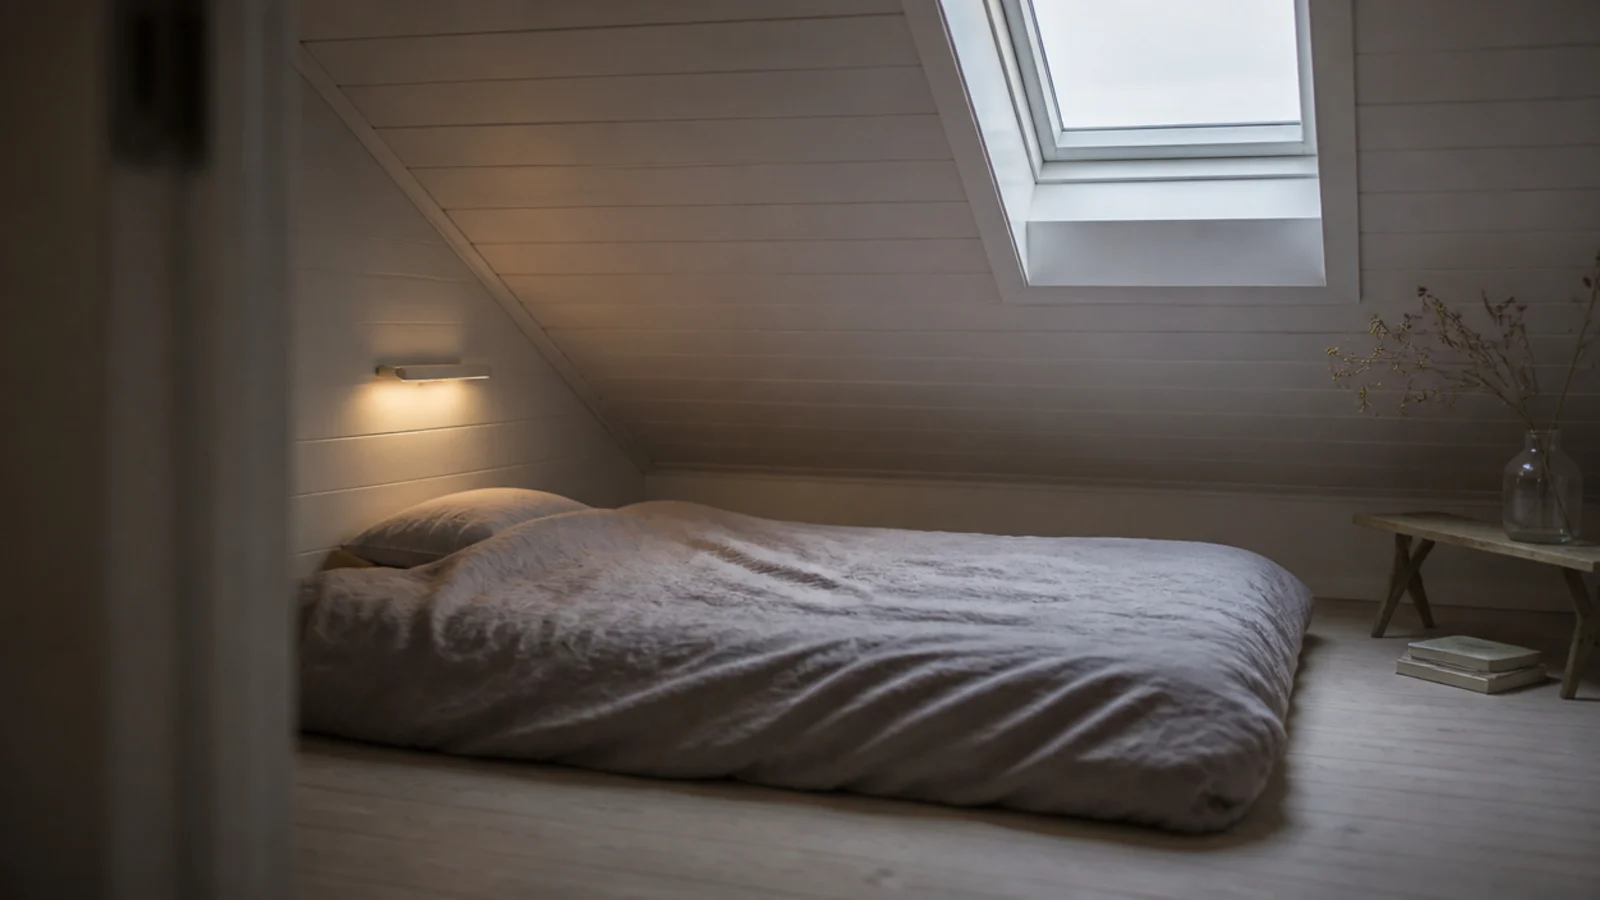
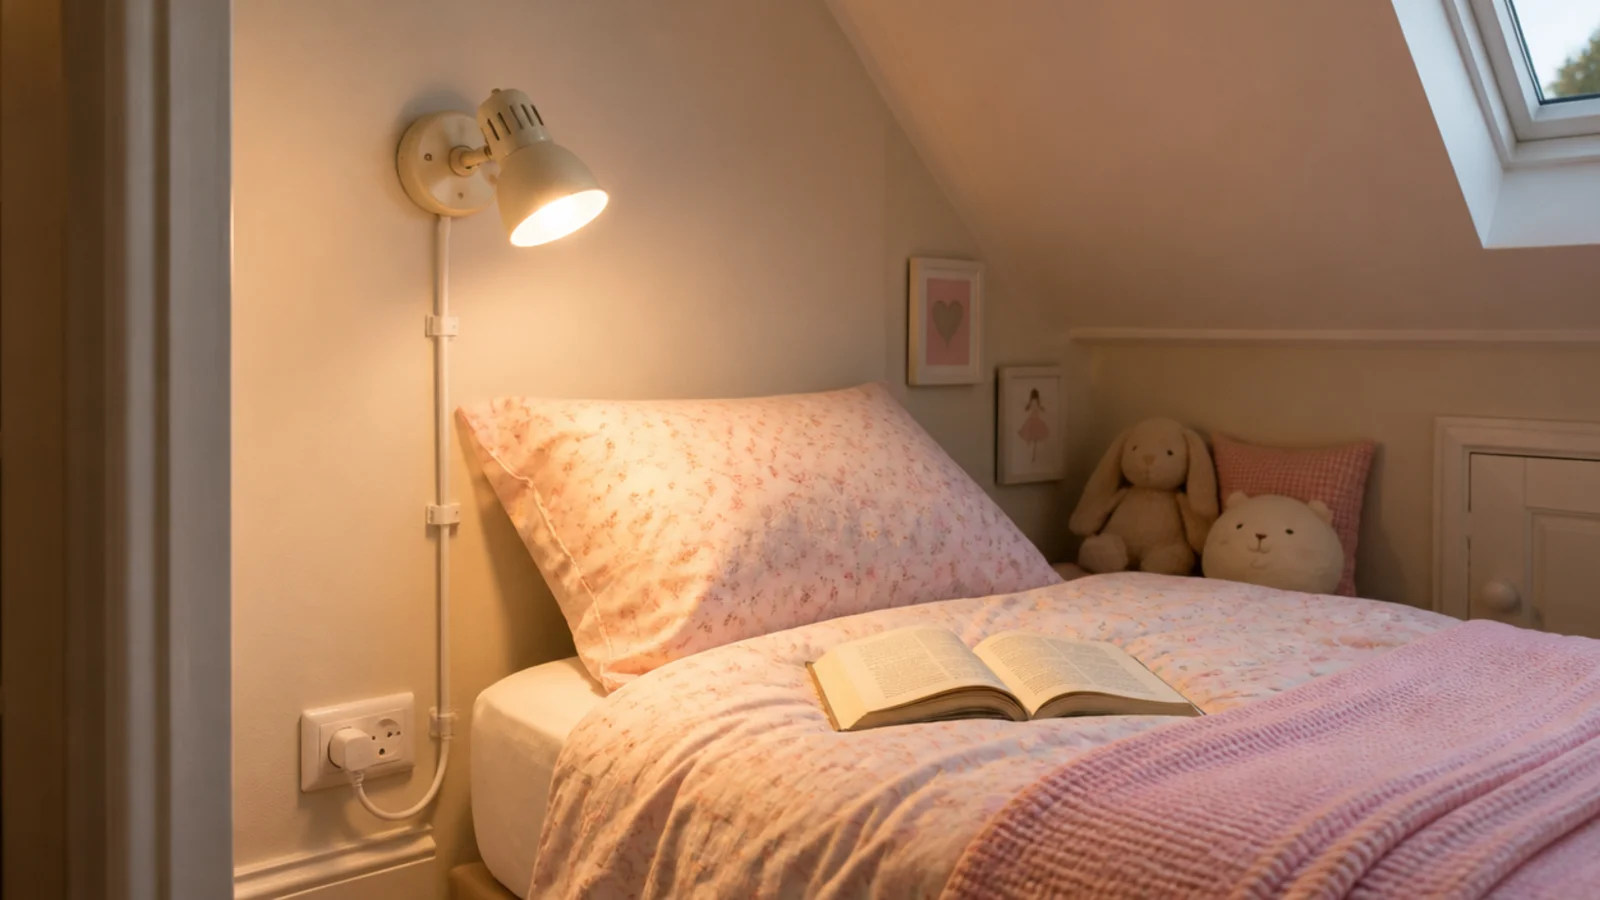
Chasing cable into a freshly painted attic wall is not worth it. A plug-in wall light with the cable clipped down to a socket puts light on the page and frees the shelf. Backplate at around 40 to 48 inches depending on bed height.
Step 10: Add the soft light layer with LED strings
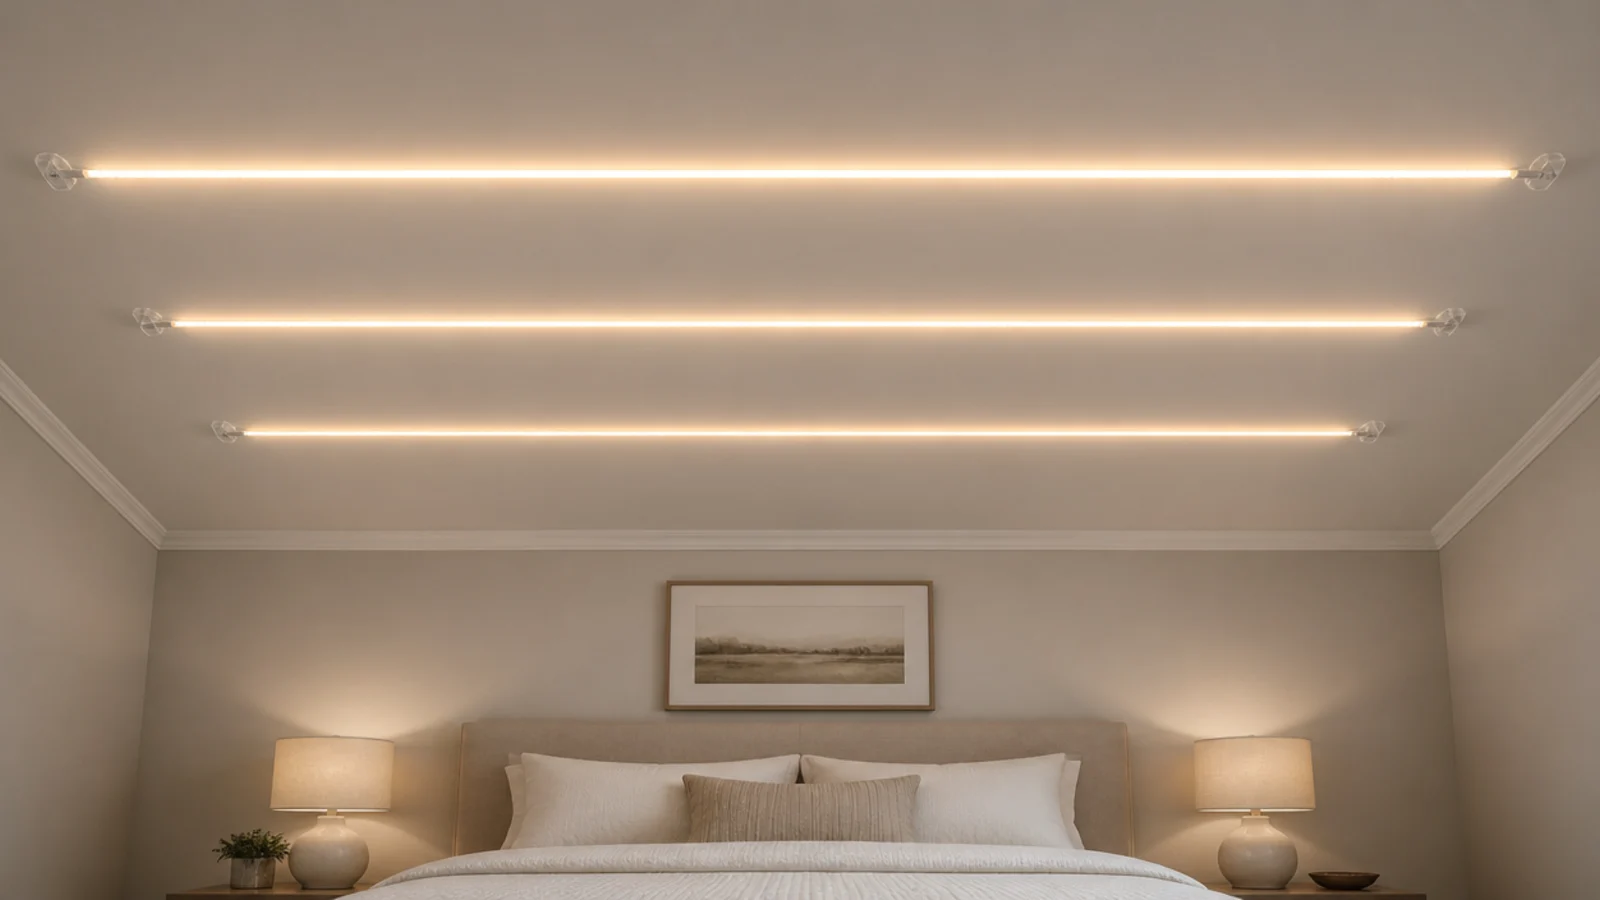
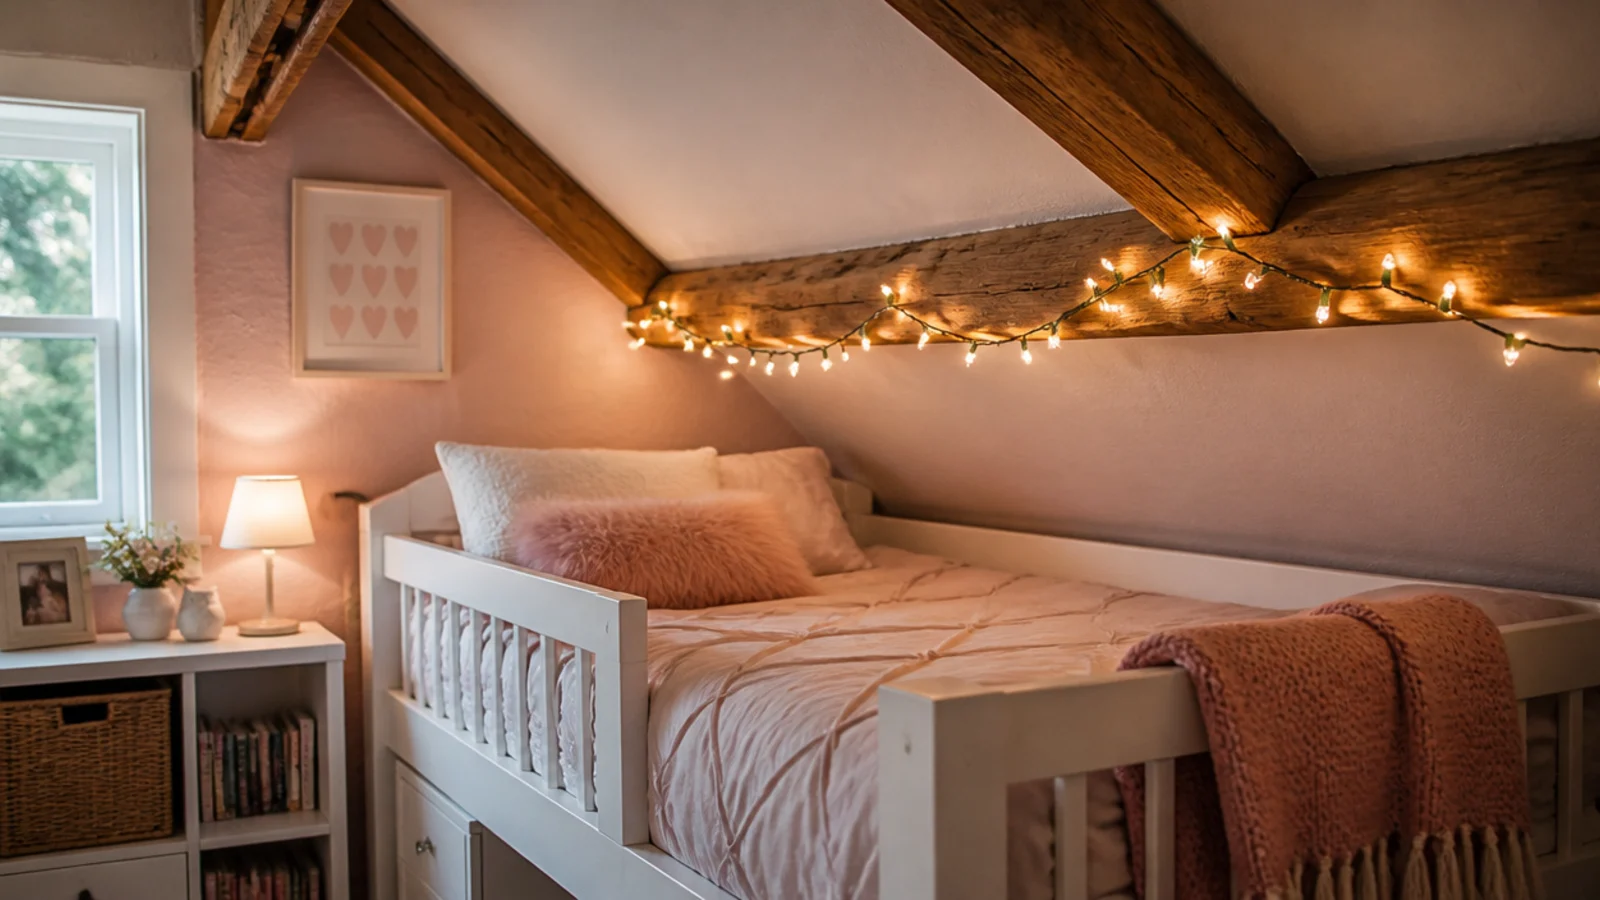
Warm white LED strings run cool, which is why they belong in a room where fabric sits near the ceiling. Drape along a rafter or the top of the knee wall, keep the driver and plug off bedding, and use indoor-rated sets. Never use real candles near a canopy or a low slope. The cozy fairy light guide covers placement.
Step 11: Fit a blackout blind to the roof window
A rooflight faces open sky and is bright by four in the morning in June. A blind that runs in the frame channels rather than hanging loose stops the light leak down both edges. Sixty to $150 per window, and it is the best value item in the room.
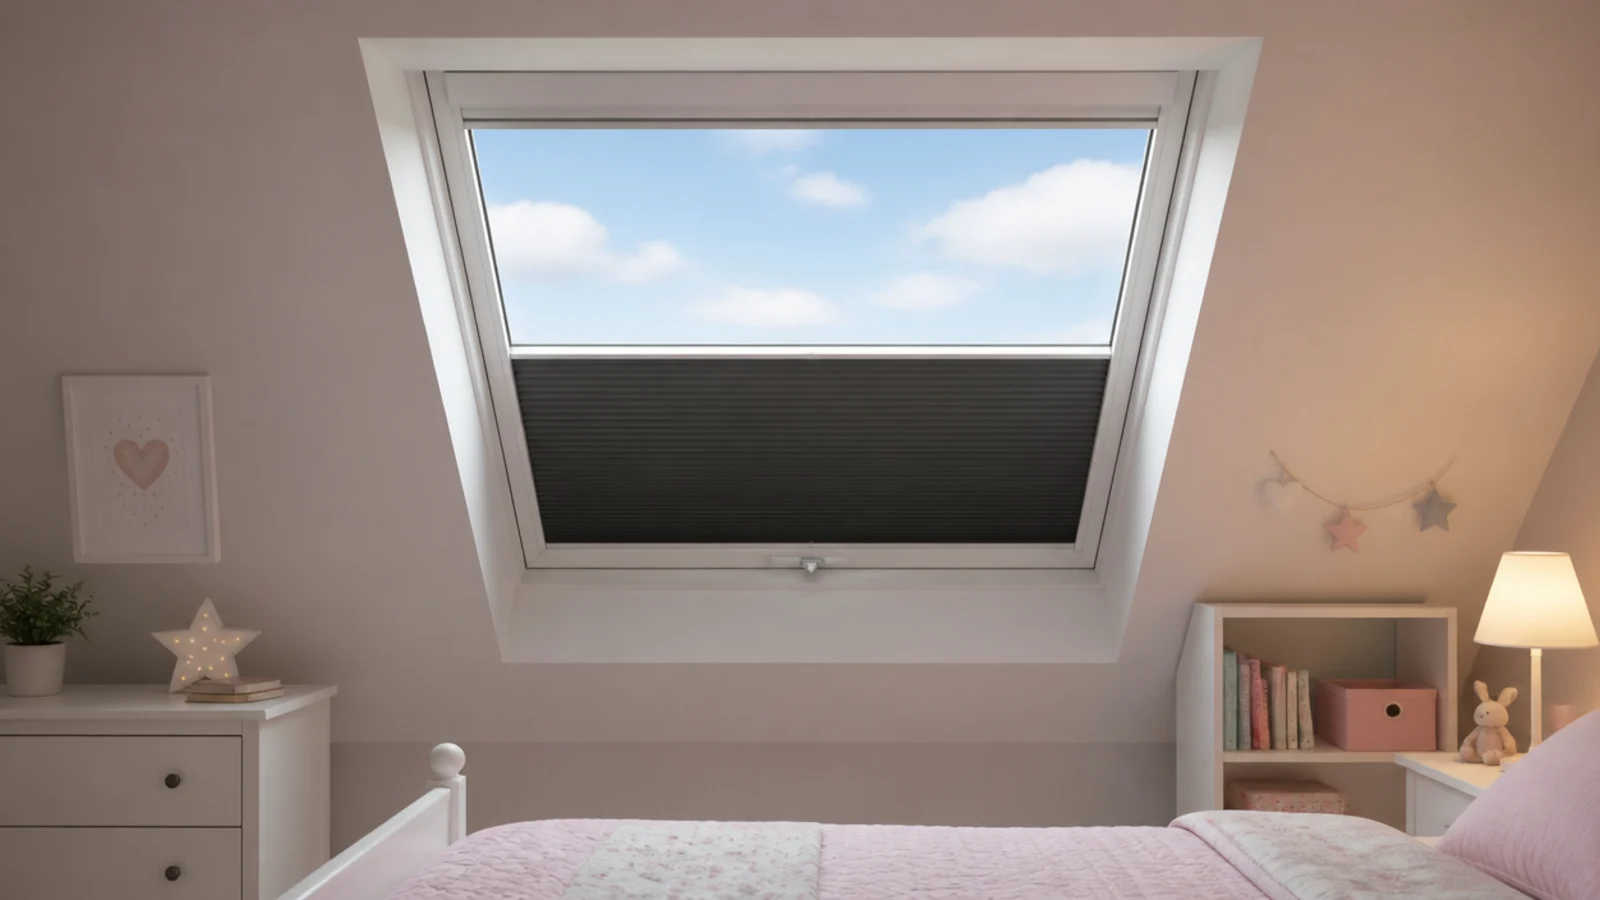
Step 12: Fill the knee wall with real storage
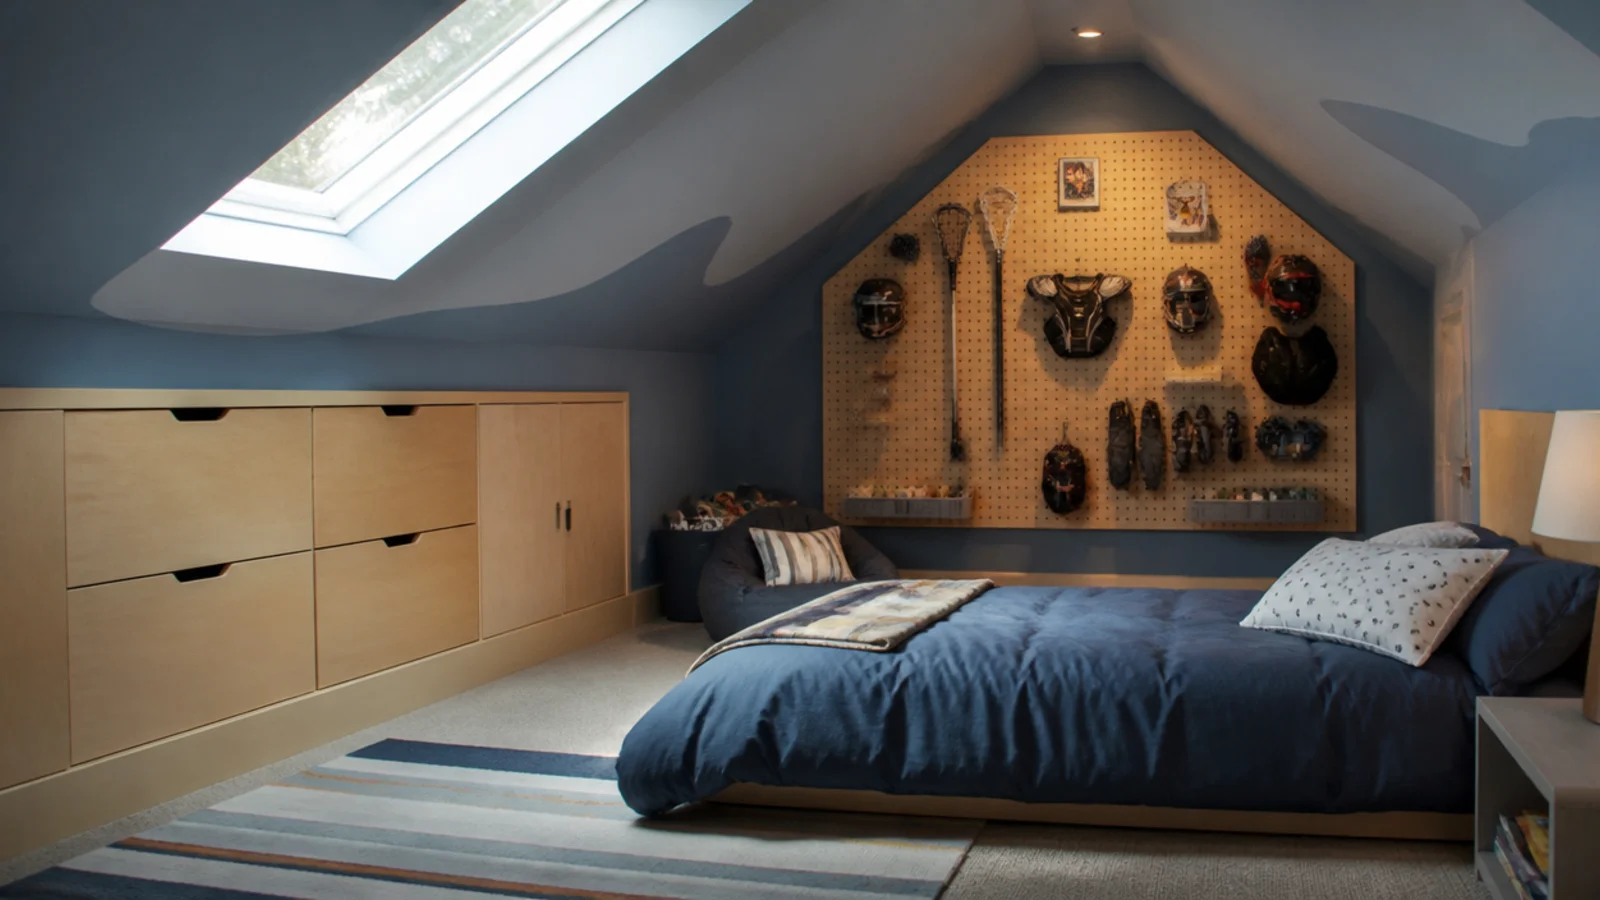
Drawers, not cupboards — anything you have to kneel and crawl into fills with forgotten things. Between the studs you usually have 14 to 16 inches of depth. Insulate and air-seal behind before you fit anything, and keep a clear soffit-to-ridge air path above the insulation.
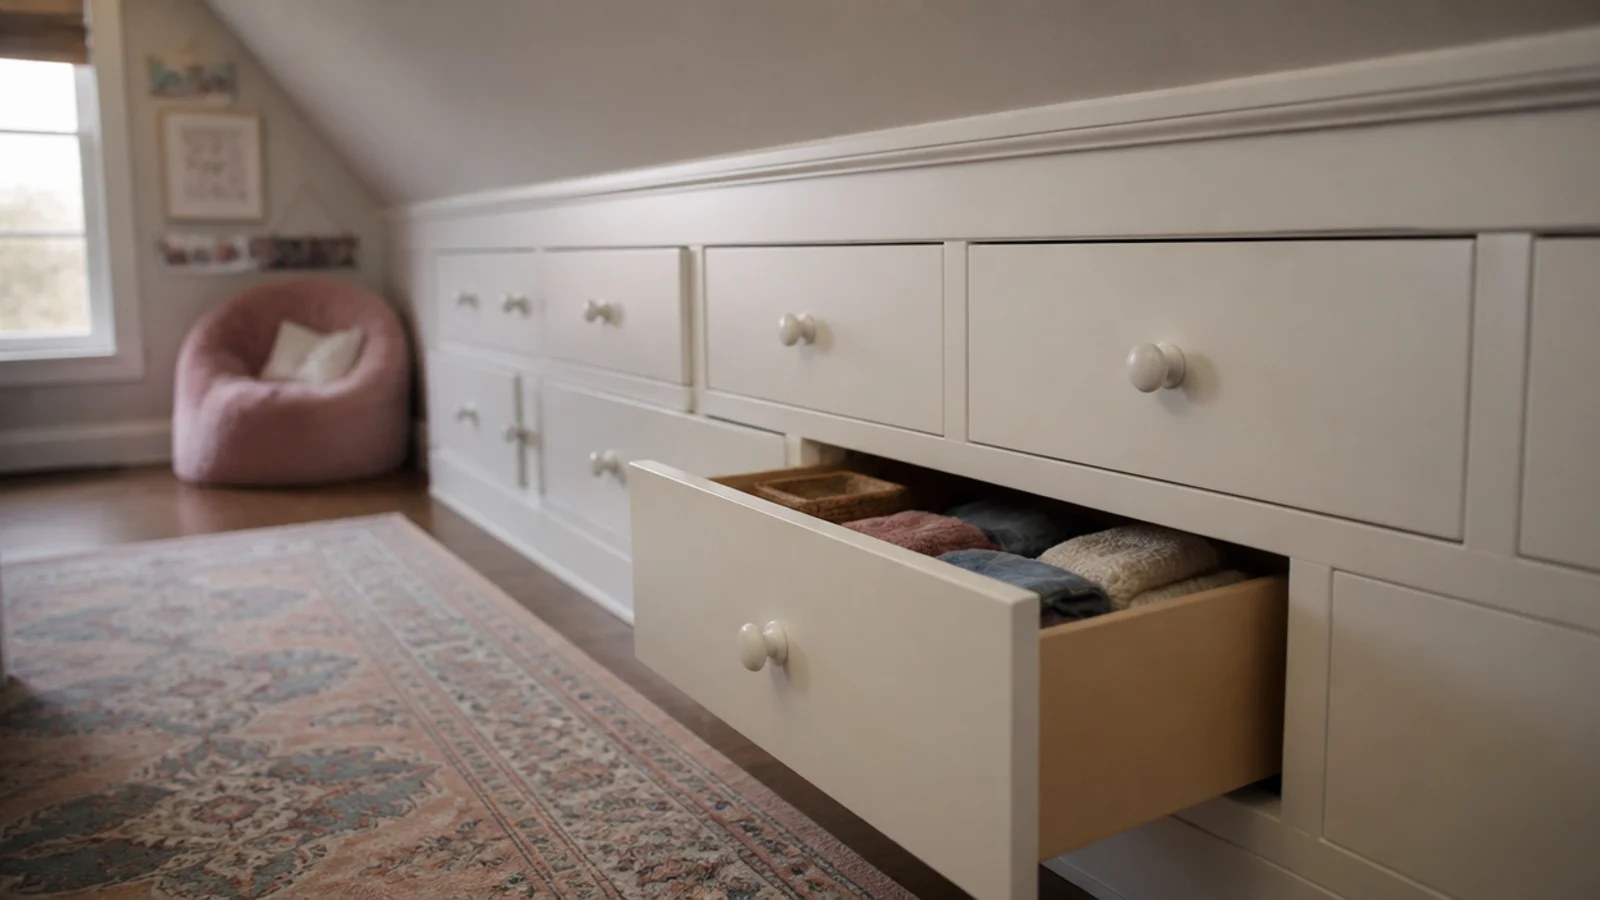
Step 13: Hang a mirror on the straight wall
The gable is the only wall that will take one properly. Hang it where it reflects the roof window if you can, and fix into studs rather than leaning it. A mirror facing glass reads as a second opening in a room with limited wall.
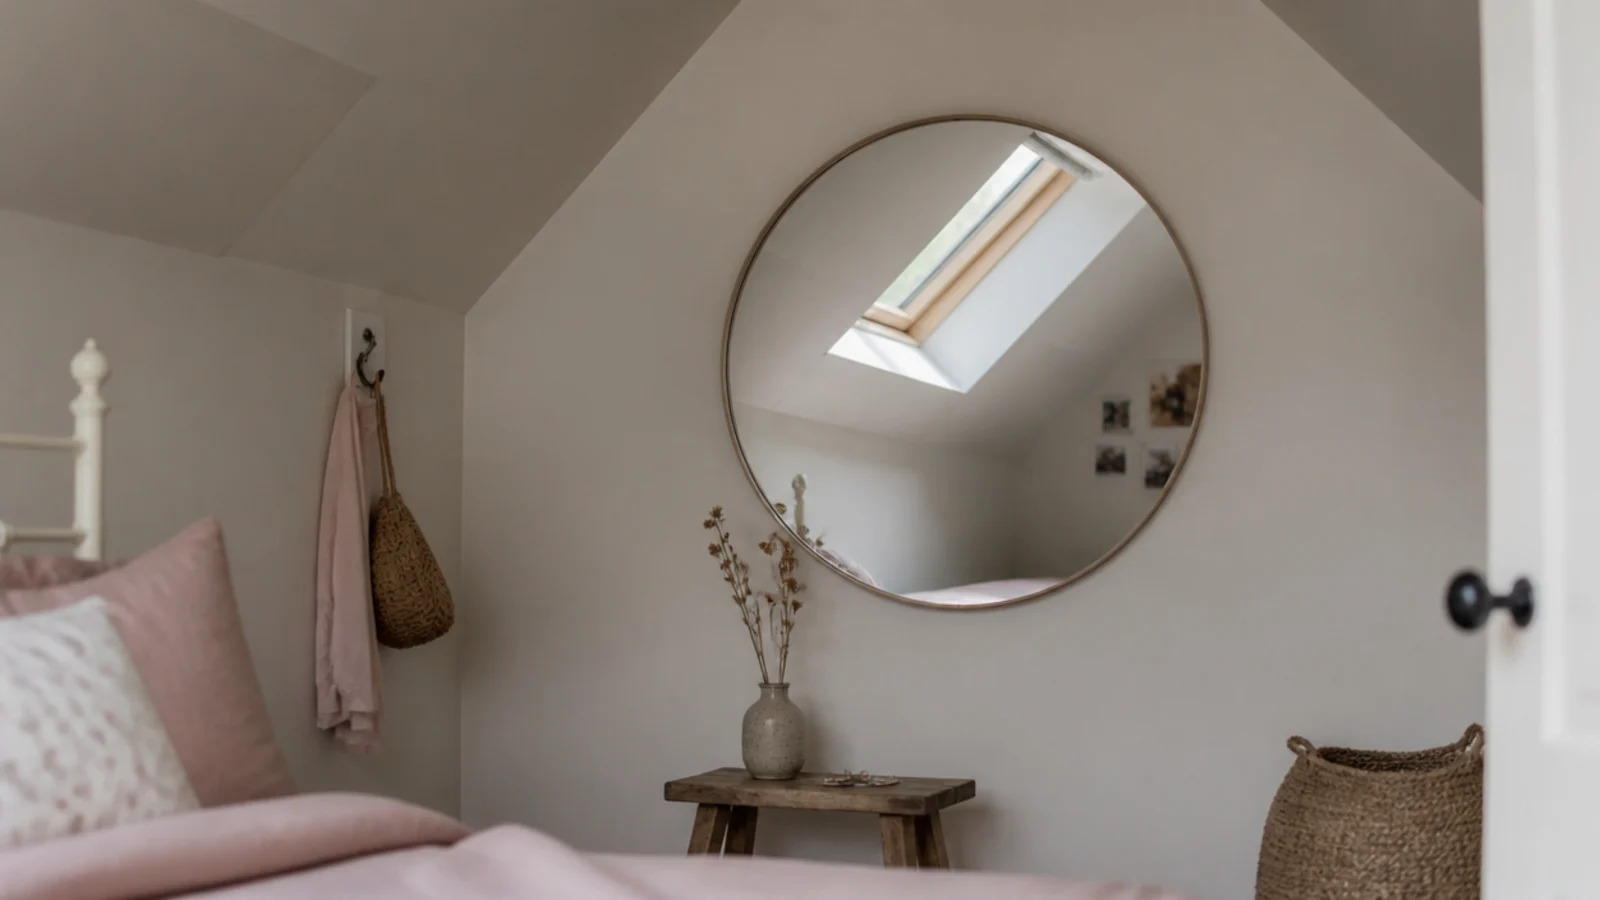
Step 14: Layer the textiles last
Rug with underlay, unlined linen curtain hung at ceiling height on the gable, bedding one size larger than the mattress so it spills over the edges. Textiles are also the acoustic treatment in a room where two hard planes meet at a ridge. The vanity organisation guide covers the surface she will actually get ready at.
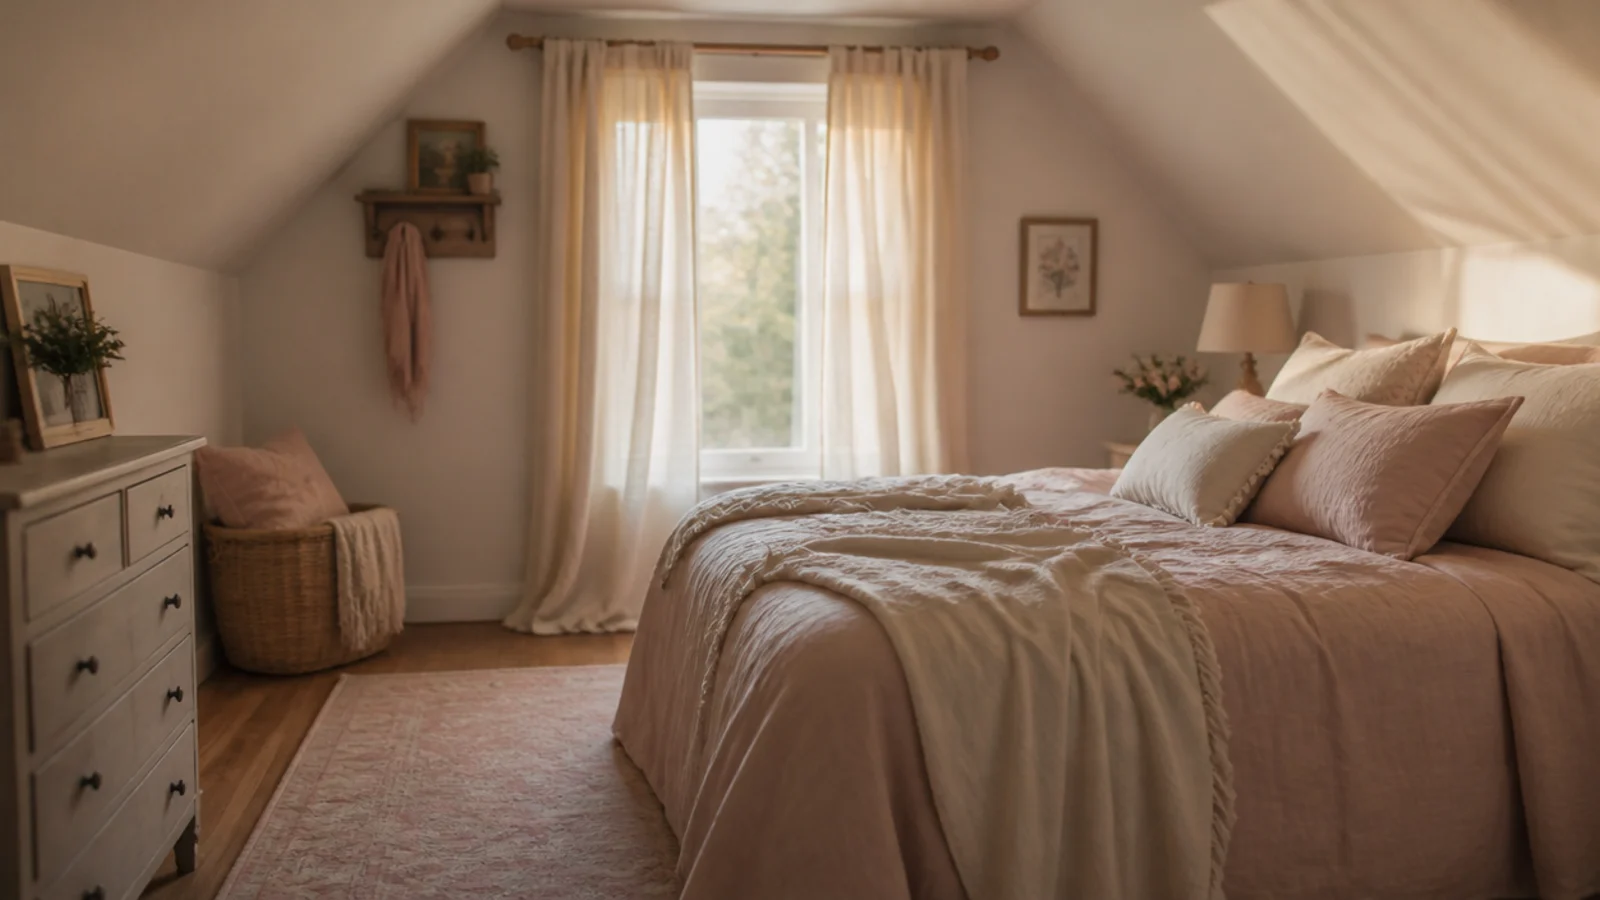
Step 15: Build one display ledge and edit it
A single ledge 3 to 4 inches deep on the vertical wall, with five objects on it and generous gaps between. Five reads as styled, eight reads as clutter. Leave the slope itself completely bare — nothing fixed to a pitch ever looks right.
Pro Styling Rules
For the room a few years earlier, the kids attic bedroom guide covers reach heights, bunk clearance and anchoring, and the aesthetic attic ideas go further into palette and layered lighting once the practical work is done.
Mistakes to Skip
- Buying the bedding and the rug before the paint. Textiles are the last step for a reason, and colours chosen against bare plaster rarely survive the first coat.
- Painting the ceiling a different white from the walls. The line lands exactly where the room is lowest and undoes the work the colour was doing.
- Skipping the filling because matte paint is forgiving. Matte hides sheen, not shape, and raking light from a rooflight finds every hollow in a slope.
- Fixing the panel, shelf or mirror into plasterboard rather than framing. Attic partitions are thin, and a shelf above a pillow is not the place to find that out.
- Letting the styling creep toward the escape window. Egress and headroom minimums are regulated and must never be blocked, however good the corner looks.
Frequently asked questions
How much does it cost to style an attic bedroom cheaply?
Paint for the whole room including the slope runs sixty to a hundred and twenty dollars, floor paint about seventy, a blackout blind sixty to a hundred and fifty, and plug-in wall lights twenty-five to sixty each. A full refresh without new furniture typically lands between three and five hundred dollars.
What order should you decorate an attic bedroom in?
Measurements and safety checks, then repairs, then paint the ceiling slope and walls together, then the floor, then furniture placement, then lighting, then textiles and display. Working in that order means nothing you have just finished gets damaged by the next job.
Where should the bed go in a girls attic bedroom?
Long side parallel to the slope, pillow end at the taller side, with at least thirty inches of clear air above the mattress where her head sits and thirty-six if she reads in bed. Tape the footprint on the floor and walk around it before buying any frame.
Are string lights safe in an attic bedroom?
Warm white LED string lights run cool and are the right choice in a loft where fabric sits close to the ceiling. Use indoor-rated sets, keep the driver and plug block off bedding and curtains, and never substitute real candles near a canopy or a low sloped ceiling.
Do I need permission to redecorate an attic bedroom?
Painting and furnishing need nothing, but if the room is not already a legal sleeping room then the escape opening, ceiling height, stair and fire separation all have to be addressed first. Those are regulated minimums enforced by your local building department rather than decorating decisions.
Want more like this? Browse all 15 attic bedroom ideas guides — they all use the same measurements and budget tiers.
Pin it for later
Save this to your Attic Bedroom Ideas board
Pin it now so it is waiting for you when the tape measure comes out — and so the next person hunting for this idea can find it too.
Save this pinKeep going
More ideas worth saving while you have the tape measure out.