Bedside Table Ideas · Listicle
20 Floating Bedside Table Ideas That Free Up Floor

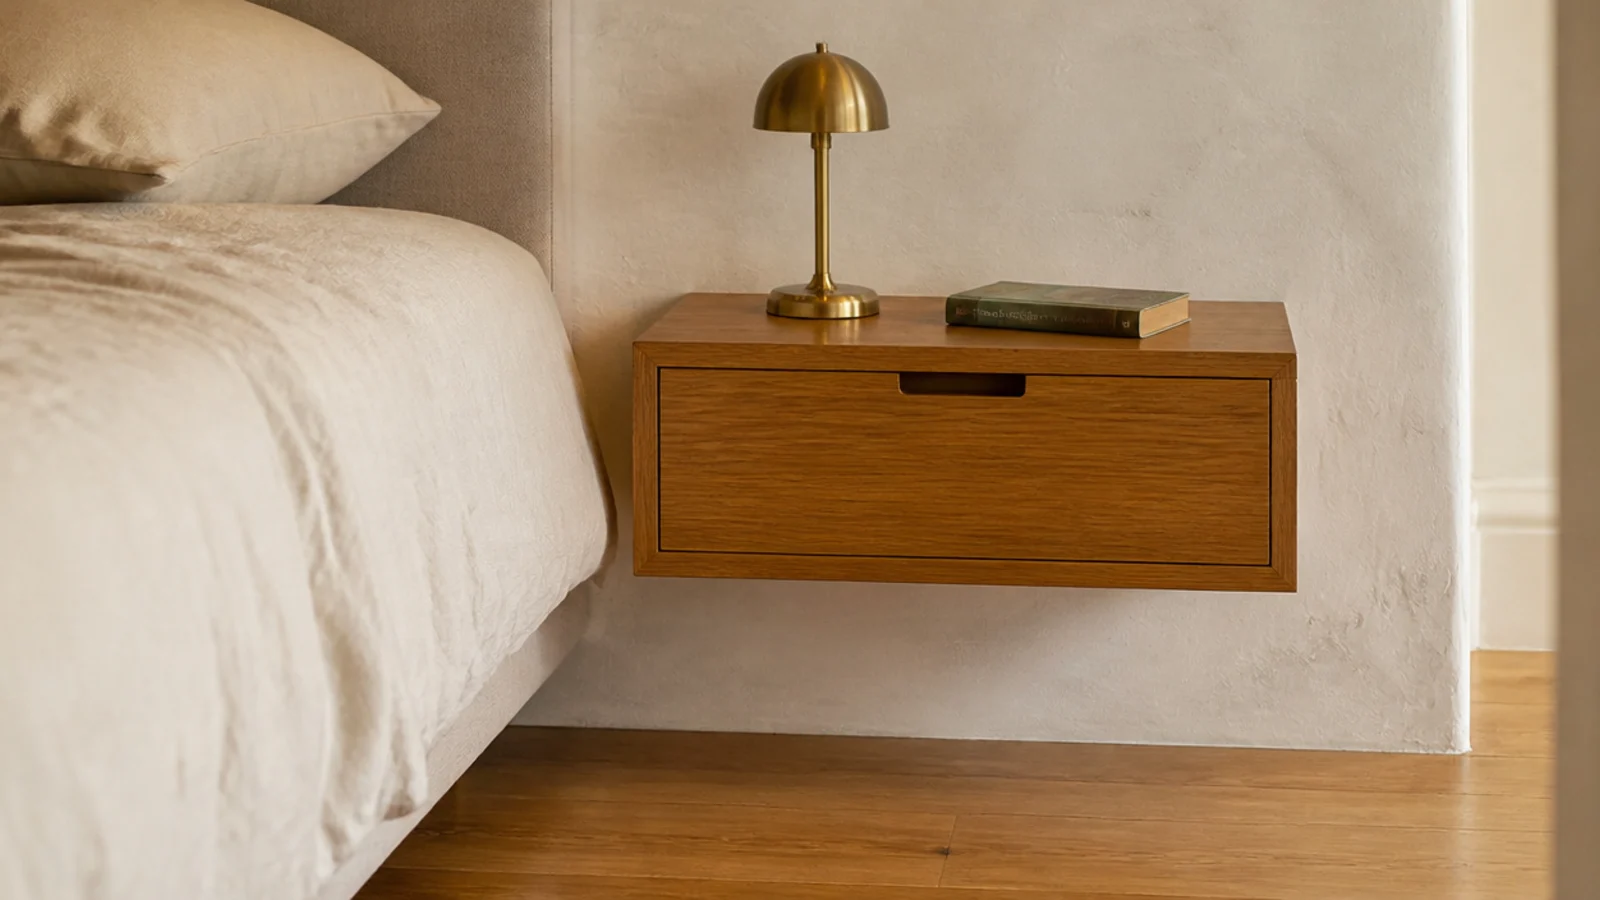
Floating bedside table ideas sell themselves on the look, but they live or die on the fixing behind the plaster. I have hung four of these and taken one down again, and the difference every time was whether the bracket found solid timber. Get that part right and the rest is styling. Here are twenty builds, with the fixing each one needs.
In this guide22 sections — tap to openHide
- 1.What floating bedside table ideas depend on
- 2.Locate the studs before you commit to a design
- 3.A French cleat for genuinely invisible support
- 4.Hidden rod brackets driven through the back
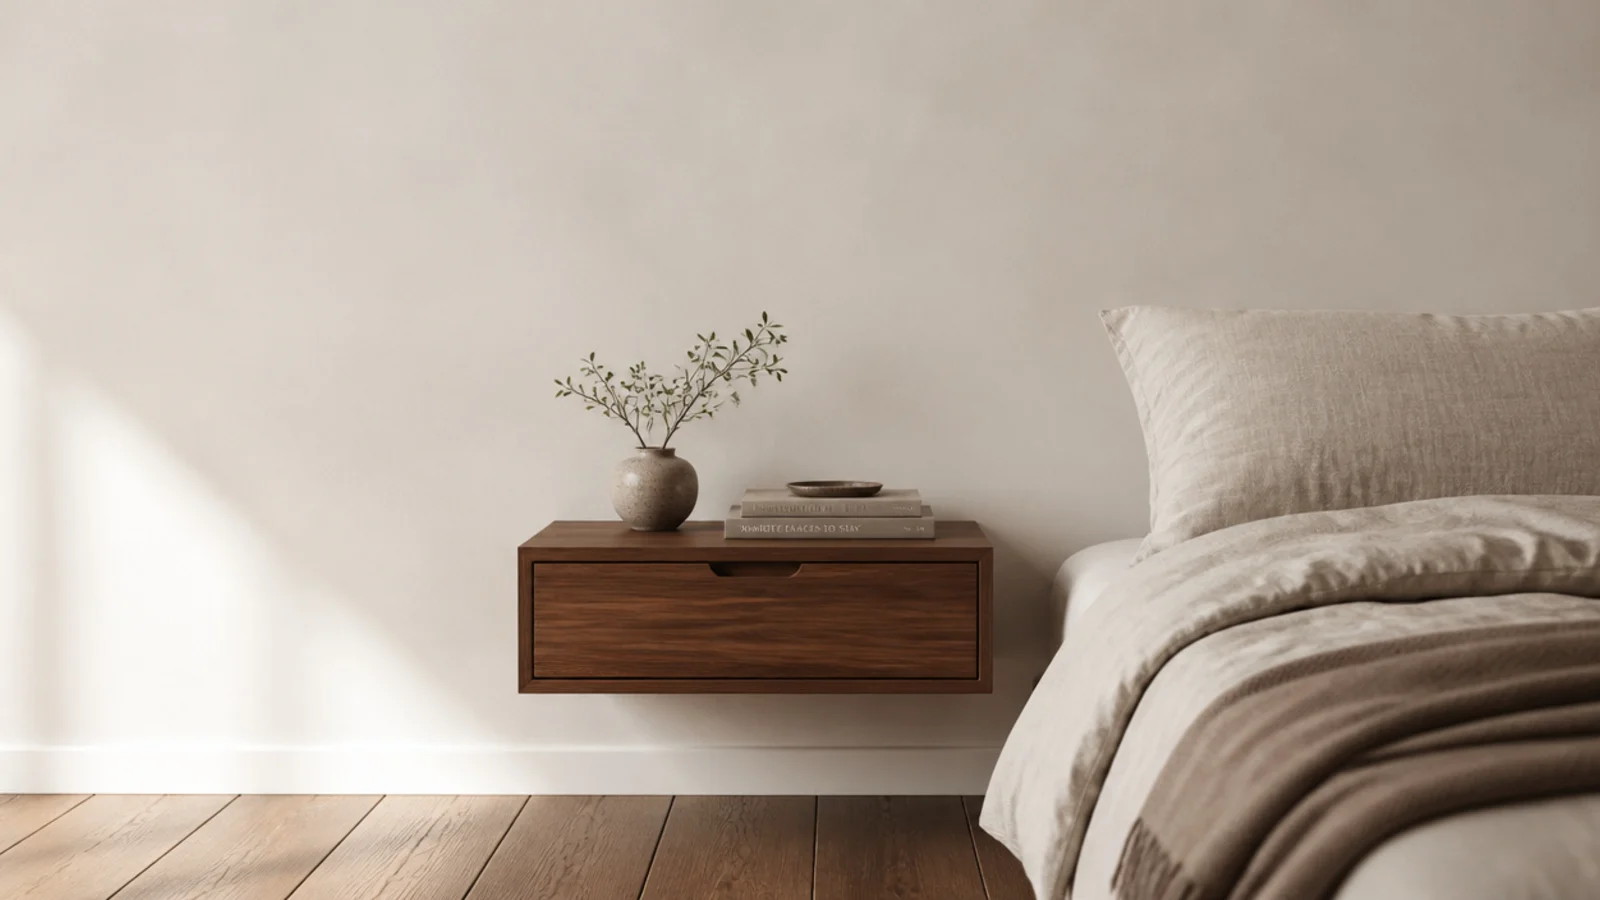
- 5.A floating box with one shallow drawer
- 6.An open cube with a notched cable route
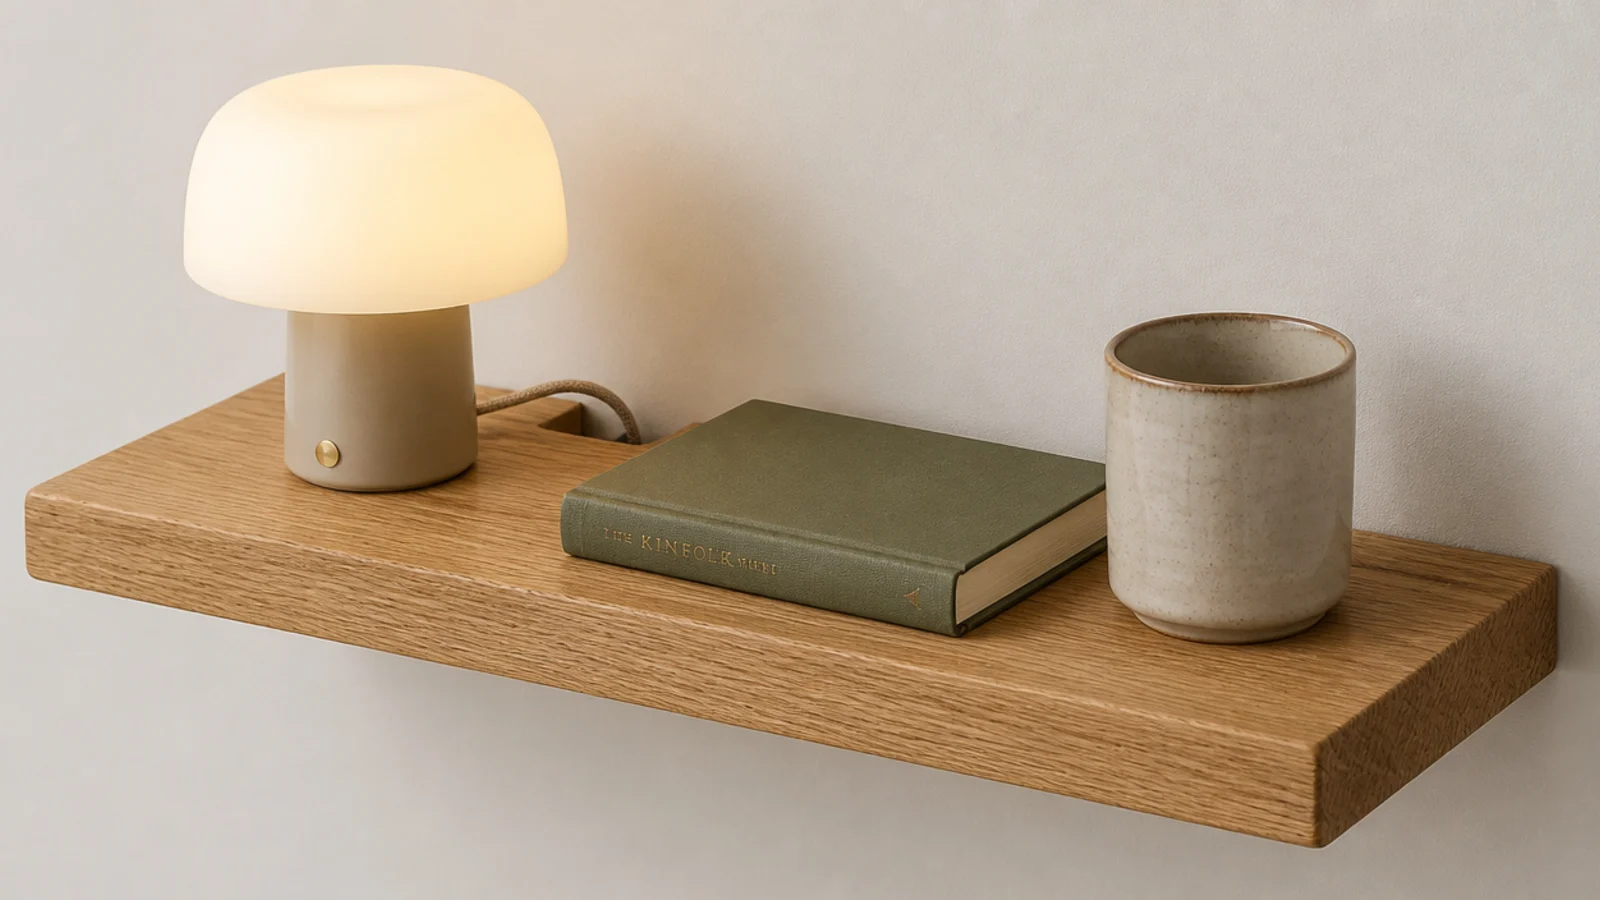
- 7.A live-edge slab on hidden pins
- 8.A ledge that wraps behind the headboard
- 9.Two tiers instead of one
- 10.An LED strip tucked under the front lip
- 11.Painted MDF that reads as plaster
- 12.A solid oak slab an inch and a half thick
- 13.A push-to-open drawer with no handle
- 14.Slim matte black brackets left on show
- 15.A raised lip so nothing rolls off
- 16.A triangle floated into the corner
- 17.Toggle bolts when the stud is in the wrong place
- 18.Adhesive mounting for renters, under five pounds
- 19.Set the height off the made bed, not the frame
- 20.Paint the underside a shade darker
- 21.Three objects and one hidden cable
- 22.Mistakes to Skip
What floating bedside table ideas depend on
Three things decide whether this works, and only one of them is visible.
The wall. Find the studs before you choose a design. In most homes they sit at 16-inch centres, occasionally 24. That spacing sets the widest unit you can fix into two of them, which is why so many floating bedside tables end up 16 to 20 inches wide — it is not a style choice. If the stud lands somewhere useless, toggle bolts in half-inch plasterboard carry 25 to 35 pounds each and cover any decorative unit.
The height. Mark your line off the made bed, not the bare frame. Bedding adds two to three inches, and a shelf set to the frame ends up sitting low enough to feel wrong every night. Most people land at 24 to 26 inches off the floor.
The load. Be honest about it. A lamp, a book, a glass and a phone is about six pounds. A drawer full of the things that accumulate is closer to fifteen. Adhesive mounting is genuinely fine for the first case and genuinely not for the second.
Budget-wise, a slab on hidden rod brackets runs $30 to $70 in materials, a French cleat build under $25, and a ready-made floating drawer unit $90 to $180. For gaps too tight even for this, the small bedside table guide has the no-fixing options.
1. Locate the studs before you commit to a design
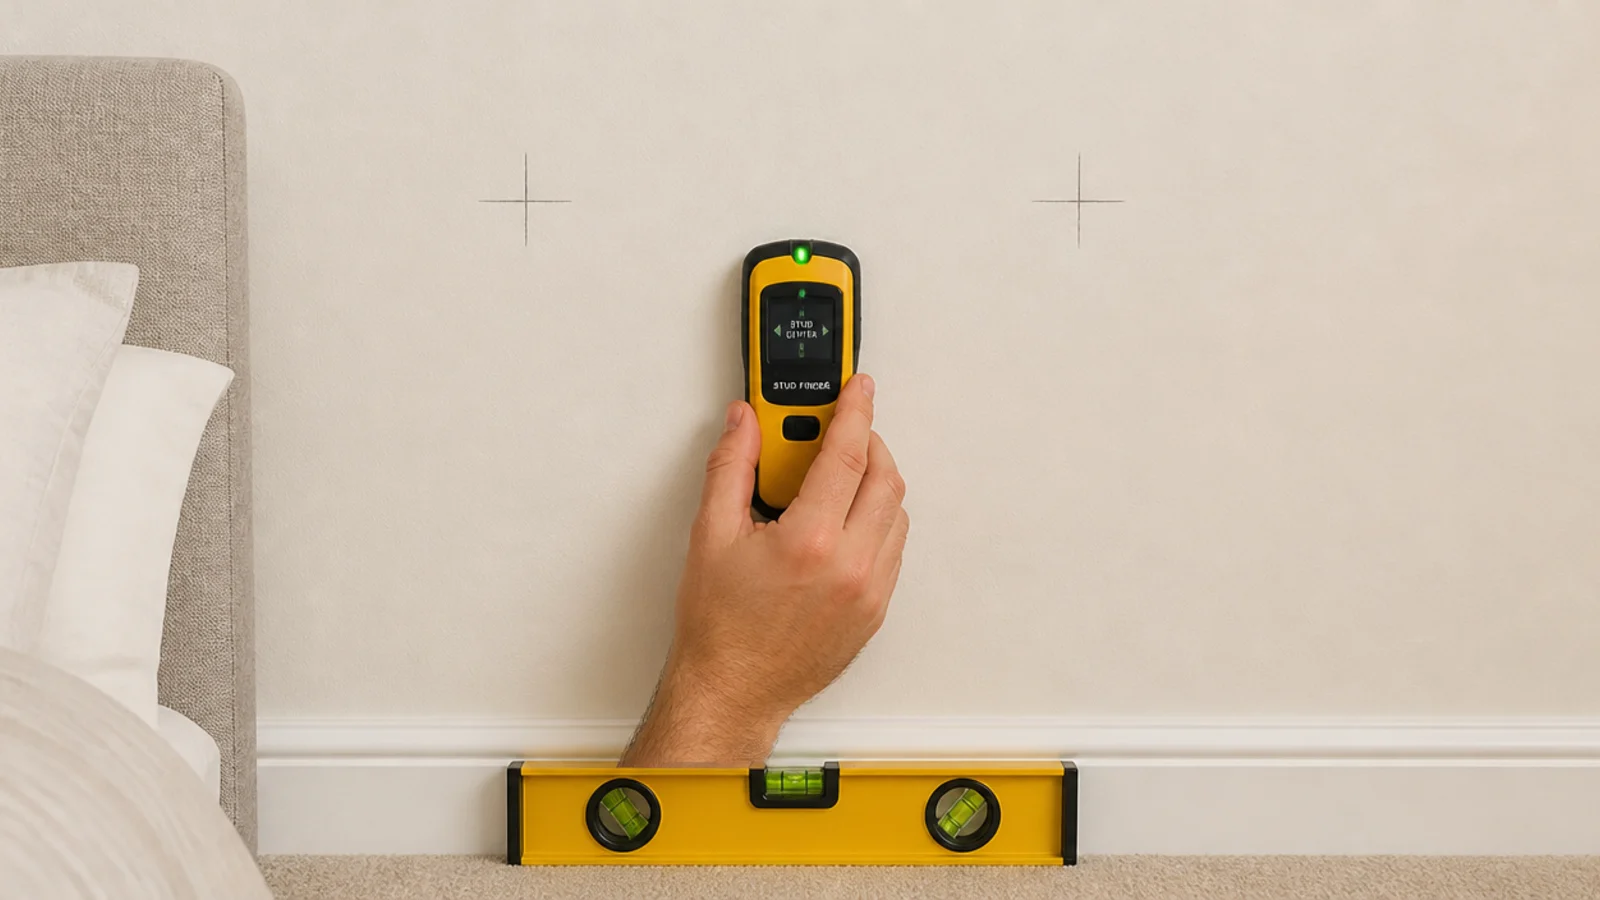
Run the detector across the whole span and mark every hit in pencil, then confirm by driving a fine nail where you expect timber — detectors misread over pipes and old plaster. Two studs at 16-inch centres give you a unit up to about 20 inches wide with a fixing at each end. One stud means either a narrower unit centred on it, or a toggle carrying the free side. Do this before you buy the timber, because the wall decides the width, not the design.
2. A French cleat for genuinely invisible support
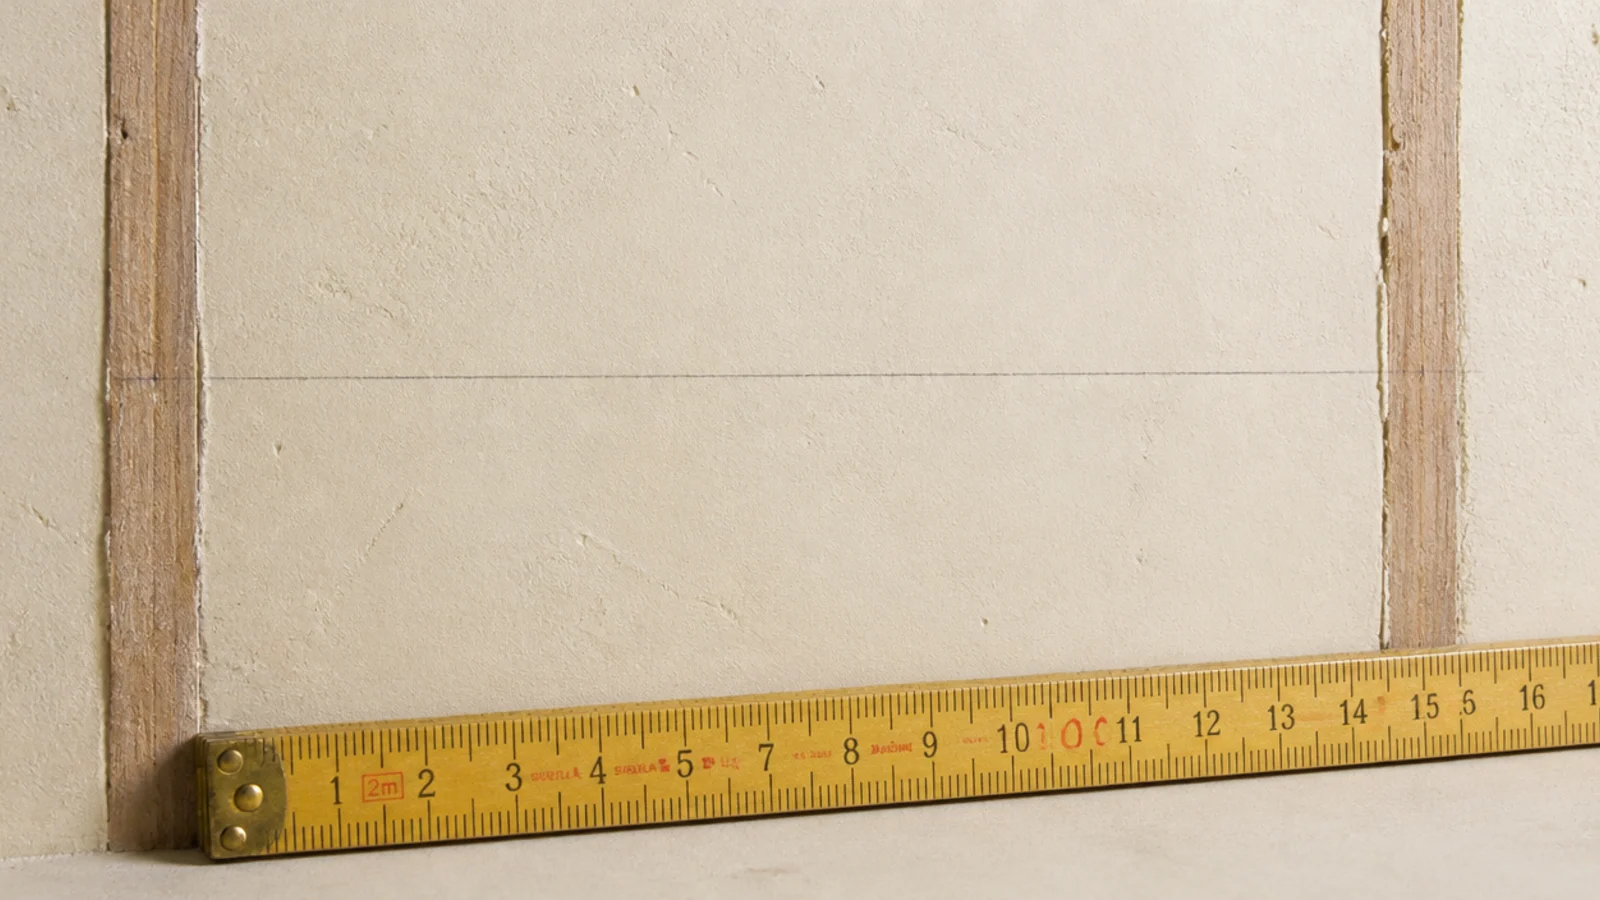
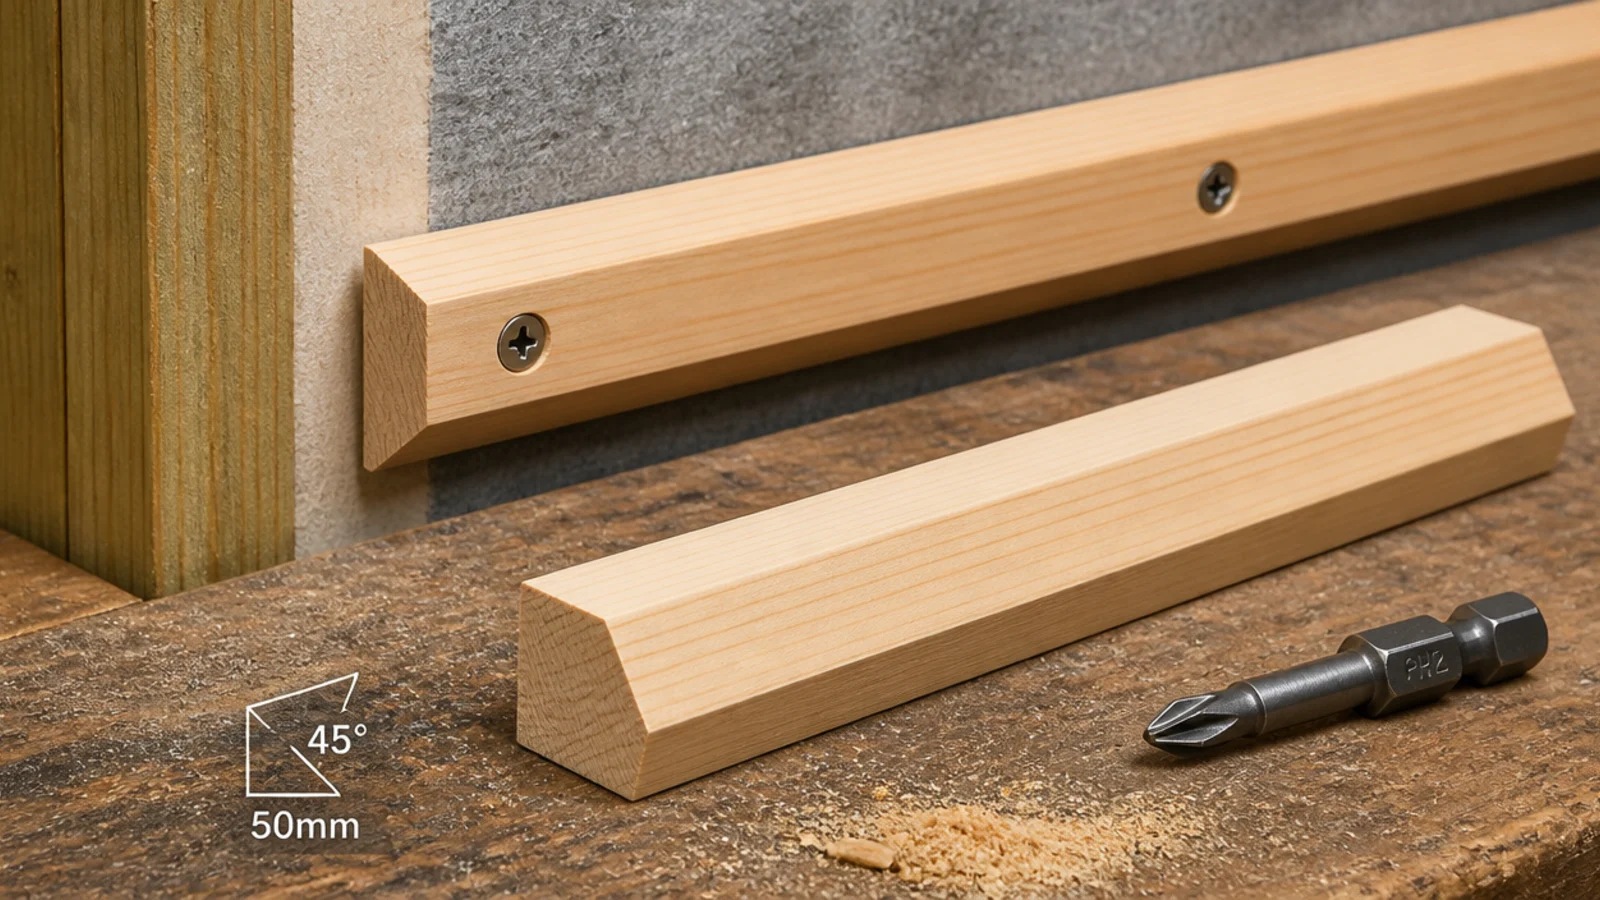
Two battens cut at 45 degrees, one screwed to the wall and one to the back of the unit, hooked together. Into two studs it carries 50 pounds without complaint, and there is nothing at all to see from any angle. It is the strongest option here and the cheapest.
3. Hidden rod brackets driven through the back
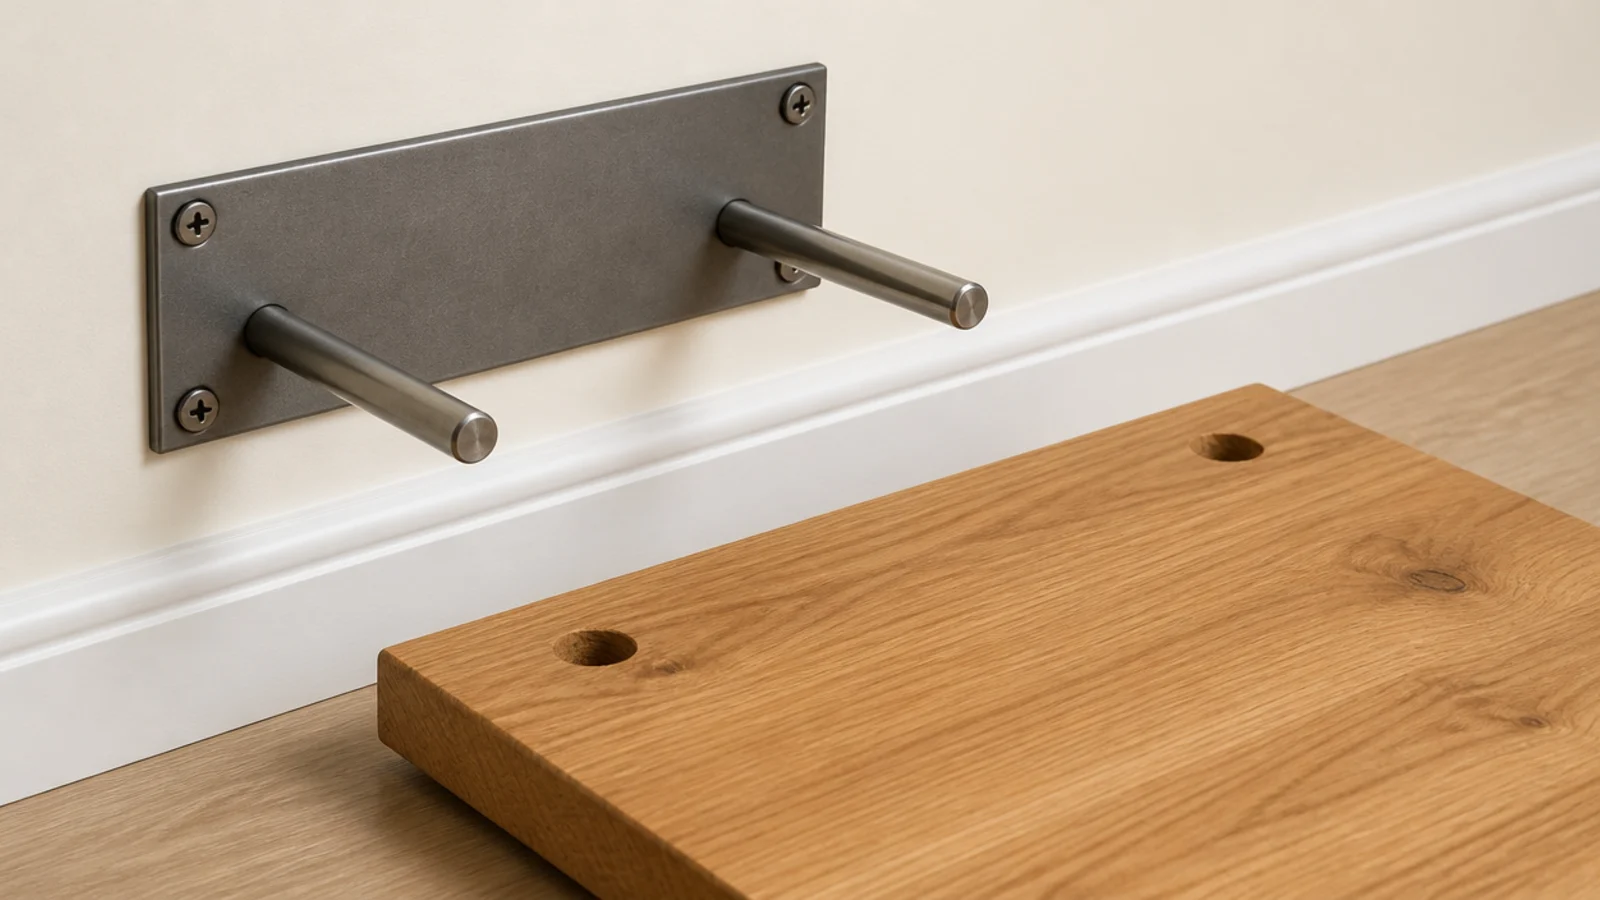
A steel plate fixes to the wall and two rods project outward; the timber is drilled to match and slides on. Best for solid slabs at least 1.5 inches thick — thinner boards split around the rod holes as the timber moves seasonally. Drill the receiving holes about 1mm oversize and slightly deeper than the rod so the slab seats fully against the wall. A set runs $15 to $30 and carries 40 pounds into studs.
4. A floating box with one shallow drawer
The box gives you a top surface and a drawer of roughly 3 to 4 inches for the things that would otherwise sit out. Keep it shallow deliberately: a deep drawer fills, gets heavy, and every pound sits at the end of a lever arm pulling down on the fixing. Soft-close runners are worth the extra $8 here, because slamming a drawer that is bolted to plasterboard works the fixing loose faster than the weight ever will.
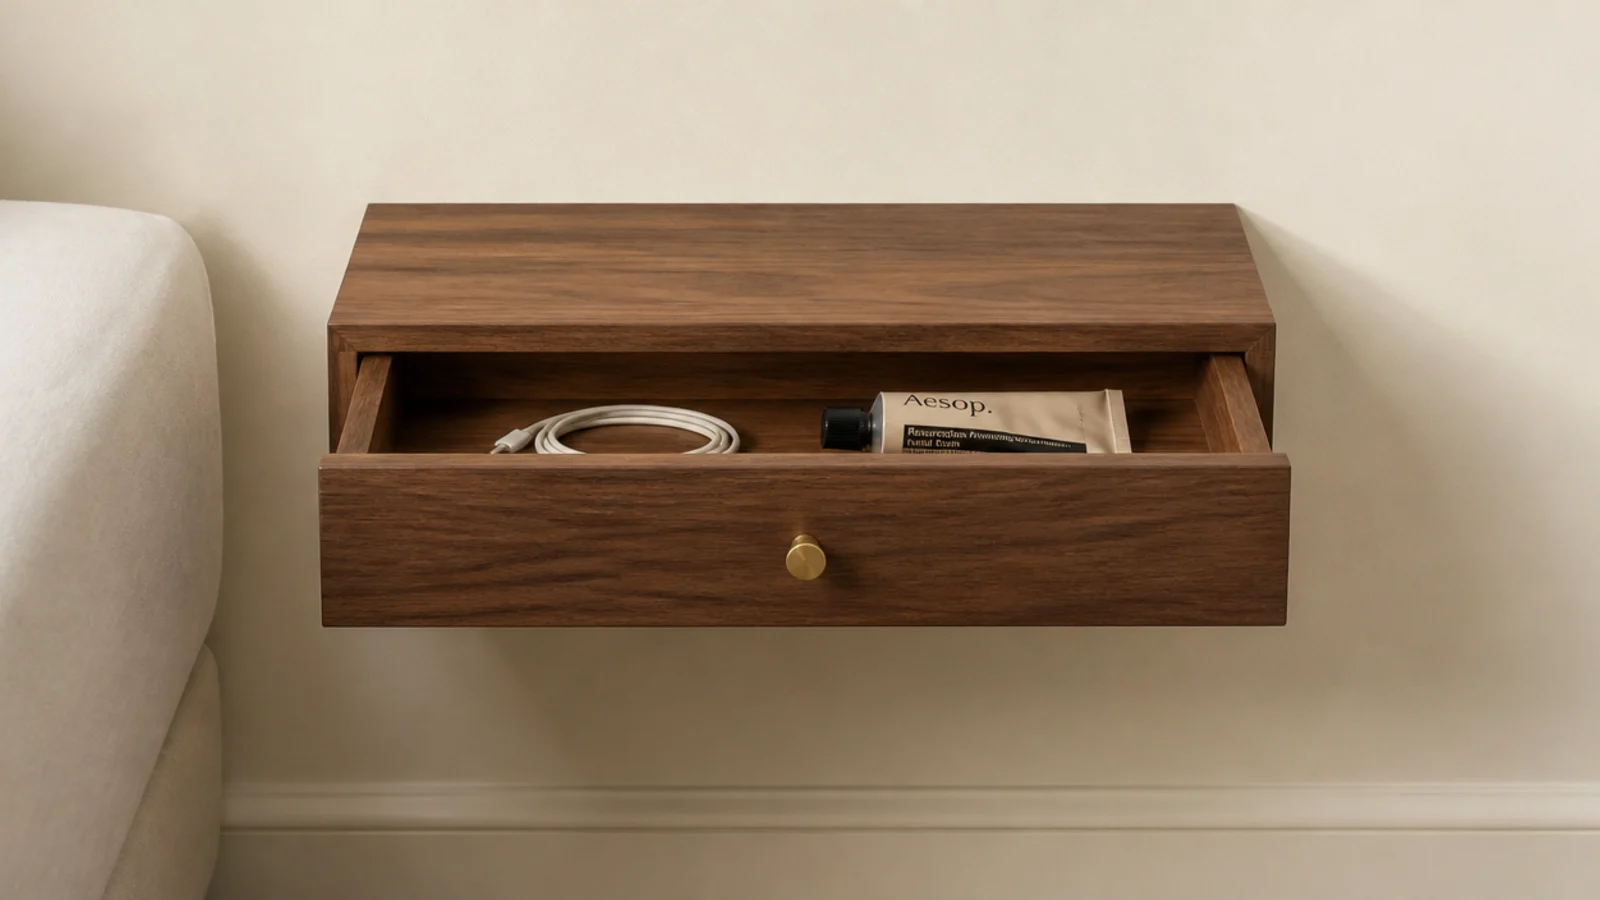
5. An open cube with a notched cable route
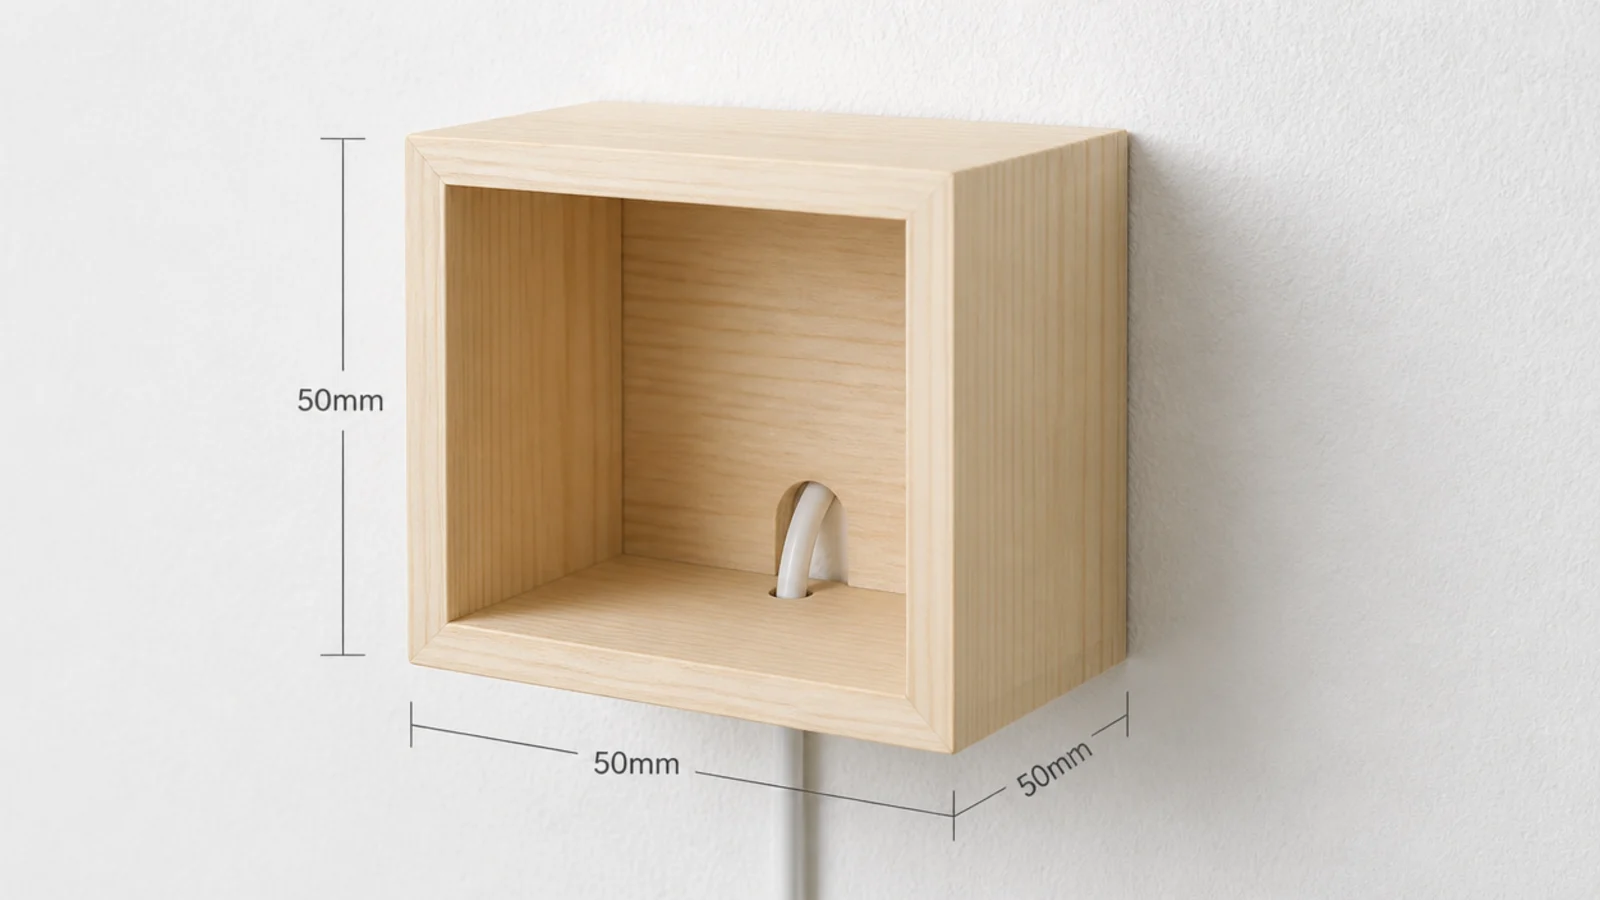
An open cube reads lighter than a closed box and gives you somewhere to tuck a book. Cut the cable notch in the back panel before mounting — doing it afterwards, in place, is how you split the panel.
6. A live-edge slab on hidden pins
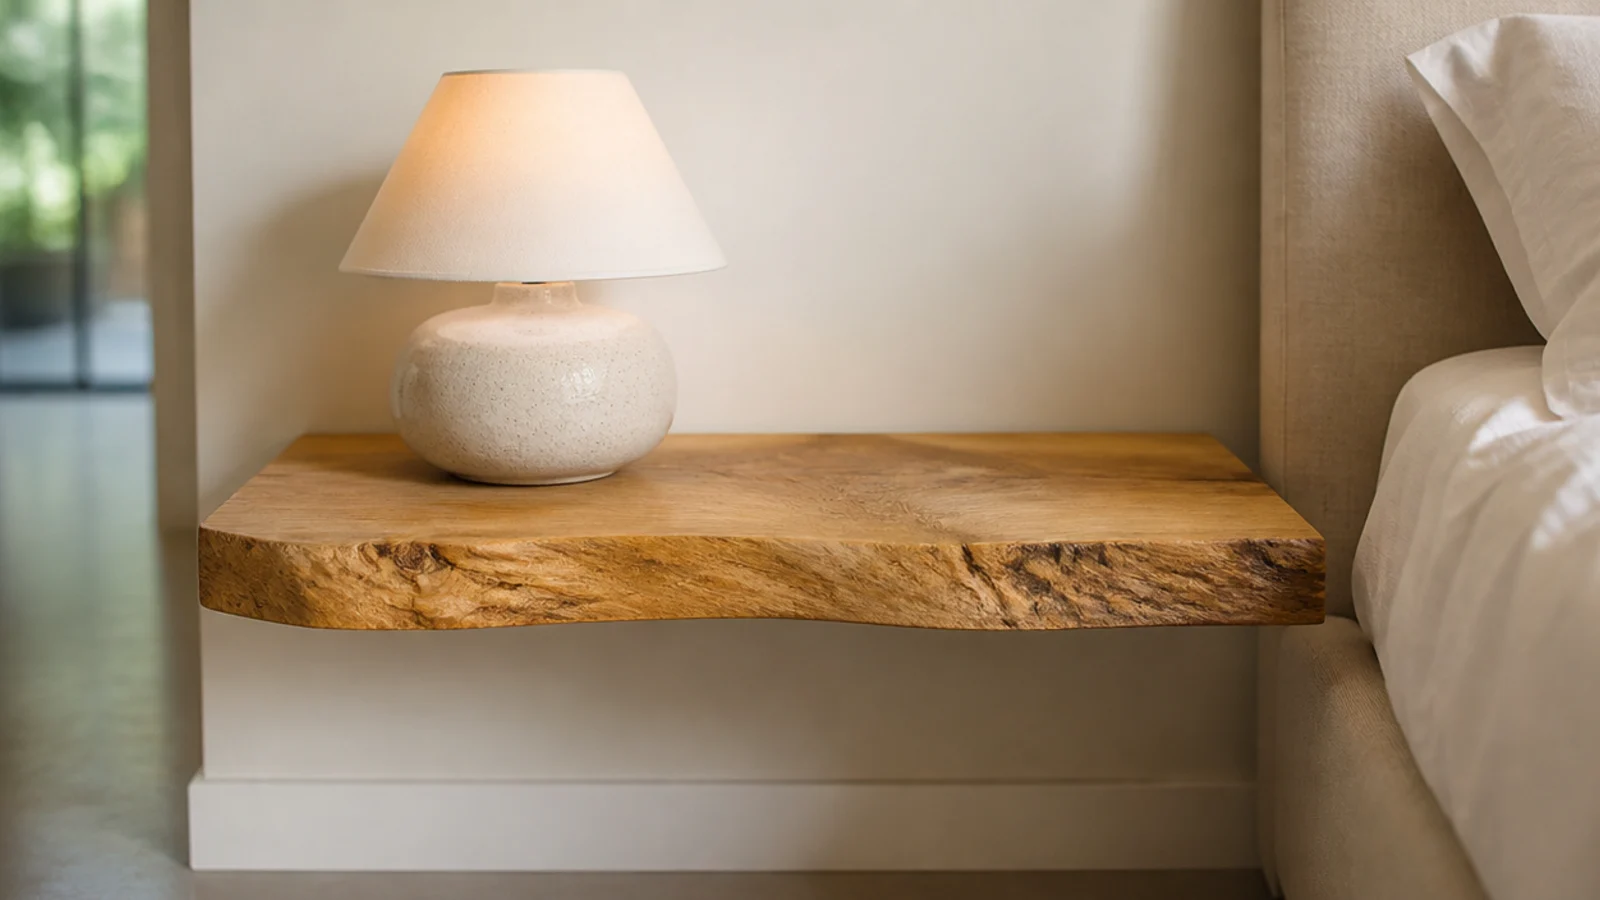
One thick slab with its natural outer edge left intact, floated on rods. An offcut runs $40 to $90 and it is the fastest way to get real character onto a plain wall. Sand the live edge to 180 grit and round anything sharp, or it will snag bedding and sleeves every time you pass. Seal it — an unsealed edge picks up marks from a wet glass within days and they never fully come out.
7. A ledge that wraps behind the headboard
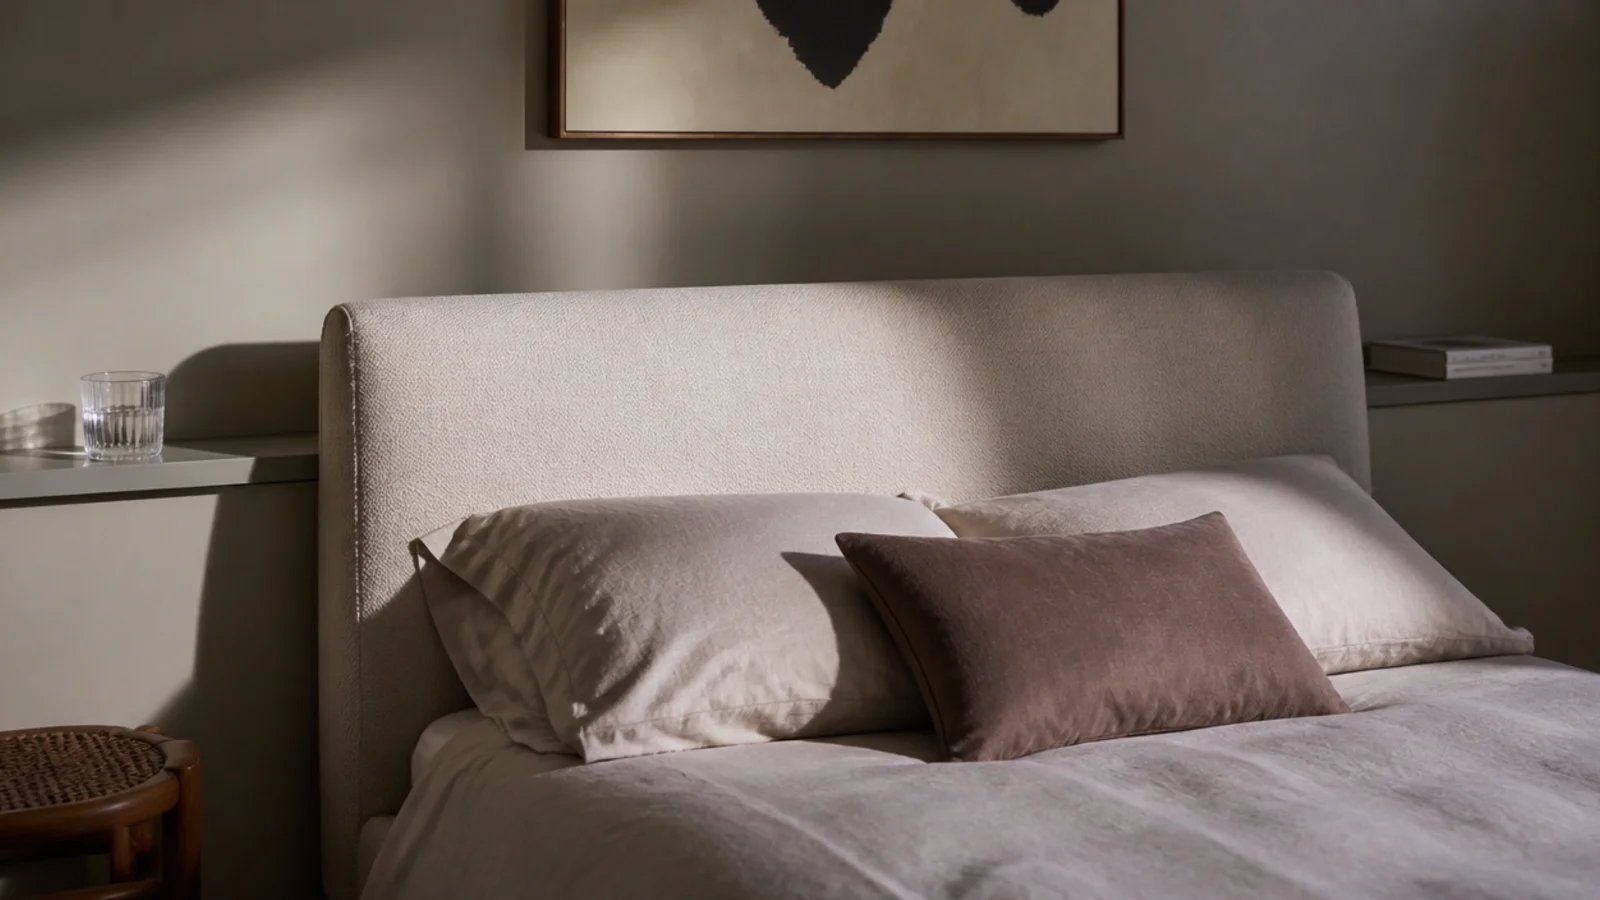
One continuous run behind and past the headboard serves both sides of the bed from a single fixing line. It suits rooms where the bed sits centrally on a long wall, and it looks built-in rather than added.
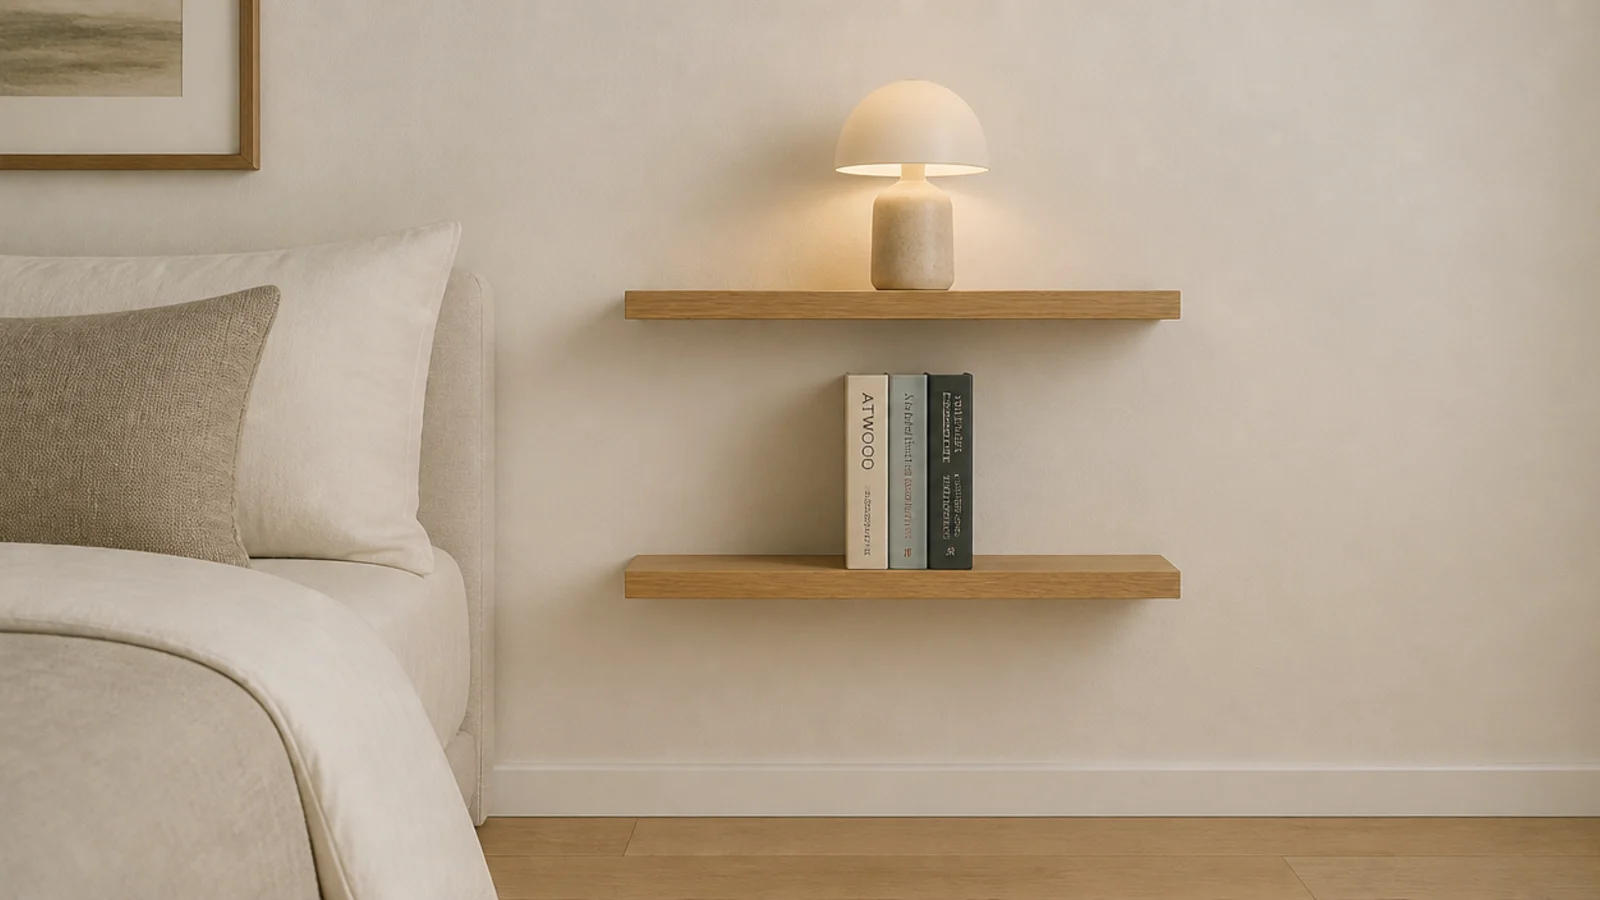
8. Two tiers instead of one
Split the function: lamp and glass on top, books underneath. Leave 10 to 12 inches of clear height between them so a hardback stands upright rather than lying flat, and keep the lower shelf slightly shallower than the upper one so you can see into it from the bed. Two narrow shelves also spread the load across four fixings instead of two.
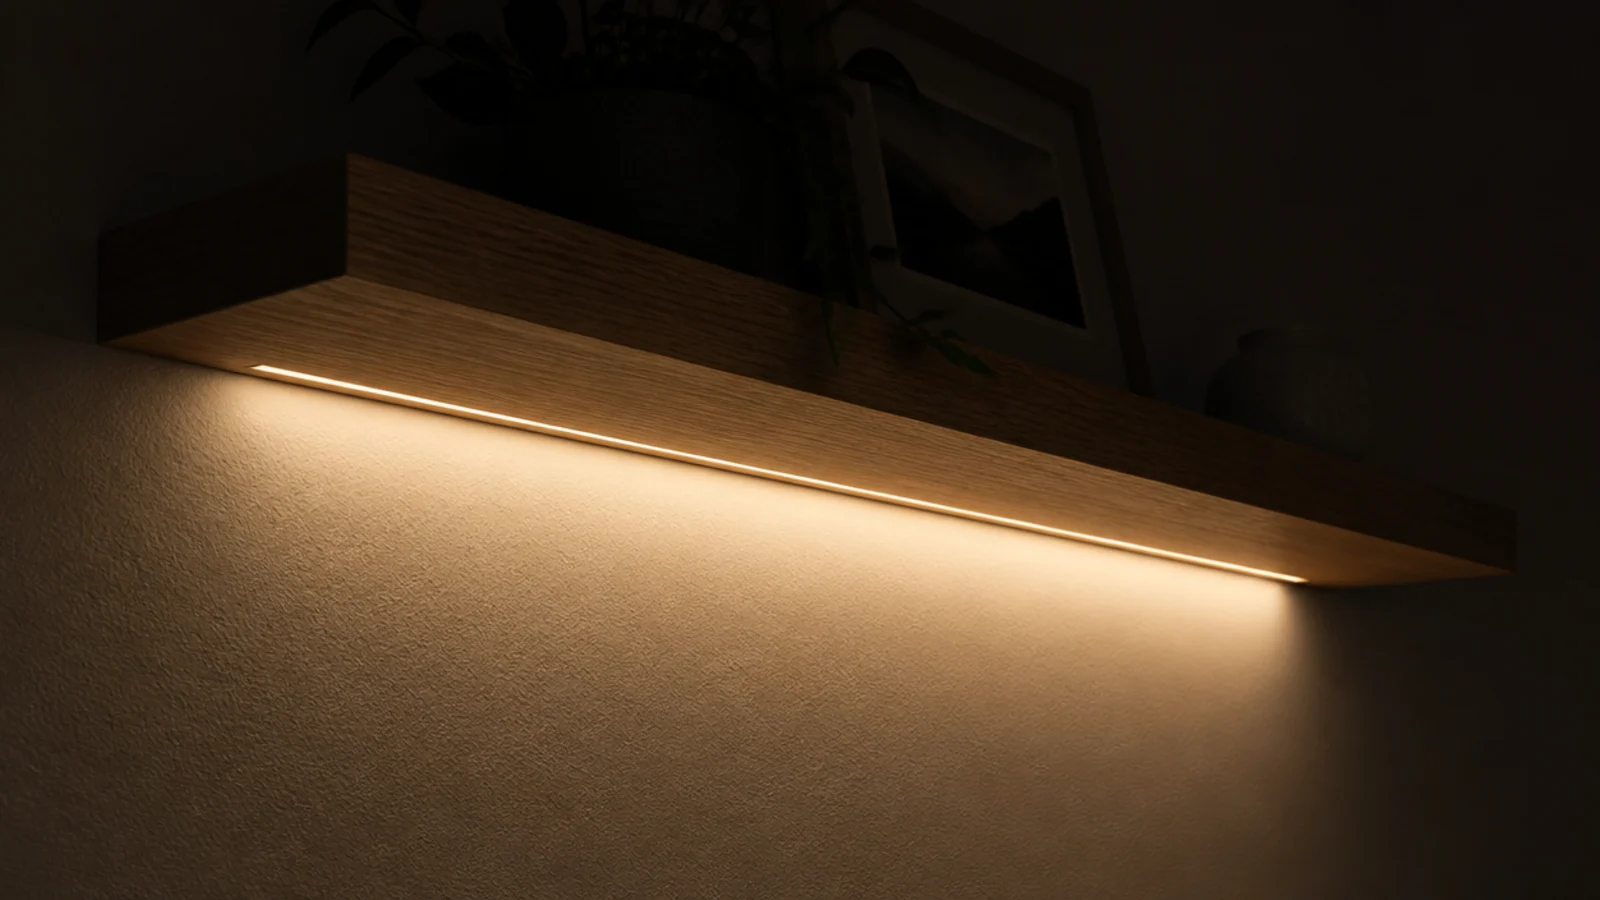
9. An LED strip tucked under the front lip
A warm strip on the underside washes light down the wall and doubles as a night light. Keep the strip set back behind the lip so the diodes are never directly visible — a visible strip looks like a strip, a hidden one looks like design.
10. Painted MDF that reads as plaster
Matched to the wall in both colour and sheen, a painted box stops registering as furniture and starts reading as part of the room. It is the cheapest build here at around $20 and arguably the most expensive-looking — but only if the cut edges are filled, sanded flat and primed before painting. Raw MDF edges drink paint and stay visibly furry, which gives the whole thing away instantly.
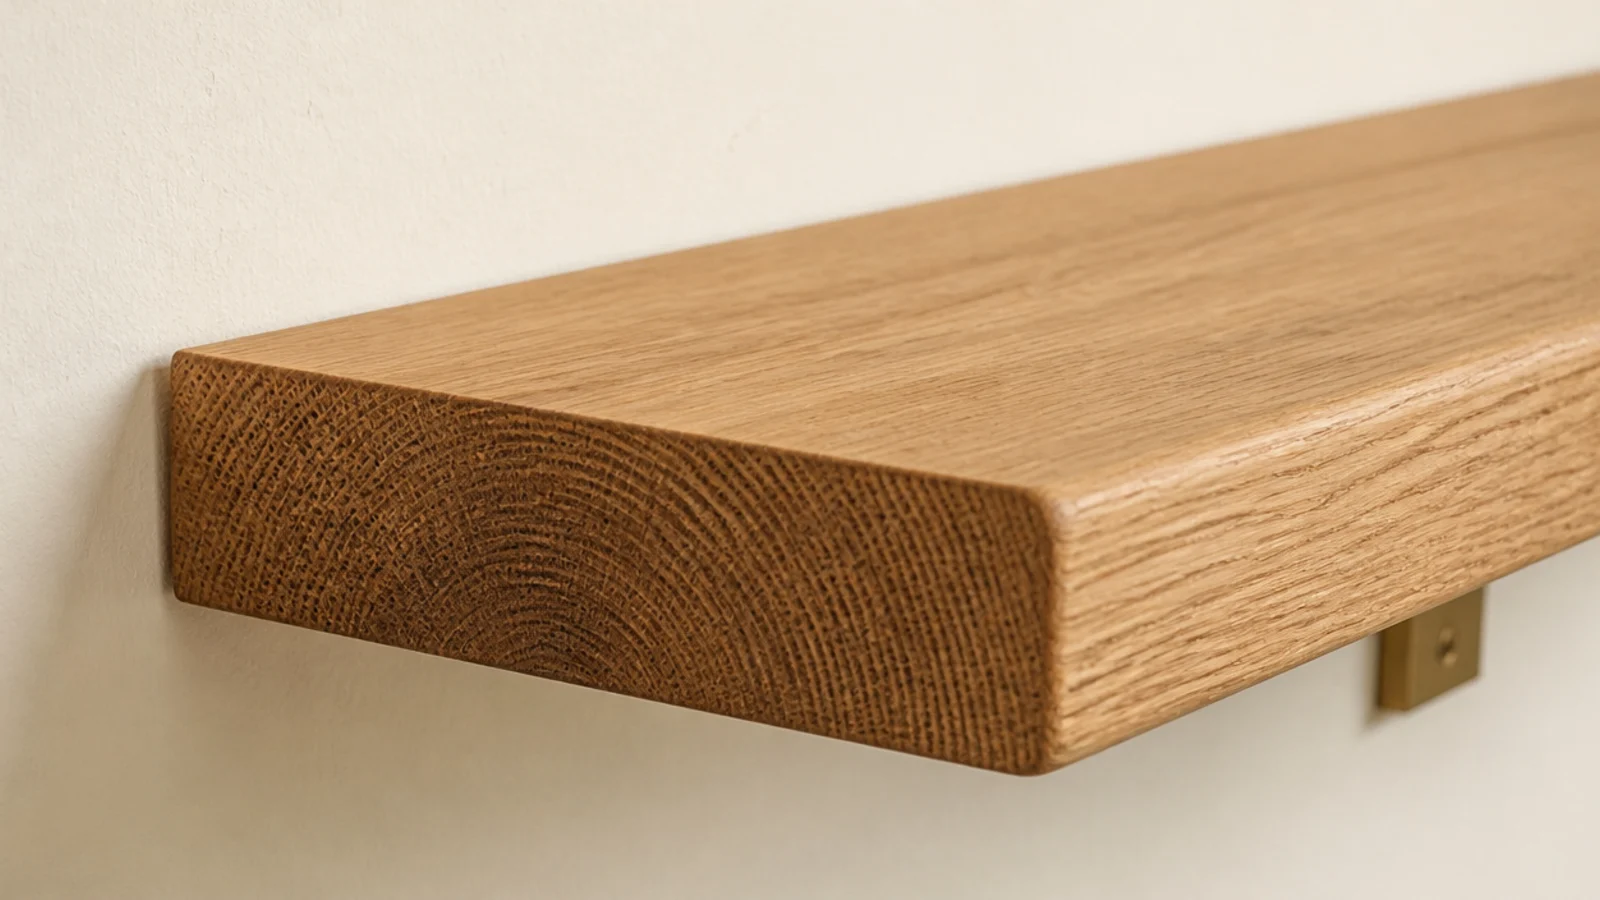
11. A solid oak slab an inch and a half thick
Thickness does two jobs: it resists sag across an unsupported span, and it reads as substantial rather than flimsy. Under an inch, a slab over 18 inches wide will bow visibly within a year.
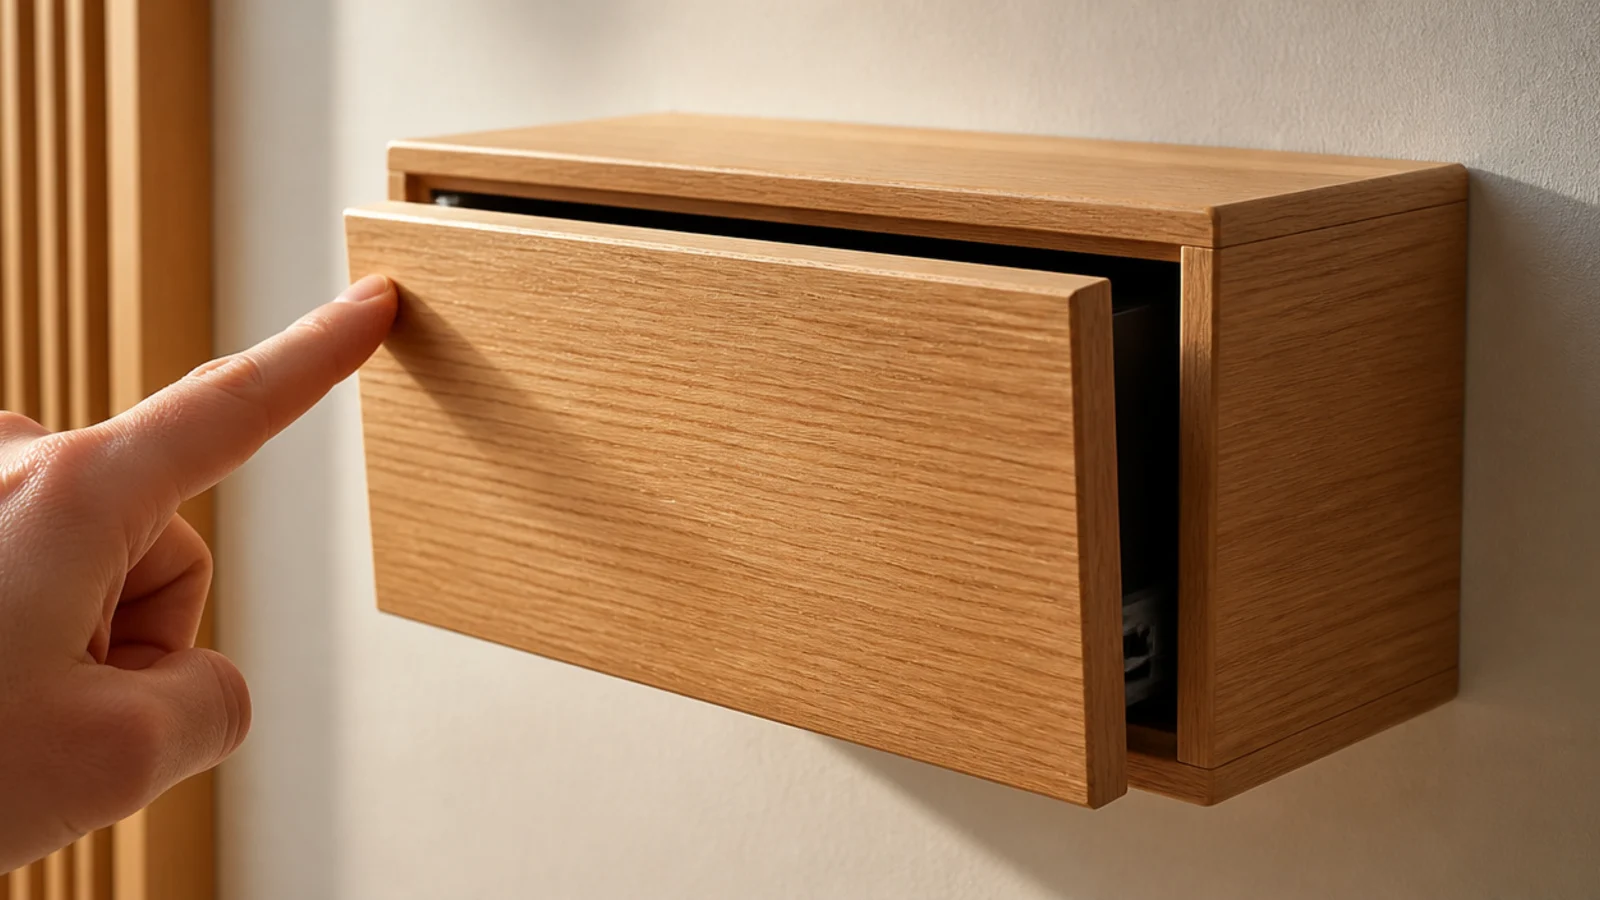
12. A push-to-open drawer with no handle
Handleless keeps the front a clean unbroken plane, which is most of why floating units look expensive. Push-latches cost about $4 each and need a 2mm gap behind the front to travel.
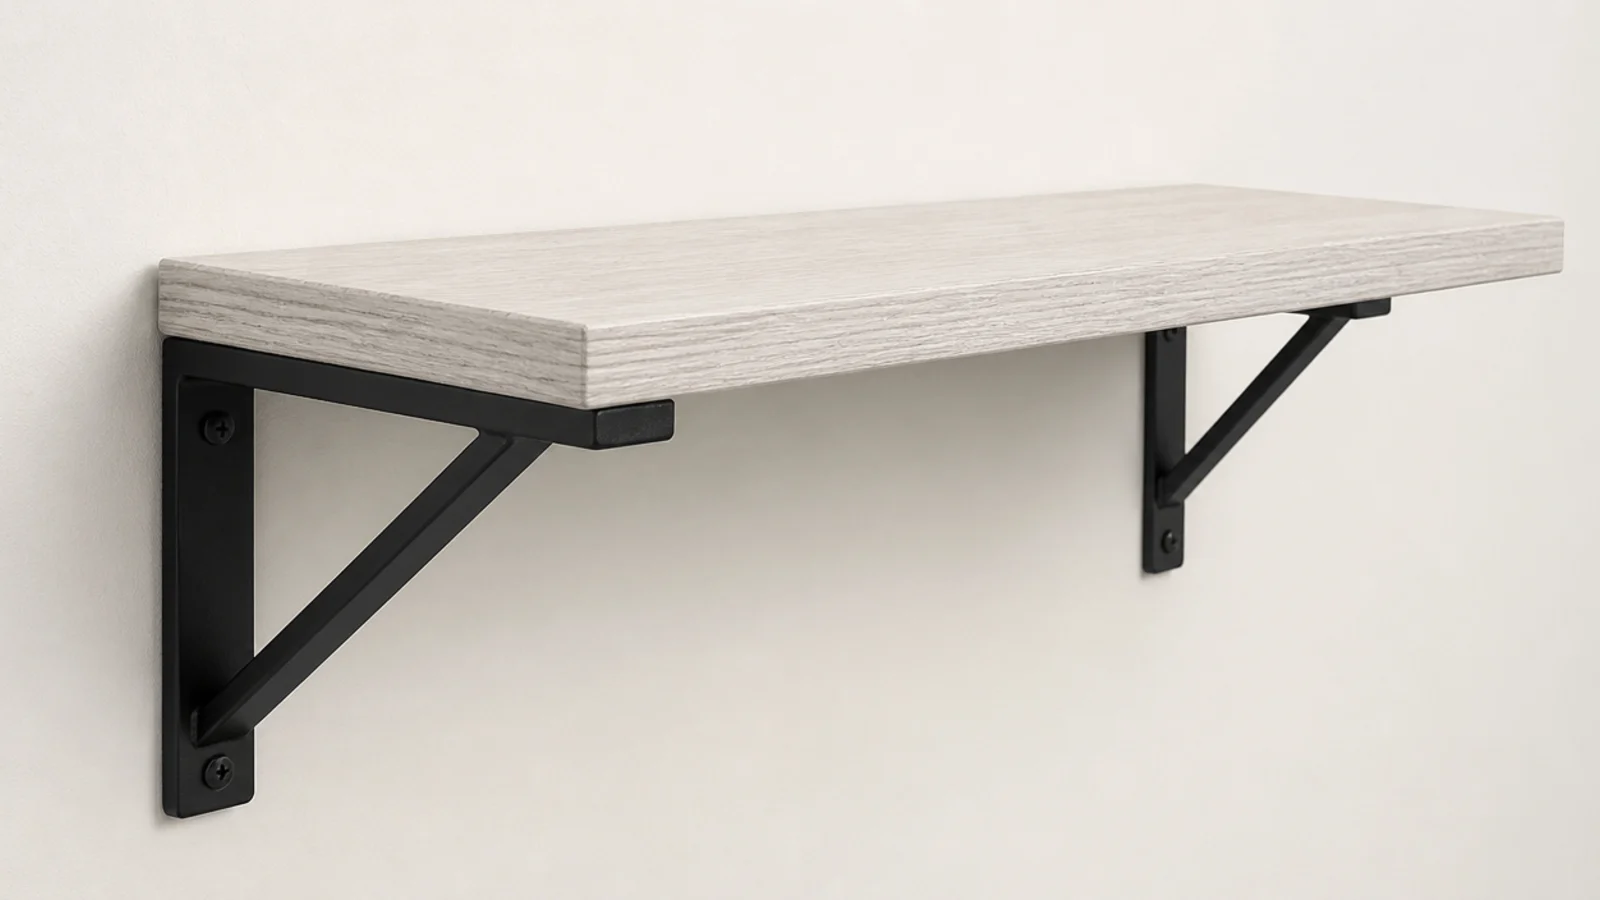
13. Slim matte black brackets left on show
Not everything needs hiding. A well-proportioned bracket in matte black reads as deliberate, and it costs a fraction of concealed hardware. Paint the fixing heads the bracket colour so nothing silver catches the eye.
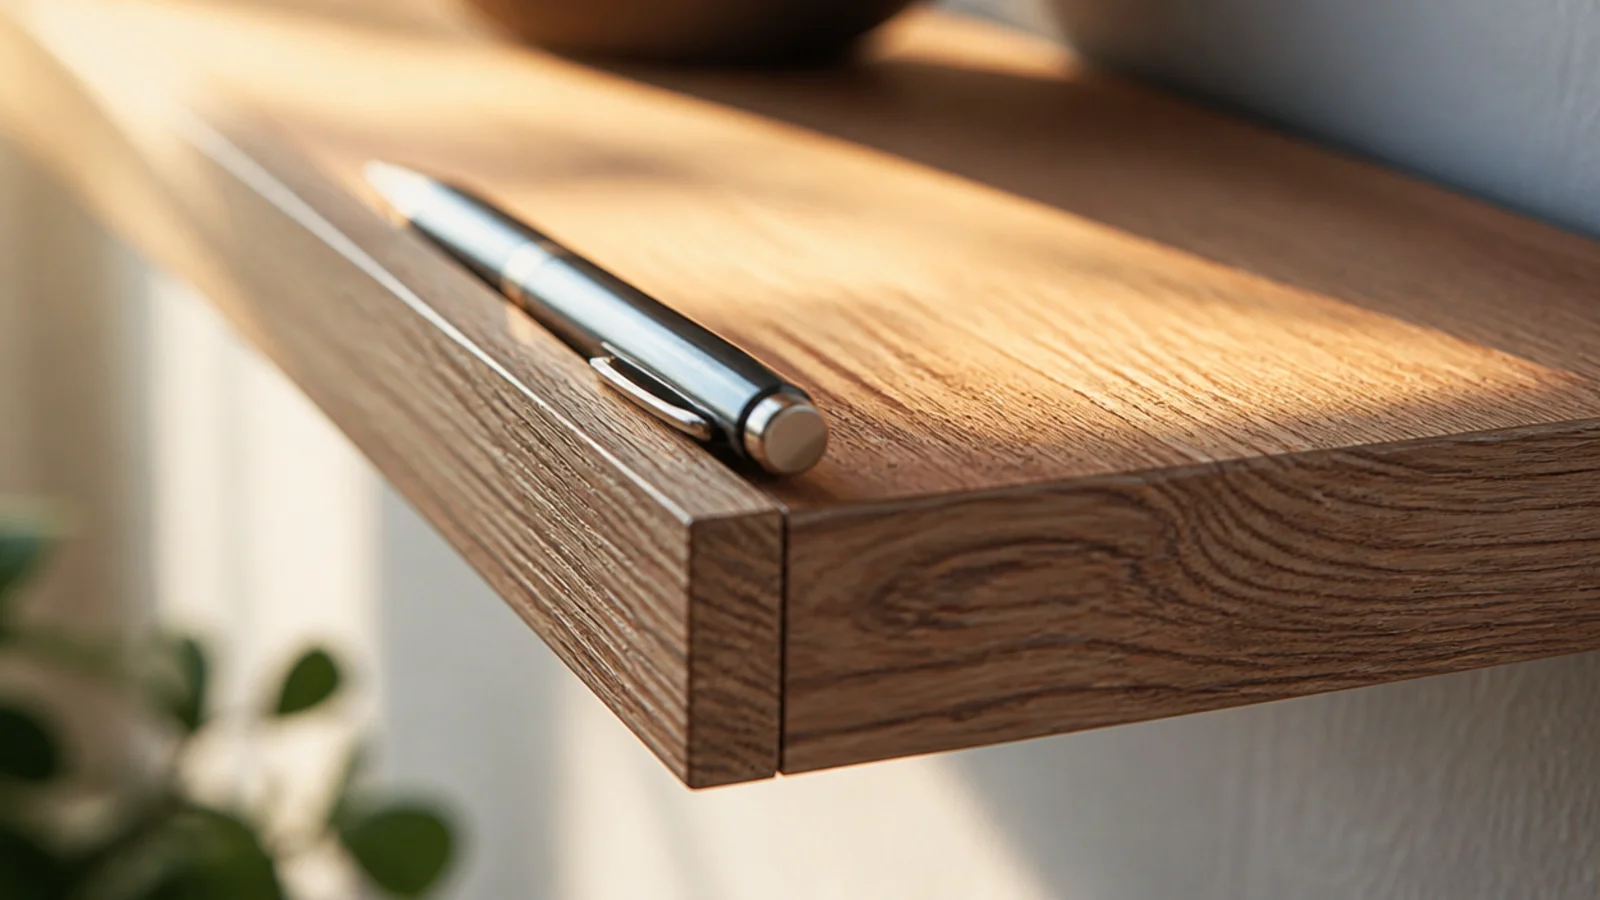
14. A raised lip so nothing rolls off
A quarter-inch lip along the front edge stops a pen, a ring or a lip balm from finding the floor in the dark. It is a five-minute addition that you will notice the value of within a week.
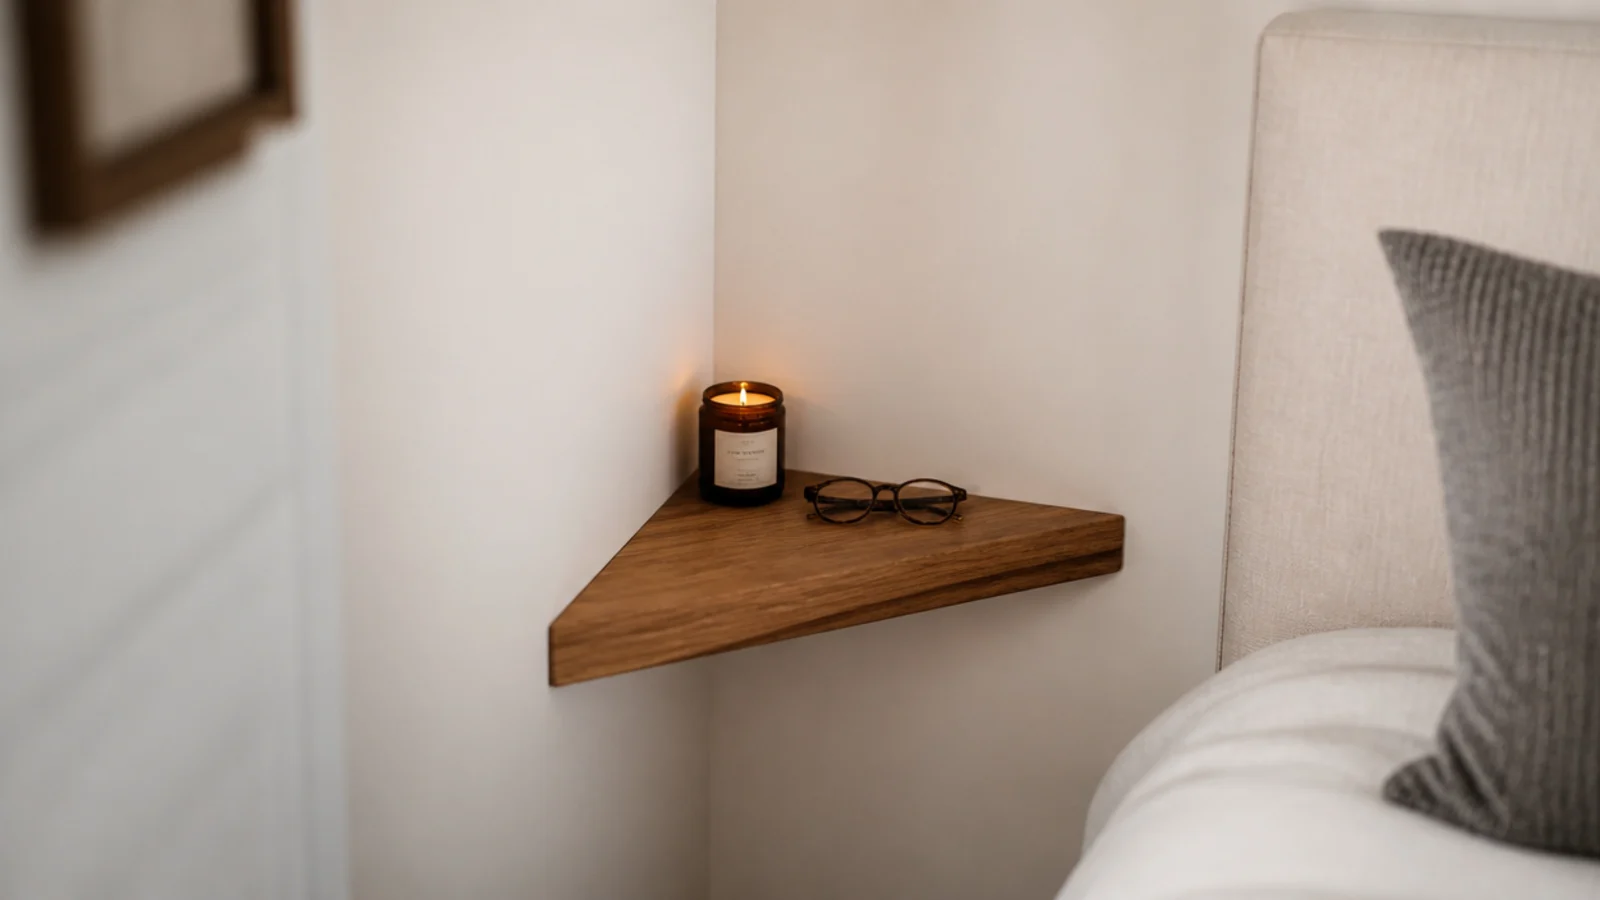
15. A triangle floated into the corner
Fixing into two walls that meet gives you far more holding power than one wall alone, and the corner beside a bed head is usually dead space. Good for rooms where the run of open wall is too short for anything else.
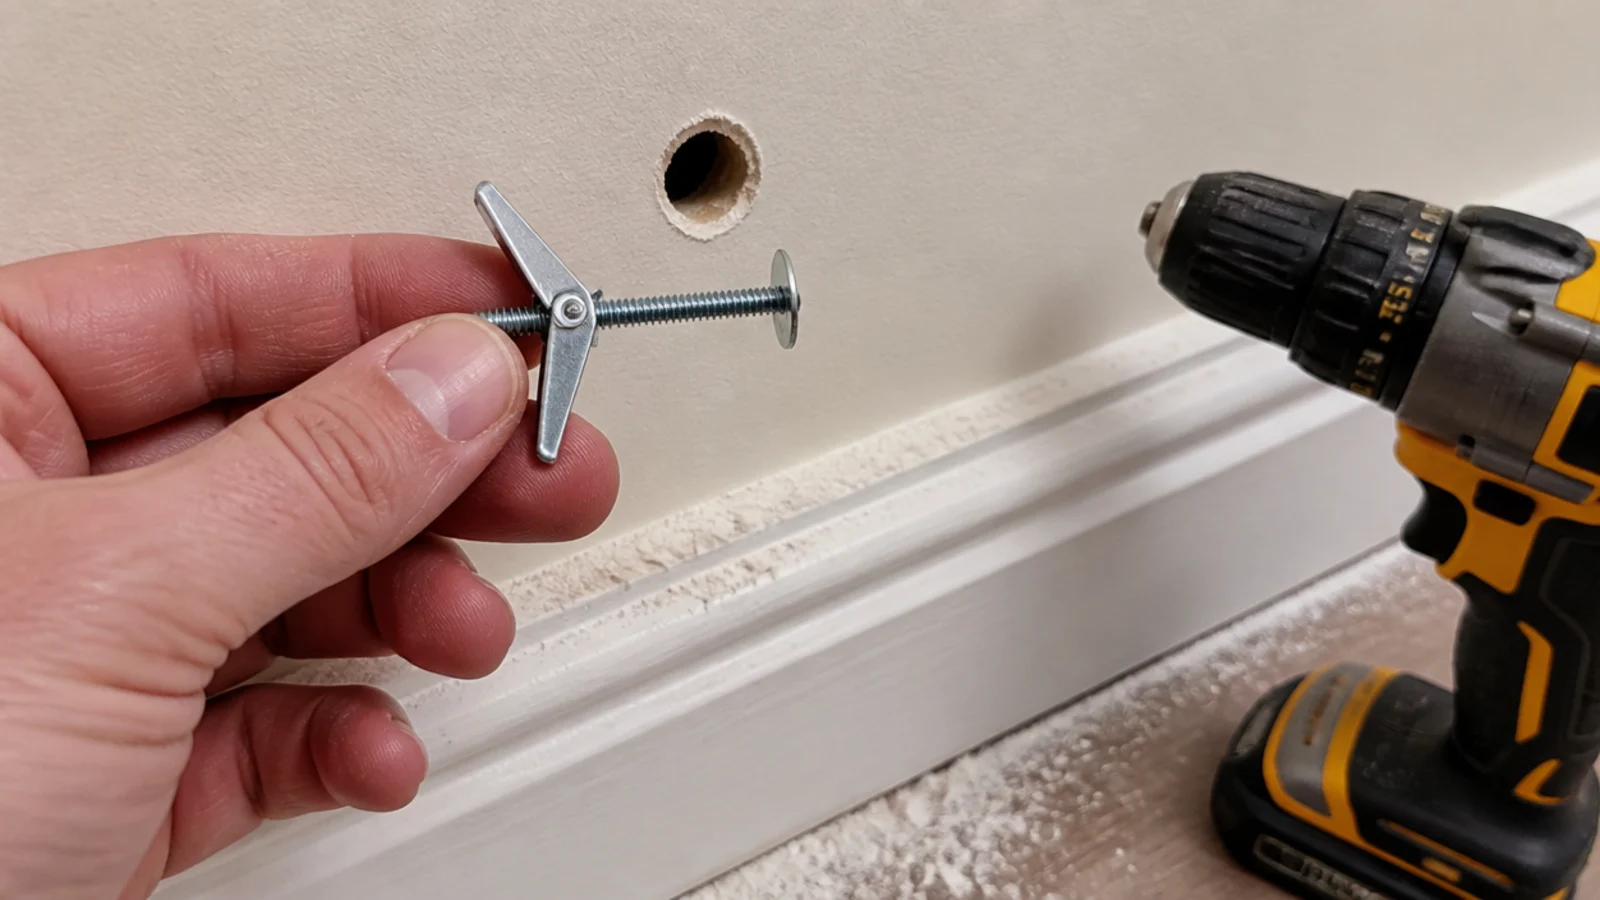
16. Toggle bolts when the stud is in the wrong place
Skip the plastic plugs in the box — they are rated around 10 pounds and they are why floating shelves end up on the floor. A pair of metal toggles carries 50 to 70 pounds between them in half-inch plasterboard. Drill the hole the size the toggle needs, not the size of the bolt, and remember the wings open inside the cavity, so the fixing cannot be removed and re-used without dropping the toggle into the wall.
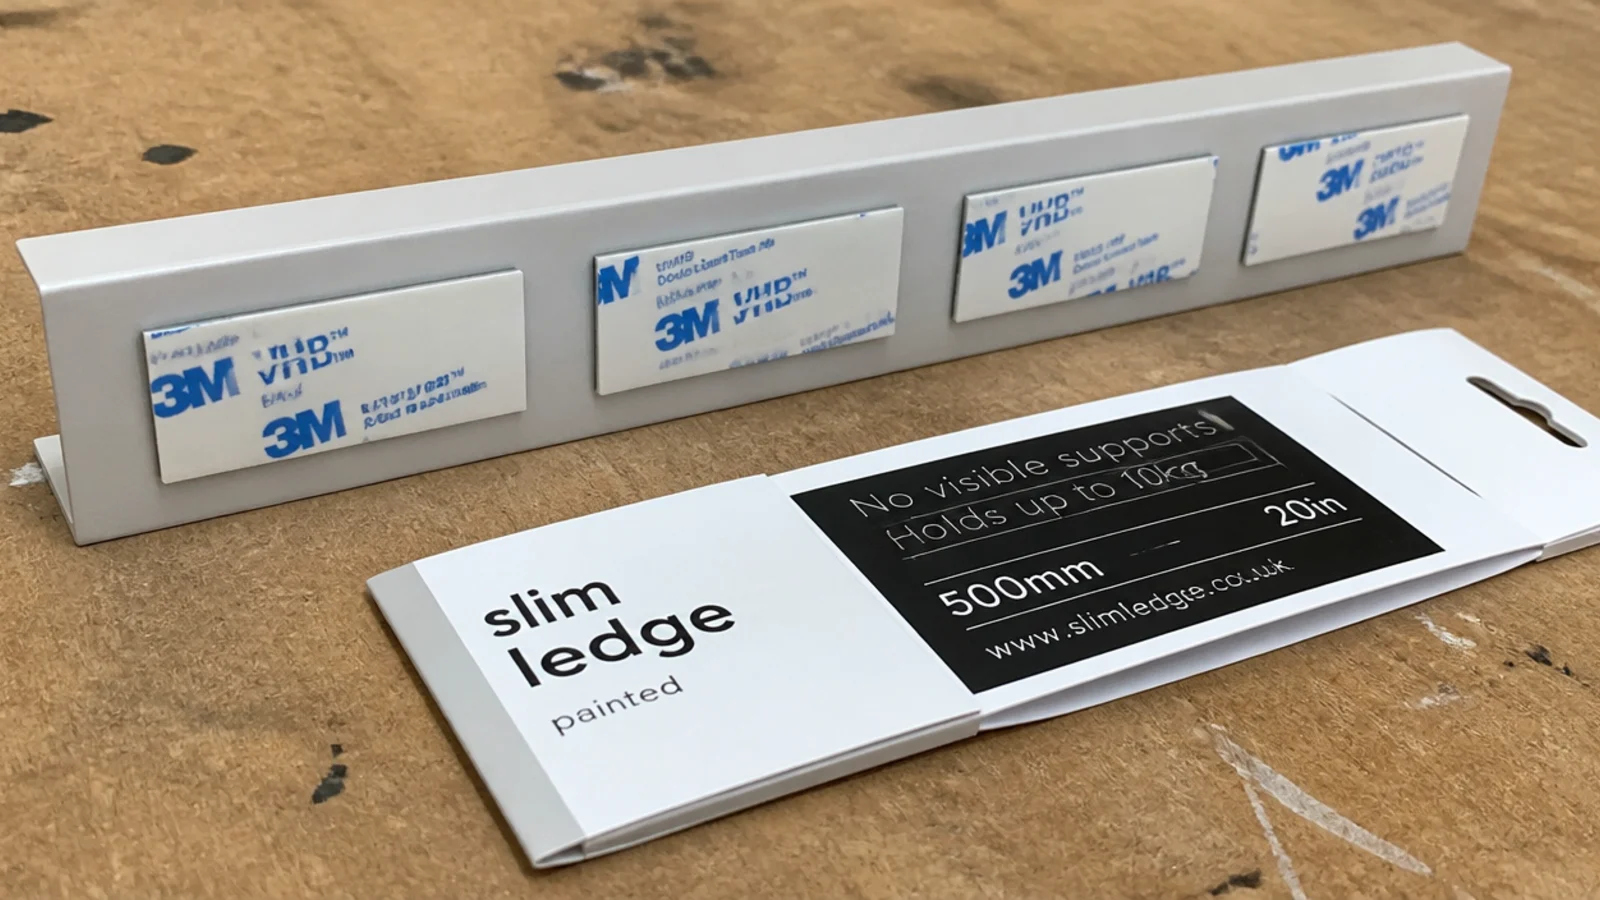
17. Adhesive mounting for renters, under five pounds
Heavy-duty strips genuinely work for a shallow ledge holding a phone, a glass and a paperback. Weigh the load first, use the strip count the packet specifies for that weight, and never put a lamp on one.
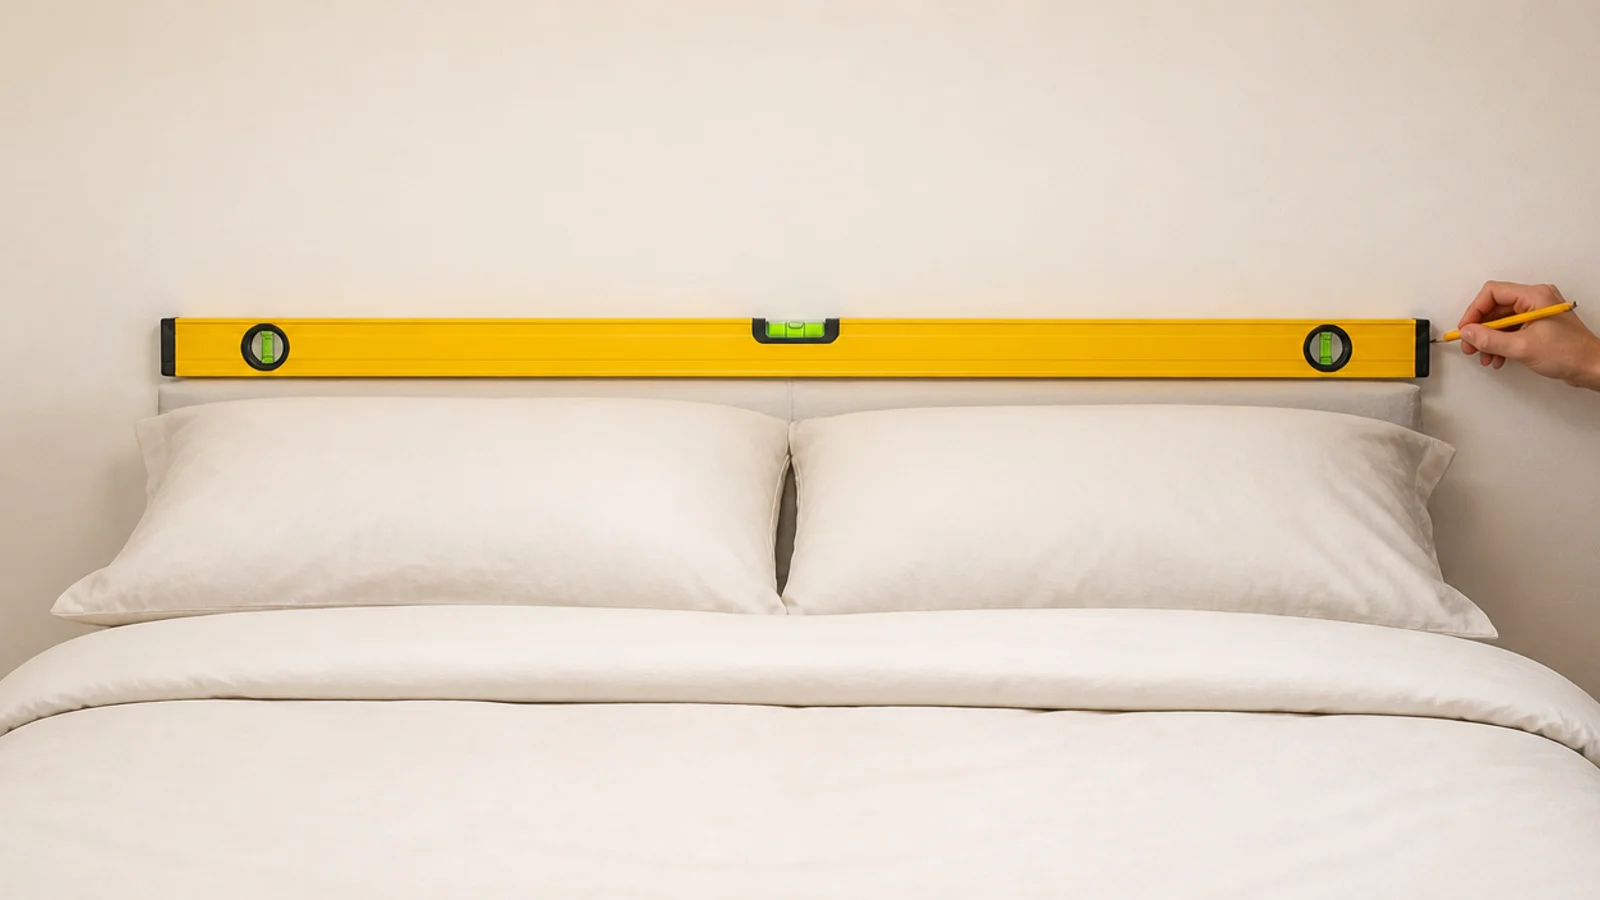
18. Set the height off the made bed, not the frame
Make the bed fully, then hold a level against the wall in line with the mattress top and mark it. This is the single step people skip, and it is the one that decides whether the finished shelf feels right.
19. Paint the underside a shade darker
A slightly darker underside deepens the shadow line and makes the unit read as thinner and more deliberate from across the room. It takes a small tin and twenty minutes.
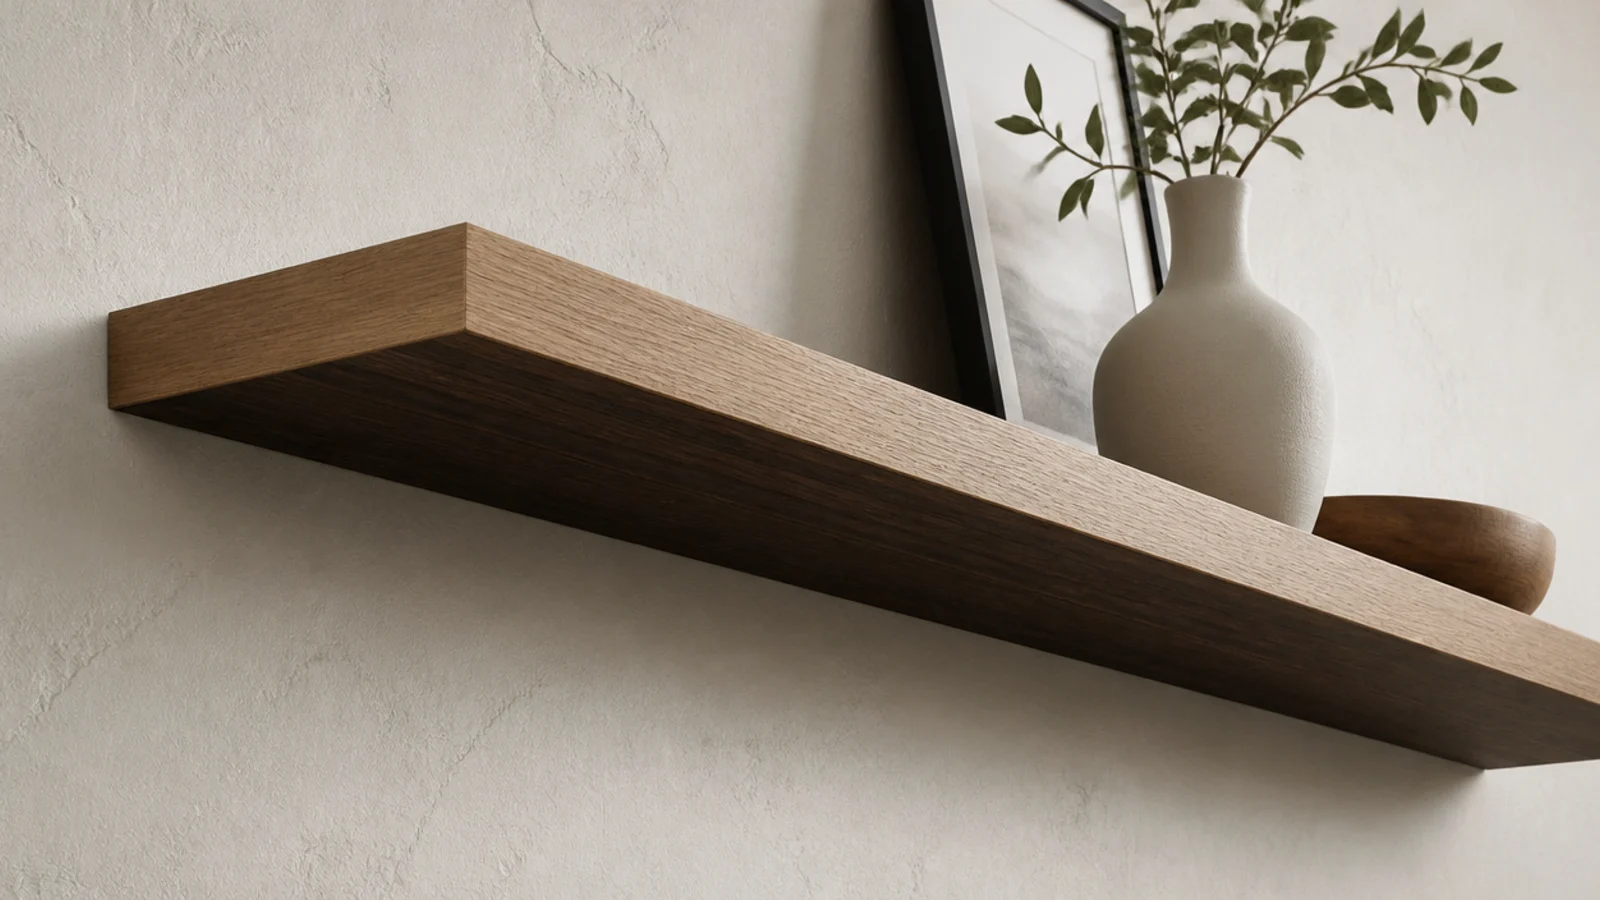
20. Three objects and one hidden cable
A floating surface shows clutter more than a table does, because there is nothing visually anchoring it to the room. Three objects is the working limit: something tall, something flat, something small. Run the cable through the back notch and clip it to the wall behind the bed. The whole point of building this was the clear line — one trailing flex across the front of it undoes the entire effect.
For the bracket types and load maths in more depth, the floating shelf guide covers the same fixings at larger spans. If you would rather build the whole unit yourself, the DIY bedside table guide has the cut lists.
Mistakes to Skip
- Using the plastic wall plugs supplied with the bracket. They are rated around 10 pounds and they are the single most common reason a floating bedside table ends up on the floor.
- Mounting to the bare bed frame height. Bedding lifts the mattress top two to three inches, so the finished shelf sits low and you reach down to it every night.
- Building wider than the stud spacing allows and fixing only one end. The unmounted end takes almost all the load the moment you lean on it.
- Cutting the cable notch after the unit is on the wall. There is no way to support the panel in place, and it splits along the grain more often than not.
Frequently asked questions
How much weight can a floating bedside table hold?
Into two studs with a French cleat, 50 pounds is comfortable and well past anything a lamp and books will weigh. Toggle bolts in half-inch plasterboard carry 25 to 35 pounds each. The limiting factor is almost never the bracket — it is whether the fixing found solid timber behind the plaster.
What height should a floating bedside table be mounted at?
Set the top surface within two inches of your mattress top, which usually puts it 24 to 26 inches off the floor. Mark the line with a spirit level before drilling anything, and check it against the made bed rather than the bare frame, because bedding adds two to three inches.
Can I float a bedside table without drilling?
Only for very light loads. Heavy-duty adhesive strips rated for the weight will hold a shallow ledge carrying a phone, a glass and a paperback — roughly five pounds. Anything with a lamp or a drawer needs mechanical fixing, because adhesive fails gradually and then all at once.
What if there is no stud where I want the table?
Use toggle bolts rather than the plastic plugs in the box. A pair of toggles in half-inch plasterboard carries 50 to 70 pounds between them, which covers any decorative floating table. Spread the load across four fixings rather than two if the unit is wider than 18 inches.
How do I hide the lamp cable on a floating table?
Cut a half-inch notch in the back edge before mounting, or drill a grommet through the top near the wall. Run the cable down the wall behind the bed rather than out to the side, and clip it every 12 inches so it stays flat and stops swinging when the bed moves.
Want more like this? Browse all 15 bedside table ideas guides — they all use the same measurements and budget tiers.
Pin it for later
Save this to your Bedside Table Ideas board
Pin it now so it is waiting for you when the tape measure comes out — and so the next person hunting for this idea can find it too.
Save this pinKeep going
More ideas worth saving while you have the tape measure out.