Attic Bedroom Ideas · How-To
15 Steps To Plan Attic Loft Bedroom Ideas Properly

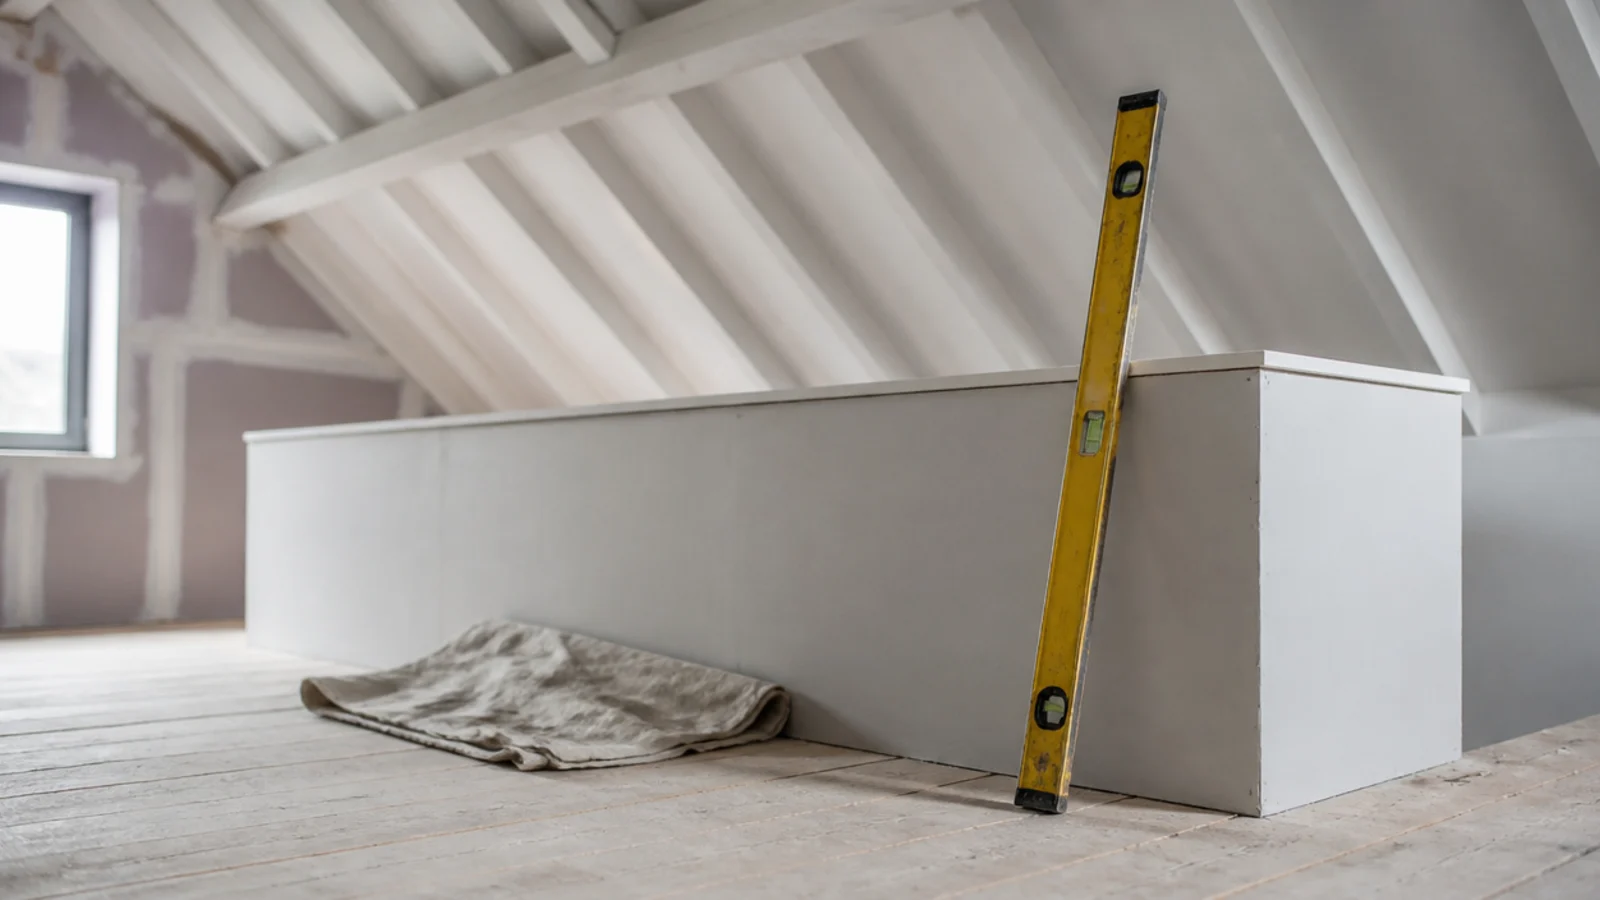
Almost every regret in a converted roof space traces back to sequence rather than taste. Ventilation gets decided after the plaster, the bed gets bought before the knee wall height, and the storage gets built to a void nobody measured. Attic loft bedroom ideas work when they arrive in the right order, and the order is not the one that feels exciting.
What follows is the sequence I now use, learned the expensive way on a conversion where the eaves drawers had to come out again to fix an insulation detail.
In this guide19 sections — tap to openHide
- 1.Where attic loft bedroom ideas begin
- 2.What You'll Need Before You Start
- 3.Step 1: Confirm the room can legally be a bedroom
- 4.Step 2: Measure the ridge and mark two floor lines
- 5.Step 3: Check the floor structure before anything else
- 6.Step 4: Fix the staircase position and its headroom
- 7.Step 5: Site the escape window before the layout
- 8.Step 6: Place the rooflights where you will use them
- 9.Step 7: Insulate the rafters and keep the air path clear
- 10.Step 8: Air-seal and board behind the knee wall
- 11.Step 9: Build the knee wall to the height you chose
- 12.Step 10: First fix the lighting and sockets
- 13.Step 11: Plaster and paint through the junction
- 14.Step 12: Insulate the floor for sound, then board it
- 15.Step 13: Tape out the bed before you buy it
- 16.Step 14: Build the eaves storage to fit the void
- 17.Step 15: Light it in layers and re-check the headroom
- 18.Pro Styling Rules
- 19.Mistakes to Skip
Where attic loft bedroom ideas begin
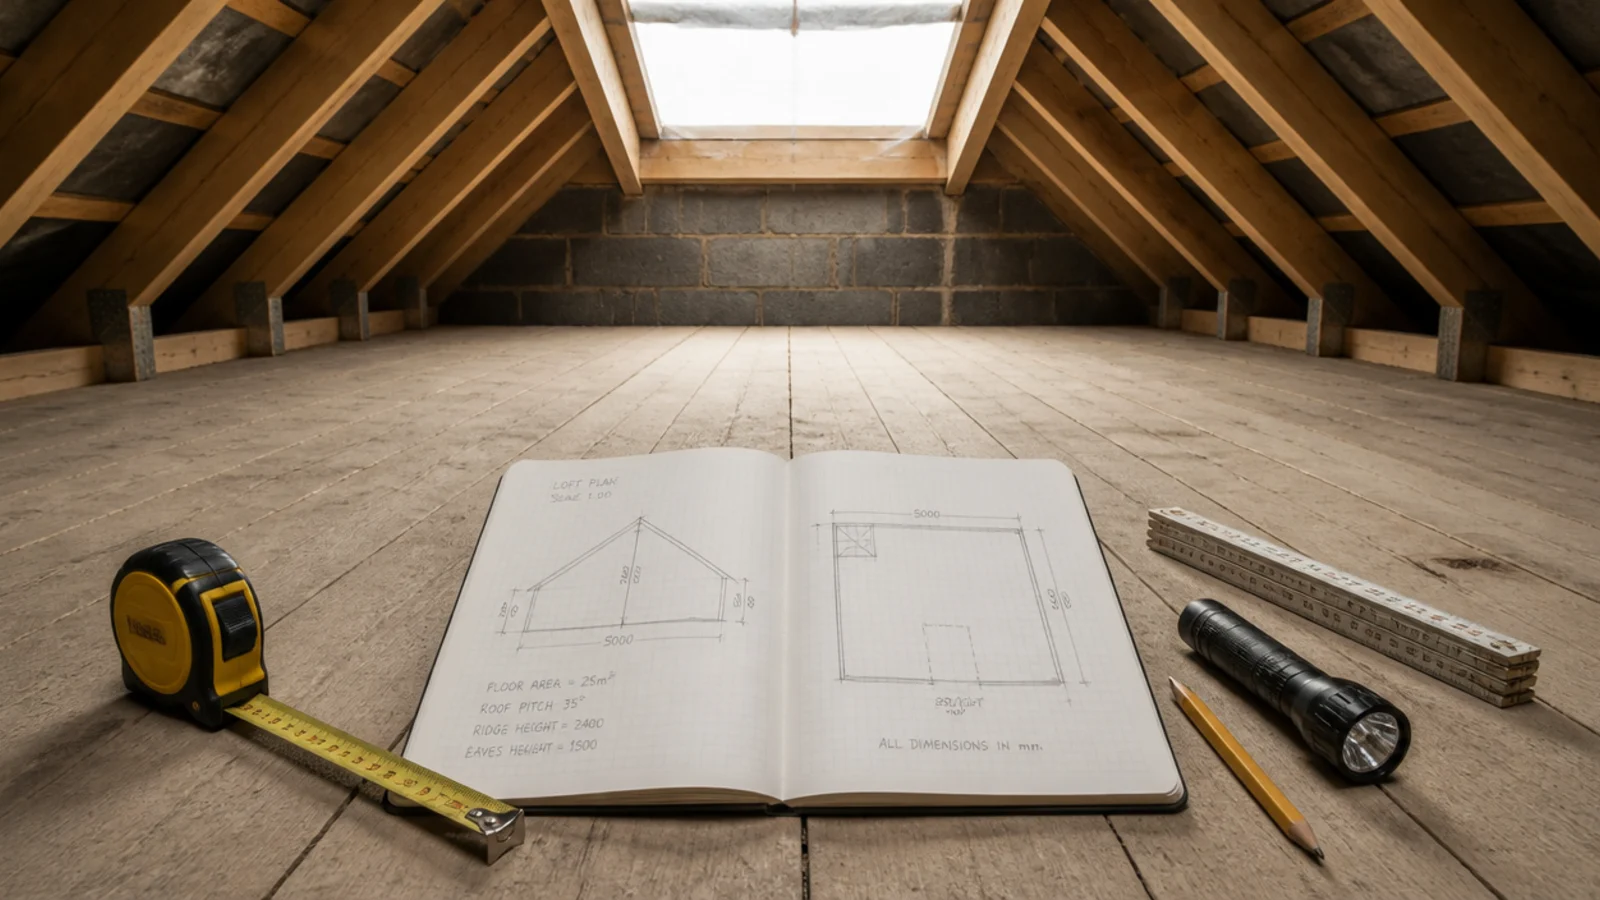
With a notebook and three numbers. Ridge height at the highest point, wall height where the slope meets the floor, and the distance from the wall to the point the ceiling passes seven feet. Everything downstream depends on those.
Then the compliance question, because it decides whether there is a project at all. Turning roof space into a sleeping room engages structure, escape, fire separation and insulation, and in most US jurisdictions a sloped-ceiling habitable room needs 7 feet of height over at least half its required floor area, with floor under 5 feet not counting. A sleeping room also needs an emergency escape and rescue opening — commonly 5.7 square feet net clear, 24 inches minimum clear height, 20 minimum clear width, sill within 44 inches of the floor. These are regulated minimums enforced by your local building department. Ask them first, and never design anything that reduces them.
Rough costs, so the sequence has stakes attached: a full conversion runs $30,000 to $90,000 depending on structure and stair, a roof window is $1,500 to $3,500 installed, and the finishing steps at the end of this list — paint, storage, lighting — come in under $1,500 combined.
What You'll Need Before You Start
- A tape measure, a folding rule and a chalk line. The chalk line is what turns a vague sense of the room into two usable boundaries on the floor.
- An angle finder or a level app. The roof pitch in degrees decides how fast headroom is lost as you move toward the eaves, and therefore what furniture can go where.
- A torch and a camera. Photograph every rafter bay, every joist end and every gap before anything is boarded. You will want those pictures later.
- Your local building department's contact details. Headroom, escape, stair geometry and fire separation are all set by code, and the answers are free before work starts and expensive afterwards.
- A structural engineer, if anything heavy is planned. Original ceiling joists were rarely sized as floor joists, and a bath, a stone hearth or dense joinery all need confirmation.
- Masking tape. Two rolls. Marking furniture footprints on the subfloor is the cheapest design tool there is.
Step 1: Confirm the room can legally be a bedroom
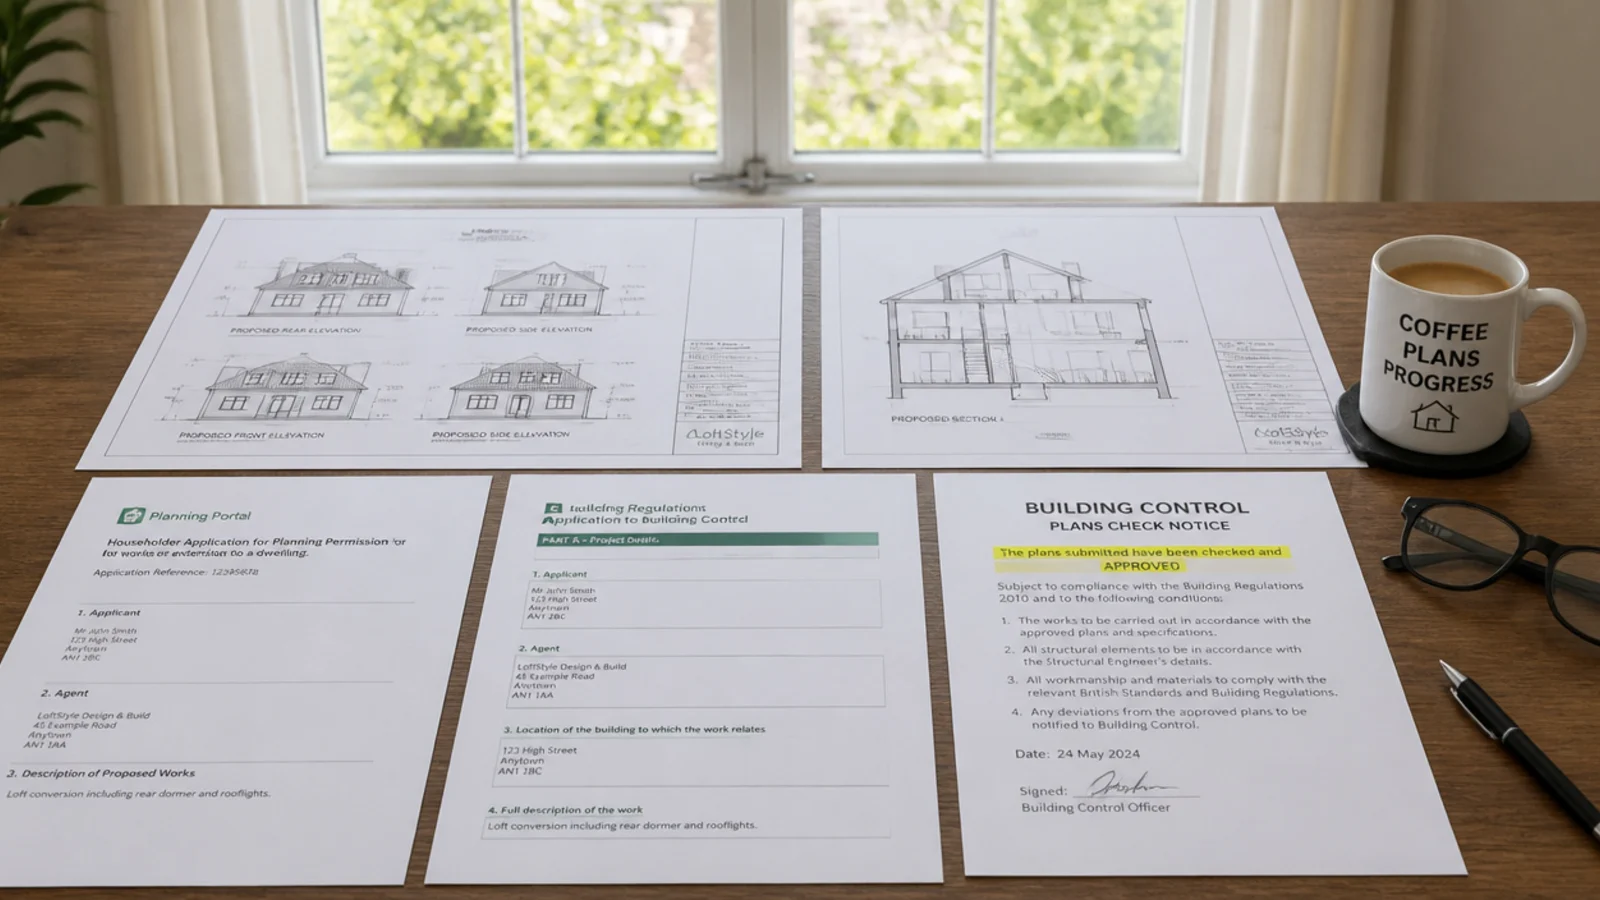
Before a single board comes up. Habitable ceiling height, the escape opening, stair geometry, smoke alarms and fire separation between floors are all regulated, and a room that fails any of them is not a bedroom regardless of how it is furnished. Get the requirements in writing and keep the paperwork for resale.
Step 2: Measure the ridge and mark two floor lines
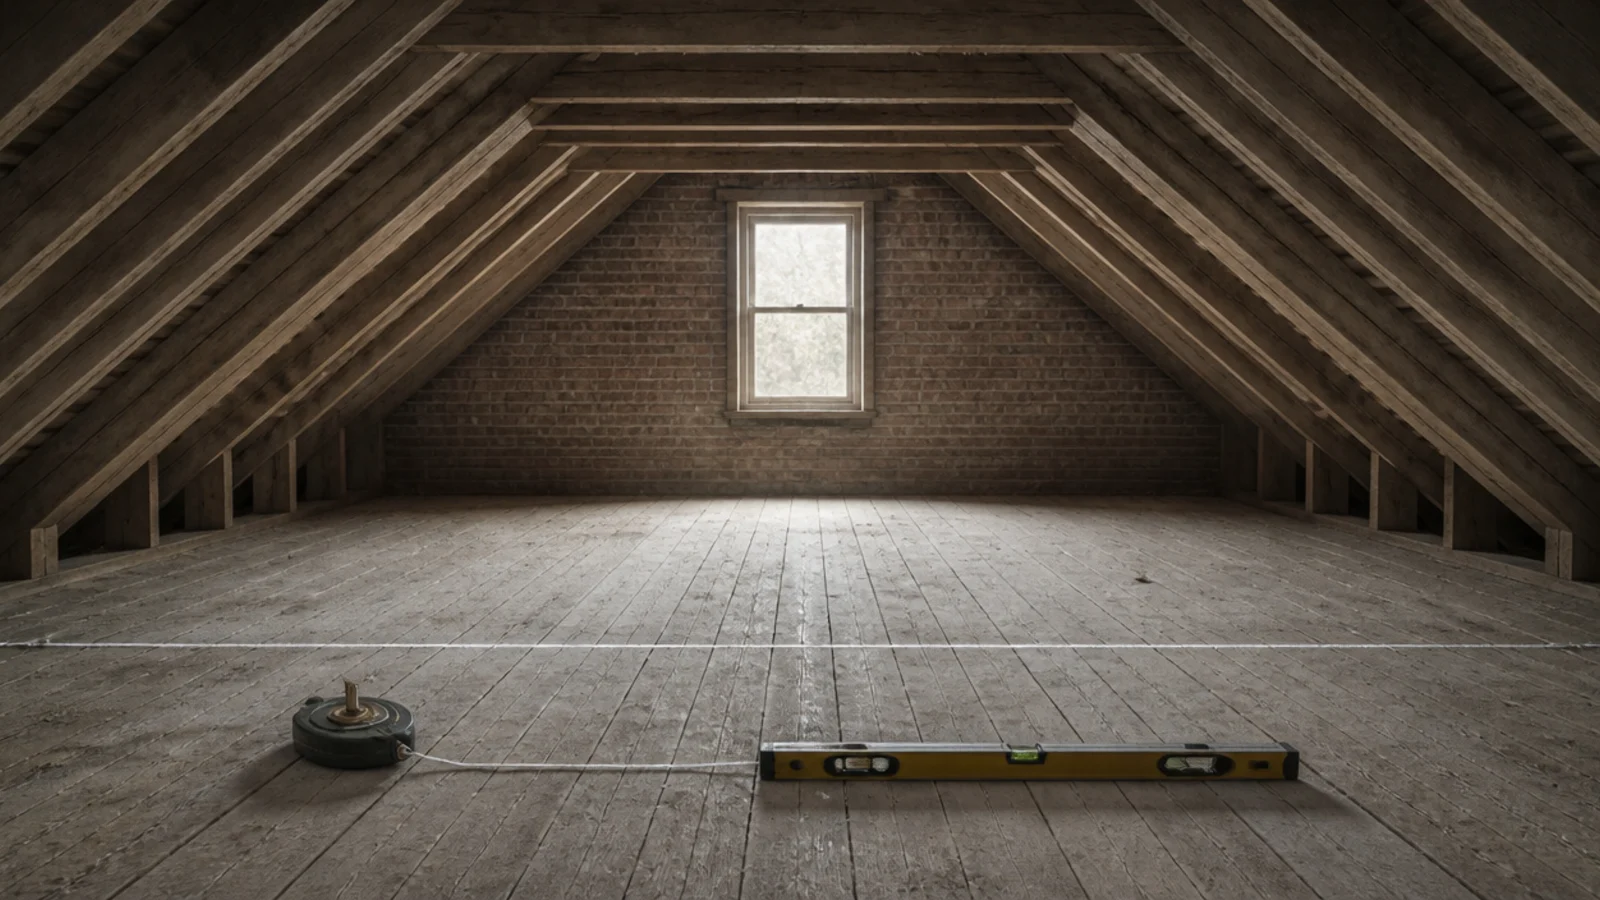
Snap a chalk line where the ceiling passes seven feet and another where it passes five. Between them is the sitting band — beds, benches, desks. Above seven is the standing band. Below five is storage. Those three zones are the plan, and everything after this is just detail.
Step 3: Check the floor structure before anything else
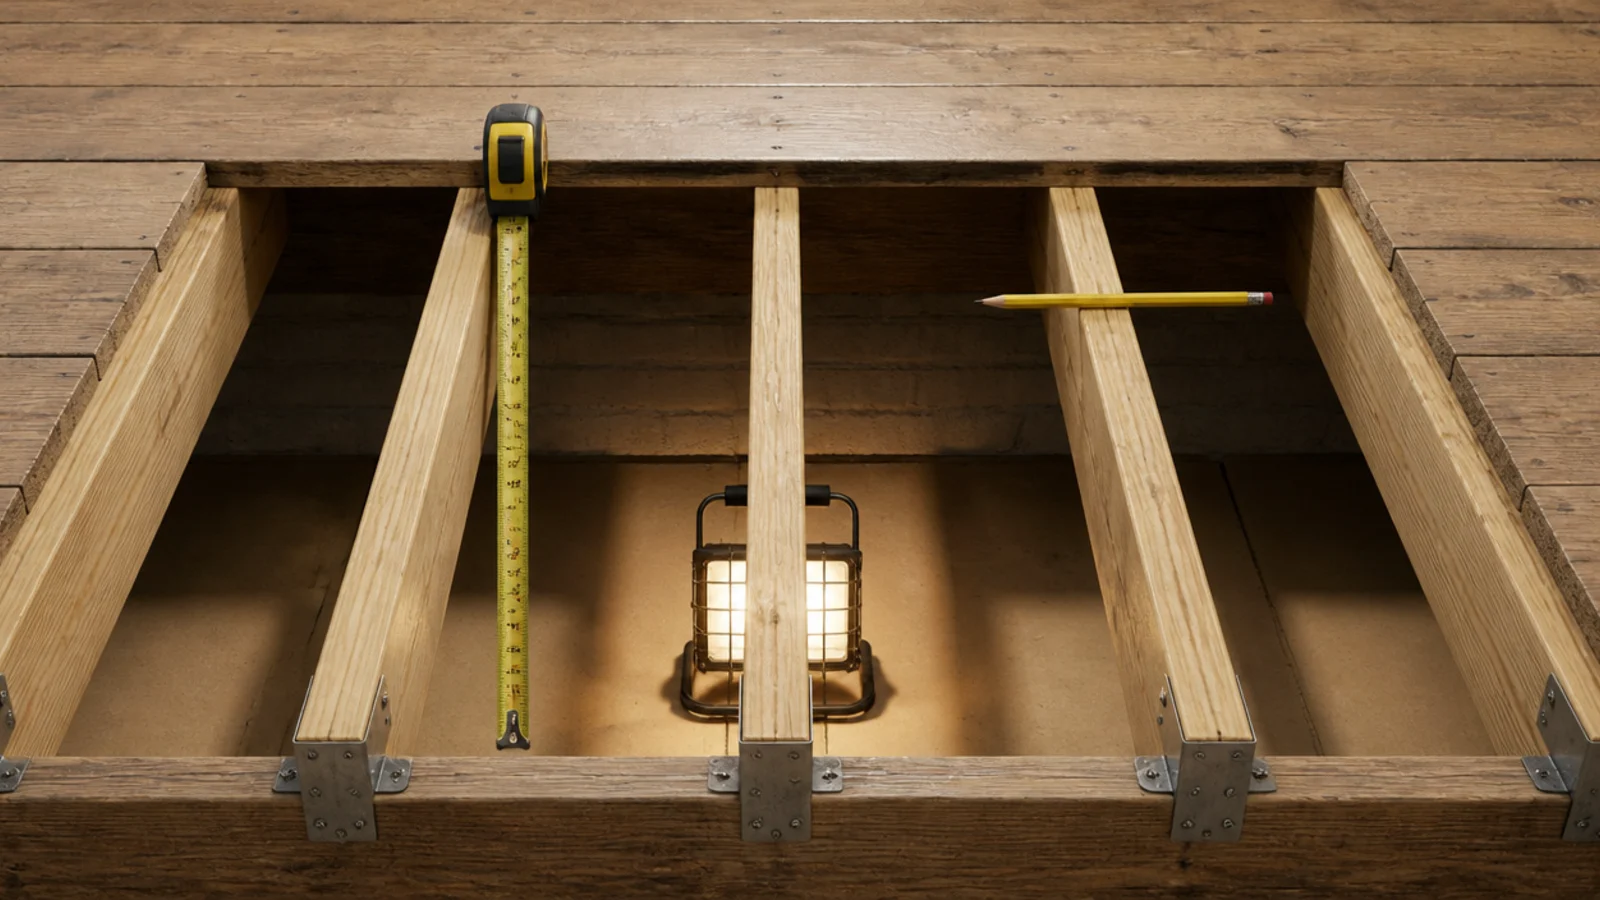
Lift boards and look. Note joist depth, width and spacing, and whether they run the short way across the room. Ceiling joists are typically shallower than floor joists and were never intended to carry furniture and people. This is the step that decides whether a bath or a fitted wardrobe run is even on the table.
Step 4: Fix the staircase position and its headroom
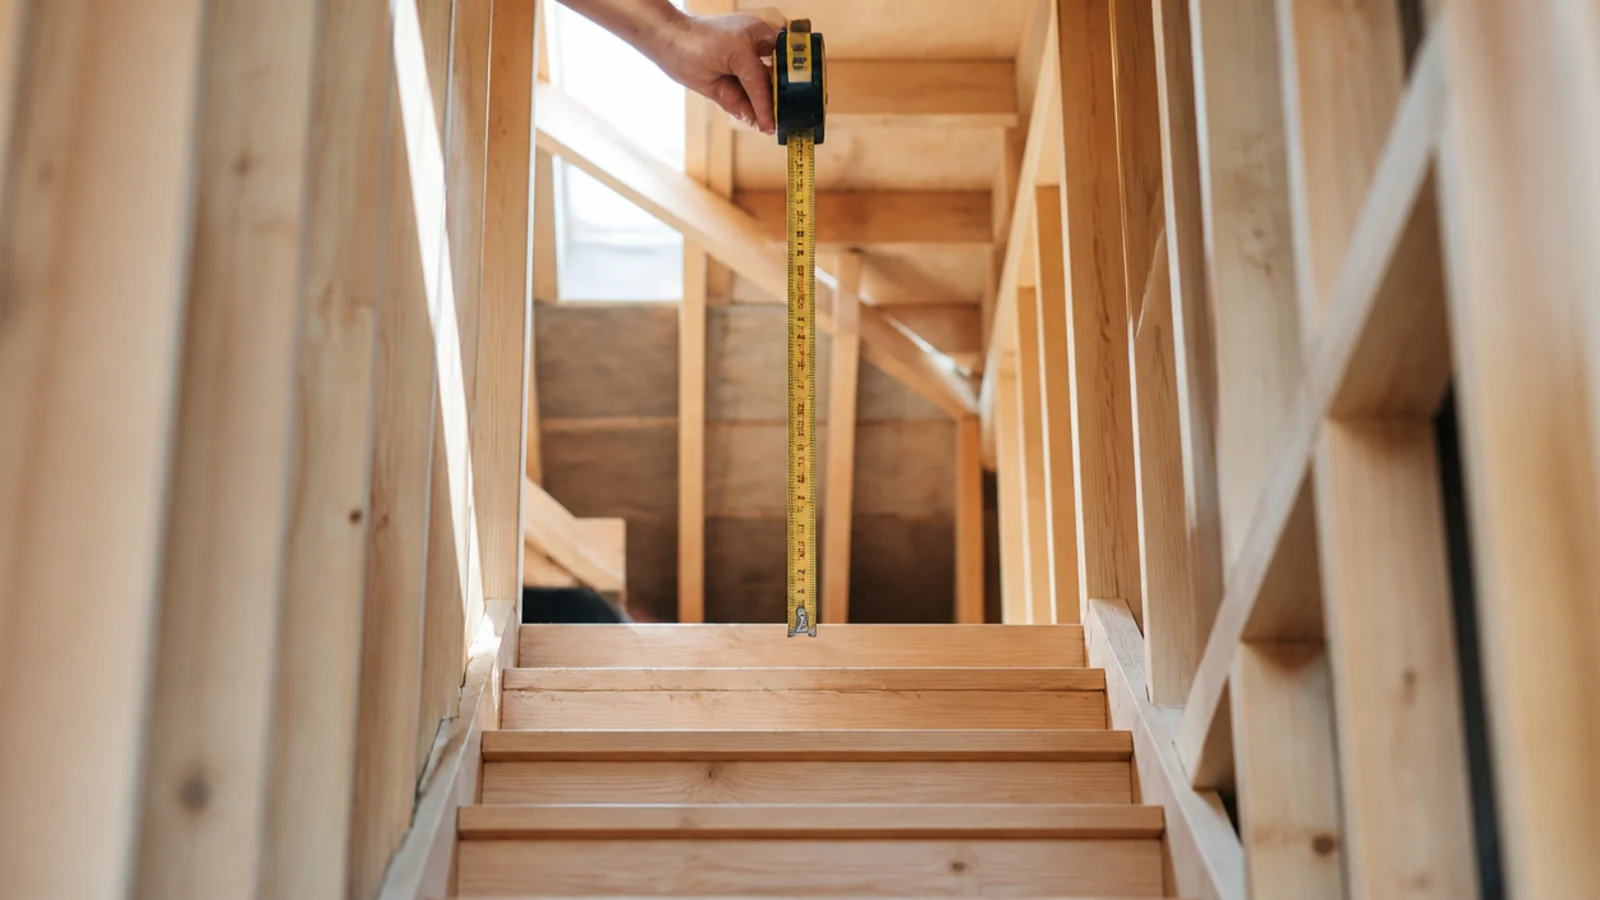
The stair almost always wins the argument with the layout. It needs code-compliant headroom, going and rise, and it usually has to land where the ridge is high enough to allow it. Settle the stair, then draw the bedroom around what is left.
Step 5: Site the escape window before the layout
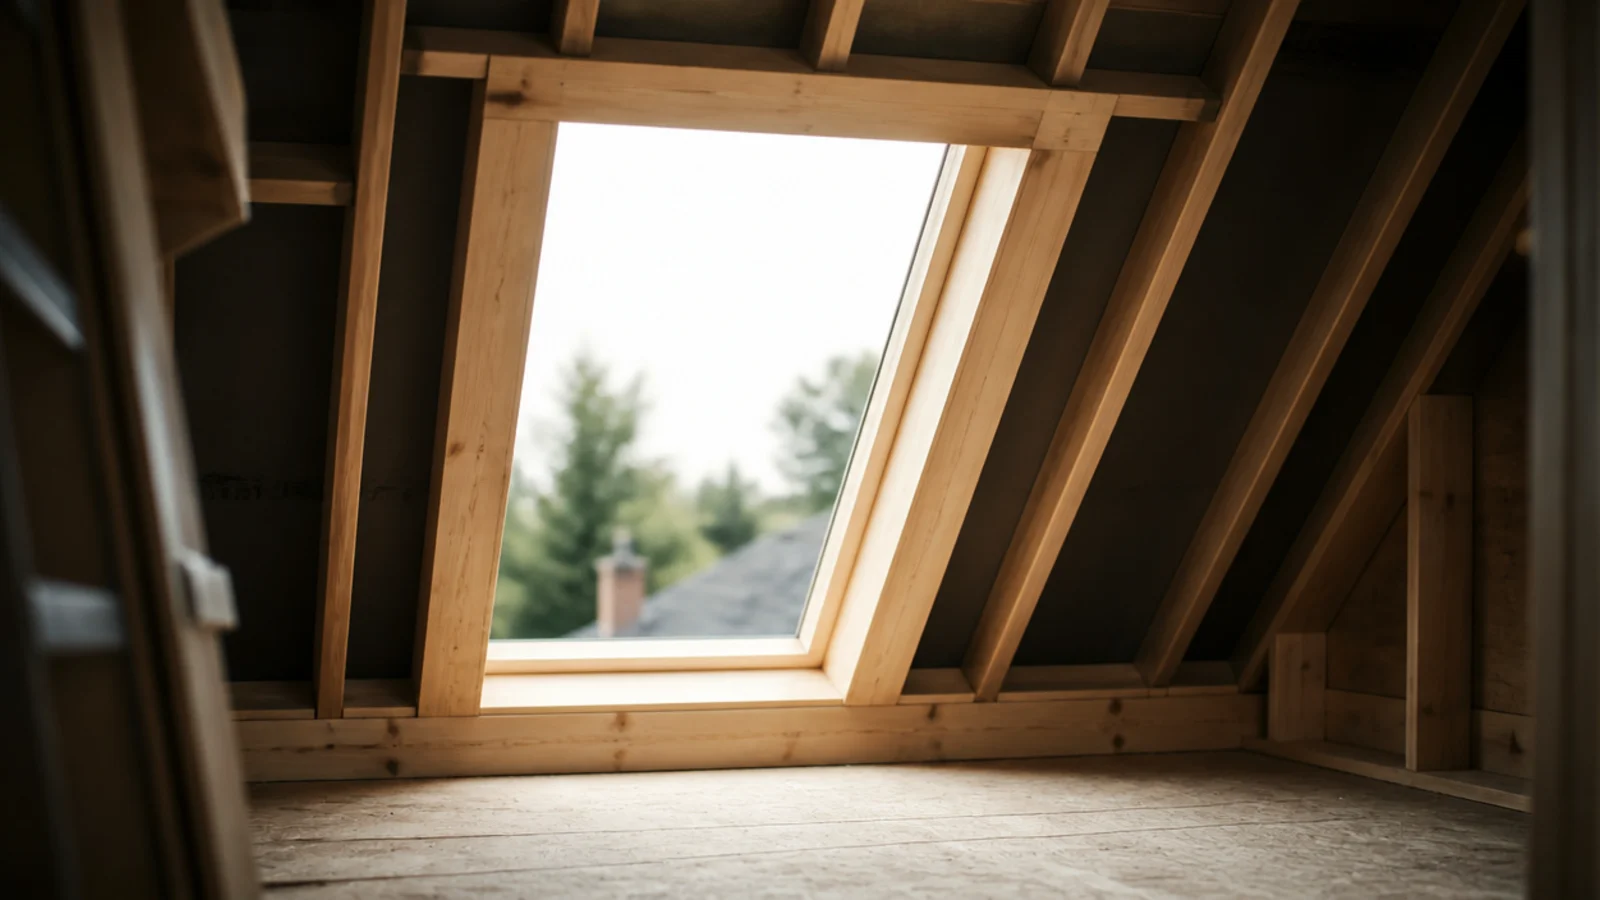
Not after. Site it where it meets the clear-opening and sill-height rules and where the floor in front of it can stay permanently clear. Then treat that zone as unavailable for the rest of the project. Furniture creeps toward windows, and this is the one window it may never reach.
Step 6: Place the rooflights where you will use them
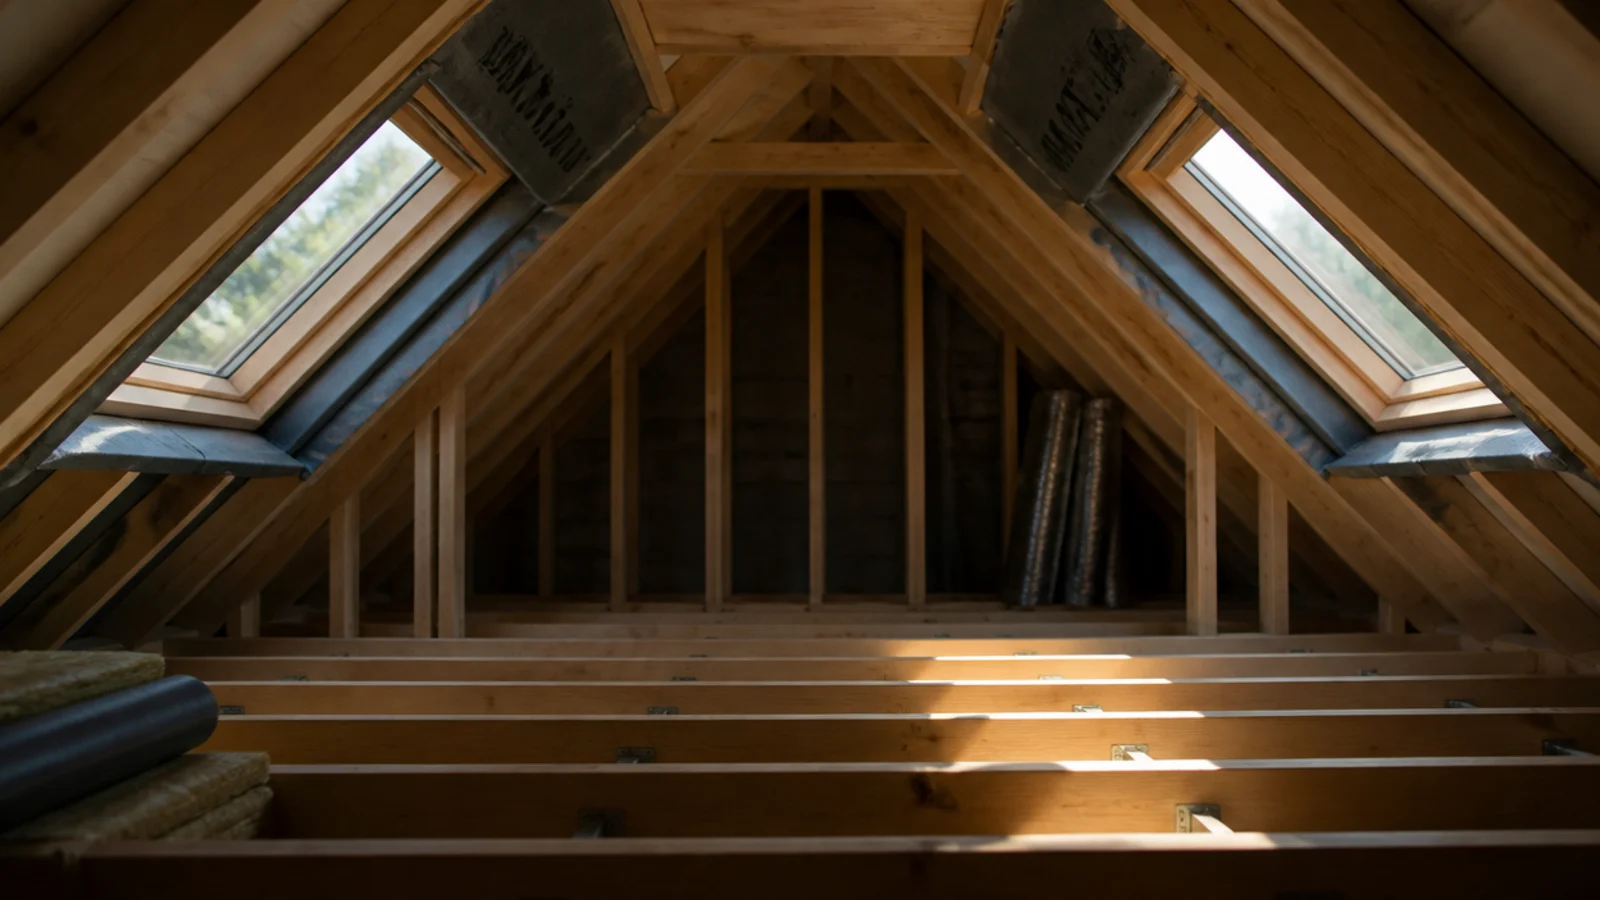
Two mid-size units around 30 by 46 inches on opposite slopes beat one large one — even daylight, plus cross ventilation. Aim for glazing around ten percent of floor area. Put at least one where you can see sky from the pillow, which is the thing people actually remember about a loft.
Step 7: Insulate the rafters and keep the air path clear
Insulate between and under the rafters and air-seal the warm side, but leave a clear 1 to 2 inch channel above the insulation running from soffit to ridge. Rigid vent trays cost a few dollars per bay. Filling the bay solid is the classic error, and the result is condensation behind plaster you have just paid to finish.
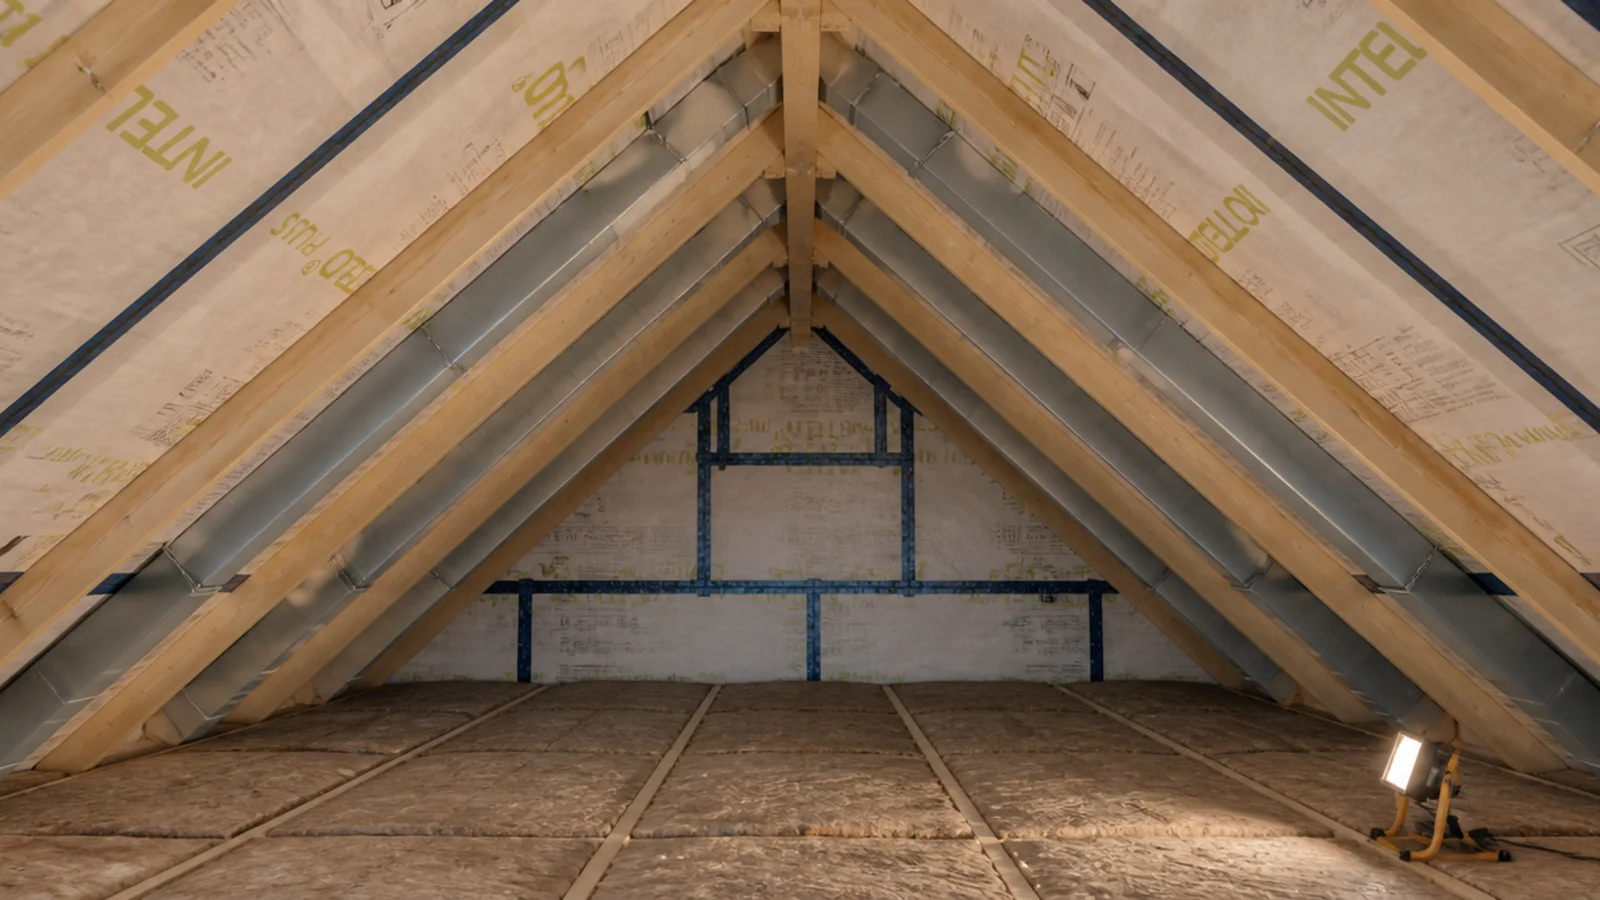
Step 8: Air-seal and board behind the knee wall
The void behind a knee wall is outside the thermal envelope unless you deal with it. Insulate the back face, tape the board joints, insulate the void floor, and check the soffit path is not blocked. Do it now, because once the drawers go in nobody opens this up again.
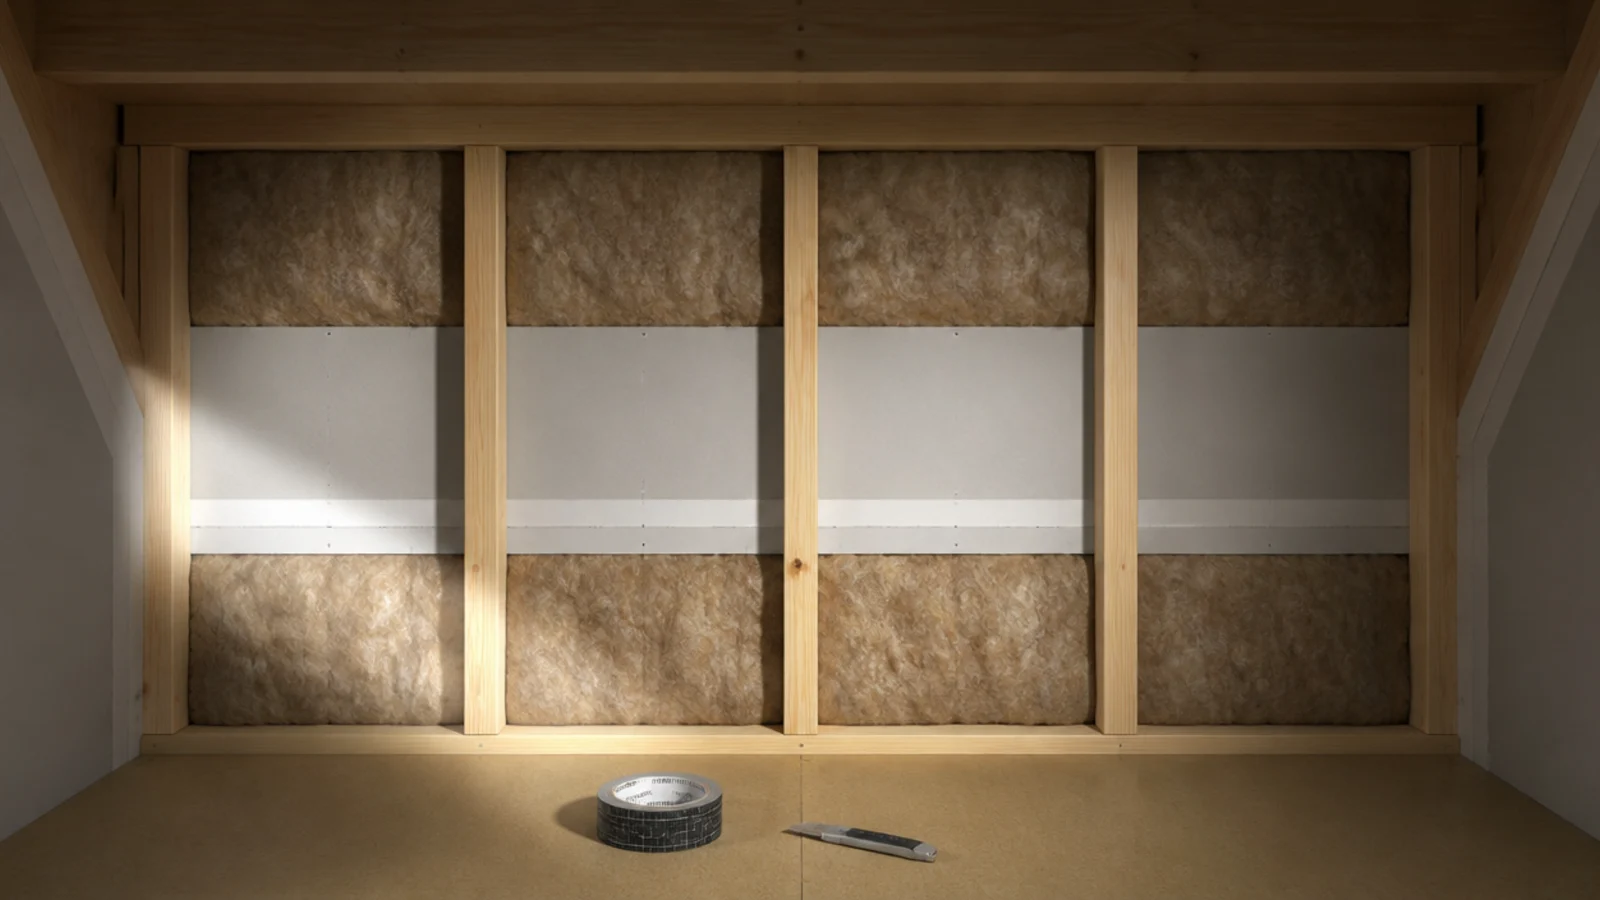
Step 9: Build the knee wall to the height you chose
Forty-two to 48 inches suits most lofts, dropping to 36 where the ridge is under seven feet. Build it level and square to the room rather than parallel to a wall that may not be either. The top of this wall becomes a capping shelf, so get it straight.
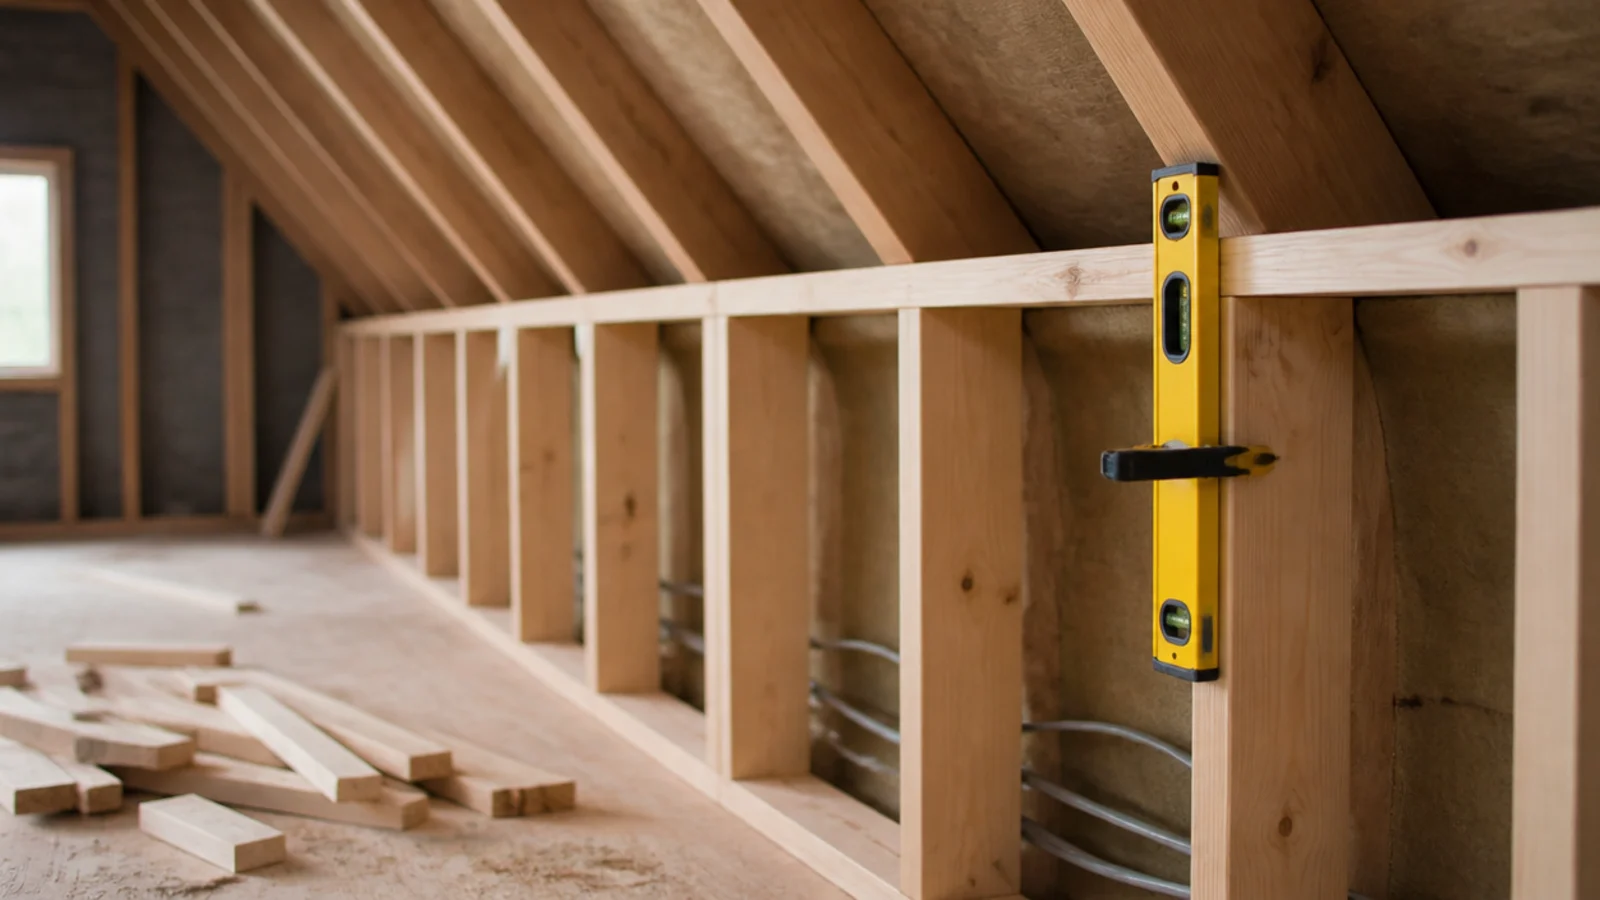
Step 10: First fix the lighting and sockets
Wire for the room you intend to live in, not the empty one you can see. Wall light back boxes at 48 inches either side of where the bed will go, sockets at both bedside positions, a switched circuit for a hidden ridge strip, and downlights with sloped-ceiling trims. Retro-fitting any of this means opening finished plaster.
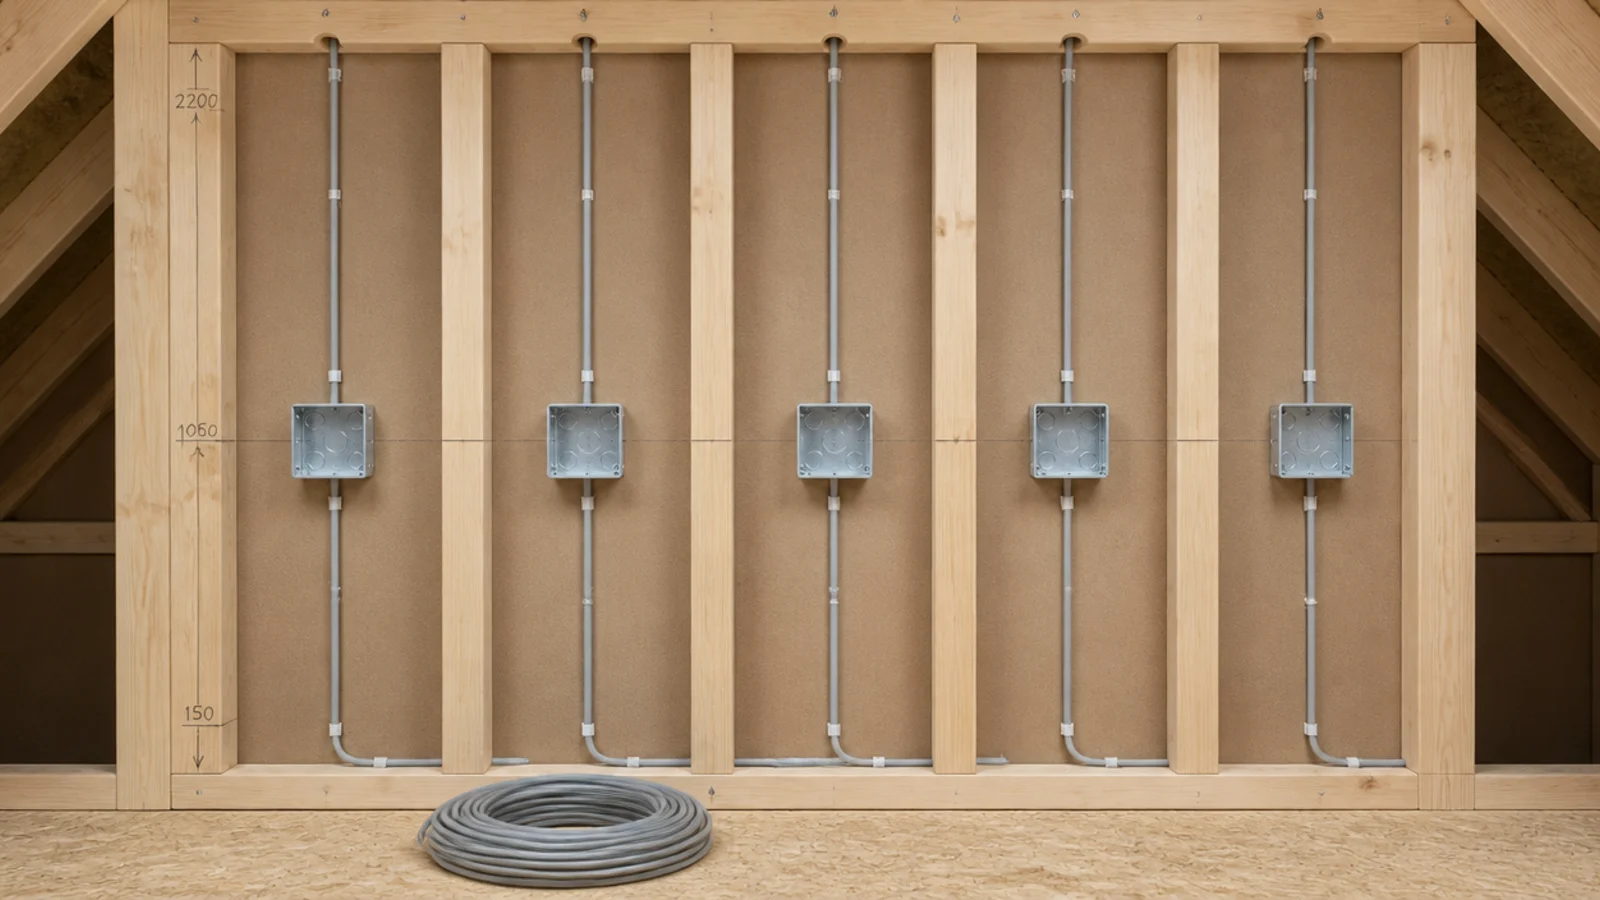
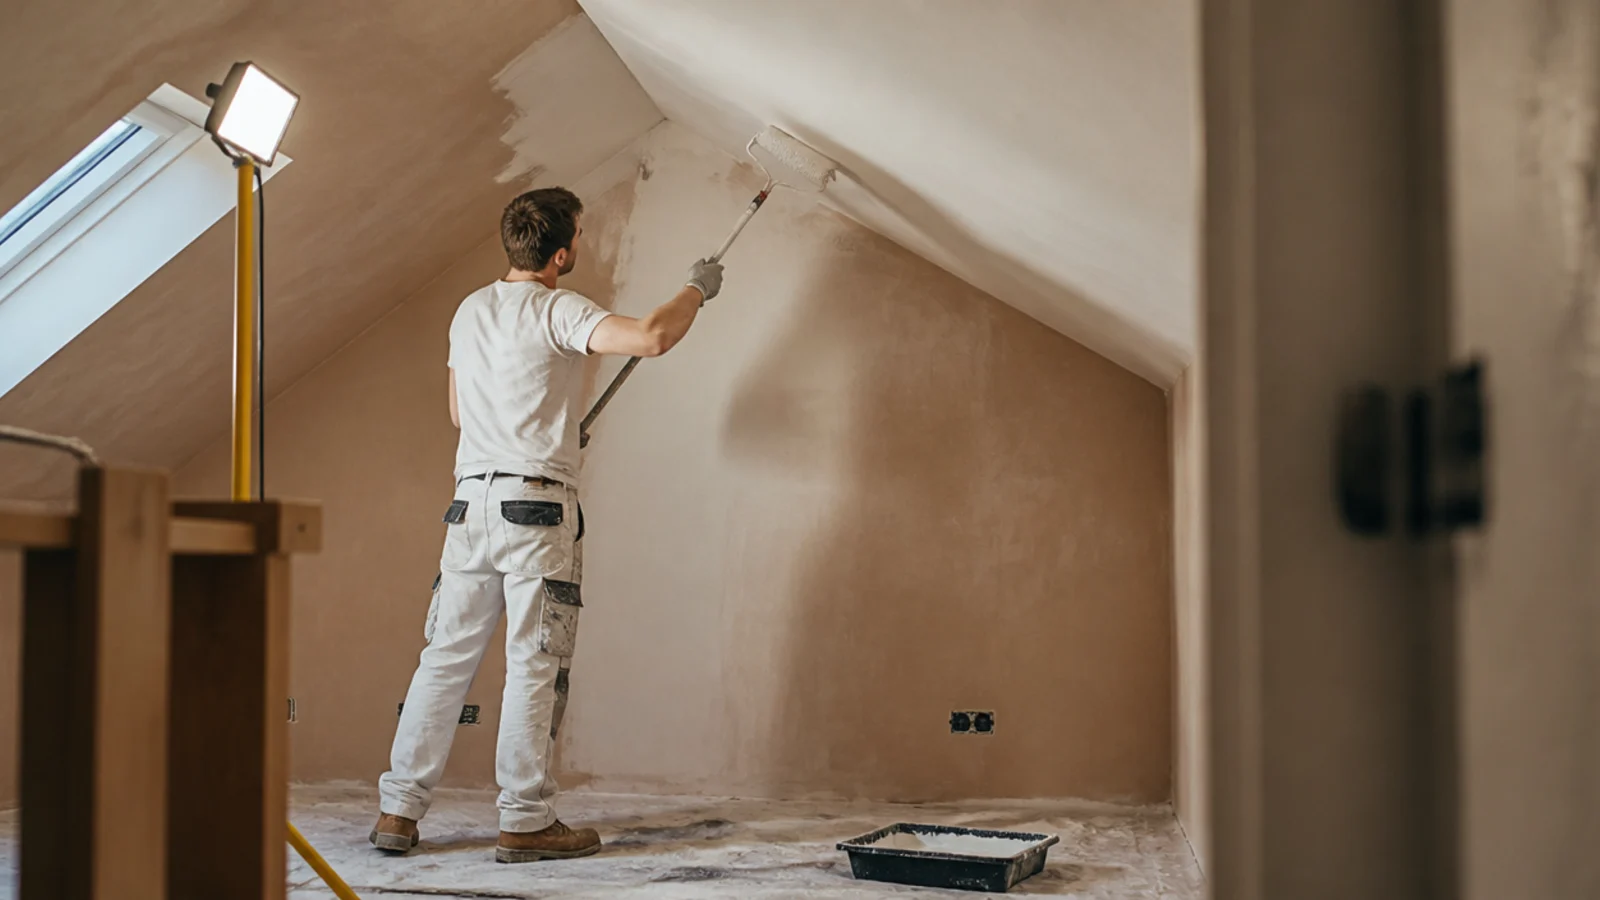
Step 11: Plaster and paint through the junction
Once plastered, take one colour and one matte finish across the wall, up the slope and over the flat ceiling with no cut line at the junction. It is the cheapest step on this list and the one that changes how tall the room reads. Budget $150 to $250 in materials for a whole loft.
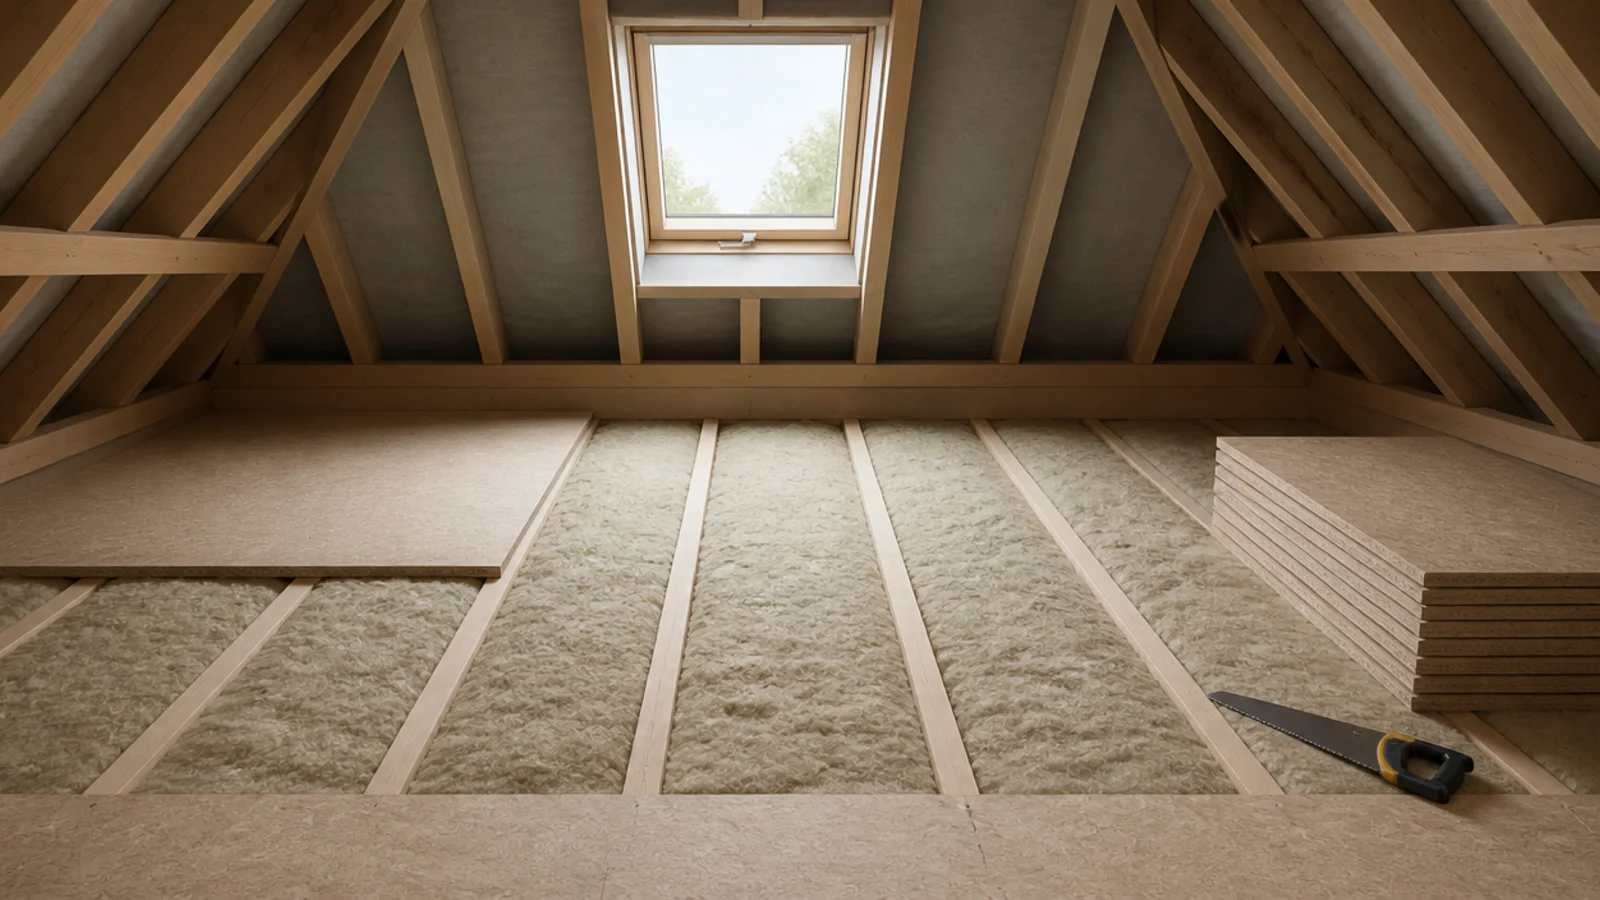
Step 12: Insulate the floor for sound, then board it
A loft sits above someone's ceiling. Mineral wool between the joists at $2 to $4 per square foot is the only chance you get to deal with footfall, and it is impossible to add later without lifting the entire floor.
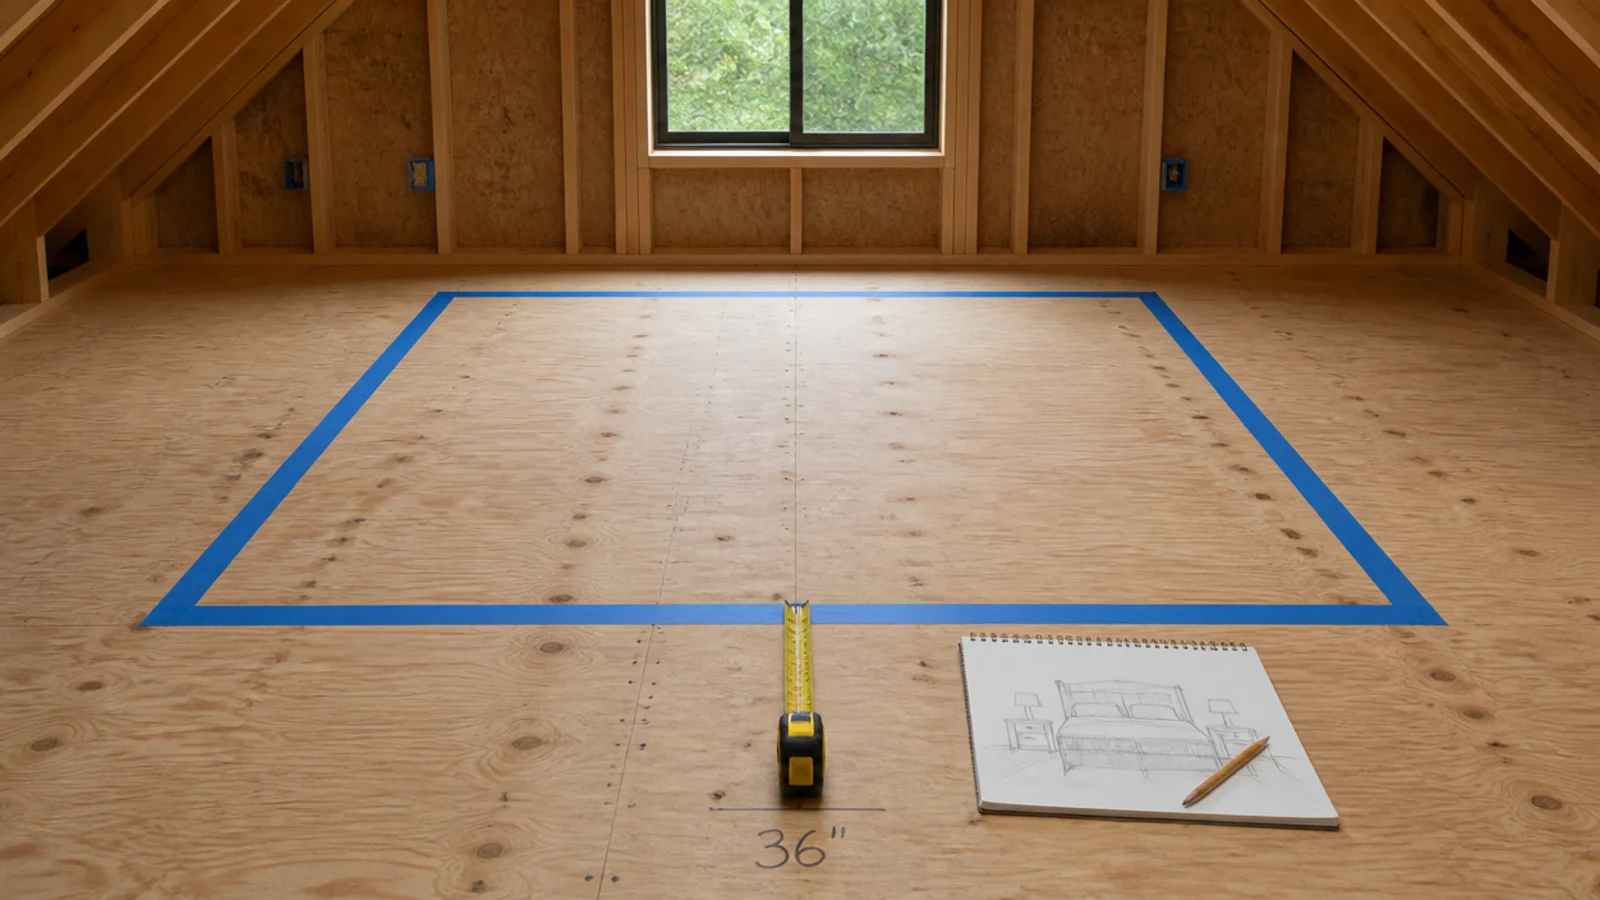
Step 13: Tape out the bed before you buy it
Mark the mattress footprint on the subfloor in masking tape and walk the room. Check 24 to 30 inches of clear walkway each side with an allowance for duvet overhang, and check 30 inches of clear air above where the pillow will sit. Only then order a frame — and keep it low, at 10 to 14 inches to the mattress top.
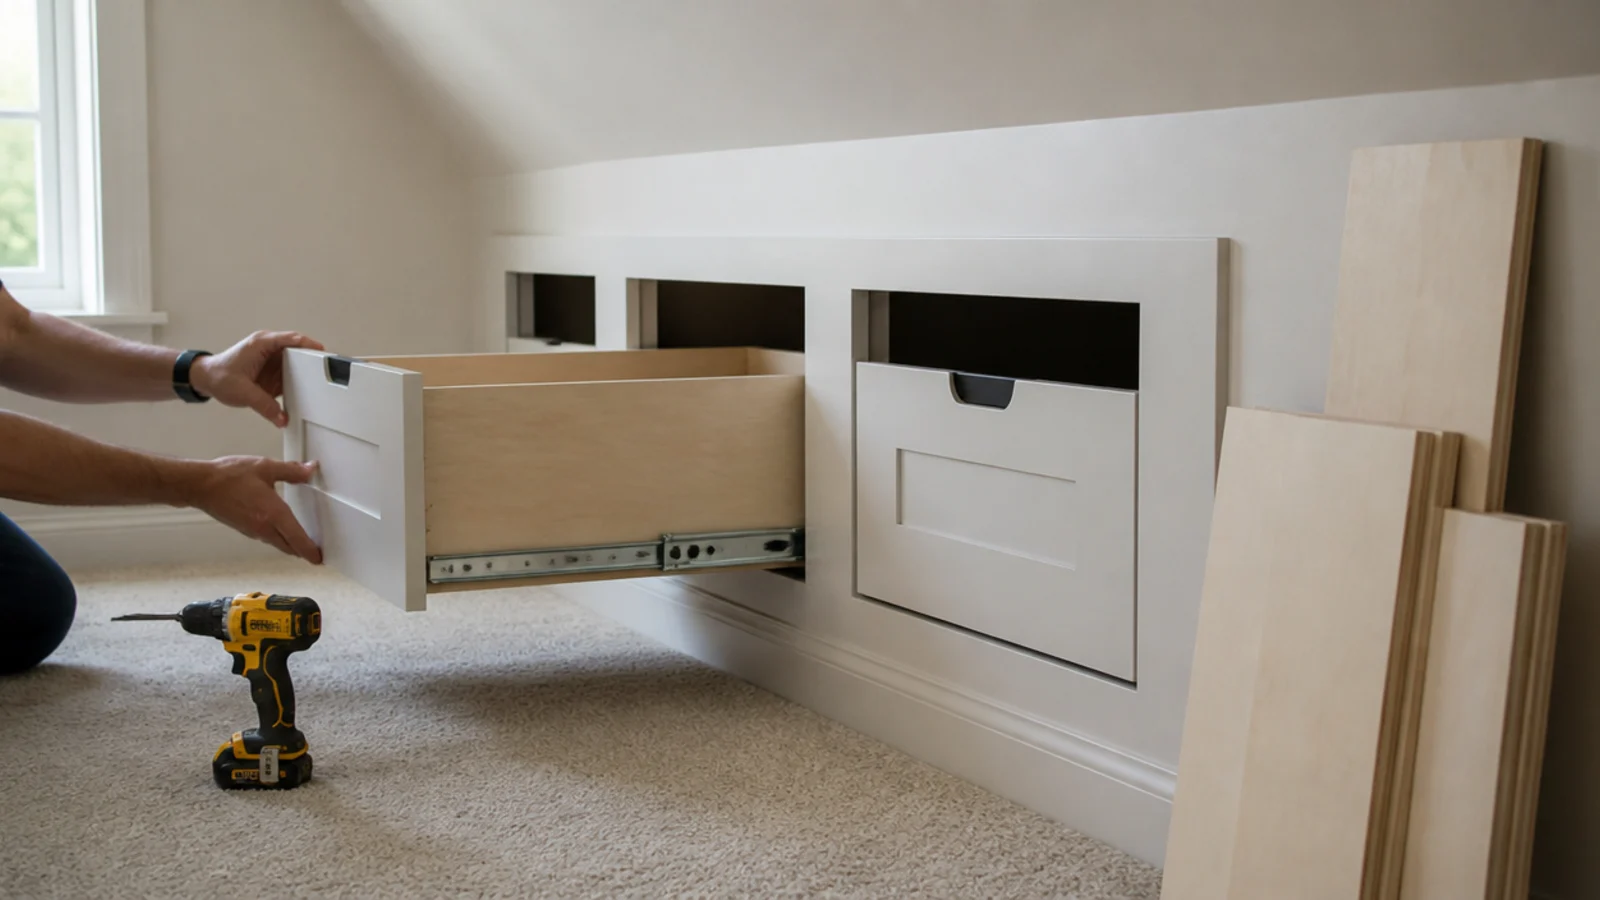
Step 14: Build the eaves storage to fit the void
Measure the real void, not the drawing. Between knee wall studs you typically have 14 to 16 inches of depth. Use full-extension runners rated to 75 pounds so drawers come right out, and keep fronts flush so nothing projects into the walkway. Reckon on $300 to $700 in birch ply for a six-foot run. For open storage above the capping shelf, floating shelf ideas covers brackets and loads.
Step 15: Light it in layers and re-check the headroom
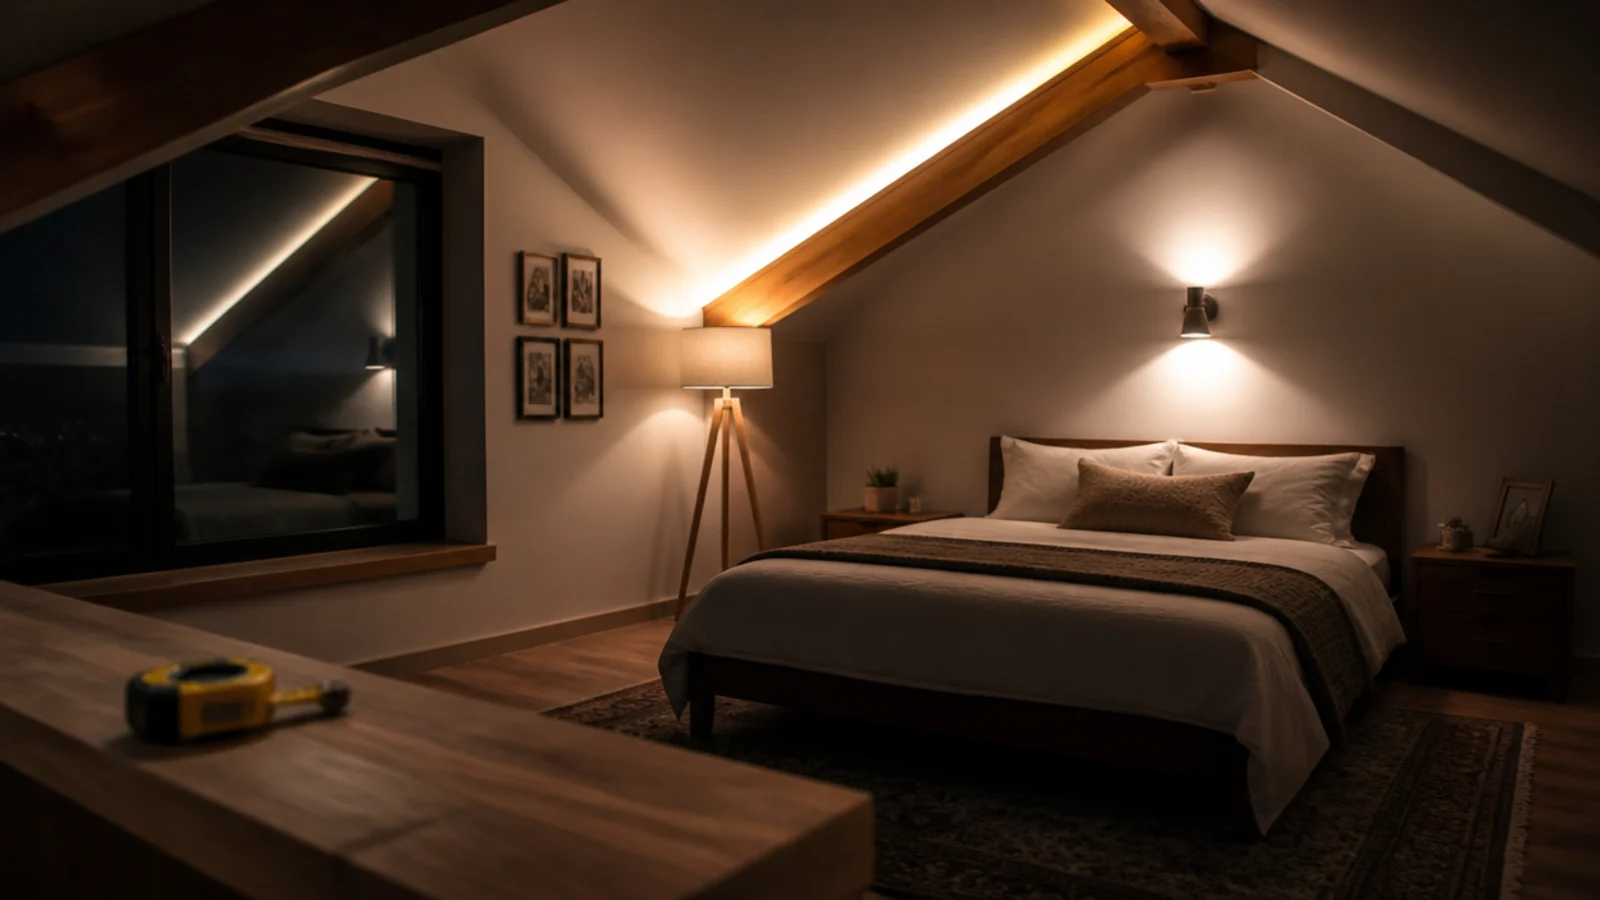
Three warm sources at 2700K — a wall light at the pillow, a floor lamp near the tall wall, a hidden strip washing the slope. Then walk the room one last time with a tape and confirm nothing you installed has reduced the headroom or the escape opening you started with.
Pro Styling Rules
For the finished-room decisions that follow this sequence, the main attic bedroom guide covers layout and styling with measurements, and the low ceiling fixes apply if your ridge came in under seven feet. For the soft evening layer once the wiring is set, fairy lights in the bedroom has safe placement options.
Mistakes to Skip
- Starting with the paint colour and working backward. Compliance, structure and ventilation all constrain the room far more than any finish decision does.
- Packing insulation tight against the sarking so the rafter bay is full. The air path from soffit to ridge is what keeps the roof dry, and blocking it shows up as damp on new plaster.
- Buying the bed before the knee wall height is set. The height of that wall changes where the bed can sit by a foot or more in either direction.
- Leaving the sound insulation until after the floor is boarded. It is the one item on this list that genuinely cannot be added later without undoing the work.
- Designing storage or seating anywhere near the escape window. Headroom and egress minimums are regulated, enforced and must never be blocked by anything you build.
Frequently asked questions
What order should a loft bedroom project follow?
Compliance first, then structure, then services, then finishes. Confirm the room can legally be a bedroom, check the floor, site the escape window and stair, run insulation and ventilation, then wire, plaster, paint and furnish. Doing finishes before ventilation is the single most expensive sequence error in a loft.
Do I need building approval for an attic bedroom?
Converting roof space into a sleeping room almost always triggers building control or permit requirements, because it involves structure, escape, fire separation and insulation. Speak to your local building department before work starts rather than after, and keep the paperwork for when you sell the house.
How much headroom does a loft staircase need?
Enough that you can walk up it without ducking, and the exact figure is set by your local code rather than by preference. Stair headroom, going and rise limits are all regulated, so the stair position usually gets fixed before the bedroom layout does, not the other way round.
What insulation goes in a loft bedroom roof?
Insulation between and under the rafters, air-sealed on the warm side, with a clear air path of one to two inches maintained above it from soffit to ridge. Filling the rafter bay solid is the usual mistake, and the consequence is condensation on the back of plaster you have just decorated.
Can I place the bed before the room is finished?
Plan the position early and place the bed late. The bed follows the headroom, the escape route and the walkways, so mark it out in tape on the subfloor once the knee wall height is set. Buying a frame before those three things are settled is how people end up with the wrong bed twice.
Want more like this? Browse all 15 attic bedroom ideas guides — they all use the same measurements and budget tiers.
Pin it for later
Save this to your Attic Bedroom Ideas board
Pin it now so it is waiting for you when the tape measure comes out — and so the next person hunting for this idea can find it too.
Save this pinKeep going
More ideas worth saving while you have the tape measure out.