Toddler Girl Bedroom · How-To
15 Steps To Plan Girl Bedroom Ideas Toddler Safe

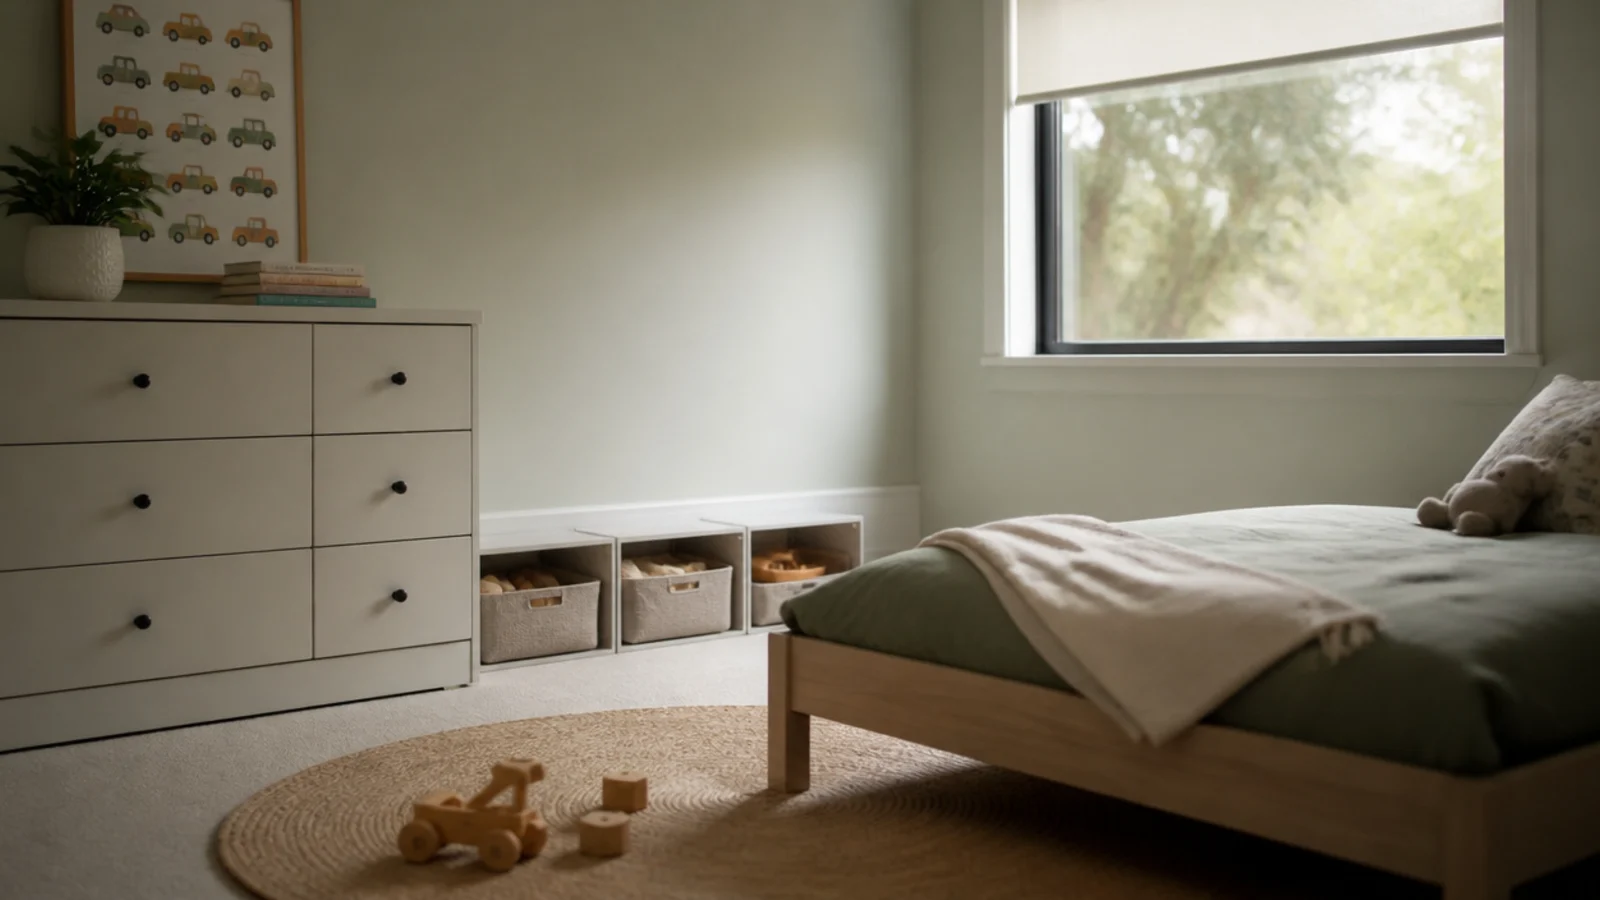
Safe is not a layer you add at the end; it is a sequence you follow while the room is still empty. Every one of the girl bedroom ideas toddler parents ask me about — the canopy, the low shelf, the reading corner — either survives that sequence or gets adjusted by it, and almost none of them get cancelled. The hardware costs about $60 for a whole room. What follows is the order I actually work in, from the tape measure to the three-month re-check, with the specific numbers at each stage rather than a general instruction to be careful.
In this guide18 sections — tap to openHide
- 1.What You'll Need Before Planning Girl Bedroom Ideas For A Toddler
- 2.Step 1: Draw the room with the door arc on it
- 3.Step 2: Choose the bed before anything else
- 4.Step 3: Fit the rail properly or leave it off
- 5.Step 4: Walk the room on your knees
- 6.Step 5: Anchor every tall piece into studs
- 7.Step 6: Replace corded blinds and fit a restrictor
- 8.Step 7: Clear everything climbable from the window wall
- 9.Step 8: Set the reach map at thirty-six and forty-eight
- 10.Step 9: Deal with every cord and cable
- 11.Step 10: Lay the rug over a gripping pad
- 12.Step 11: Paint early and ventilate for two days
- 13.Step 12: Fit the guards, covers and corner protection
- 14.Step 13: Plan the lighting in three layers
- 15.Step 14: Keep the exit clear and test the alarm
- 16.Step 15: Re-walk the room every three months
- 17.Pro Styling Rules
- 18.Mistakes to Skip
What You'll Need Before Planning Girl Bedroom Ideas For A Toddler
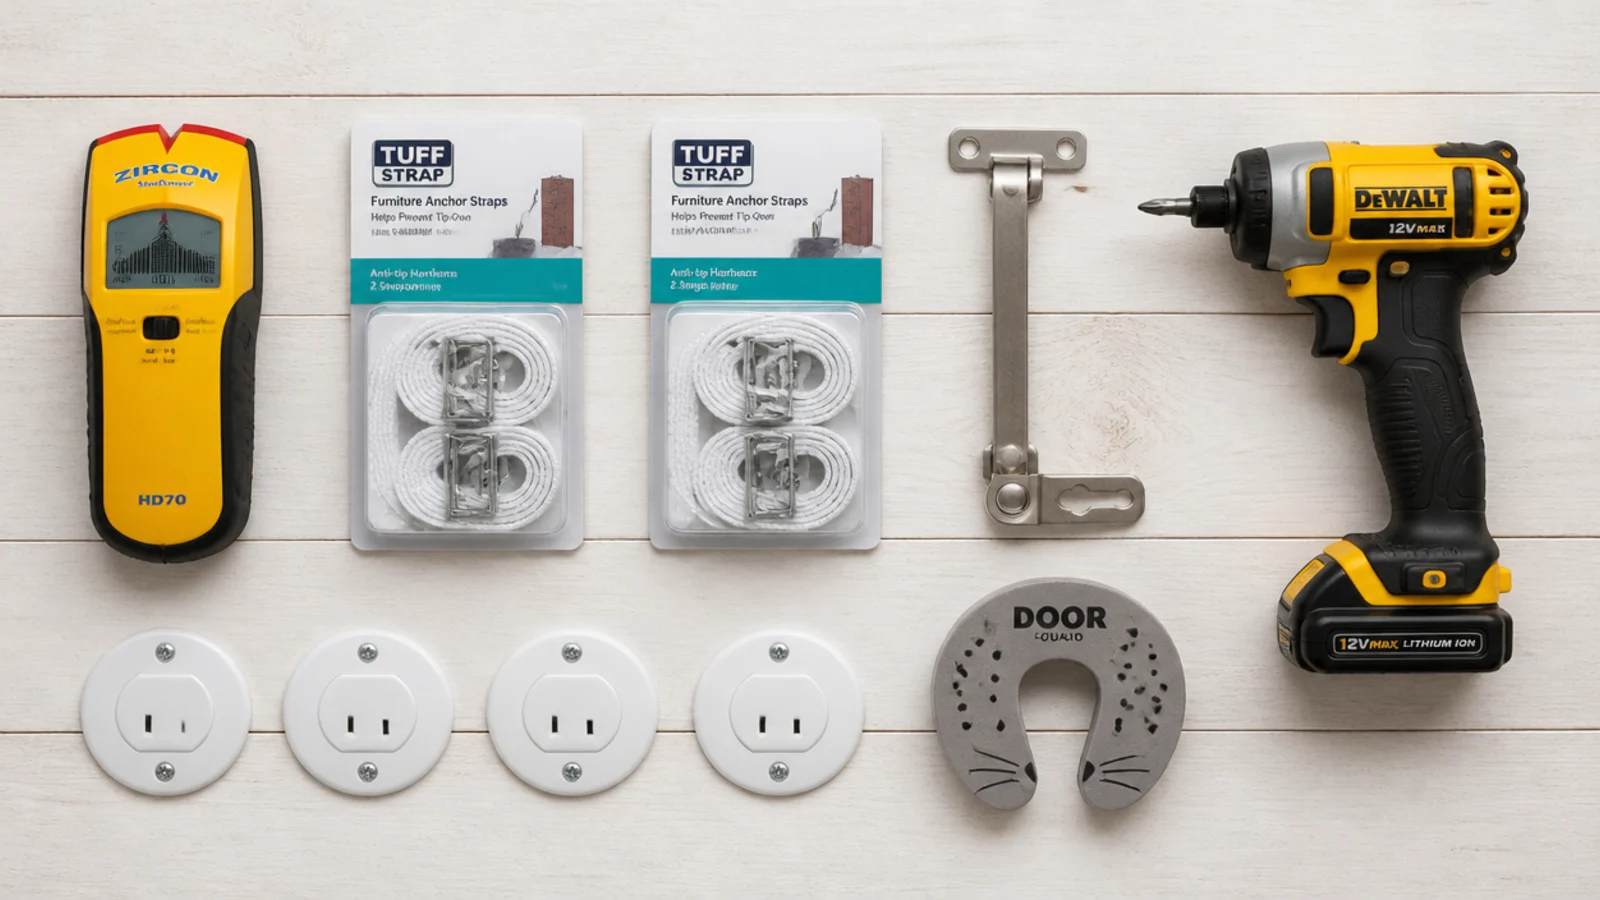
Buy the hardware in one trip. It is the cheapest part of the room and the only part that cannot be retrofitted without unloading everything again.
| Item | Spec that matters | Rough cost |
|---|---|---|
| Anchor straps | Two per unit over 24 in tall | $12 a pair |
| Stud finder | Detects timber and metal | $20–$35 |
| Cordless blind | Cellular or roller, no chain | $30–$70 |
| Window restrictor | Limits opening to about 4 in | $8–$15 |
| Socket covers | Flush fitting, hard to remove | $6 for eight |
| Cord shorteners | Winds slack lamp flex away | $8 for four |
| Door finger guard | Foam, covers the hinge edge | $4–$8 |
| Non-slip rug pad | Cut 2 in smaller than the rug | $20–$40 |
| Low-VOC paint | Water-based, under 50 g/L | $40–$70 a gallon |
The two items people skip are the stud finder and the window restrictor, and both are the difference between a fixing that holds and one that pulls out of plasterboard. Add a smoke alarm test to the list if the one outside the room has not been checked this year. For the layouts these decisions sit inside, the hard-wearing setups guide covers what survives daily use.
Step 1: Draw the room with the door arc on it
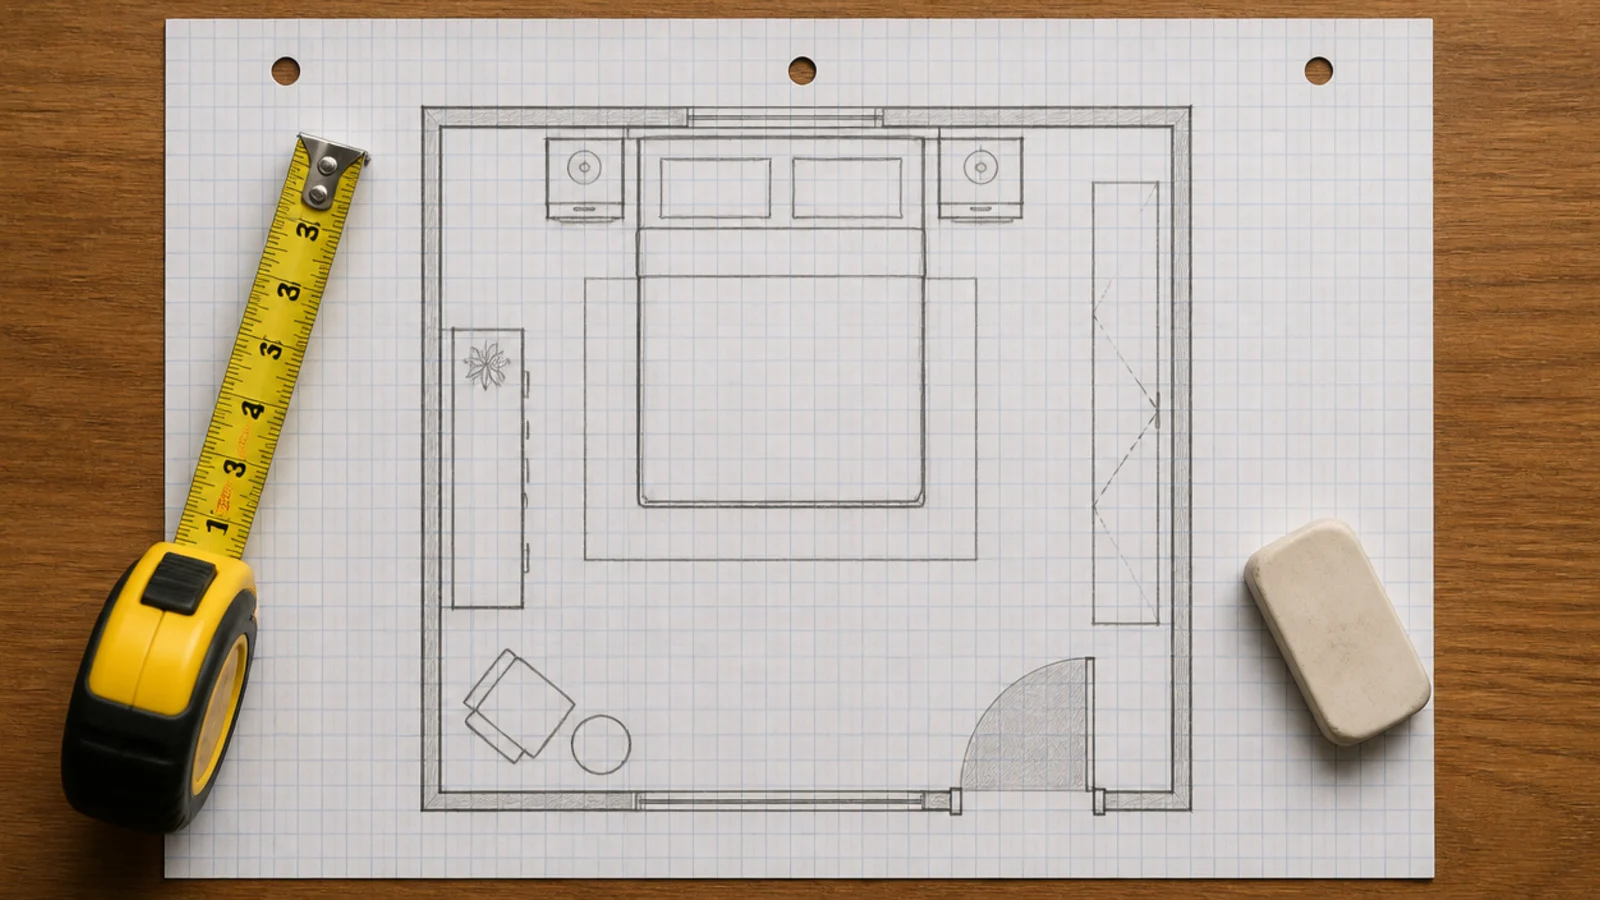
Graph paper, a quarter inch to the foot, with the door swing drawn as a shaded quarter-circle. A standard 30 inch door sweeps about 9 square feet and nothing can live inside it. Mark the window as a line you will not build against. Everything else is negotiable, and having it on paper stops you discovering the problem after the wardrobe is assembled.
Step 2: Choose the bed before anything else
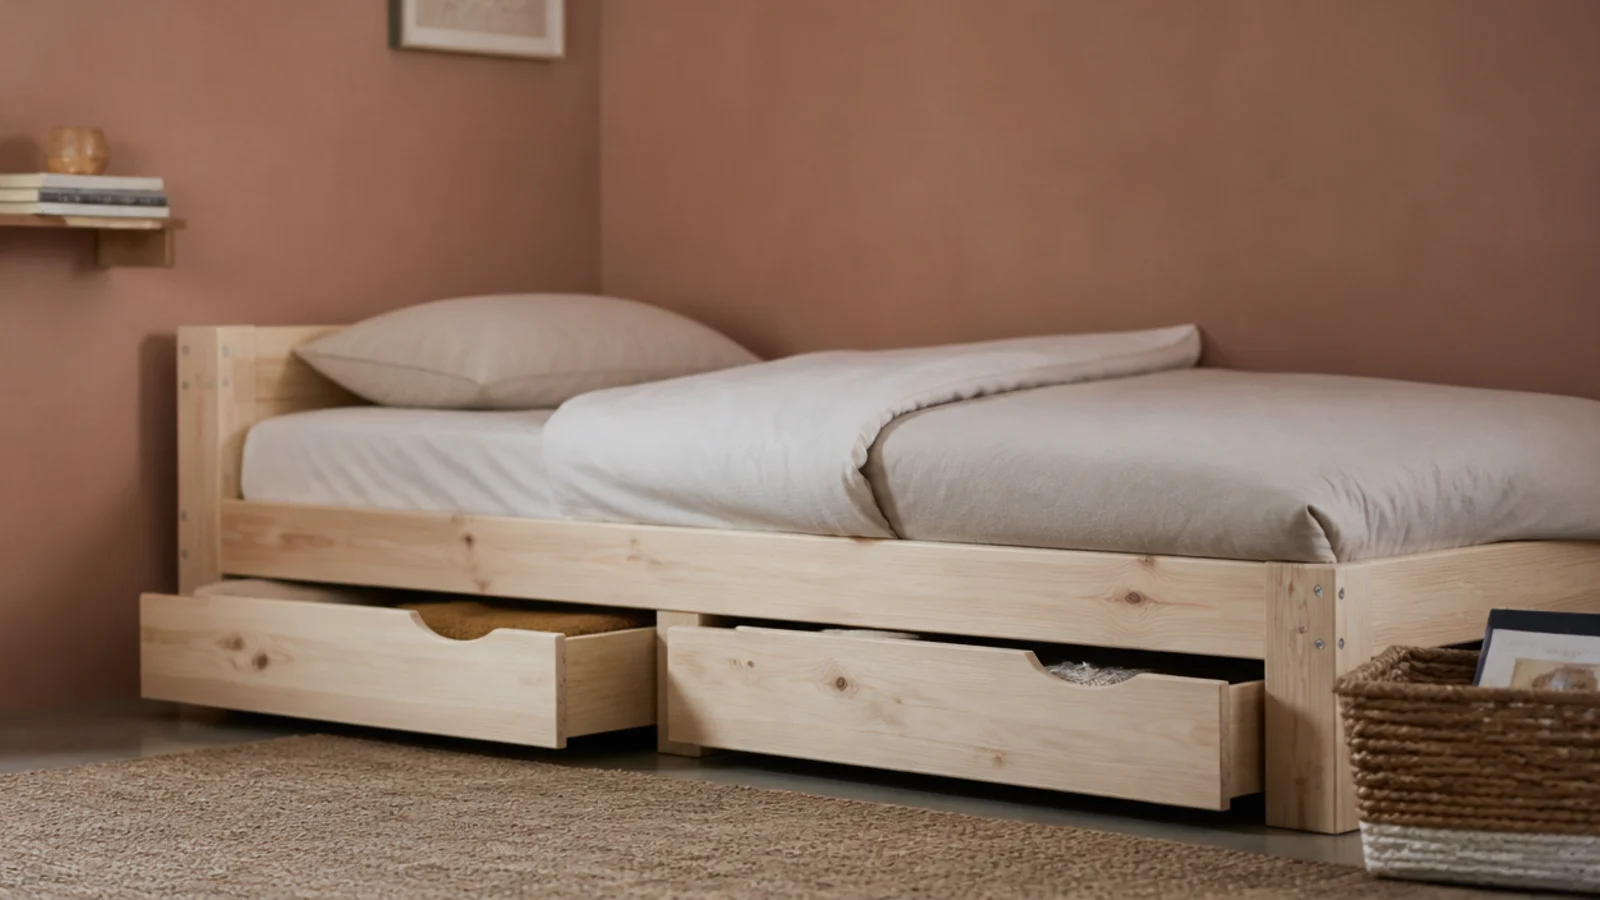
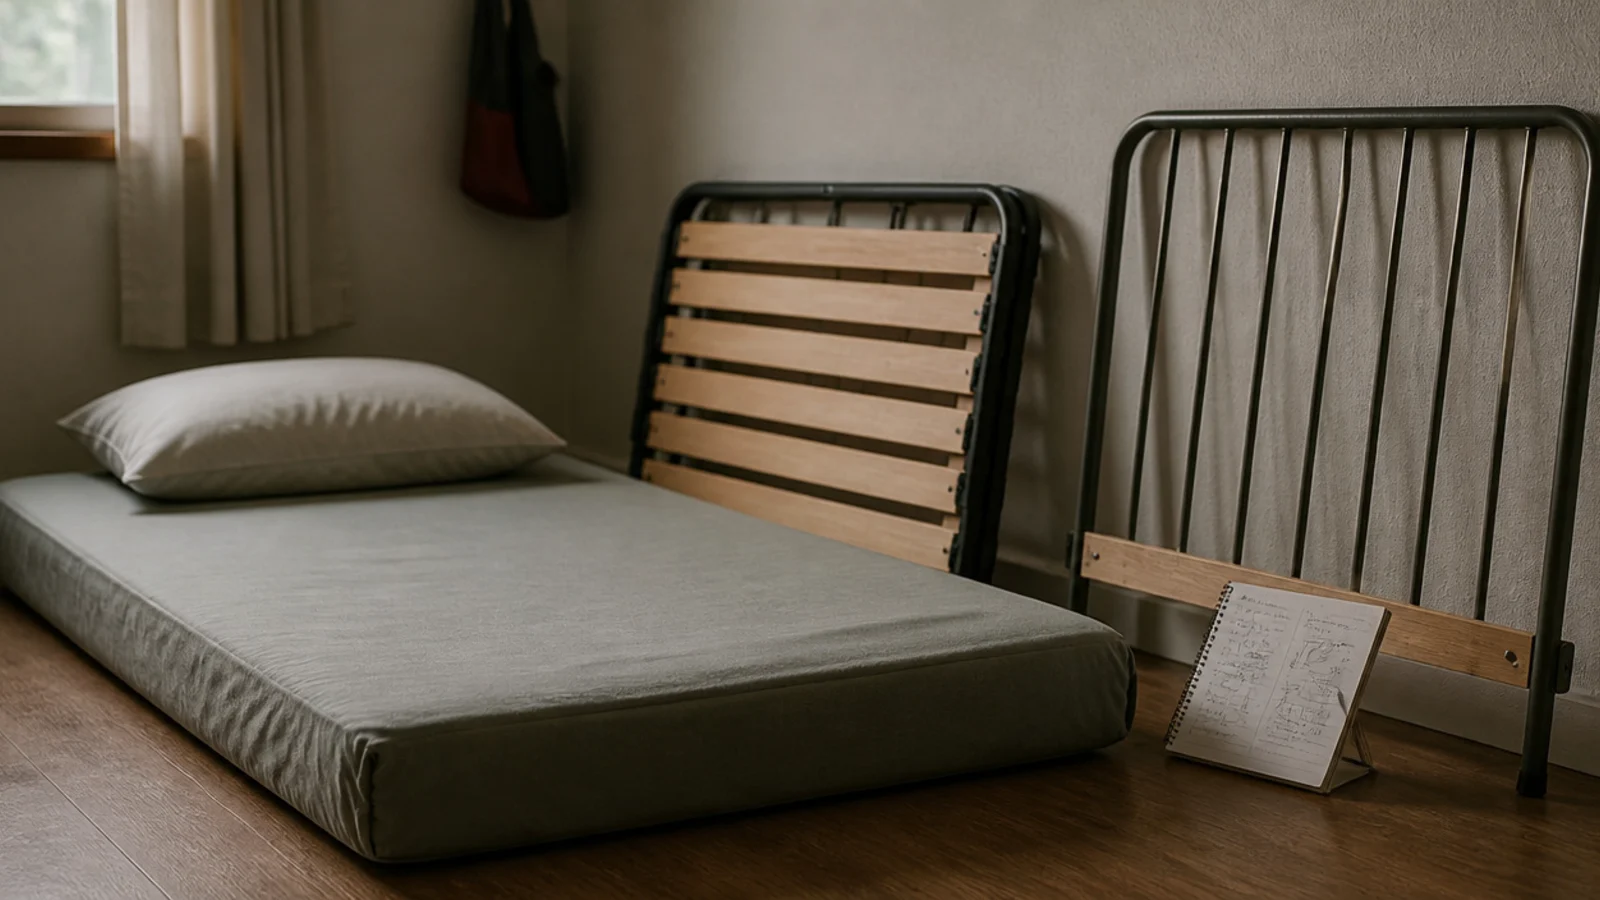
Cot, converted cot, floor mattress or twin — this decision sets the footprint, the height and the storage. A twin is 38 by 75 inches, a cot mattress 28 by 52. Buying a twin at two rather than a toddler bed avoids a second purchase around four. Decide now, because everything else is arranged around it.
Step 3: Fit the rail properly or leave it off
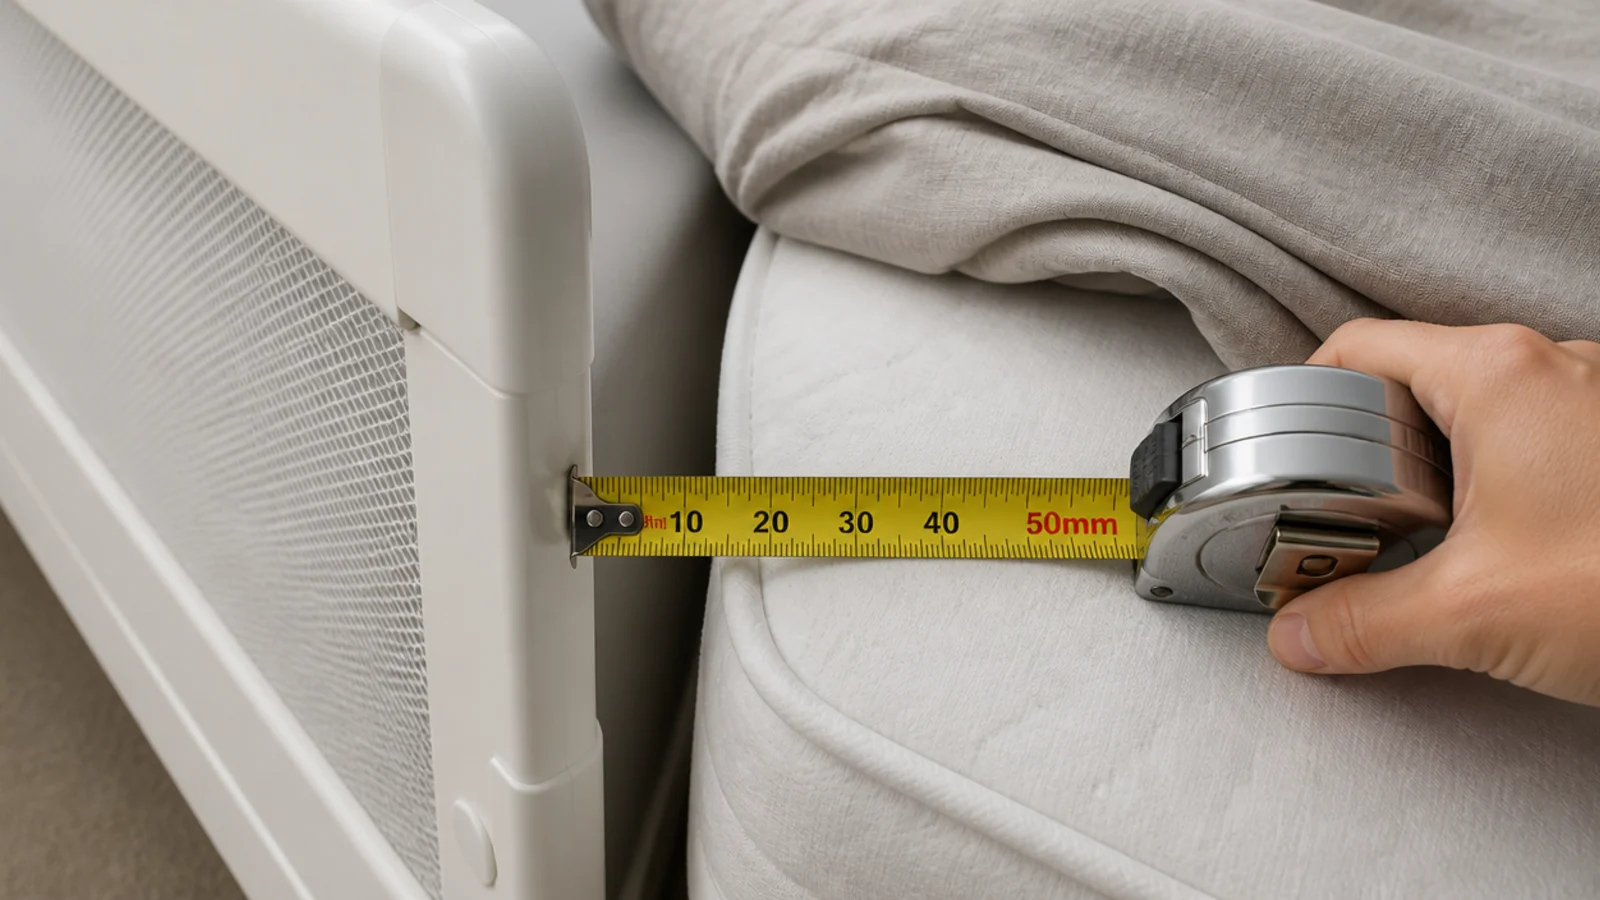
If you use a portable bed rail, it should rise at least 5 inches above the mattress surface and the gap between rail and mattress must stay under 3.5 inches, which is the space a torso can slip into. Rails are not recommended under two years old. A mattress on the floor removes the whole question, which is why so many families end up there.
Step 4: Walk the room on your knees
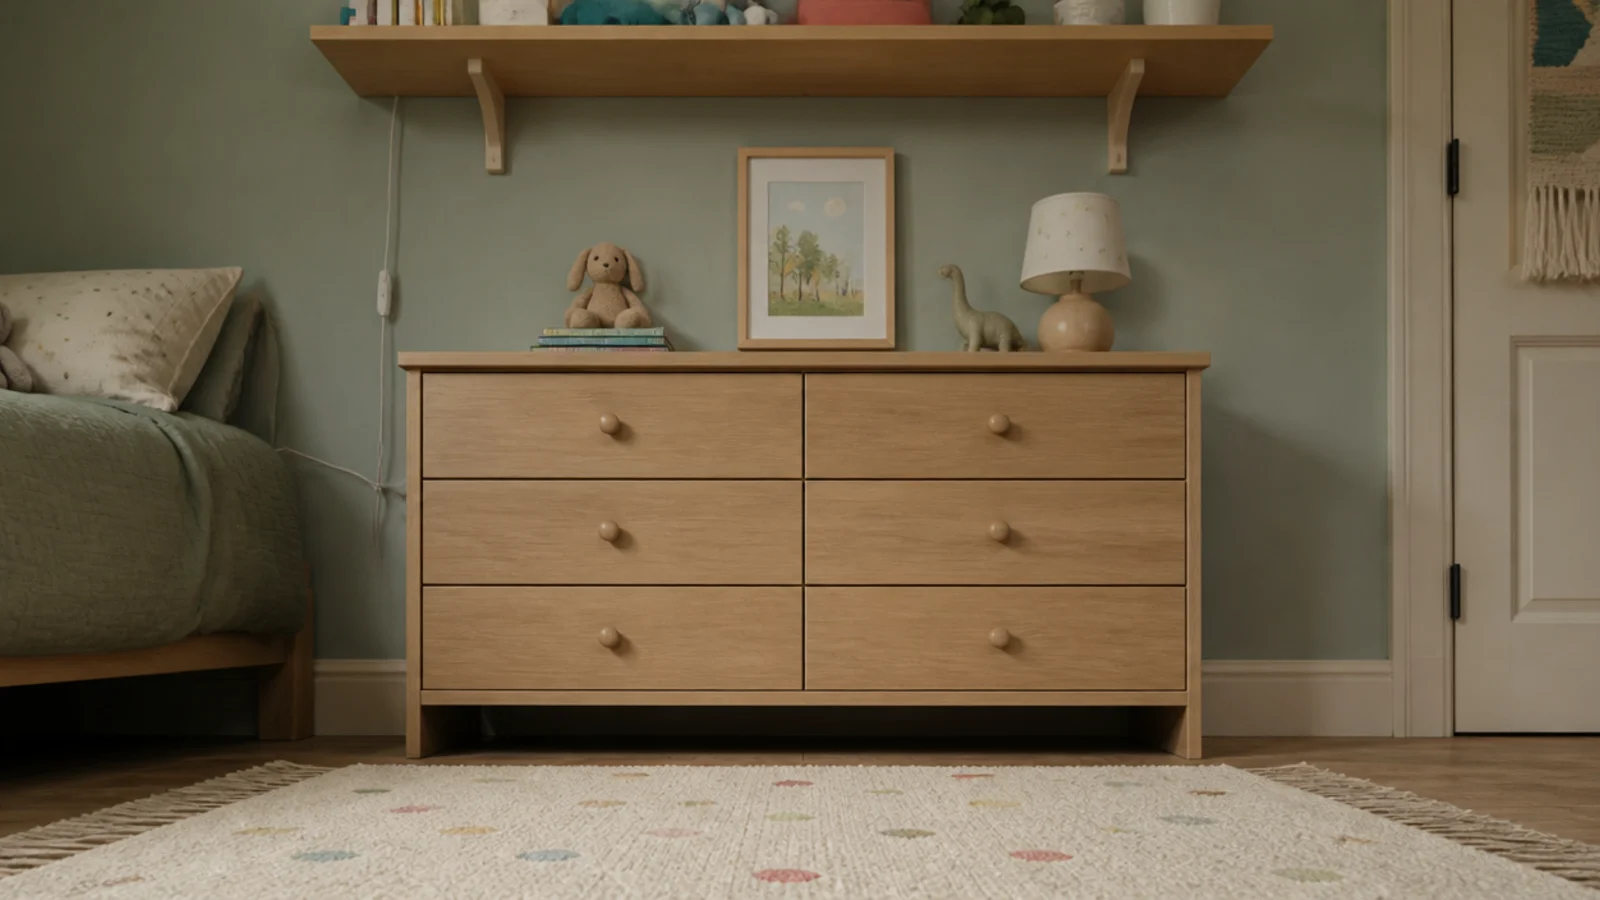
Get down to about 34 inches and look. You will see a trailing lamp flex, the underside of a shelf at head height, a sharp chest corner and the gap under the dresser where things vanish. Nothing on the plan tells you this; only the view from her height does. Do it before the furniture is loaded, then again afterwards.
Step 5: Anchor every tall piece into studs
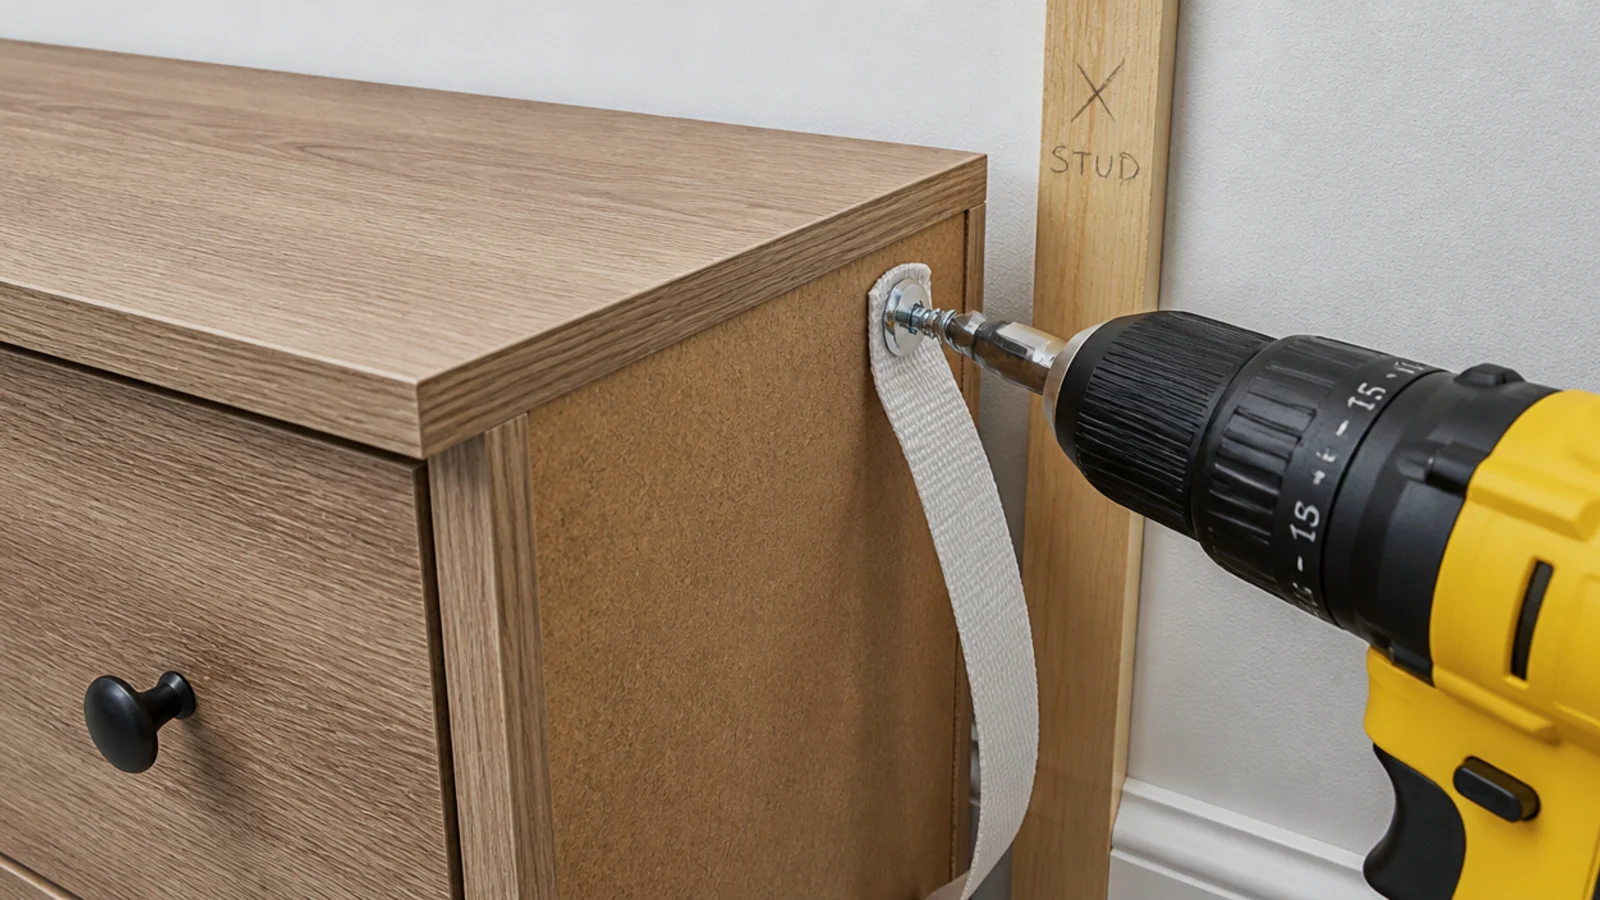
Two straps per unit over about 24 inches, plus every chest of drawers whatever its height, plus the play kitchen and the shelf unit. Find the stud, screw through the rear panel, tighten until the piece will not rock when the top drawer is open and leaned on. That test matters, because a loaded open drawer moves the centre of gravity forward.
Step 6: Replace corded blinds and fit a restrictor
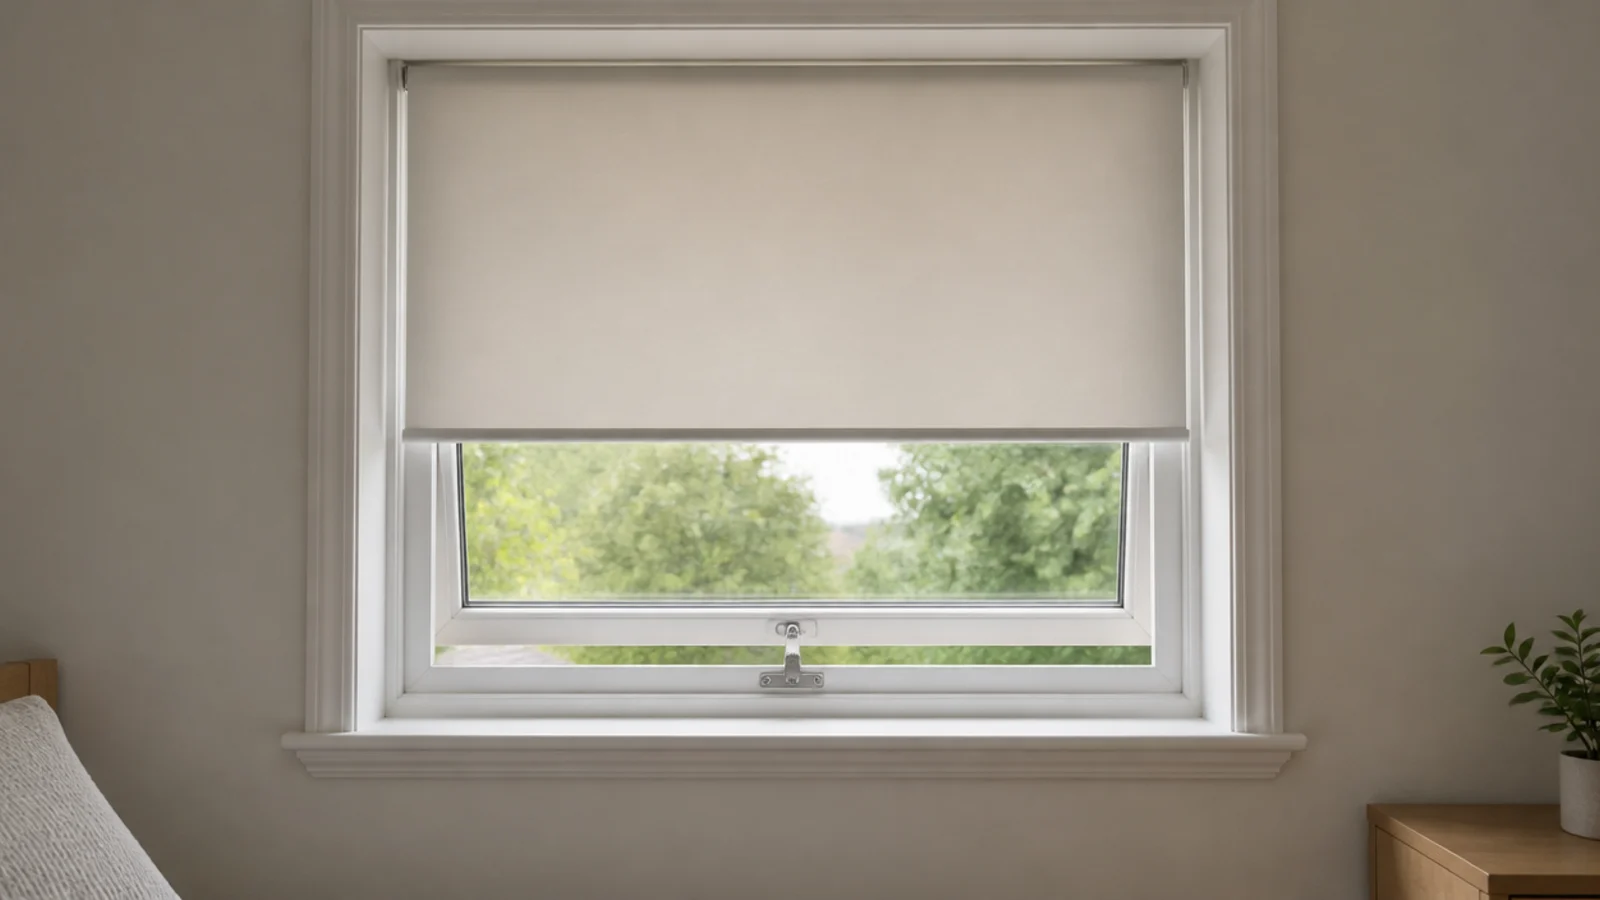
Corded or looped blinds have no place in a child's room at any price. Cordless cellular or roller blinds start around $30 and cut to size in store. Add a restrictor that limits the sash opening to about 4 inches, screwed into the frame rather than the beading, and check it engages before you consider the window done.
Step 7: Clear everything climbable from the window wall
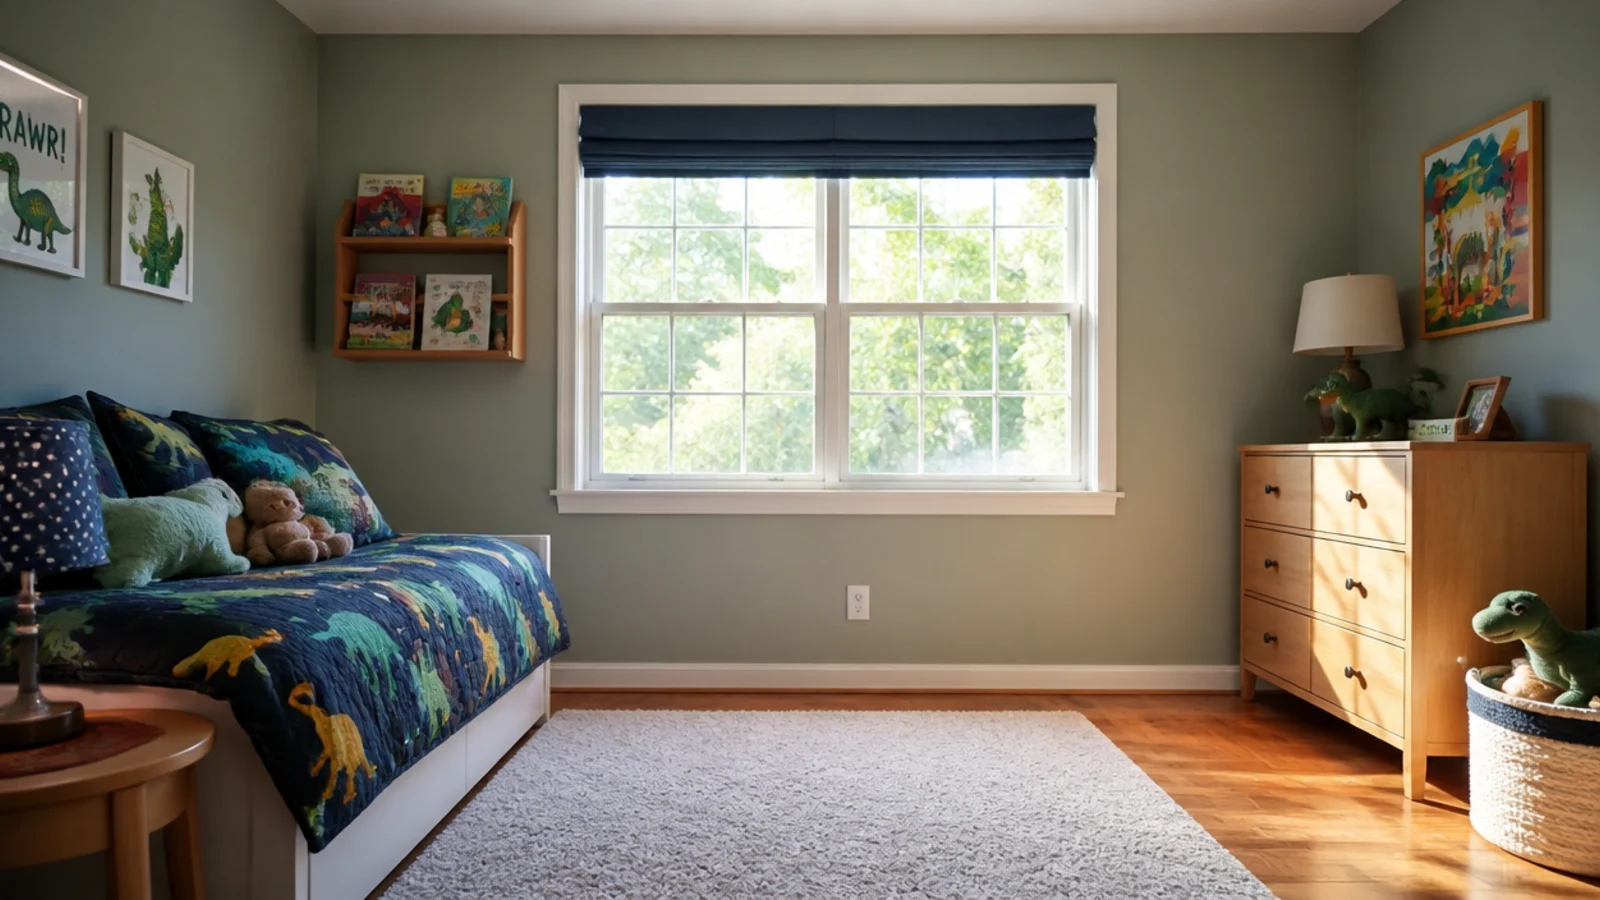
The bed, the chest, the bench and the toy box all move at least 36 inches back from the sill. A window seat under a bedroom window is the most tempting layout in a small room and the one I most often ask people to undo. If the storage has to go somewhere, put it on the door wall.
Step 8: Set the reach map at thirty-six and forty-eight
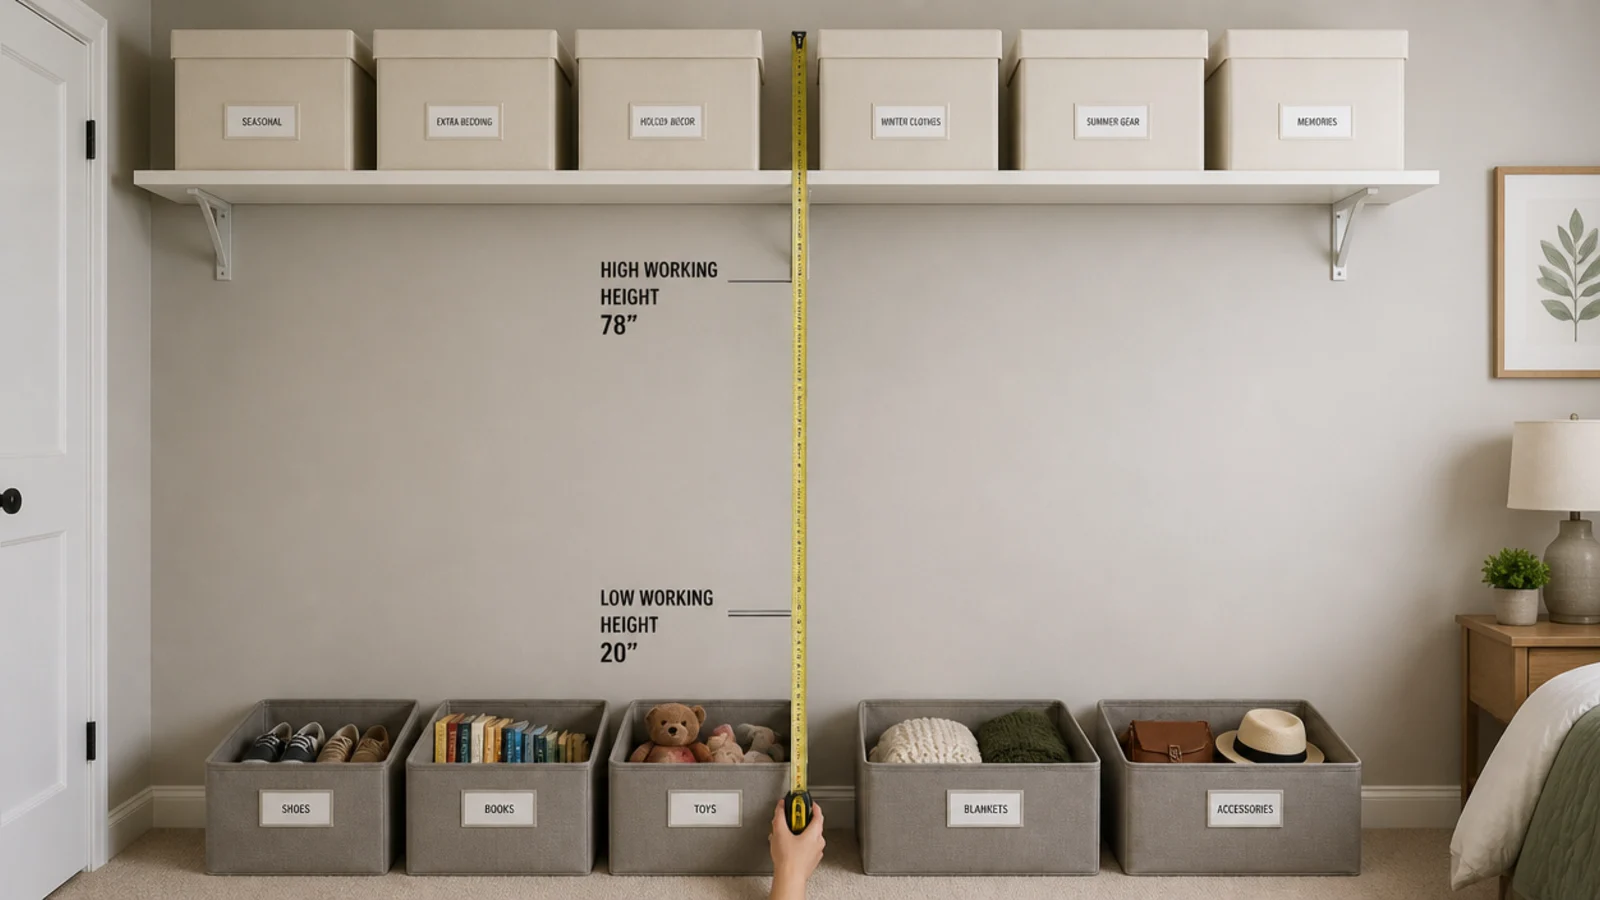
An average two-year-old is about 34 inches tall, a three-year-old about 38. Everything she is meant to use — bins, hooks, book ledges, the mirror — goes below 36 inches. Everything heavy, breakable, sharp or medicinal goes above 48. Keep the band between them deliberately empty so there is nothing ambiguous in the middle.
Step 9: Deal with every cord and cable
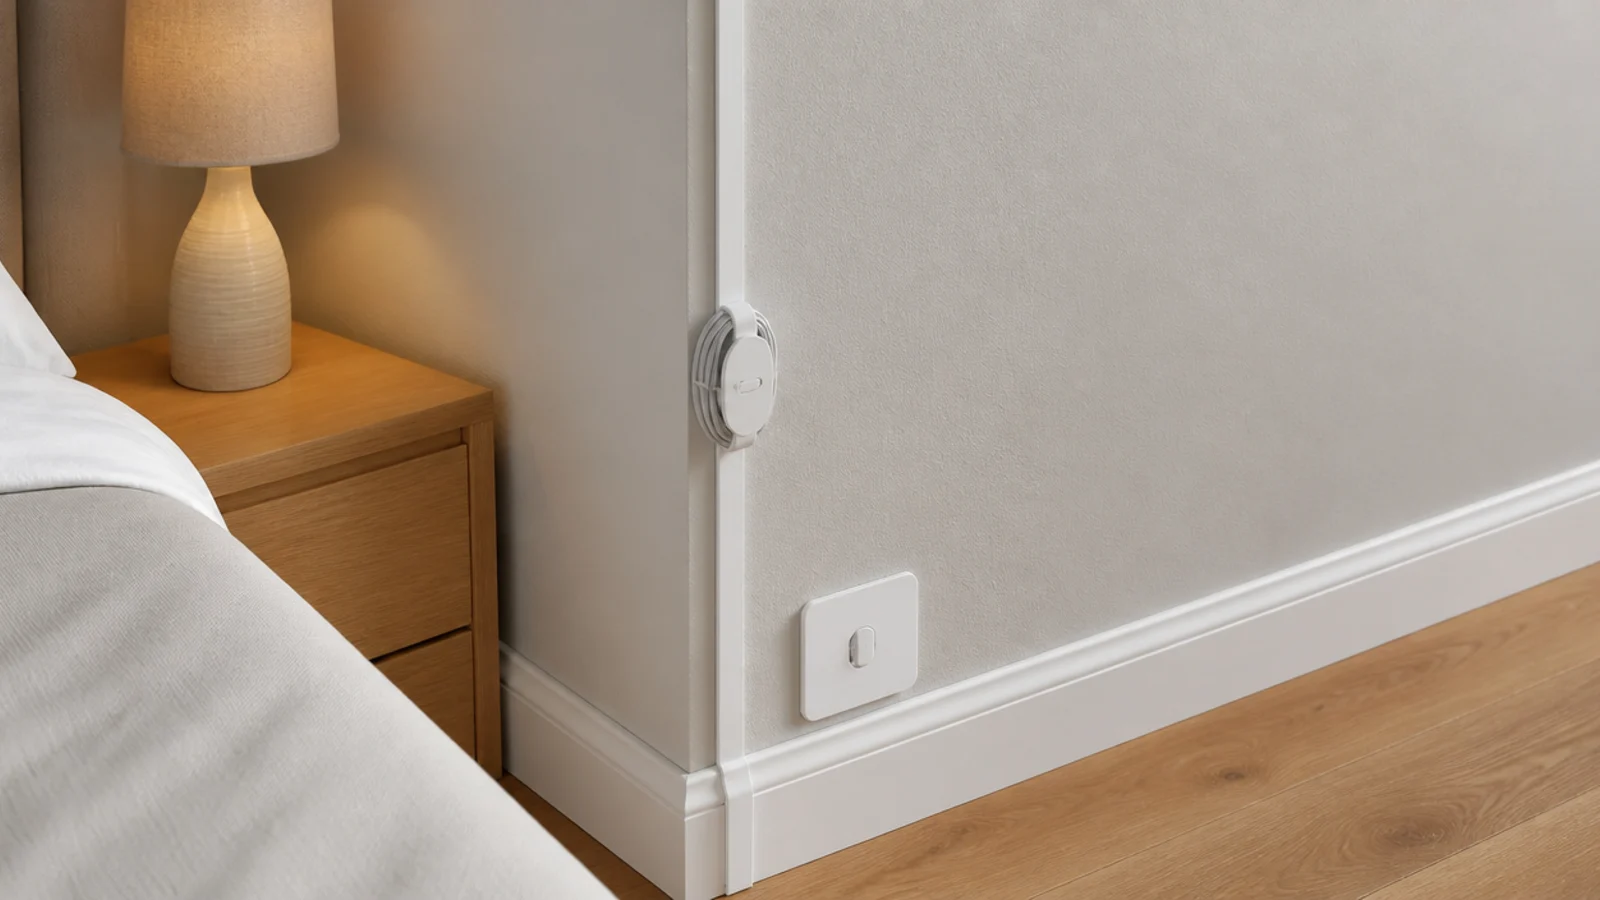
Wind lamp flex into a cord shortener, clip the run into a cable channel down to the skirting, and push the plug block behind the furniture. No cable crosses the floor and none reaches the mattress. Fit flush socket covers to every unused outlet. This step takes twenty minutes and removes the hazard that is easiest to forget.
Step 10: Lay the rug over a gripping pad
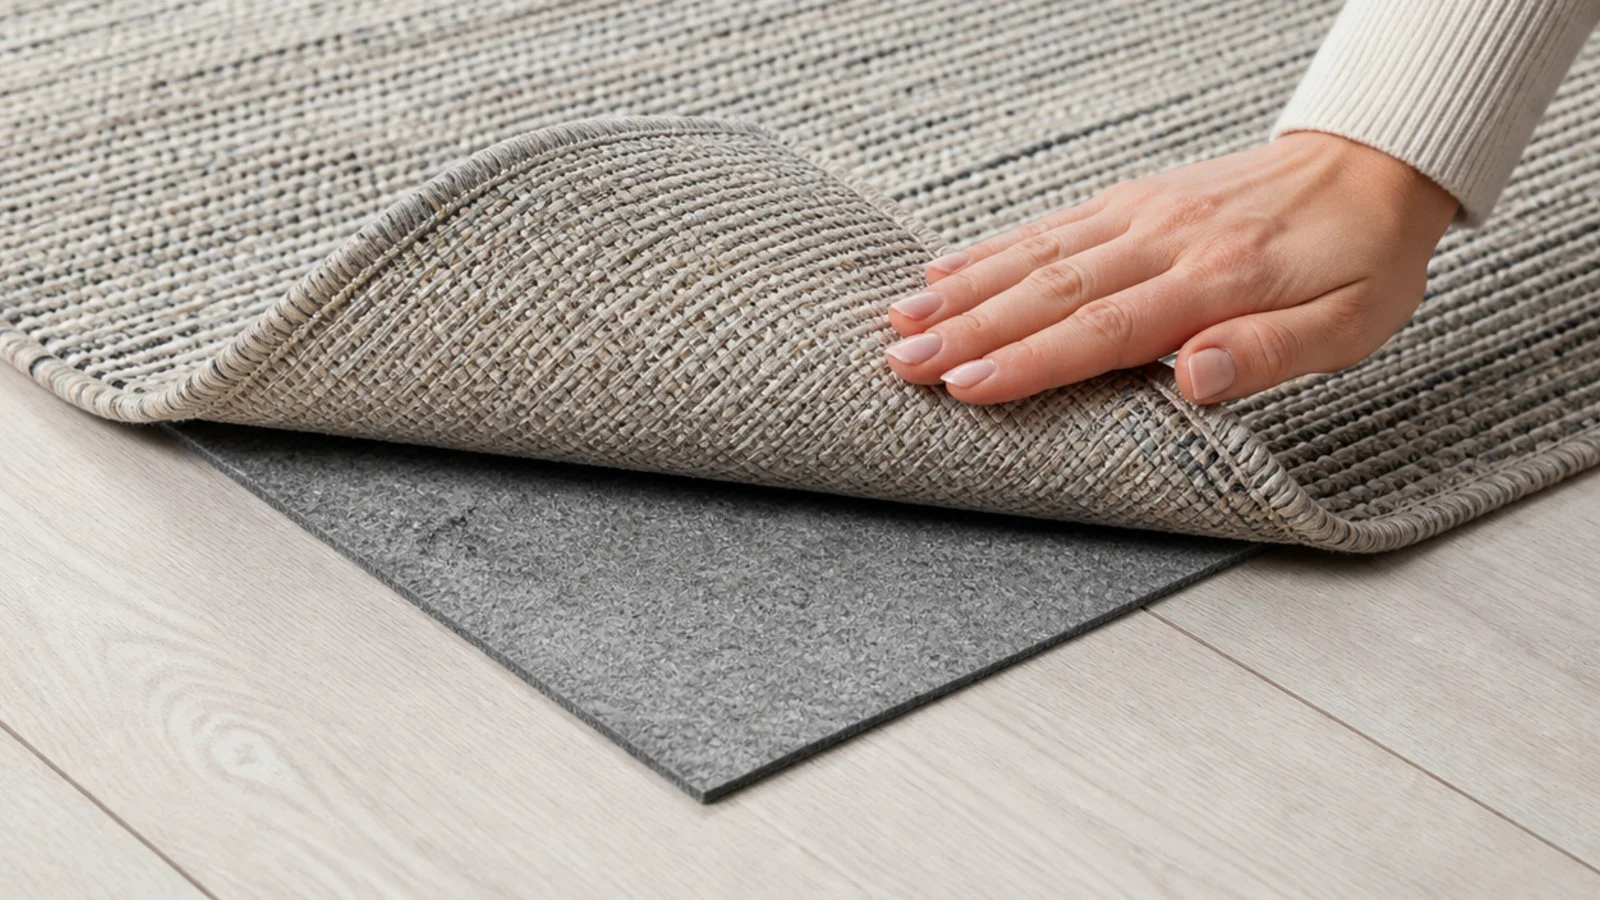
Choose a washable flatweave under half an inch of pile so wheeled toys roll, and cut the non-slip pad two inches smaller on every side so no edge shows. Curled corners are the trip hazard, not the rug. Press every edge flat and check them again a week later once the rug has relaxed.
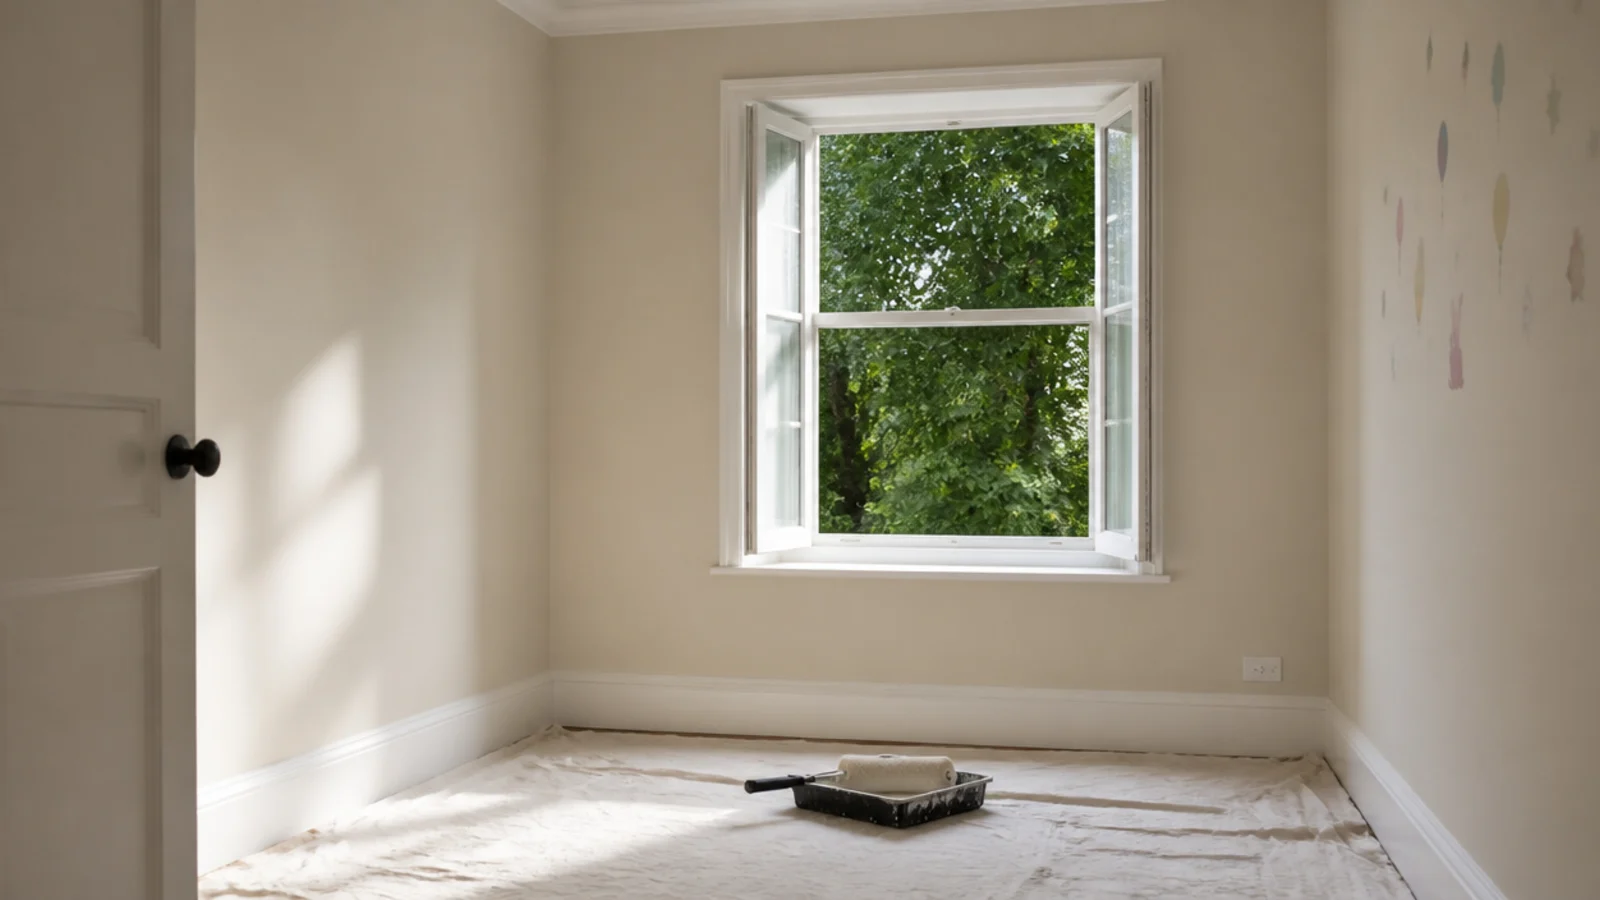
Step 11: Paint early and ventilate for two days
Water-based, low-VOC under 50 grams per litre, ideally under 5. Paint two or three days before she moves in, with the window open and the door shut to the rest of the house for 48 to 72 hours. Eggshell or satin from skirting to 40 inches so the marks wipe off rather than burnish.
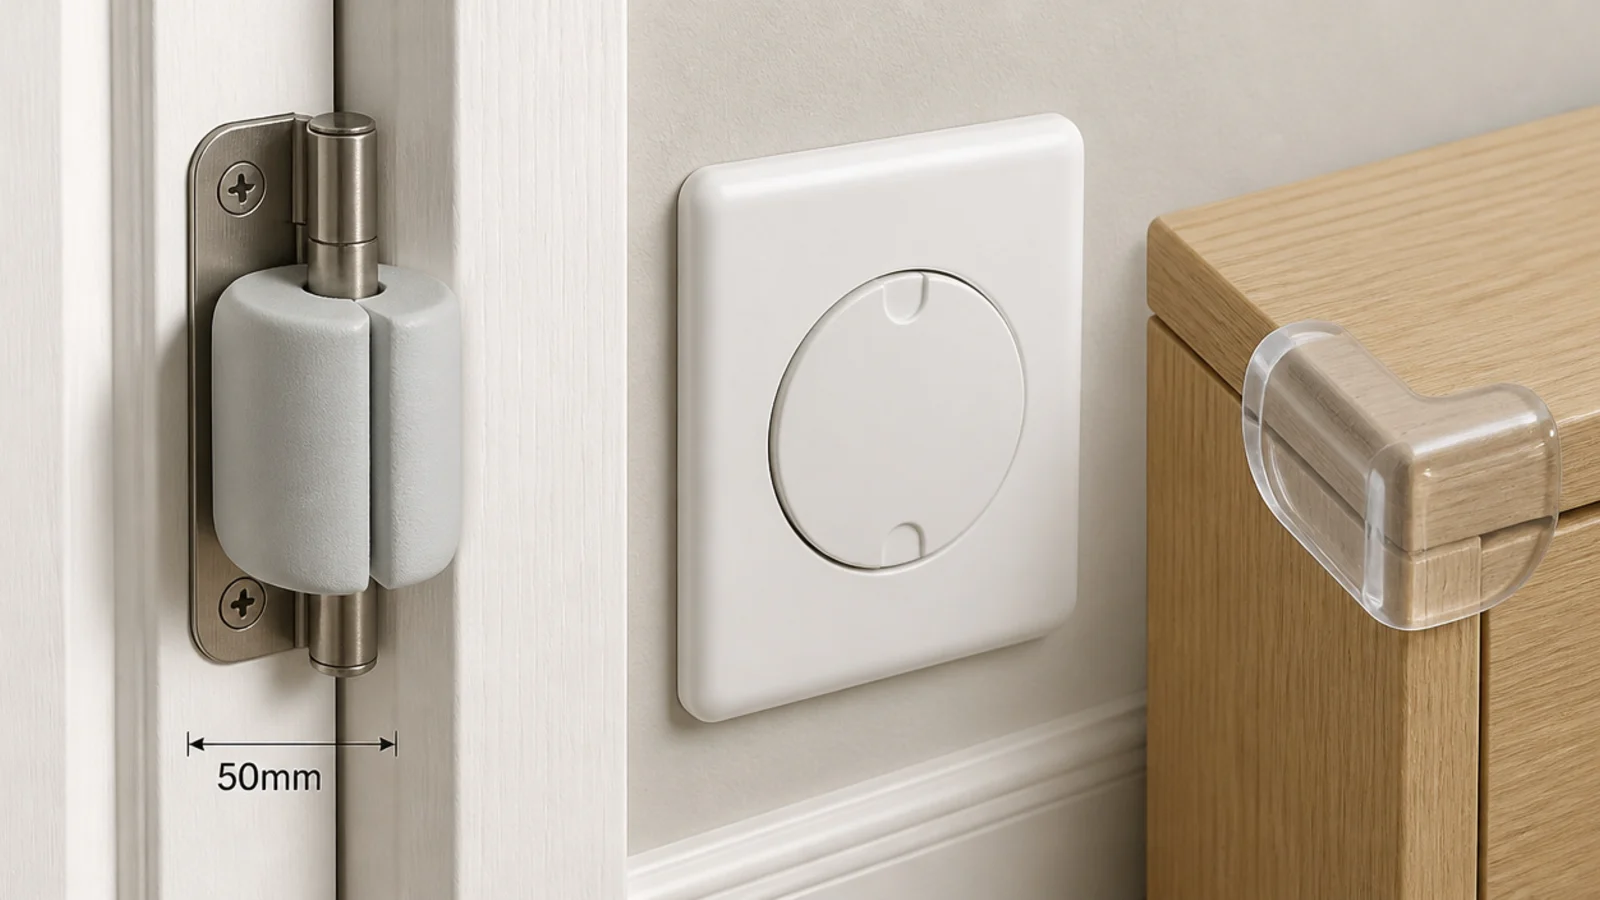
Step 12: Fit the guards, covers and corner protection
A foam guard over the door hinge at about $4 prevents one of the most common injuries at this age. Add clear corner pads to any hard chest corner at head height, and check the toy storage has no lid, or a slow-close hinge if it does. Ten minutes, under $20 for the lot.
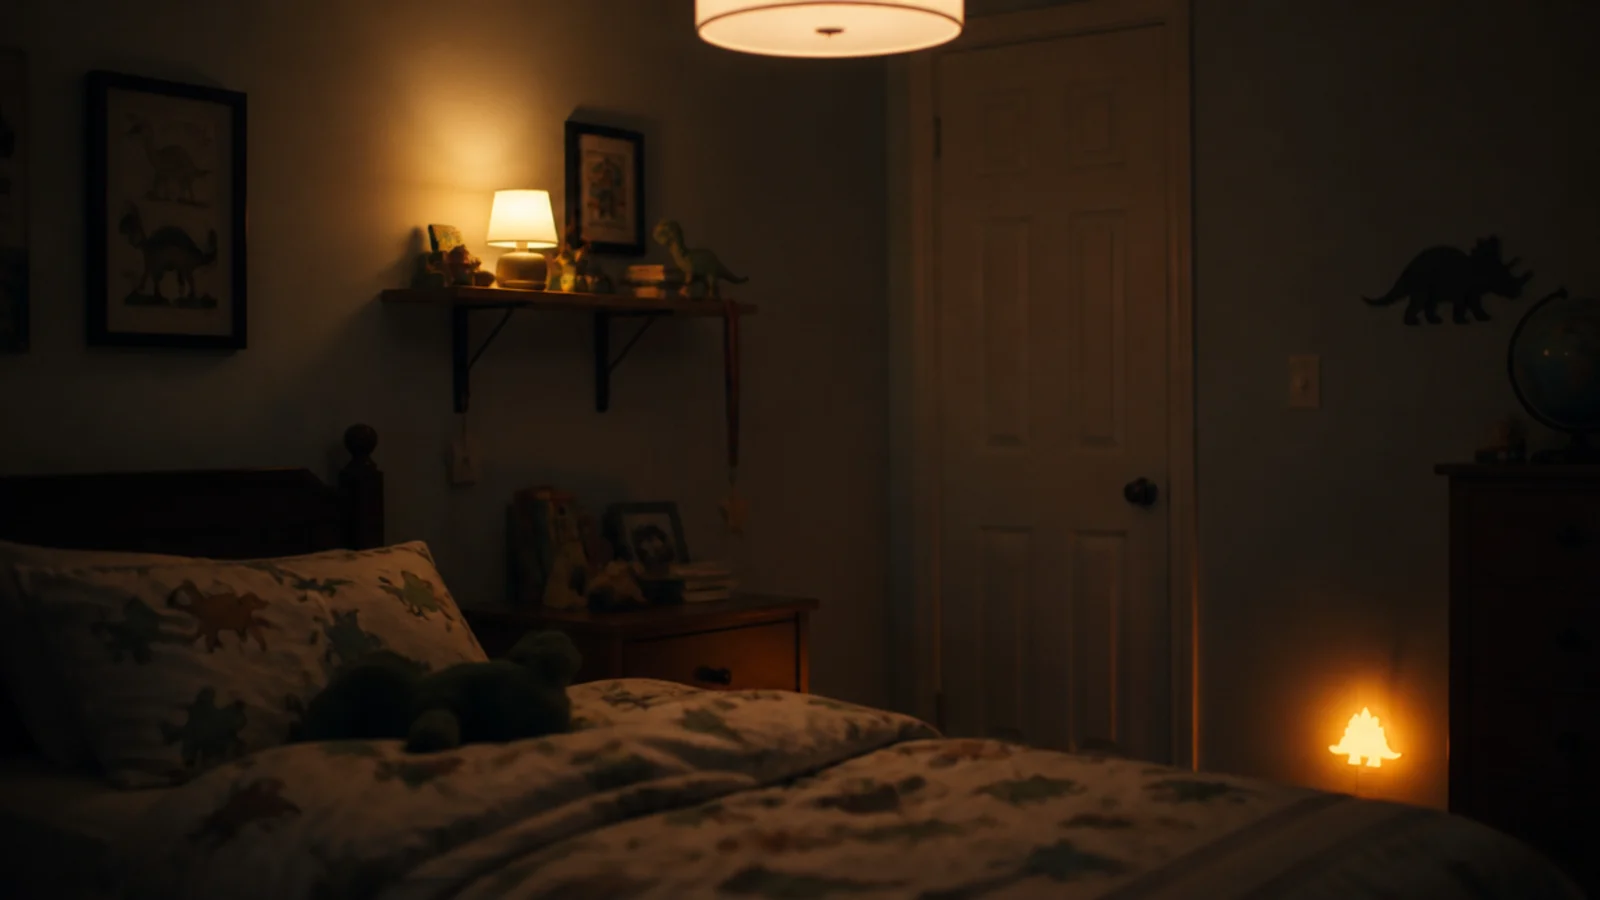
Step 13: Plan the lighting in three layers
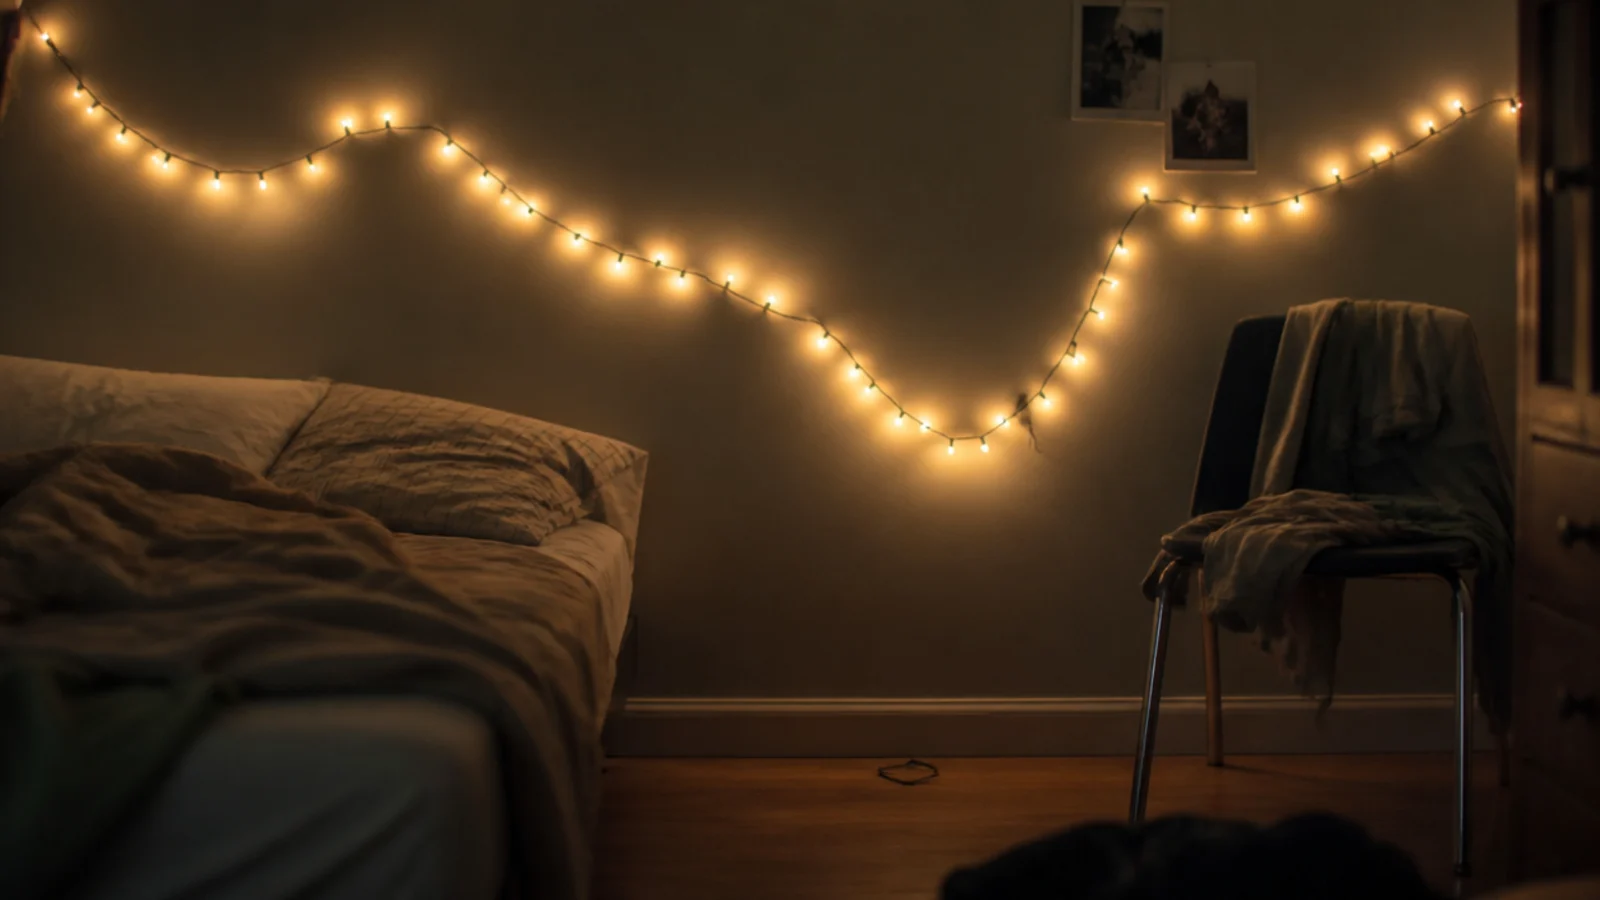
A dimmable ceiling fitting at 600 to 800 lumens for play, a 2700K lamp at around 450 for stories, and a 5 to 10 lumen amber nightlight near the door for the small hours. Warm colour temperature throughout, since blue-white light delays sleep onset. Keep the lamp on an anchored surface, not a light bedside table. The fairy light guide covers decorative strings safely.
Step 14: Keep the exit clear and test the alarm
There should be an unobstructed run from the bed to the door with nothing to climb over in the dark. Test the smoke alarm outside the room, replace the battery if it has been more than a year, and keep the bedroom door habit — open or closed — consistent so she knows what to expect.
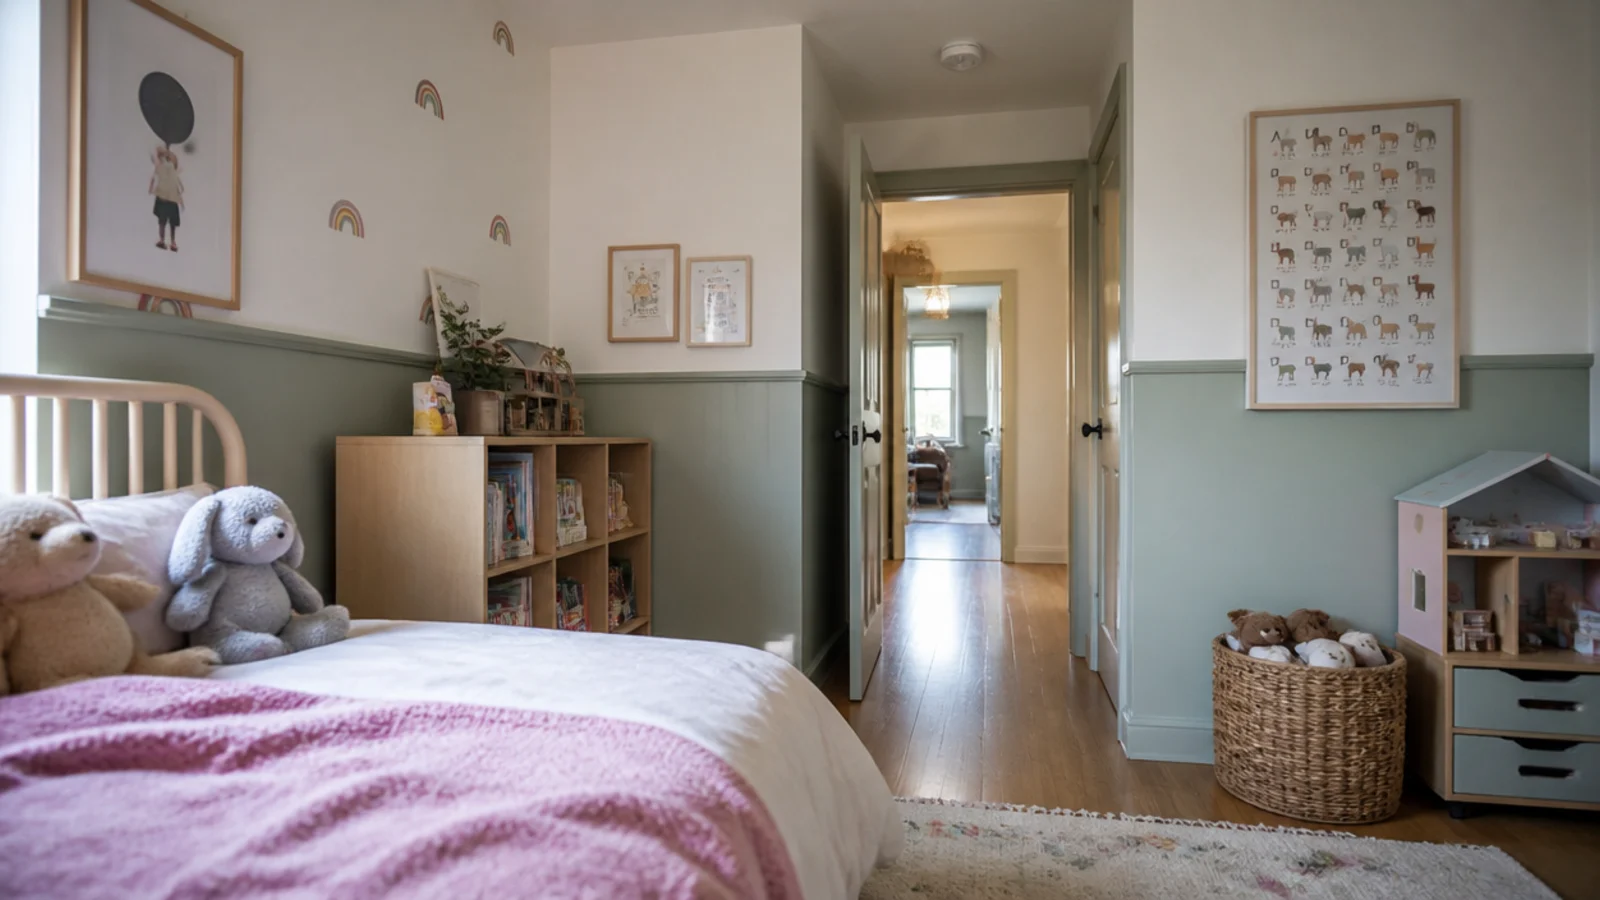
Step 15: Re-walk the room every three months
She grows about 3 inches a year at this age, so the shelf she could not reach in spring is within range by autumn. Re-do the knee-height walk, re-tighten every anchor strap, check the rail gap if there is one, and move anything that has crept into the wrong band. Fifteen minutes, four times a year.
Pro Styling Rules
Mistakes to Skip
- Screwing an anchor strap into plasterboard because the stud is six inches away. Move the furniture. A strap that pulls out of plaster is worse than no strap, because it feels like the job is done.
- Putting a bench, chest or toy box under the window. It is the most natural place for storage in a small room and it creates a climbing step at exactly the wrong height.
- Fitting a bed rail to a bed used by a child under two. Portable rails are not intended for that age group, and a mattress on the floor solves the same problem with nothing to trap a limb.
- Treating the safety pass as a one-off. A room checked at eighteen months and never again is unchecked by the time she is three, and she will have found everything you missed.
Run this sequence once and the decorative decisions afterwards are genuinely free — you can hang, paint and rearrange knowing the structure underneath is sound. If the bed choice is the part still open, the bed comparison puts cots, floor beds, toddler beds and twins side by side on the numbers, and for anchoring open shelving specifically, the bookshelf guide has the load and fixing detail.
Frequently asked questions
When is a child ready to move from a cot to a bed?
When she reaches about 35 inches tall, when the cot rail sits below her chest, or the first time she climbs out, whichever comes first. That is usually somewhere between 18 months and three and a half years. Moving earlier for a new sibling is the most common reason transitions go badly.
How should a toddler bed rail be fitted?
The rail should rise at least 5 inches above the mattress surface, and the gap between the rail and the mattress must stay under 3.5 inches so a torso cannot slip through. Portable bed rails are not recommended for children under two, and a mattress on the floor removes the question entirely.
Which furniture needs anchoring in a child bedroom?
Anything over about 24 inches tall, plus every chest of drawers regardless of height, plus the play kitchen, the shelf unit and the television if there is one. Two straps per piece, into studs, tightened until the piece will not rock with the top drawer open and leaned on.
How far should a bed be from a window?
At least 36 inches, along with any chest, bench or toy box a child could climb. Fit a restrictor that limits the opening to about 4 inches and use cordless blinds only. A windowsill with something climbable beneath it is the single most common avoidable hazard I find.
How often should I re-check a toddler bedroom?
Every three months, and after any growth spurt. A child who could not reach a shelf in March can reach it by June, and anchor straps loosen with daily use. The whole re-walk takes about fifteen minutes on your knees and usually turns up two or three things to move.
Want more like this? Browse all 15 toddler girl bedroom guides — they all use the same measurements and budget tiers.
Pin it for later
Save this to your Toddler Girl Bedroom board
Pin it now so it is waiting for you when the tape measure comes out — and so the next person hunting for this idea can find it too.
Save this pinKeep going
More ideas worth saving while you have the tape measure out.